March 14, 2012
It has been a while since I worked on any gunpla, but about a week or so ago, I was hit with an some sudden inspiration and using some ideas that I’ve seen over the past year I started this project. This will be a 3 or 4 part project, as there are several pieces that will eventually come together for the final finished piece. Dusting off a couple of boxes of HGUC kits, I start with the first kit, the HGUC Dreissen ver. Sleeves.
Part 1: HGUC Dreissen
Before doing any sort of mod or anything, I just cut, sanded, and snapped the kit together to get a better idea of where I want to do modifications. Sanding and snapping takes about a day or so but with it put together, the real fun can begin.
First mod is relatively simple. I just drilled open the gatling barrels on the arms to open them up a little and then shoved some adlers nest armor collars inside as a small detail upgrade. A very simple mod that make the barrels look much better than stock.
Next mods are to the waist and collar cables. The stock plastic cables are rather plain and boring.
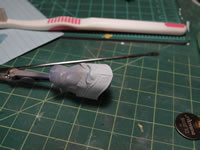
Starting with the lower neck/collar area, I cut the piece out to expose the power cables. Once the collar piece is in two, the existing cables are just sanded away. The replacement cables are done with adlers nest 2mm diameter cables and a spring made from 32 awg magnet wires wrapped around a sleeved 24 awg solid piece of wire. The metal collar pieces are glued into place. Holes are drilled into the front and back ends of where the plastic cables existed. With the holes drilled out the new cables are put into place.
The waist cables are done much the same way as the collar cables. Adlers nest 4mm diameter metal collars are used use, and the same 32 awg magnet wire is wrapped around a 2.5mm tube to create the spring sleeve. The replaced metal cables are a simple and easy modification.
Next up is to butcher the lower torso. Using the idea from a Korean modeler, I’m going to try doing the same idea the modeler did for their Z’Gok vs Gundam diorama. So the first step is to cut apart the lower torso. Using the cut outs, I had some quick templates for cutting out small pieces of clear acrylic. The acrylic pieces are glued with tamiya extra thin cement and clamped together to cure.
After curing for several hours, the excess pieces of acrylic is clipped and then is sanded down. With the parts sanded, I sanded the surface of the acrylic to frost it. With the two corresponding areas sanded and frosted, work focused on the main body. The bottom of the upper torso is cut out for eventual lighting. Using the lower torso pieces as templates, plastic inserts are traced and cut out. These inserts will be used to hold the LEDs from inside the torso piece. I have some orange LEDs on order so work on this section is paused until I get the LEDs.
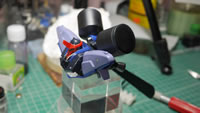
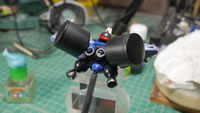
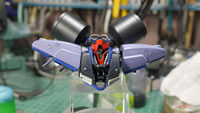
Next up is the backpack. The Dreissen has three backpack mounted tri-blade weapons that I didn’t really care about. The mount points also doubled for weapon hard points. Using the tri-blade weapons are mount points, I mounted a long resin fuel tank on the bottom center. Cylinder fuel tanks were mounted on the upper two points. I had a few sizes of cylinder tanks and decided on the larger set. The ball thrusters were extended with some thrusters left over from an MG Kampfer kit.
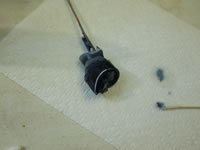
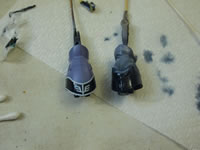
Since I decided on the cylinders as upper fuel tanks, I drilled holes into the tri-blade center as well as the cylinders to add in a fuel hose. For the spring wrapping, I used 28 awg magnet wire over the 24 awg sleeved solid wire.
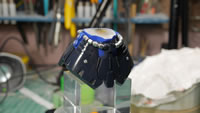
The first small modification to the skirts is to drill out the indented details. With pilot holes drilled, excess plastic is cut and filed to remove all the plastic in the indented areas. Once the indented detail plastic has been removed, a slip of detailed styrene is glued to the back for a quick detail modification.
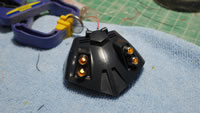
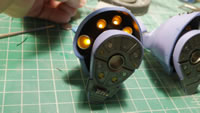
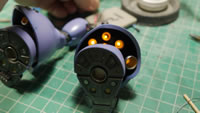
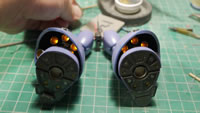
From the lessons learned in from the HGUC Sazabi project, and since I’m lighting the waist; I may as well just light the whole damn thing. So the shoulder thrusters are drilled out using bits of varying sizes. The leg thruster pieces are drilled out to accommodate 3mm LLEDs.
March 15, 2012: A small updated for the work on the sliced apart waist. Starting with the bottom piece, the middle section of the waist unit is removed and the styrene template cut earlier is further trimmed and fitted into the waist unit. With the template in place, the template is marked up to plan out the LED layout.
Small holes are drilled and the LEDs are threaded through. On the back, the leads are trimmed and wired in parallel. Then the assembly is wired up to a battery and tested out.
The same is done for the upper template piece.
The waist pieces are put into place for a quick mock up. The lights are turned off to get a better lit contrast.
March 16, 2012: Spent most of the night and early morning working on the head. The internal areas of the head were gutted with a hobby knife for a clean starting point. Then small strips of styrene are cut and glued into the top and bottom parts of the head. Since the original head was just a black part that hides any idea of some internals, the styrene strips and shapes work as internals for the head.
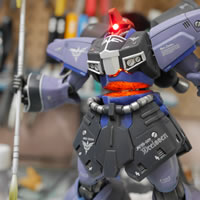
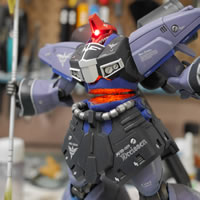
Next, I focused on the mono eye. Like the other mono eye kits I’ve been building of late, I’ve been finding interesting ways to light the mono eyes. Instead of the armor collar that I’ve been using, I went with wave option parts for the eye piece and wave eyes for the clear lens. I also wired up a small red surface mount LED. The internal area of a 3/32″ tube was excavated, thinning the walls of the tube such that I could shove the LED and wires into the tube. With this done, the whole mono eye assembly is put together.
With most of the parts dry, at least dry enough to work with, I did a quick mock up and tested out the light. This mod took several hours to complete, but is really worth the effort to replace the rather plain original “face mask”.
March 20, 2012: Small update as I slowly progress with more detail mods. Starting with the legs, I removed the back connection pegs on the inside of the leg halves. Since I’ll be gluing the two leg pieces together, I really don’t need the connector. Sanding the interior down, I’ll be adding a little bit of inner frame. But swinging to the outside of the legs, I added a little bit of detailing using a wave option part and a punched out styrene insert. The little punch set is from Micromak, and is a very useful tool for punching out perfect little disks.
A few years ago, I picked up a little .2mm scribing tool from a company called BMC. The thing rules for scribing lines and I was only able to grab the .2mm size. Doing a little search, I found that HLJ carried a couple of different sizes so I ordered a few last week. They arrived today and the .5mm was immediately put to use scribing out the “sleeves” for the Dreissen. I still need some clean up, but the scriber worked very well.
I’ll be adding some lighting to the back skirts. To extend the thrusters a little, I’m using some resin cast soup can thrusters, and behind these thrusters I’ll be adding some LEDs. On the inside of the skirt, to help hide the lighting gimmick, I cut some styrene for use as a cover. I still need some final detailing here, but this gives a general idea of what I’m trying to do.
The last bit was to finish off removing the indented areas on the front and rear skirts. Styrene is placed inside the skirts for small additional detailing. With the scribing tools, my next focus will be to scribe in some additional panel lines.
March 23, 2012 – Since the last update, I’ve been spending a considerable time marking off and scribing in some additional panel lines as well as adding more small modifications here and there. Starting off small since this is my actual first real foray into adding panel lines as opposed to just cleaning or deepening panel lines. I used dymo tape which is used for making labels and has a decent thickness to help with straighter lines. The first pieces are the upper arm areas. Once I got used to the technique, I moved on to the front skirts. Placing the tape in measured out areas then lightly running the scriber across the plastic until the area is scribed. I also drilled out a small hole for a metal minus detail.
I added resin thrusters that I had previously molded off the aluminum soup can thrusters. Some panel lines were scribed on the rear skirt and a punch out of some styrene details are placed in the upper side skirt area. Small strips of styrene is added to the upper area of the rear skirt.
Finished with the small bits of details and panel lines, the waist and skirt are is complete.
The inner shoulder piece is modded with a little piece of detail styrene. Since the shoulders already have a decent amount of panel lines, I just added a drilled out hole and placed in some metal minus details.
The outer arm pieces are marked off and panel lines are scribed. A small 3mm hole is drilled into the outer arm parts and some metal collars are glued onto the arm.
The inner arms got a small amount of scribing. As an afterthought, I added some additional panel lines to the outer arm areas. I snapped a comparison shot between the modified and unmodified arms. A small strip of styrene is glued into place as an accent.
Next up, the legs were marked off for scribing. I scribed in a little vent detail onto the leg. The bottom of the legs are scribed with a 1.0mm blade and a small strip of styrene is glued into the spot for accent.
Moving to the upper torso, a few quick panel lines are added as well as a 3mm metal collar piece.
The center torso halves were drilled out and cut to glue in small connection points. This also helps organize the internal wiring scheme; a little lesson I learned from the final assembly of the Sazabi where I ran in to all sorts of issues dealing with putting all the wiring together. The two connectors are glued to their respective pieces and when connected, the two halves are in a split view.
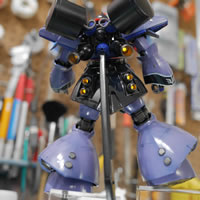
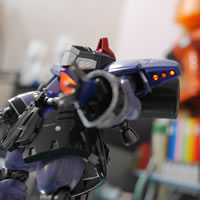
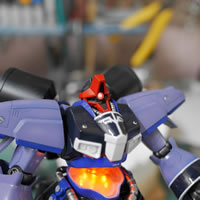
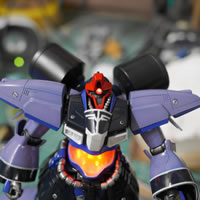
This should conclude the mods for the kit – that is until I decide on adding more, but I don’t want to go overboard and effectively lose the idea that this is a Dreissen. Here are pictures of the kit with the mods. The missing mods are all the lights that I have planned for the suit. That should be part of the next update.
March 25, 2012: Since most of the cosmetic mods were complete, I went and completed the lighting mods. Starting with the leg thrusters, the four thrusters are very similar to the HGUC Sazabi in design so it was quite easy to put in the LEDs.
Next up were the shoulder thrusters. Earlier, I drilled out the holes of the shoulder thrusters. The area inside the shoulder isn’t very large and the thrusters ports are not very large either, so I settled on using surface mount LEDs. I made a small template that fit into the shoulder piece right above the bottom piece of the shoulder. With the plastic template in place as well as the thruster cover piece, I marked off where the circles lined up with the template. Taking the template down, I just glued the surface mounts into position and wired them on the back of the template. Putting everything together, it works, and the shoulders are lit up.
With all the little lights added here and there, I started to wire up everything just as a sanity check. So all the wires are hooked up. I’m planning on running an external power source, so the bottom of the left foot was cut open for a connector. With the connector glued into position, I wired everything from the leg up. With the current design, I have the upper torso and lower torso wired independently. The connectors I placed into the corresponding split lower torso piece will connect both halves lighting up everything.
Once I had everything connected, I turned off the main workshop light and connected a test battery. I’ll definitely need a higher volt battery with a larger capacity. The Sazabi had something like 28 lights. This little bugger has about 36 since the waist areas alone are 7 LEDs a piece. And since I’m using an external power source, I can easily accommodate that rather than trying to power it all within the suit.
Here are a few close up shots of the back thrusters, the upper torso and the shoulder thrusters. I then went and took everything apart and once I get some final sanding done, I can start the painting stage. The build will finally start to progress more visually.
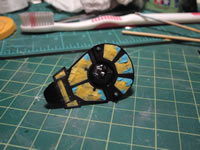
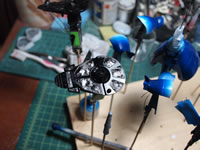
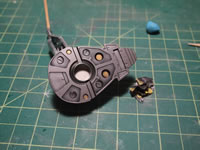
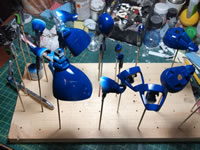
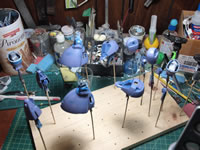
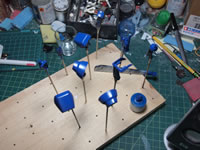
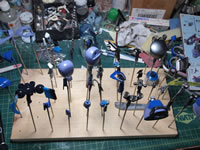
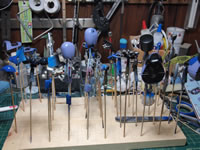
April 3, 2012: Small update, the internals are painted with gloss black and then alclad metallics. I’m using alclad steel for the main frame parts. The internals for the thruster bells are alclad burnt metal. Those are masked off then the exterior areas are painted with alclad stainless steel. The other armor pieces are primed with Mr Surfacer 1000.
Returning to the arm pieces, I cut out some 5mm by .5mm rectangle styrene pieces and glued them into the scribed out groove keeping a small space between the pieces as a final piece to the added details.
The internals are masked and painted for a couple of steps. The food is masked and painted. I still have one more step to masking and painting the foot before that is done.
Parafilm is used to mask off the thrusters that were painted earlier so that I could paint the internal areas alclad steel.
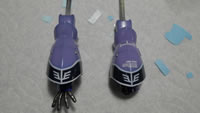
Using the build manual, the color guide is translated and I mixed up the specific colors. I’m planning on sticking with the standard Sleeves theme, but maybe adding only a small customization. The dark purple color was specifically mixed as an enamel since I will be using the reverse wash technique to do the raised details on the sleeves and chest piece. So with the paints ready, I started with the white parts. The sleeves and chest piece are painted with lacquer white, the first step in the reverse wash technique.
Jan 17, 2019
Time to kick off the new year with a project. Not necessarily a new project, but something that has been shelved for almost 7 years. I had to dig through my harddrive to find this next set of pictures. Last date from the pictures in this set is April 14, 2012. I originally stopped working on this project because the then girlfriend and I started a project to remodel our house. And since the remodel, the damn thing has stayed on the shelf. This part of the original project was about 85-90 percent completed. I had just about finished painting everything. What better way to get a quick finished kit than pull something that is almost done and just finish the damn thing up.
This is what the kit looks like now, as in after spending the past couple of days relearning where I had left off and what I was doing with the thing. ALl of this was painted but not assembled. I spent some time gluing pieces and doing more complete subassemblies.
Painting continued with mask, paint, unmask.
Parts were shaded and painted.
Internal details are painted most of the bits and pieces for the kit are assembled.
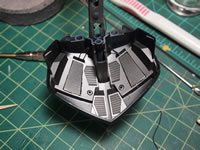
The sleeves for the kit are raised details and perfect for a reverse wash. Lacquer white is sprayed followed by enamel dark purple. Once this dried well enough, a q-tip dipped in lighter fluid easily removes the enamel dark purple revealing the raised white areas. This is where the project stopped. And I didn’t actually finish cleaning all the raised details. The upper torso raised details were still painted with the enamel dark purple and has been sitting like that for almost 7 years. A q-tip and lighter fluid and slowly rubbing the raised details removed the enamel. The reverse wash technique is still viable even after the enamel paint has been cured for 7 years.
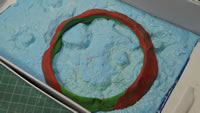
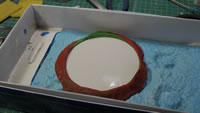
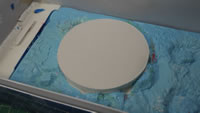
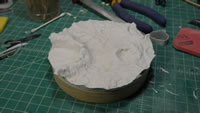
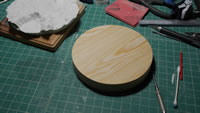
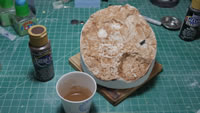
Fast forward to earlier this week, Jan 14, 2019; I start back up on the project. Ditching the original diorama idea, for now; I just want to finish this project as a little vignette. I grabbed a wood base and used it as a template with some playdough on my silicon asteroid terrain. Removed the wood base and mixed some hydrocal and poured the stuff into the playdough pool.
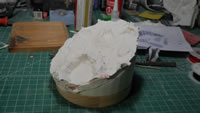
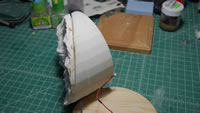
An hour later, the playdough is removed and I have my asteroid disk. But then another idea for display comes into my little brain and I do a quick 3D design for a raised column that is about 30 degrees in angle. Which means the original disk I made is now too small, so once the support structure is printed, I use it as a template to create a slightly oblong asteroid disk and I have the start of my display base.
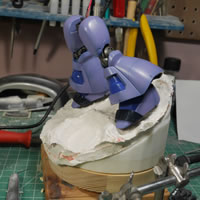
The ideas is that the Dreissen will be standing on top of the disk. The reasons for the angle will make sense in my next post when I get closer to finishing the project. Or, if you’ve read the link above, you can make a pretty good guess as to why I’m angling the lower half of the body.
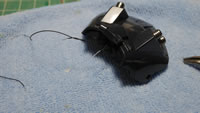
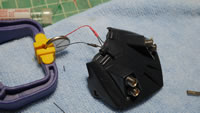
One of the first things I needed to do was to check the lighting and start assembling the kit into major subsections. The immediate problem was my wiring. I had used black wires for EVERYTHING. So, I needed a battery on hand to test the polarity for every connection pair. The first task was to wire up some of the major parts and make everything in parallel. This gave me the chance to fix the wiring a bit and add in some red wires to mark the positive leads. The wires are soldered and shrink wrapped. Once I start bunching up the wires, they will inevitably rub against one another which will cause shorts, so wire wrapping ensures that everything is isolated.
A quick test with the battery shows that the rear skirt thruster lights all work together.
The same is done with the leg thrusters. Test, test, and continue testing while everything is slowly assembled and reconfigured.
The modified backpack is glued together and rewired finished off with a quick test for the thruster lighting.
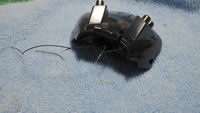
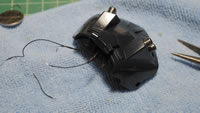
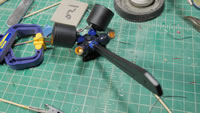
One of the pitfalls of soldering while really close to the damn plastic is that this can happen. I f-ing melted the damn chest piece.
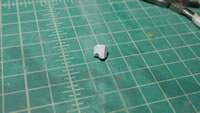
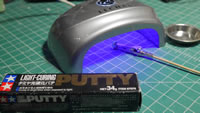
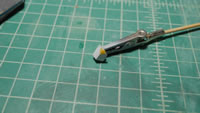
My first thought was to get another HGUC Dreissen kit. Then I came to my senses and realised it’s only plastic. And this is a very simple piece with precise angles. This is an easy fix. And relatively quick with the tools I have. Light curing putty. The first step is to actually rough up the indented melted area so that the putty have more surface area to grip. I applied two layers of putty. First layer went down and once cured under the UV light, a quick sanding to get a rough shape. Second layer of putty makes sure the whole part is completely patched.
Once I finished sanding, the part is primed to check for mistakes. Lucky this was a relatively simple piece and I got it in one shot. Once the primer is cured, I’ll paint back the white and no one will be the wiser.
This little project shouldn’t take too many more updates to finish. So another few weeks and I should have this one buttoned up.
Jan 20, 2019: Last we left off, I assessed the project and started on the last bits to finish the damn thing. The chest piece that I melted is painted and back to normal. Another electronics test to make sure all the wire rework didn’t screw anything up. And the whole thing is gloss coated.
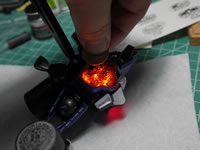
Since all the electronics are still working, I can can turn off the lights, and get to work on making sure the thing looks decent on the base. The ceramic base is dry and I can get to work test fitting that. Angles look good so time to move on to the final bits of work on the Dreissen itself.
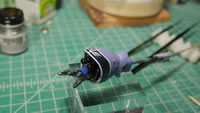
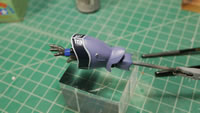
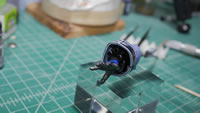
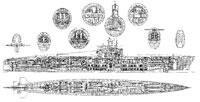
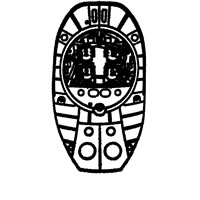
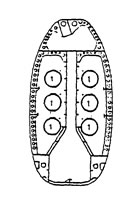
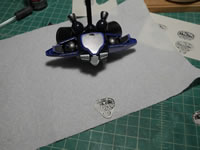
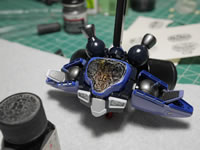
So I had cut the poor Dreissen in half as the original idea of the diorama had a Unicorn some distance away with Banagher running off to chase pseudo Char. We’re just going to have to imagine that he’s long gone since, well, Unicorn speed. So, back to the fresh cut. I wanted some internal details so that it’s not just a blank light bulb that was cut in half. I searched for something that would work as a decent template and came across some submarine cross sections. This was almost perfect. I just needed to manipulate it a little to fit my needs.
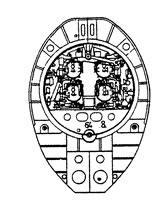
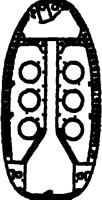
I gimped this since I don’t have photoshop and started messing with two of the subsections. Getting it better fit against the Dreissen’s cutaway sections. Lines were darkened a bit and the round subsection was stretched.
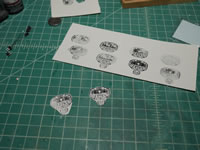
Once I was done here, I ported them to Adobe AI, yes, I know, why not just use AI. Well, I’m more familiar with gimp, and AI has some cool vector features. The images were vectorized and then more stretching and stacking to get a few images that I could measure in some test prints and then print on a clear water slide decal sheet.
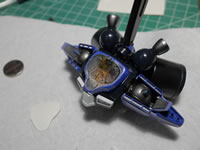
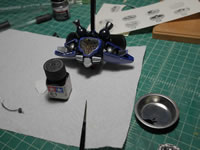
Decal sheet is printed and sprayed with a lacquer clear coat to help seal in the ink. Allowing this to properly cure is key. Skipping out on the clear coat or curing of said clear coat will get you an inky mess and blank decals. Learn from my experience. I cut two decals out and I’m glad the printer kinda screwed up the printing. Some broken lines will really work here. The decal is dipped in water and slid into place.
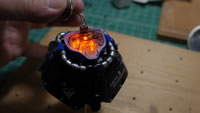
A little test with the light clearly shows that the decal alone isn’t going to do things. Something I already knew going into this. I just needed the decal as a template from where I can “trace” with a fine brush and some enamel black paint. Adding in a few more lines here and there to round everything out, I do another quick lighting test to see how it comes out. It’s looking better. Time to let that dry and move on to actually finishing the kit.
The other decals. Funny, I didn’t even remember buying “Dreissen” decals. Or, Dreissen ver Unicorn decals. But there were also in the box along with Unicorn and Geara Zulu decals. I guess my original plan was to have a Zulu in the mix too. I used these decals as well as decals I picked up from my local hobby shop: Robot 4 Less’s Simp Decal Sheets They are nice decals and already precut, so no need to trim the decals after cutting them from the sheet. I need to go back and just pick up a bunch more warning labels. In no time, I completely lost track of time and the decal process took about 5 hours.
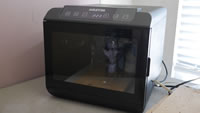
Friday rolls around and I get a delivery. My dehydrator came in, and now I can seriously speed up my drying process for paints. I use the lowest temp setting of 95° and run it for about 2 hours. This seriously speeds up my work time. I was able to gloss my decals, dry them in 2 hours, and get to panel lines.
Panel lines were done, the parts go back into the dehydrator for 2 hours and I can do the clean up.
A clear flat is sprayed and then once again, back into the dehydrator for another 2 hours and the damn thing is pretty much done. What would have normally taken at least a day of drying/curing between each layer of gloss/decals/gloss/panel lines/clear flat, I cut done to about a day. I should have bought one of these damn things much sooner. Another electronics test and full assembly test against the base so I could start working on the thing.
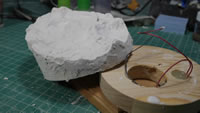
Setting the completed Dreissen aside, I think I will return to it and add another layer of enamel paint to the cut away sections. I want more definition there, but that can wait, on to the base. With the measurements and wiring done for the base. I get to sanding and filling the base so that it fits nicely on the wood block. I used more hydrocal for this as I can really quickly cure the stuff in the dehydrator.
Next update will probably finalize the build and if all goes well, the end of the week will see some completed pictures.
Jan 21, 2019;
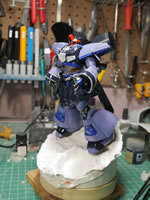
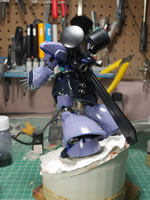
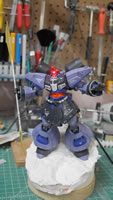
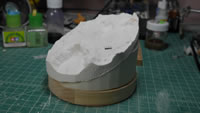
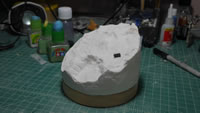
And a day after the last post, I’m done. I seriously did not think I was going to have this update until at least the end of the week. Dehydrator = time traveling for model building. I filled in some gaps between the 3D printed support piece and the base with more hydrocal and into the dehydrator. An hour later, I can sand the surface smooth and apply some plaster cloth to the whole base. Again, into the dehydrator. 2 hours later, I get to apply more hydrocal to the surface to even out everything and make the whole asteroid look like a single rock. Into the dehydrator. 2 hours later, I can sand and clean up the surface.
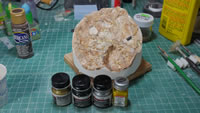
The first step is a quick wash with some acrylic brown. This give the base a starting color to work with. Next up, I used enamels and drybrushed in some colors using zinc, gunmetal, brass, and chrome. This gives the surface a little bit of tonal variation.
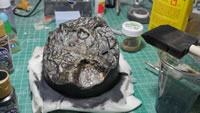
The final wash was acrylic black. The label says enamel, but when I tried to mix this with some lighter fluid, the two did not want to mix. So I used water and it worked just fine. My first pass was a little too light so I added more paint and did another pass with a sponge brush. This blends everything together. And then into the dehydrator. 2 hours later, I spray a clear flat and again, into the dehydrator for another 2 hours. The wood base was sanded and stained and placed into the dehydrator with I was drying the painted base. After 2 hours, a clear gloss was sprayed and back into the dehydrator. The rock base is drying with the clear flat at this time. Once that first layer of gloss is dry, I sanded it with some high grit sanding pads and sprayed another layer of gloss and back into the dehydrator.
2 hours after that last spin in the dehydrator and the base components can be assembled and glued together. What normally takes a day between each step that I used the dehydrator now only take 2 hours. So realistically, I was correct in estimating the completion at the end of the week. I just didn’t factor in that I could use the dehydrator for the base too.










Pingback: New year, Old Project | Gamera Baenre's Mindless Ramblings
Pingback: Dreissen is Done | Gamera Baenre's Mindless Ramblings