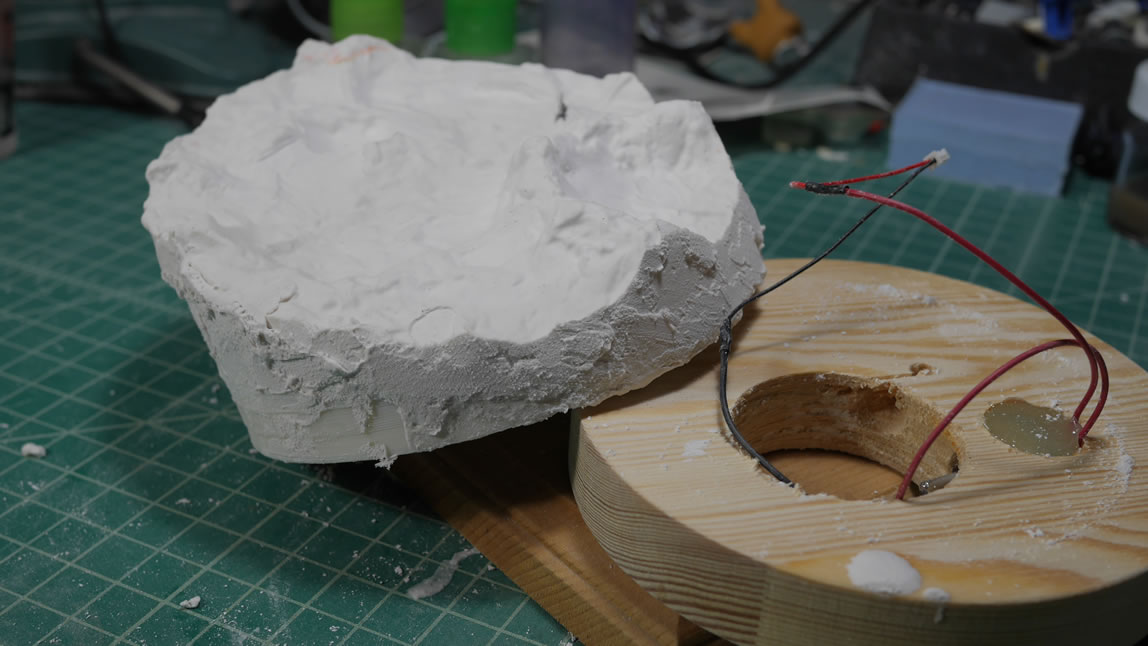
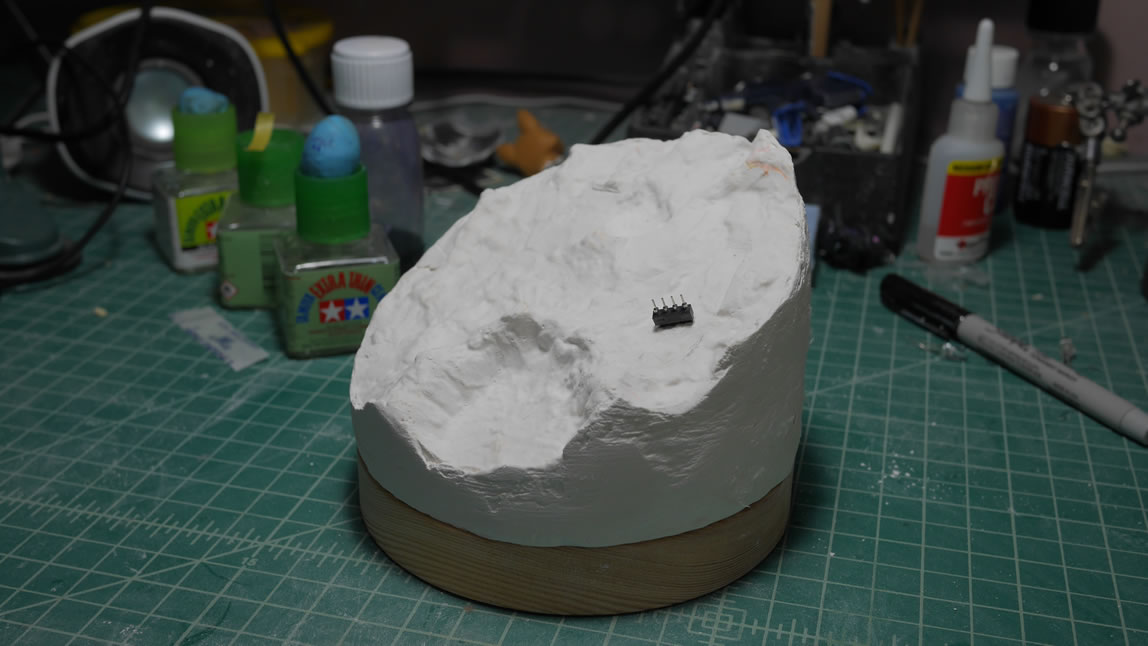
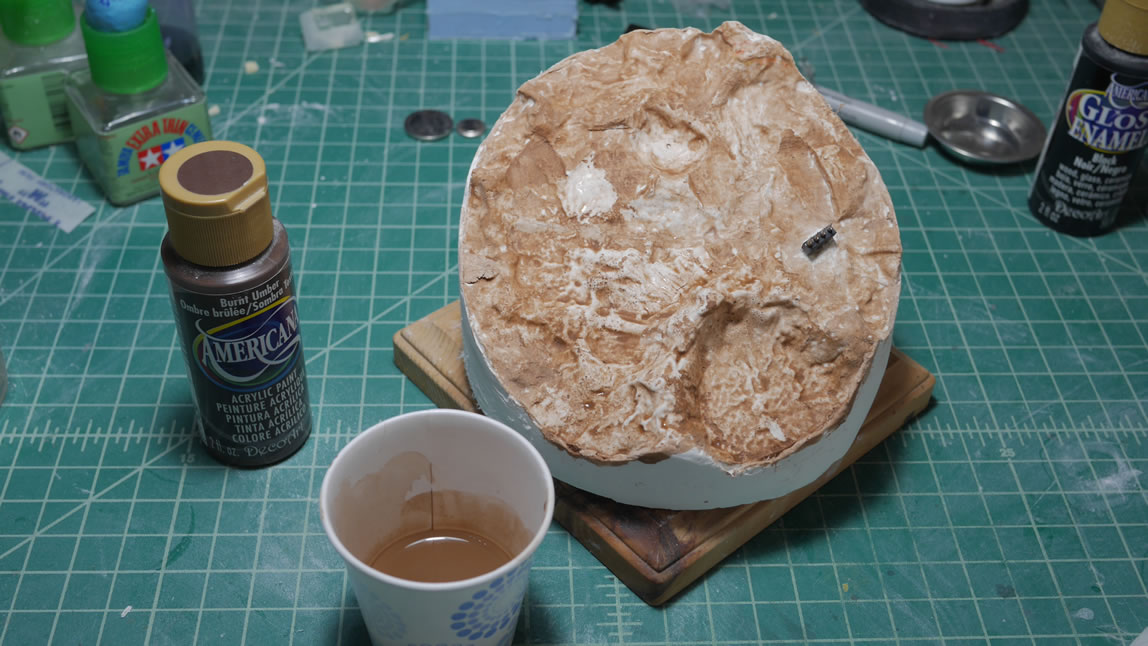
And a day after the last post, I’m done. I seriously did not think I was going to have this update until at least the end of the week. Dehydrator = time traveling for model building. I filled in some gaps between the 3D printed support piece and the base with more hydrocal and into the dehydrator. An hour later, I can sand the surface smooth and apply some plaster cloth to the whole base. Again, into the dehydrator. 2 hours later, I get to apply more hydrocal to the surface to even out everything and make the whole asteroid look like a single rock. Into the dehydrator. 2 hours later, I can sand and clean up the surface.
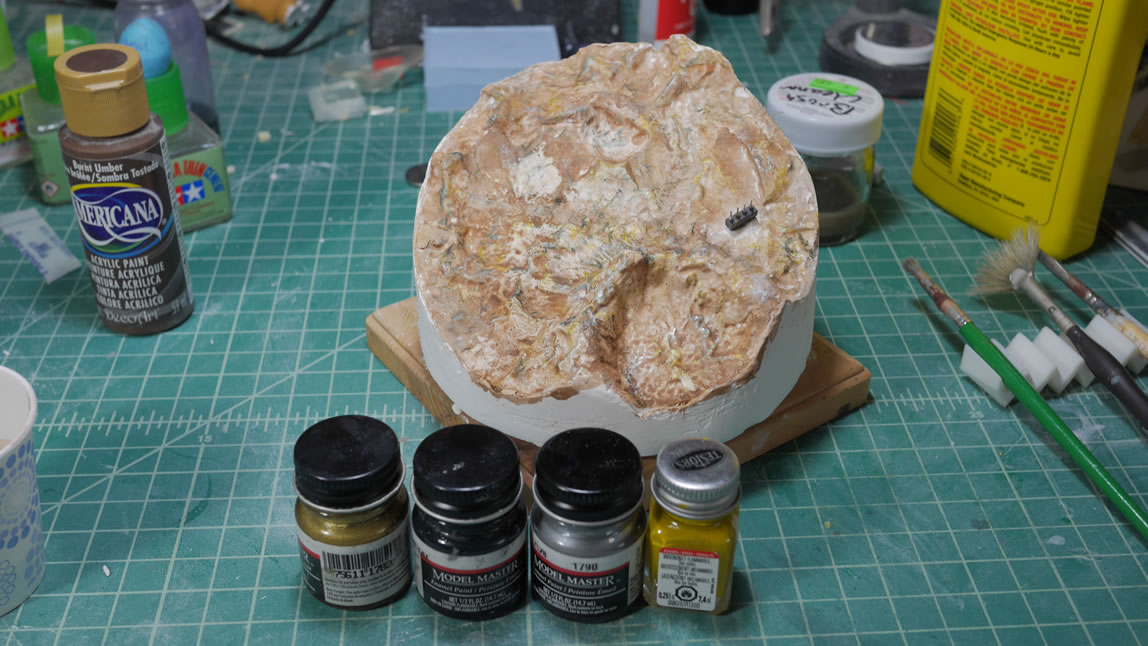
The first step is a quick wash with some acrylic brown. This give the base a starting color to work with. Next up, I used enamels and drybrushed in some colors using zinc, gunmetal, brass, and chrome. This gives the surface a little bit of tonal variation.
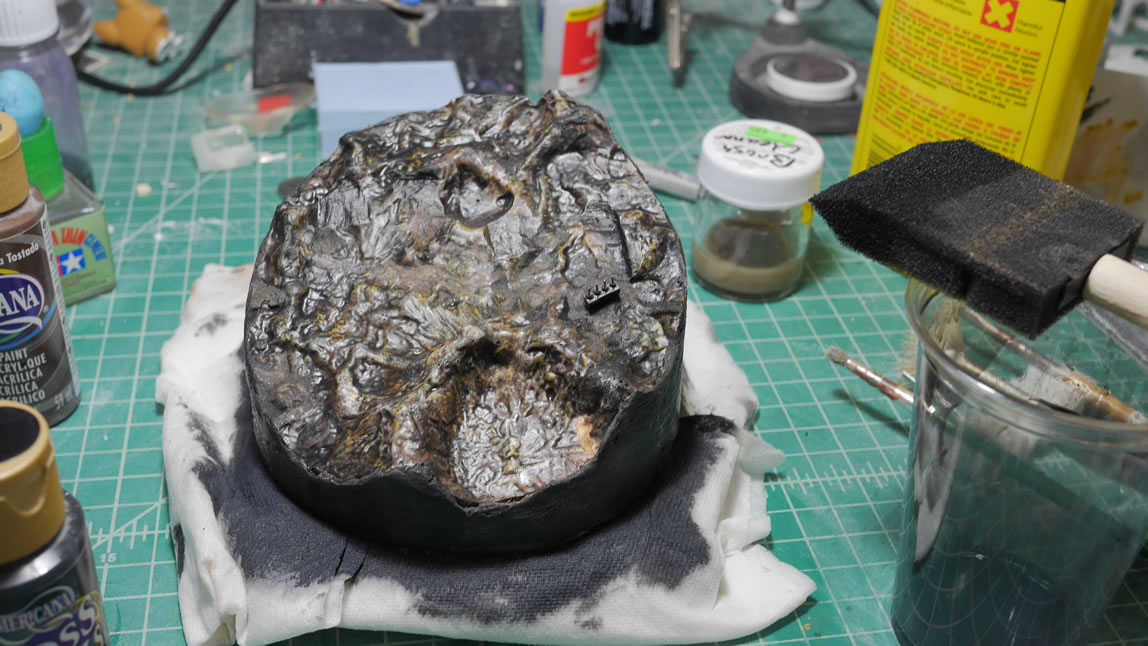
The final wash was acrylic black. The label says enamel, but when I tried to mix this with some lighter fluid, the two did not want to mix. So I used water and it worked just fine. My first pass was a little too light so I added more paint and did another pass with a sponge brush. This blends everything together. And then into the dehydrator. 2 hours later, I spray a clear flat and again, into the dehydrator for another 2 hours. The wood base was sanded and stained and placed into the dehydrator with I was drying the painted base. After 2 hours, a clear gloss was sprayed and back into the dehydrator. The rock base is drying with the clear flat at this time. Once that first layer of gloss is dry, I sanded it with some high grit sanding pads and sprayed another layer of gloss and back into the dehydrator.
2 hours after that last spin in the dehydrator and the base components can be assembled and glued together. What normally takes a day between each step that I used the dehydrator now only take 2 hours. So realistically, I was correct in estimating the completion at the end of the week. I just didn’t factor in that I could use the dehydrator for the base too.
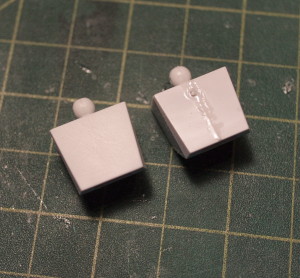
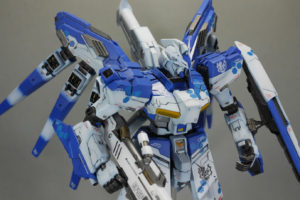
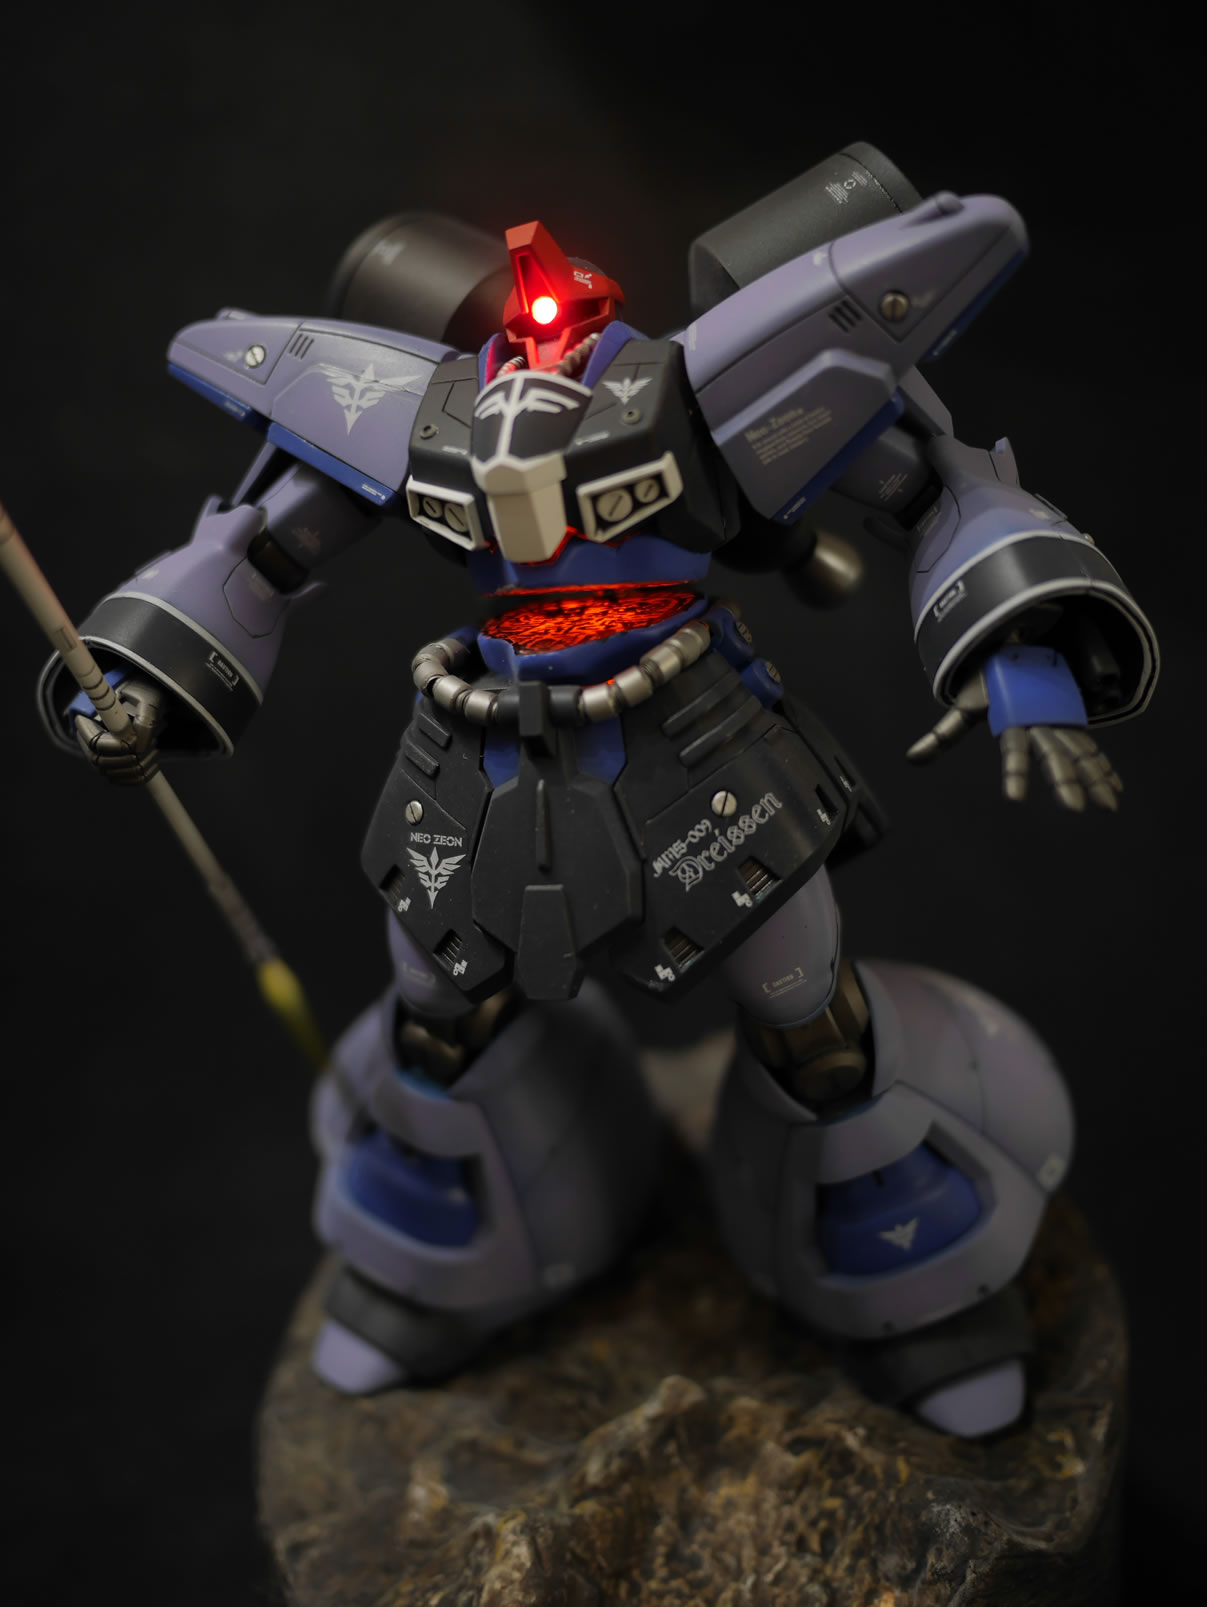
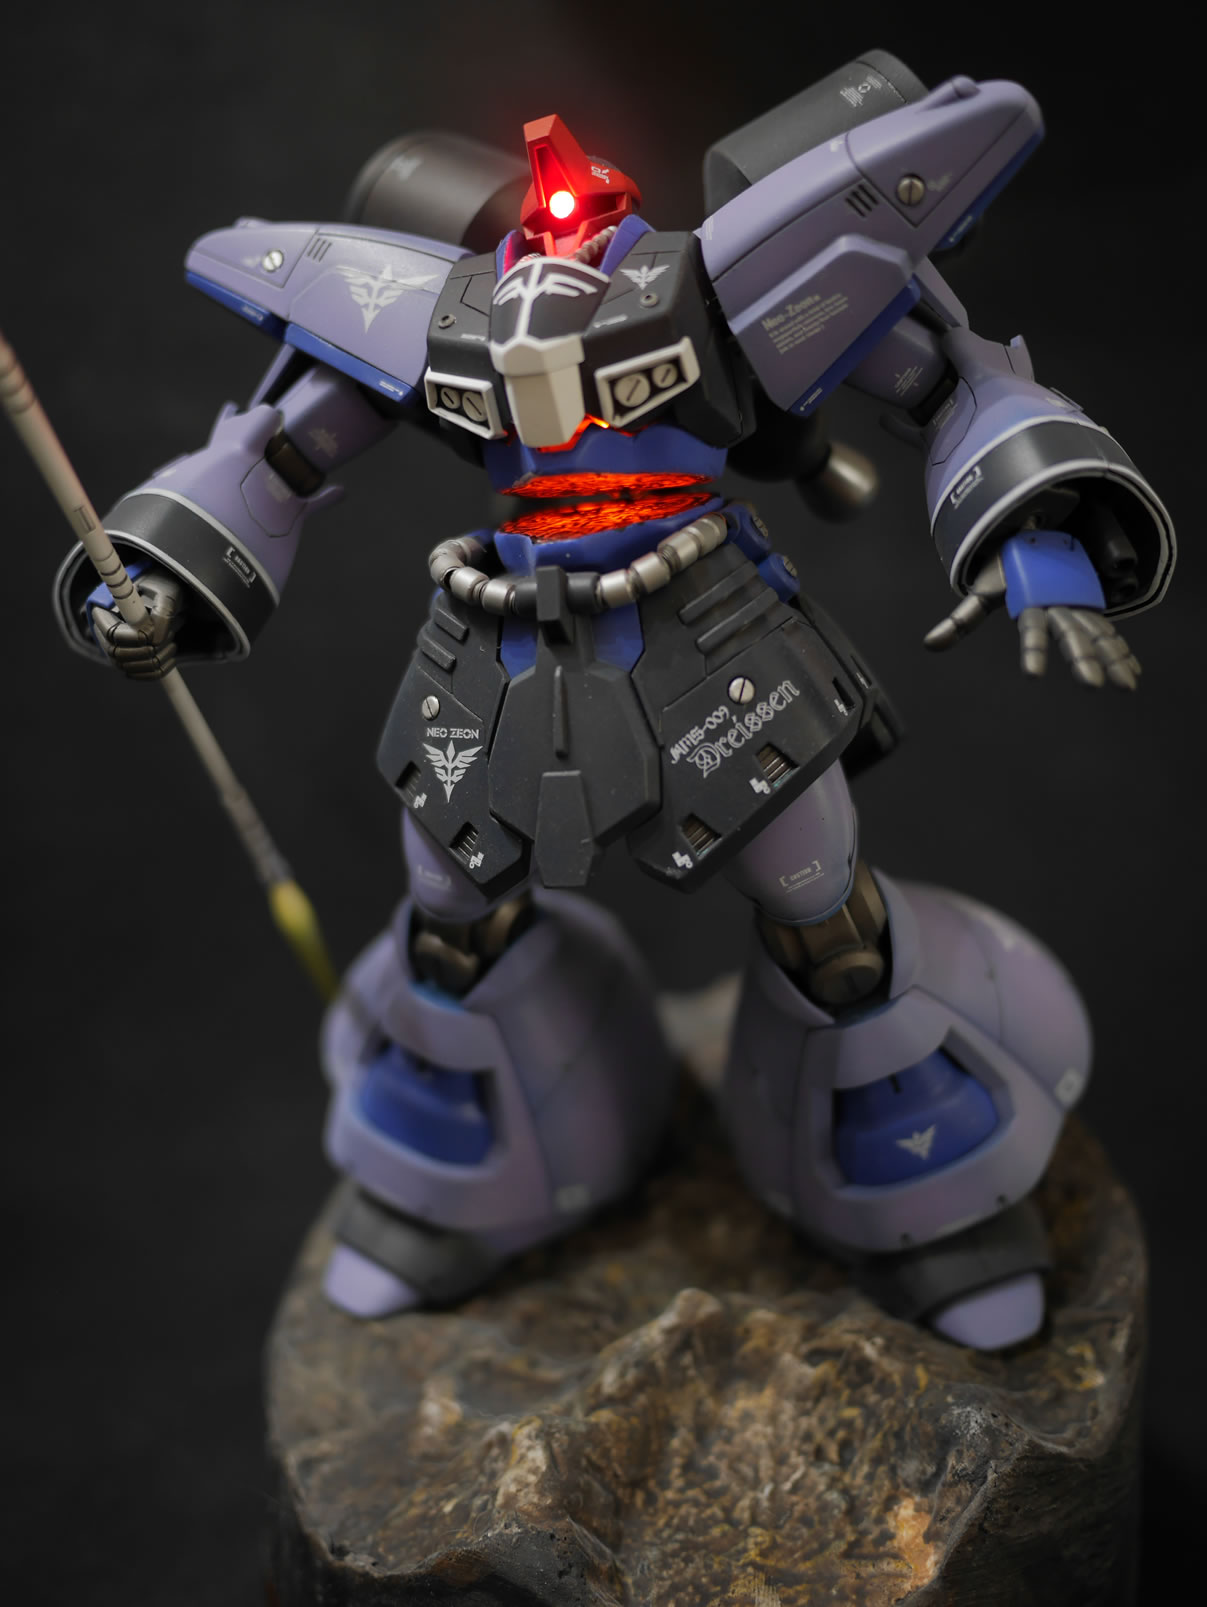
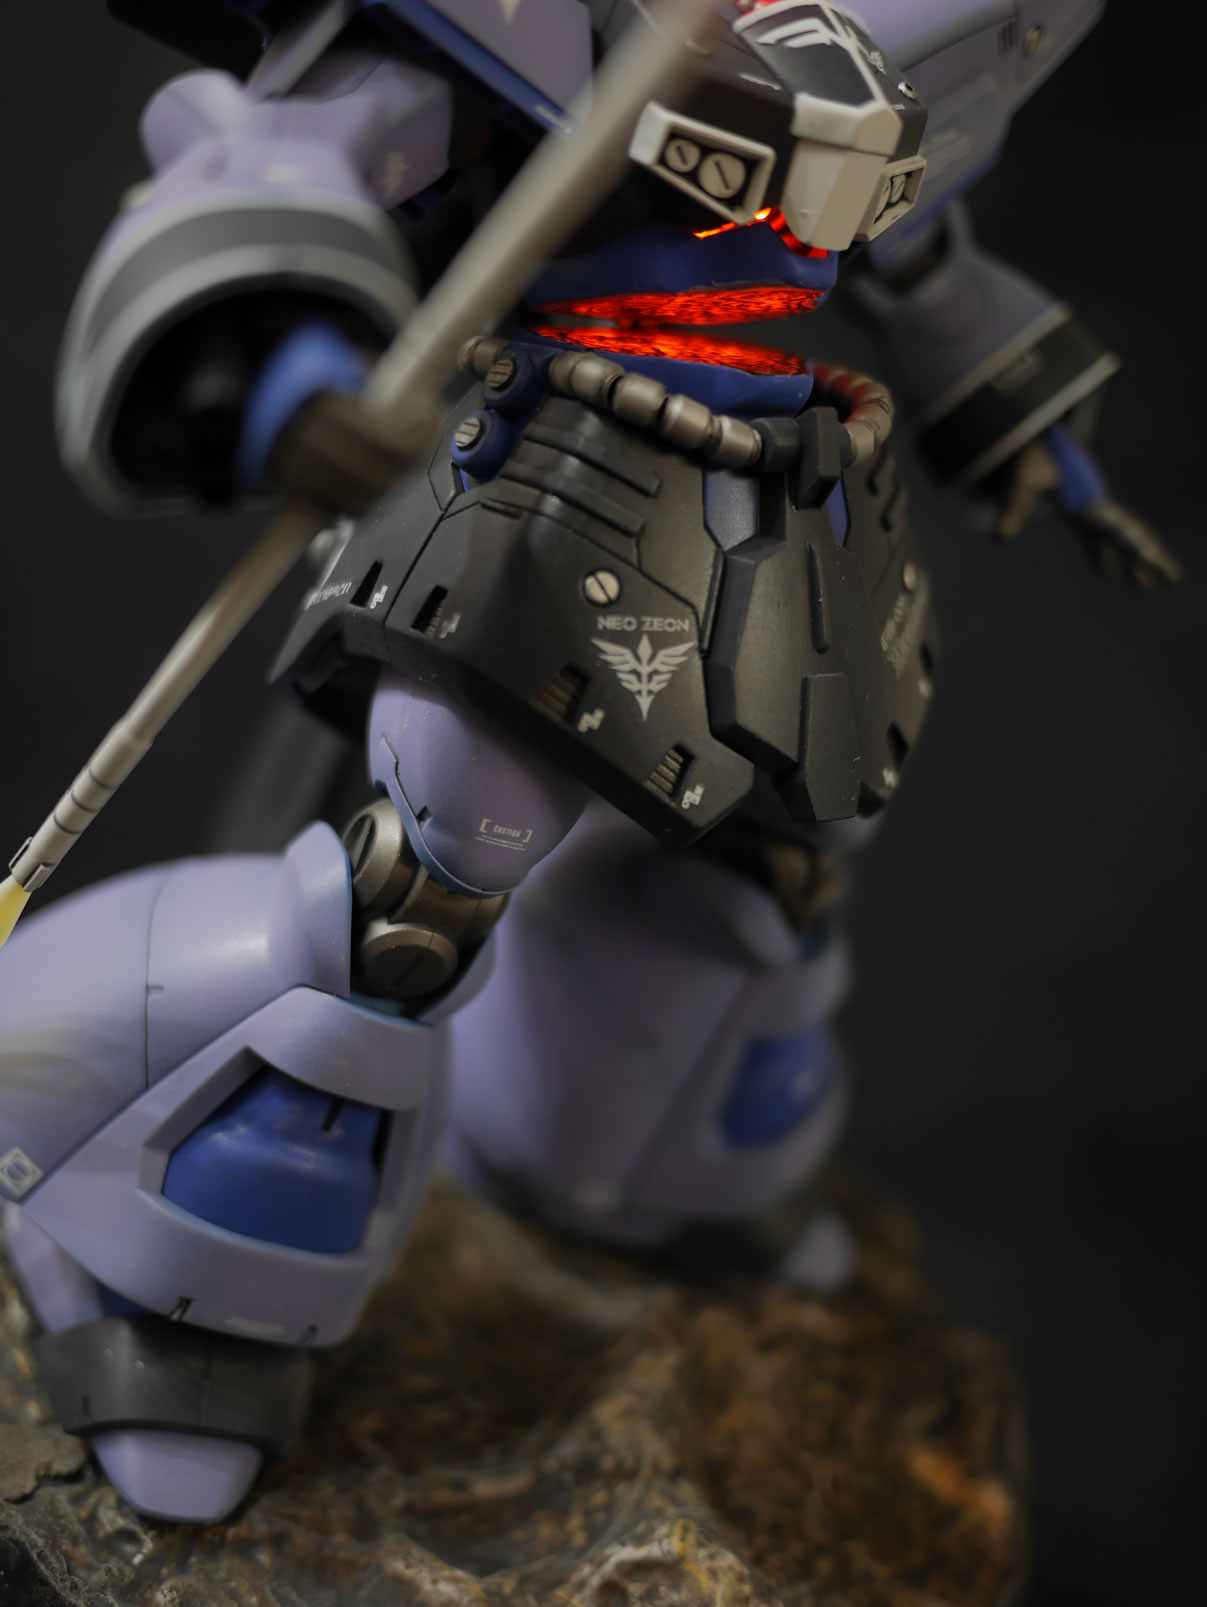
And with that, here’s the finished kit assembled on the base. I have a connector in the base that connects to the foot of the Dreissen. The other food has some magnets that are attracted to some corresponding magnets in the bottom of the rock base to hold that foot in place. A quick switch and all the lights work. The upper torso is only held together by the connector. I should glue the damn thing together. But having them seperate allows for easy travel with the kit.
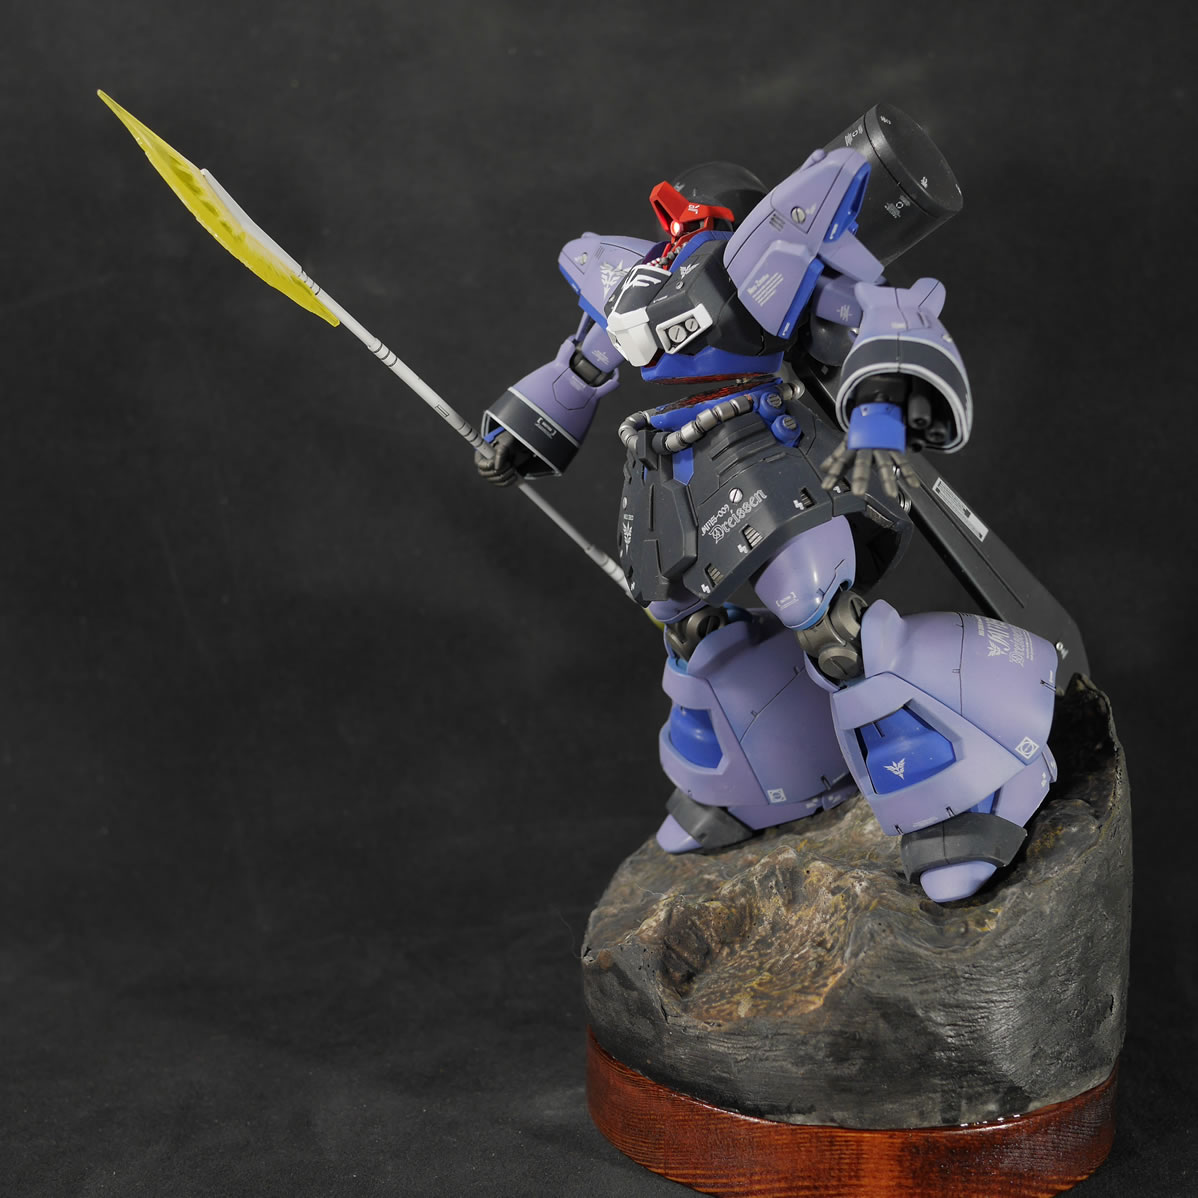
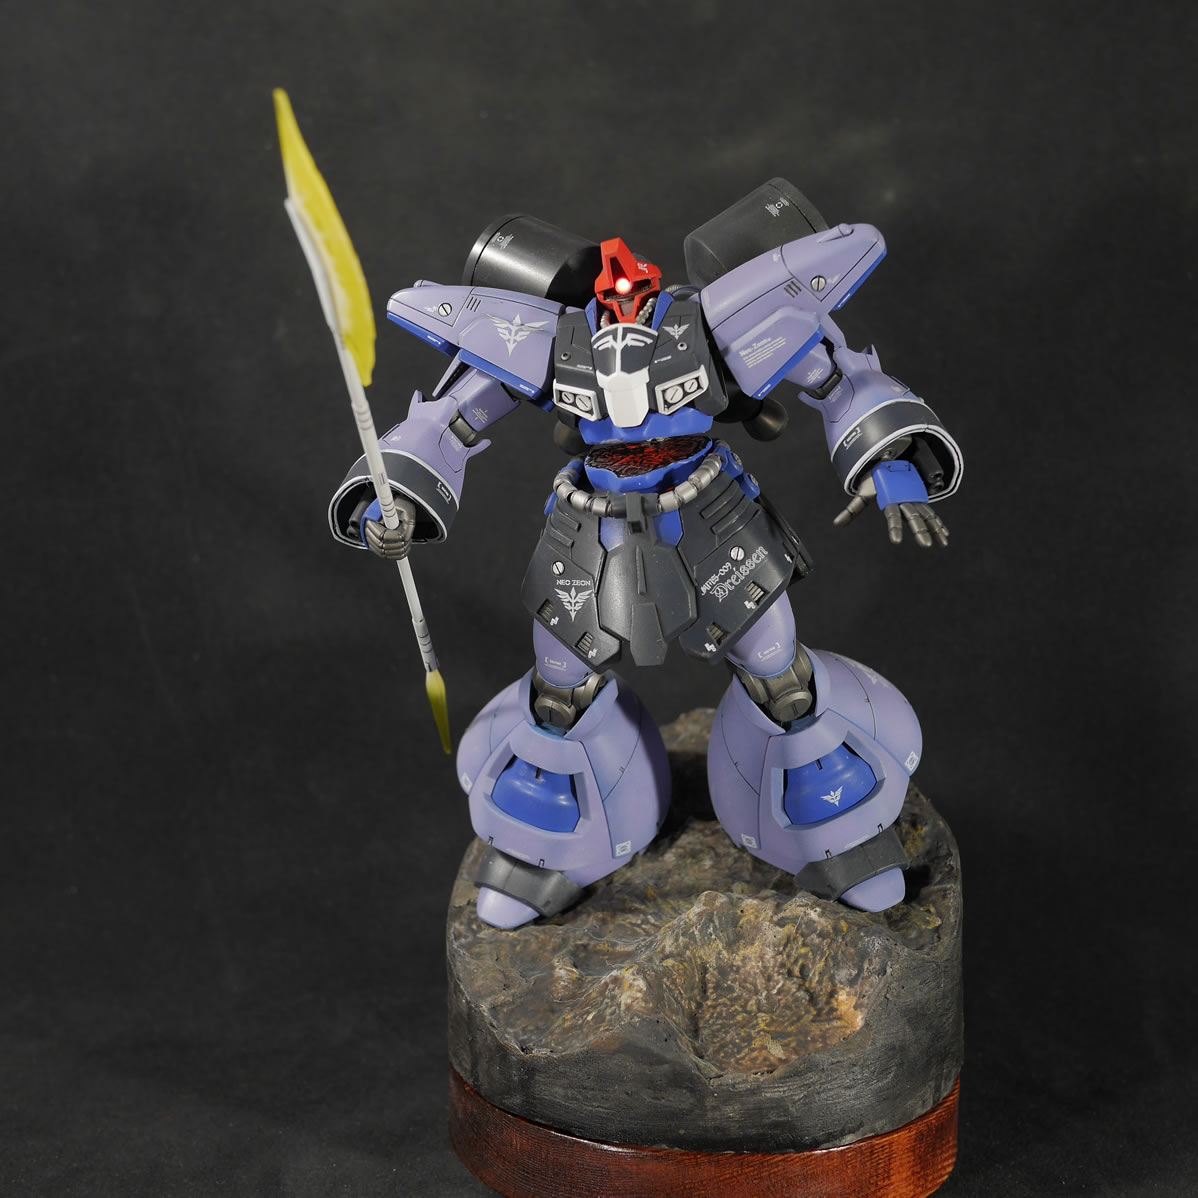
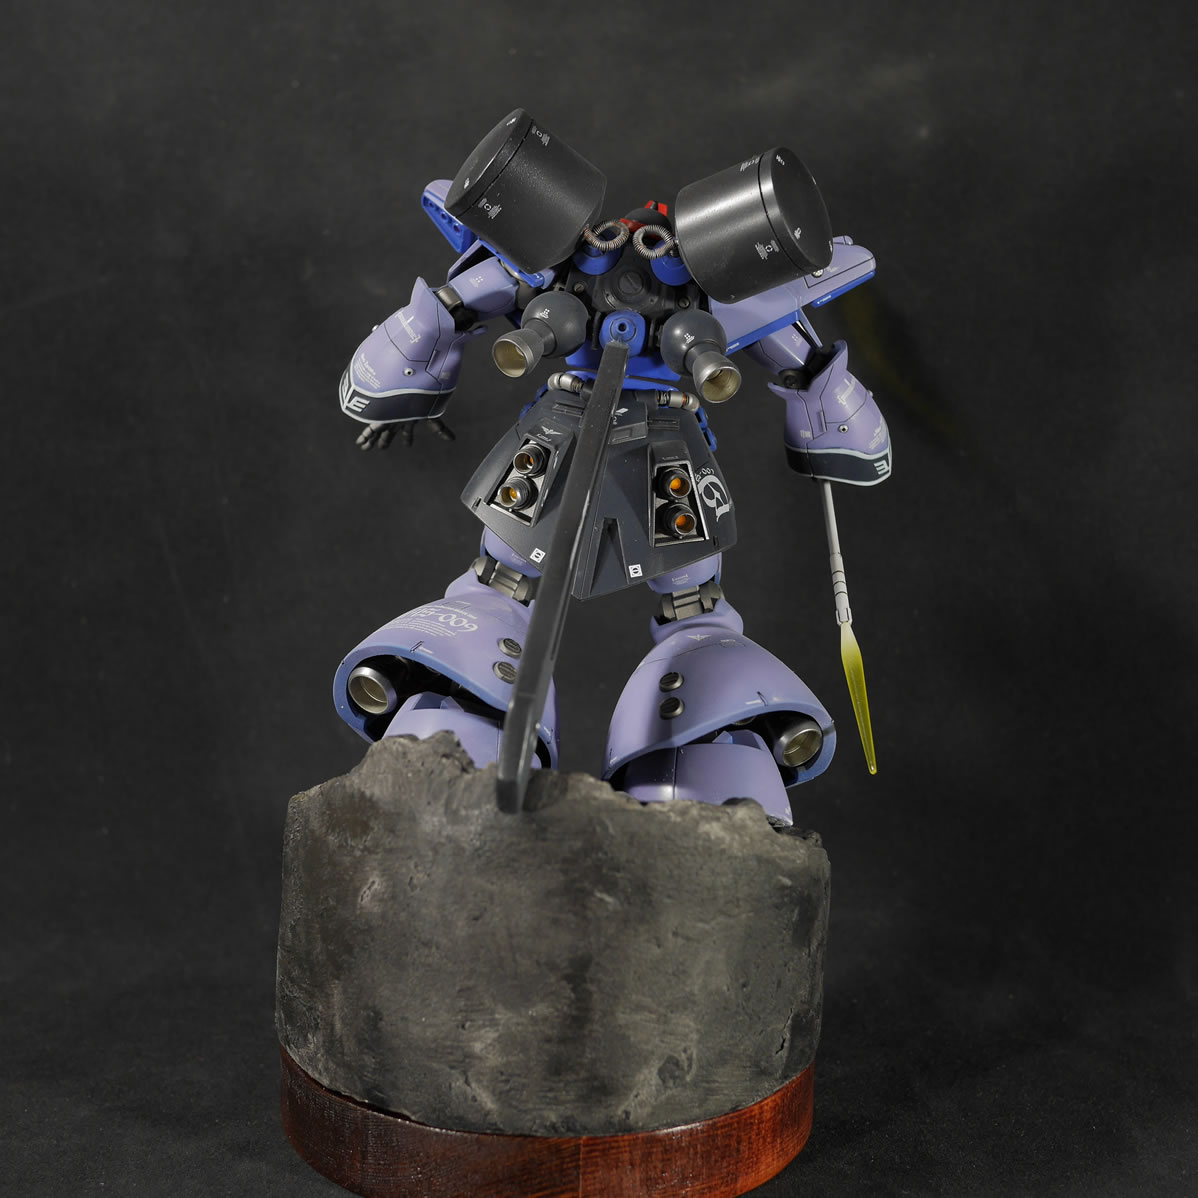
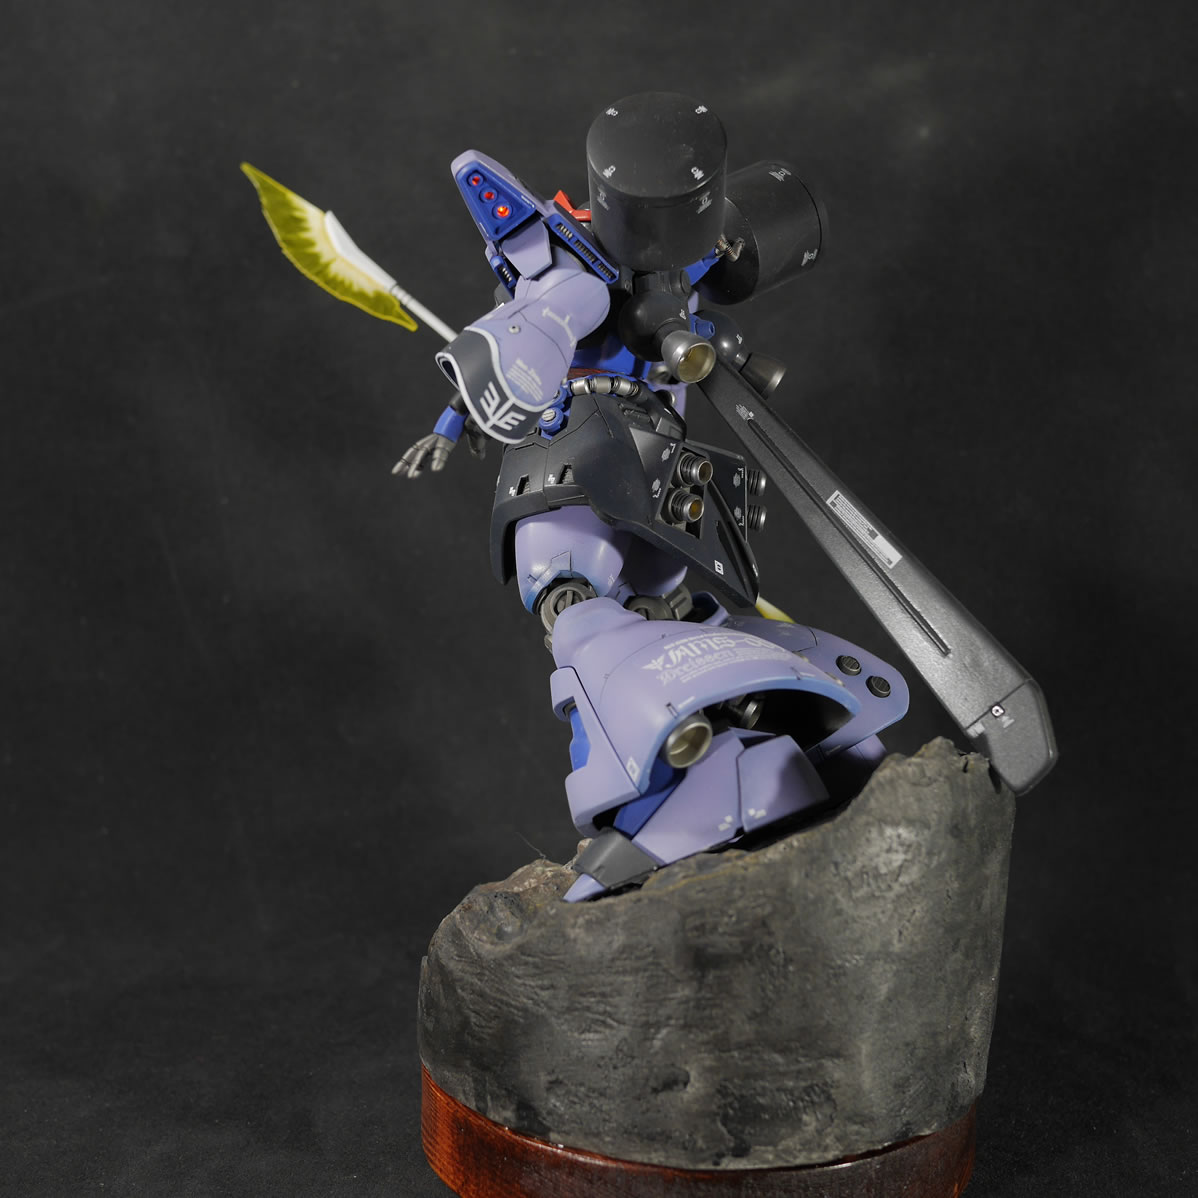
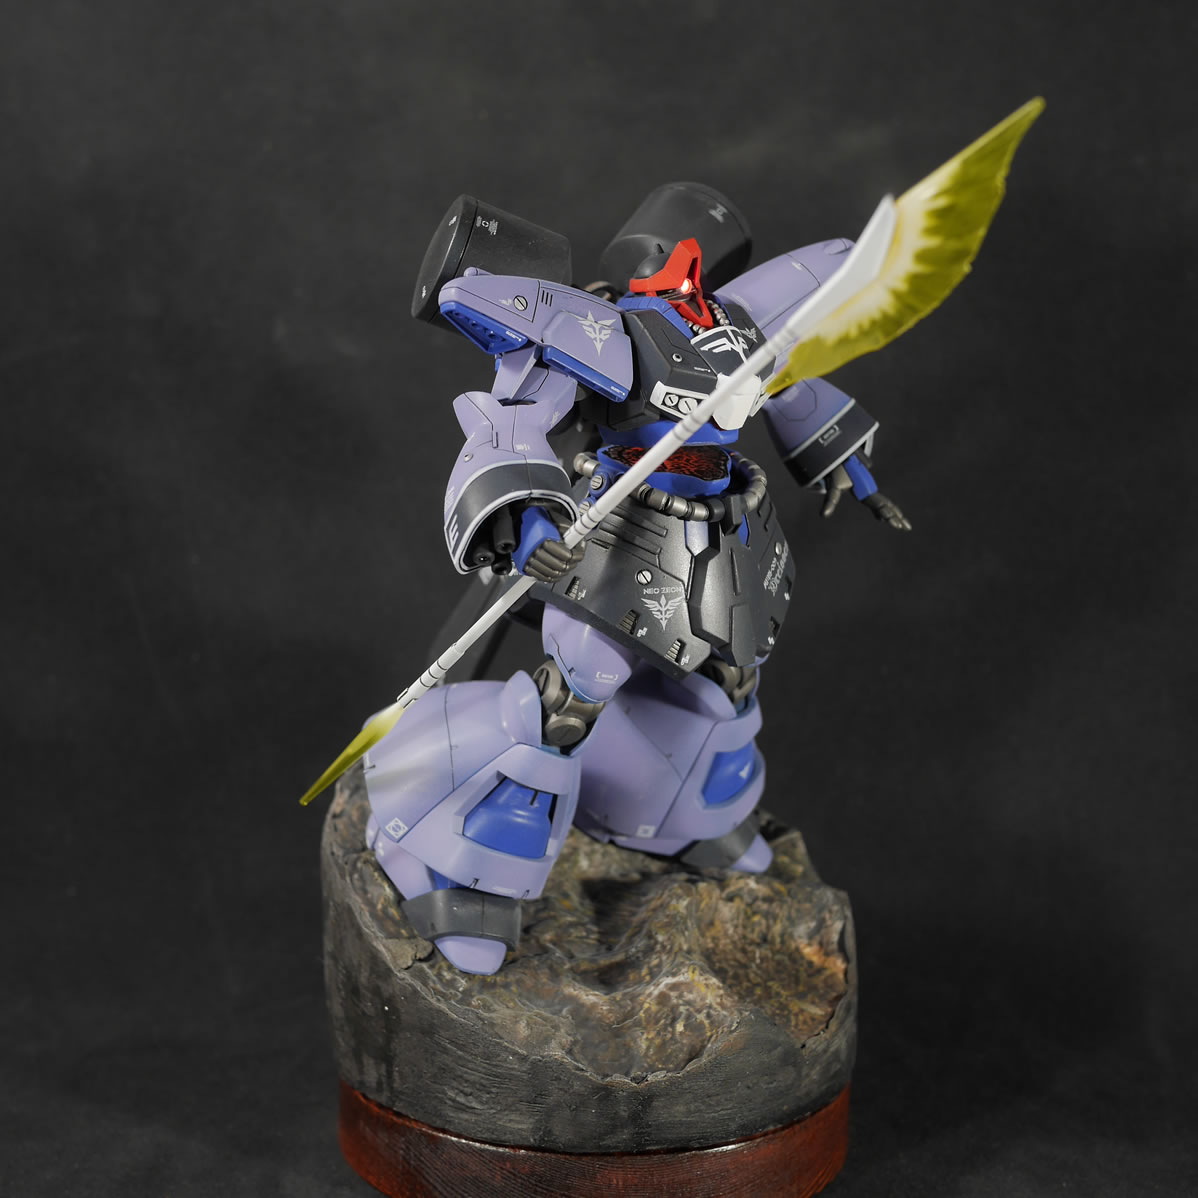
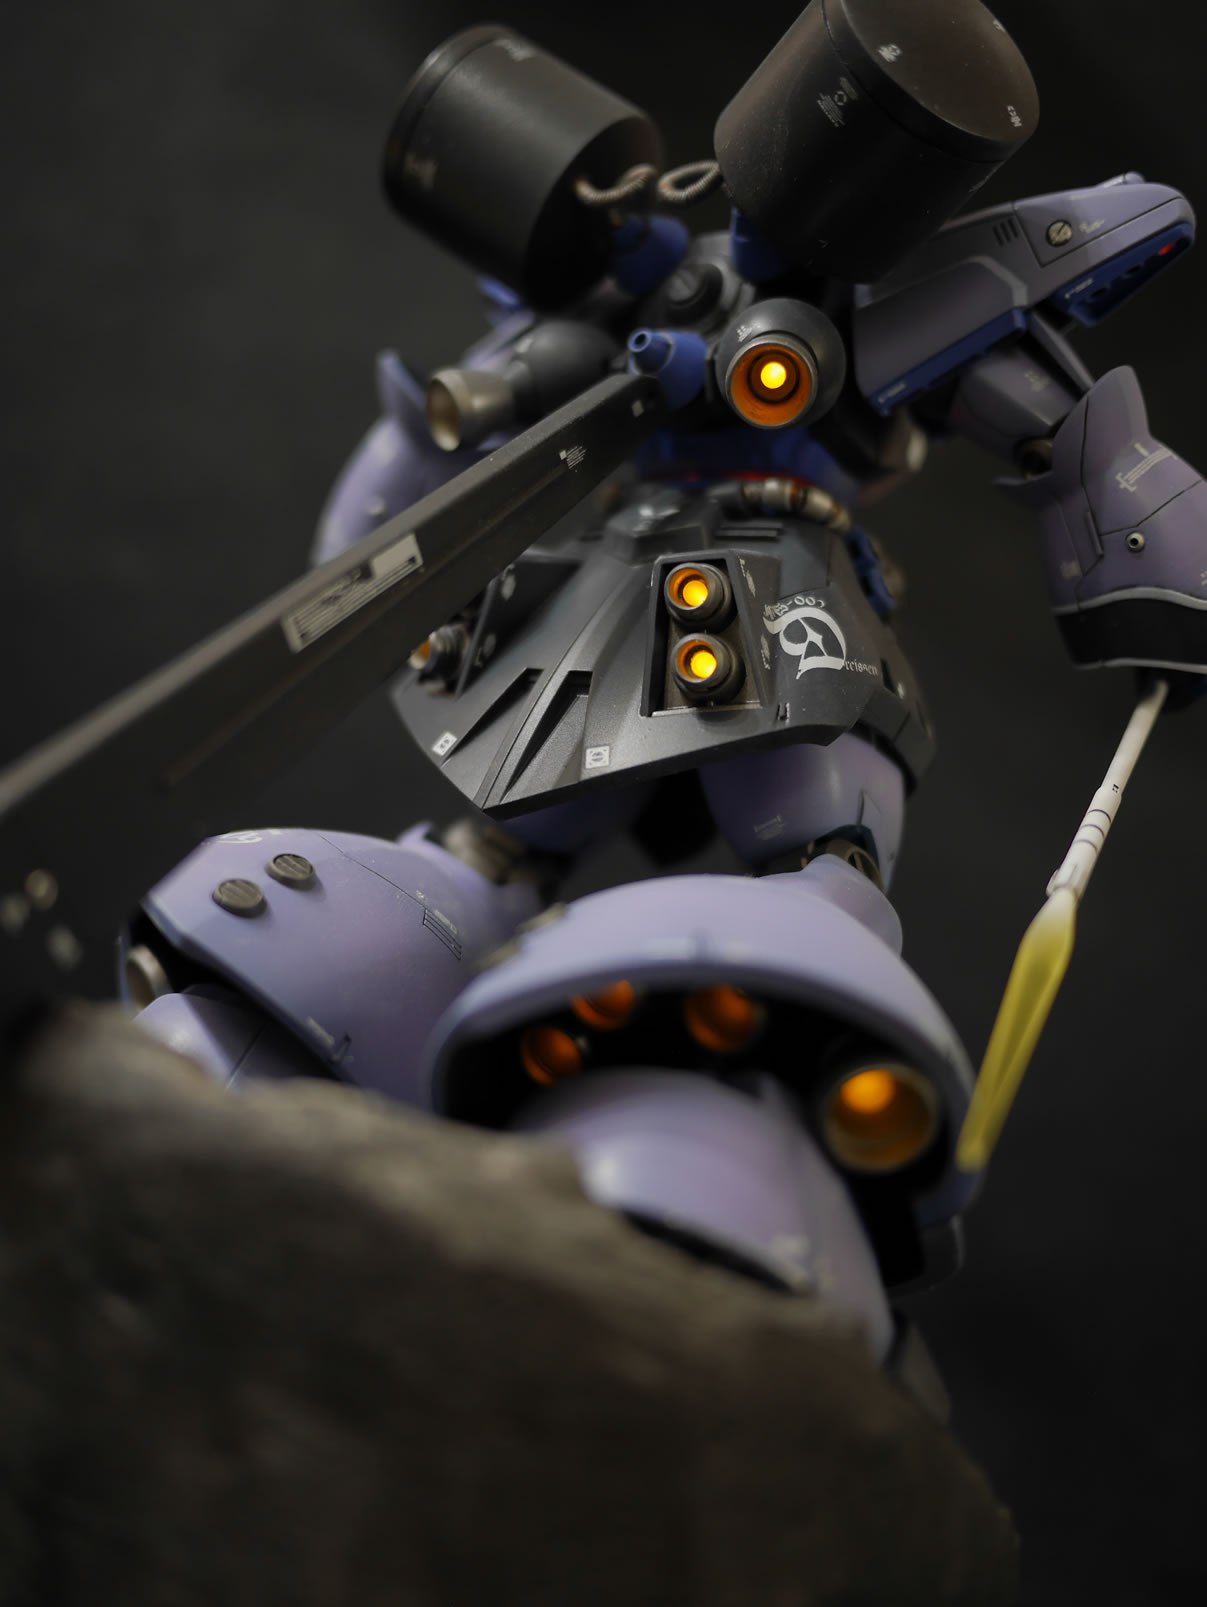
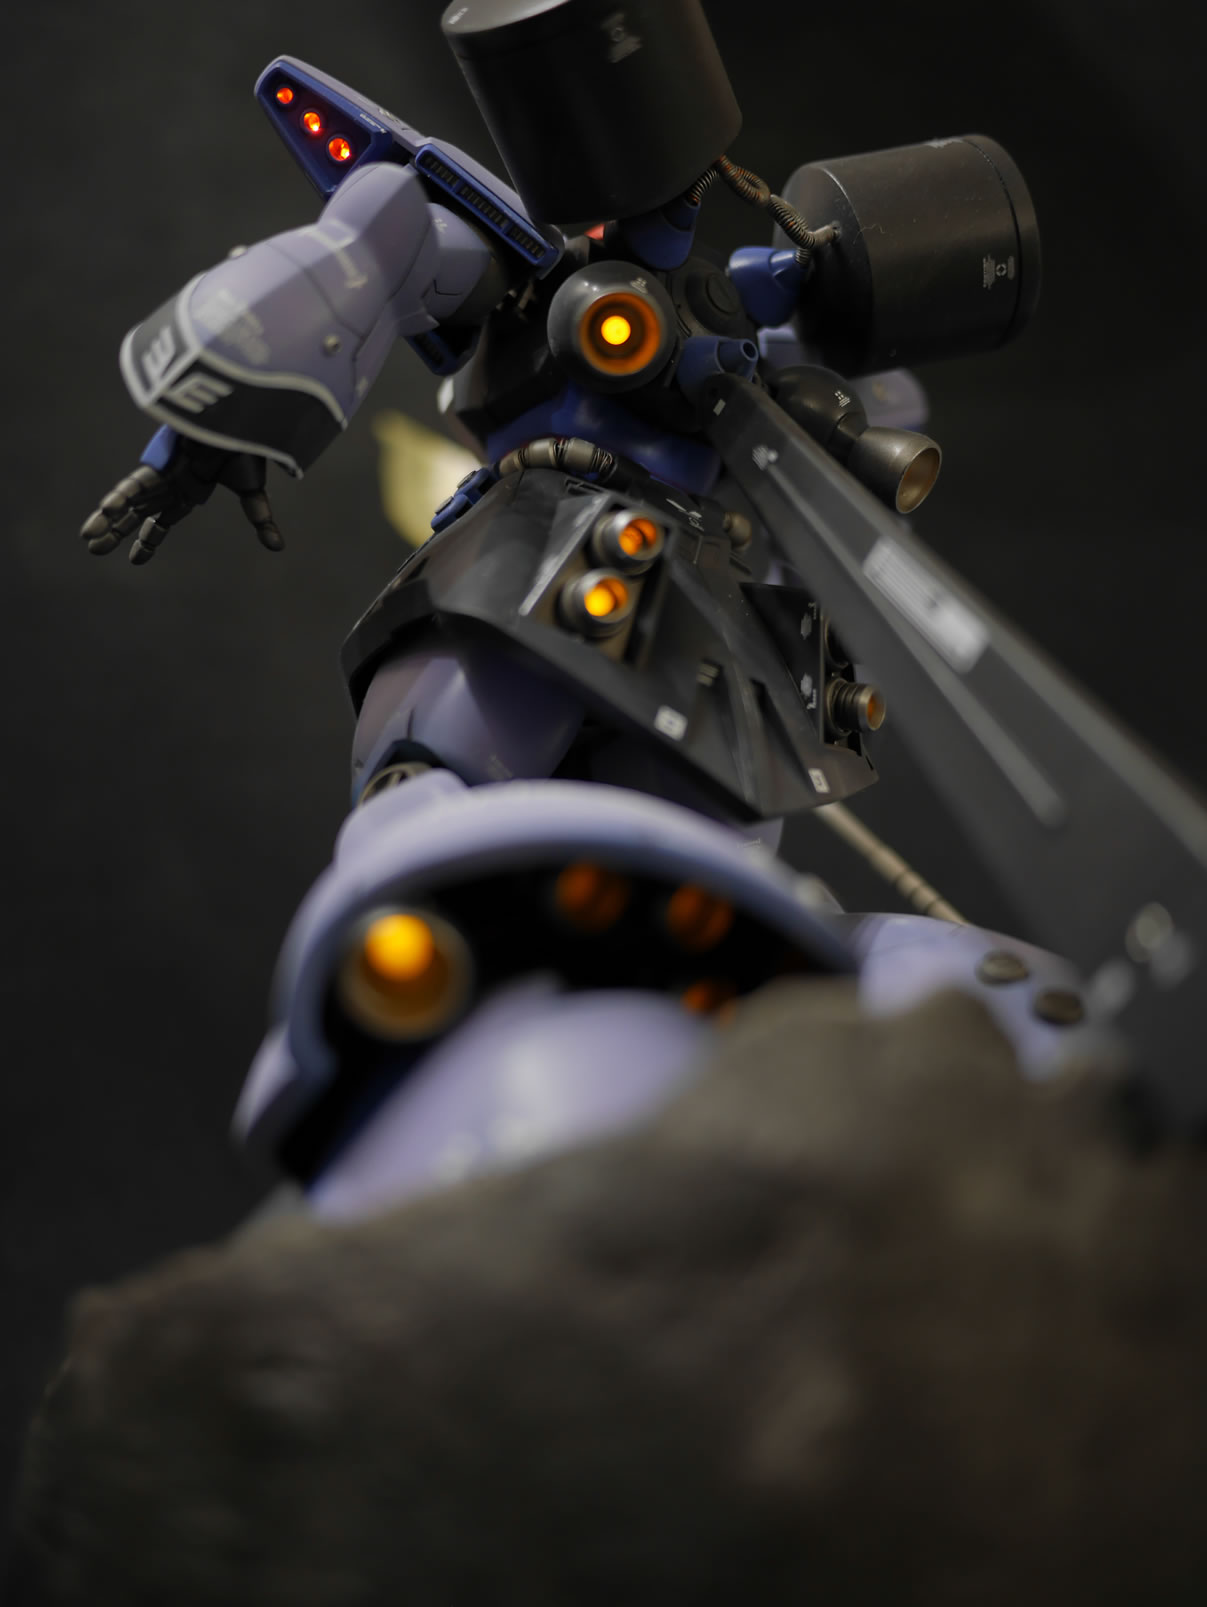
I turned off my photography lights to take some decent shots of the kit lit up. I have 4 LEDs in each leg, 3 in each shoulder, 4 for the rear skirt, 2 for the backpack thrusters, one for the mono eye, and a gaggle in the chest and waist areas to light those bits. So I think the final count is about 28 LEDs in total all wired in parallel and powered by one 3 volt button battery. Good thing I made a hole in the base that I can easily swap batteries.
For the rest of the complete pictures, go here: HGUC Dreissen Completed
The complete top to bottom progress for this project can be read here: HGUC Dreissen progress