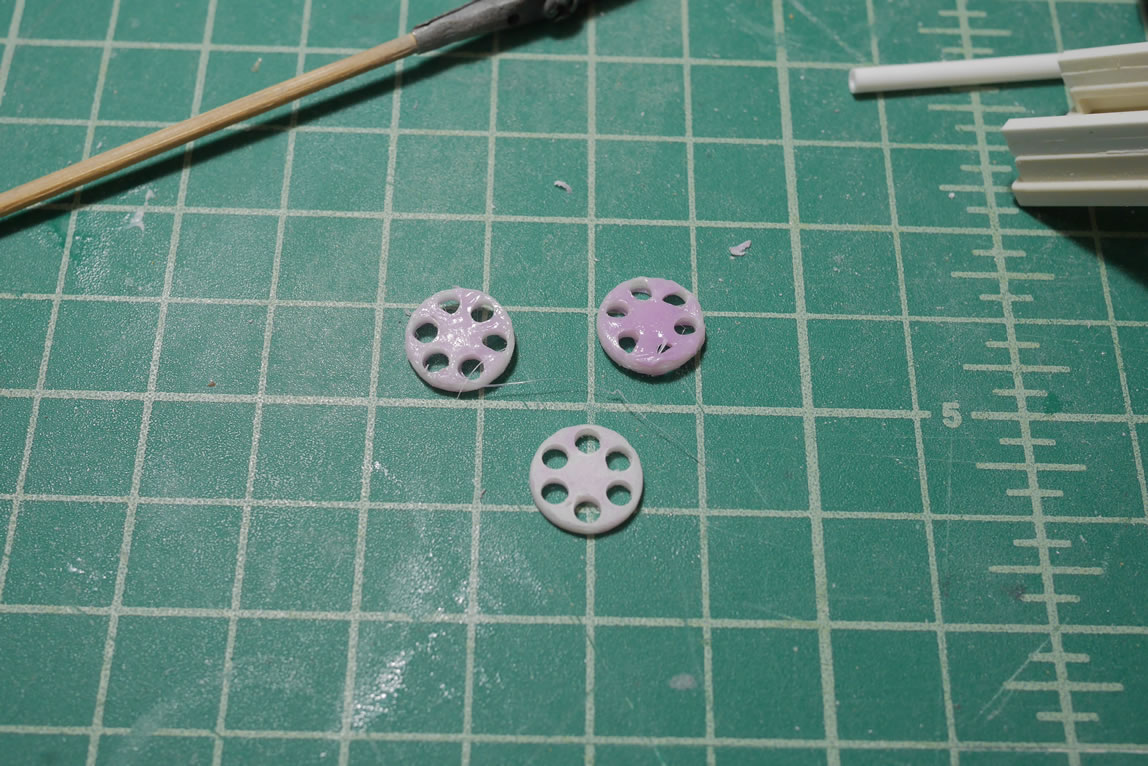
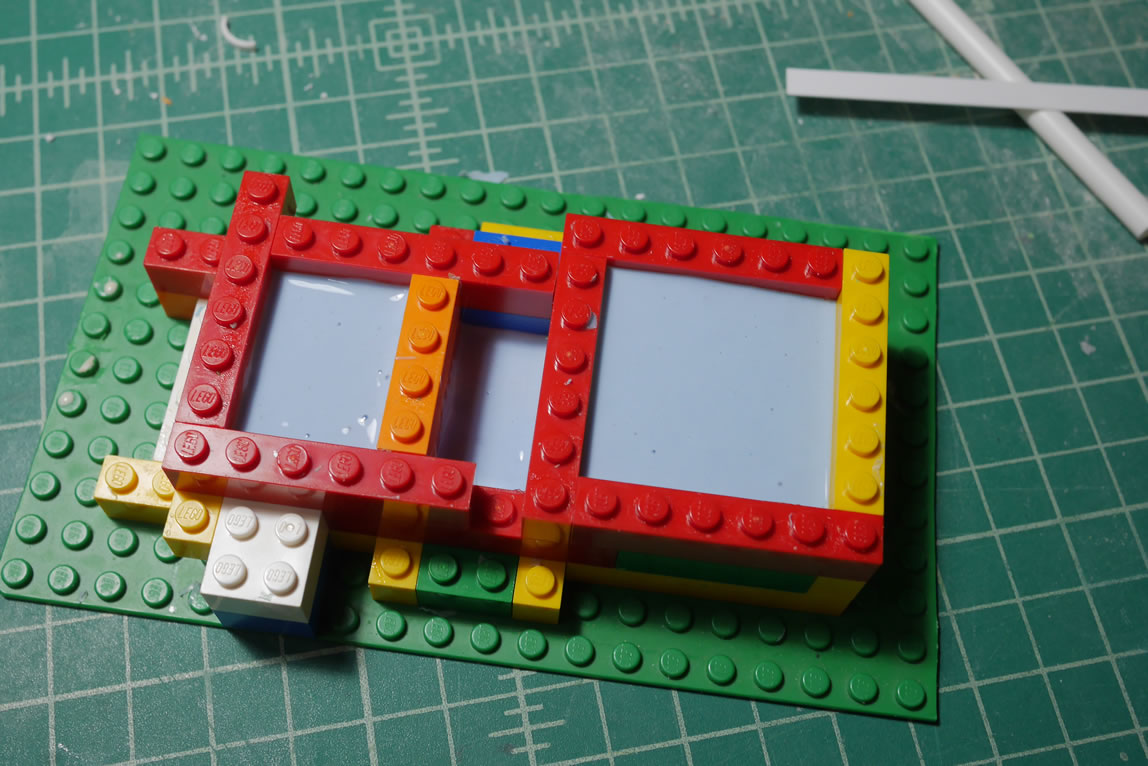
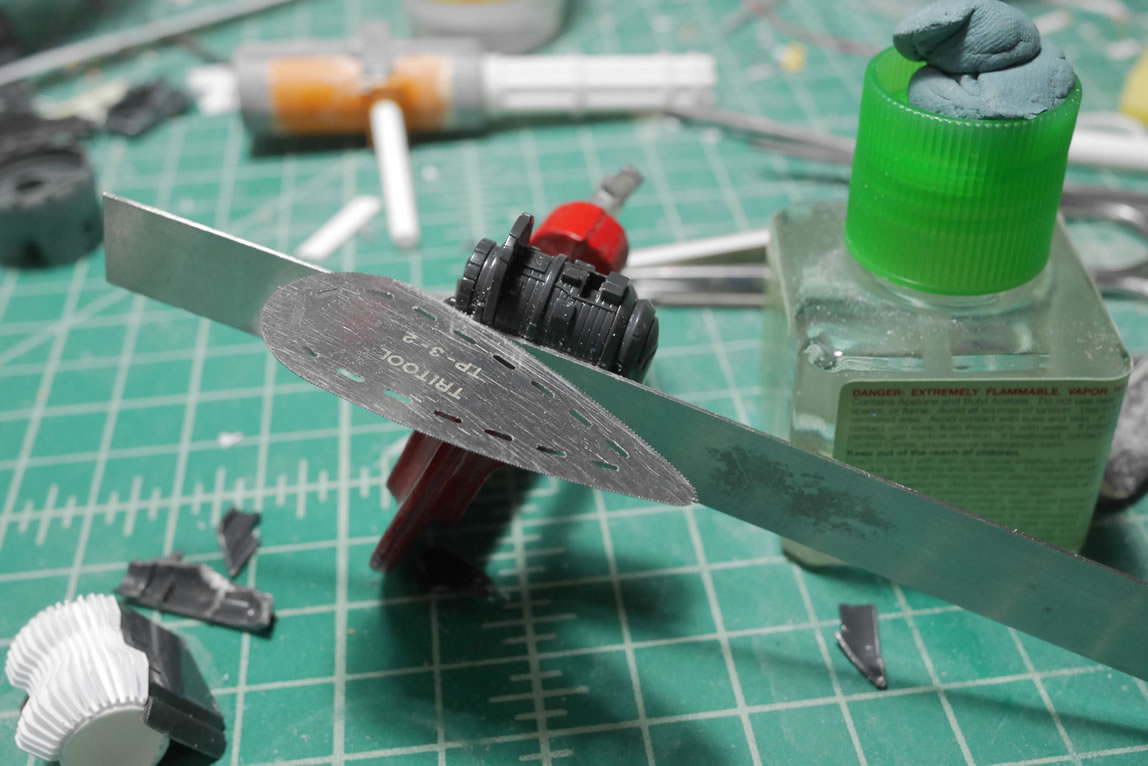
Update time. Over the past few weeks, I’ve been steadily working on this project so the little updates I used to do are more meaningful and have more meat to things. I like that I can show more substance than just random in the middle progress that takes a few updates to get the full pictures. It is easier to visualize and to connect the dots so to speak. So let’s get into this. The first thing for this update is filling the 3D printed gatling gun frame pieces. Since the print is small and I’m using the computer controlled hot glue gun style of 3D printer, there are resolution issues with printing so small that there is a bit of clean up. The pink stuff you see in the picture below is just melted ABS plastic in acetone. It works as a liquid ABS putty. If applied thinly, the stuff dries and cures fairly quickly over night so I can get to sanding it down the next morning. In the picture the bottom part has been sanded so you can see small pockets of the purple/pink filler. Once primed, all the defect holes and resolution lines disappear.
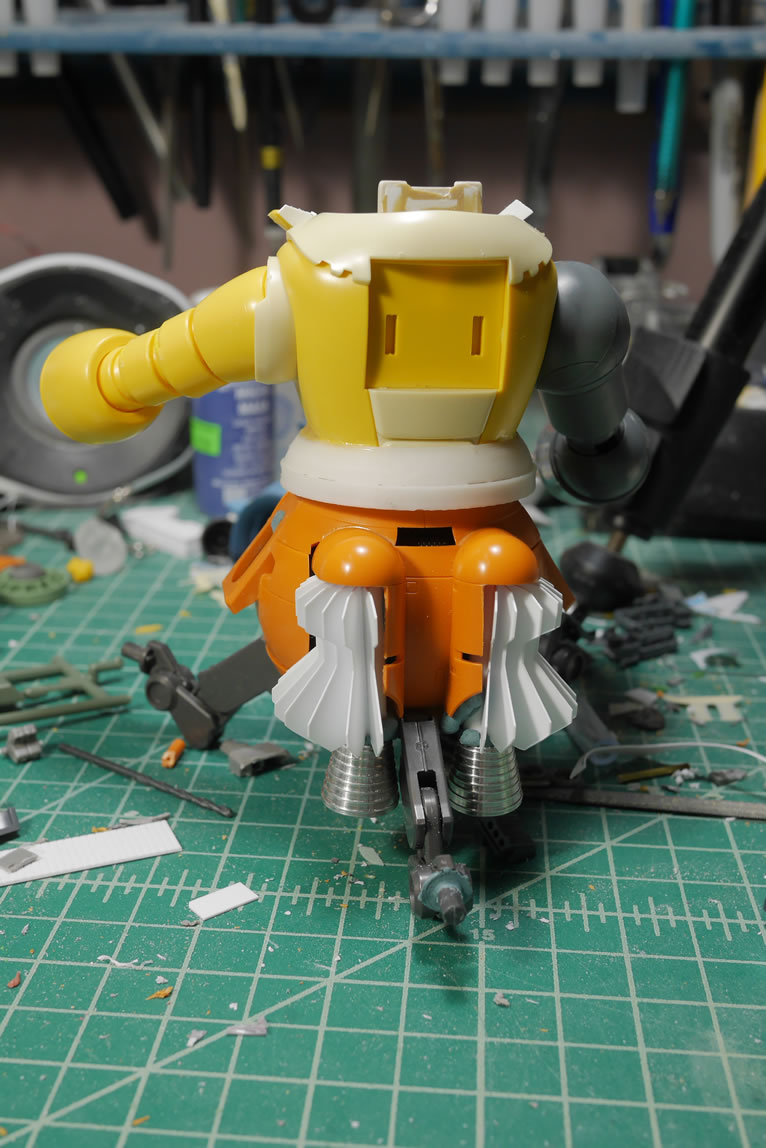
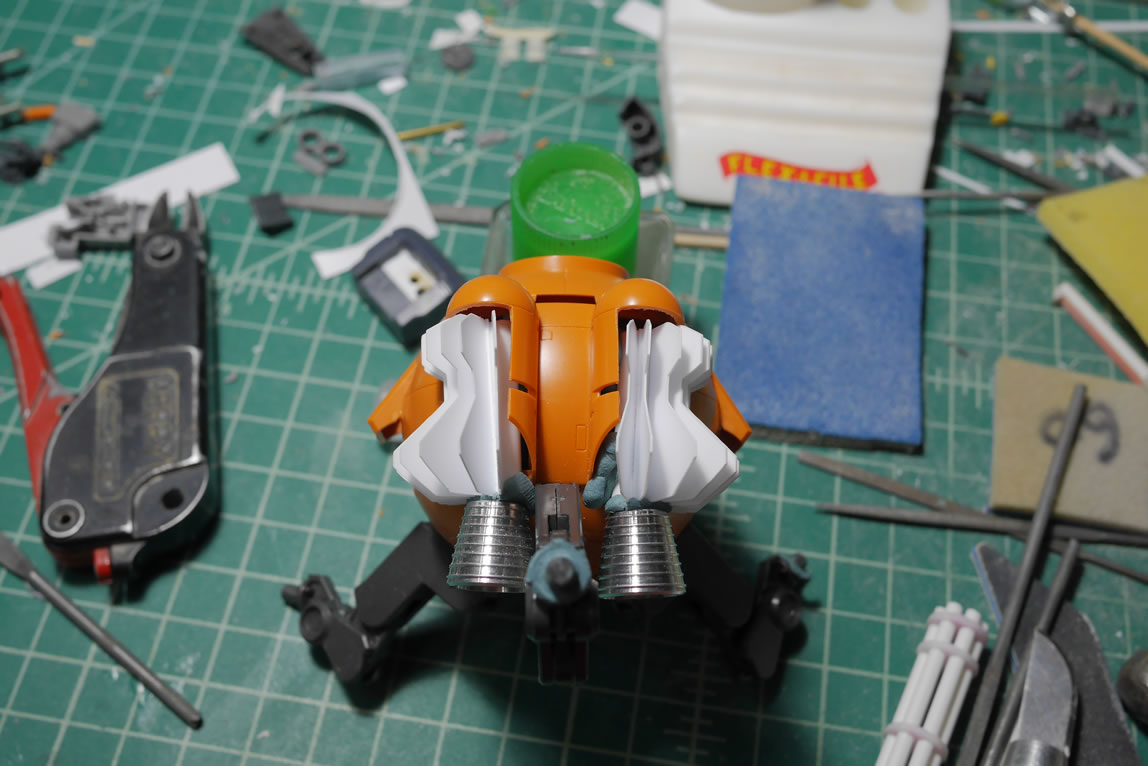
Next up, I did a quick mock up of the vents I built from the die cutting cricut machine. I added in the thrusters at the bottom to get a visual. The backpack is getting primed and still getting cleaned up after modding and bashing that part together; so that is also added to the picture. Mockups work to help me visualize the progress. I have a mental image of the design (I rarely ever draw out my designs and just go from what’s in my head). There is always room for changes as the build progresses. Sometimes, the visual in my mind’s eye isn’t recreated correctly, or if it is, it’s not visually appealing in the real world. So things constantly evolve.

Evolution to come after the jump.
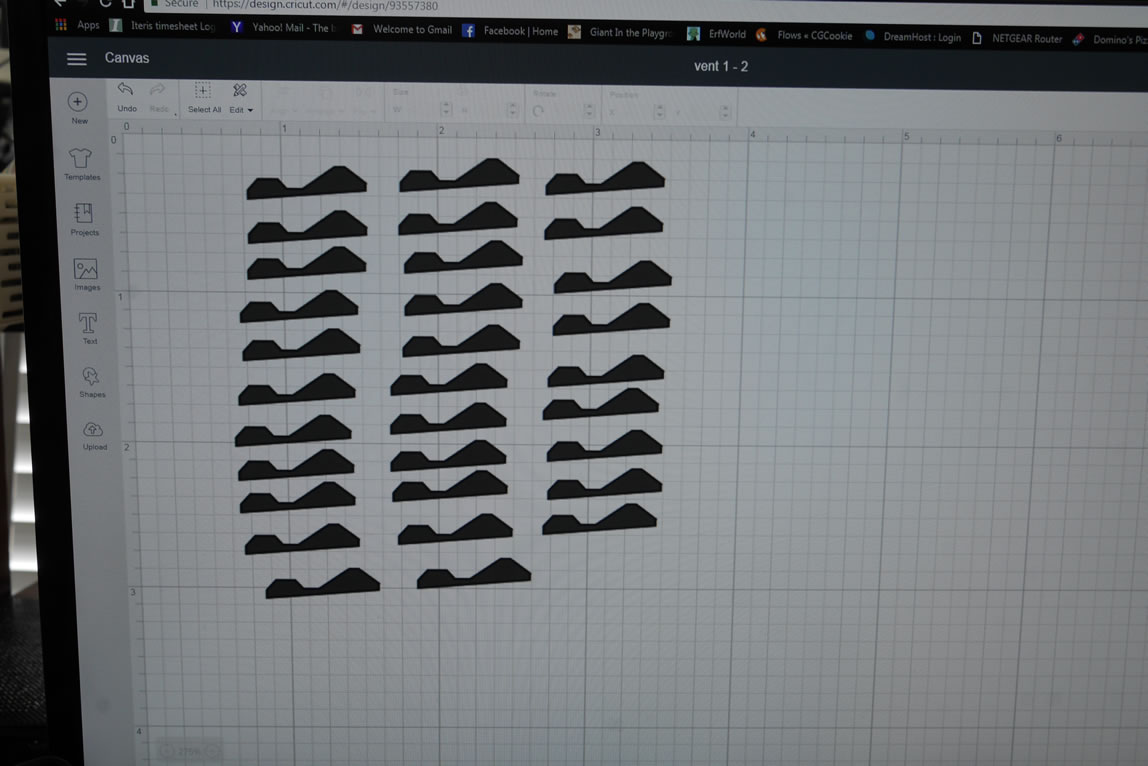
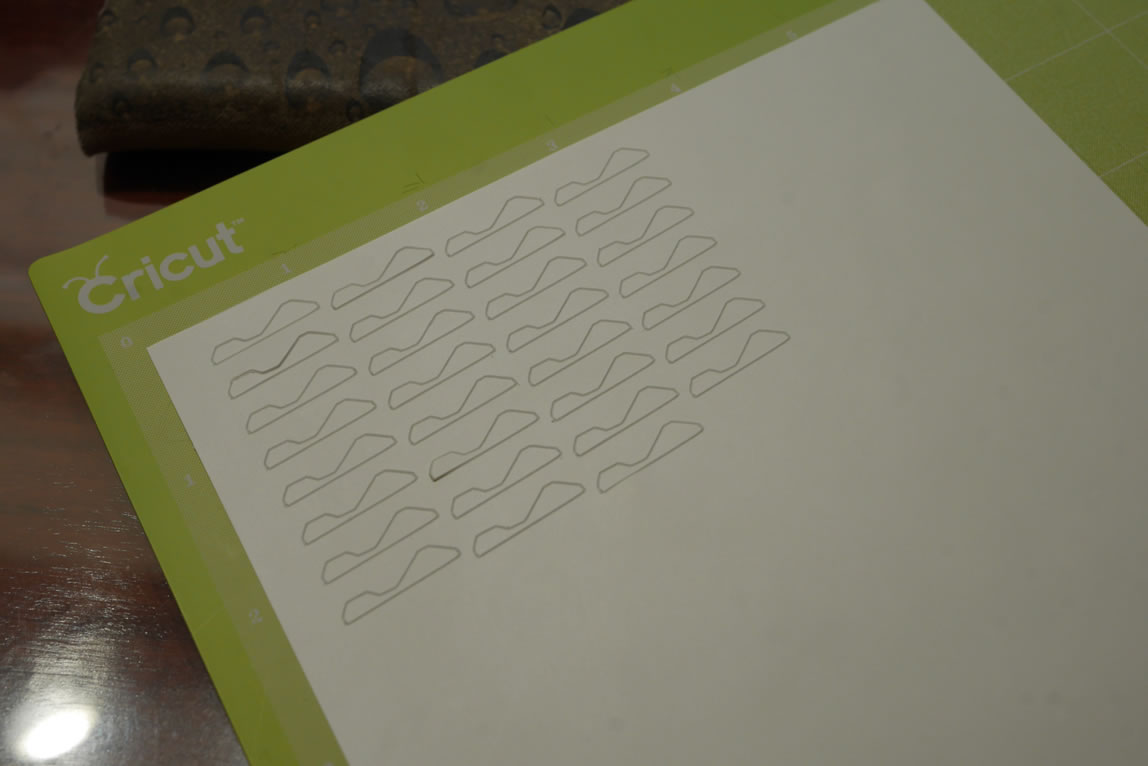
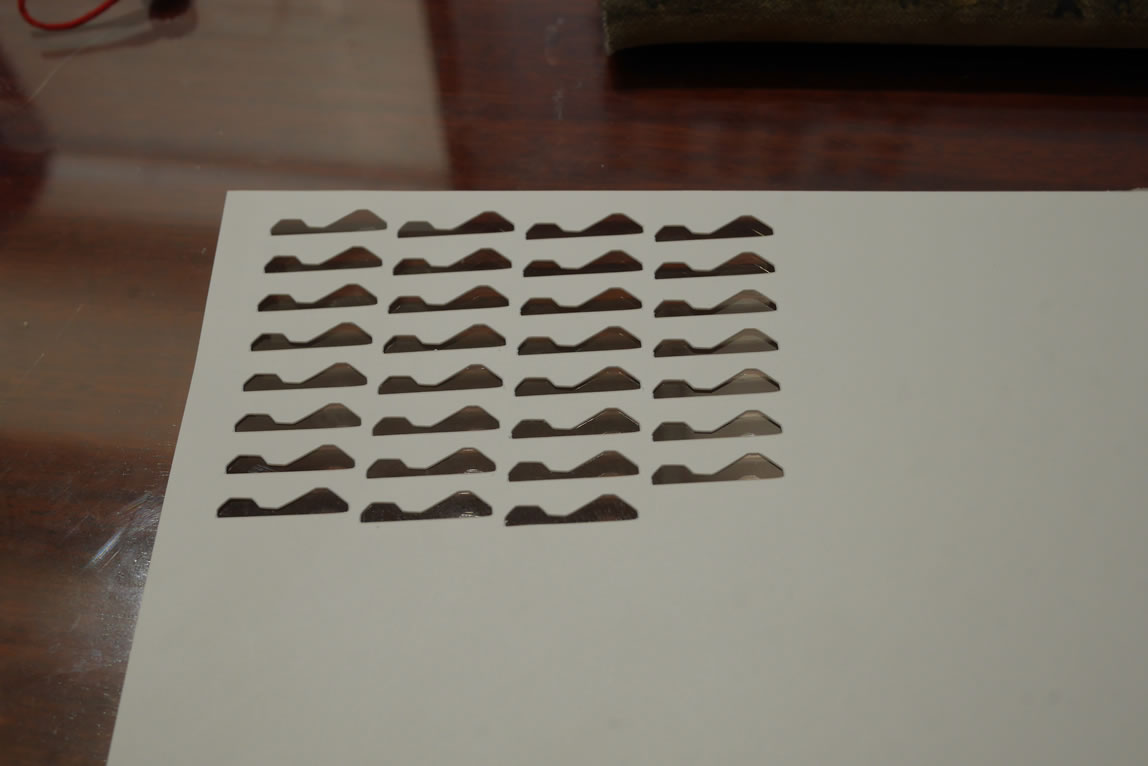
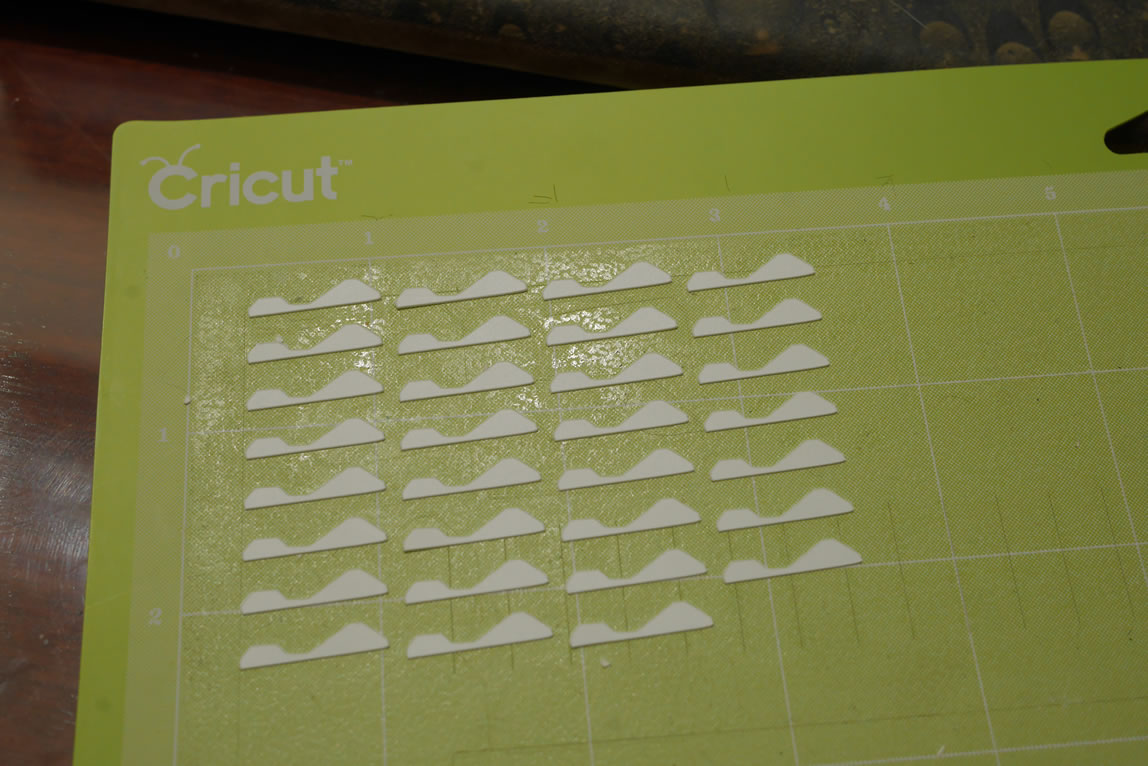
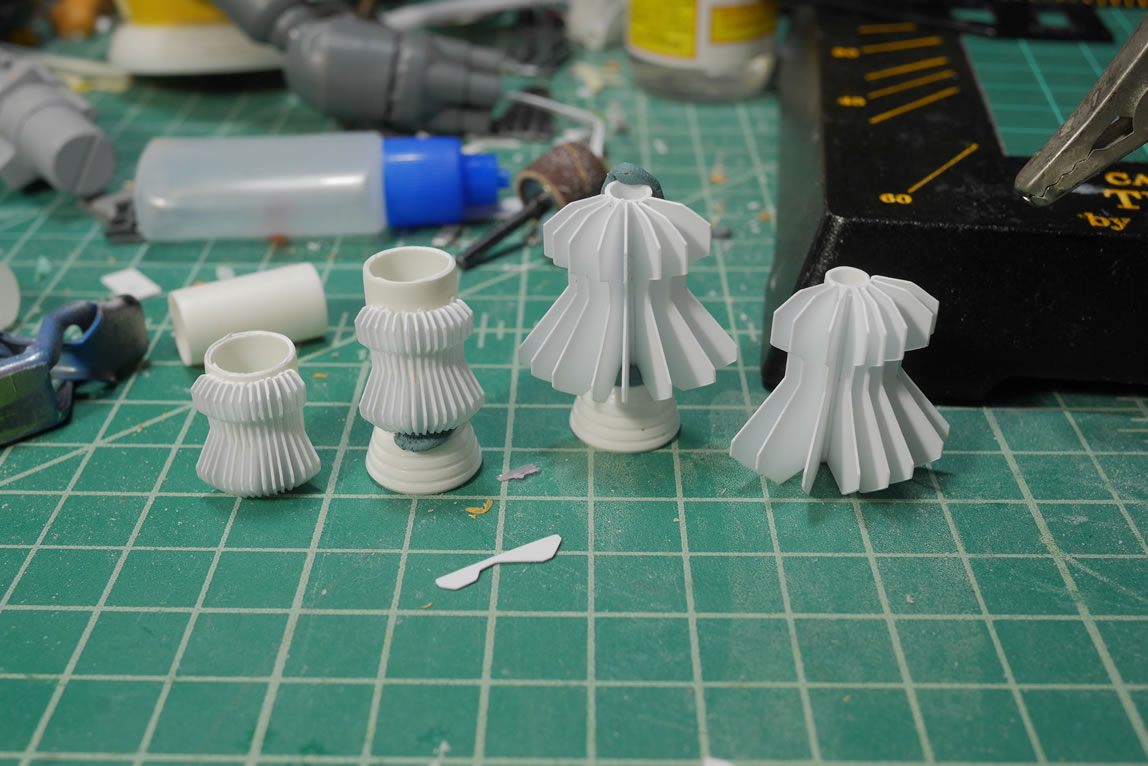
After weeks of looking at the vents, I didn’t care for how they looked; and this was the second time I built them. Time for a third. I went back to the original vent fin designs and made some slight changes. I shrank it and cut a different bottom angle. Once designed, I made copies and had the cricut cut out a .1 mm thick sheet of styrene.
Here’s a live broadcast showing making the new vent:
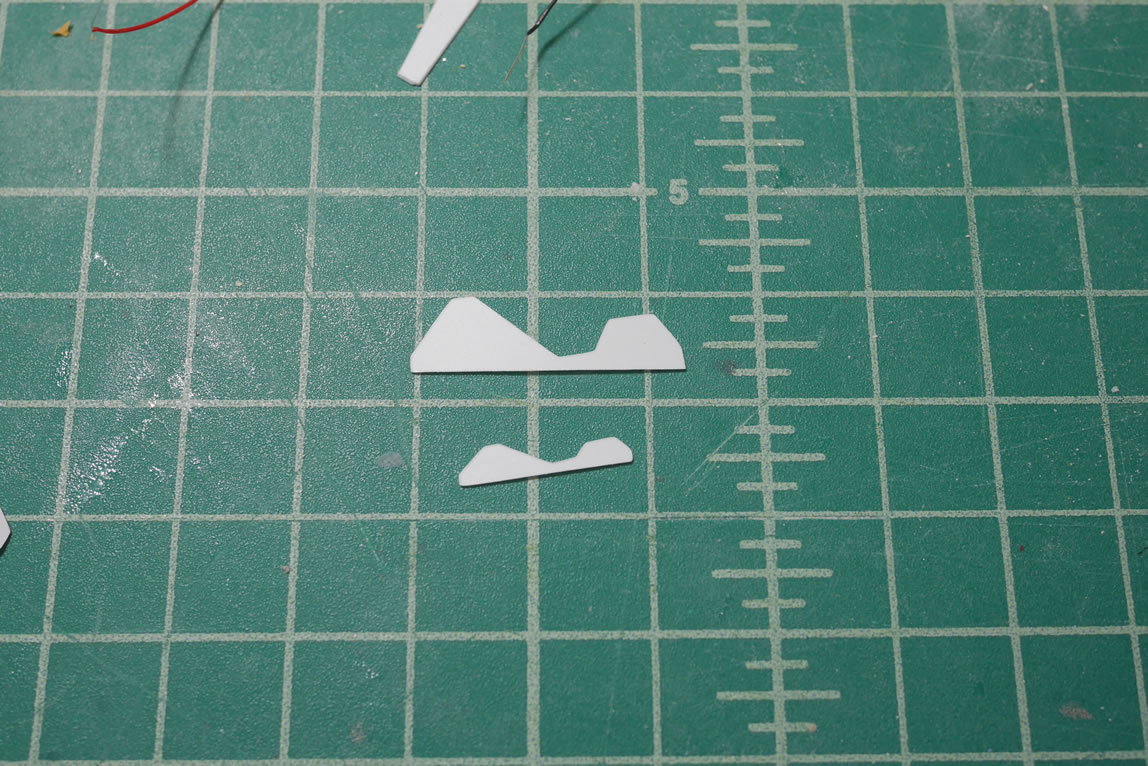
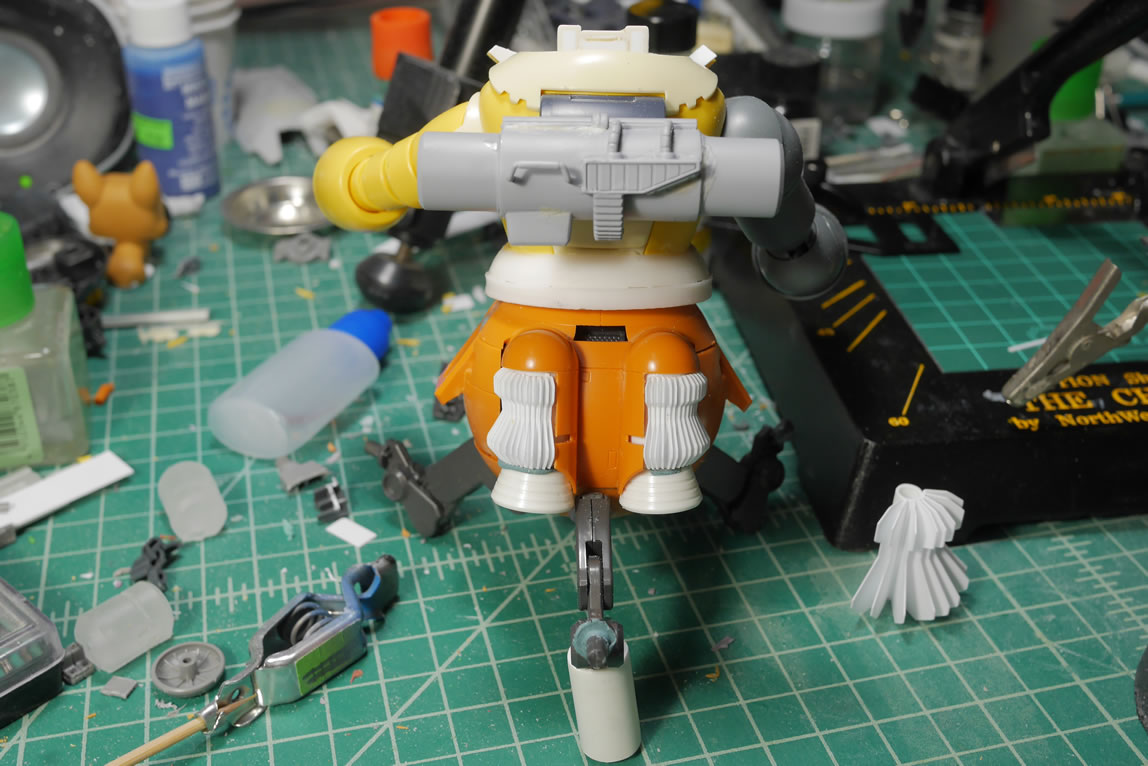
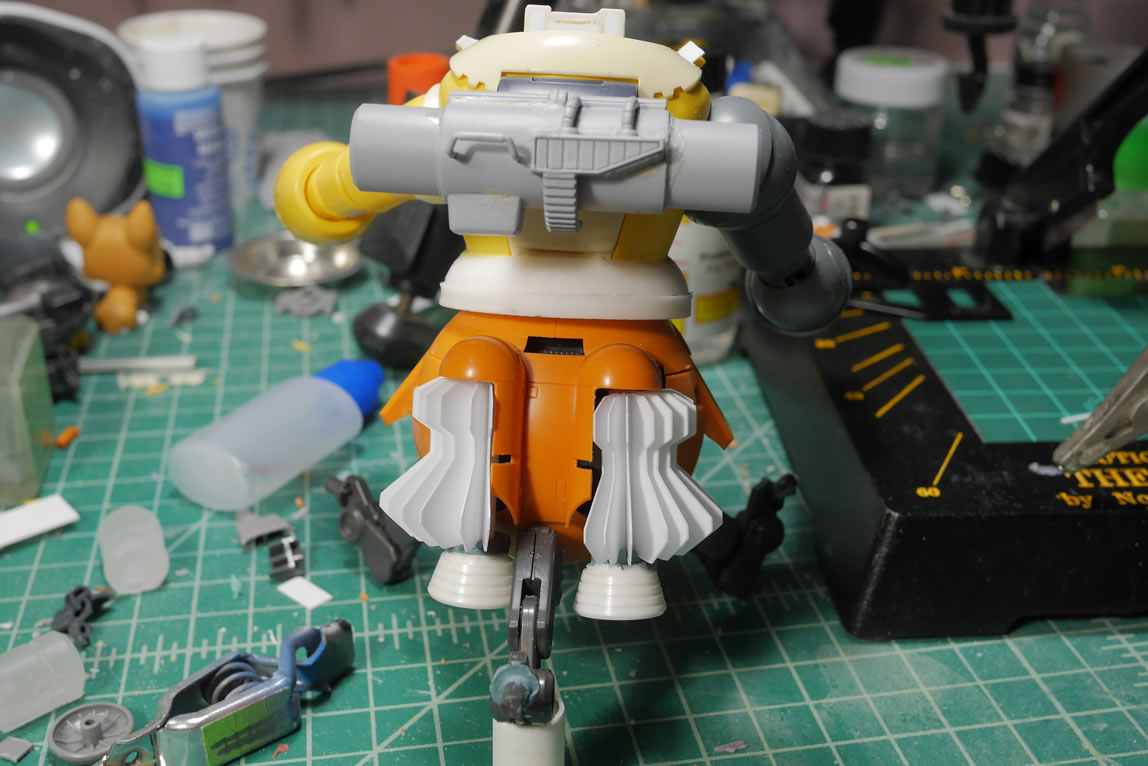
Here’s a comparison shot of the original fin to the new smaller and sleeker version. For the base of the vent assembly, I went with a larger diameter styrene tube. These two changes in the sizes of the fin and base make a HUGE difference in final design. I think I like the new design better. This is a fairly simple change and I believe this helps it become more realistic than the 2nd attempt. I have comparison with the thruster attached as well as a comparison shot of the two on the main body part. As I build, I will scrap things I spent a decent amount of time building because it just didn’t look quite right. I’m learning as I work too, so the time spend in development is not a complete waste. At the end, I think this evolved in the right direction.
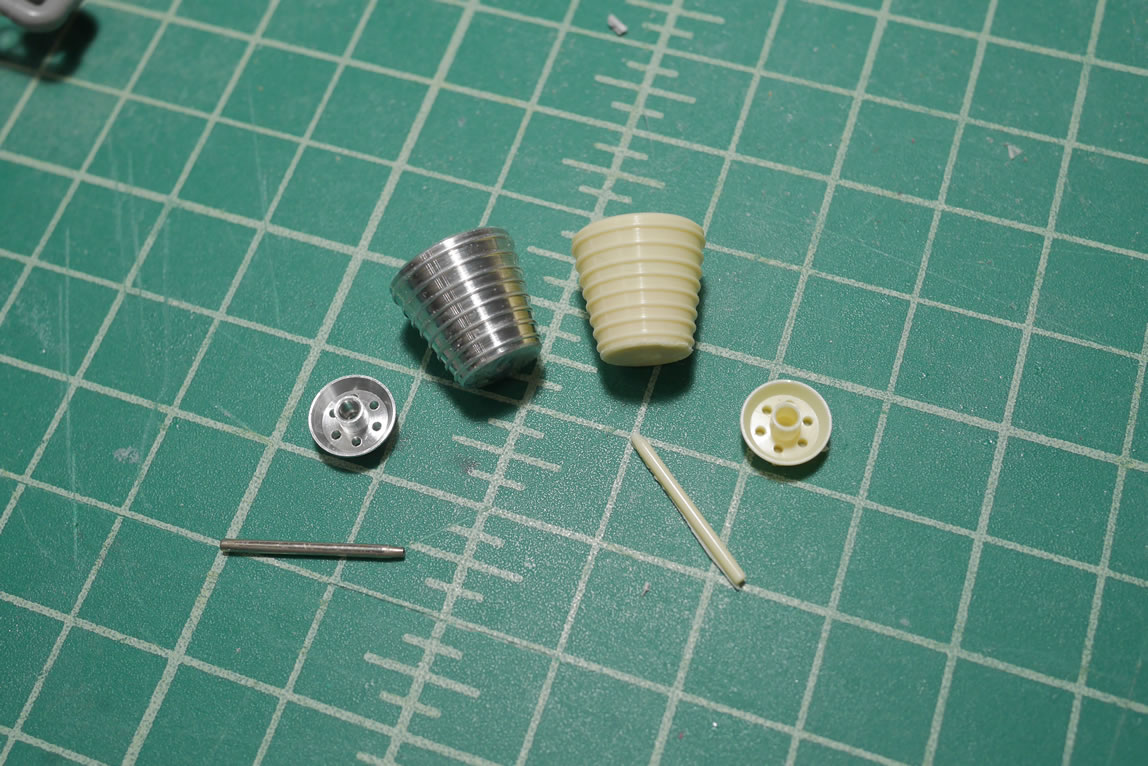
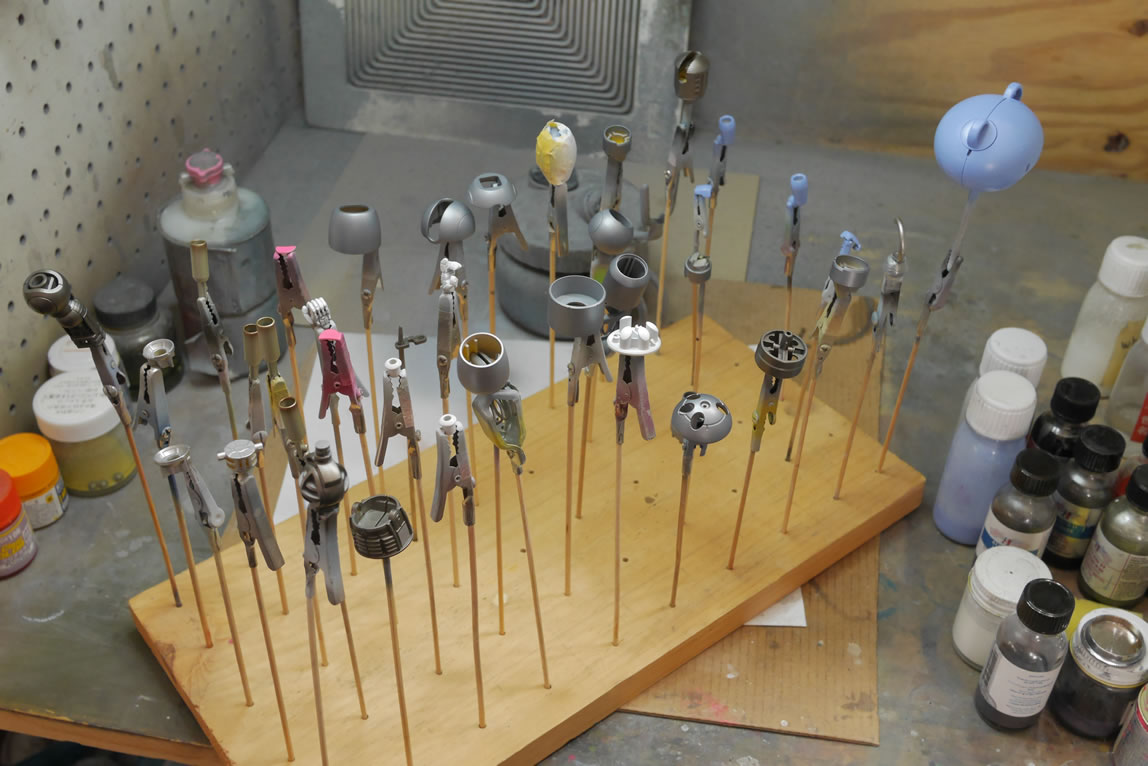
Speaking of metal thrusters, I made a mold of the original metal thrusters and casted them in resin so I can have a lighter overall model (the metal adds a decent amount of weight) and I can just make more in the future if I want to reuse this design. I also prefer painting resin copies over painting metal any day.
I did a quick live broadcast for the resin casting portion of this project:
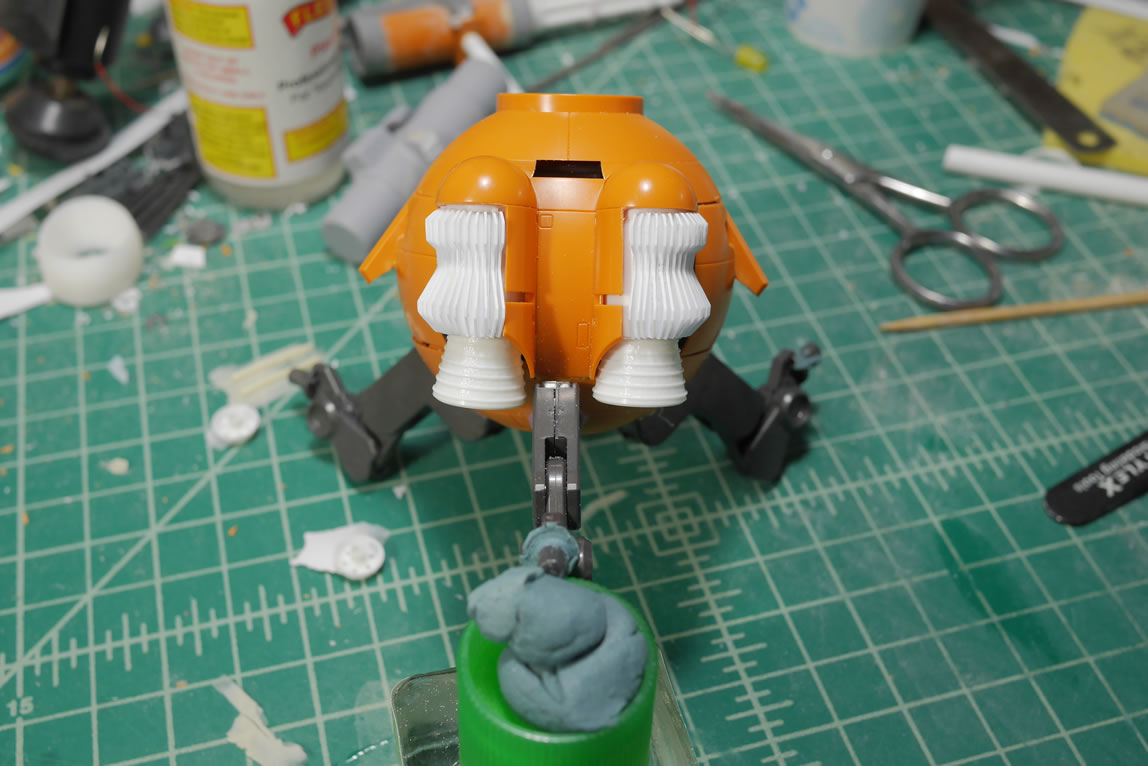
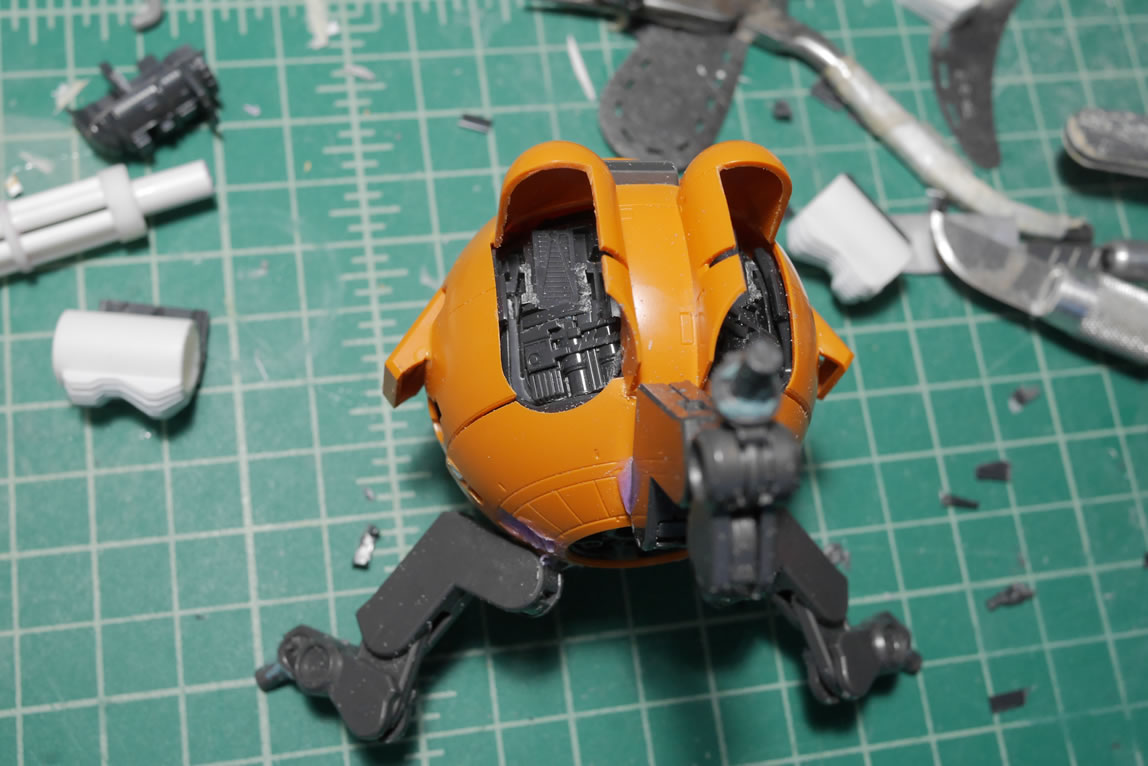
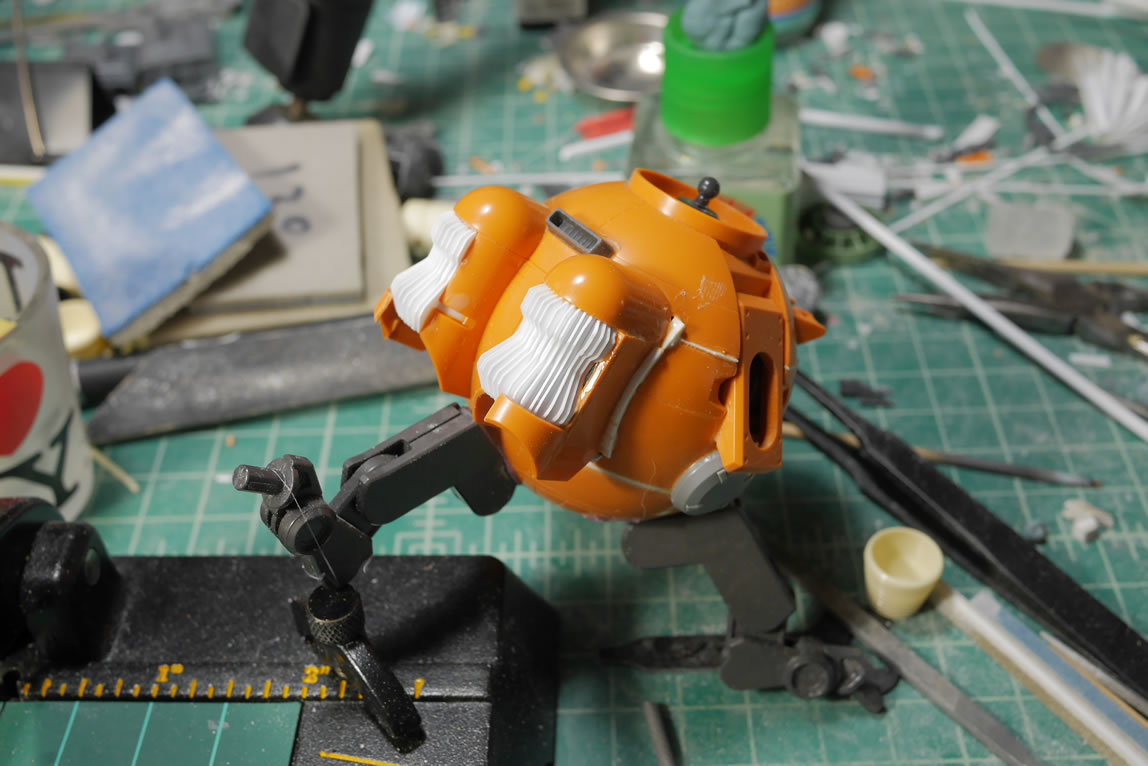
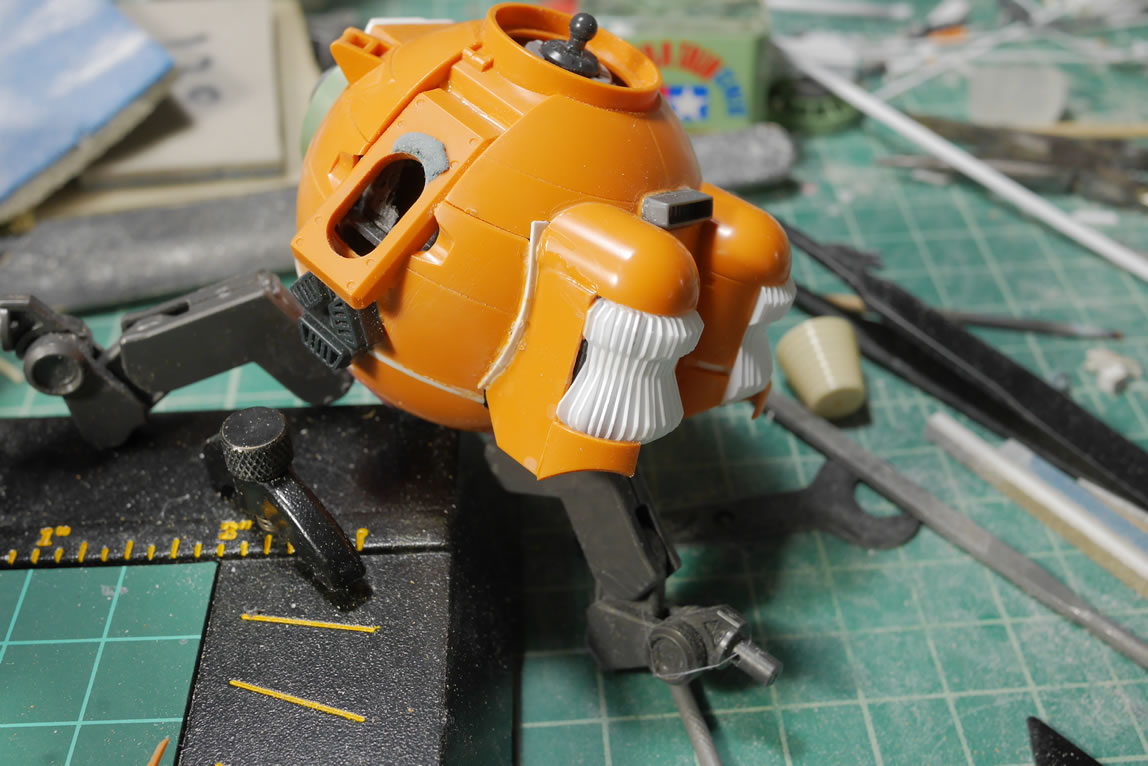
Returning to the newly redesigned vents, I need to start building up some structure to compliment the tubes with fins glued to it. This will help transition the part to the main body piece. I started cutting up the original Ball thruster internals and glued them to one side of each vent piece. This also helps with the fit of the whole assembly so that it sorta looks like it belongs there and not just glued haphazardly.
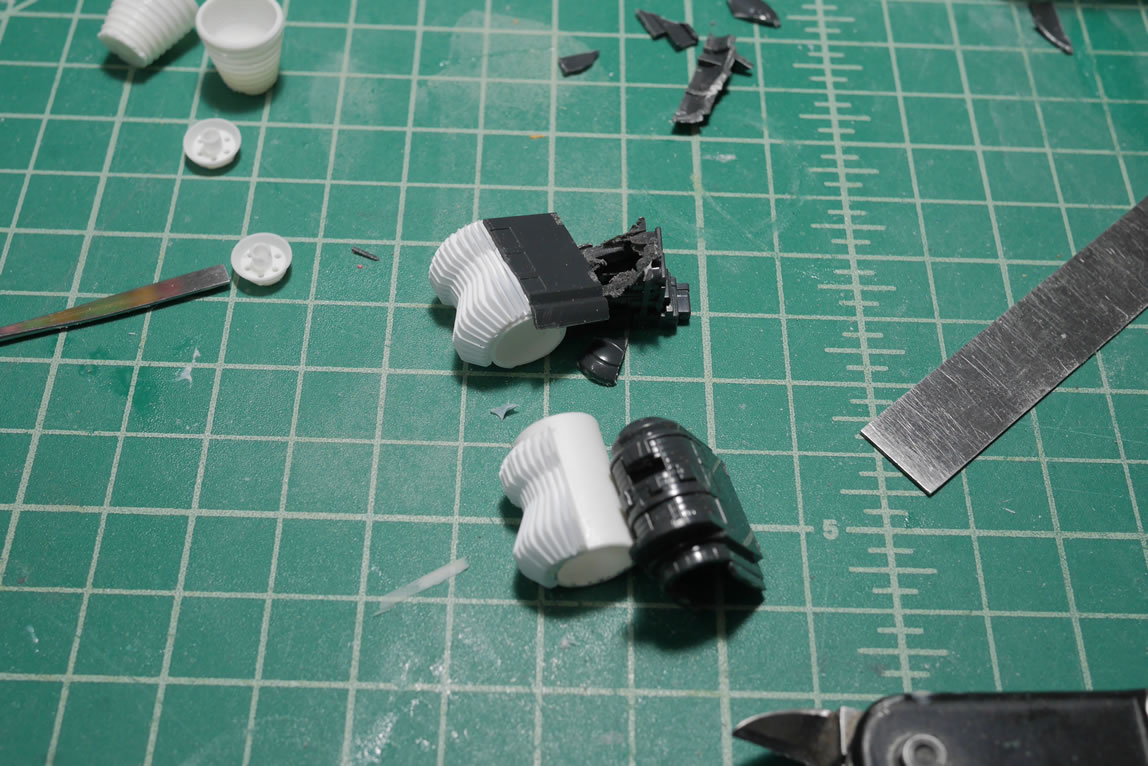
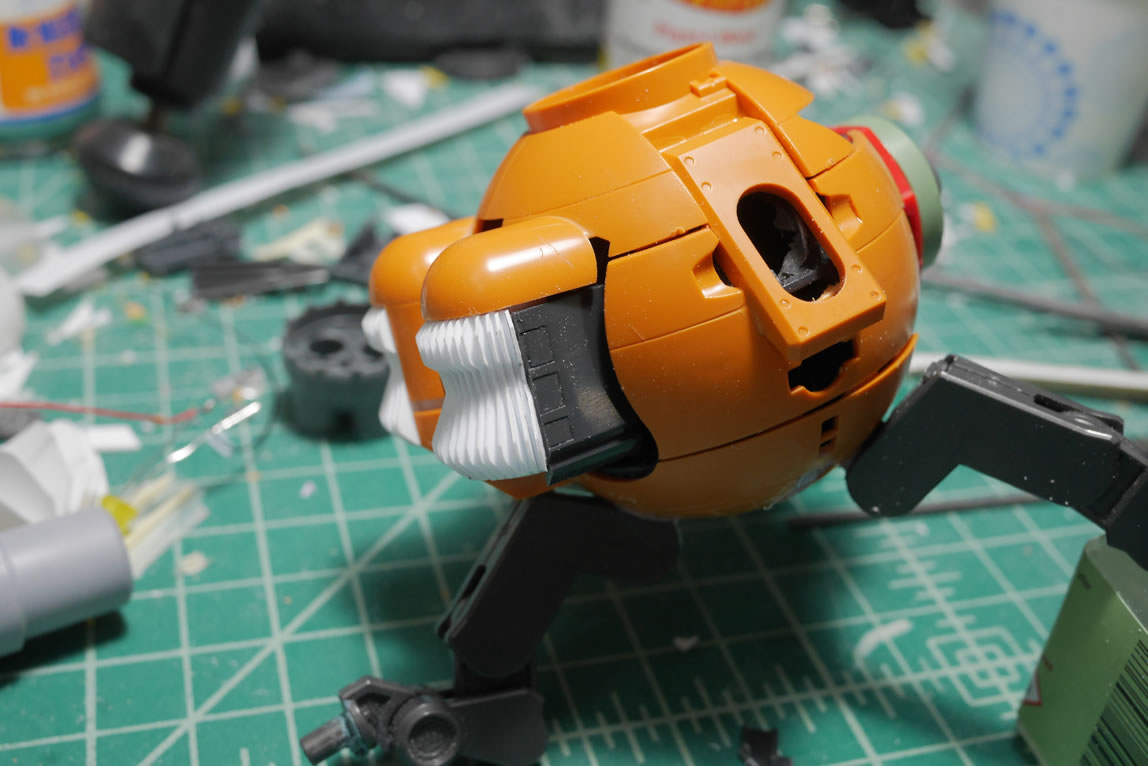
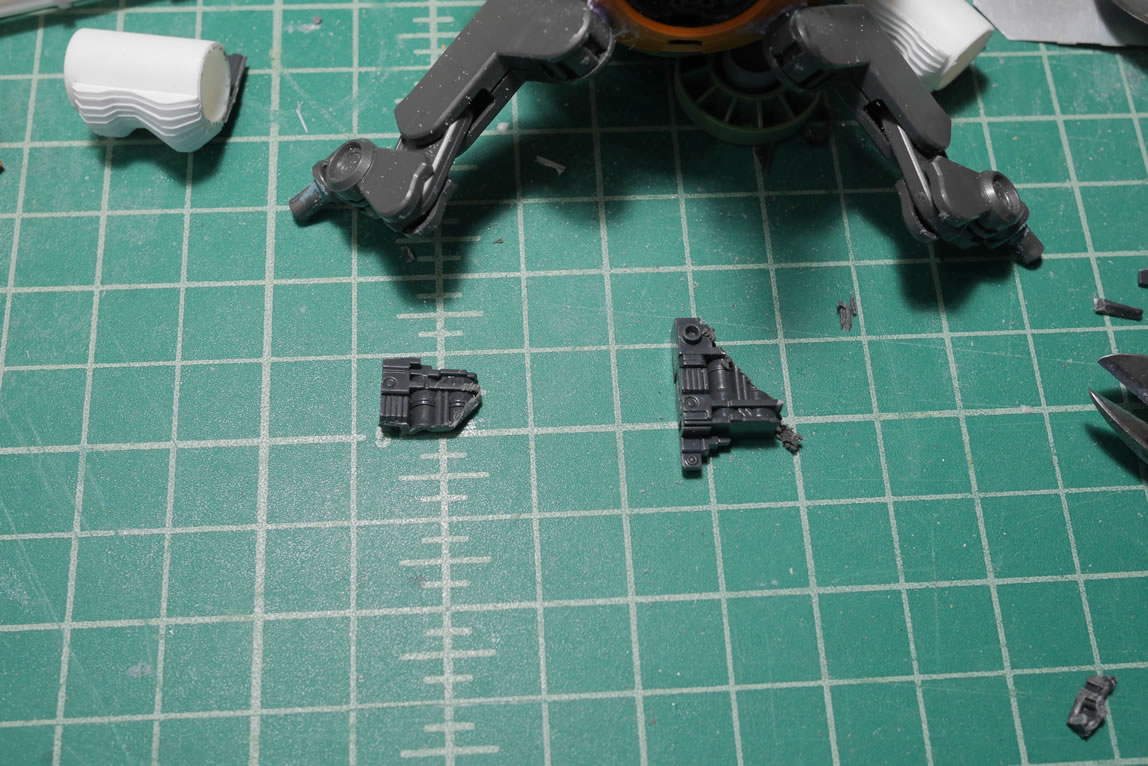
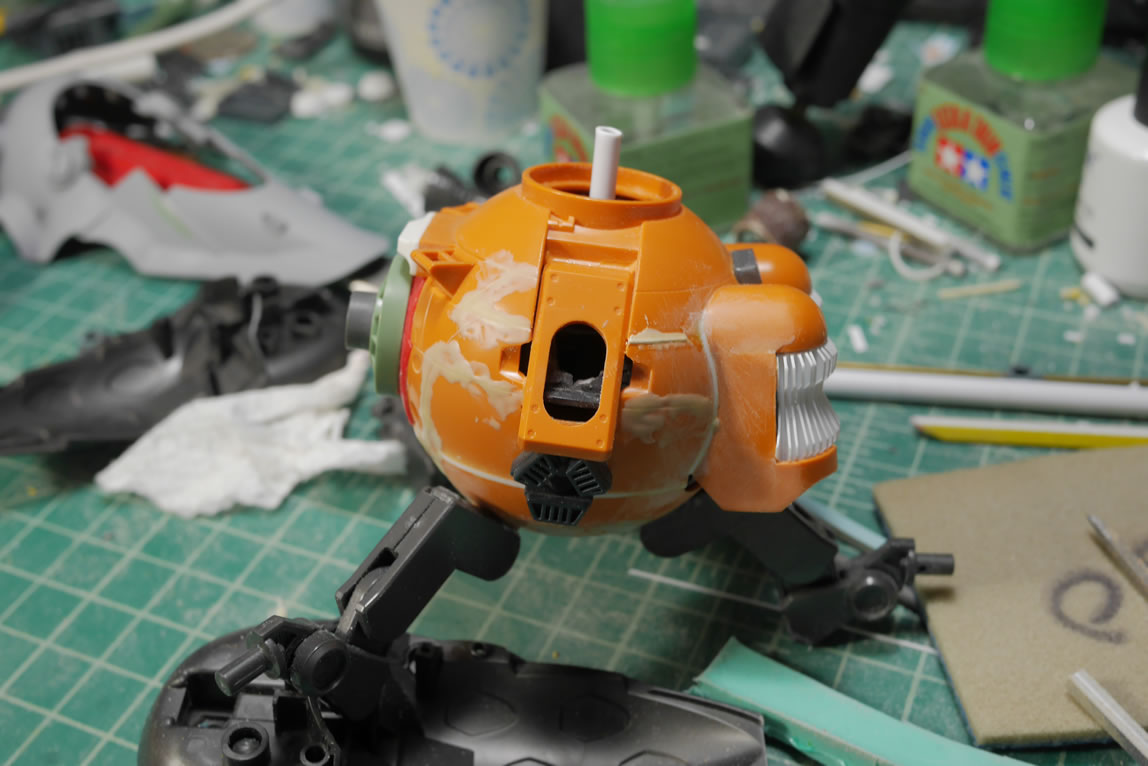
The next piece of structure is to fill in some empty space under and below the vent assembly as it sits in the main body. I have some left over internal pieces from the Ball’s side extensions that I cut off weeks ago. I trimmed those pieces to size and glued them into the bottom area so that there is an illusion of internal structures. The rest of the Ball starts getting some filler styrene and filler ABS putty.
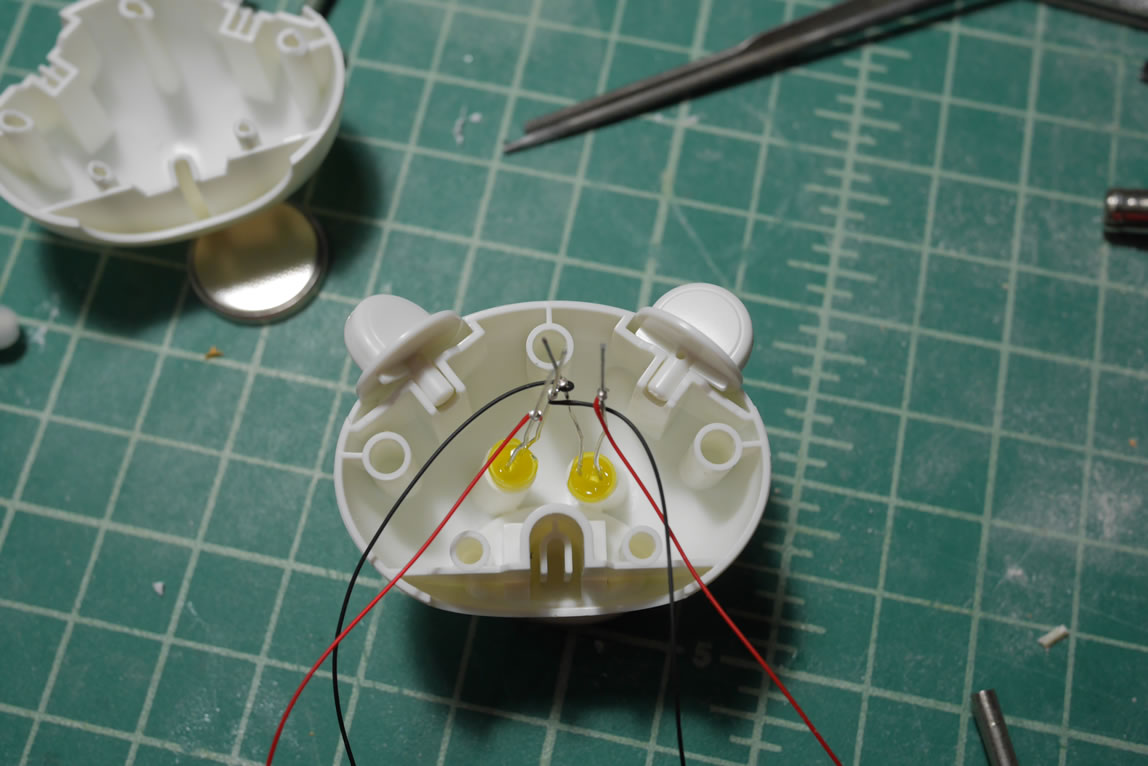
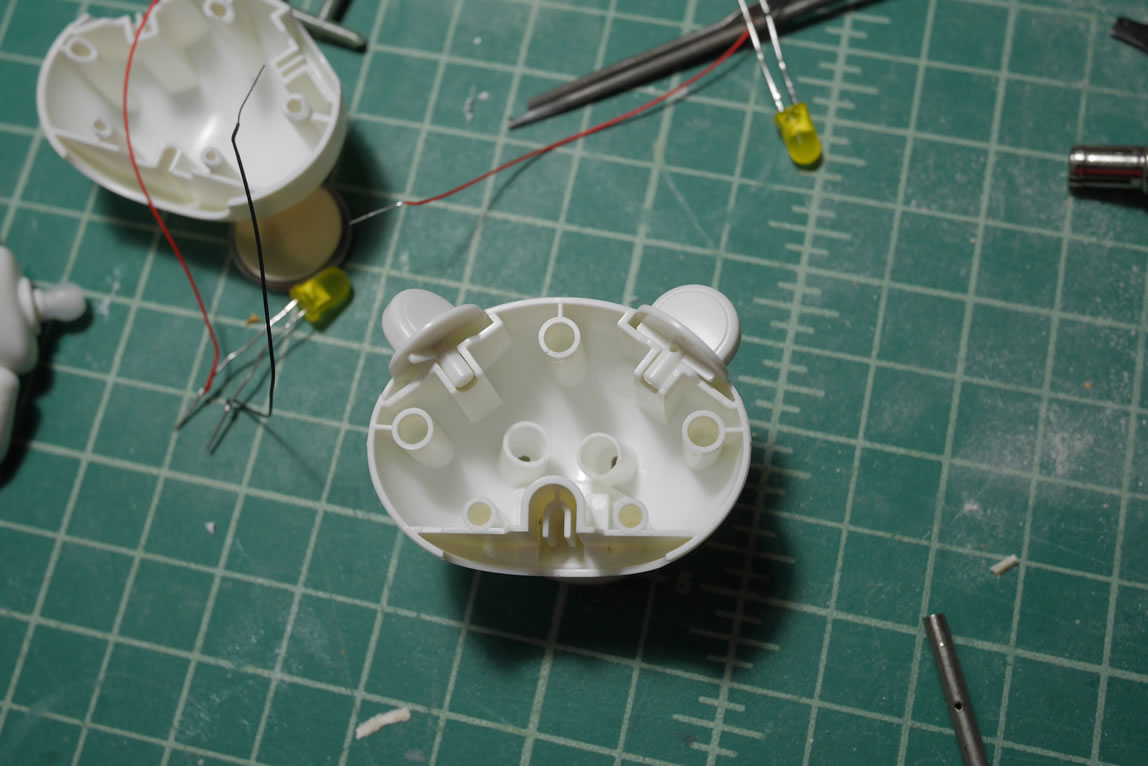
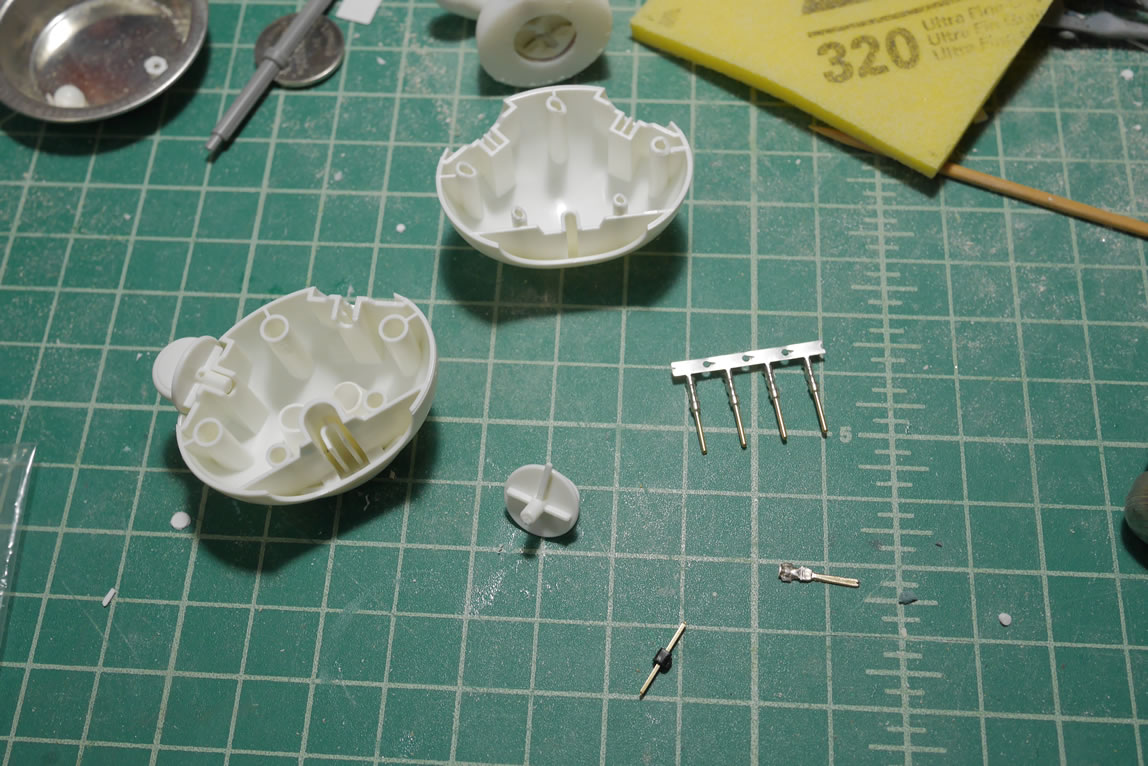
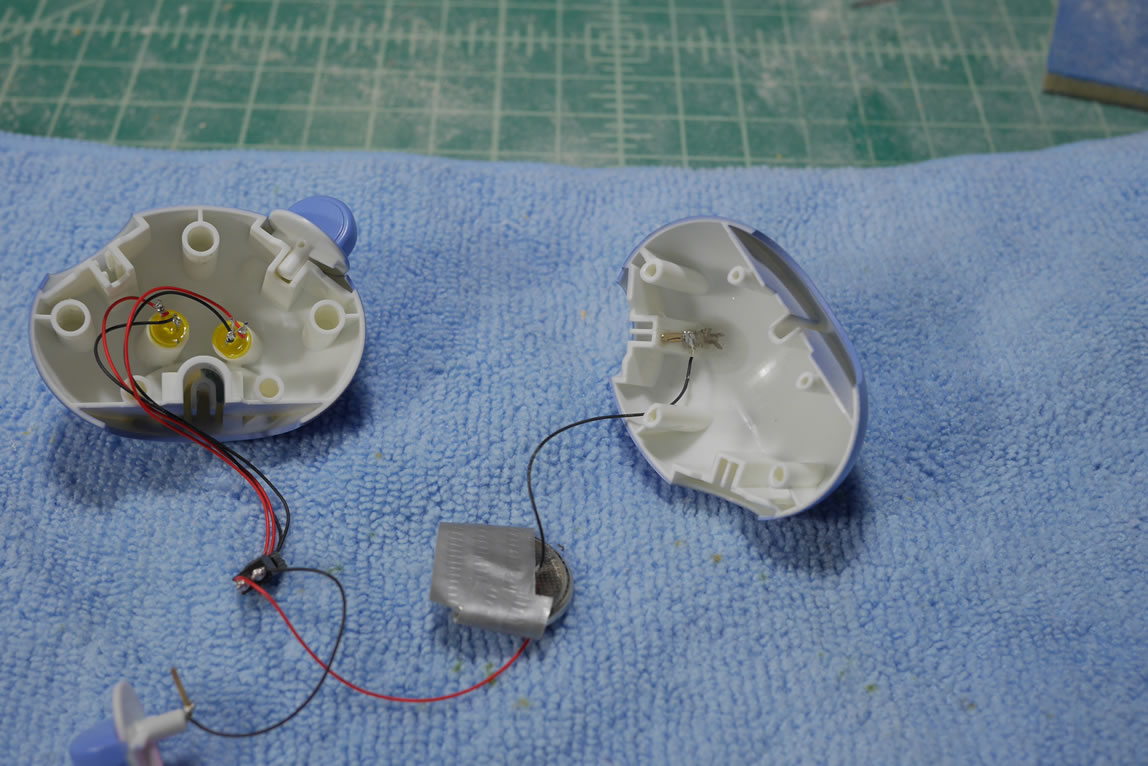
Returning to the pilot’s head, I wanted to add in some LEDs into the head. The first step was cutting out the eyes, which was done with a small drill bit to cut two pilot holes that were then used to widen and clear out the excess using the existing eyes as a guide. Next, I glued some styrene tubes inside the head behind the eyes as LED holders. The LEDs are wired in parallel (positive ends together and negative ends together) so I have one positive and one negative coming out from the LED assembly. I then gather some metal leads so I can build a switch assembly. The ears of the Petit-bear swivel, and it just made sense that this would make for a perfect mechanical switch. I don’t have to do anything fancy with a reed switch and magnets. I don’t even need to add in a build in switch and have to hide it somewhere. The Petit-Bear’s ears are the perfect solution.
Here is a live broadcast for when I built the switch assembly and you can watch the process here:
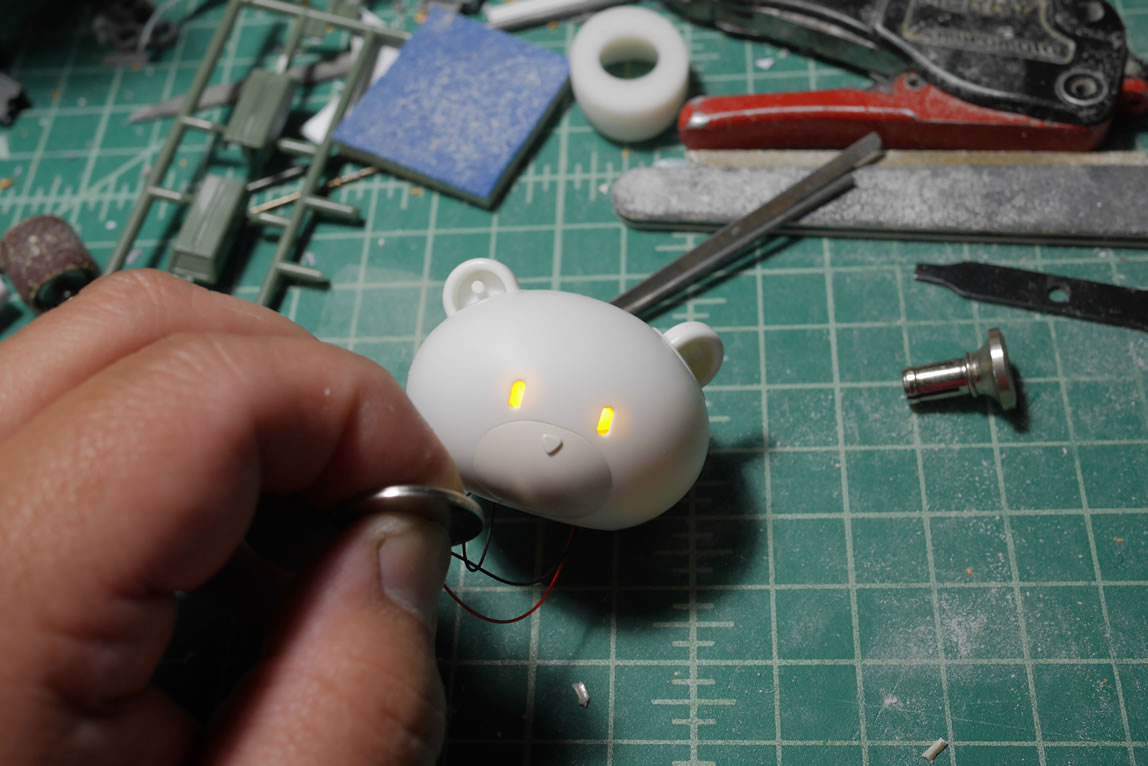
After all is said and done, here are some pictures of that final assembly. The LEDs are one assembly wired to an ic pin plug. This is connected to another ic pin plug that has the negative wire broken up between the switching mechanism on the ear and the back of the head. The positive end from this ic pin assembly is just taped to the positive end of the battery. One negative lead is taped to the negative side of the battery which is connected to the other lead that is glued to the inside of the head.
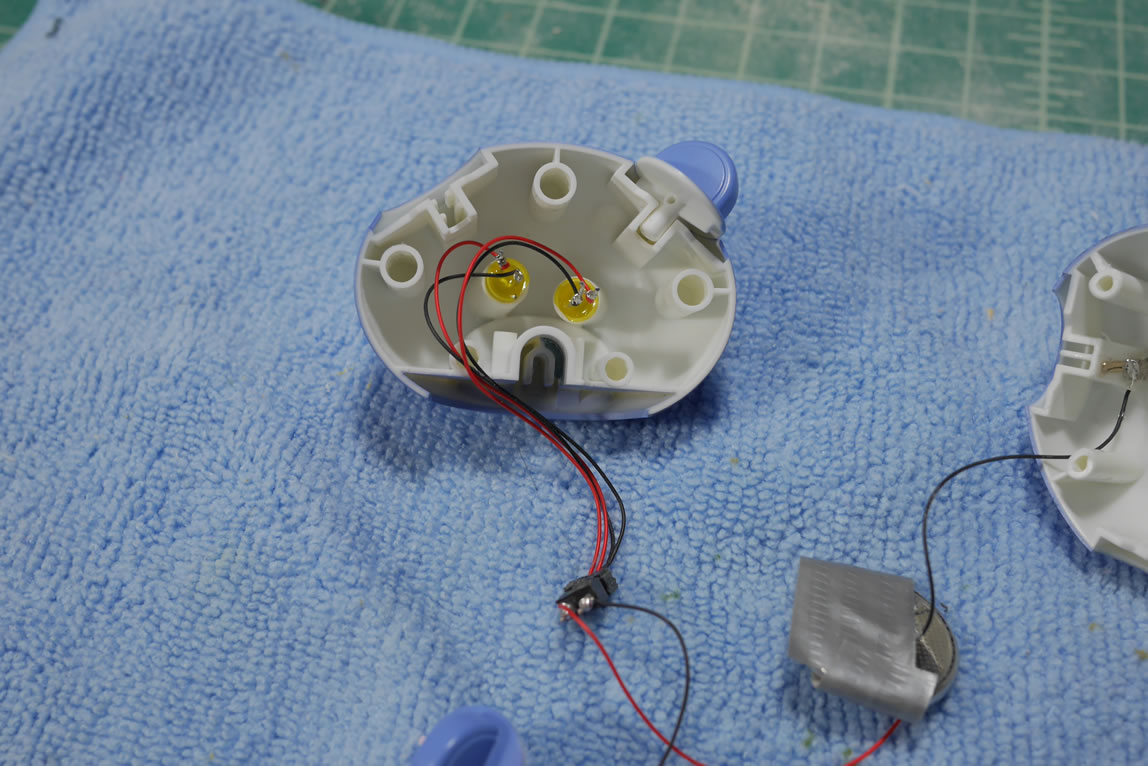
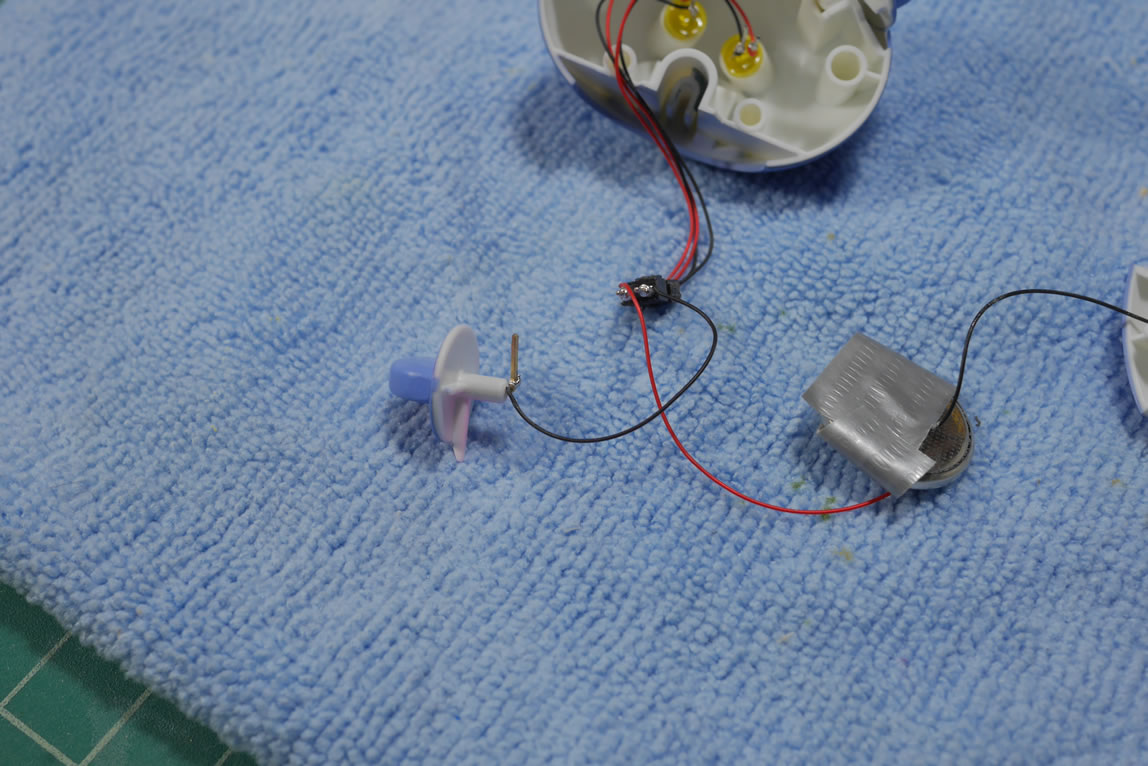
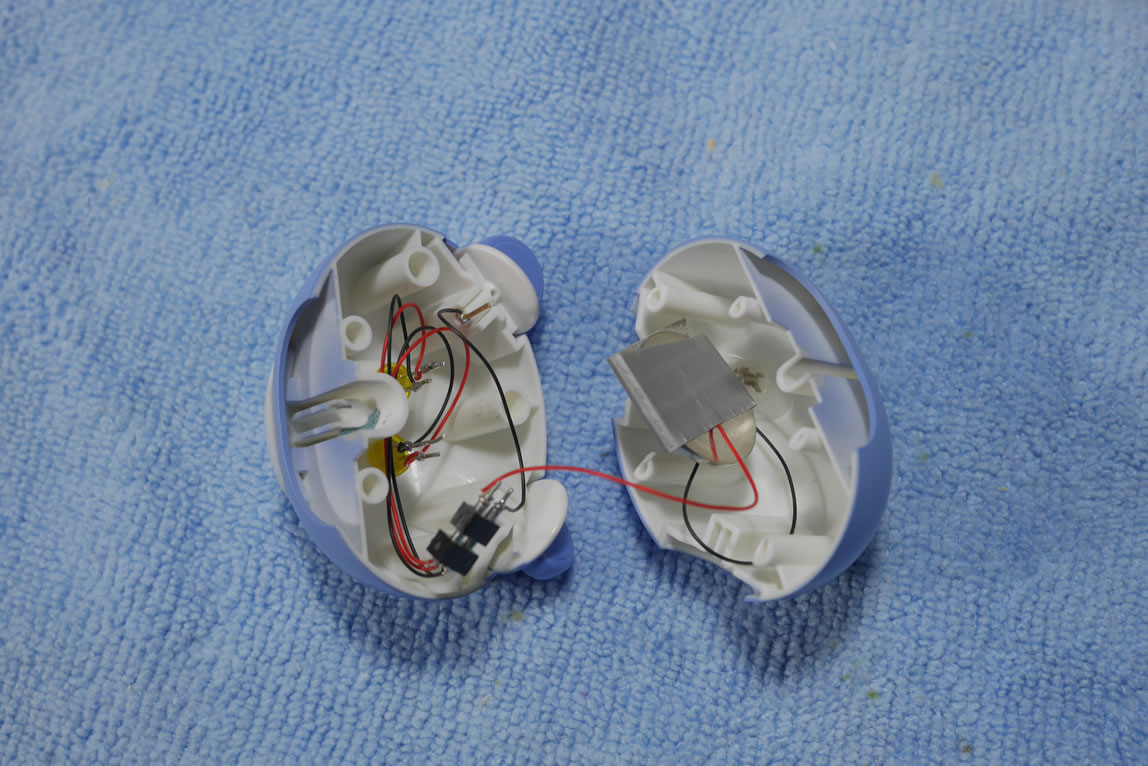
Once assembled, a slight twist of the ear connects the two negative ends which closes the circuit and turns the LEDs on. Twisting the ear back breaks this connection and the LEDs turn off.
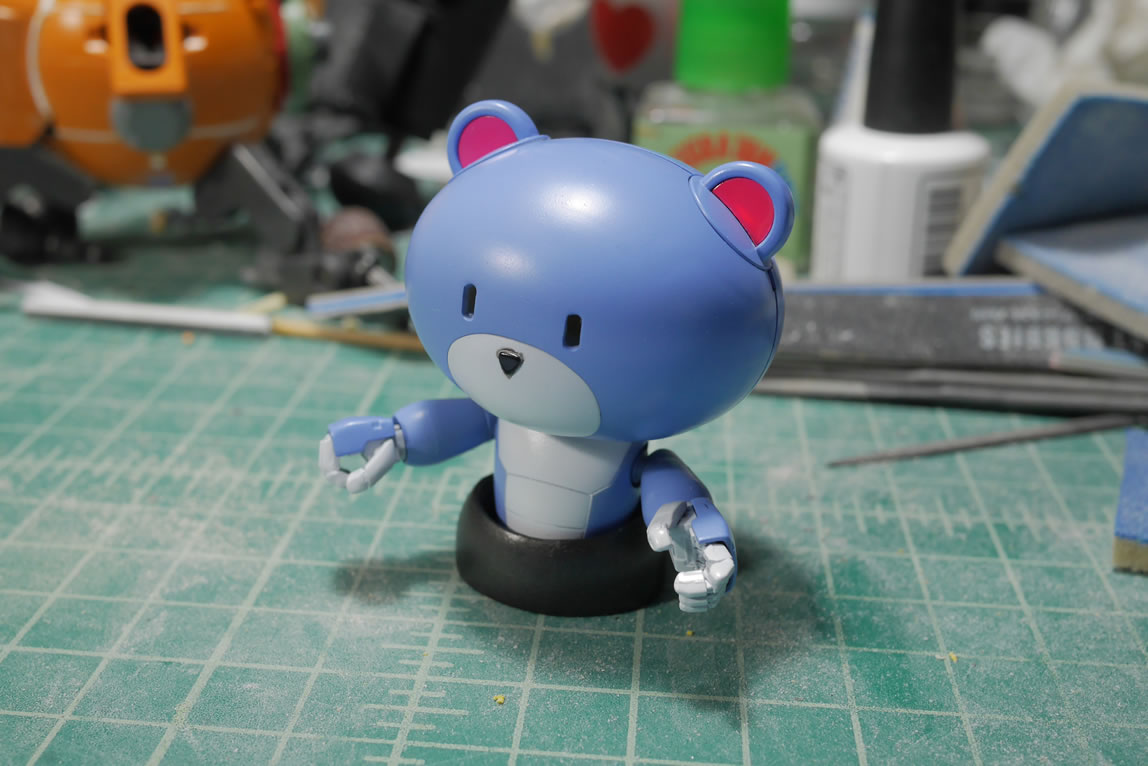
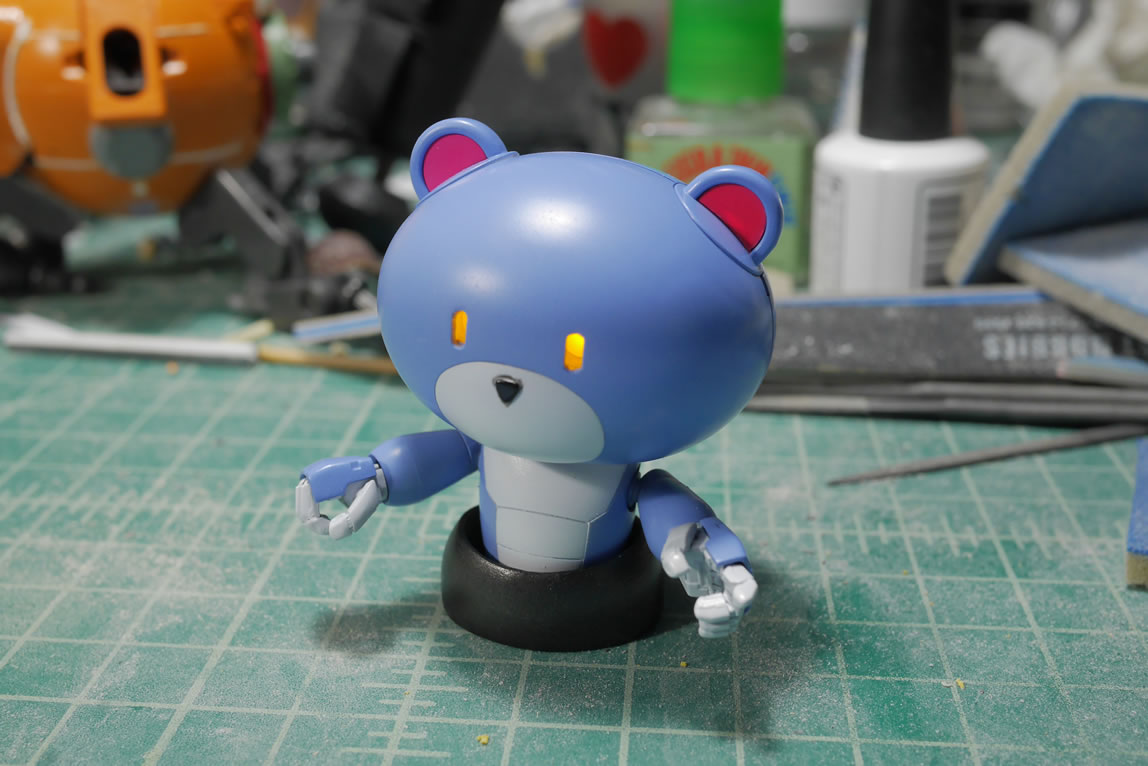
Here is a quick little video demonstrating this since the earlier video from the live broadcast is over saturated and too bright so it was difficult to see the operation.
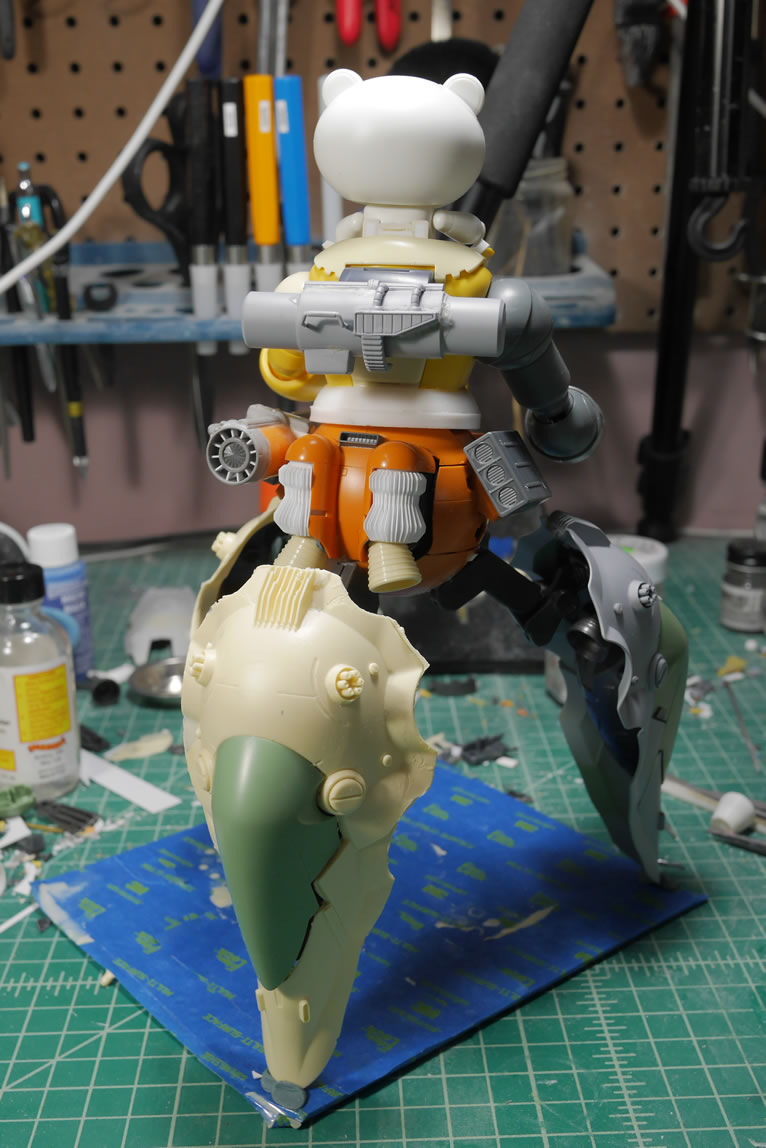
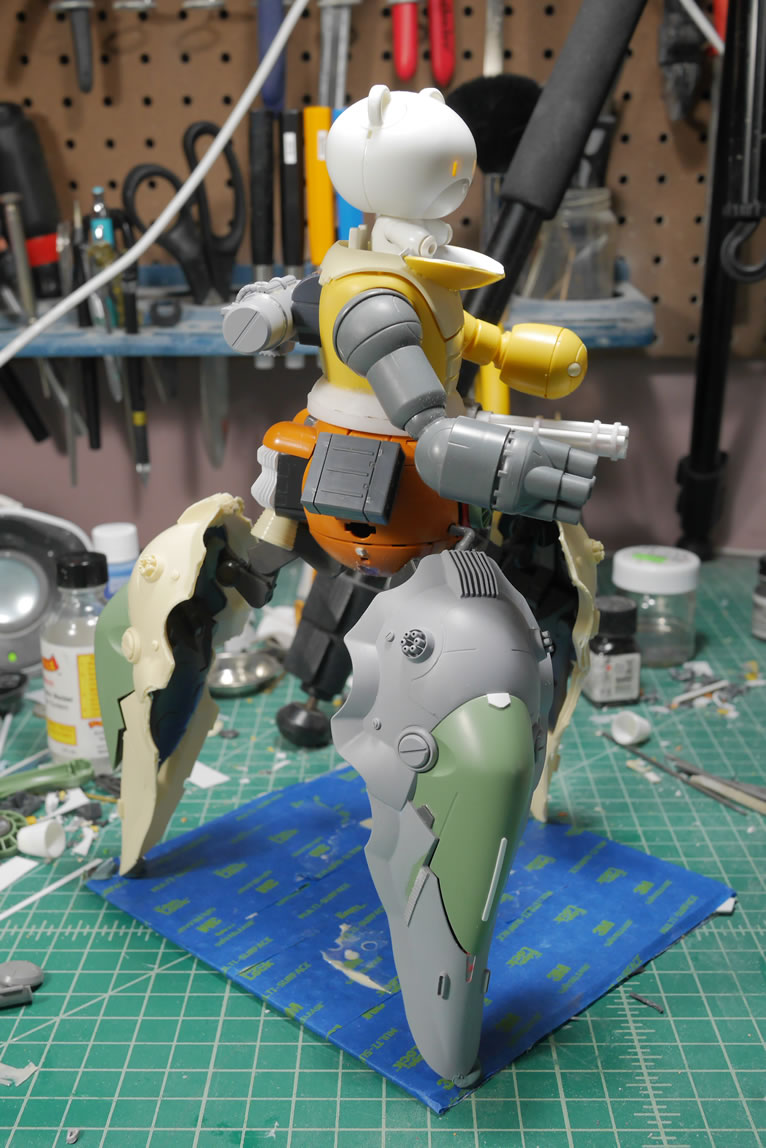
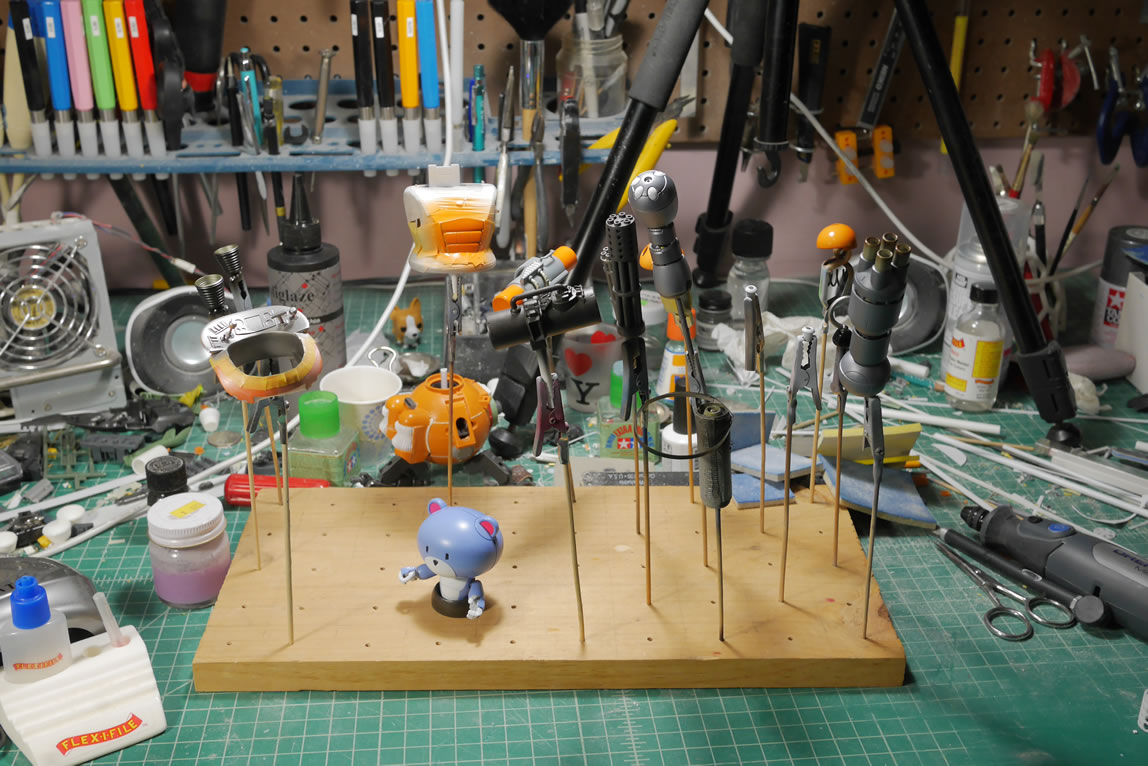
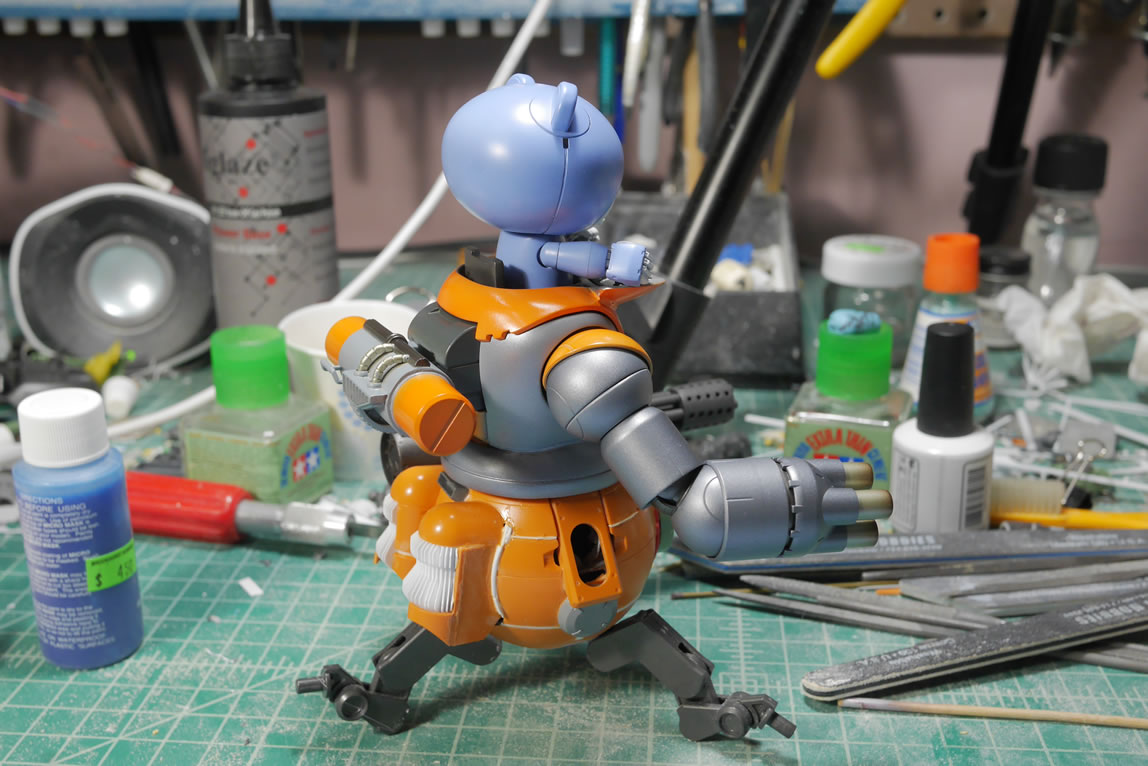
Since I had most of the principal pieces built; I did a quick mockup to again, get a good visual on the project before continuing. The gatling gun is coming along, the backpack is actually primed and getting lots of clean up attention, the new vents and rear thrusters look good in the overall assembly, and things are starting to come together.

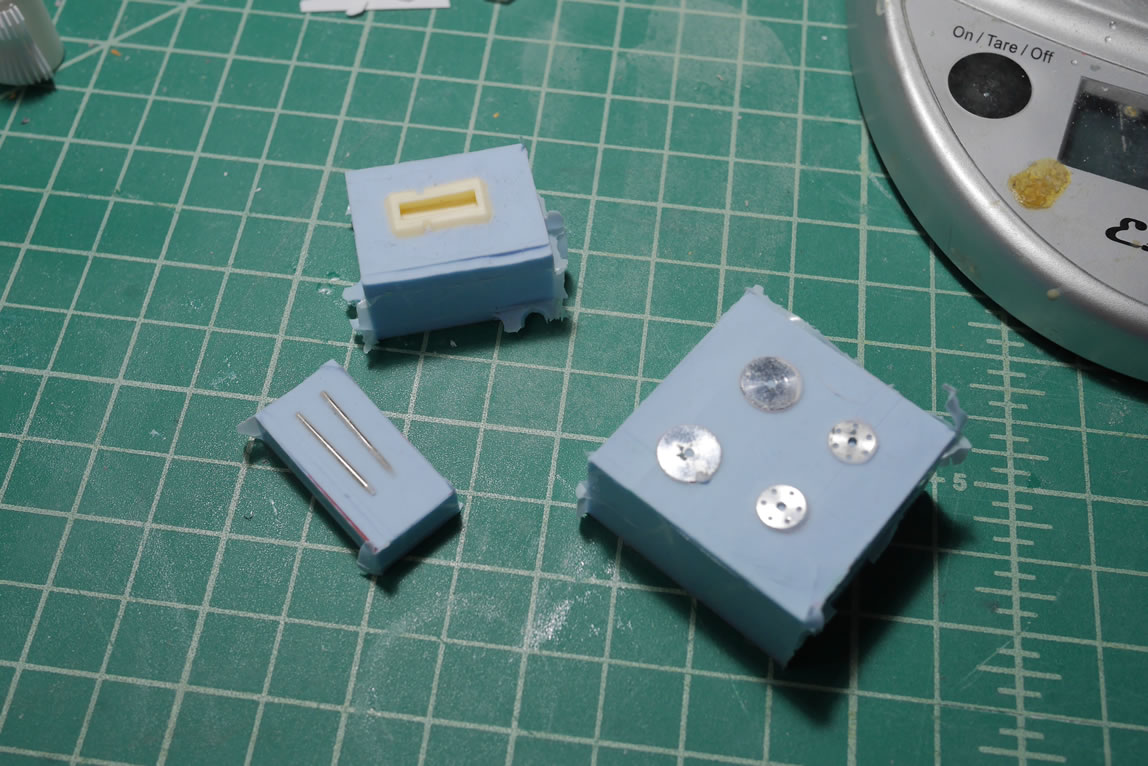
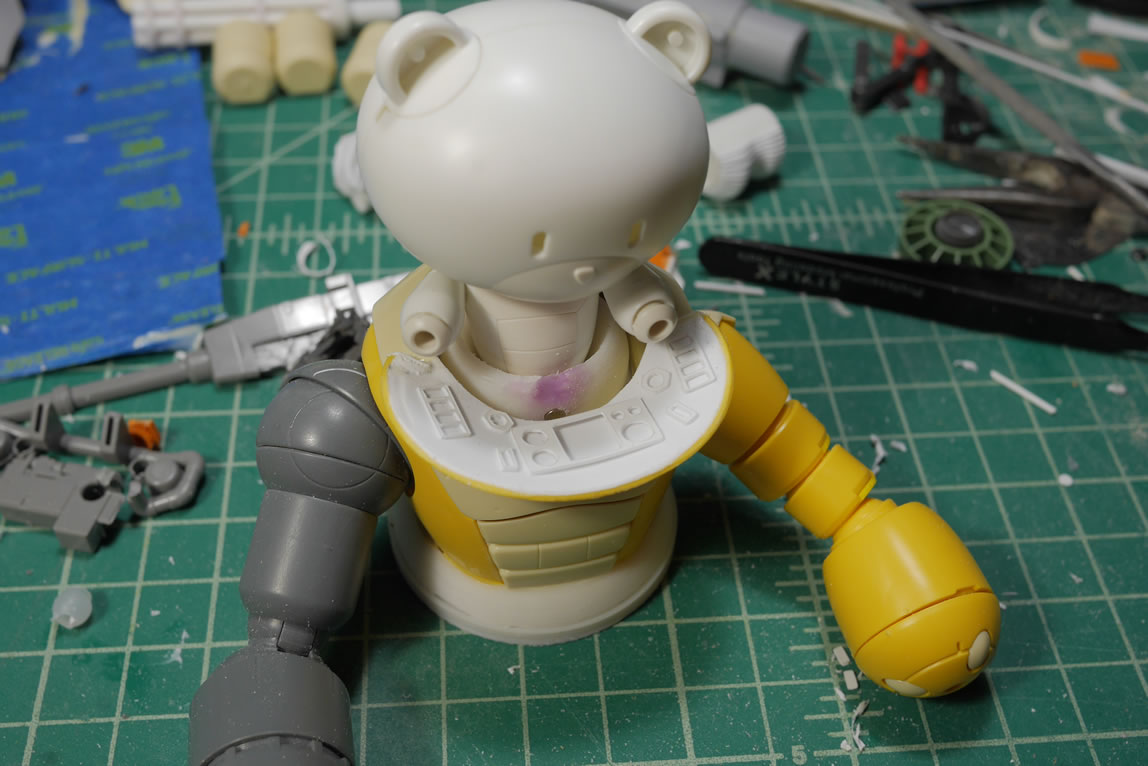
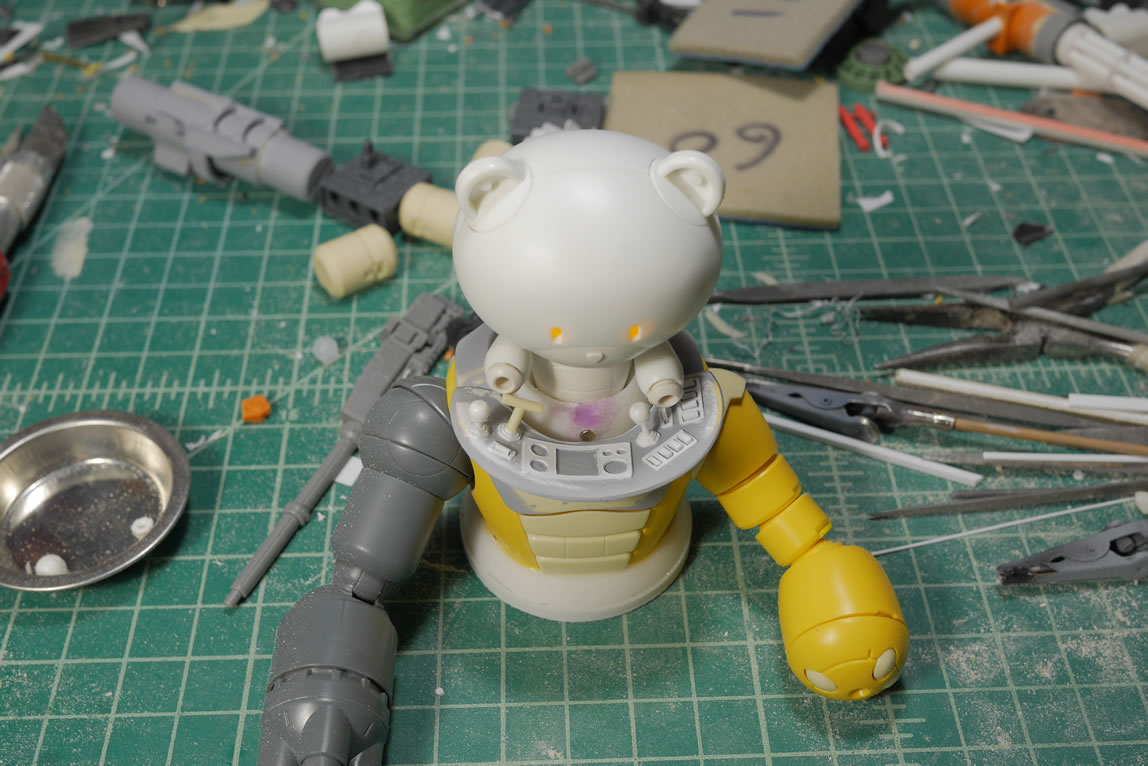
To stay true to the Panda-Z style I’m emulating; I need an instrument panel. I did some quick designs with the cricut machine and cut out .2 mm styrene. One of the drawbacks to the cricut is that the smaller the scale, the less precise the cuts. But this still beats the hell out of just gluing strips of styrene and I since don’t have OCD; this won’t bother me. In the overall big picture; will look fine. I did a quick overlay over the instrument panel to get a look. Then added the bearguy in the seat to see how that all looked with hand positions and everything. Then it was off to priming the upper torso piece to finish the clean up before getting the instrument details glued to the panel.
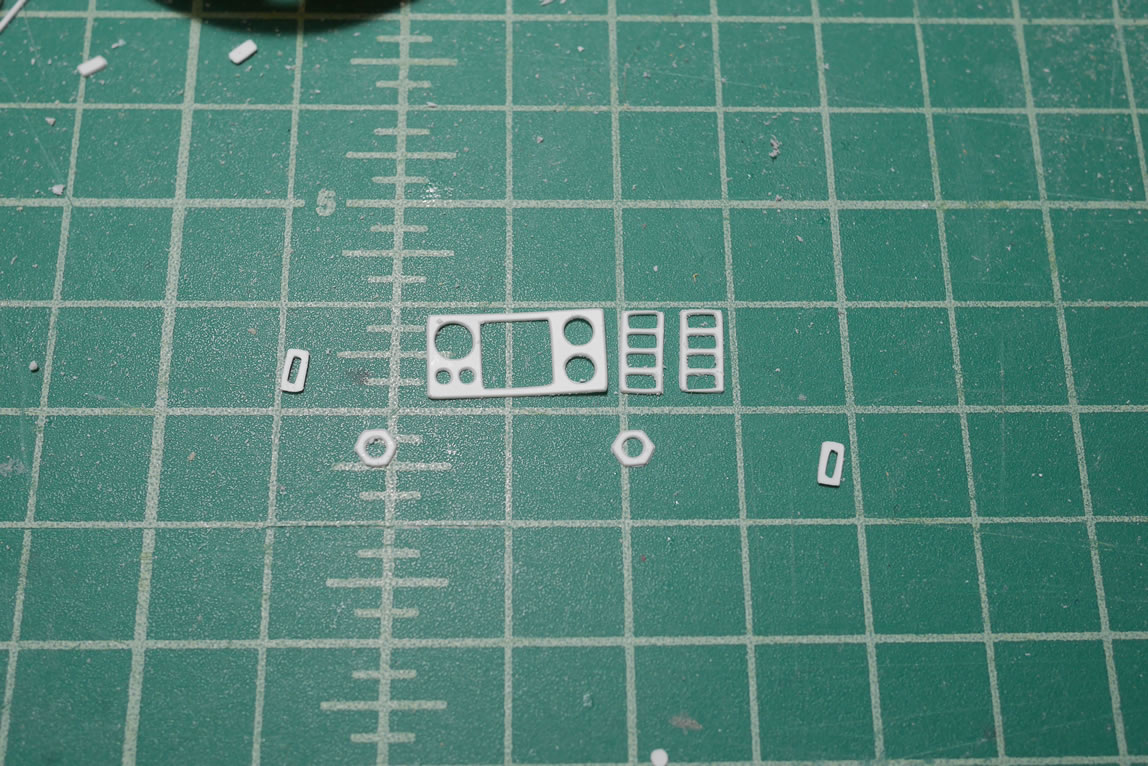

Some styrene strips are cut and glued into position as buttons. I glued in a thinner piece of styrene to simulate a pushed button. I made some hex cuts in different sizes so I can stack them to create a shifter boot for some of the controls. This should be good enough for some quick instrument panel details.


In test fitting the bearpilot, I noticed that the stock petit-bear doesn’t actually have hands. So it just looks odd to have a control panel with knobs, buttons, and joysticks and no hands; but I can see the comedy in that too. However, I still want to add in some hands, so in come some builder parts 1/144 scaled hands. The hands as they are look a little creepy, but I think I can find a solution to make it look better.

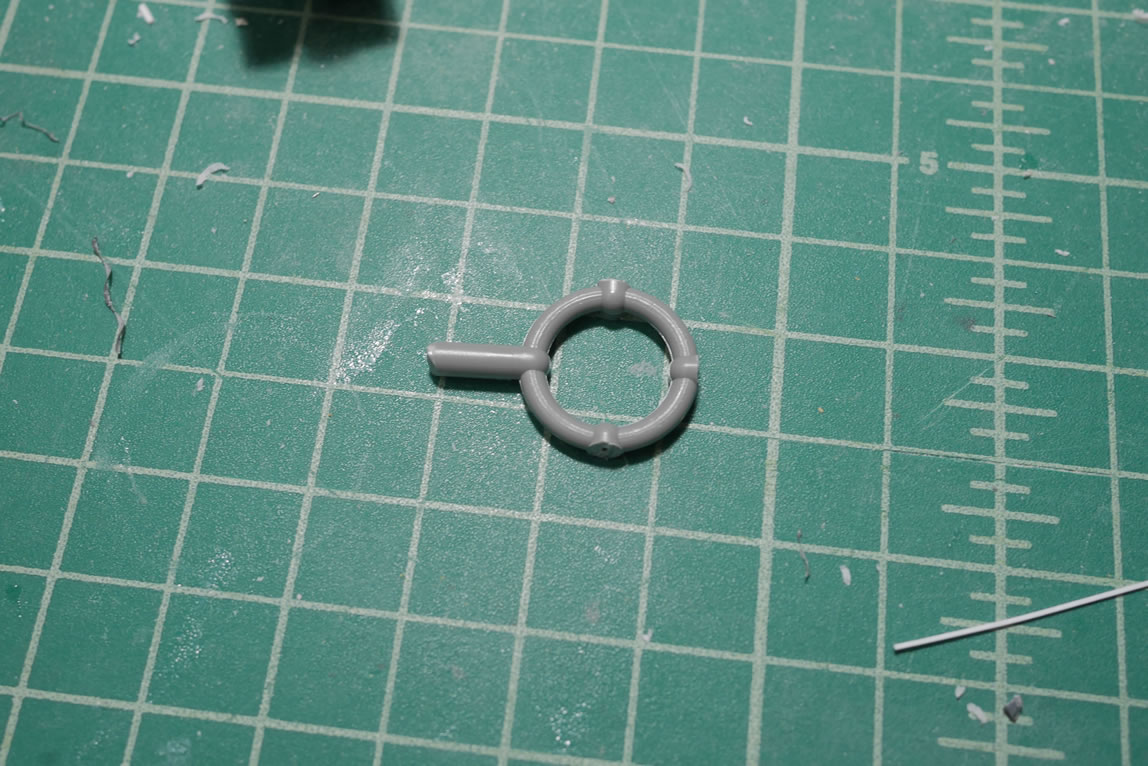
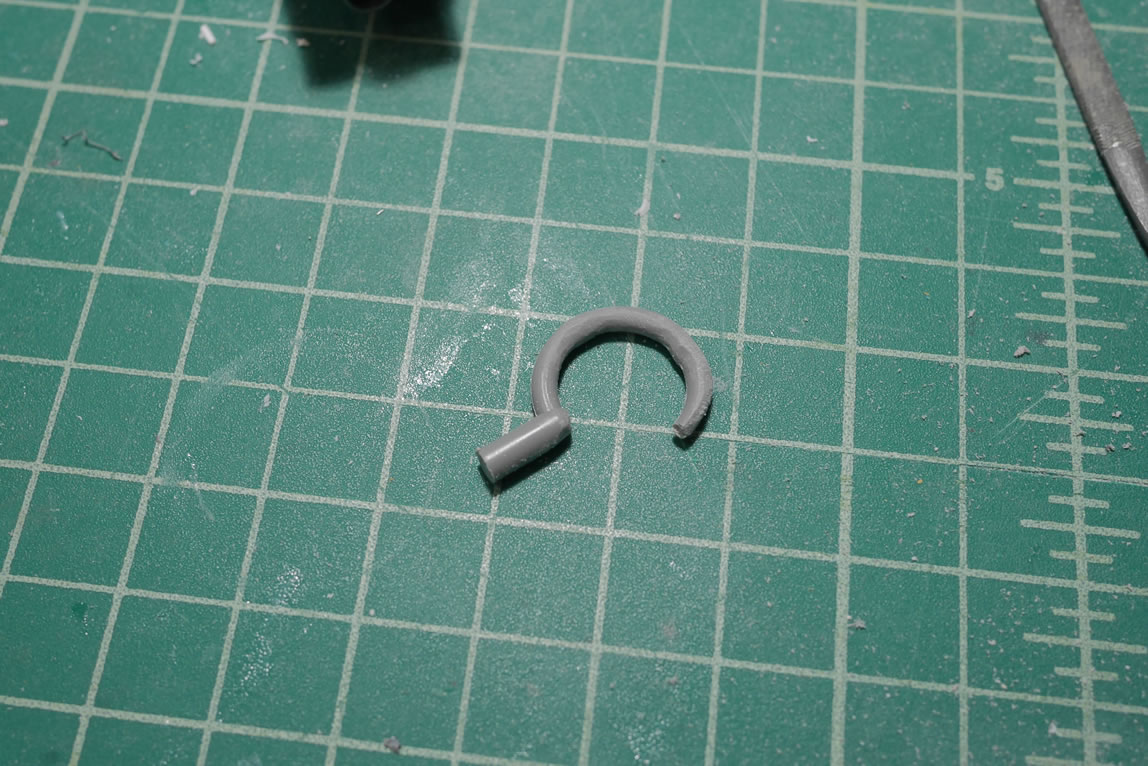
Making posts to reddit/r/gunpla; I get all sorts of constructive criticism and recommendations. One such recommendation was to replace a hand with a hook. This was fairly easy since the kit trees always has a circular center piece that I can just cut and sand down to create a hook. A number of the upper torso parts are primed and painted. It’s always good to see paint progress.
Once the paint has had enough time to properly cure, time again for quick assemblies and a mockup. I made some modifications to the 1/144 hands by cutting off the end joints shortening it from 3 to 2 finger links and some creative sanding with files to fix the hard to reach embedded digits. This helps scale things nicely and is also another recommendation from reddit. The arms have magnets so that I can easily exchange the hands for the hook or even the non-hand originals. I think it looks best with hands; but I now have options.
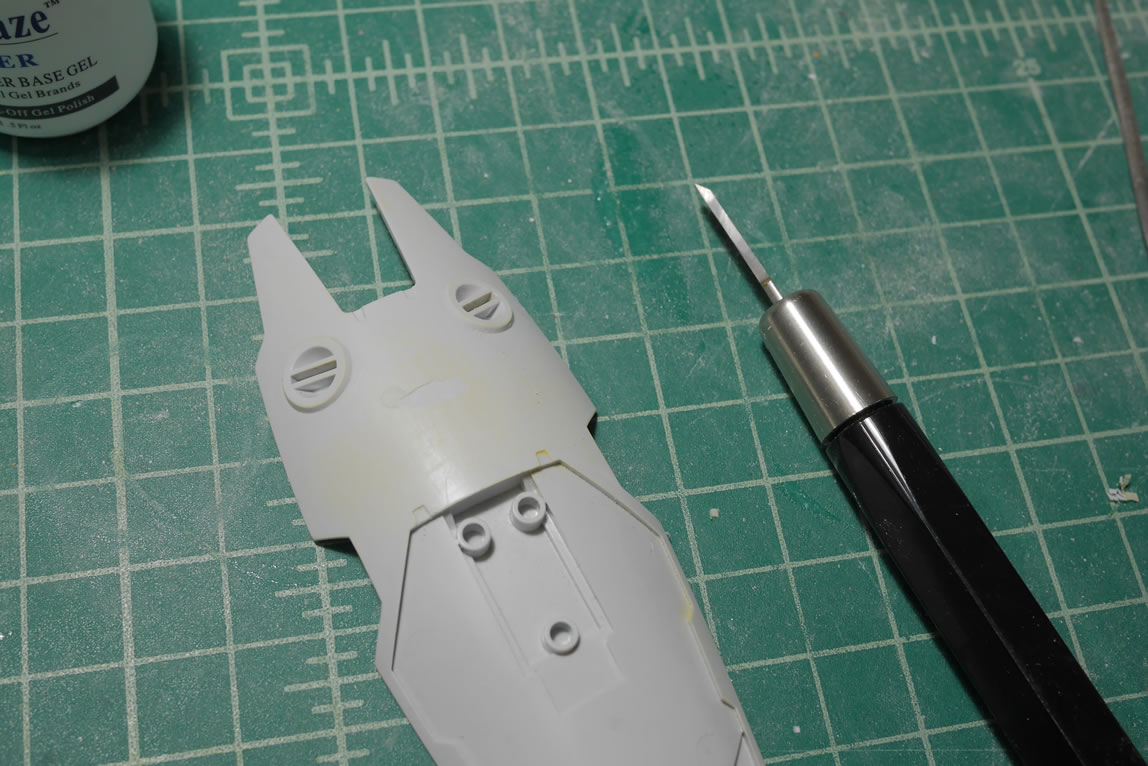
Next up is a product that I sorta discovered from my wife’s experience with nail care. This is a foundation gel that cures under UV lights. The stuff goes over her nails to help build up nails that are too thin to be worked on. So the stuff is designed for quick cure and to be sanded. The following is a quick test of this product. I picked up a large 250 ml bottle of the stuff for $60. Small 5mL bottles cost about $10. So I think there’s a decent savings buying in bulk.

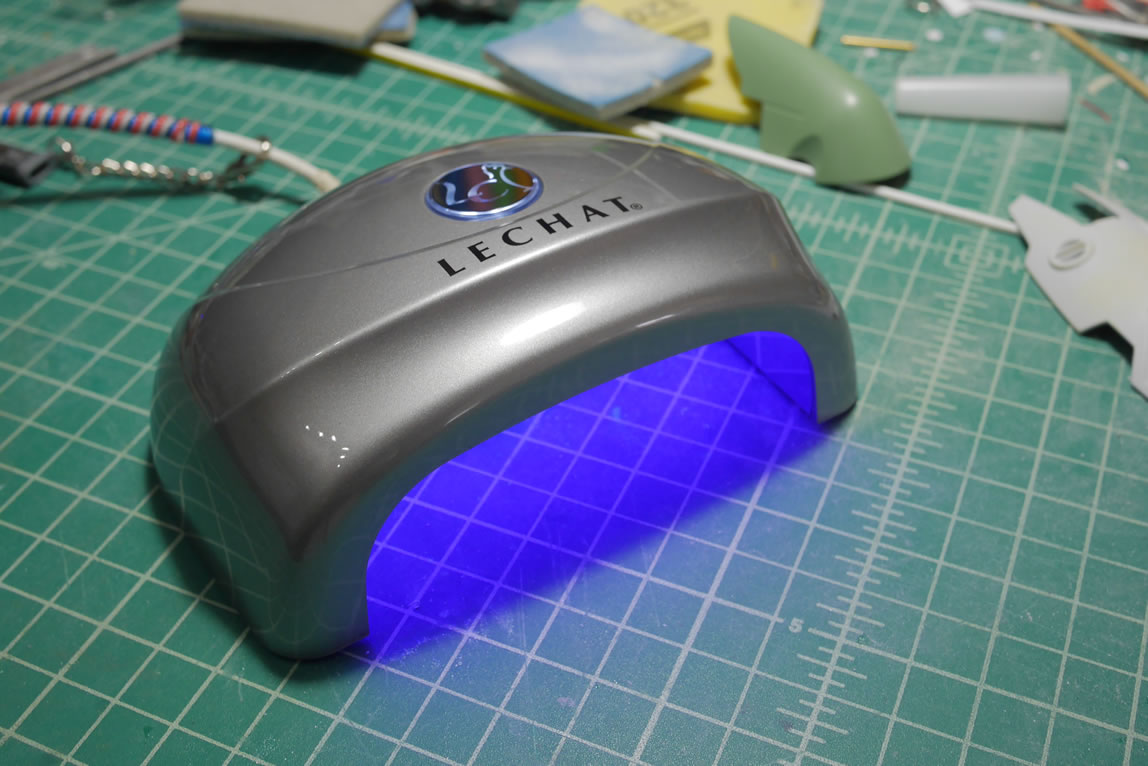

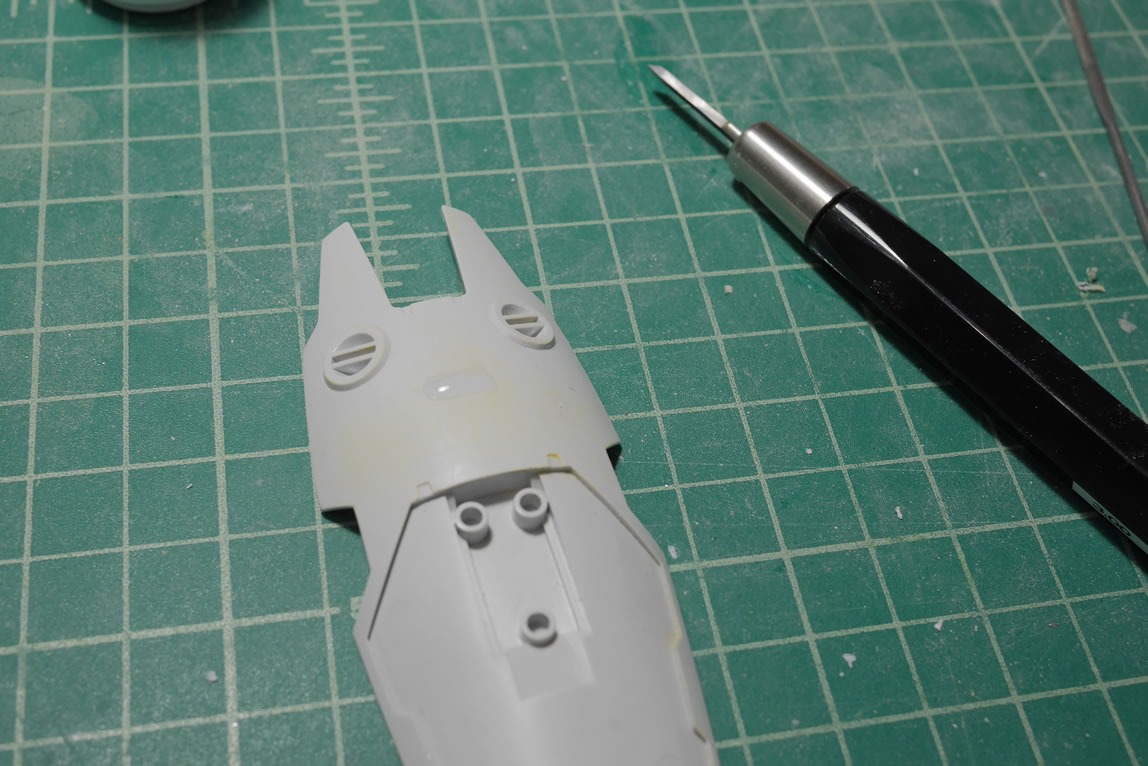
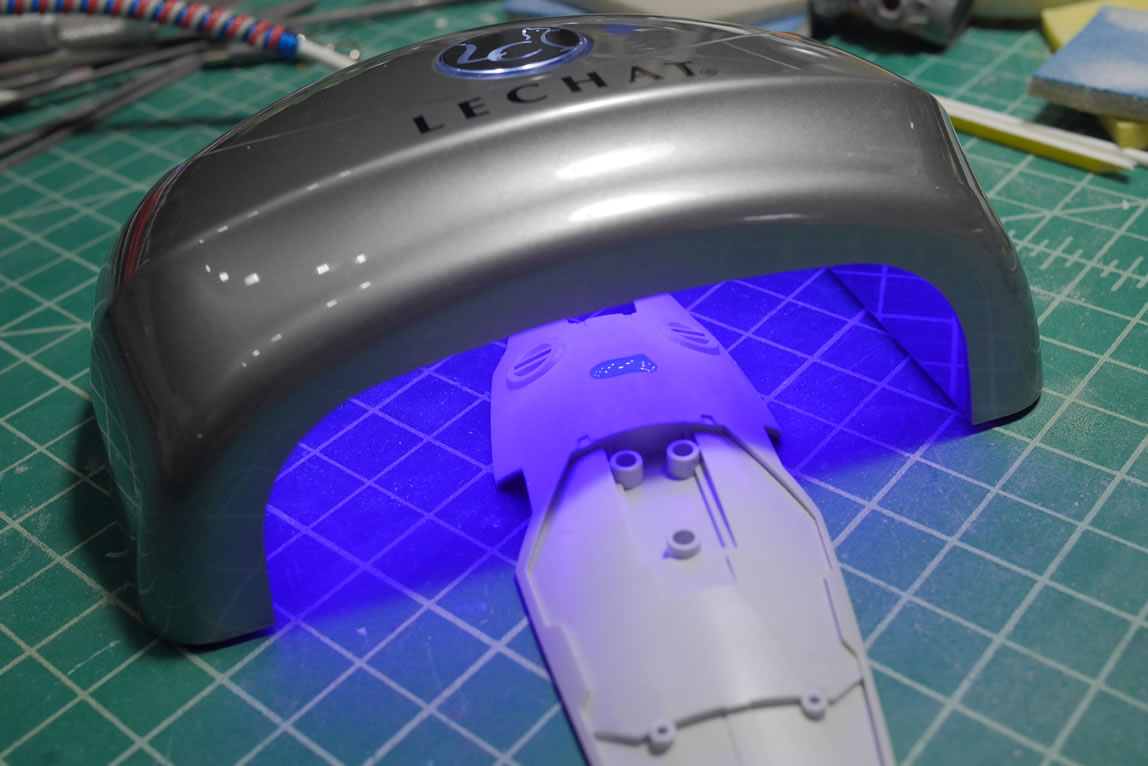
The demo below is with a shield that I gouged out a chunk of plastic with a scriber. Then applied the product, and placed it under a UV light to cure for about 30 seconds to a minute and the stuff is instantly sandable and solid. Pretty cool stuff for some quick filling.
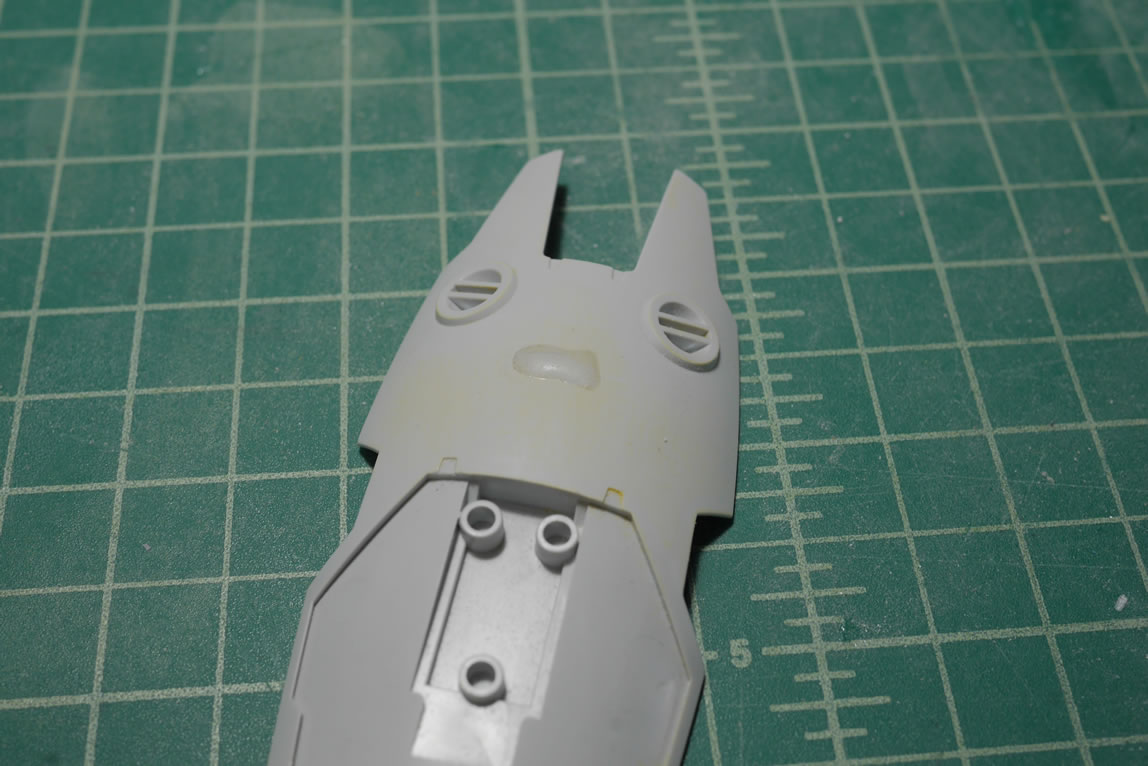
Once sanded and primed, the gouge is now gone. So here’s another product to add to the list of tools for quicker building.
I also did a quick live broadcast on this too and made comparison with some of the other putty products I use.
Now back to the bear guy after that quick commercial break. The backpack is finally cleaned up. The problem with scratch building and kitbashing is the clean up work for all the glued and puttied areas. This part must have gone through 3 or 4 priming, sanding, and filling session. Now it is finally ready for some paint.

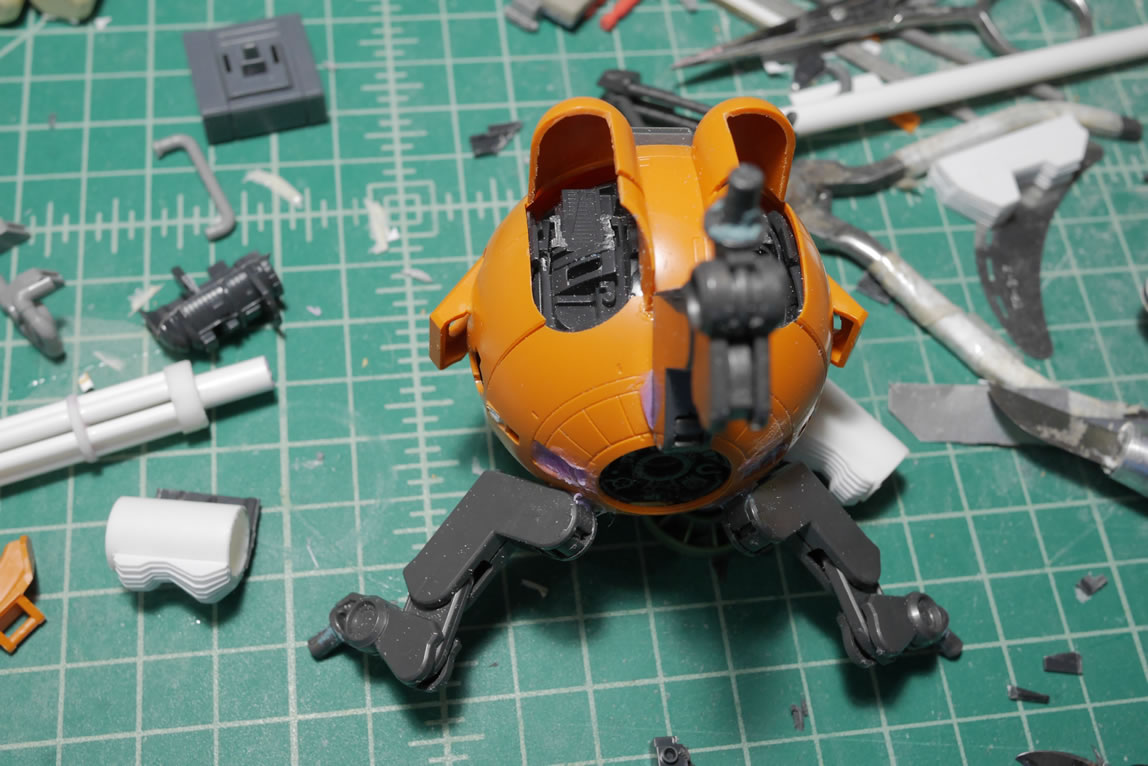
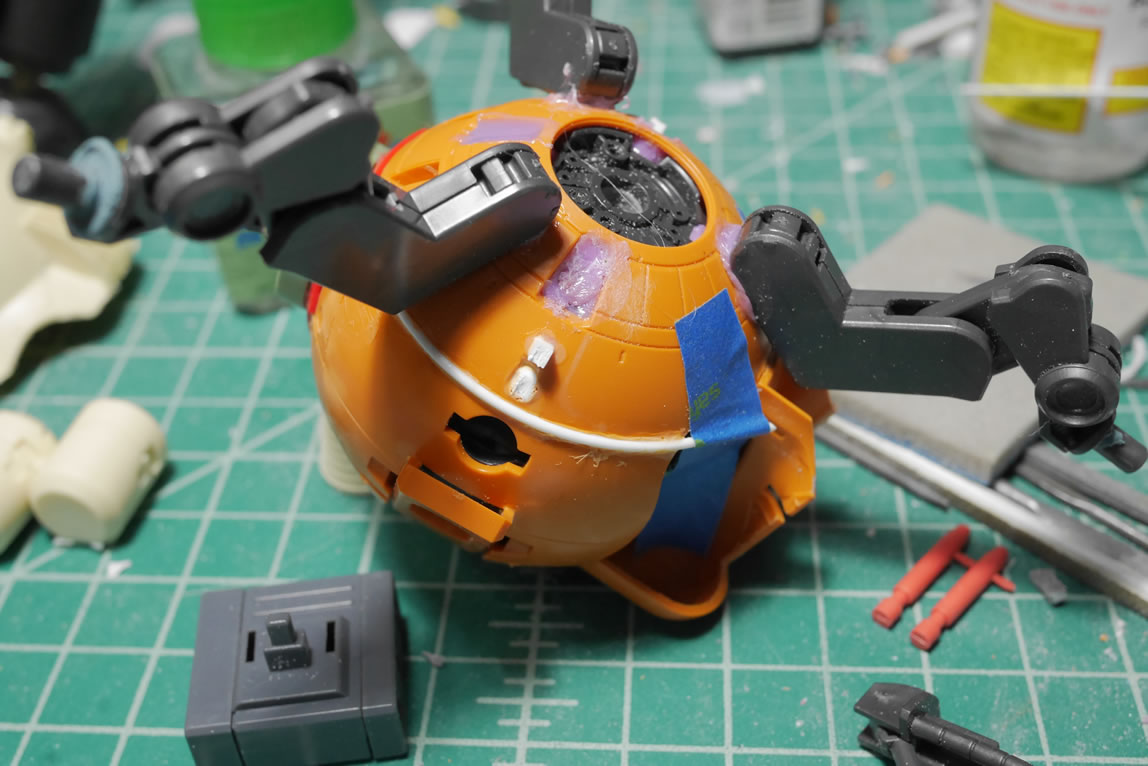
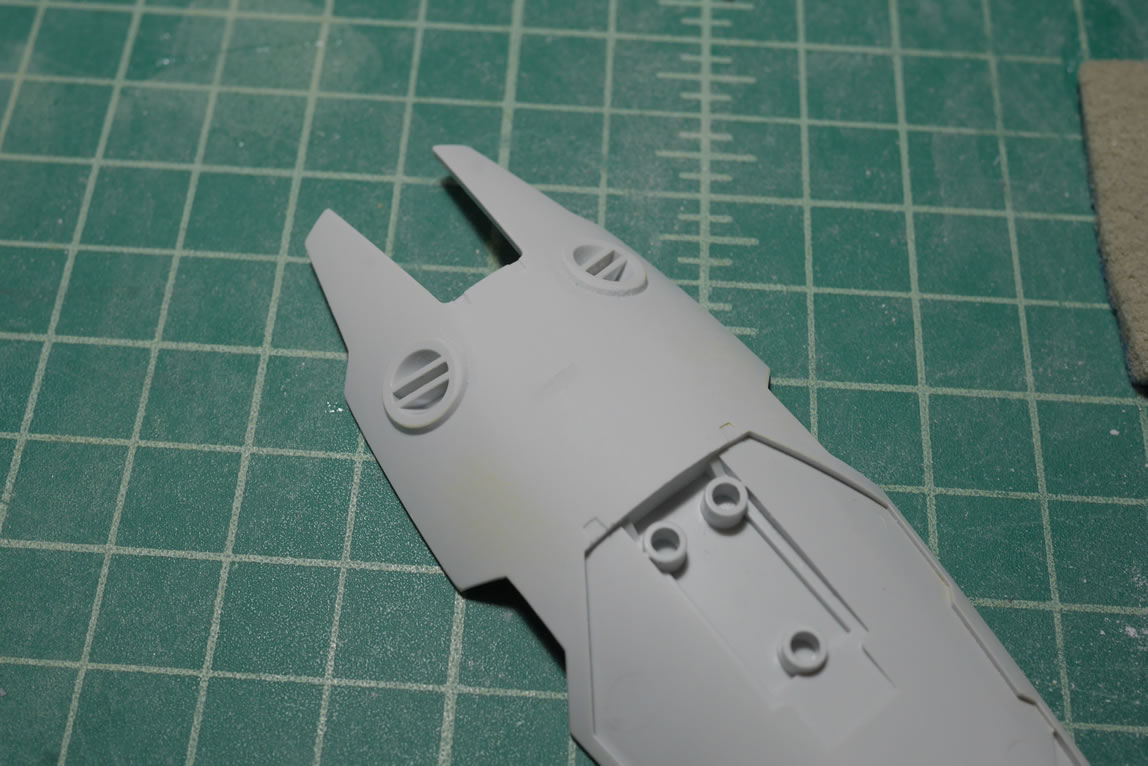
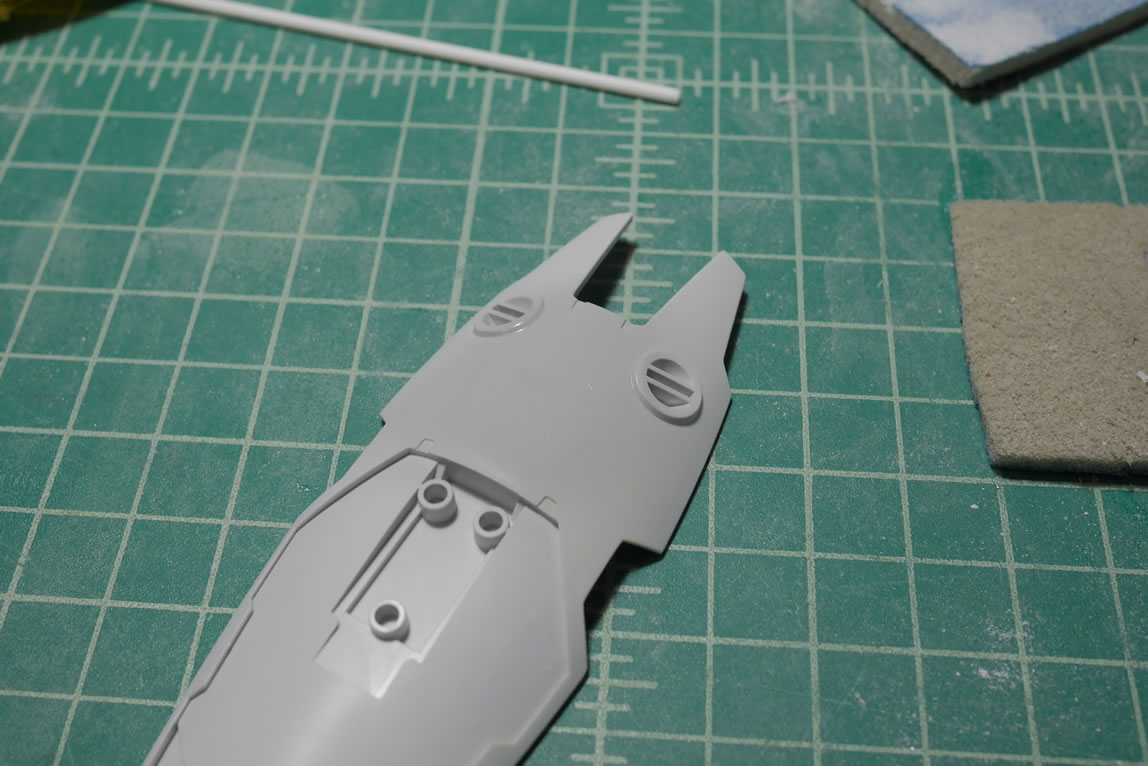
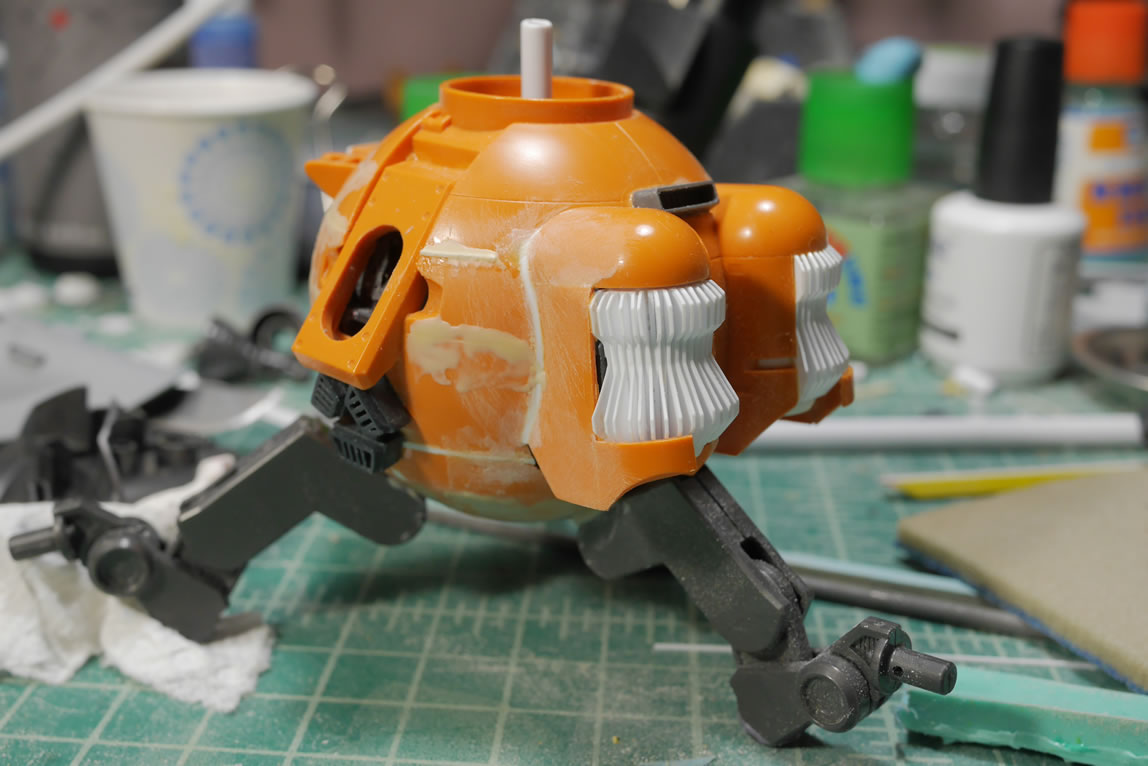
Returning to the lower torso Ball part and the vents. I glued the vents into position and then need to meld this to the Ball. I had originally cut away the original engine cover armor. Now with the vent in place, it is time to modify the cutaway area and glue it back into position to recreate the engine cover armor. I also added in some armor as a shield over the lower area of the vents. I think this helps creates the effect that the vents are inside the armor and the cutouts are designed to help the venting. Then more styrene filler to close up the gaps.

While the work on the lower toros continues, the upper torso pieces are painted.
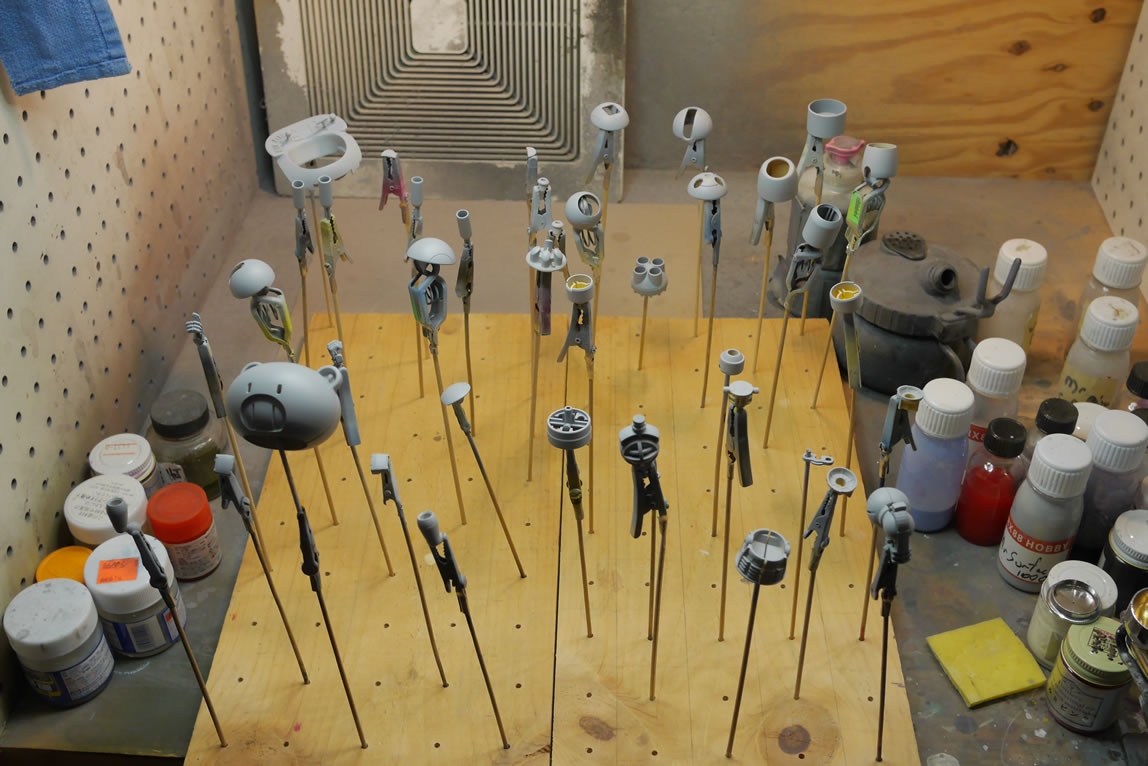
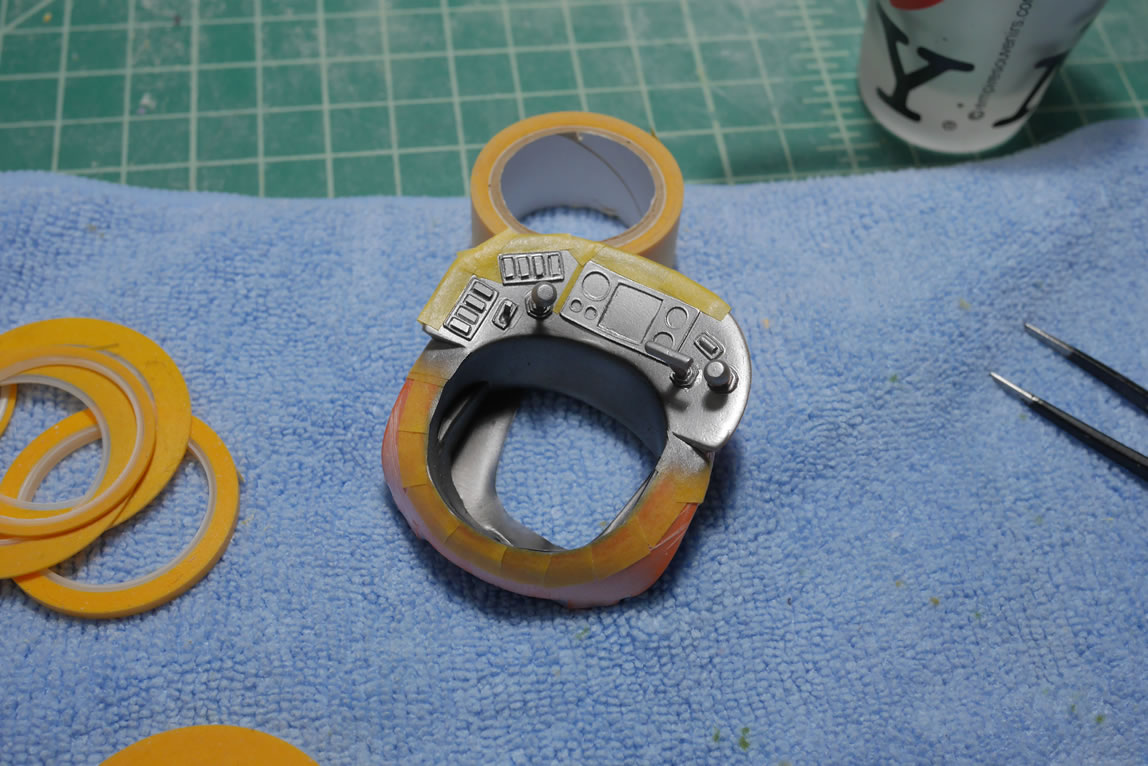
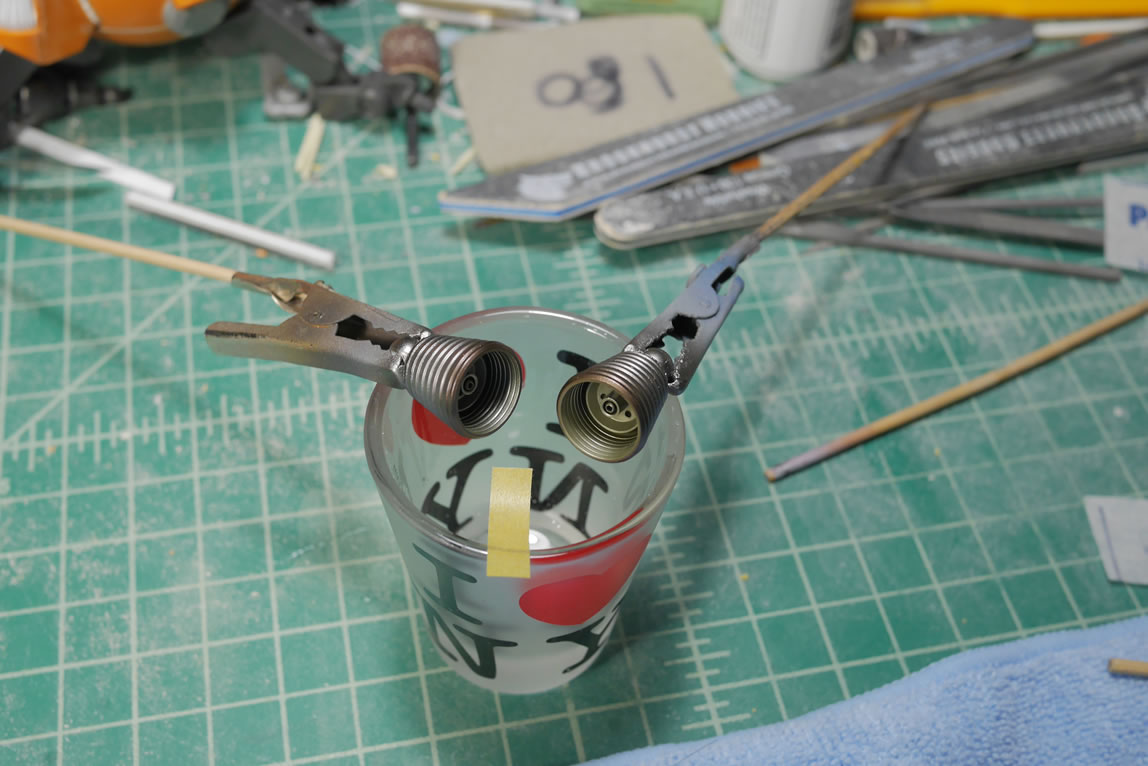
With most scratch built/kitbashed projects, there is always masking involved. I’m not about to spend time to design things like bandai so that I can have separate parts to paint that are easily assembled. In my world, everything is glued and puttied. So masking is a necessary evil. The thruster bells are painted on the inside first, masked with sticky tack then the outer bells are painted. THe control panel is painted in alclad dark aluminum then masked off to paint the frame black.
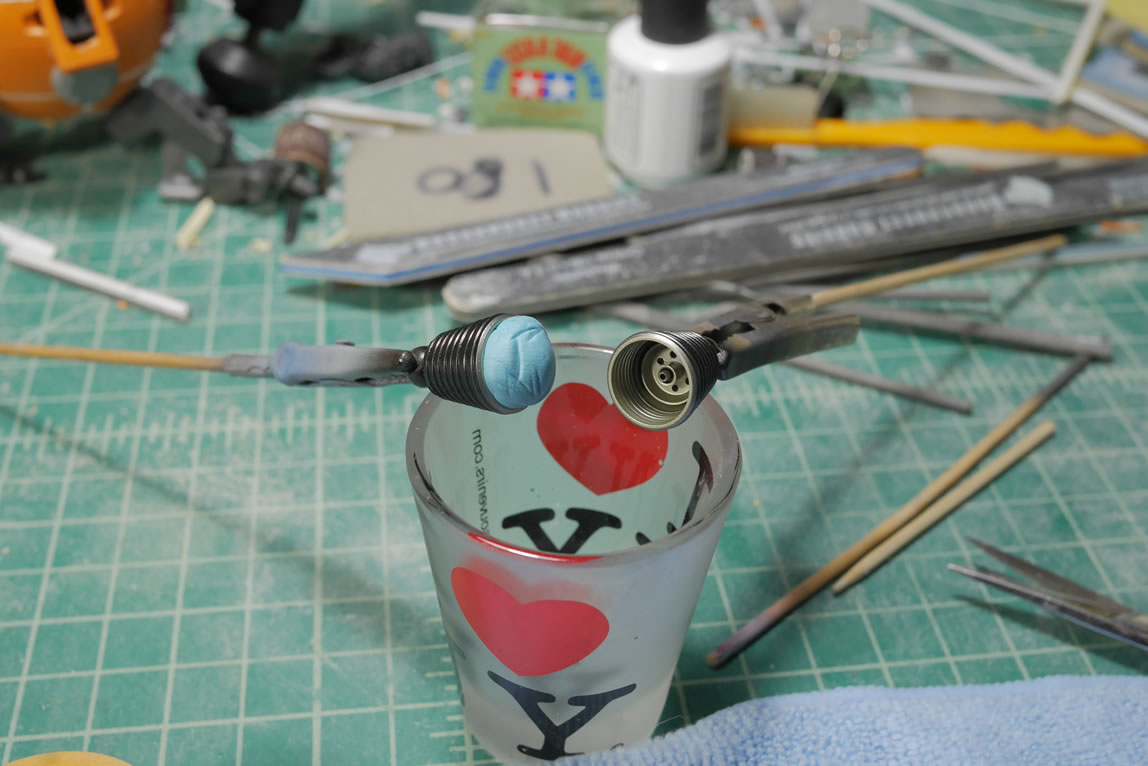
The internals are painted with alclad burnt metal and the exterior painted with stainless steel and a quick splash of hot metal septia for tone work.
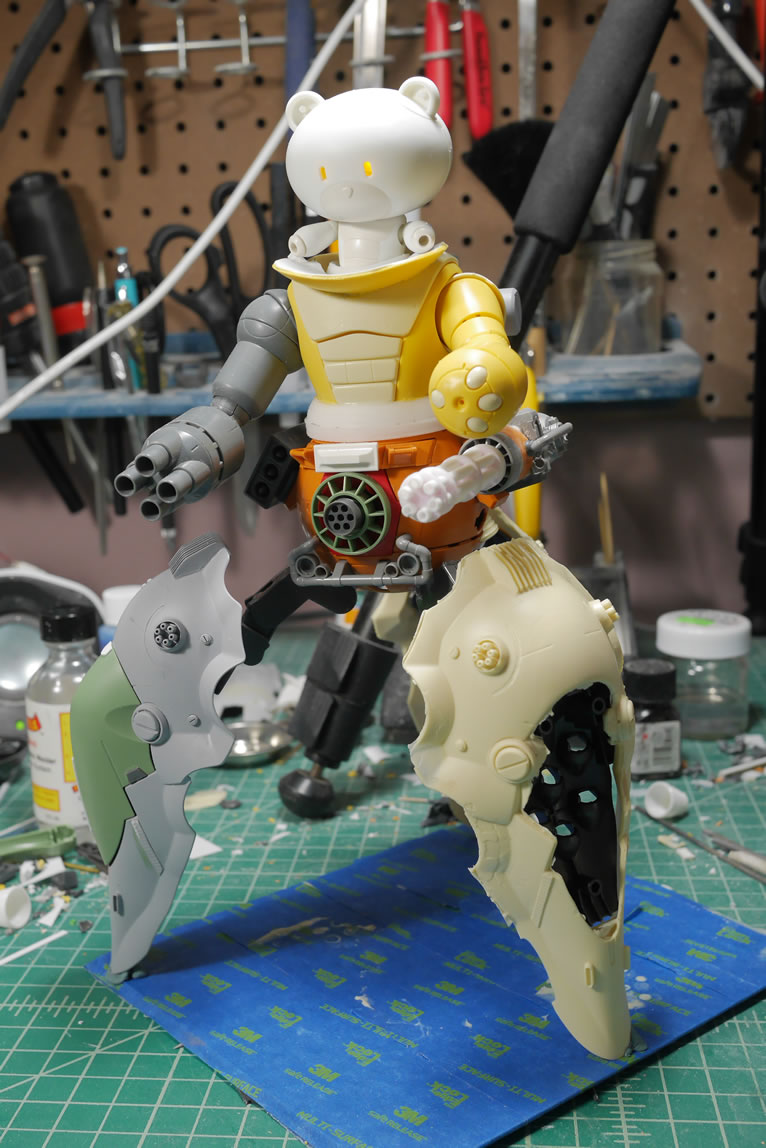
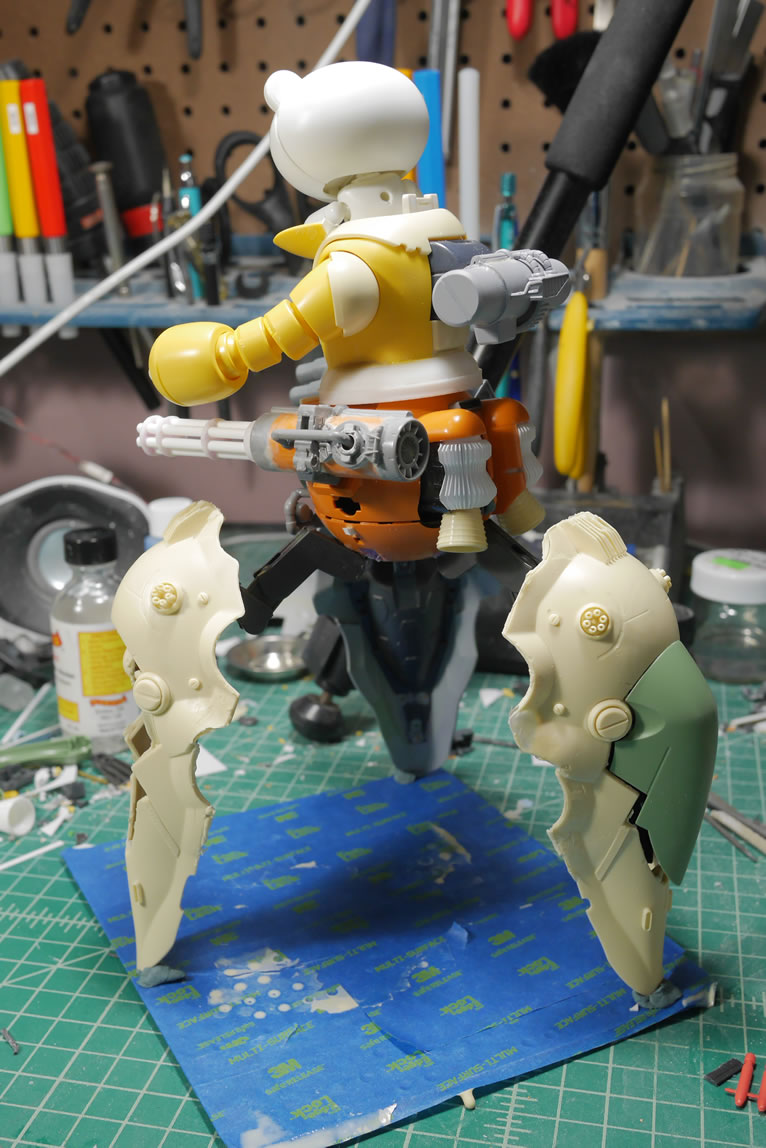
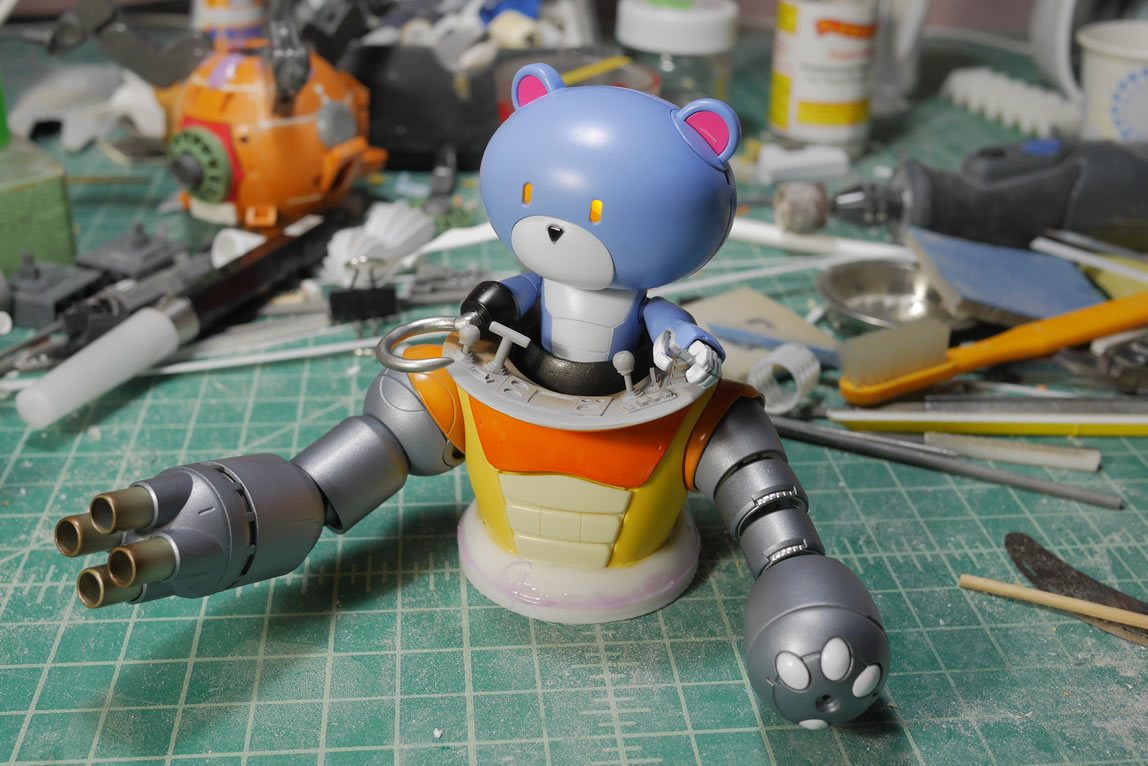
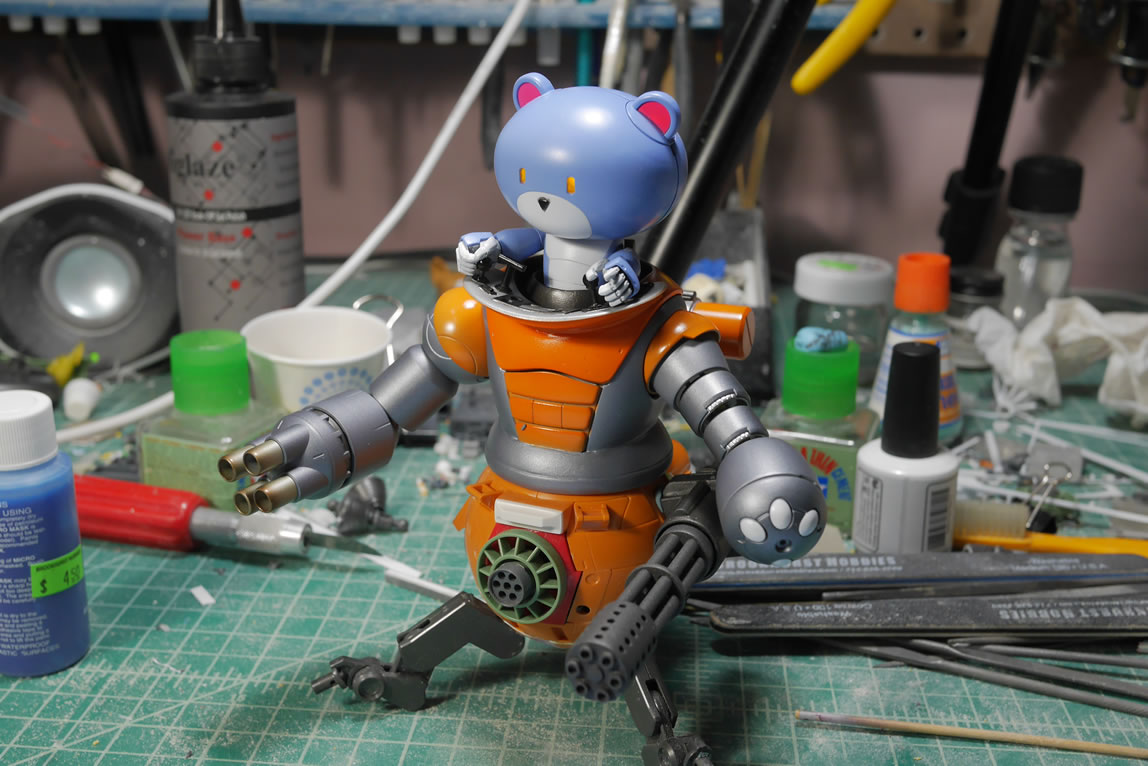
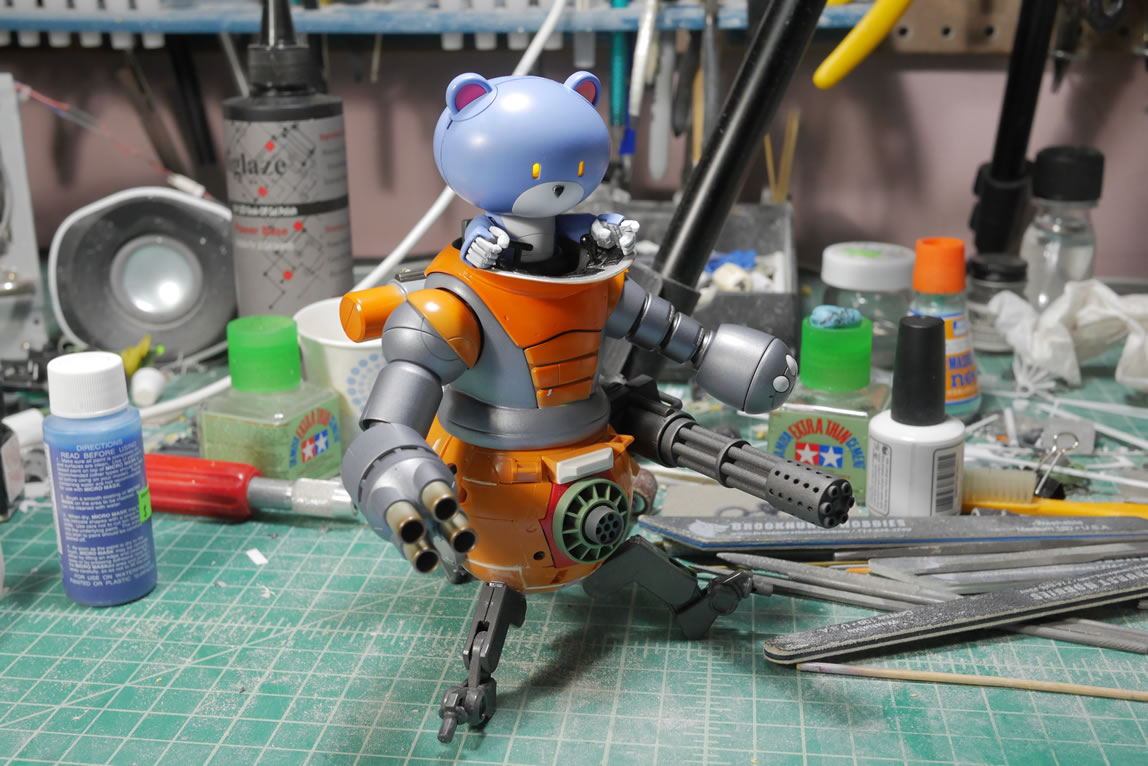
Here is a quick mock up for the upper torso since most of the upper torso’s paint is almost complete. Note that I made a slight change to the lower torso’s mounted gatling gun. I’ve been taking an intro zbrush class and made a quick A-10 style gatling gun barrel end. I have the original barrel painted as well, and the barrel assemblies can be interchanged like the hands. I think this make the gun look a little beefier and meaner.
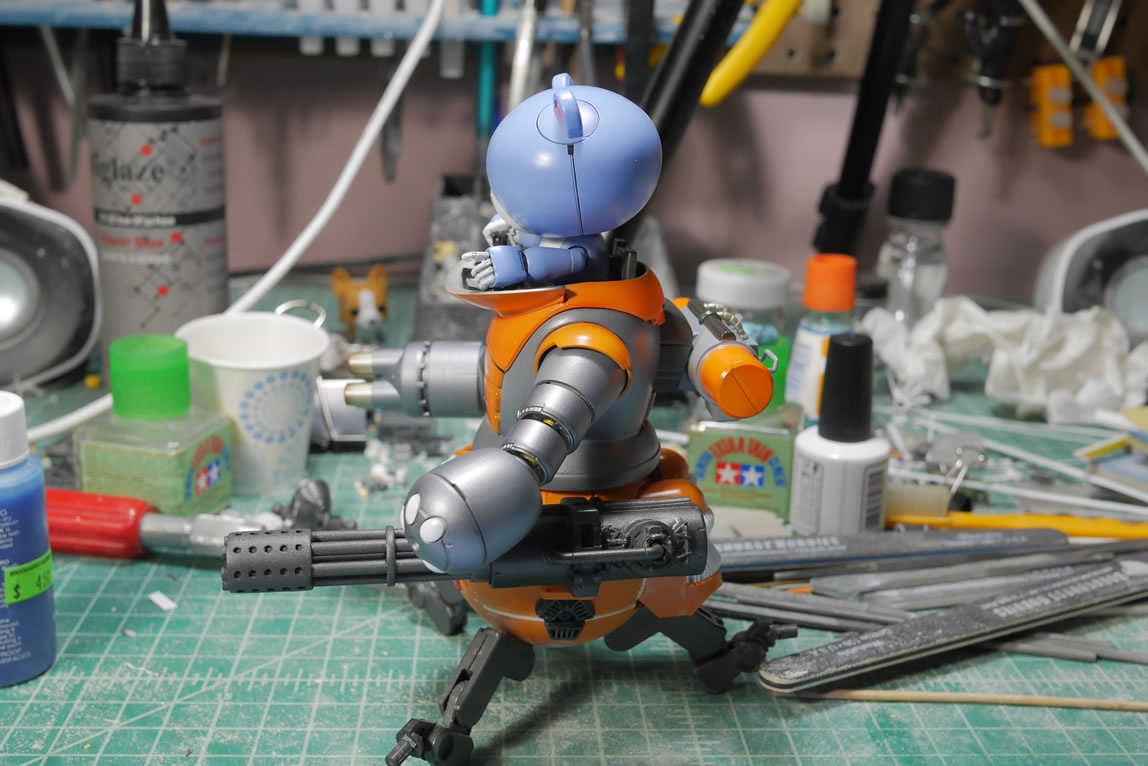
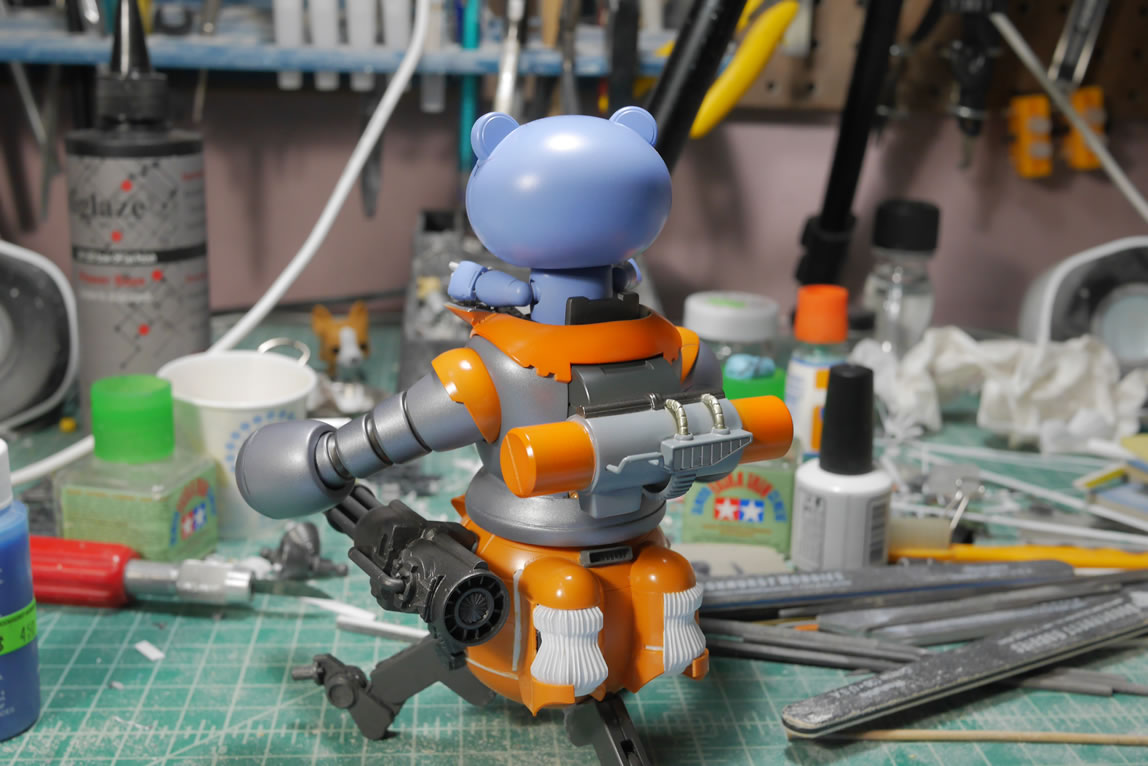
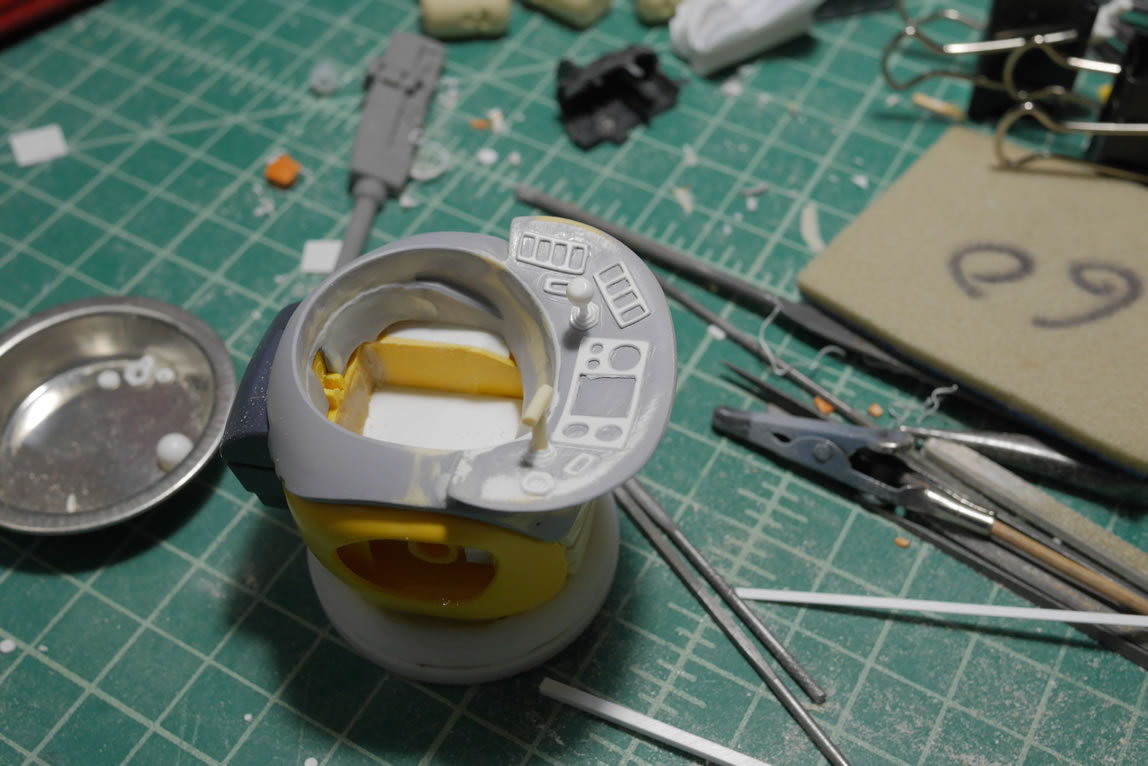
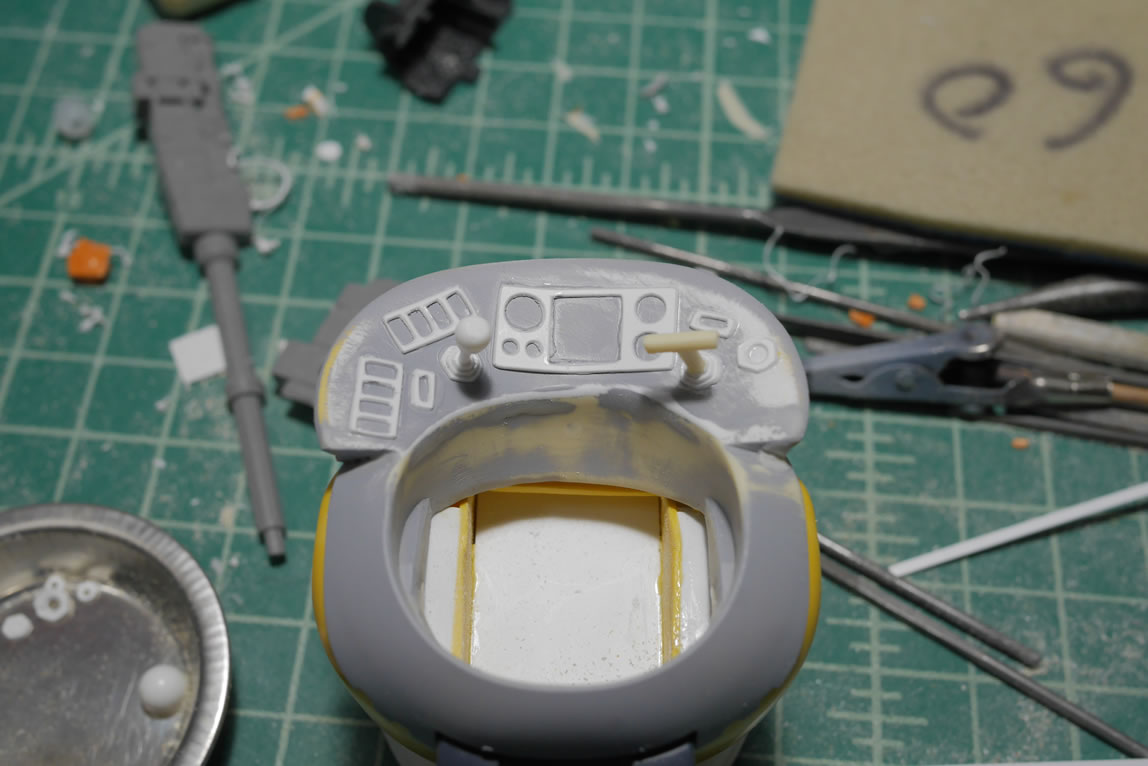
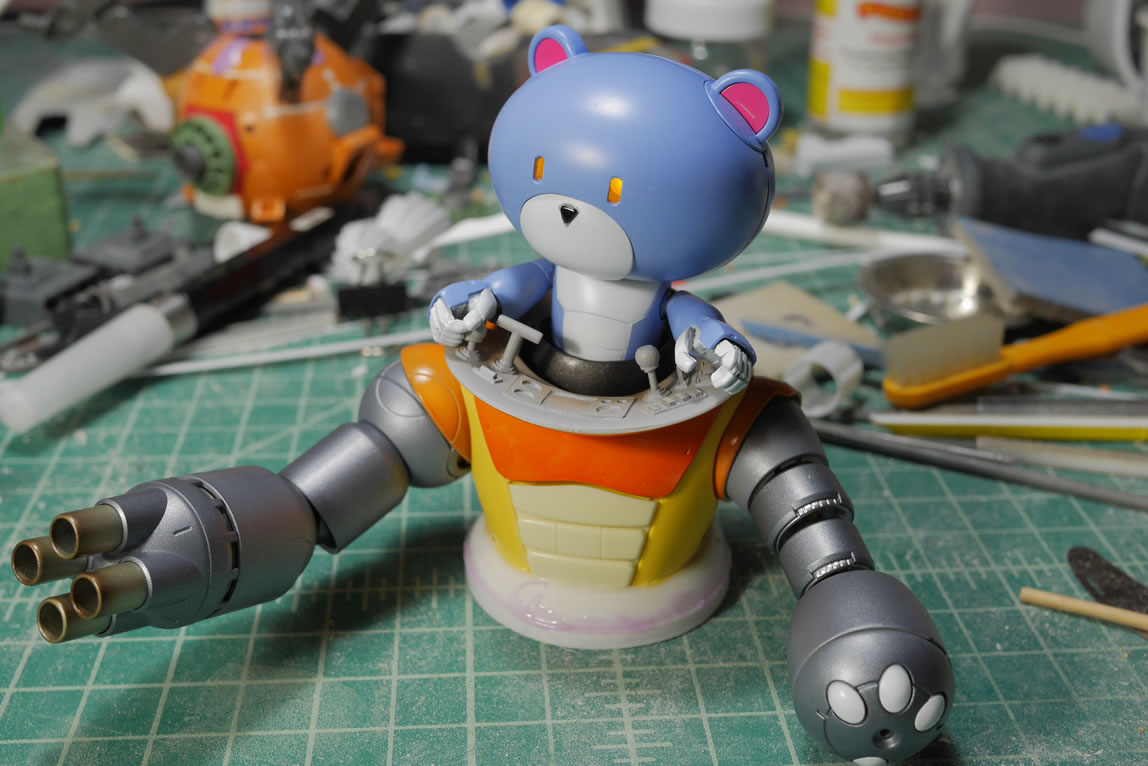
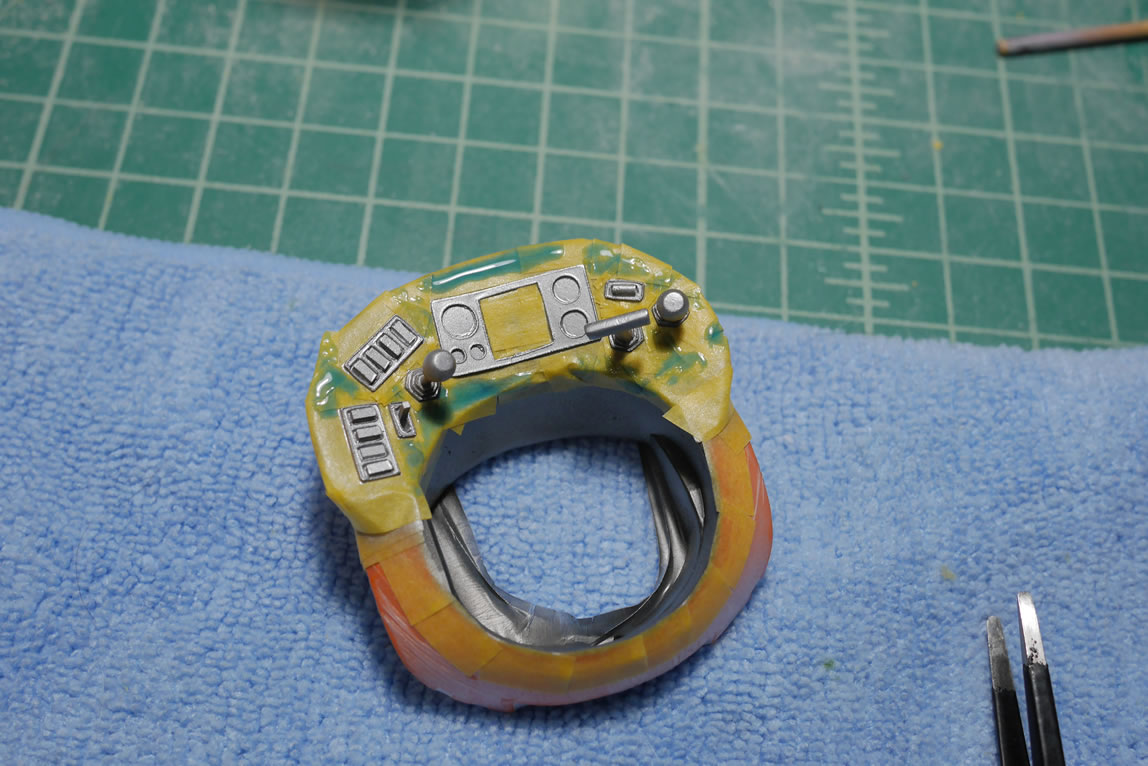
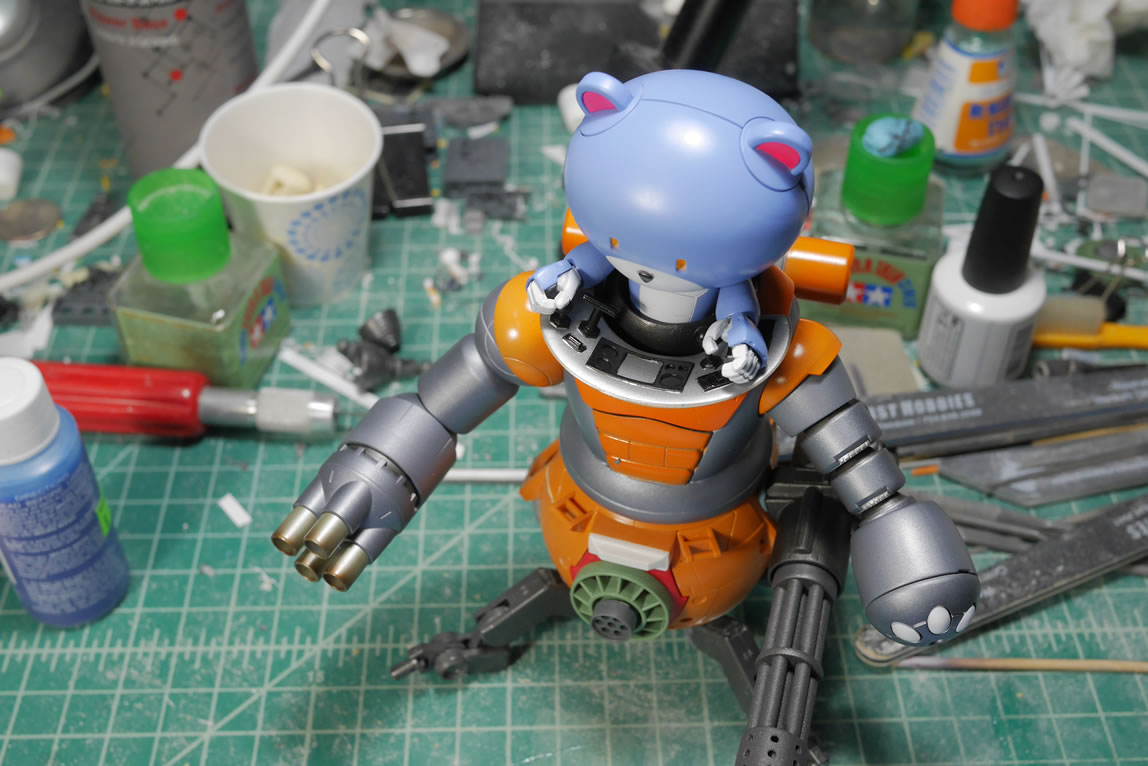
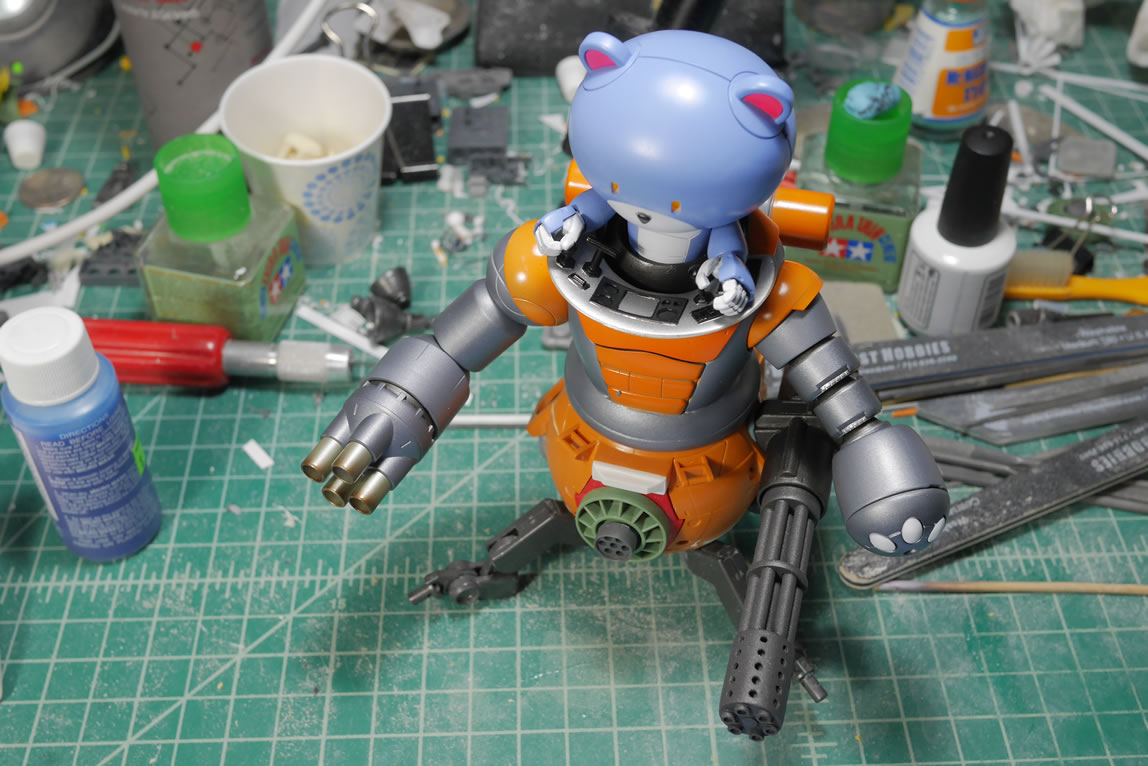
Here are a couple of top views with the control panel. I still have lots of detail painting for the control panel before I can call that part done. But it’s progressing. I can now focus on the lower torso.
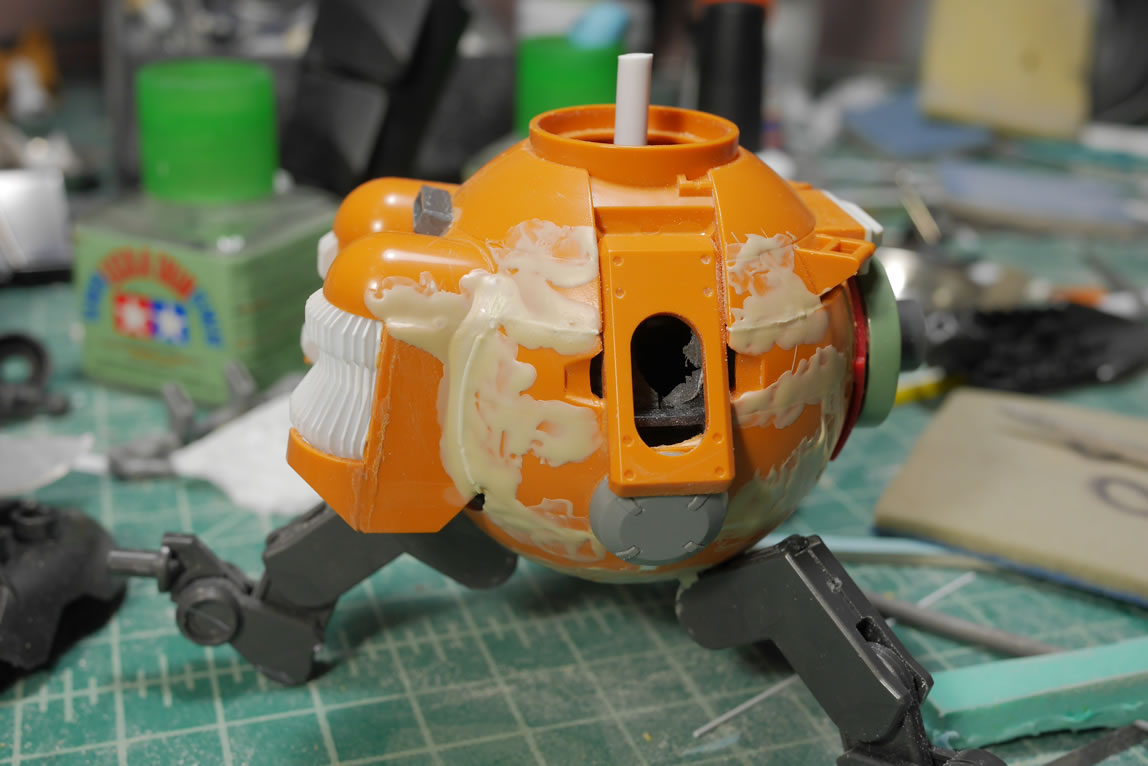
Returning to the lower torso, the last bits of work I did last night was to putty over the pane lines on the ball. The upper torso doesn’t have too many panel lines so I figured this would help mesh things together. Once I prime this, and do a visual mockup, I will know where to add back panel lines while keeping the whole thing looking like cohesive design as opposed to slapping things together and having things mismatched or just stand out. Primer and paint help a great deal in meshing things together. But small details are really the key to a cohesive design and tying everything together.
Wait for it…. wait for it..
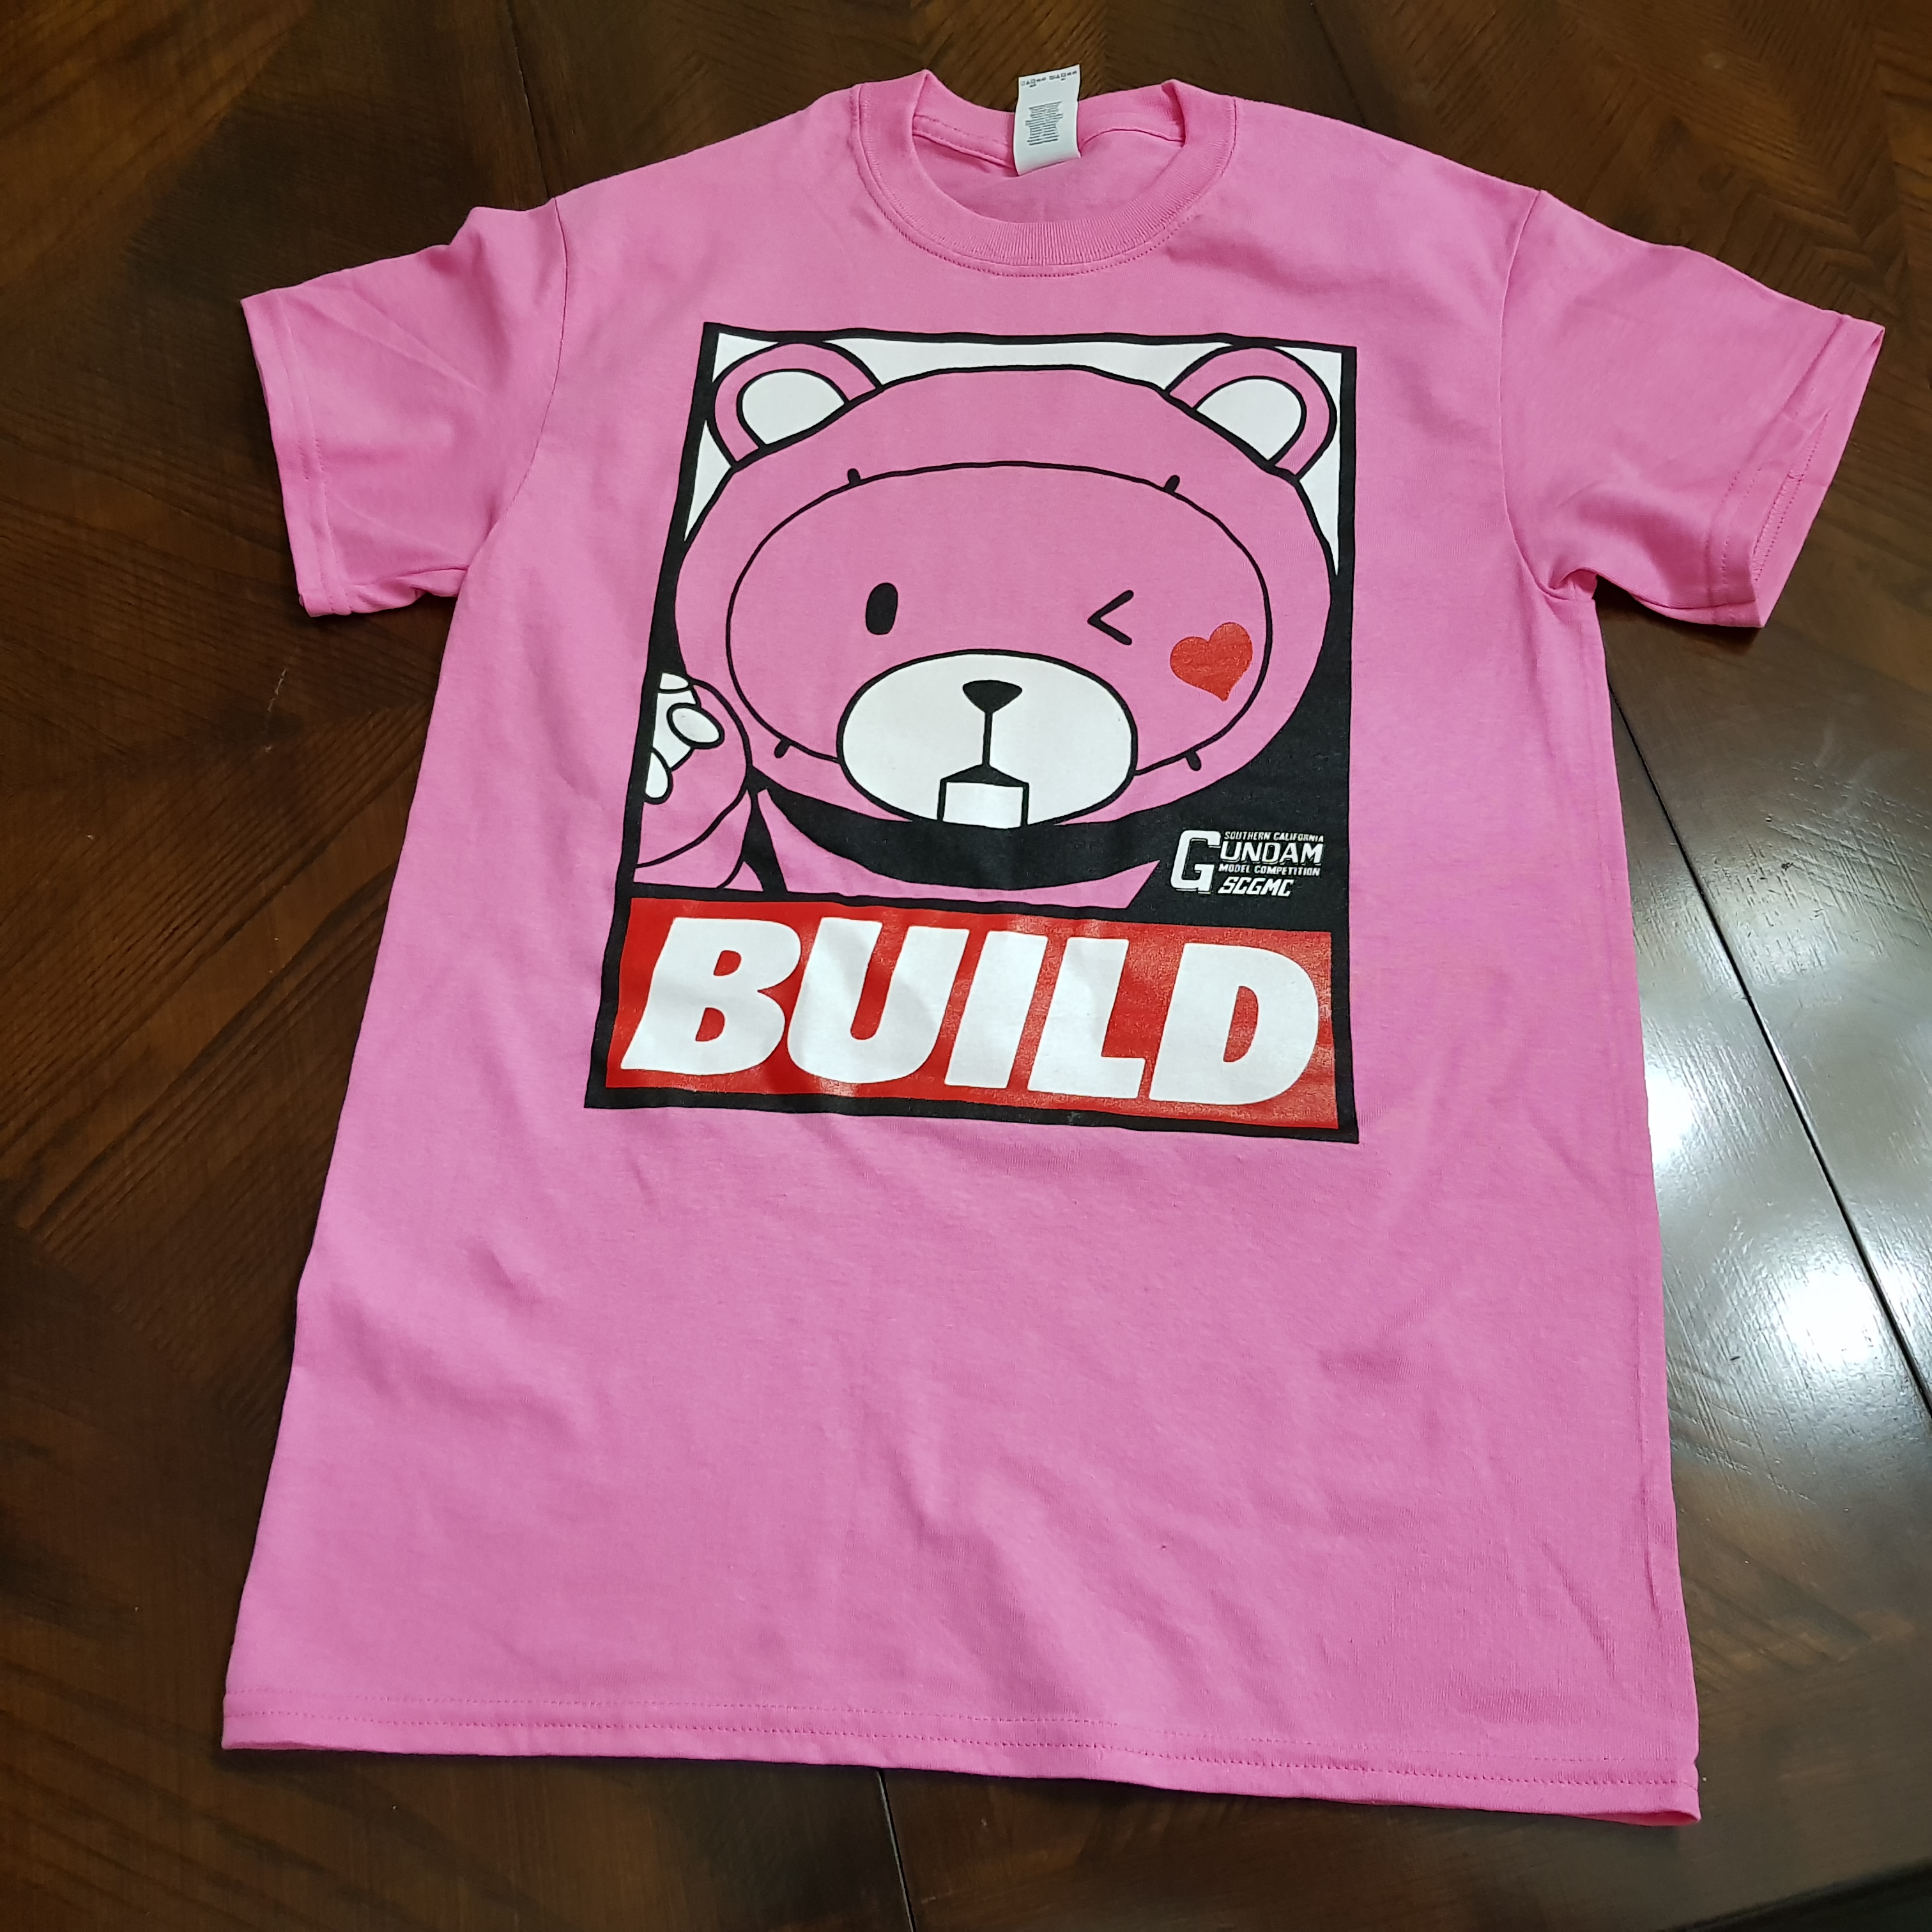
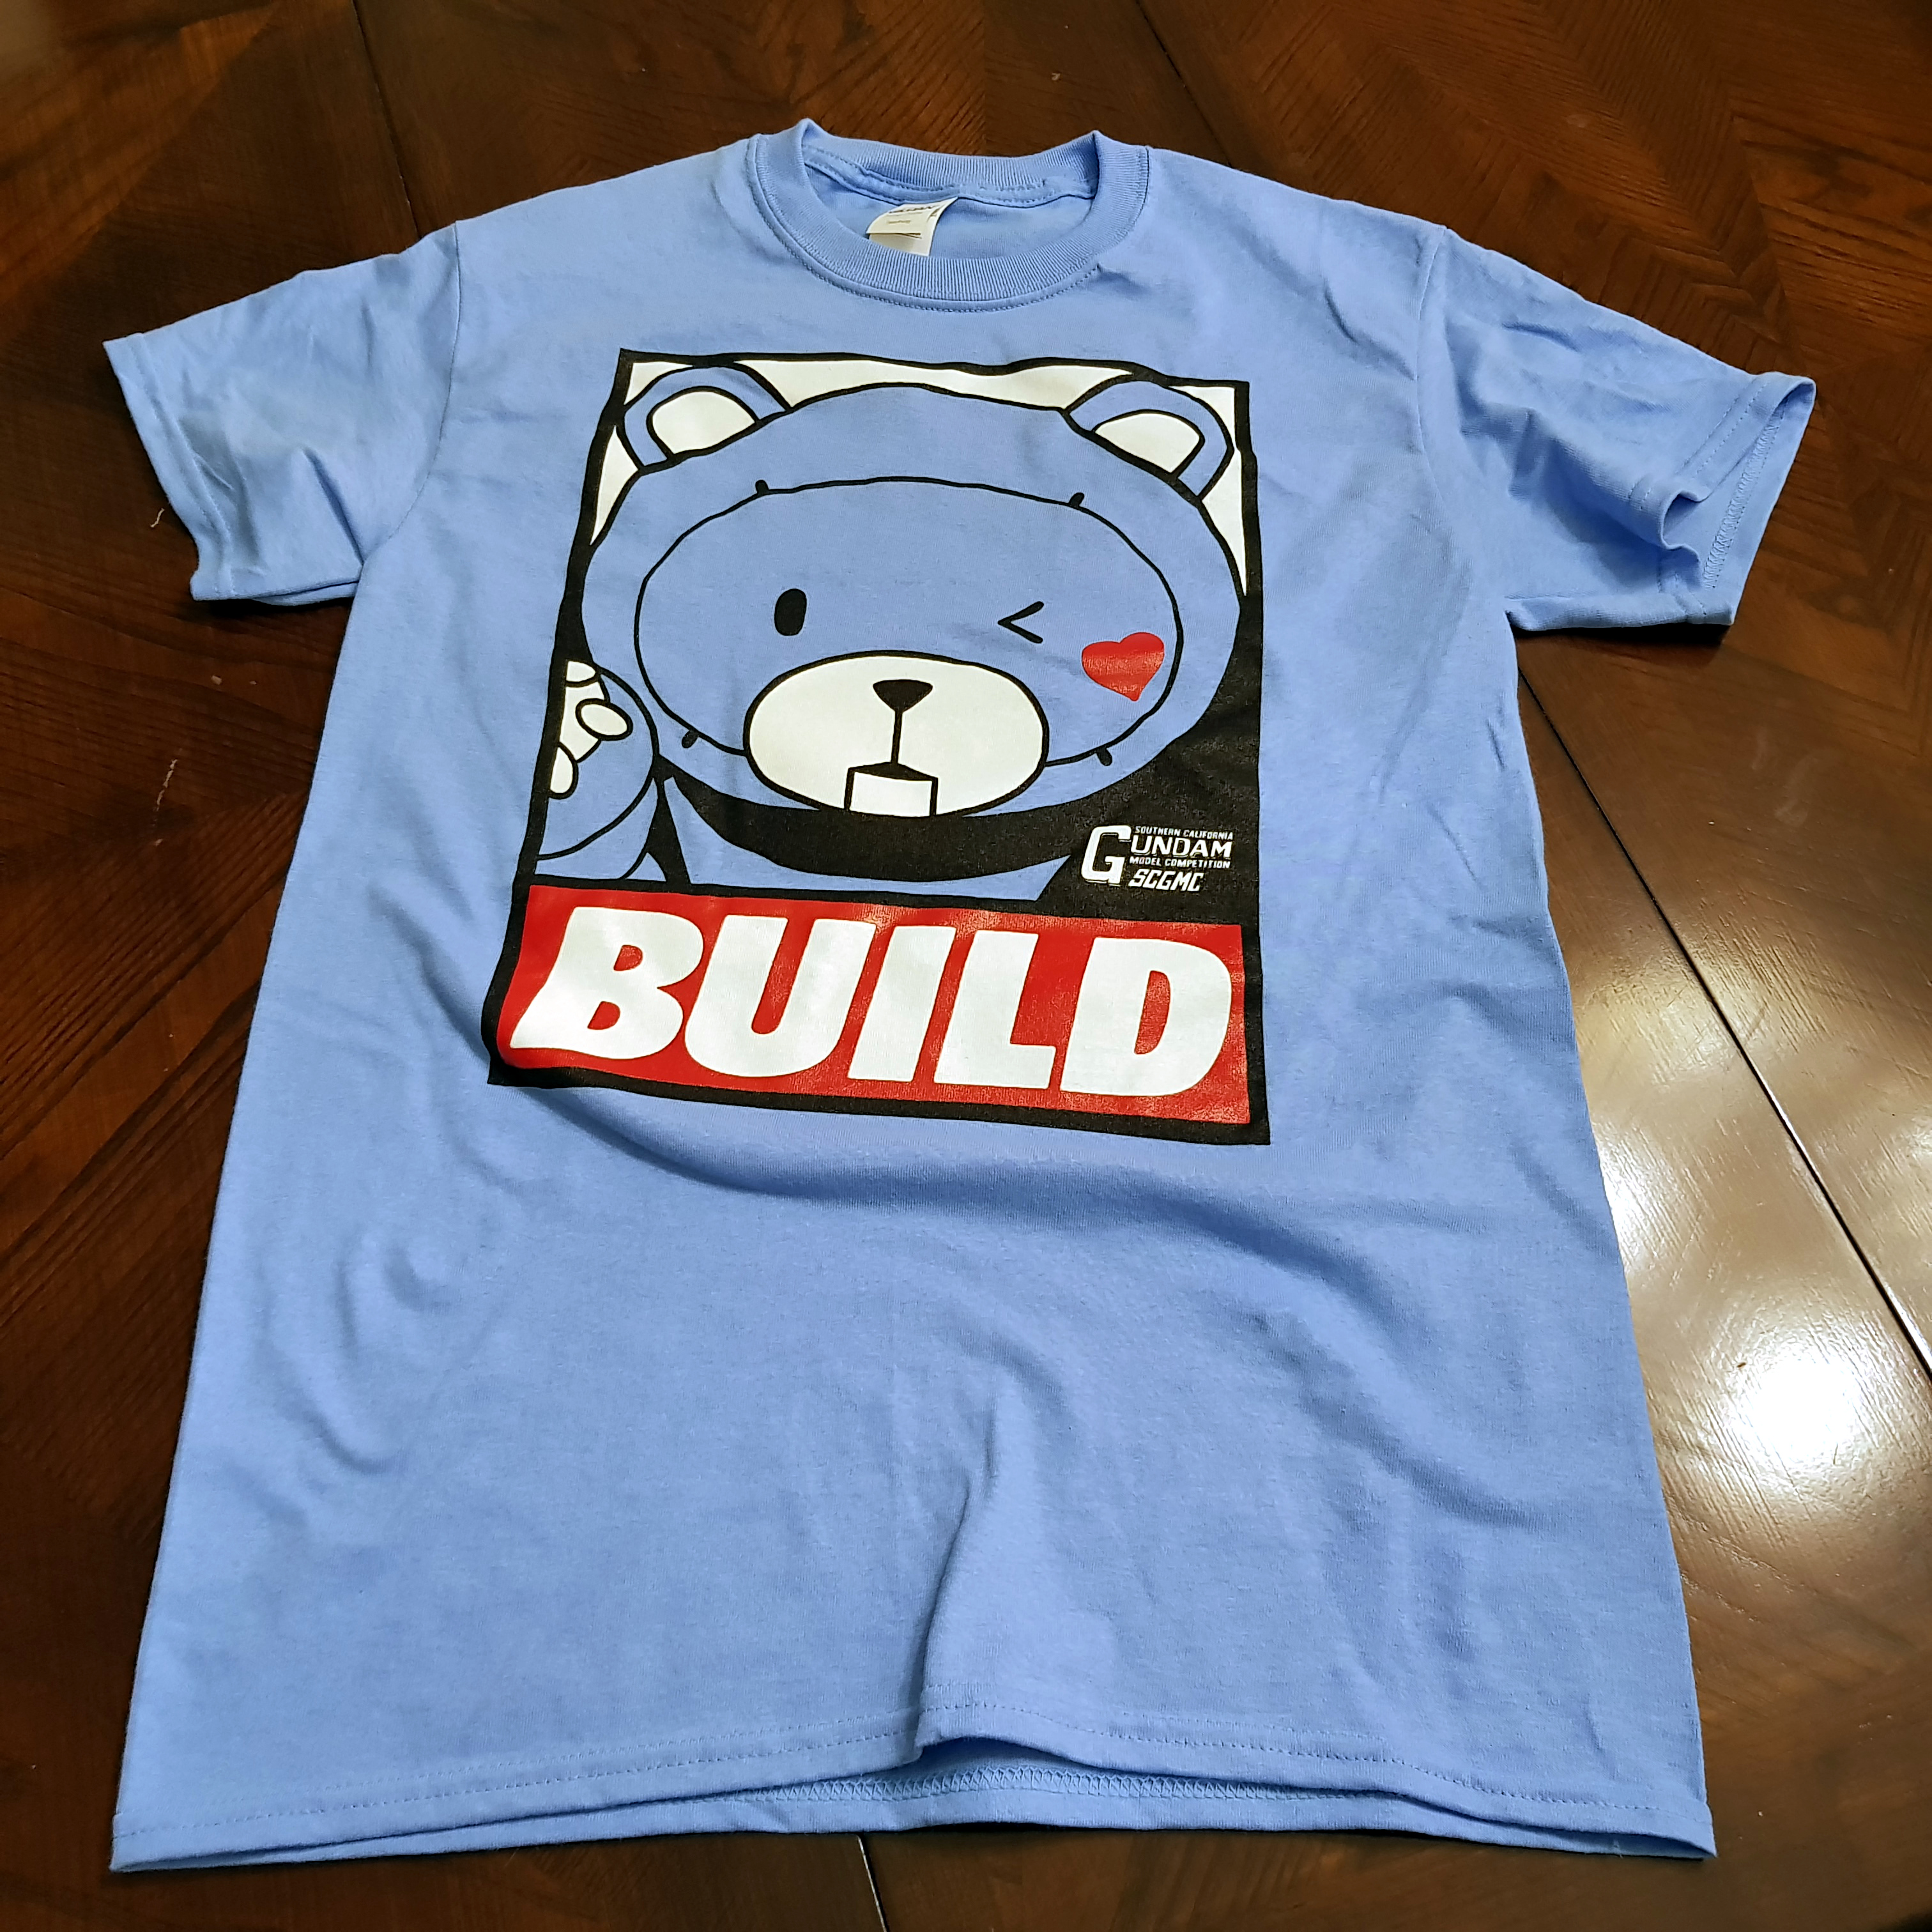
Shameless plug!!! Again, this is a Bear Guy build and as our theme this year for SCGMC is the Bear Guy. It’s not about how elaborate a Bear Guy kit you build, but how many Bear Guy shirts you buy!!! Get your shirts while we still have some in stock! We have one in Pink and one in Blue. Wear them proudly!
We also have another new shirt we have up for sale now is based off the chess piece designed by our own Bhop: the Gunpla Elitist T-Shirt. Get your elitist shirt while supplies last and wear them proudly at any gunpla event you attend!
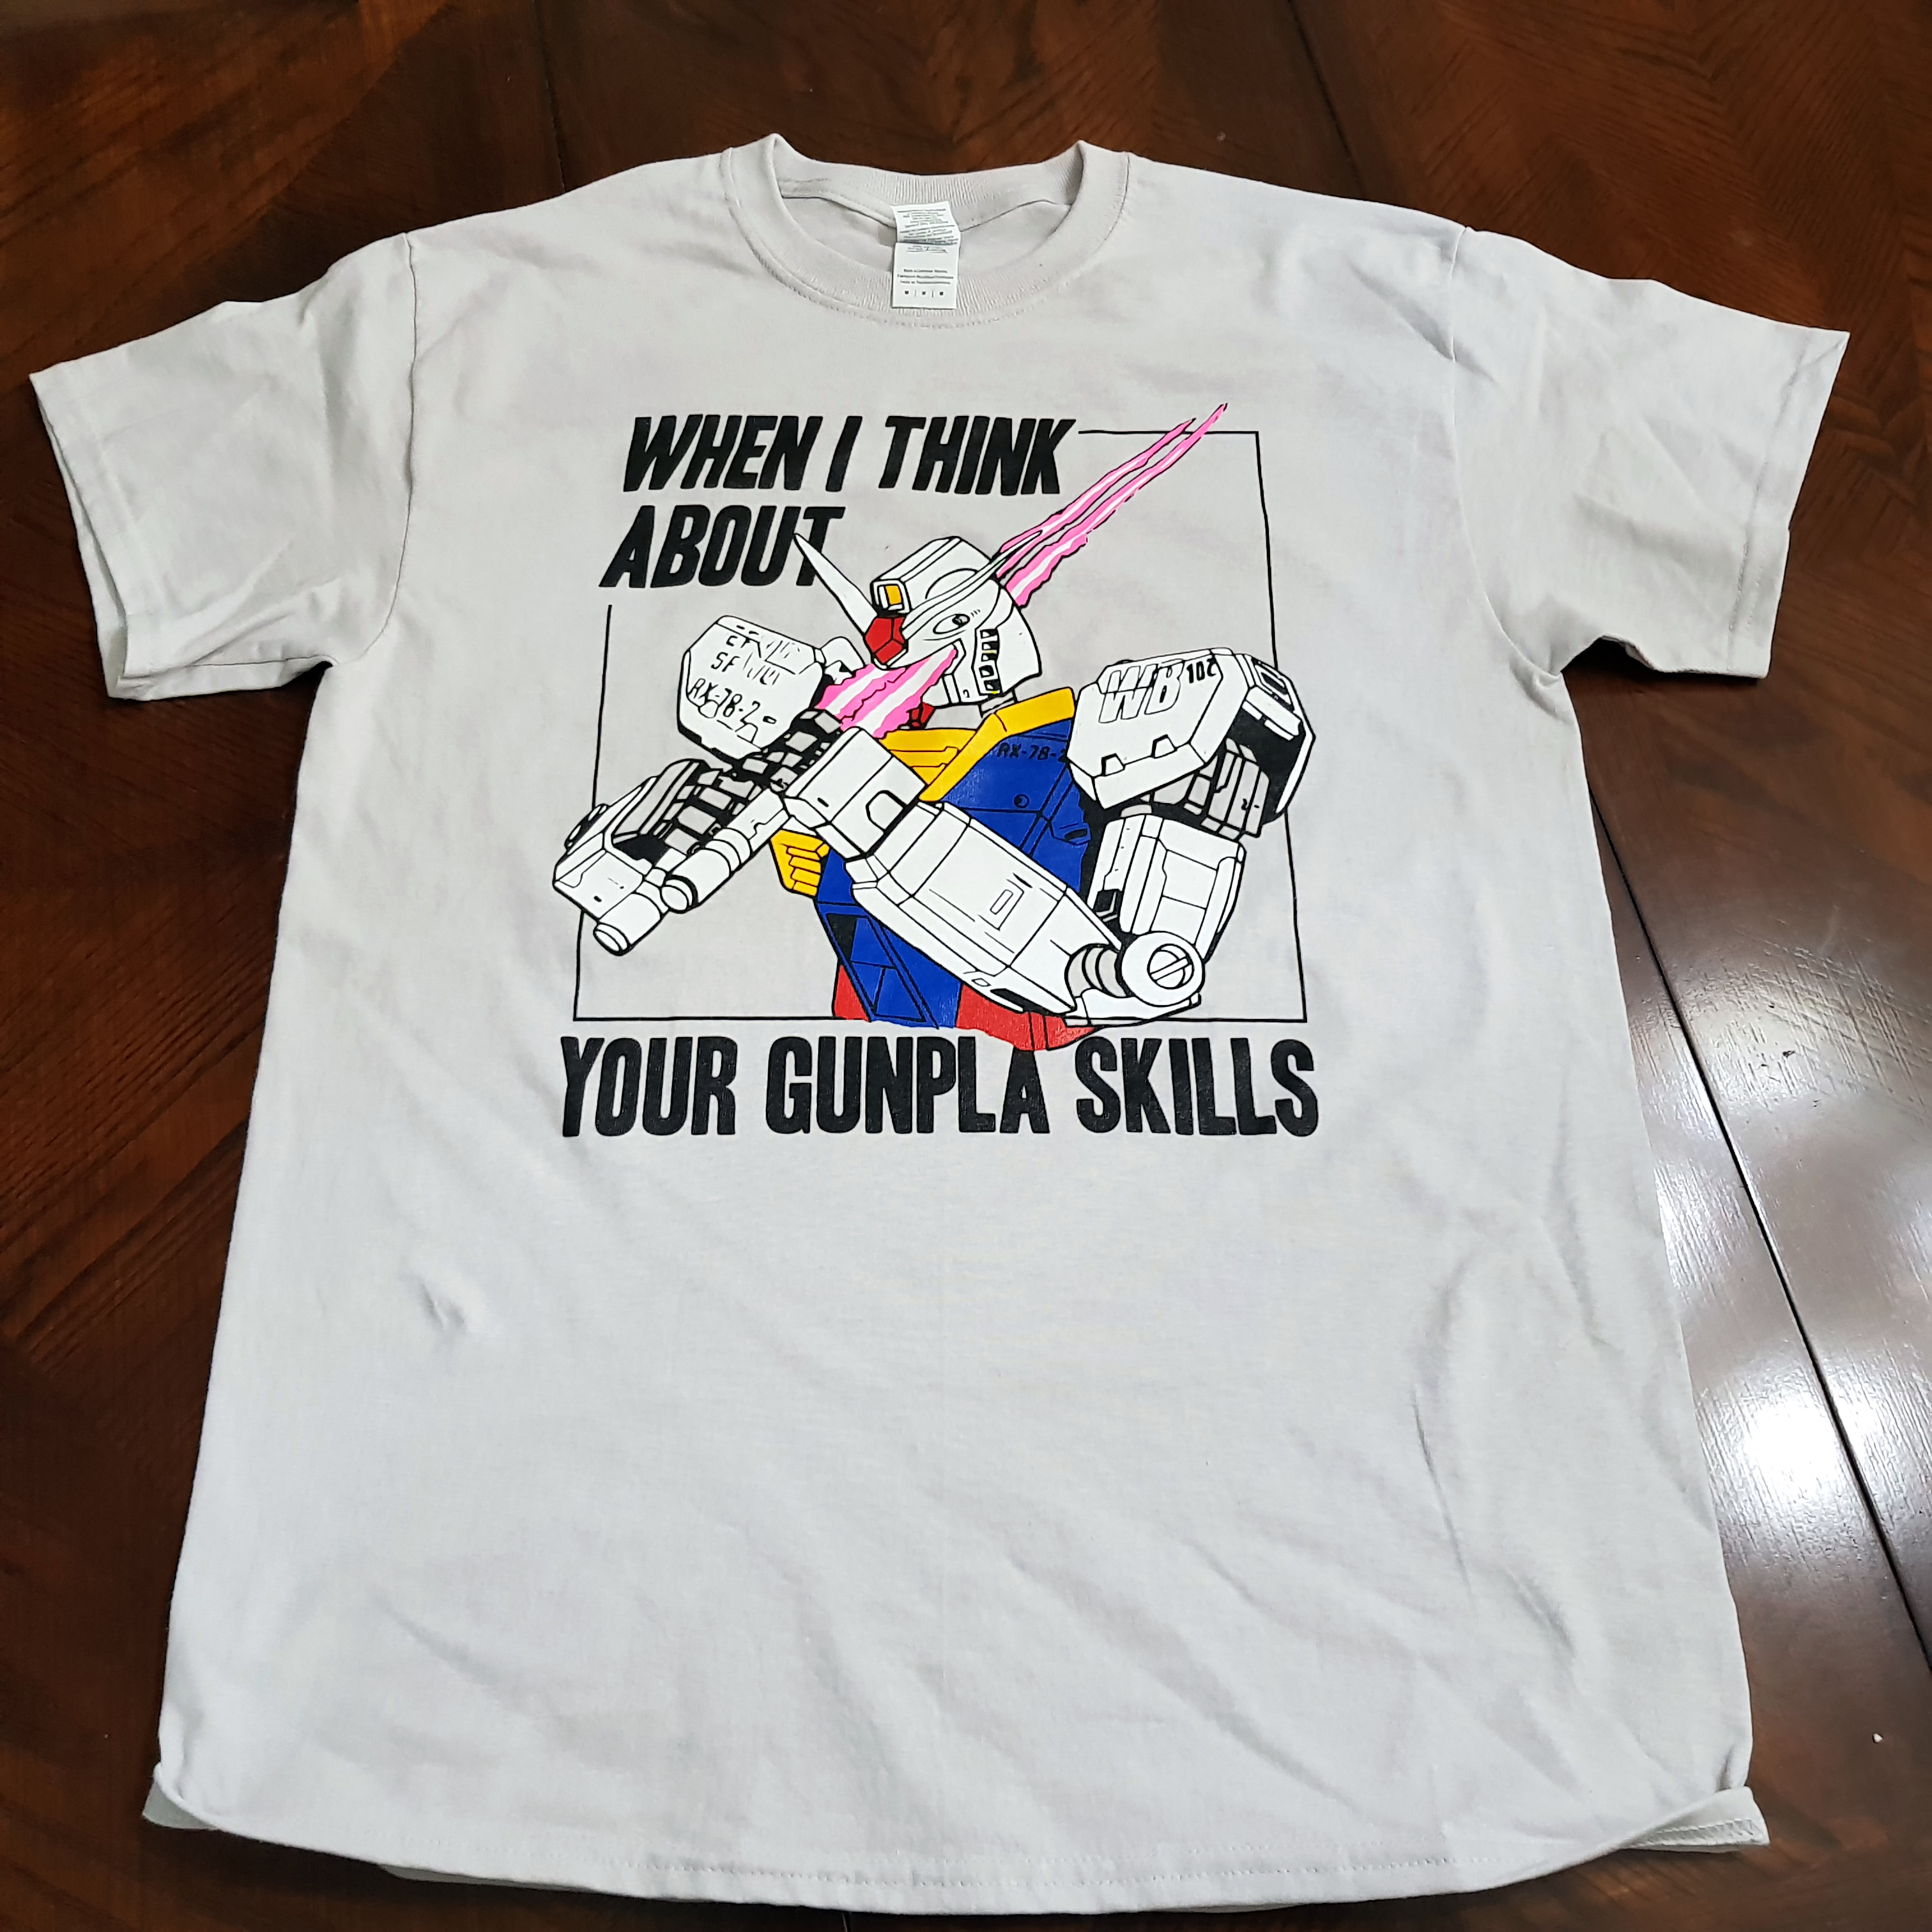

This also helps us bring you guys SCGMC every year, so every dollar spent goes right back into making the competition bigger and better! [/end plug]