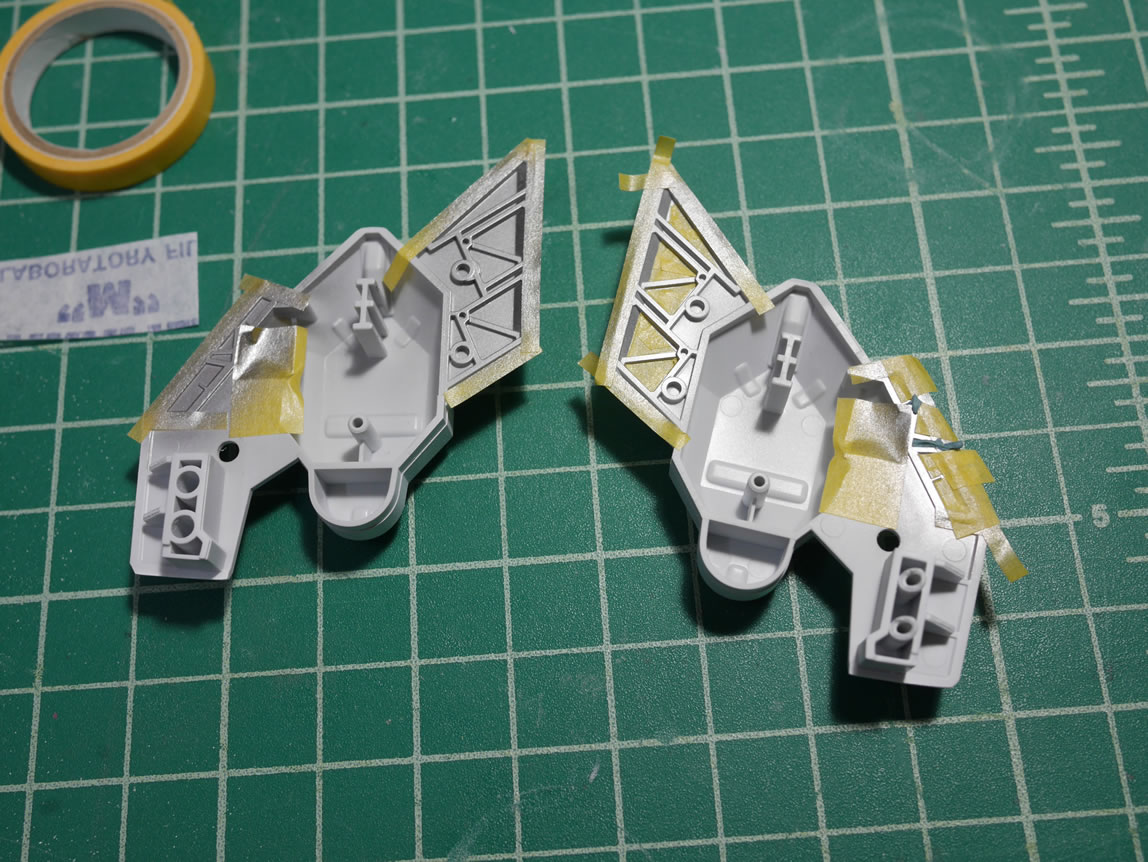
Last I left off, I had most of the exterior armor pieces painted. The procrastination for the interior armor painting resulted with those bits getting worked on last. The leg armor pieces were painted but I noticed that there were some details that frame up the vents on the front and back, so those areas were masked off and the inset areas were painted with Mr Super Iron then masked off again to paint the frame areas with alclad magnesium. The contrast looks fairly decent when assembled.
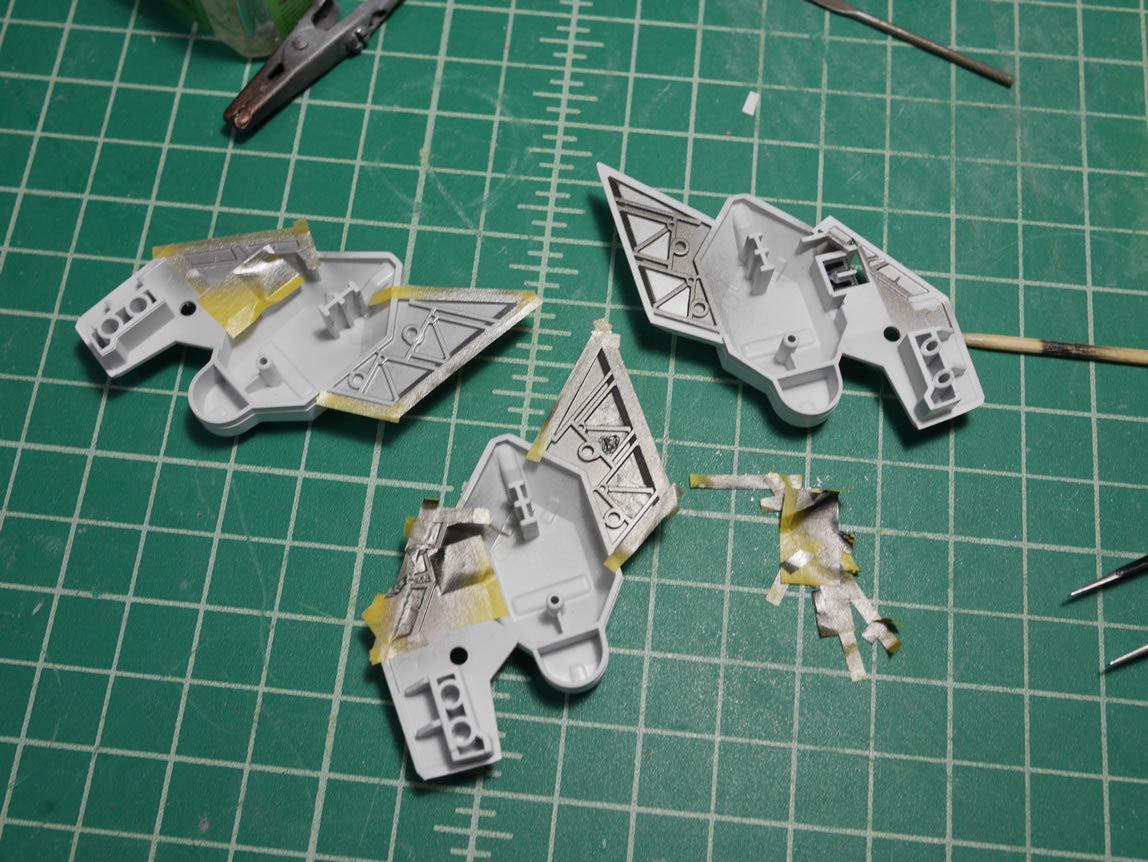
Since I am building the Hazel I version, I want to also have it running all three booster shields. The kit unfortunately, only comes with one. I actually started the mold making process at the same time I started spraying the primer. The mold making process takes a bit of time, but if I wrote everything up as it happens sequentially, it becomes harder to follow some of the steps because things keep jumping from one topic to another. That said, lets finish up the mask and paint sessions.
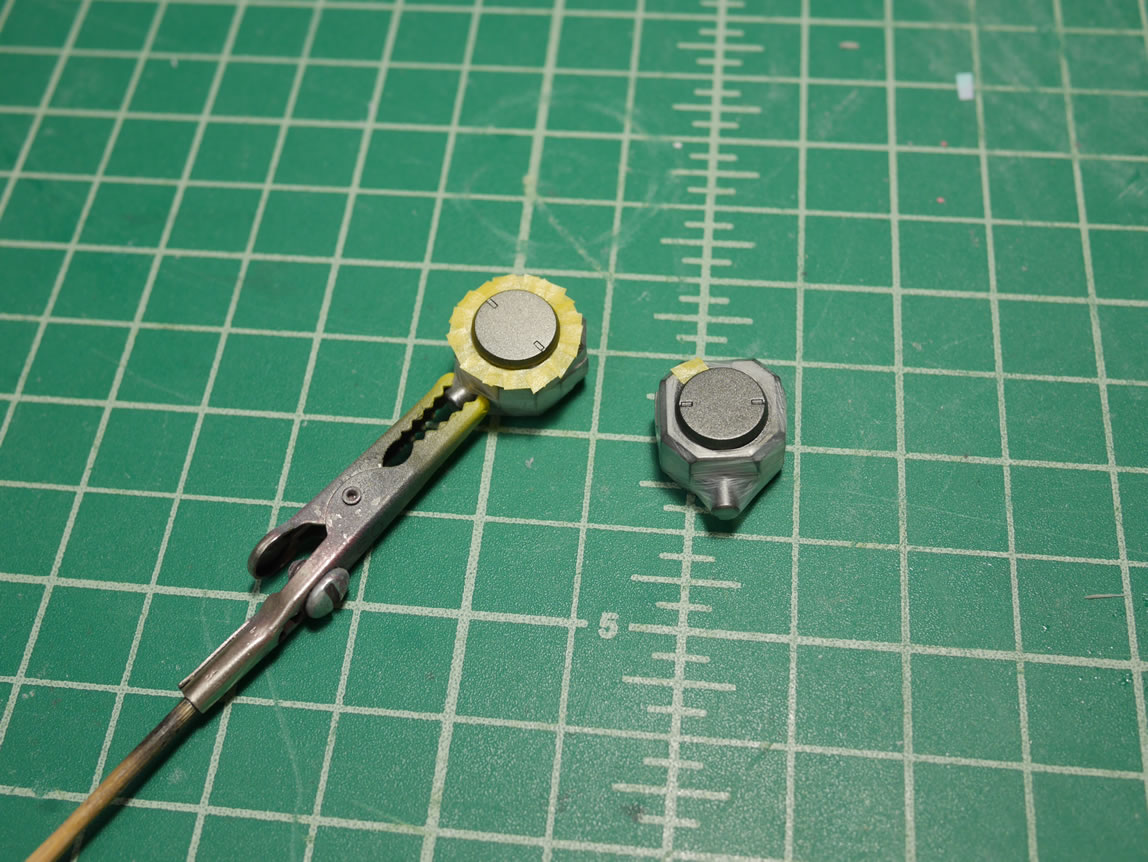
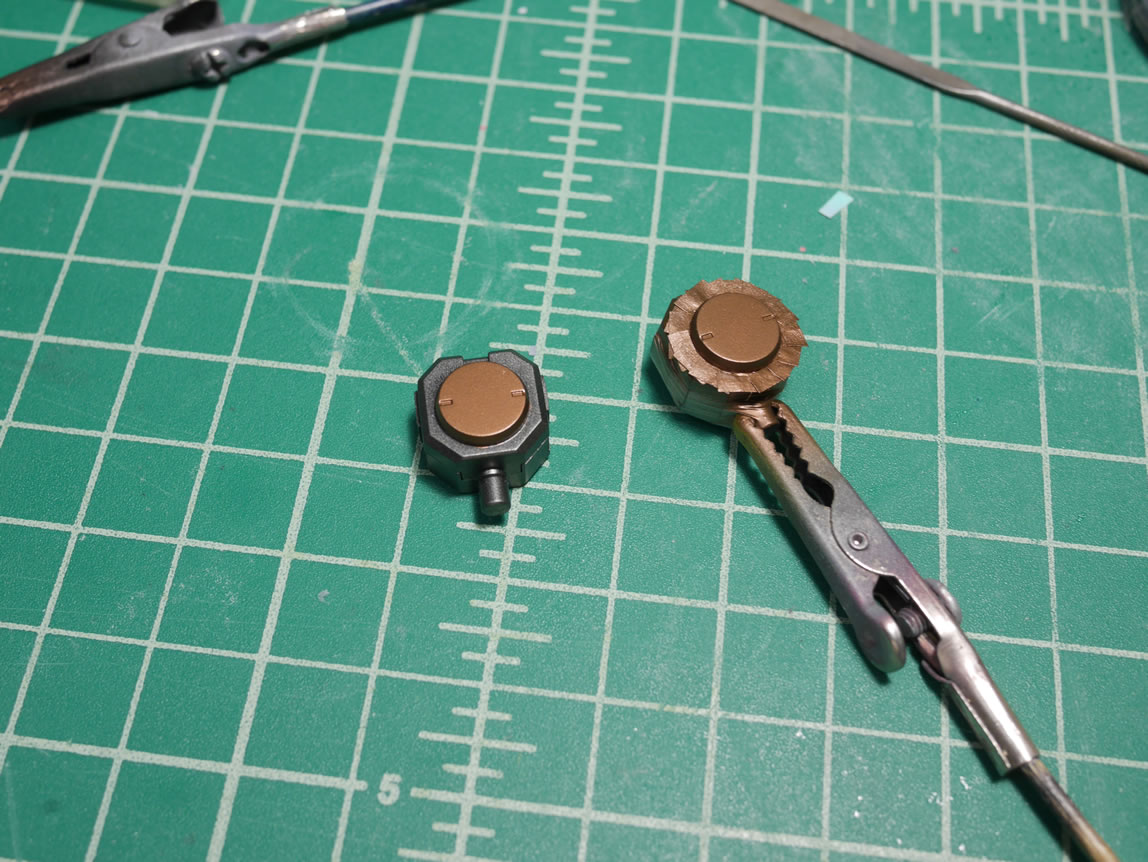
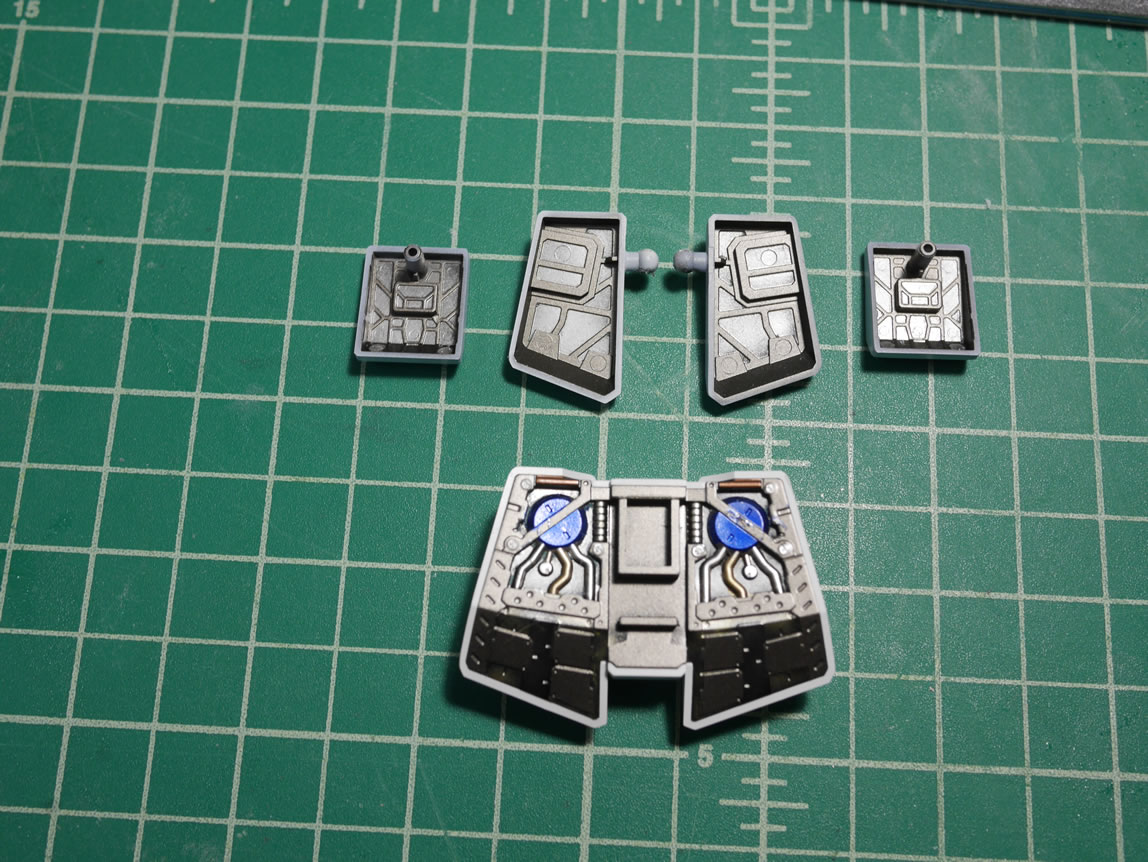
I usually just paint the hip joints a single metallic color and I’m done. But the big round detail just screamed to get a different metallic tone, so I masked off a sunflower and painted that bit with alclad copper. Next up are the side skirts. Just like the leg internals, I painted the inset areas first with a light metallic tone, masked, then painted with the darker magnesium. Visually, it is pretty subtle and once assembled, these will be difficult to see. But for those wielding flashlights, this could be a pleasant surprise when they upskirt the kit.
The rear skirts get a similar treatment. This time with a bit more color variations using polished aluuminum and polished brass for some tubing. The inset circular drum is painted with super bright silver and kandy cobalt. A splash of titanium gold and copper pepper more bits and the frame is again painted with magnesium. The front skirts are treated in kind with the side skirts. I should have waited longer for the magnesium to cure before removing the mask. But it’s not like anyone is going to look up the Hazel’s skirts.


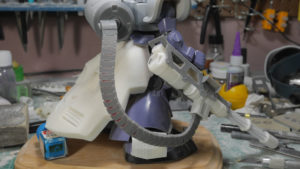
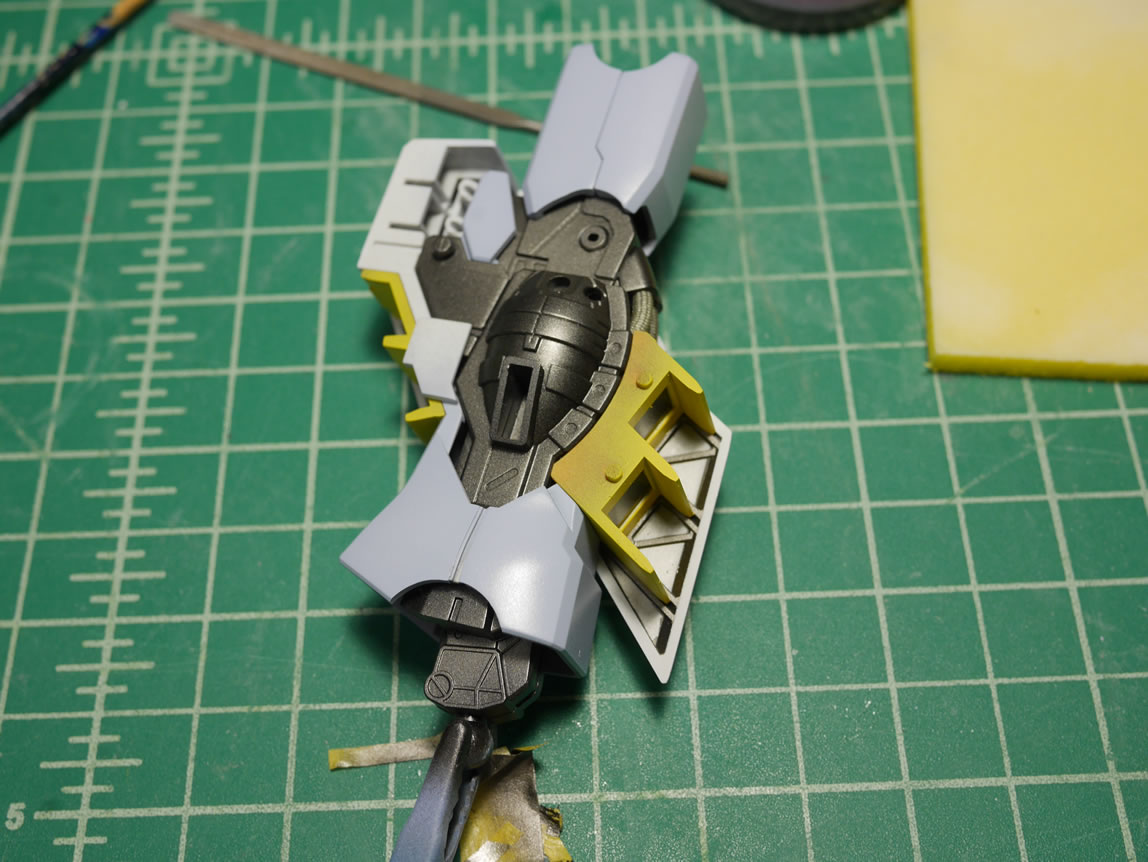
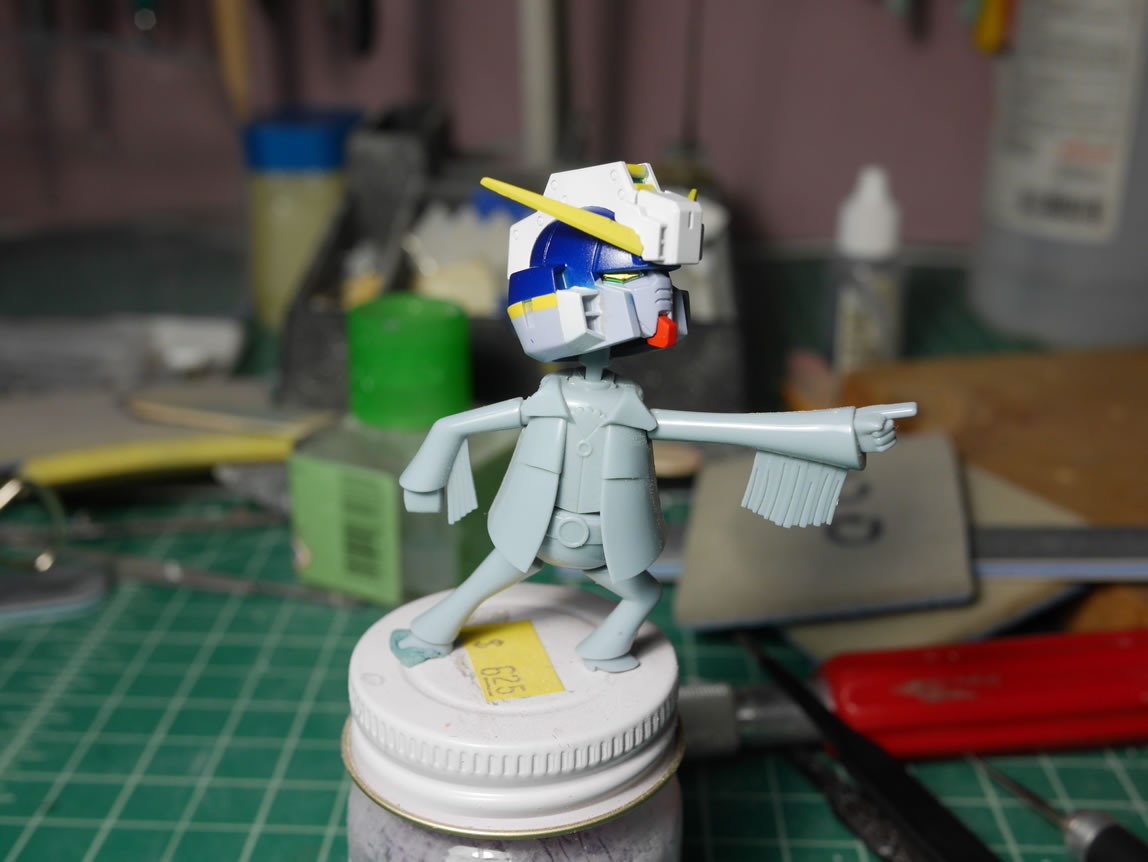
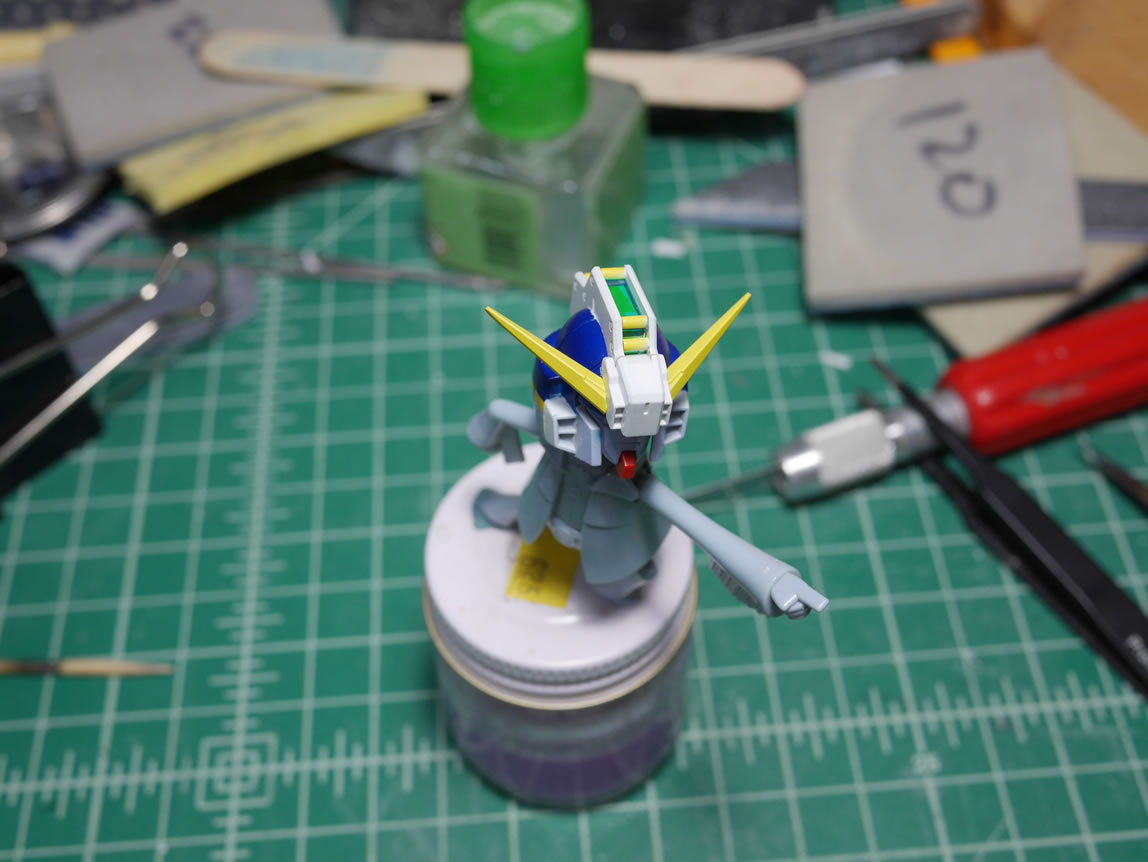
At this point, I finished masking off and painting the head, so what better way to display it for pictures than setting in atop disco gunso.
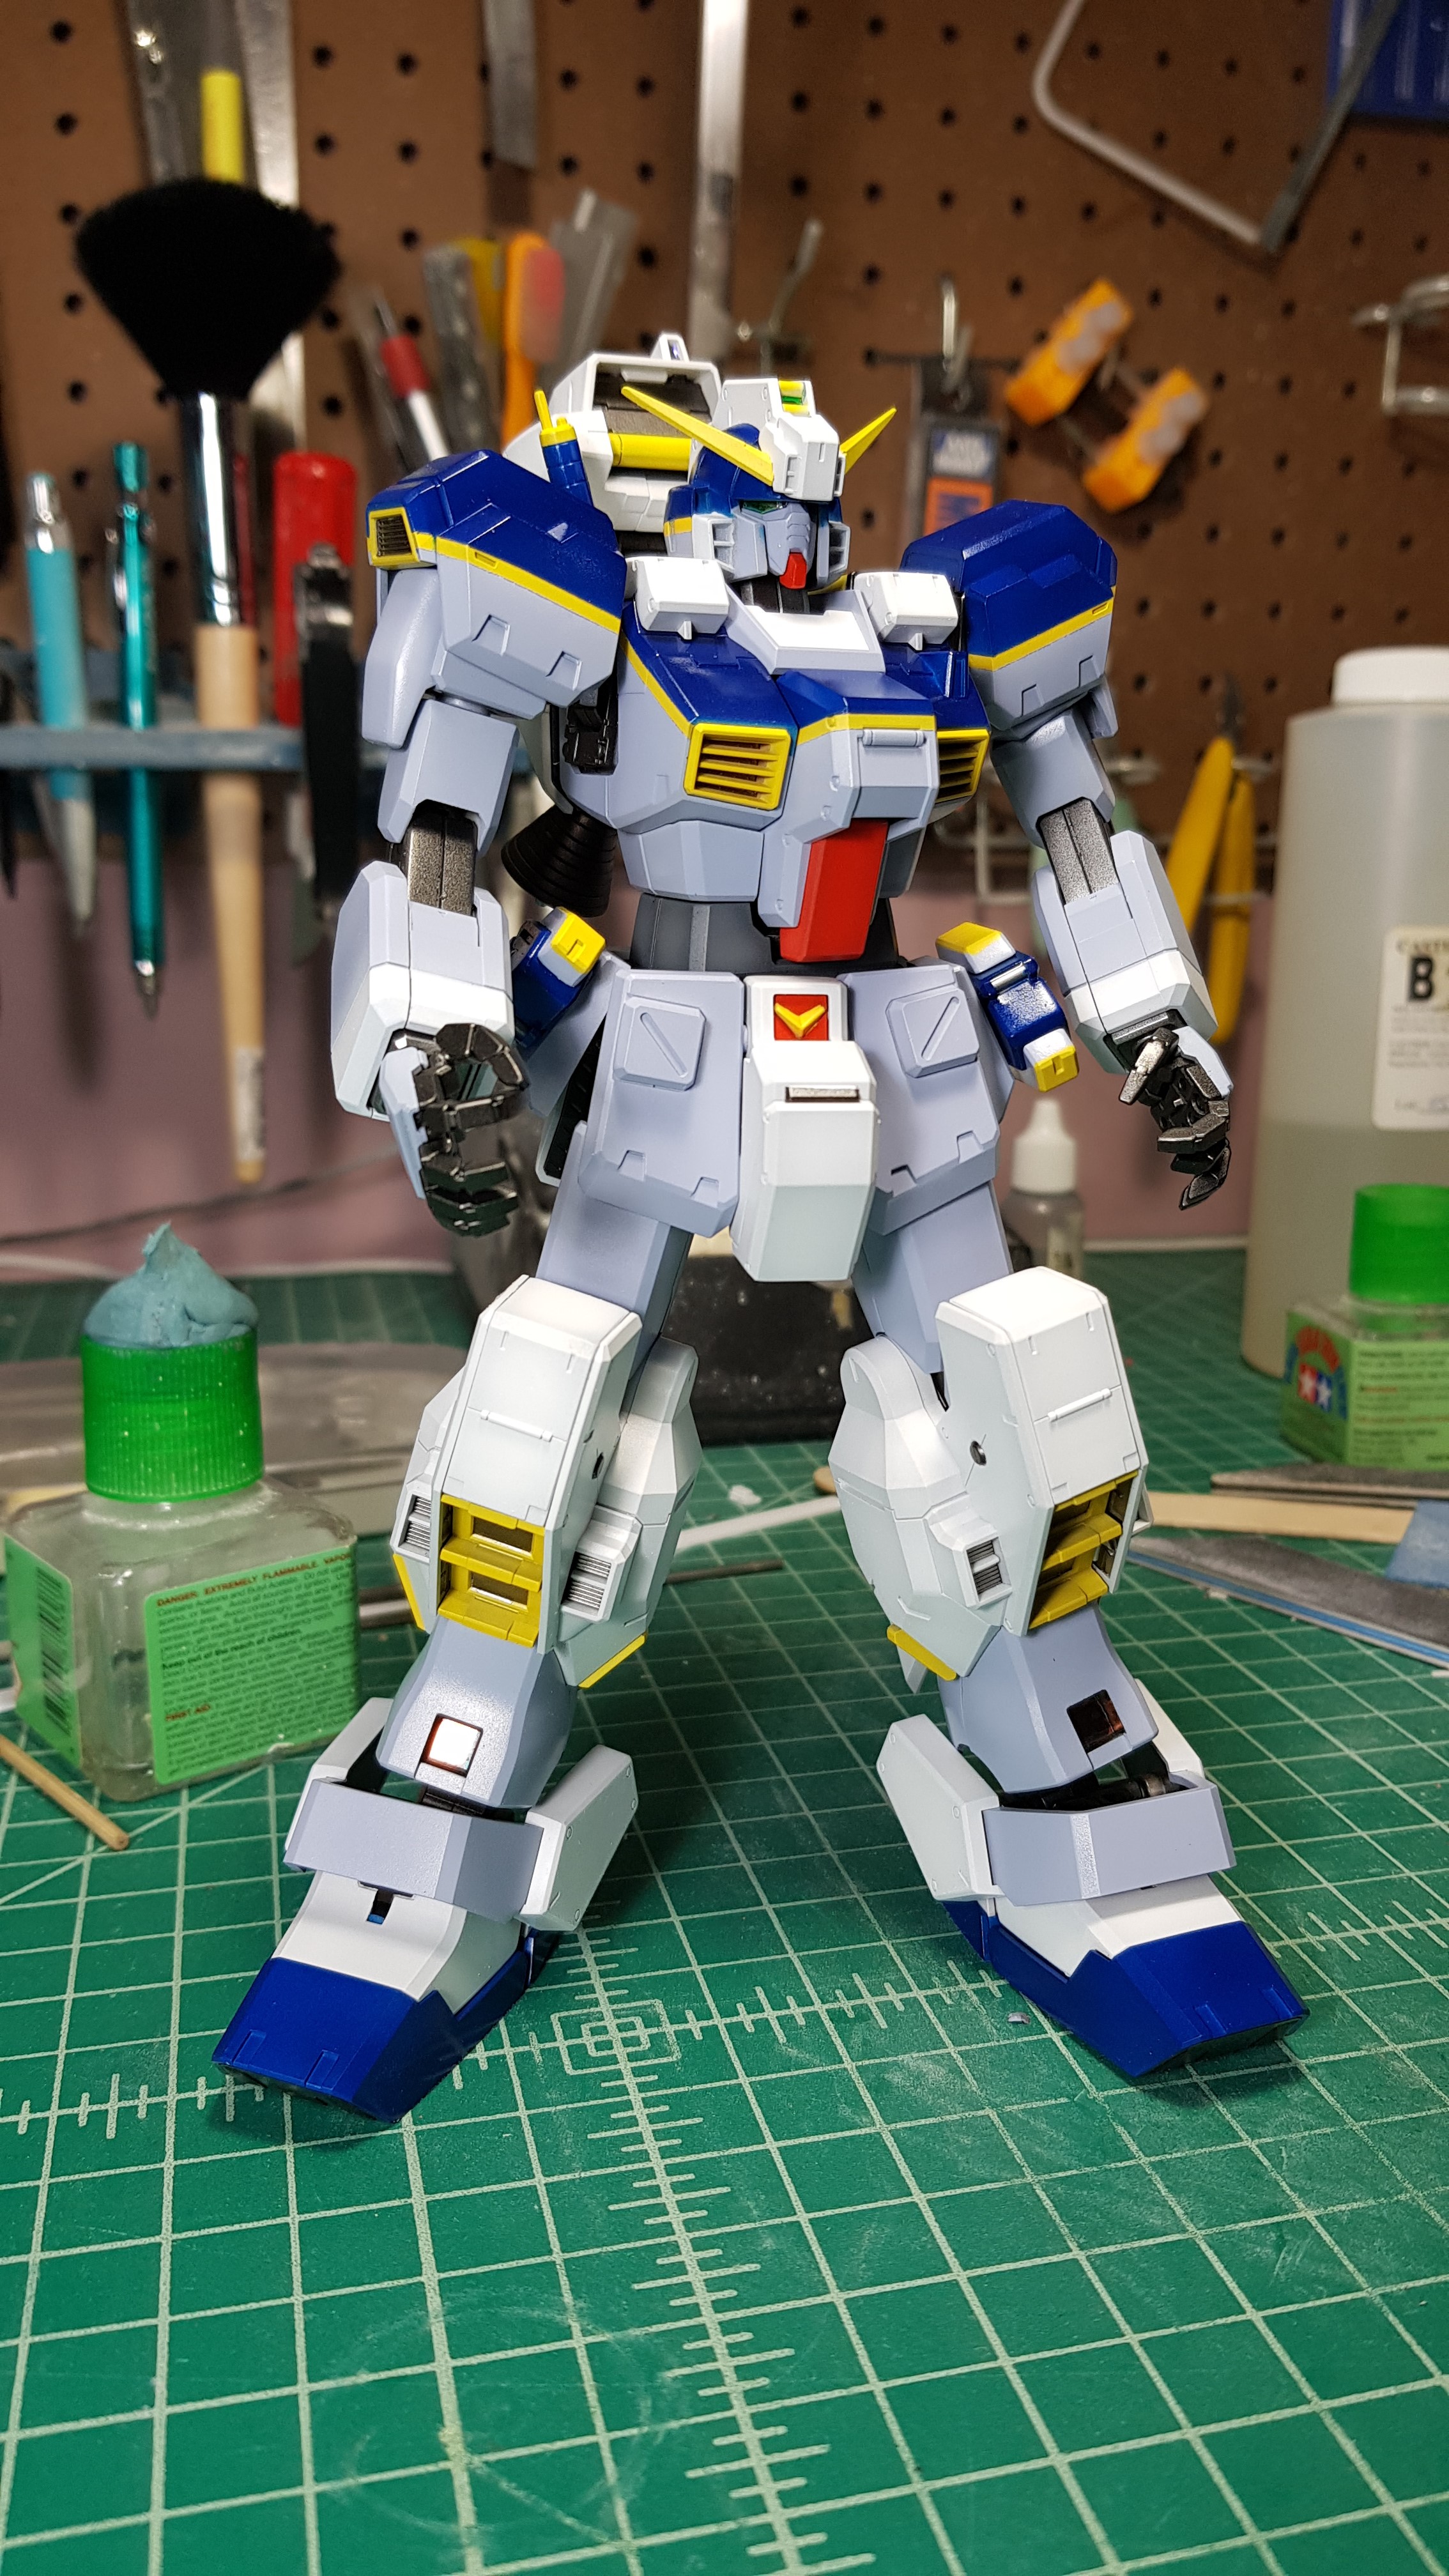
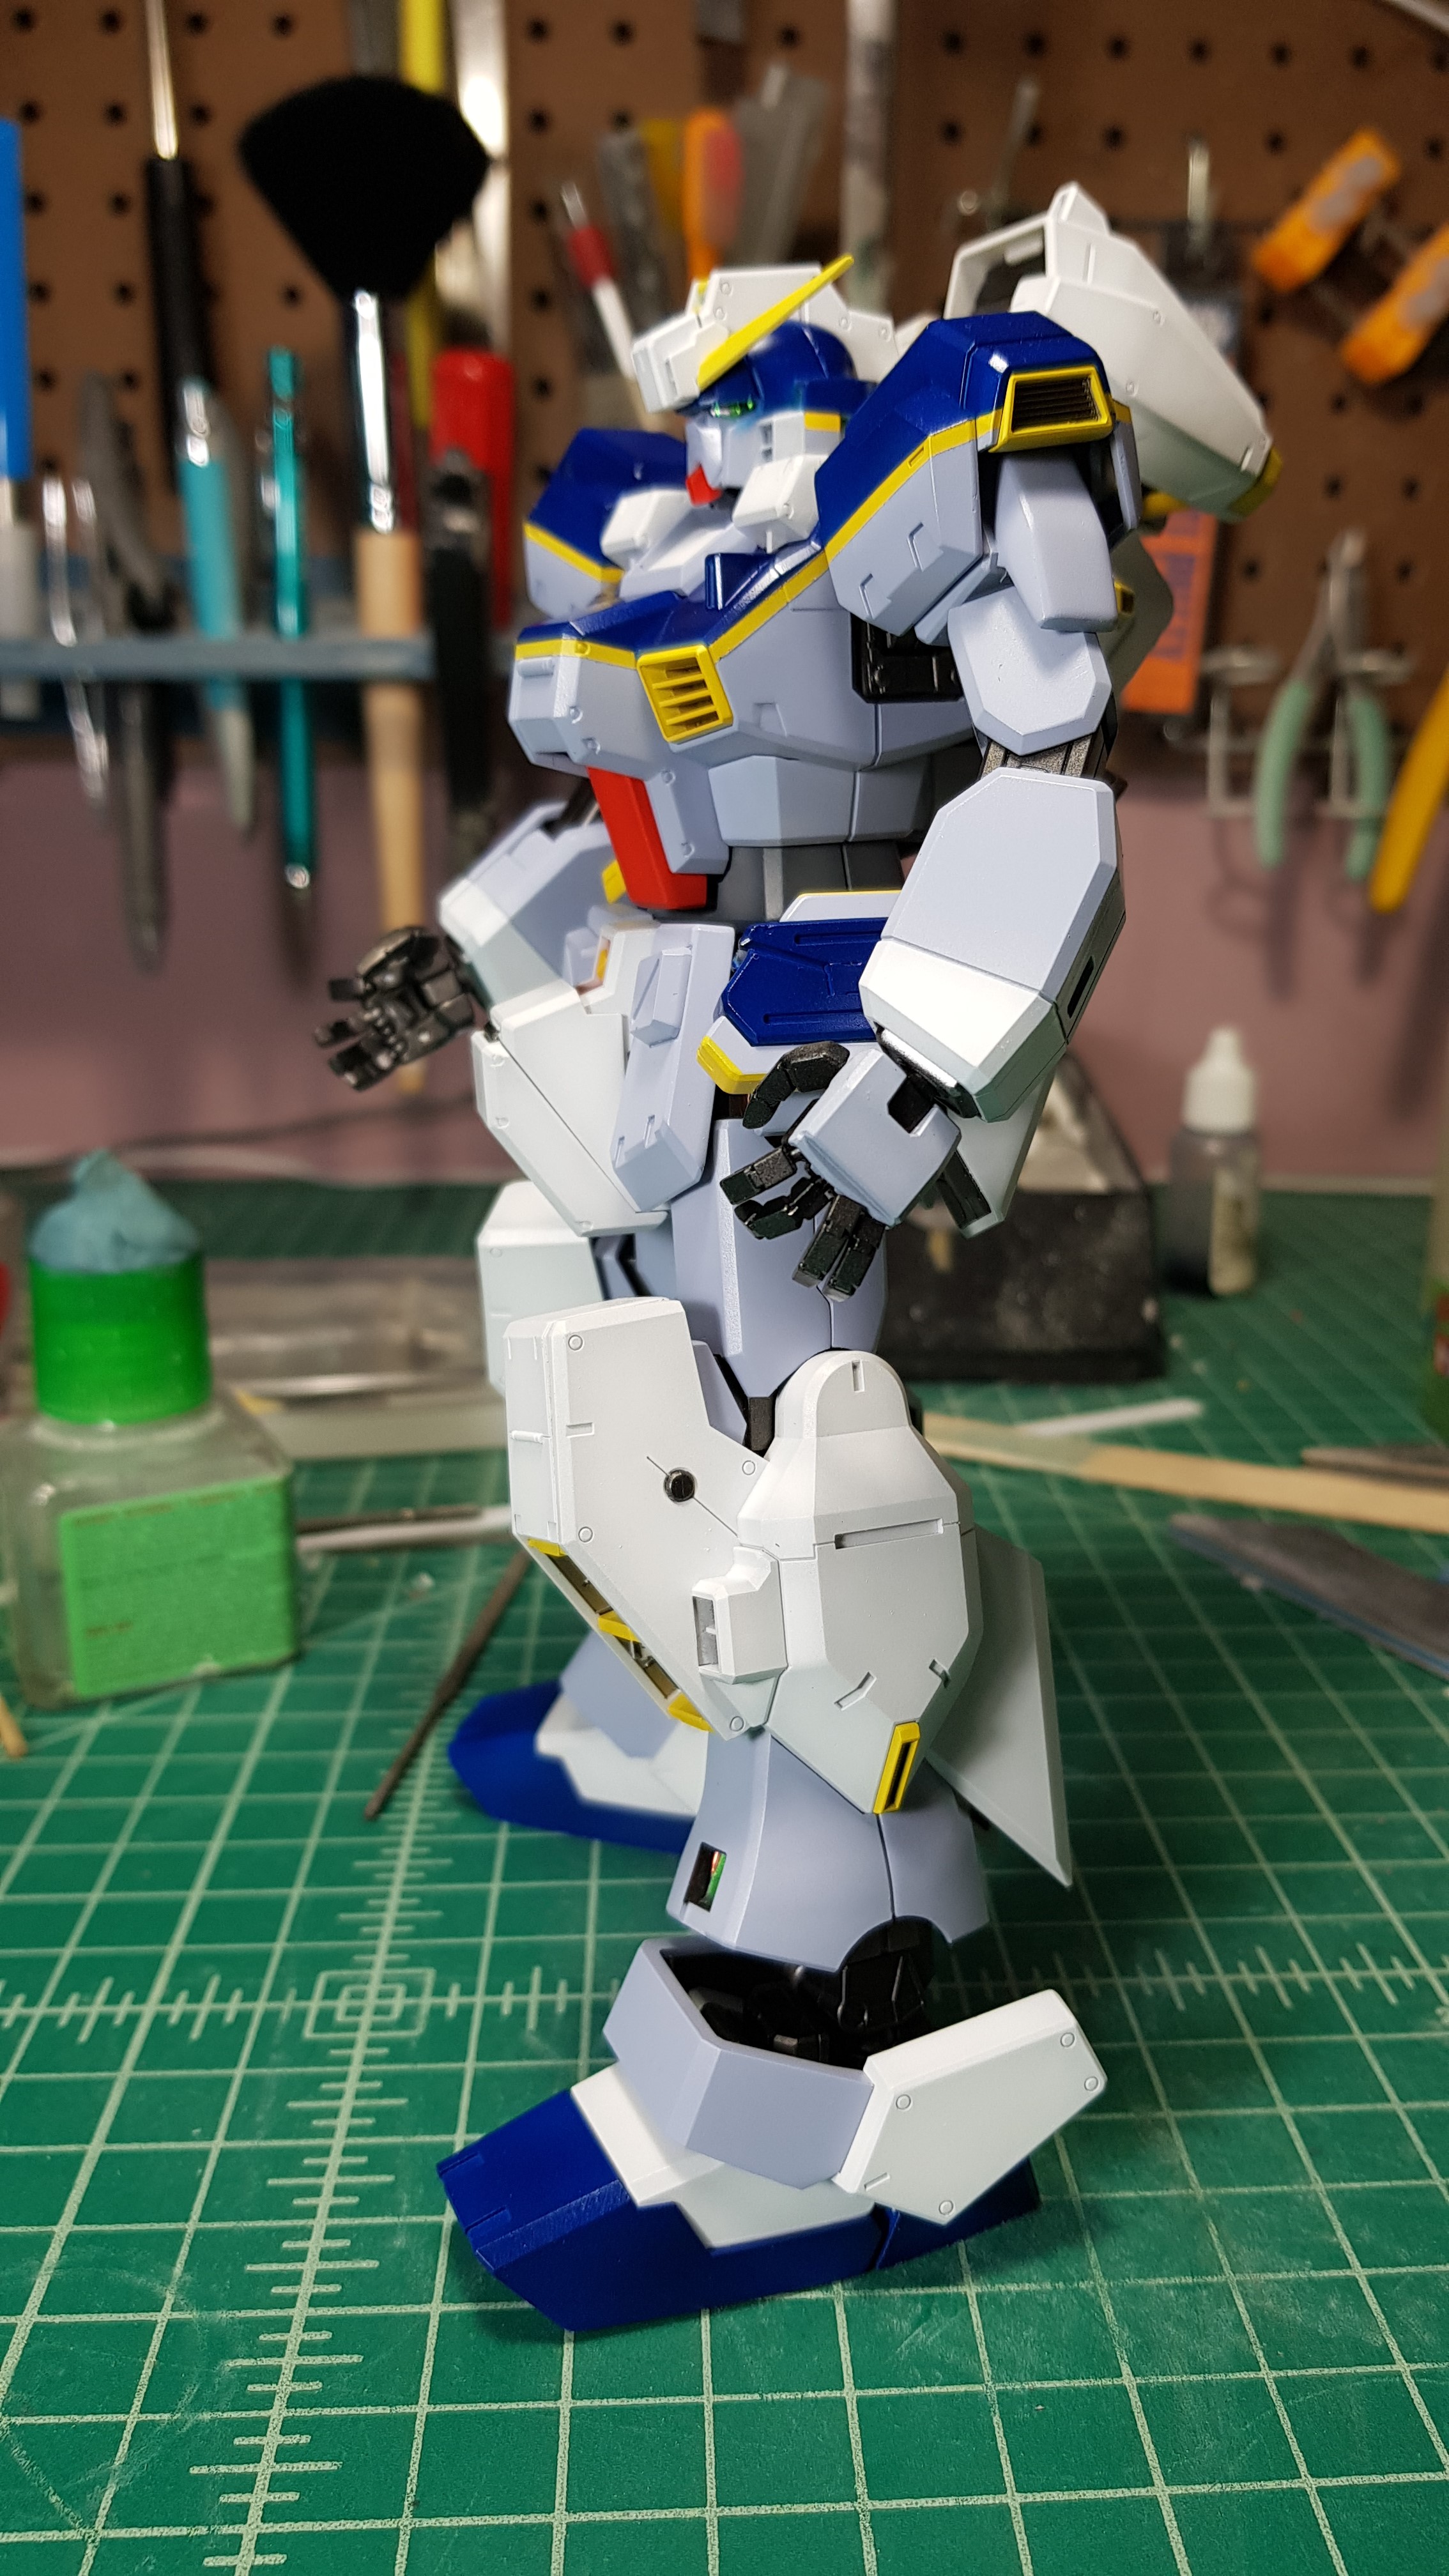
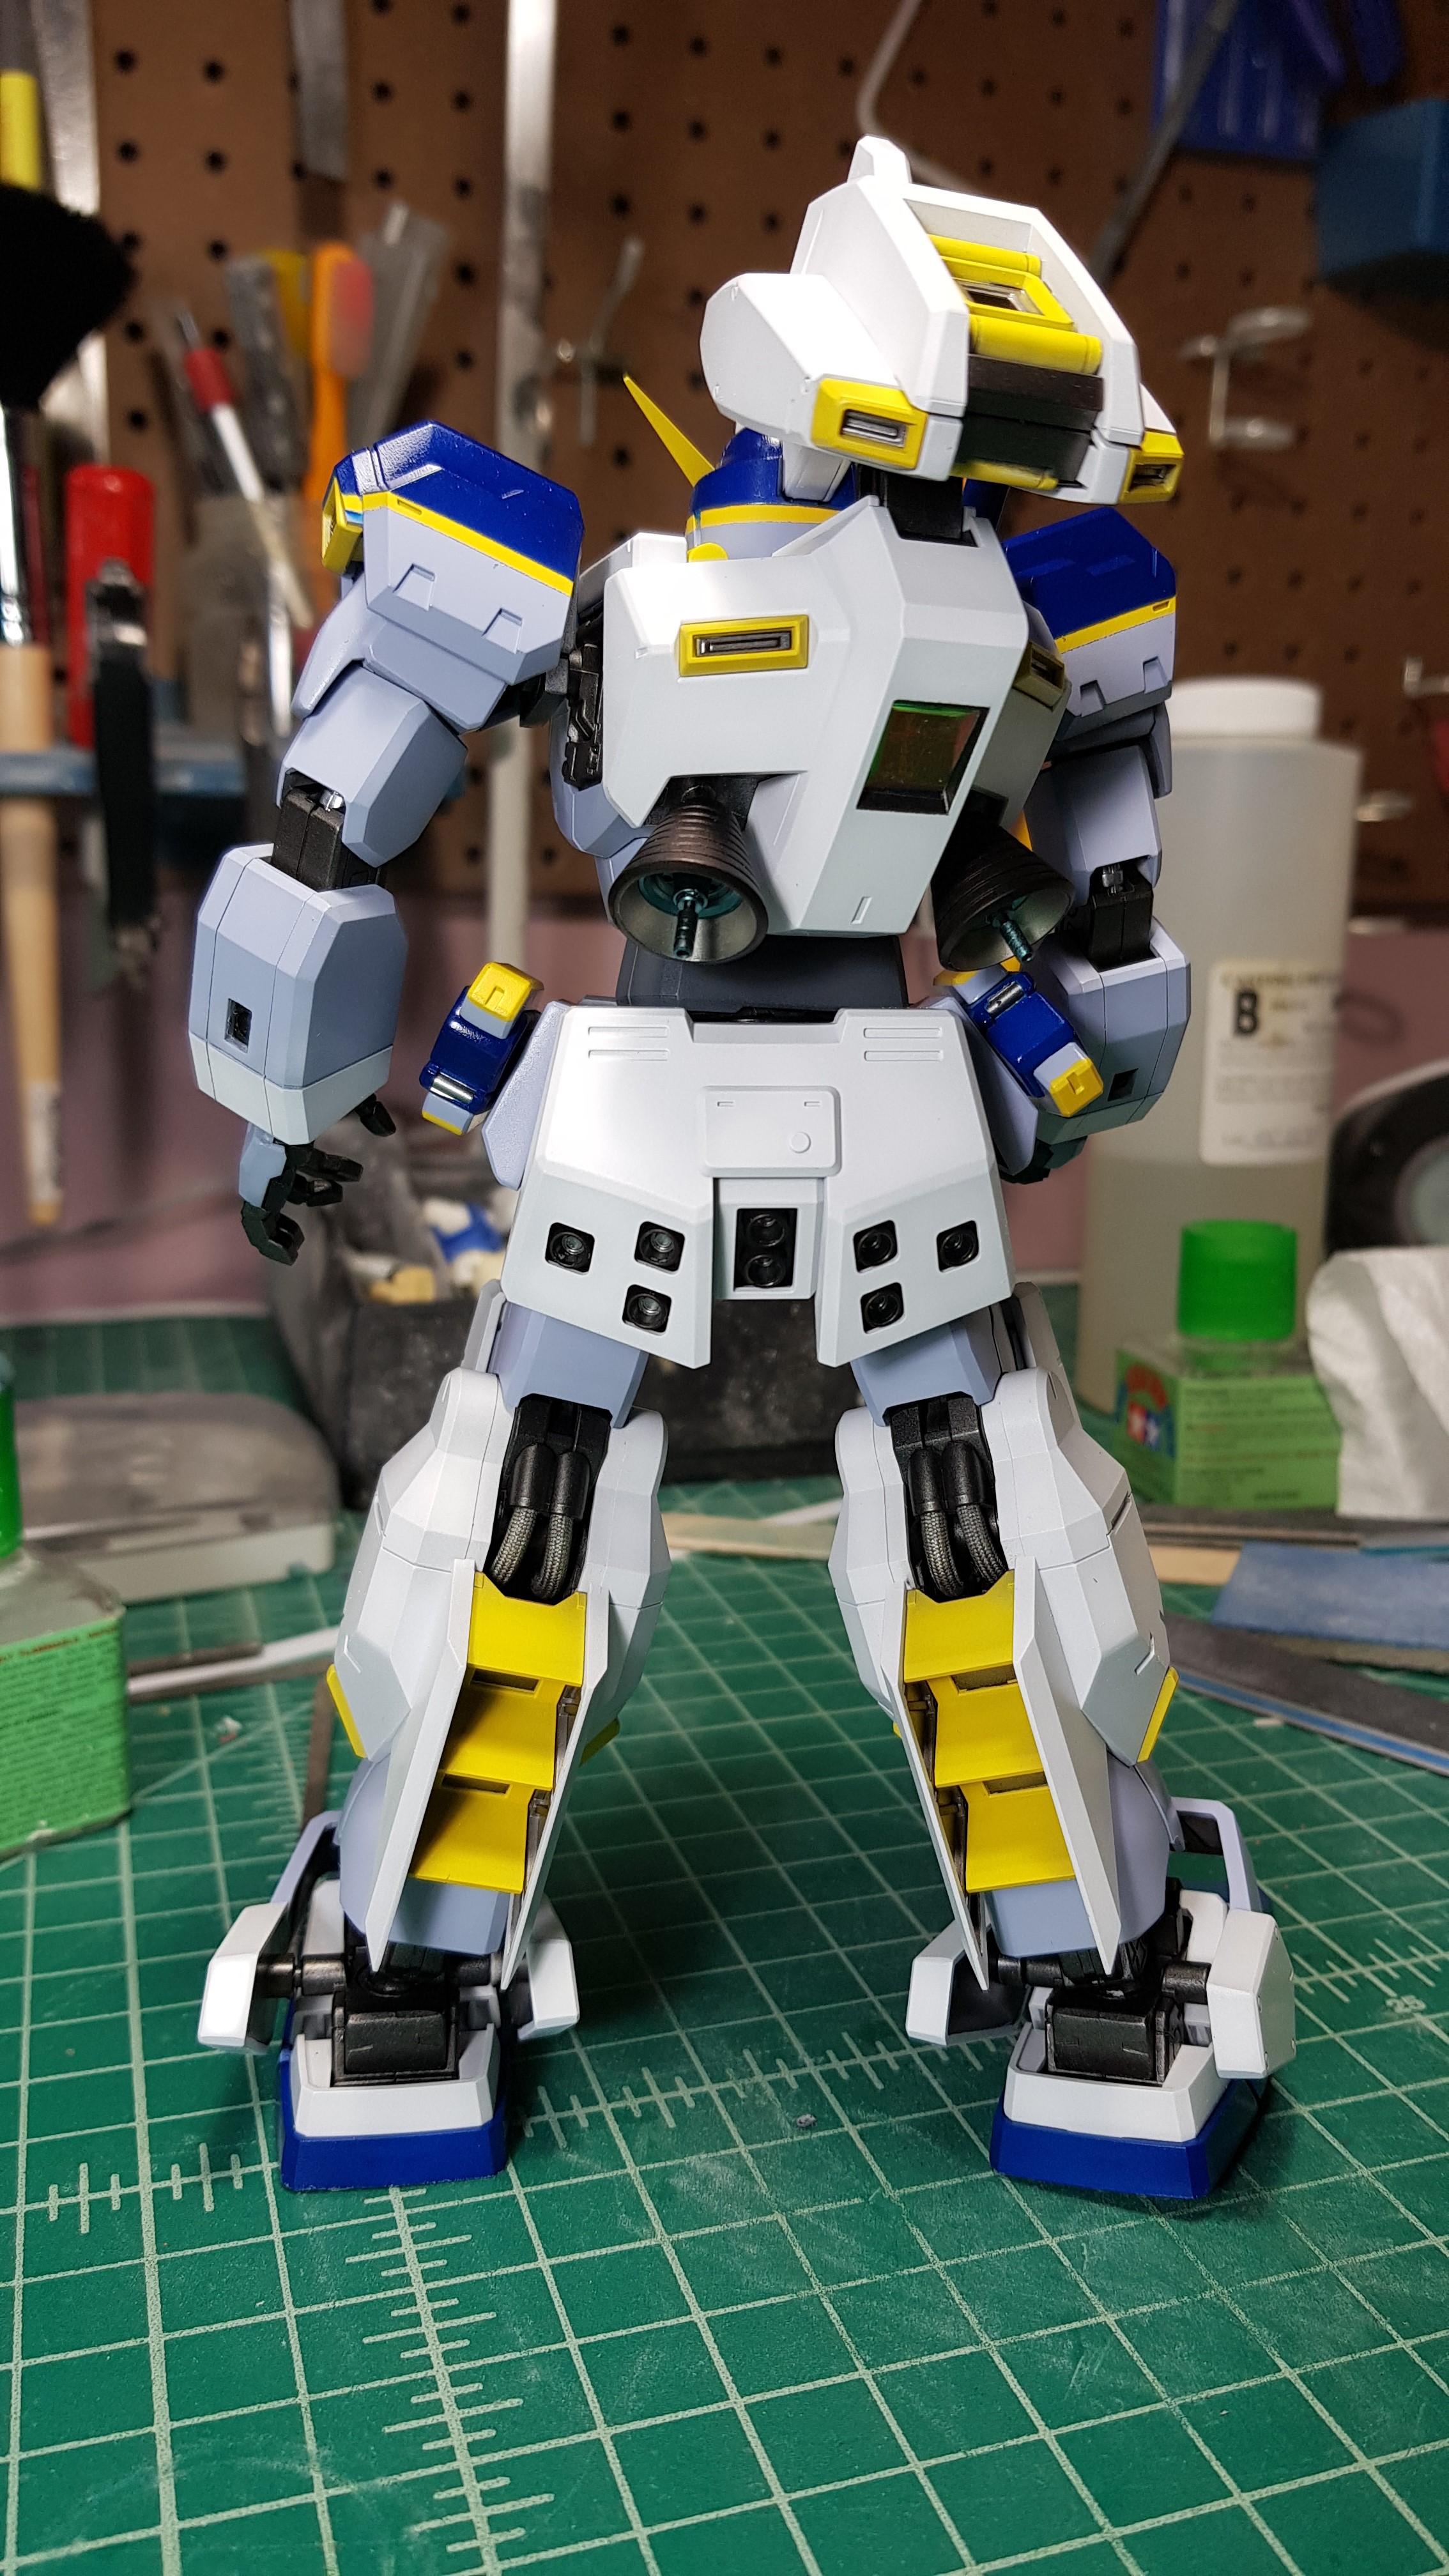
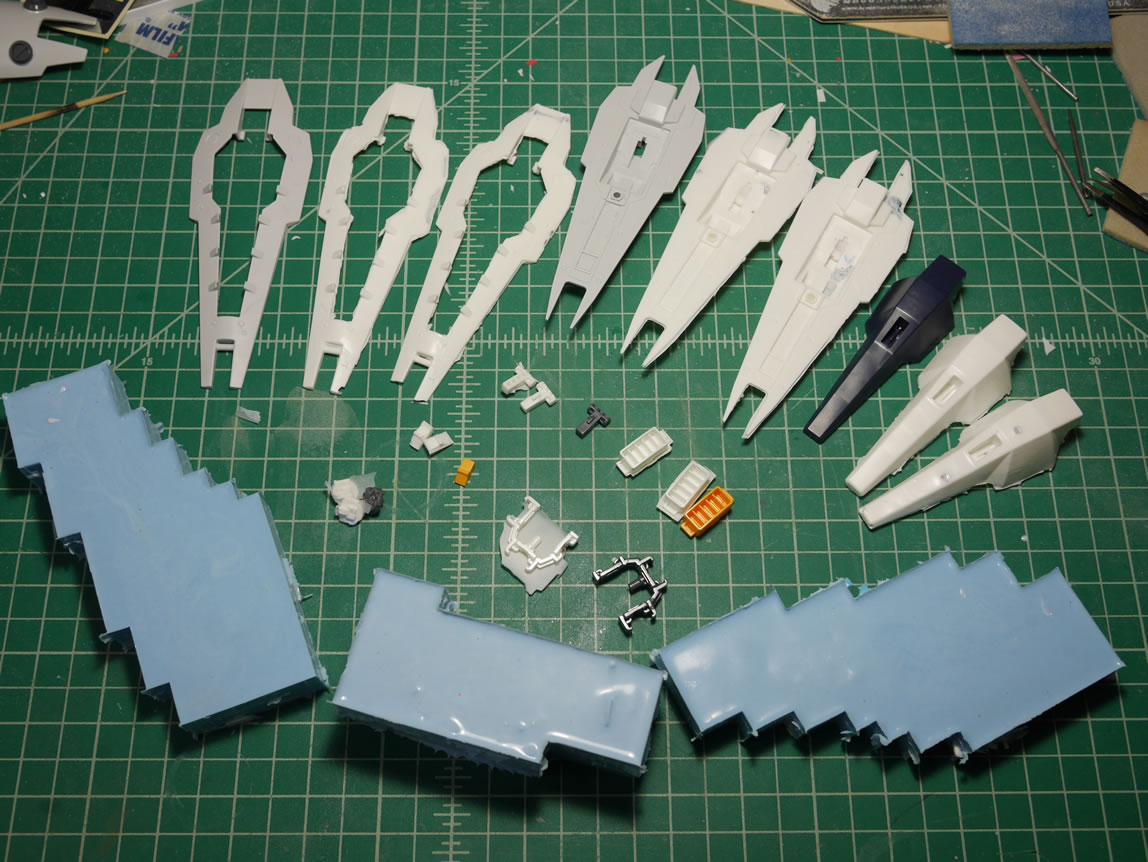
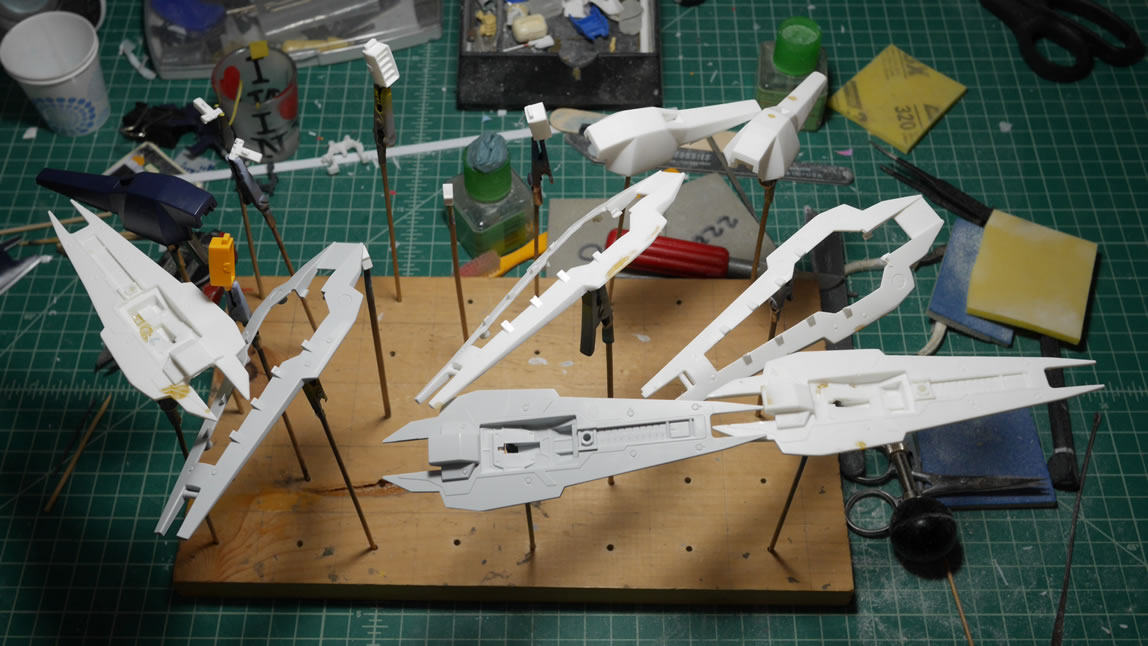
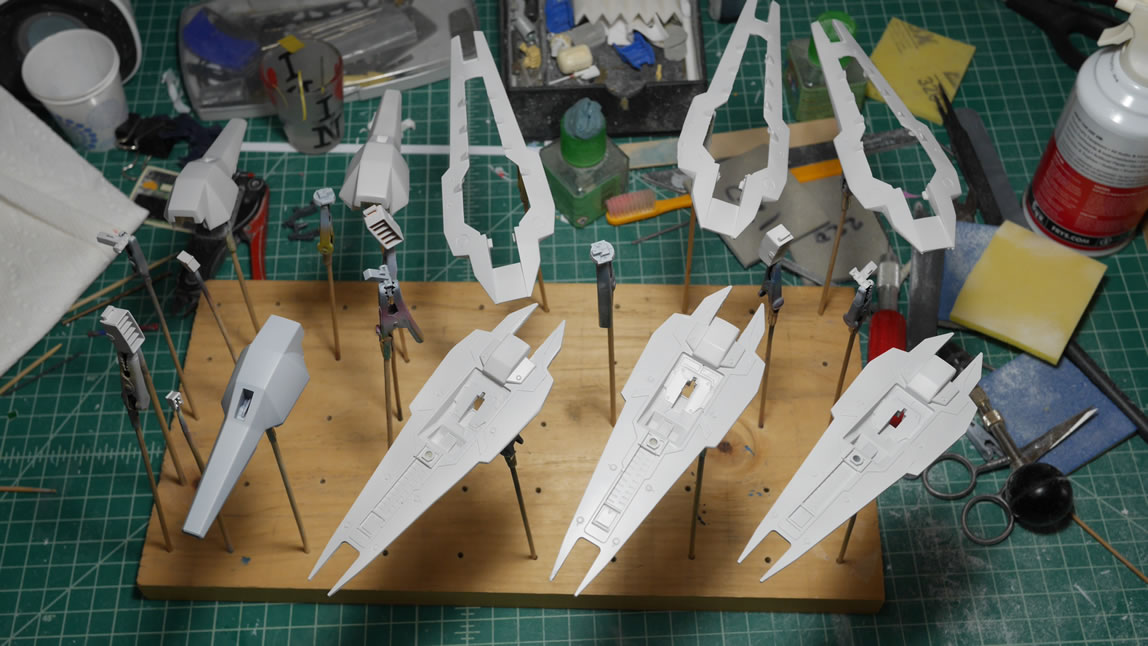
Most of the subassemblies are cured so I did a quick snap for pictures.
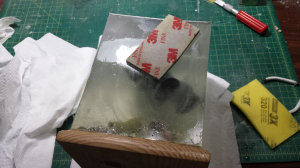
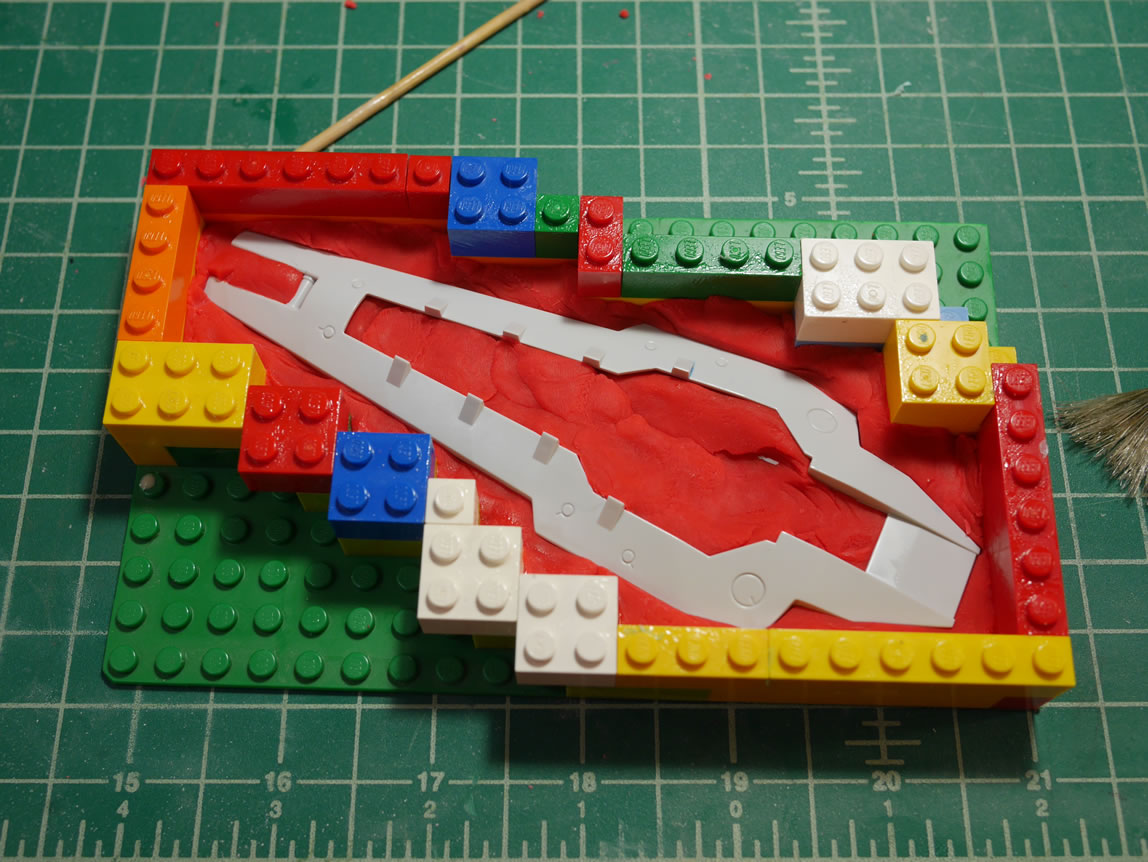
Now onto the fun stuff. Ok, it’s not really that fun. Its a long process that requires a bit of patience. Not so much in a ton of work, but a ton of waiting for things to cure. The first step in making the copies is to make the mold. Using my trusty legos, I created a box around the part first. The at the bottom of the lego enclosure, I lay down some playdough. I like making two part molds. The playdough layer helps keep the part in place while the first layer of silicone cures as well as gives the part a fairly watertight seal along the bottom which will help give me a good starting point for making the other half of the mold. It takes about 6-8 hours for the silicone to cure. Once cured, the lego box is broken apart and the playdough is removed to be reused for another project. Residual playdough stuck to the part is washed away with warm water and a toothbrush. The mold half is left to dry before rebuilding the lego box, this time with the silicone side where the playdough was before and the exposed underside half of the mold on top. Vaseline is applied with a brush to keep the silicone from sticking to the cured silicone. None of these steps are shown here because I’ve already written a resin casting tutorial, so read up on that process here, it’s the same steps. Also, a quick search on the site for “resin casting” will net you a bunch of posts showing the process used for various projects.
I made molds for all the pieces of the booster shield, which took about two weeks of pouring silicone into half molds every day or two. The casting take a fraction of that time as I was able to make two copies of the shield in about the span of the movie Assassin’s Creed – which was playing on my tv as I was casting part after part.
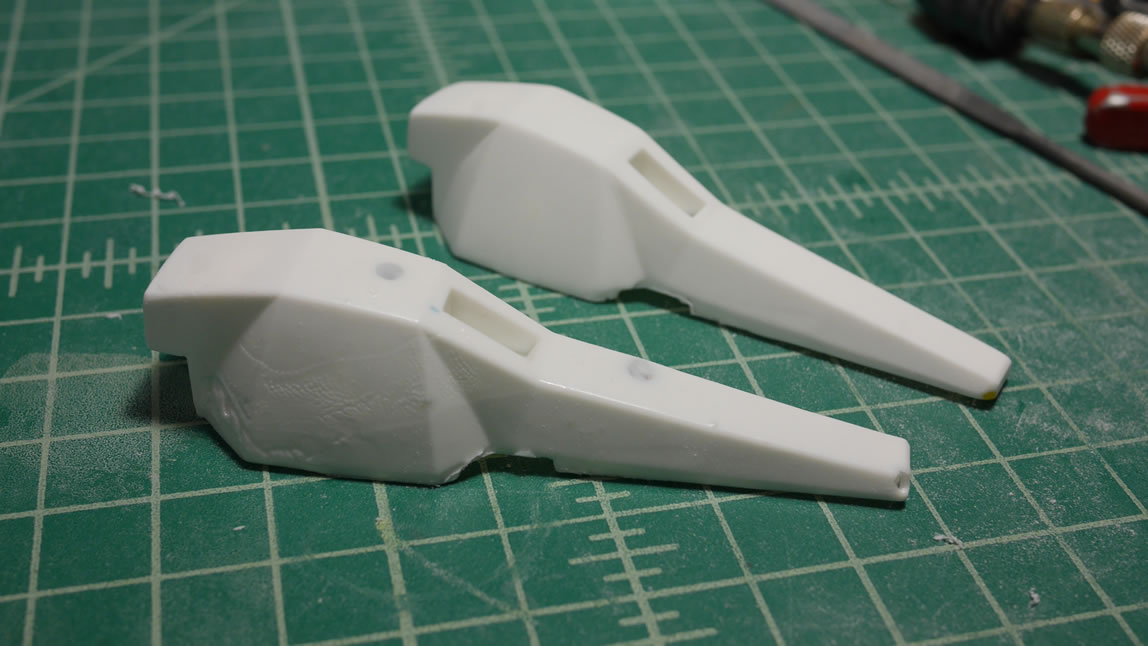
A little bit of excess flash is removed from the casted parts when they’re fresh out of the molds. The resin is left to fully cure up over night. The resin I’m using is from silpak, specifically Silcast II. It is a two part urethane resin that cures very quickly. The work time is about 3-5 minutes and after that it starts to gel. I’m used to casting small bits so this is not the best resin to use for casting such large pieces. I should have gotten a resin with a longer work time and slower cure time so that the problems I run into next are minimized. But, this is the resin I had on hand, so I can make do – I just need to work a little faster.
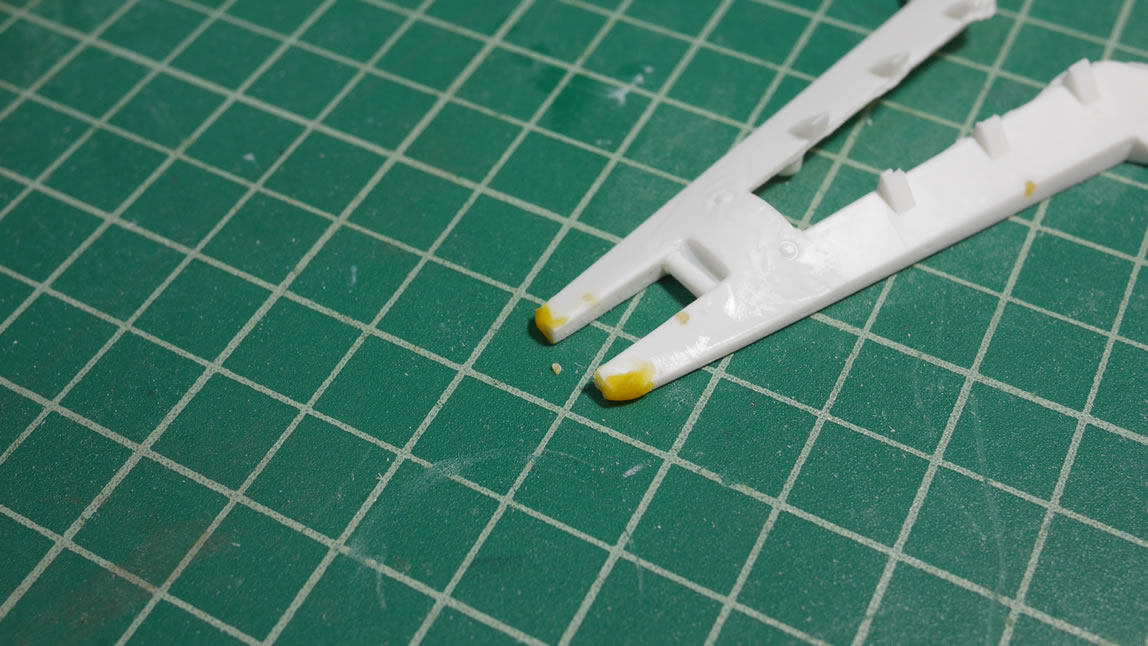
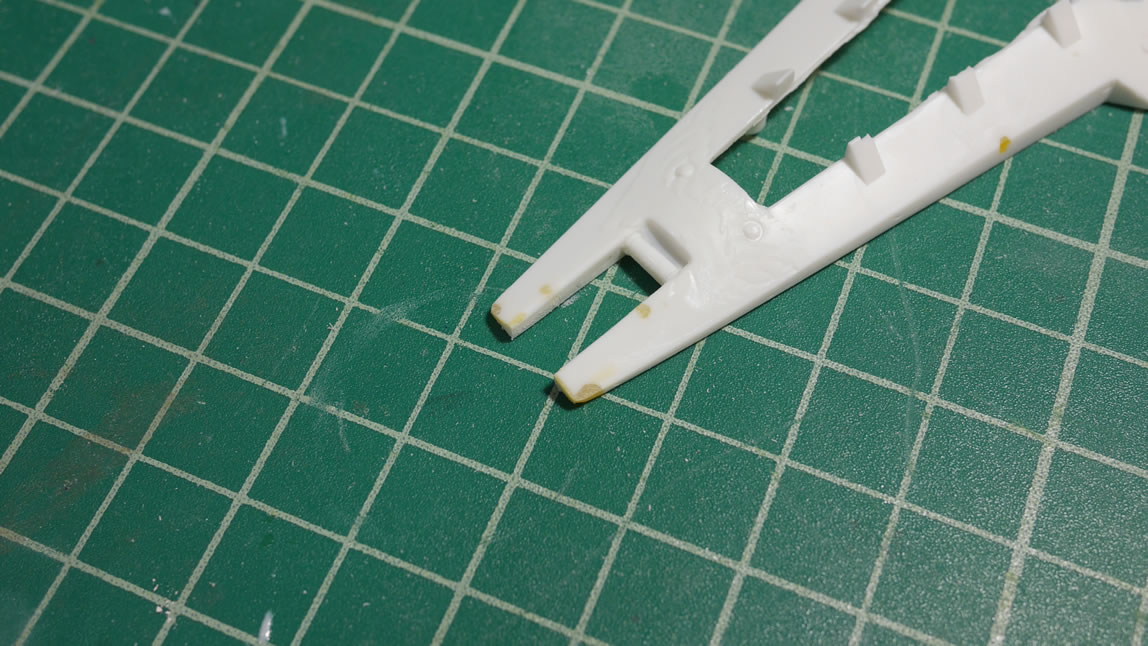
Right out of the molds, some of the parts have some very thin areas and even big holes. For the initial clean up work, the parts are roughly sanded to remove more excess flash and these cavities are filled with light curing putty. Because of the rather limited work time, the resin doesn’t have much time to flow into all the areas before gelling and as a result, I get holes and missing details here and there. But these issues are not a show stopper as I can fill these with putty and fix them fairly quickly.
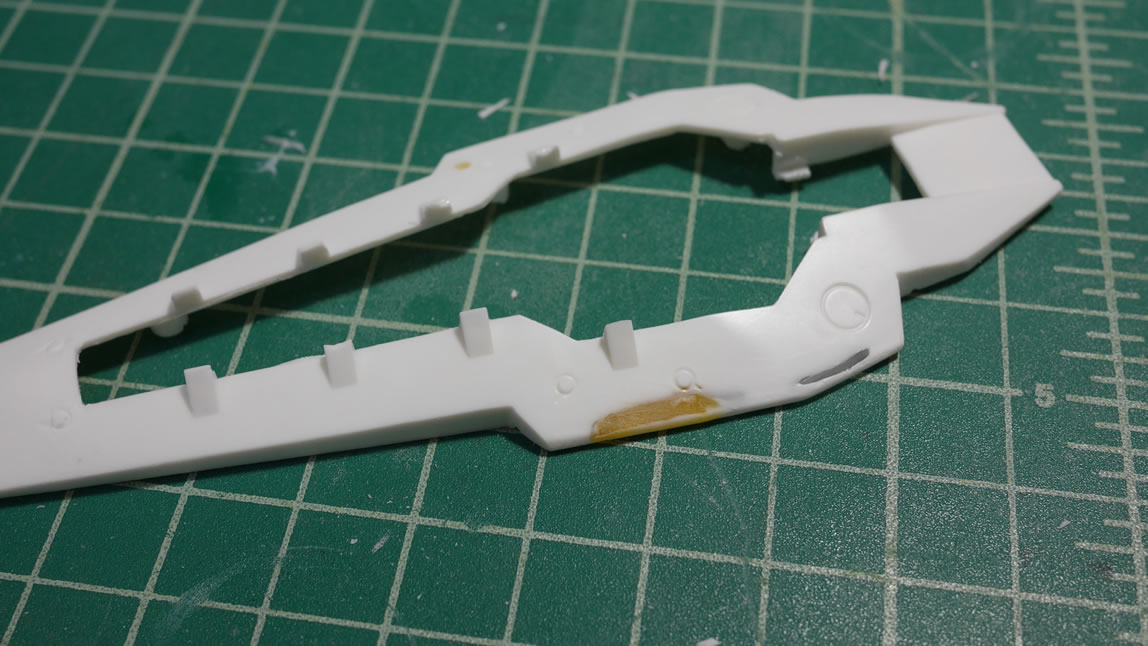
Working on these parts is like working on a horrible recast. Well, technically, they are horrible recasts. But I’m not producing these for market, and I only want a few extra shields, so this is workable. Is it preferable? No, but it is workable. Missing areas are resculpted with the light curing putty. Poorly casted details are sanded down. And this is still only the initial, right out of the mold, clean up.
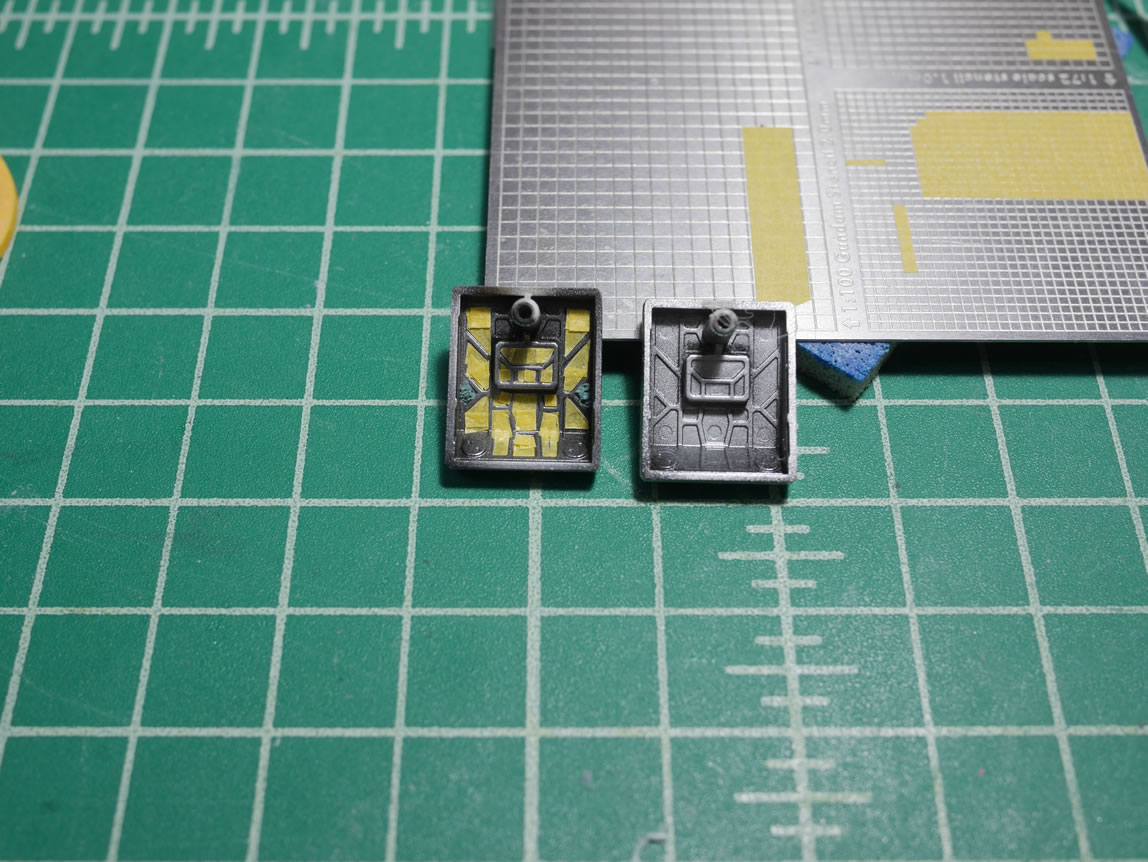
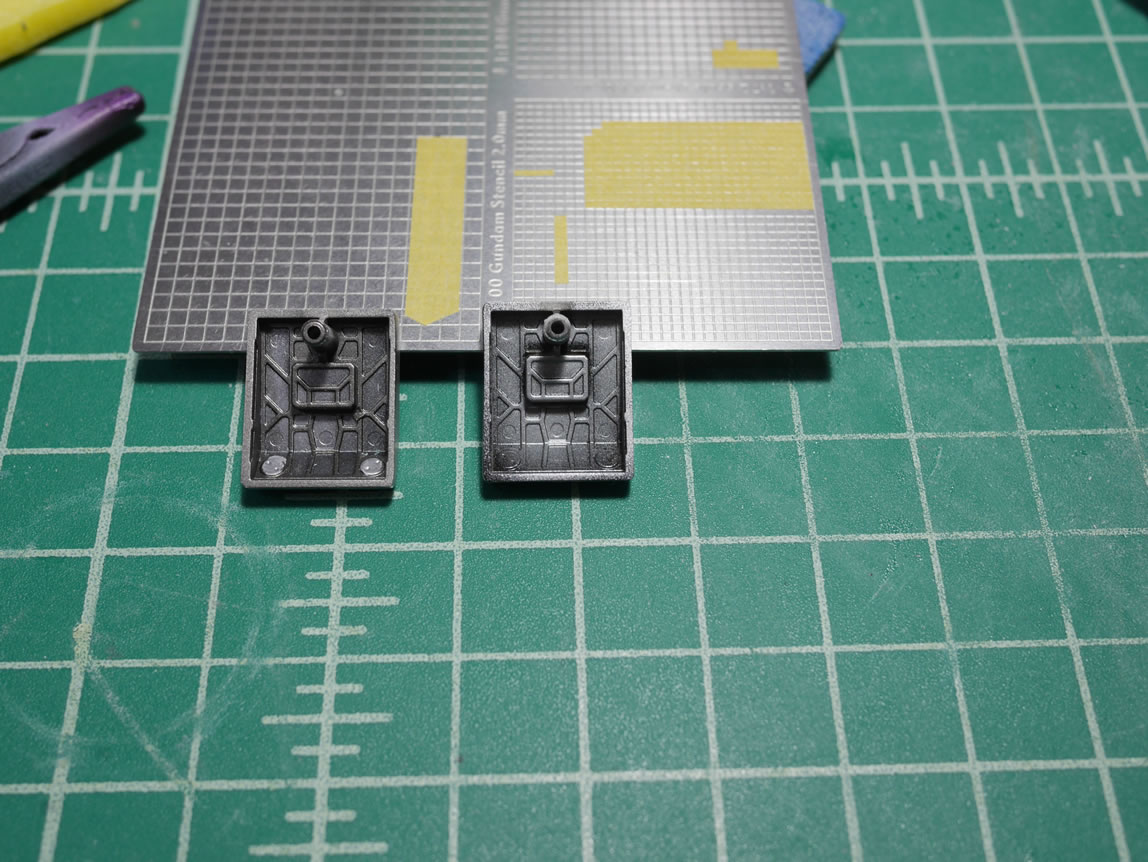
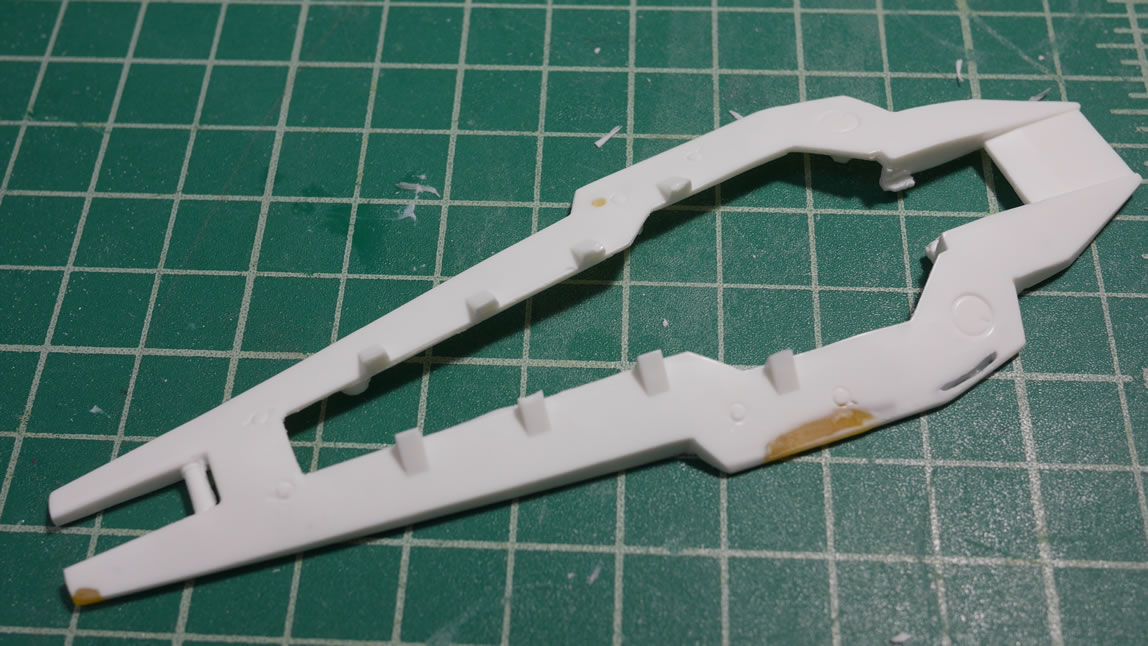
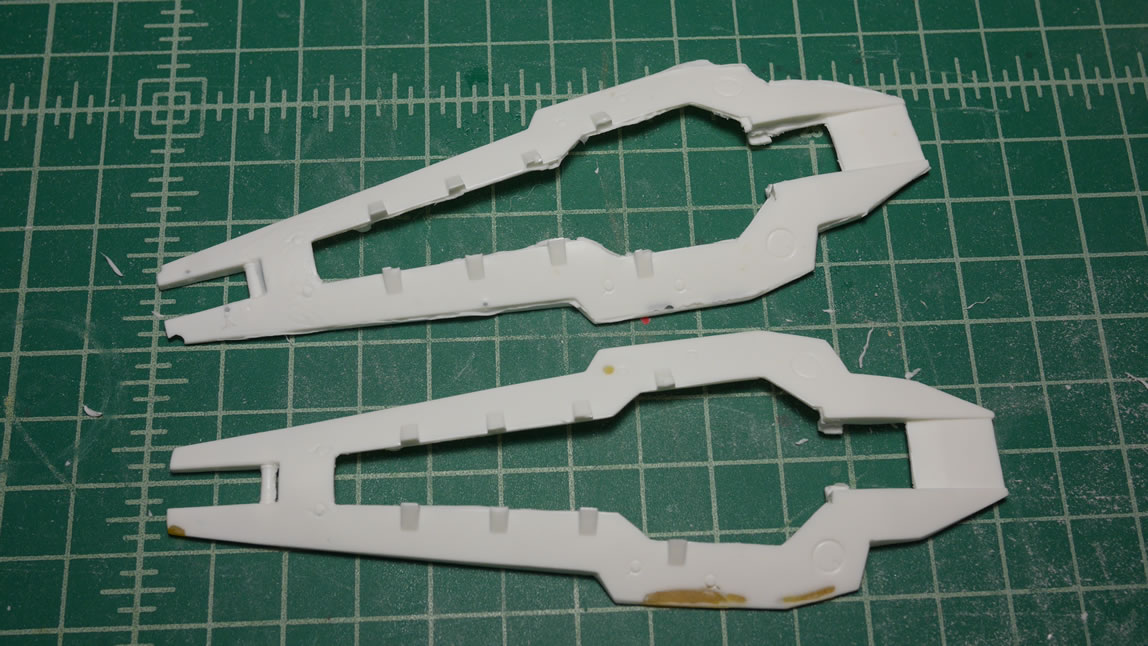
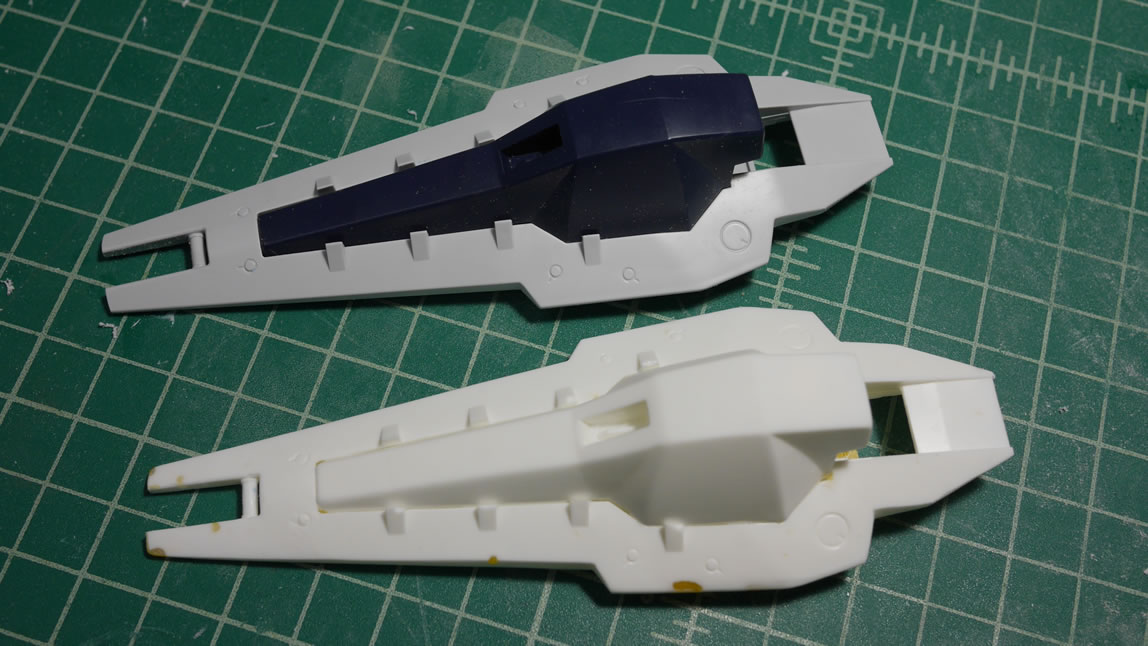
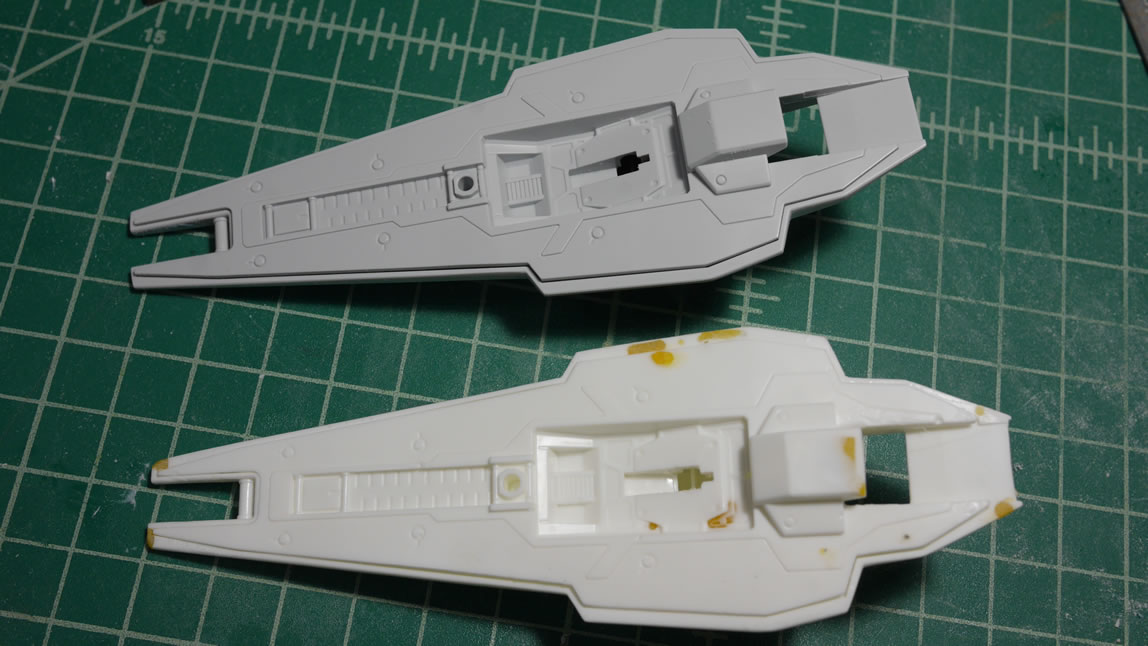
Here’s a quick test fit using the original plastic as a comparison against the resin copy. It is a pretty good fit and from a distance, looks pretty close to the original. A decent amount of putty has been spent, and all this, before the first priming session which will show a much larger span of surface problems.

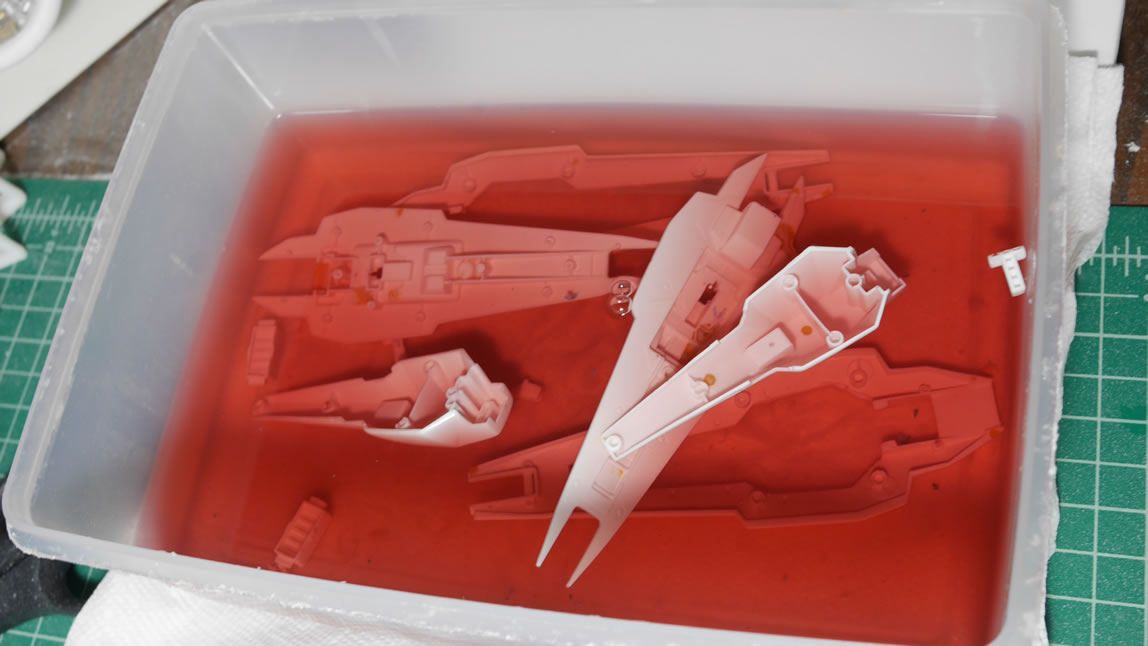
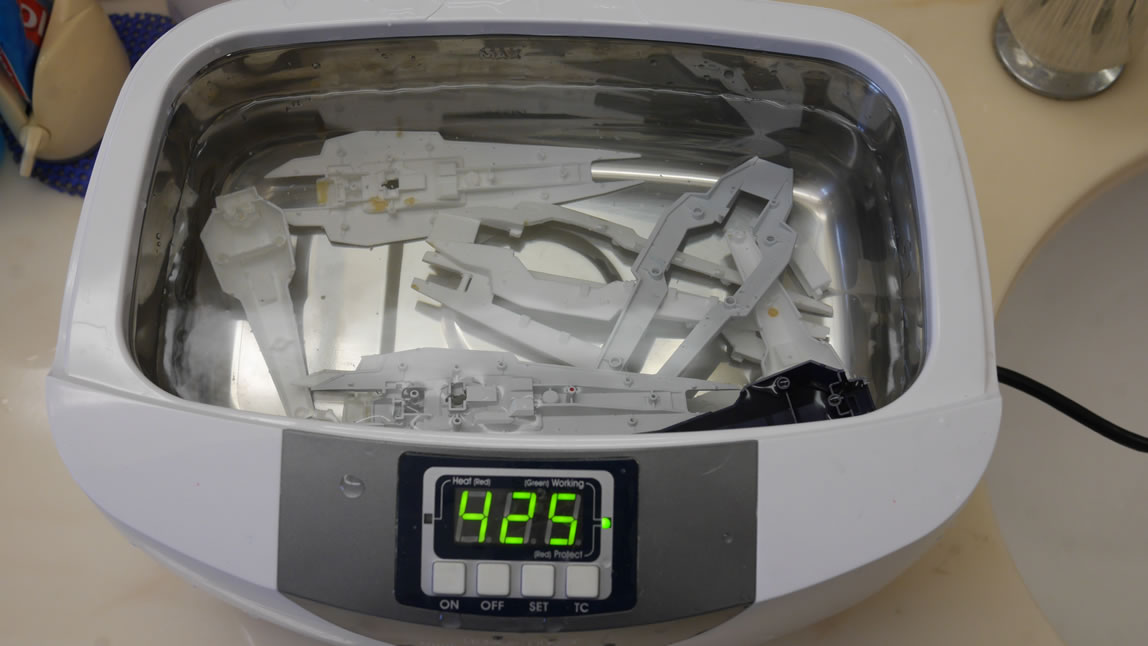
Before we can get to spraying the primer, the resin needs to be cleaned. All the shields are thrown into an industrial strength degreaser to clean the parts. The original plastic pieces get this treatment as well since the molding process may have left residue that will prevent paint from sticking. After soaking overnight, the parts are thrown into the ultrasonic cleaner and scrubbed. Once dry, the parts are skewered and ready for primer.
From a distance, the primed parts look pretty good. Upon closer inspection, so much more surface defects are now visible.
One of the parts has so many pinholes, I just plastered it with dissolved putty. I may have to make another cast of that part if the sanding session and follow on primer session doesn’t fix anything. That is probably my worst cast of the bunch.
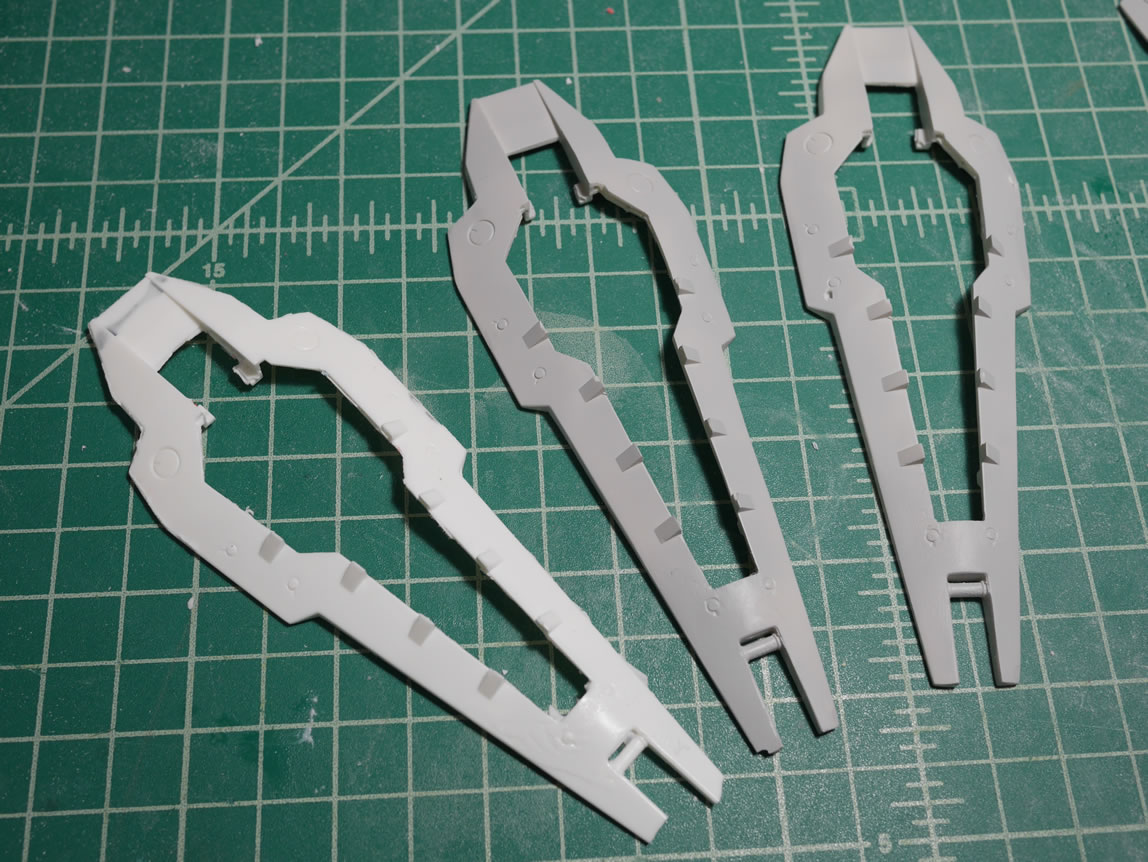
Here is a picture of the three shields in various stages of surface preparation.
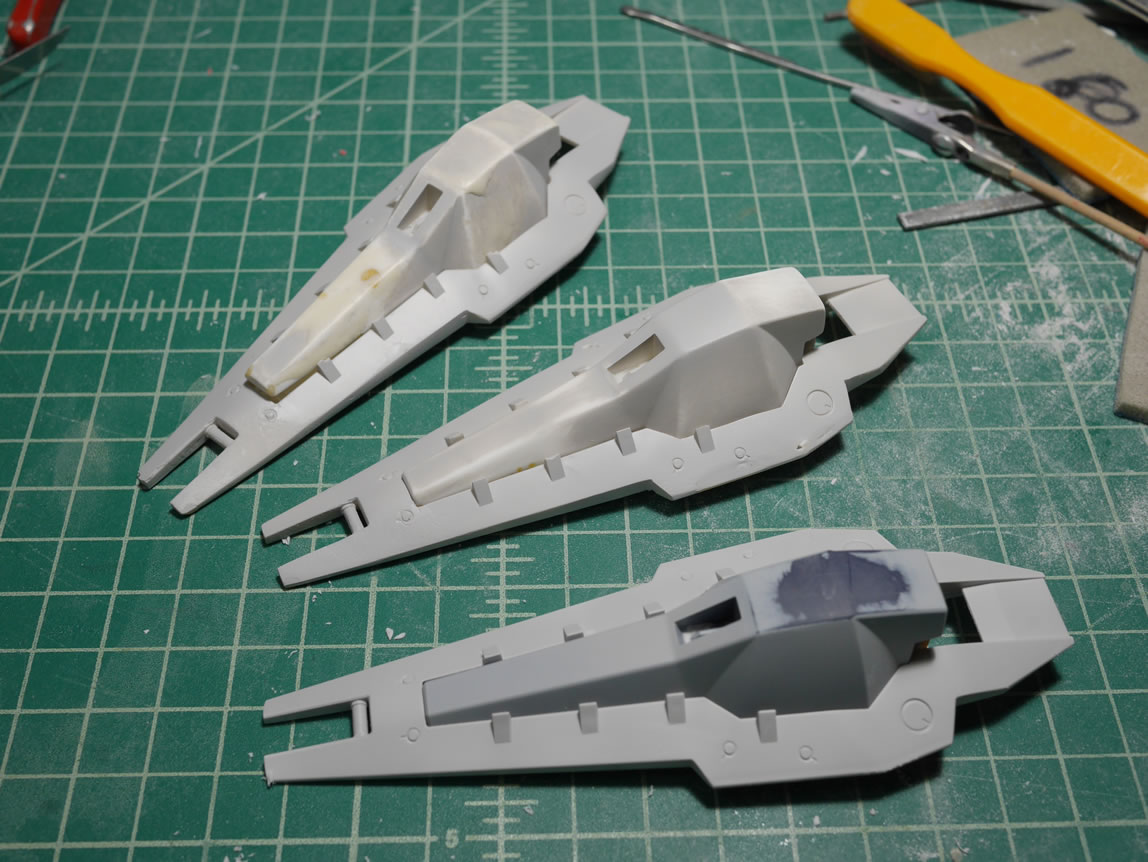
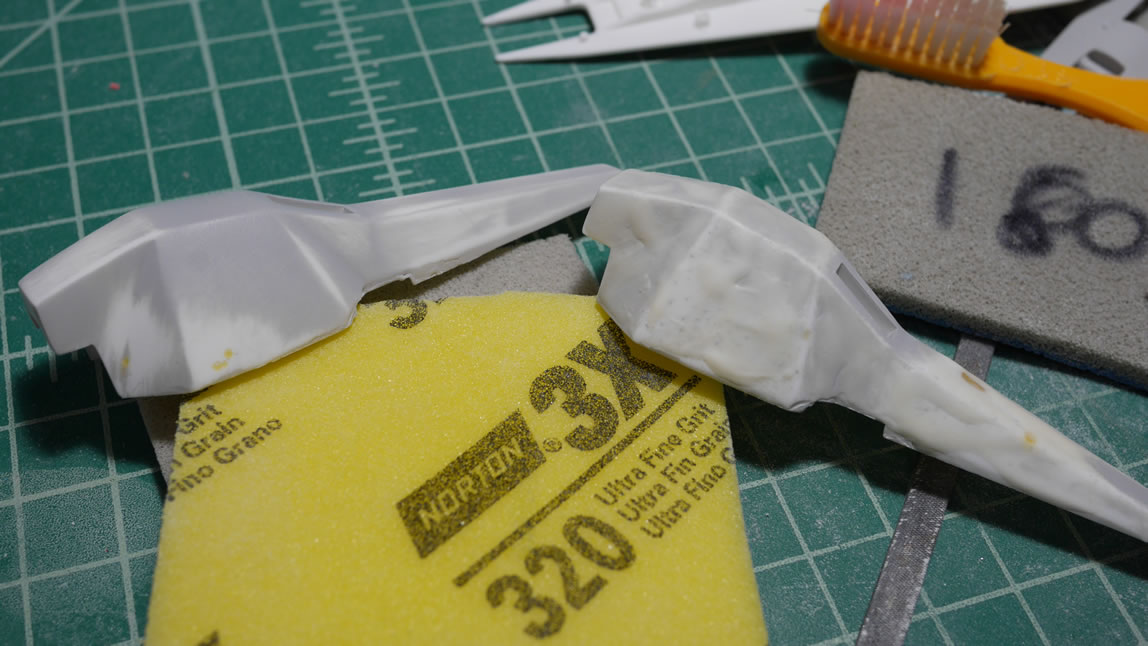
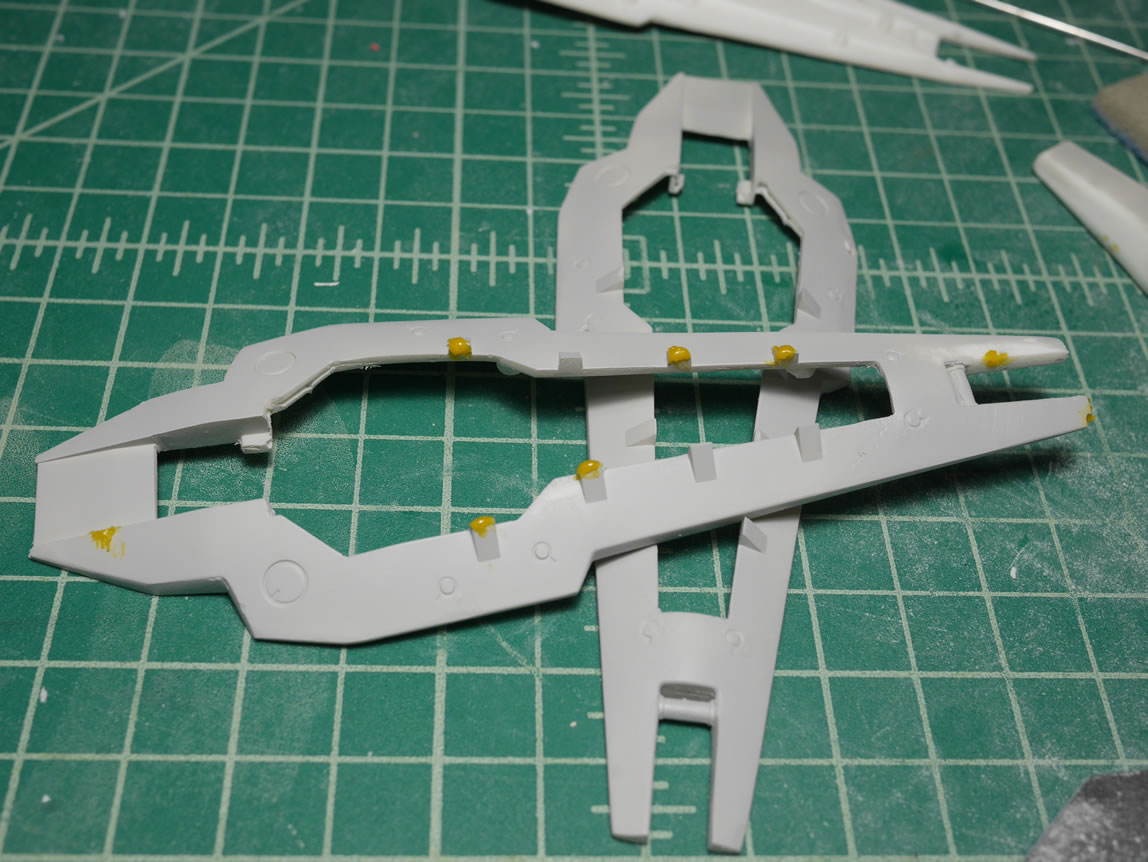
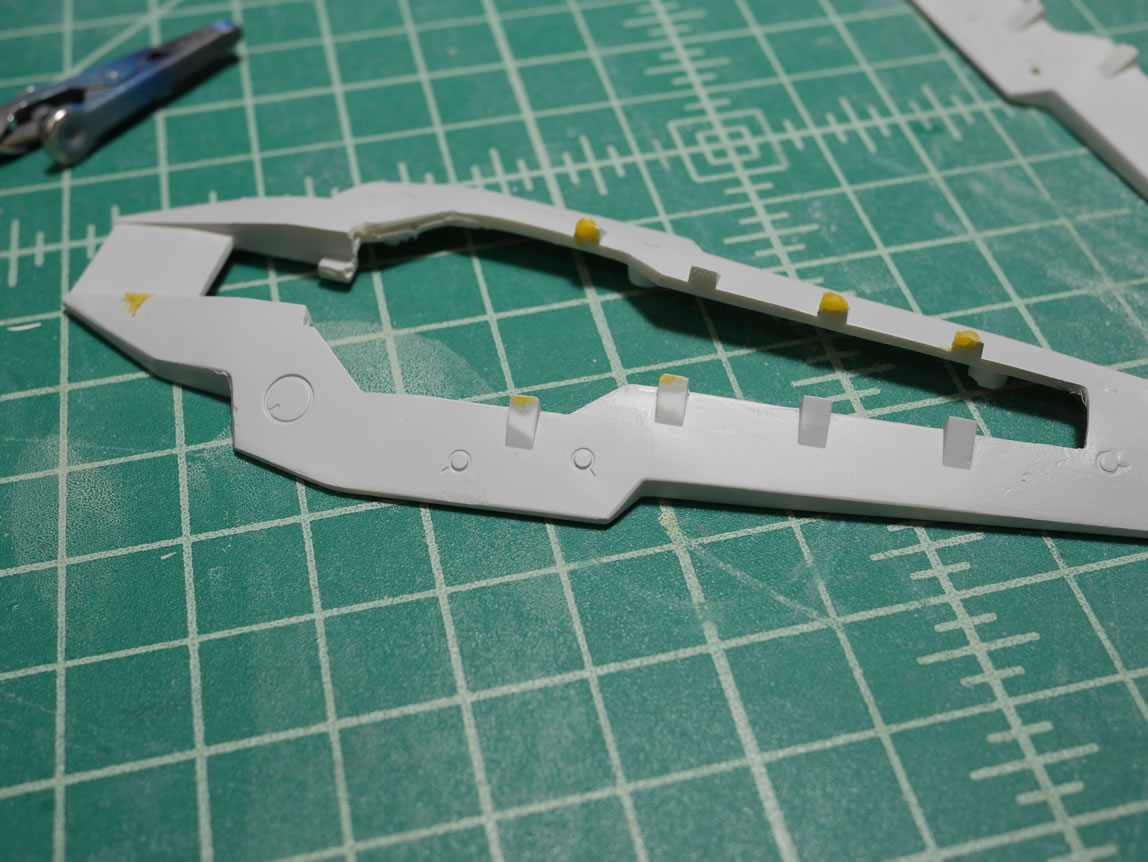
In the below picture, I have an example of a cast that I thought was not worth salvaging. The next two pieces are in various stages of surface repair
Light curing putty to the rescue. I needed to resculpt missing details and the light curing putty works very well here. I do have to be very careful while sanding or the putty will chip off and I’ll have to start over. It is a slow and fairly laborious process, but in the end, it should be worth it.
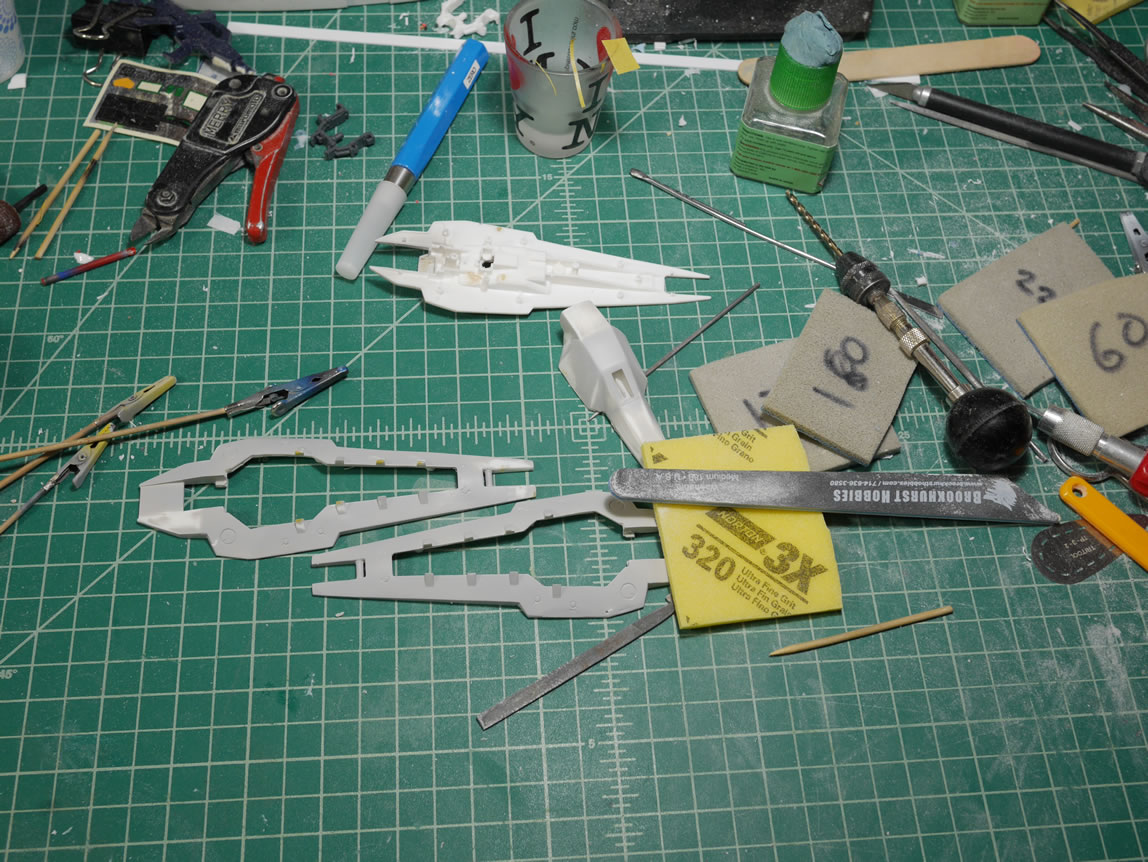
This is my desk as of last night with piles of resin cocaine and a mess of a table as I get the surfaces of these shields fixed. Lots of putty and lots of sanding. And this cycle will repeat after I spray another layer of primer.

SCGMC is less than 2 weeks away. I should be able to finish everything by then.