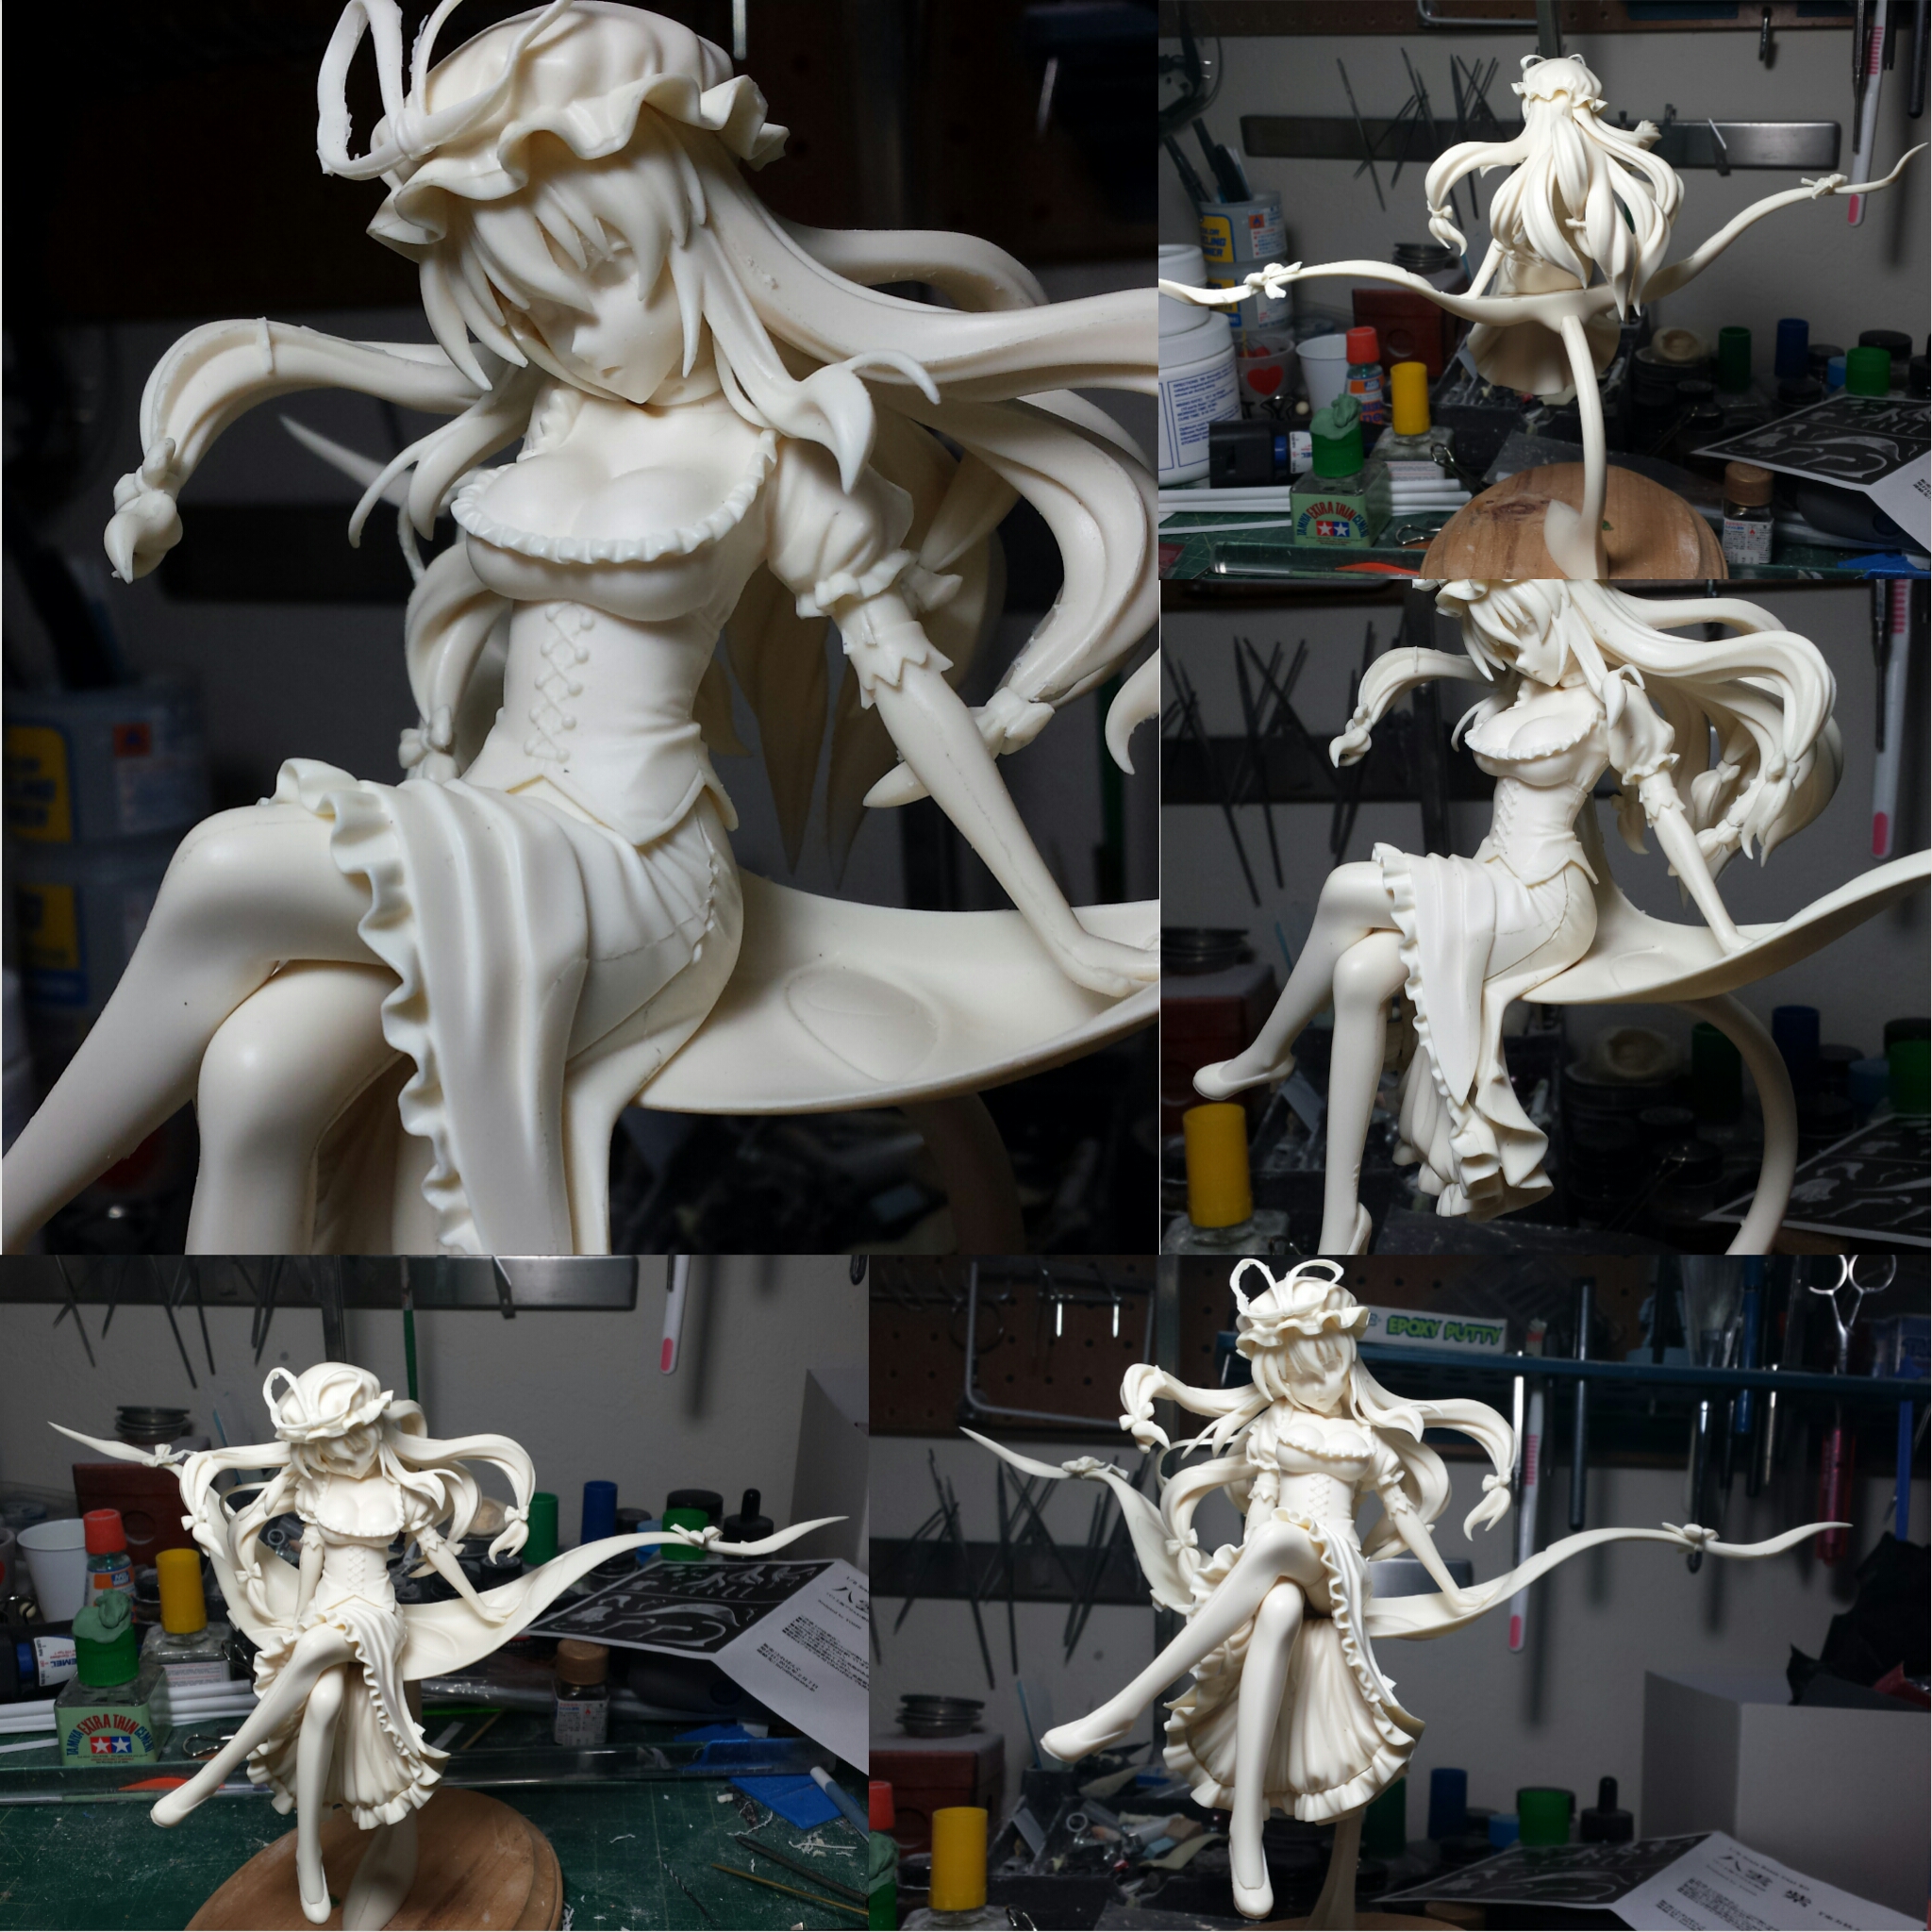
The year is almost over and I’ve yet to get one figure kit completed. So I rummaged through the collection of resin kits and found this partially pinned kit. The parts breakdown is pretty simple and should be a pretty quick build. So I started up the project a few weeks ago.
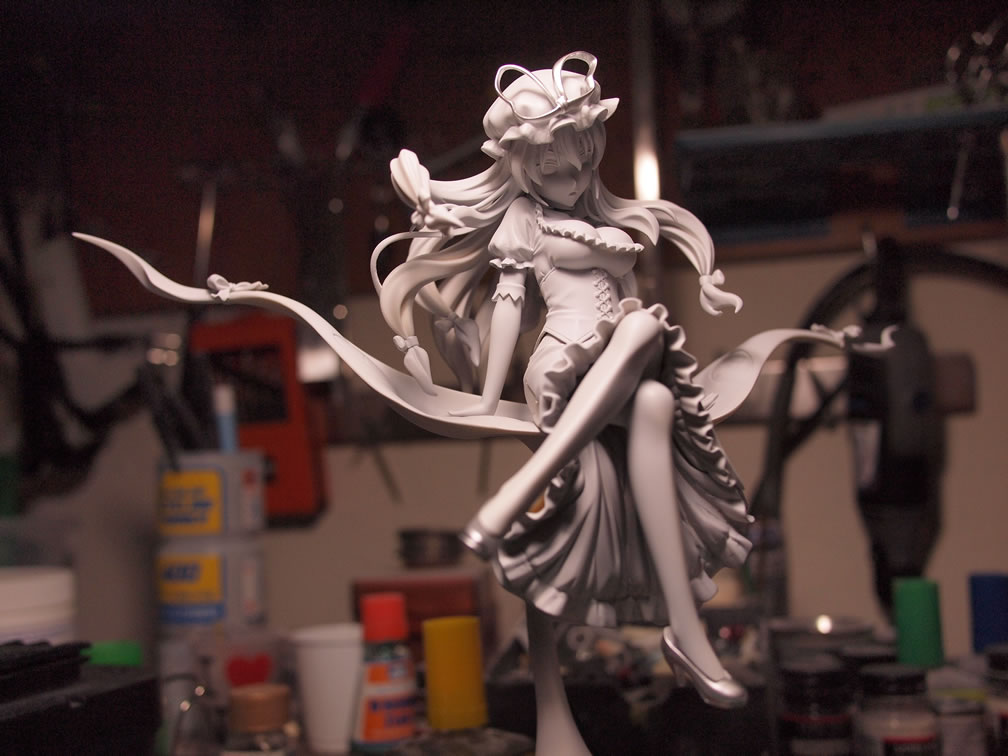
This is Yukari Yakumo from the doujin game Touhou Project. I have no idea what the game is about or who this character is, but a few years ago, the kit looked pretty good from one of the WF events in Japan and I picked this kit up off Y!J Auctions.
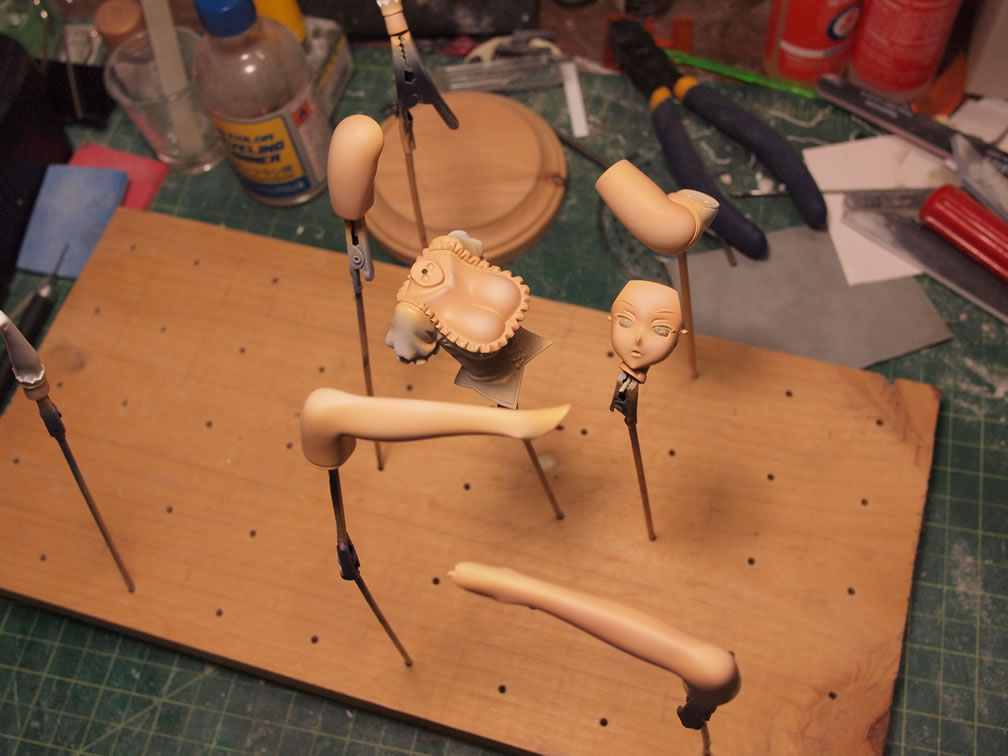
The first step is to finish pinning together the kit, so I can get a better idea on modifications areas, but for the most part, I am just building this out of the bag.
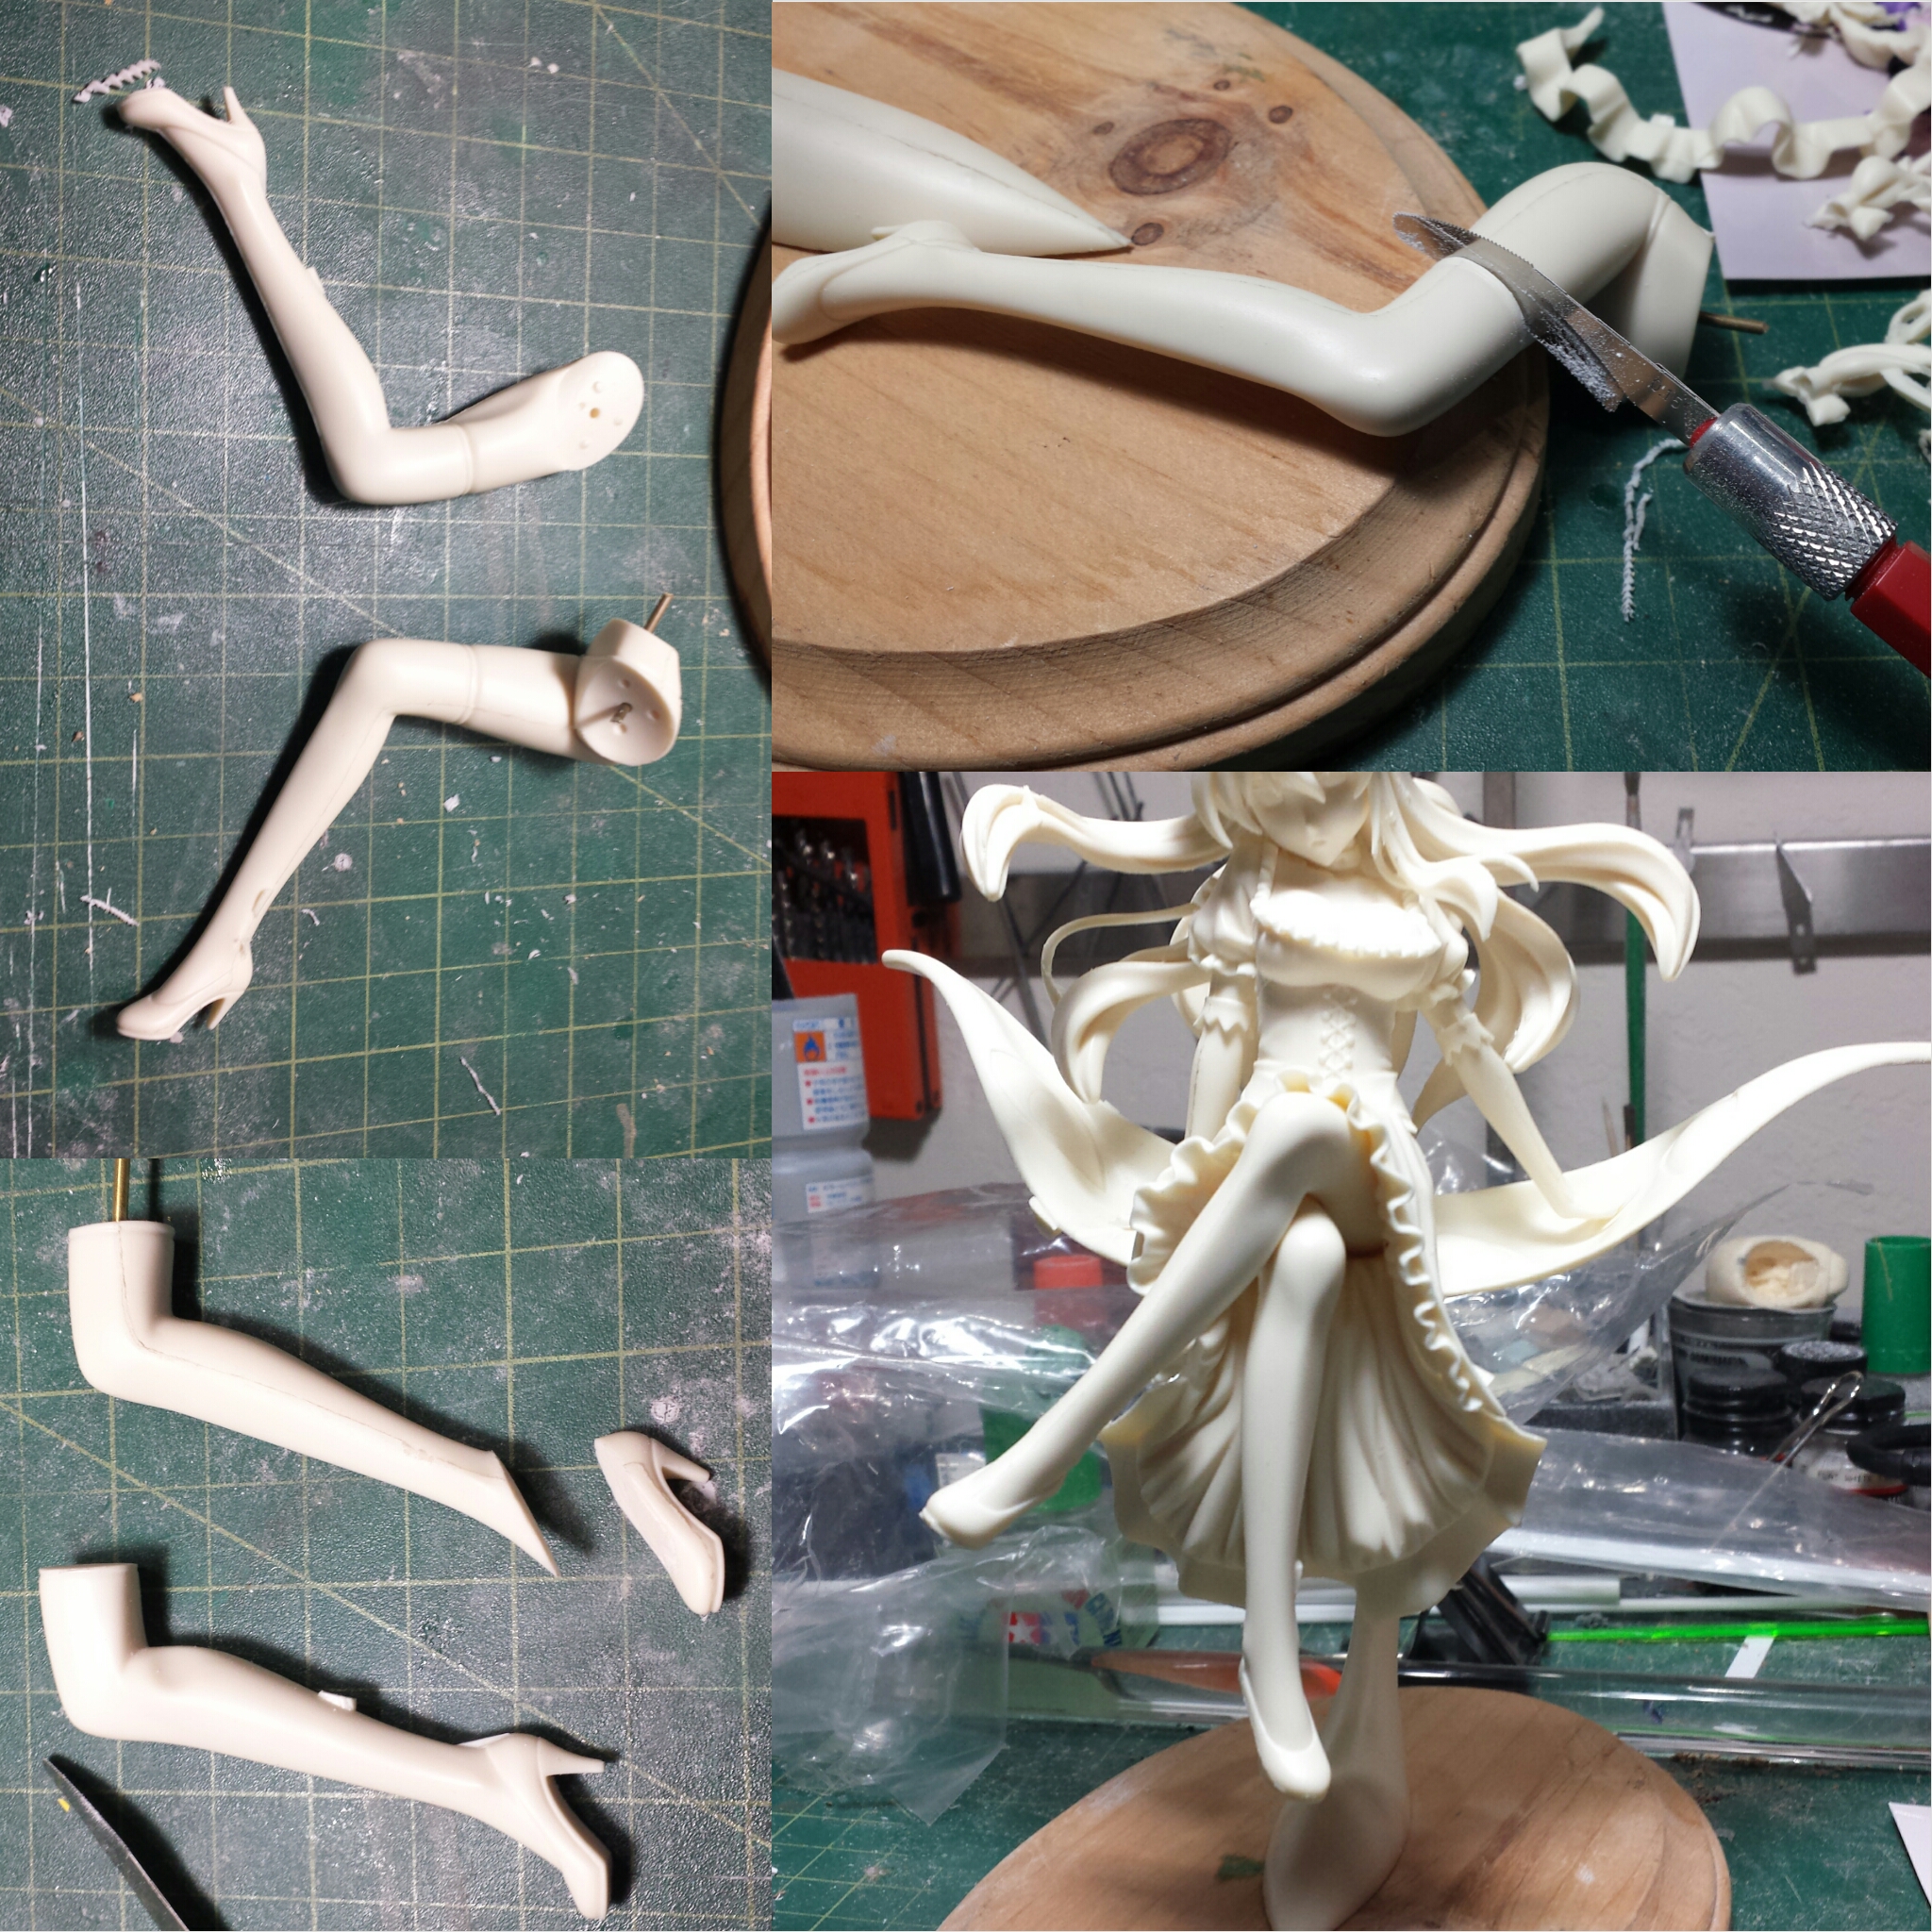
I cut up the leg parts to separate out the leg into thigh, lower leg, and shoes. This will make it easier to fit stockings over the legs once they’re painted. The legs were sawed apart using photoetch tamiya saws.
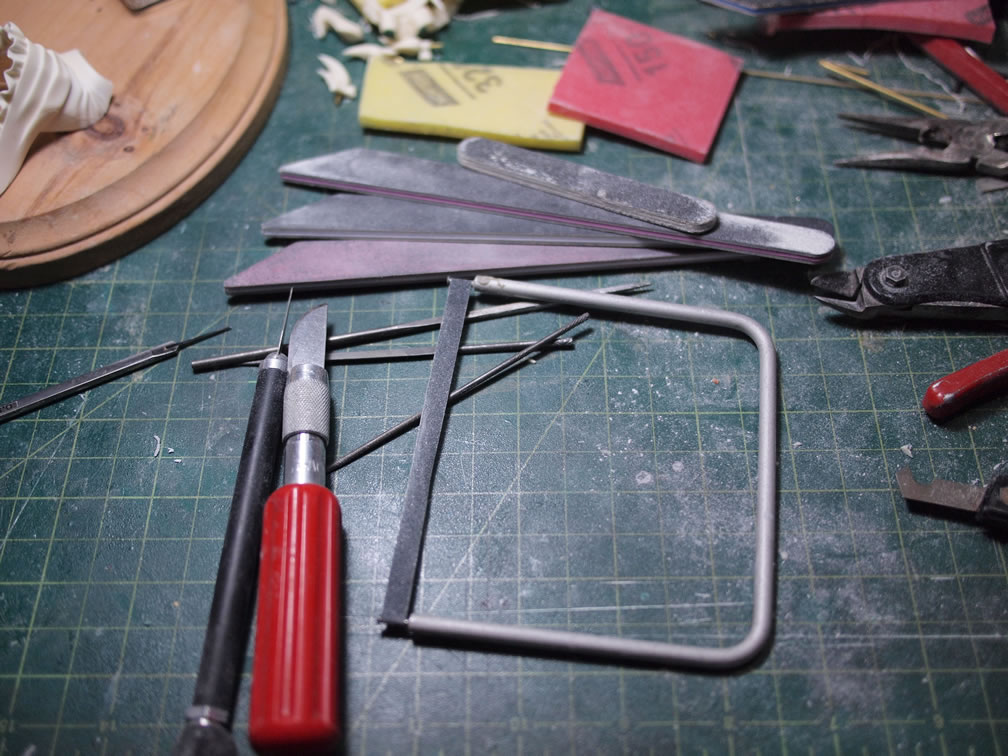
The next step is what I consider the most soul crushing process for any kit build. The sanding. The kit’s design is pretty good, so mold lines are not too bad to deal with. Using a variety of sanding tools, the mold lines, gate areas and excess flash is removed. This is only the initial sanding step, as the real work begins after the first priming session.
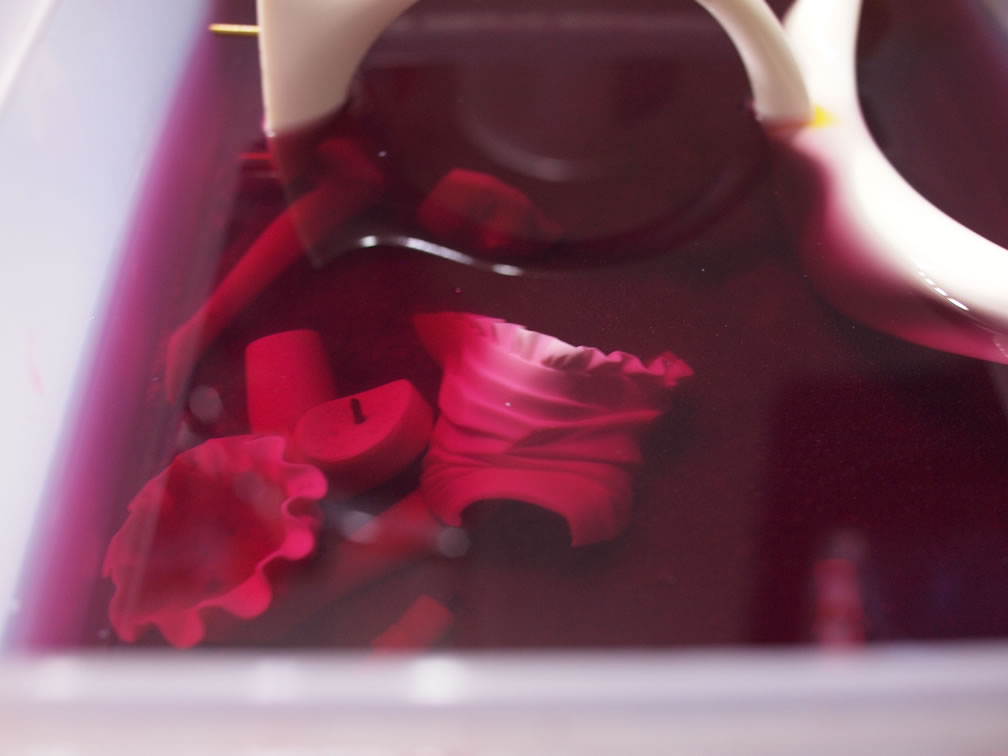
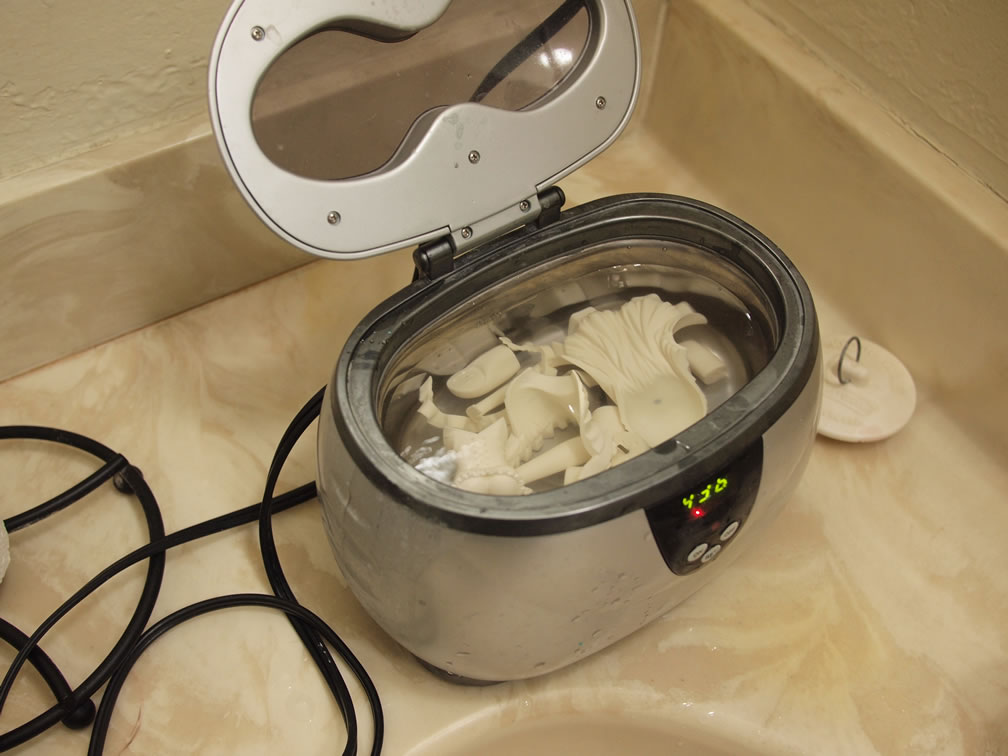
After the initial part sanding, the parts are through into an industrial strength cleaner and soaked for at least a full day. Then the parts are rinsed in some water and placed into an ultrasonic cleaner with water for a scrubbing session. After running the parts through the ultrasonic cleaner, the parts are laid out to dry. The whole process of soaking in cleaner and running the parts through the ultrasonic cleaner is to remove any mold release agents that may still be on the parts. Mold release will prevent primer and paint from sticking to the resin; so the parts must be properly cleaned.

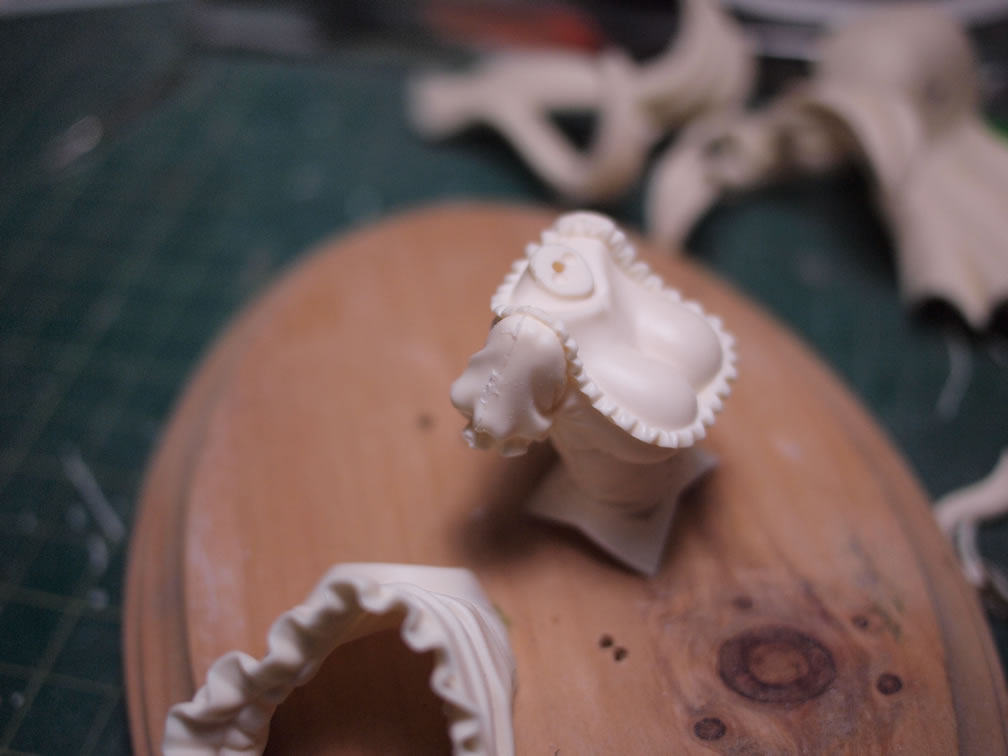
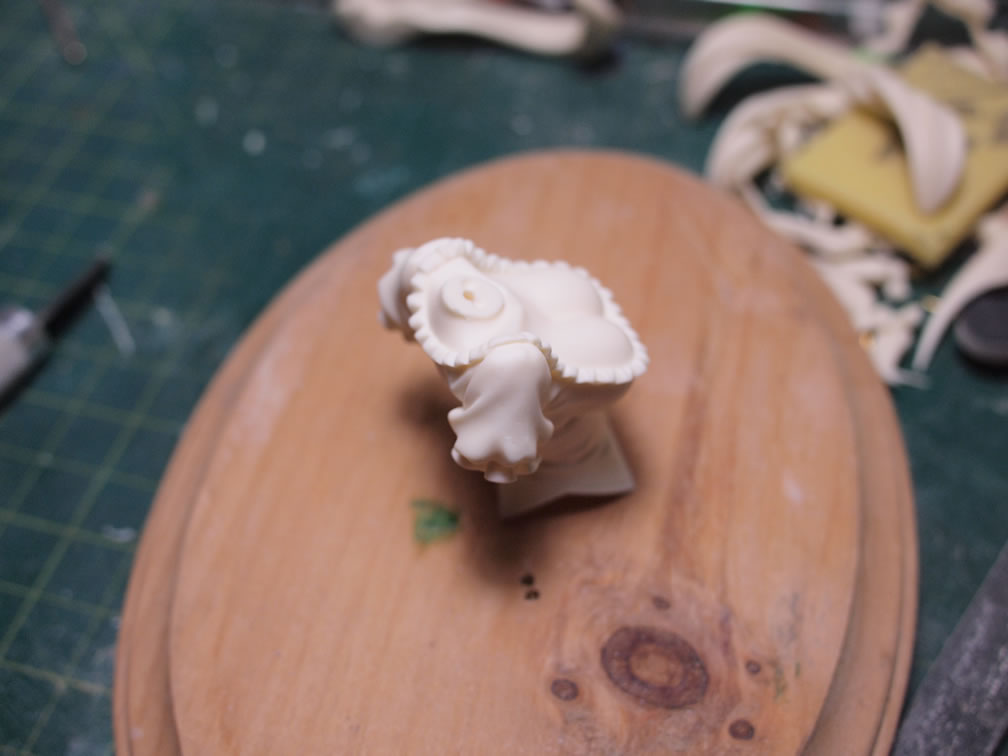
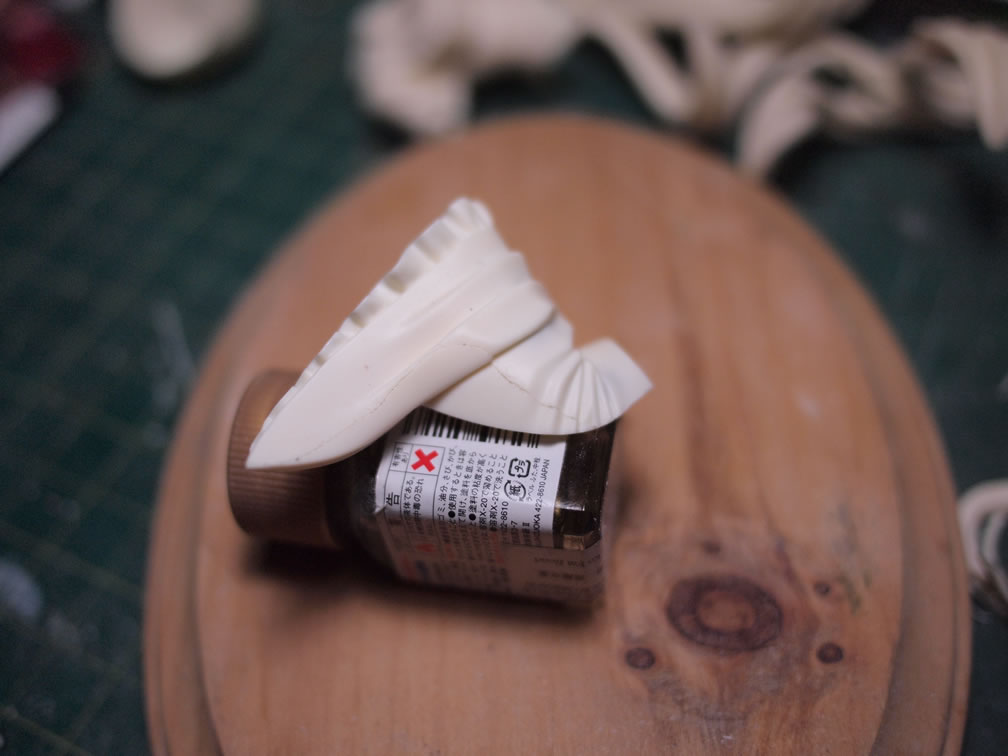
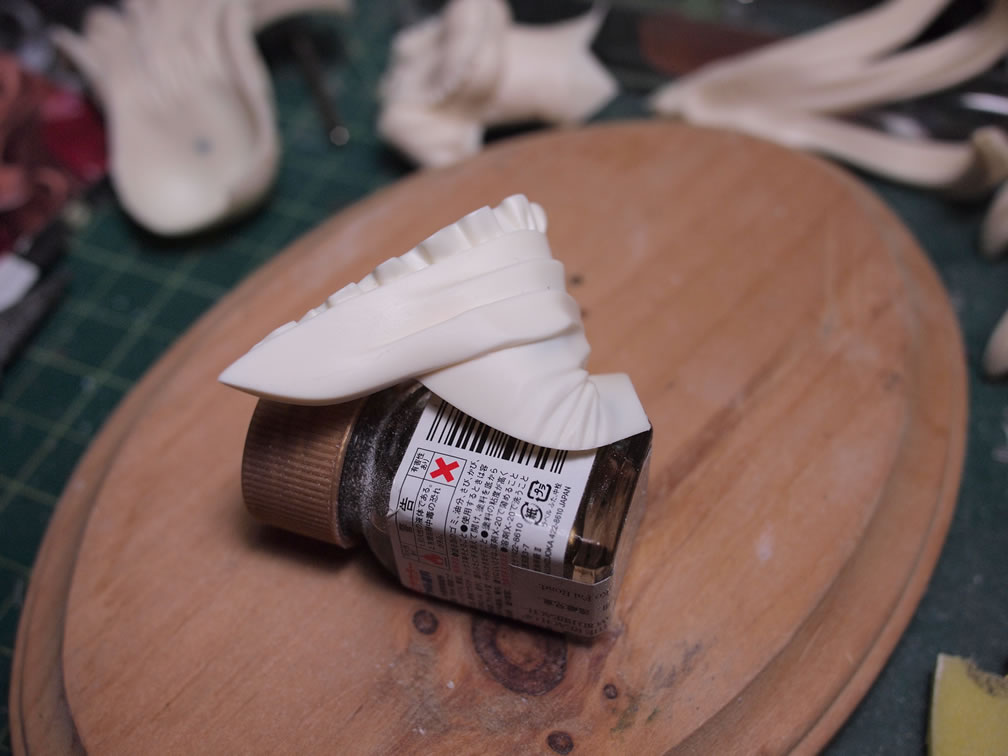
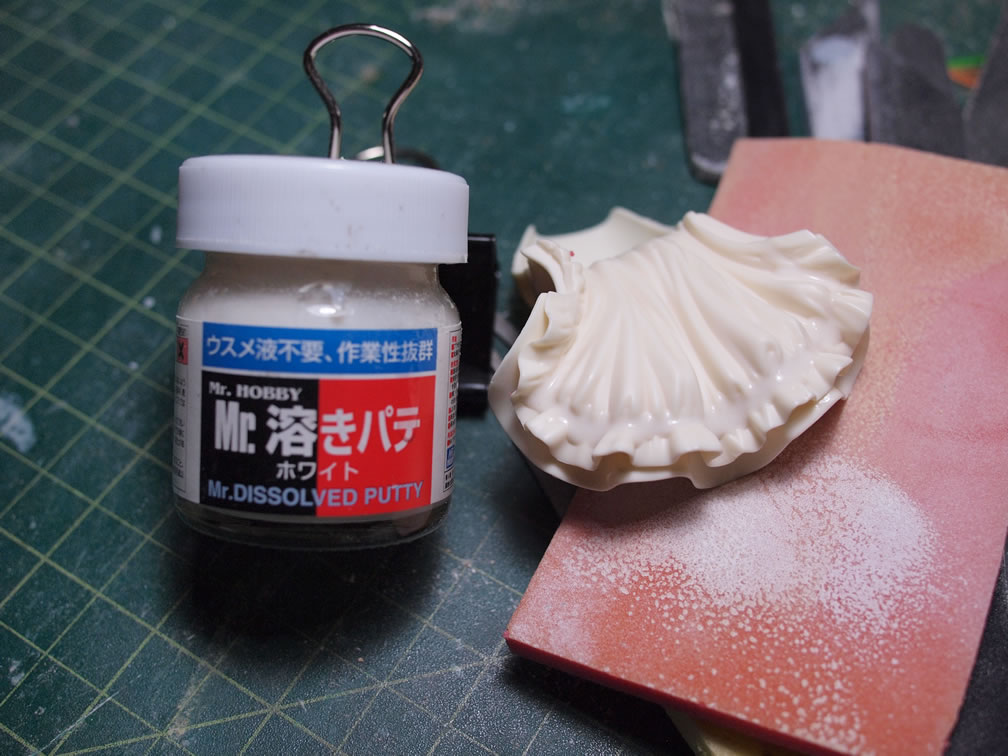
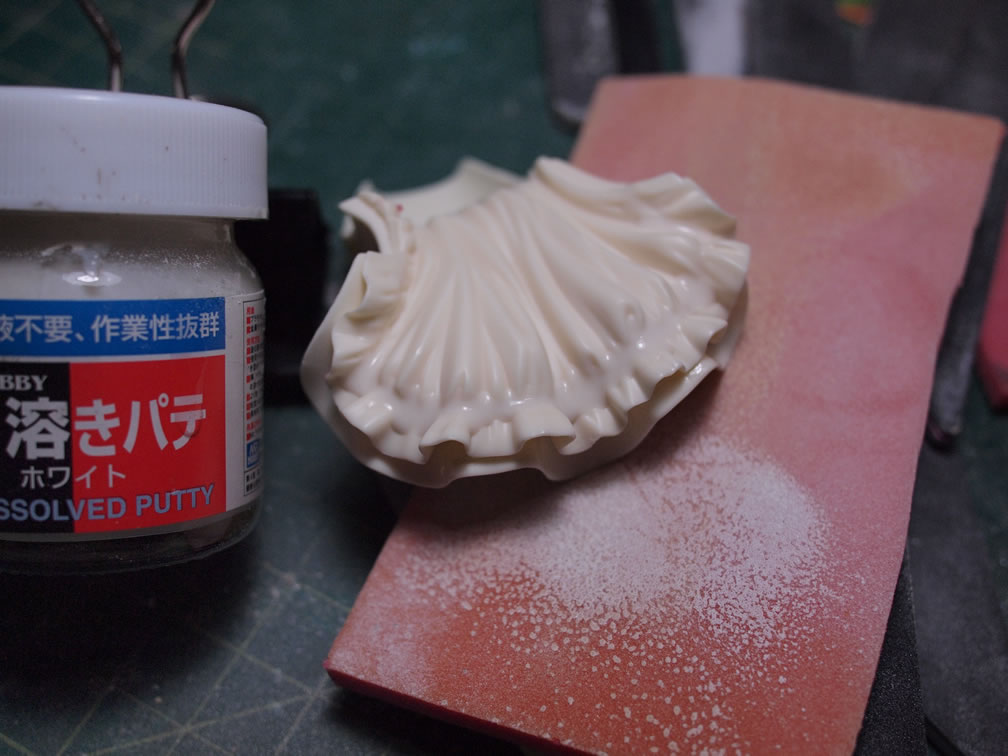
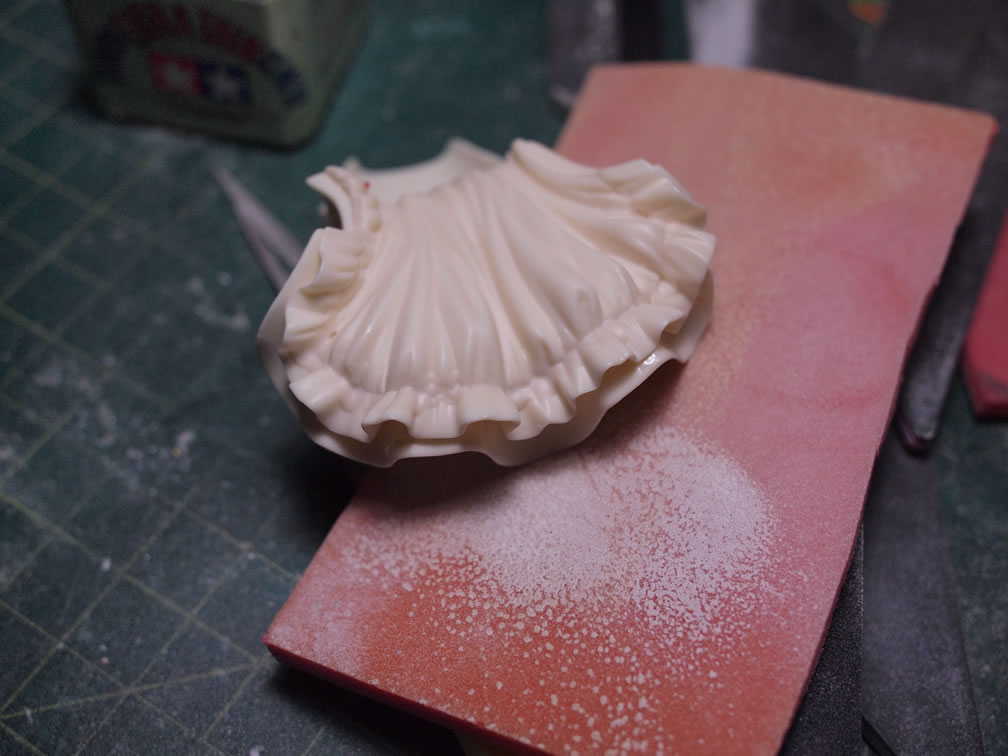
The lower skirt piece is a separate part and once glued into place, there is a decent gap. And since the area is very curvy with the ruffles, I decided to us Mr Dissolved putty as the gap filling agent. This putty is simply applied to the area and left to dry. As the carrier evaporated, the putty solidifies, shrinks and fills in the gaps nicely. The dried putty sands like soft resin once dried.
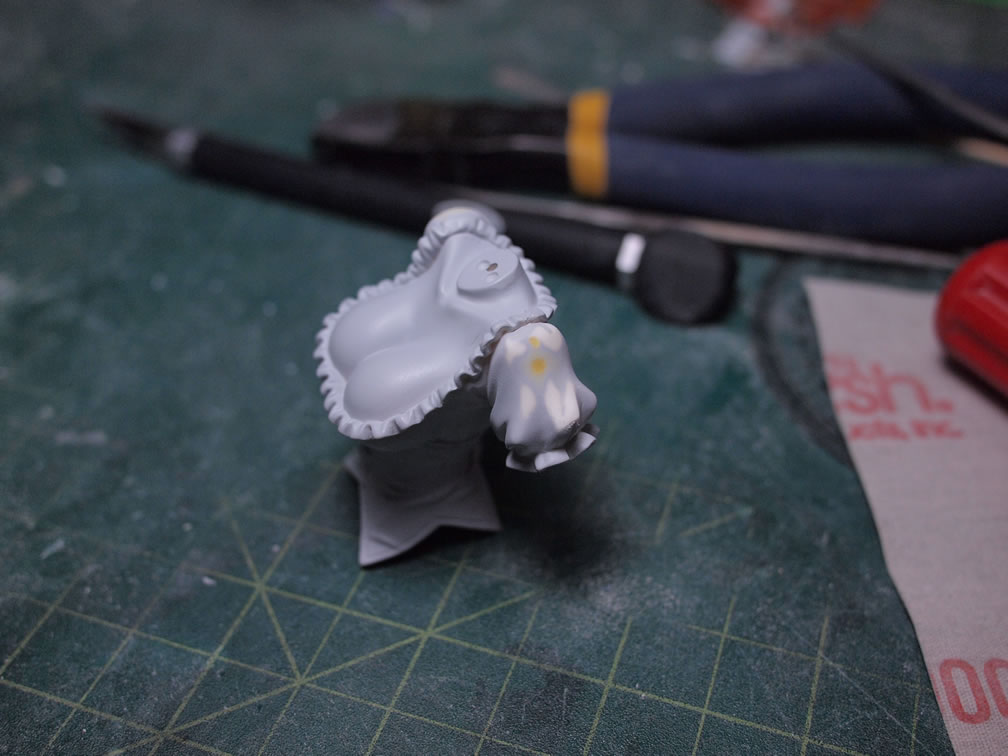
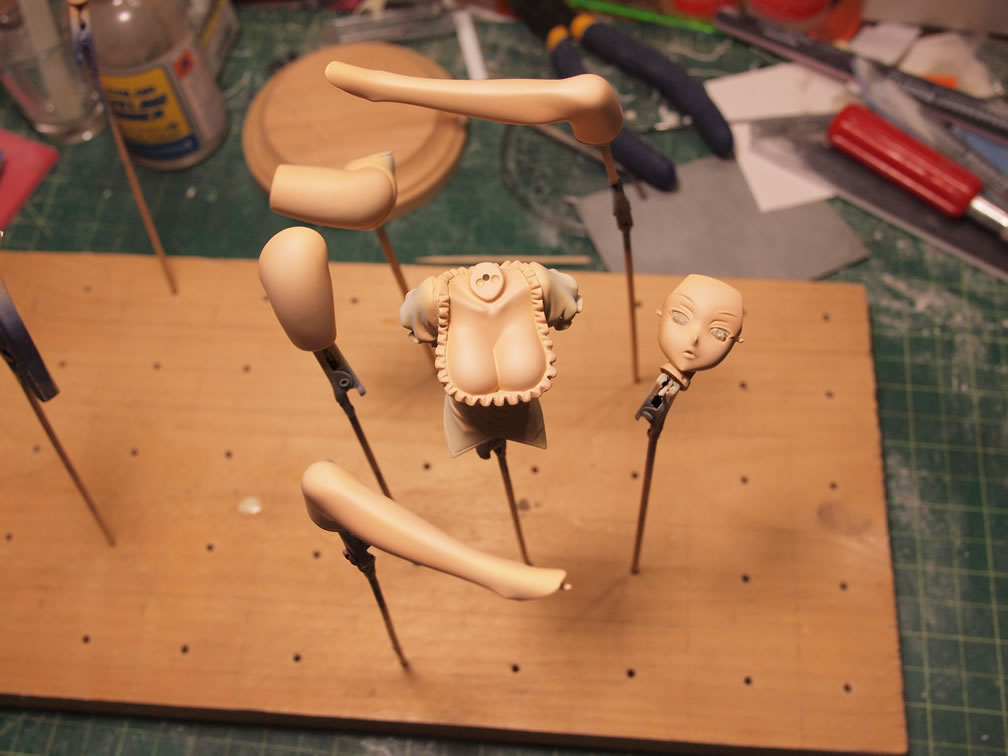
The parts are primed with Mr Resin primer for the initial prime session. Once primed, all the missed mold lines, flash areas and pin holes on the surface will show up clearer than on the unpainted white resin. These excess mold lines and flash areas are sanded and reprimed. The kit is pretty good that I only found problem pin holes in a few parts. The major areas of pin holes was found on the shoulders. For these areas, tamiya light curing putty is applied, cured under lights for a few minutes then sanded down and reprimed. Light curing putty greatly helps speed up the putty-sand-prime cycle. What will take days using epoxy or other conventional putties takes minutes using light curing putty.

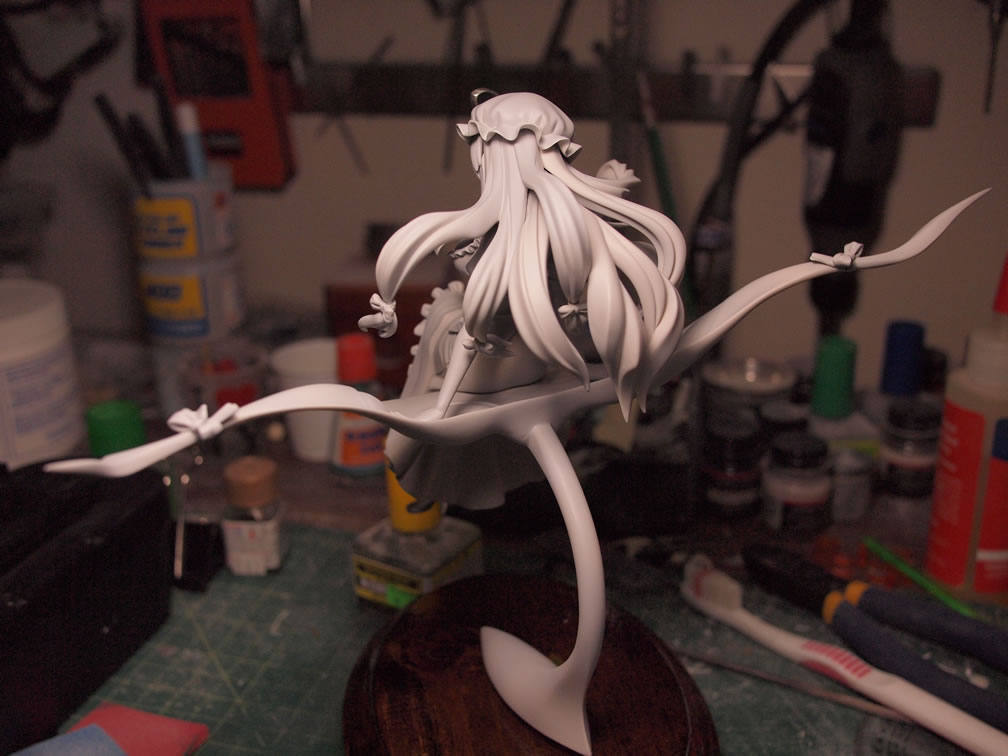
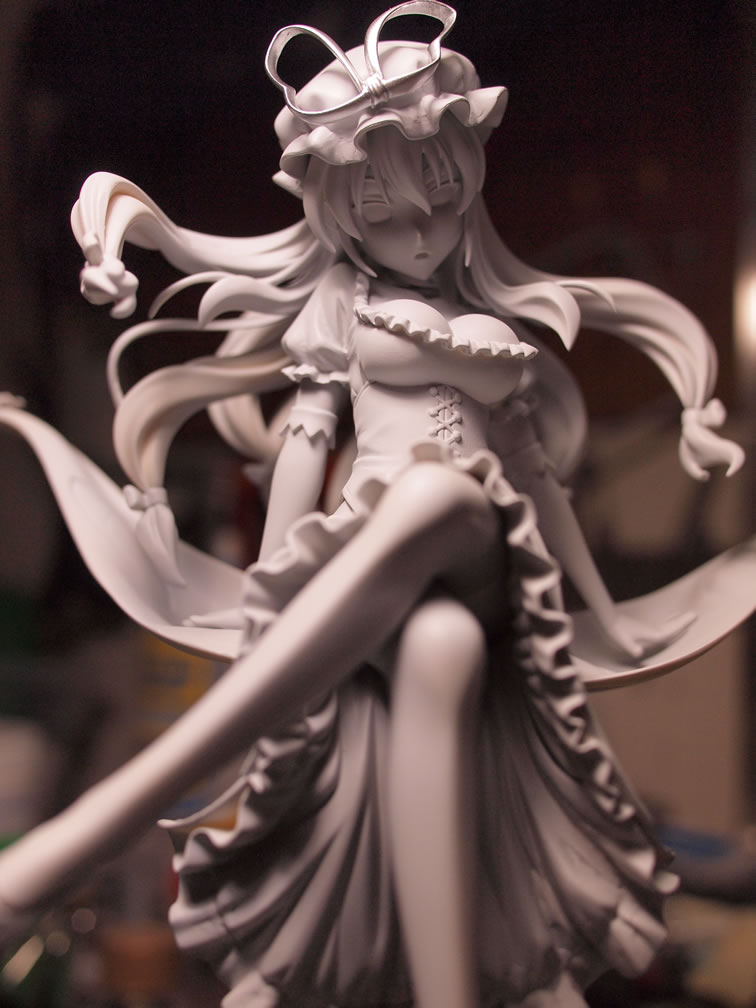
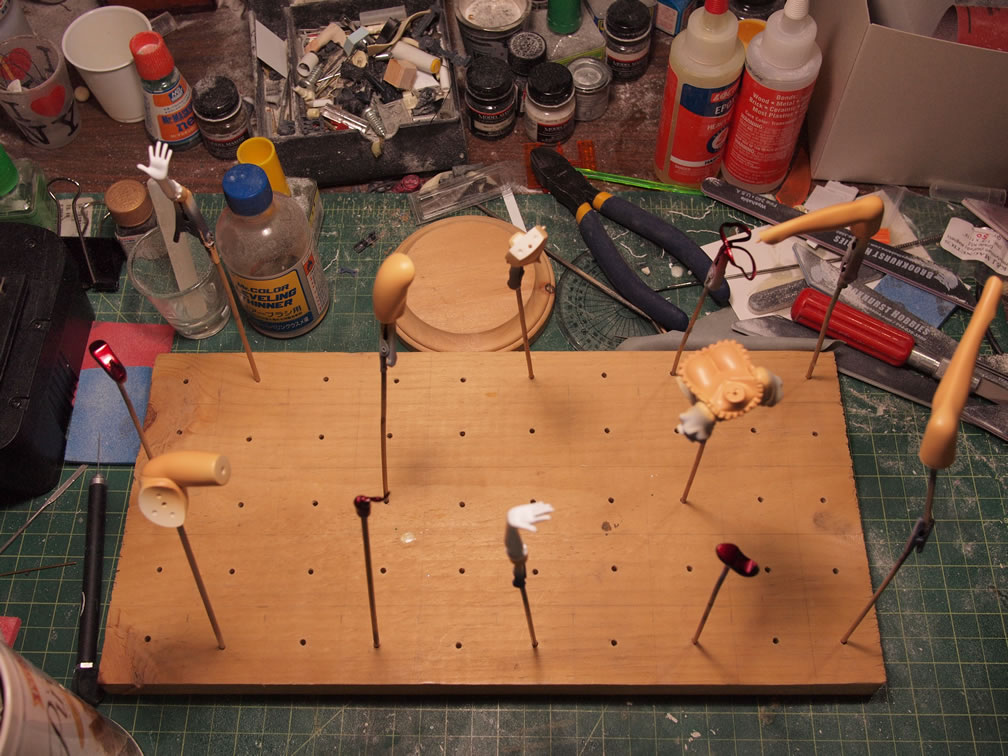
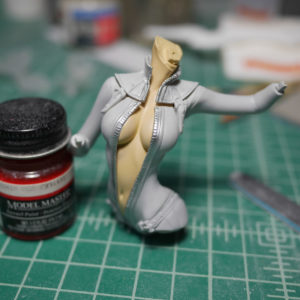
After second and some third priming session, the kit is put together for some pictures and ready for some real paint colors.
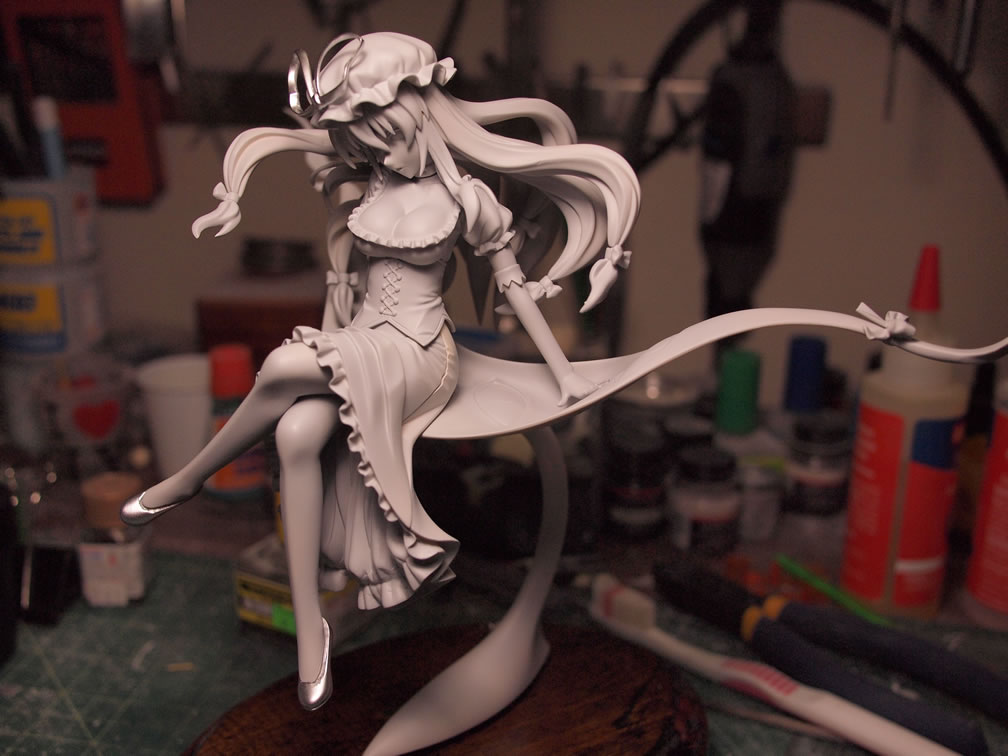
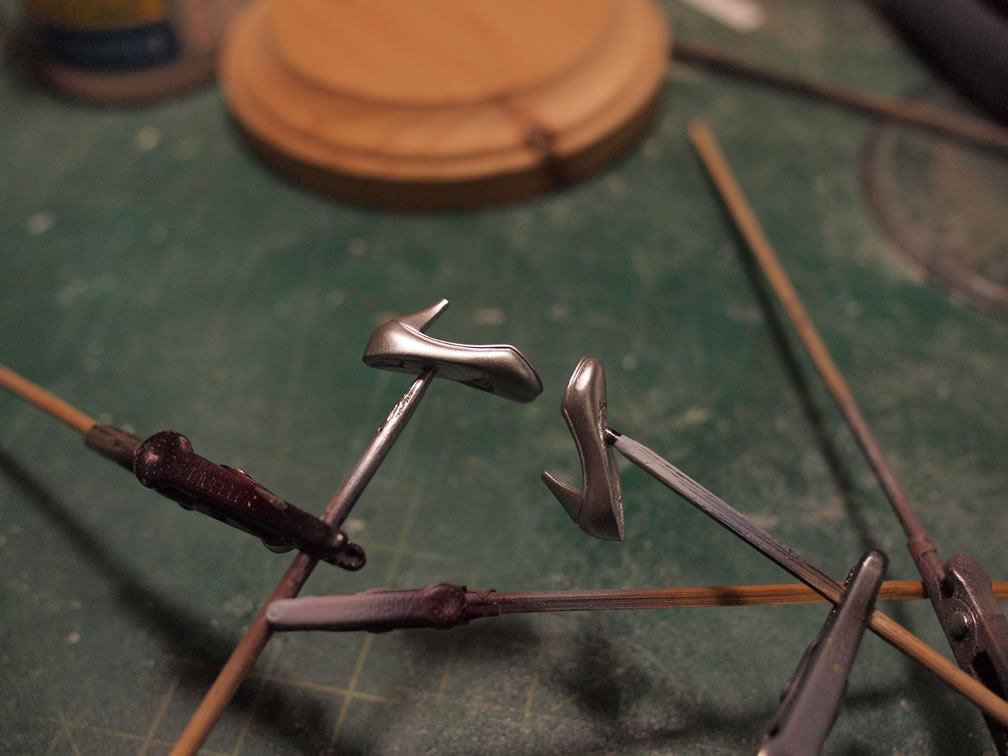
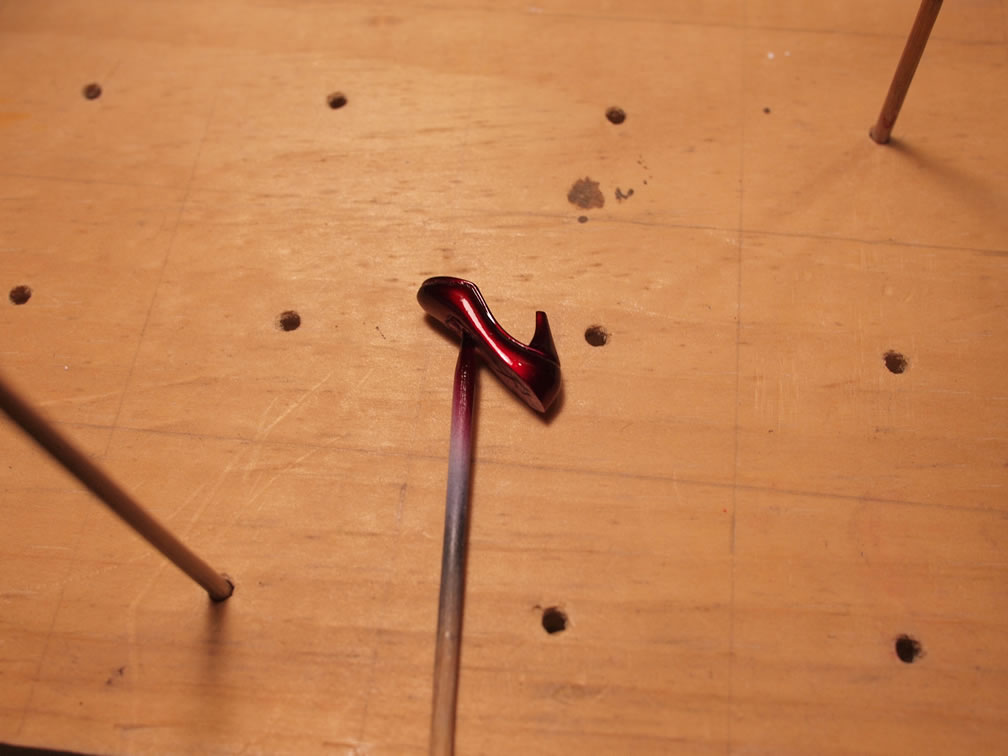
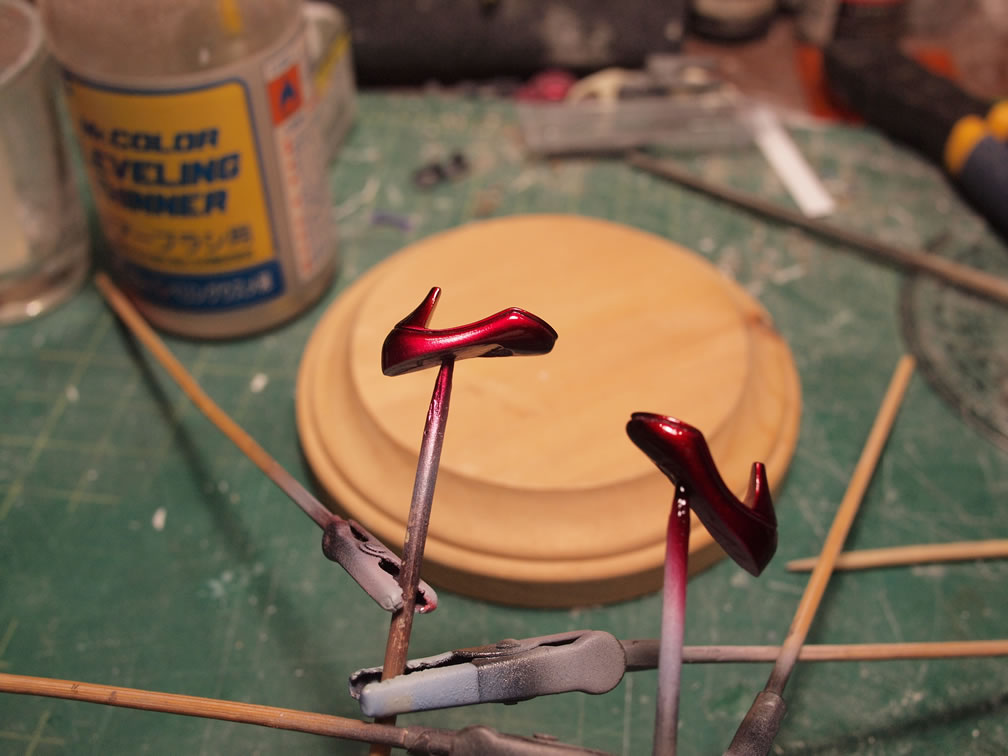
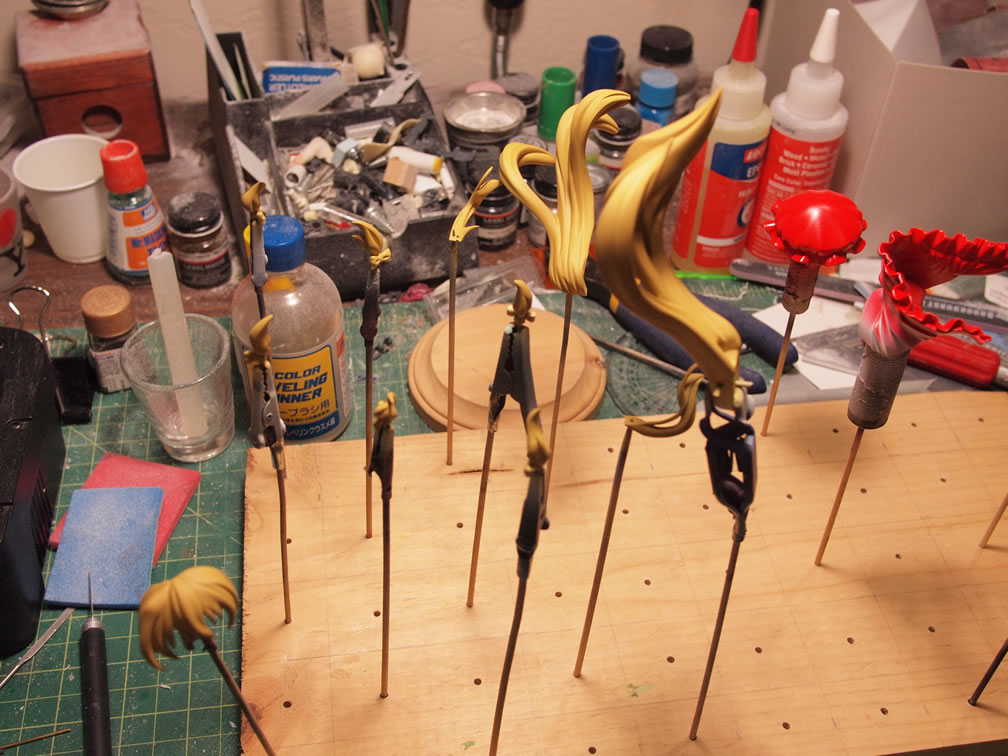
The shoes are base coated with alclad bright silver base, in the above primed pictures, the shoes were already painted. Once the silver cured for an hour, alclad enamel clear ruby is sprayed, cue Dorothy.
Mr Color Base white is sprayed over the skin areas. I have found that painting skin tones over white works better than painting skin tones directly over the grey primer. Painting over grey picks up the grey into the skin tone and ends up with a dead looking figure; not a good effect unless you want that effect. The base skin tone is dark and sprayed.
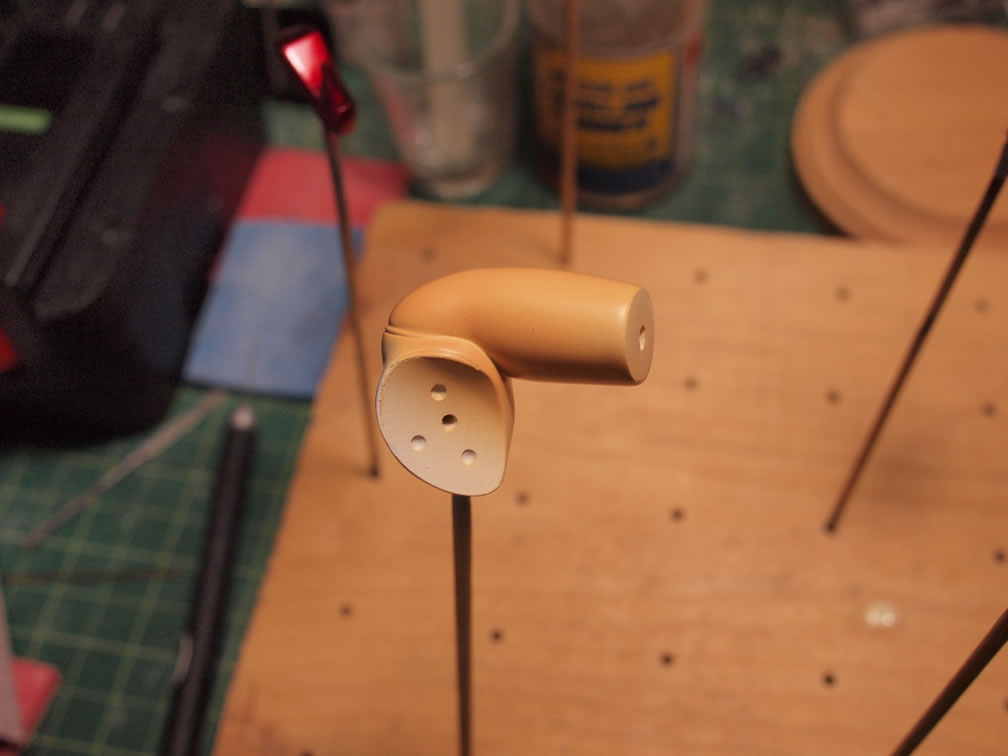
Once the base tone is dry enough, a very light tone of the skin color is used as a highlight. And over this, a medium skin tone is lightly sprayed over everything blending the light highlight tones with the darker base skin colors.
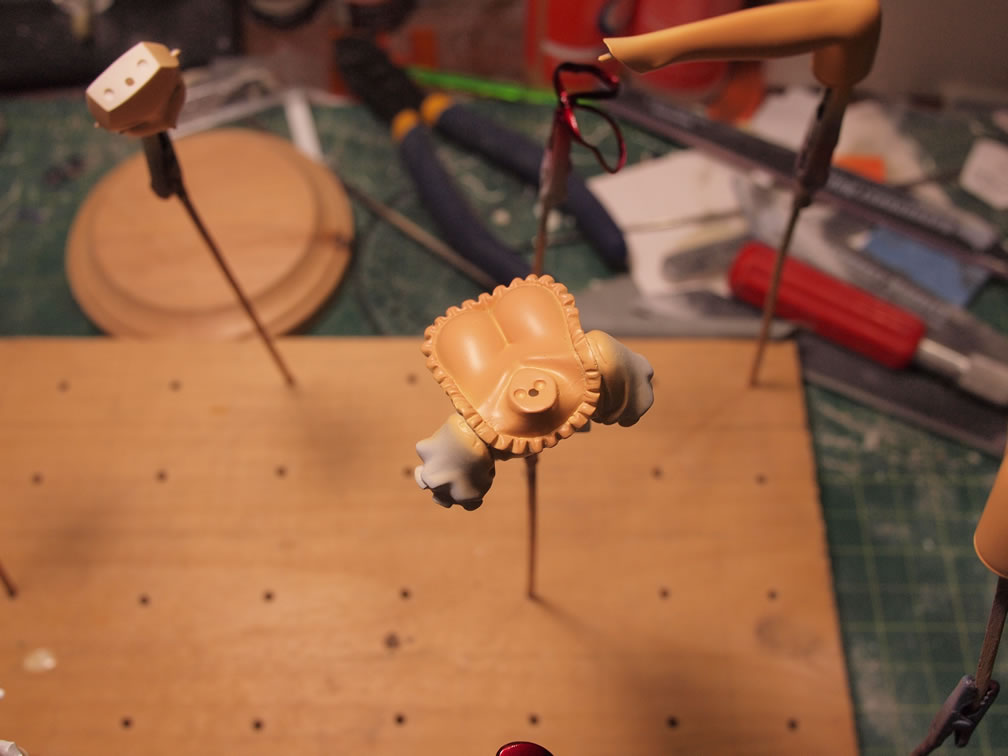
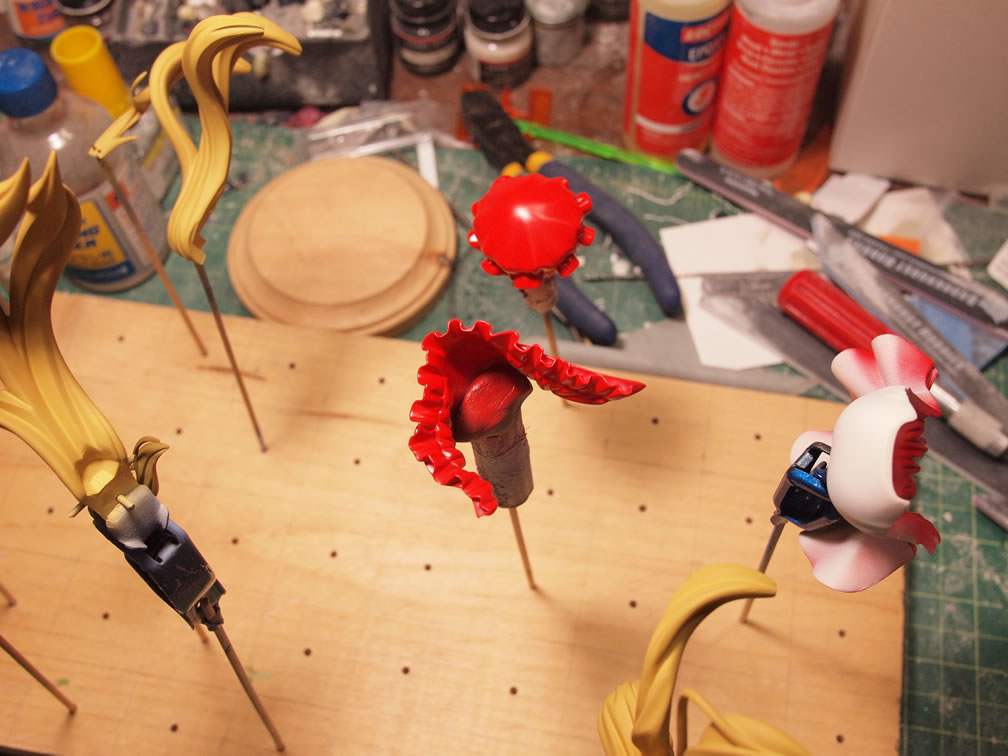
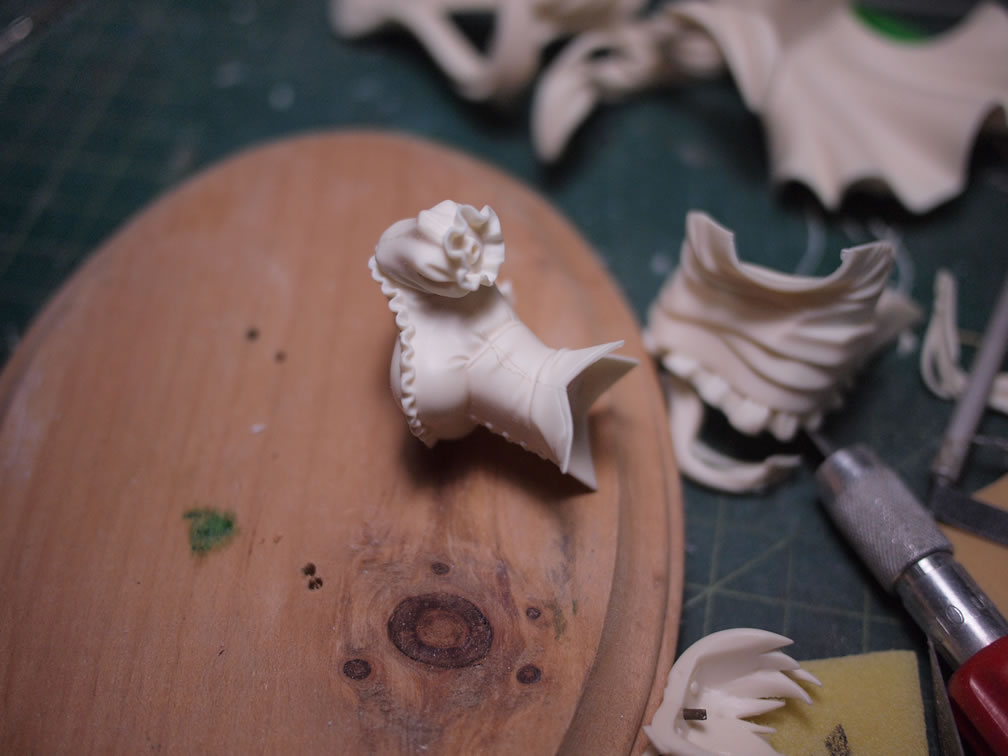
The last bits from last night’s work is the base coat for the hair. I used Mr Color’s sand yellow. And the hat and ruffle areas are base coated with red. The eyes on her “tuffet” is painted with base white, then red for the irises, then black for the pupils. The sample picture has black iris and red pupils, but I felt red irises look better. The a clear gloss is applied.

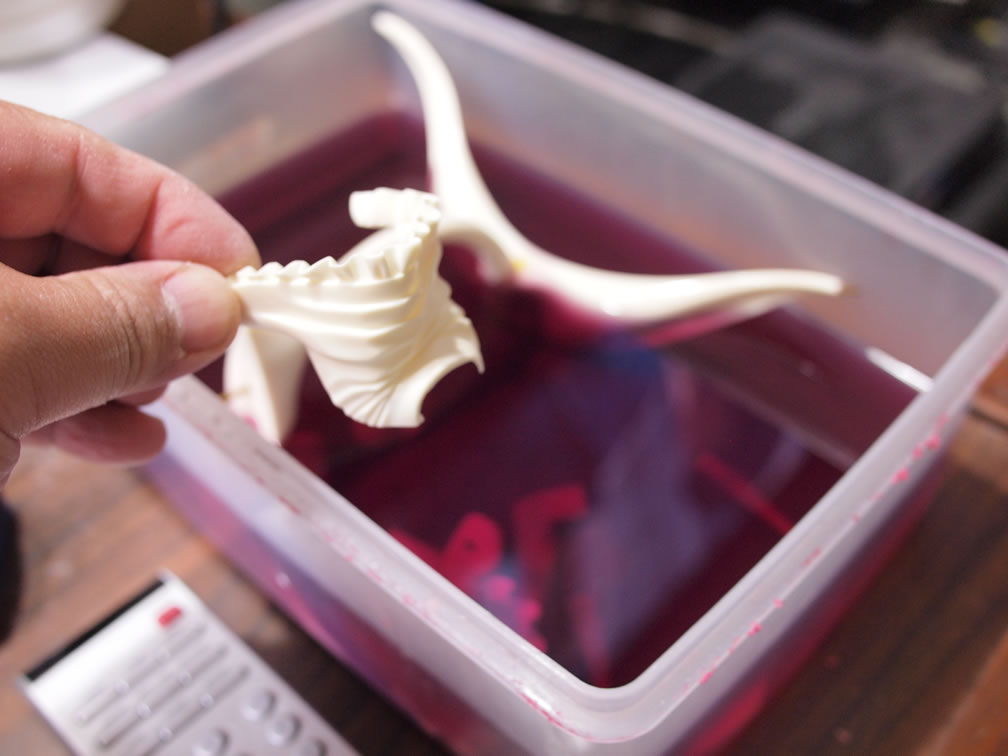
The kit should progress fairly quickly at this point. I’ve gotten the base stained and clear coated. I should have another update in a few days to next week.
