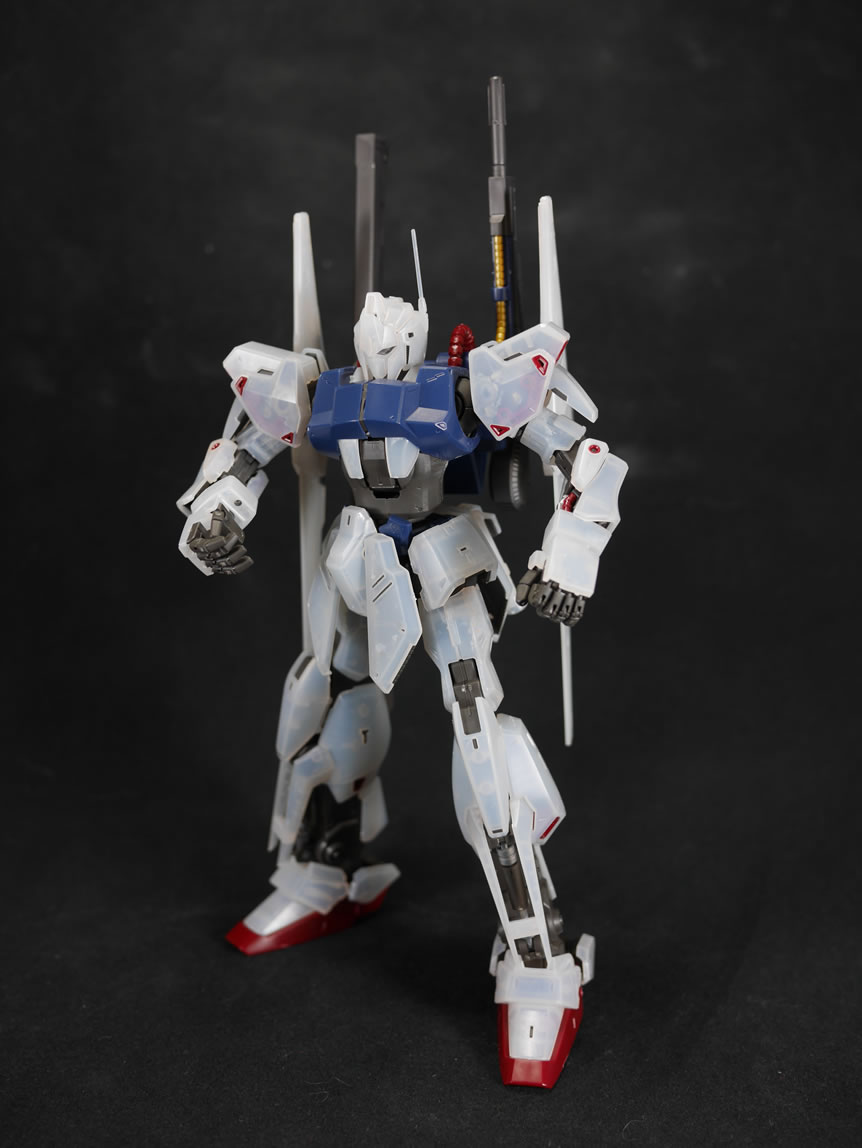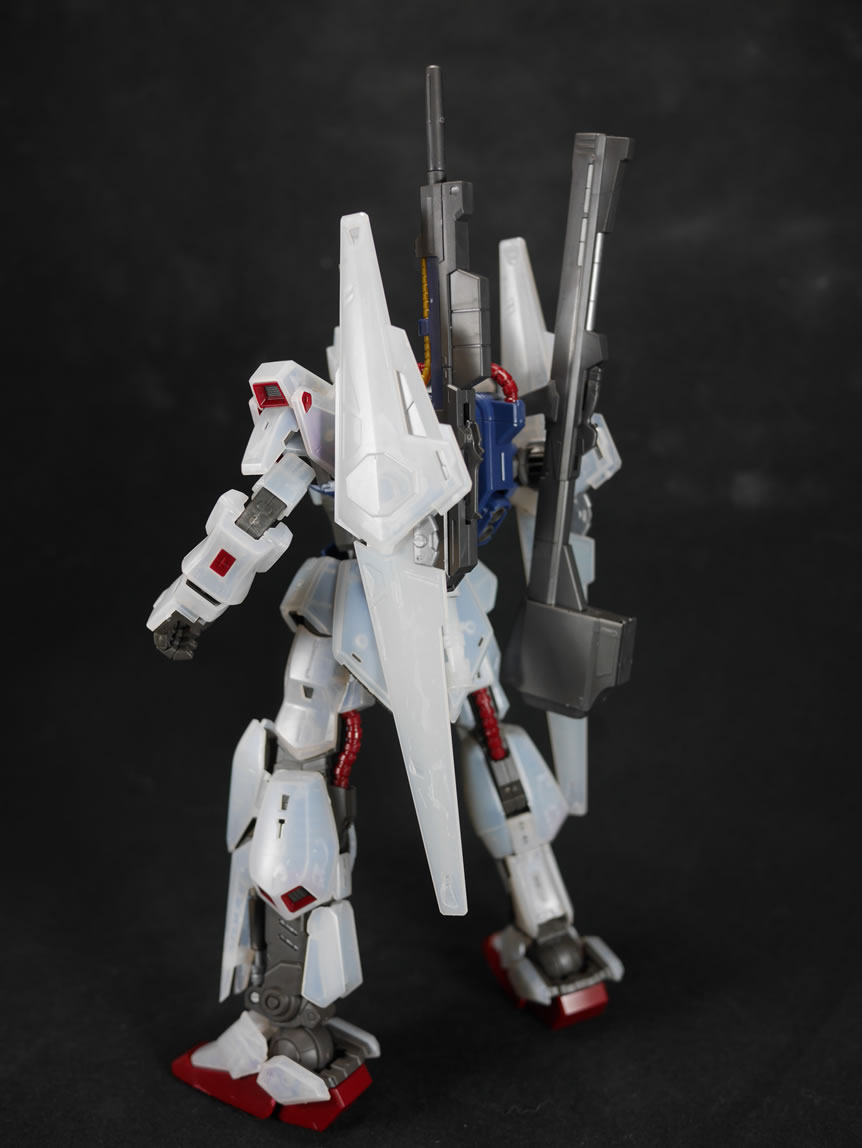
Dom Barrage Progress Update 2
Progress slowed down a bit because I spent a few days making a mold of a crappy Thai made resin recast of Faye Valentine that a friend of mine picked up back in 2003. The resin is so brittle and ceramic like in texture that it is near impossible to work with and sand. I had made some casts of the Dom’s leg thruster parts and had extra silicone to make one of the Faye parts and after that one piece, I just fell down the rabbit hole.
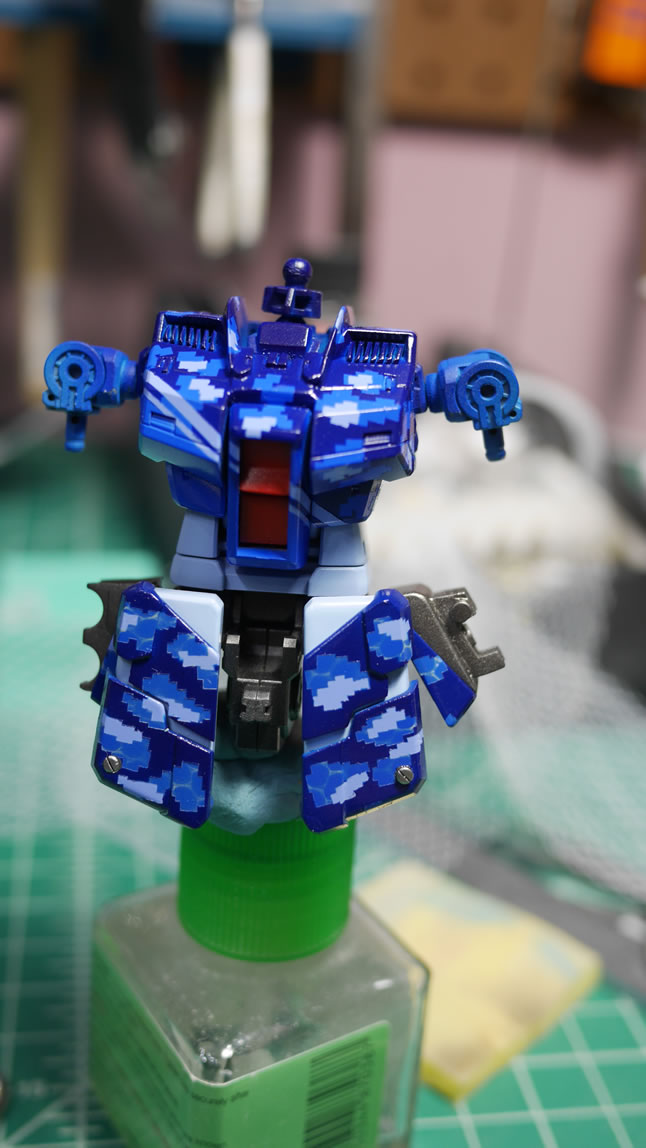
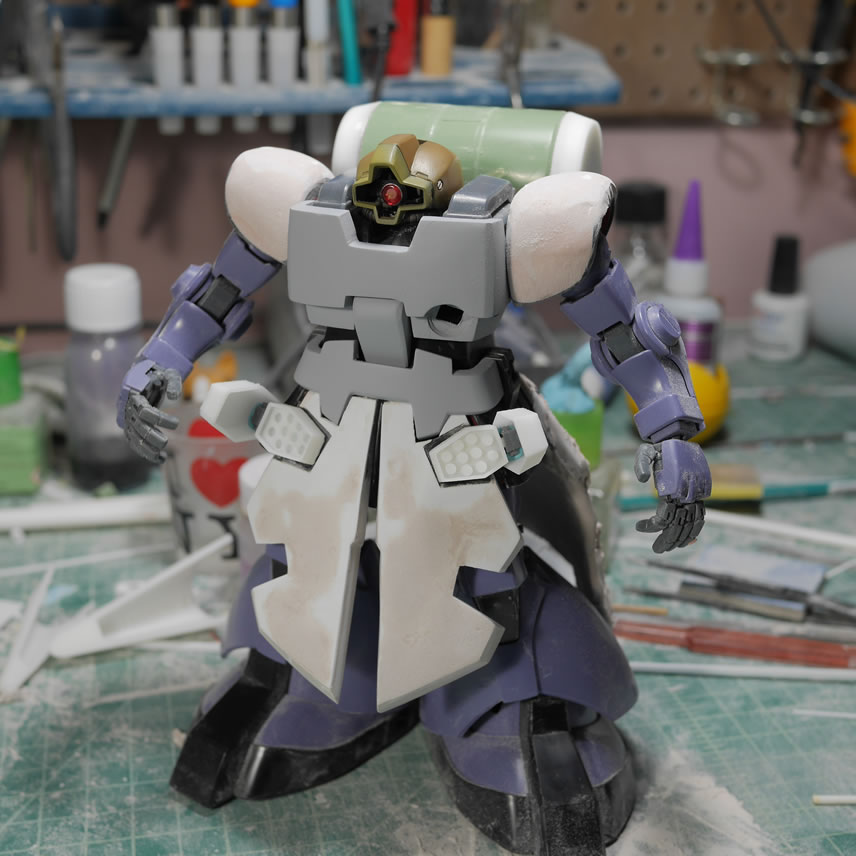
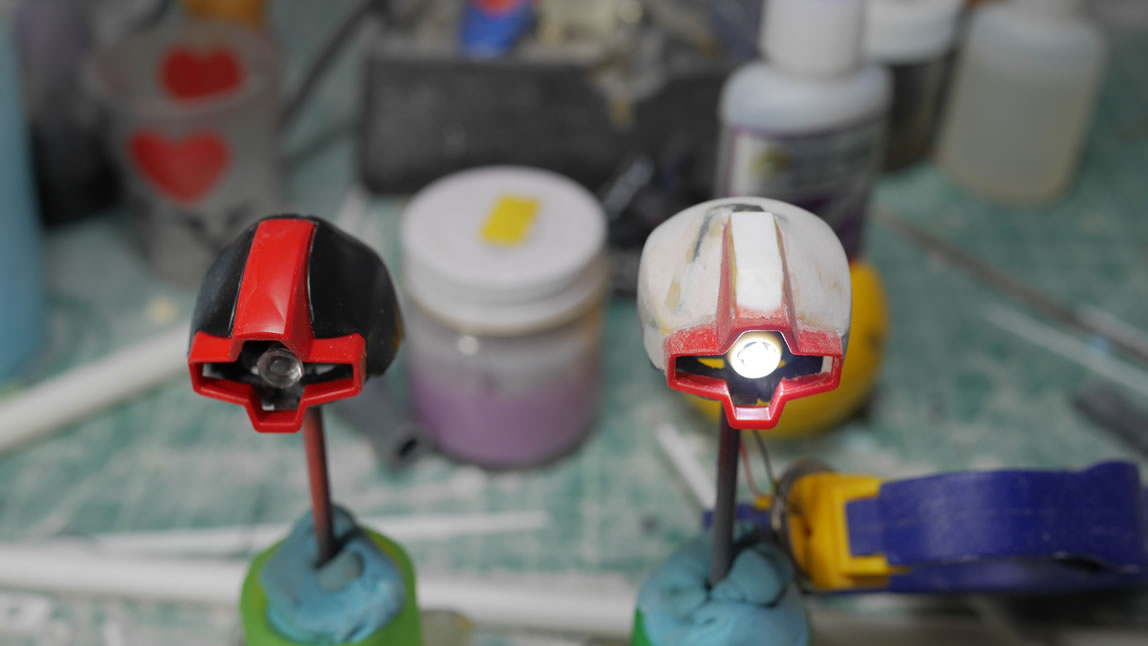
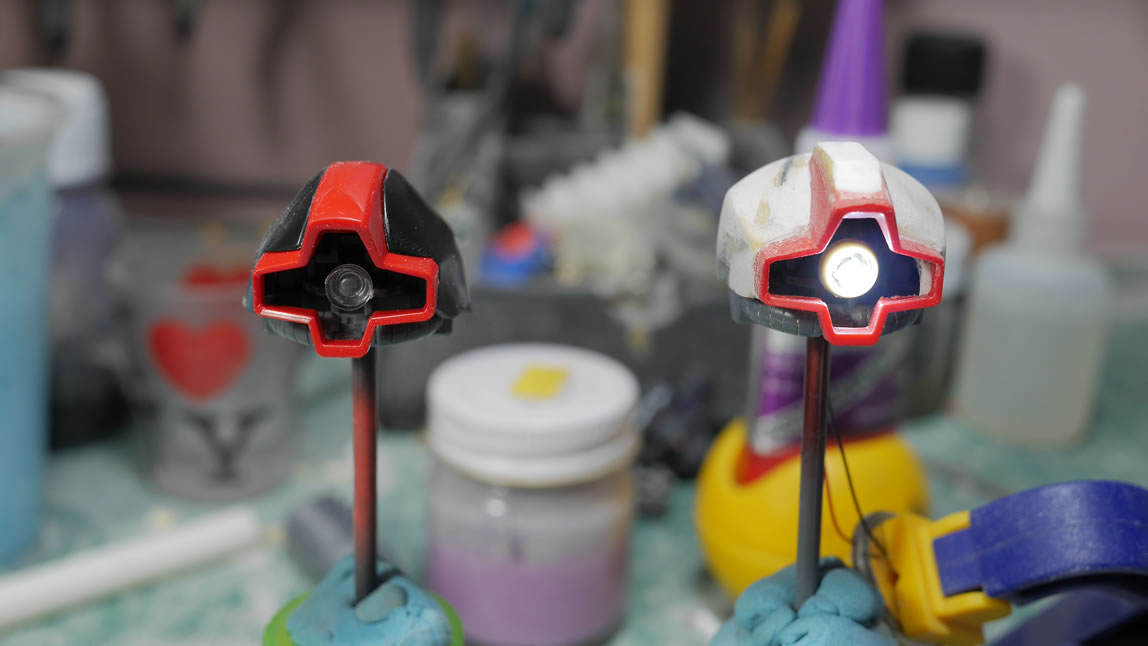
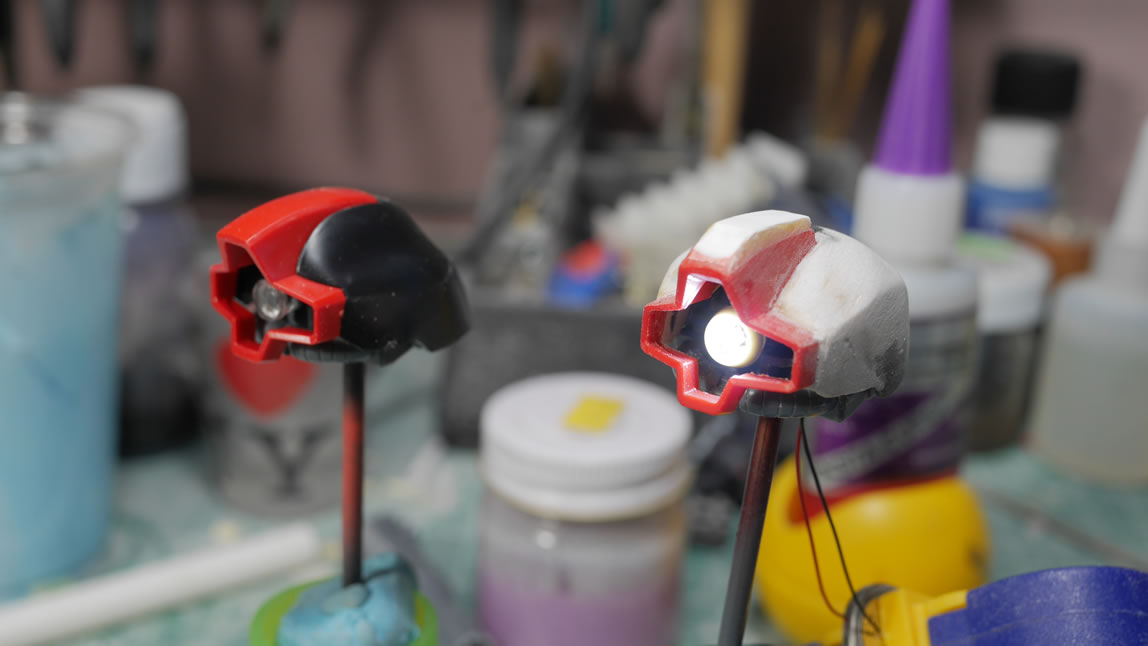
But back to work on the kit and like the last post, I will try to keep things organized towards the sections I got work on since the last update. First up is the work on the head. I started with tamiya epoxy putty quick type but that stuff takes a little too long and is pretty hard to sand, so I switched over to the polyester putty. And here are some comparison pictures to the original head. I also got the LED wired up and tested that look as well.

More head work after the jump.
(more…)