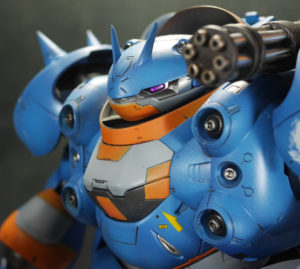
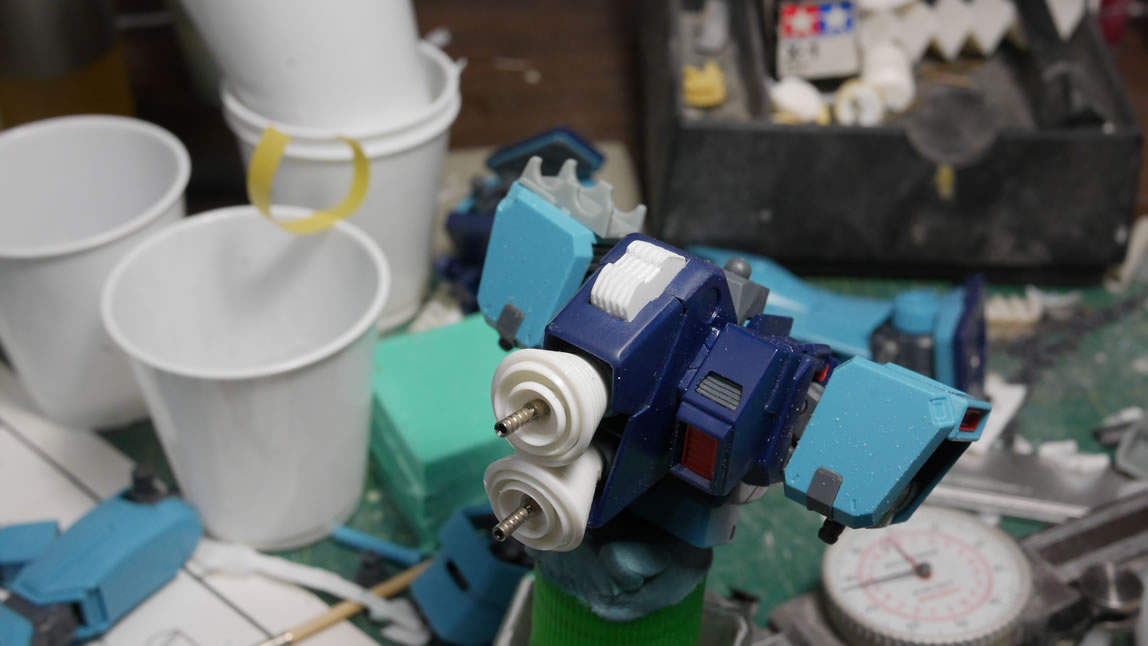
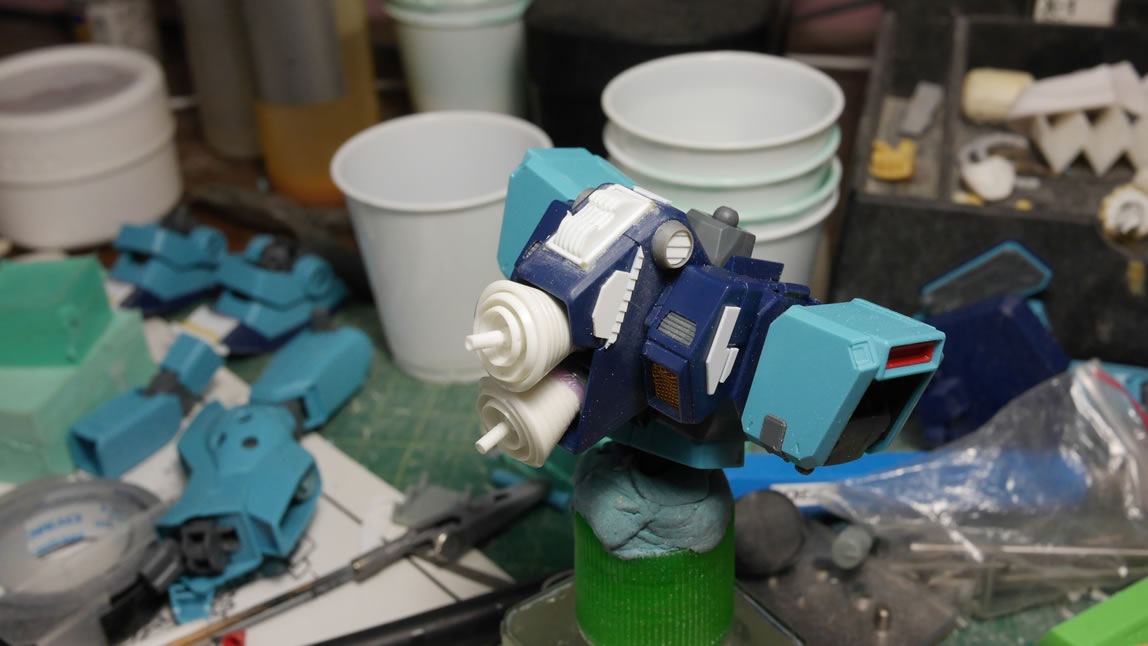
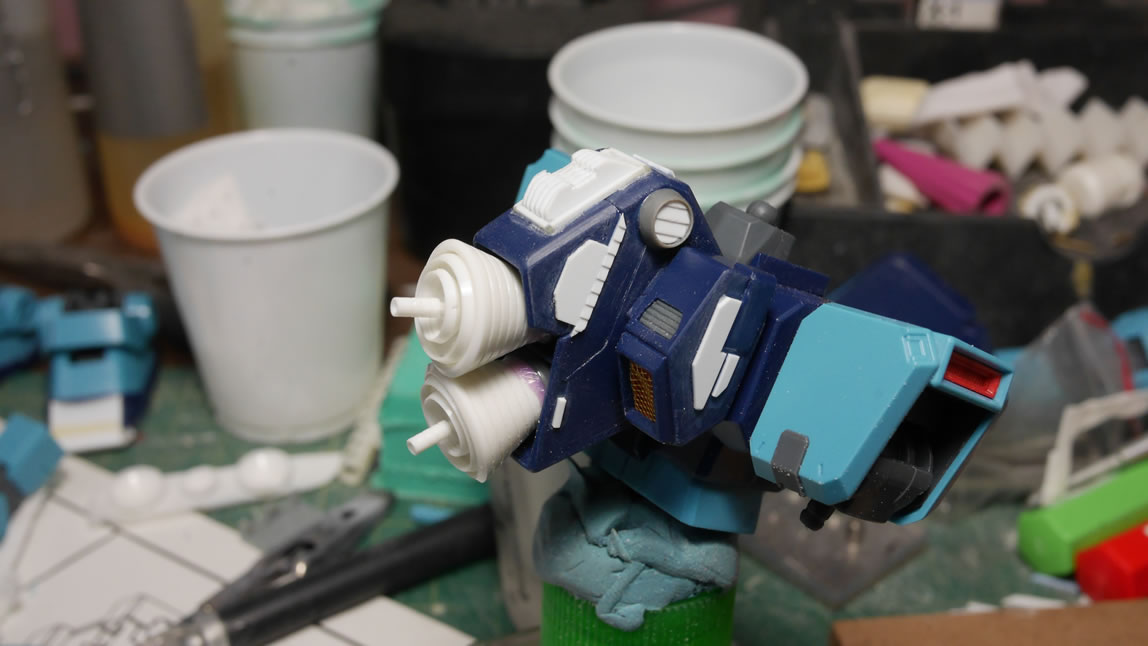
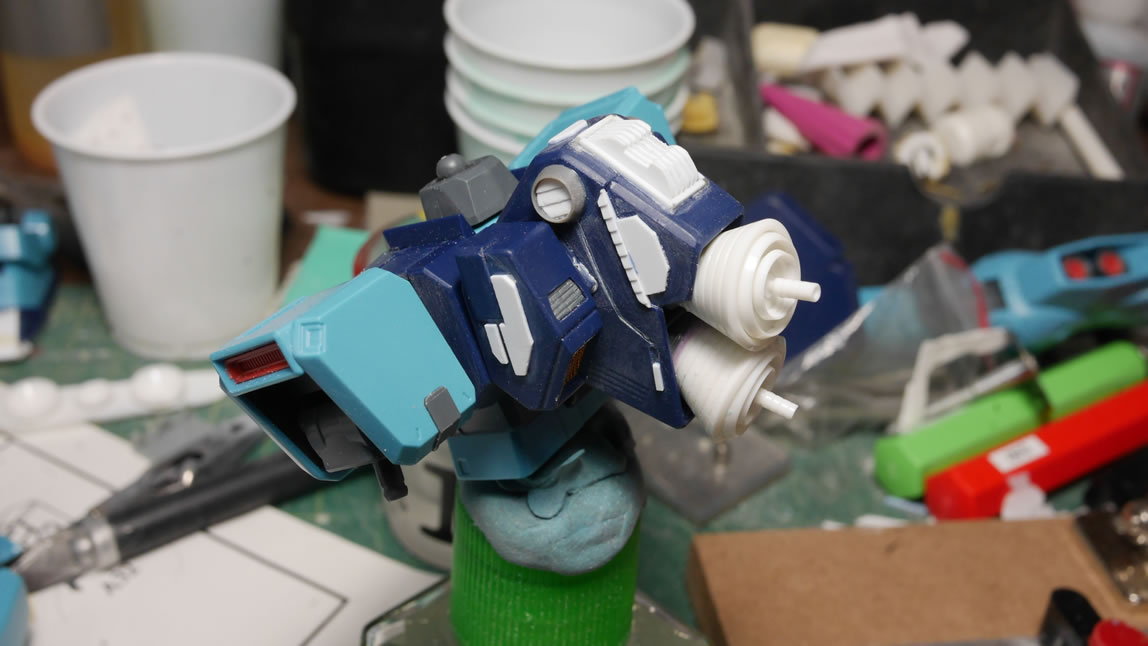
I went almost a week without doing much work other than molding and casting the metal thrusters. They look cool, but are a pain in the ass to paint and they add a bit too much weight in comparison to a resin copy. Plus, they can get expensive if I keep buying and using them. So going back to my Chinese roots as a cheap fuck, I pirate the crap out of them. Then again, I’m not selling them, I’m just making copies to maximize their value. That said, I started working on the backpack sometime last week. I’ve seen some folks create these heatsink/vent things that look pretty damn cool; and some folks on reddit have asked how they’re done. So after a little bit of research, I figured out one way I could do them. For the quick and dirty, here’s a before and after for the backpack:
Full details on what I did after the jump!
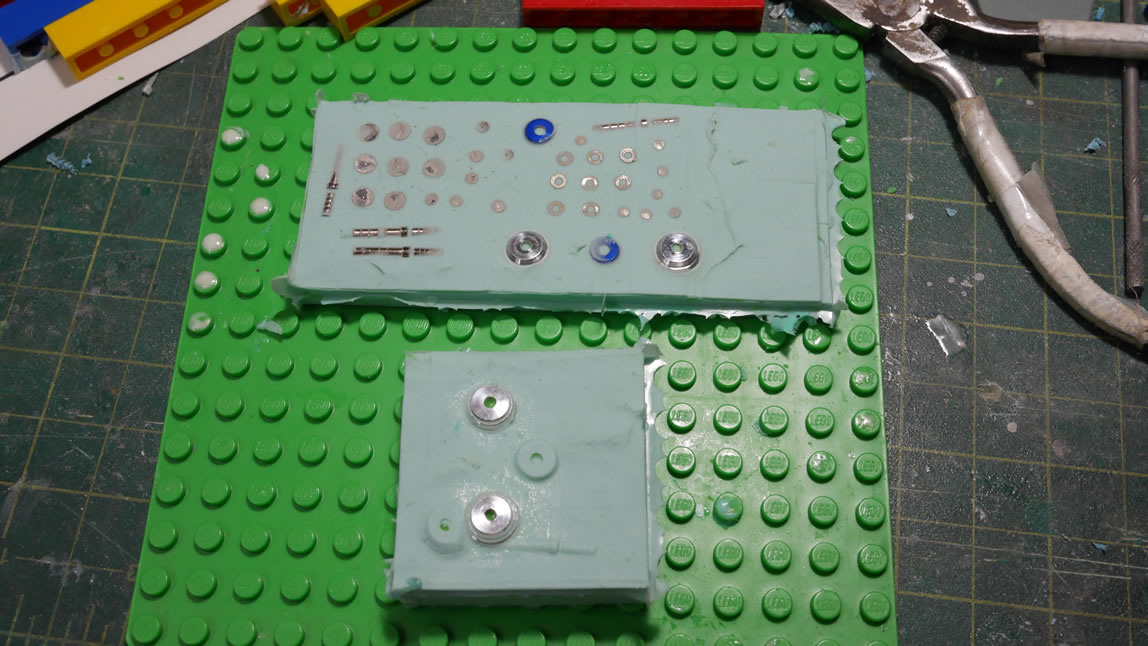
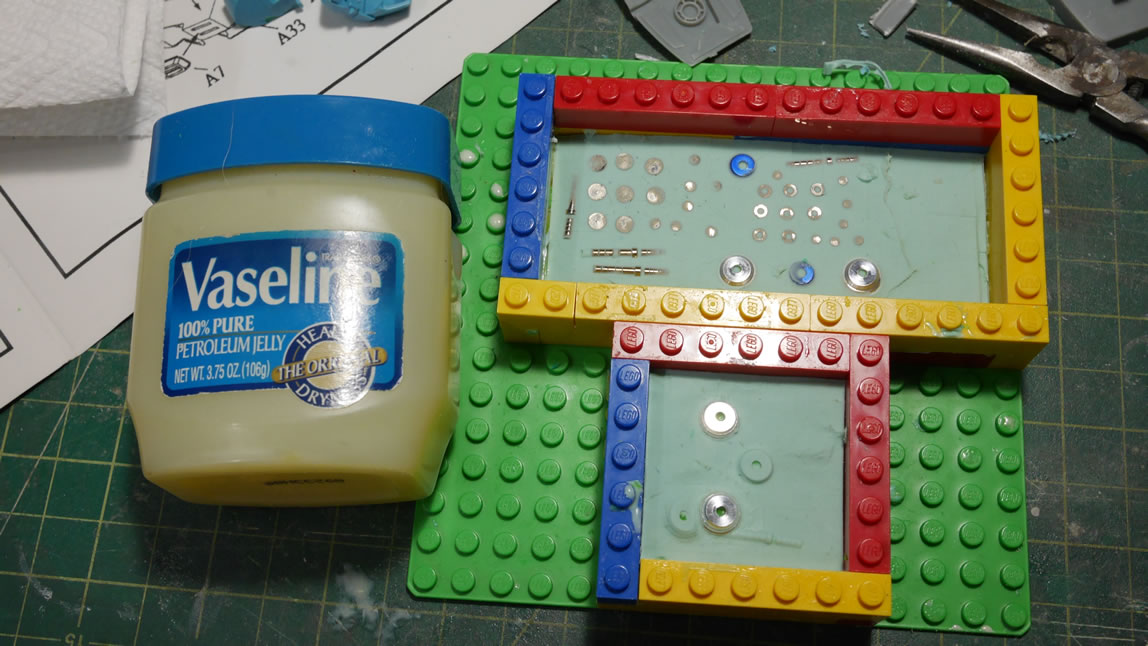
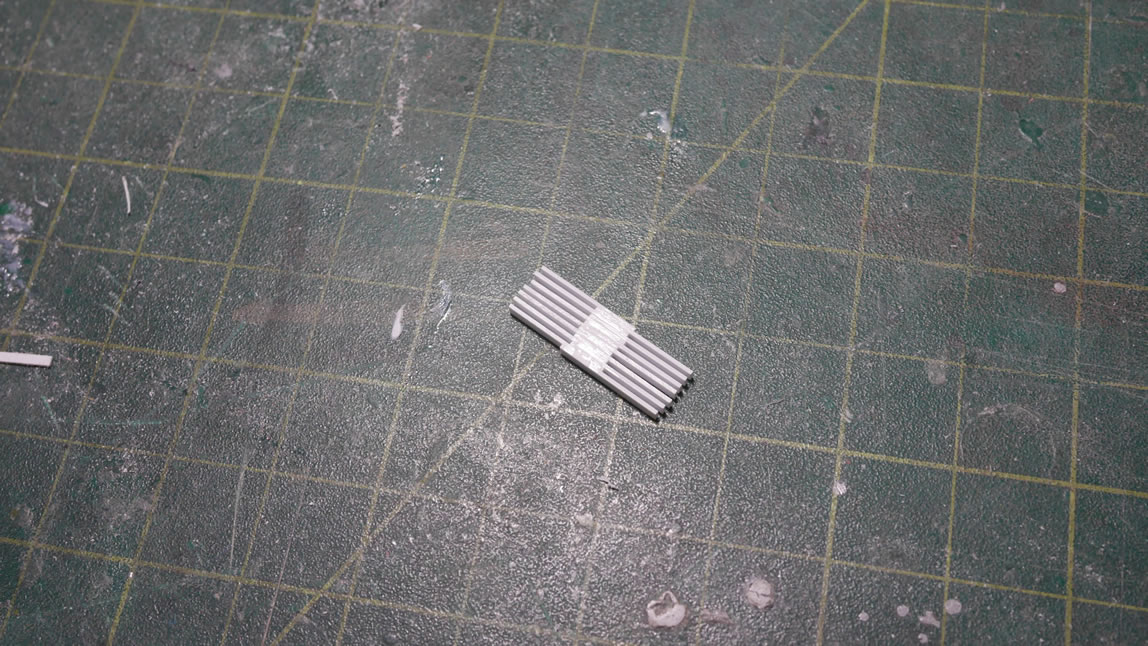
Briefly from where I last left off, I was making molds of the metal thrusters. I’ve gotten used to making two part molds, so here is the second molding after making the first part. Vaseline is used as an agent to keep the silicone from sticking to itself. Once the second mold is made, the metal masters are removed and put away. Some mold release is sprayed into the molds and the molds go into an oven set to about 100 degrees F to warm them up and activate the mold release. The stuff needs heat activate. Once all that is done, it’s on to casting the thruster pieces.
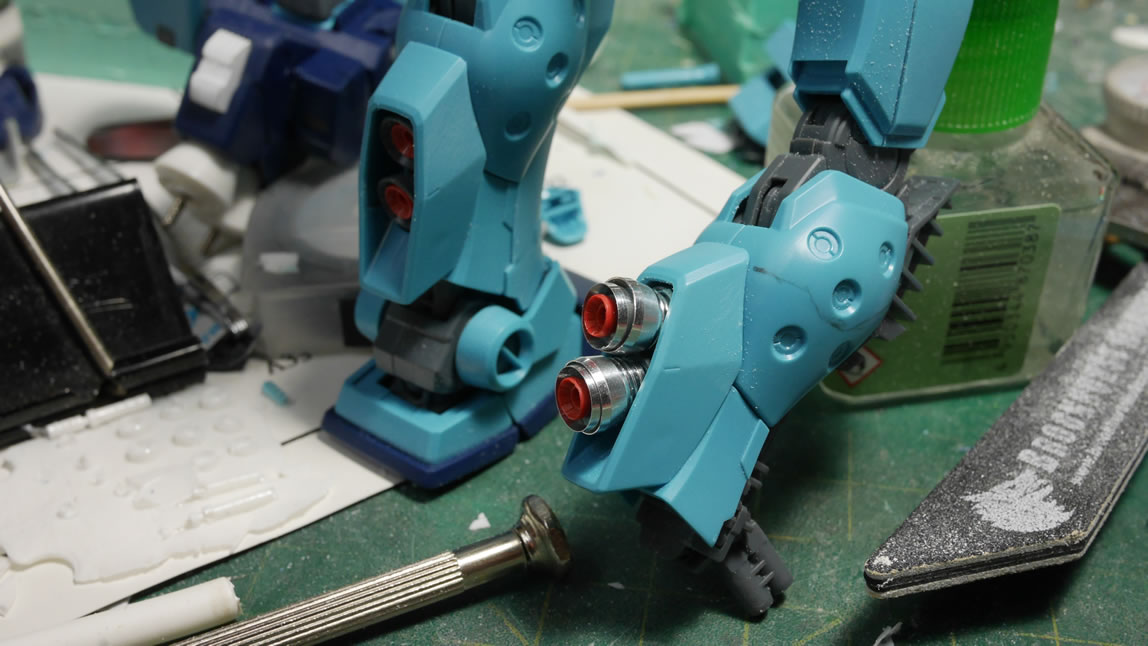
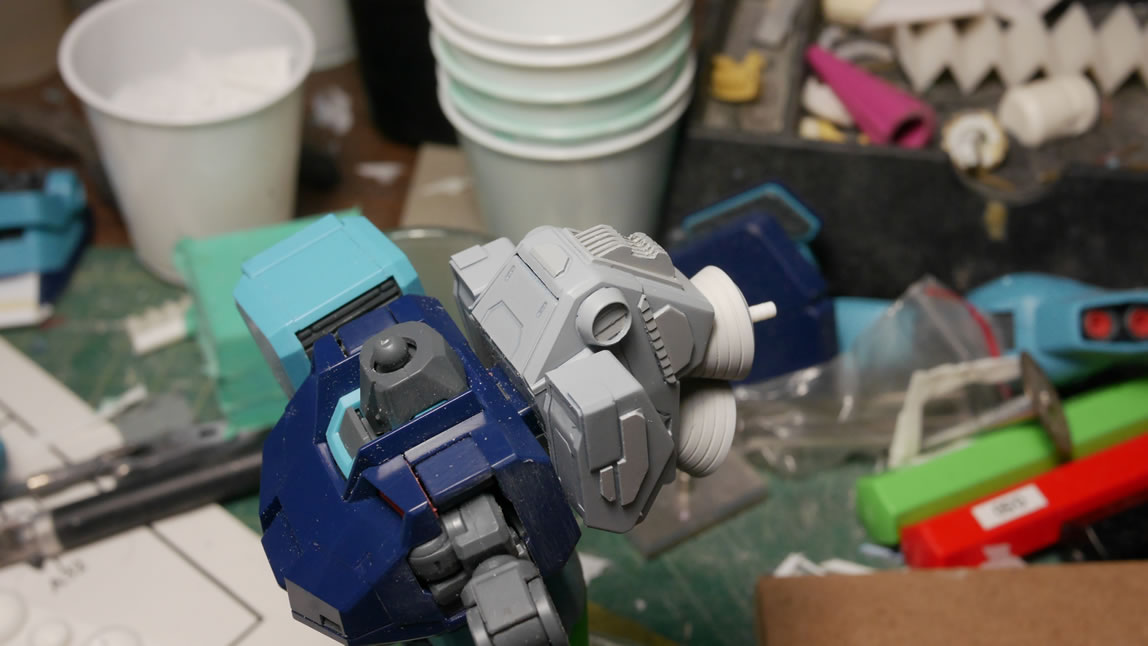
I wanted some massive thrusters to the back of the Sniper. It makes no sense since a sniper’s job should be to stay hidden, not generate a giant heat signature from oversized thrusters. But then again, it’s a giant robot – who cares if it makes any sense. I’m doing the same for the leg thrusters. I have those thruster pieces being molded and cast during all this.
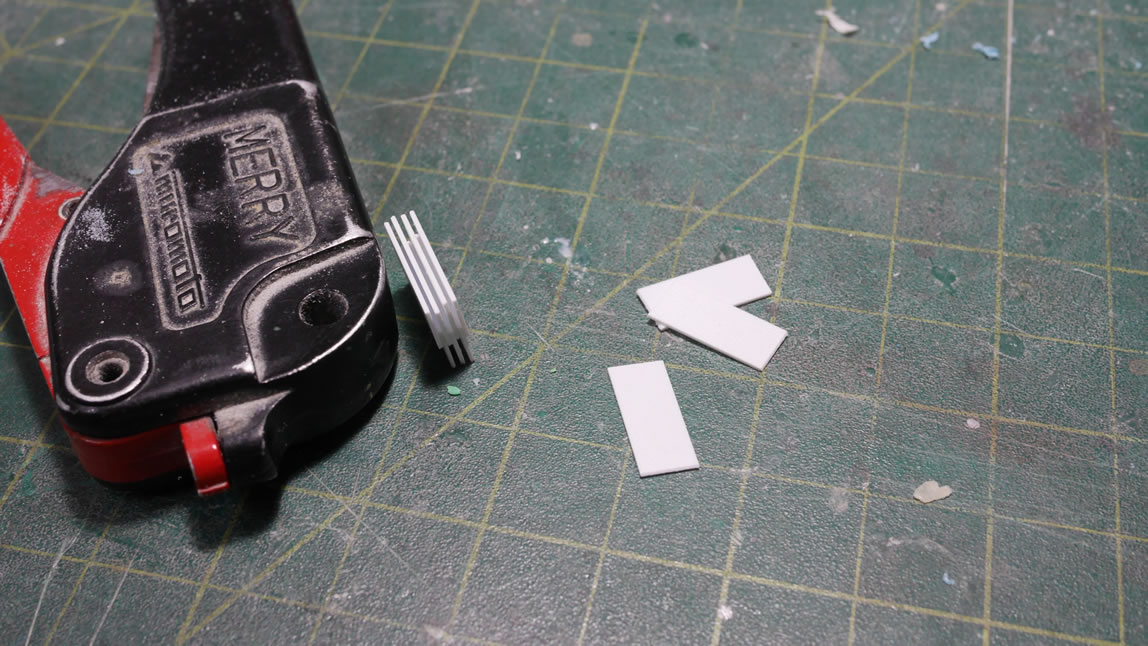
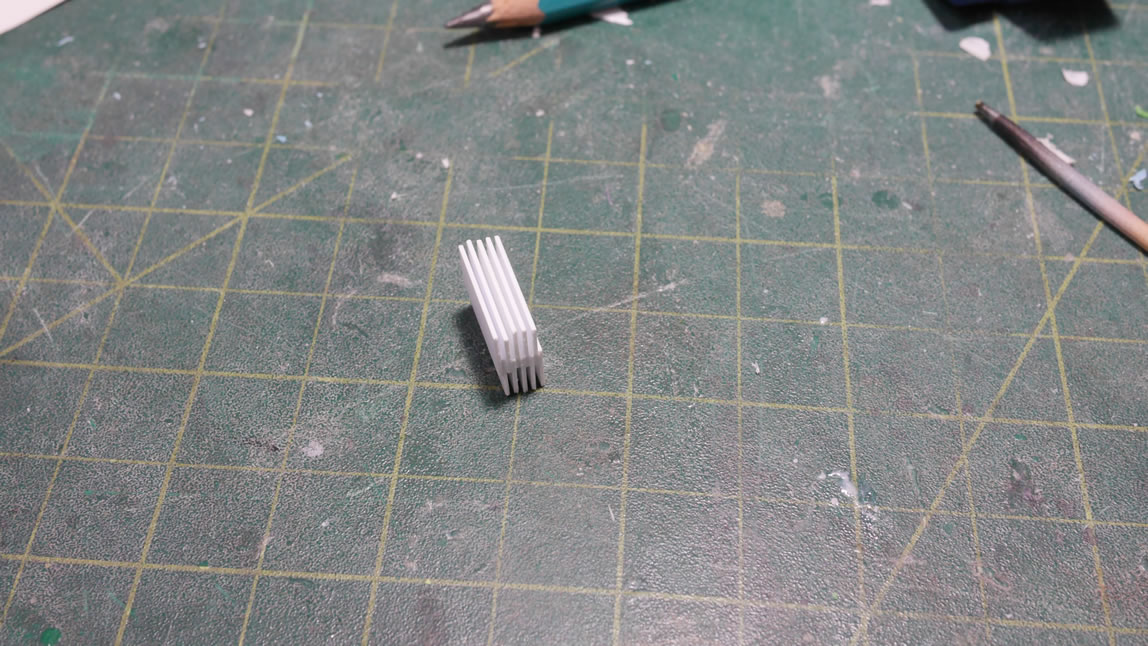
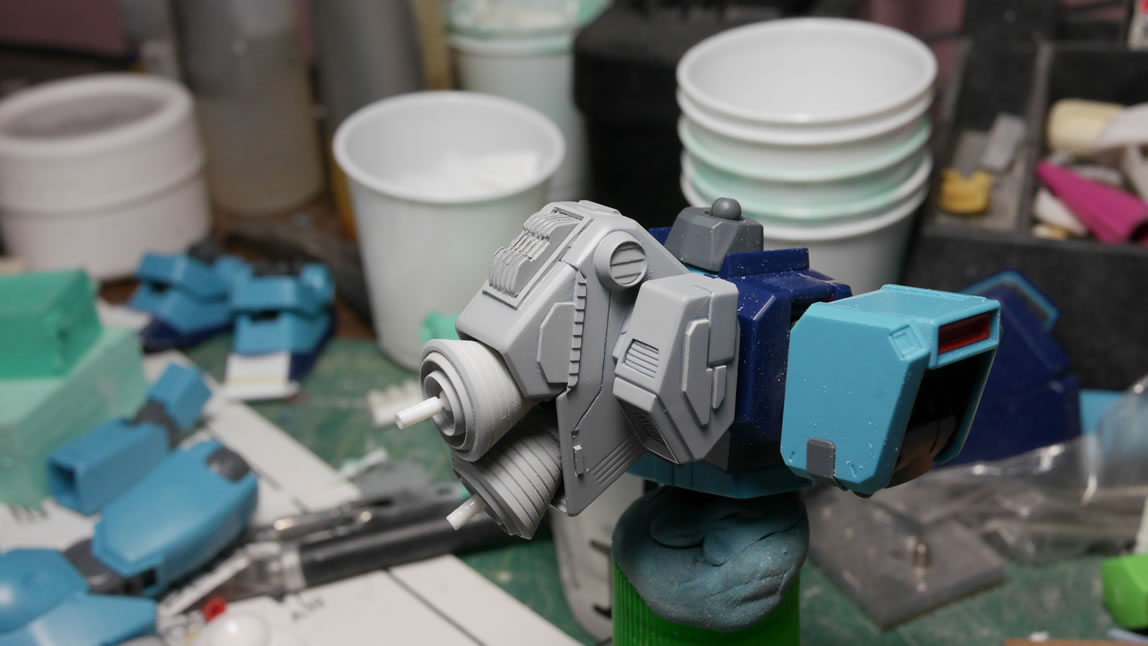
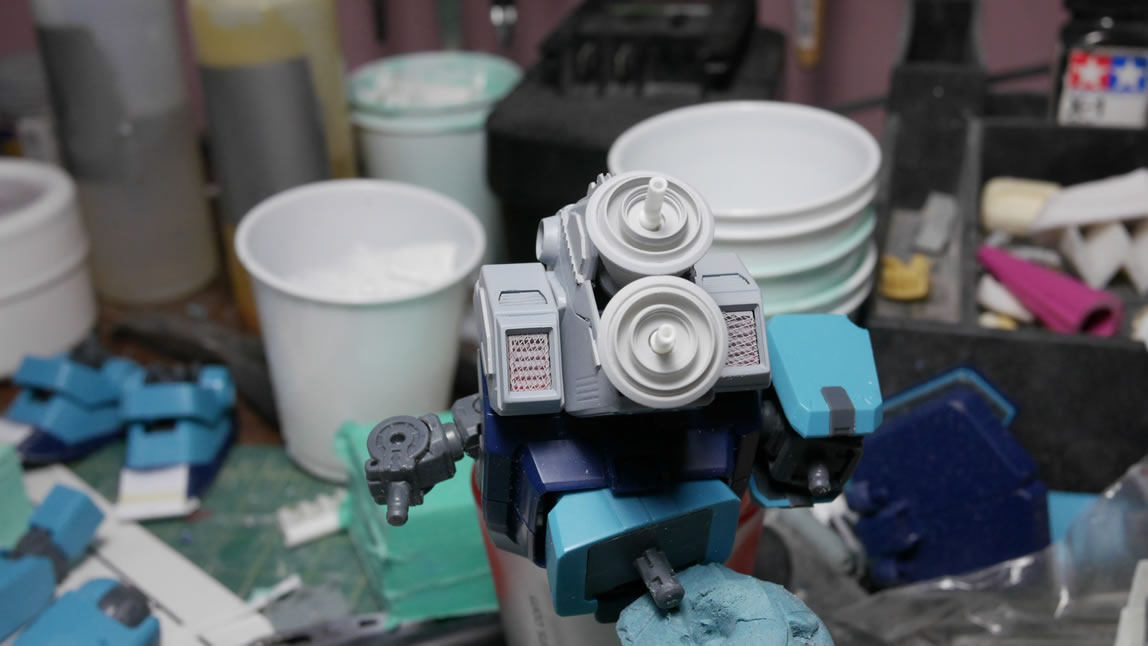
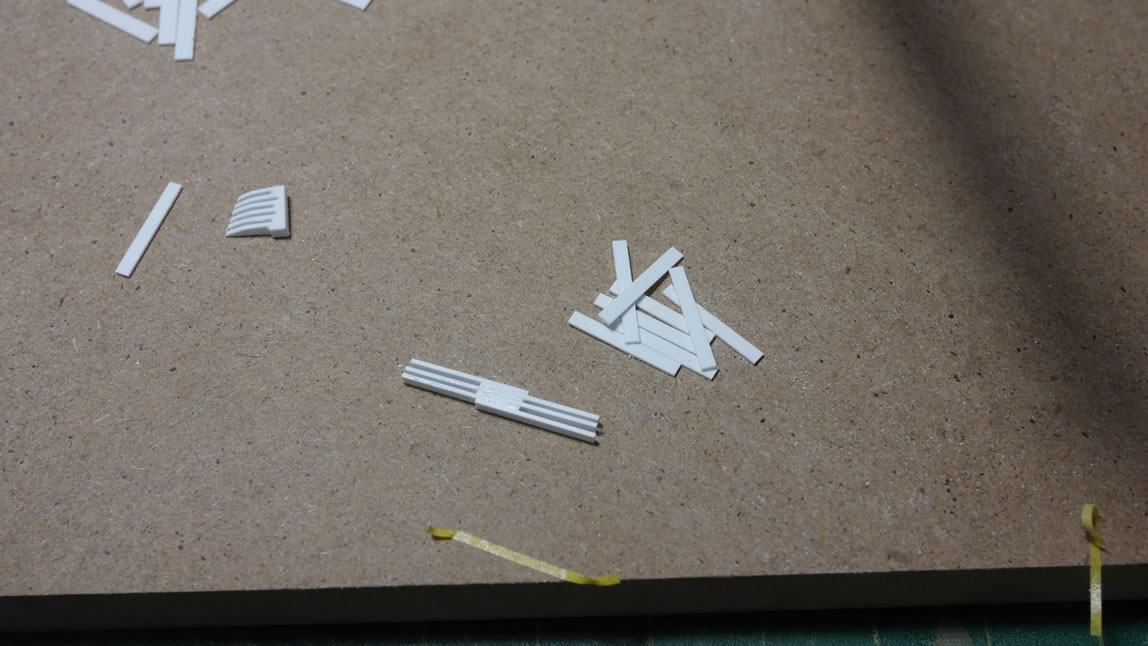
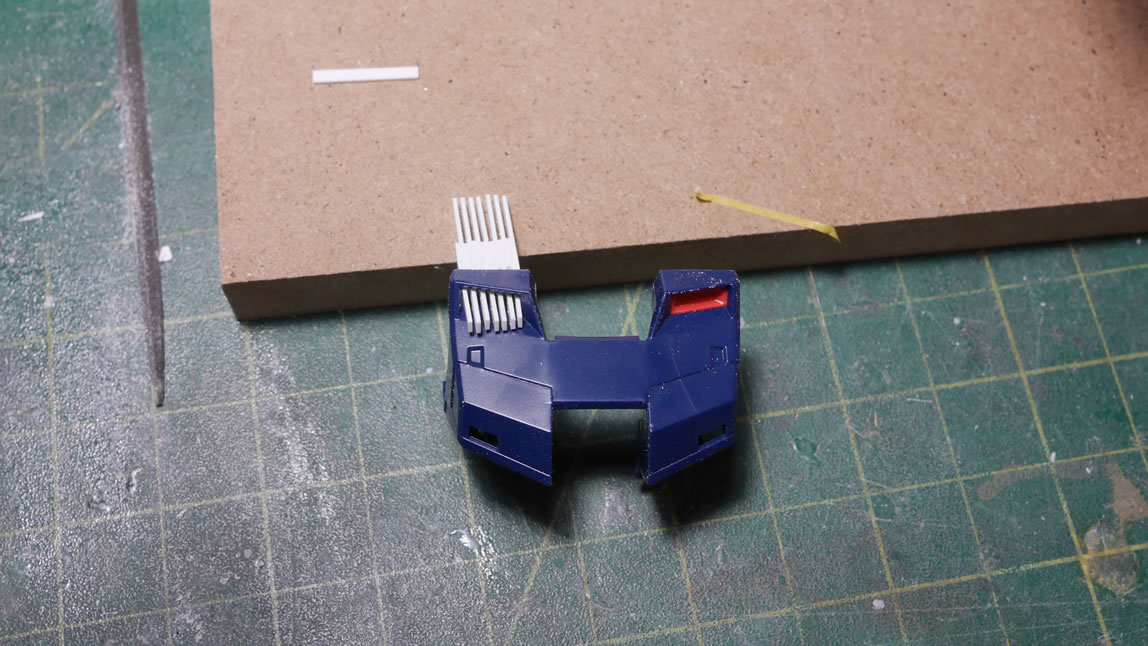
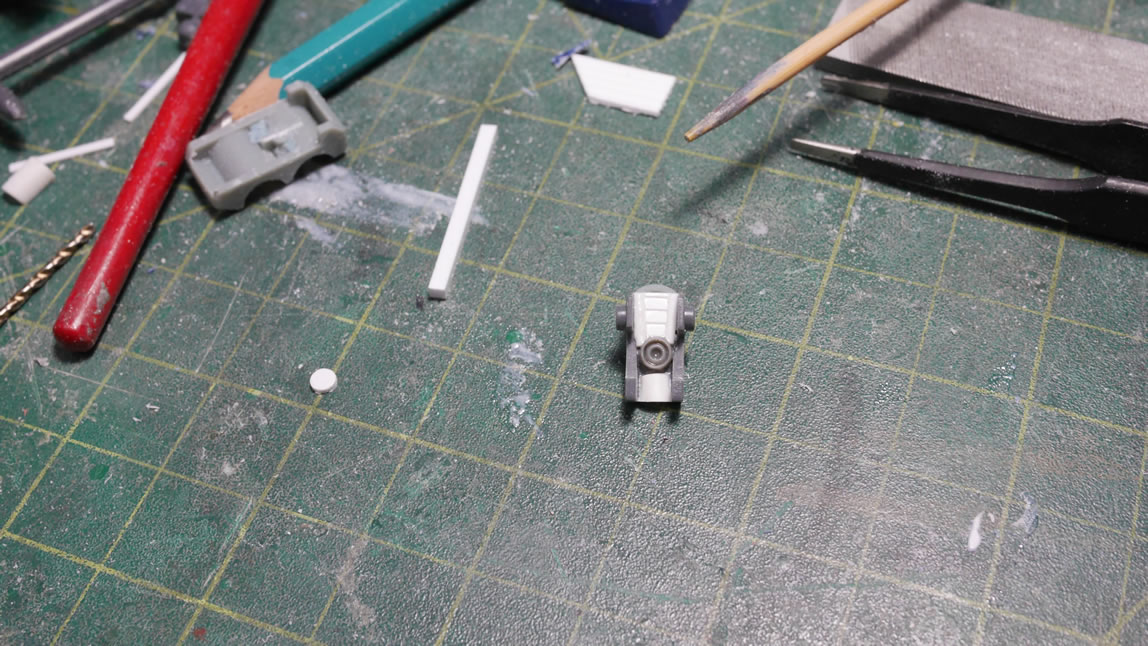
But now on to the real fun, making some heatsinks. I used strips of .5mm thick styrene. I just cut them to roughly equal size and started gluing the ends together to create a basic dual vent piece. Nothing fancy, just styrene glue and strips of plastic. Clamping down caused the strips to warp, so I just pressed them together firmly and left it alone.

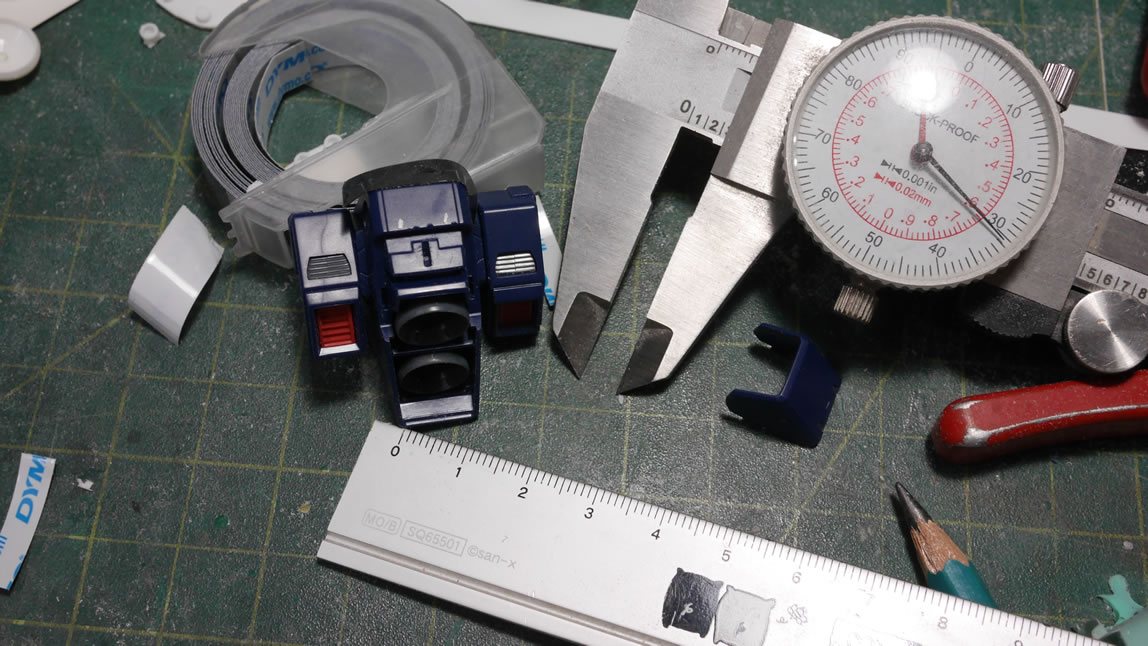
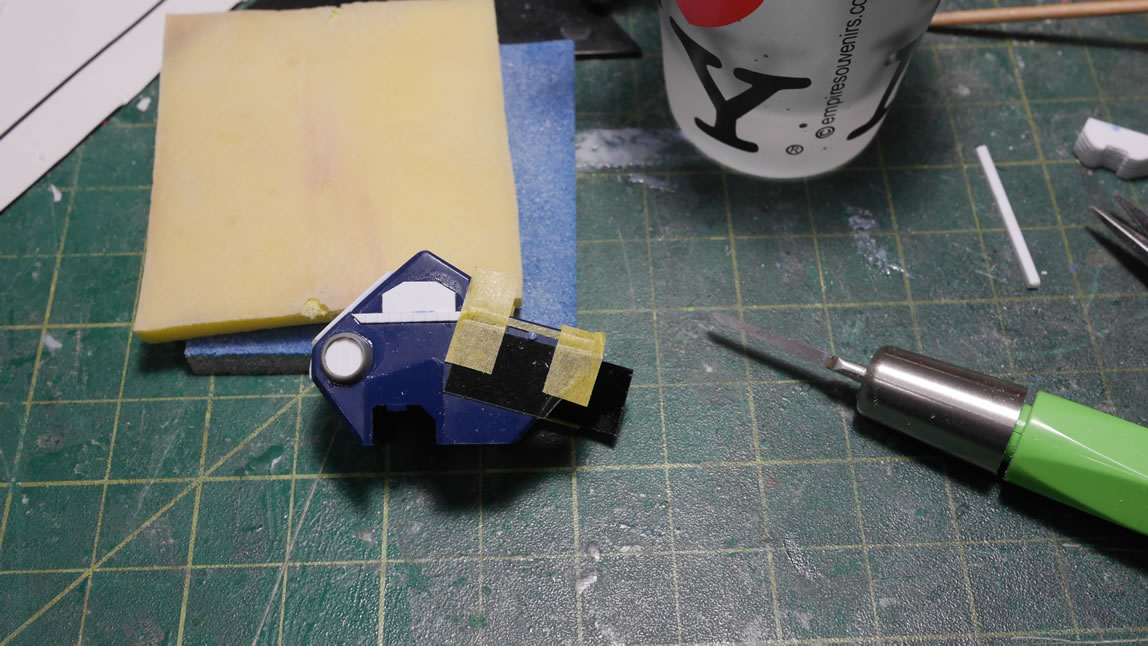
With my vent block created. I needed to find somewhere to put the vent. Since I’m adding some massive thruster bells to the backpack it would make sense that there needs to be some sort of heat dissipation help. The caliper is used to measure out a rough area on the backpack. Dynamo labeling tape is cut and placed into position so I have a guide for cutting out a hole. Having the area scribed out, I used the scribed lines to help cut out the plastic, then metal files to get everything sanded down as well as squared up. The vent block is added into the hole as a test fit.
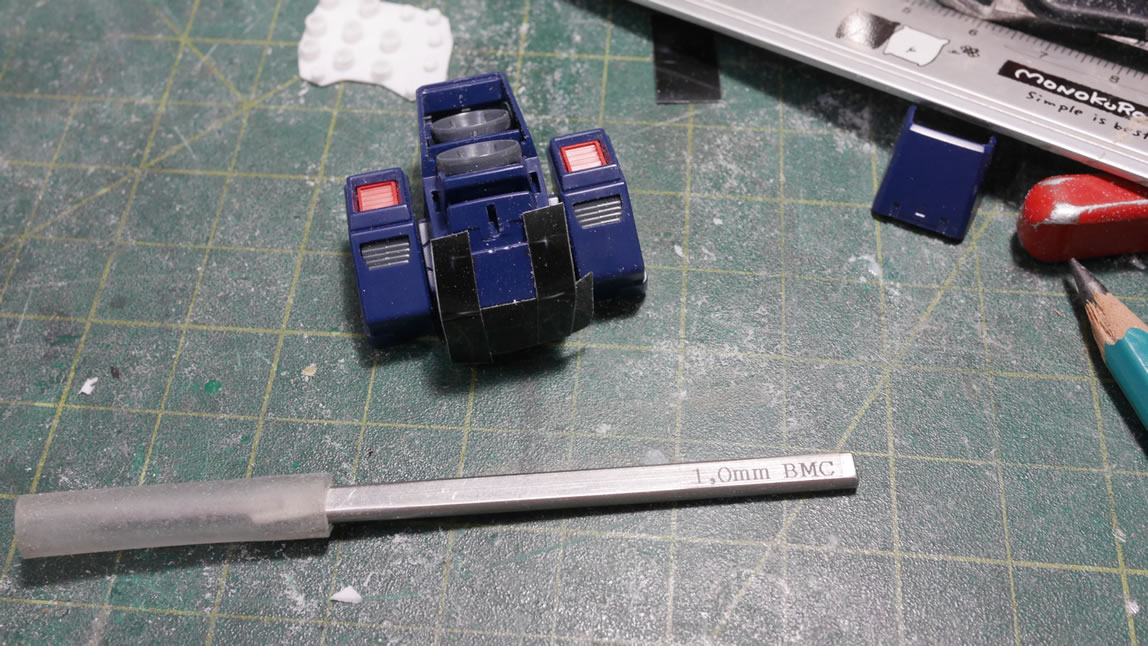
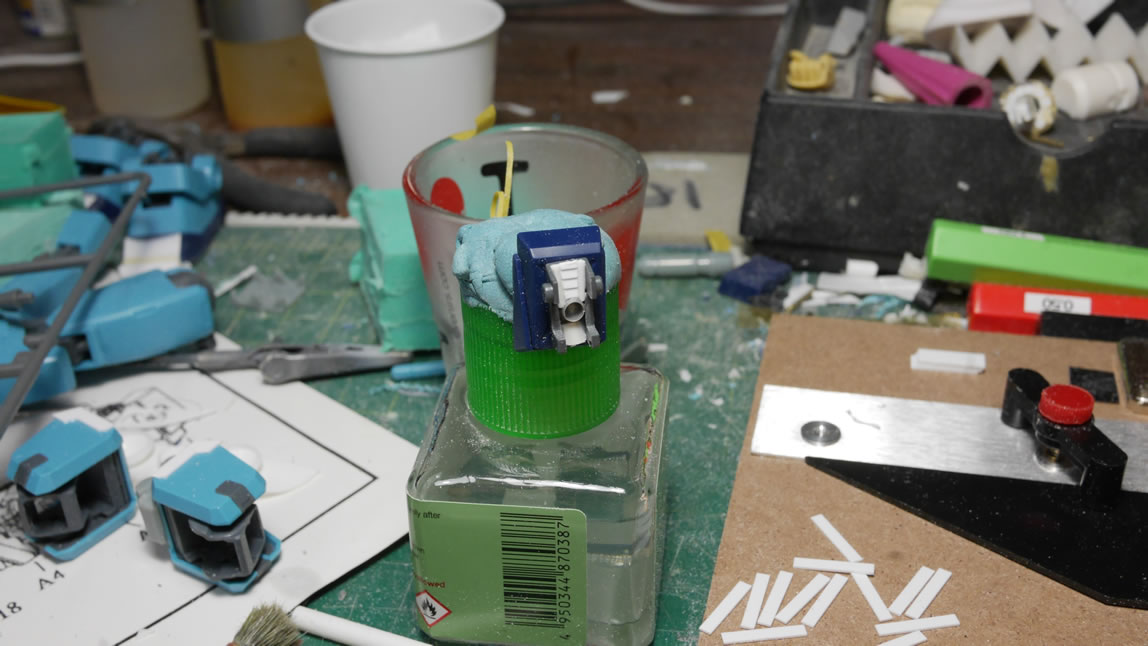
With the hole cut, I can focus on the vent block. I could have pre cut the final shape of the vent block strips, then glued them together to get the final part – but for this, I decided to work with the whole vent block. The idea here is to take a square block and start sanding to get a final sculpt. It is just a matter of preference in how to do this. I took some tamiya masking tape and used that as a guide for some initial cuts into the vent block. Slowly sanding with metal files, I started to create a slope on the top area and an in cut just below that, followed by a rounded end. This could be cool if I turned the 3D printer into a laser cutter and just cut out the shapes and glued them together. The silhouette curio would have been another good option for doing this kind of precision work.

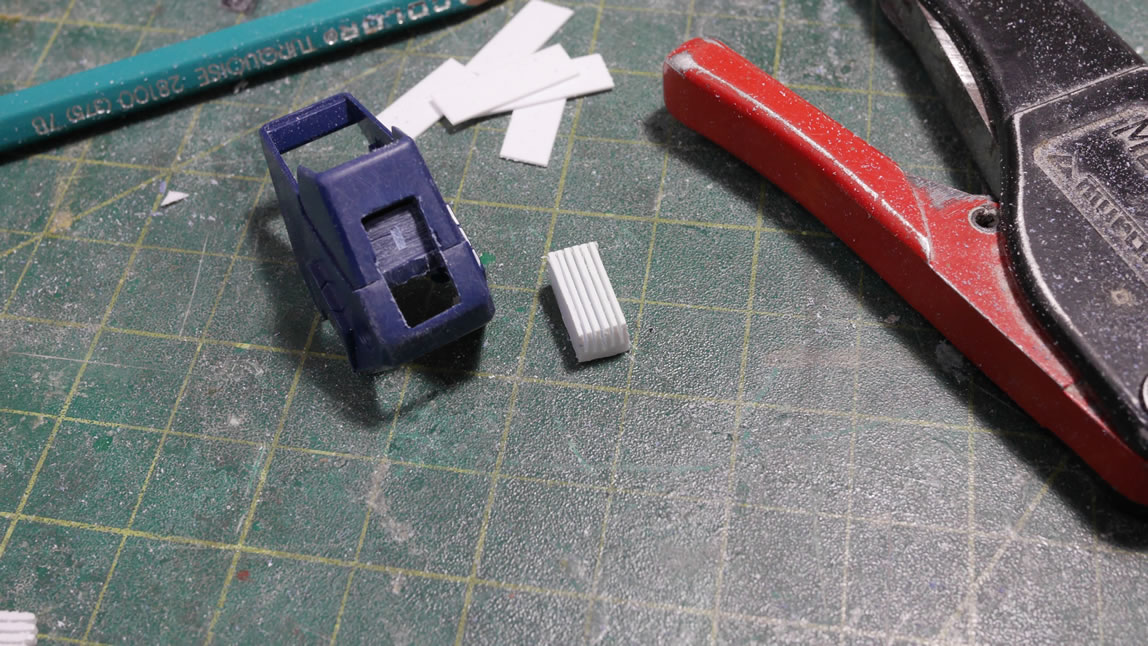
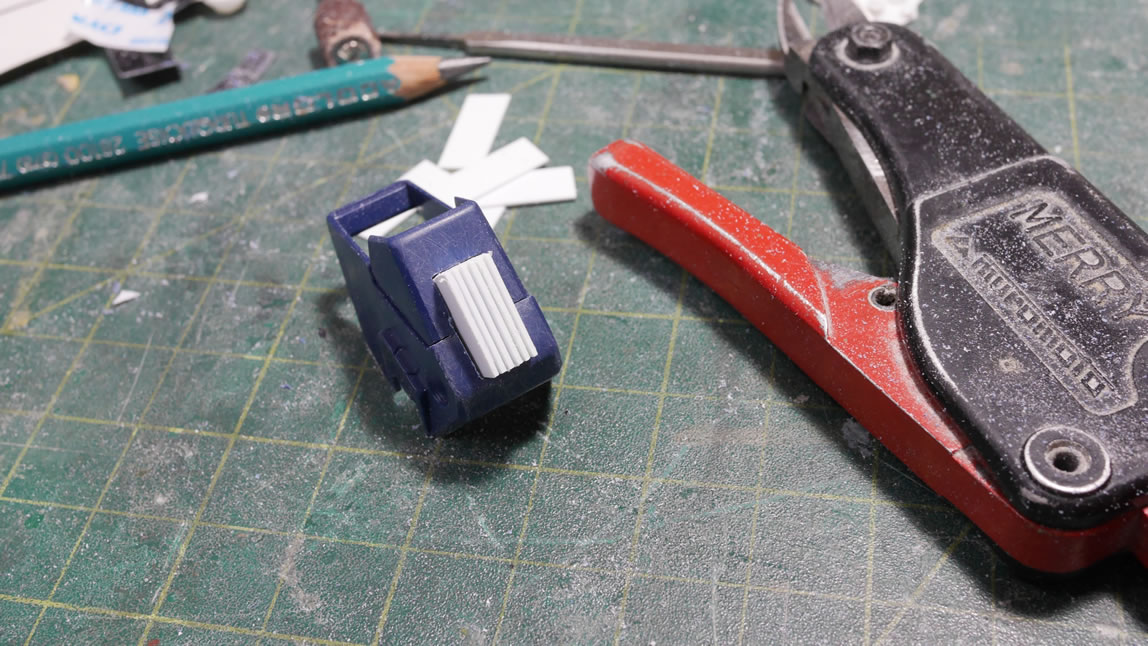
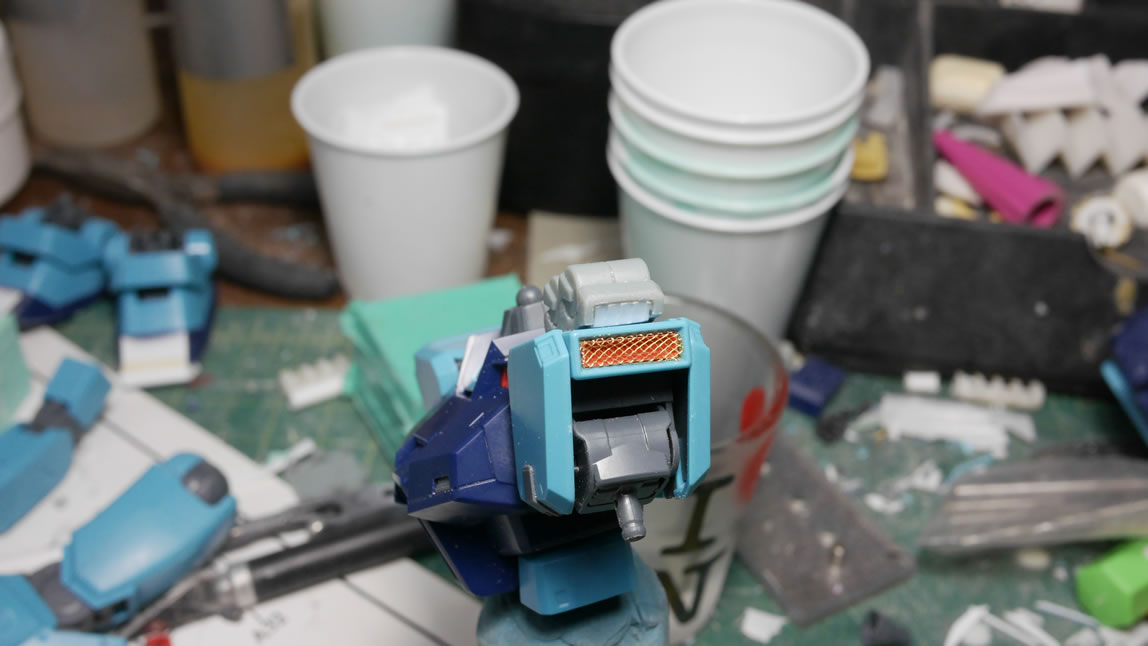
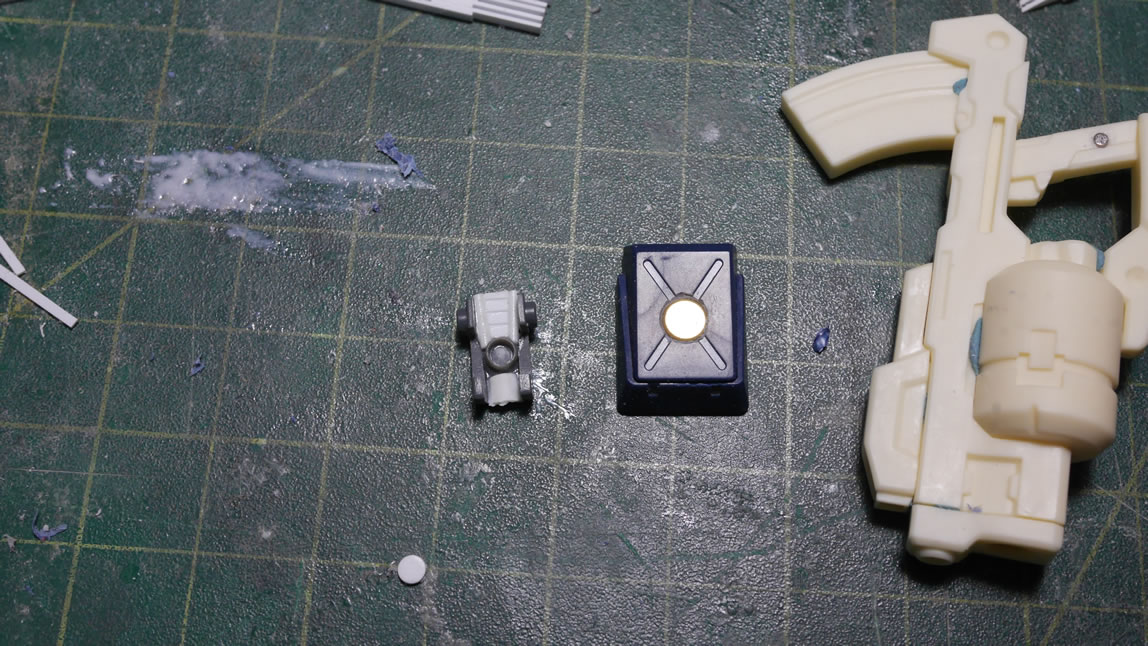
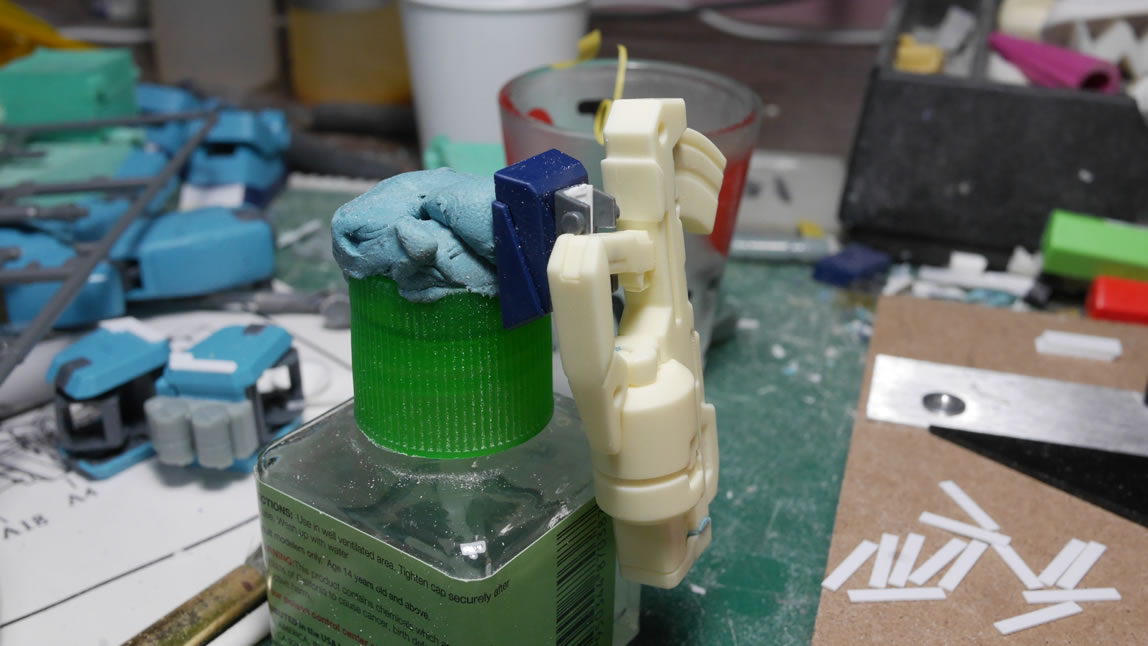
Once that was done, the heat sink was put back into the hole for a test fit and look. I cut some corrugated styrene to add some detail to the sides of the backpack center piece. I also used some wave round detail parts to the circular indented plastic detail on the original part. Inside the wave round molds I added some corrugated styrene that I cut using a hole punch set. Another trapezoidal strip of plastic is cut and added to finish the center backpack block.
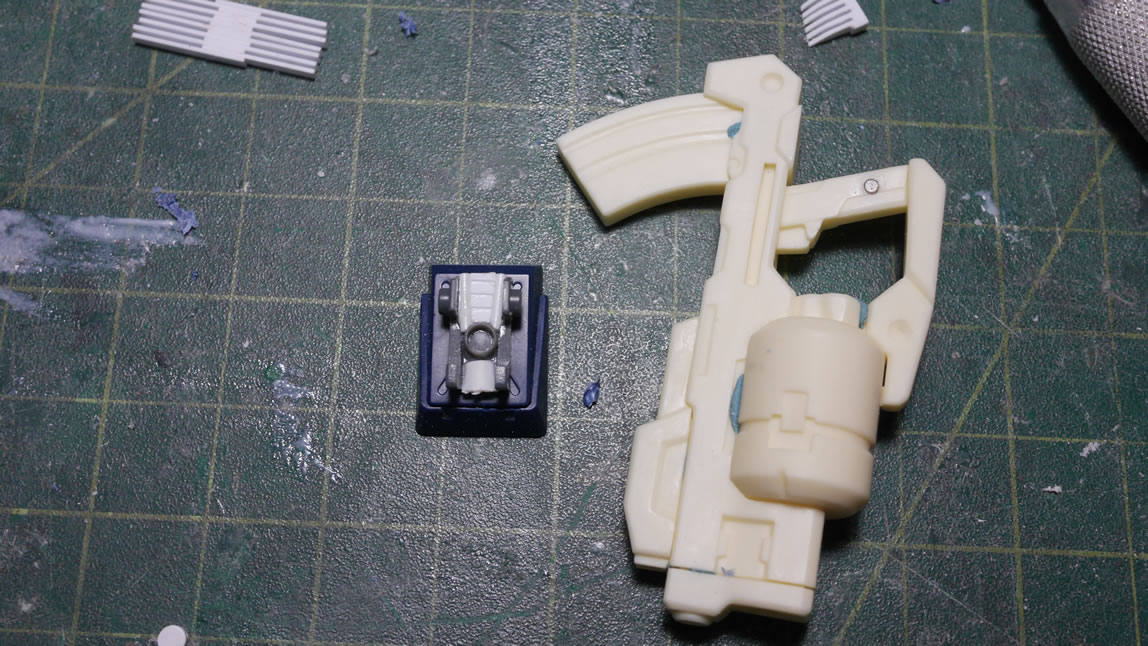
I sanded down the red square vent pieces that fit inside the backpack side sections so that I can add in some metal mesh material. I picked up this stuff from my local railroad hobby shop. These places are perfect for getting all sorts of scratch building and modding materials. I get my styrene strips, tubes, plates, etc as well as mesh and diorama materials from these shops. Next up, I cut more strips of styrene and just glued them to the side of the backpack sections. Once the glue dries, some light sanding is needed to smooth everything out and get the part ready for priming.
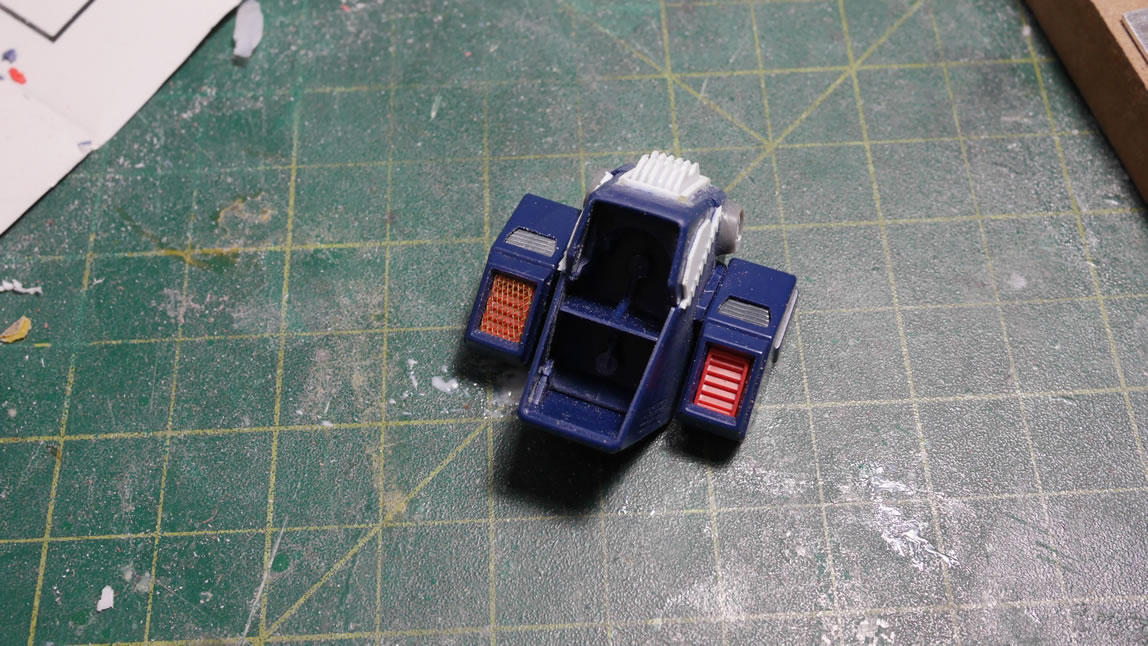
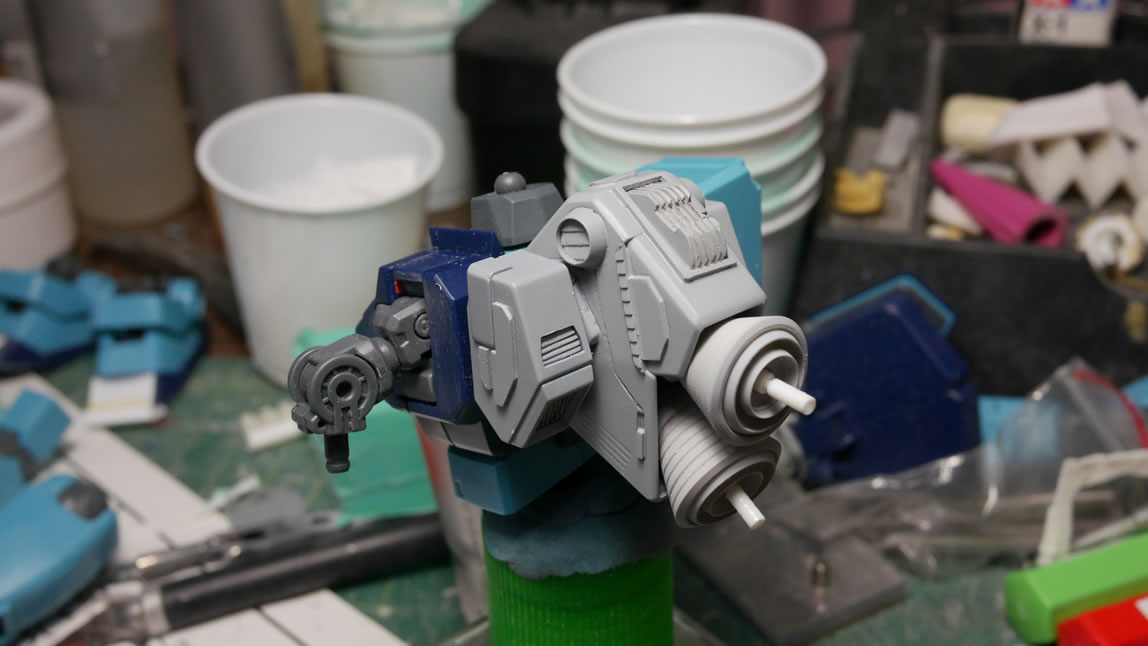
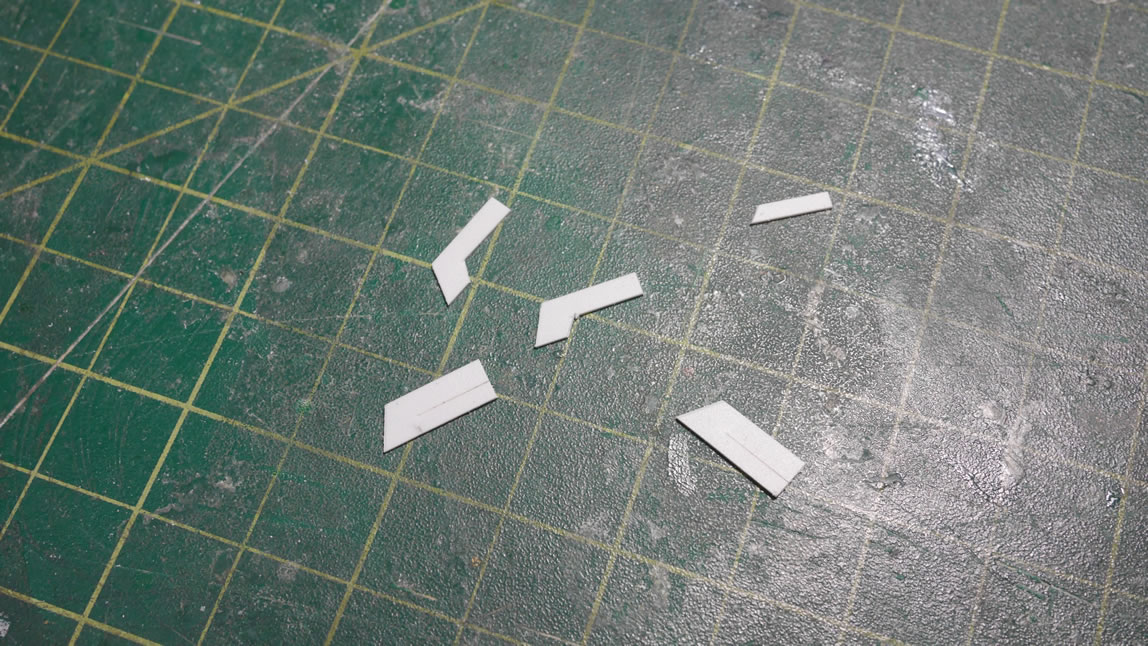
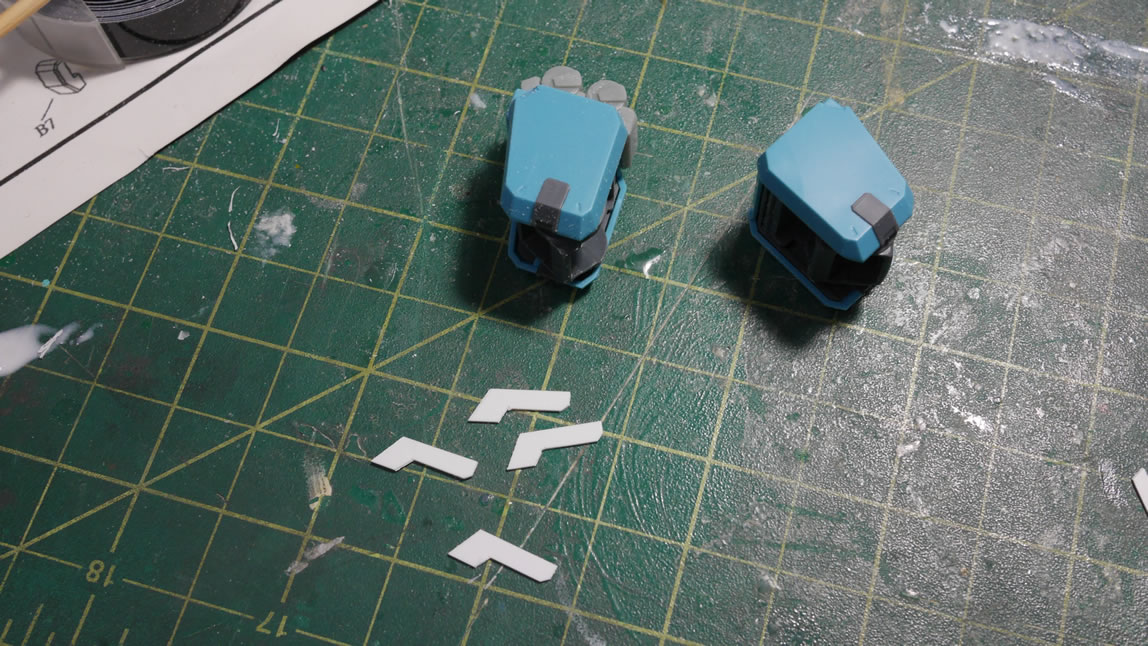
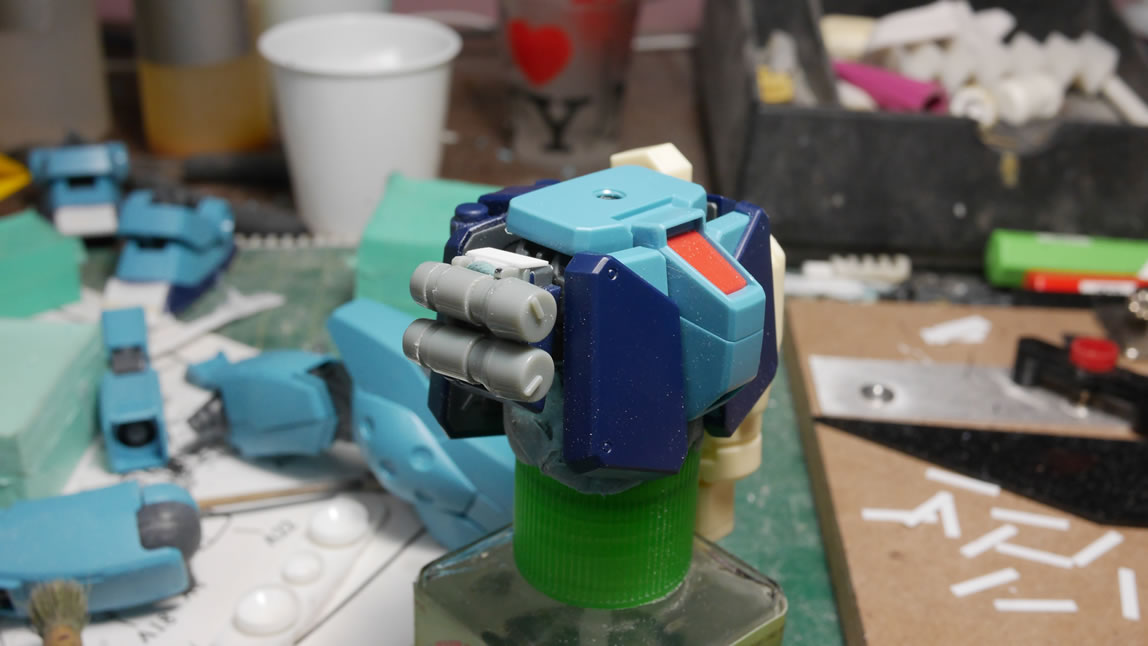
With another test fit, there’s still something lacking. So more masking tape is brought out as well as the dynamo tape. Using different width thickness of the masking tape helps keep things uniform when laying out the heavier dynamo tape that will be the actual guide the scribers run along. This makes it more precise than eyeballing it or trying to lay down a ruler and pencil in guidelines. Using a 1mm scriber, I cut in a fat line that I will fill partially with some 1mm styrene blocks. A zero scriber is used to make some new panel lines from the bottom of the circular vent detail to the thicker line.

It is important to always continue to test fit. Checking sizes, checking the look and feel. But it will always look like a mess of different colored plastic and no real uniformity until it is primed. The glue marks are sanded down, some of the rough edges are sanded. It’s not fine tune sanding, but enough that the primer should stick and visually help focus the fine tune sanding areas.

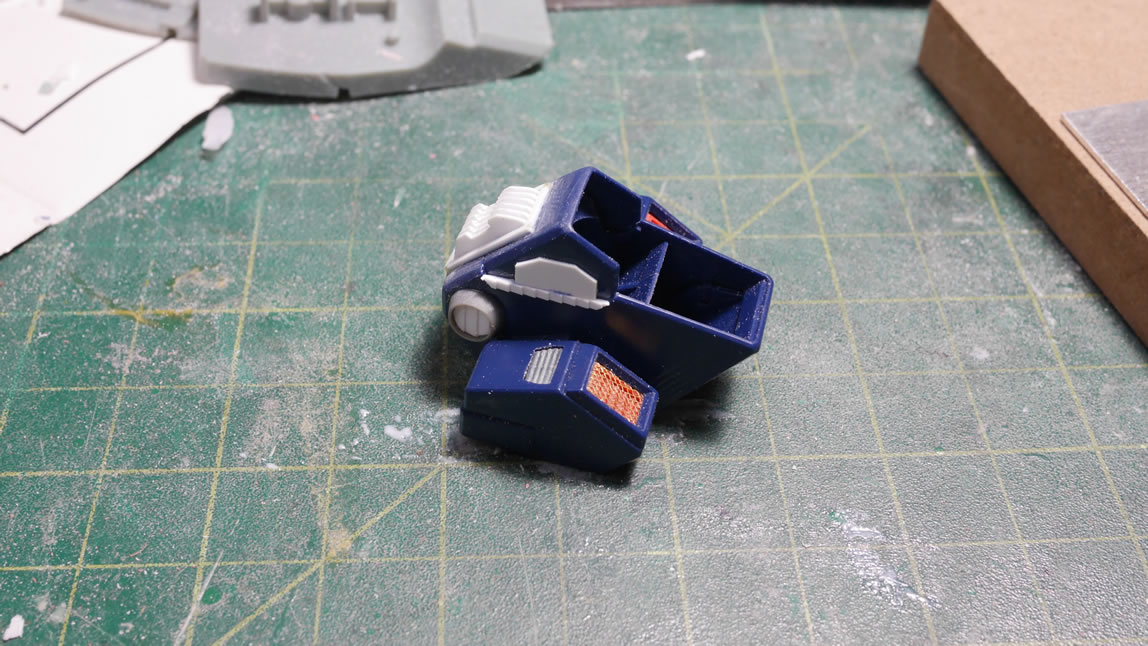
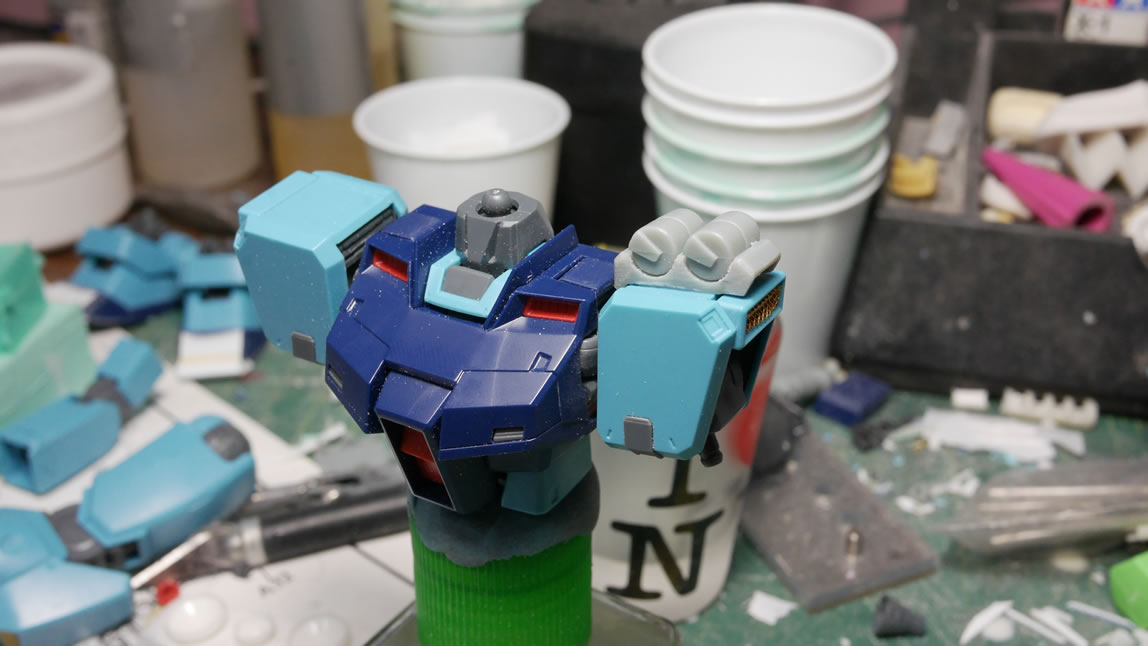
The backpack is taken apart and primed with Mr surface 1000. Mr resin surfacer for the resin parts. I recently discovered that they no longer make Mr Resin Surface and it’s just called Mr Primer Surfacer. So I have a few bottles of that stuff that I’ll test out. I have found that Mr resin surfacer doesn’t stick too well to plastic, so hopefully the Mr Primer Surfacer will fix that issue as well as stick nicely to resin. But we’ll have to wait until I exhaust the resin surfacer, which will be soon. Once primed, and left to dry; the parts are assembled and it’s starting to look like a single piece instead of a frankenstein mishmash of resin, plastic bits and metal mesh.
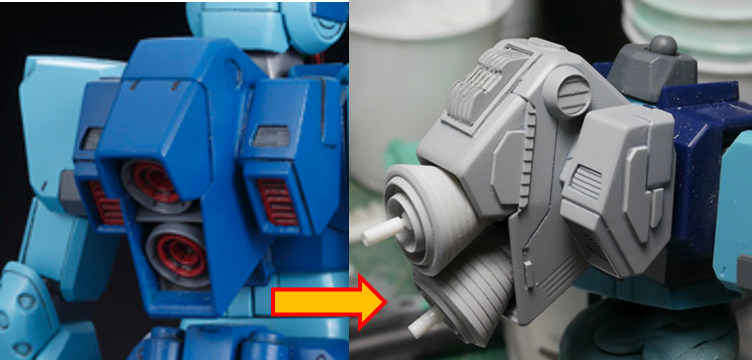
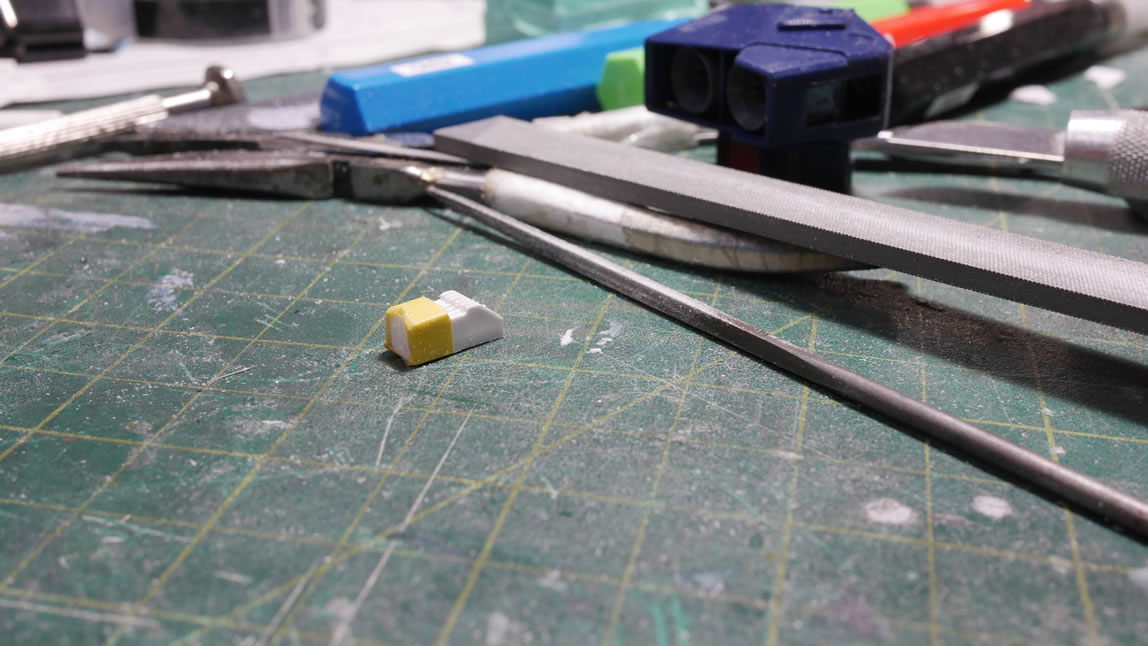
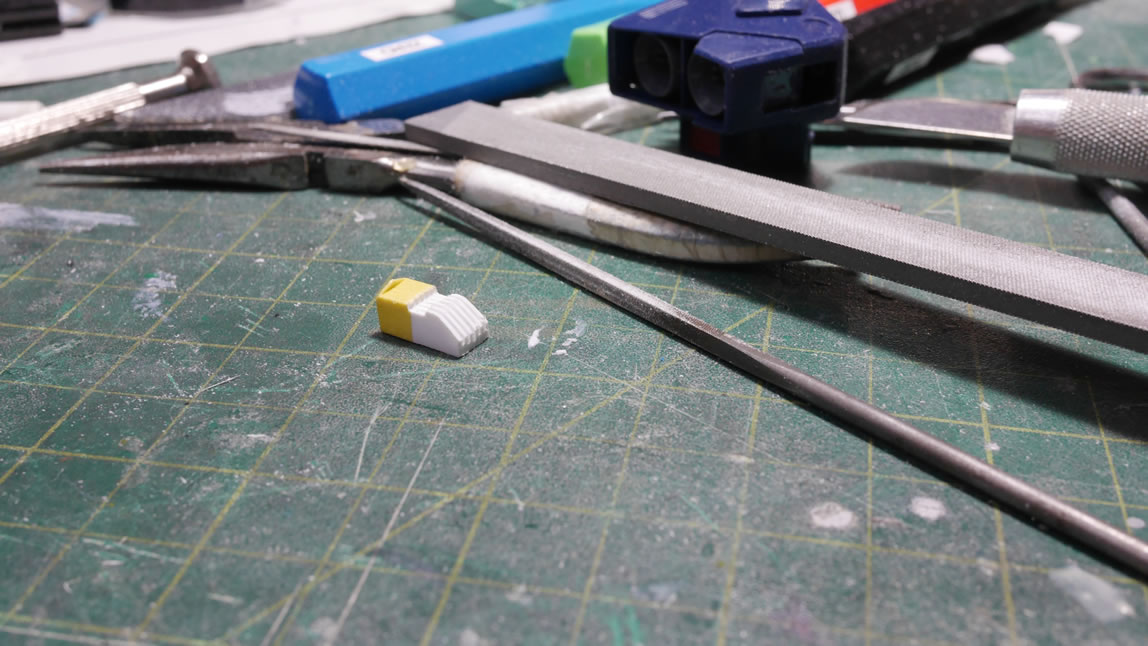
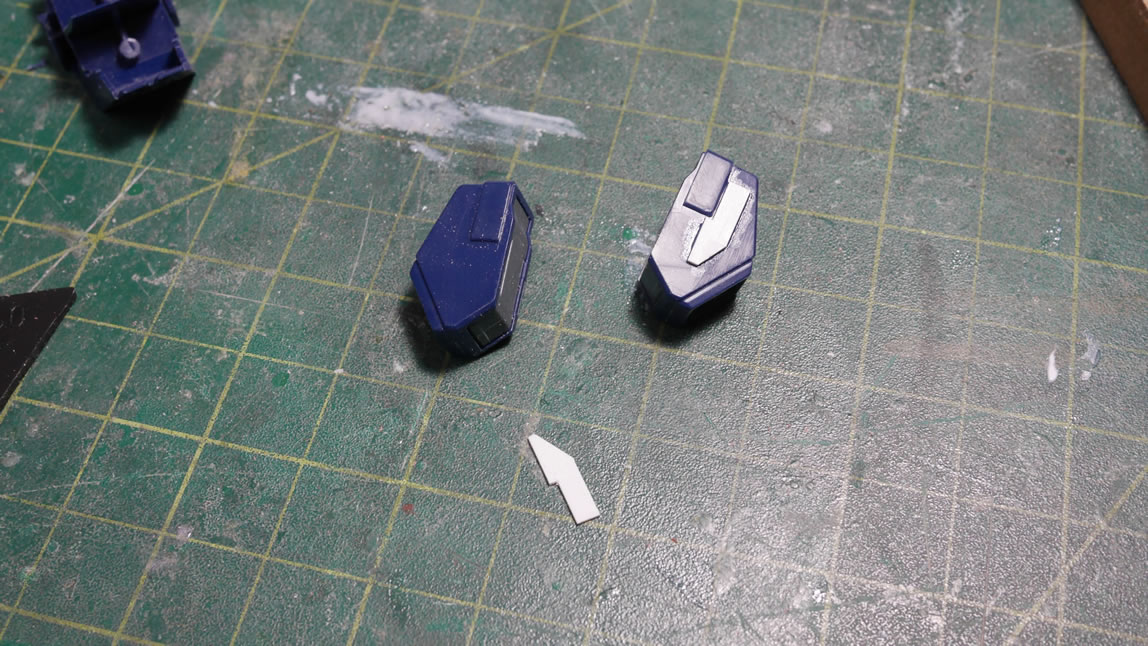
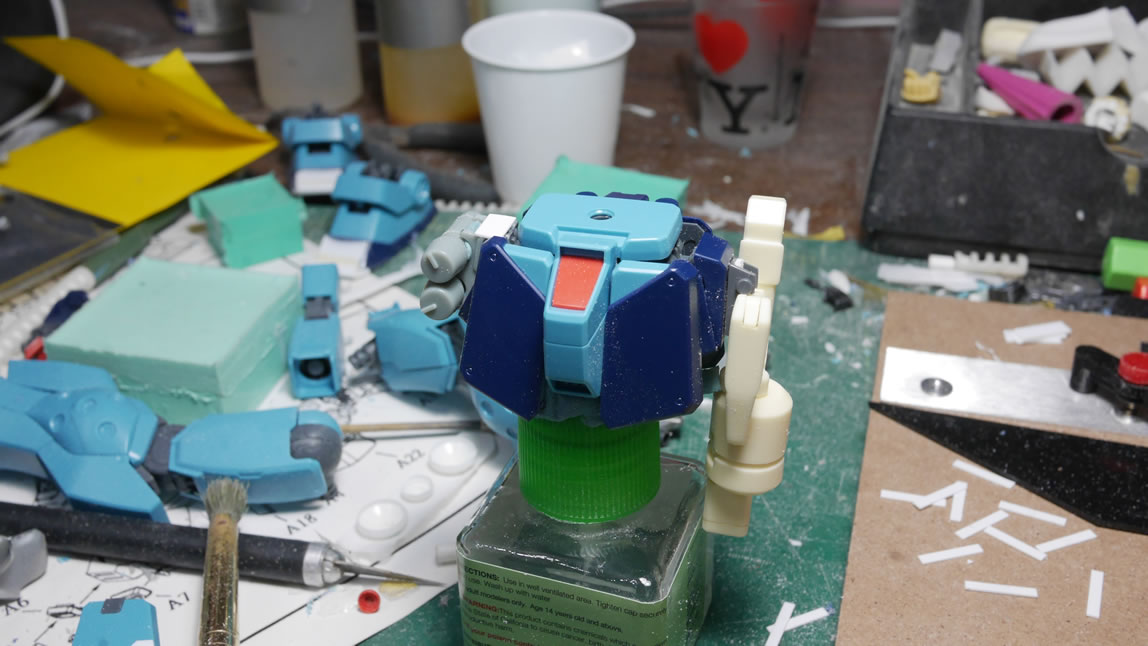
The backpack is pretty much done – I still may do some things but it’s close. Time to move on to the other body parts. First up is the shoulder. I was originally using the GM Spartan conversion kit’s shoulder mounted beam saber detail – but found that it was too large for what I wanted. Here’s what it looked like from the first post about this project:
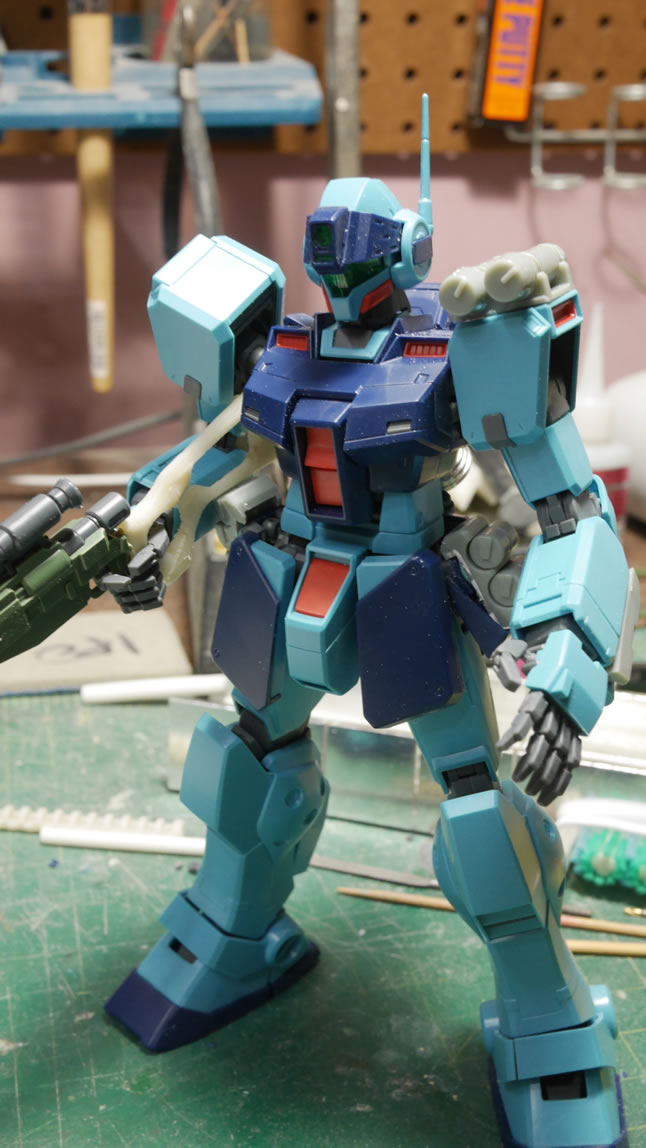
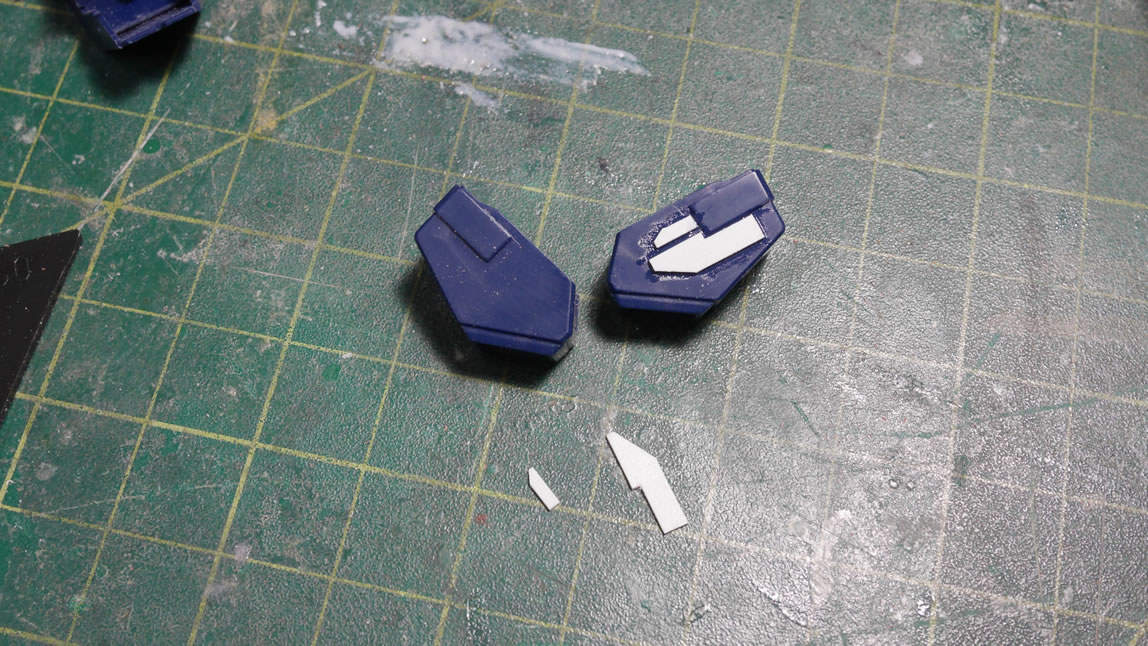
So I swapped it out with what I was using as the waist skirt detail piece. I think the smaller canisters work better here for what my plans. Some corrugated plastic detail for the bottom of the part as well as more mesh over the existing vent. I cut out strips of styrene to add more details to the shoulder. I’m still working on this as I’ve kind of come to a block on what I want to do with the big dopey looking shoulders.
On to the chest pieces. I decided against doing the mesh over the upper chest vents and I figured I could replace them with some more heat sink style vents. Same as before, cut strip and glue them together. Here is a quick test fit. The glue hasn’t set on the assembled styrene vent block so I couldn’t get into sanding and sculpting the final shape for the vents. But this is a pretty good idea.
Since I took away one of the side skirt details, I felt the need to replace it with something. Snipers typically carry an SMG or smaller close combat weapon. I don’t care for the 90mm GM Machine gun – so into the parts drawer and out we get an ore gun. I now also need to create a holster of some sort to hold the ore gun. In the box of spare parts I find a piece that looks like it would be a good base part to start building this holster. U clear out the middle and sand down the edges so that the ore gun’s handle fits. Now it’s time to figure out out to mount everything. Magnets. Rare earth, neodymium magnets to be specific. One side goes into the ore gun’s handle, and the other is build into the holster. The holster is detailed with a few round molds from the wave option parts set; a cut styrene tube for the bottom half, two small styrene rods along the inner edges of the top half followed by a strip of corrugated styrene to tie it all together. The back of the part is drilled and a relatively thin magnet is glued into place. This magnet will hold the ore gun but is not very strong. The original waist detail is drilled out and a thicker magnet is added here, and the combined strength of the two magnets is a very strong hold for the ore gun.

Here’s everything assembled for a test fit and the ore gun is being held up nicely.

Going back to the other side of the skirt, I did not want to use the same detail piece that I had for the shoulder, so I ended up cutting up my original shoulder detail piece to shorten everything and created some detailing for the other skirt side. The side skirts are mostly done.
There is so much more work that I want to put into this kit. So I’m scouring the internets and looking for inspiration. But the project is coming along. The nice thing is that since there is still so much to do; if I get modeler’s block on a particular section, I can put it aside and focus on a different section. This kinda makes it hard to do decent updates as it’s scattered here and there. But that just means I will just have to wait while I get at least 90% of a part done before posting an update. A good thing that there is a build gathering coming up this weekend so I can get some live feedback that may help jump start, or just add more work to the list of to dos.