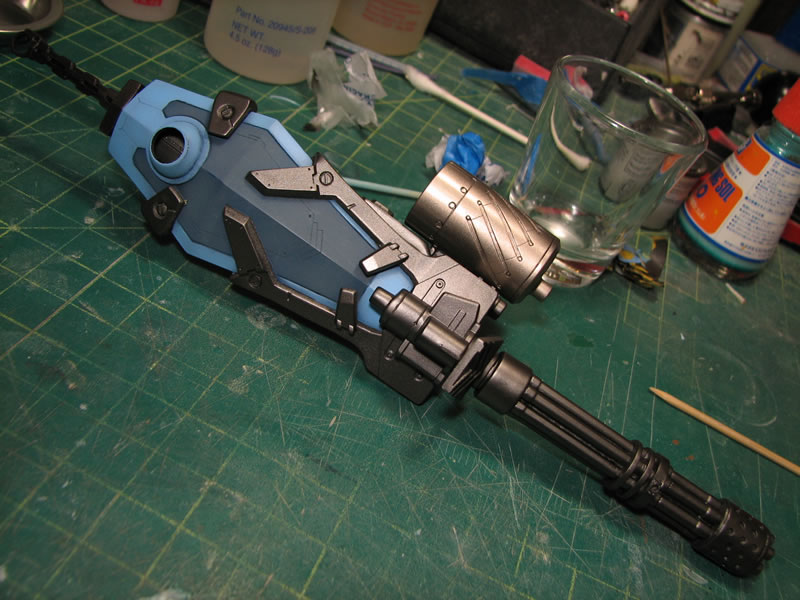
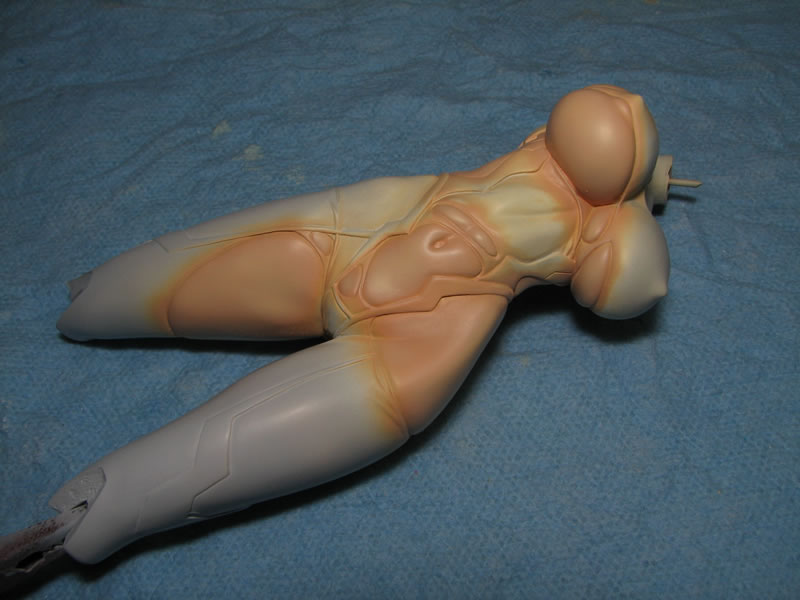
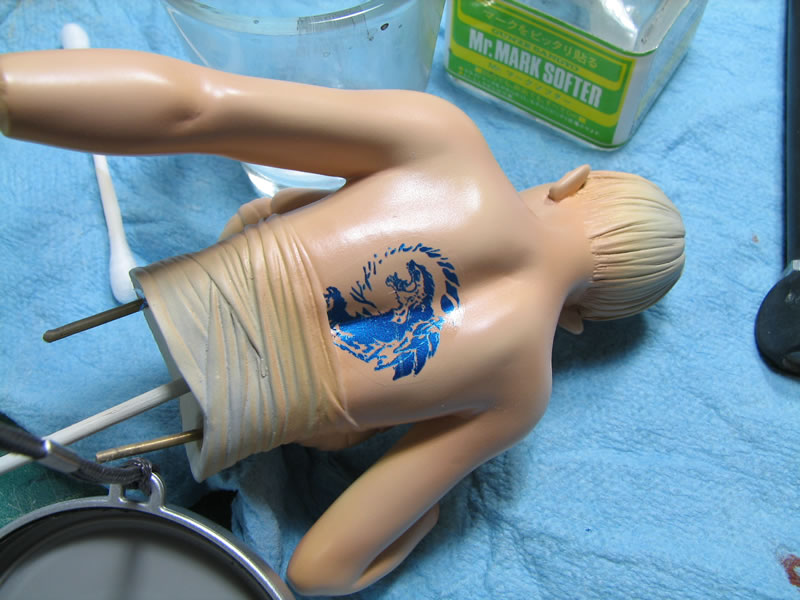
Gouf Custom: Almost there…
As stated in the previous post; when it gets down to the final stretch of things, the build progress slows down to a snails pace. The reason for this is that each of the final steps, although very quick and not in the least bit labor intensive just takes time and patience. Visibly, the work isn’t significant as these are minor details added to the kit. The reason for the slowness for the drawn out process is due to the cure times for the clear coats applied between the final layers.