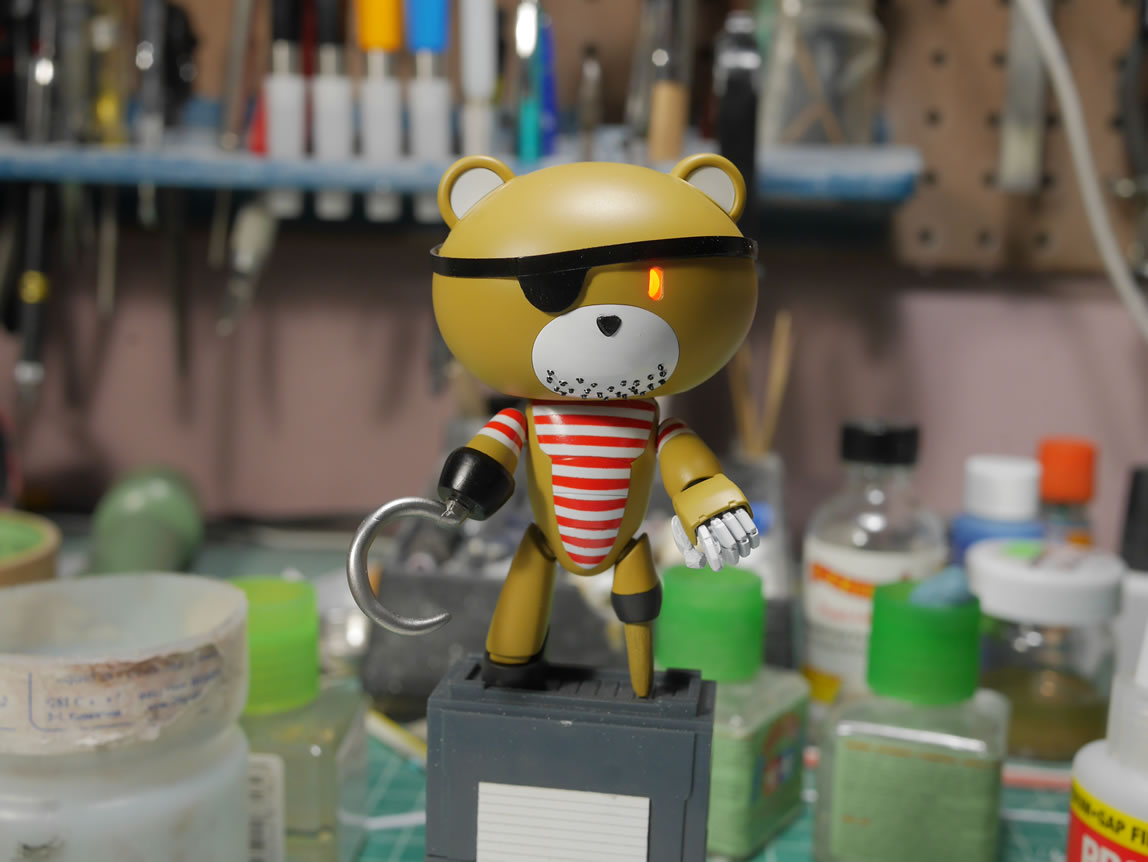
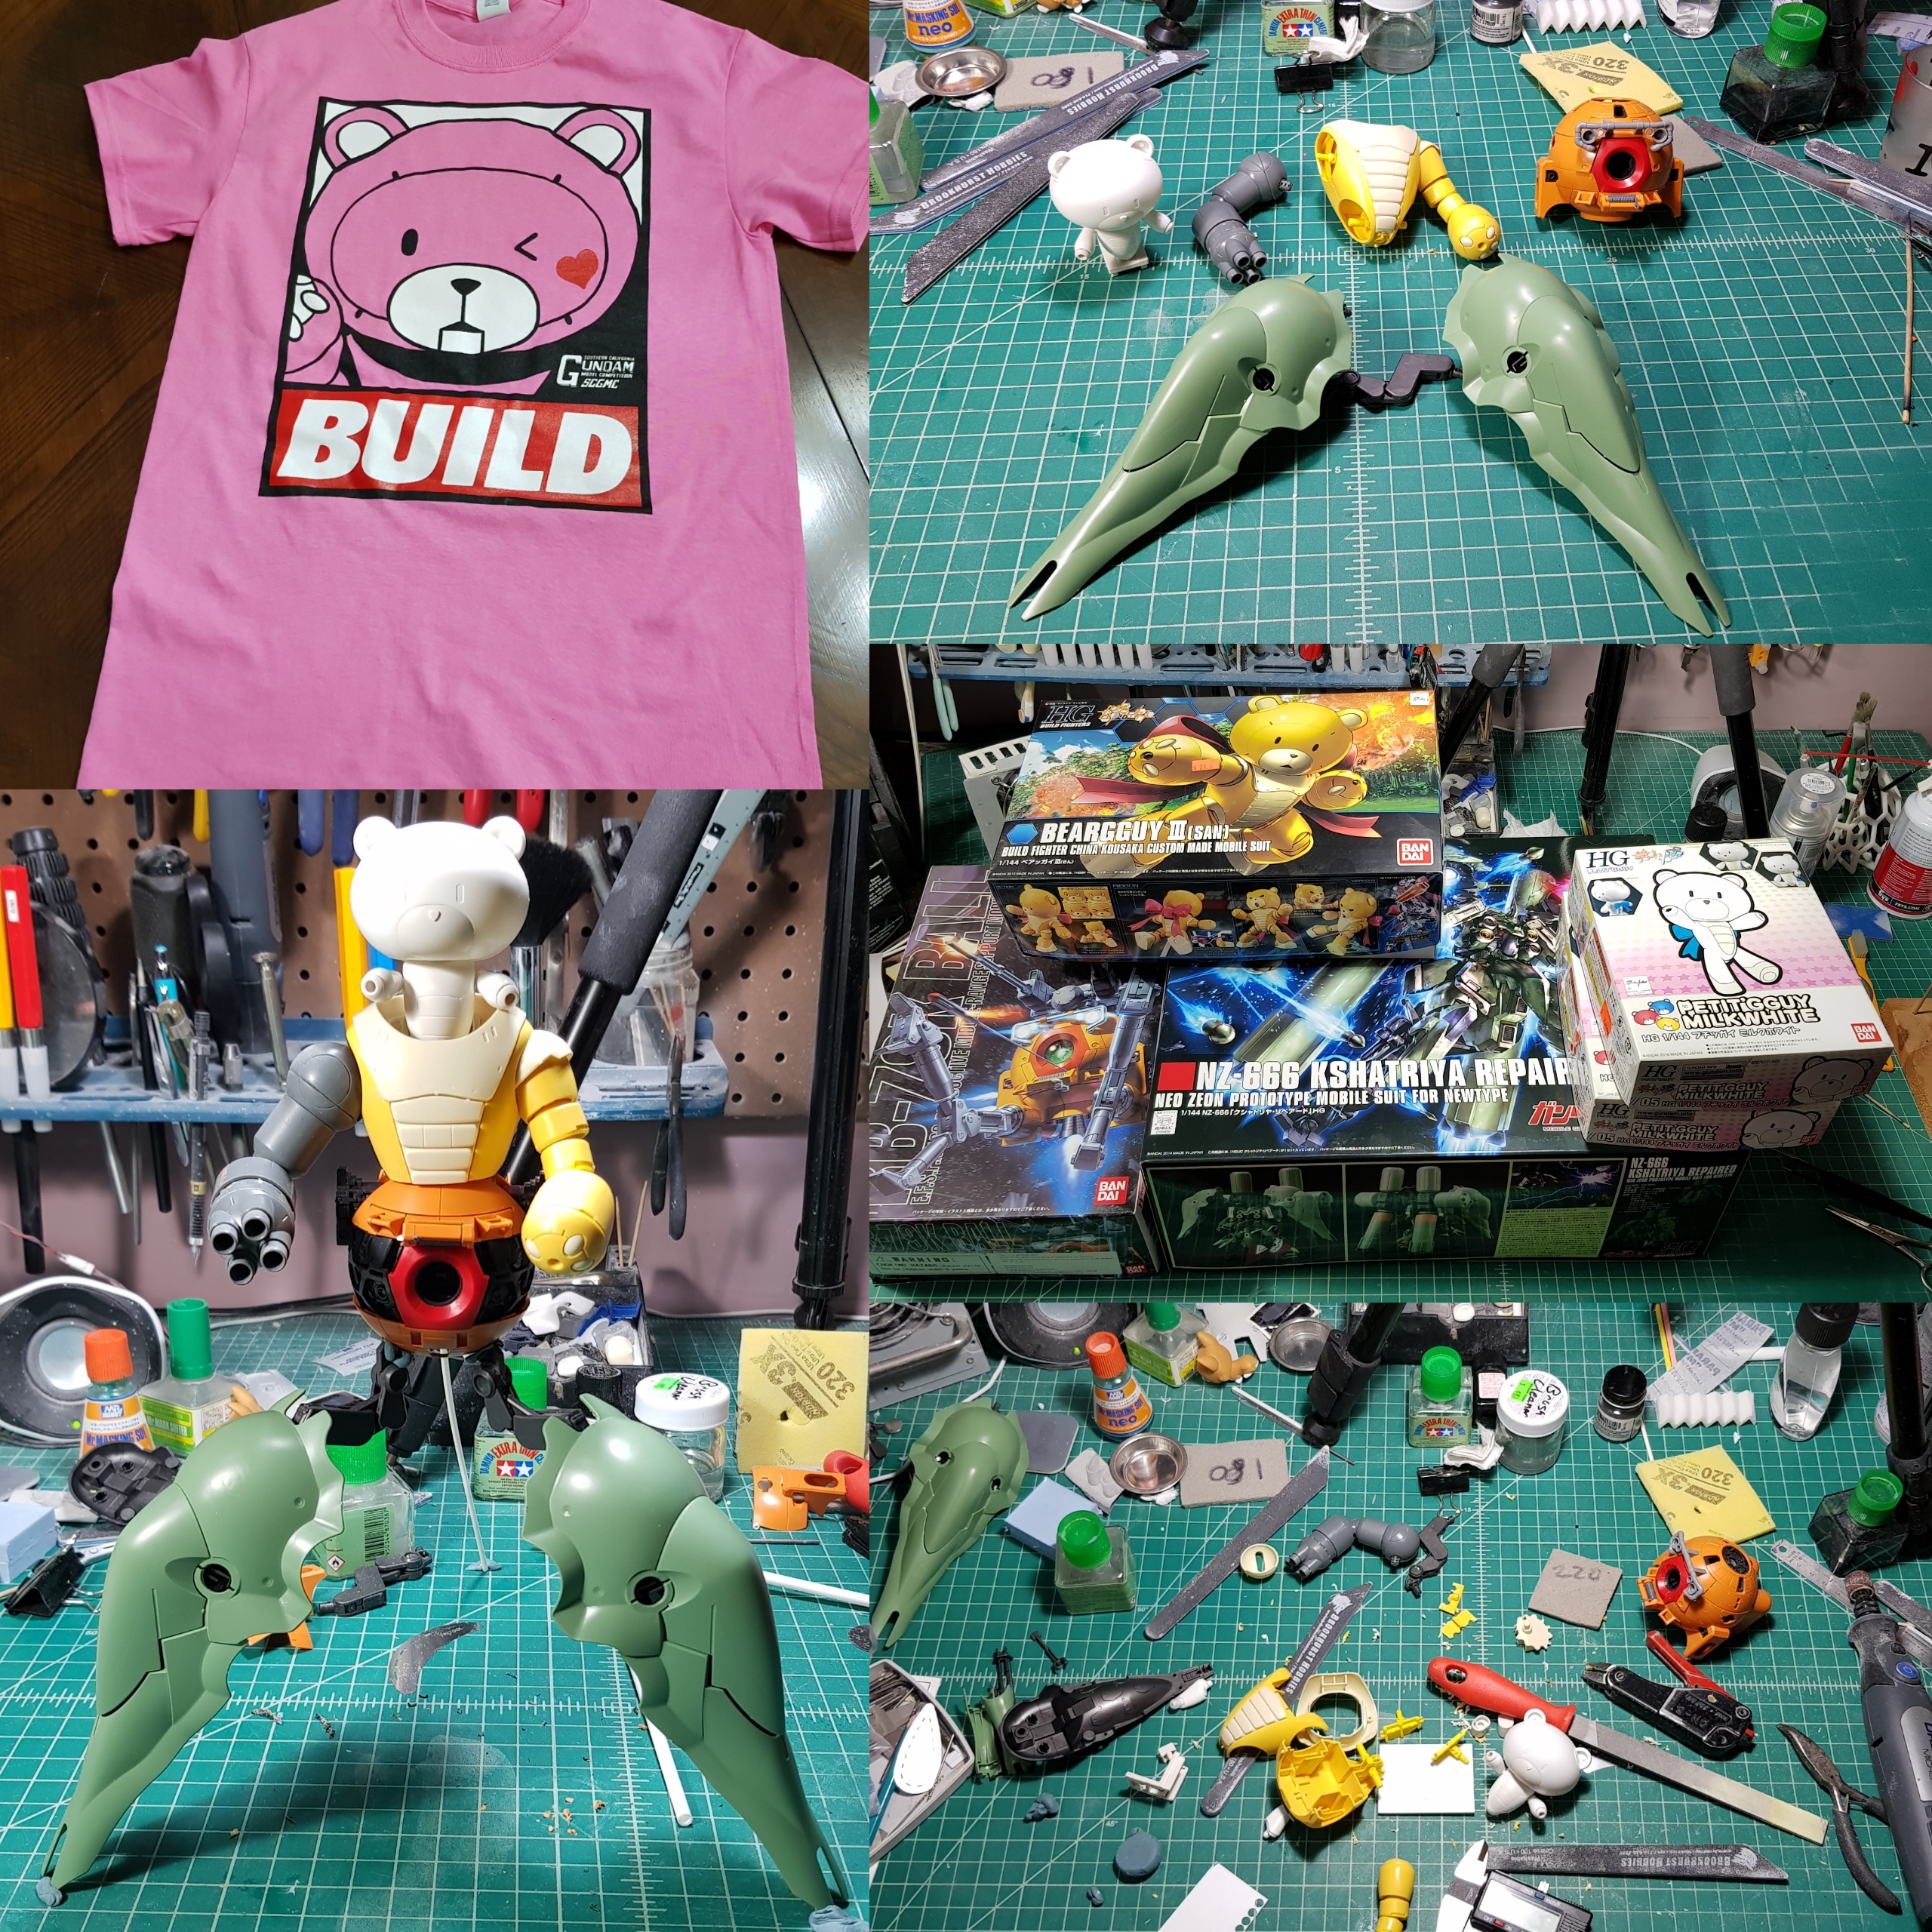
Our theme for this year’s SCGMC is the Bearguy, so I’m finally getting off my ass and starting up my Bearguy project. I think I may have bitten off more than I can chew at this time. Sometimes when inspiration hits you, it’s like being hit by a motorcycle speeding from your blind spot. You’re not expecting it at all, and *WHAM* the ideas just start flowing. I had been working on the Grim Reaper figure kit and I just had to pull a complete stop. The force is strong with this one and cannot be ignored. Little Miss Reaper joins the rest of the projects in various modes of development hell.
Way back when the first Bearguy came out, I had an idea of fitting the kit (1/144) inside an MG Acguy (1/100). The idea stems from the Panda-Z anime/toy that I picked up almost 20 years ago. The idea floated around for a while then just faded away into the back of my subconscious with the rest of the half-witted ideas I get. Then comes the Petit-Bearguys and the idea slightly resurfaced, but was quickly overruled by other projects in progress or of higher priority. Fast Forward to the end of last year when we announced our 2018 SCGMC Theme and add a few months before the true inspiration that really kickstarts the project.
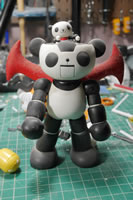
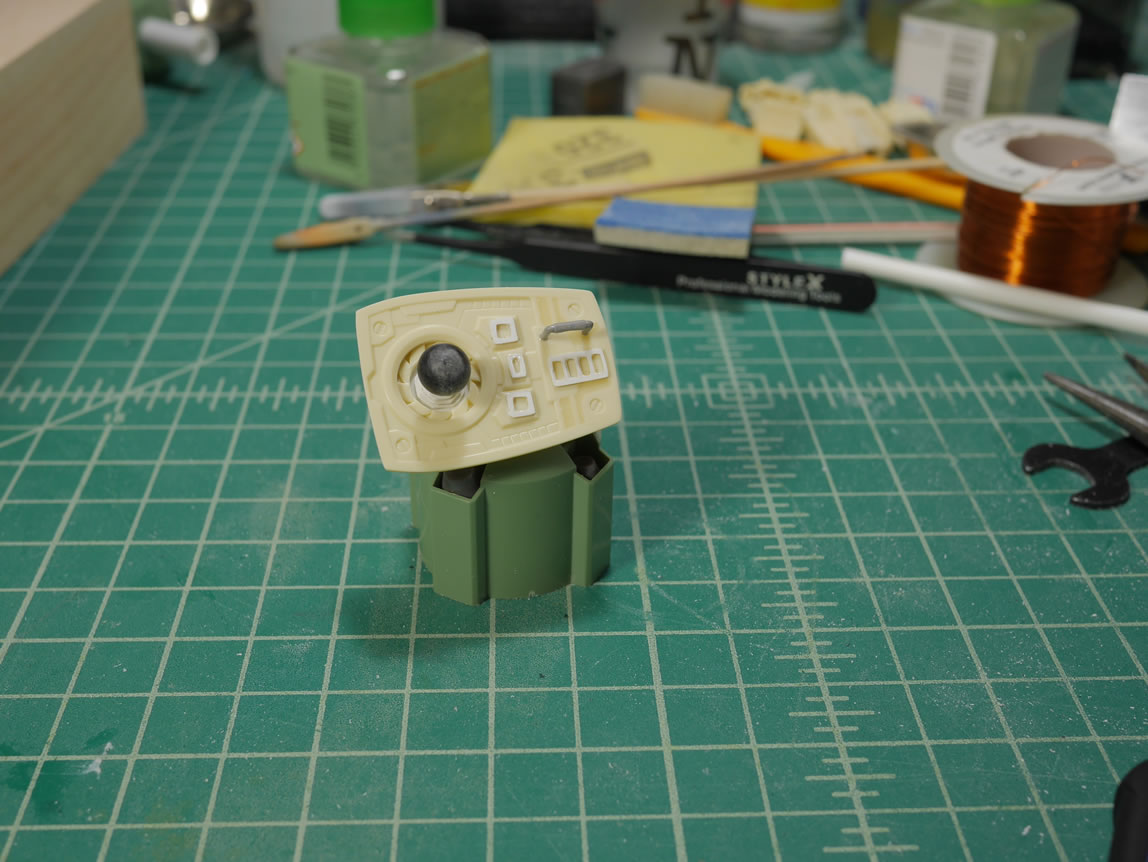
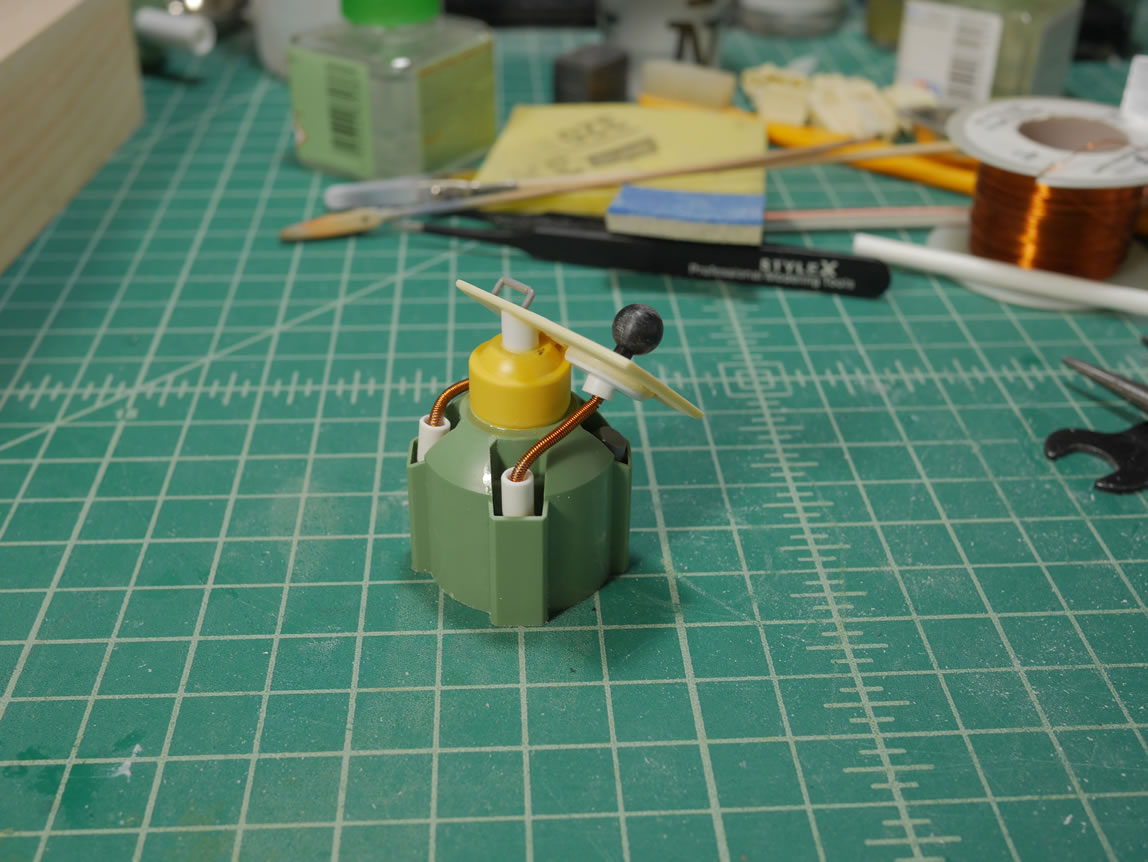
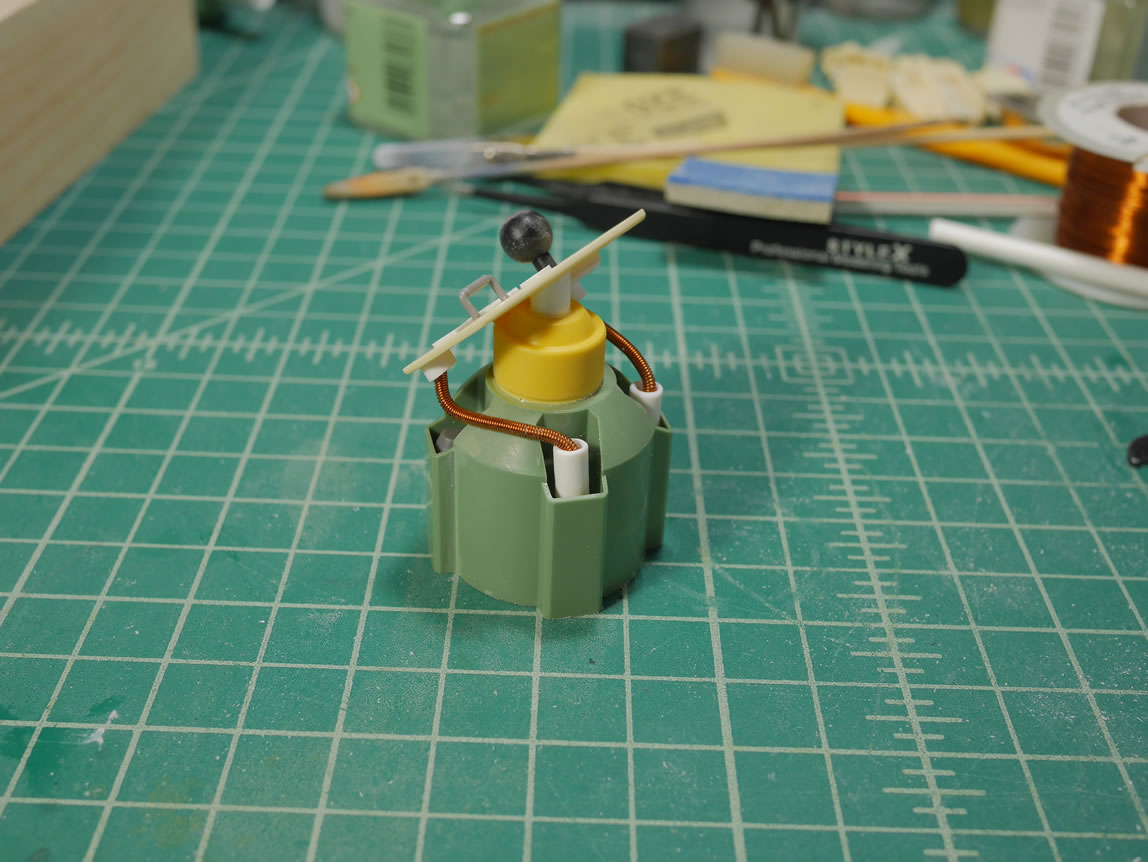
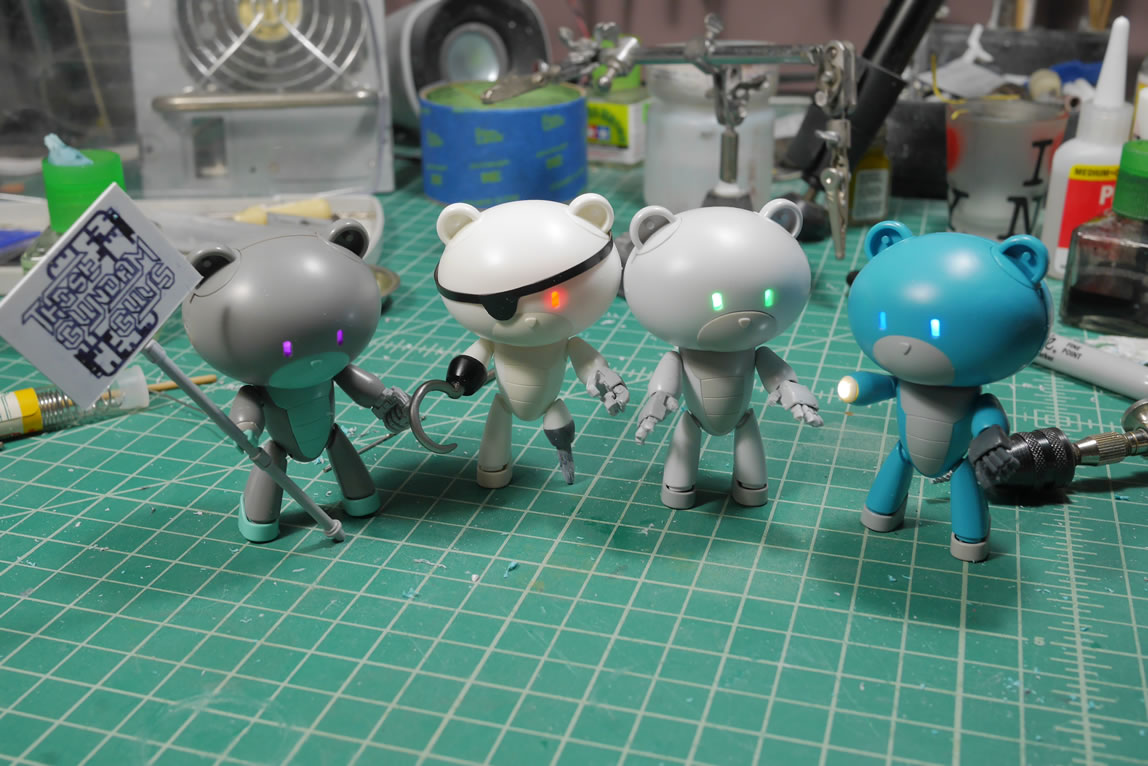
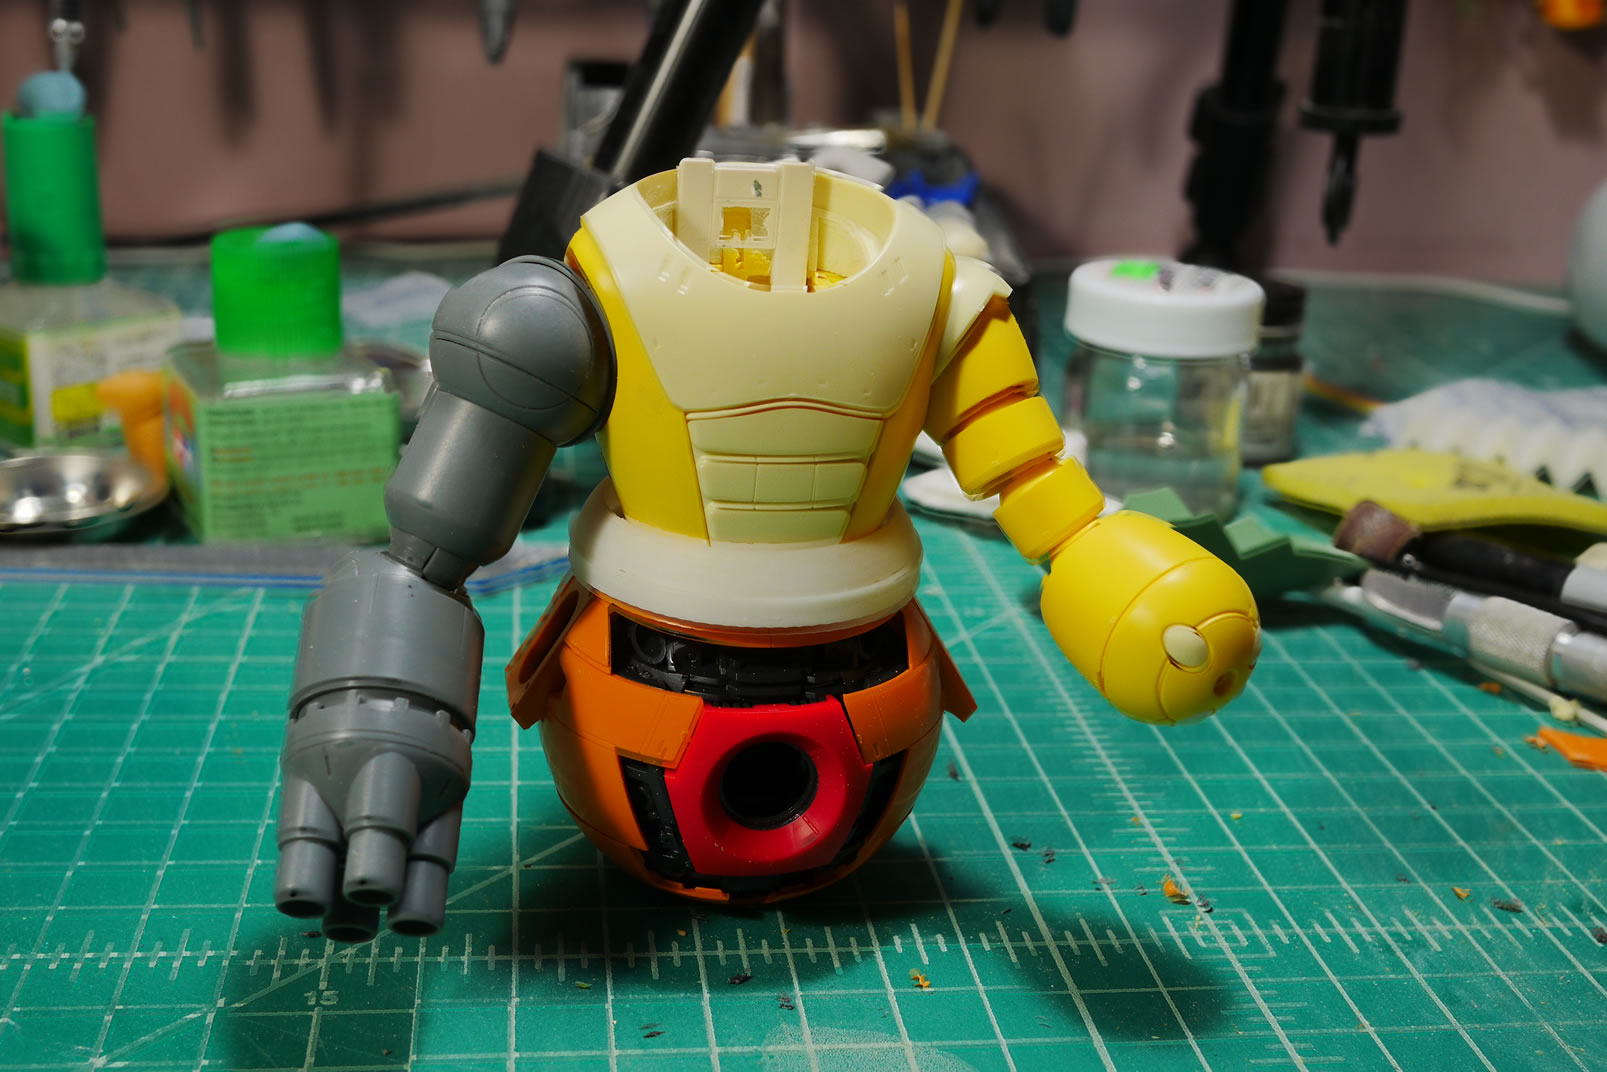
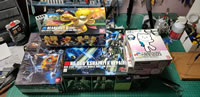
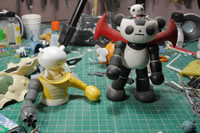
Aside from the Panda-Z, I’m also inspired by the giant Omni-droid from Incredibles. First step is to acquire the kits my imagination pulled together, so we have the 1/144 Kshatriya, the Bearguy San, an MG Ball, and a Petit-Bearguy. The arm of the MG Guntank was an afterthought so not really one of the full kits being used; I’ve already been cannibalizing that kit for several other projects; so what can one more do to hurt? The main pieces from the kits are quickly snapped together so I have a very rough idea of what I’m planning on bashing together.
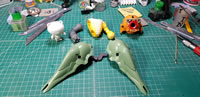
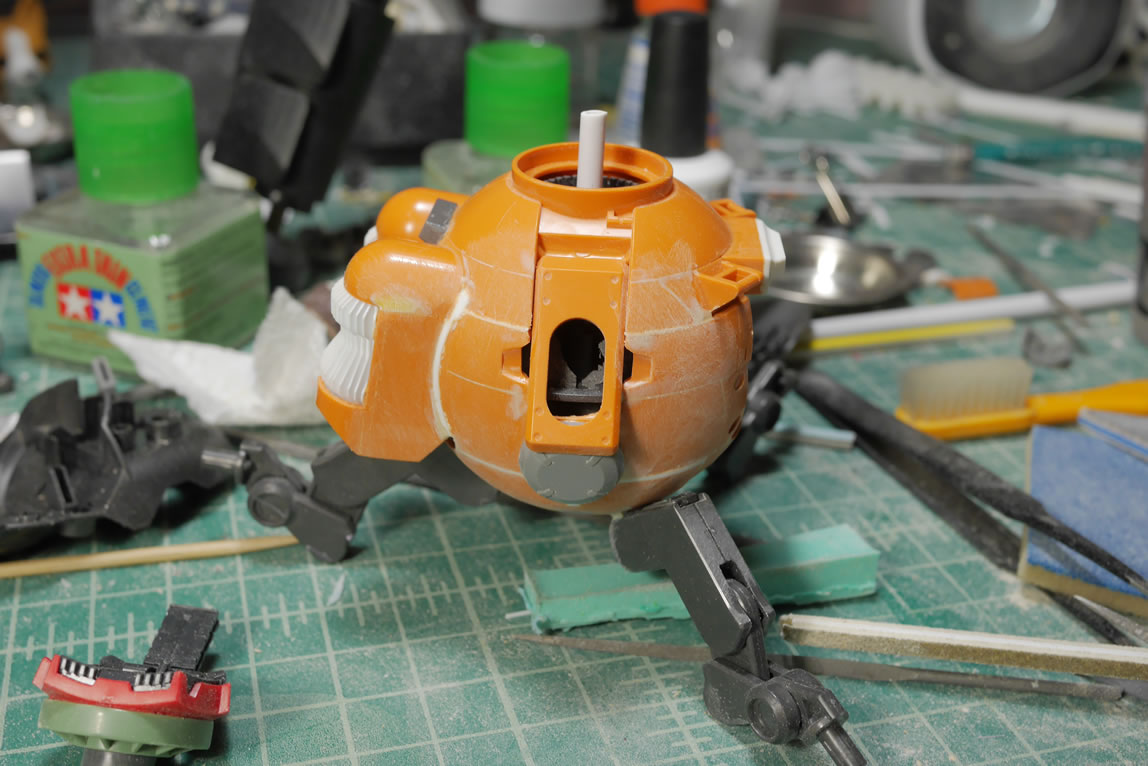
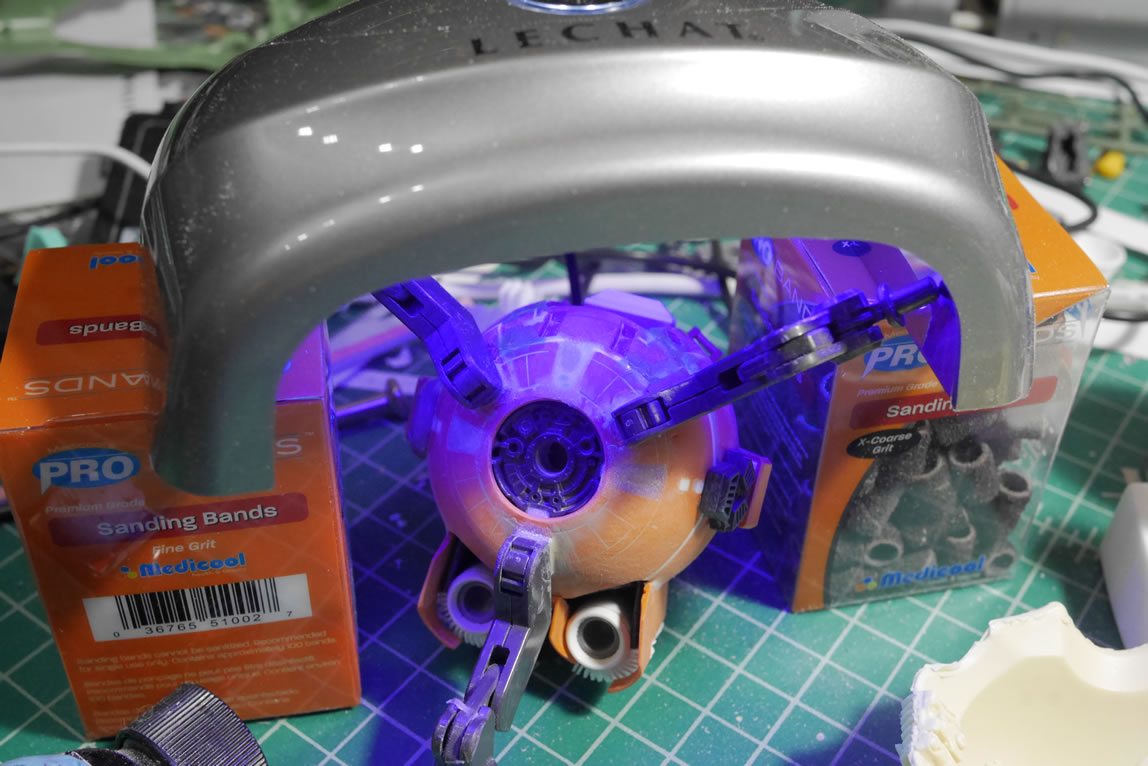
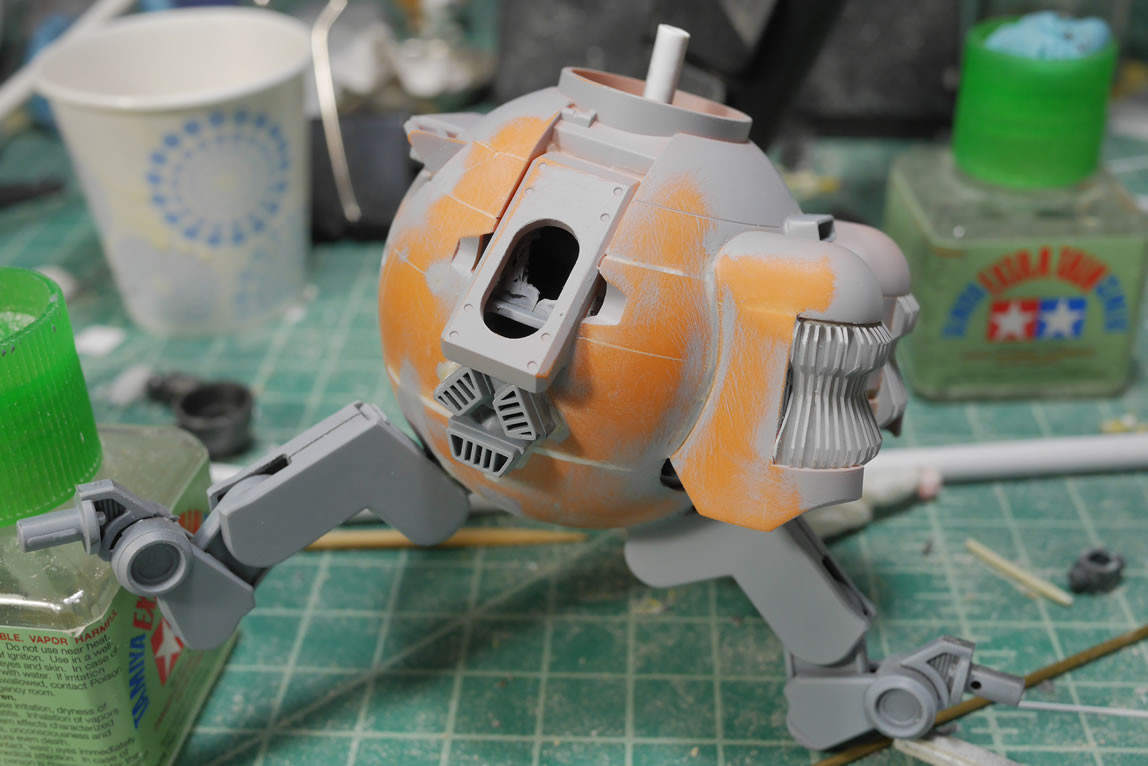
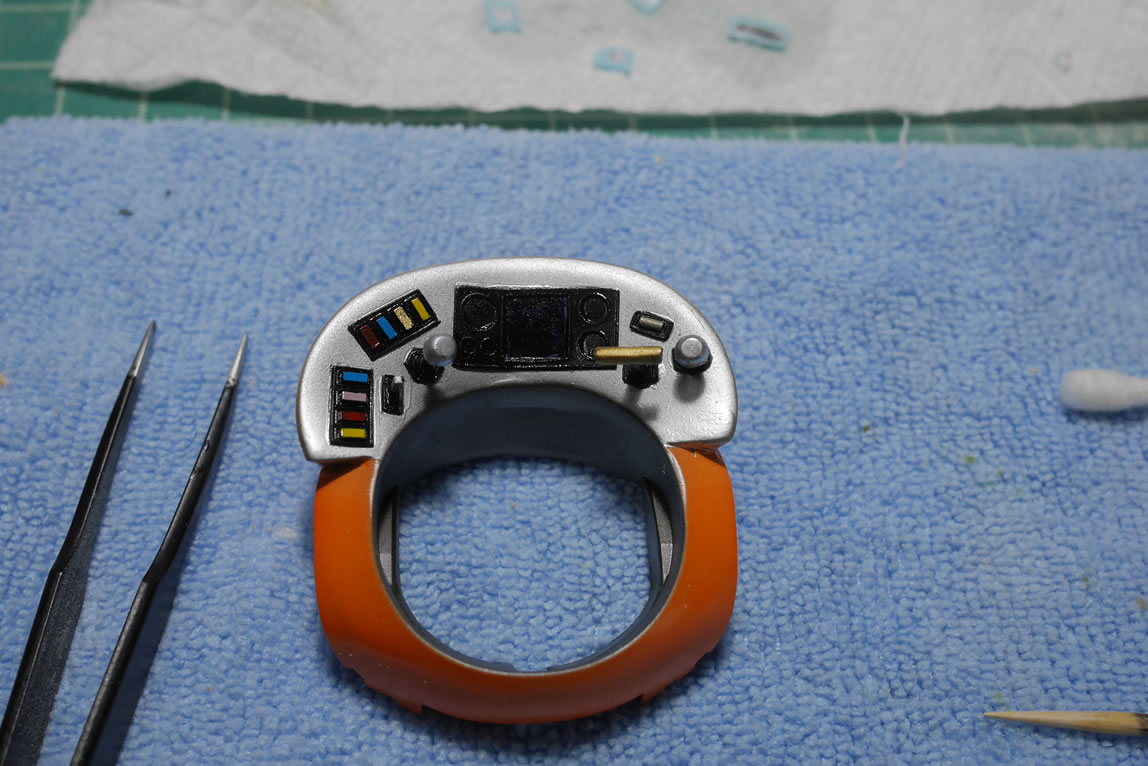
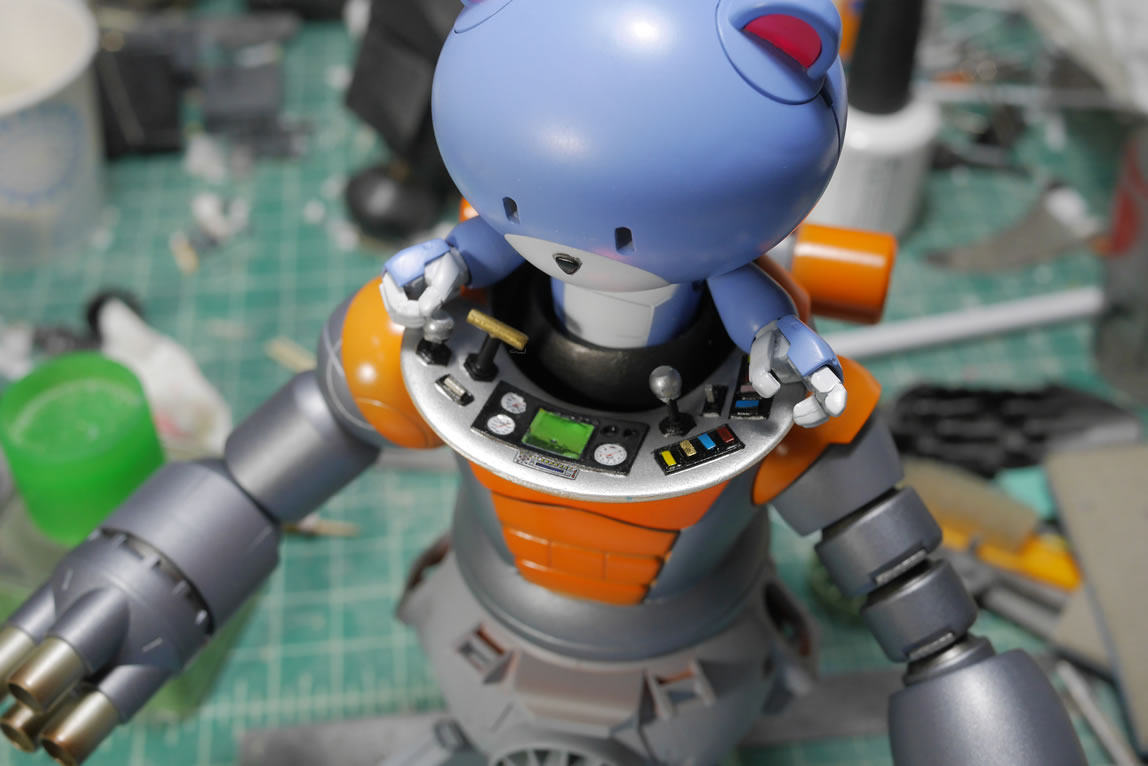
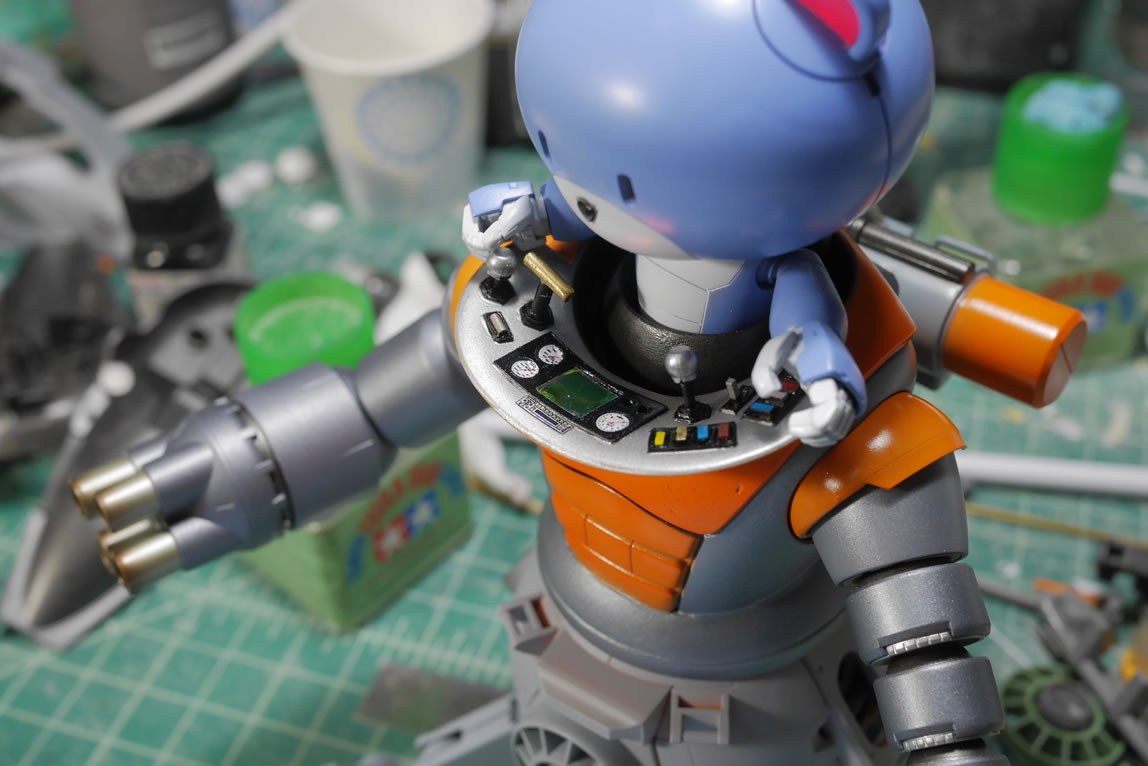
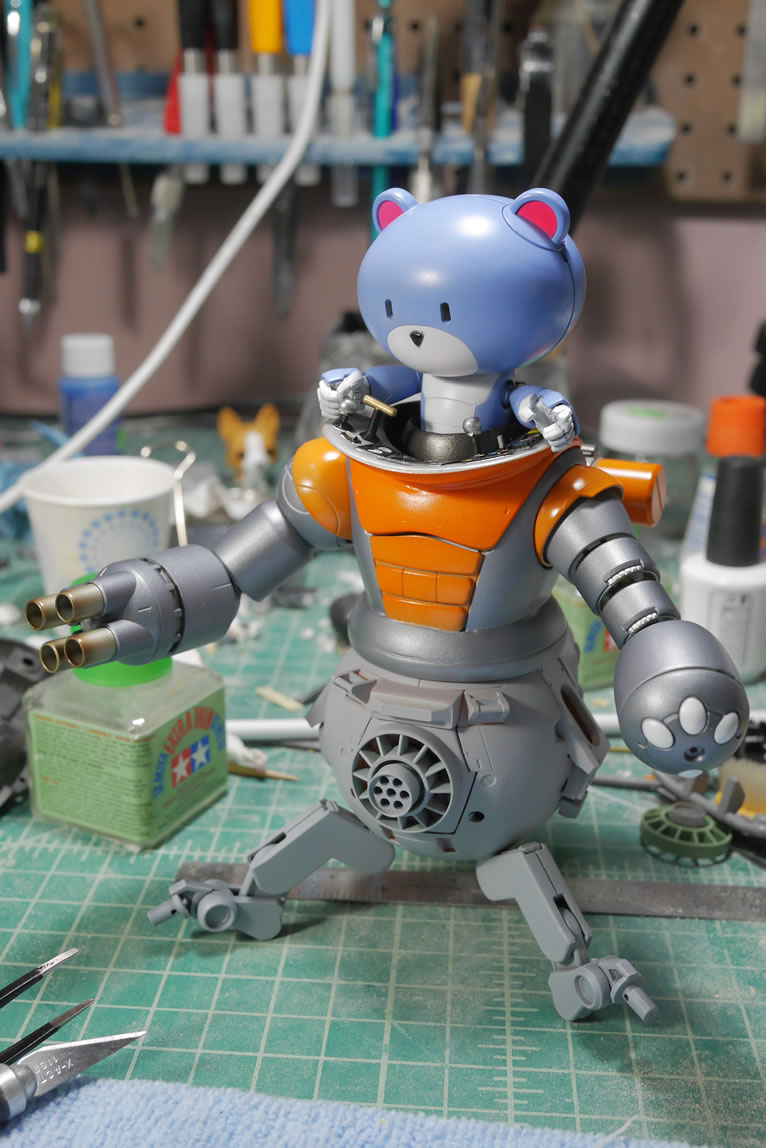
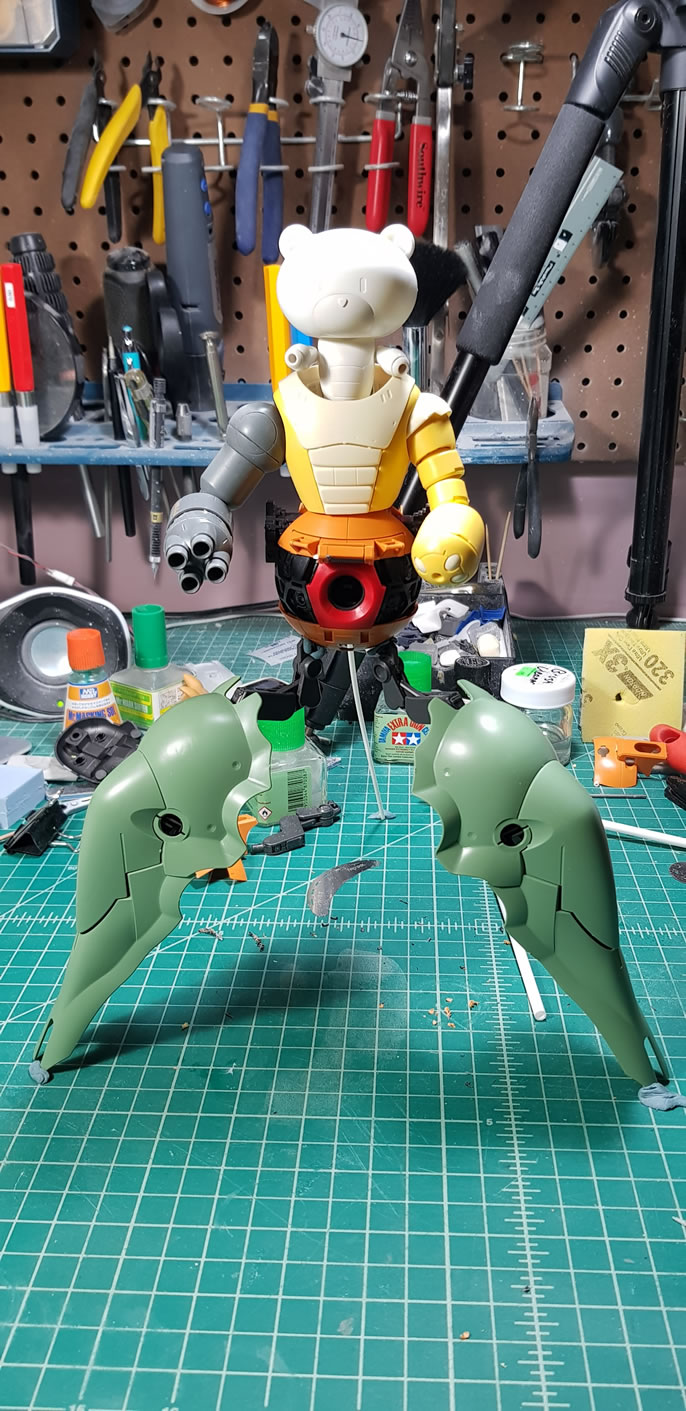
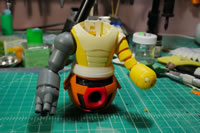
What I end up with is the Petit-Bearguy (PBG) as the driver of an upper torso of the Bear-Guy (BG) with a lower torso of the MG Ball, and the Kshatriya (K) binders as legs in a tripod configuration.

This project started near the end of March, and I’m only just now getting around to making a post because I actually have a fairly decent progress flow. So after the jump, this wall of text and pictures taken over the past month continues. A snide note, I used a bad option on my camera that pretty much ruined a good number of pictures. So the different resolution size are pictures from my camera phone and what pictures I was able to salvage.
(more…)