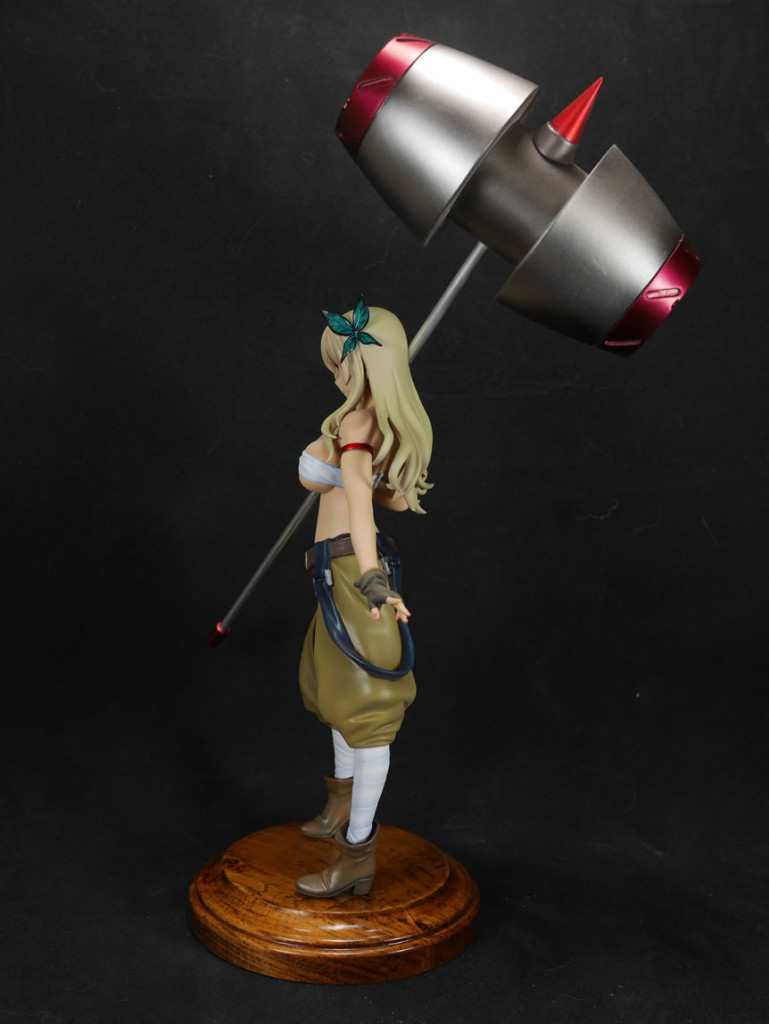
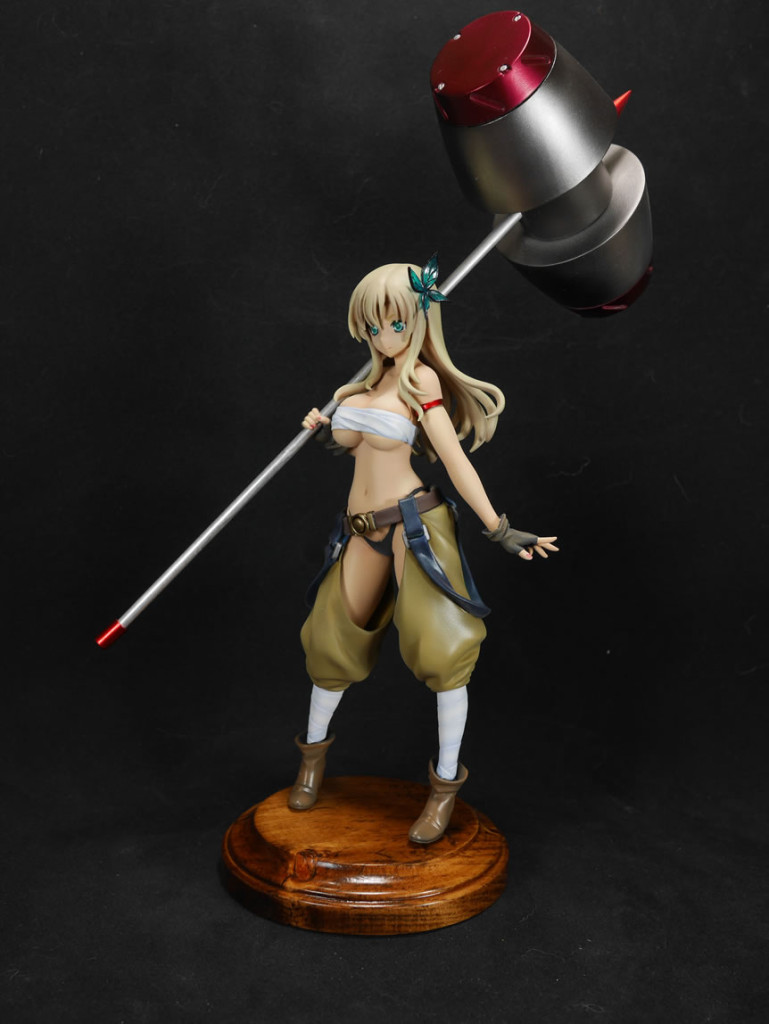
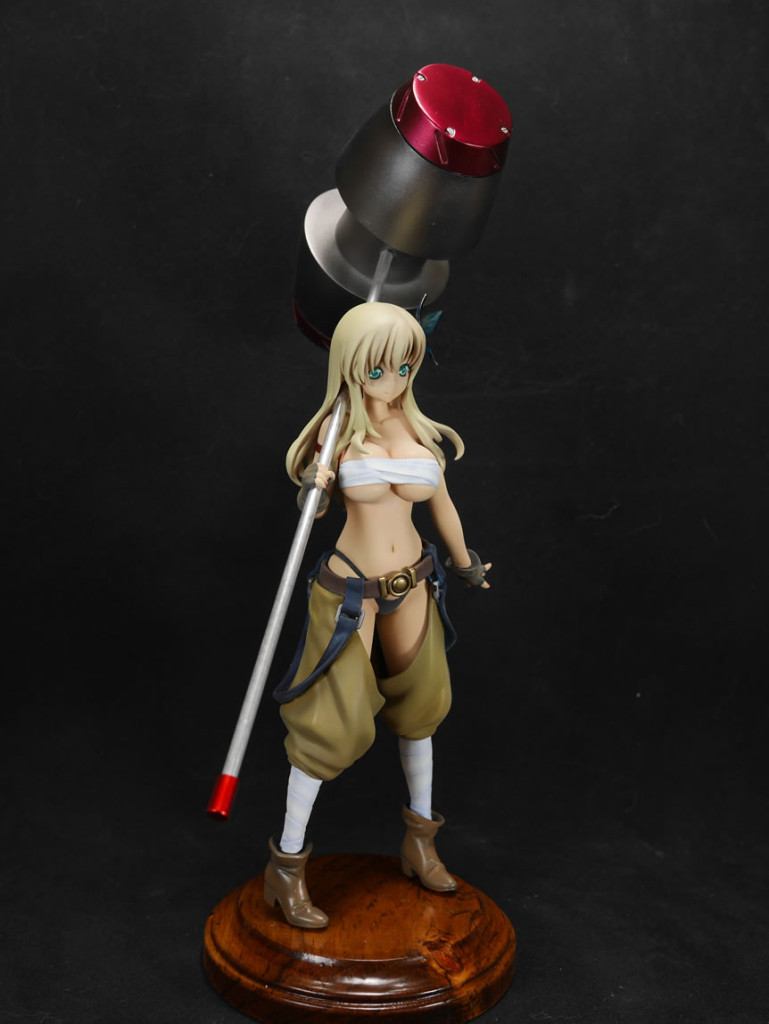
Grimoire Completed
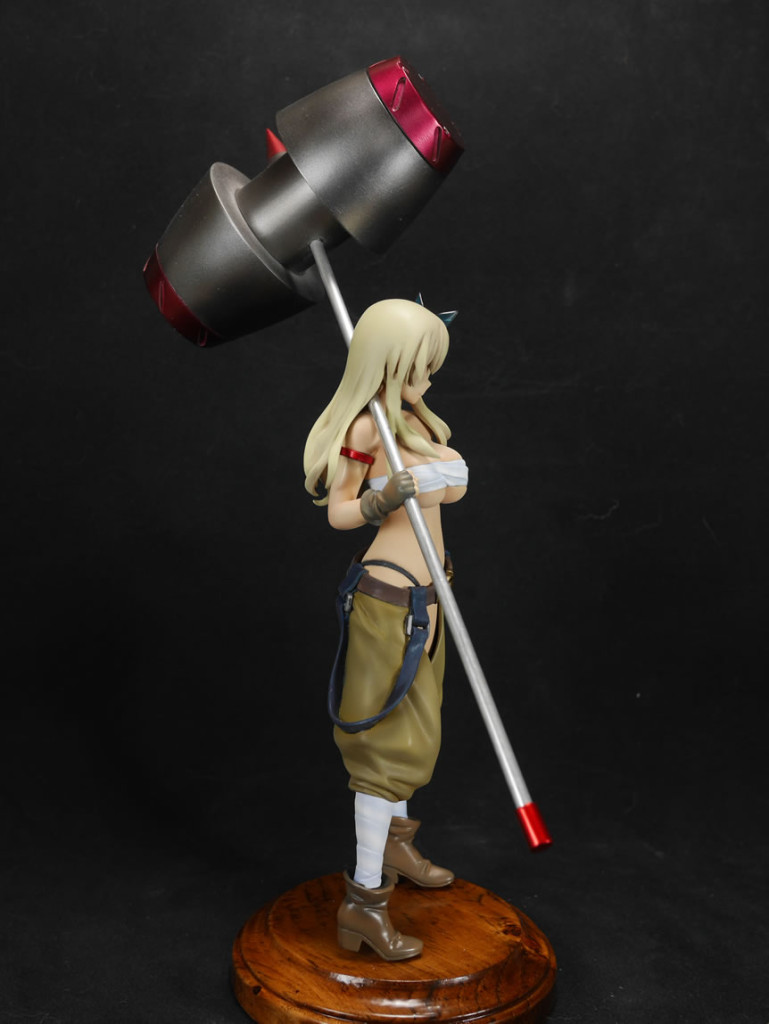
This past week, I got the final bits of painting done. Gloss clear coated it to prepare the surface for decals. Applied some decals from various decal sheets such as the 1/144 Londo Bell set (warning labels), the 1/72 Ivanov…
This past week, I got the final bits of painting done. Gloss clear coated it to prepare the surface for decals. Applied some decals from various decal sheets such as the 1/144 Londo Bell set (warning labels), the 1/72 Ivanov…
I got the parts cleaned up and washed. Then onto some skewers and the priming starts. Once the primer is dry, the parts are checked for mistakes and parts that need attention are sanded, puttied, resanded, then reprimed. Once everything looks good, the first layers of paint will go onto the parts.
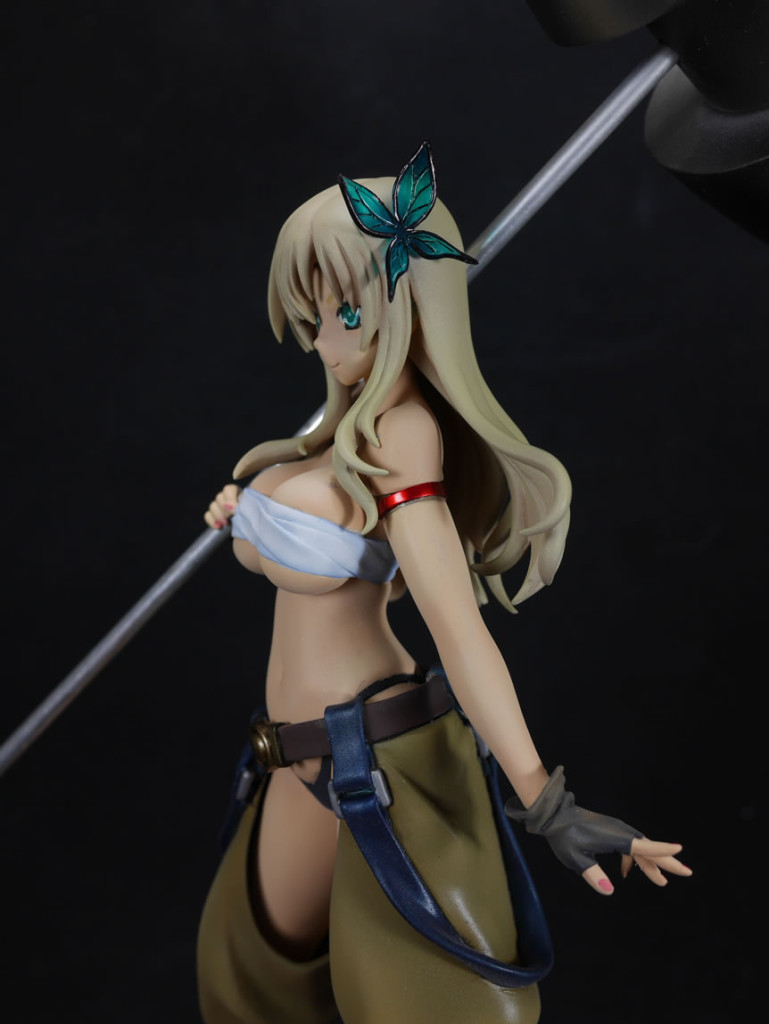
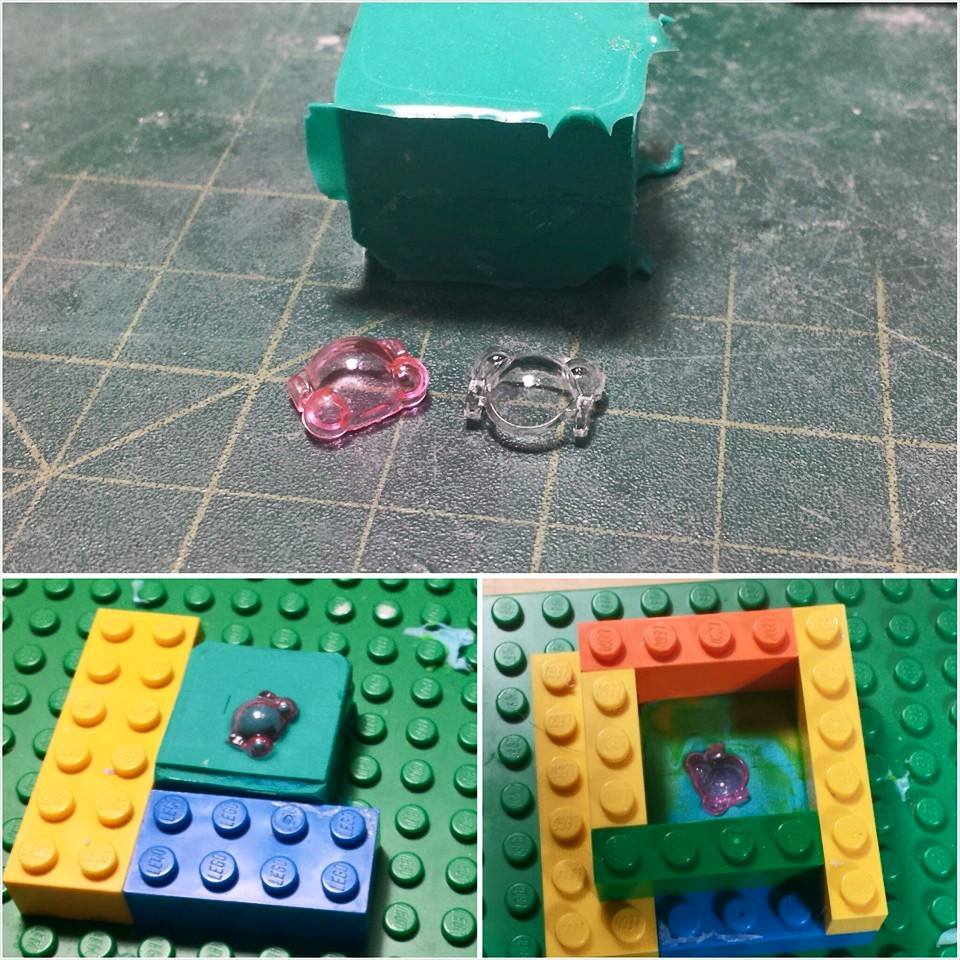
Also in this post, because the Grim’s clear “eye” piece is done in a clear pink, that clashes with the color scheme I have planned, so I decided to make a silicone mold of the original part, and make a clear resin copy of the part that I can then tint with a clear paint that matches the overall color scheme.

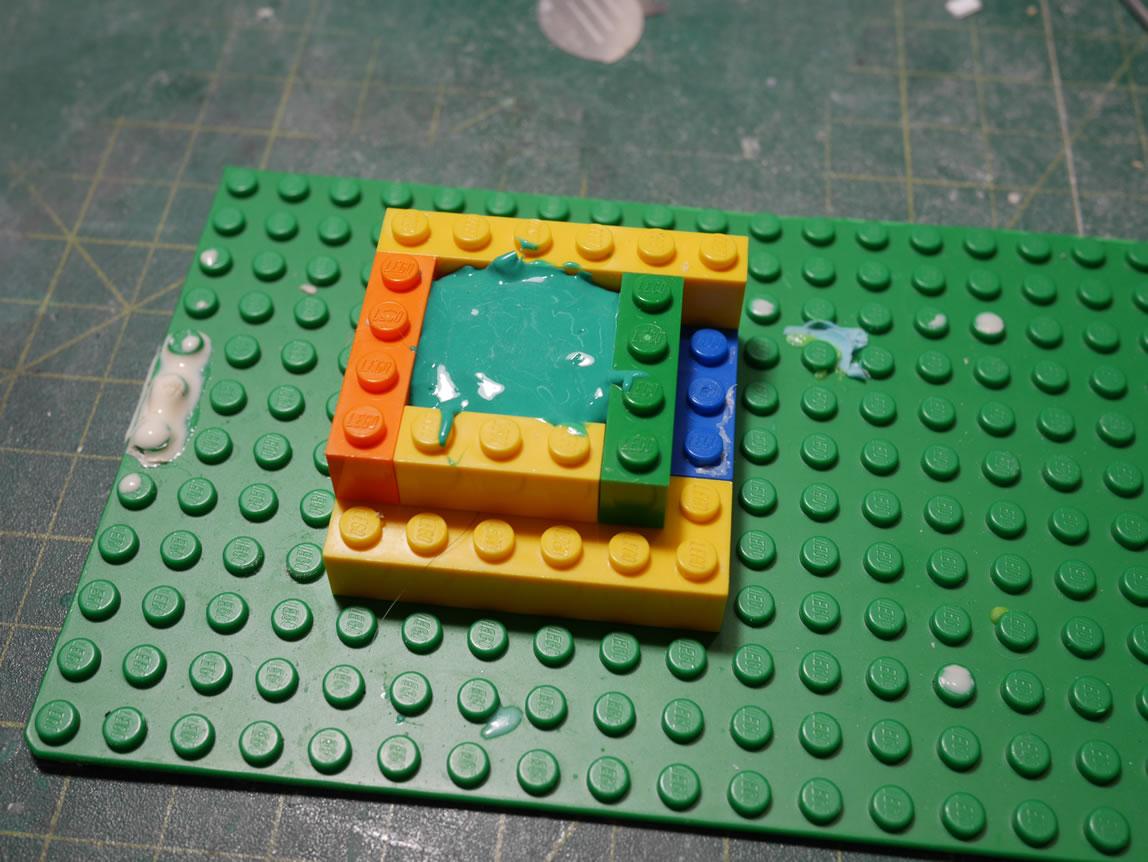


Here’s a video of the entire process just briefly touched on by the above slide show.
More details on the paint progress after the jump

It has been a few months since I started up on this project and I’ve been getting a little work on it only at the monthly build gatherings. With Sena recently completed, I decided against starting up another figure project to focus on this one and just get the damn thing done. Prior to the Sena videos, I actually started using my cameras to capture the Grimoire build. I was still working out the set up that I think I’ve nailed down towards the end of the Sena series.
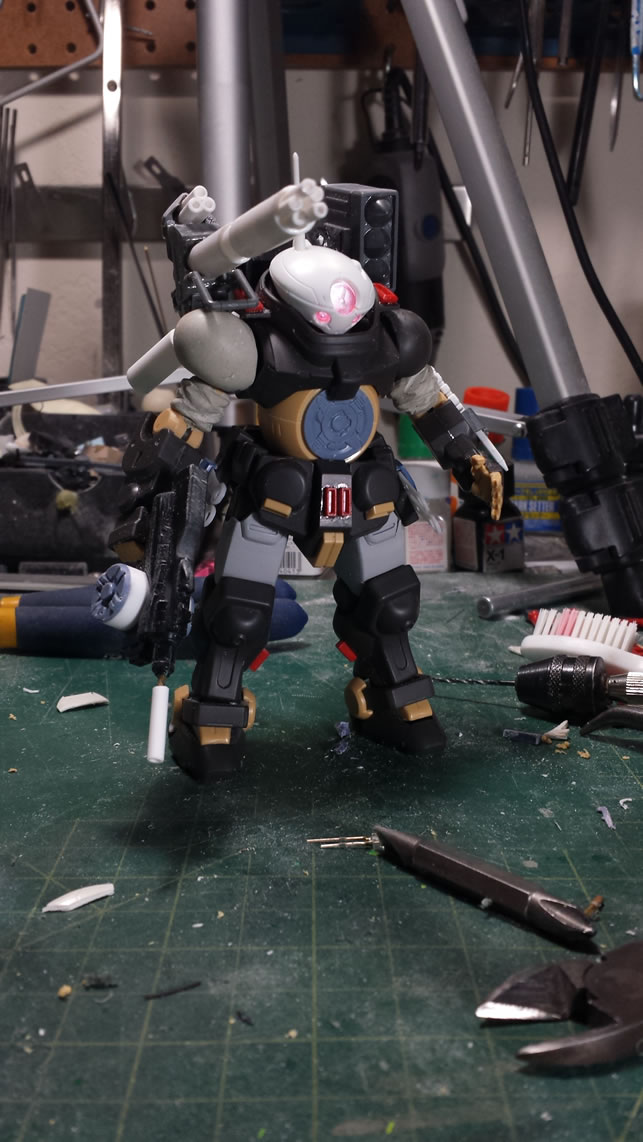
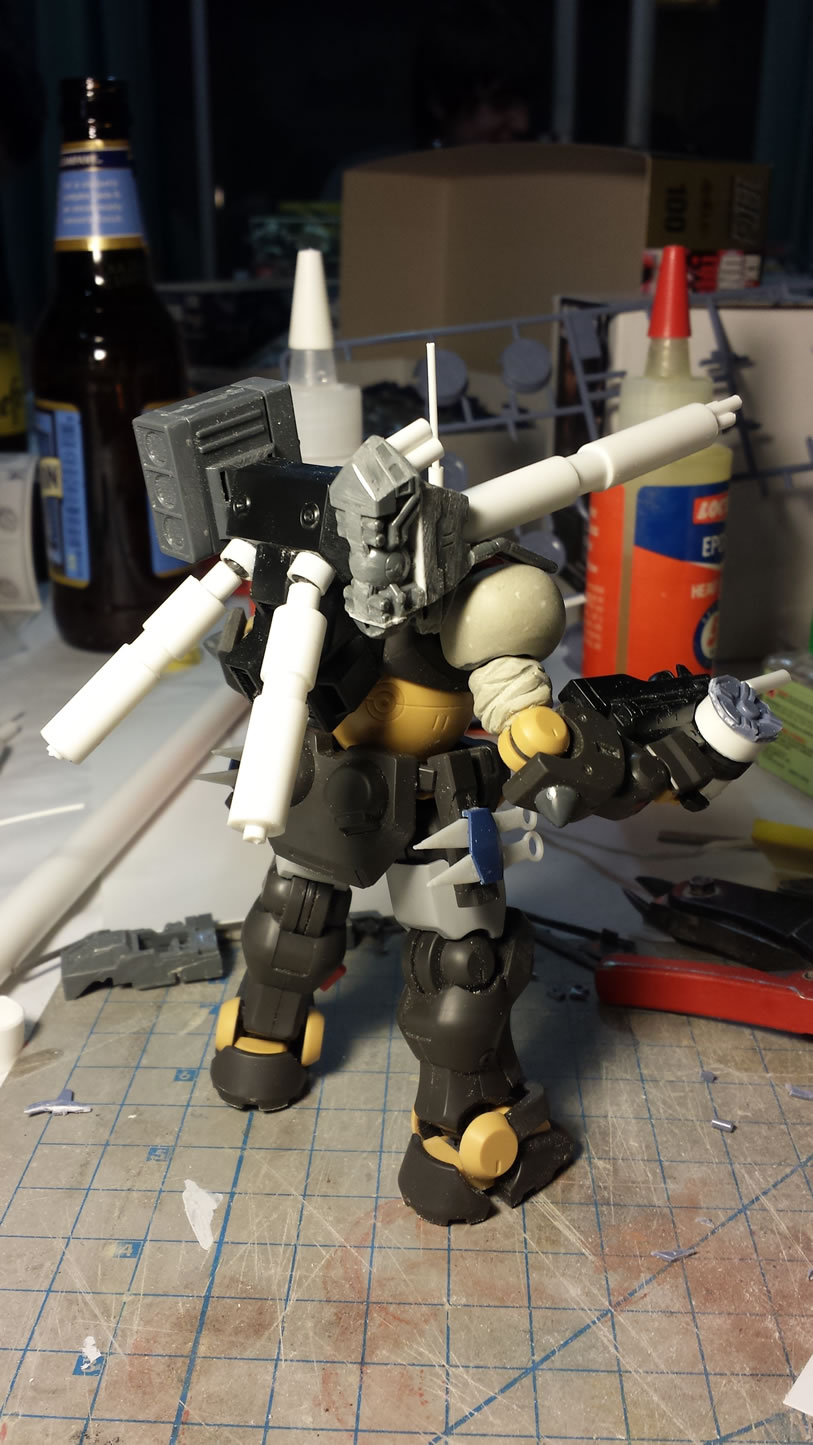
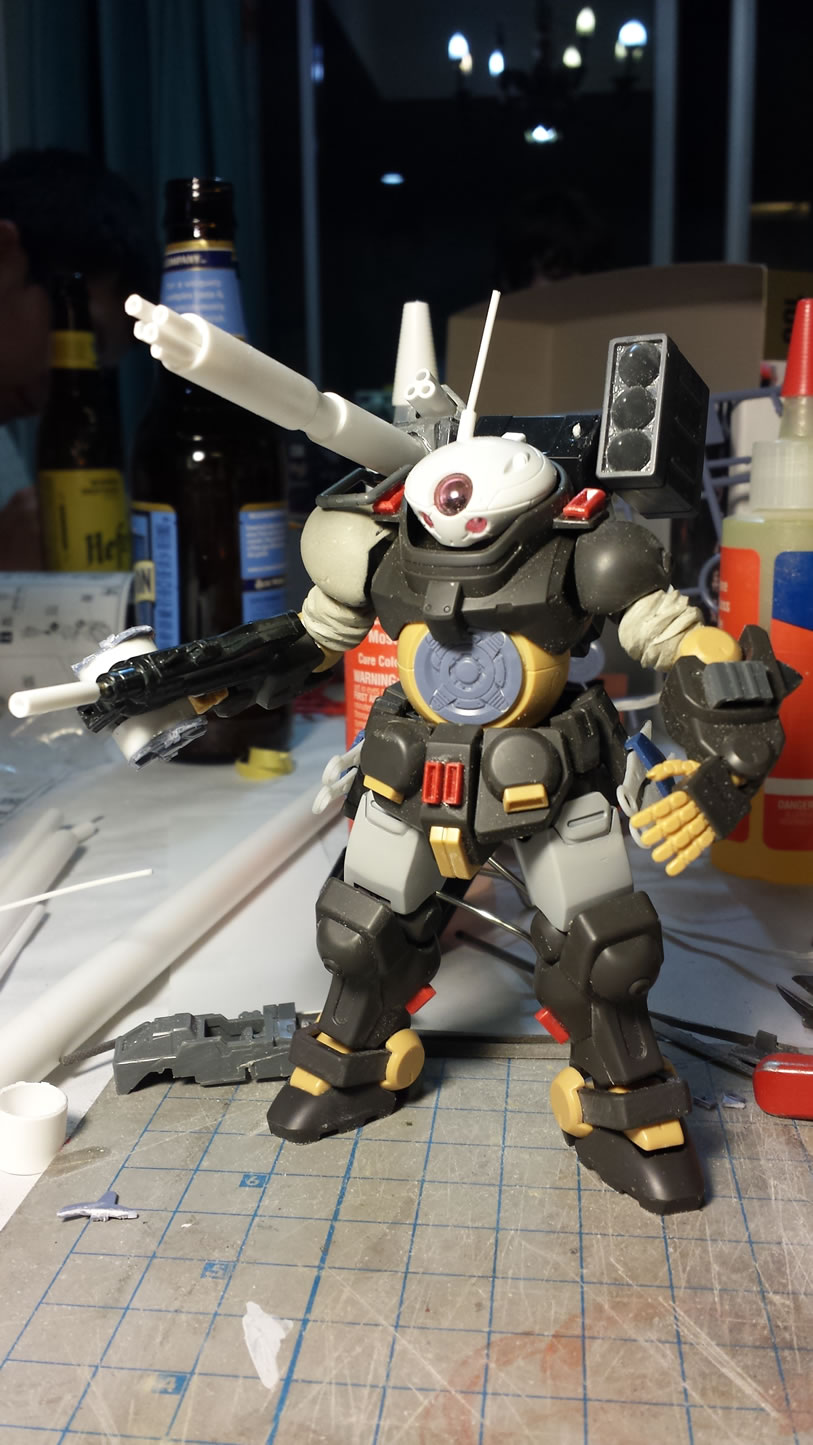
Here’s what the kit looks like currently.

Here’s the video for the head modifications as well as adding an LED to the head and wiring everything together.
More details about the current progression as well as the other video after the jump.
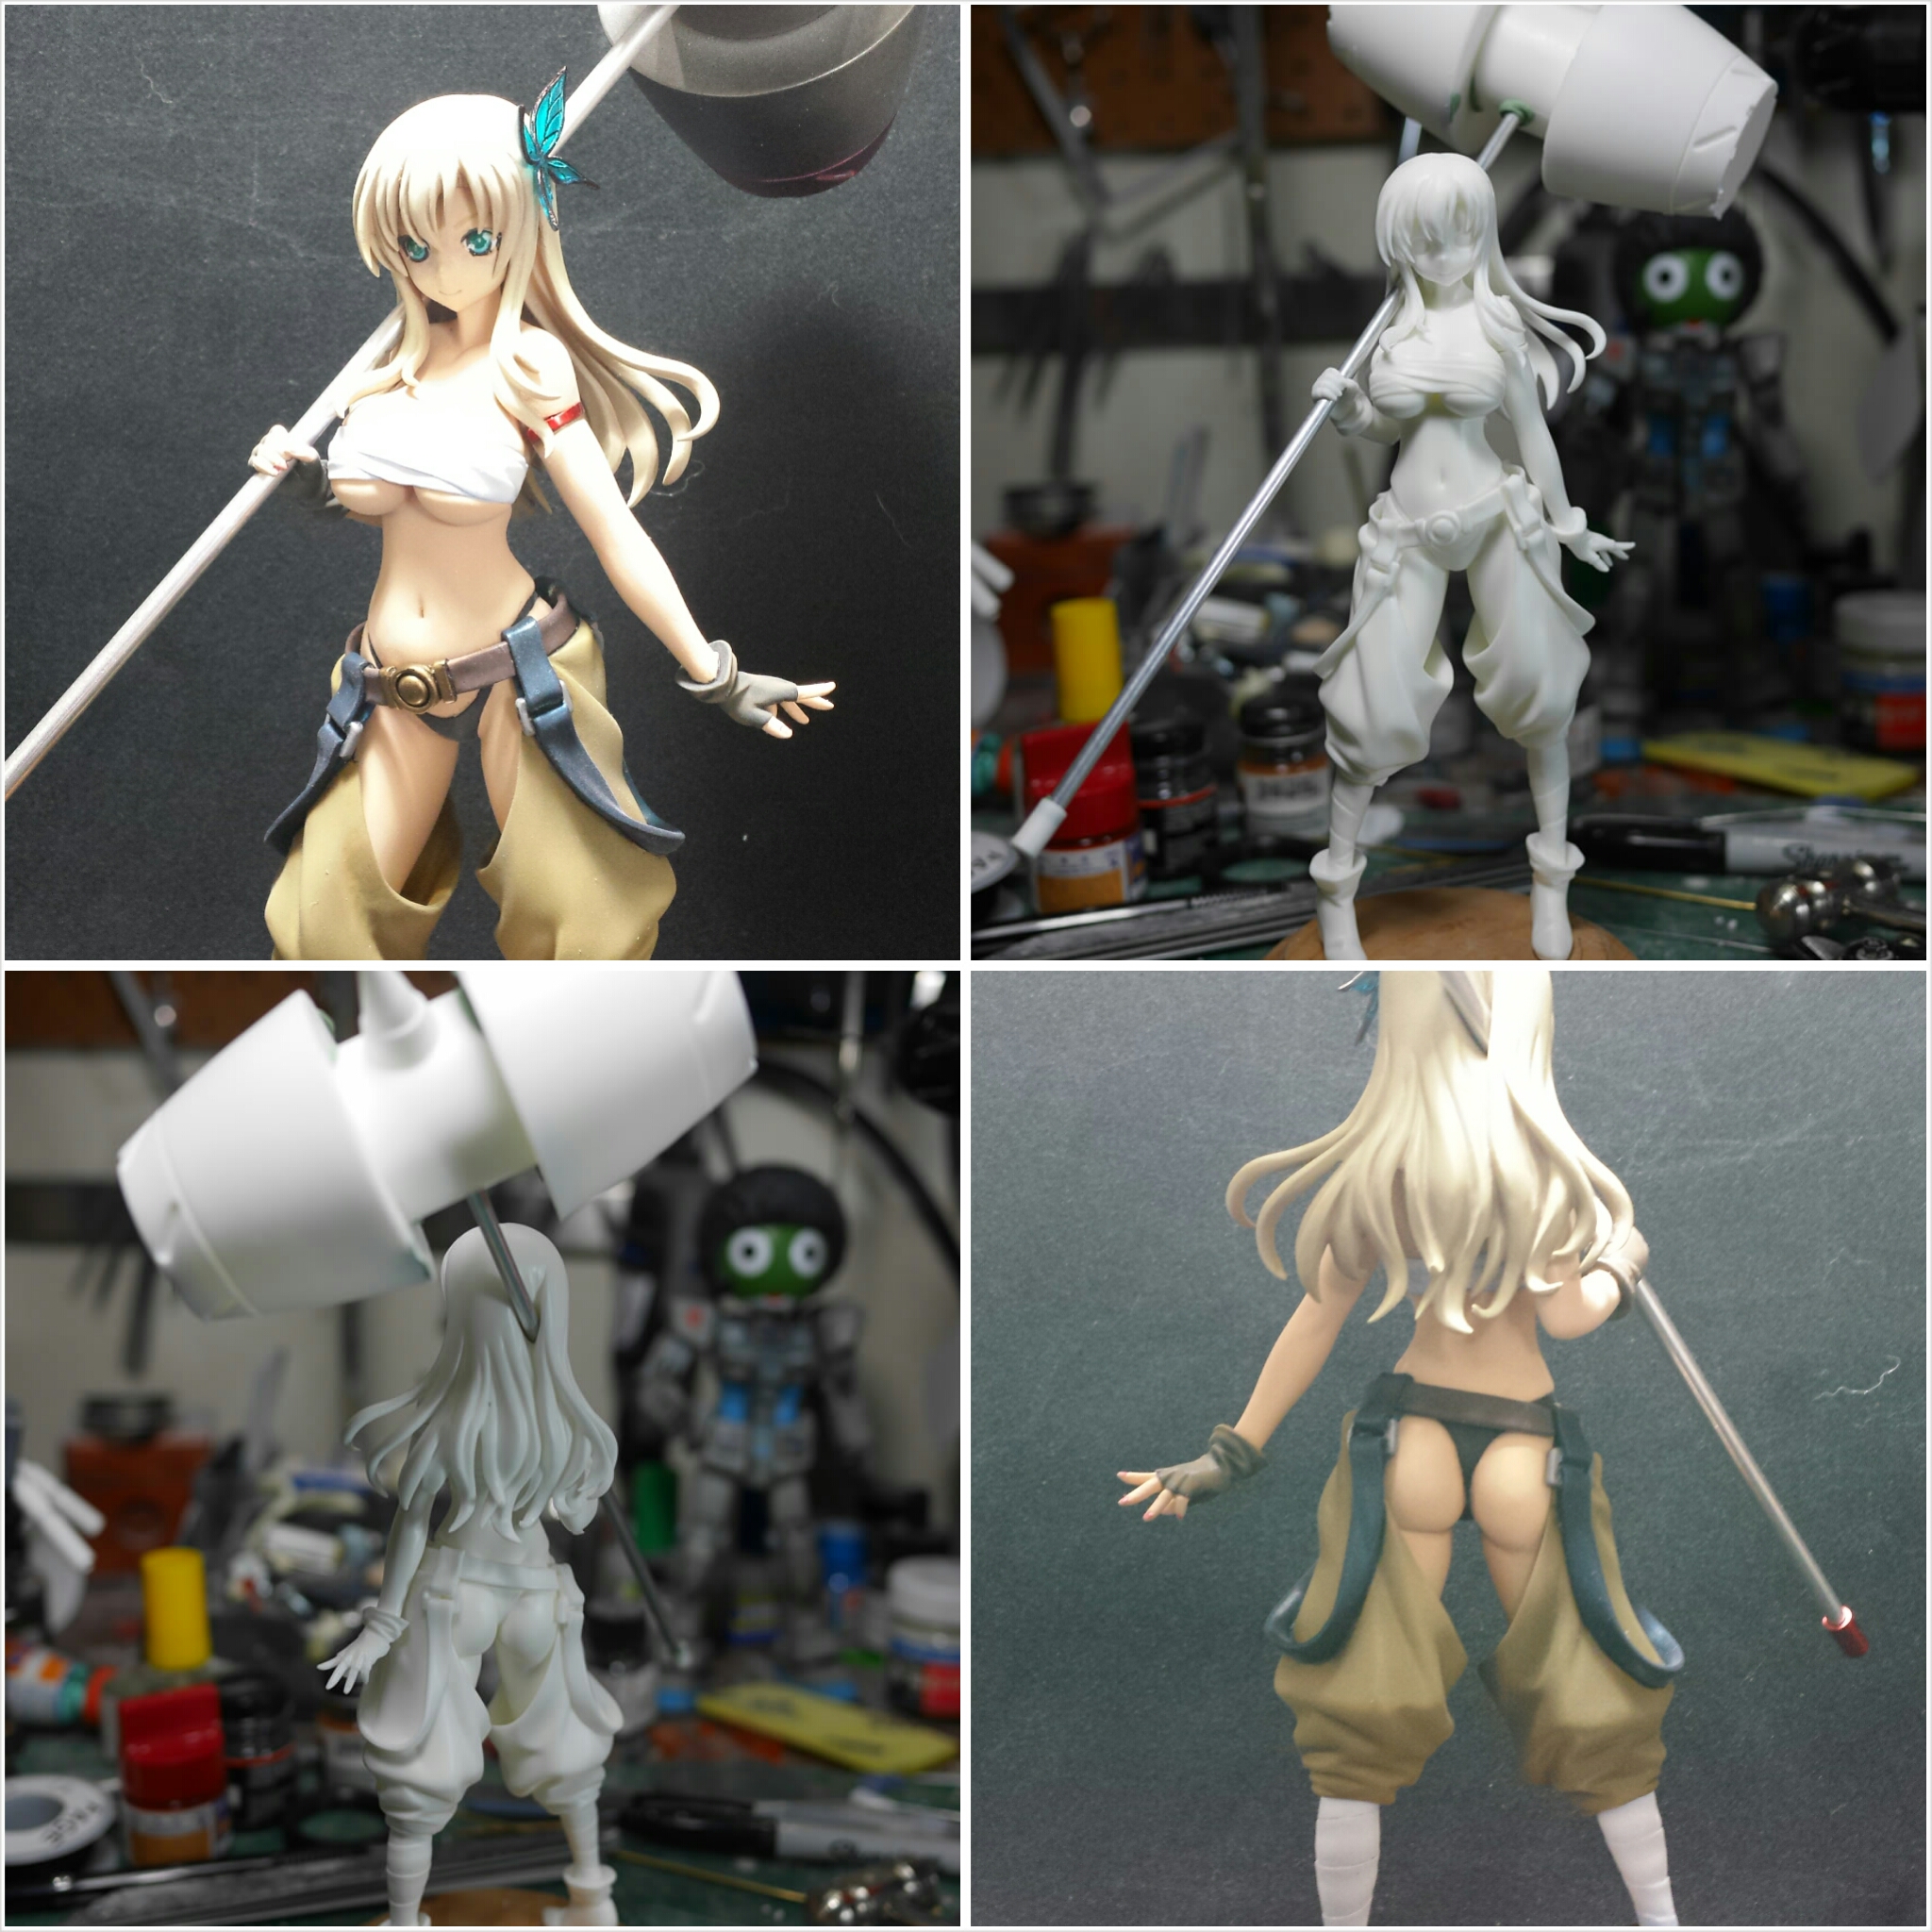
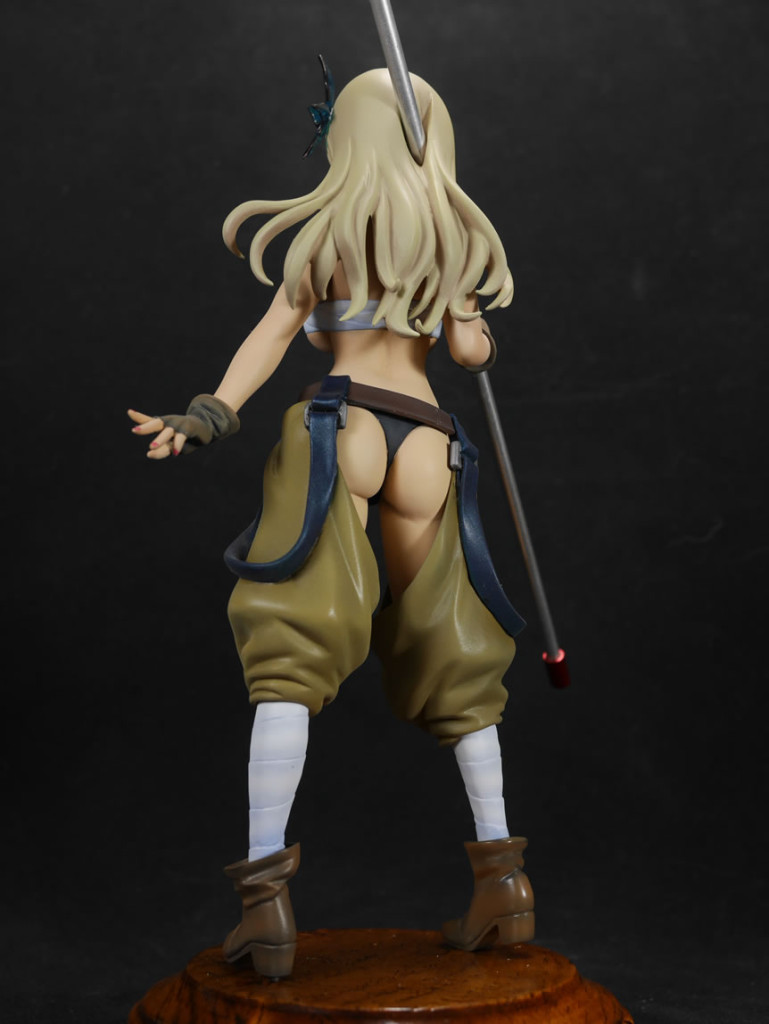
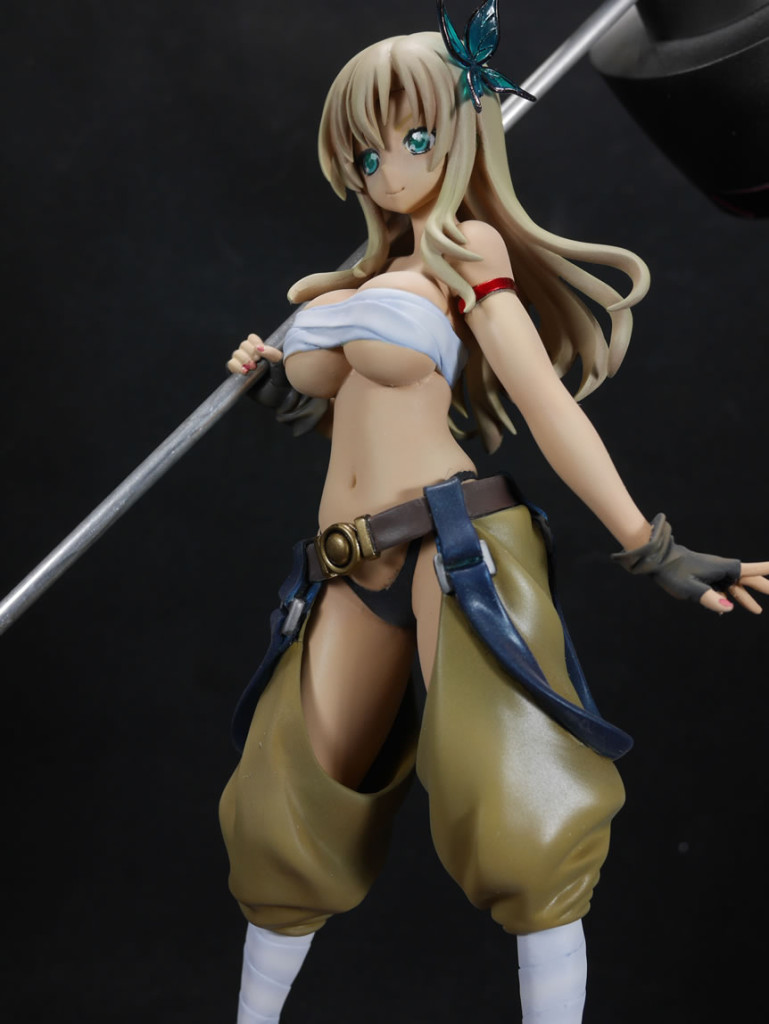
This weekend was the build gathering and I actually finished this kit before the build gathering even started. This past couple of weeks, I have been dealing with the issues of the paint chipping on one of the chap parts. I had painted the chap piece along with the other parts and masked as I normally masked and the paint chipped when I started unmasking. I ran the part in a tub of lacquer thinner and placed this tub in the ultrasonic cleaner with water and ran it there; then painted and it chipped again. I then soaked the thing in more degreaser, ran it with the degreaser in the ultrasonic cleaner, and left it soak in the degreaser overnight. Then ran the part in isopropanol alcohol in the ultrasonic cleaner and dried the part. Upon close inspection, I found that the mold release was still on the surface of the kit, so those areas were rigorously sanded and the part re-cleaned in alcohol in the ultrasonic cleaner. Dried completely, then repainted and masked without any issues.
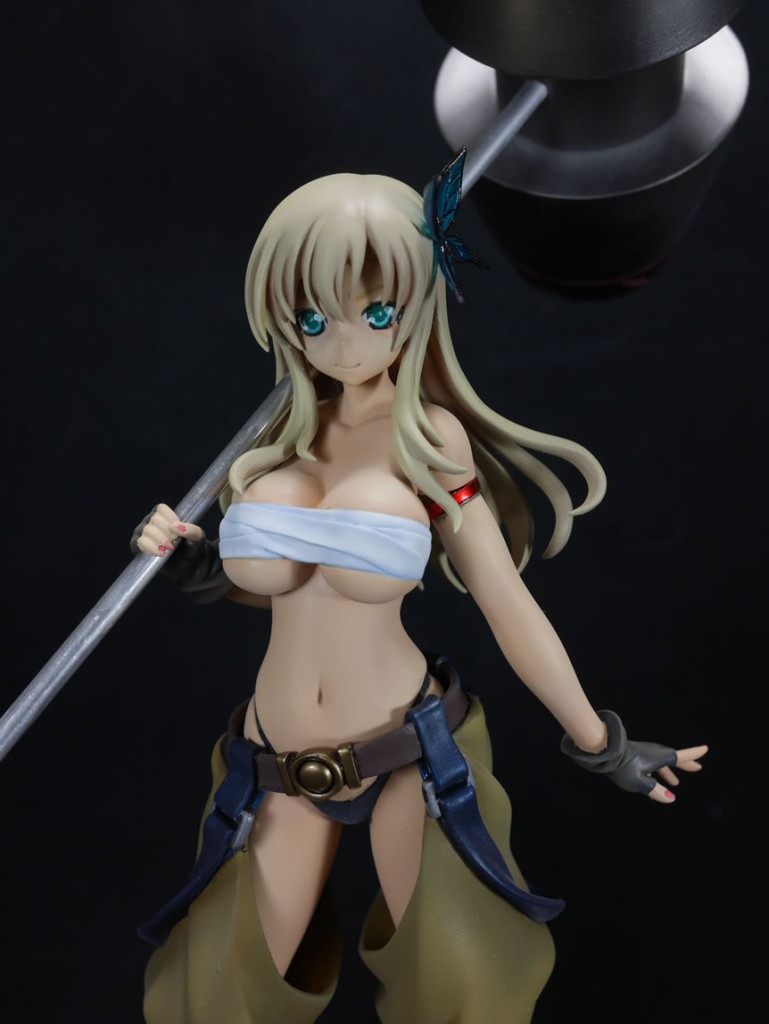
With that done,I finally got the rest of her finished and assembled. One of the major last parts was the hair. Once that was finished, I got to working on the details such as clear glosses, washes, the fingernails, and flat coats. The very last piece was her butterfly hair clip. And with that, she’s done!