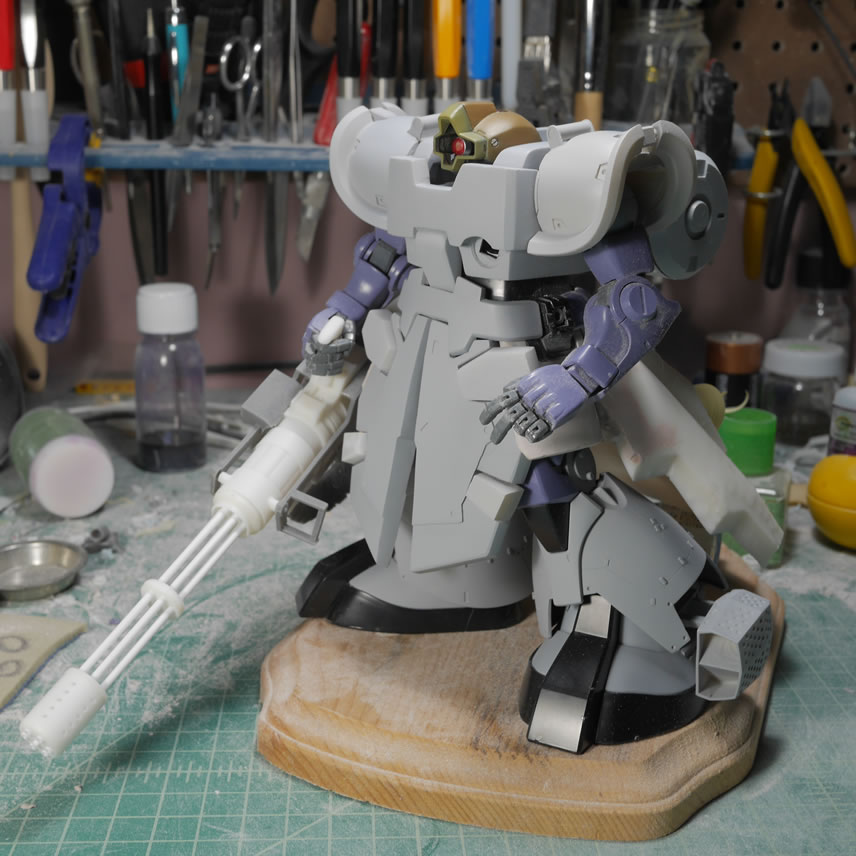
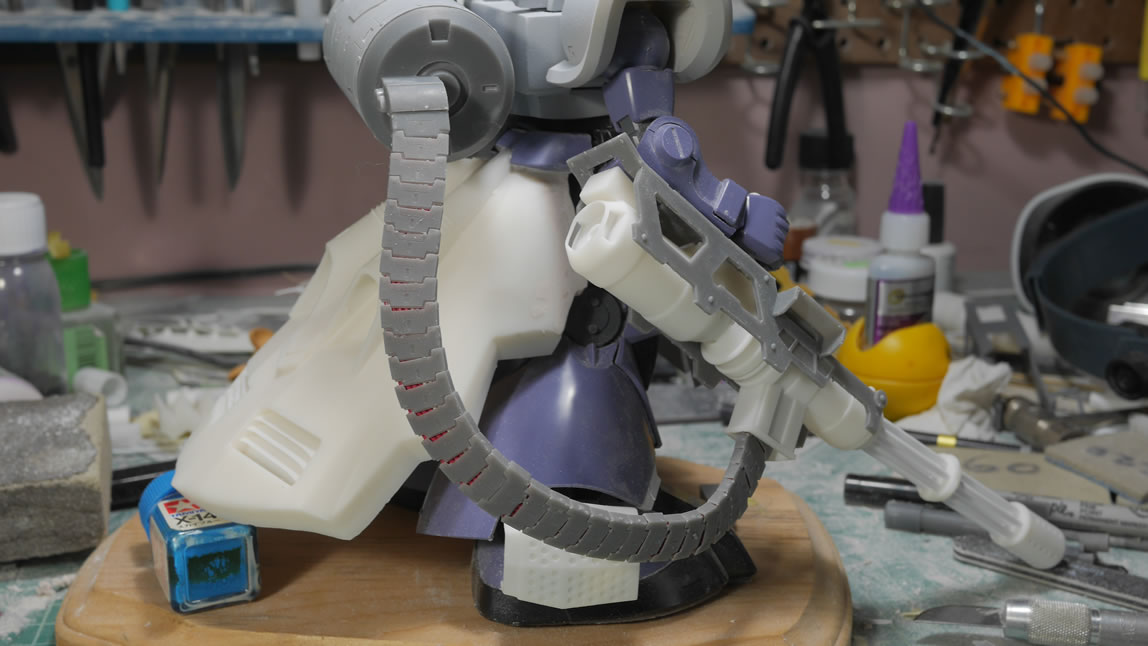
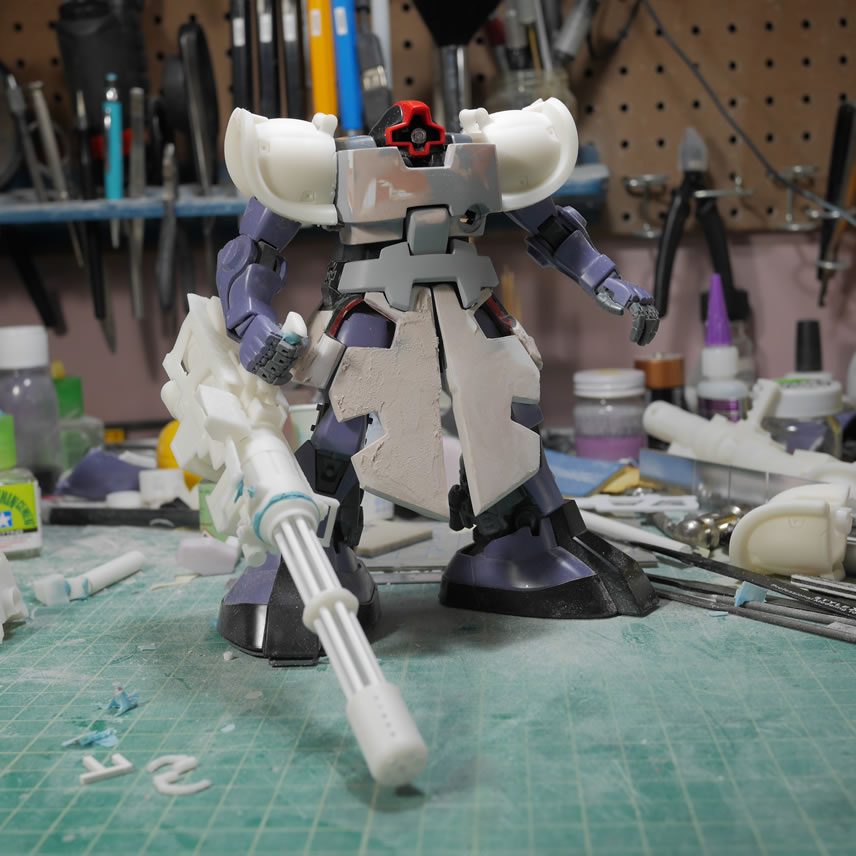
Dom Barrage, first week of June 2019 update.
I had a pretty productive weekend for the project. This is mostly cleanup work; but there was a small bit of leg detailing that I didn’t quite complete before my last update. I also want to ramp up the progress since I want to be finished by the end of the month. Who knows if that’ll happen. But goals. I’m going to do shorter walls of text, but try to do weekly updates from here on out. Famous last words.
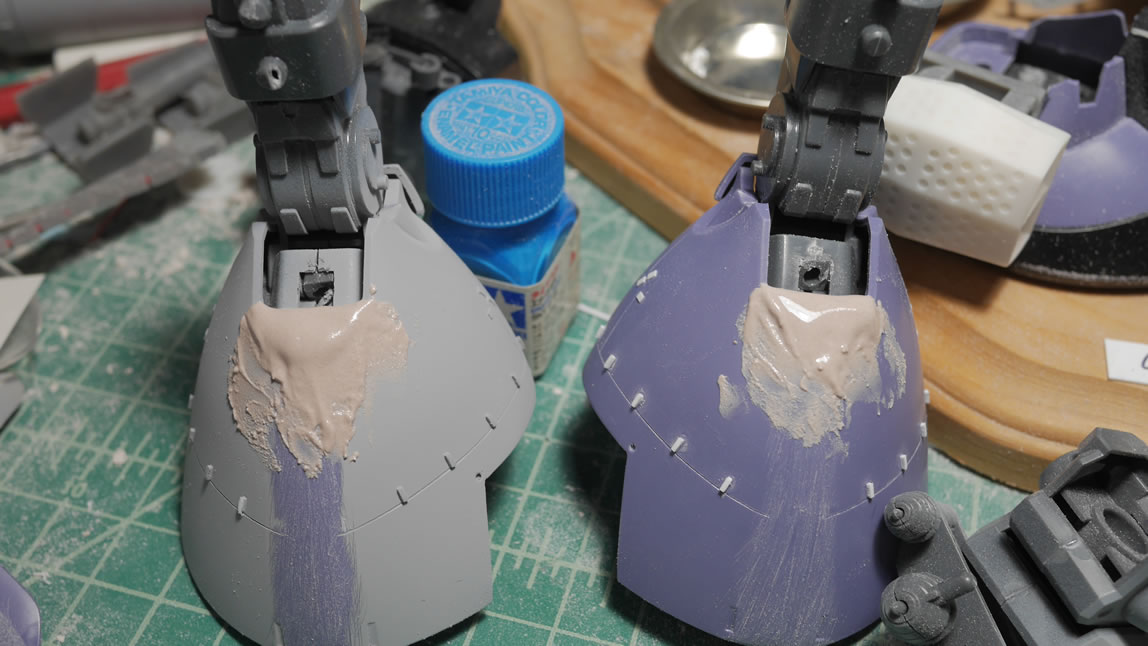
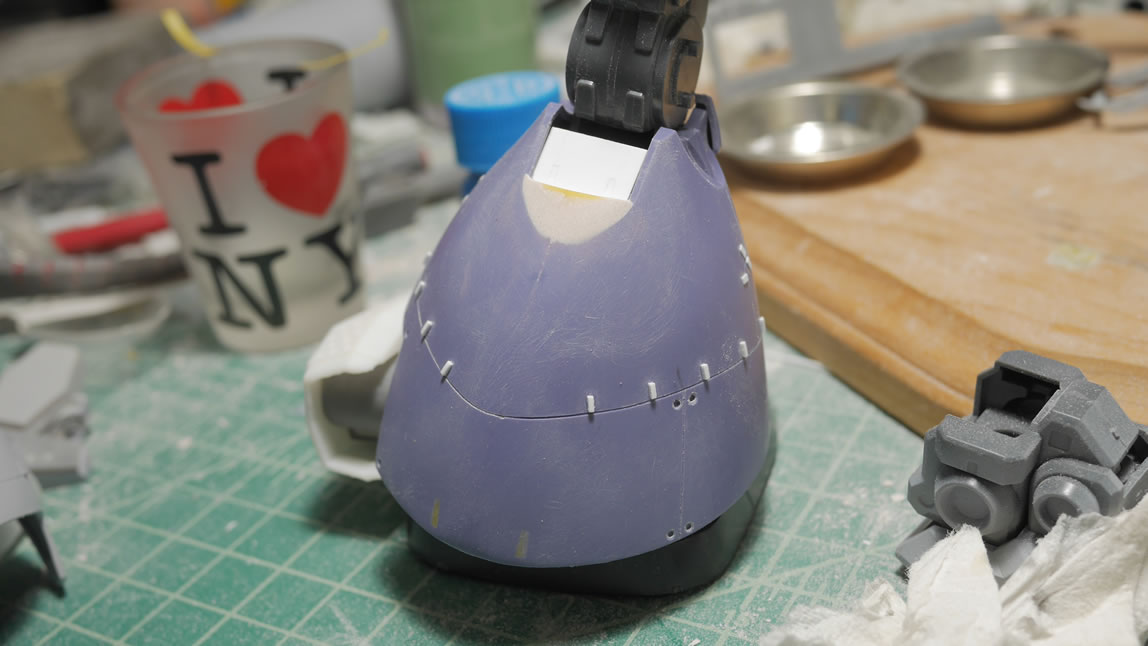
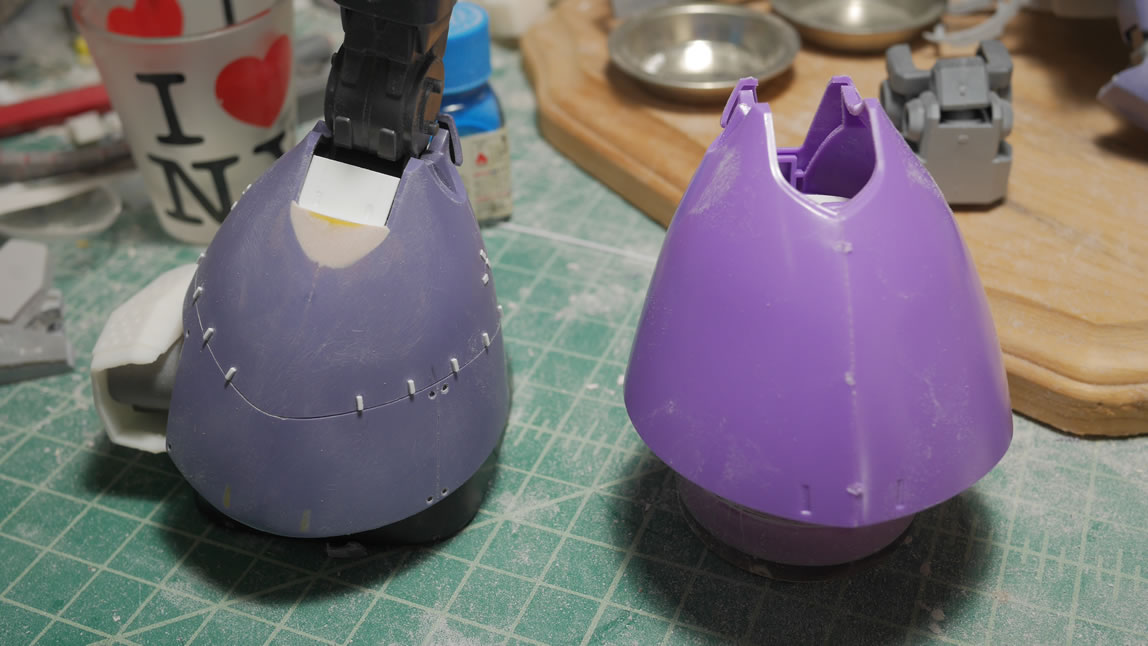
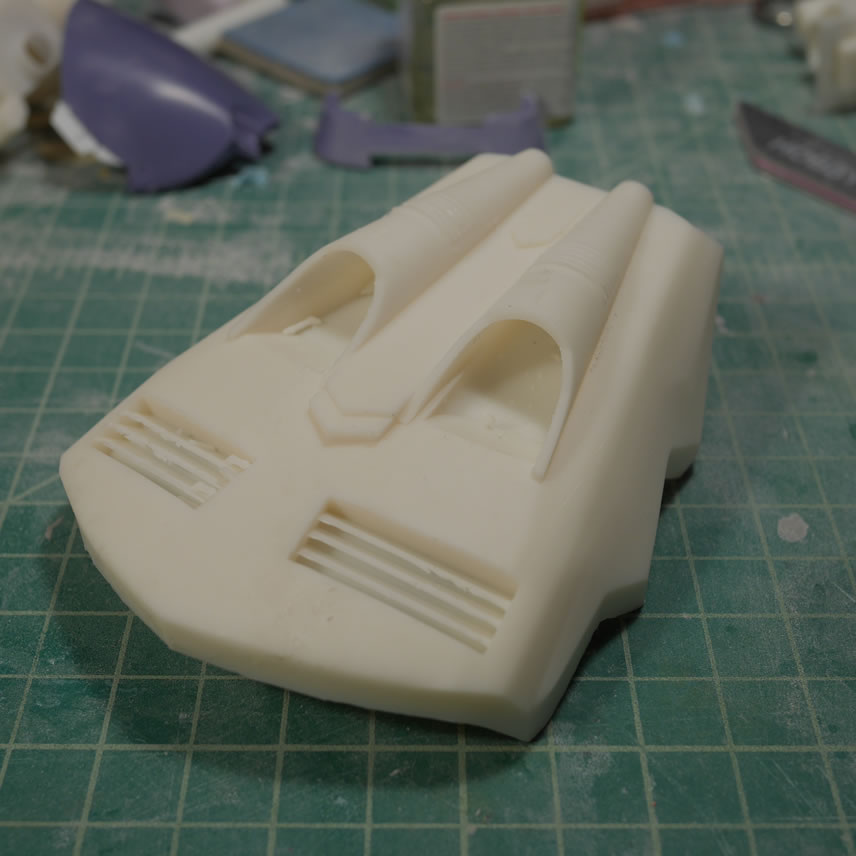
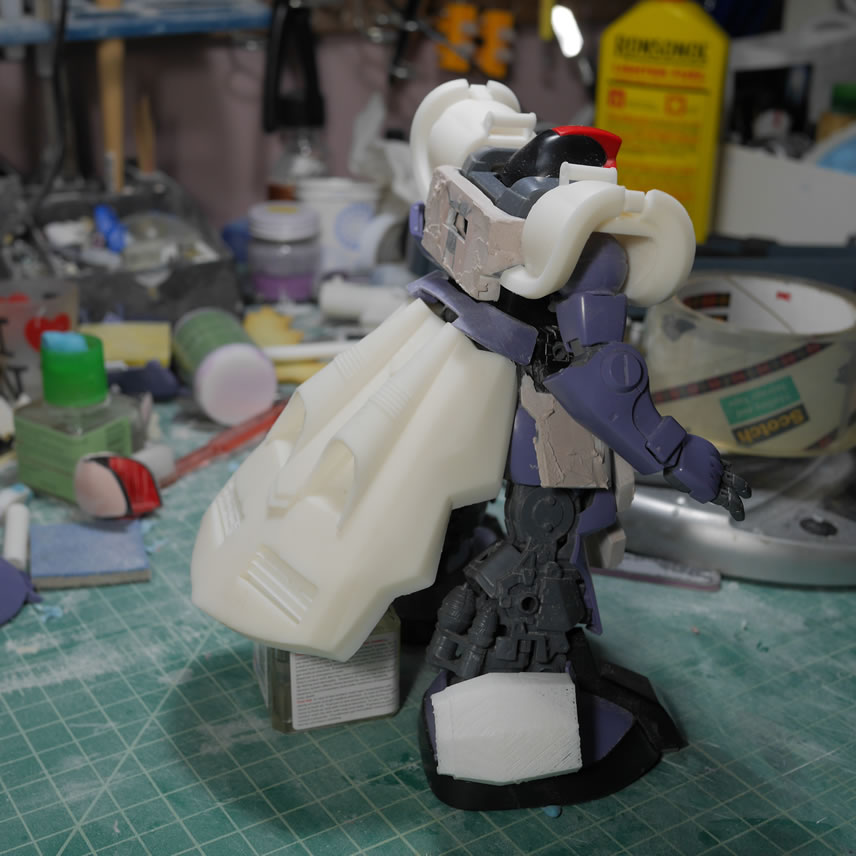
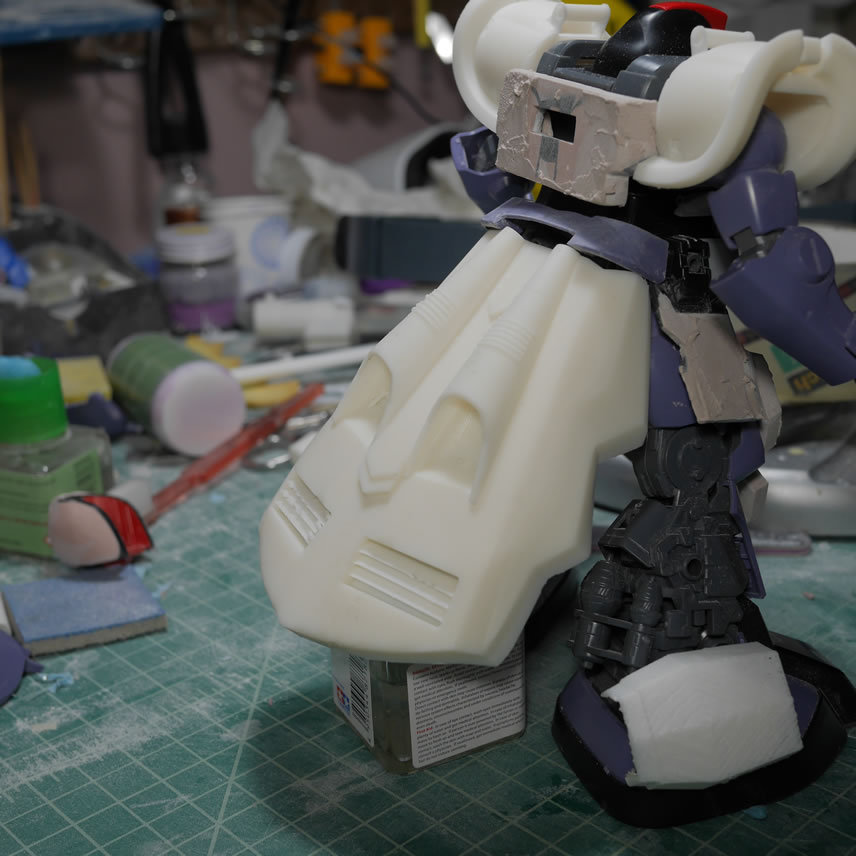
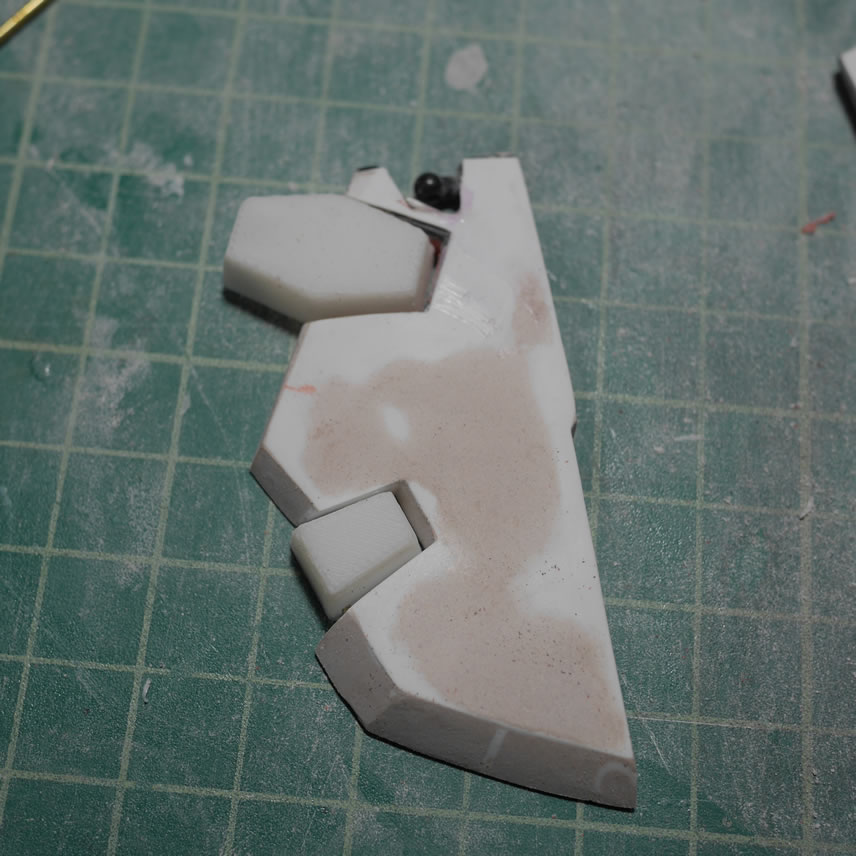
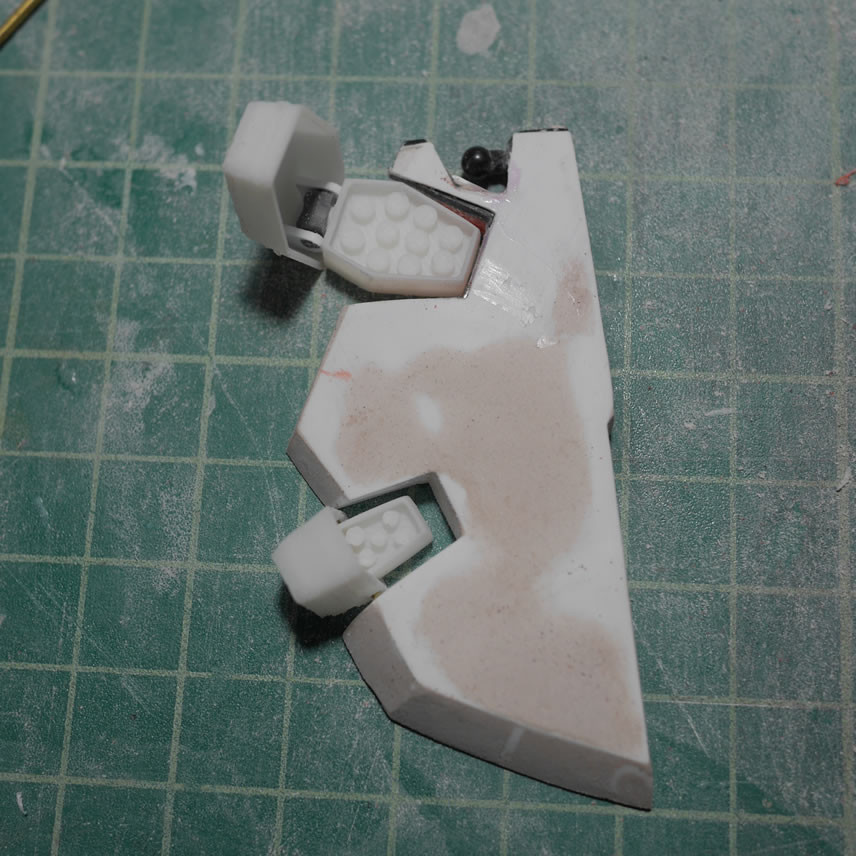
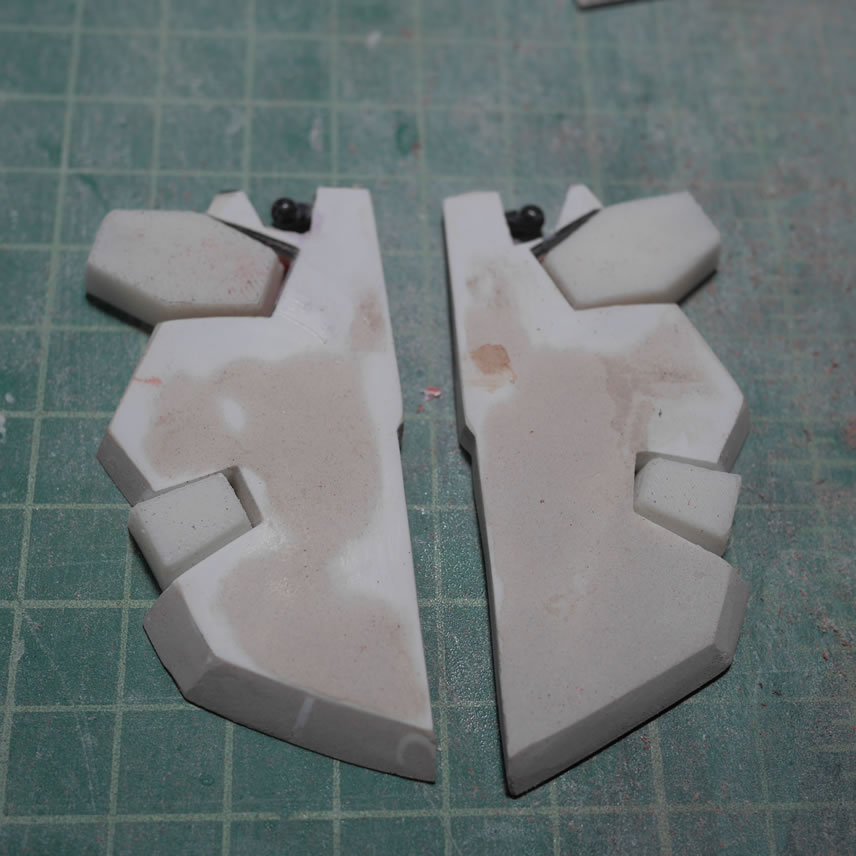
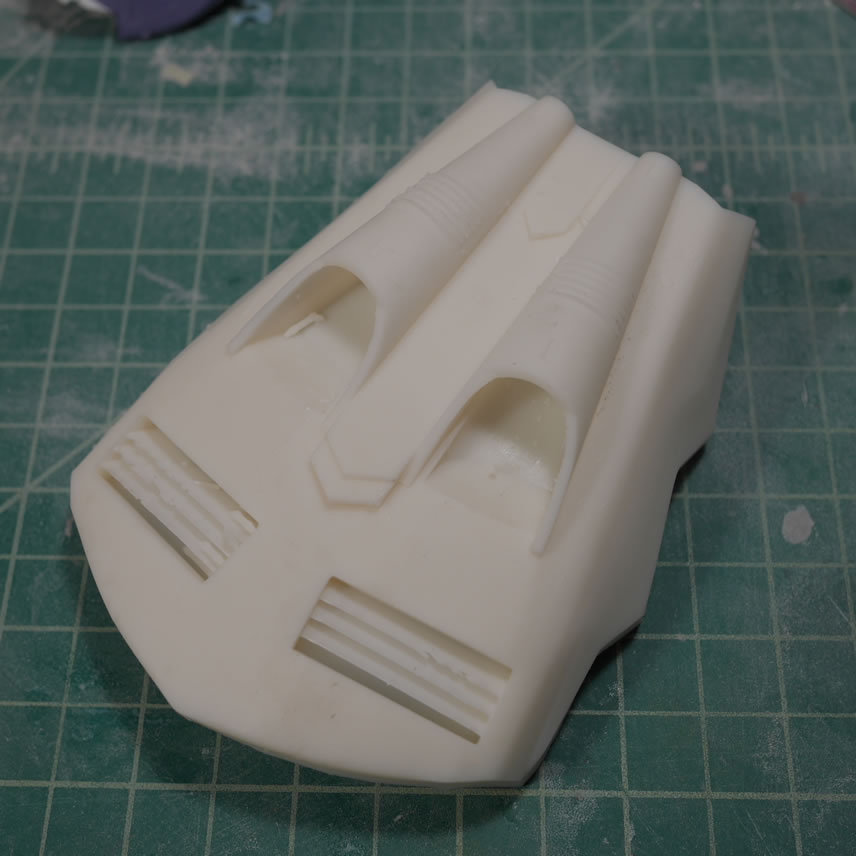
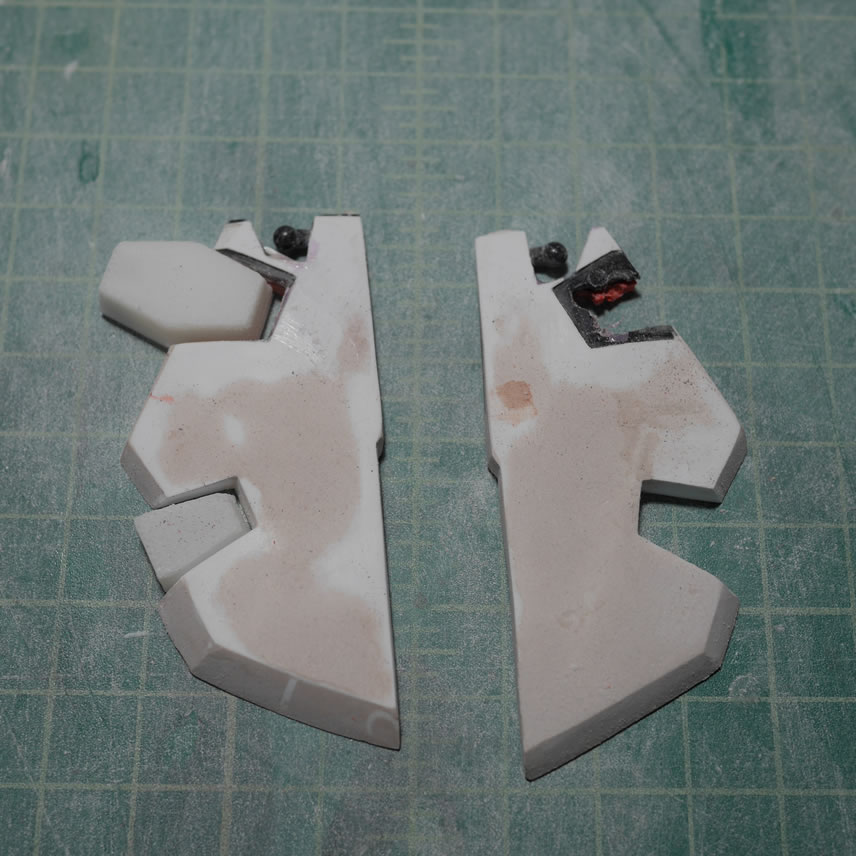
Returning to the leg, last week I glued in a piece of plastic as a structure base for more bondo. Here I have the bondo added to the back of the legs. I’m also reshaping the back legs to get rid of the small point from the OG Dom’s leg See the last picture in this set for comparison. This meant rescribing the detail line as well as sanding away plastic details that I had already added. This happens when you make mods. You change your mind and have to start erasing or sanding it away only to add it back… it’s all plastic in the end. The putty cured overnight and the legs got sanded. Lines rescribed, and some light curing putty is used to help fill in mistakes here and there. A piece of plastic was cut and scribed(really hard to see until I prime it) but this new plastic piece is the new back leg cover. I filled in the detail marks at the bottom of the legs. Another line is scribed on the inside part of the leg and detail holes were drilled.

More about this weekend’s work after the jump.

