This is easily one of my quickest projects to complete in the past 10 or so years. The tough part was figuring out how to take the damn thing apart, and you can check out the disassembly video here:
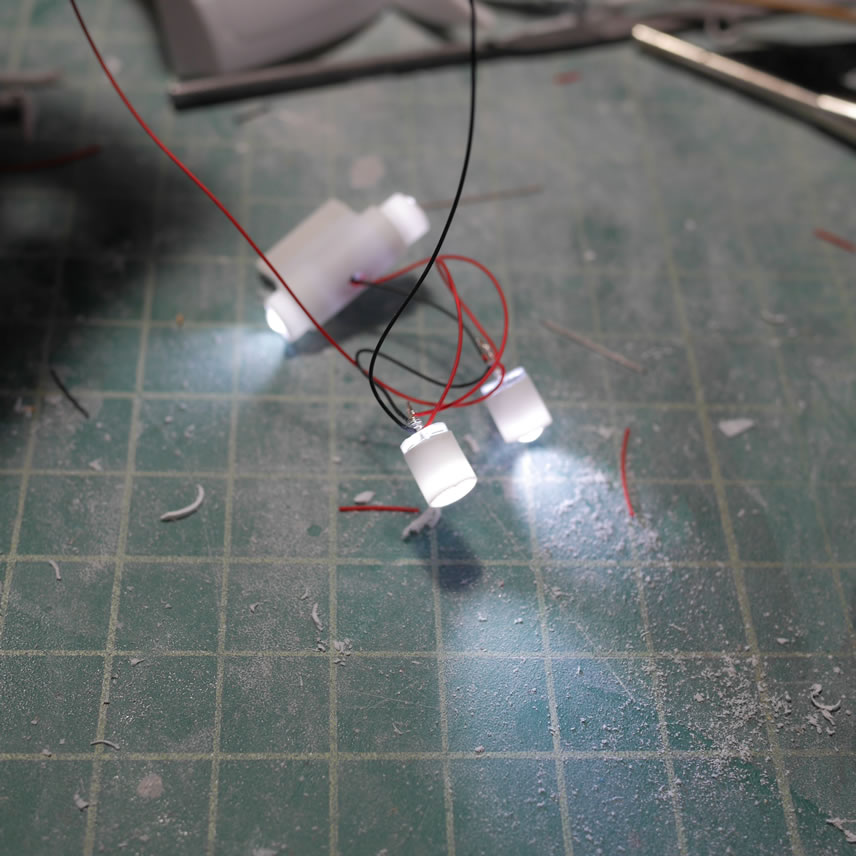
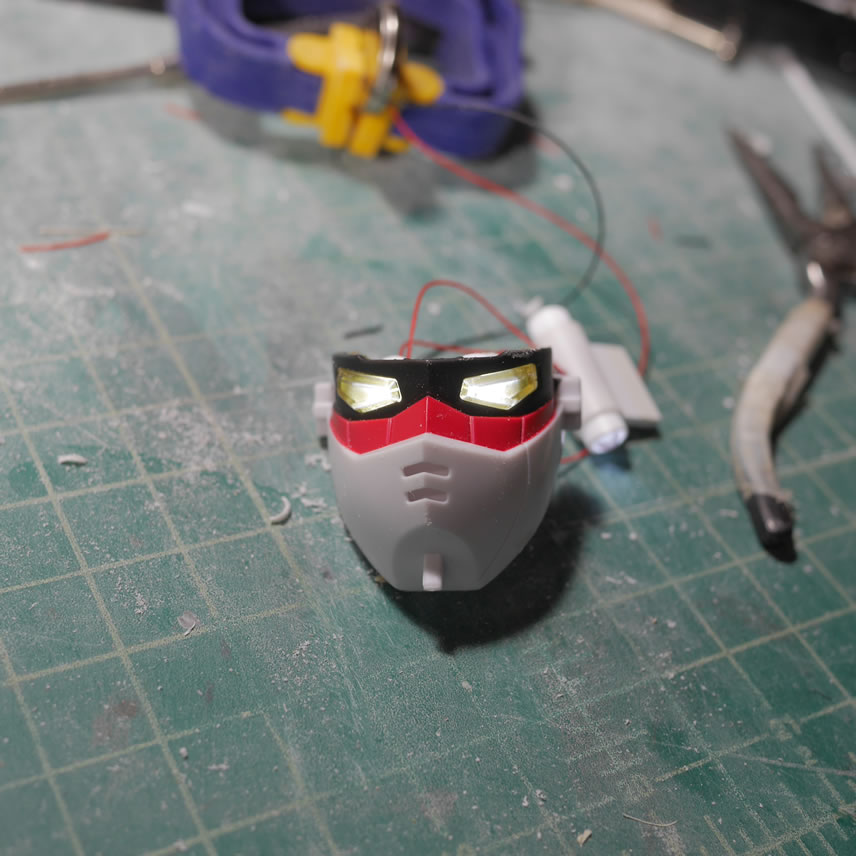
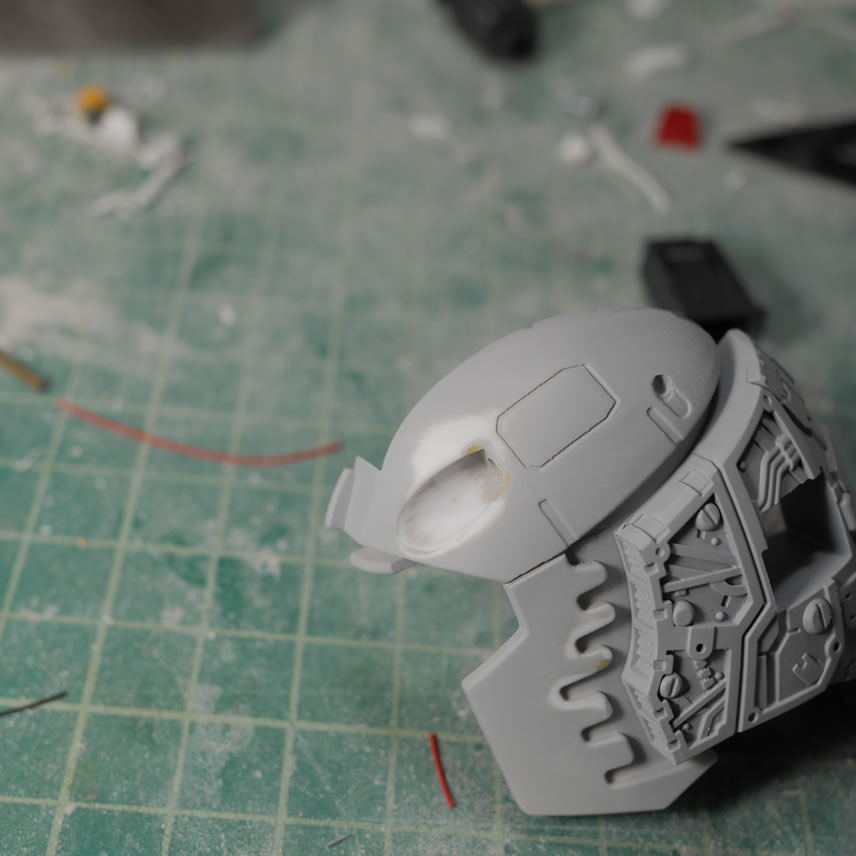
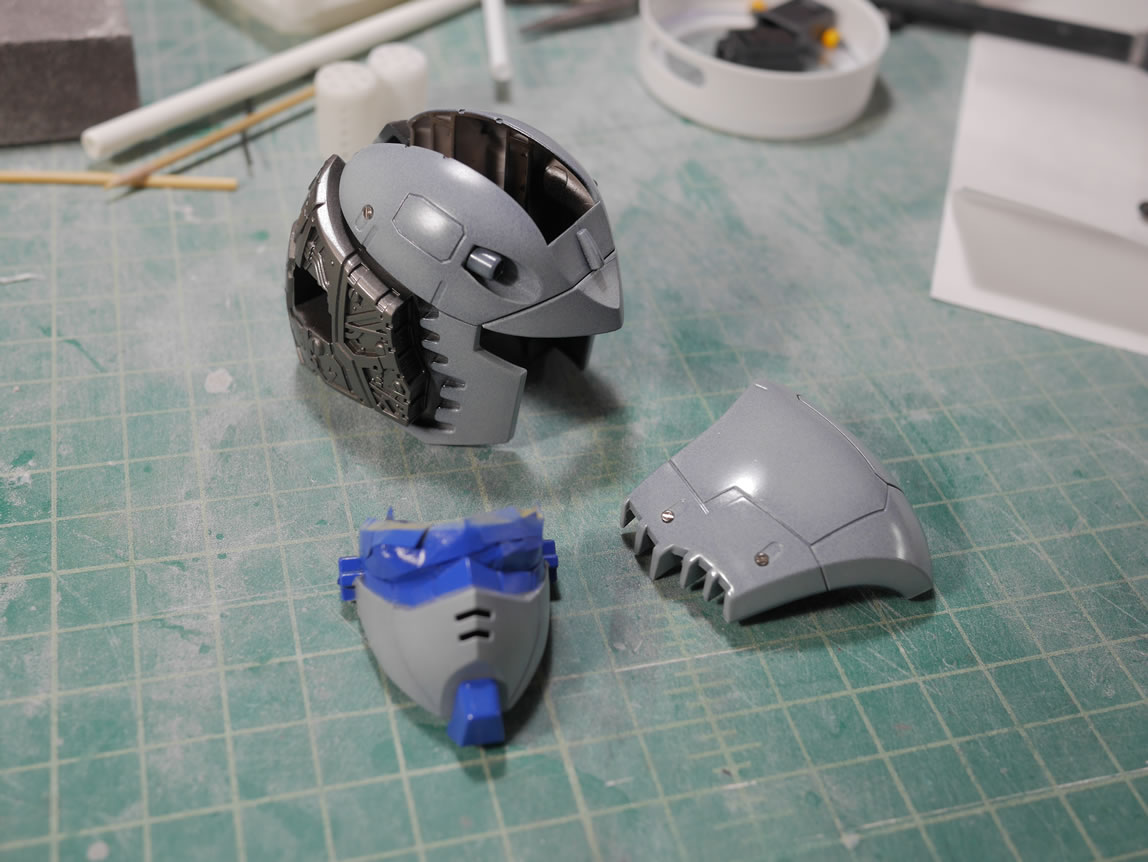
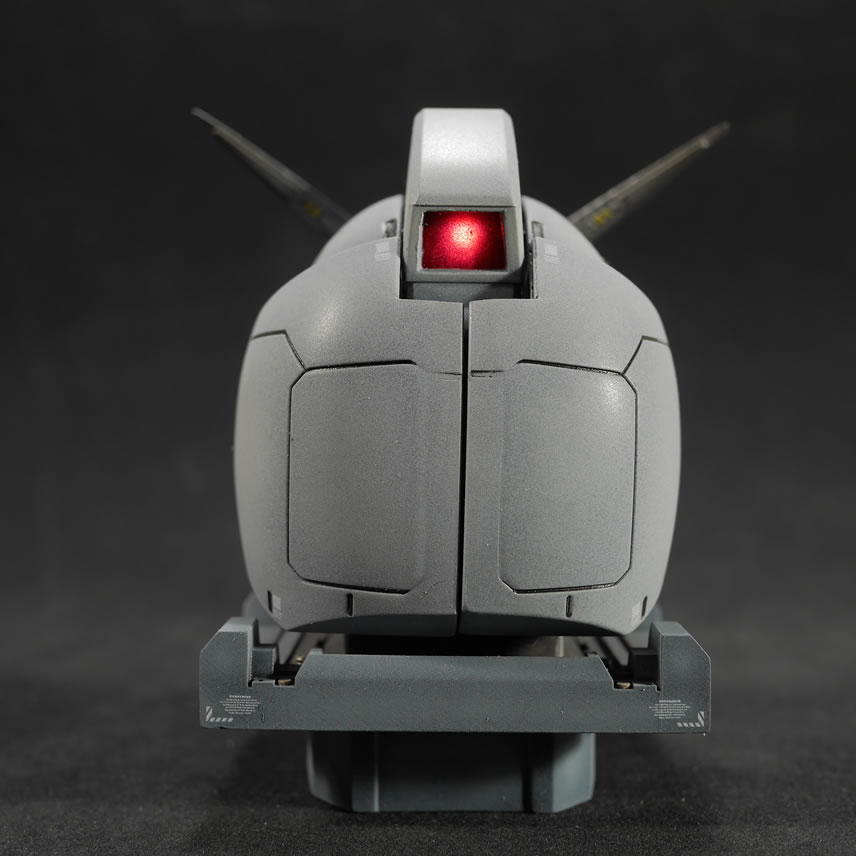
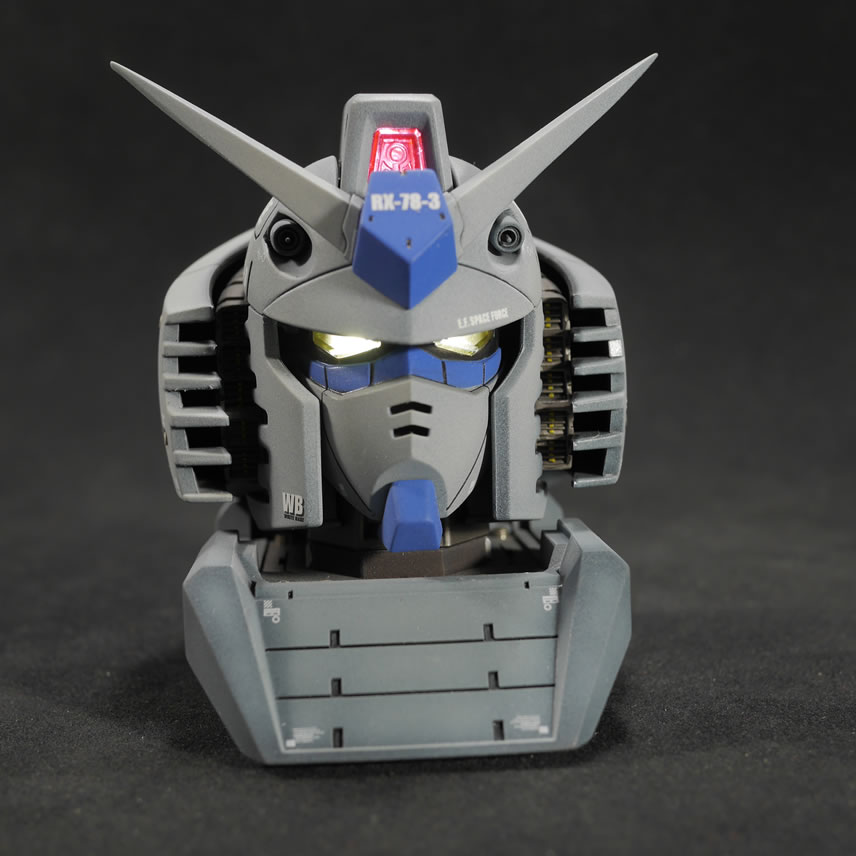
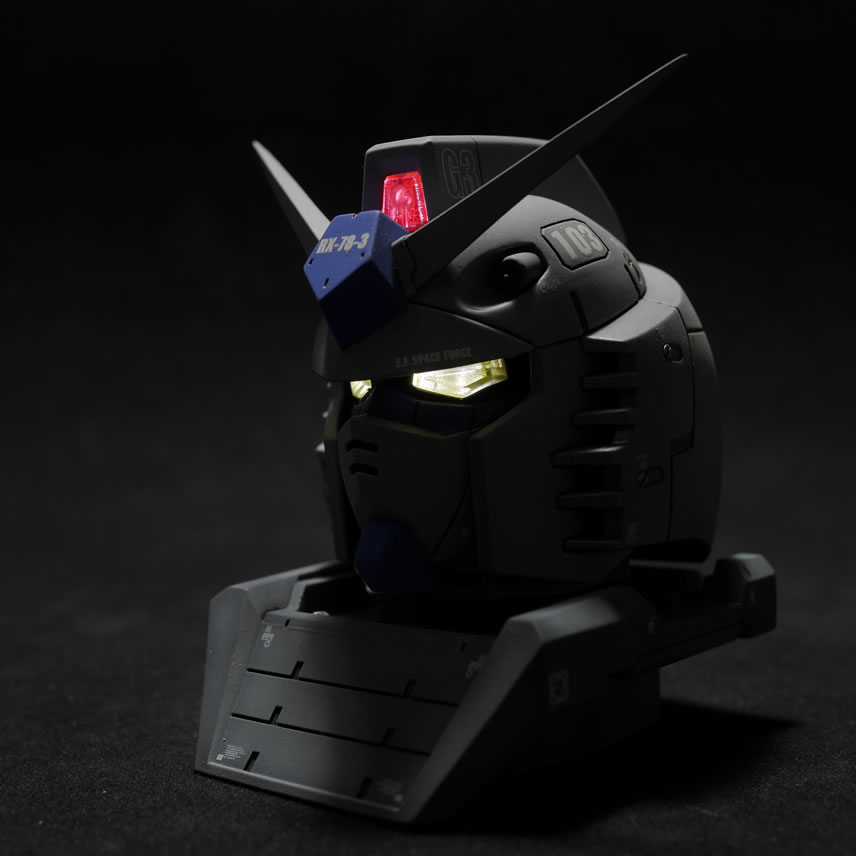
Naturally, I need to add lights to the thing so I built a light setup for the eyes and the mohawk piece. I also wanted to lower the light bleed below the eyes so I added some styrene to the face piece just under the eyes. The nose vents are just holes so I covered this area with some plastic as well. Styrene tubes are glued to the back of the eyes to focus the light as well as have a place to slide the eye light assembly.


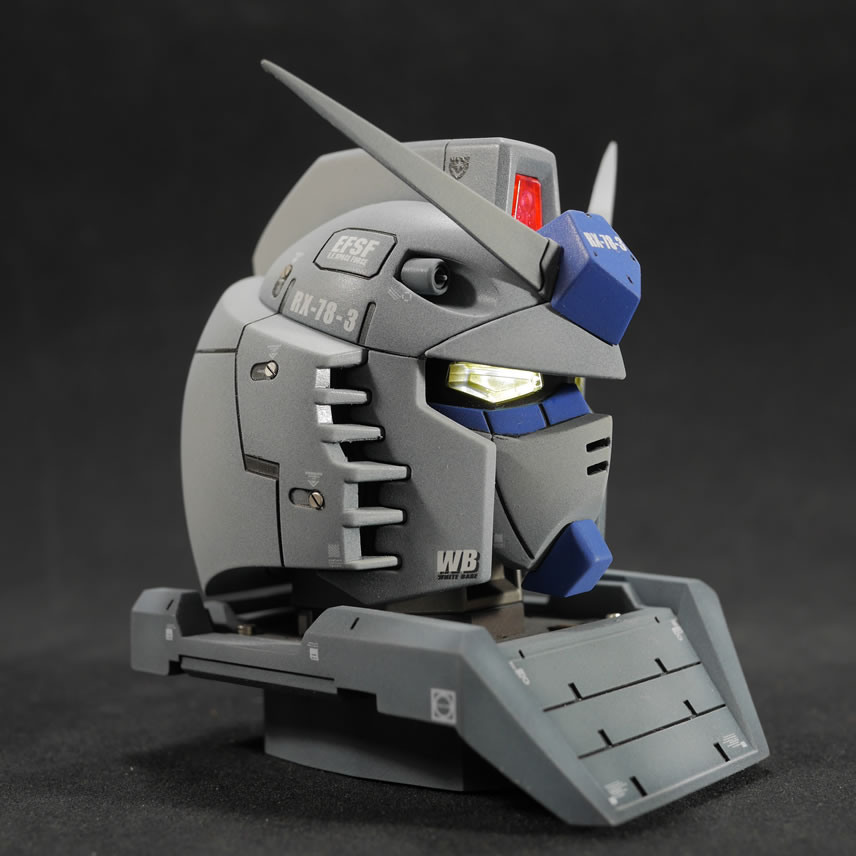
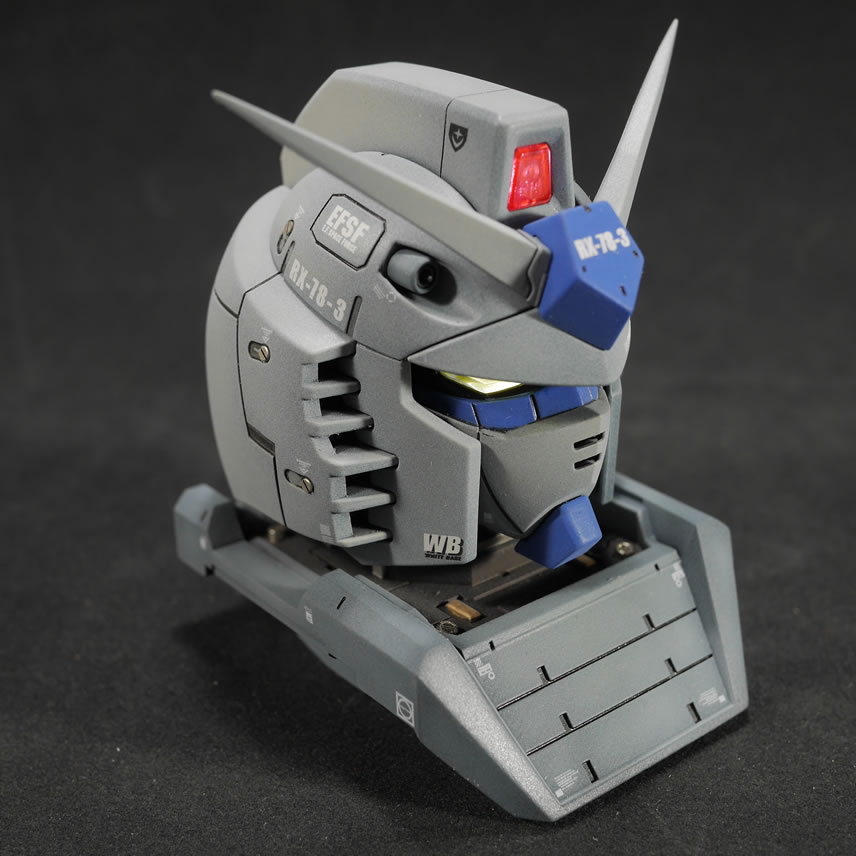
The complete finishing steps after the jump as well as completed pictures.
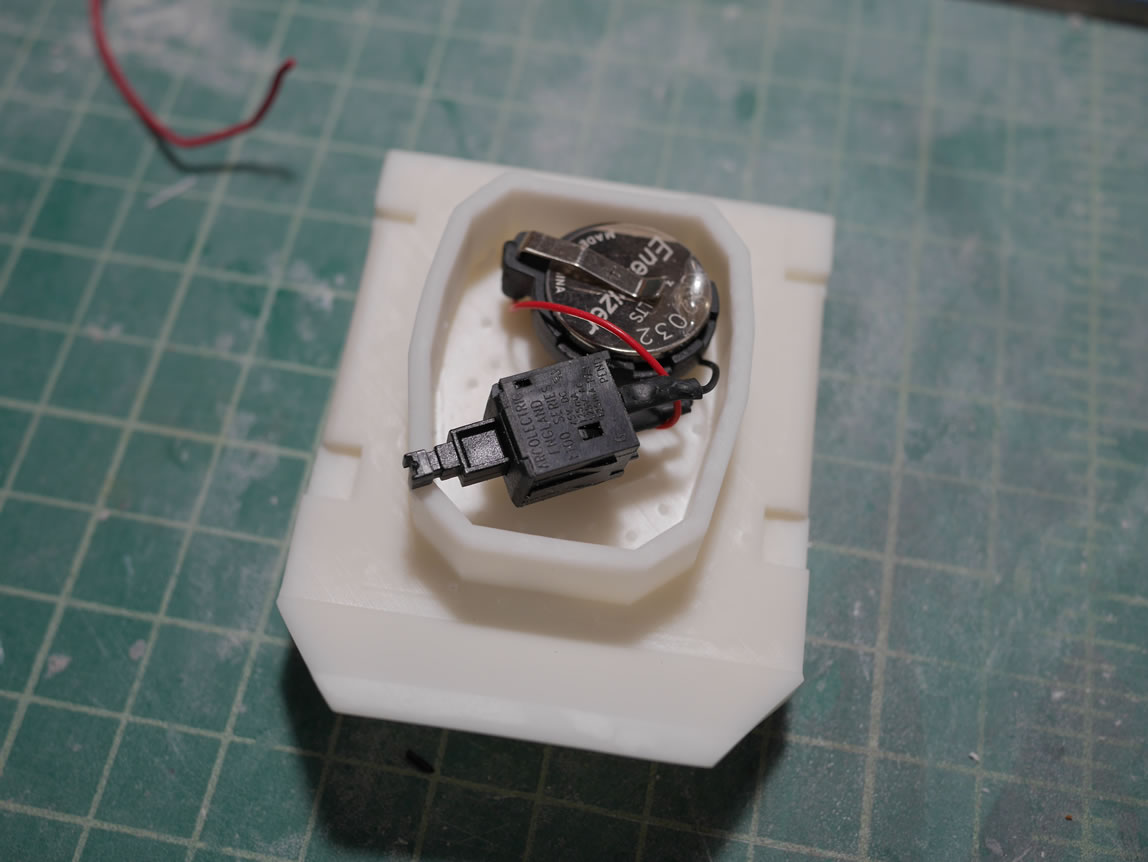
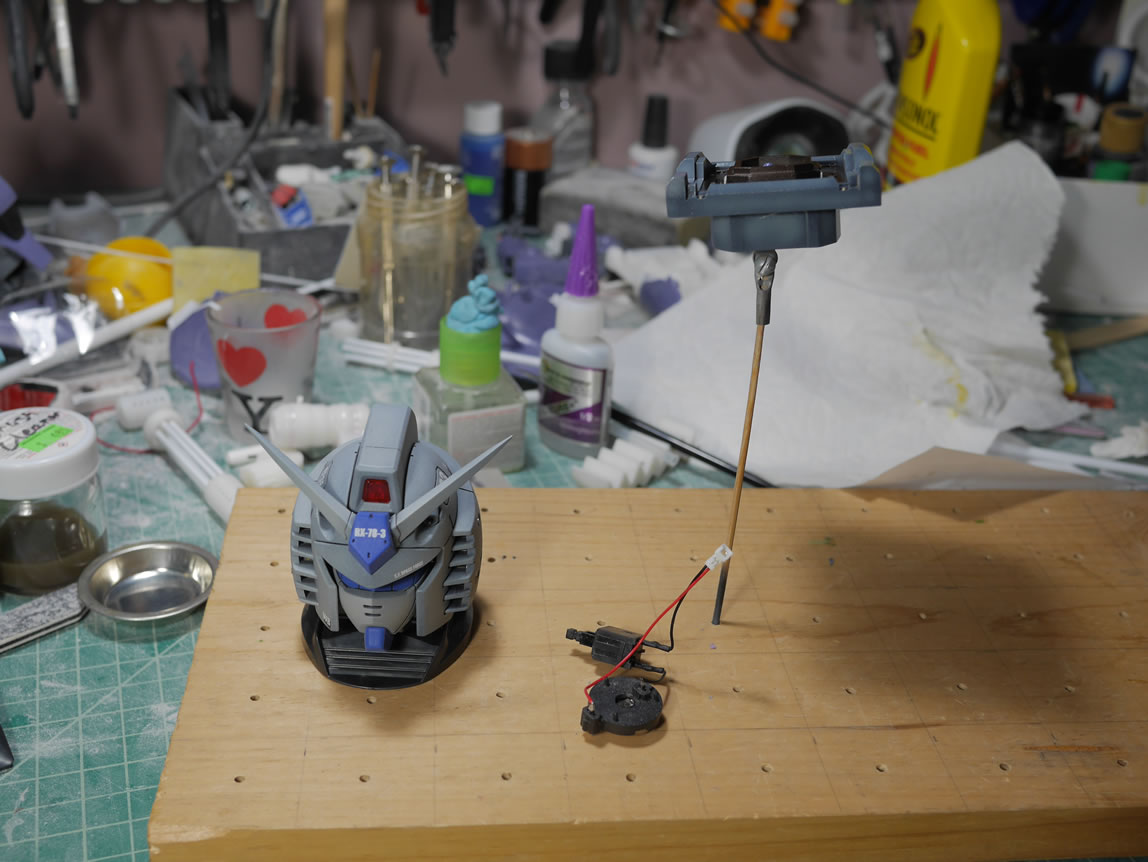
A quick test with a battery shows that the lights work just fine.
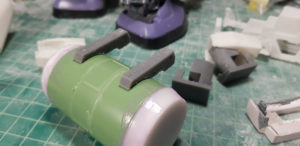
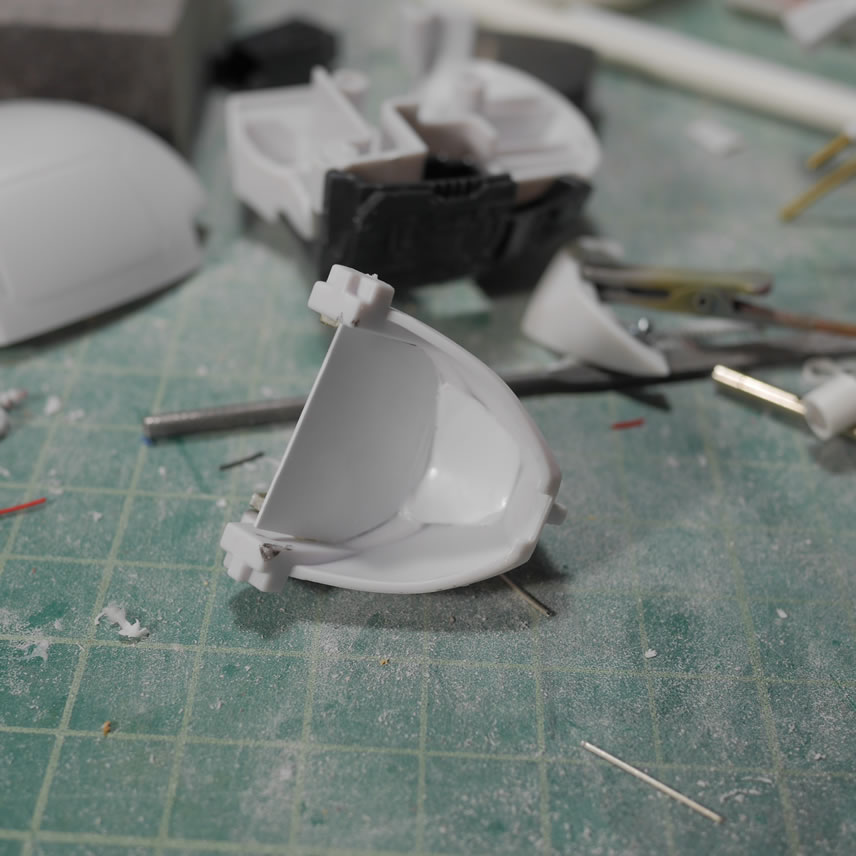
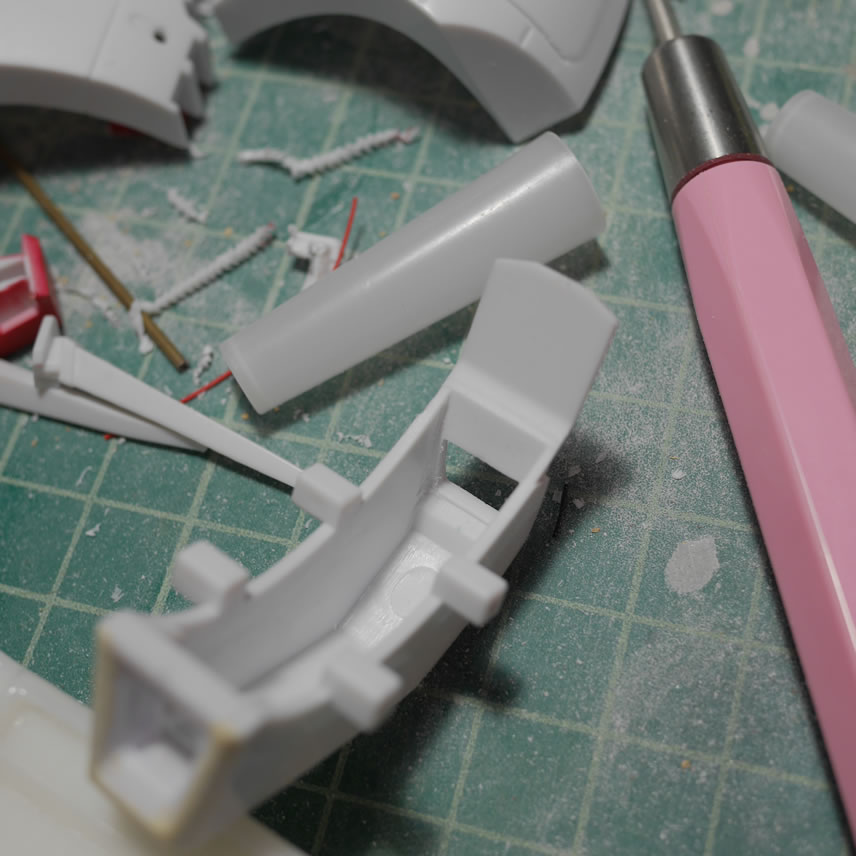
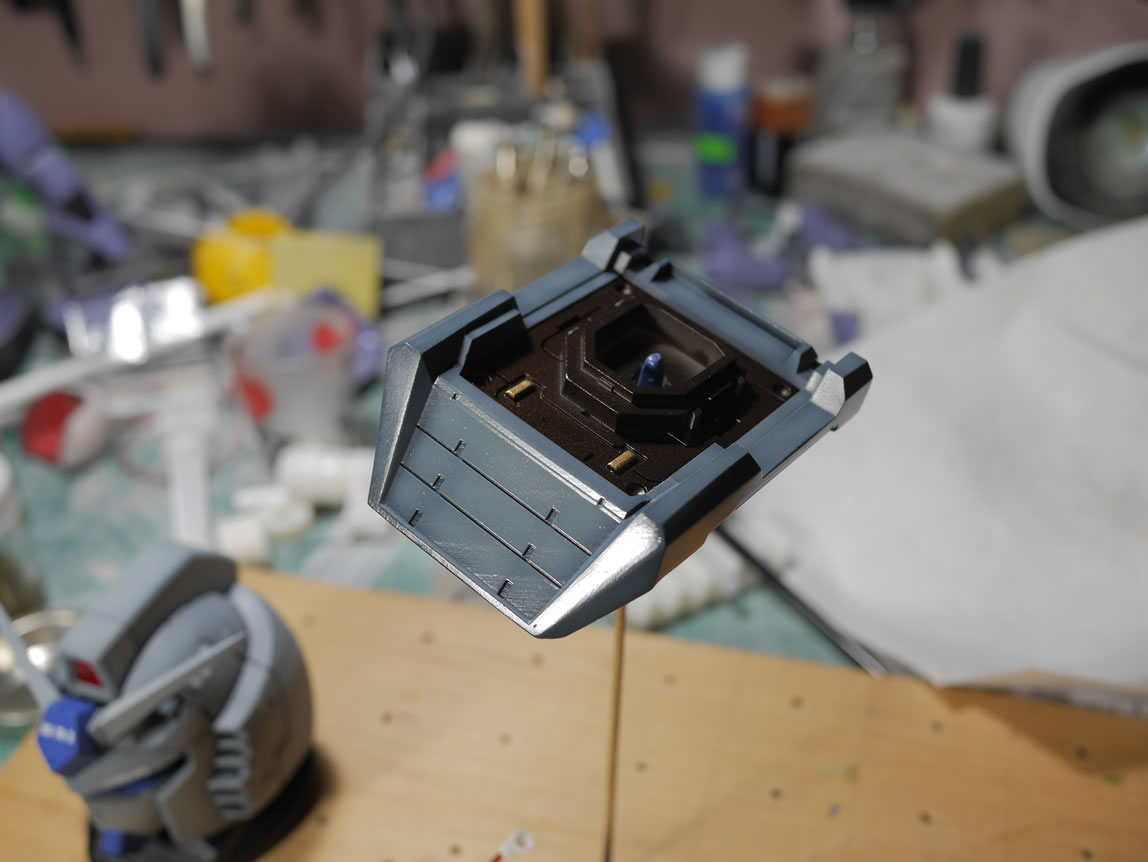
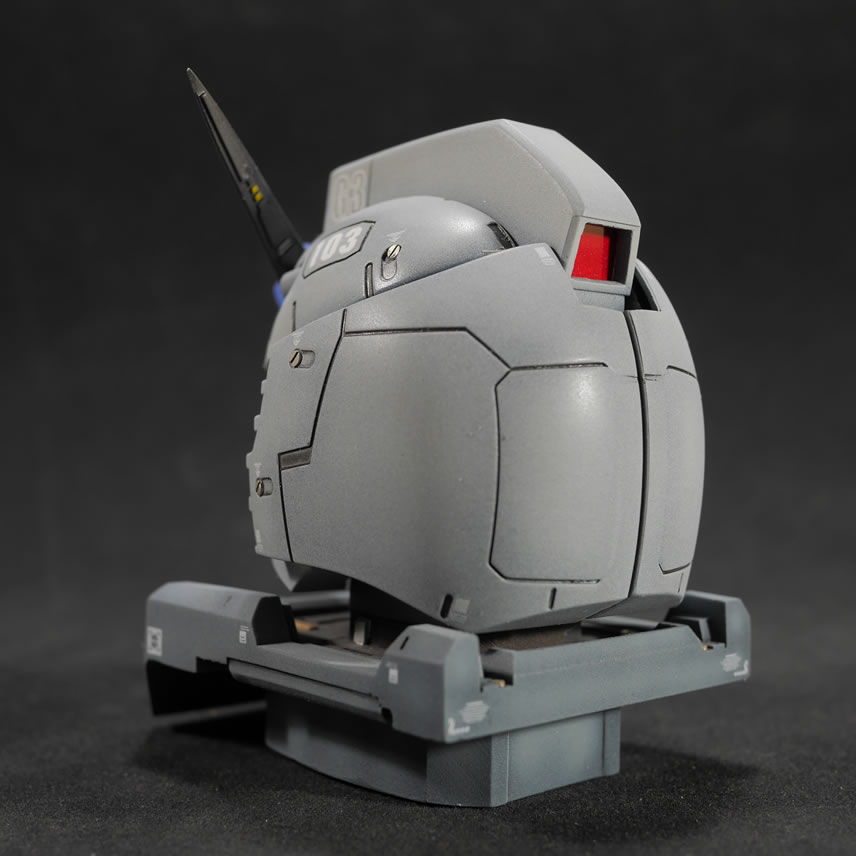
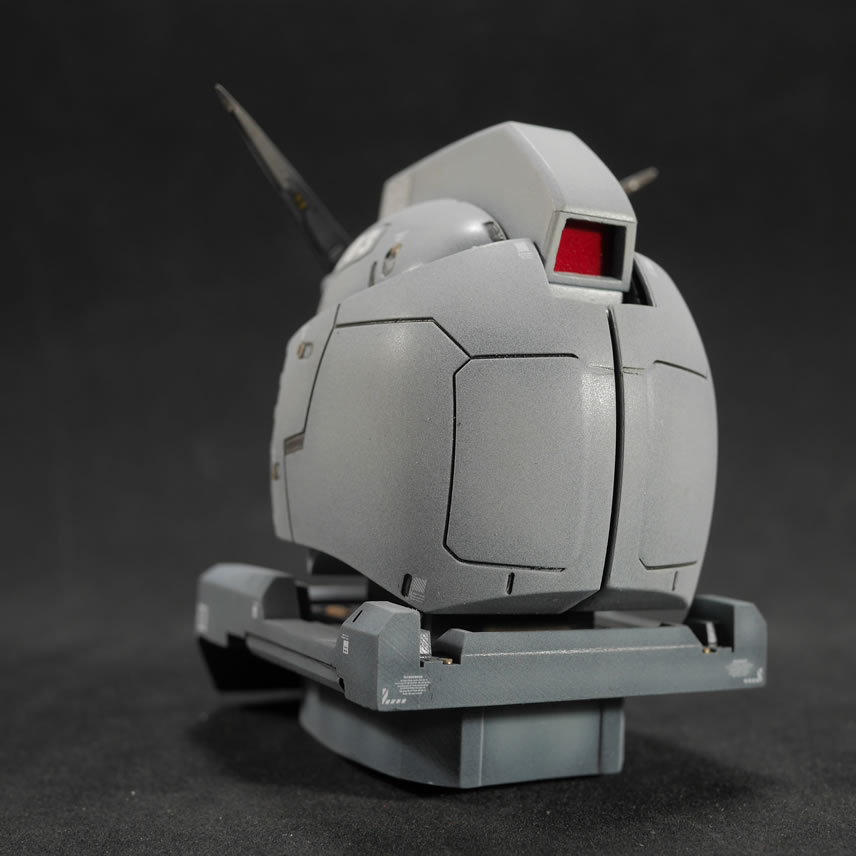
THe mohawk piece was cut apart too so that I can remove the clear red sensor. The sensor piece was glued to the main head piece and a plastic insert fits over this. Again, this is part of the breakdown video. That gap for for the cover piece needed to be glued and puttied. The back sensor was just paint, so I drilled it out and sanded the area. The inside needed some work so that when I fit in a clear piece, it sits decently and not too far back from the front of the plastic.
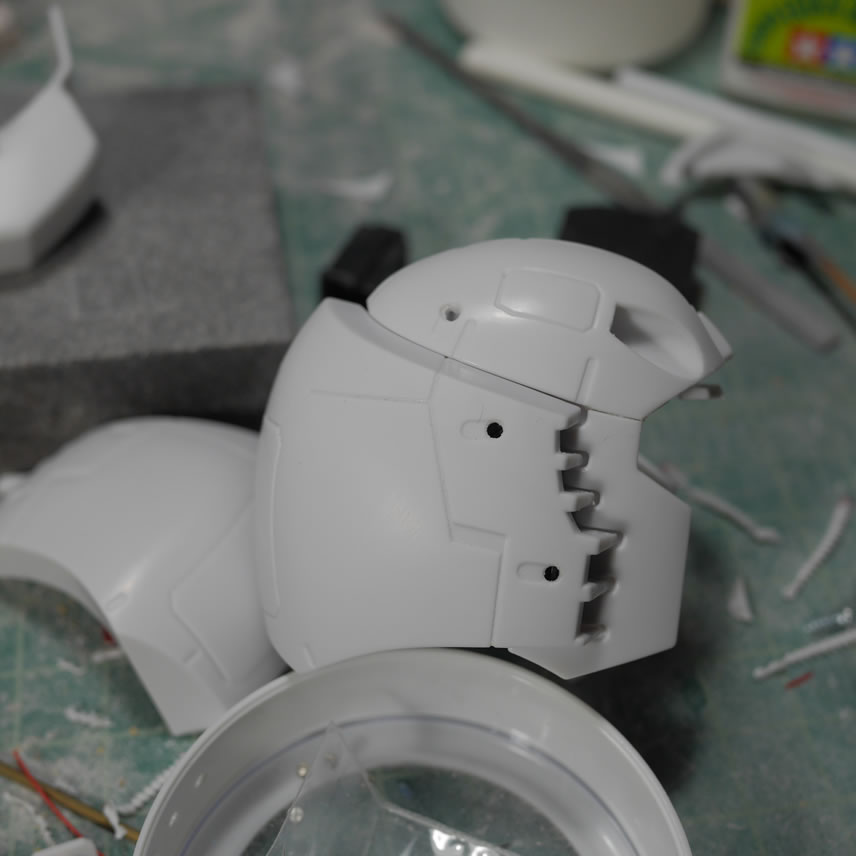
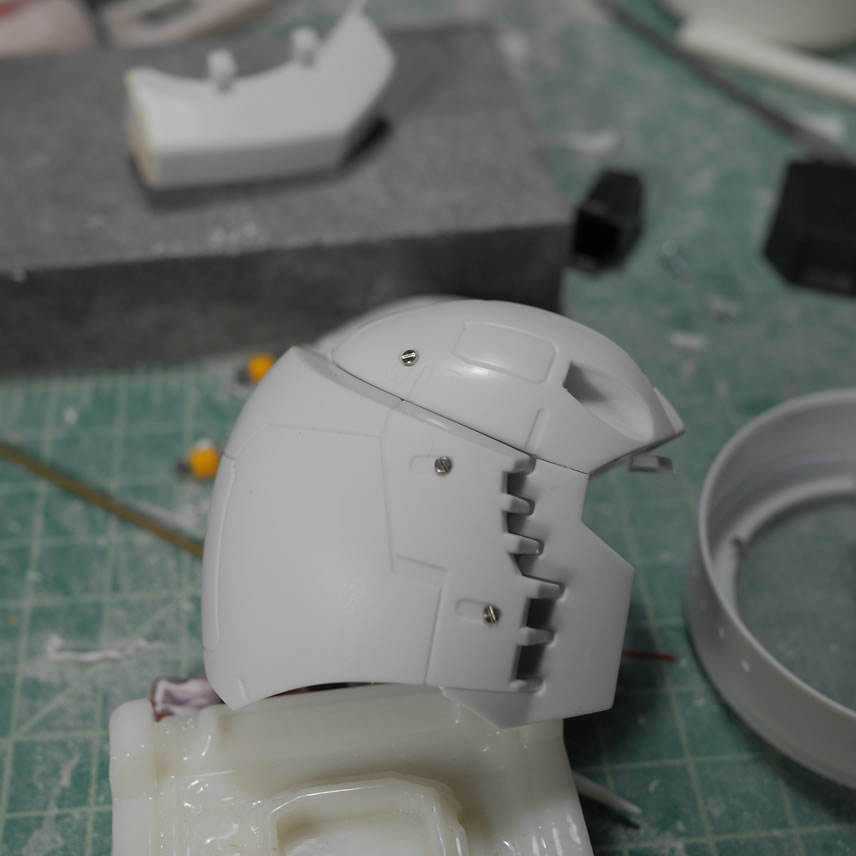
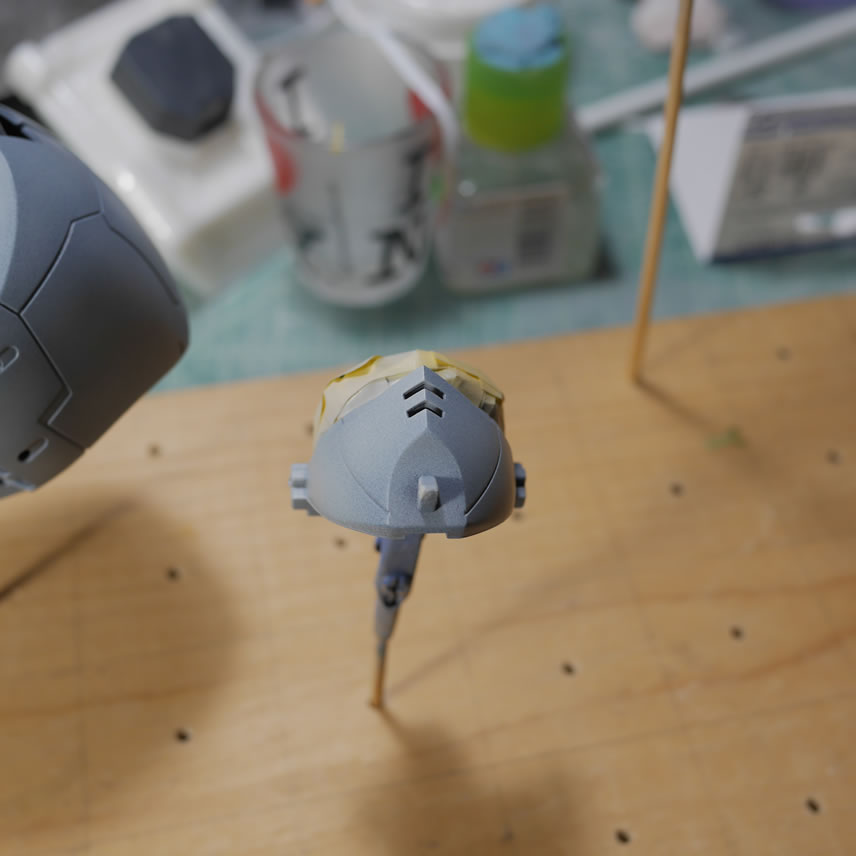
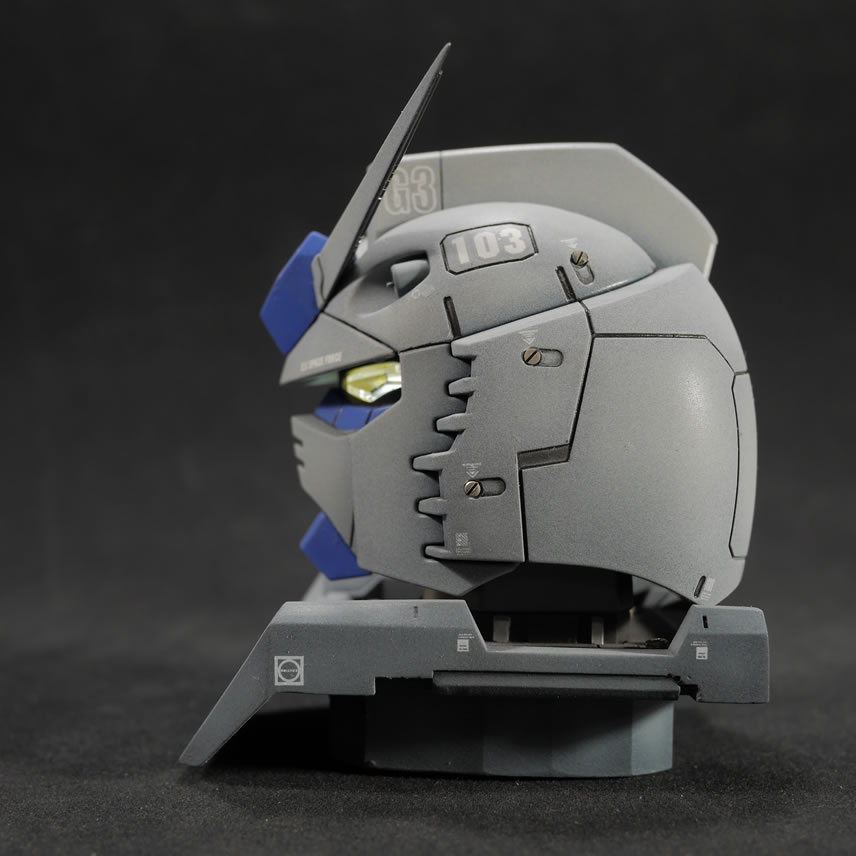
A few holes are drilled into the side of the head pieces so that I can fit some metal accents. A simple detail mod, nothing fancy.
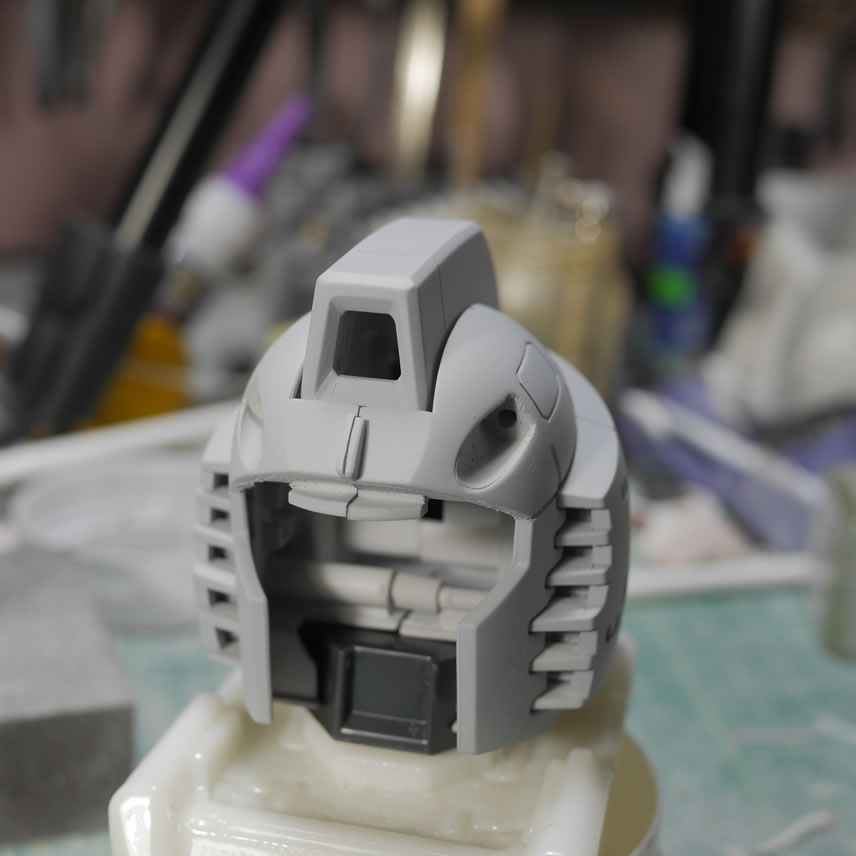
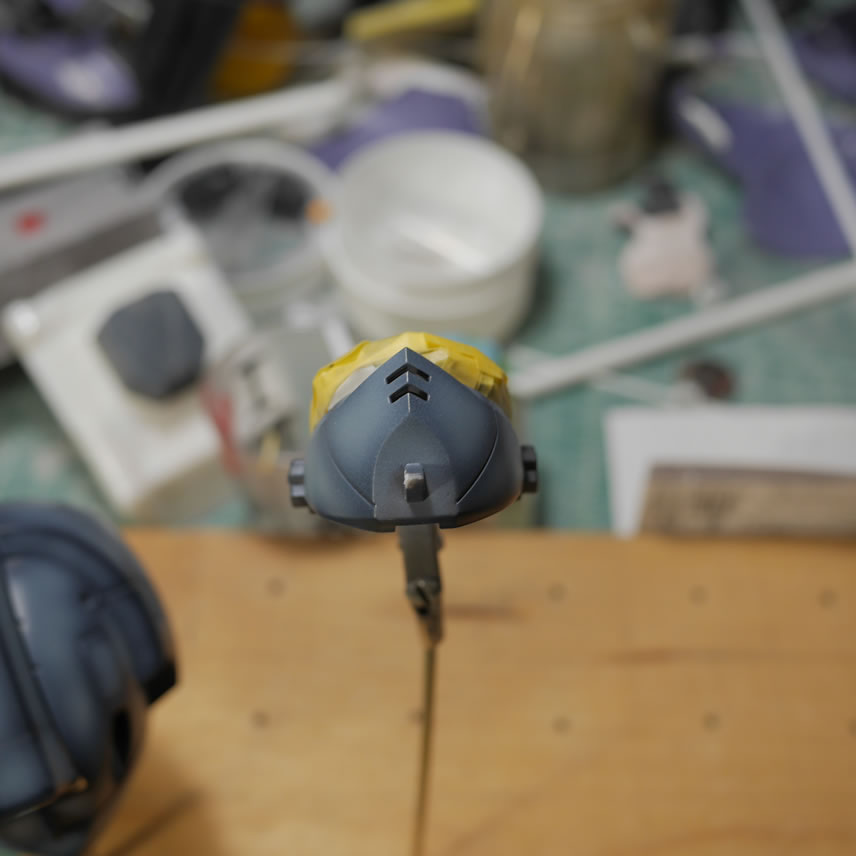
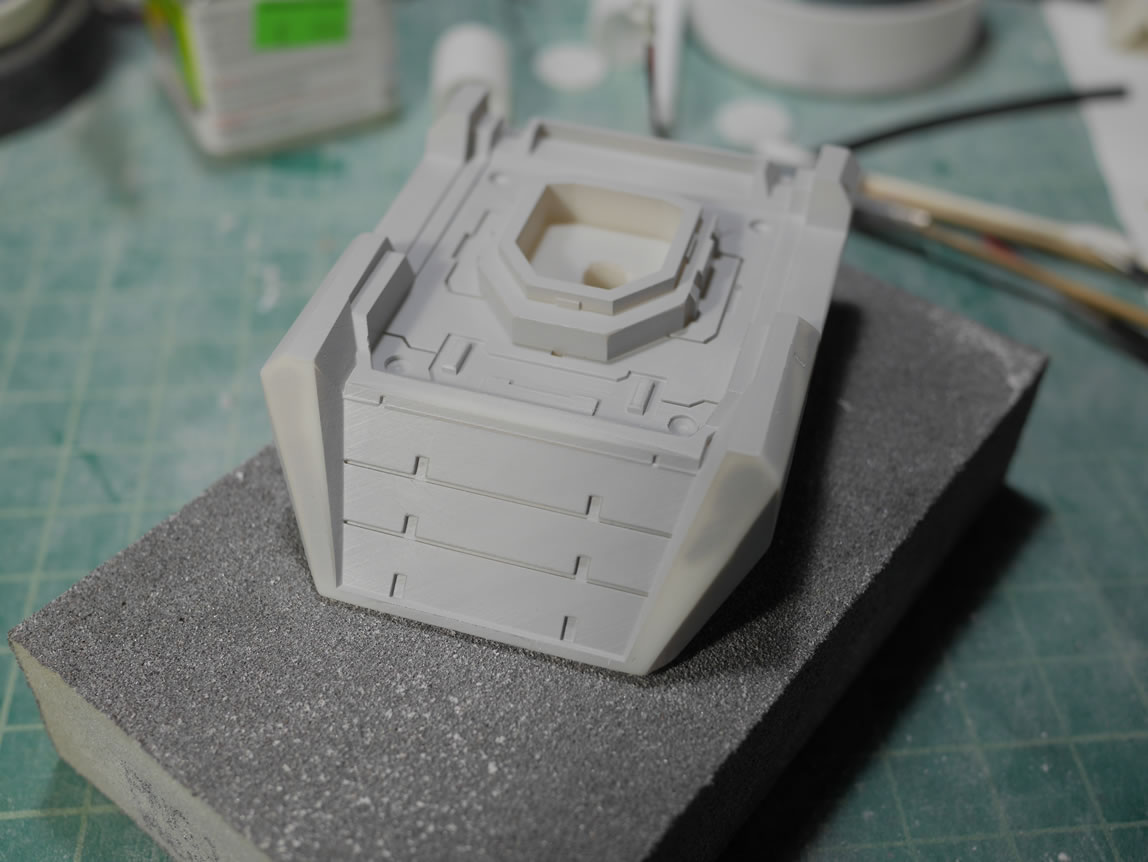
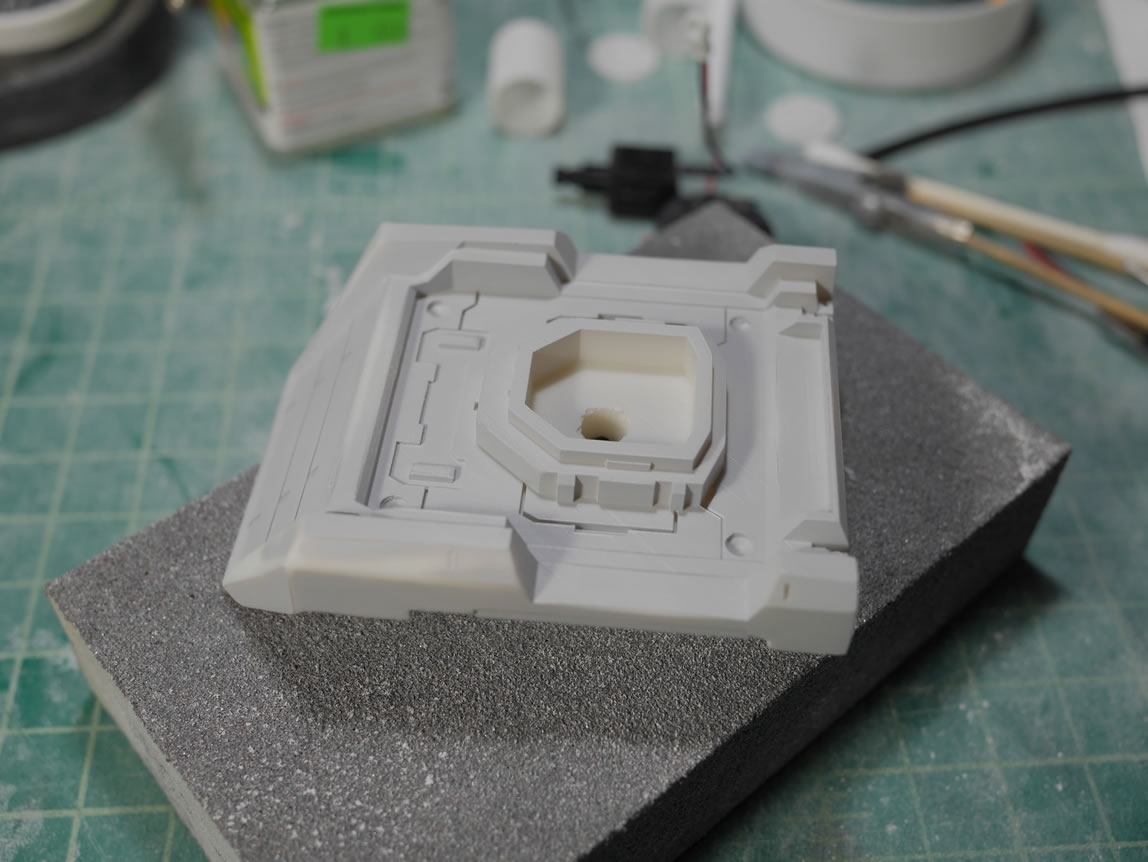
I rescribed some of the lines to deepen some of the panel lines and then it was off to primer to check the surface work. I also gouged out some plastic while I was figuring out how to disassemble the kit as well as taking the original head vulcans out so light curing putty was used and the primer is to check for that fix as well.

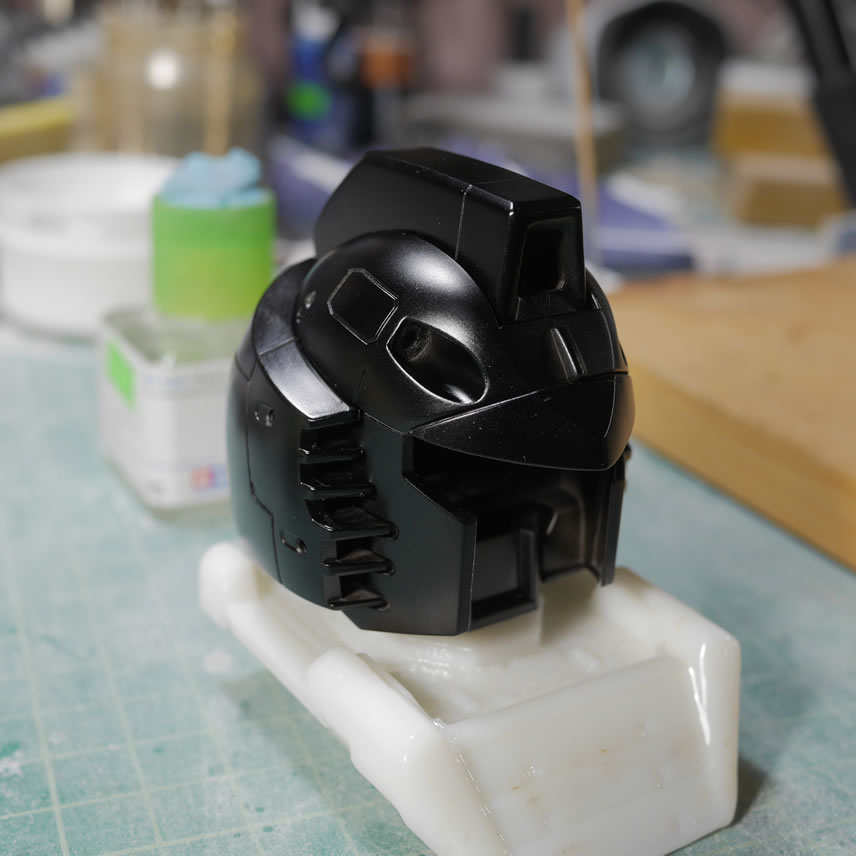
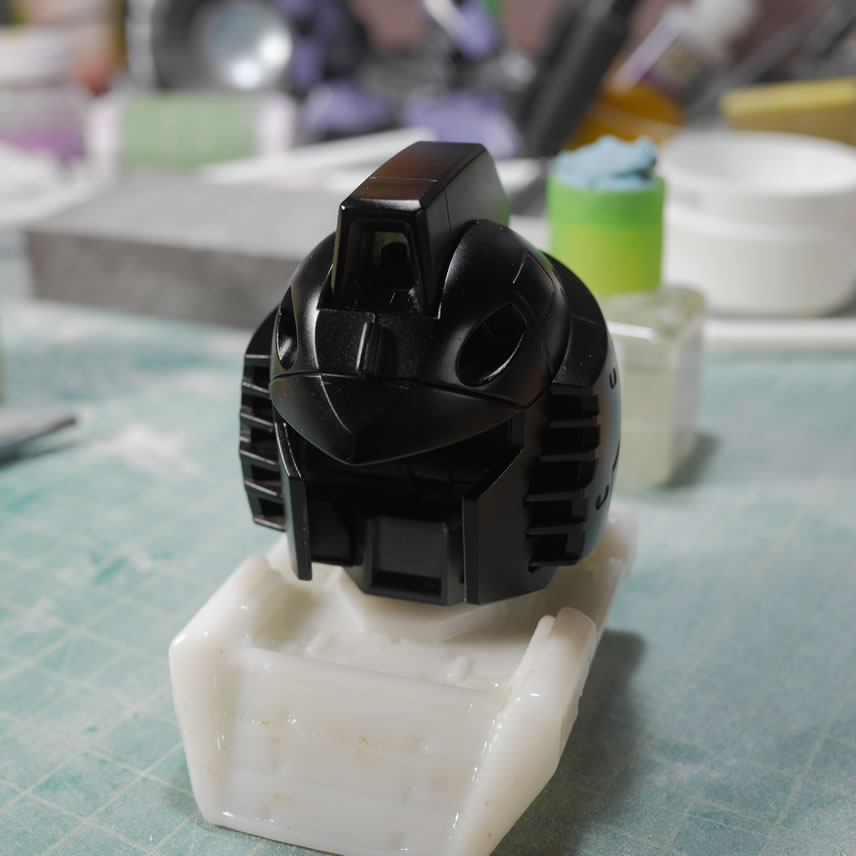
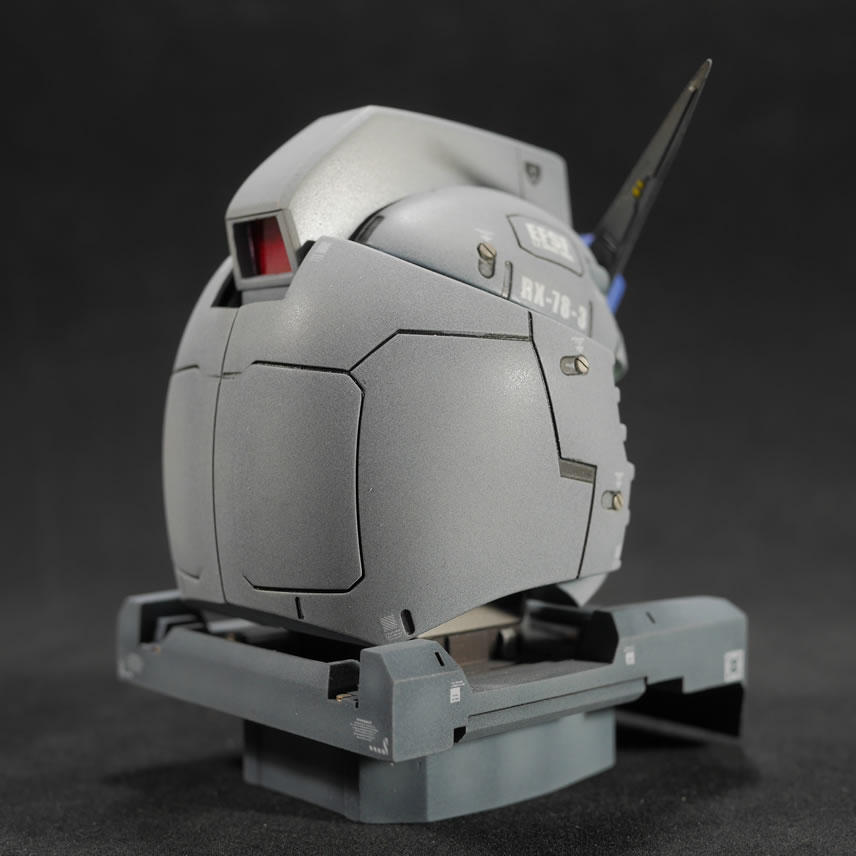
Once the mistake areas were fixed, it was reprimed to recheck then baked in the dehydrator for an hour and the black coated. Over the black base coat, I sprayed a dark grey to get some very heavy shading/highlights. Again, back into the dehydrator for another hour.
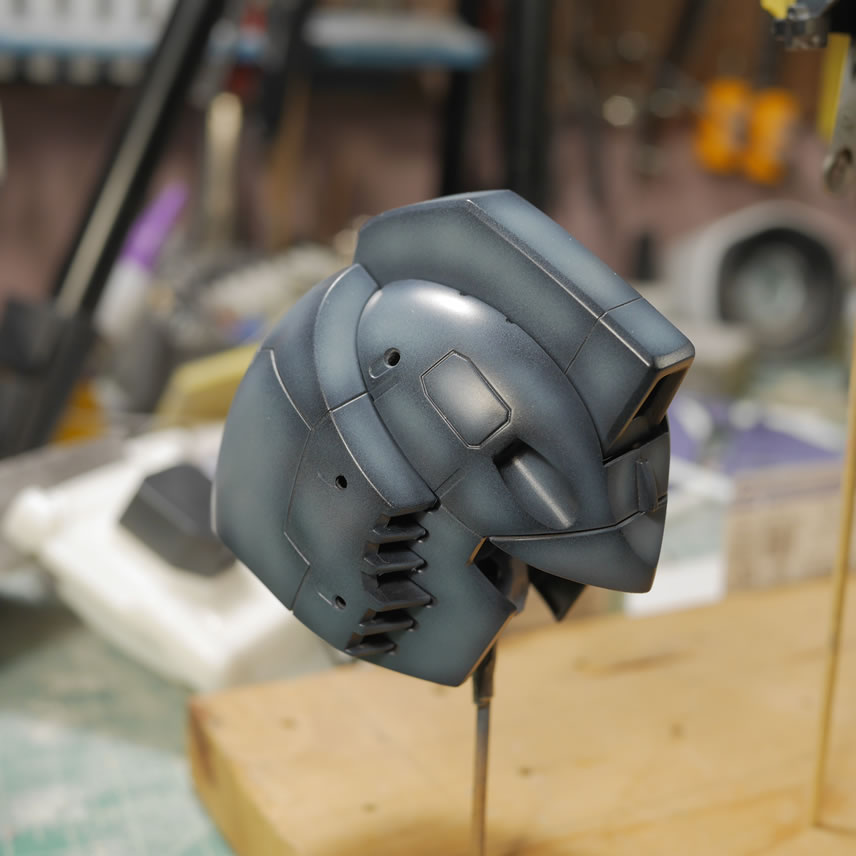
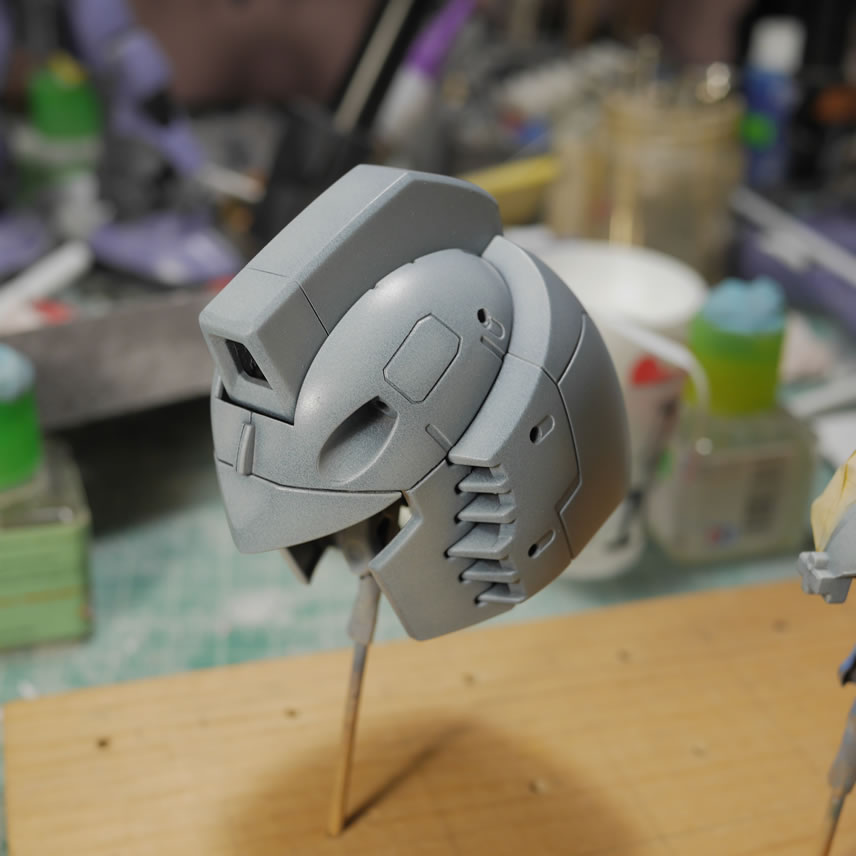
A mist layer of a lighter grey is sprayed over the head to blend in the darker shaded areas and give me a color lifted gradient to the shading.
Once that was done, I masked off these areas and painted the “internals” for the head. After some detailing, the parts are clear coated with a gloss. So the next picture shows a shiny head piece.
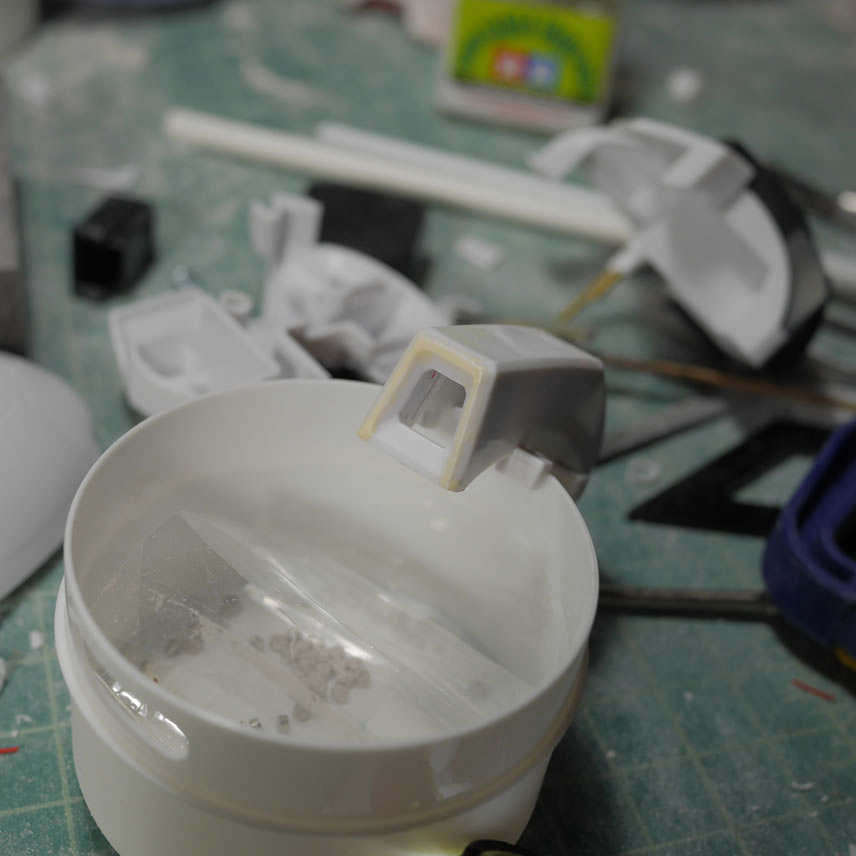
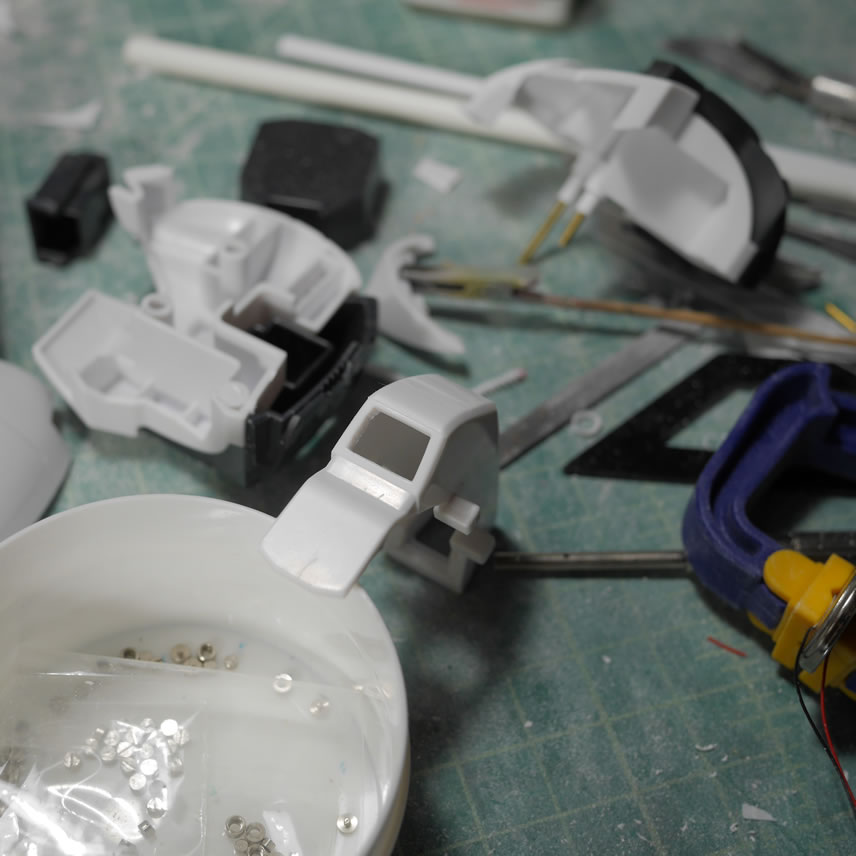
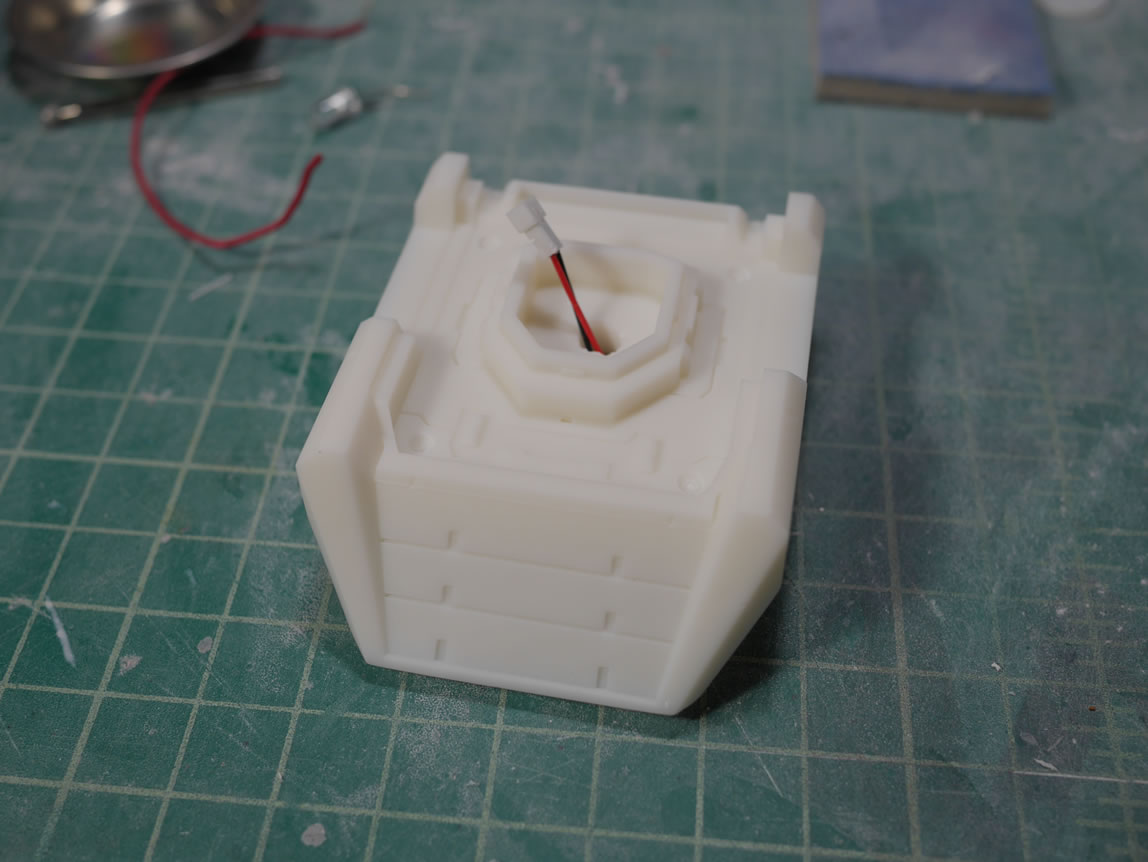
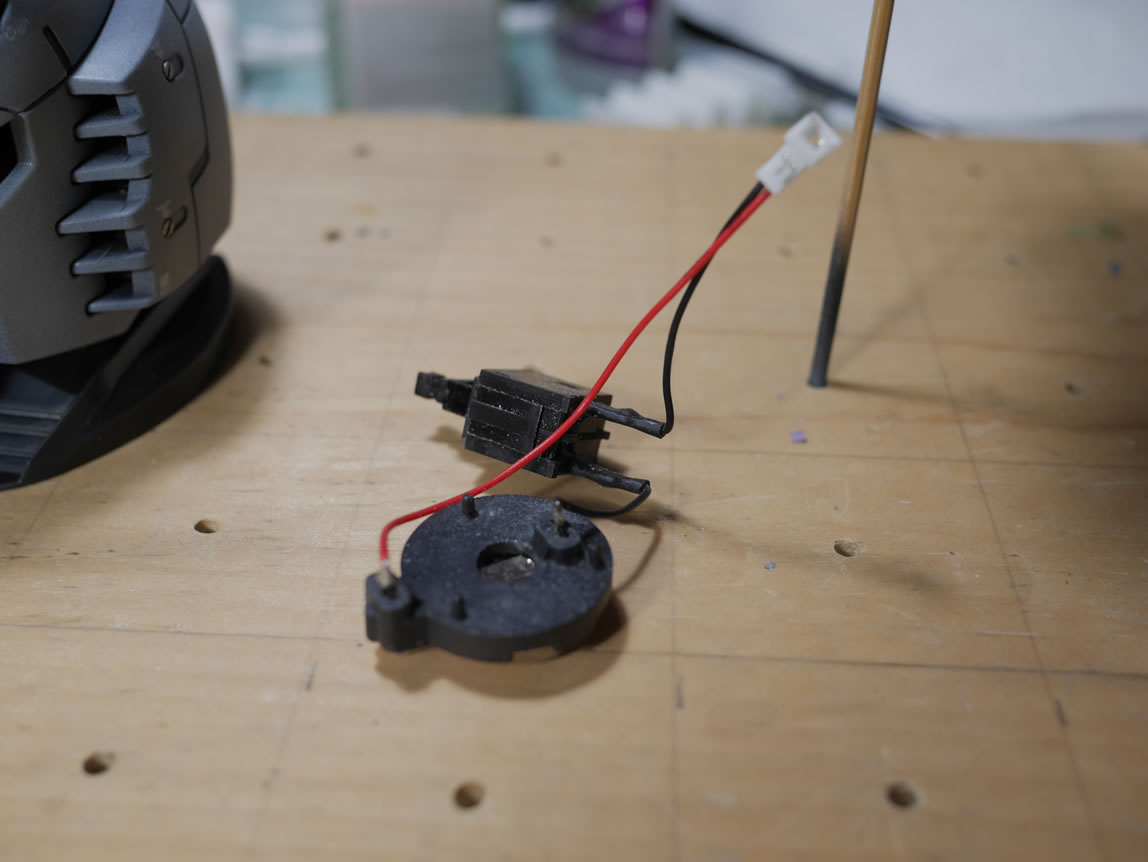
The above video shows the use of an FDM printed neck base from MarcoGunpla. Thursday afternoon, I picked up a new SLA 3D printer, the Formlabs Form 2. So after setting it up and doing a quick test print with something small; I kicked the printer off to print Marco’s neck piece in resin at .05mm resolution. The print took about 10 hours. Below is a video timelapse of the print.
Once printed, I did the necessary cleaning and curing, then test fit the electronics. Once that was done, I did some quick sanding on the support connection spots and primed the thing. I can see the resolution lines but I cannot feel them. I did some light sanding for the part and filled in a few areas and the part was off to more primer and then paint.
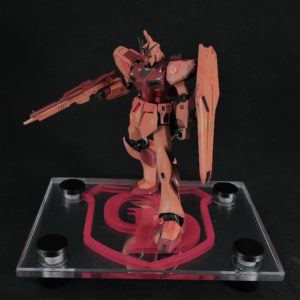
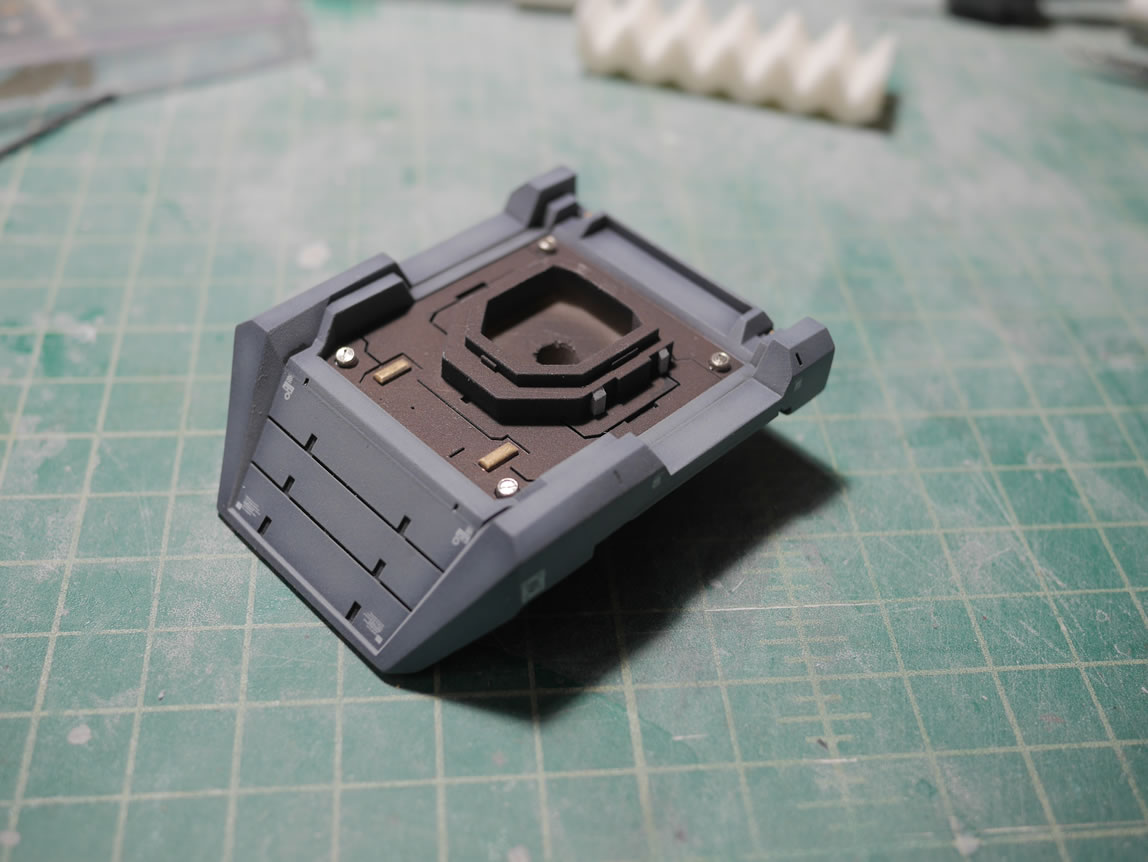
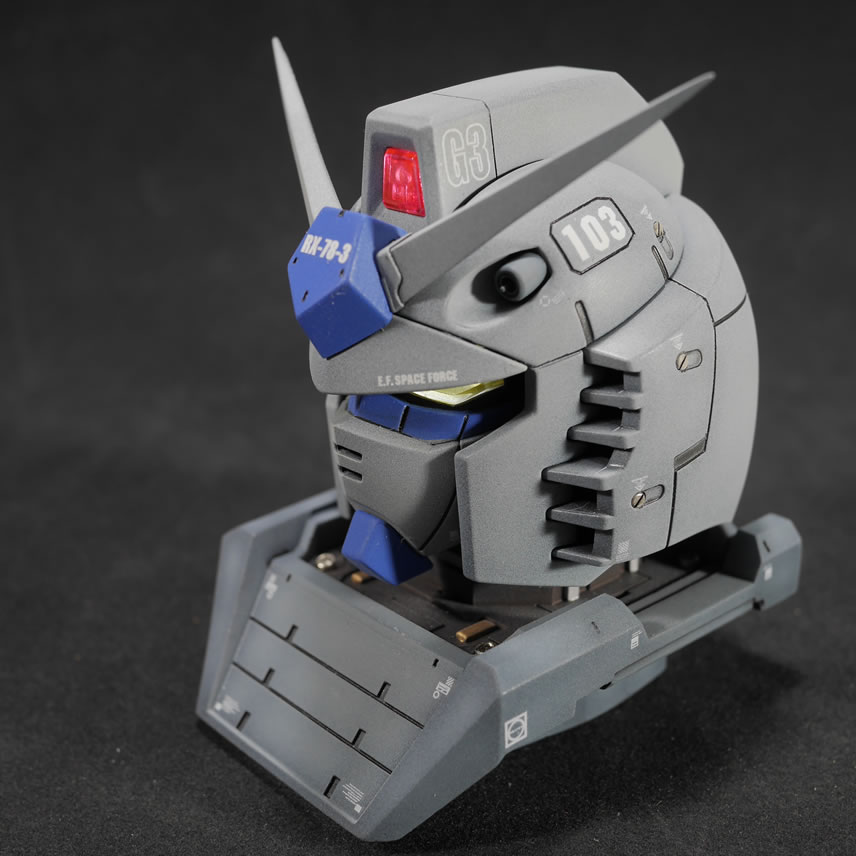
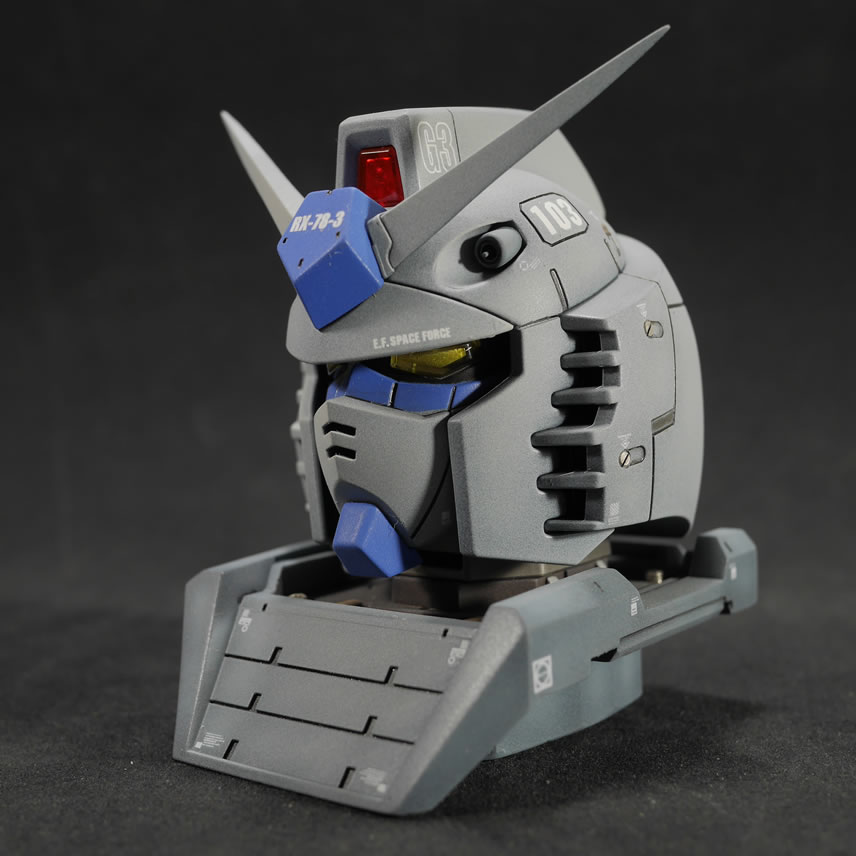
While all this was happening, I got the main head piece decaled, 2nd gloss coat, panel lines, and final flat coat. This was done with the help of the dehydrator working after each step which seriously sped up my build time. The Base is pained and gloss coated.
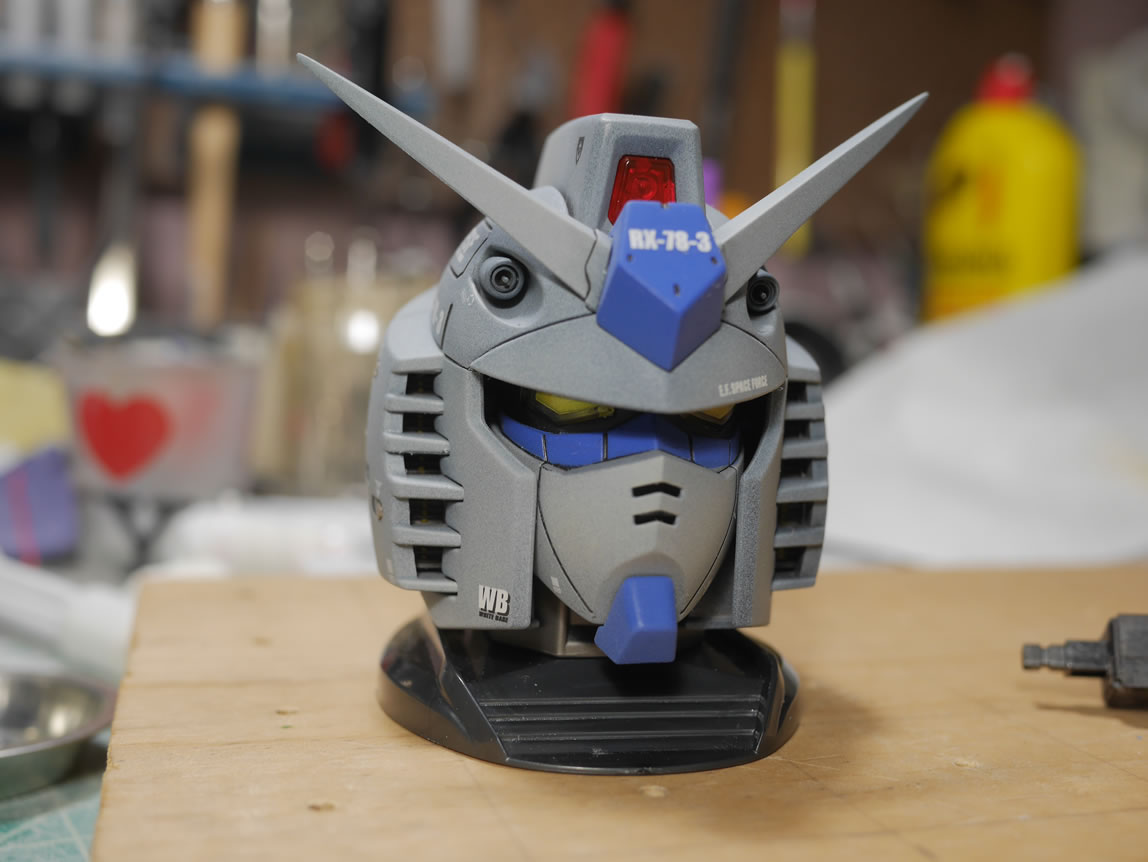
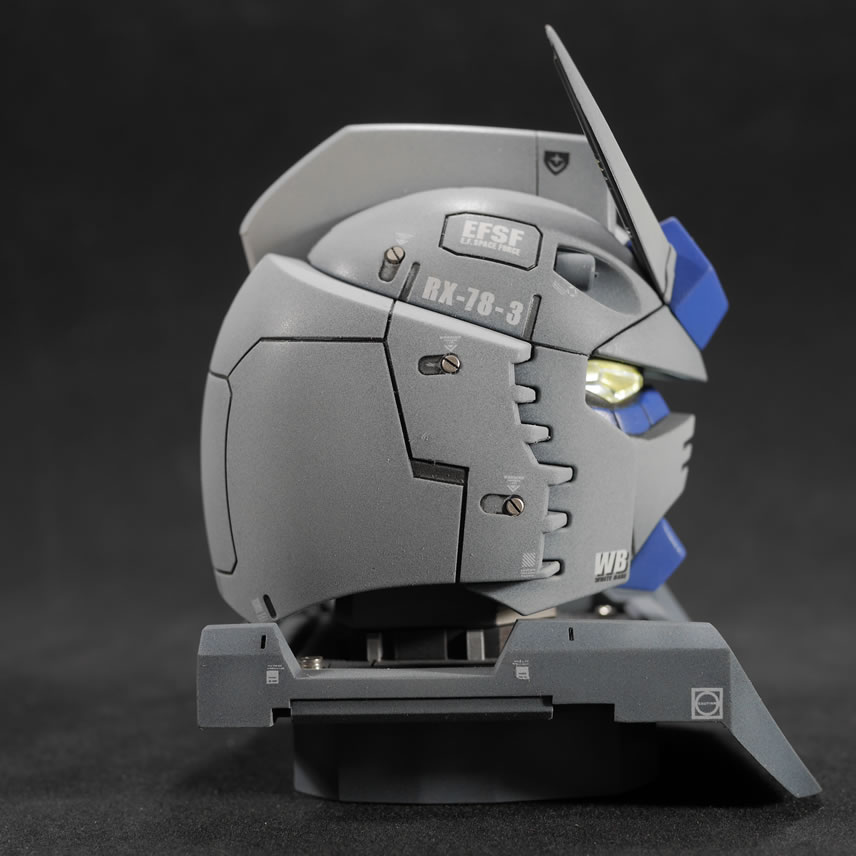
The last bits of work is the decals, panel lines, and final clear flat. I also drilled out 4 corners of the base to add some more metal accents. Once the head is on the display, it’ll be a little difficult to see, but for those looking, they’ll find them.

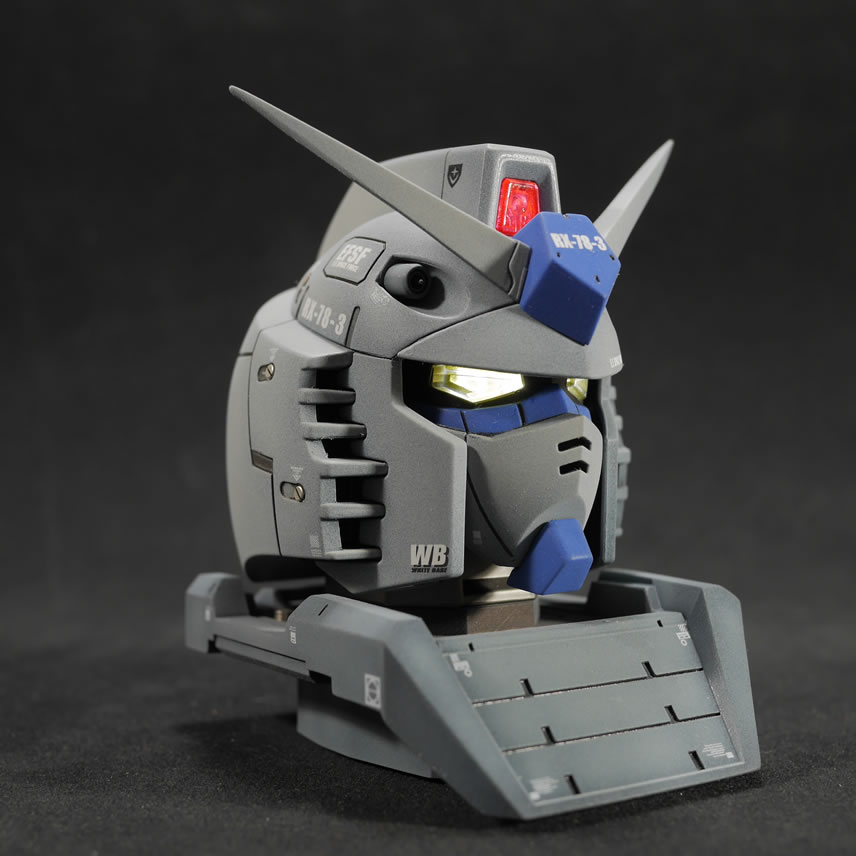
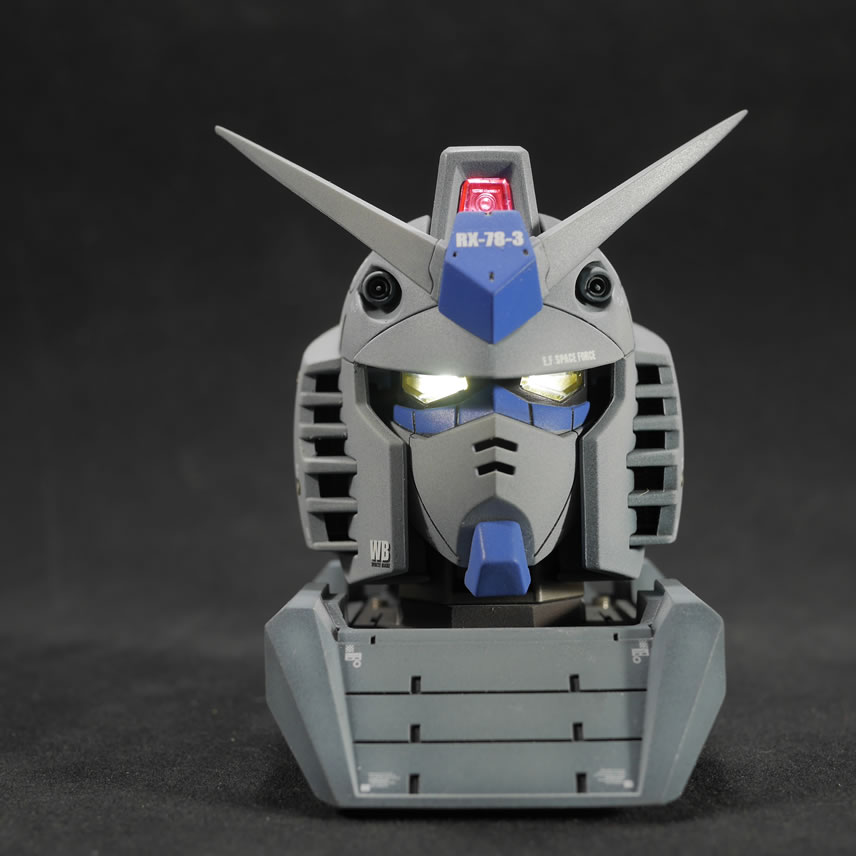
Even before the glue has time to set for the metal addon bits, I popped the head piece on to the base and started taking completed pictures. This was a VERY fast build and a nice little break to complete something in the middle of the Barrage build and I have something completely new to bring to Valleycon 2019 which happens tomorrow.
|
|

|
|
|
|
|
|
|
|
|
|
|
|
|