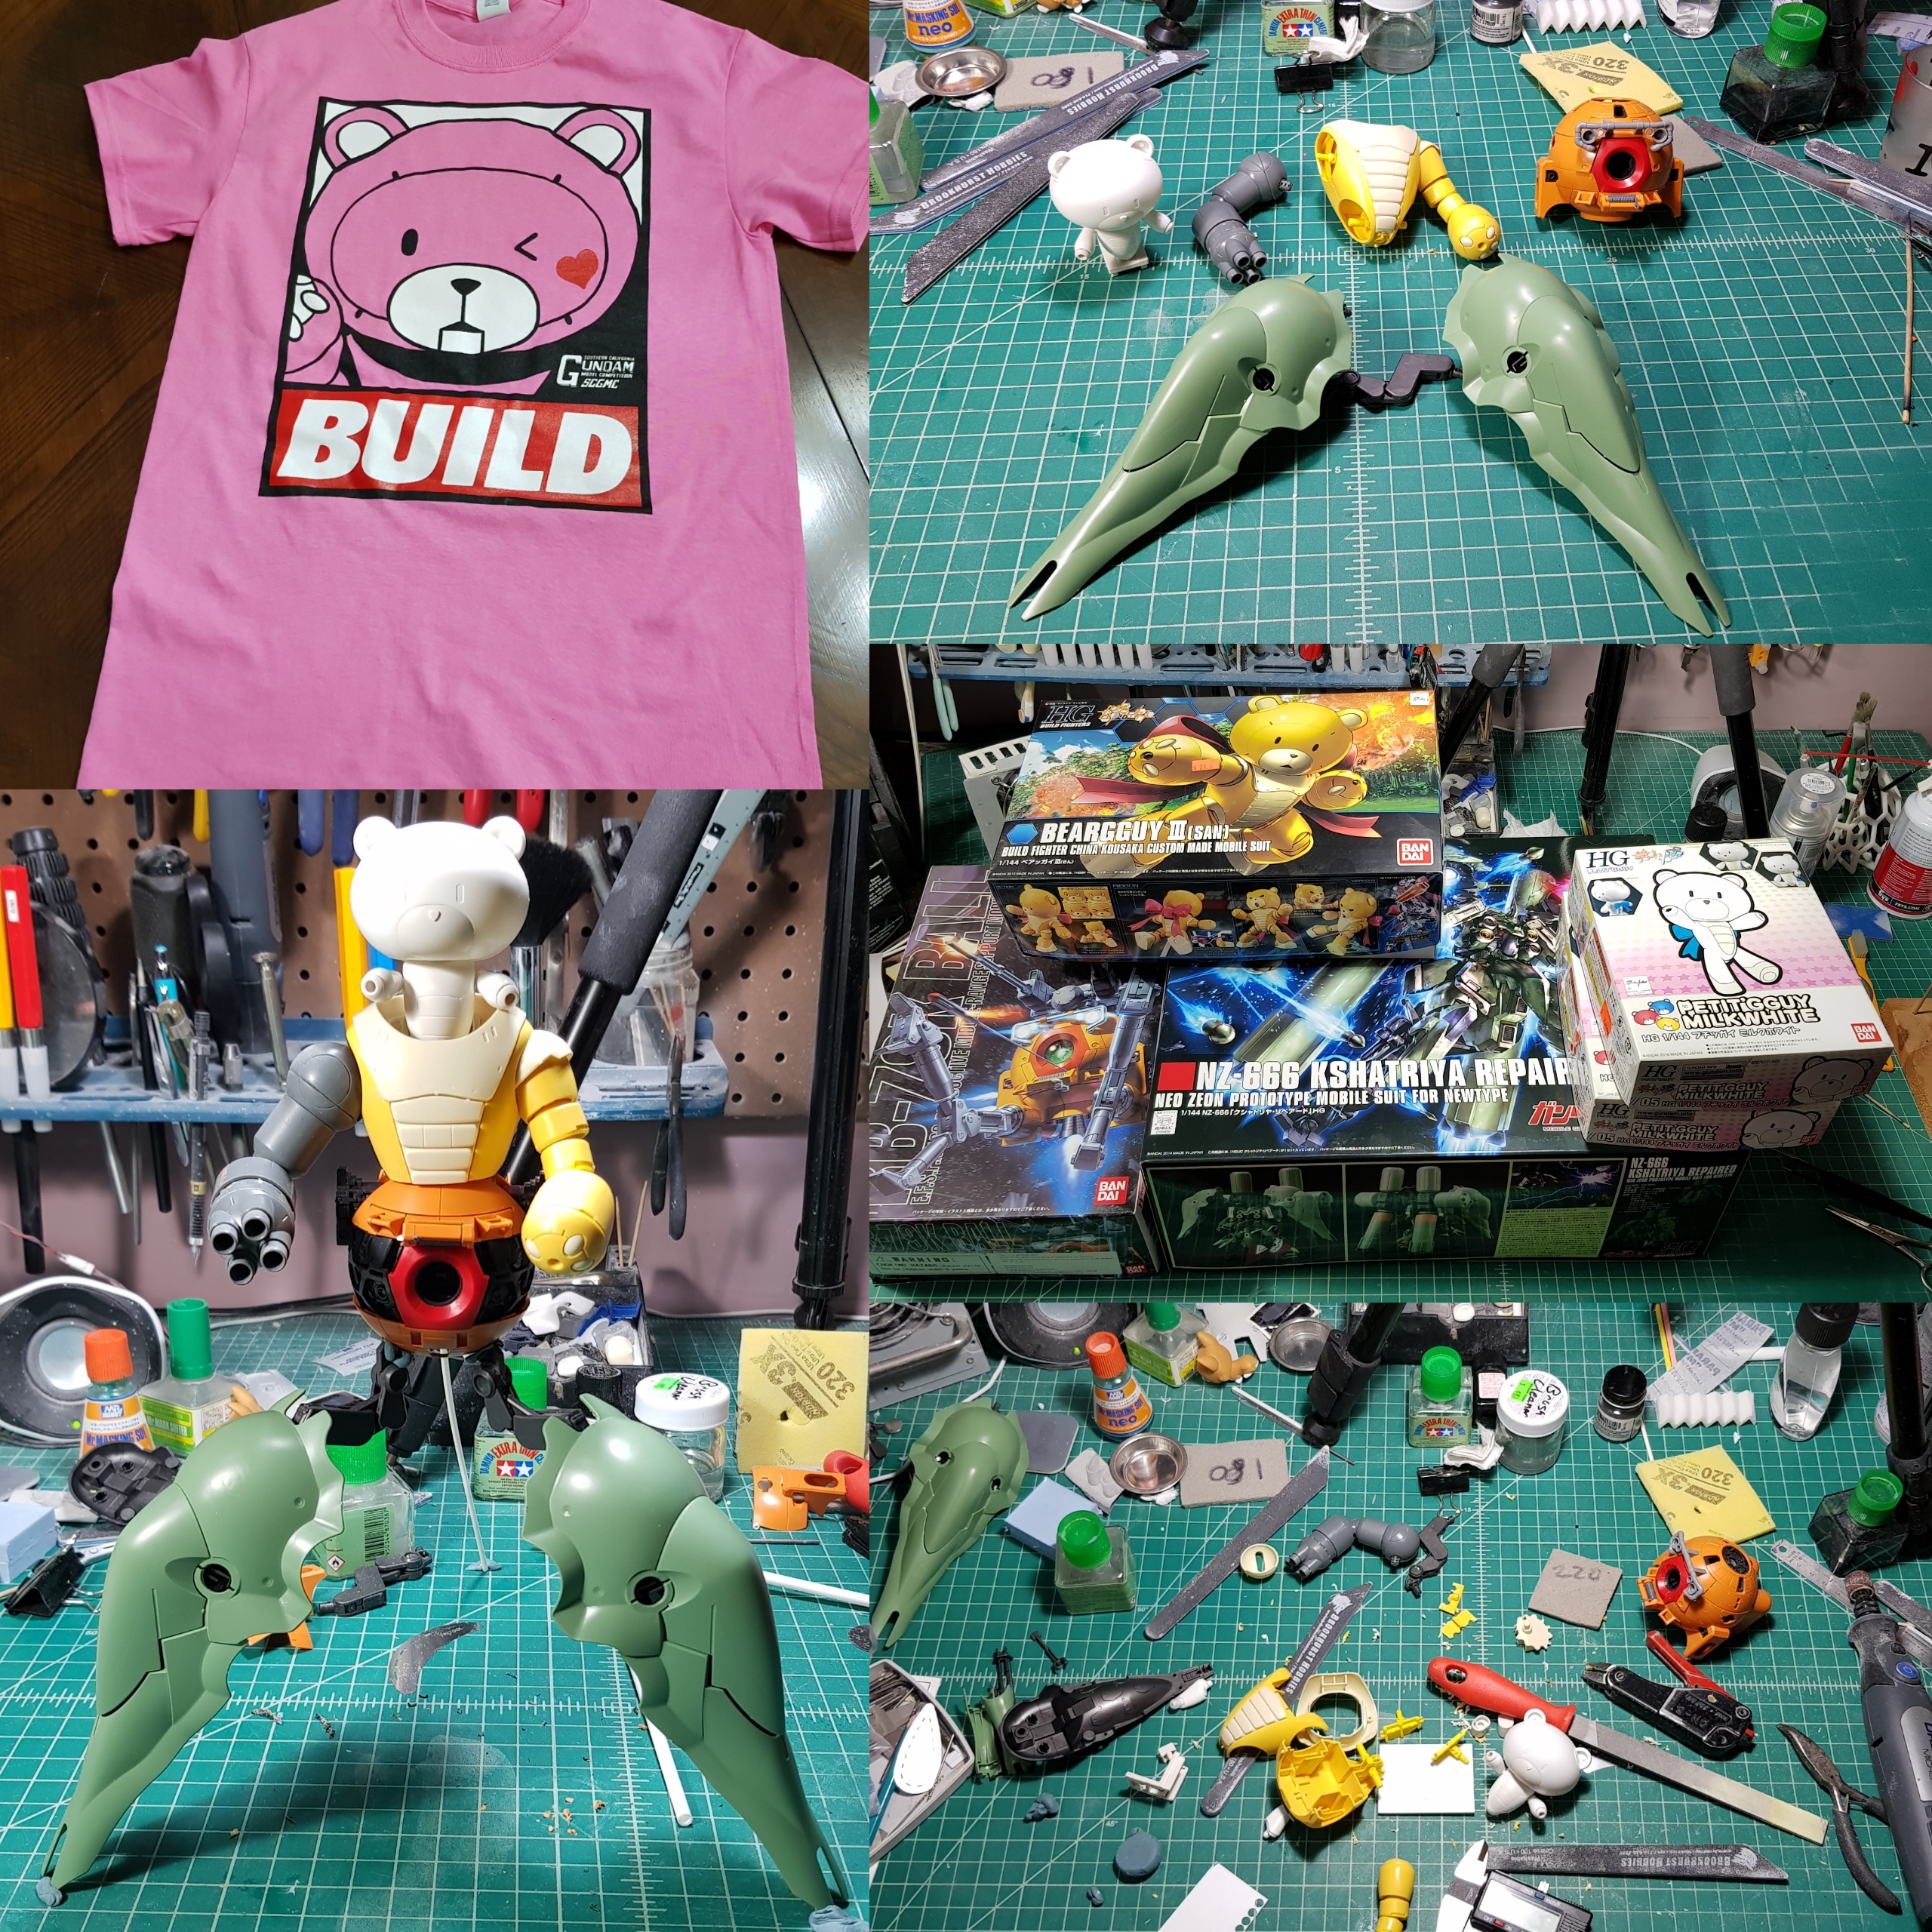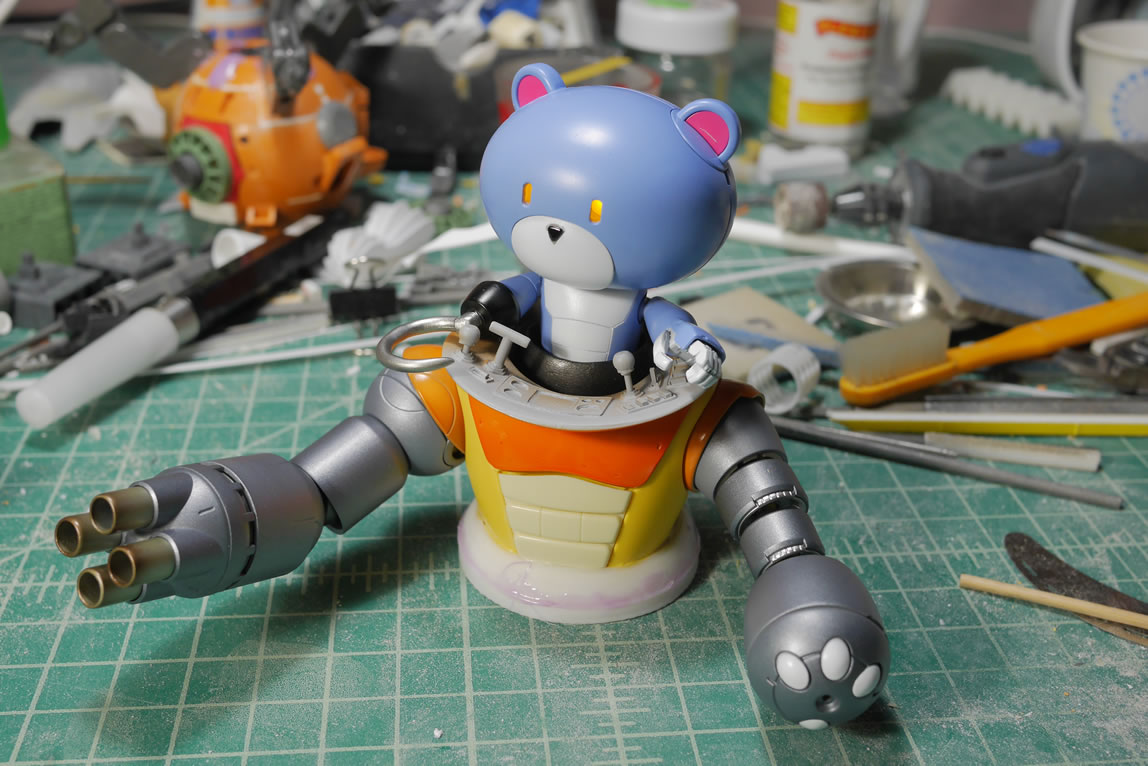
Bear Guy Project: May’s Progress
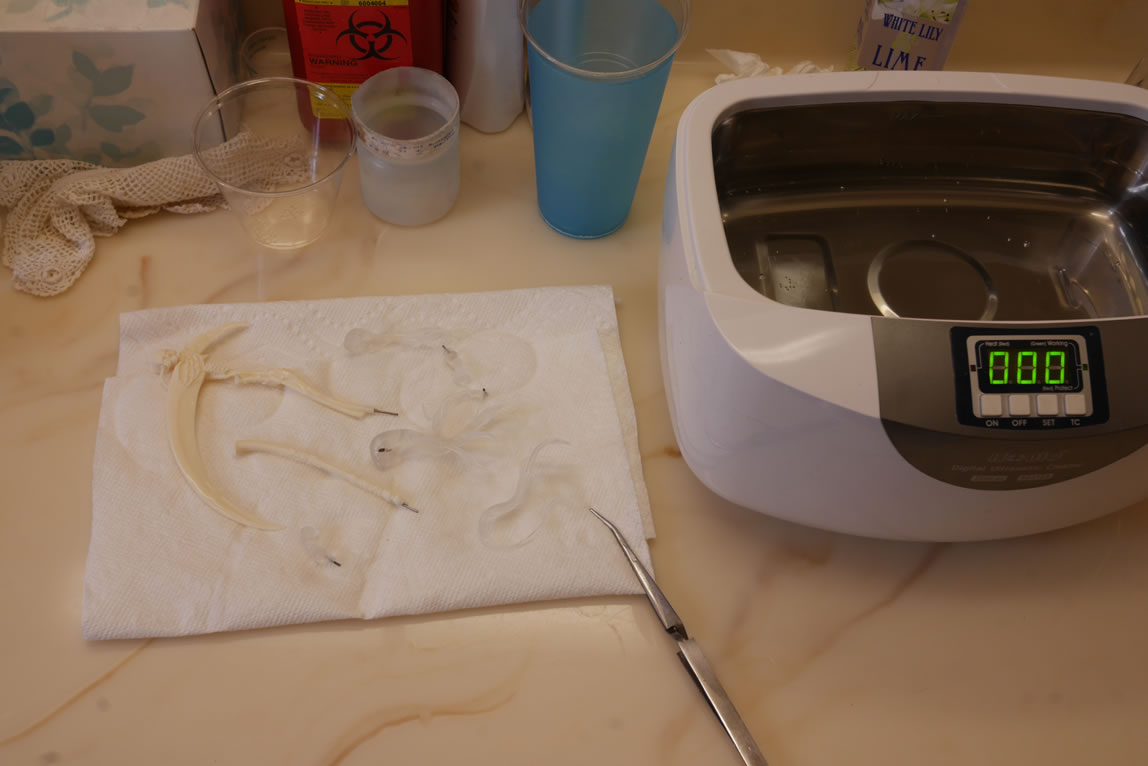
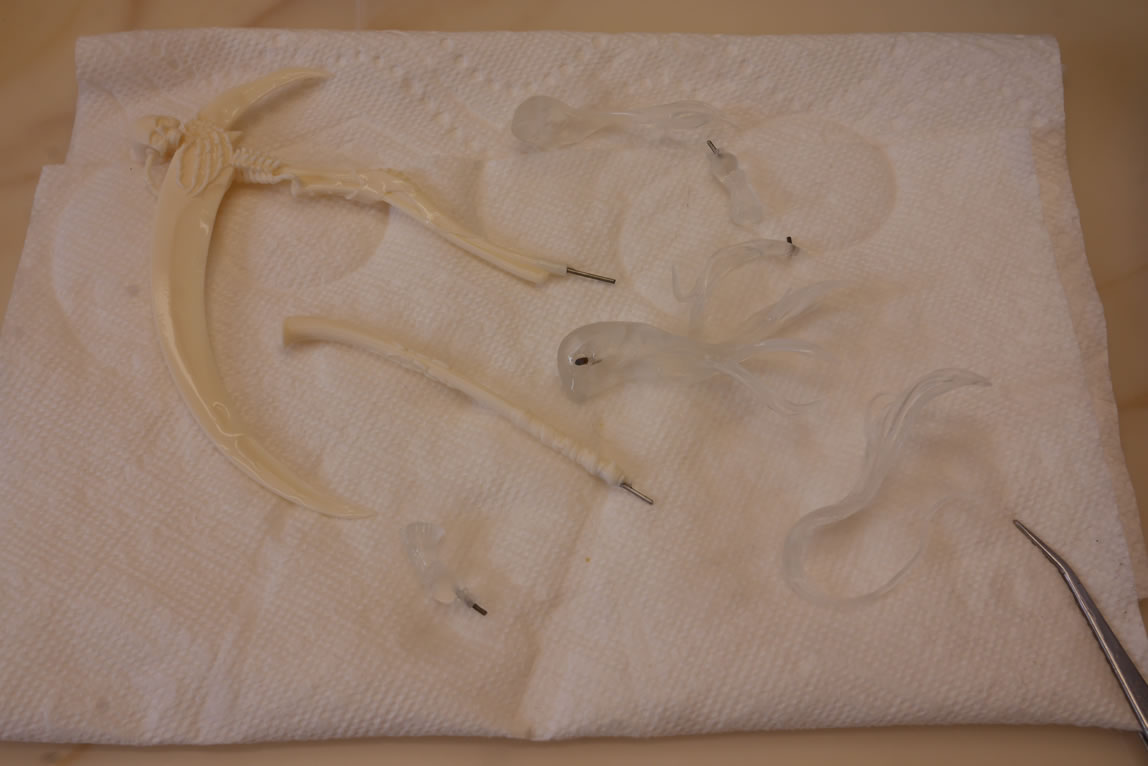
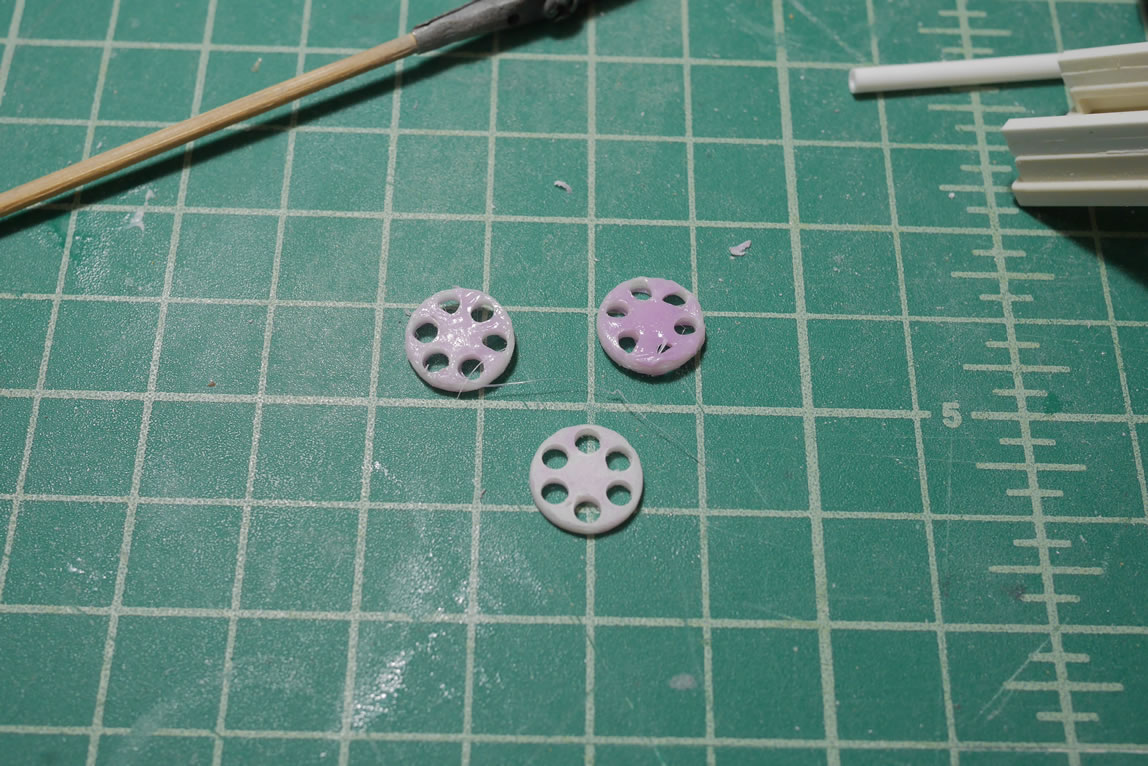
Update time. Over the past few weeks, I’ve been steadily working on this project so the little updates I used to do are more meaningful and have more meat to things. I like that I can show more substance than just random in the middle progress that takes a few updates to get the full pictures. It is easier to visualize and to connect the dots so to speak. So let’s get into this. The first thing for this update is filling the 3D printed gatling gun frame pieces. Since the print is small and I’m using the computer controlled hot glue gun style of 3D printer, there are resolution issues with printing so small that there is a bit of clean up. The pink stuff you see in the picture below is just melted ABS plastic in acetone. It works as a liquid ABS putty. If applied thinly, the stuff dries and cures fairly quickly over night so I can get to sanding it down the next morning. In the picture the bottom part has been sanded so you can see small pockets of the purple/pink filler. Once primed, all the defect holes and resolution lines disappear.
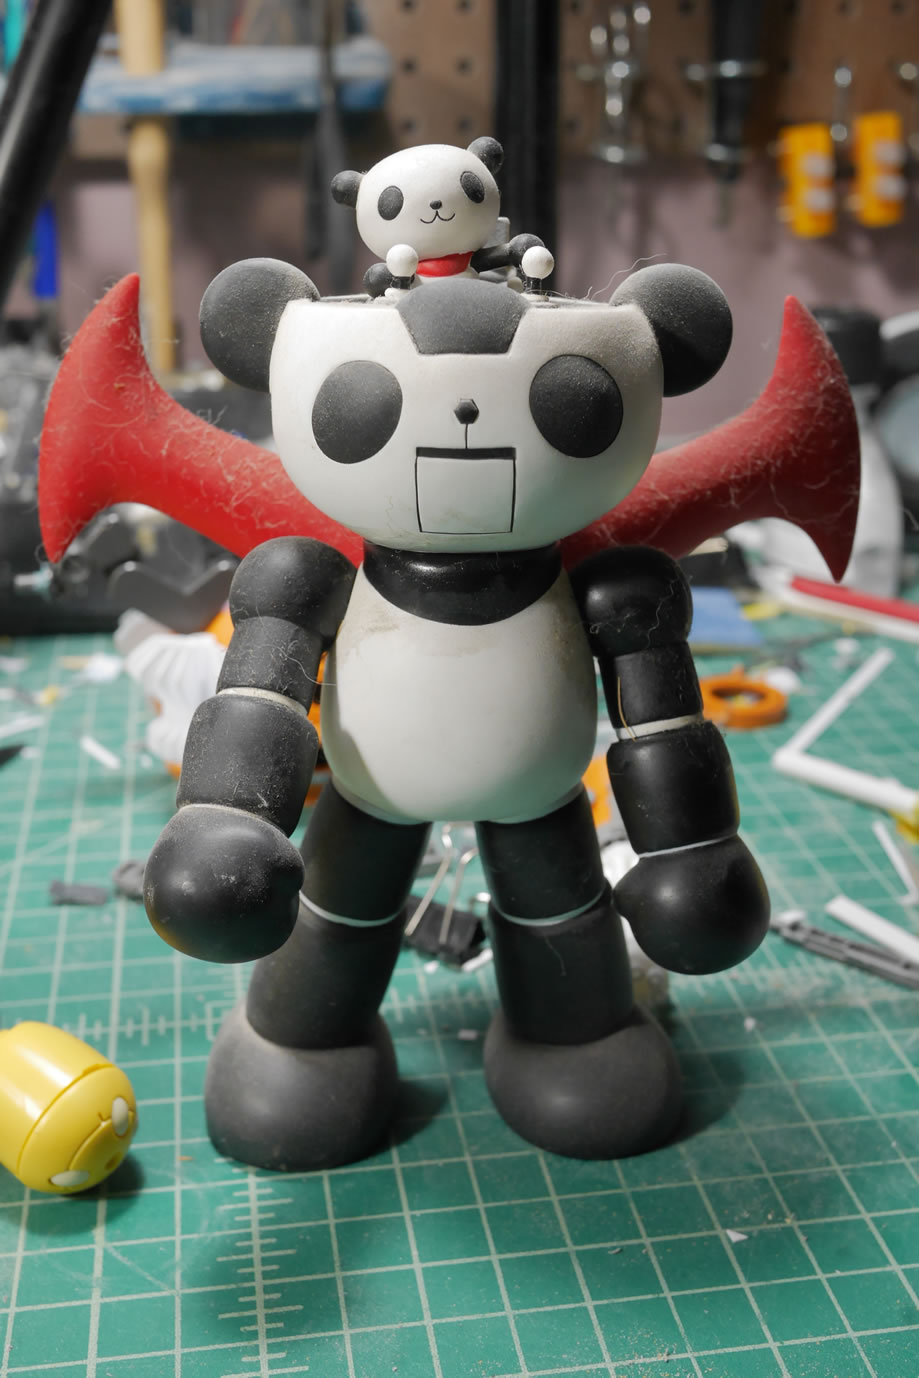
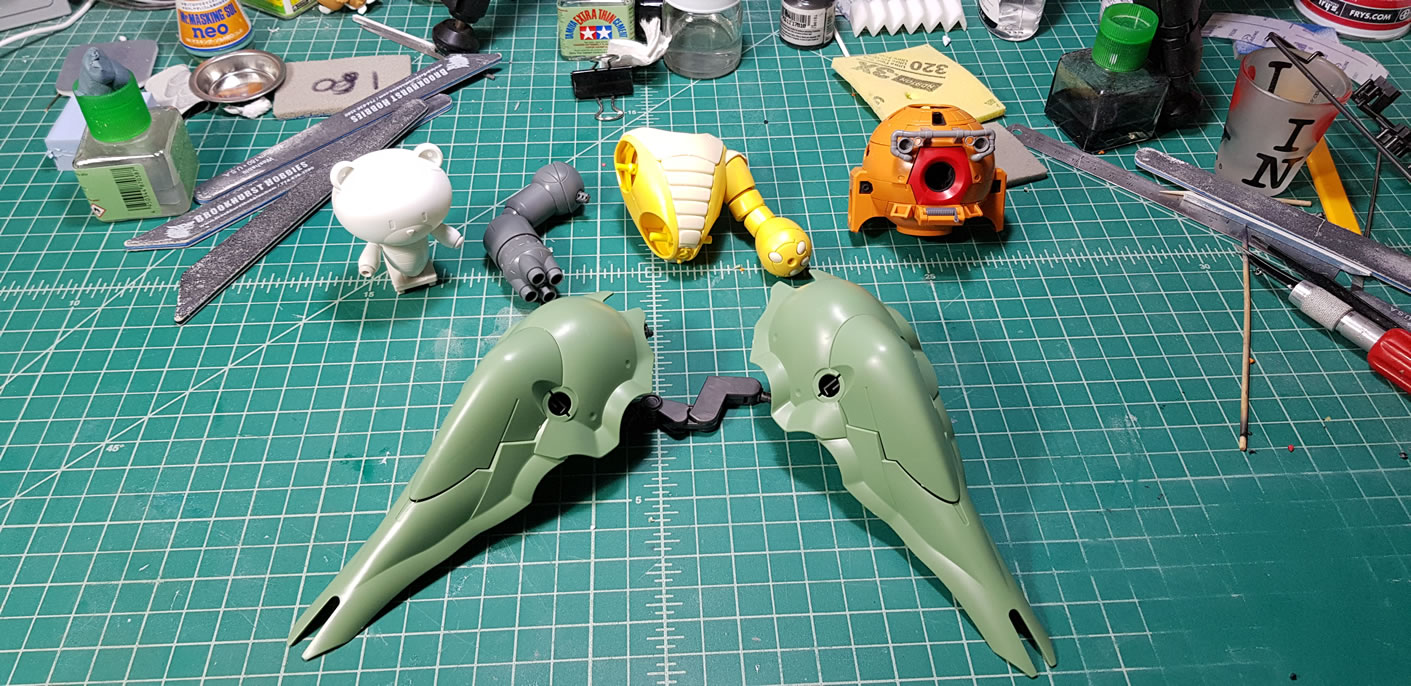
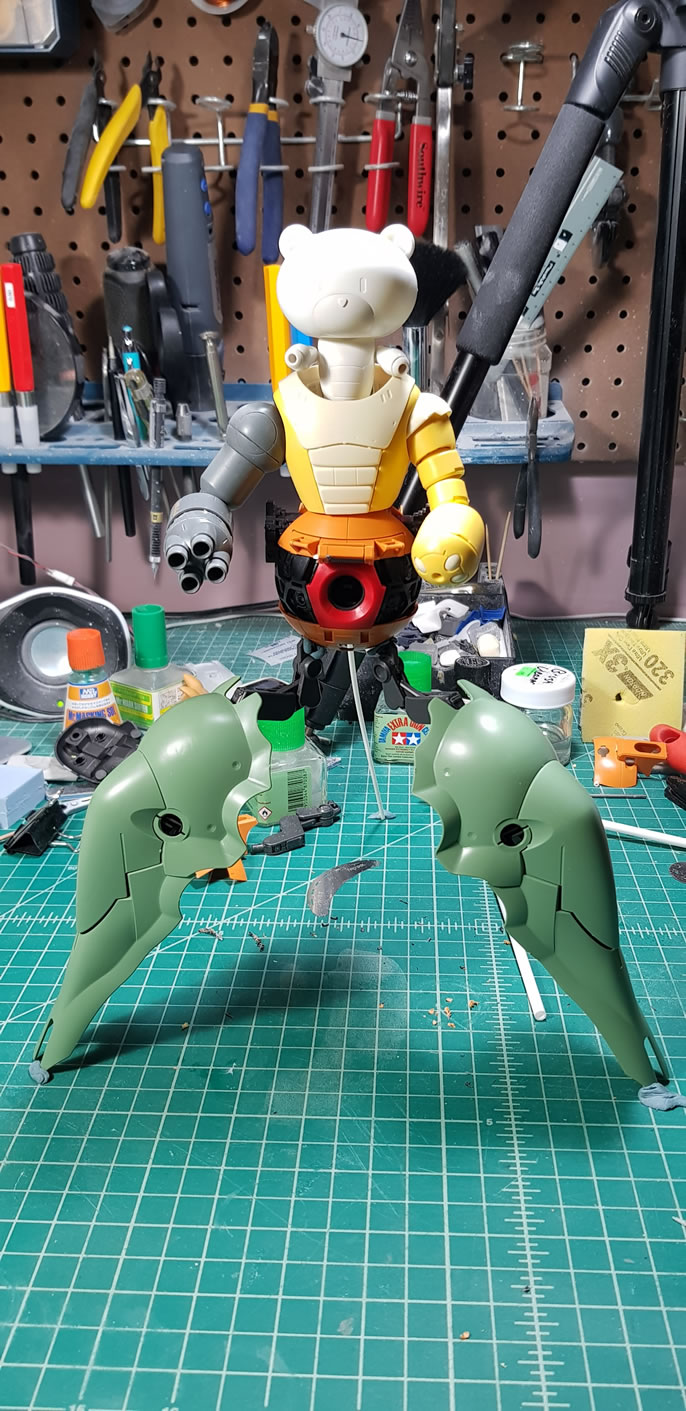
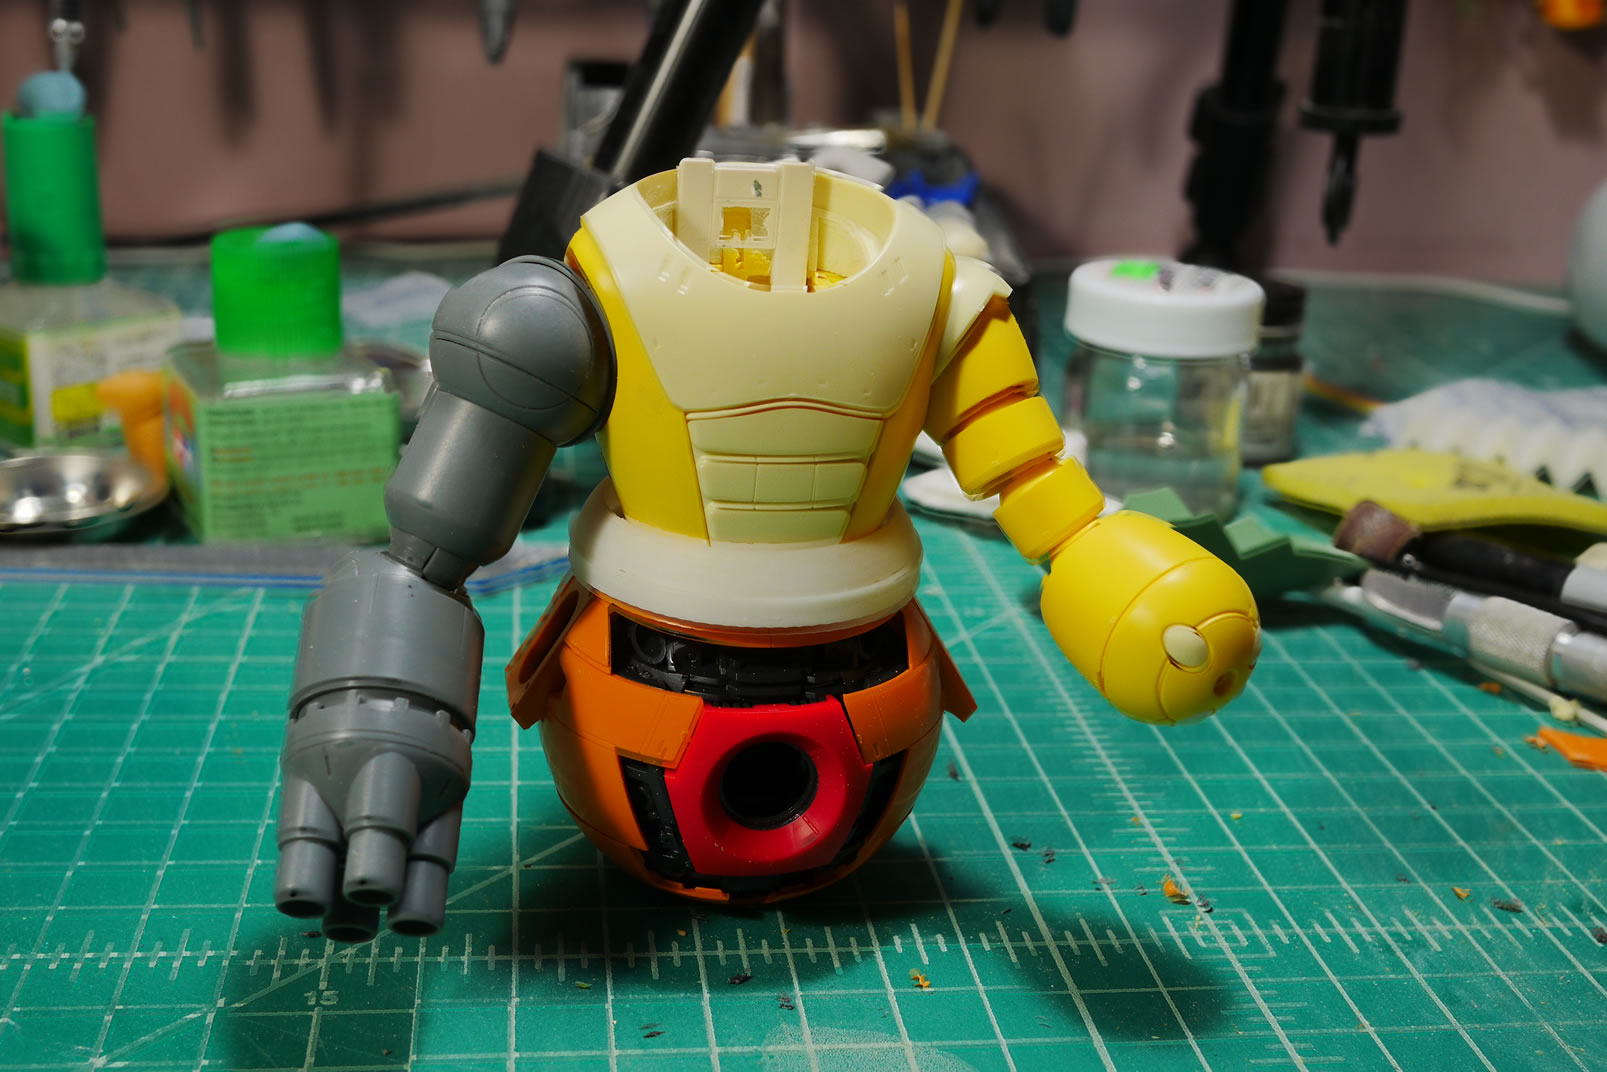
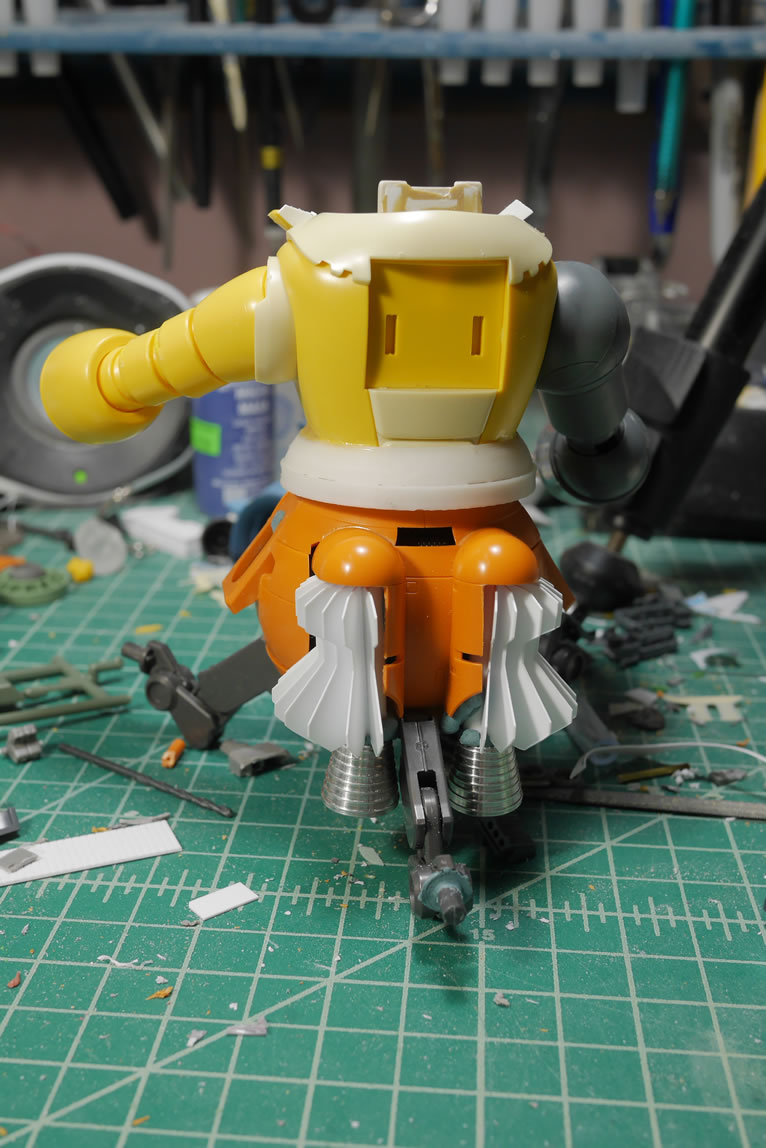
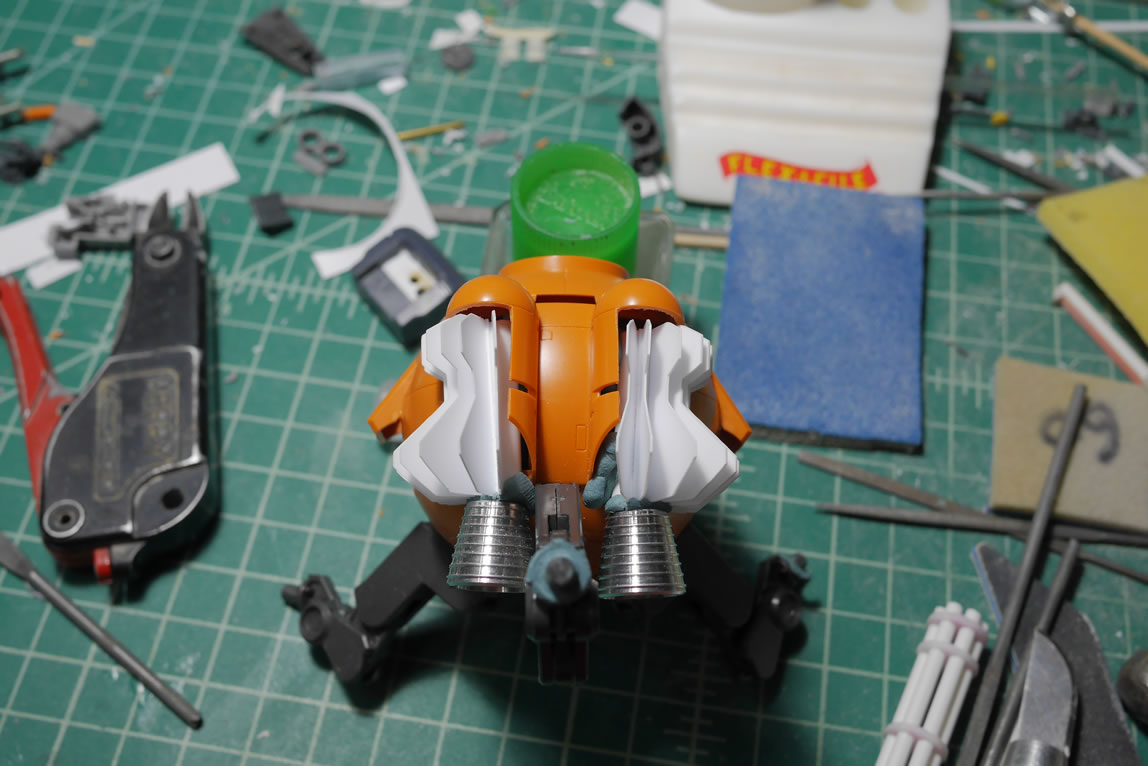
Next up, I did a quick mock up of the vents I built from the die cutting cricut machine. I added in the thrusters at the bottom to get a visual. The backpack is getting primed and still getting cleaned up after modding and bashing that part together; so that is also added to the picture. Mockups work to help me visualize the progress. I have a mental image of the design (I rarely ever draw out my designs and just go from what’s in my head). There is always room for changes as the build progresses. Sometimes, the visual in my mind’s eye isn’t recreated correctly, or if it is, it’s not visually appealing in the real world. So things constantly evolve.

Evolution to come after the jump. (more…)