This is going to be another long post as this encompasses a little over a month’s work for this little project. This actually just starts off with Kaneda’s bike from Akira. I picked up the 3D file from Gambody and just printed it out. I had the forethought to print a few things in clear resin like the windscreen, tail lights, side markers and the wheels. In the anime, it looks like the wheels are light up green, so I figured I could replicate that with some LEDs. We get to more of that later. I was also just going to throw a gunpla kit in as “Kaneda” and get it all painted up like Kaneda with his jacket and all that jazz; but the fit wasn’t quite right. The Beyond Global RX-78 was a little too small, and the HGUC Nu Gundam was a little too large. I consider myself a lazy modeler, so if I can fit something in with minimal work, I’ll go that route.
Well, with that out the window, I scrounged around my backlog to see if I could find a figure kit that would work. The bike printed at about 1/16 scale, so I found a luftwaffa girl kit that I hadn’t built (anime girl with WWII airplane bodies as legs) Yeah, not sure why I got this ORIGINAL kit either. Anyways, from the test fits it looked pretty good and shouldn’t be too difficult to mash.
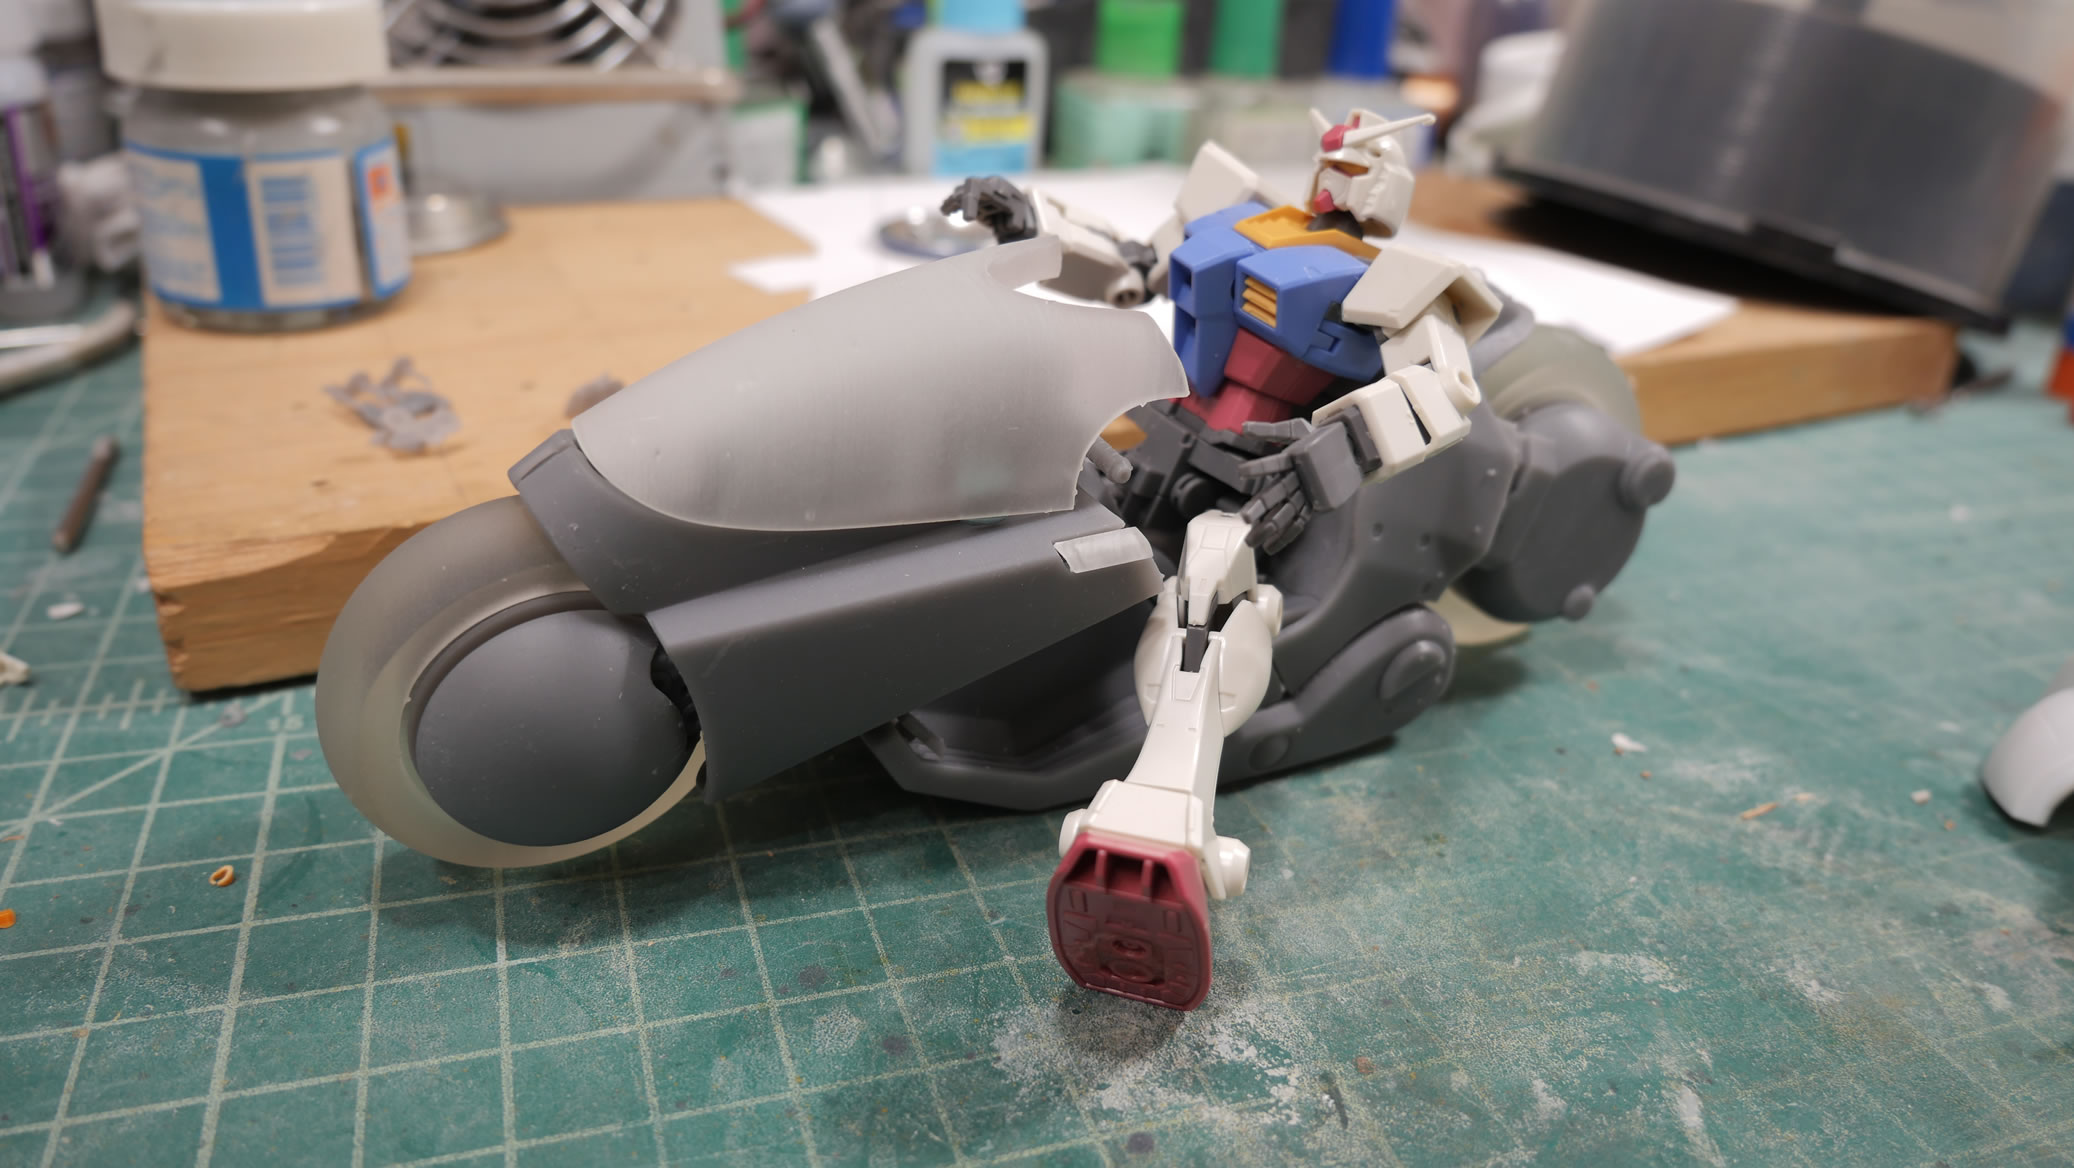

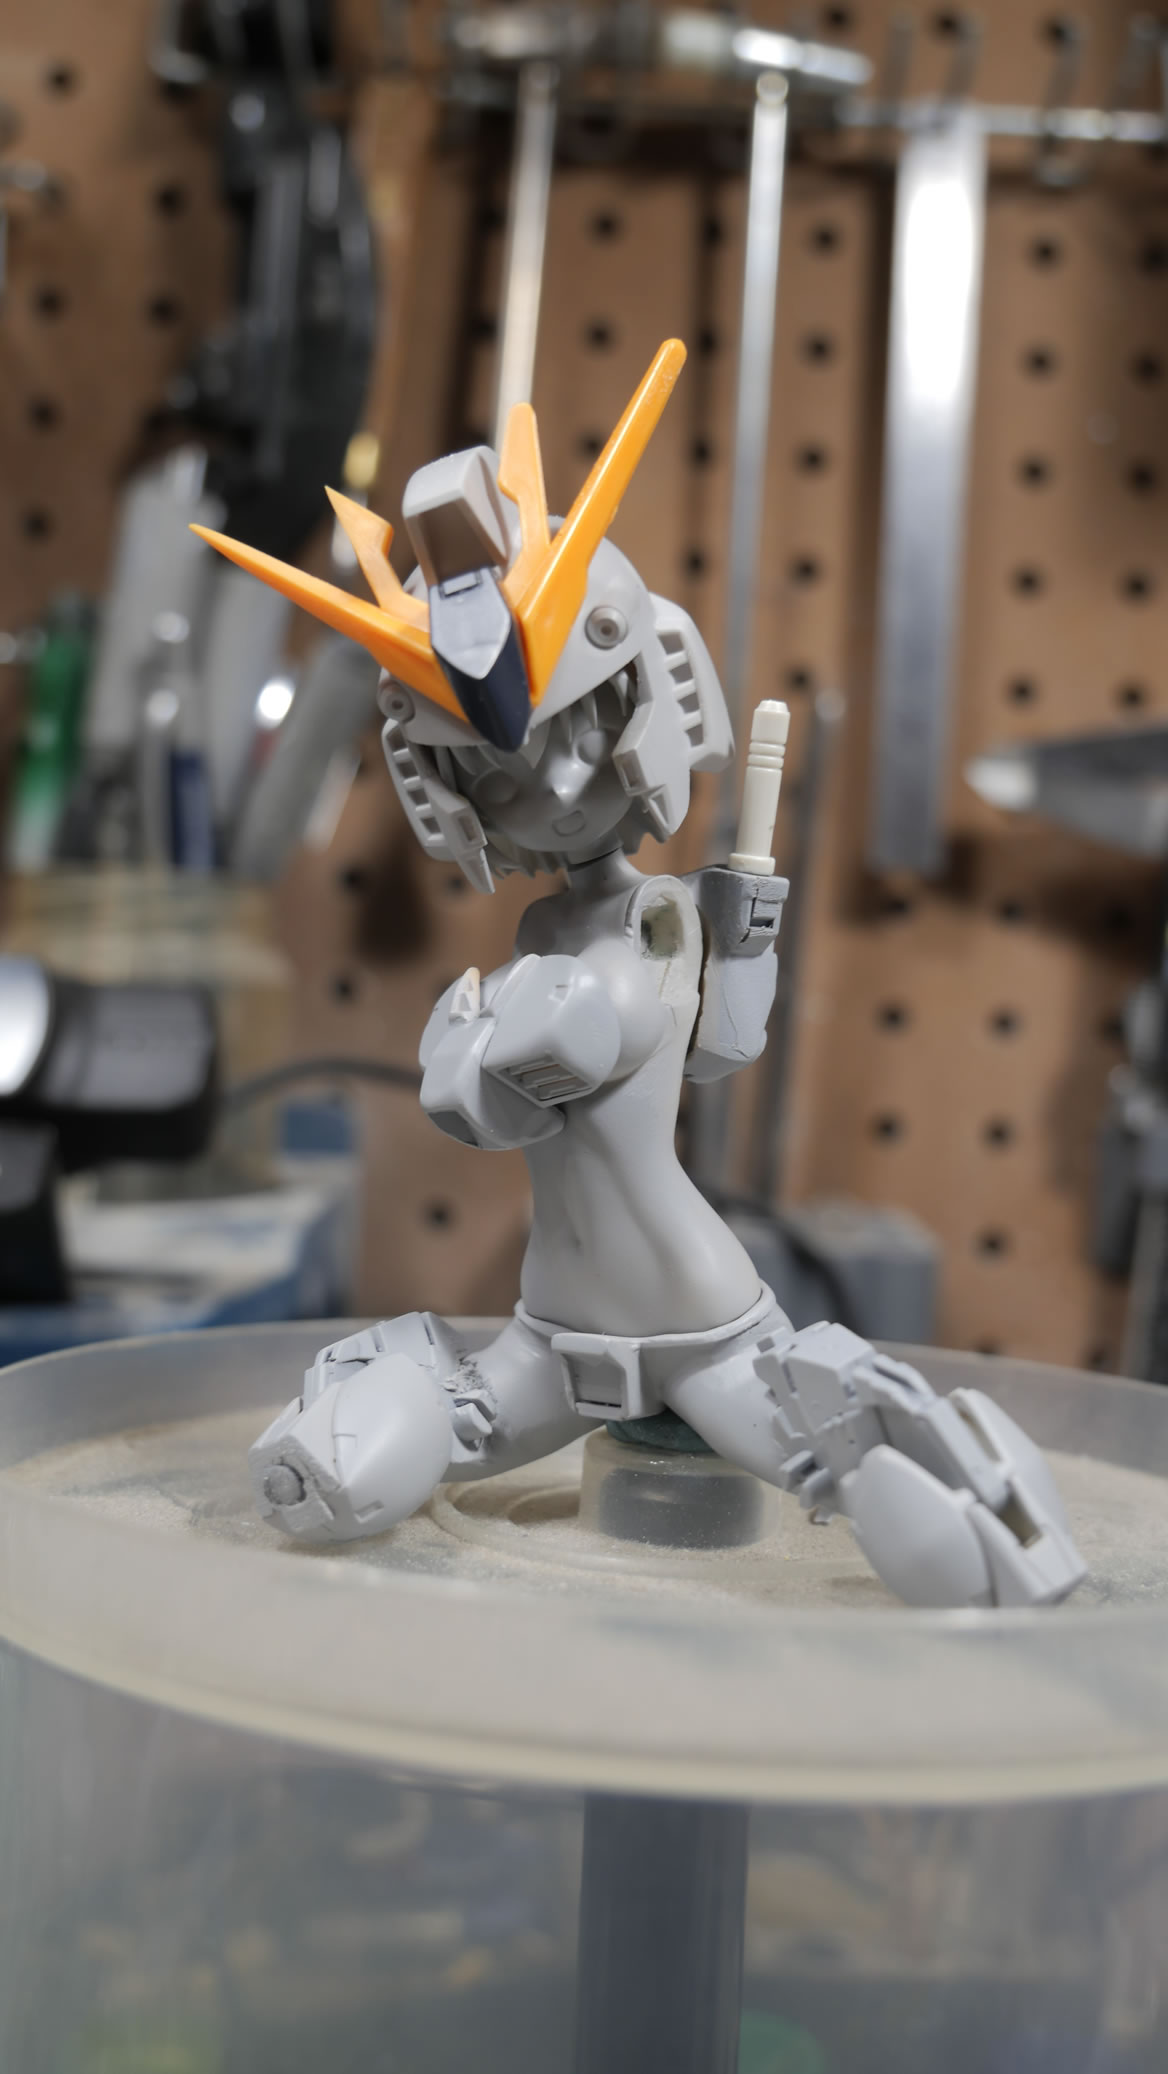
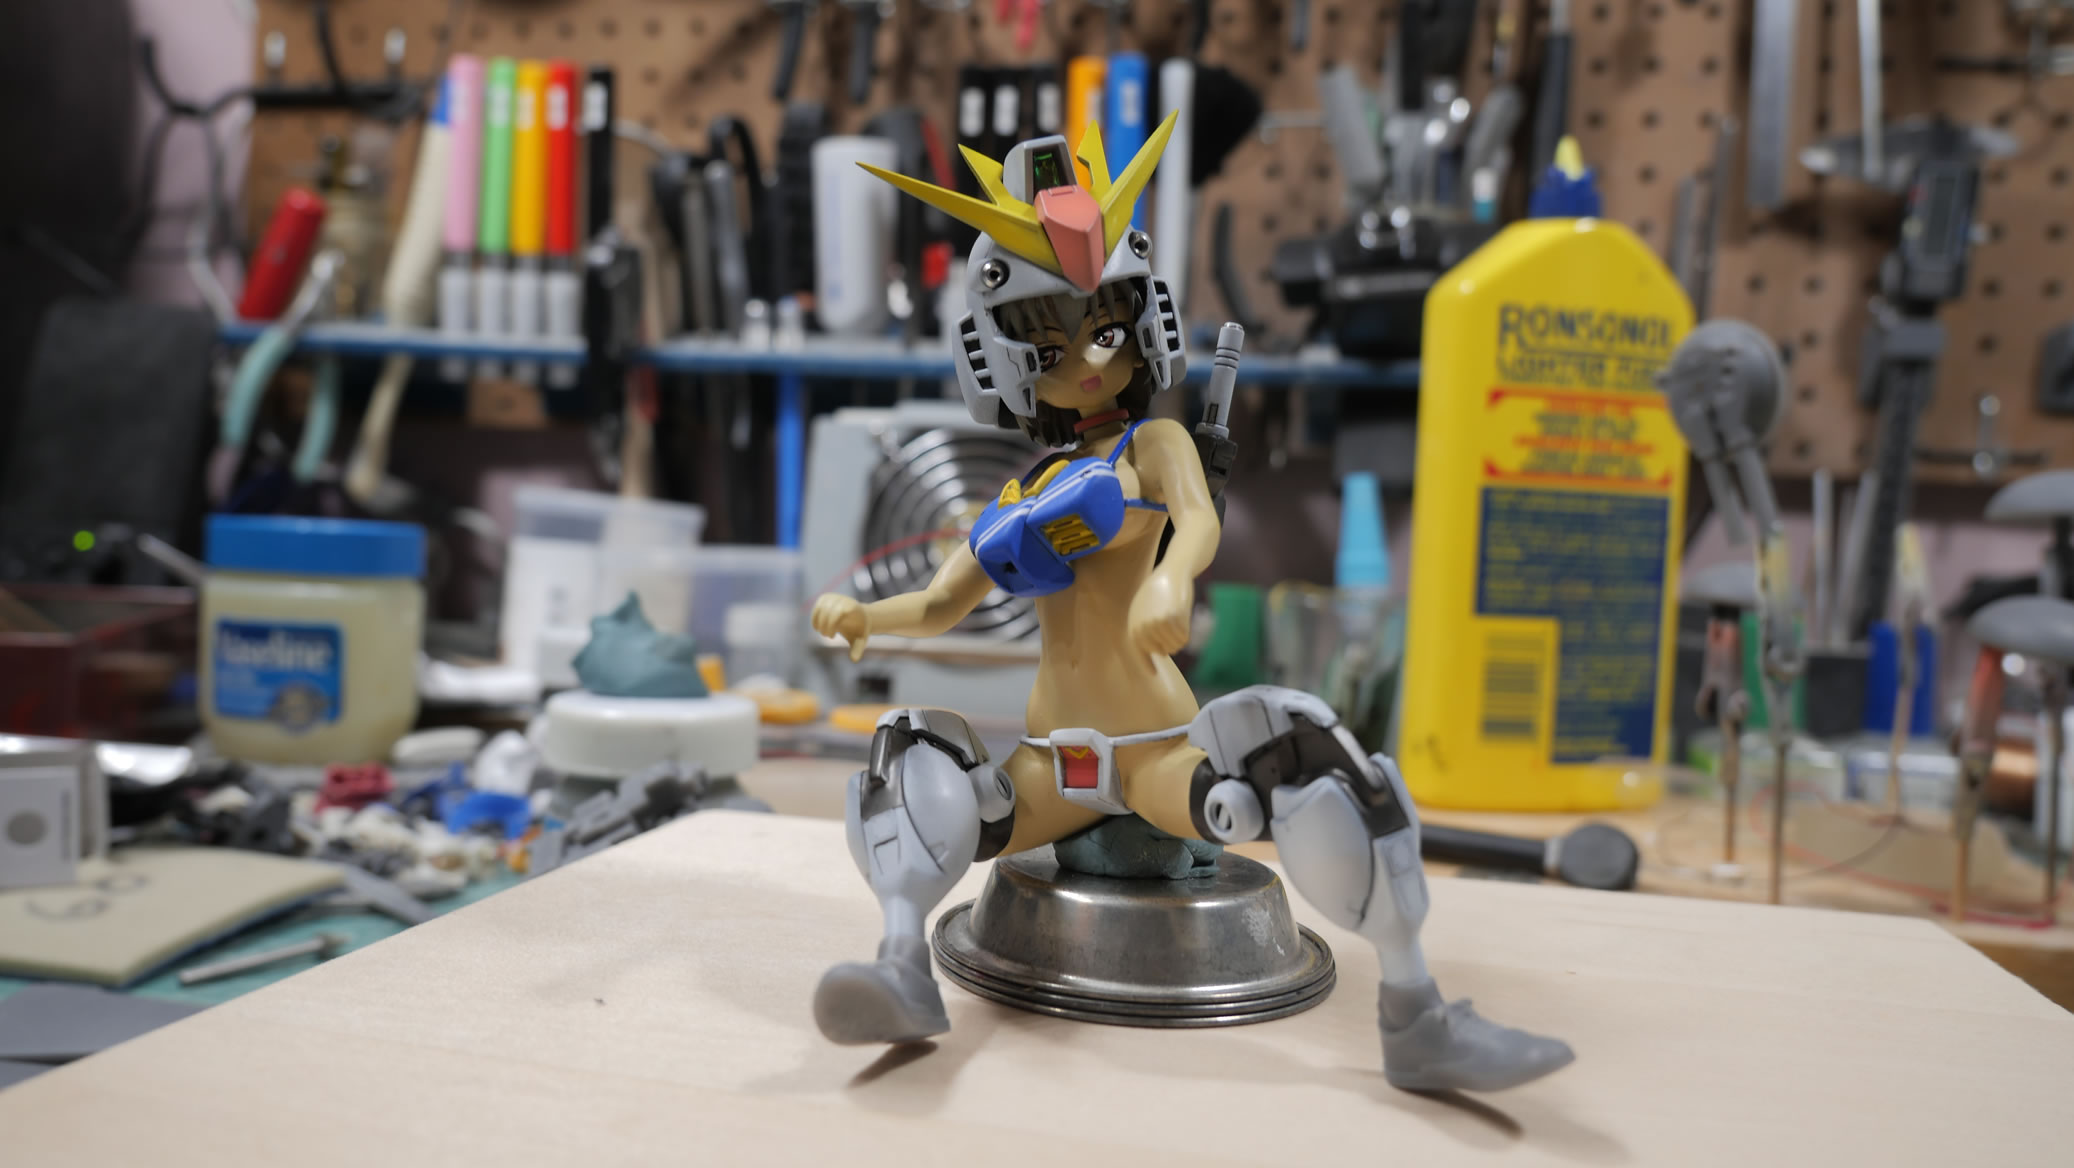
Add in the head from an SD Nu Gundam kit as a helmet, along with the 3D printed bike, Beyond Global Gundam at 1/144 and the Luftwaffe resin anime figure, I was ready to start bashing away. Story continues after the jump.
The Gundam Bikini Girl
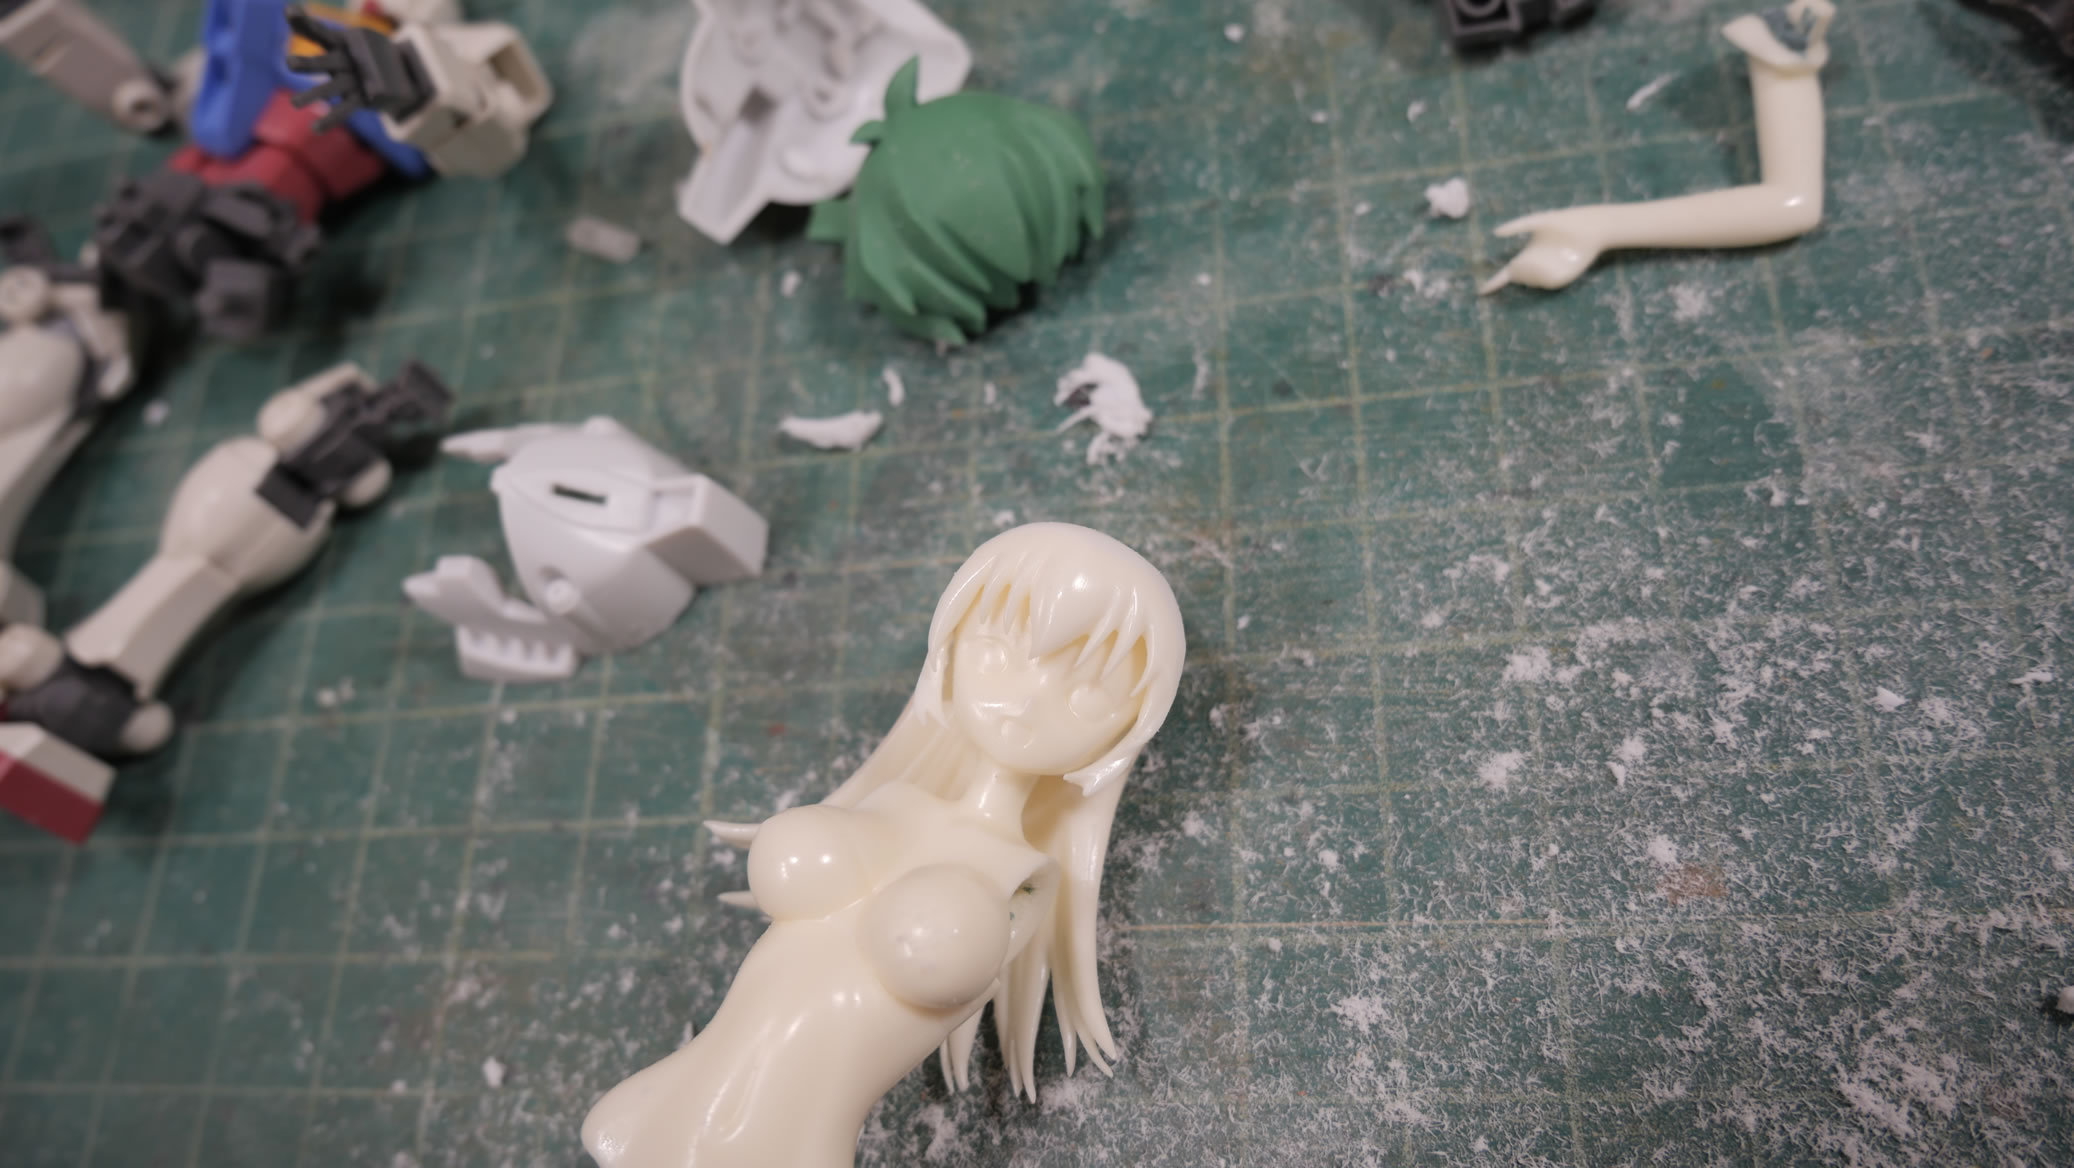
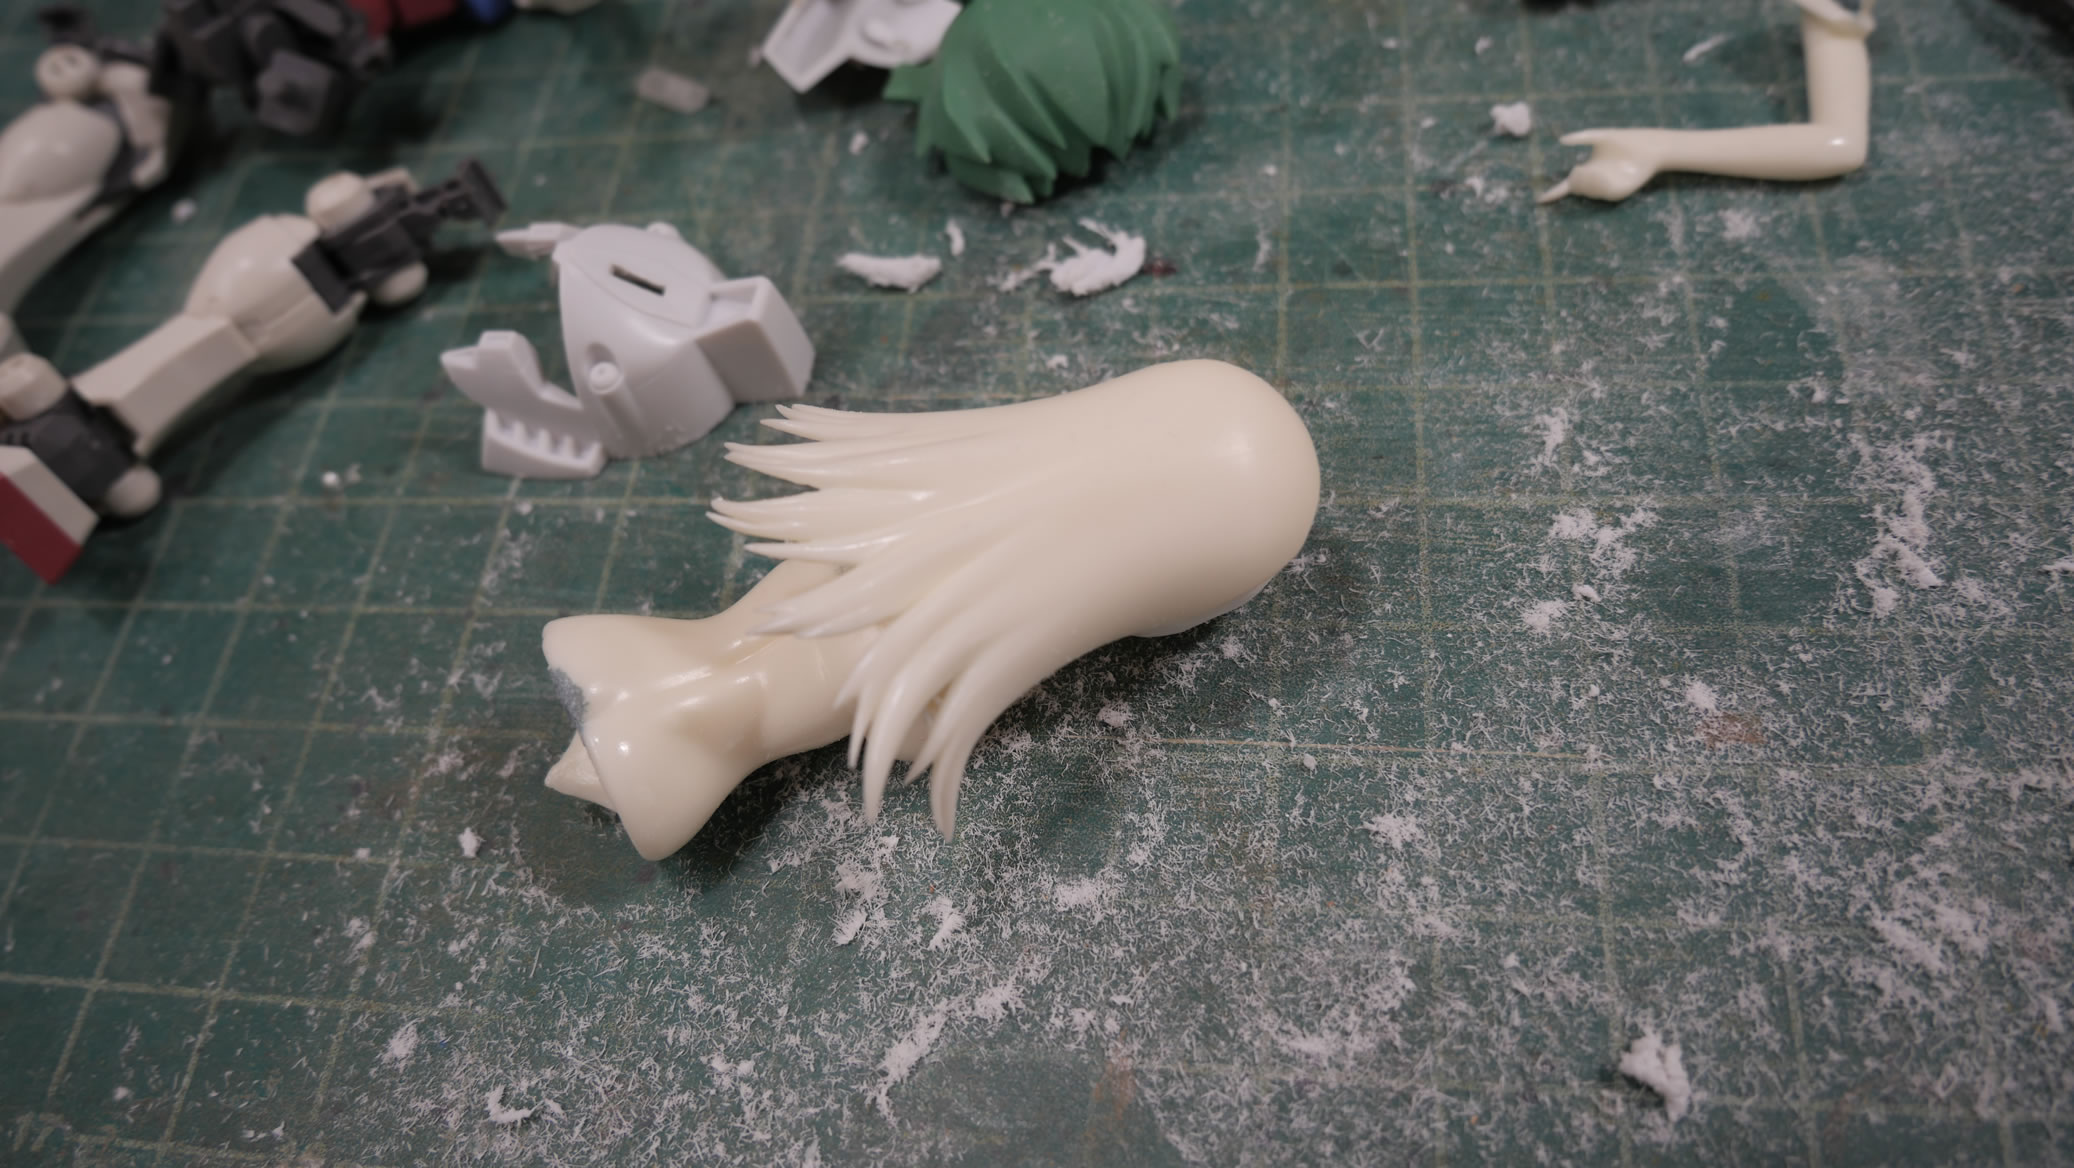
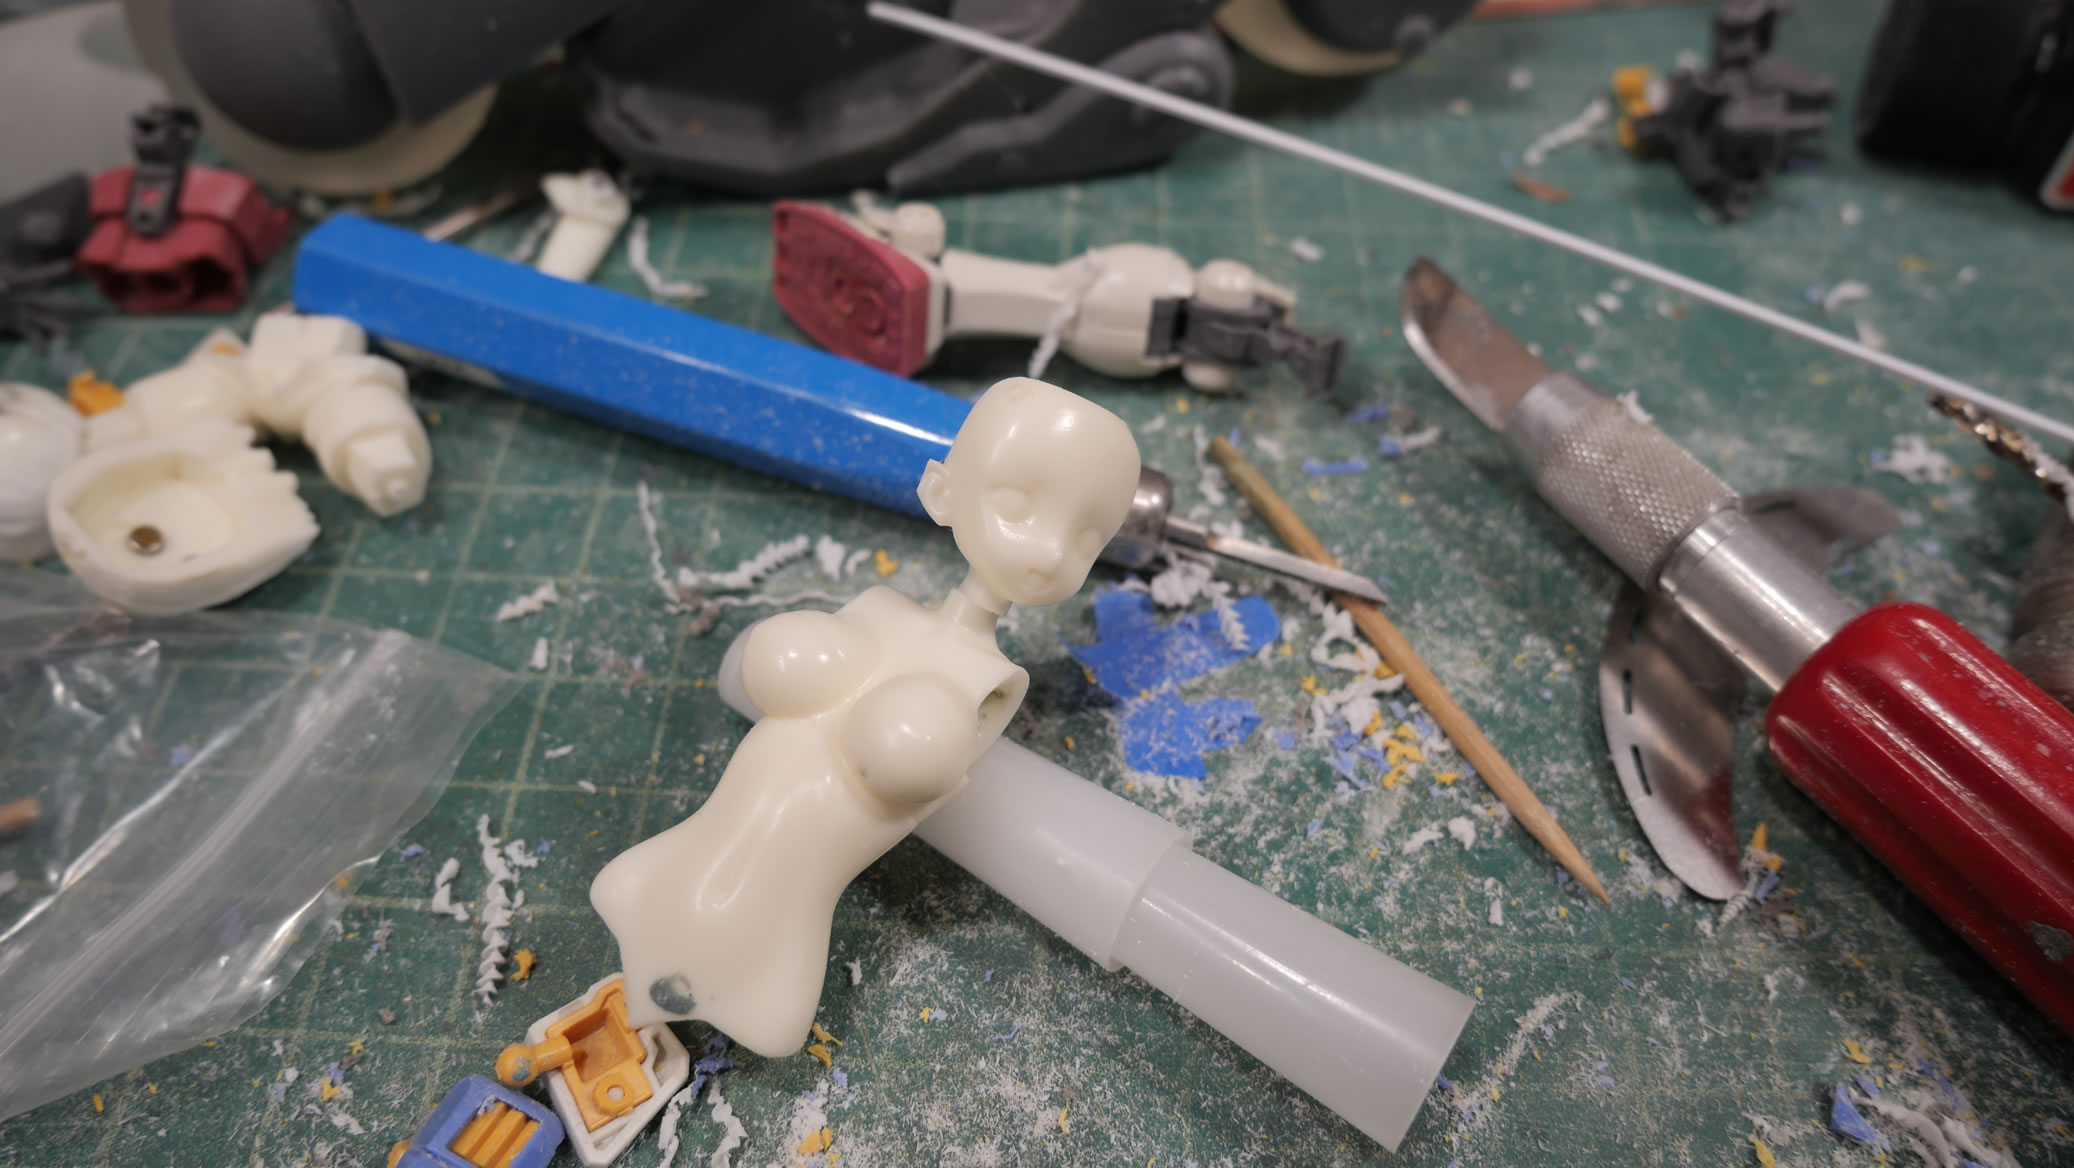
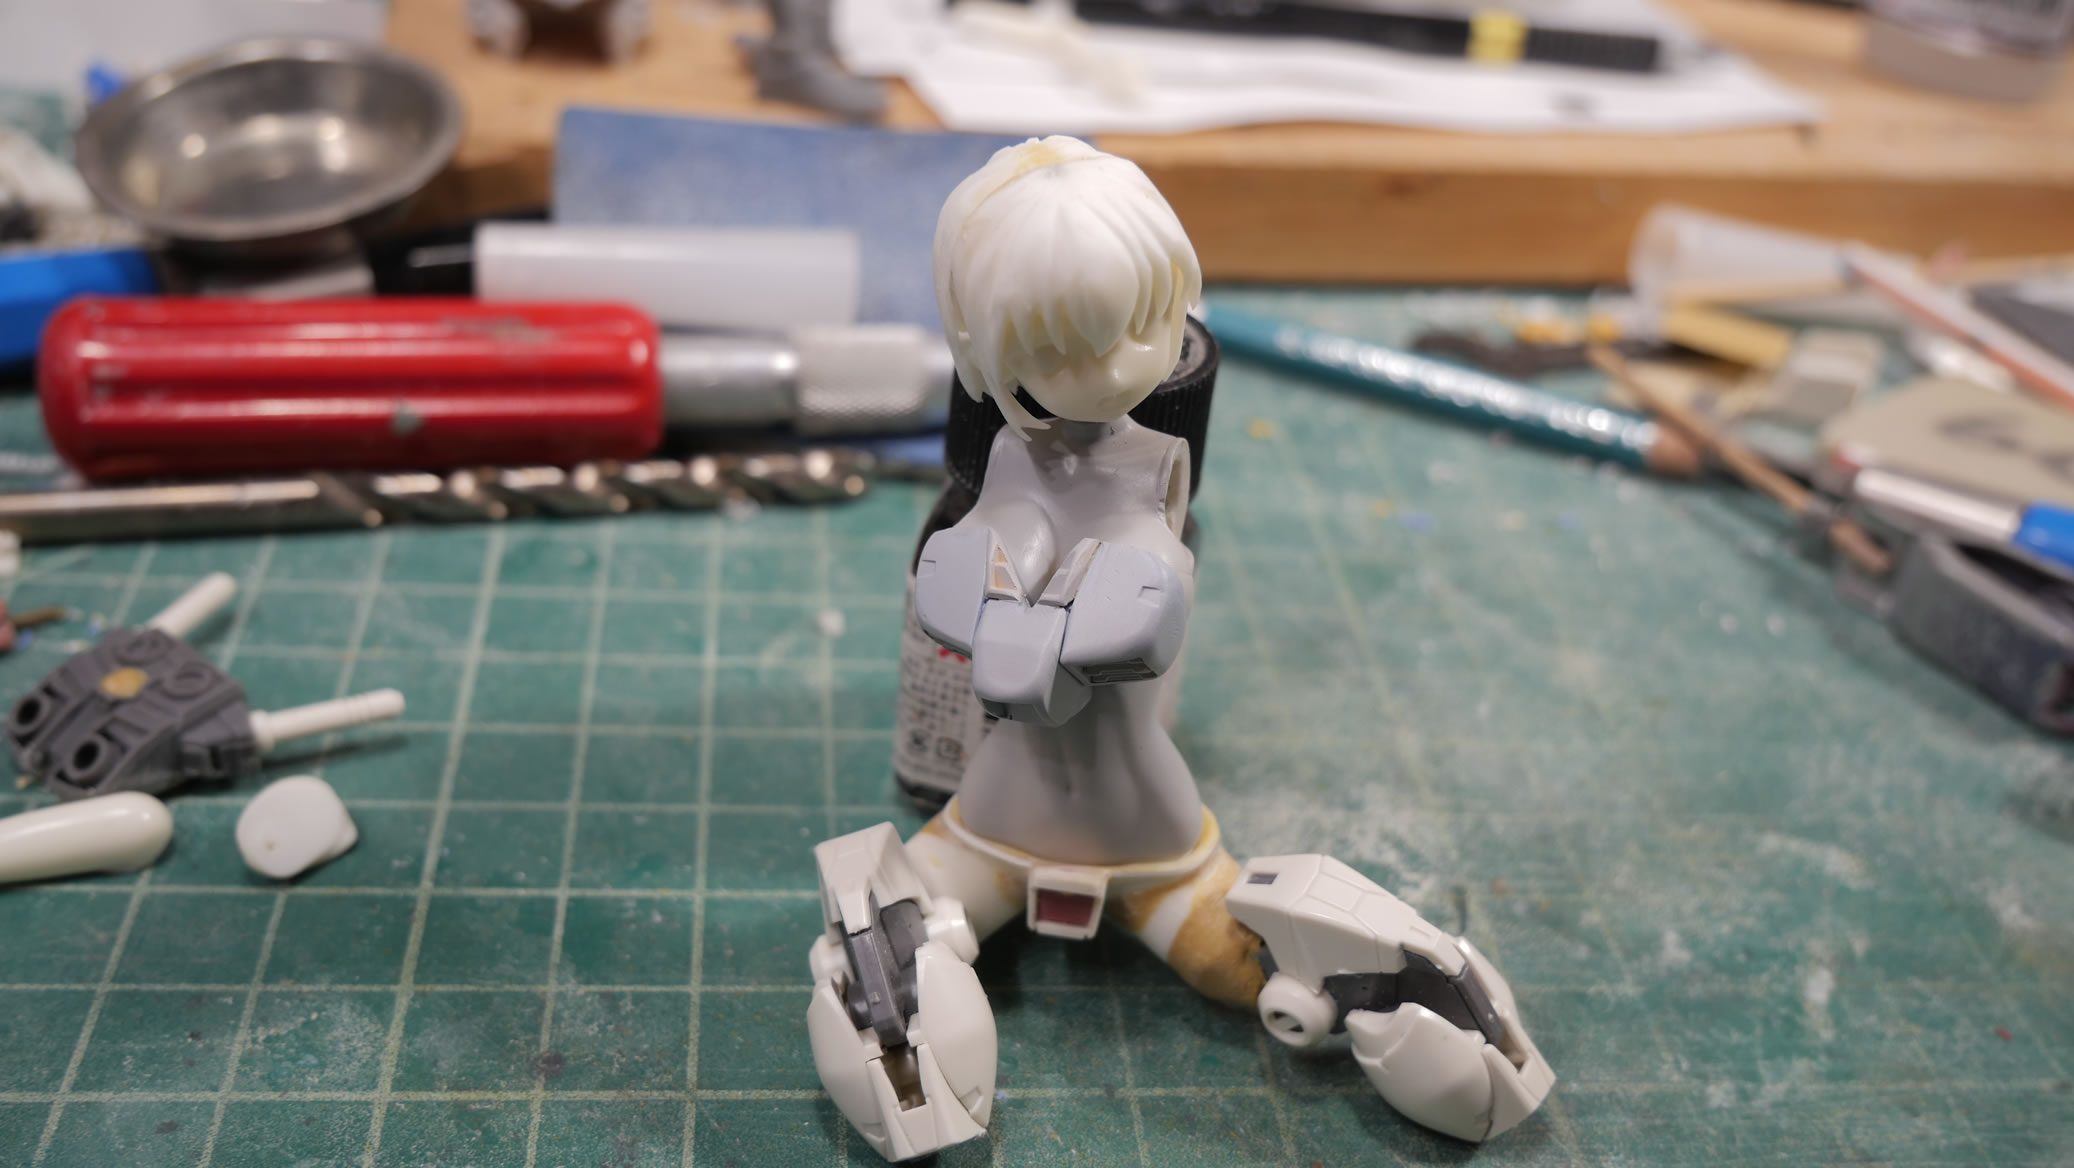
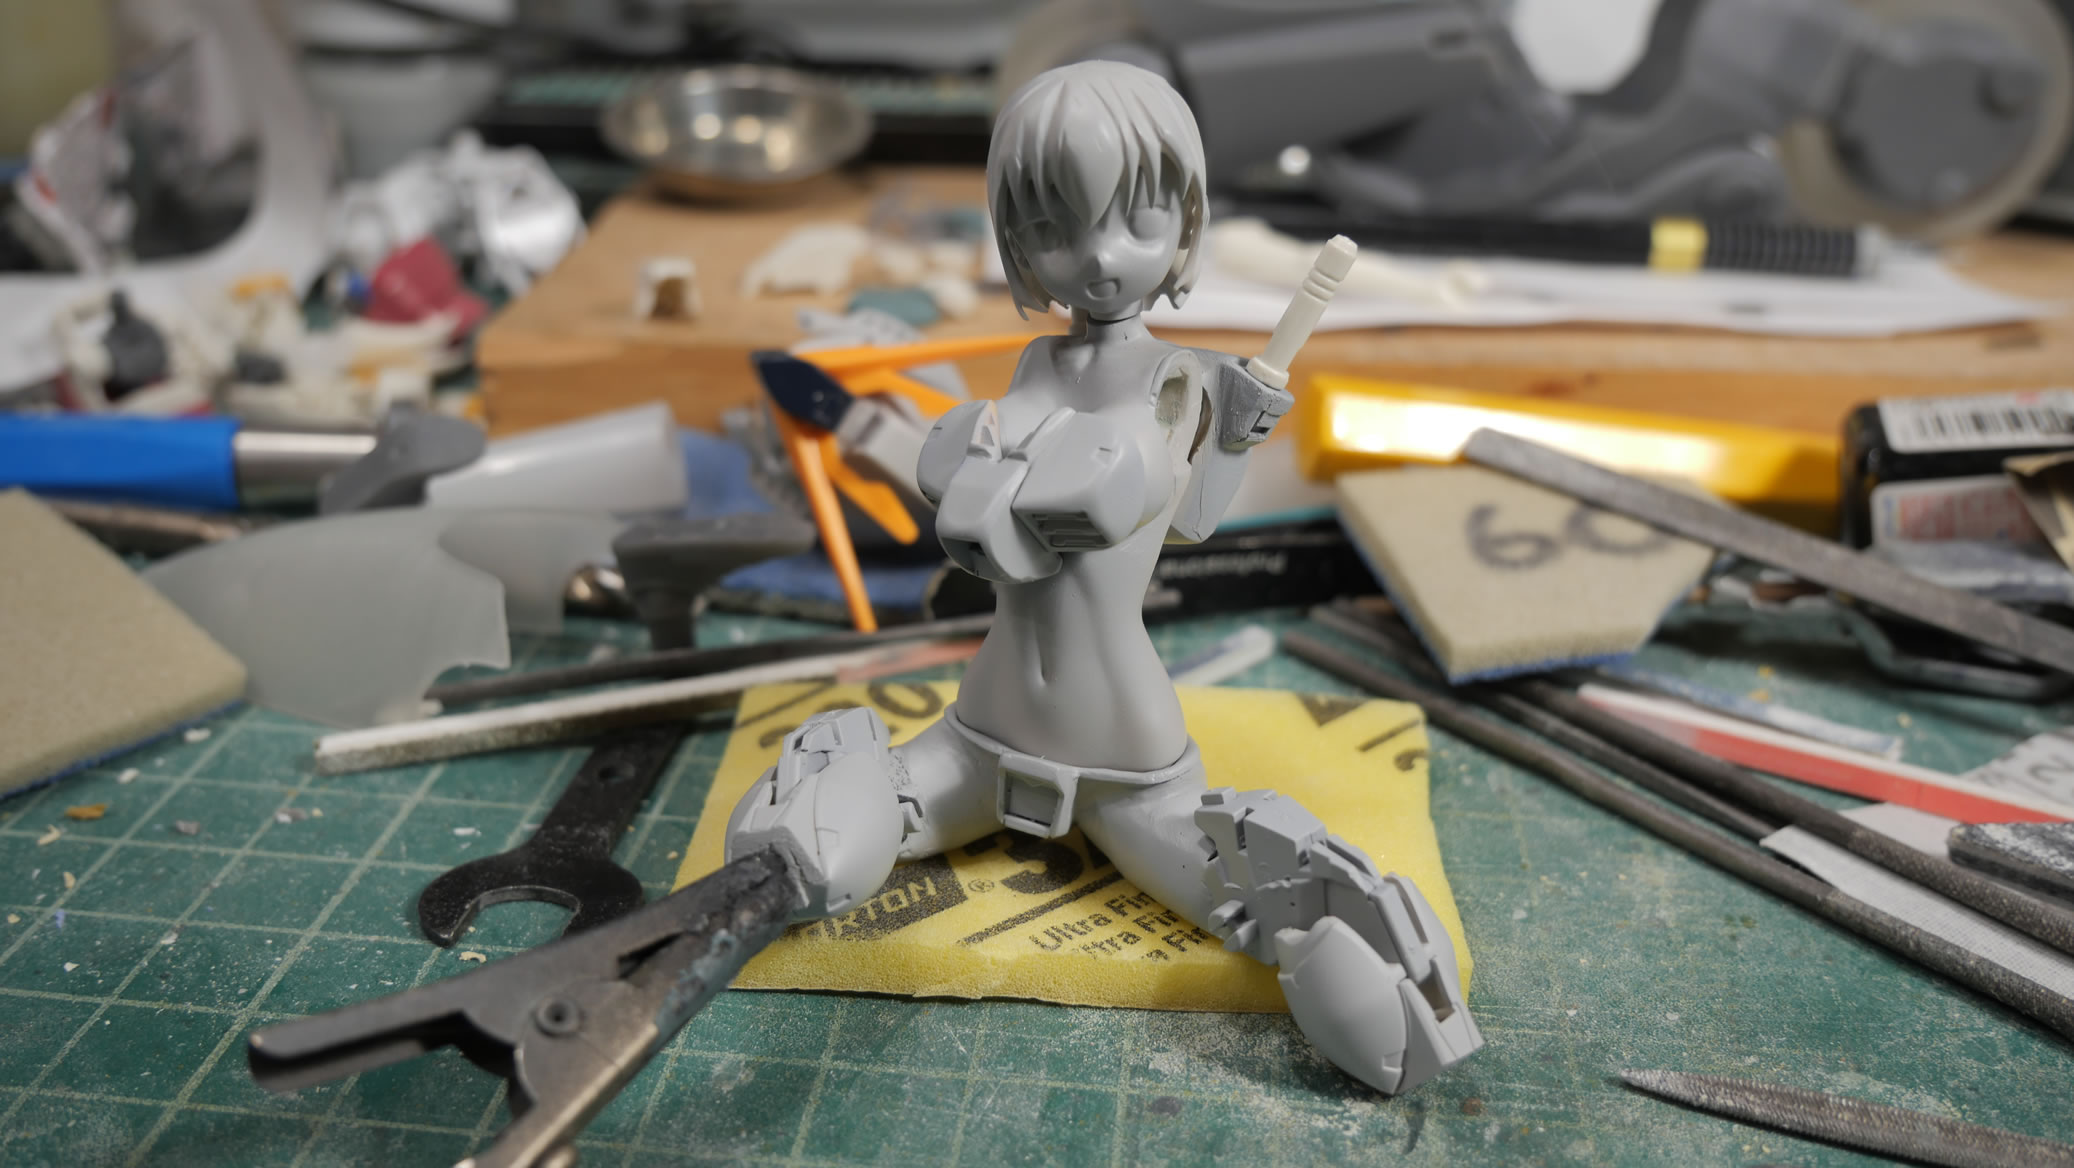
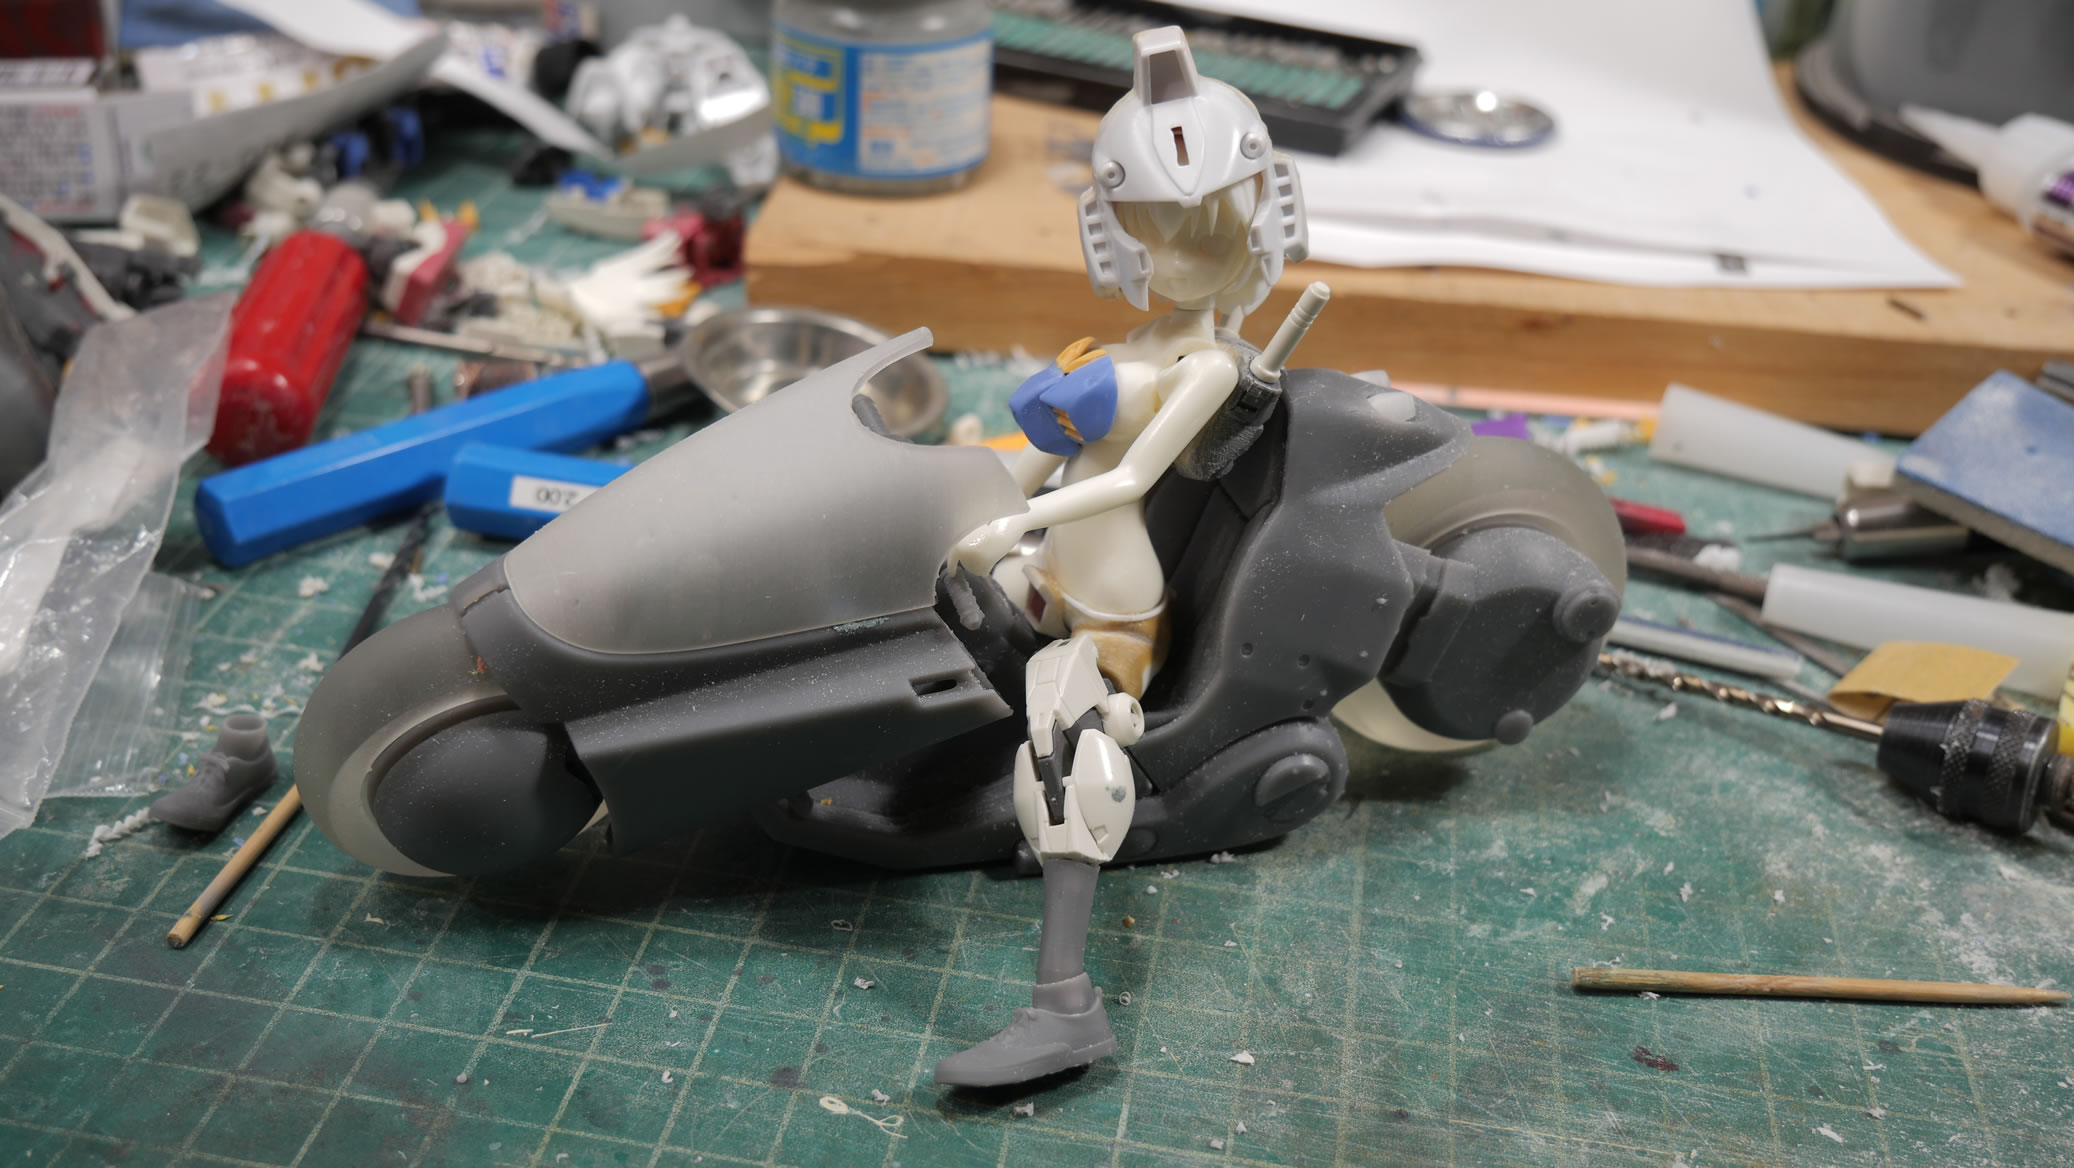
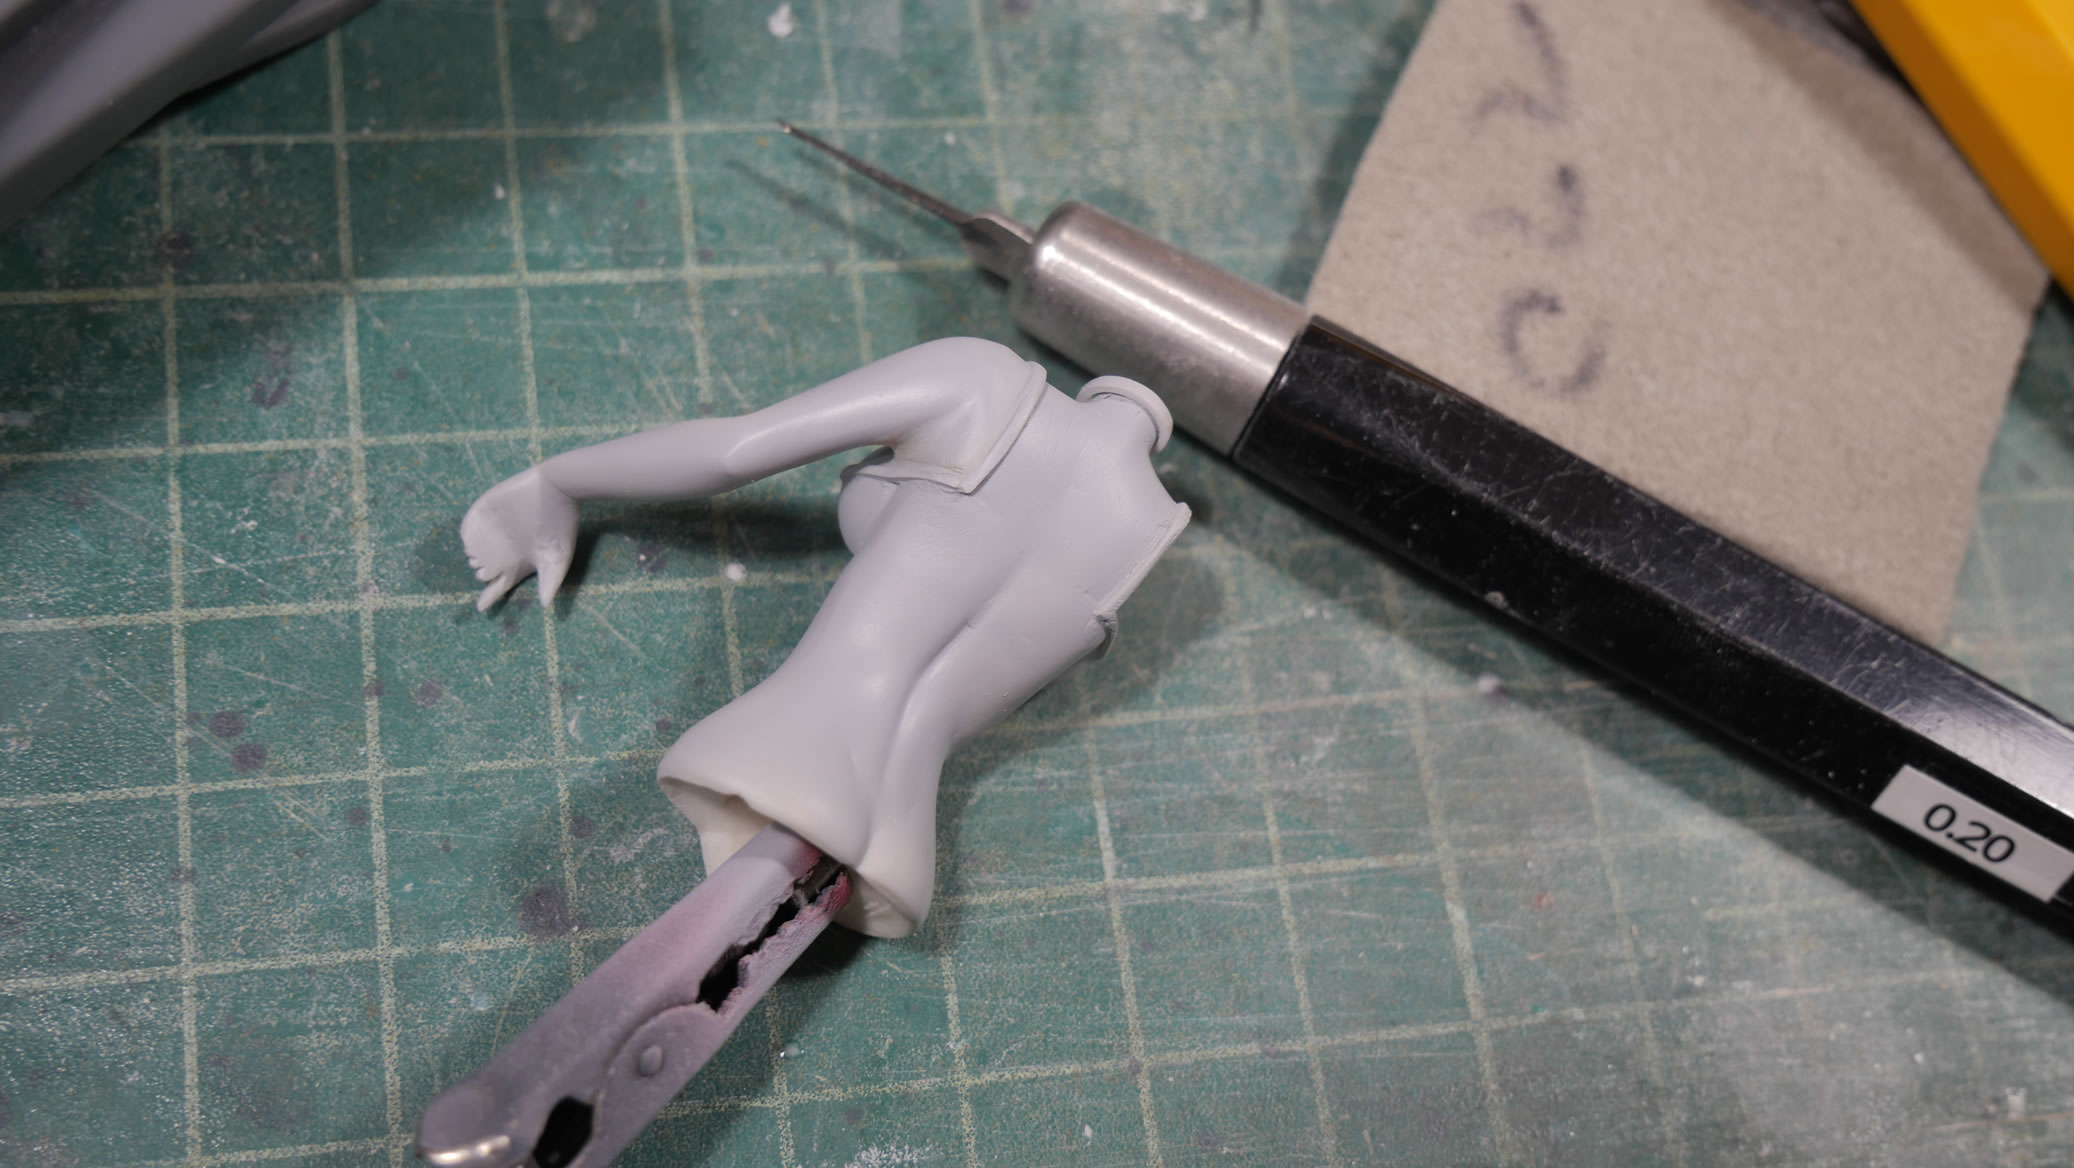
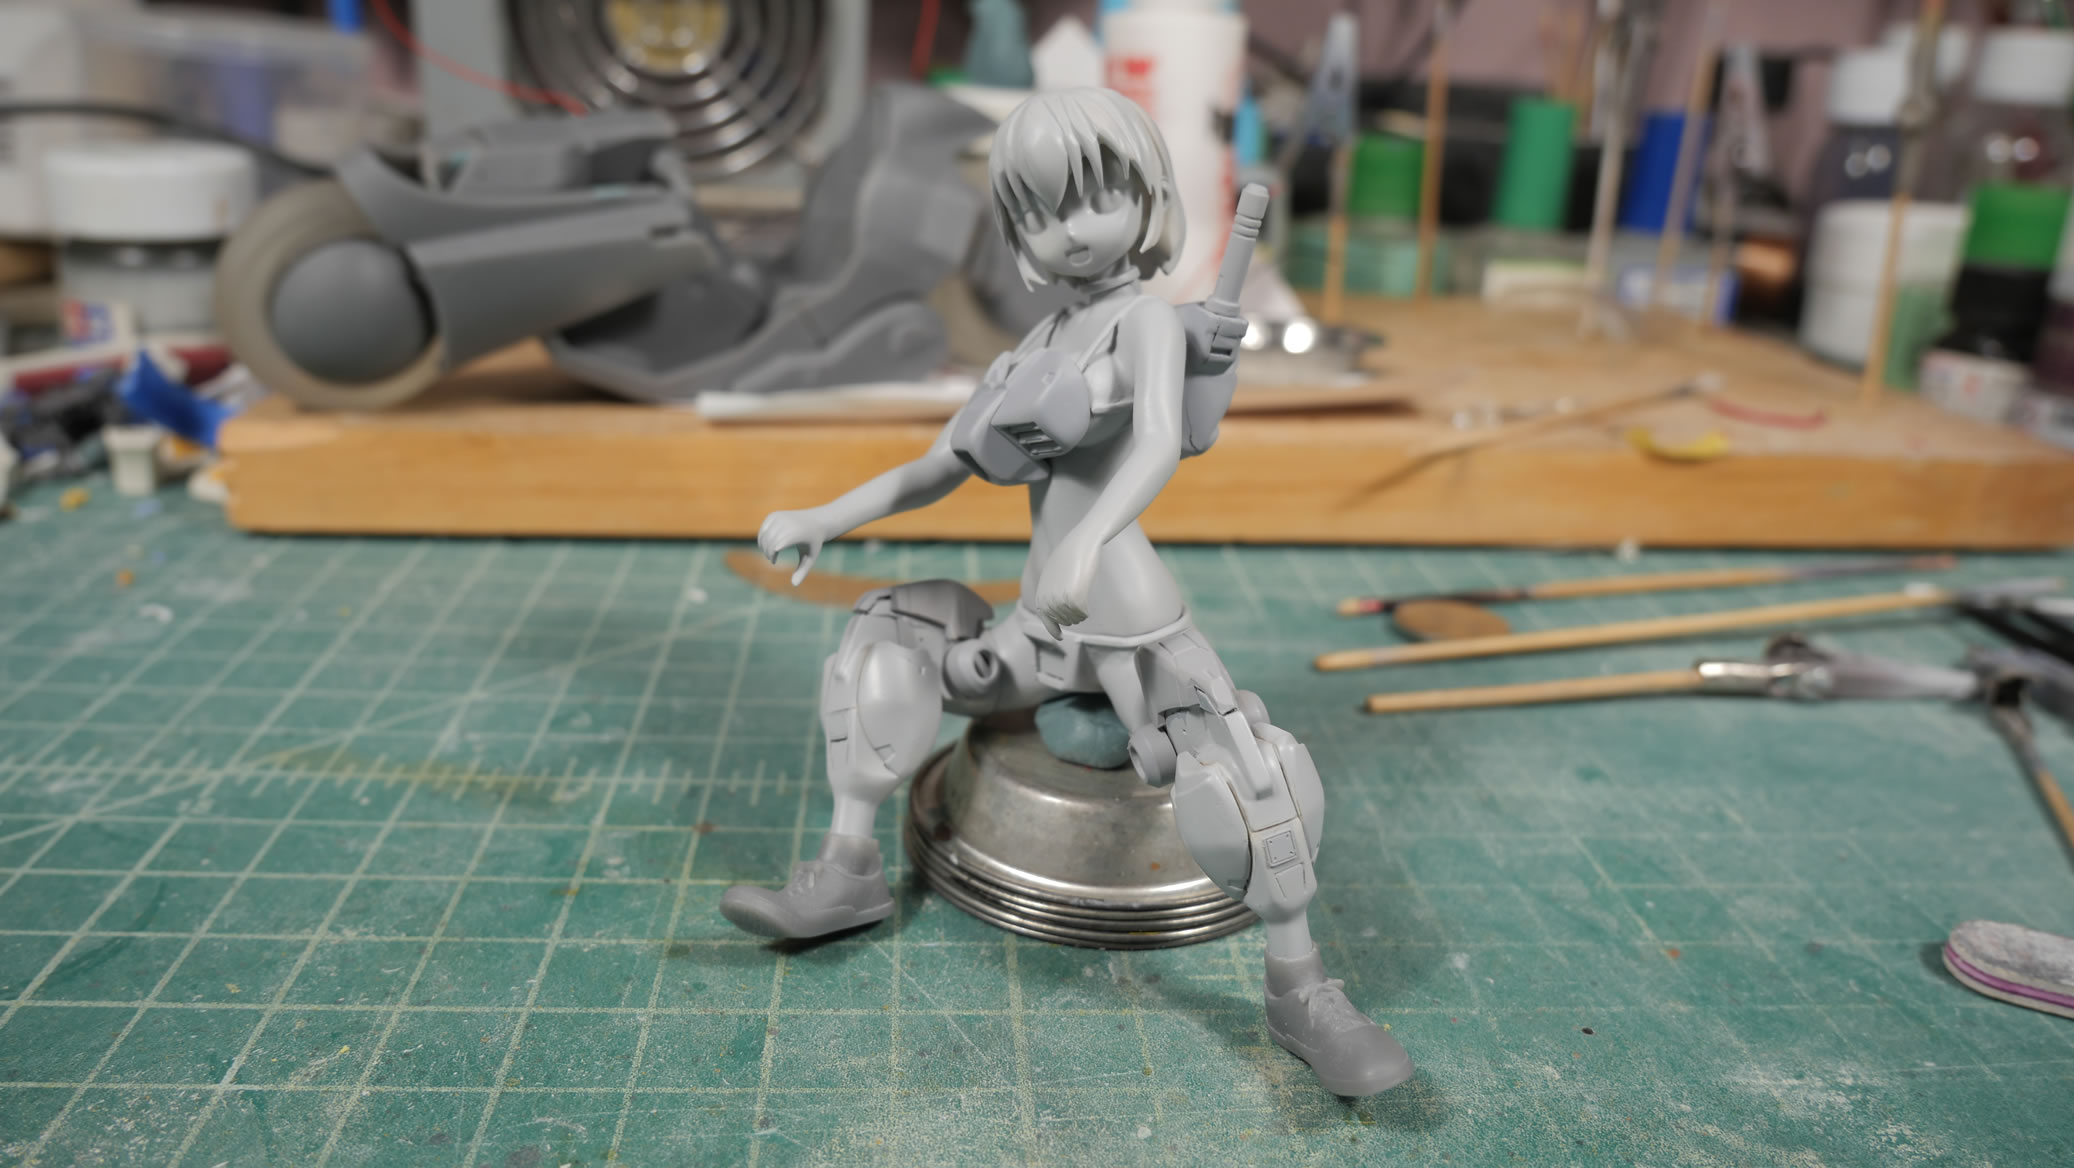
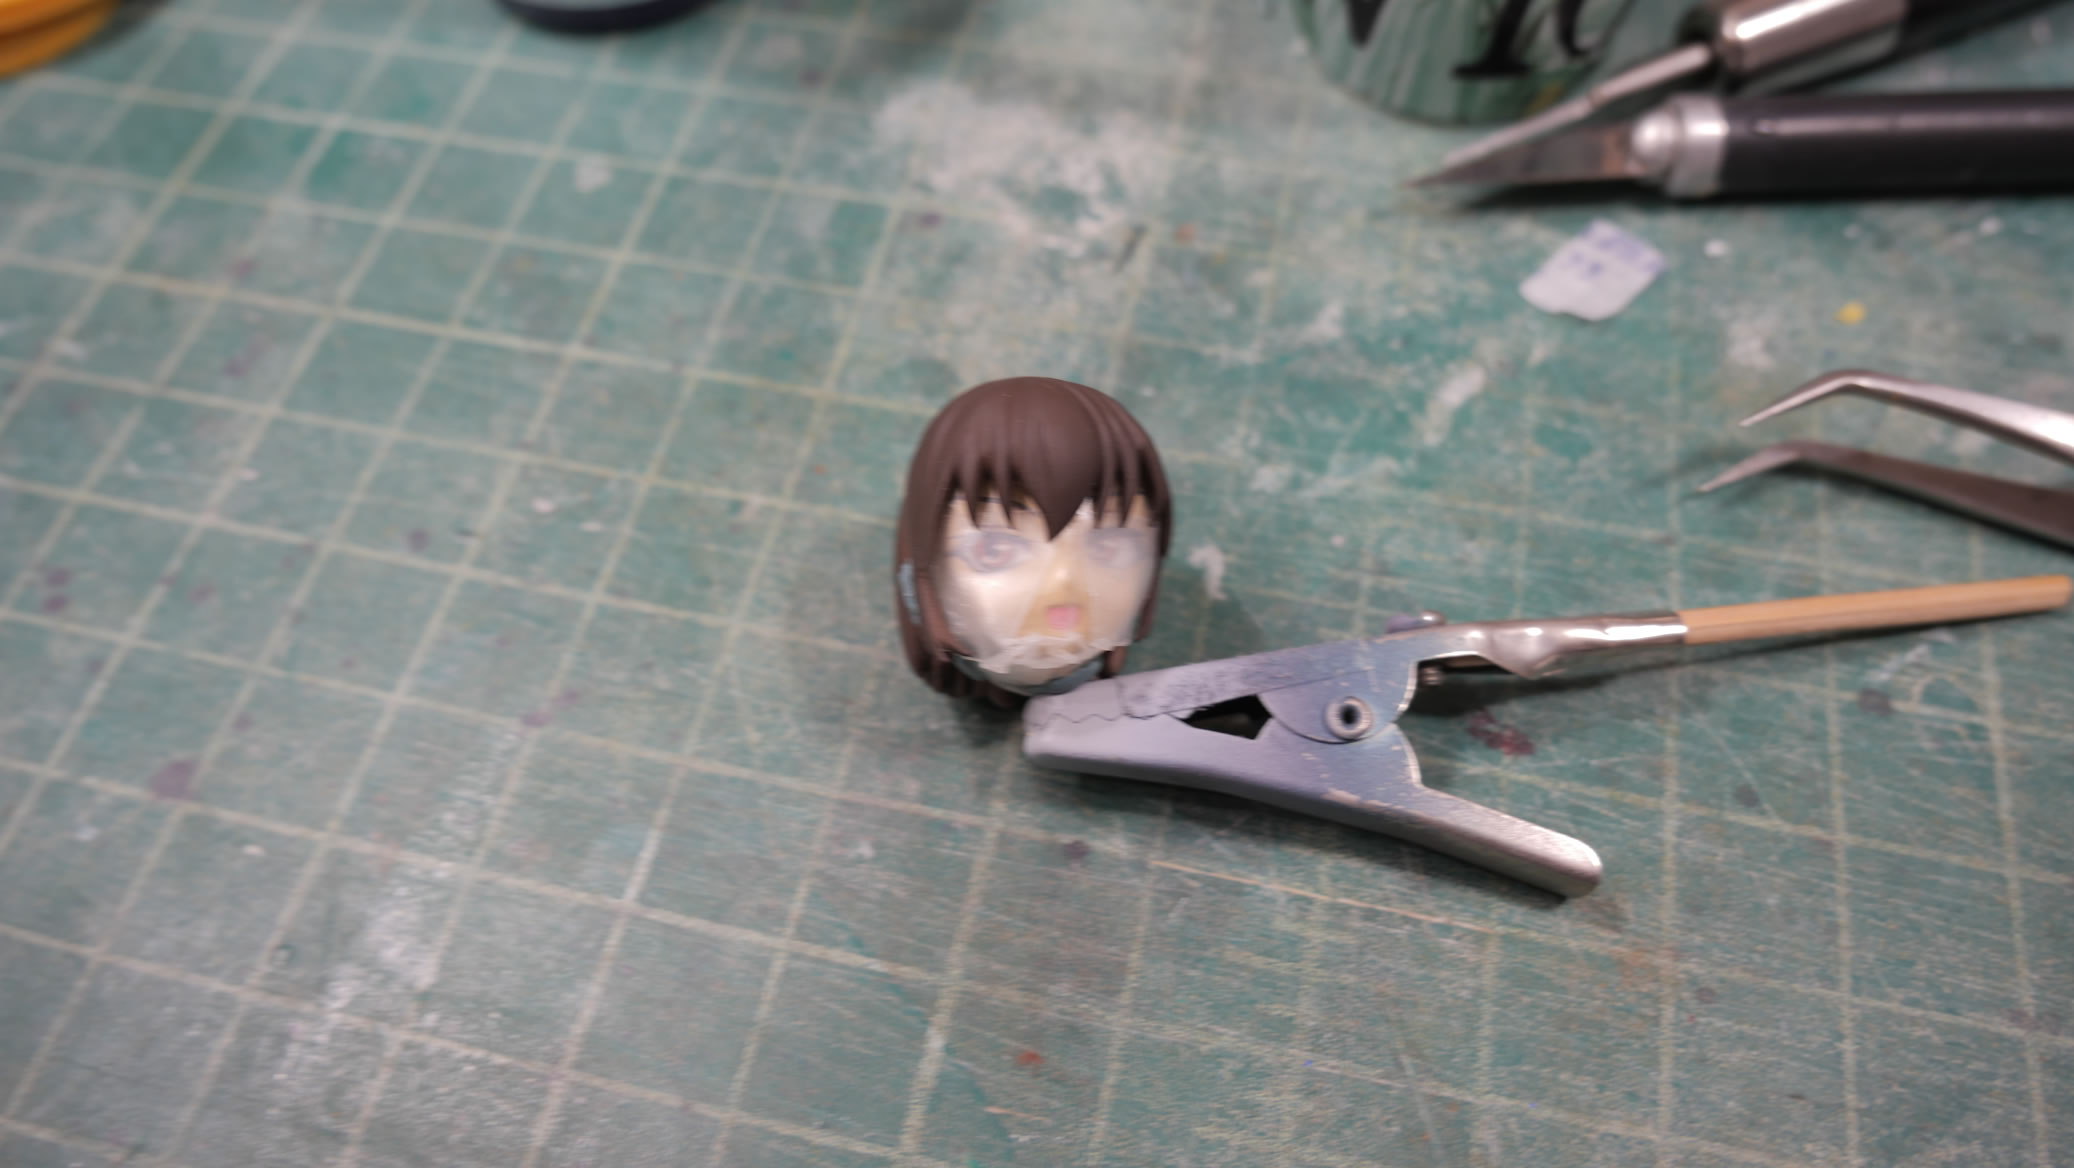
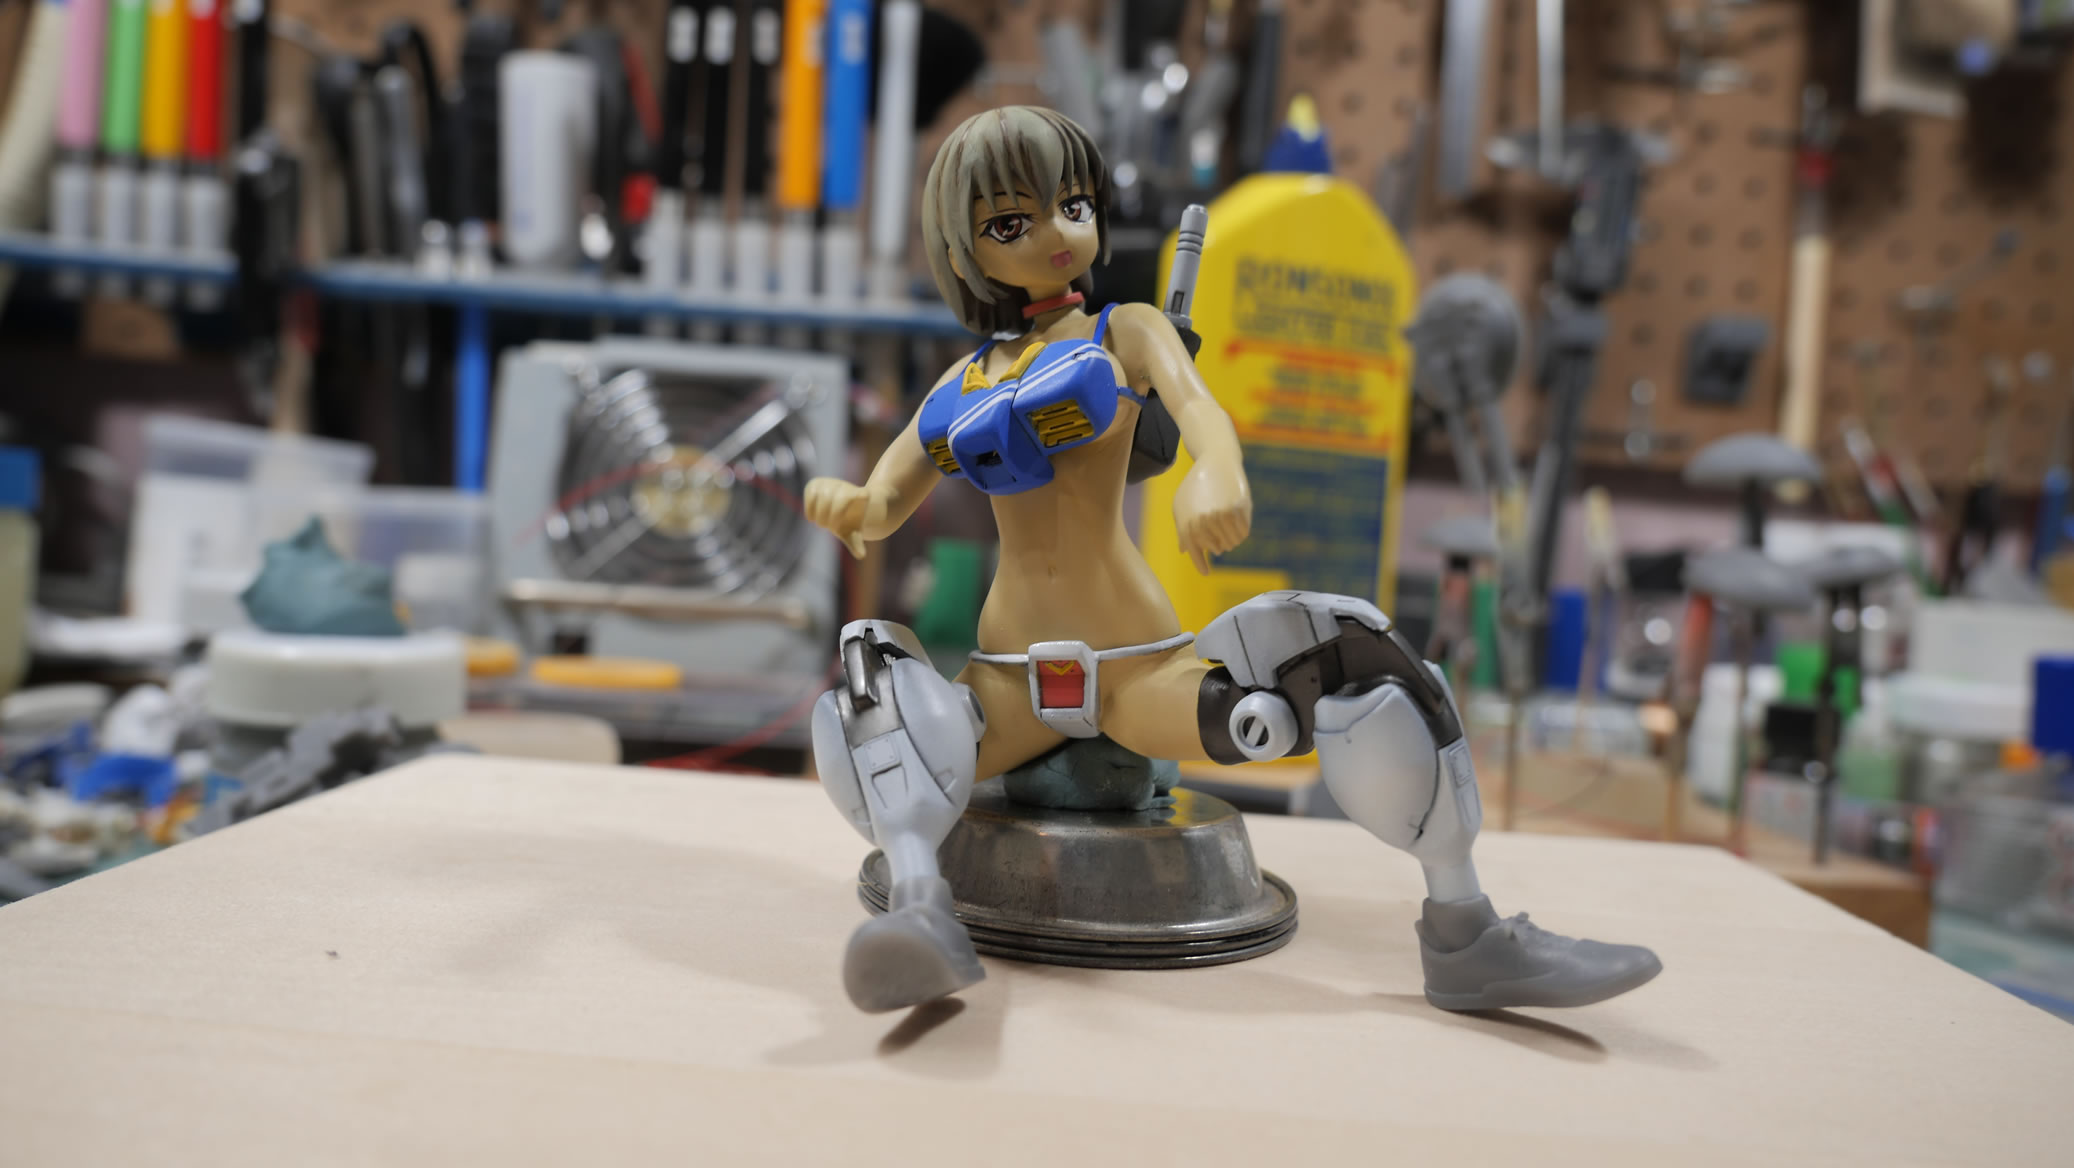
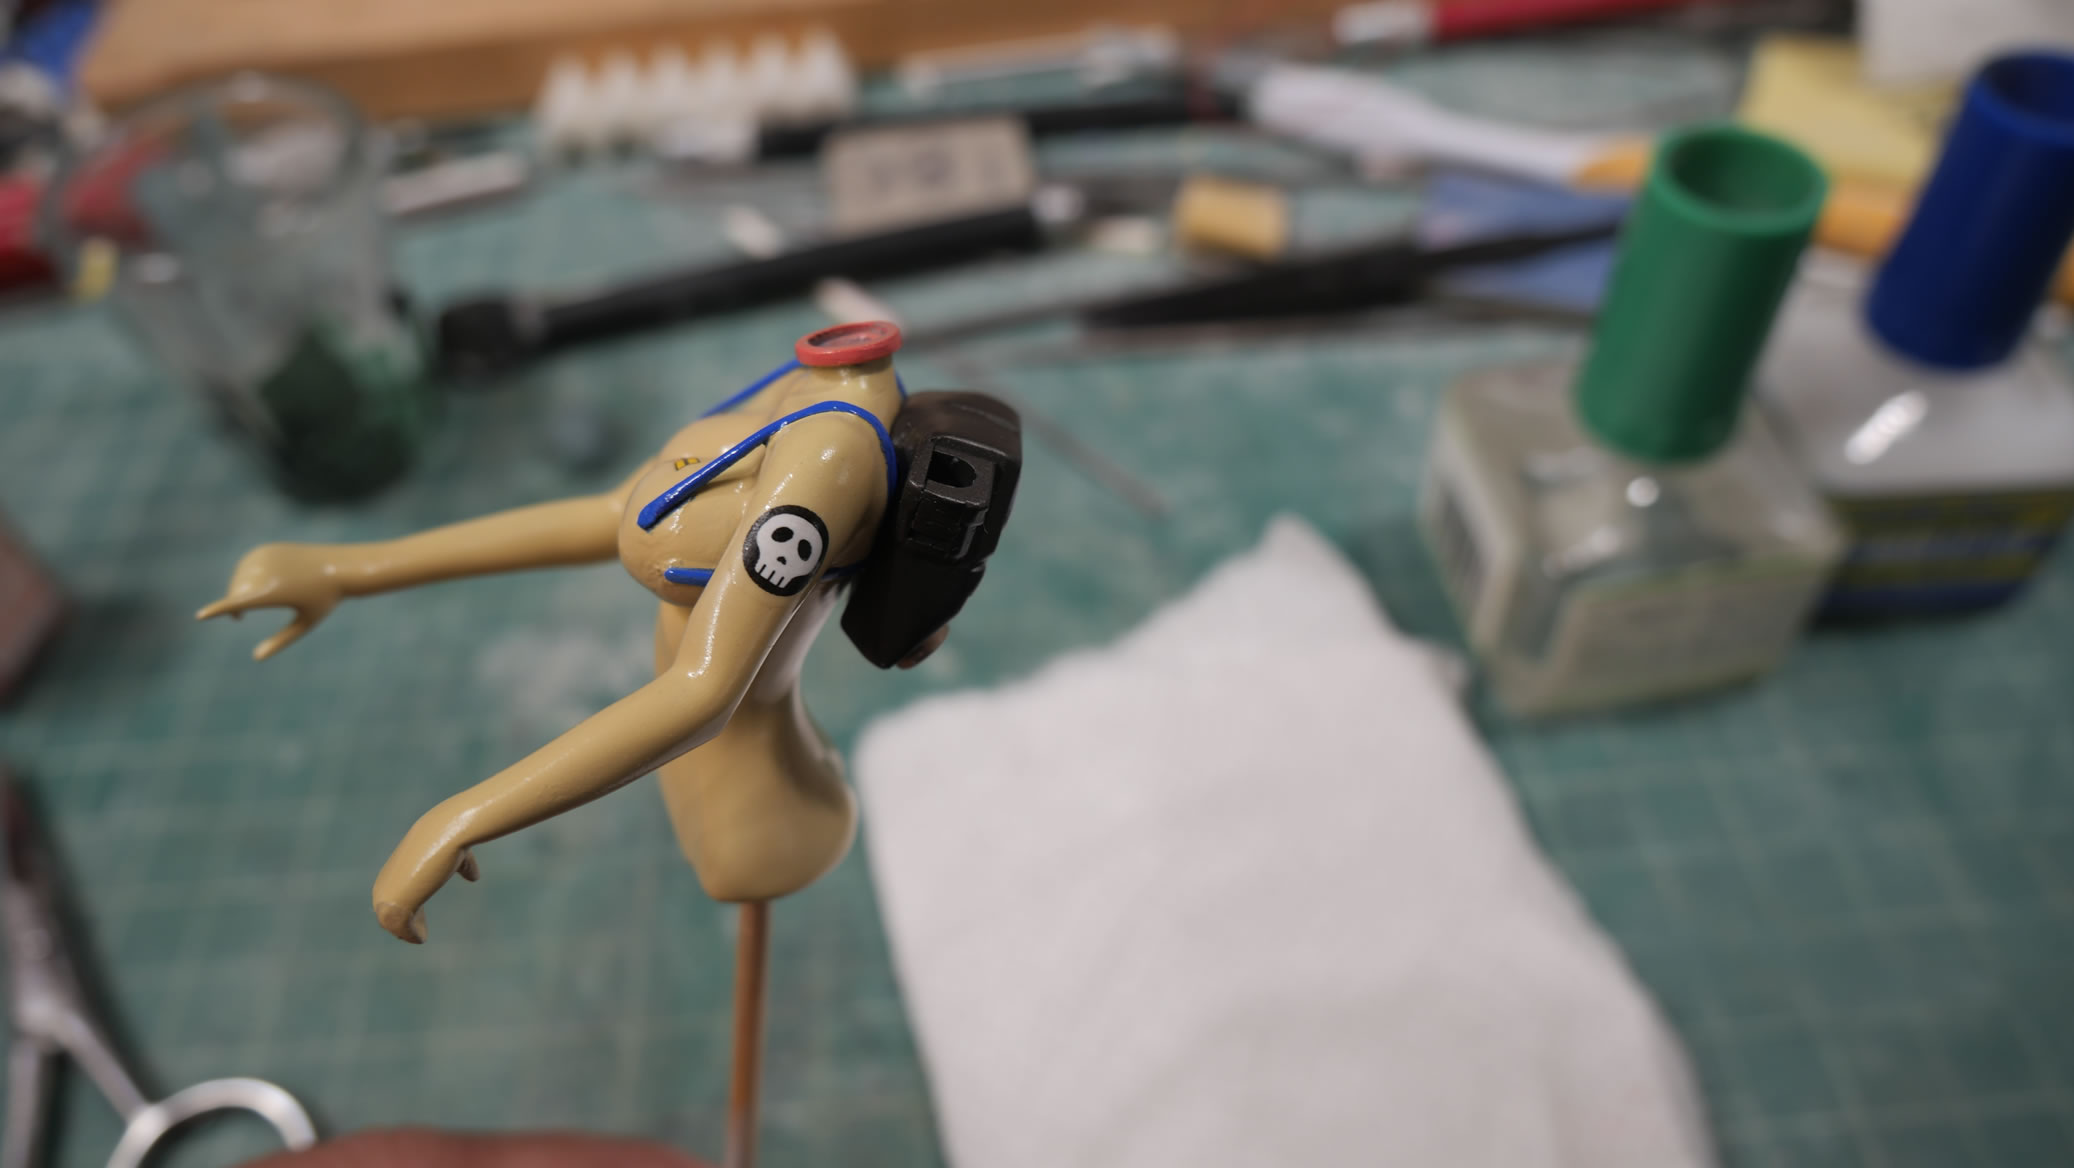
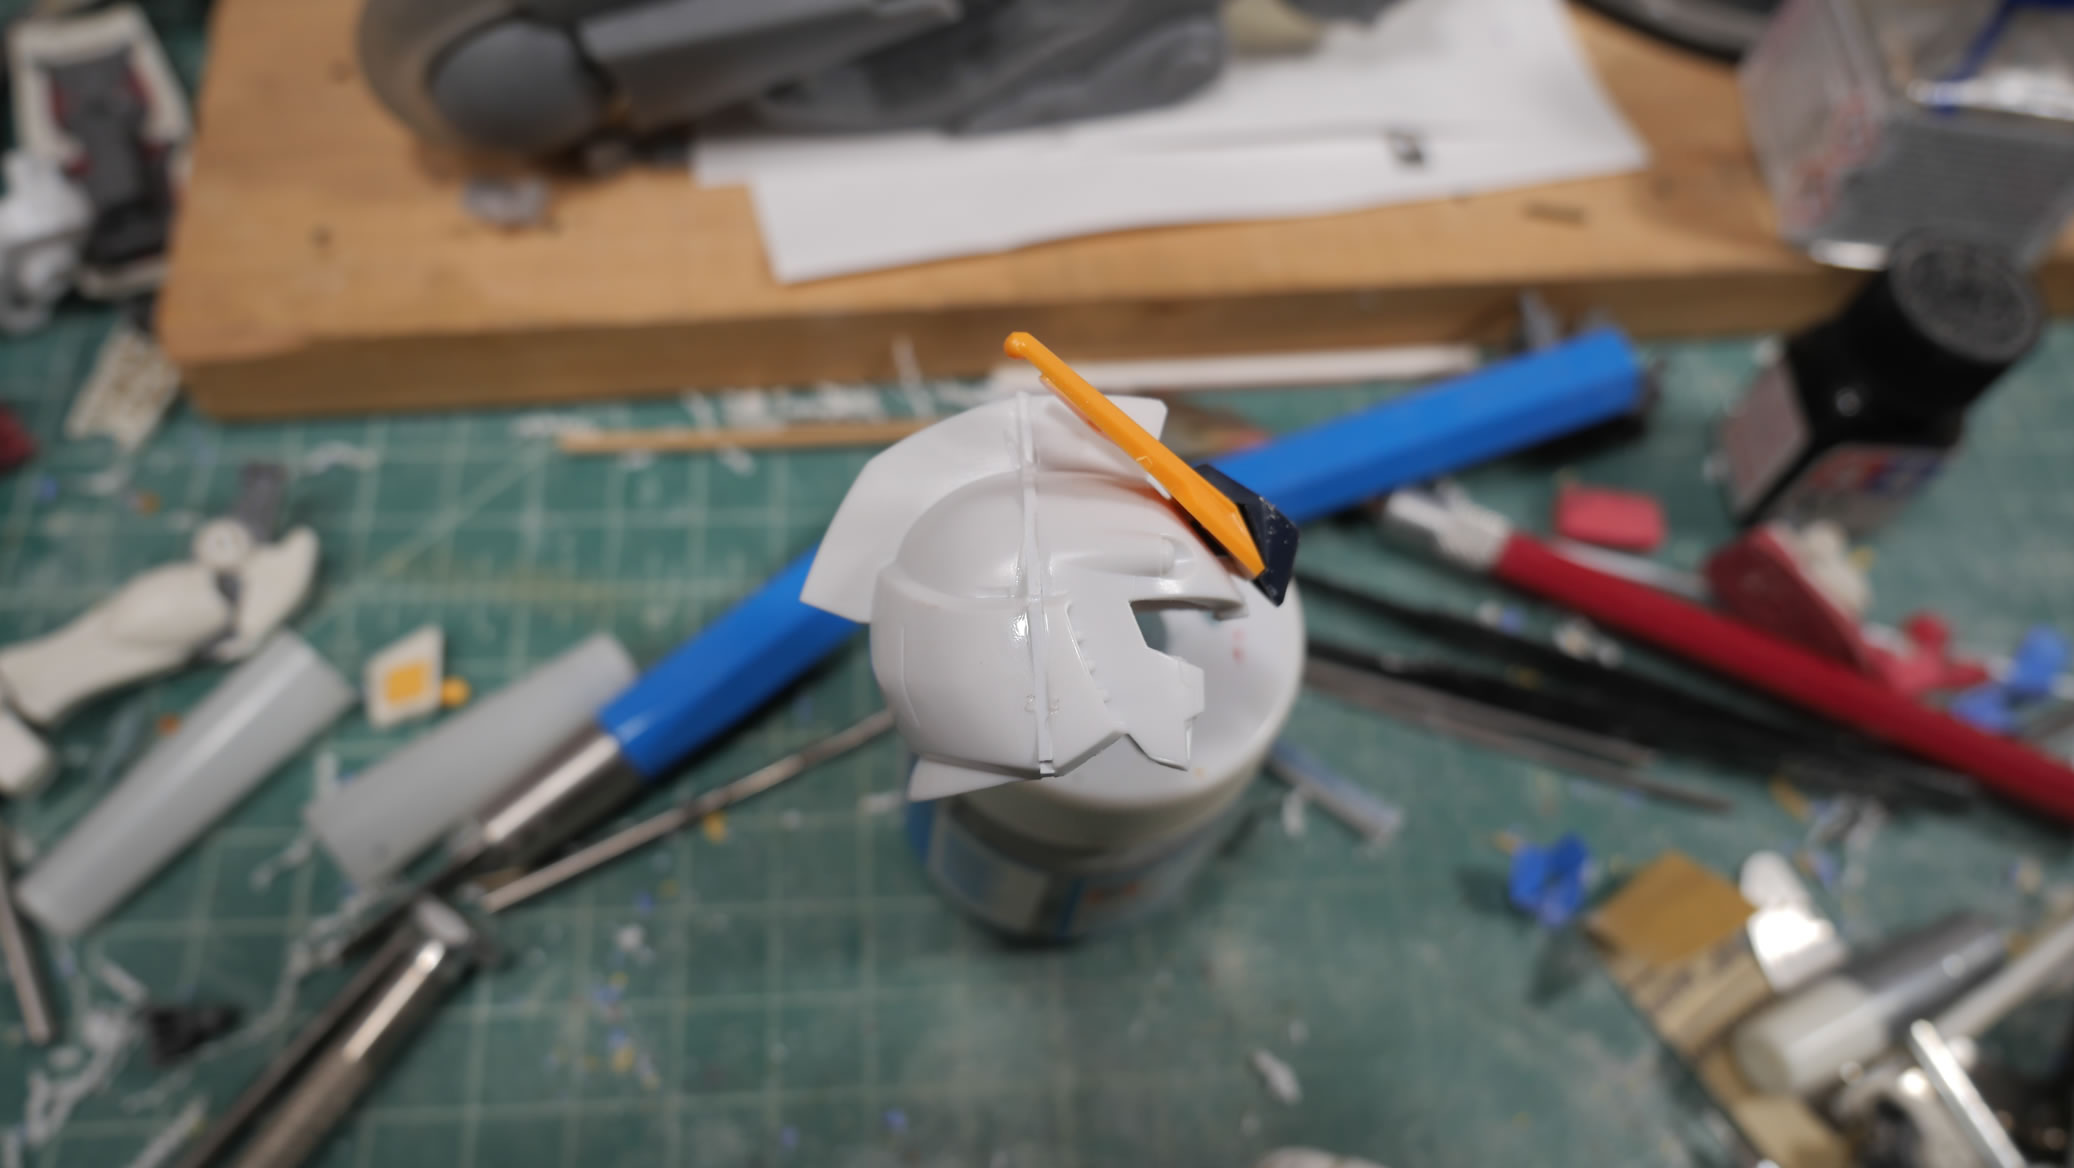
First step, assemble the SD Nu head and just cut way all the internal material so that I get a helmet. The BG RX78’s backpack is sticky tacked to her back. And away we go. I will need to give her a bit of a hair cut trim if the helmet is going to work, so here are some images of the figure before all the surgeries.
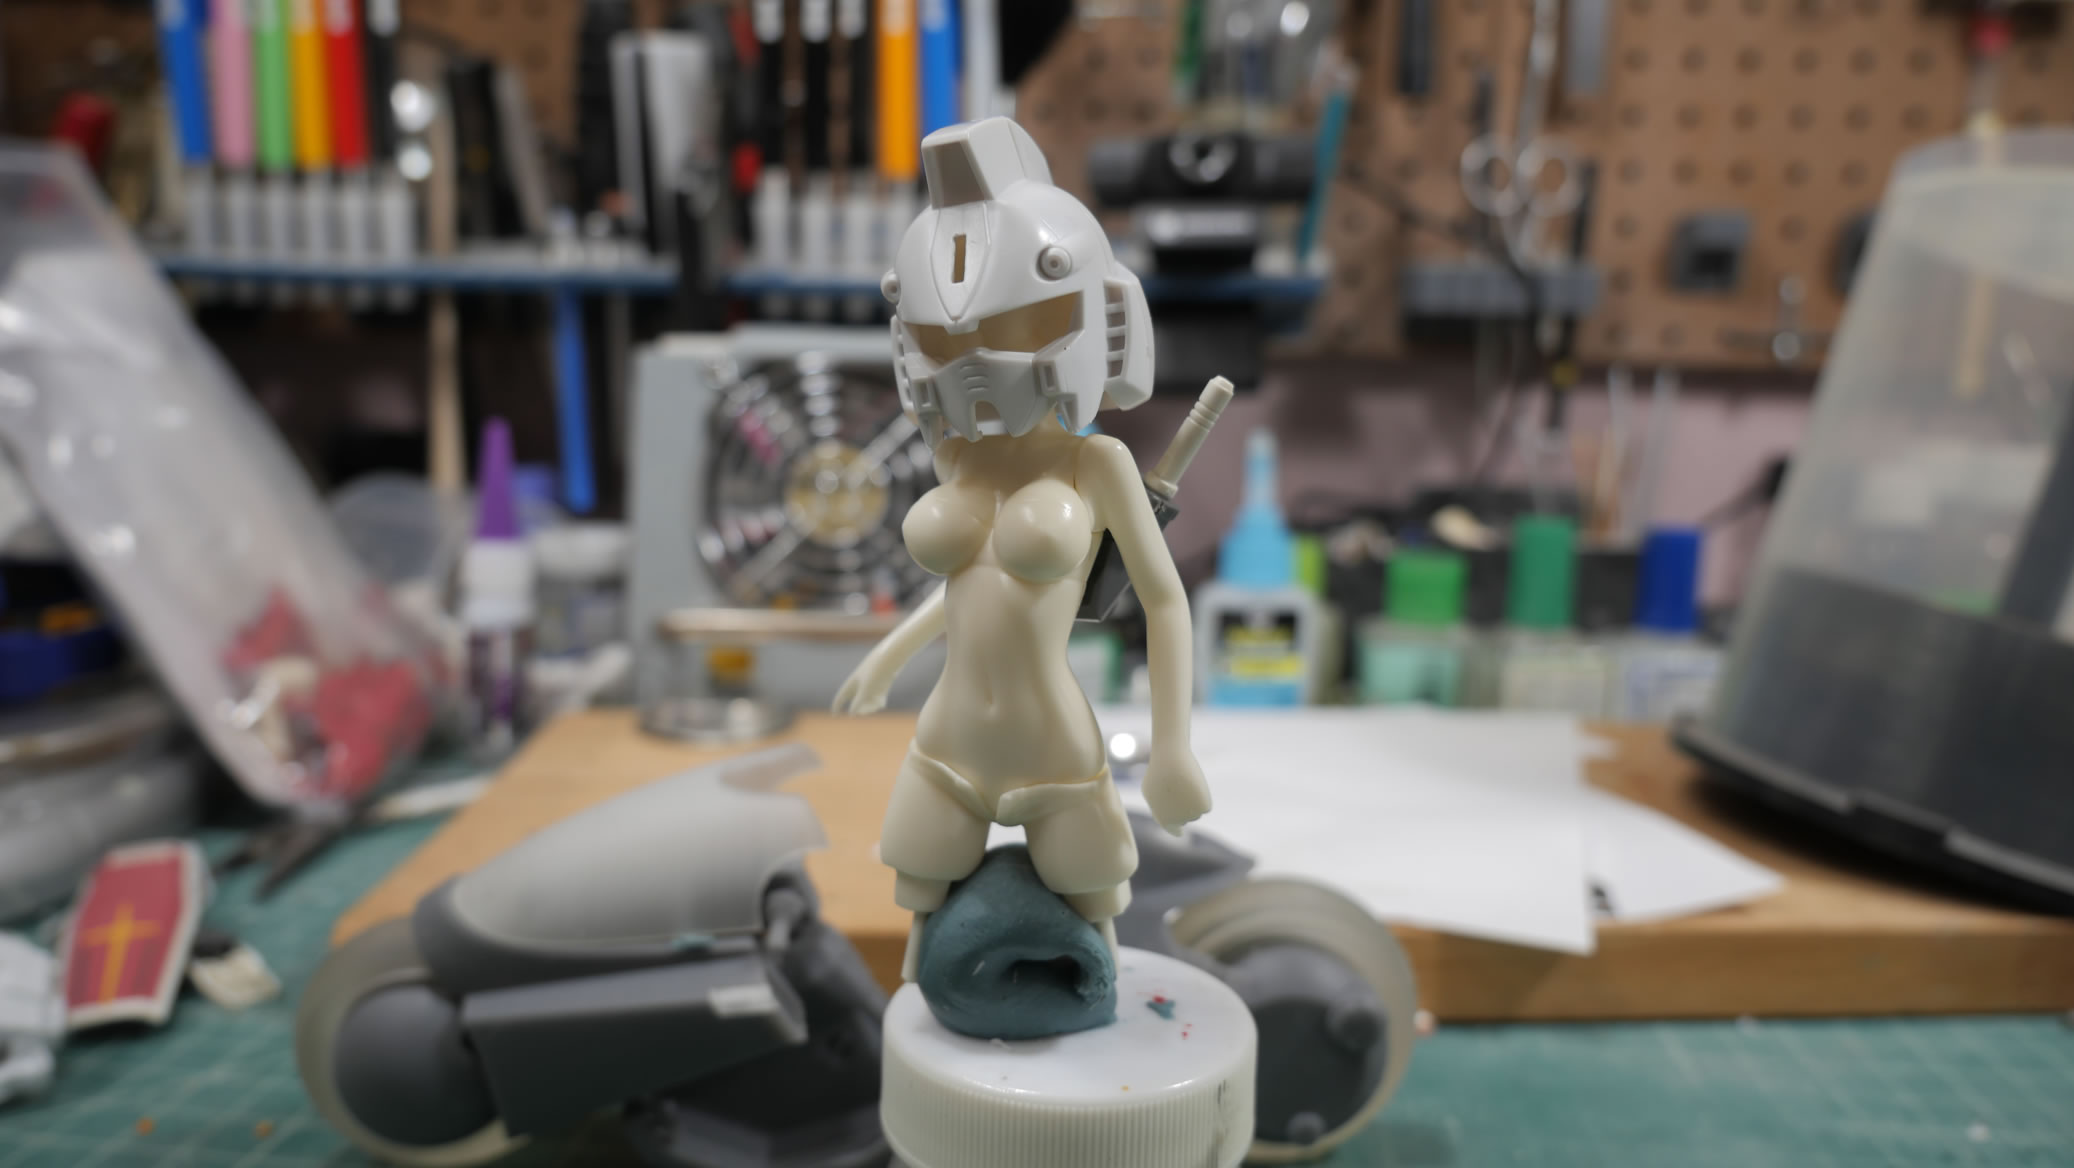
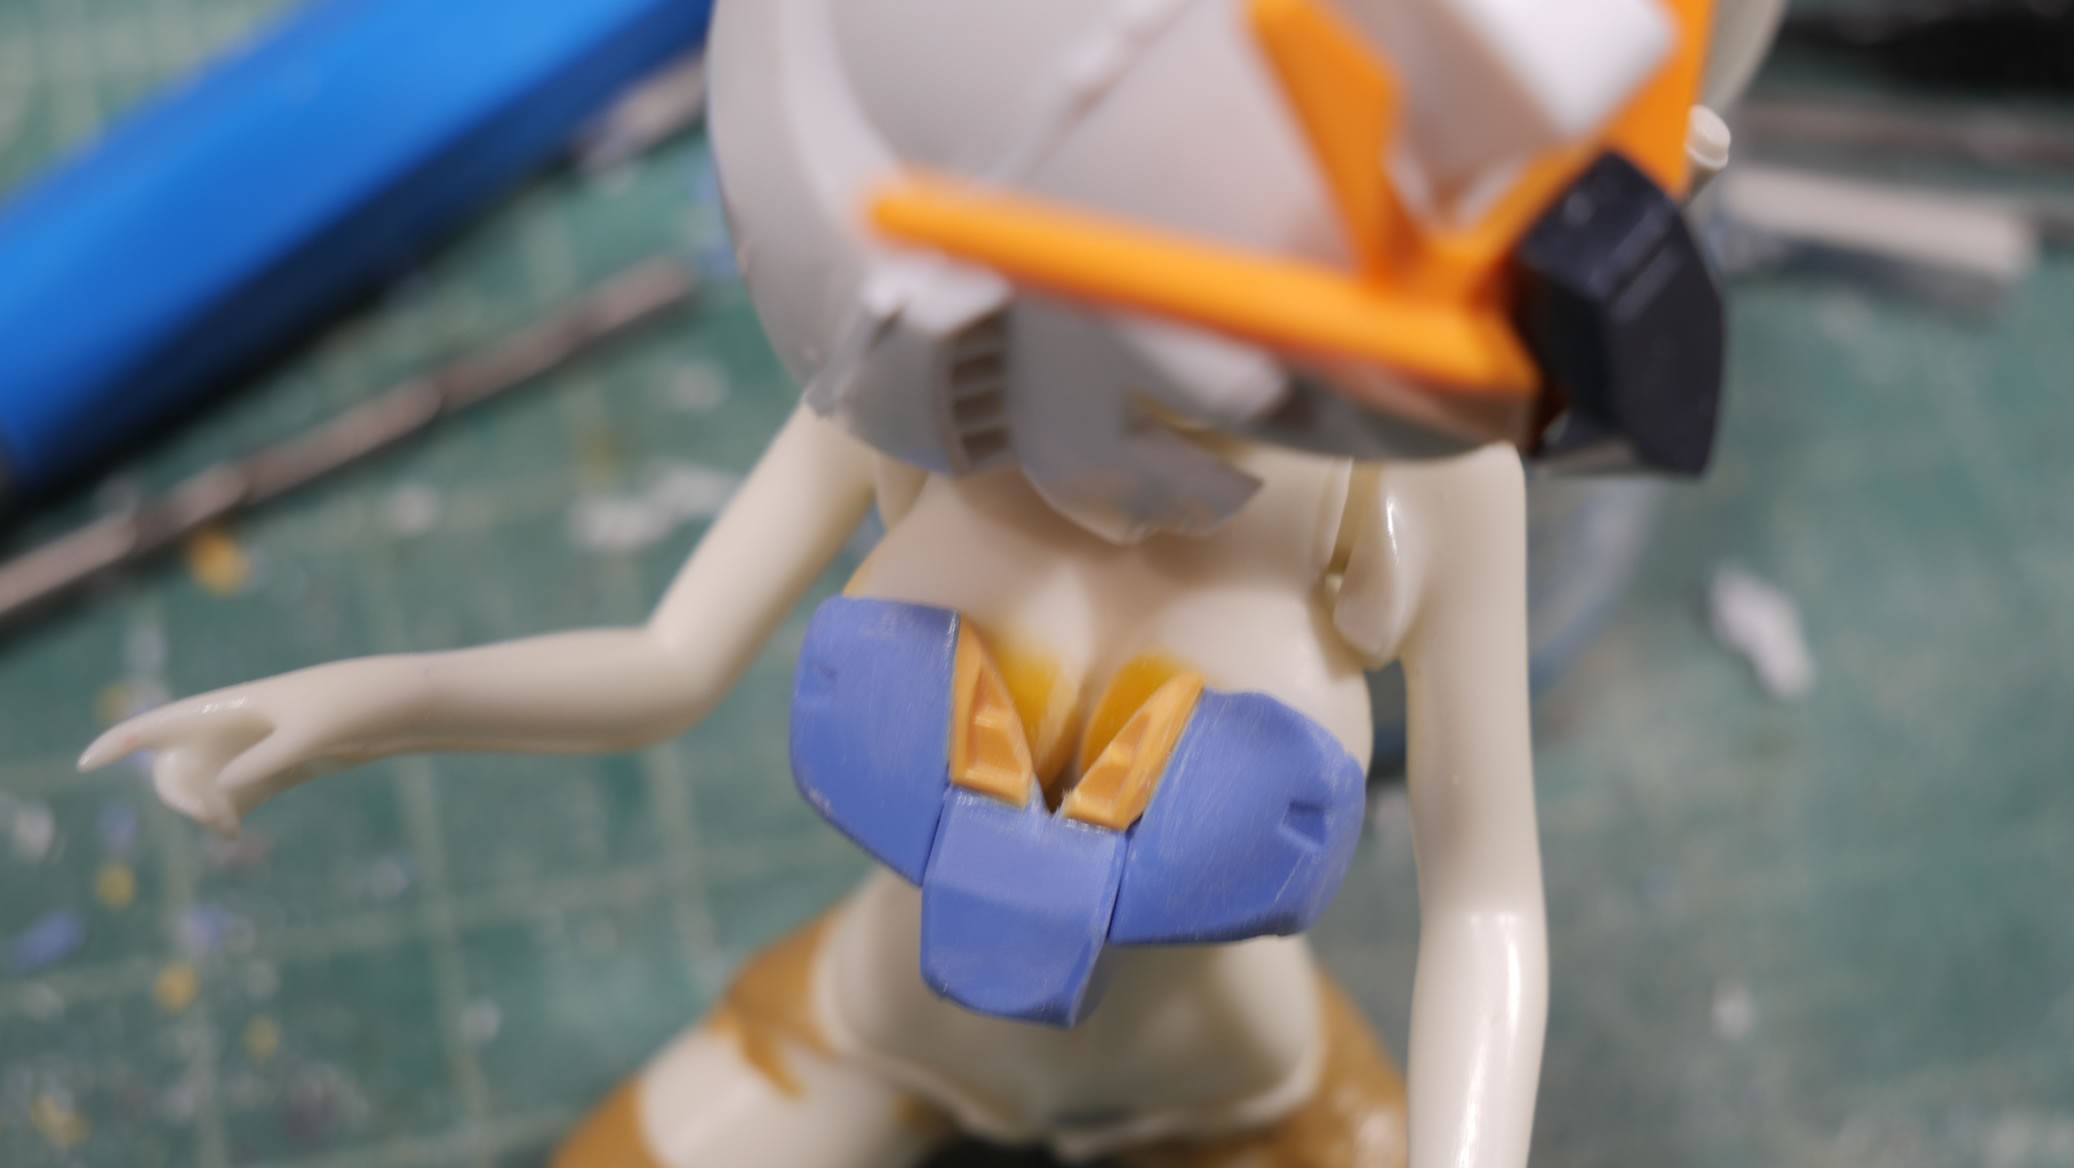
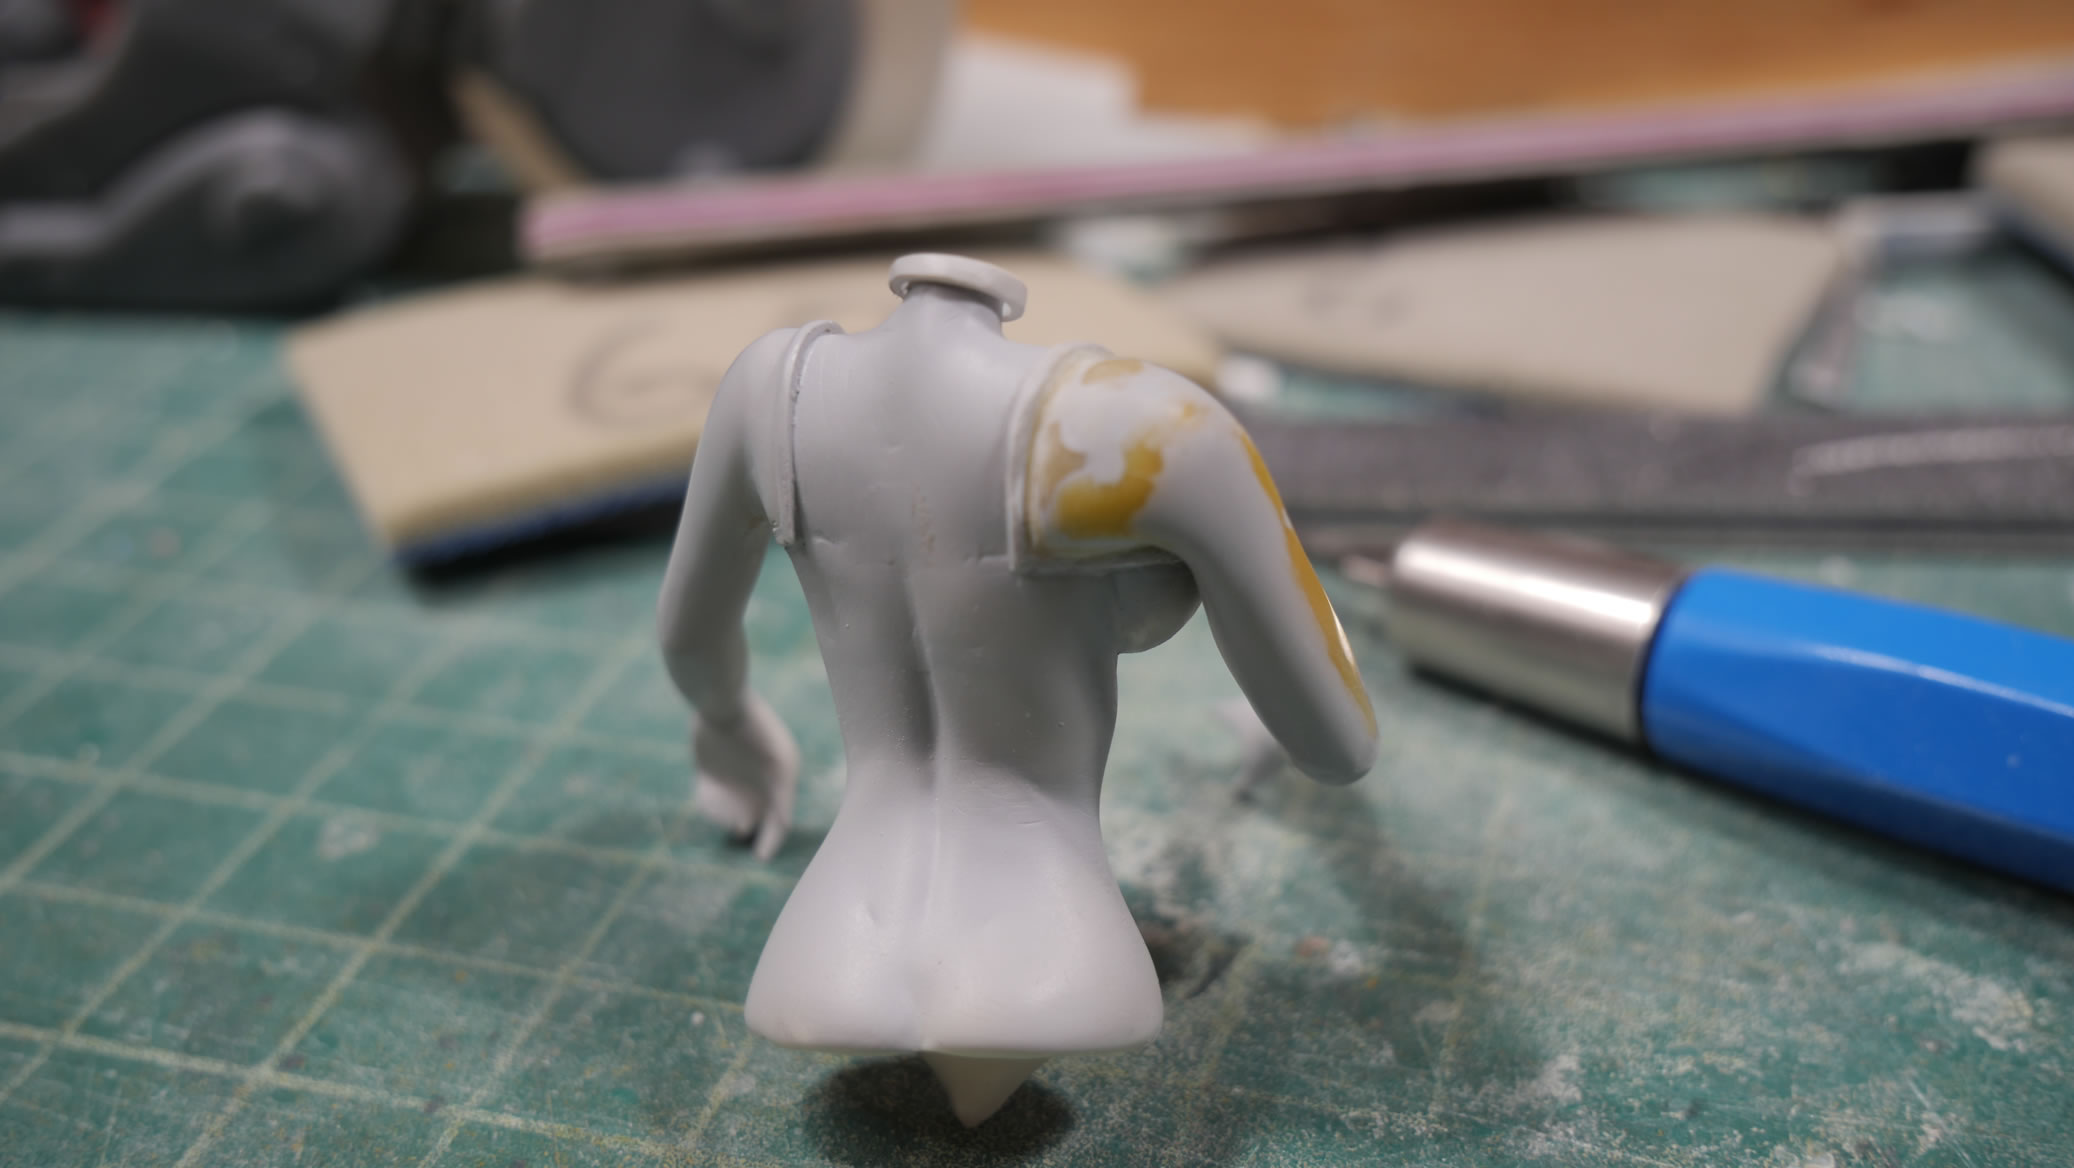
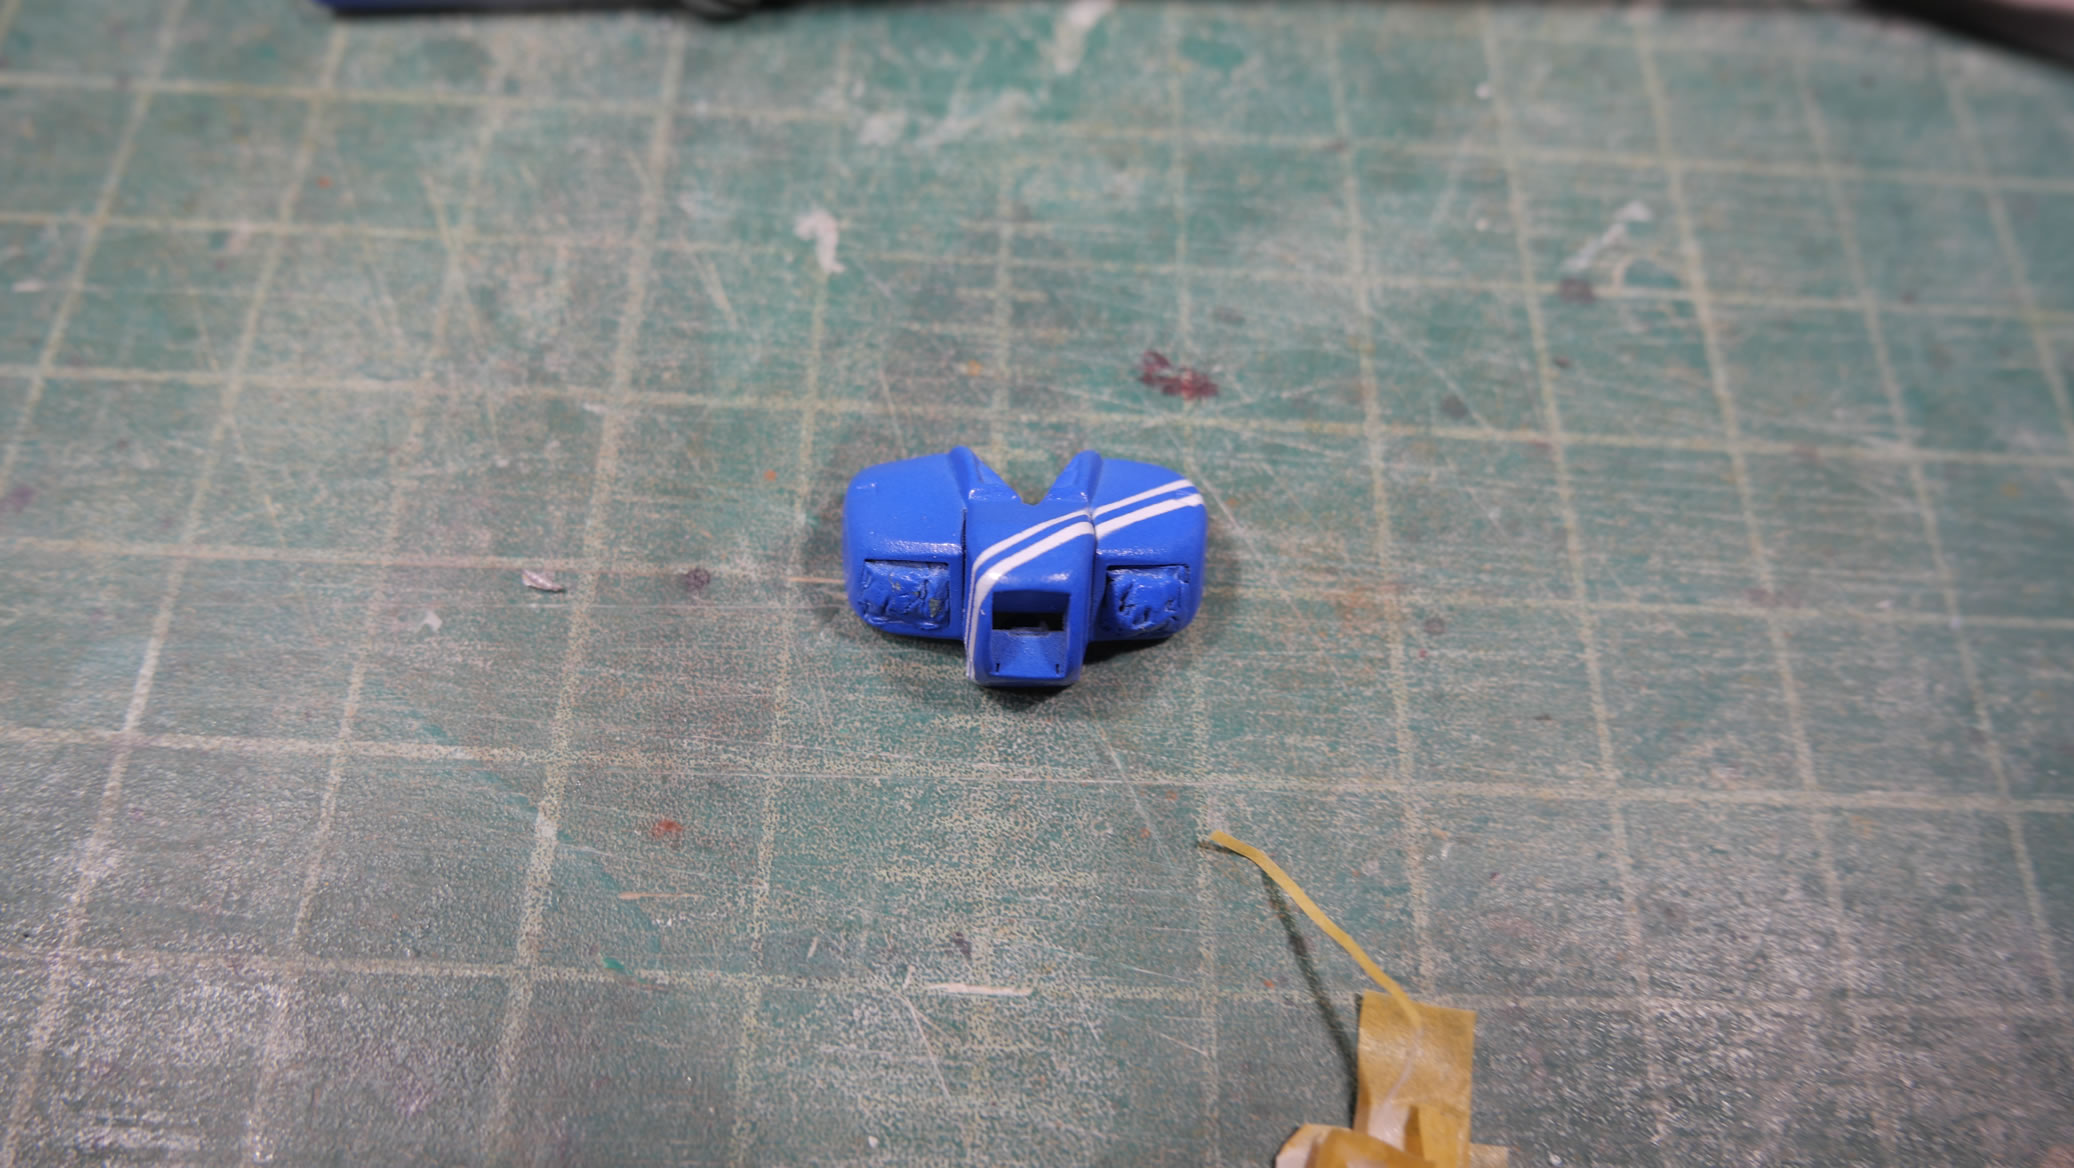
The chest piece for the BG 78 is trimmed up and sanded to round the edges to make it look more like clothing. Collar piece is added to create a V-neck. The back of the backpack piece is also shaved down to slim it as much as possible as well.
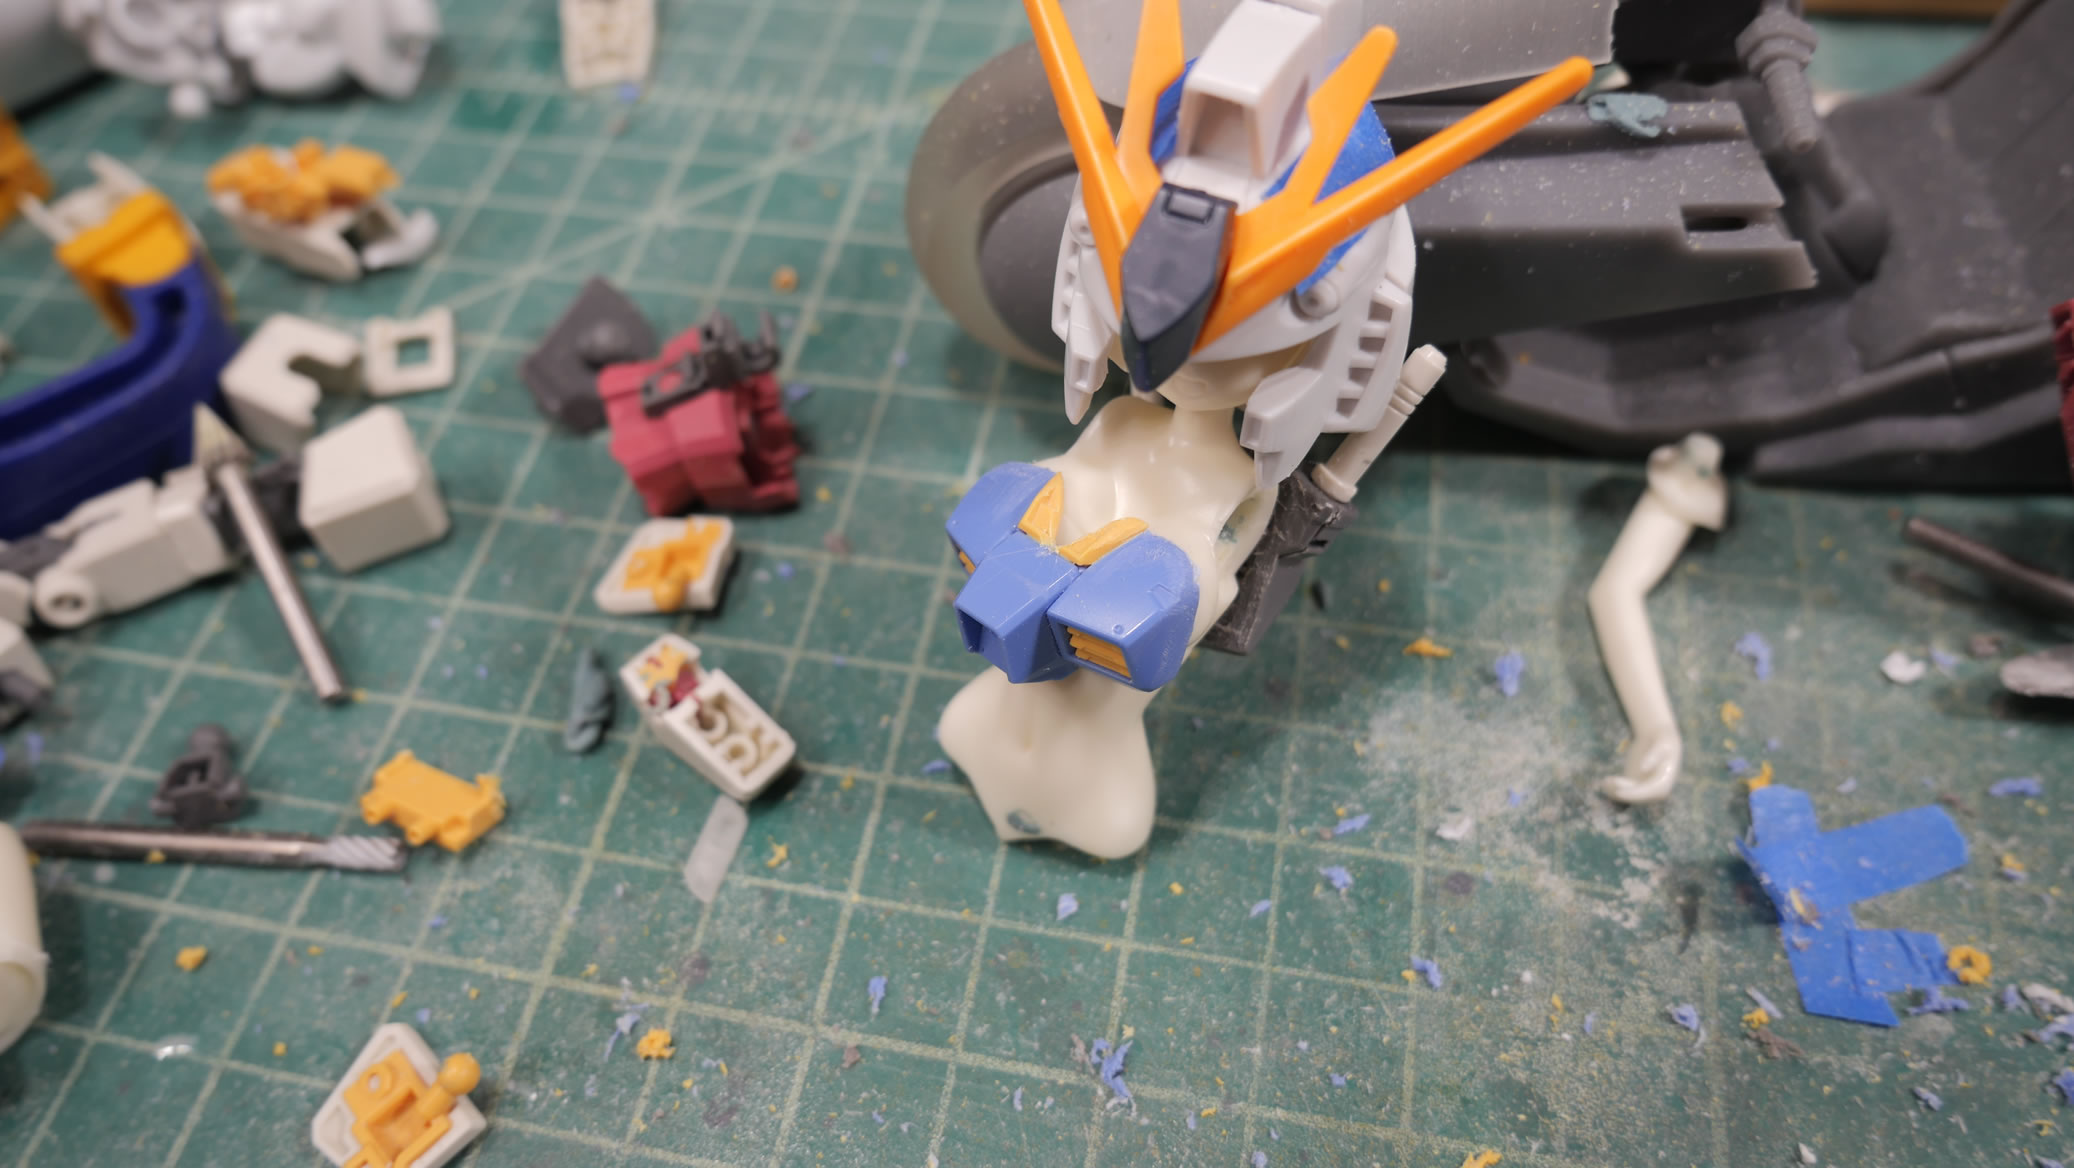
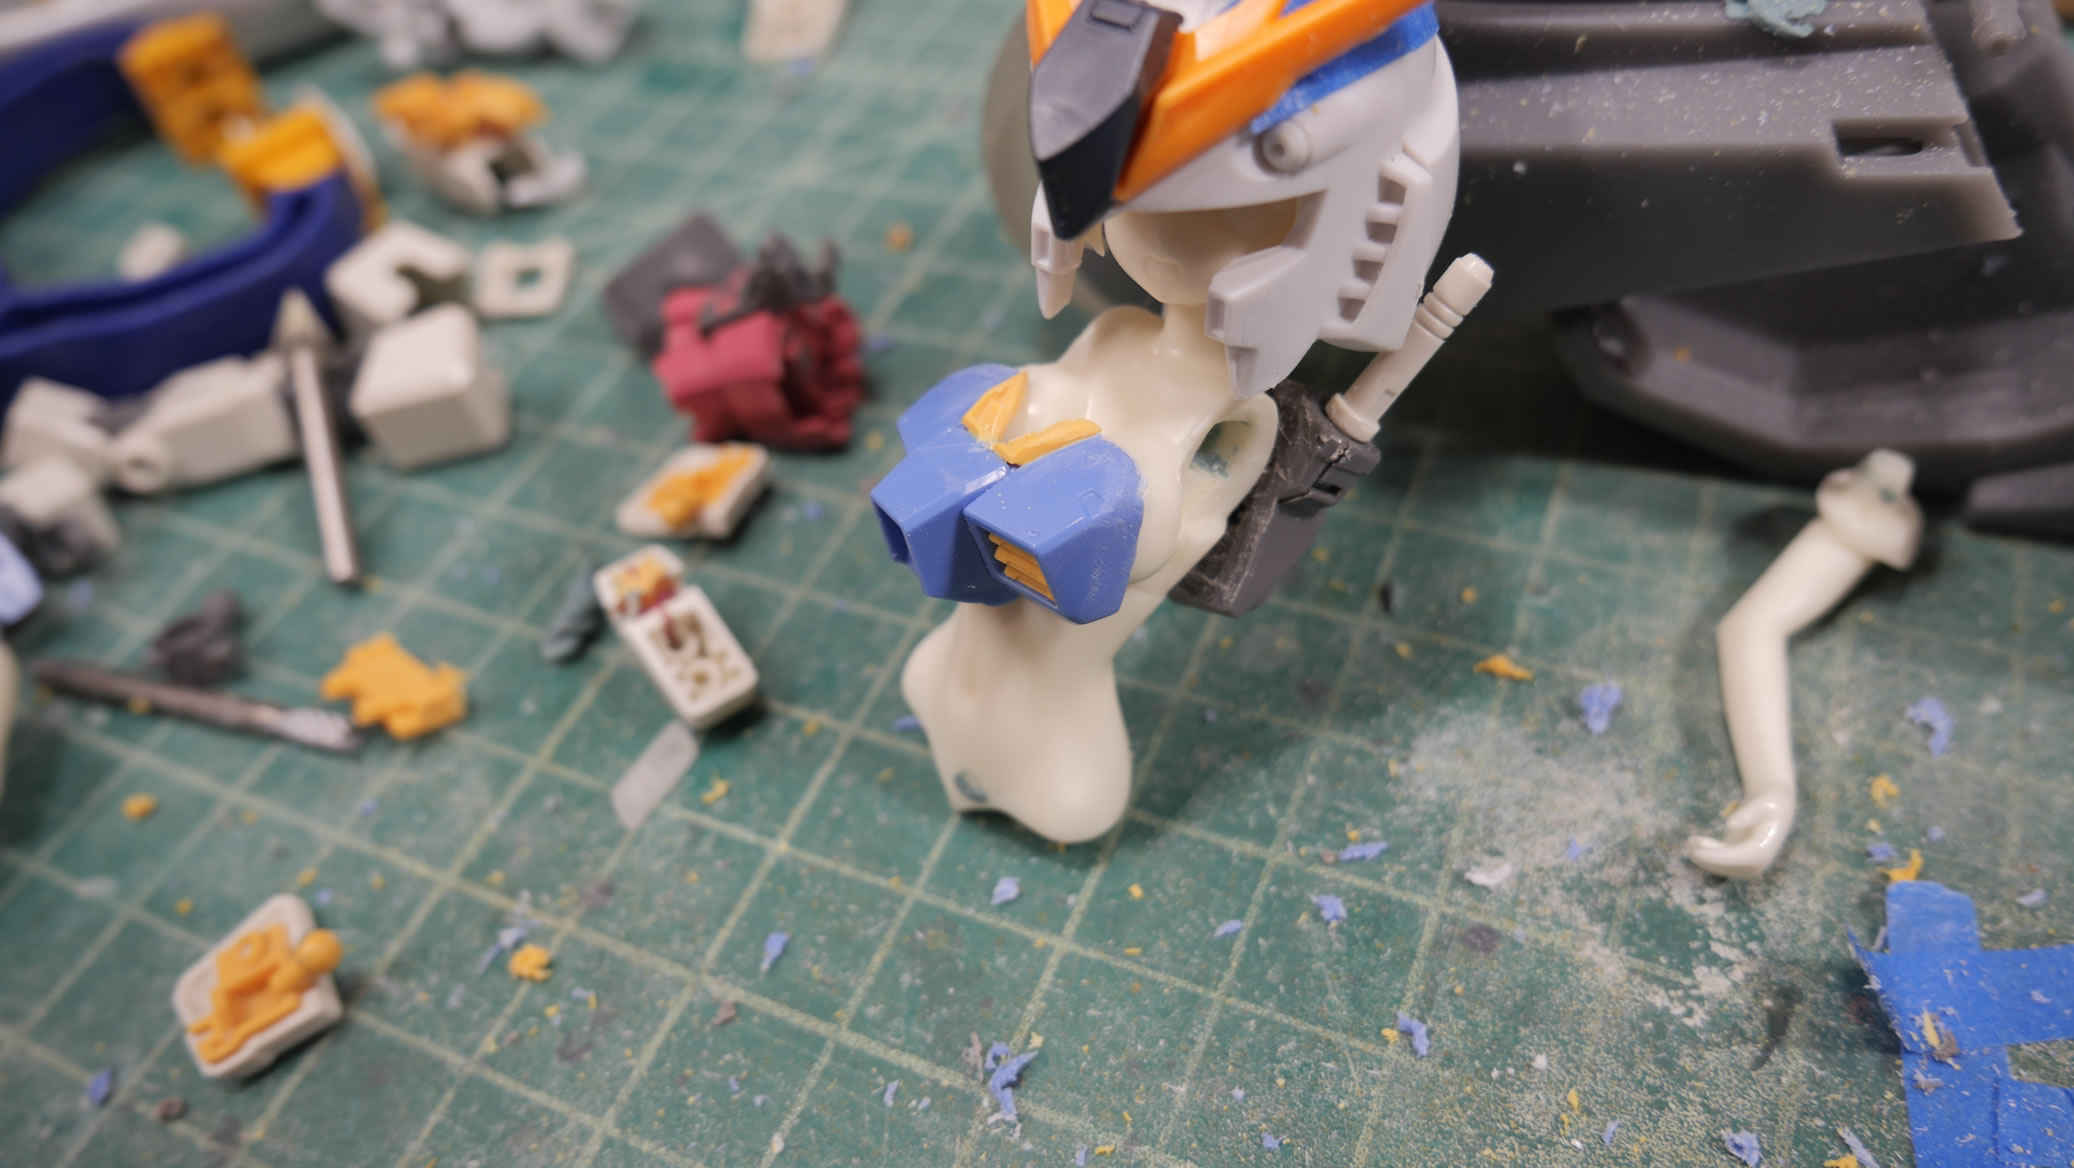
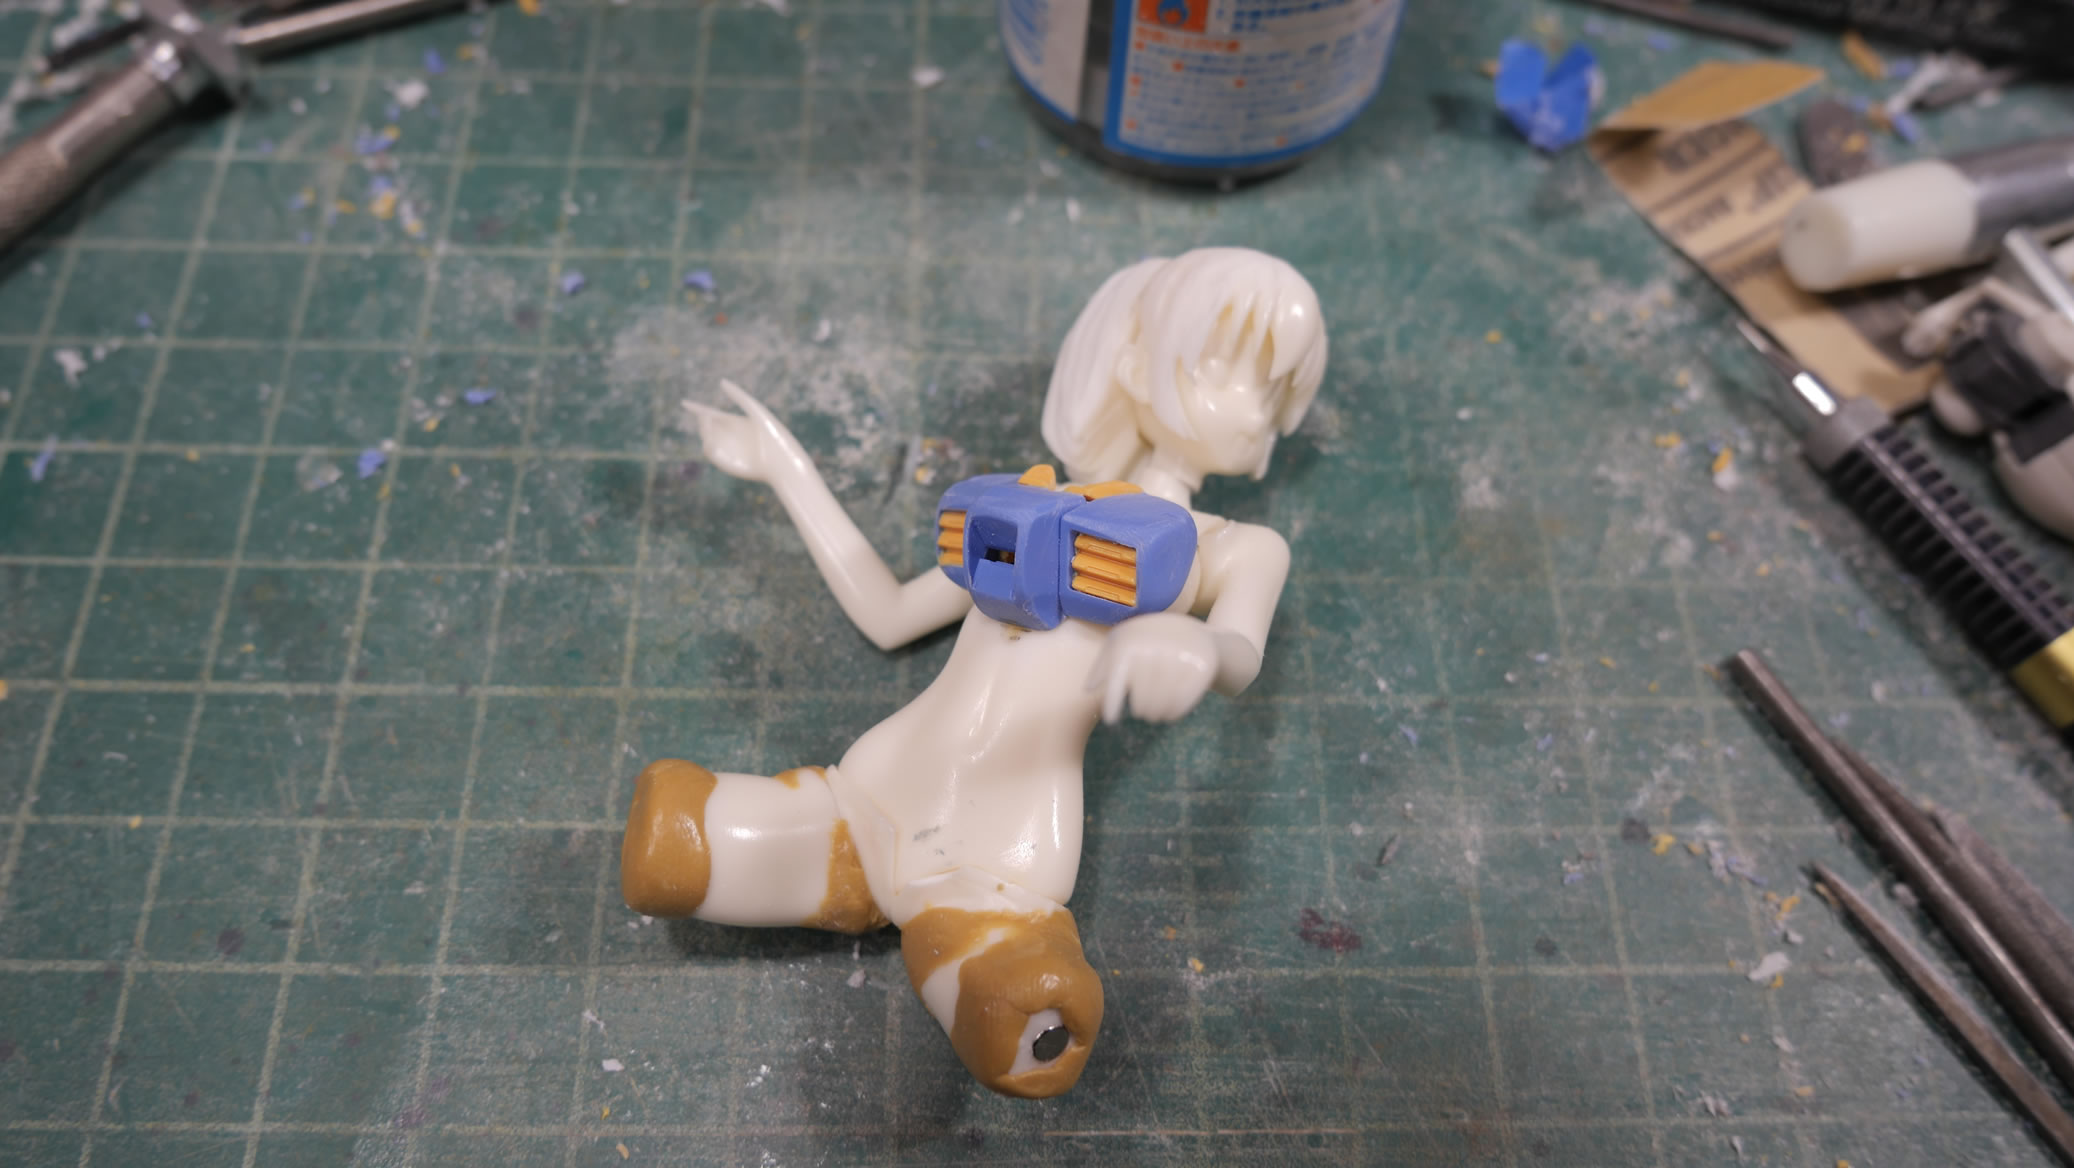
I decapitated her as I needed the head to be turned akin to Kaneda’s in his famous bike sliding scene. Magnets are added at each end to help with easier test fits as I continue to build.
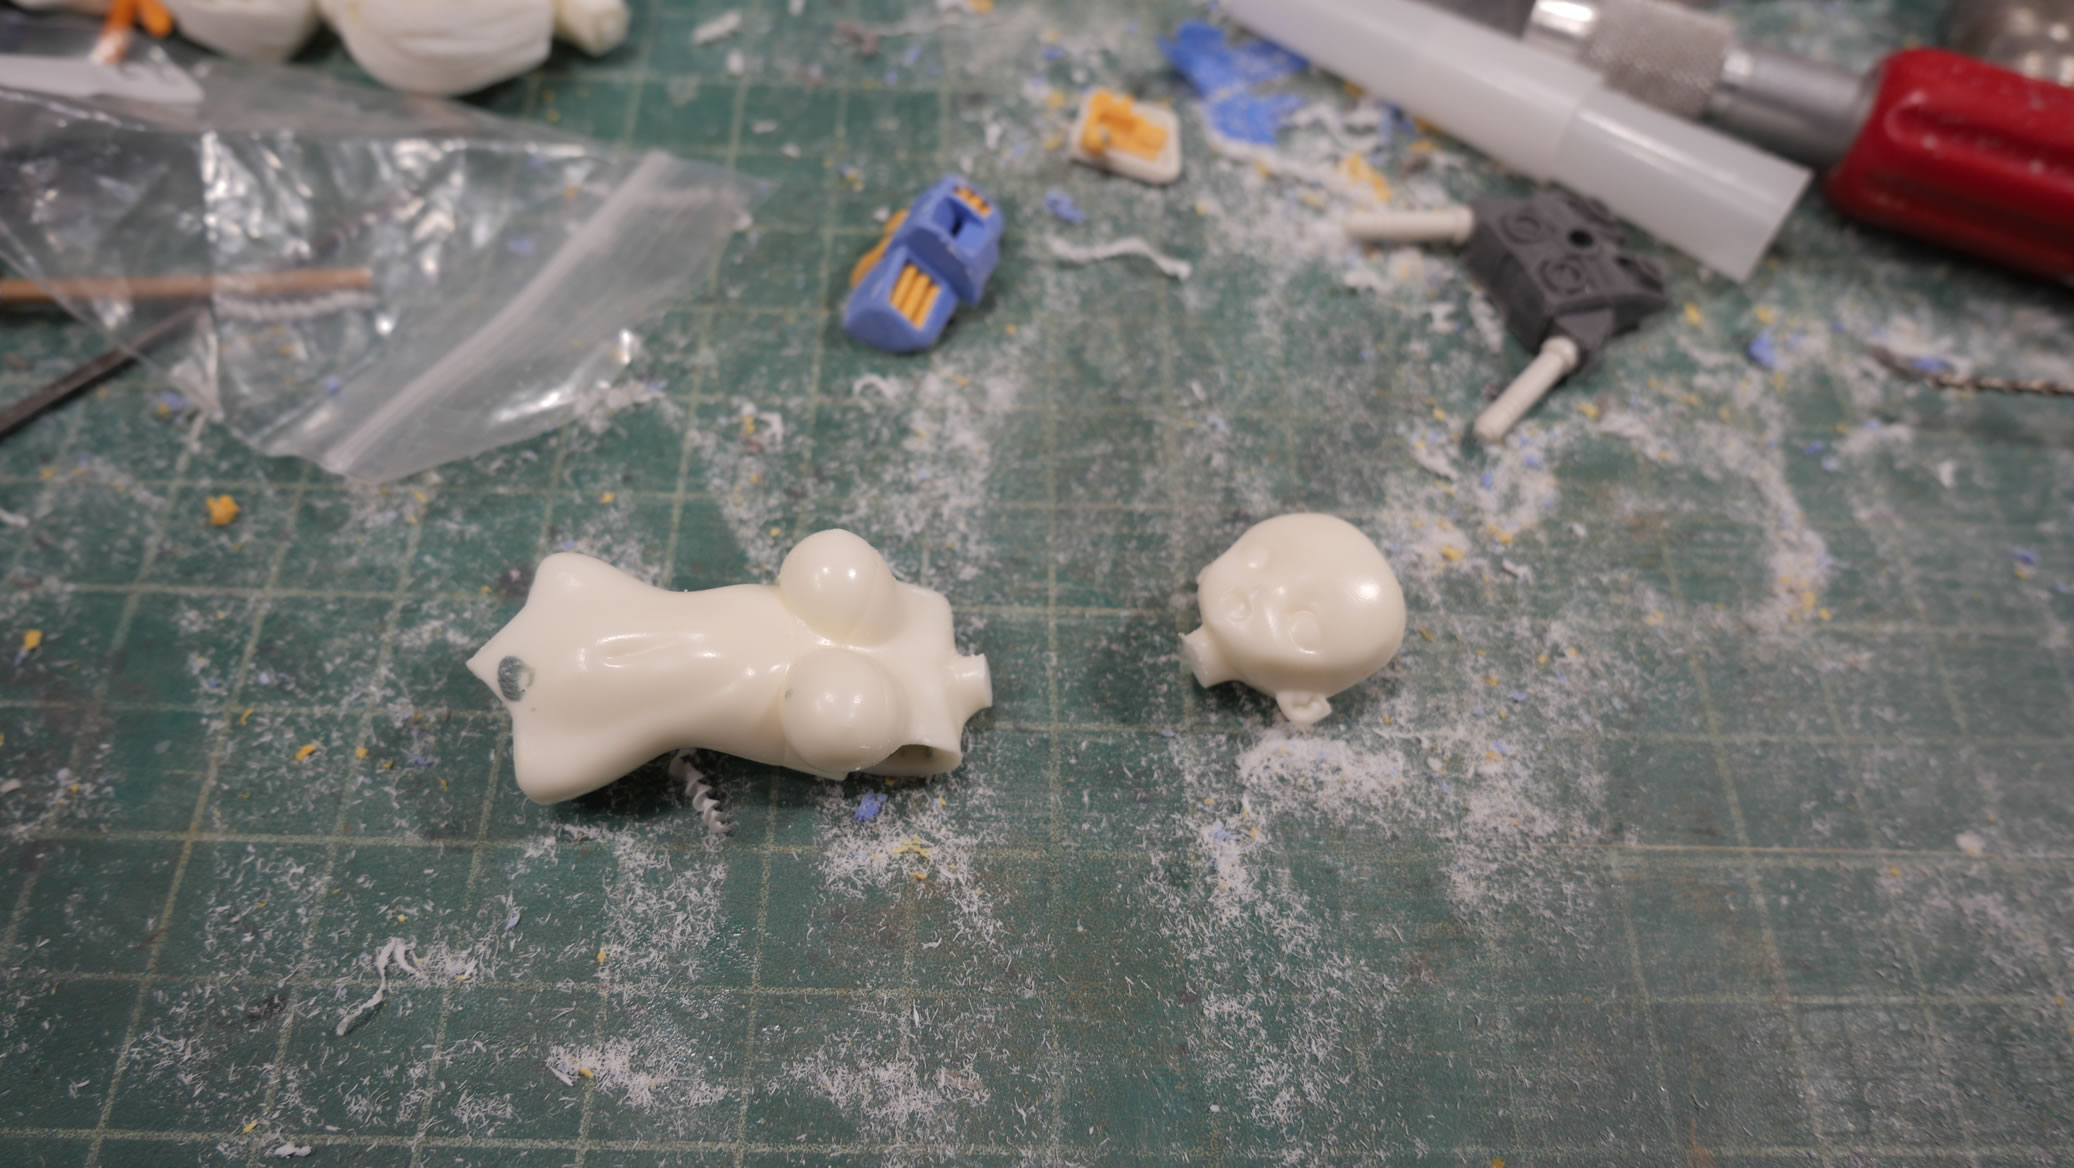
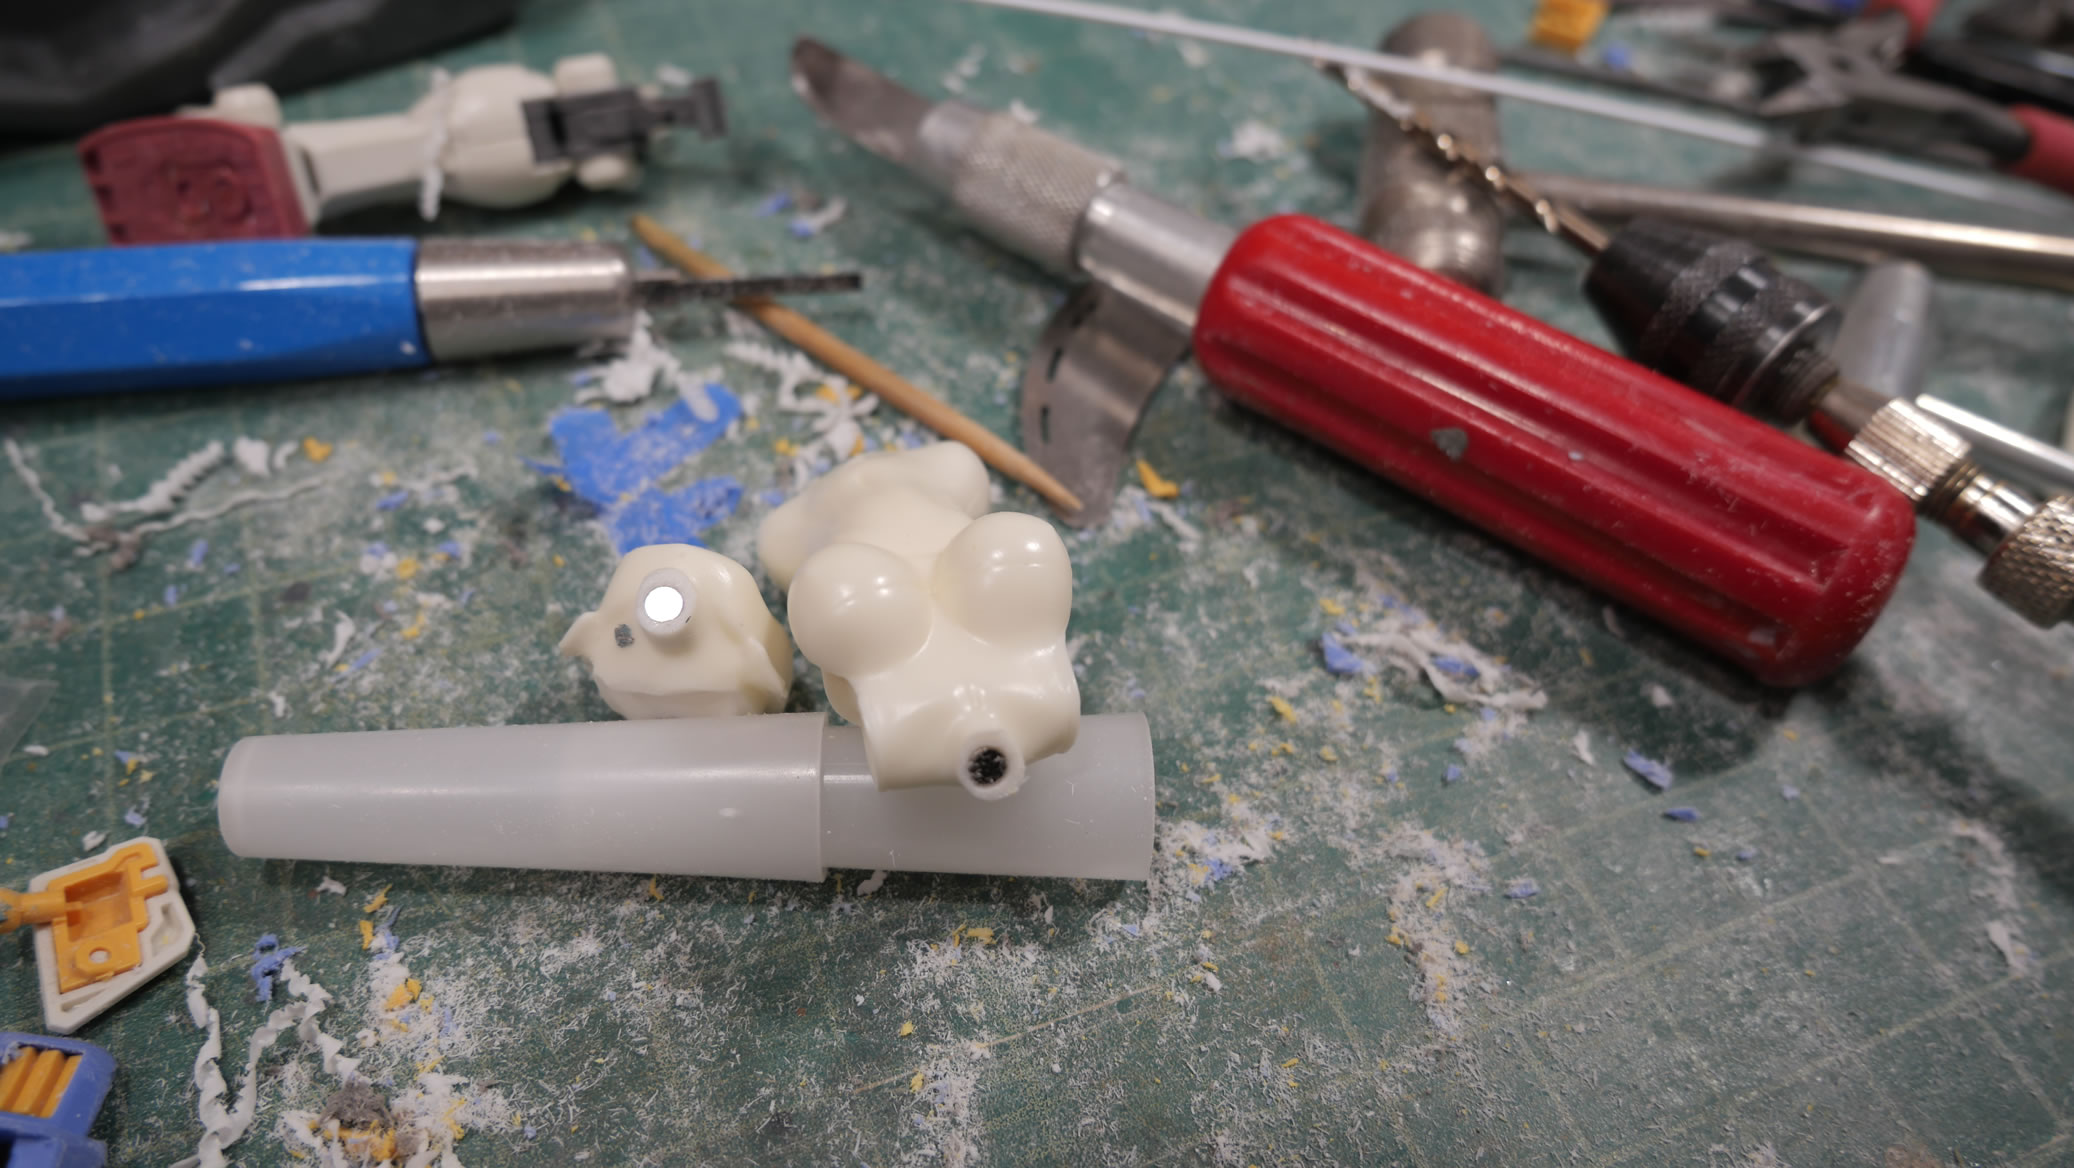
Boob Job
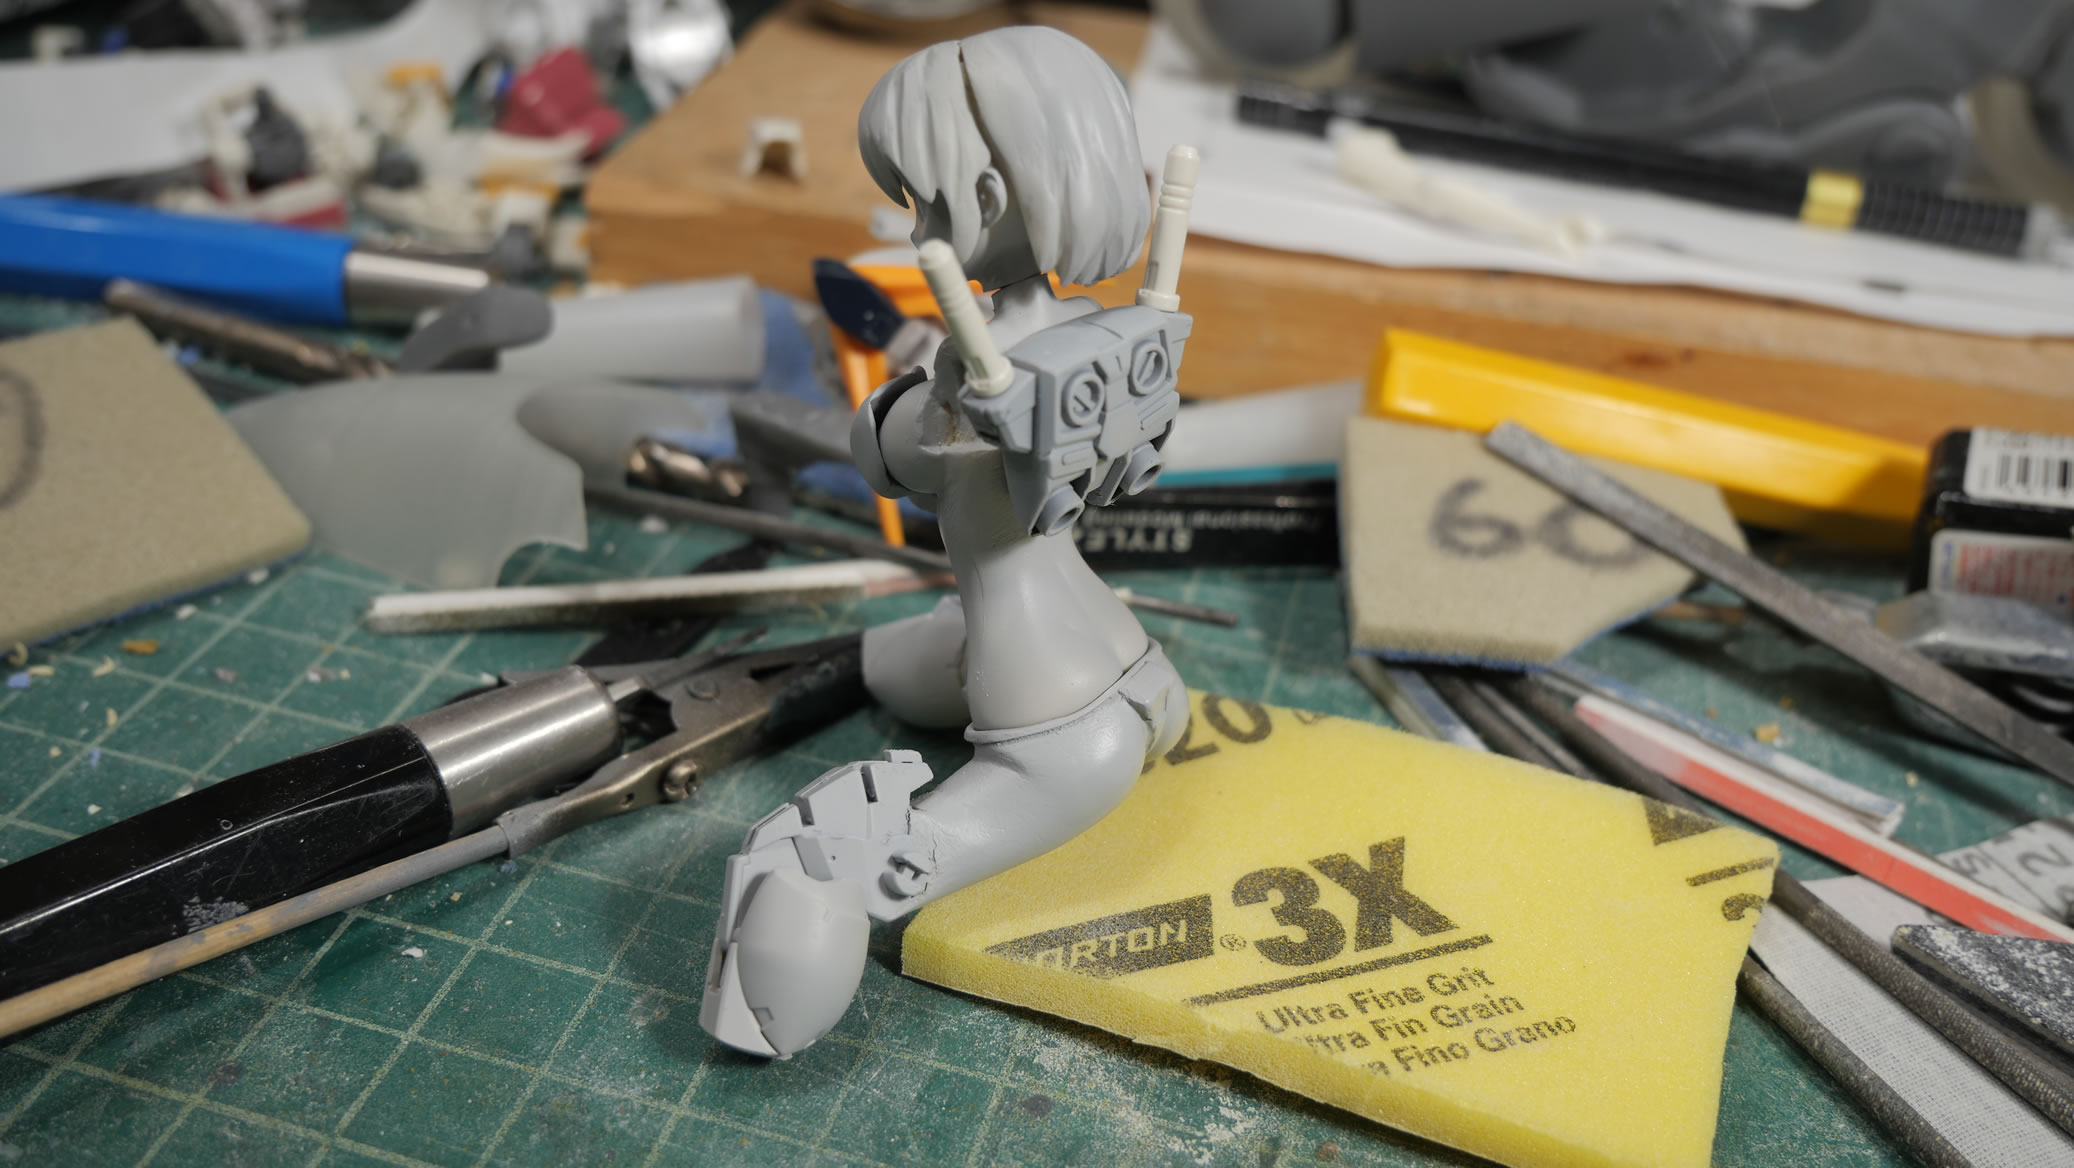
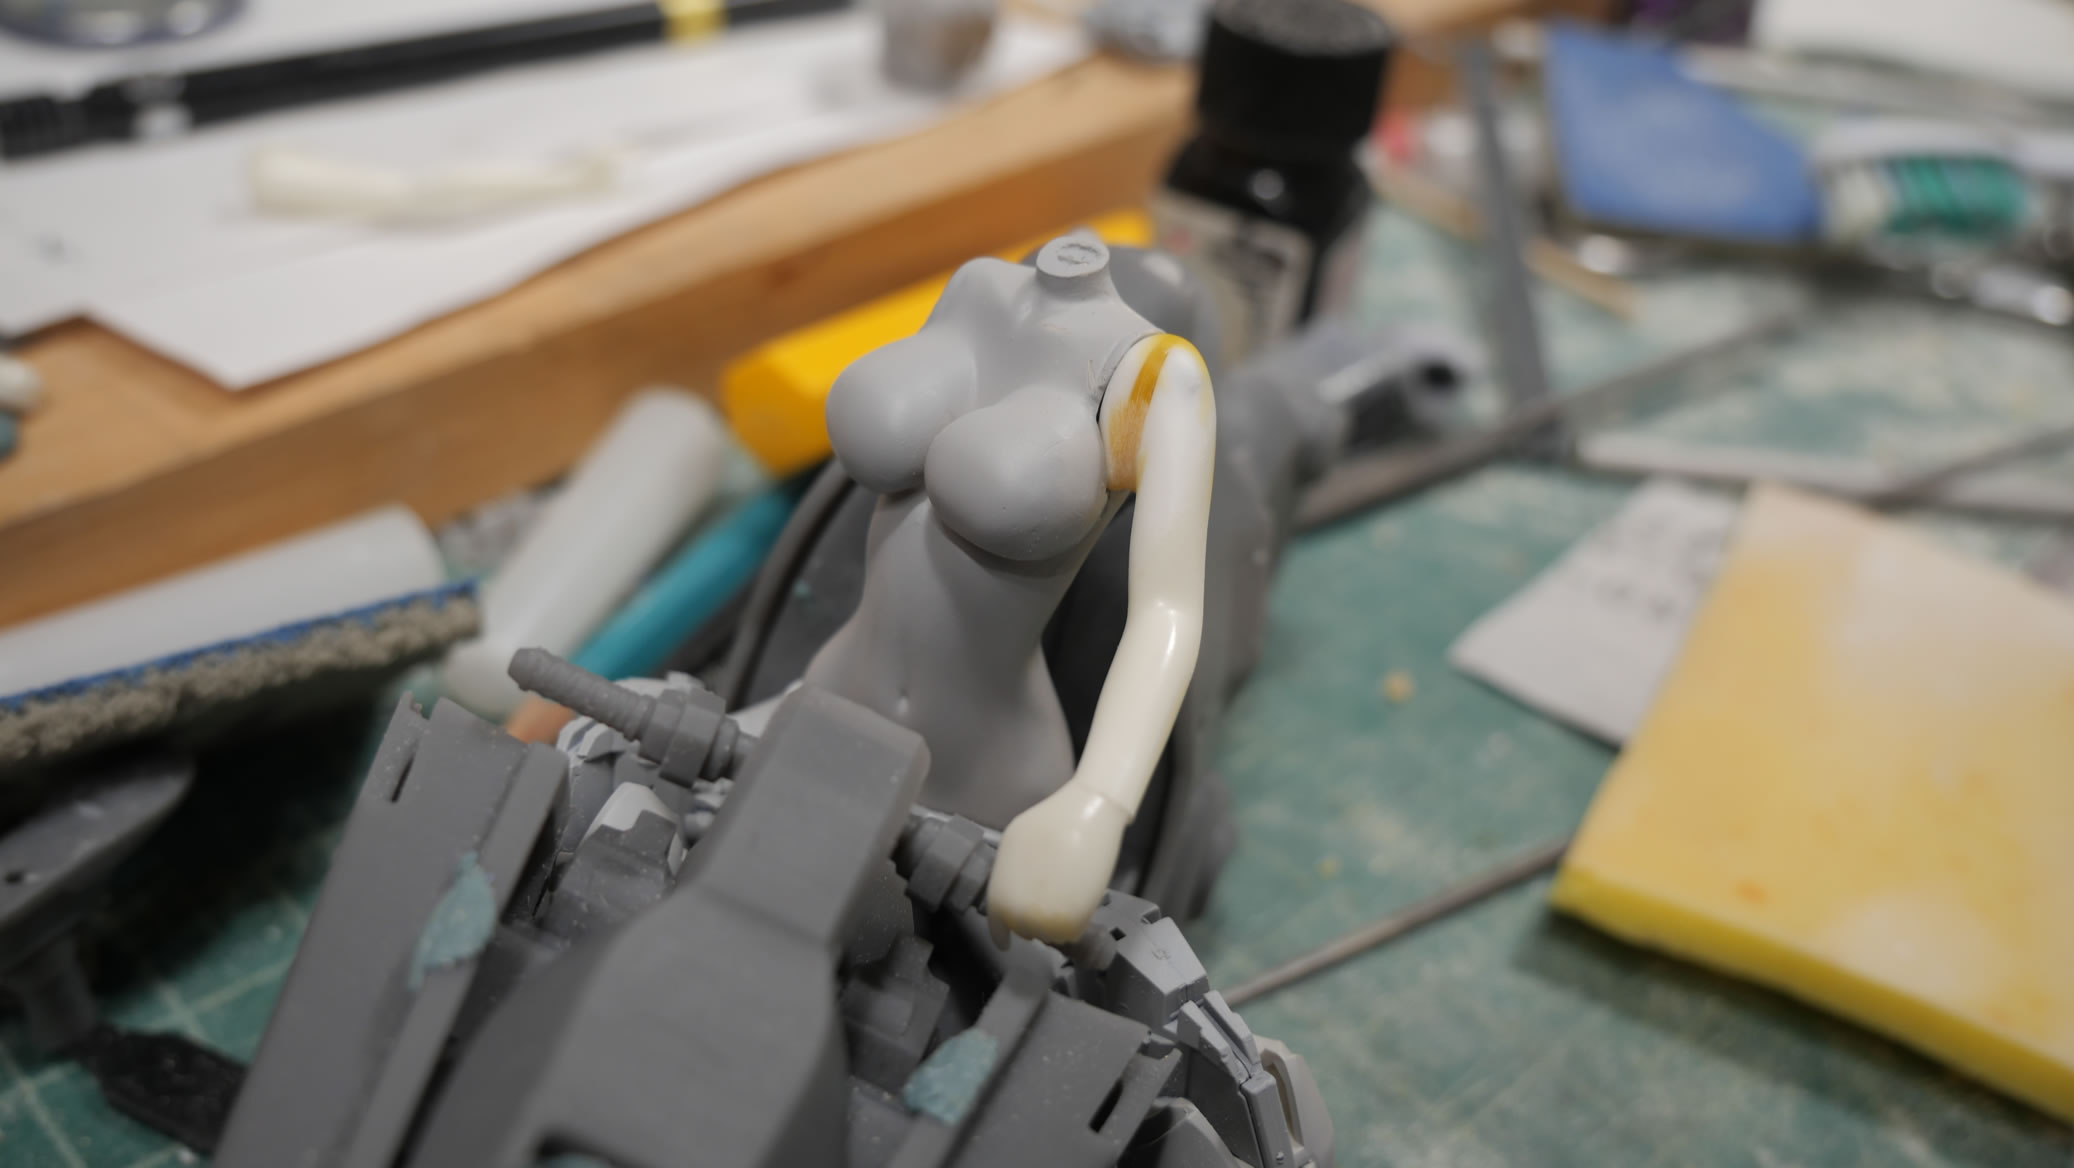
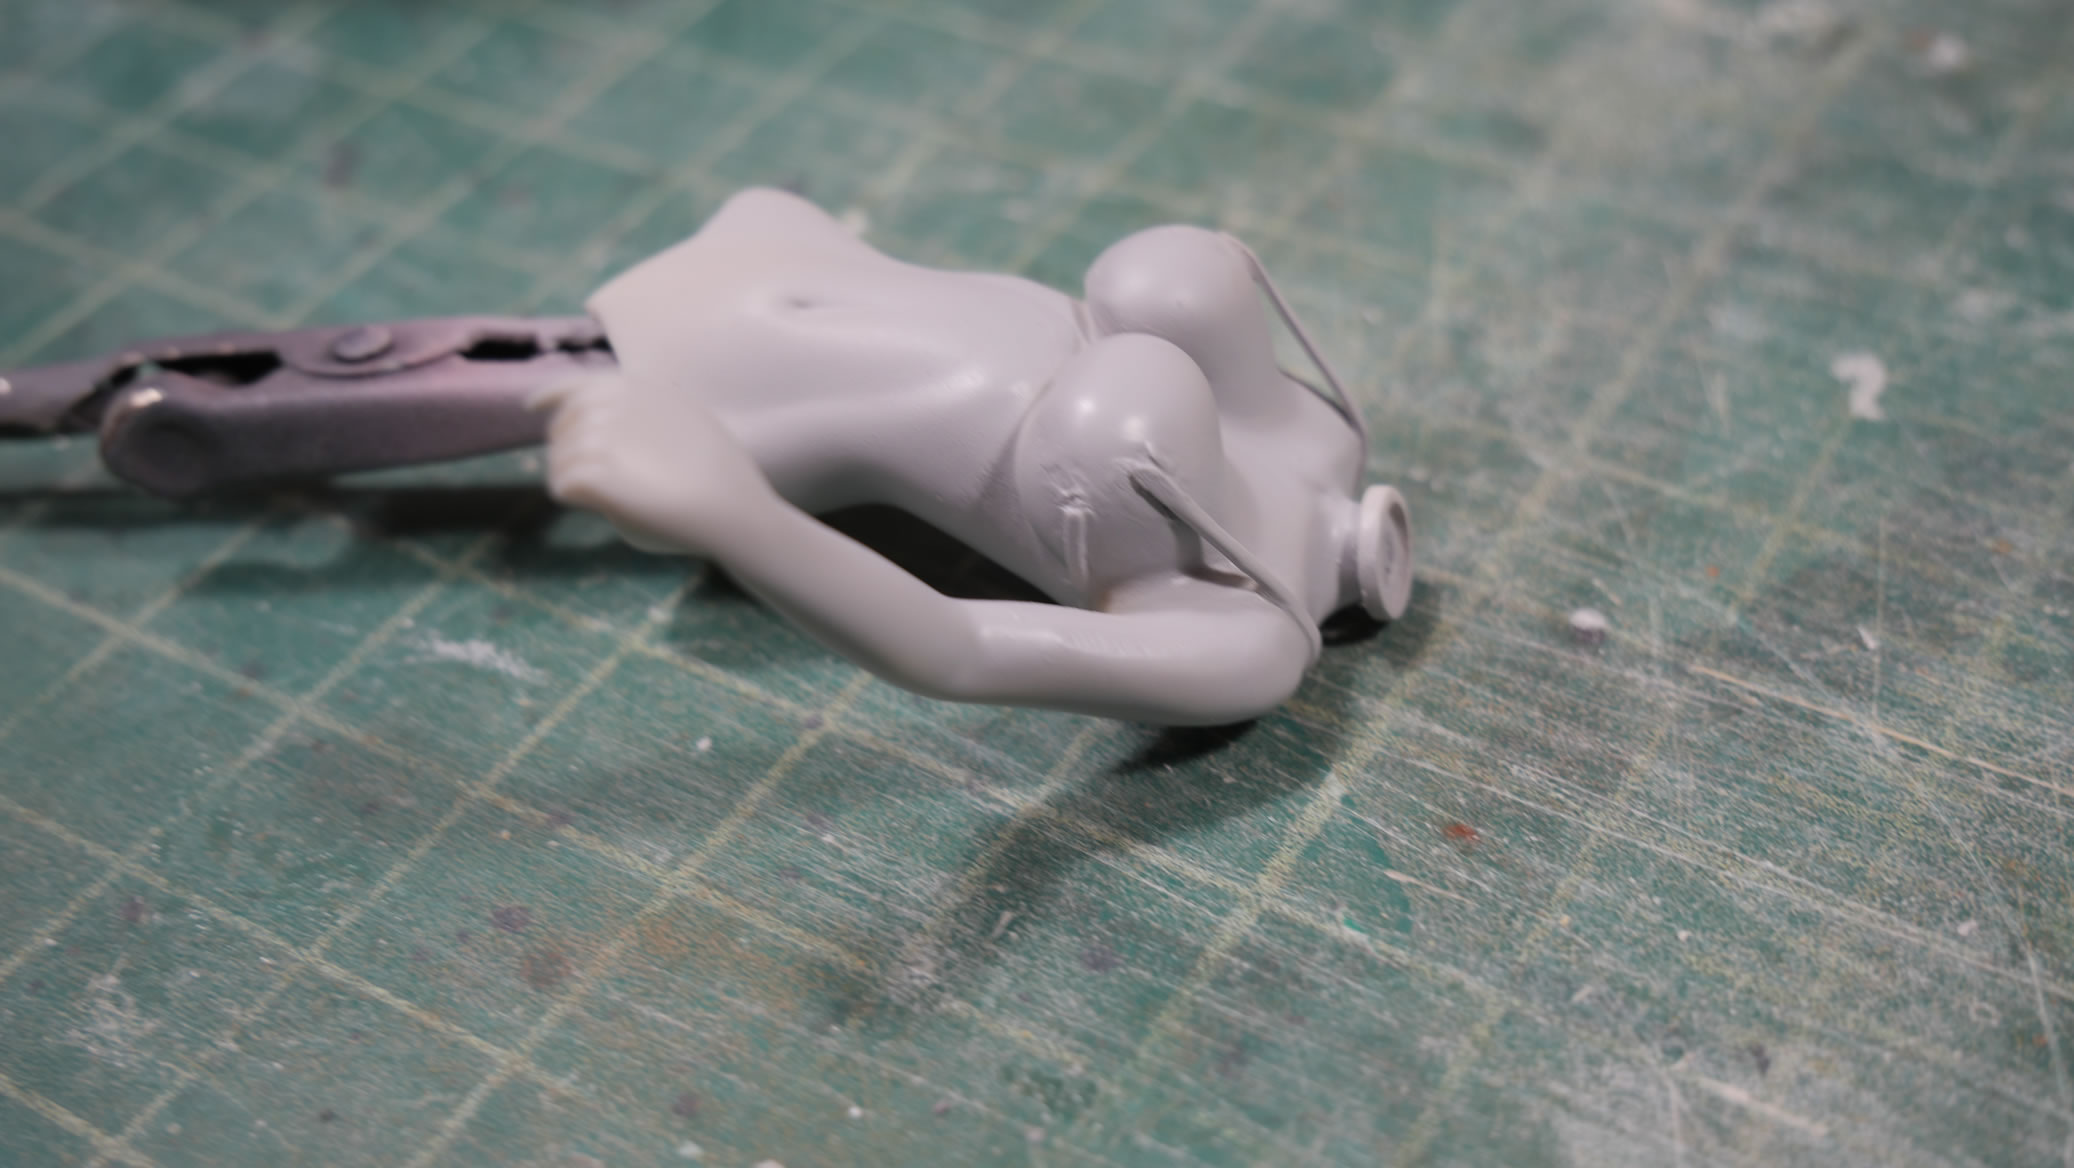
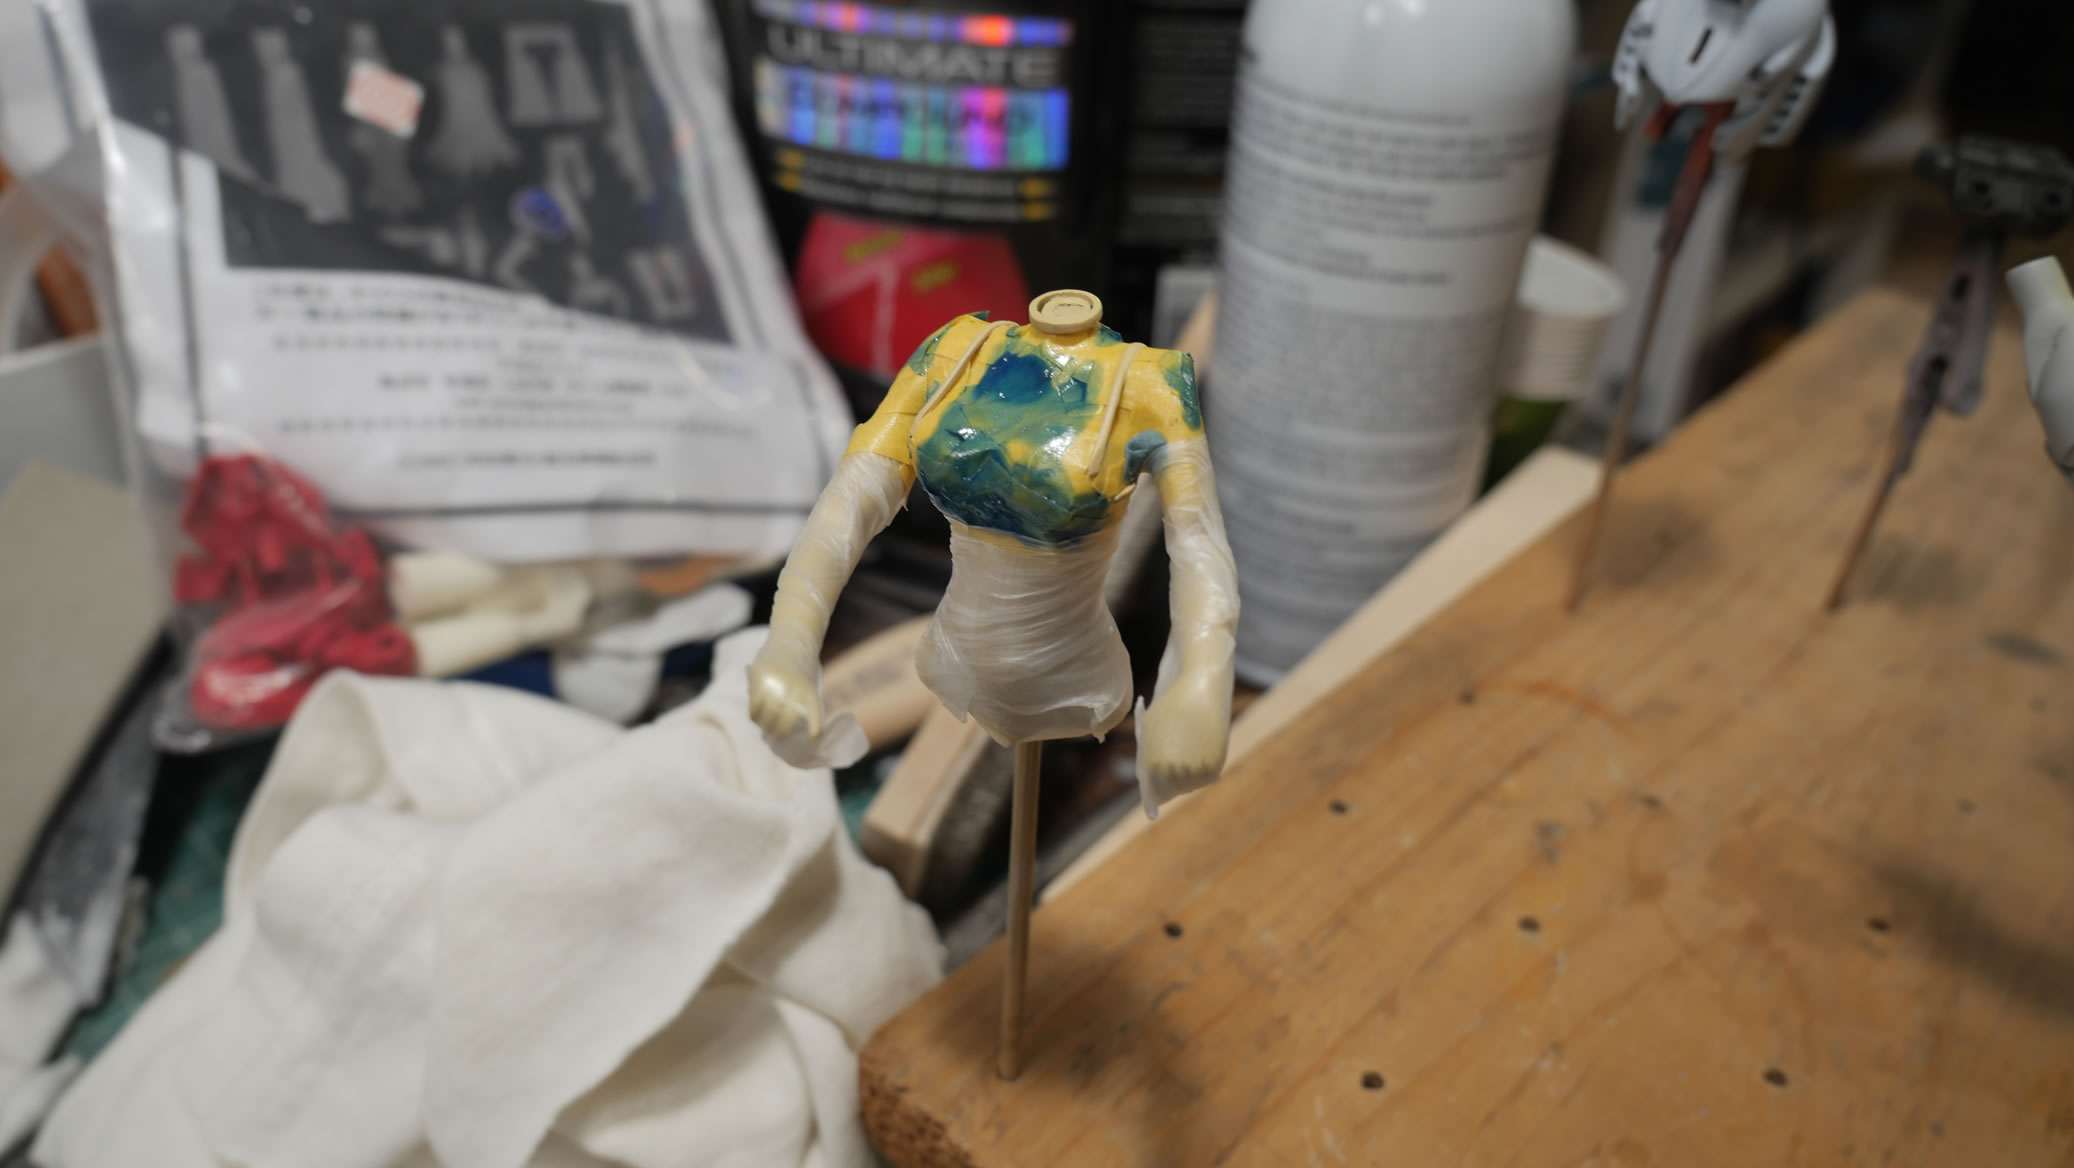
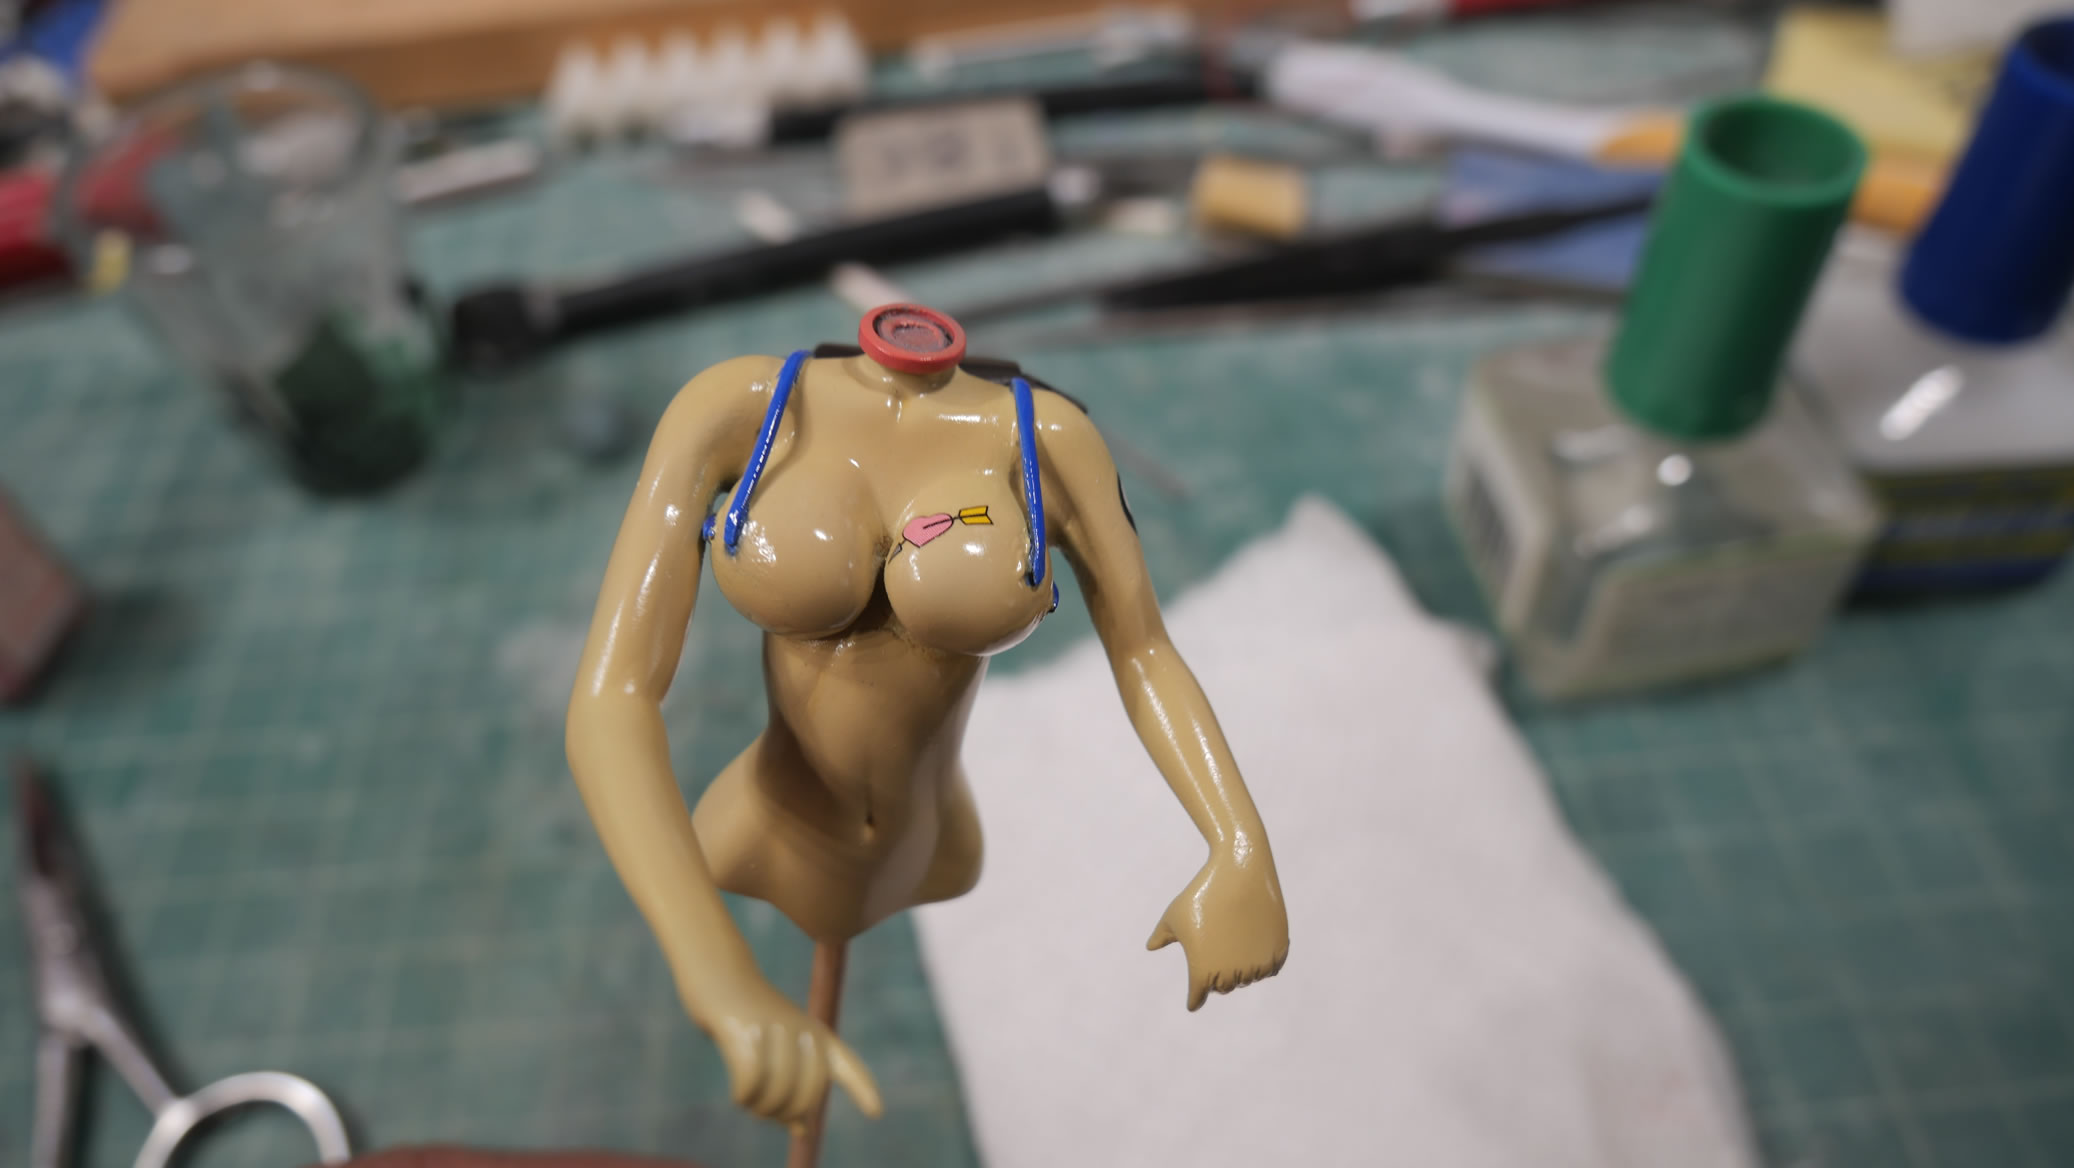
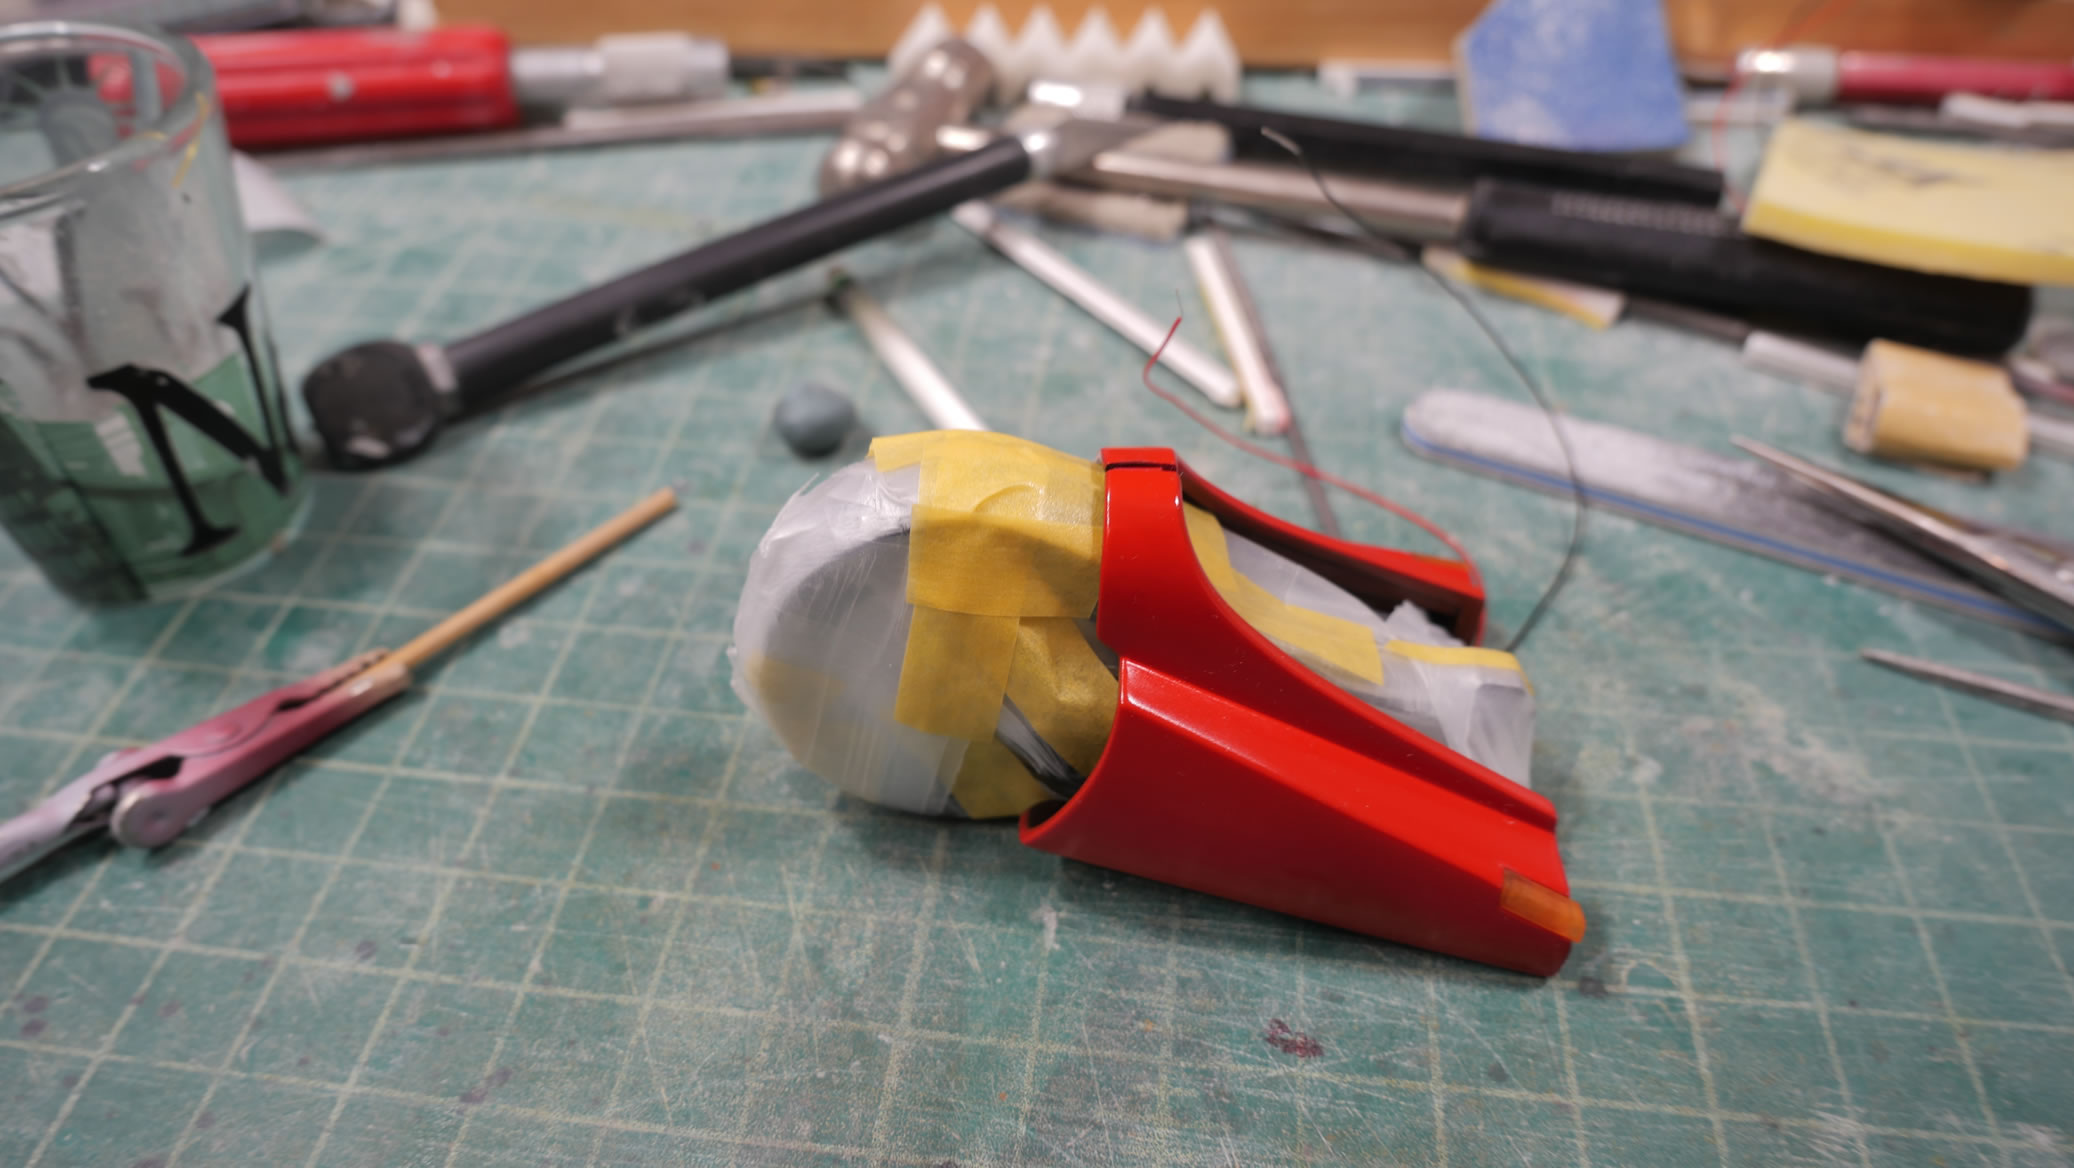
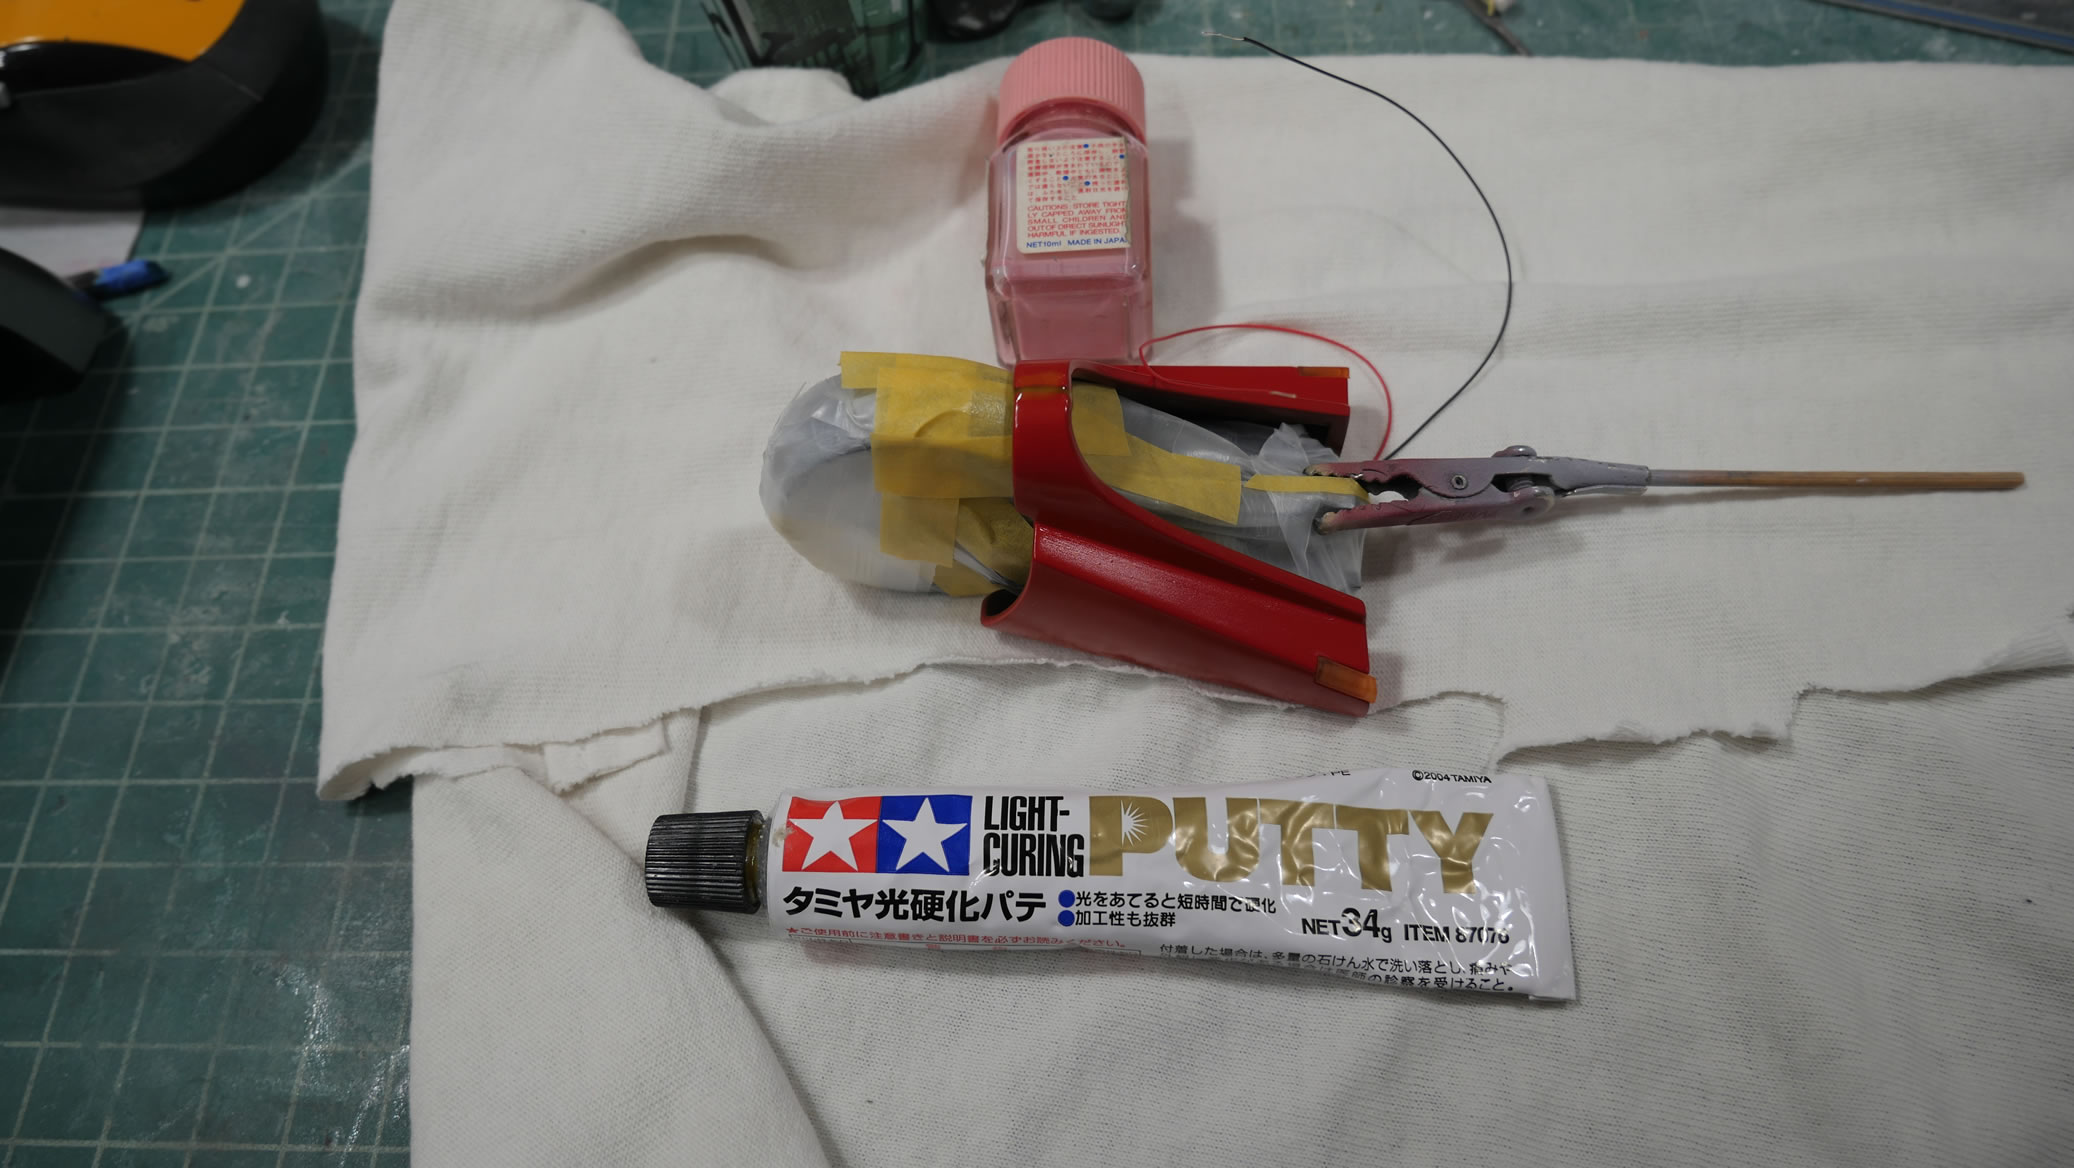
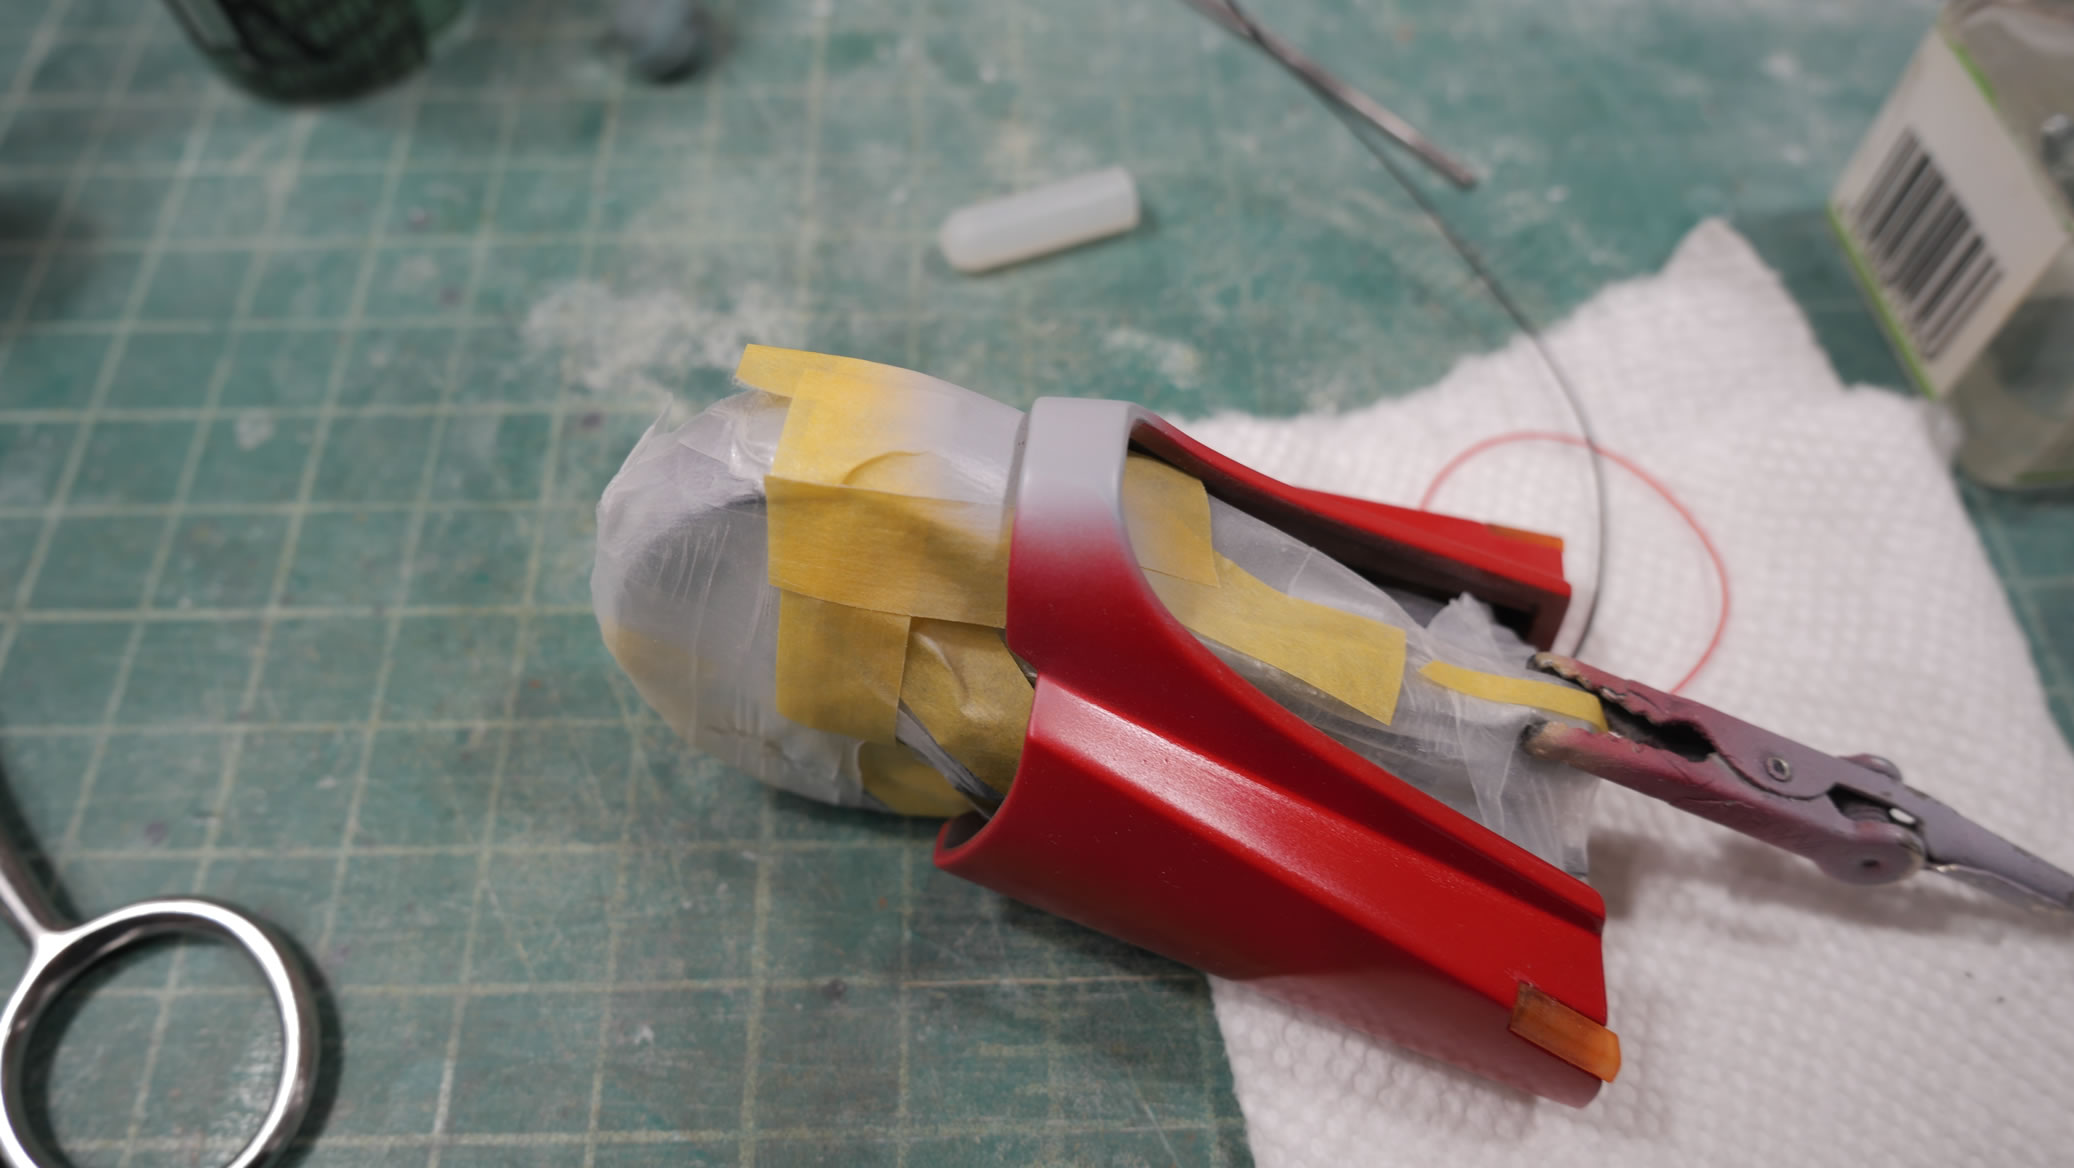
This is a bikini girl, and she wasn’t really filling out that BG 78 chest very well, so a bit of light curing putty and some sculpting with sanding sticks and files work to make the clothes fit better.
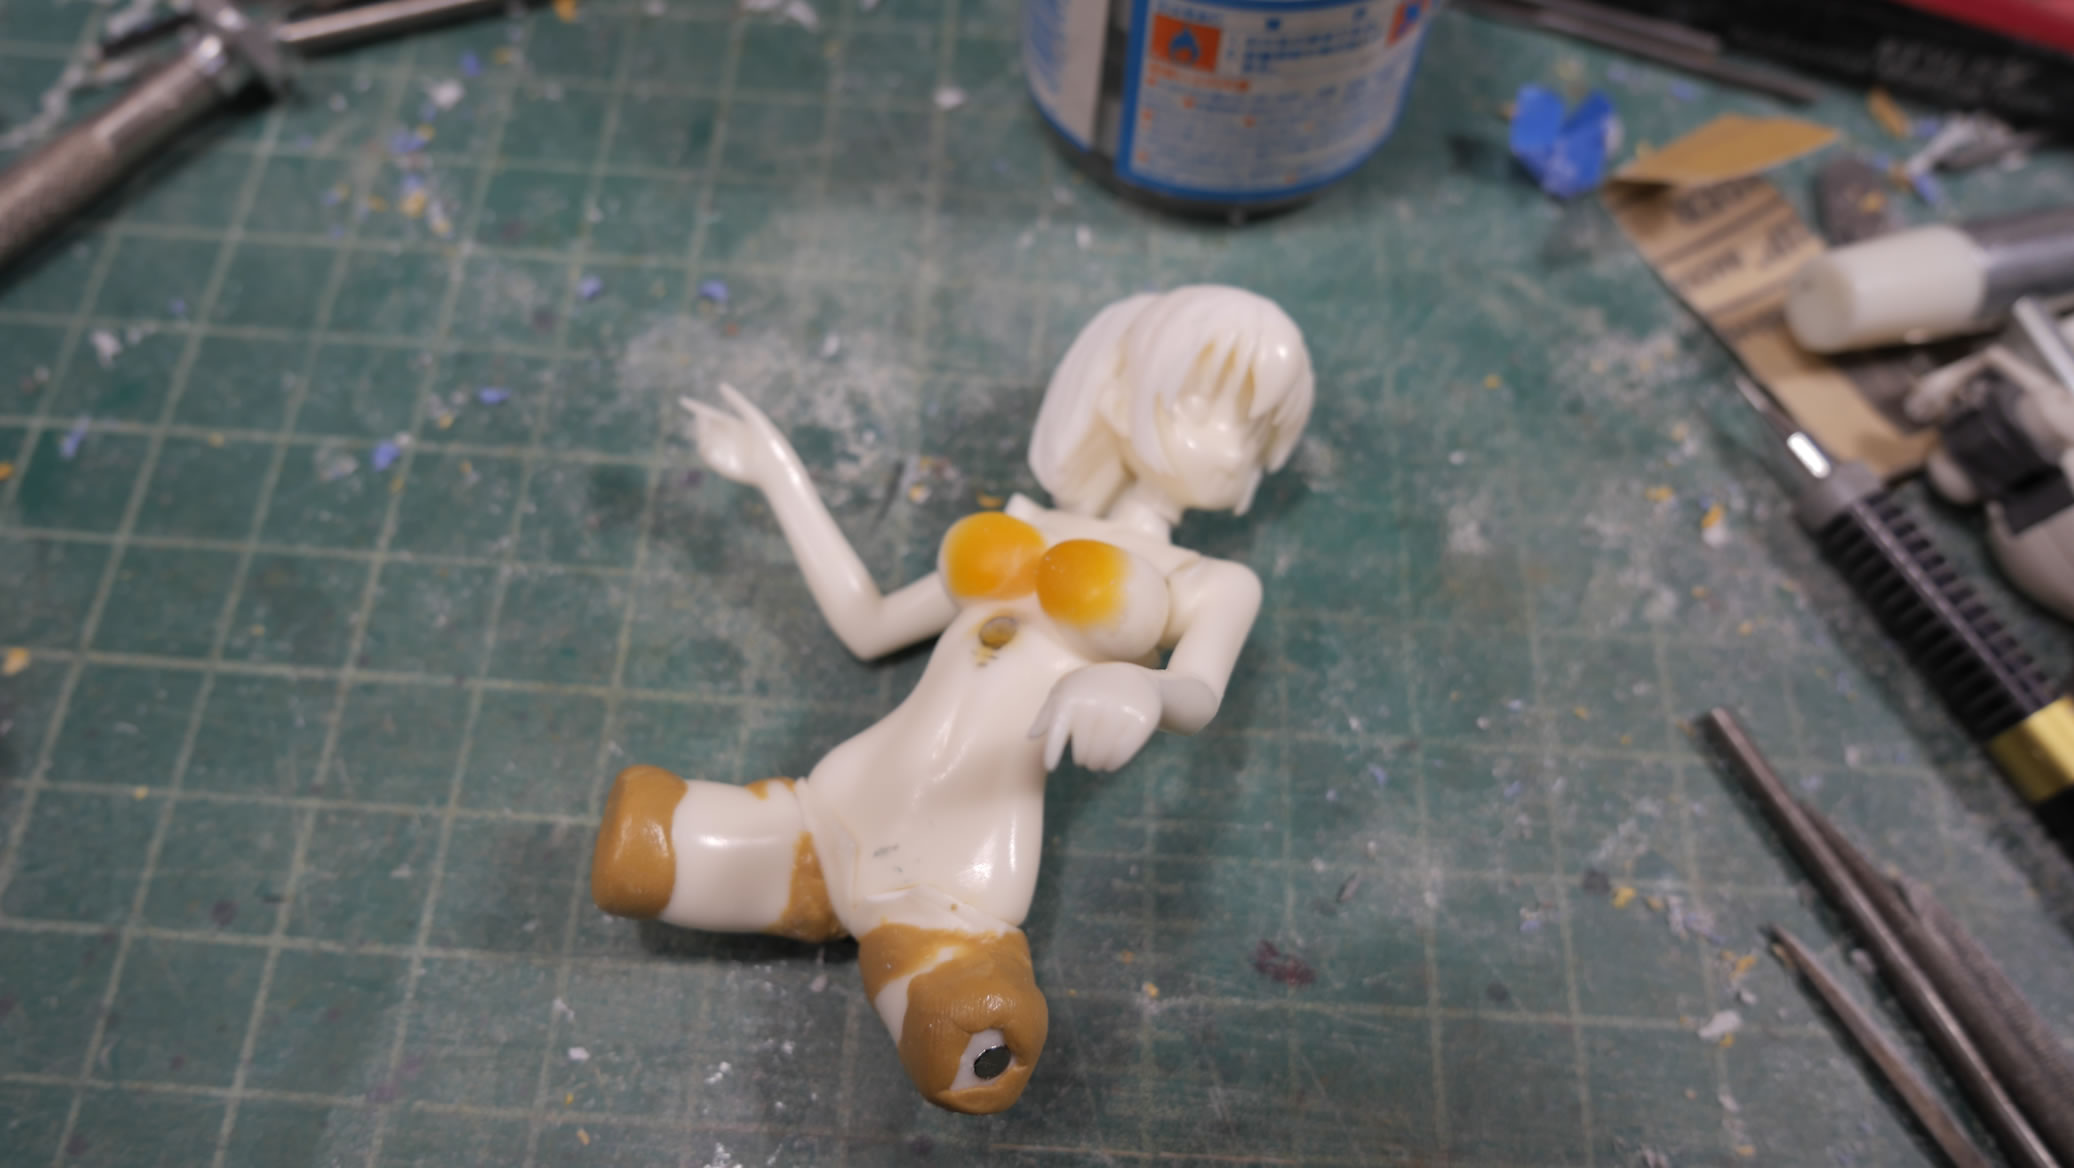
Without primer, this doesn’t look like a big difference, but the fit is much better. I’m starting to get some other putty work on the legs but more on that in the next section.
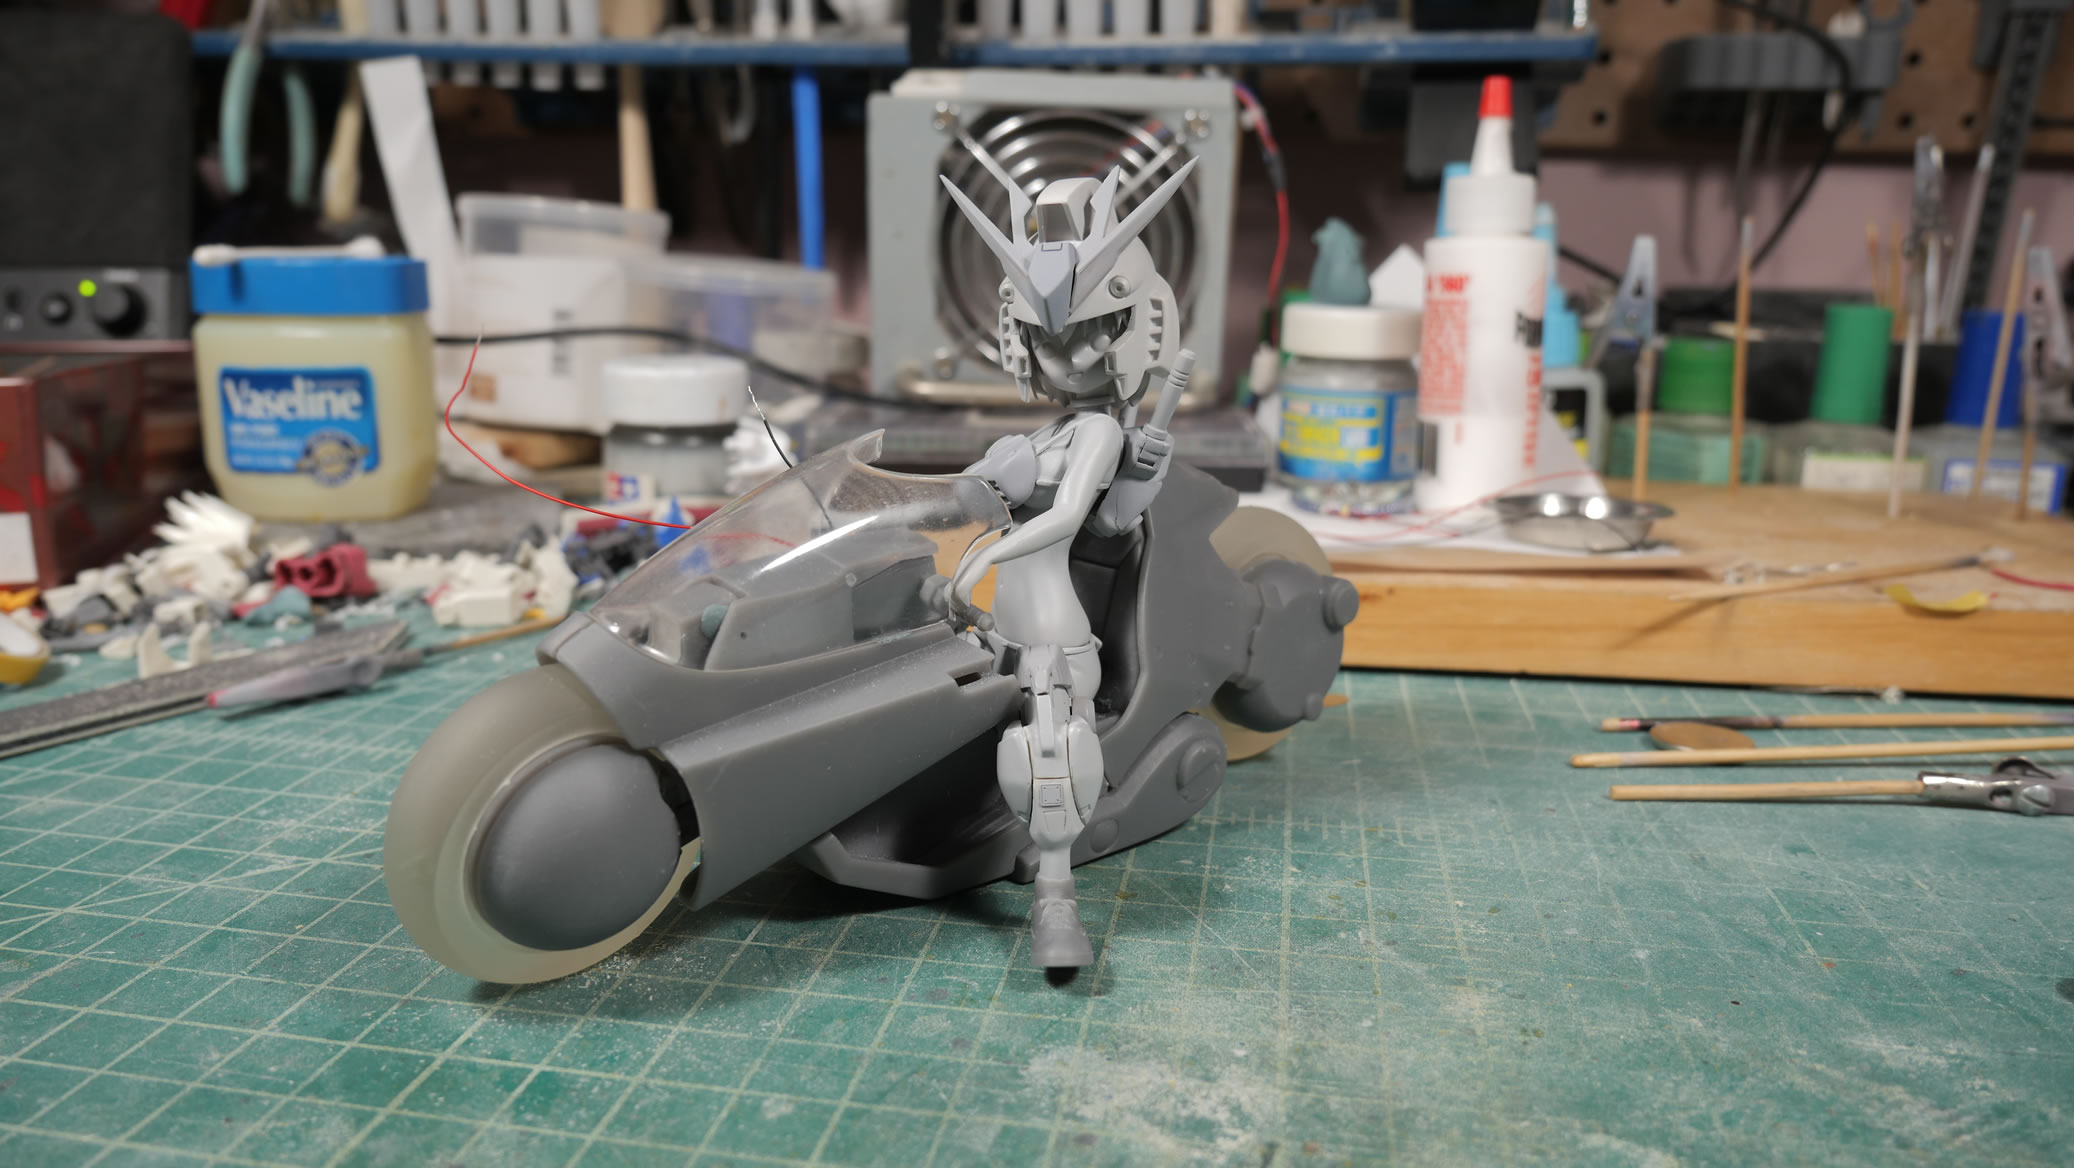
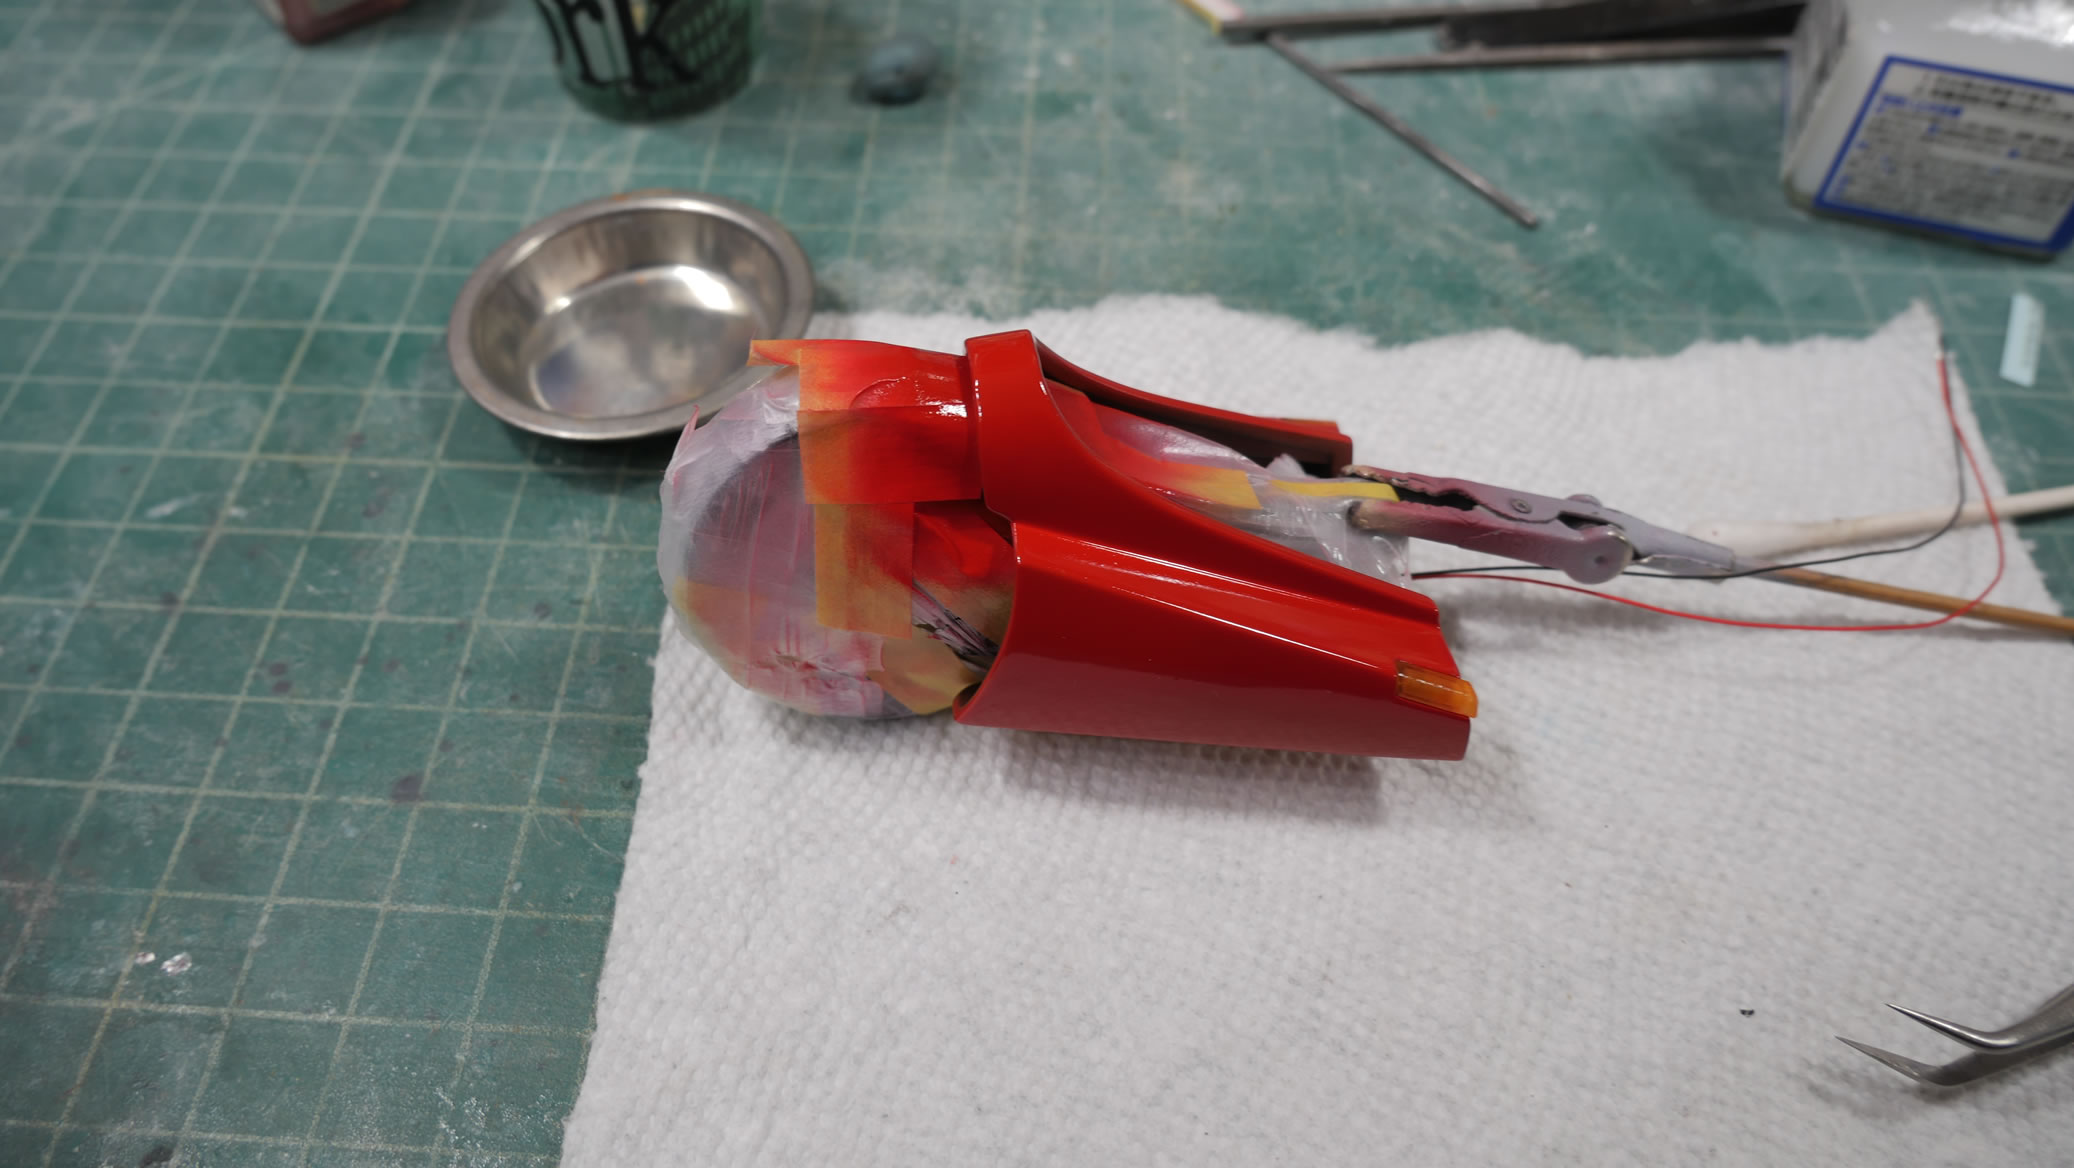
The hair has been clipped and some work on the head area is progressing. I have the body primed so that the chest enhancements are easier to see.
Butt Implants
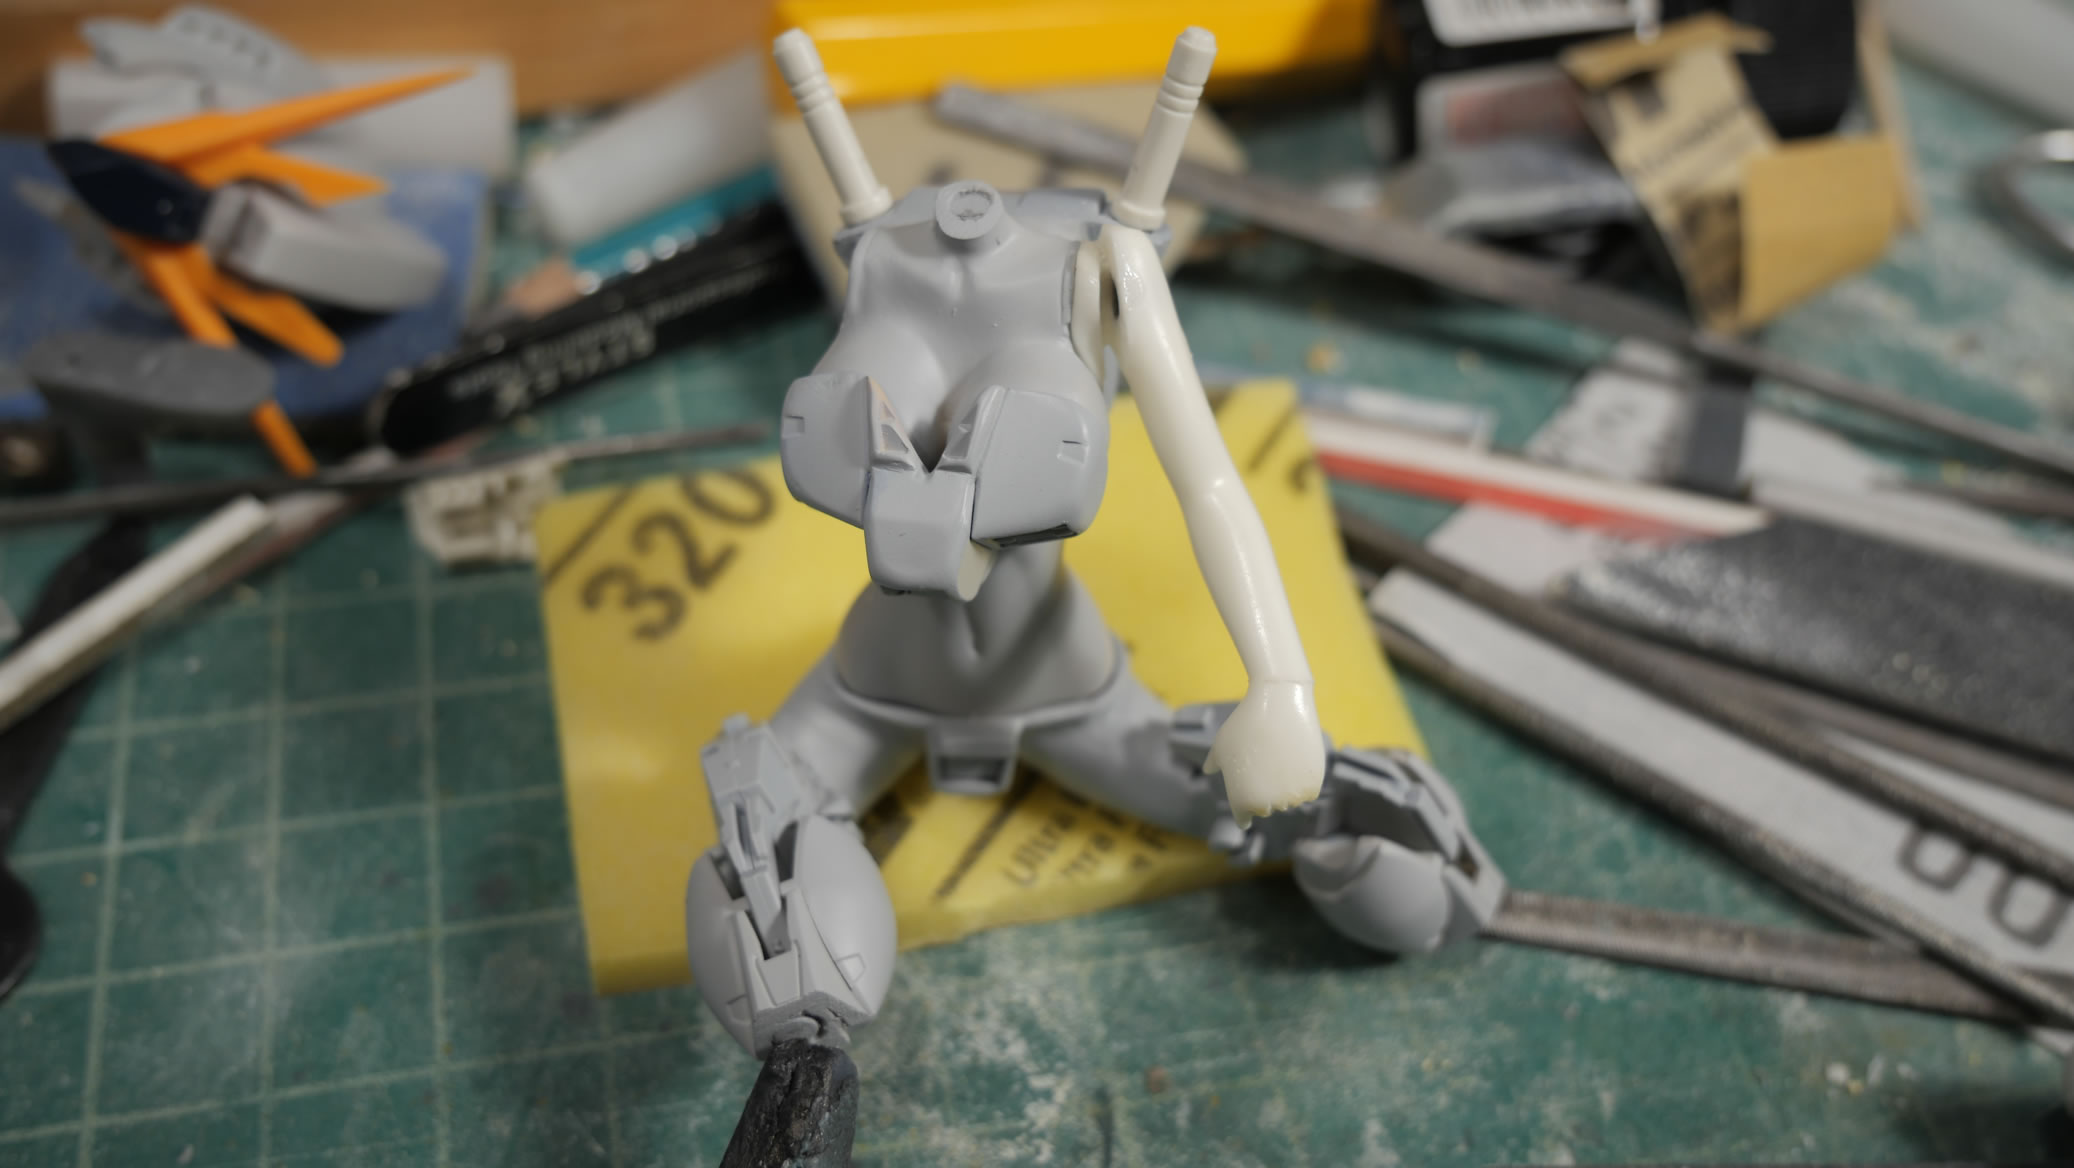
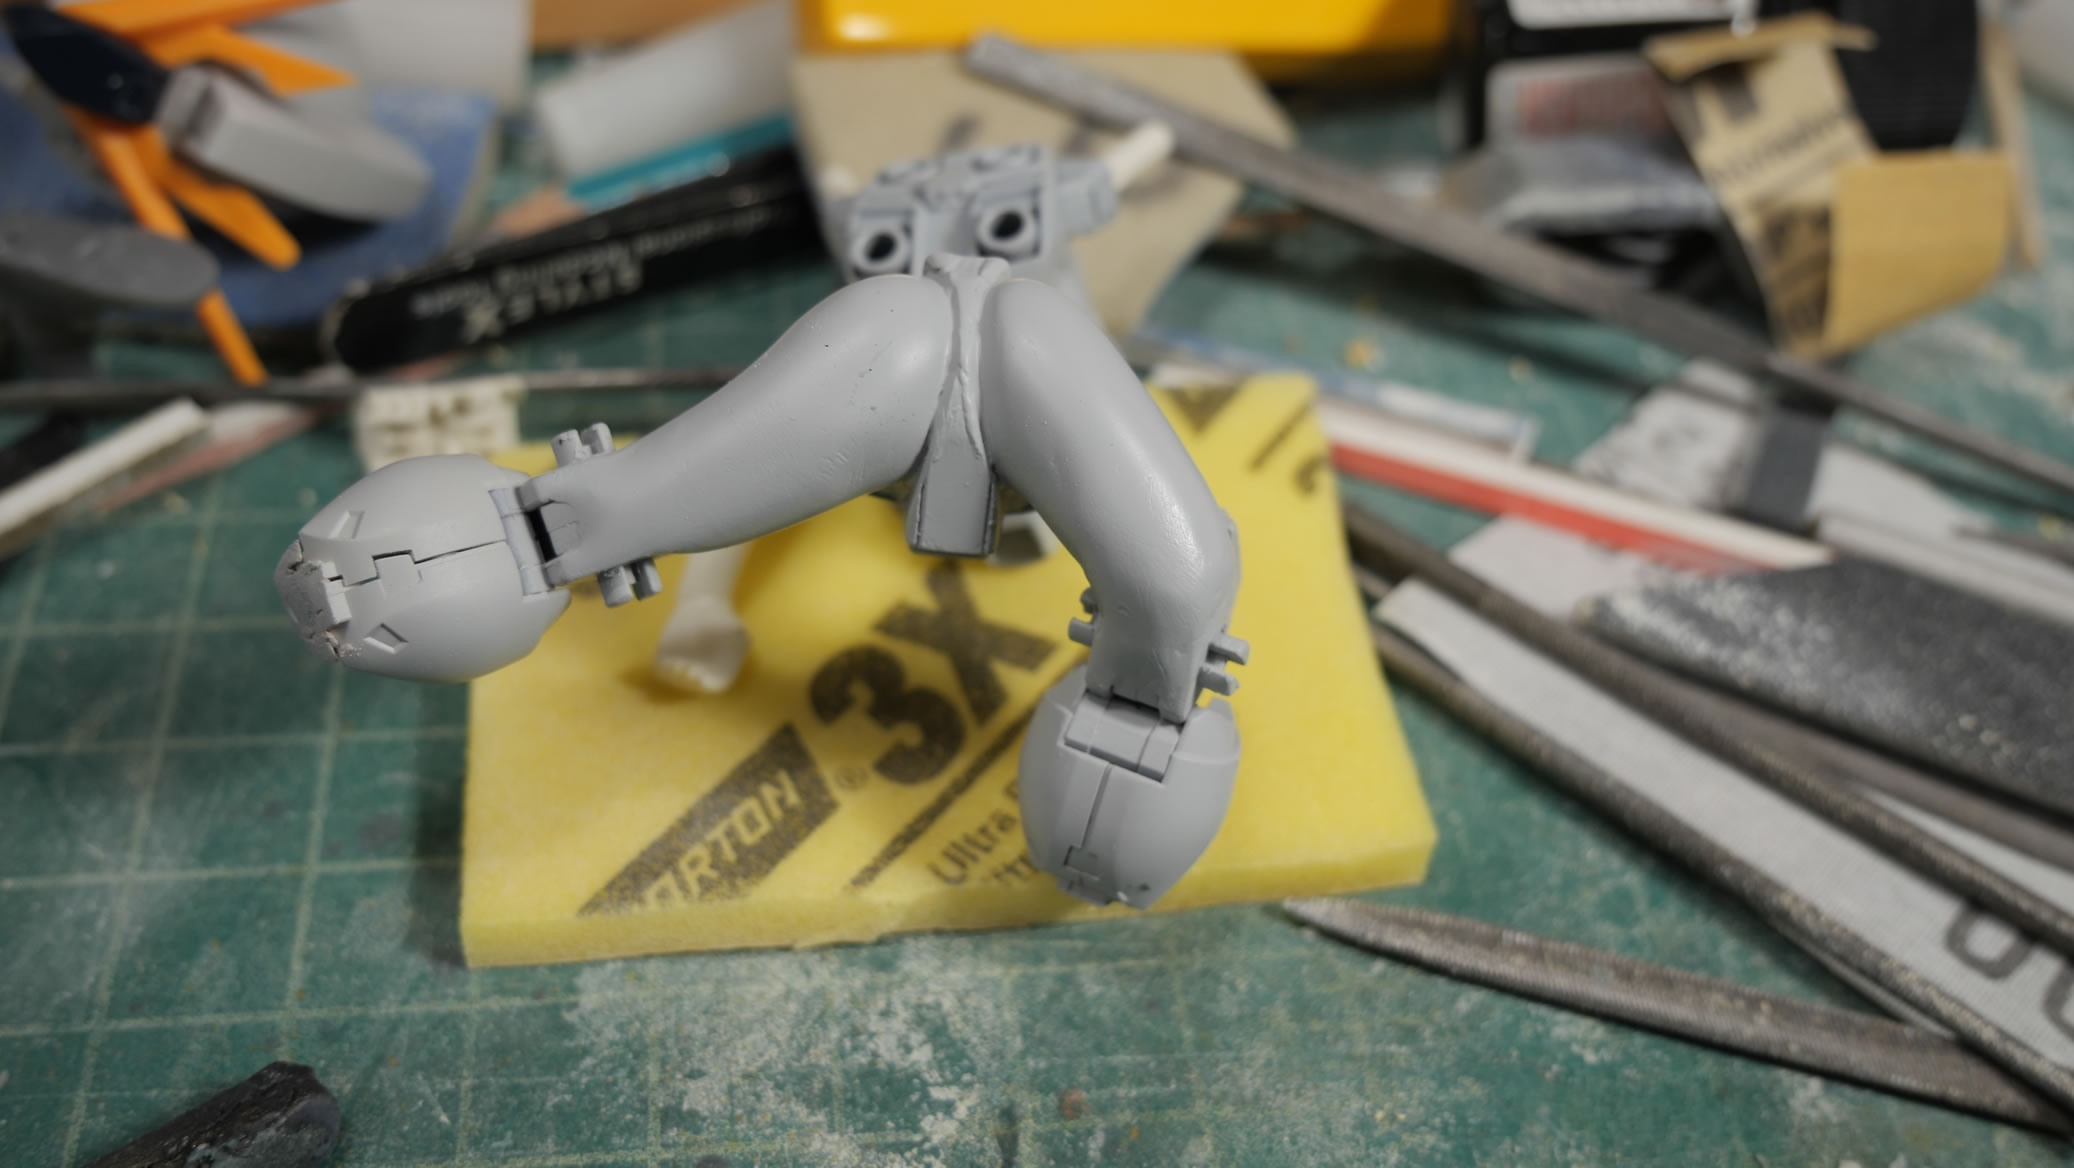
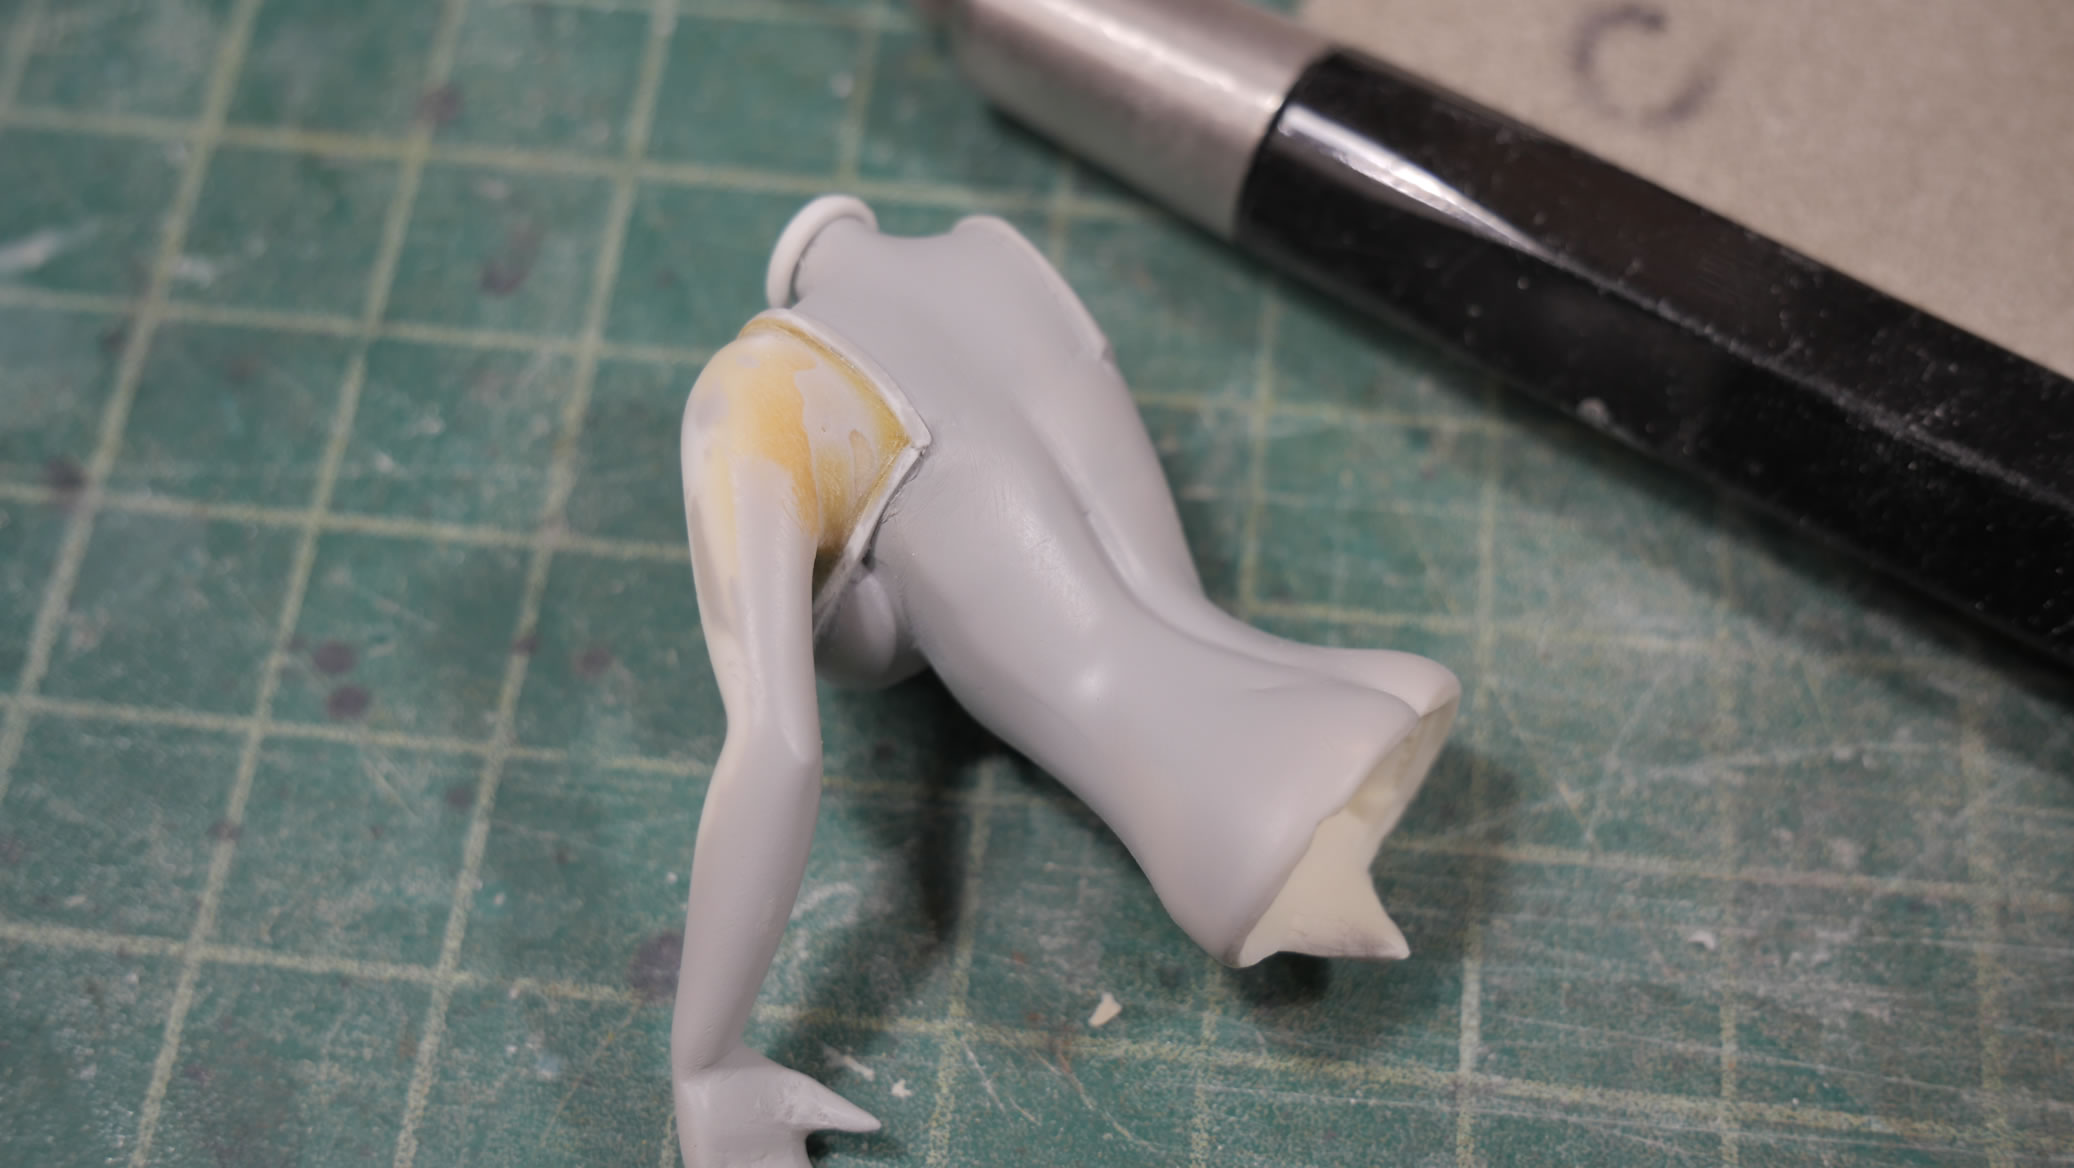
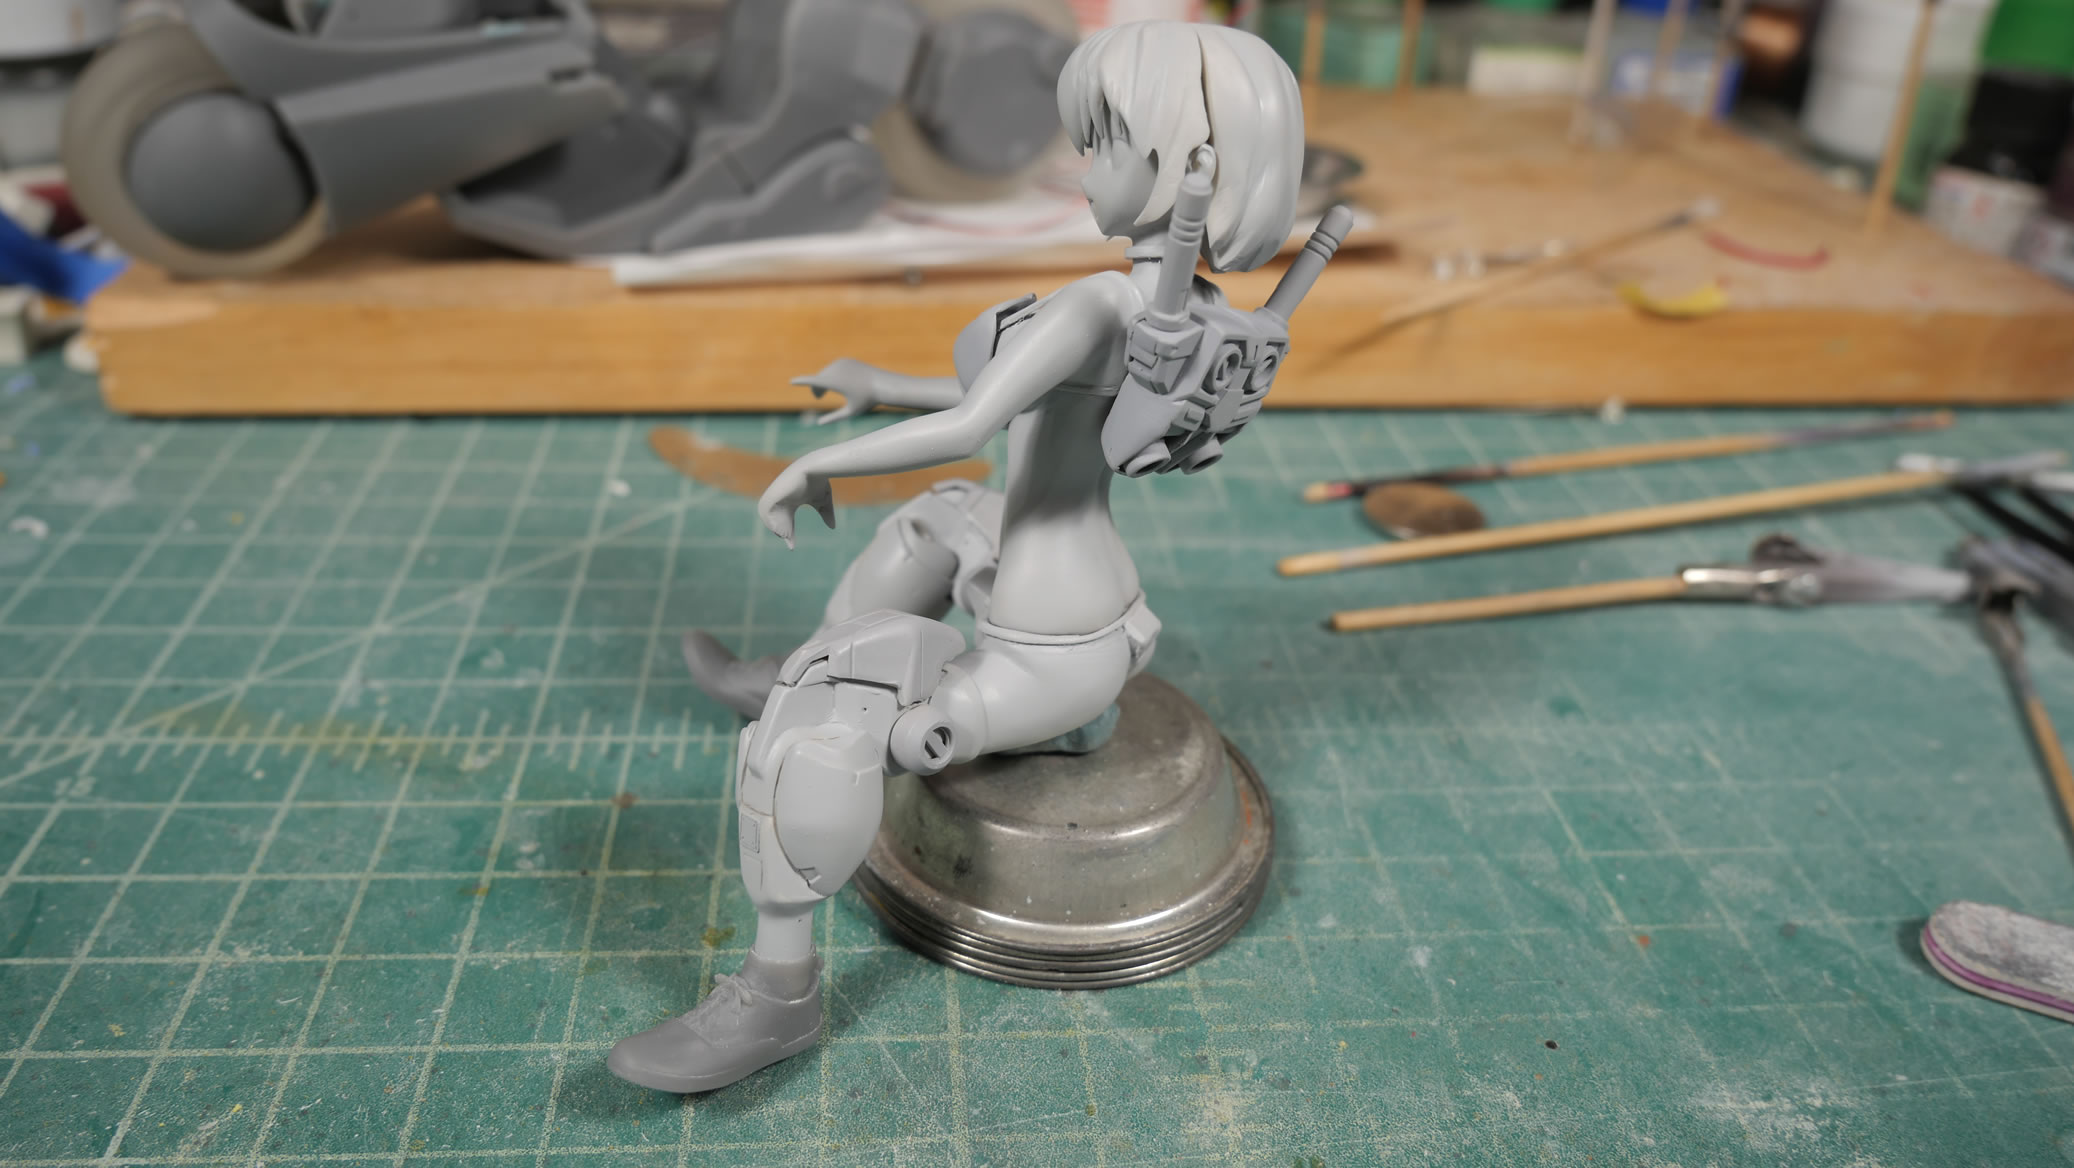
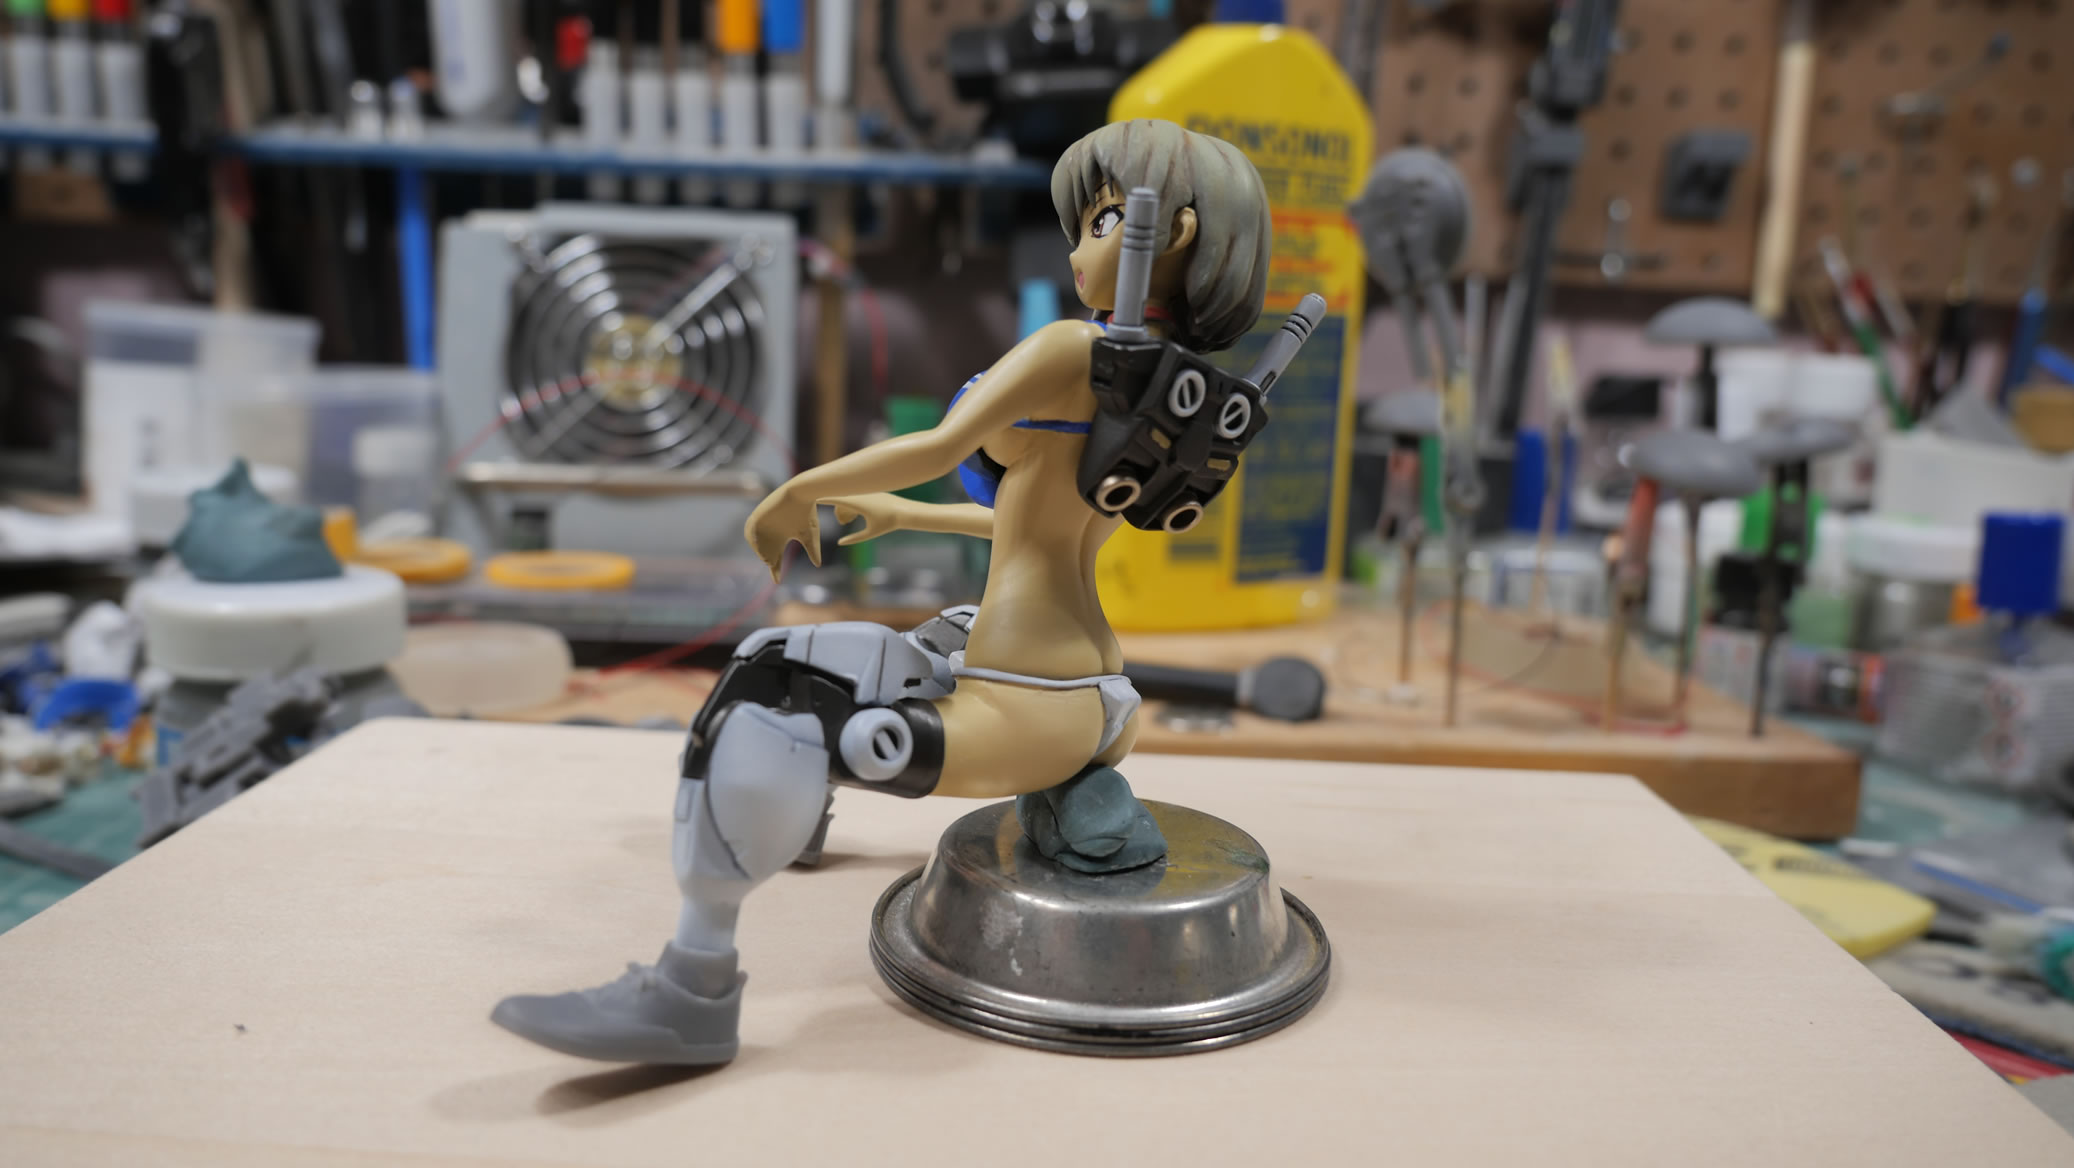
The figure has no butt. And even less after I had to cut her thighs from the waist. Since I want her sitting on the bike, the original figure has the thighs straight in a standing pose. A little hobby saw some glue, and putty to fill in the missing butt. Once the base structure is done with the epoxy putty, I use light curing putty to quickly sculpt out some butt cheeks. Can’t have bigger boobs without a bigger butt. Also being worked is a cut piece of the BG 78’s front and rear waist details. Time to make some bikini bottoms with that plastic. A strip of styrene is used to create the rest of the bikini, tying in the front and back pieces.
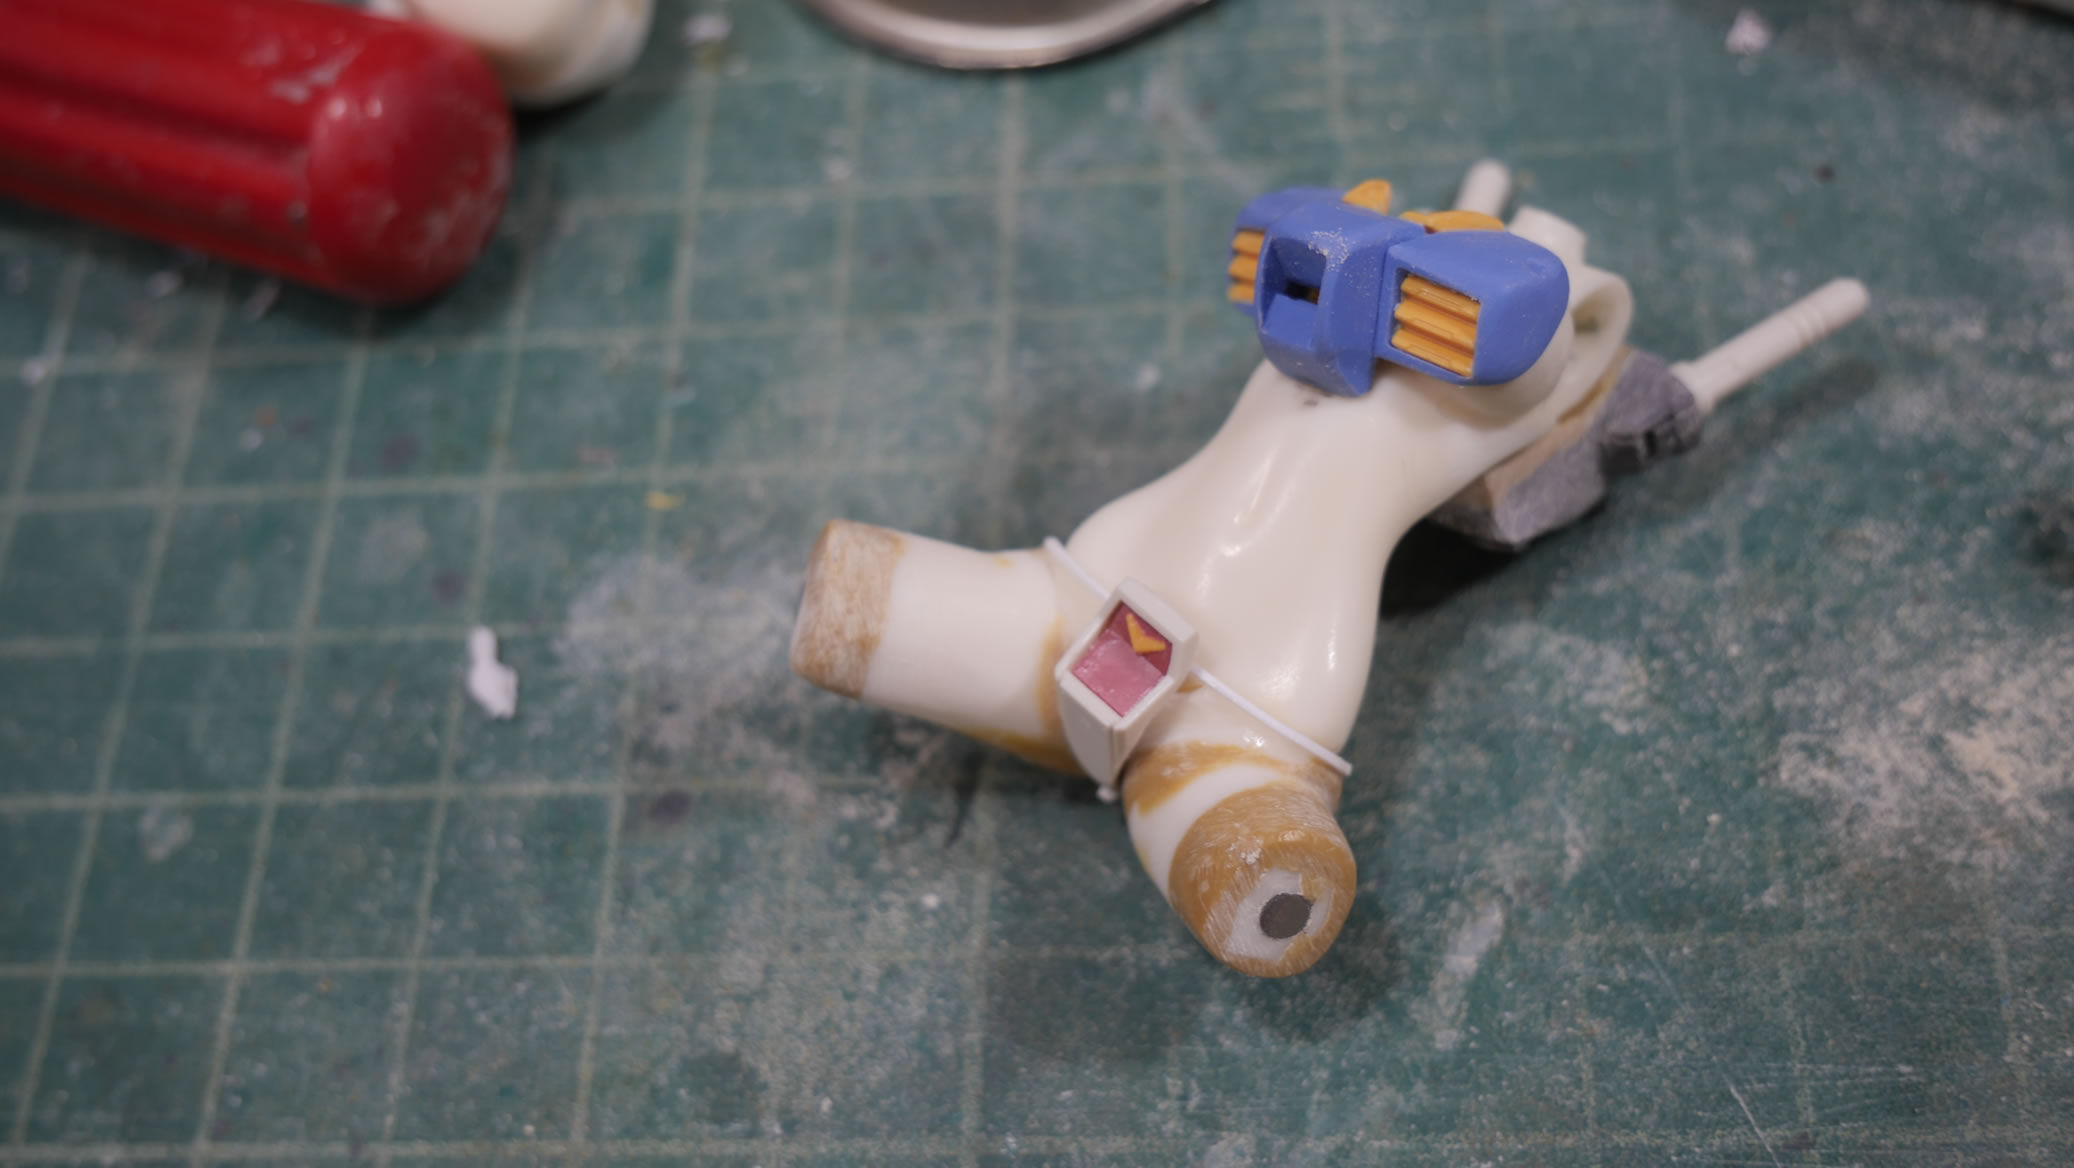
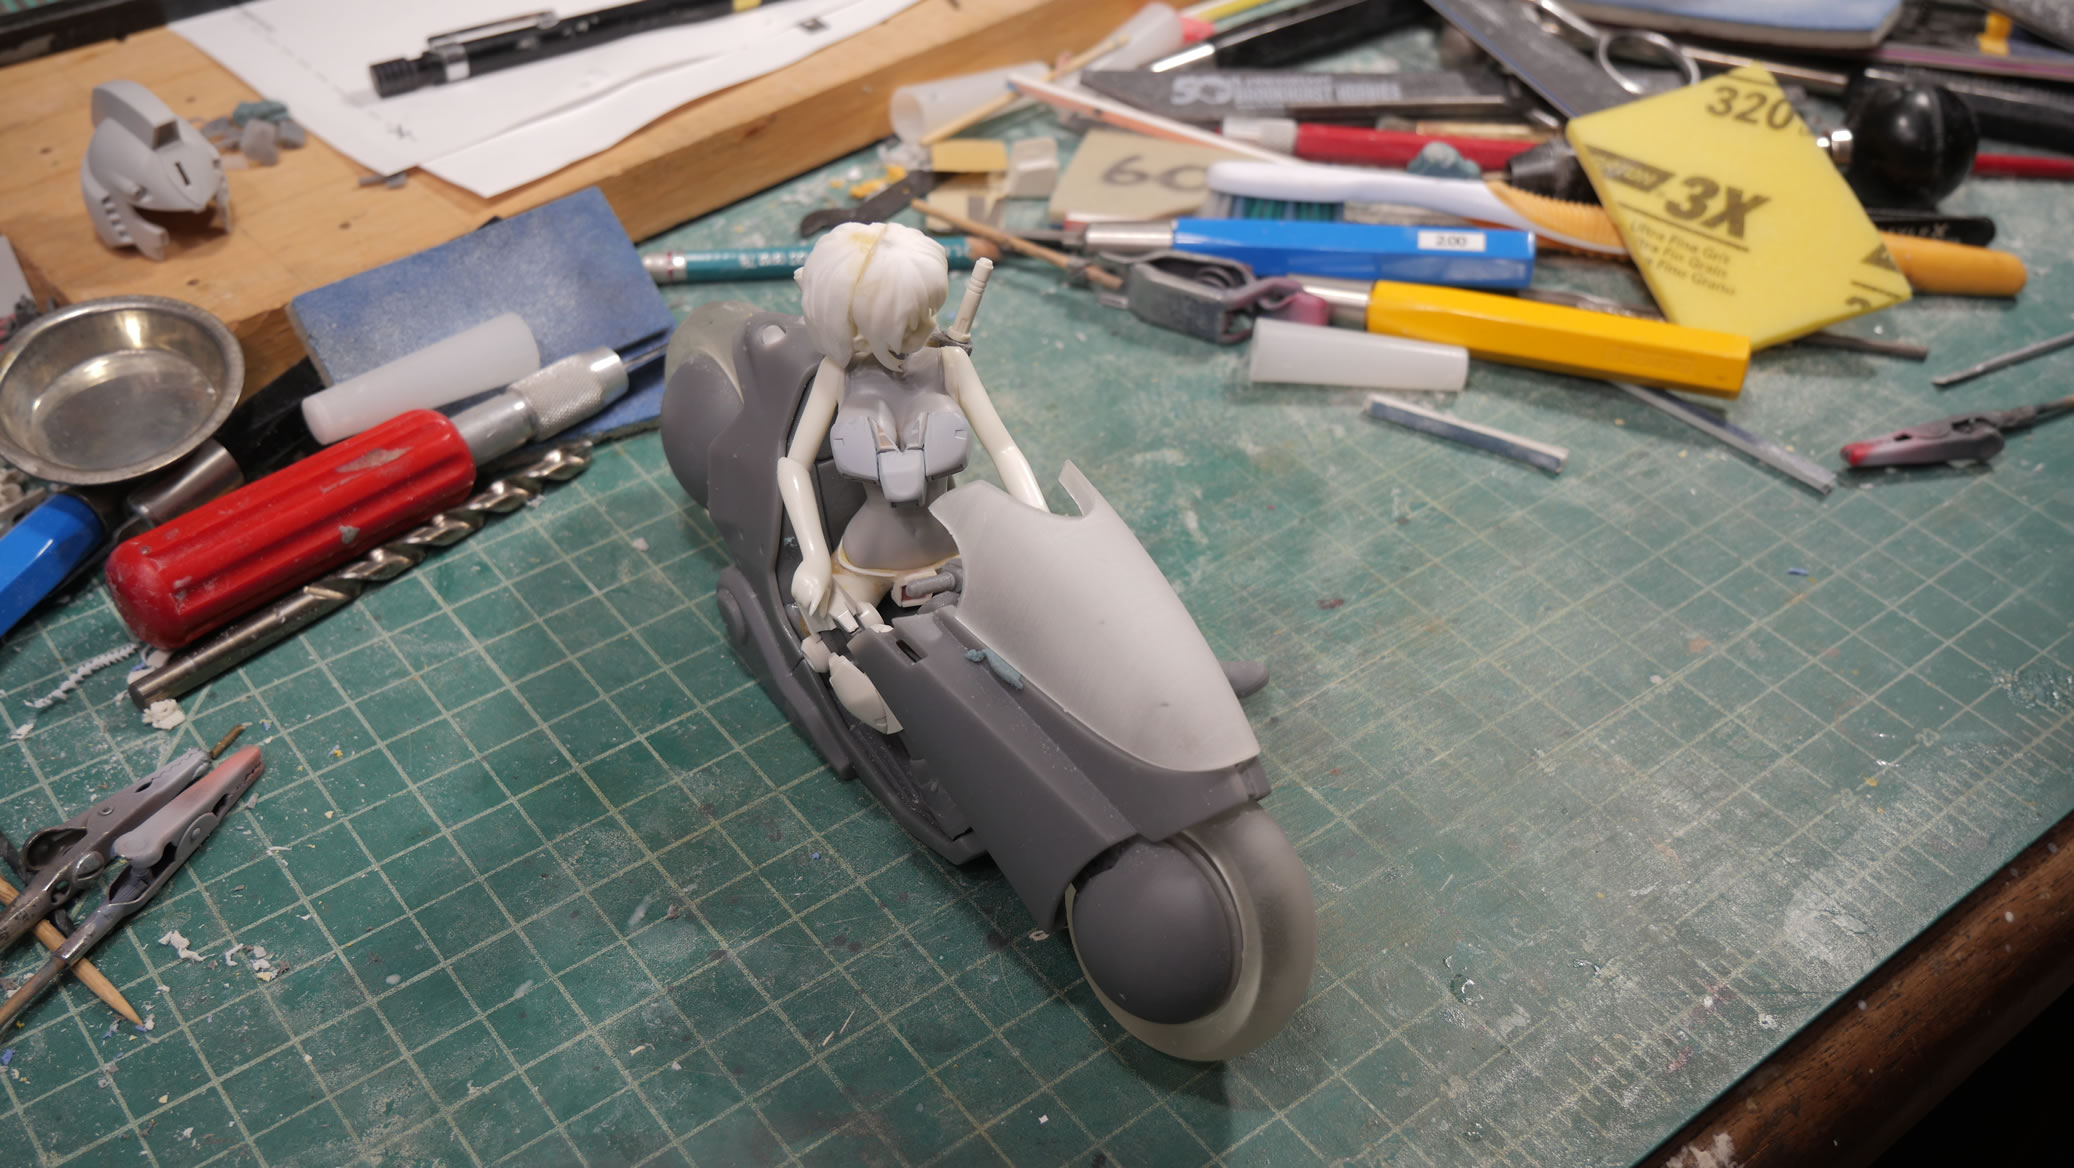
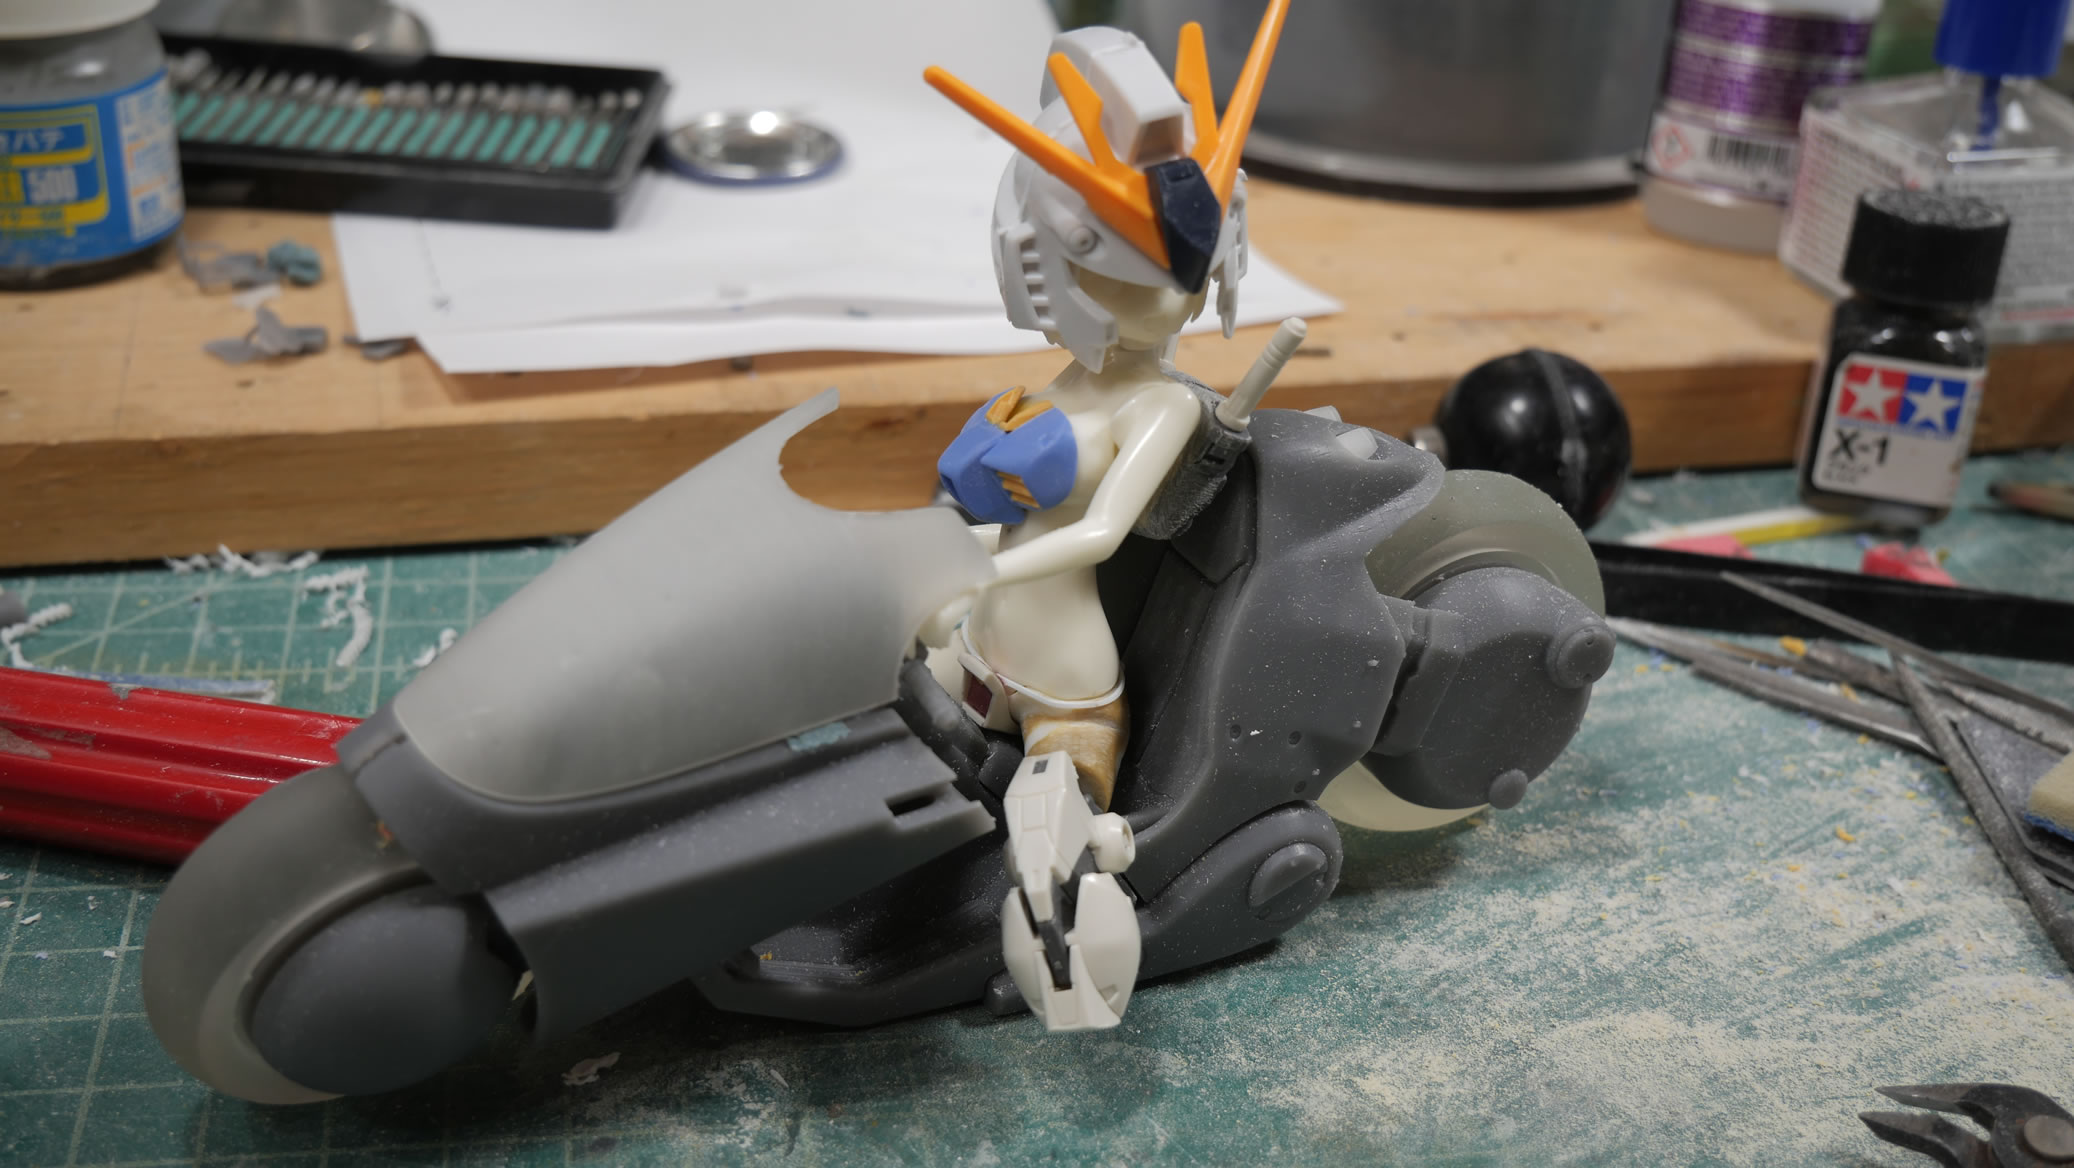
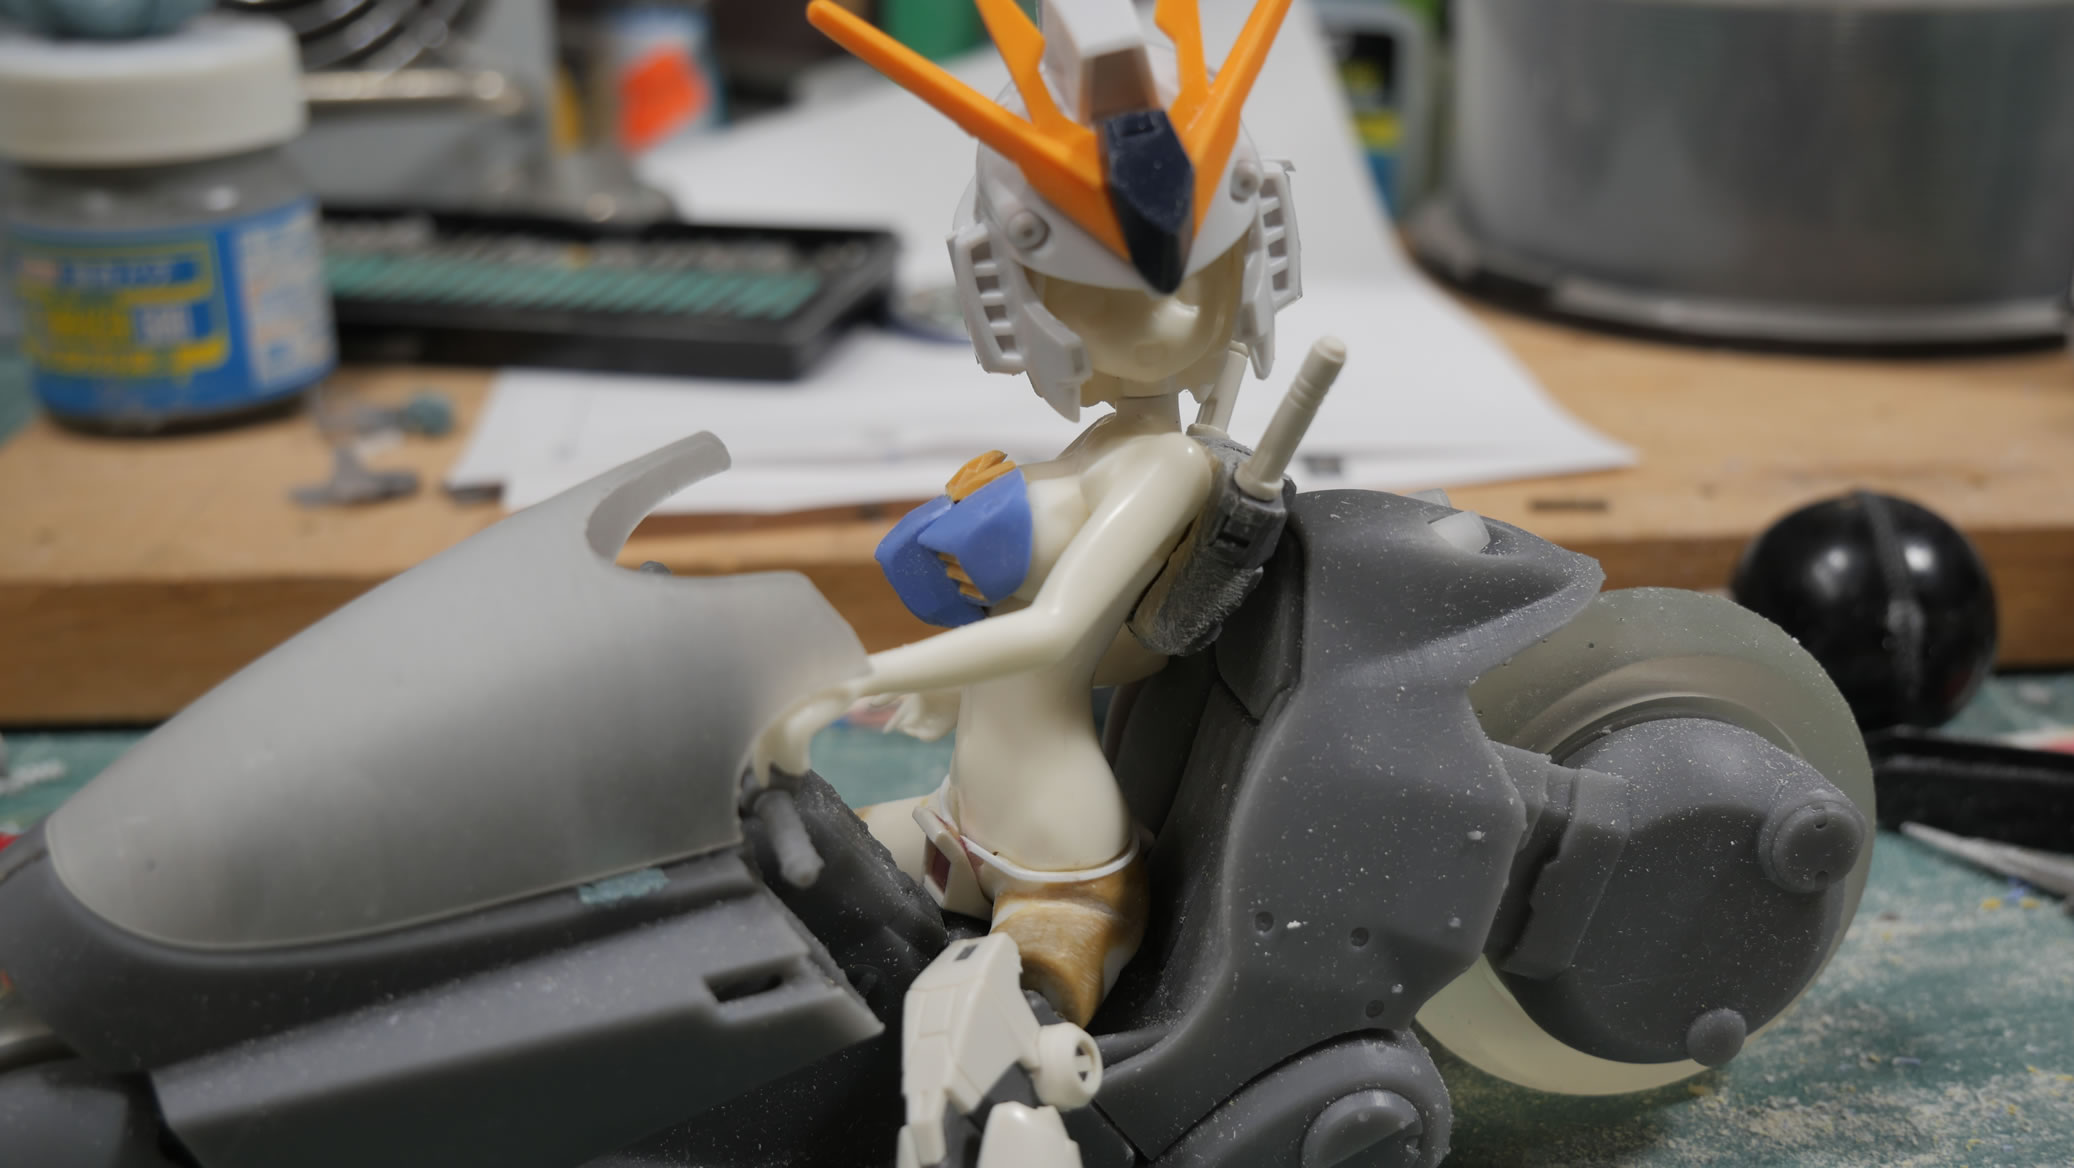
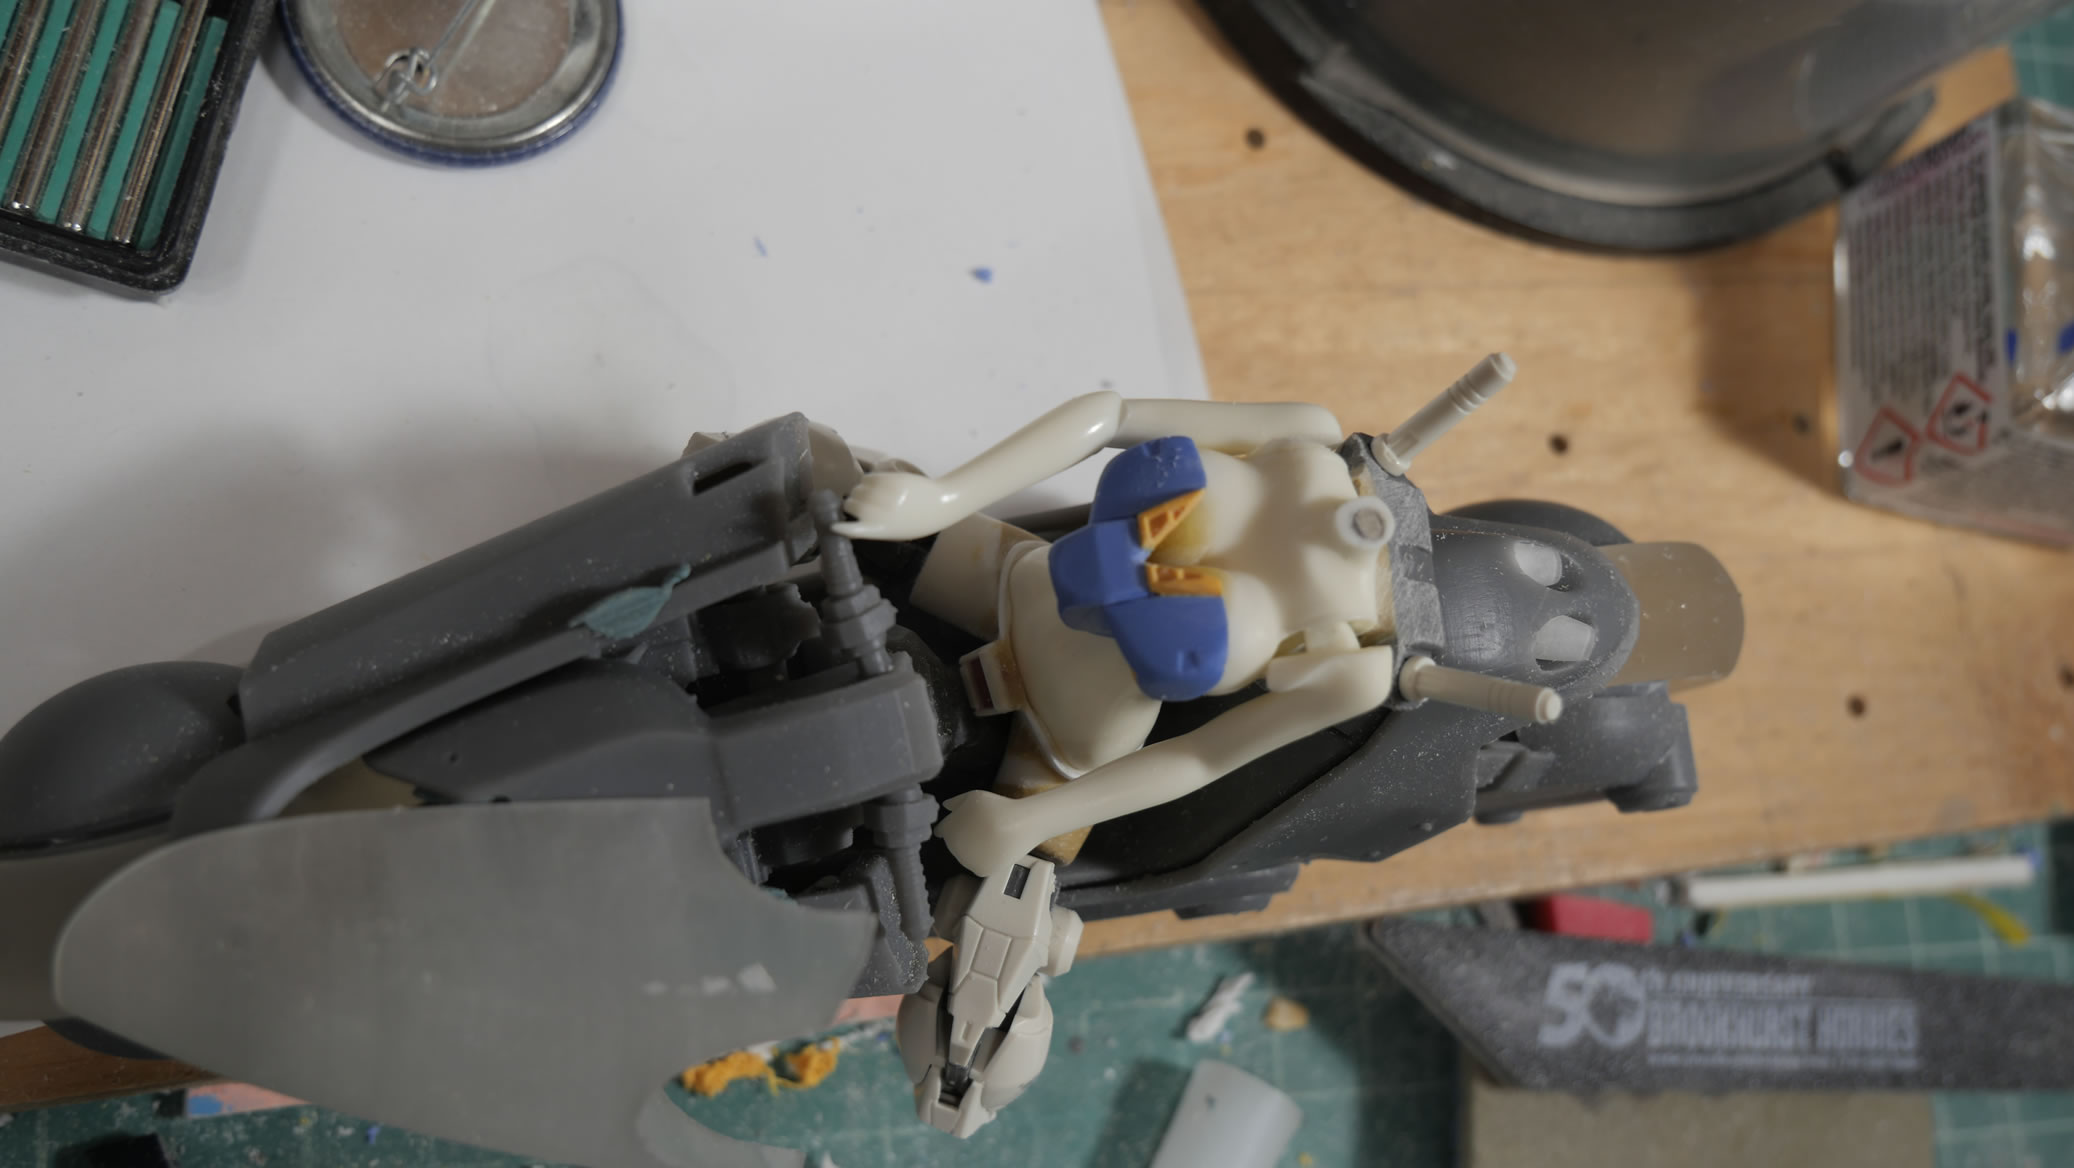
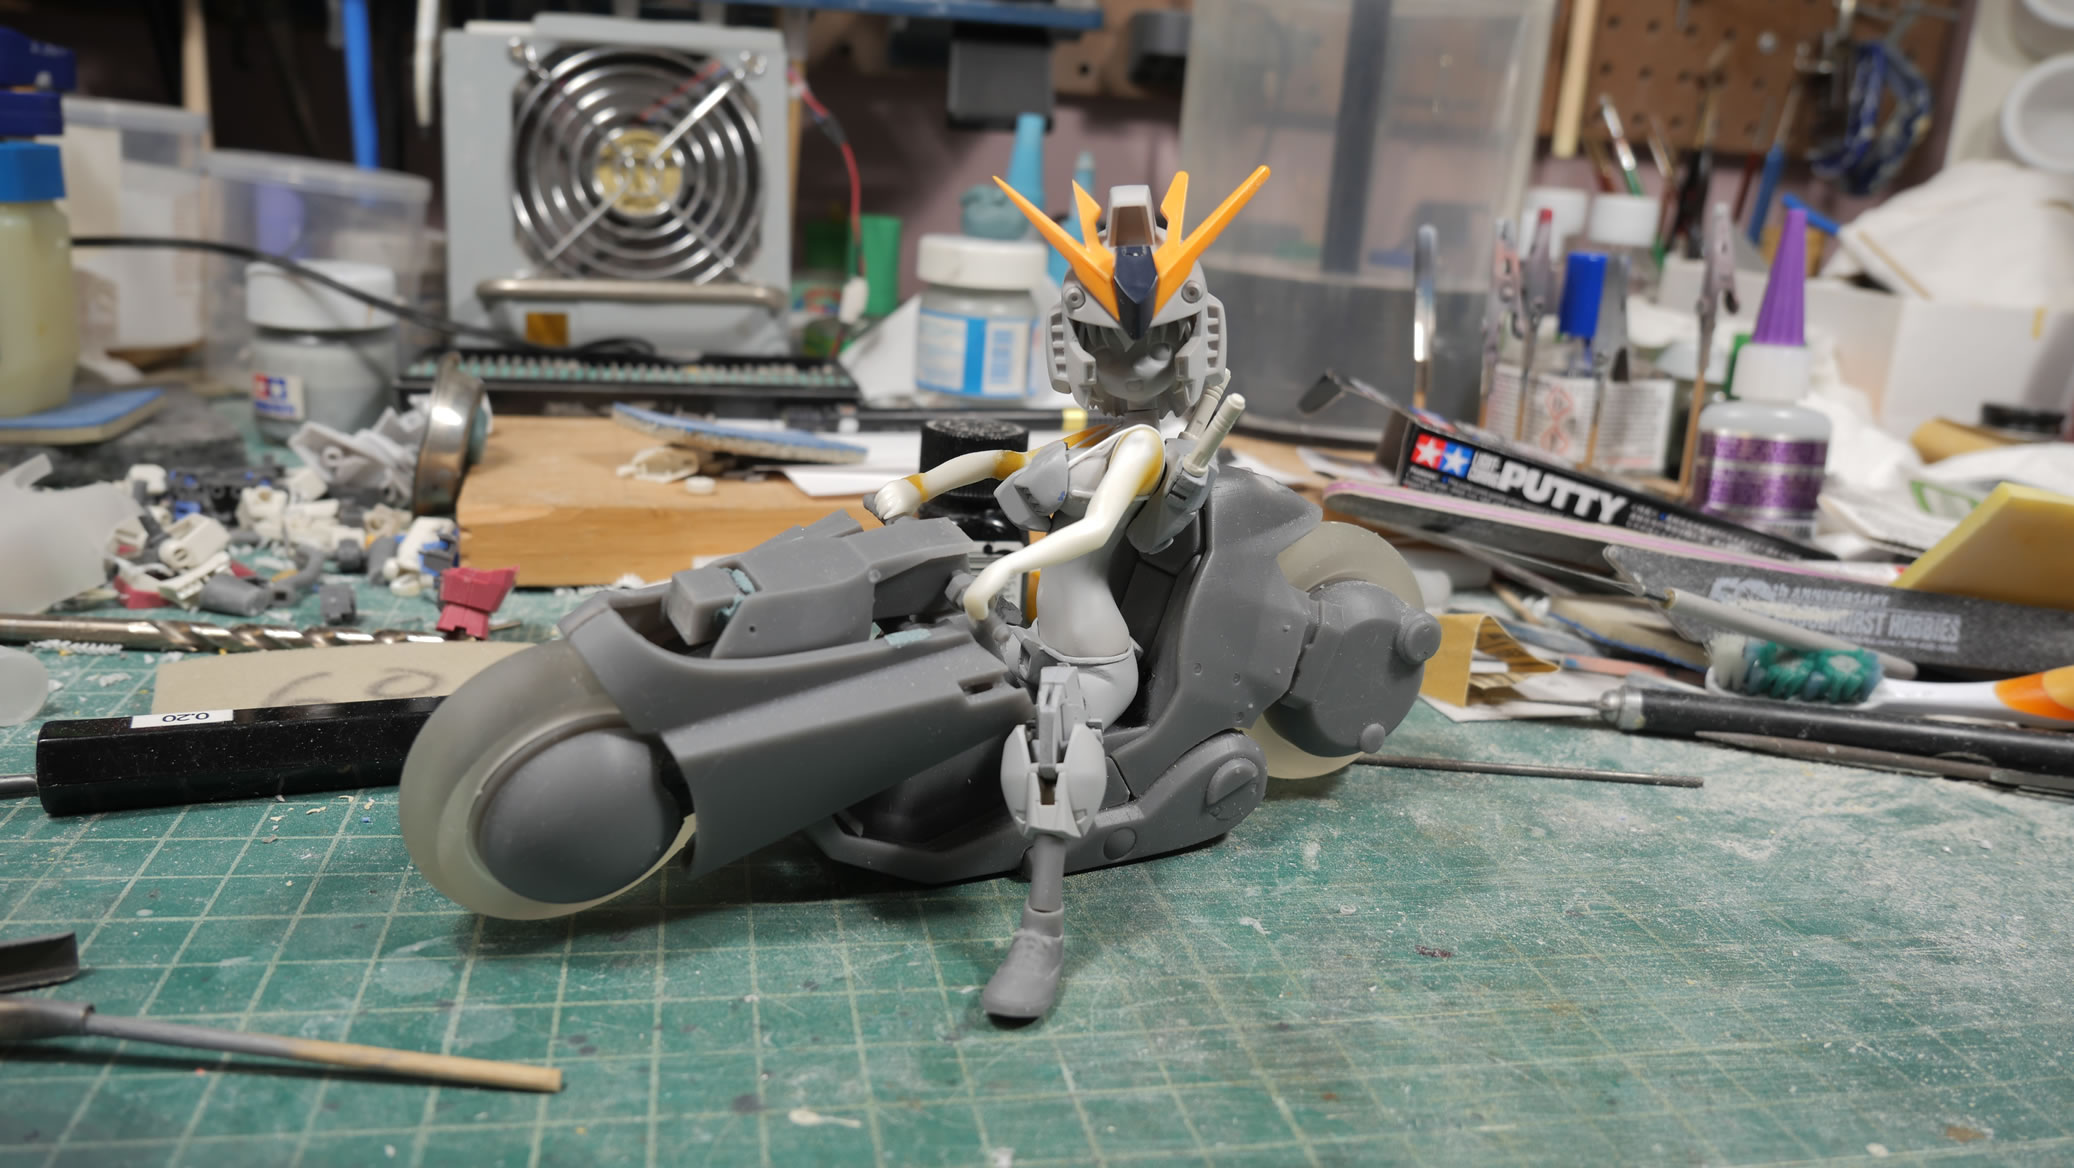
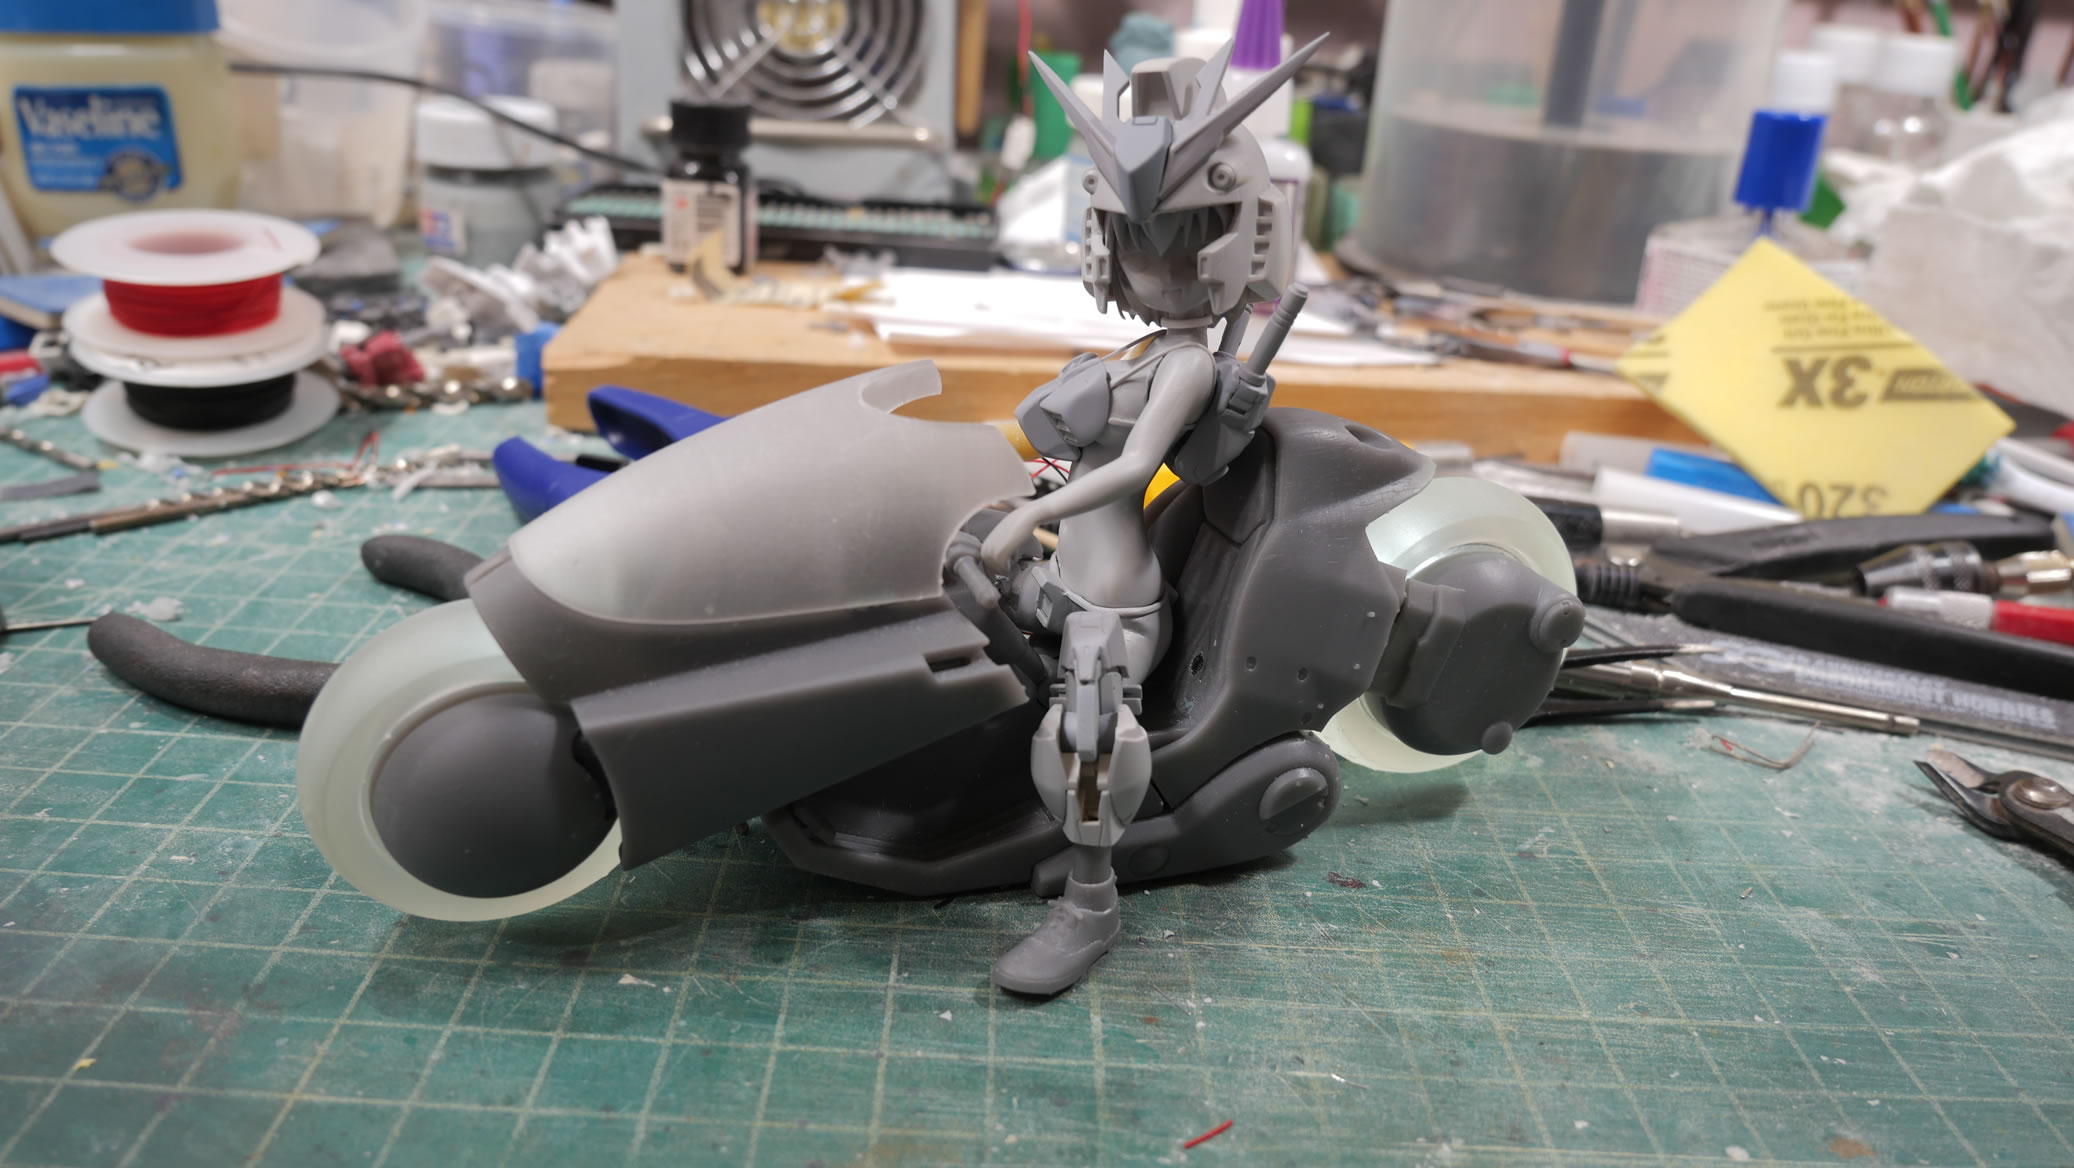
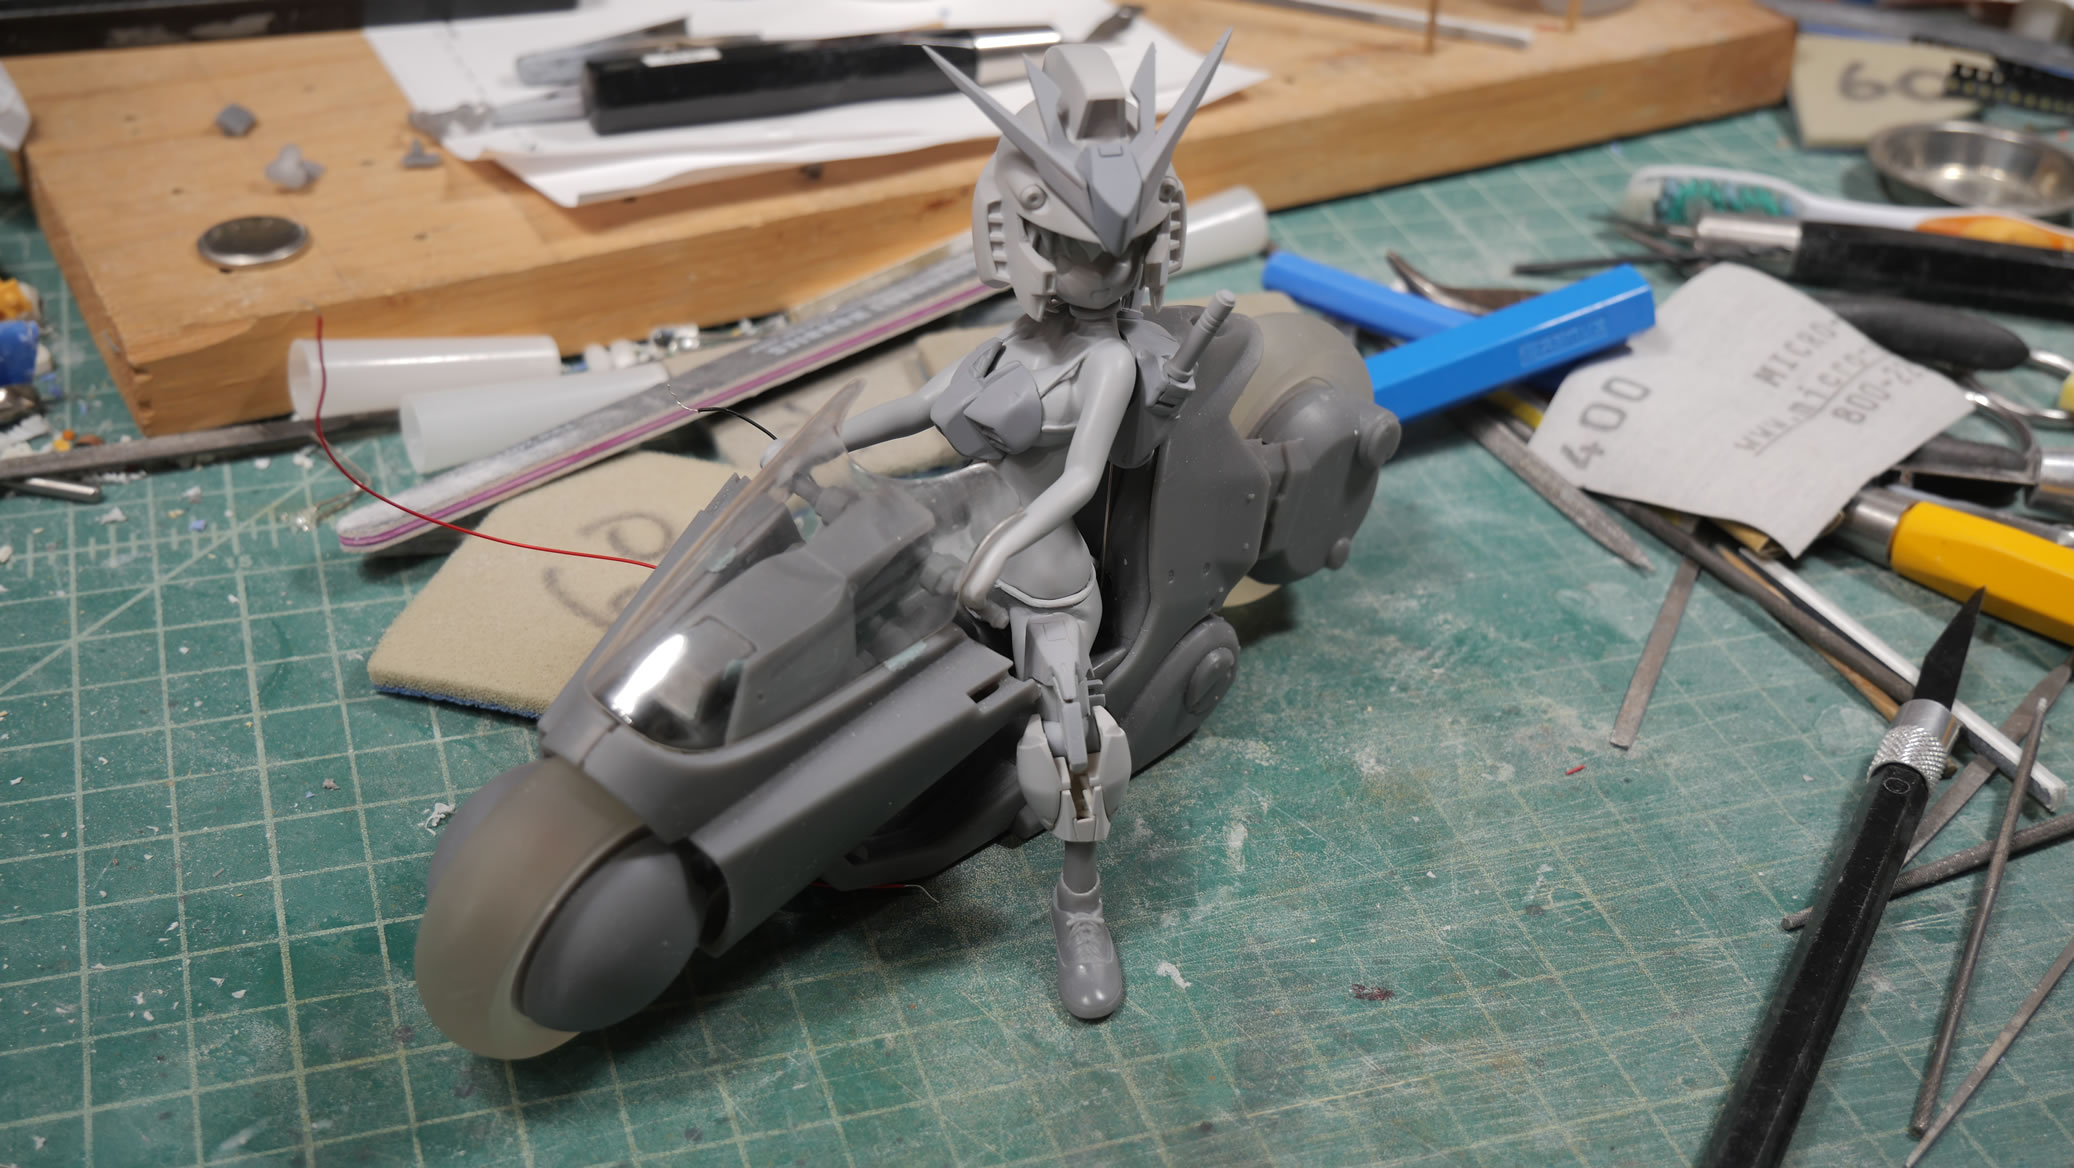
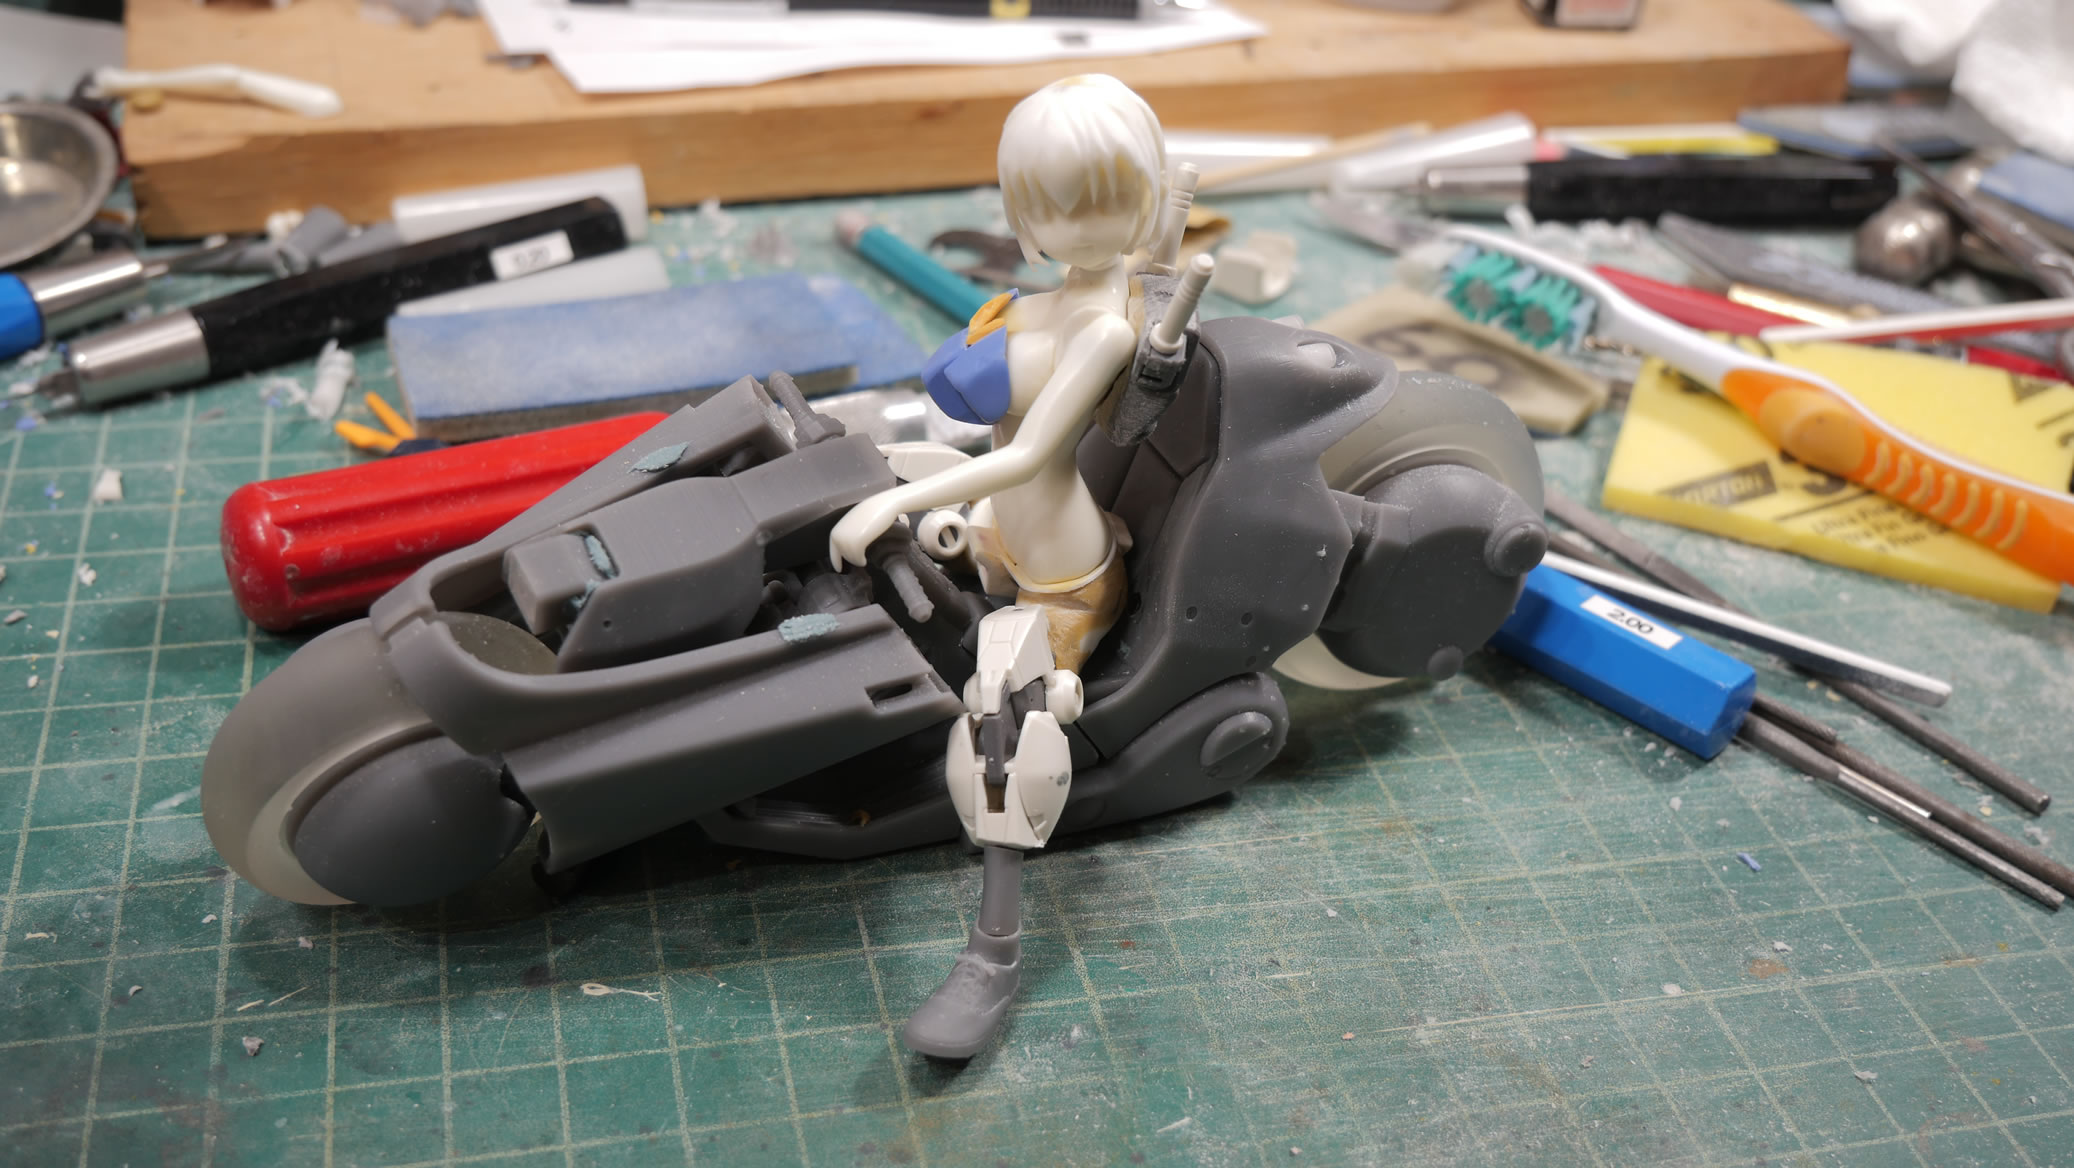
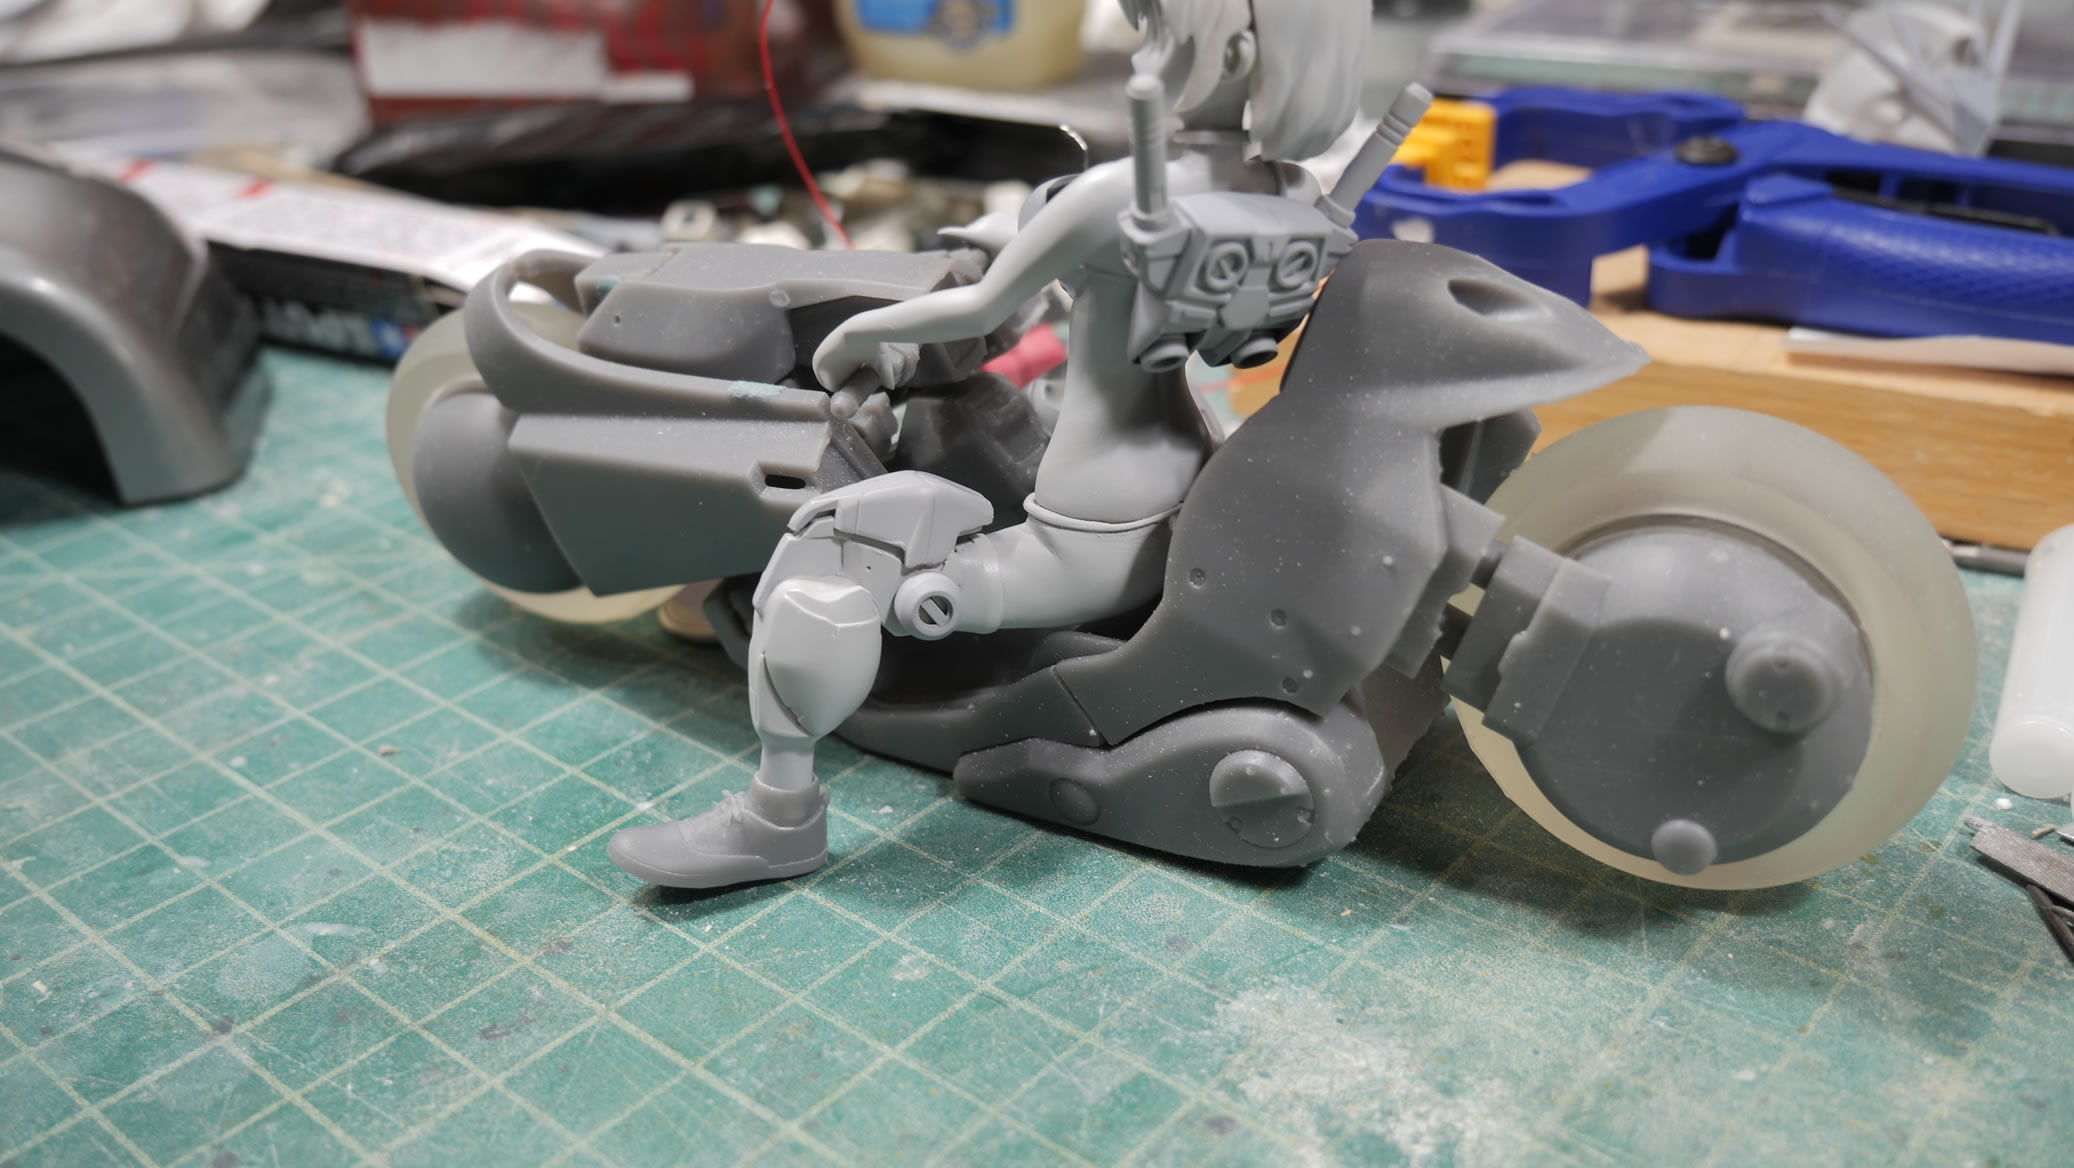
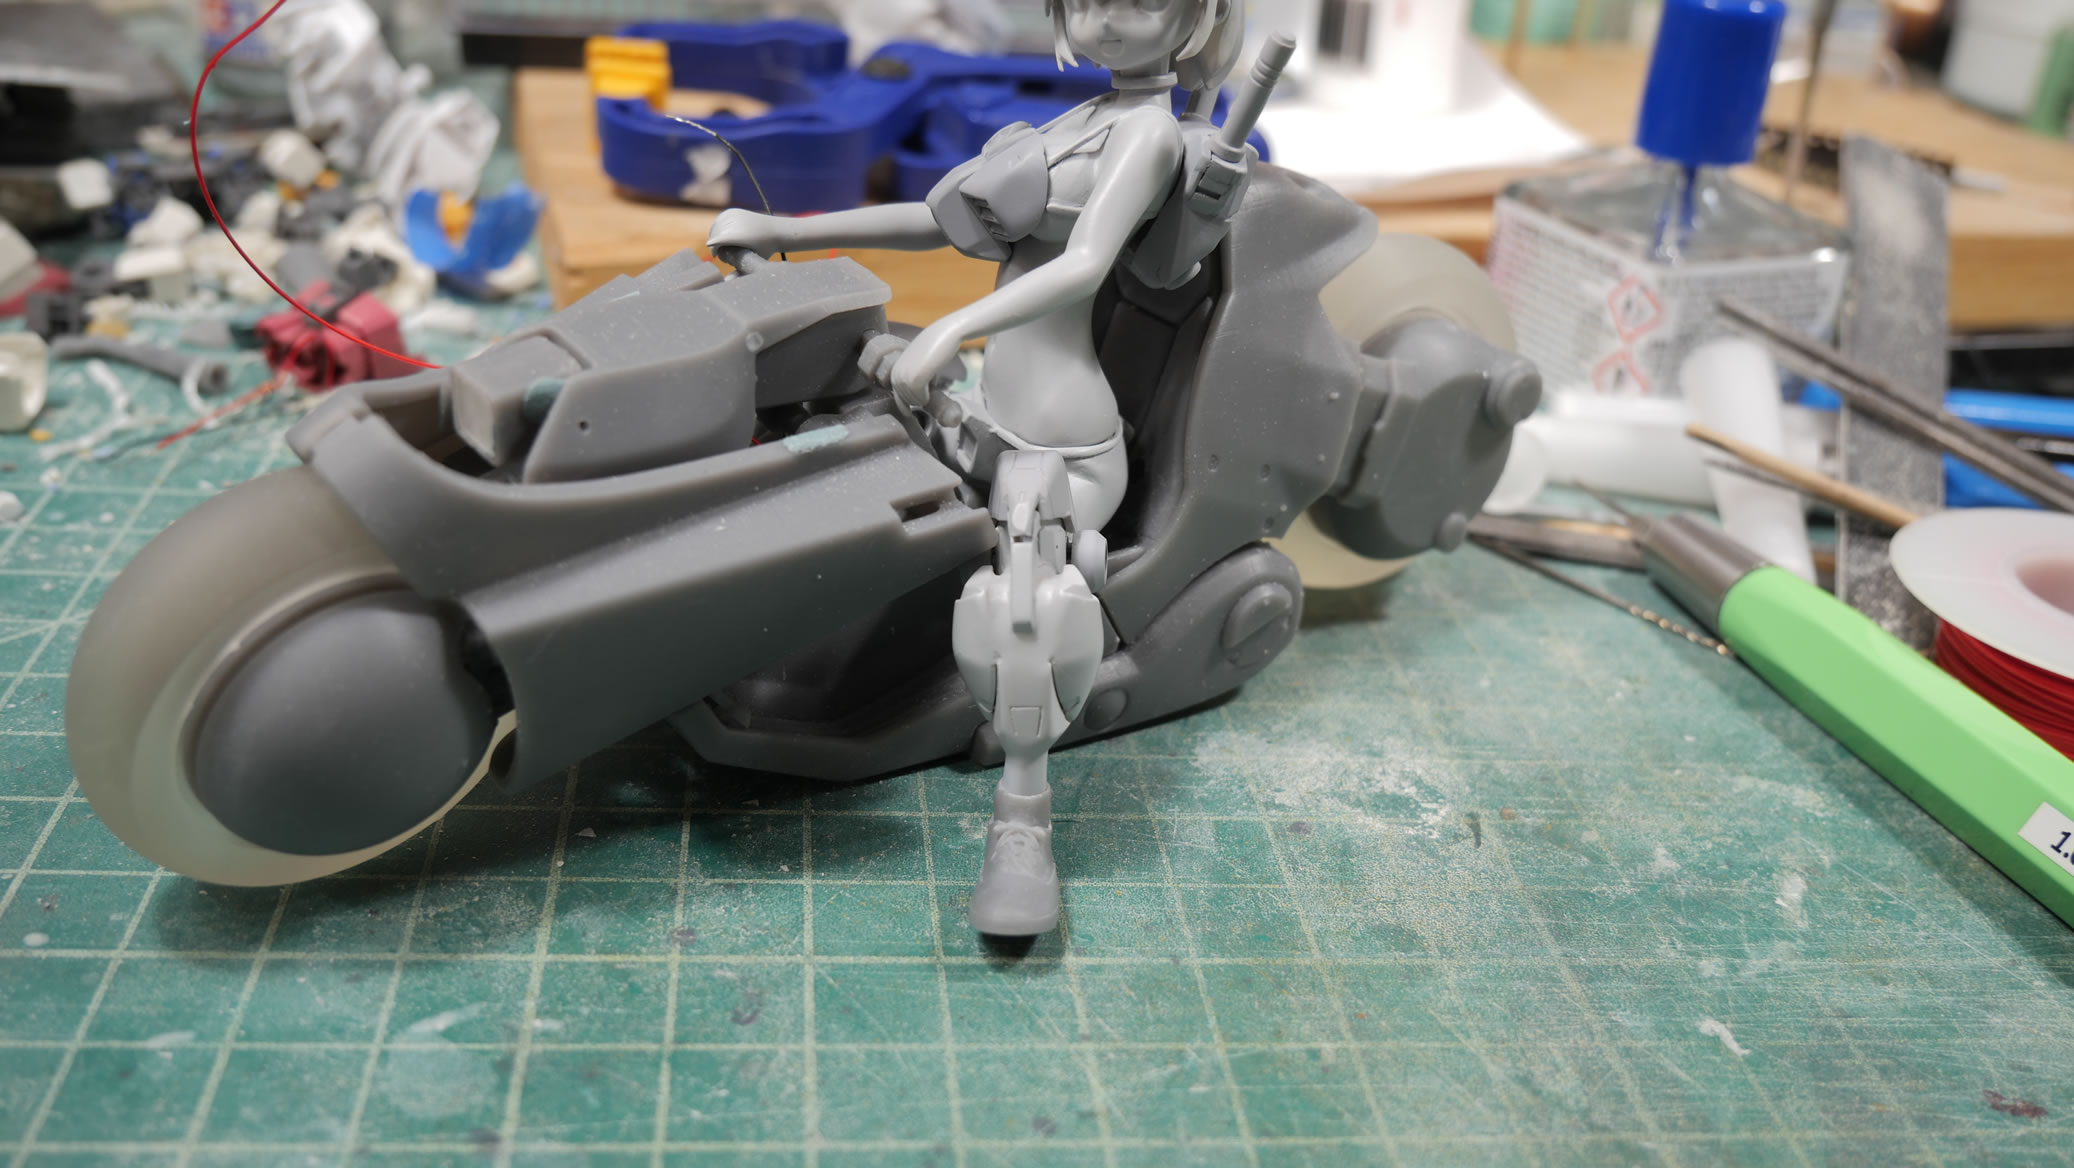
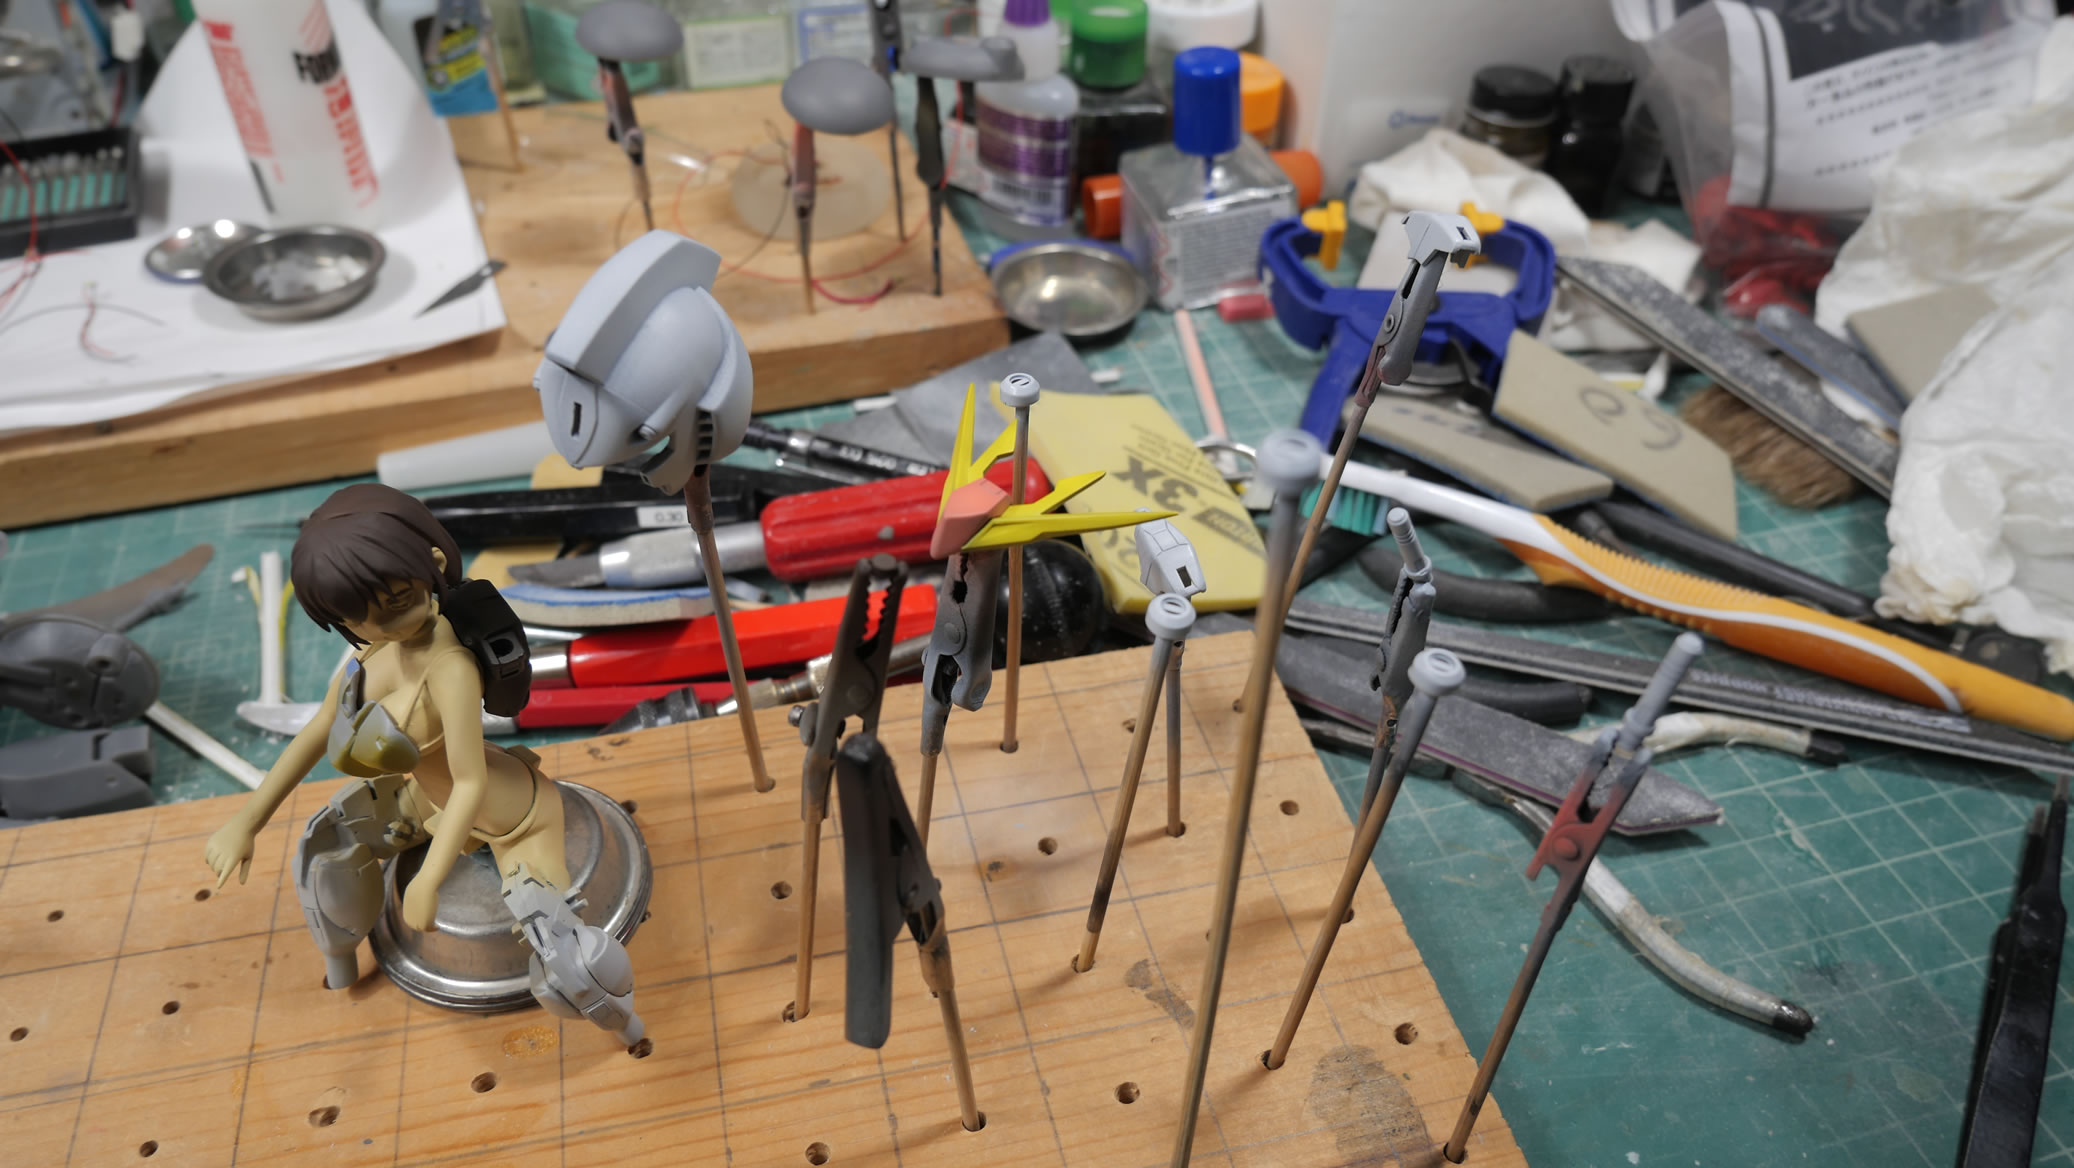
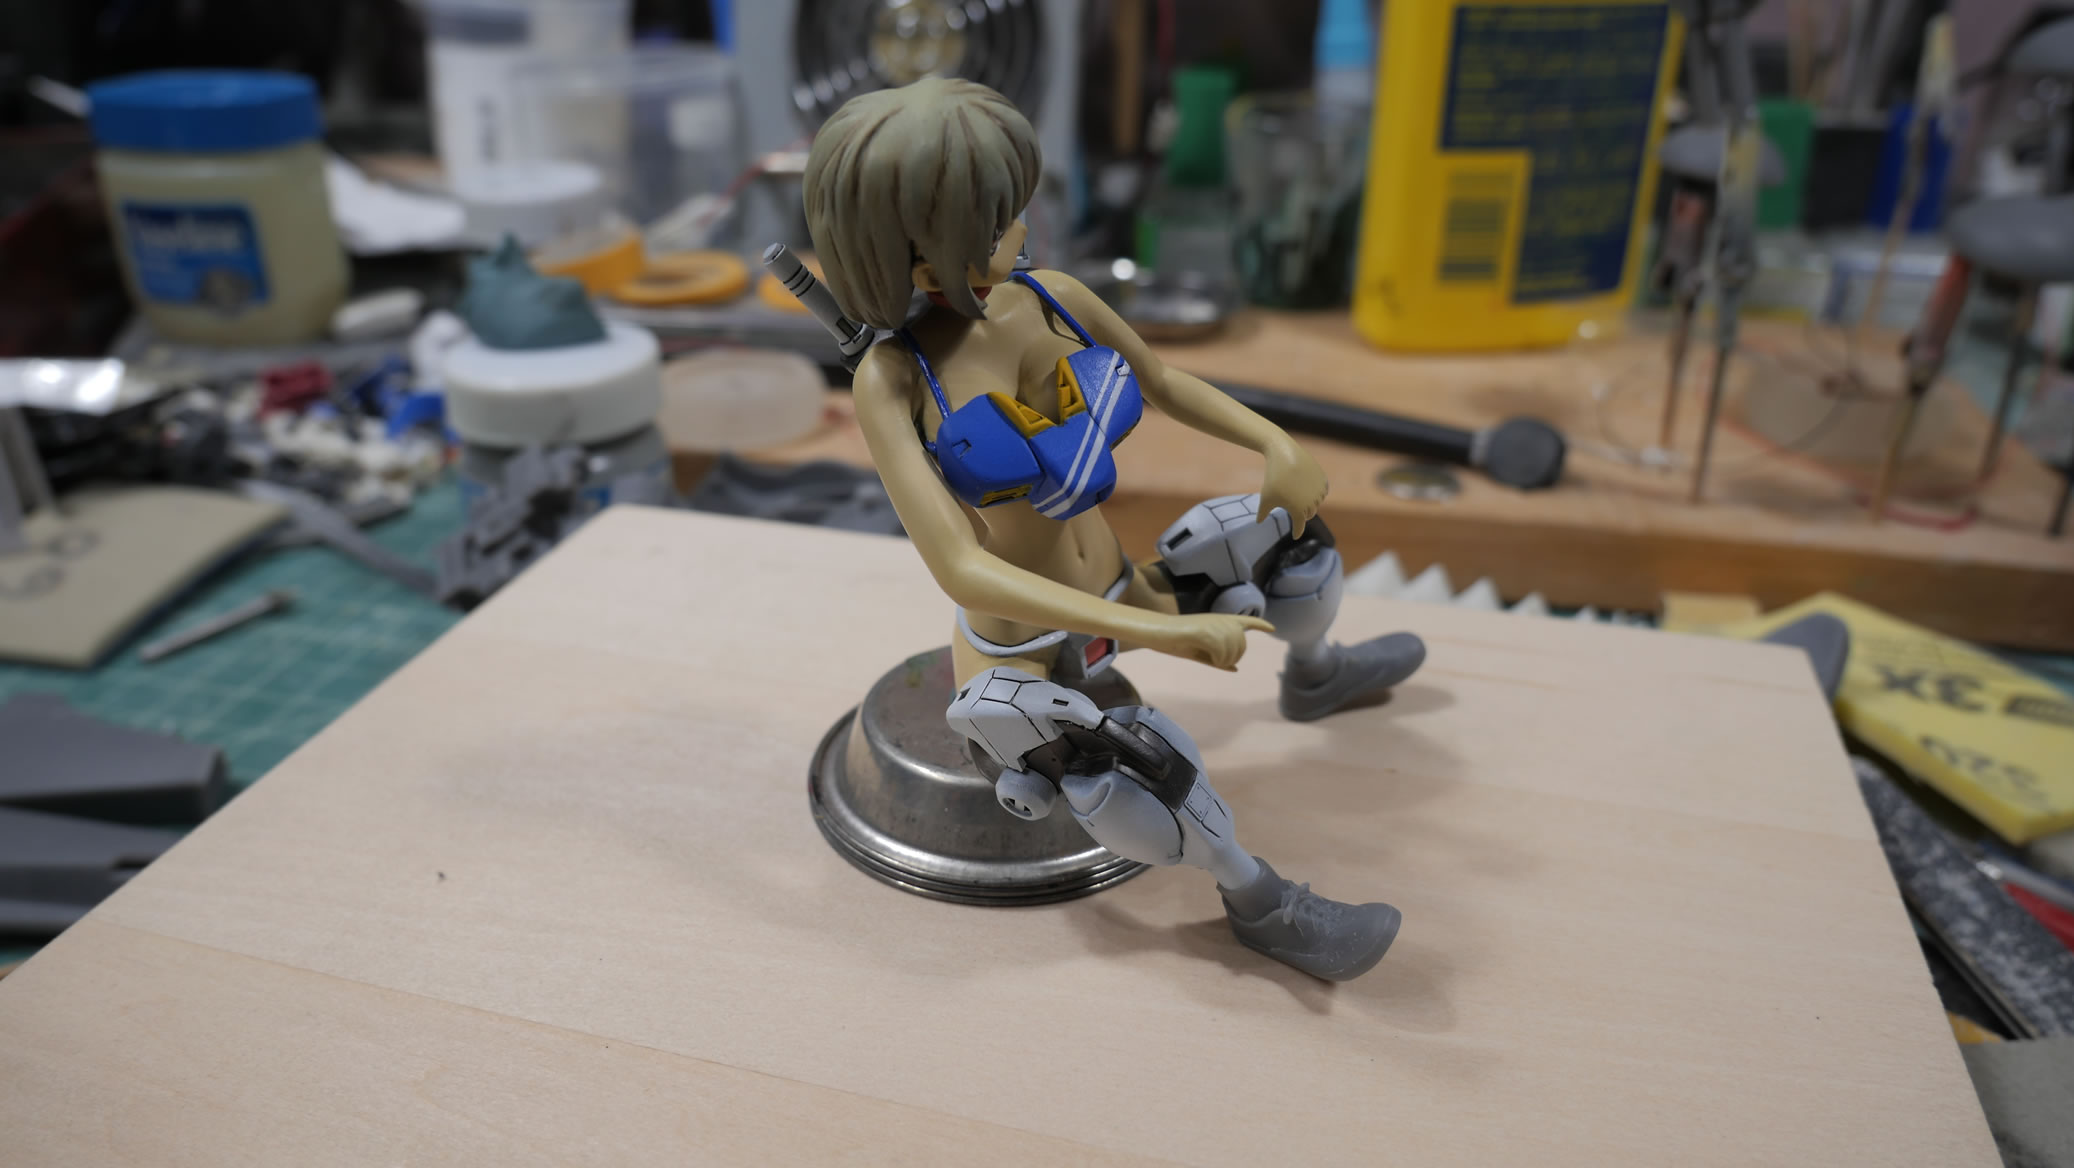
A quick test fit on the bike to make sure everything looks natural, and we continue to the next body part.
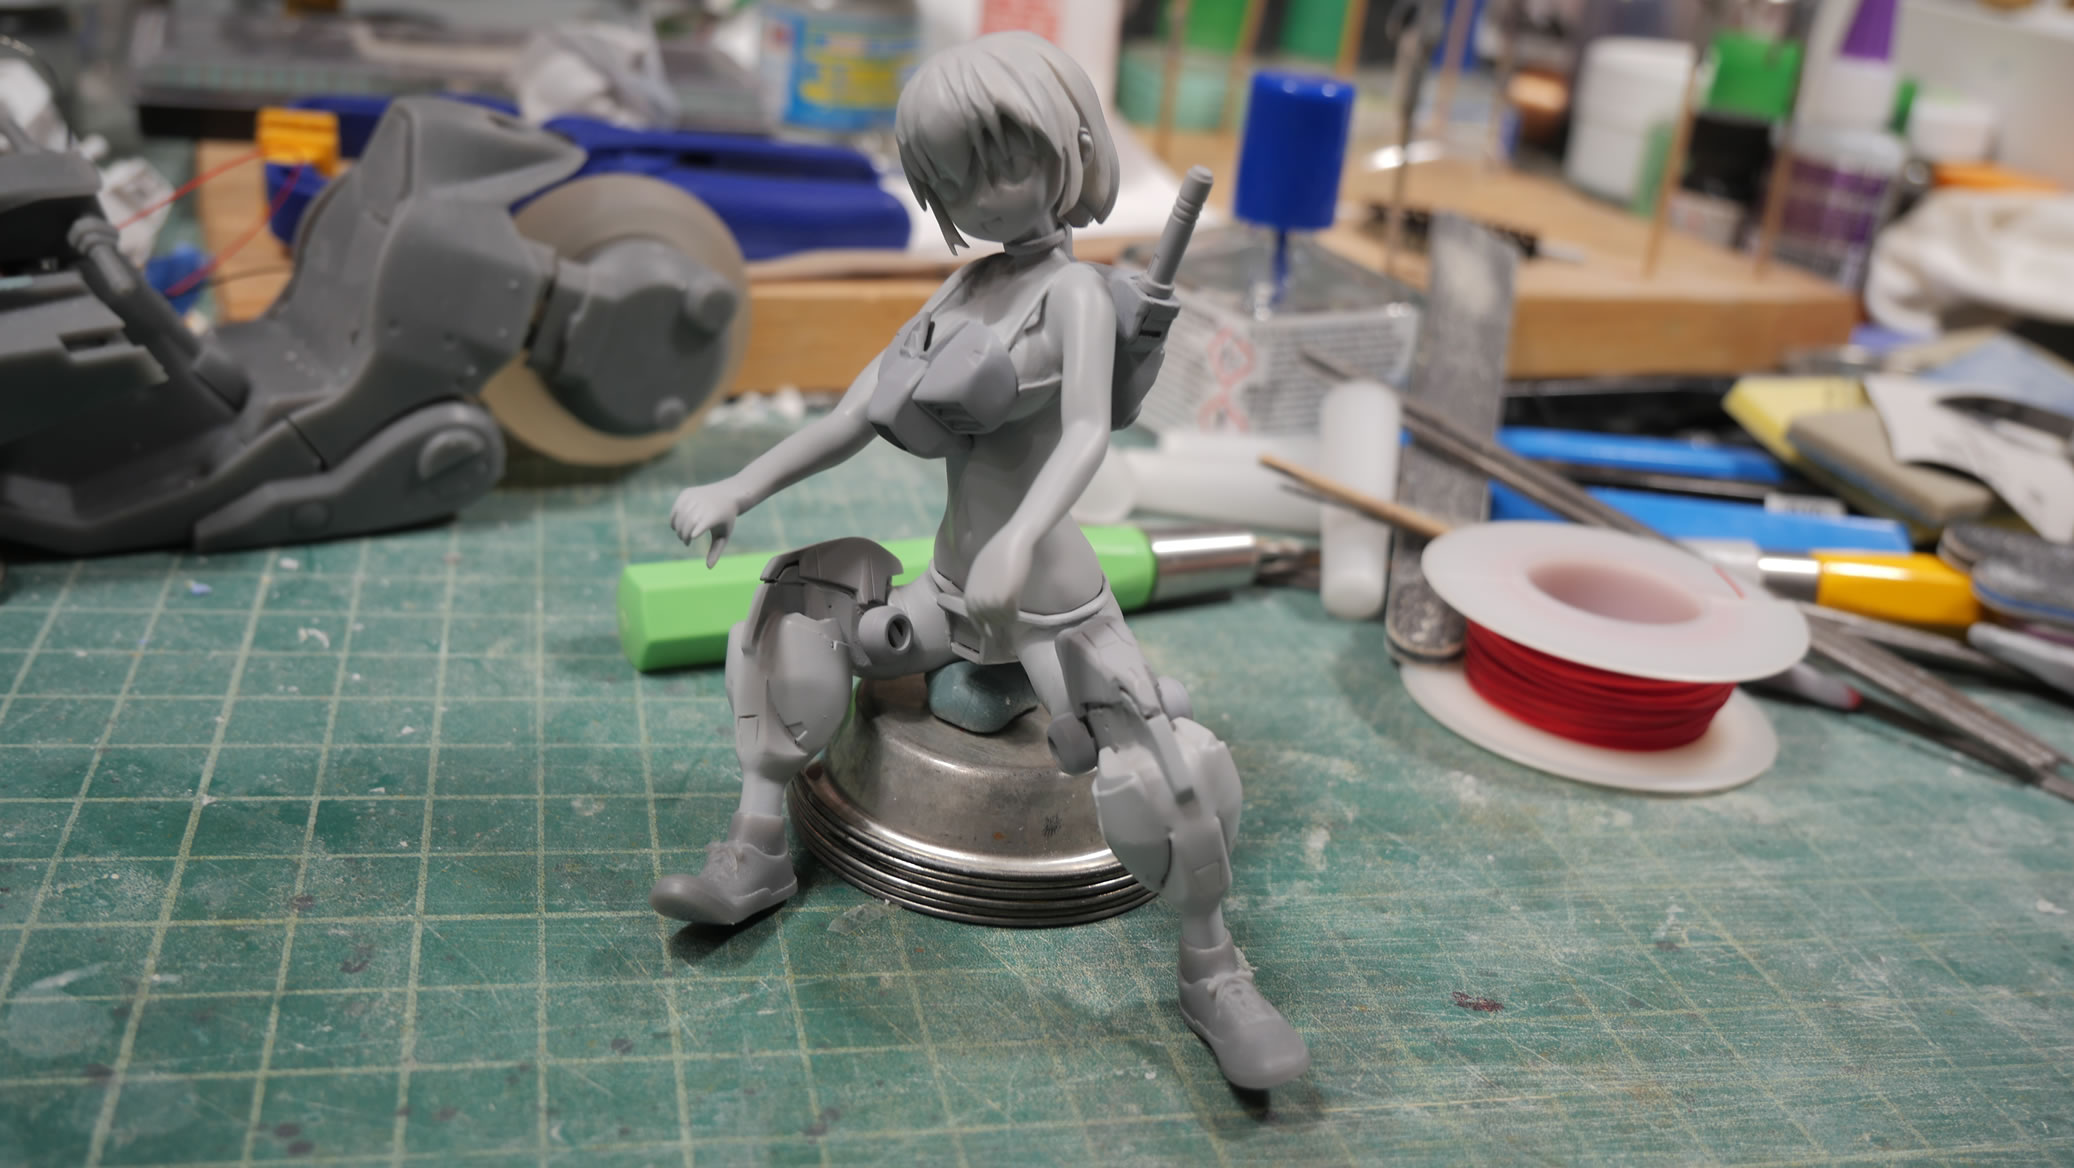
Primer started to pull everything together. After the boob and butt work, here is what she’s starting to look like.
Breaking some arms
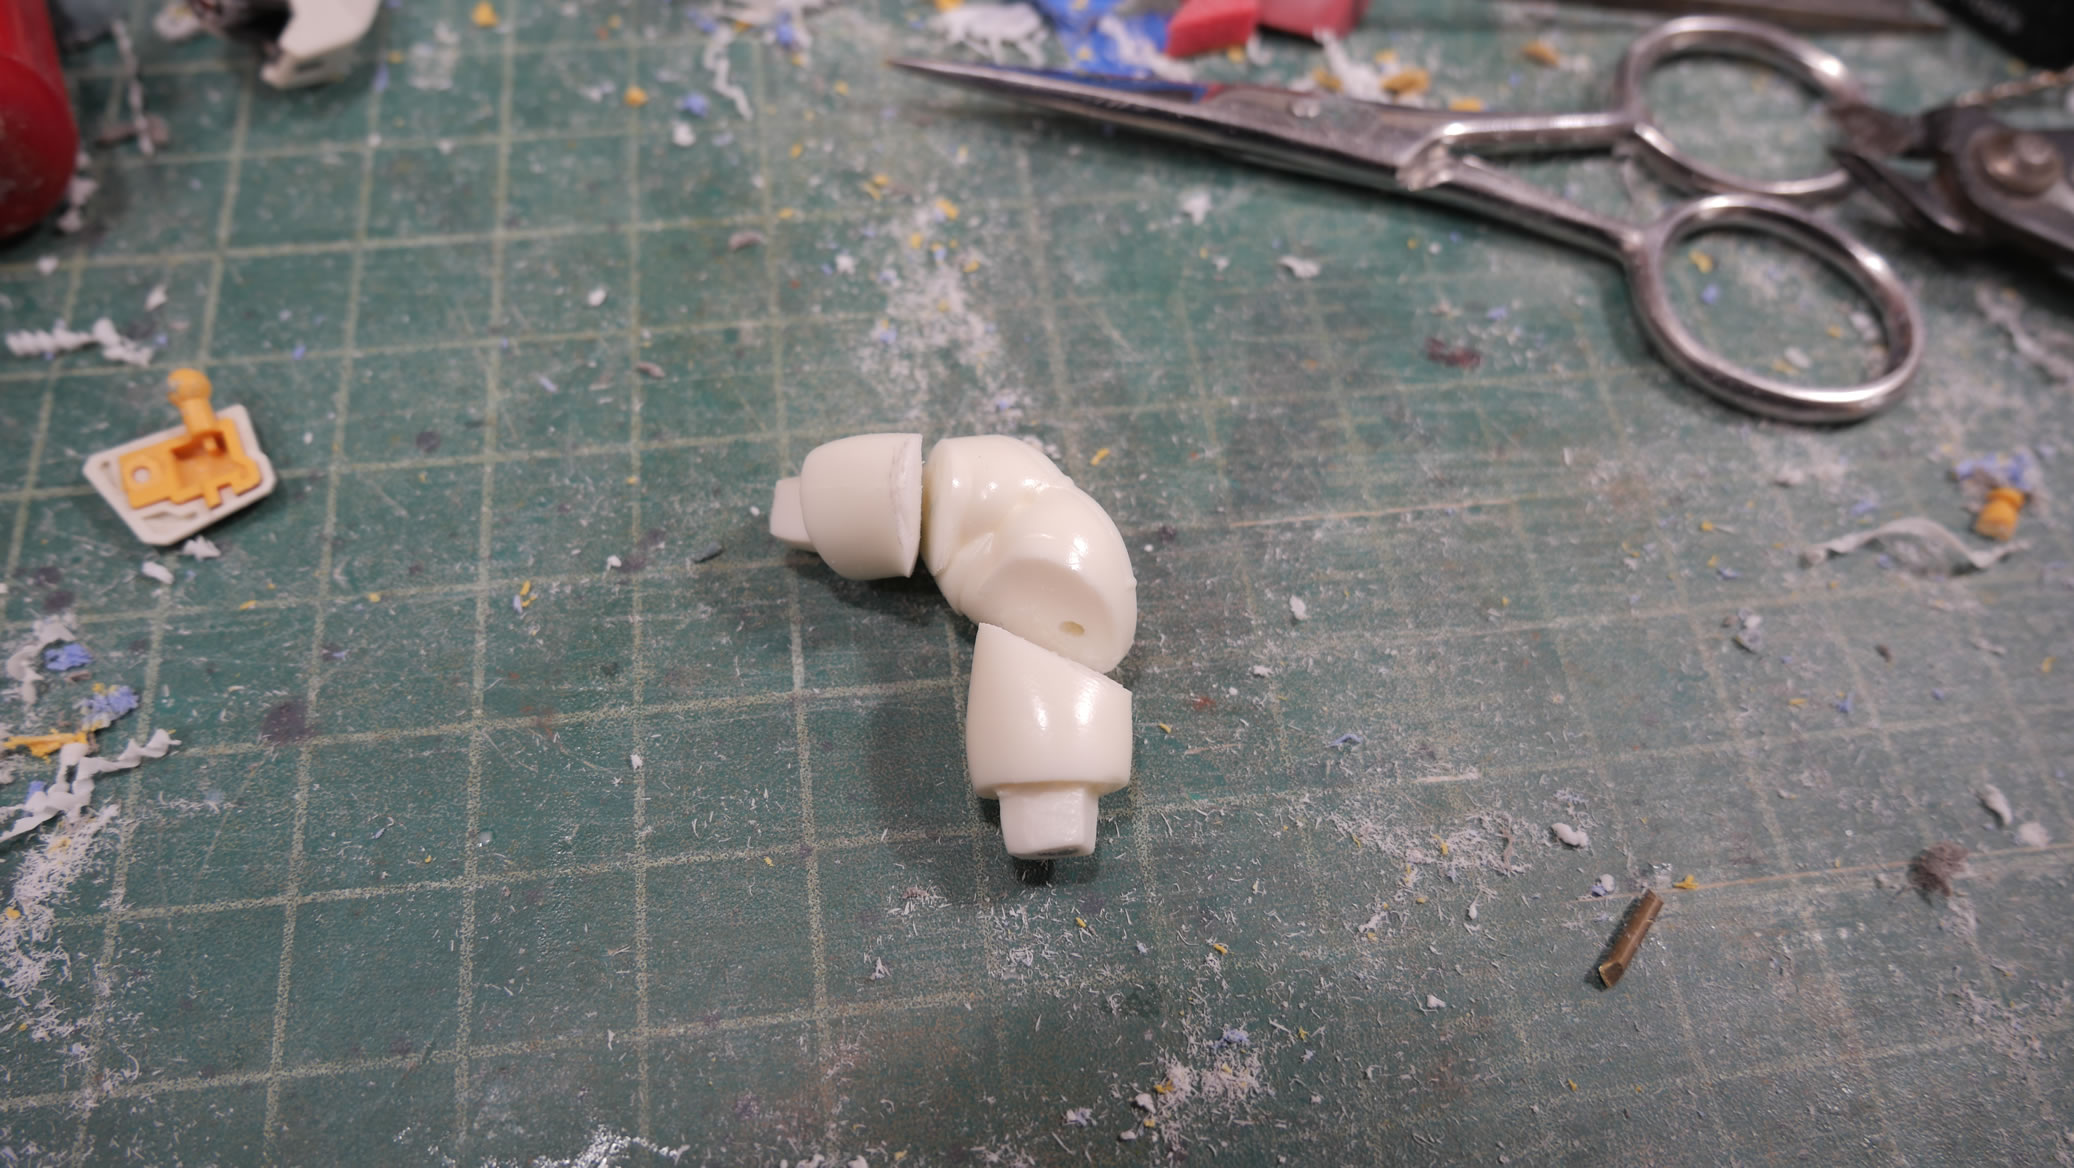
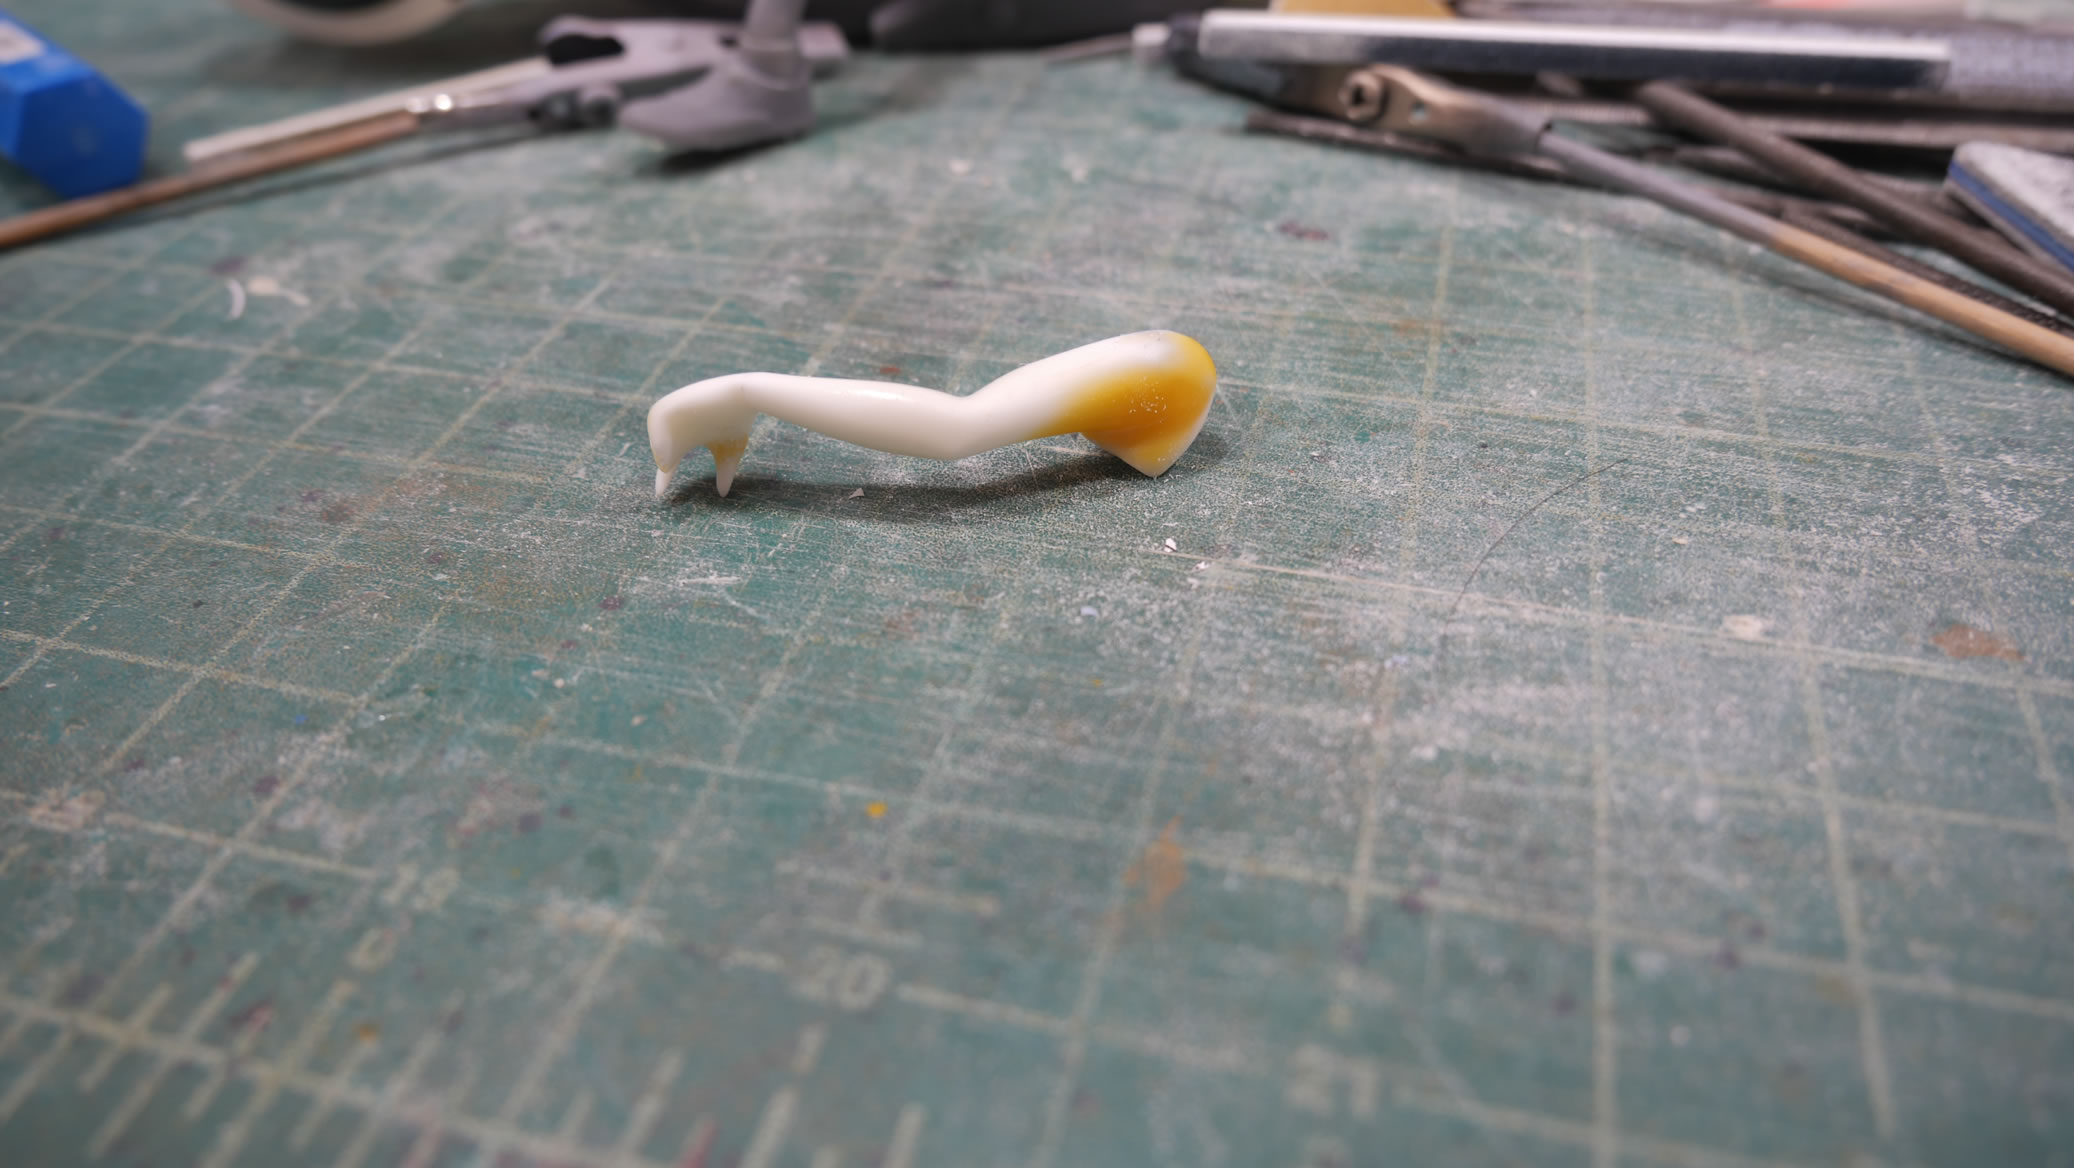
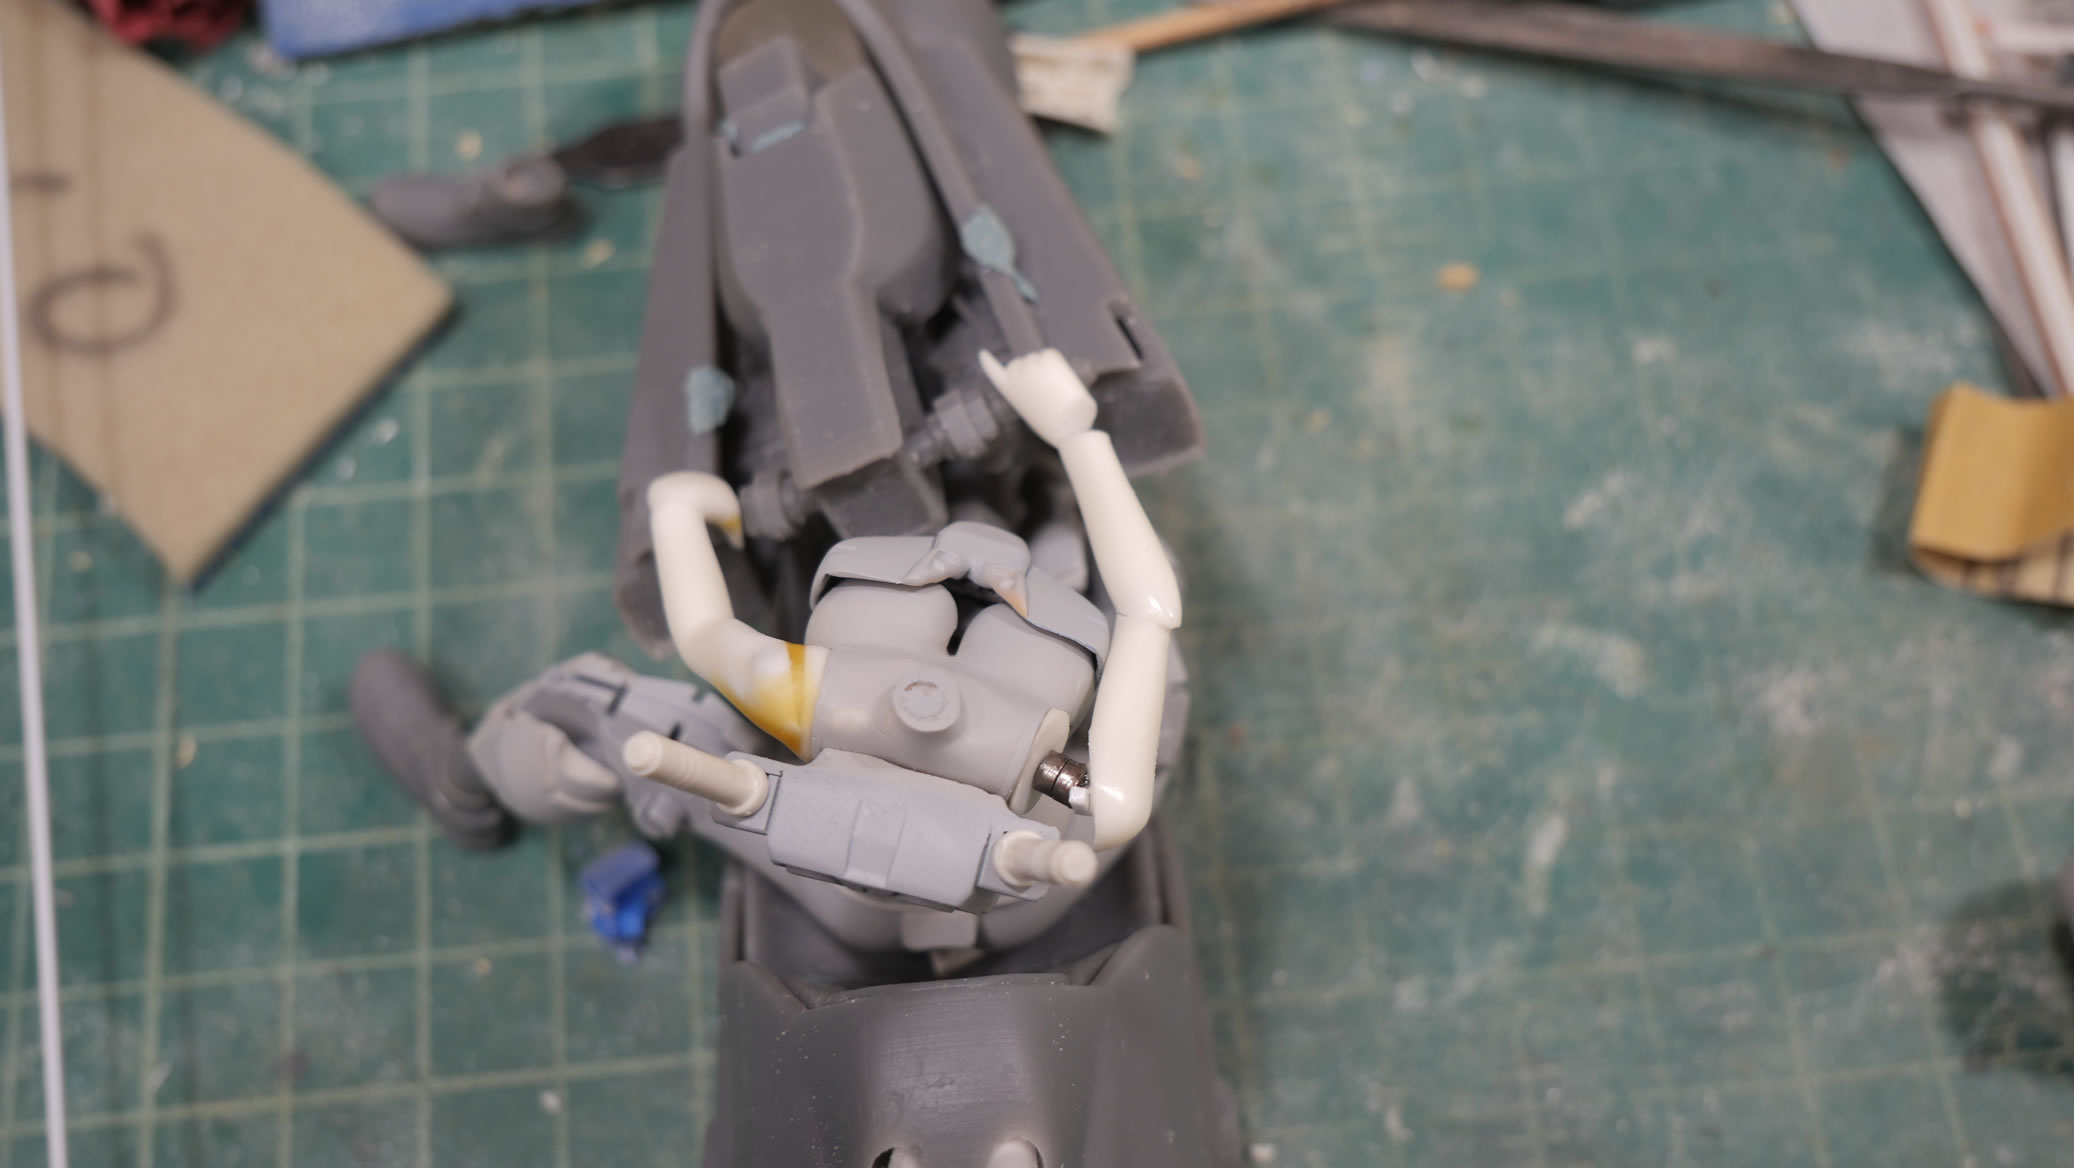
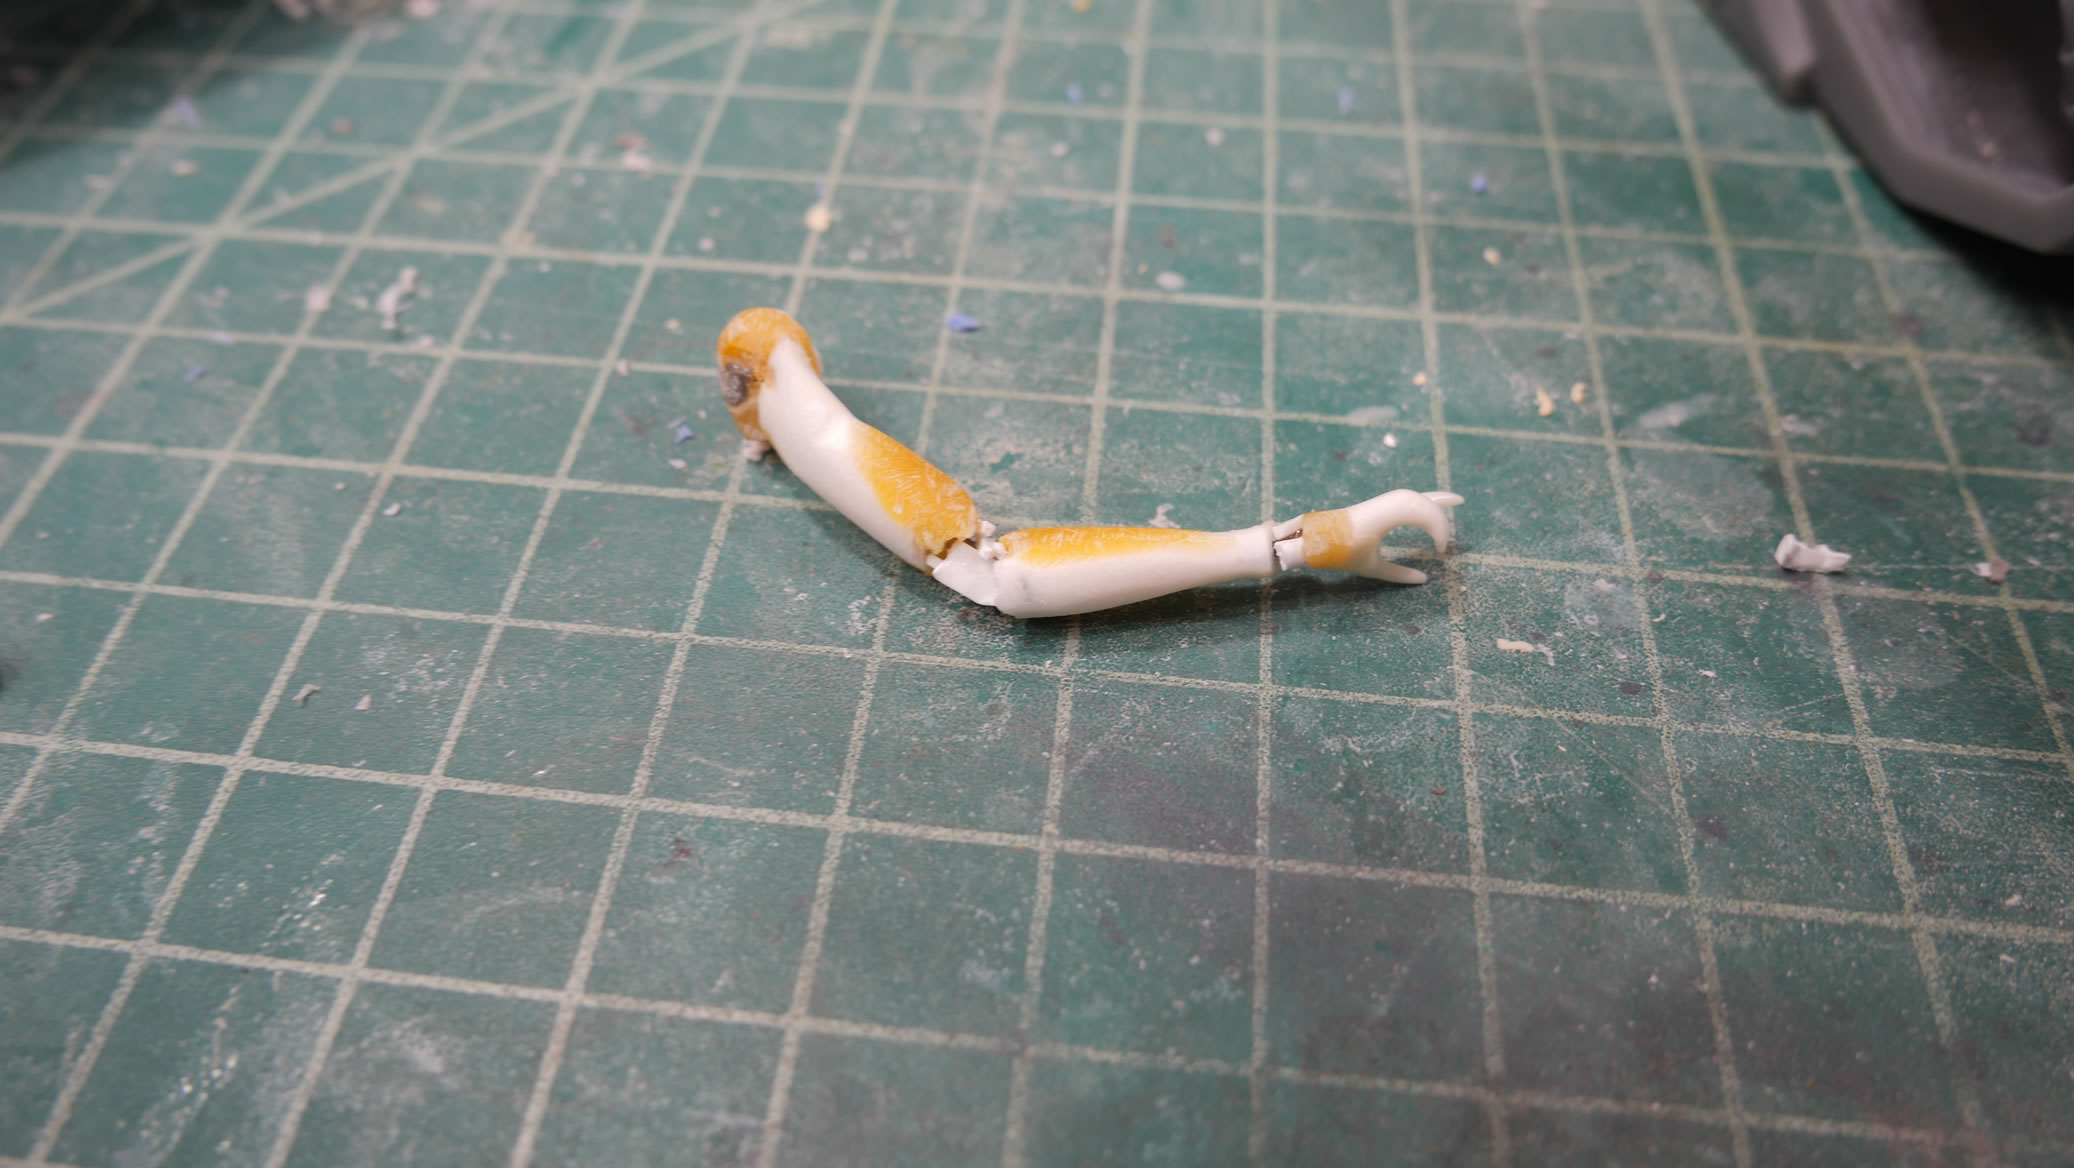
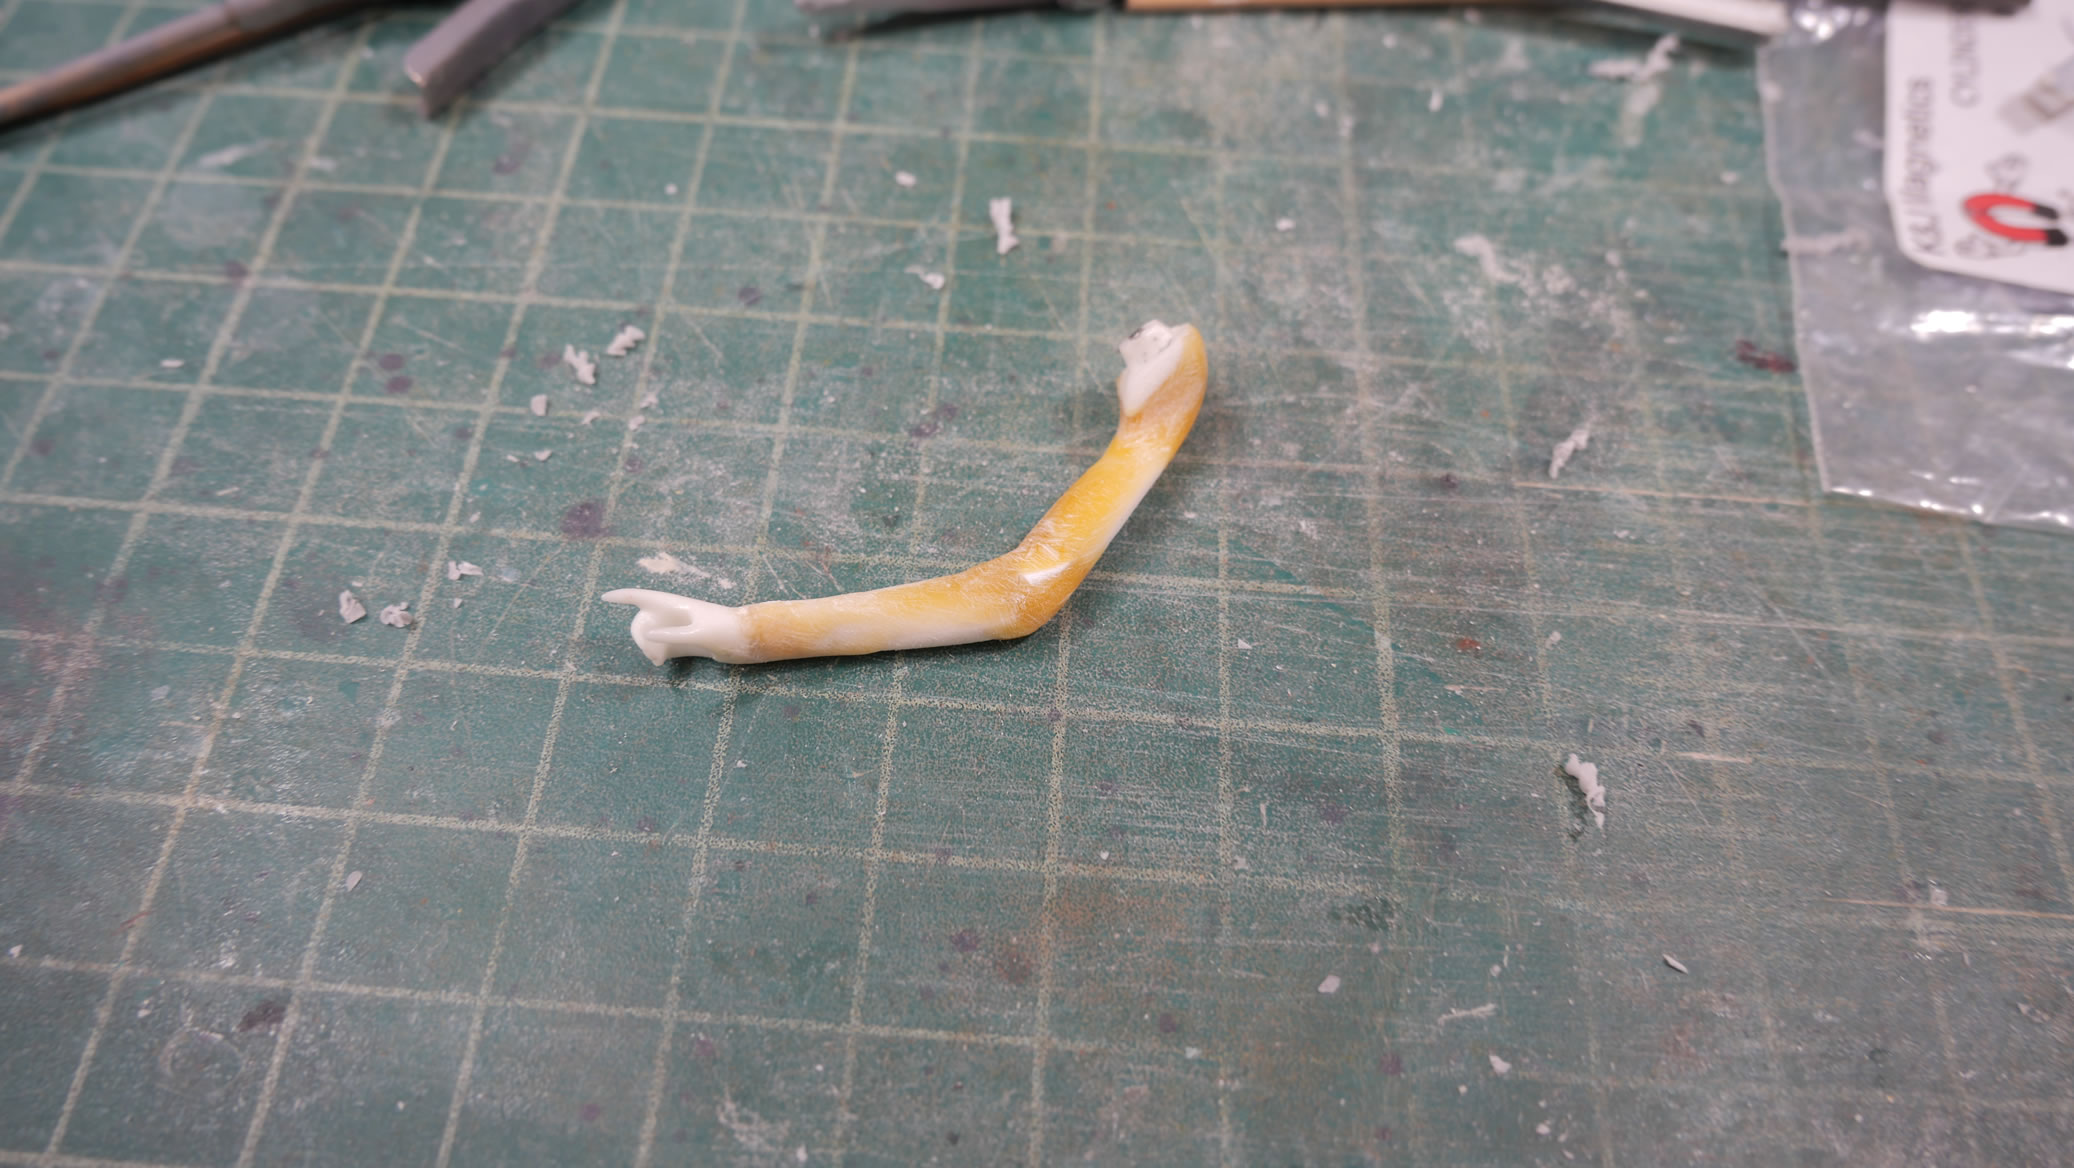
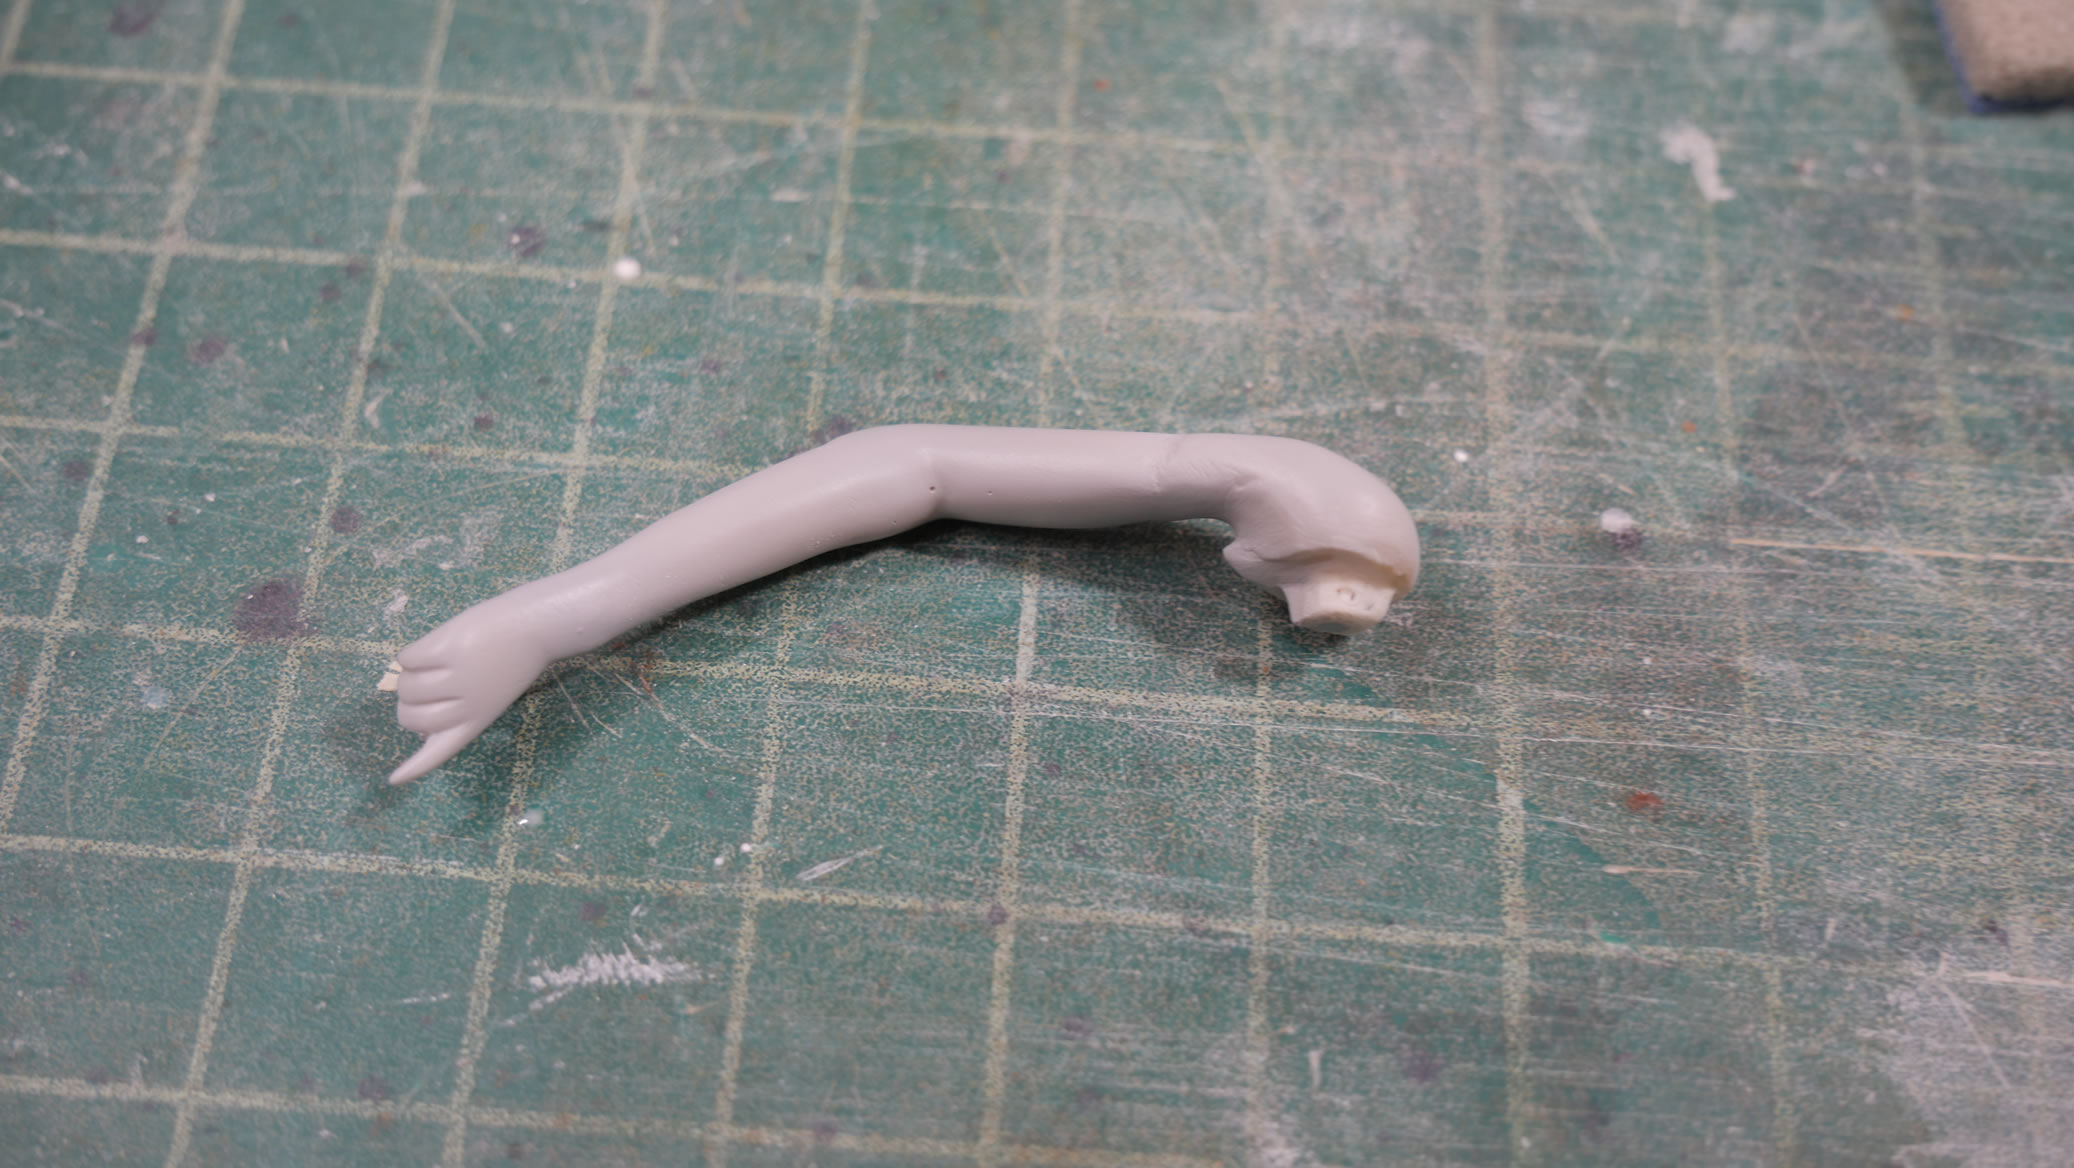
The position of the arms don’t work, obviously because the figure wasn’t designed to be sitting on a bike. So my first attempt is to break the arms are the joint areas and glue in some magnets. This way, I can position the arms on the body with the bike handles and get a better idea of the correct posture before glue and putty.
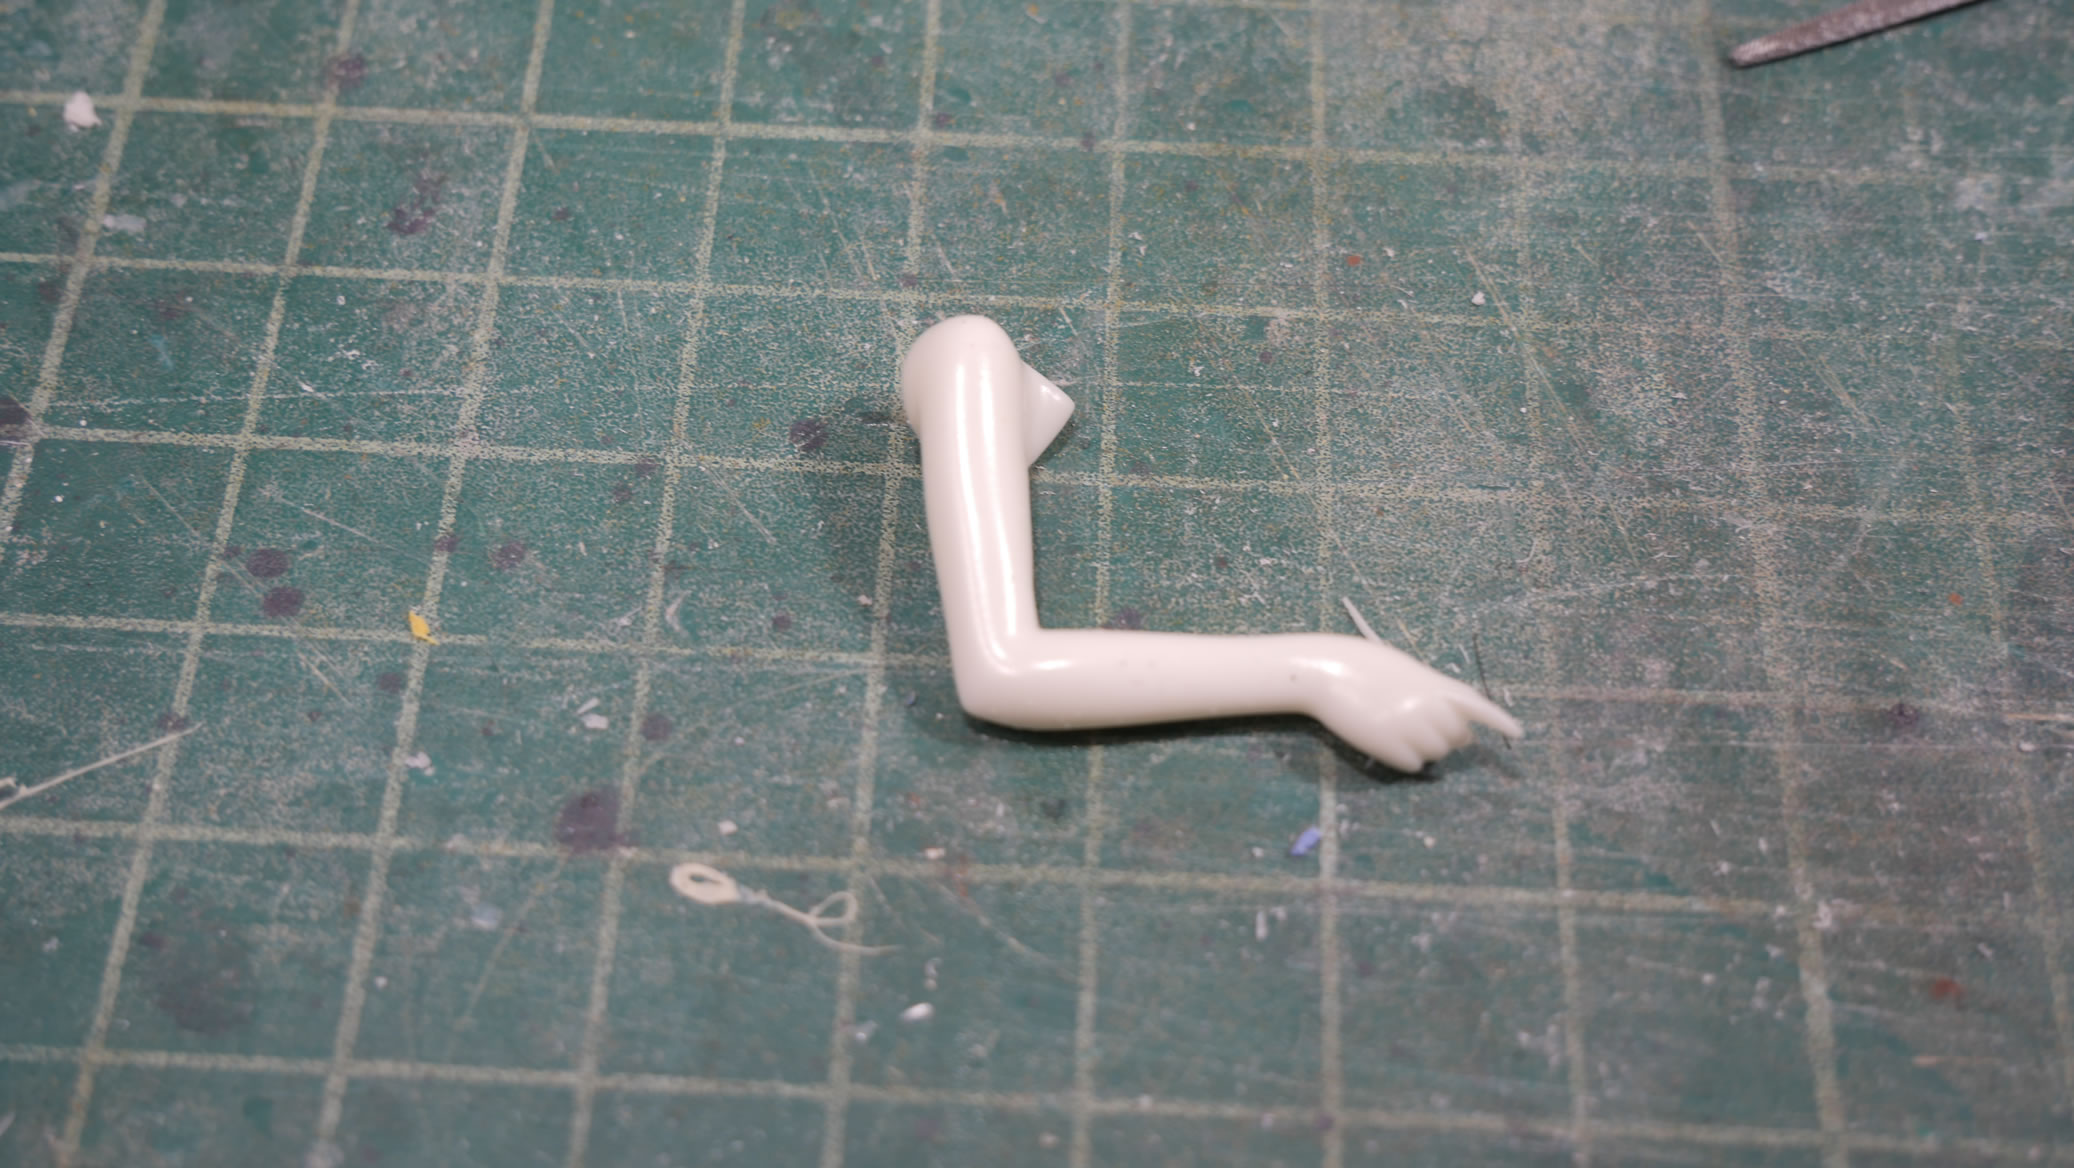
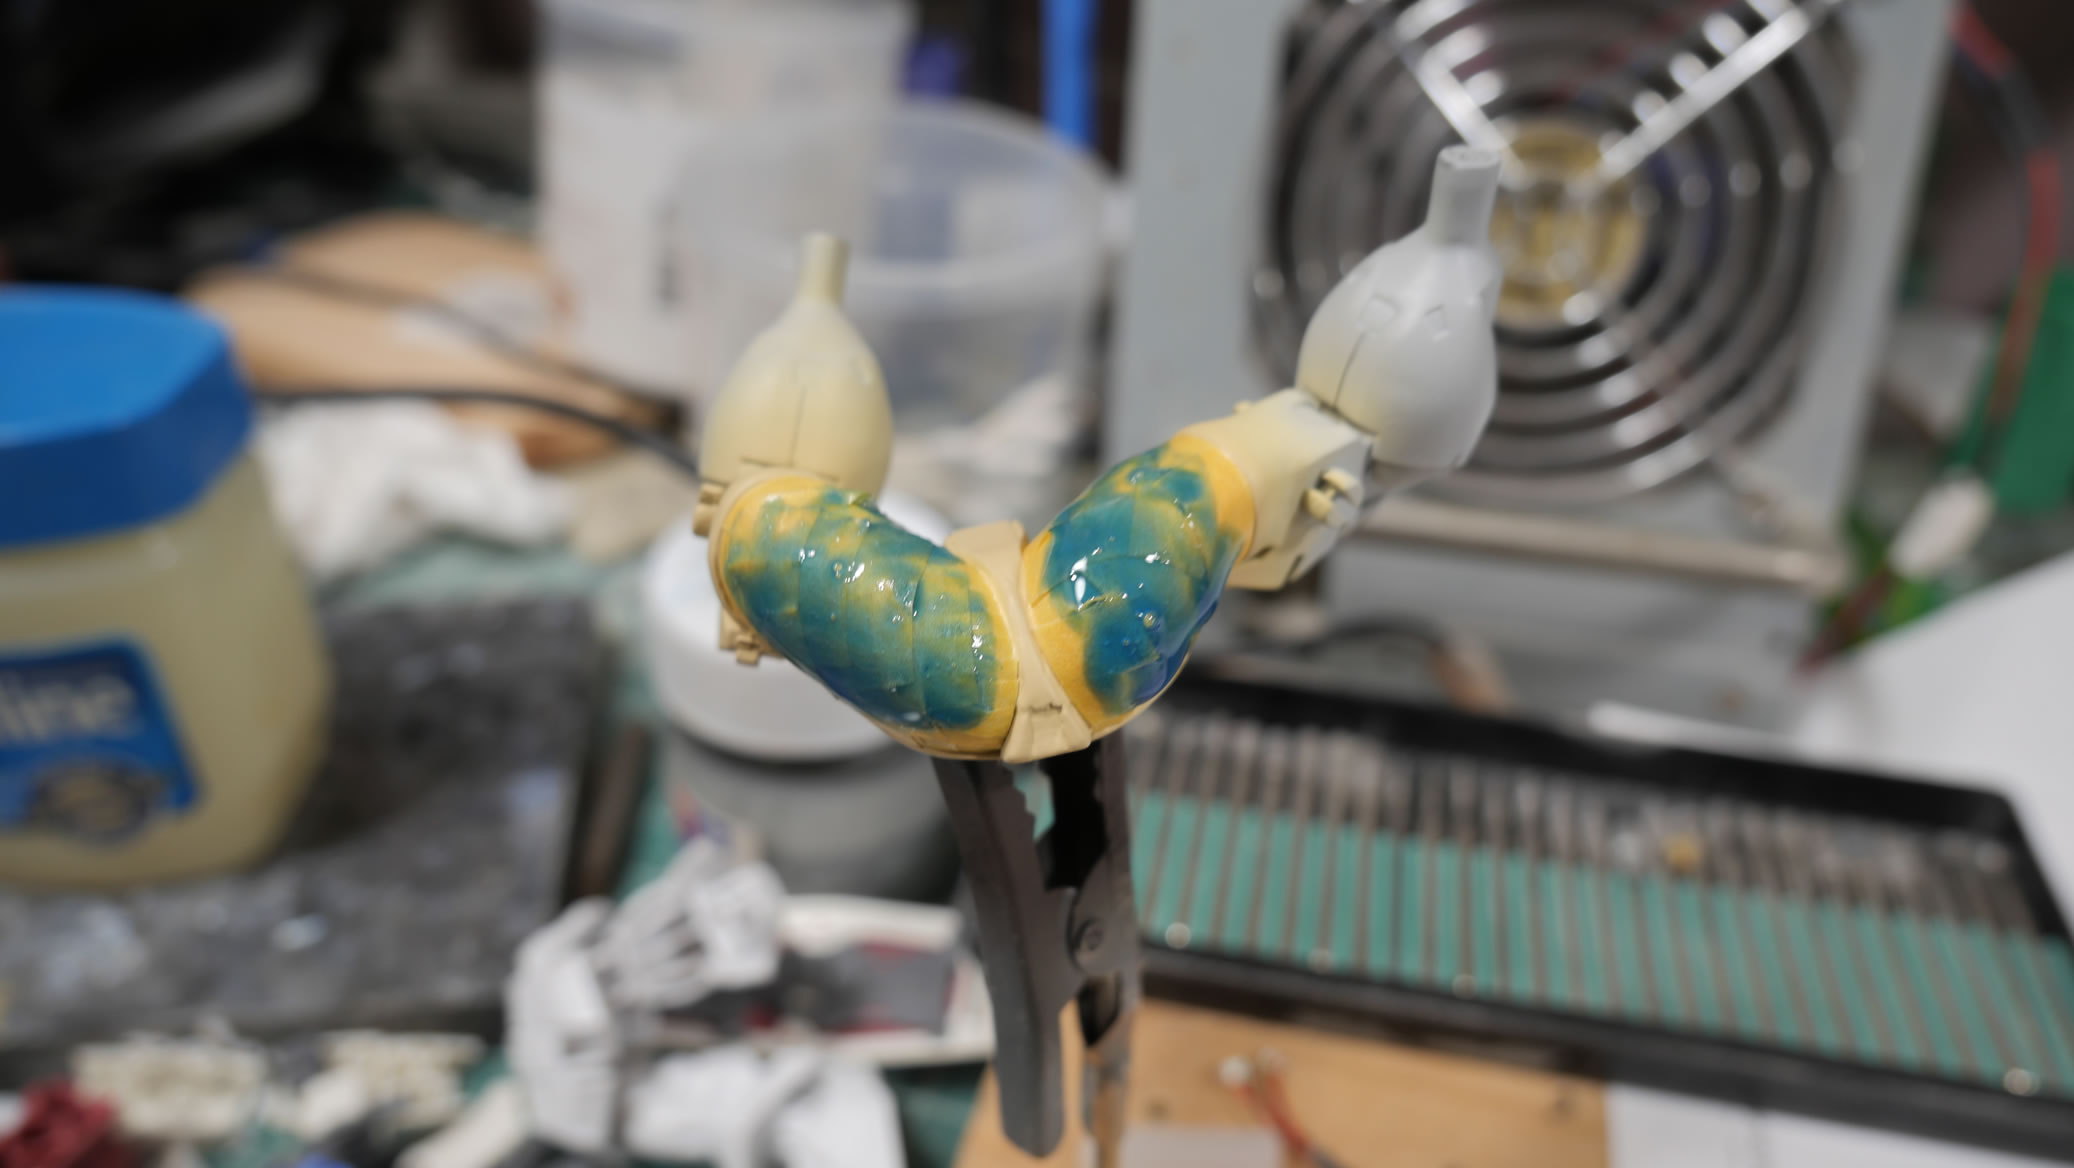
The left arm was a little easier as it was mostly arm rotation around the shoulder for the better position. Light curing putty takes care of that fill. Also a little work to reposition the thumb so that she can grip the bike handle.
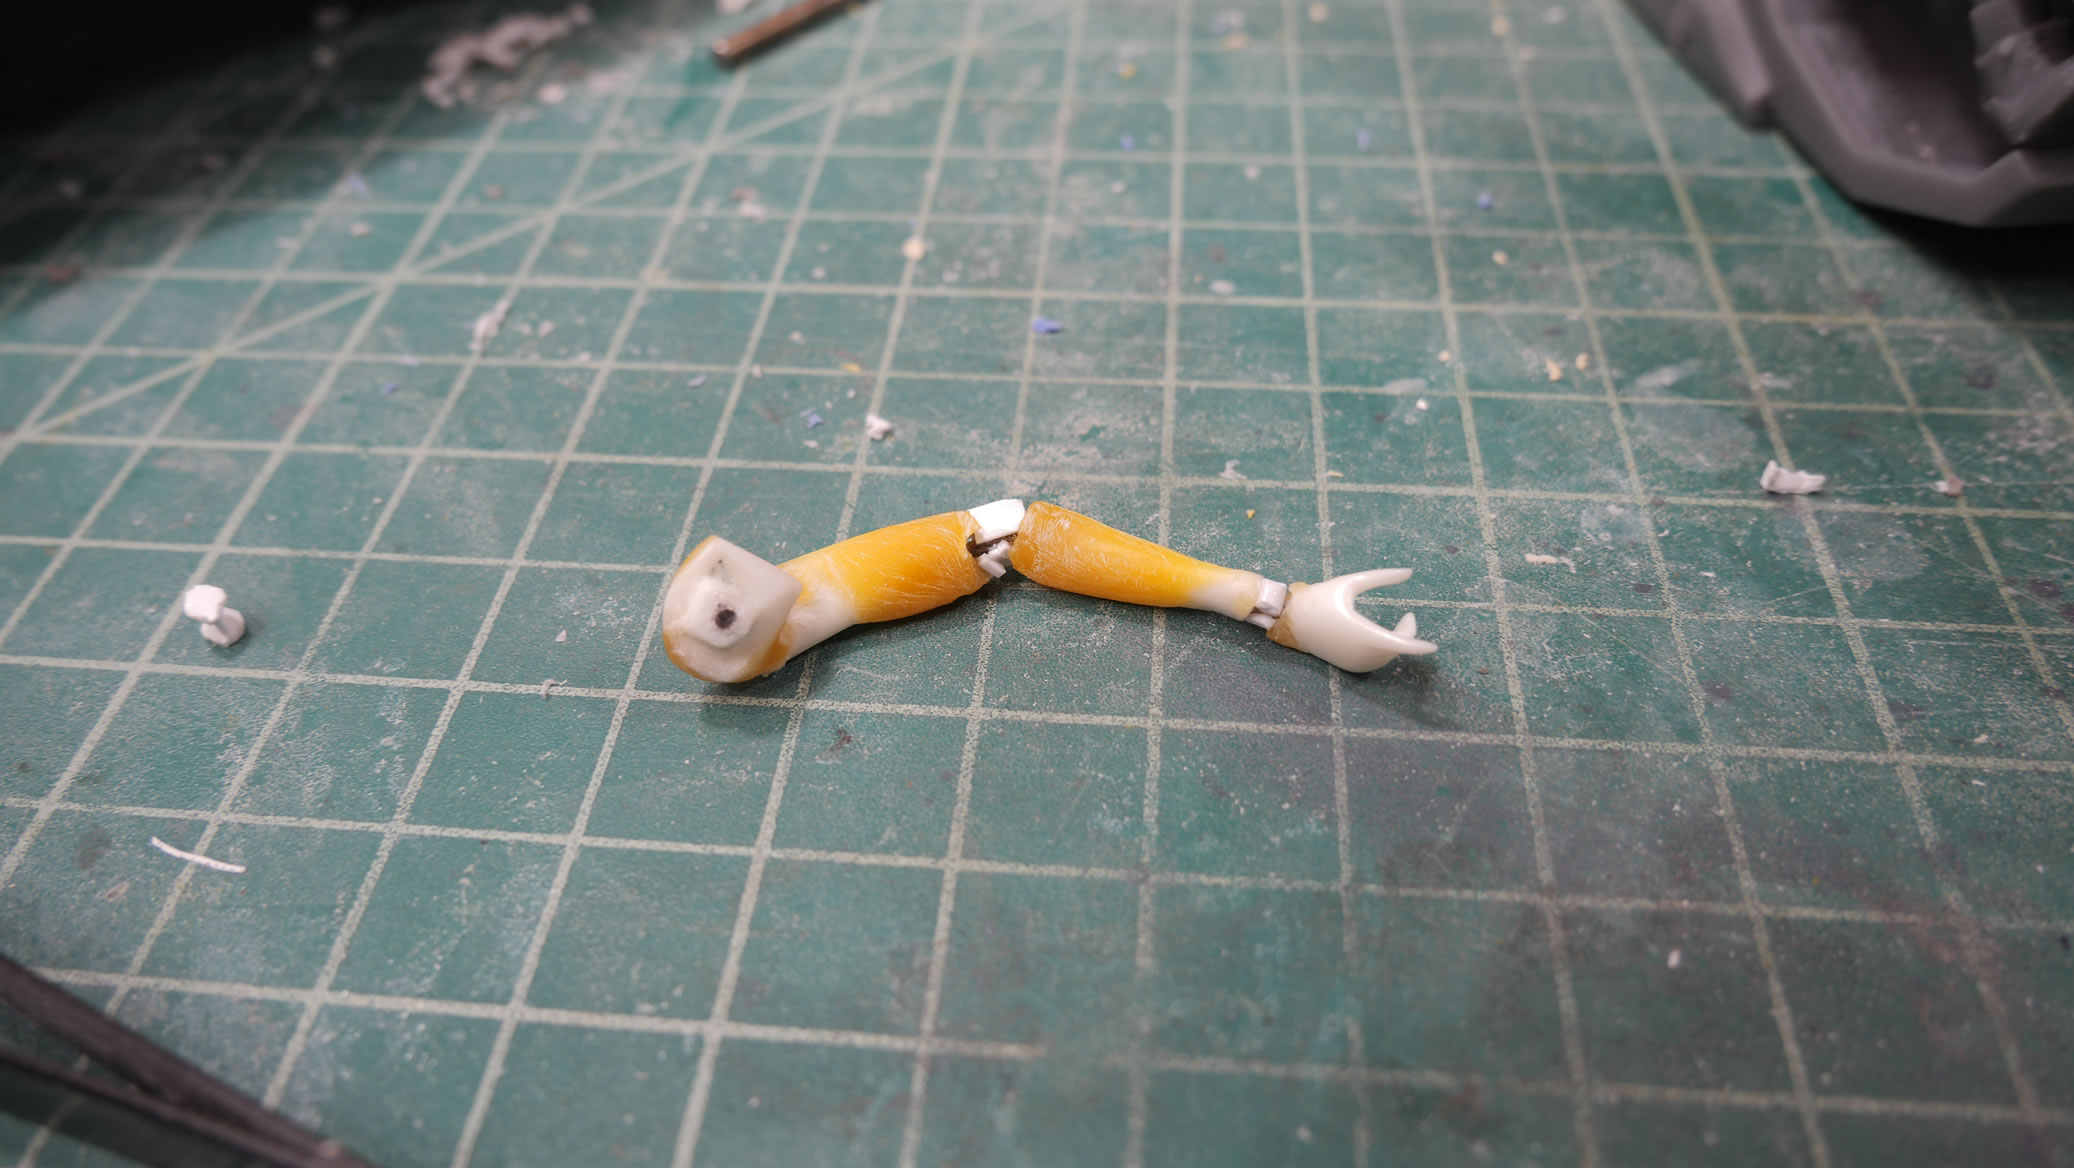
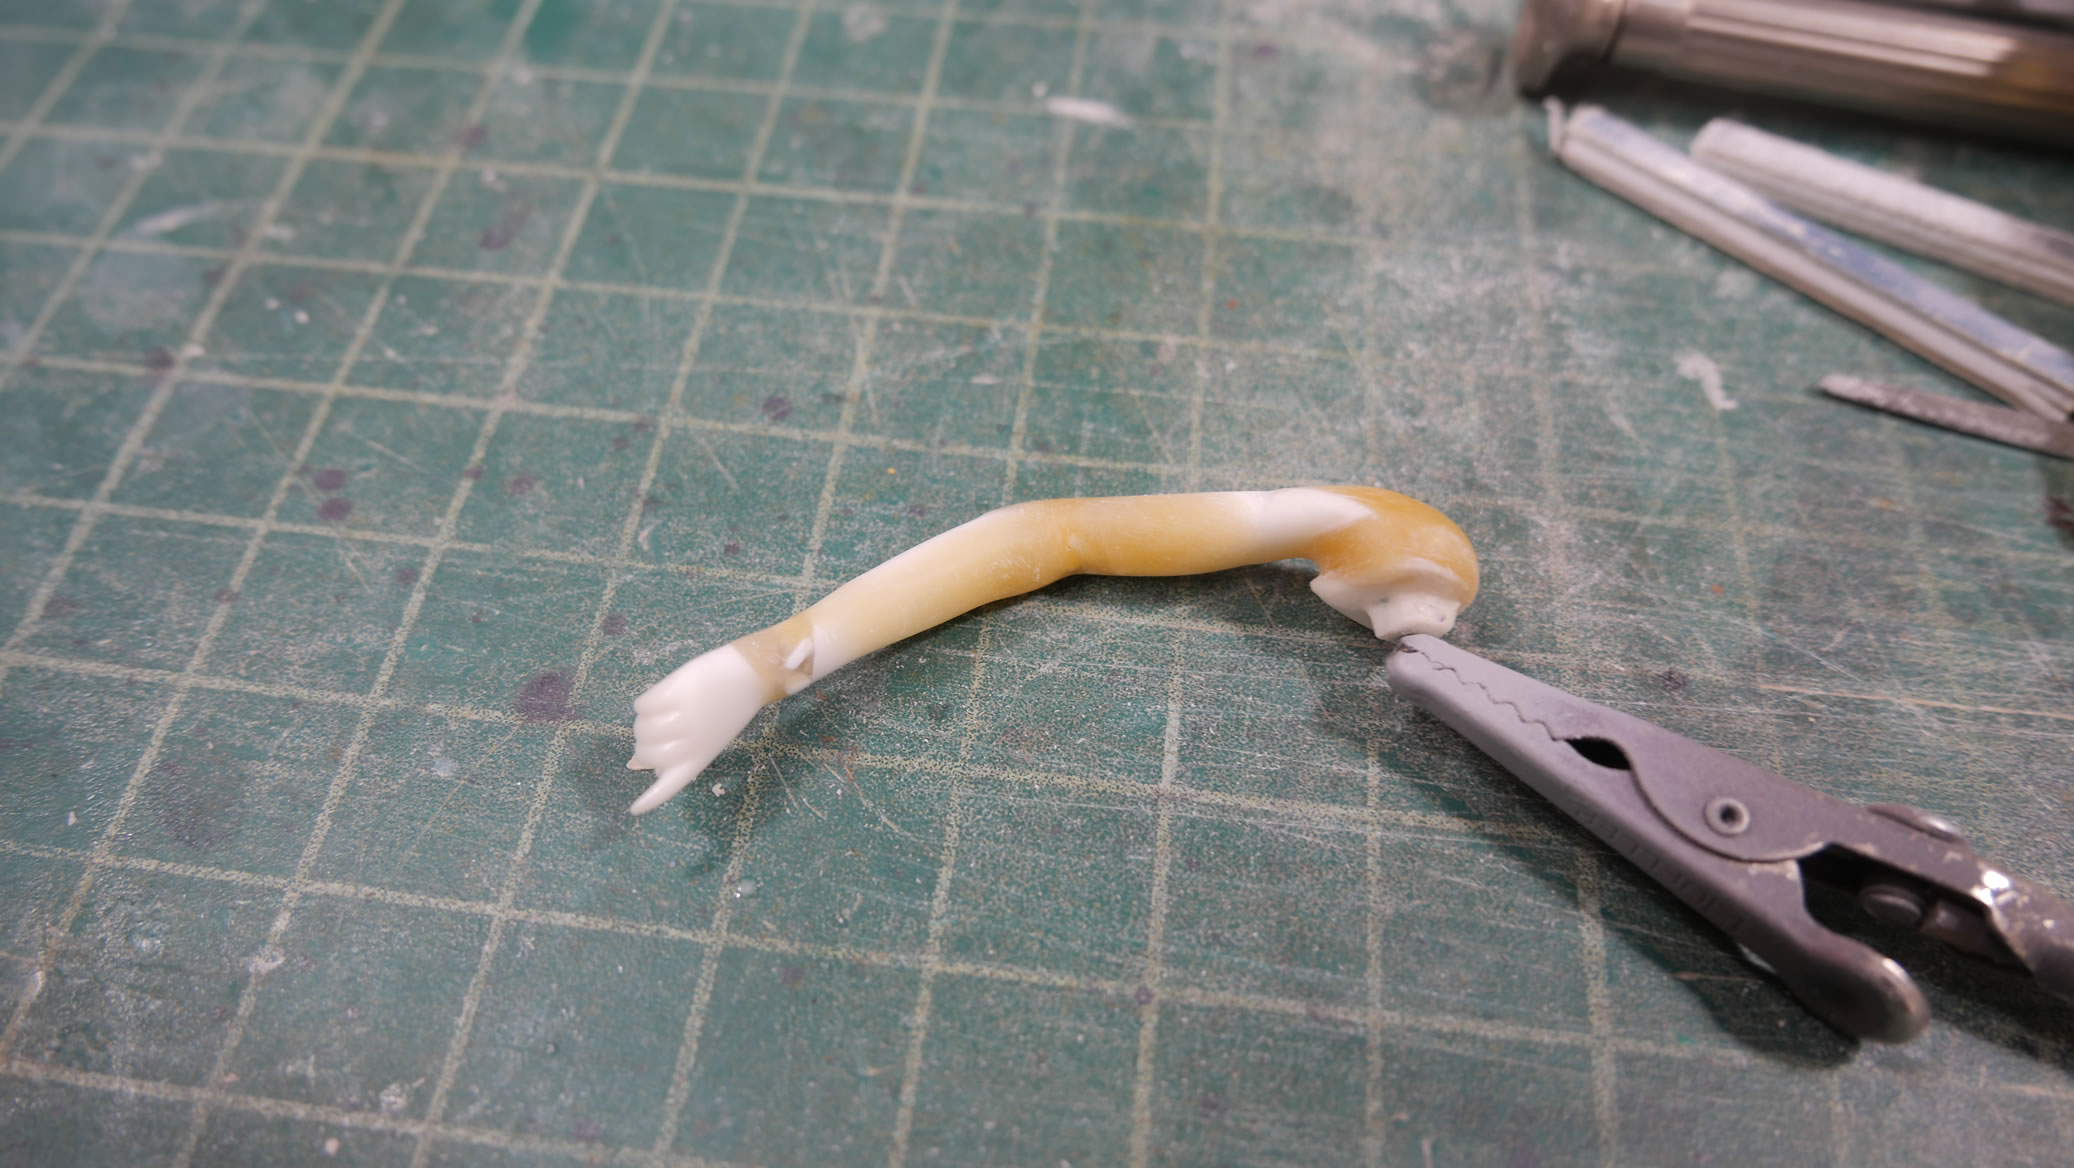
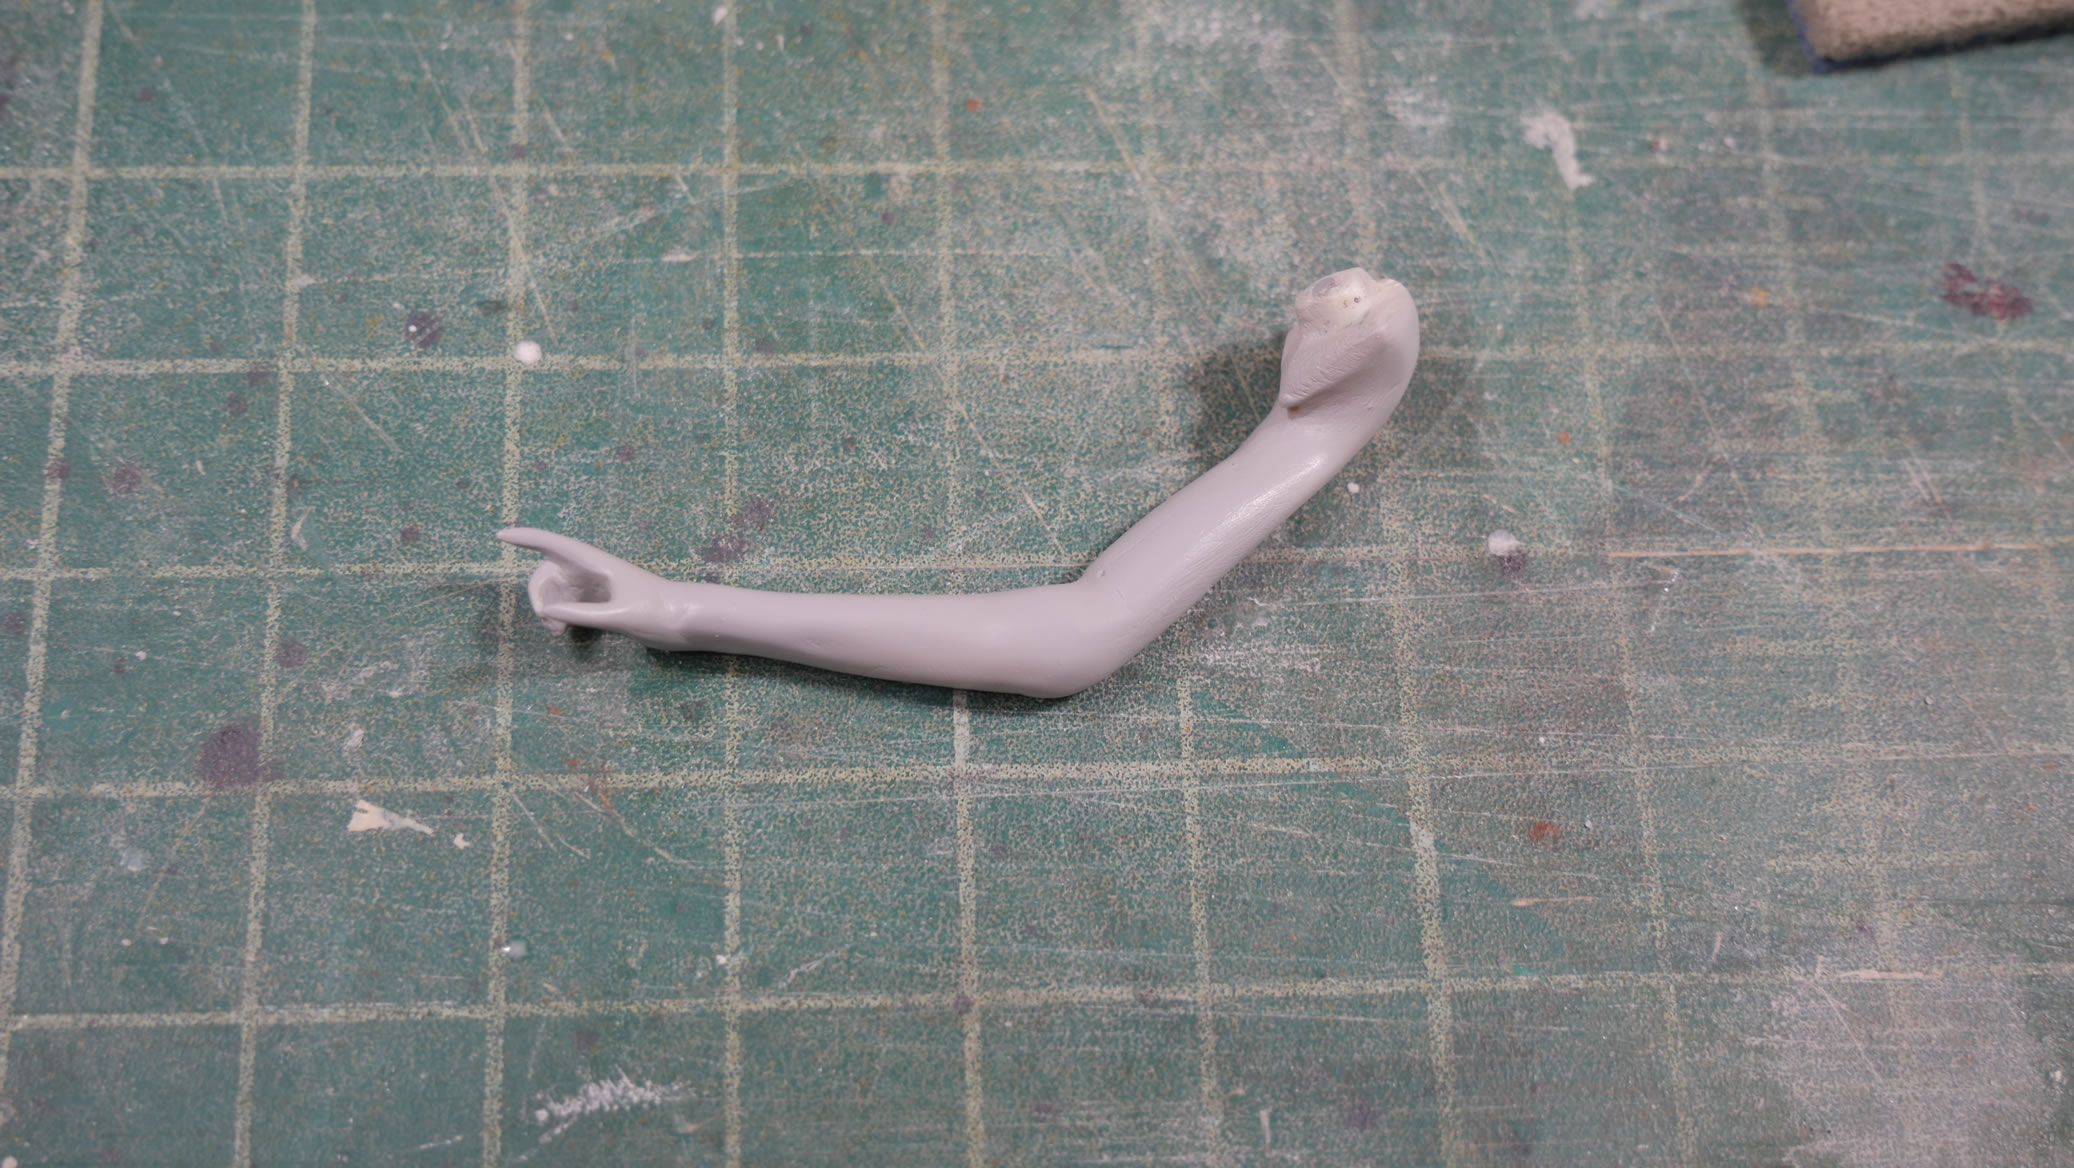
The left arm mostly done, we get to work on positioning the right arm. Same technique as the left. Cut apart, magnets, and test fit to get the right angles. Or at least try.


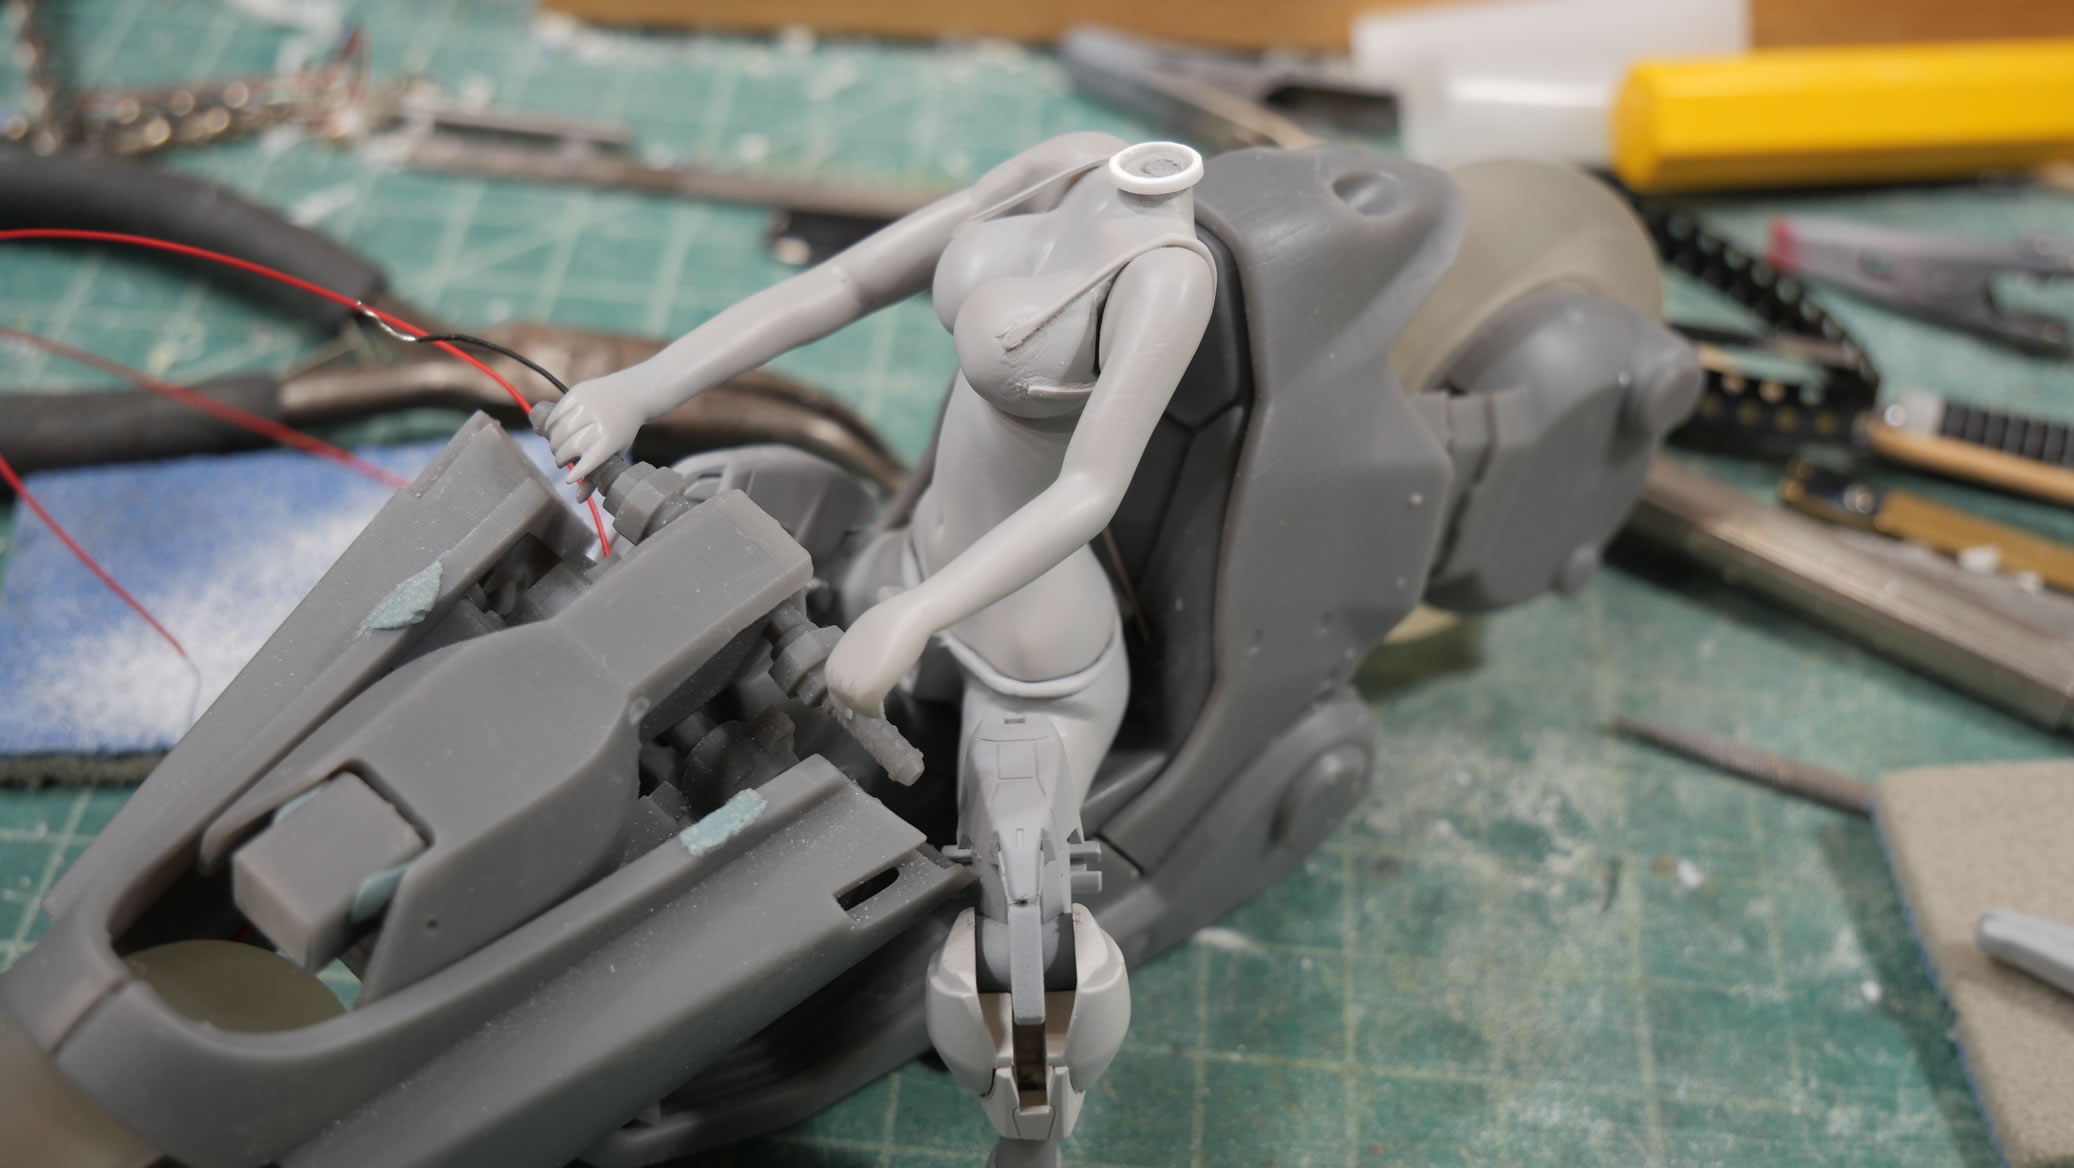
Since the arms are getting work, time to add in styrene strips that connect the backpack to the chest piece as would a normal bikini. The strips are glued into position and sanded down to thin them out a little. A test with the whole figure just didn’t have the right arm look correct. The bend was at an odd angle and it just doesn’t look like the arm is attached to the shoulder correctly either.
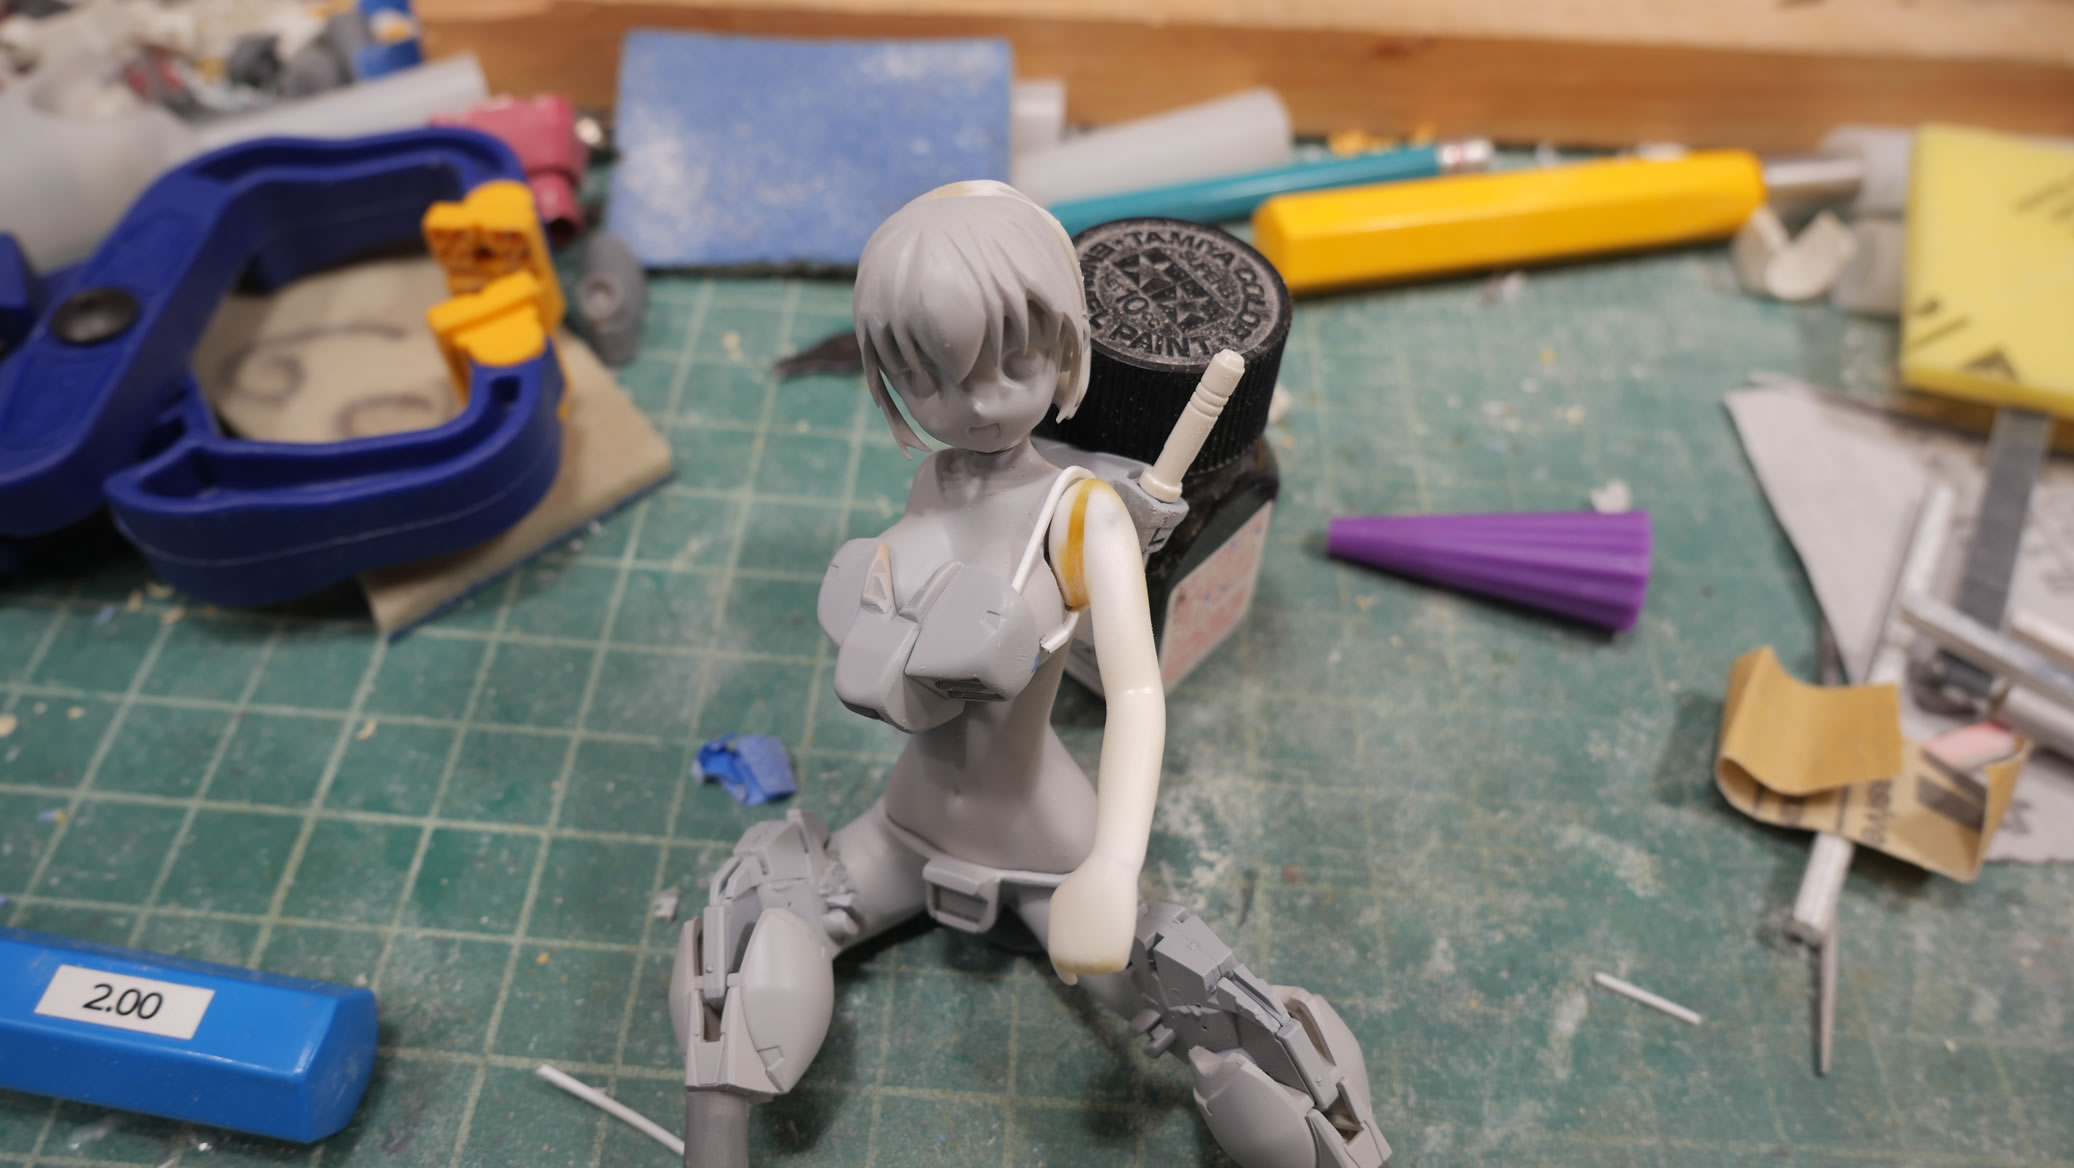
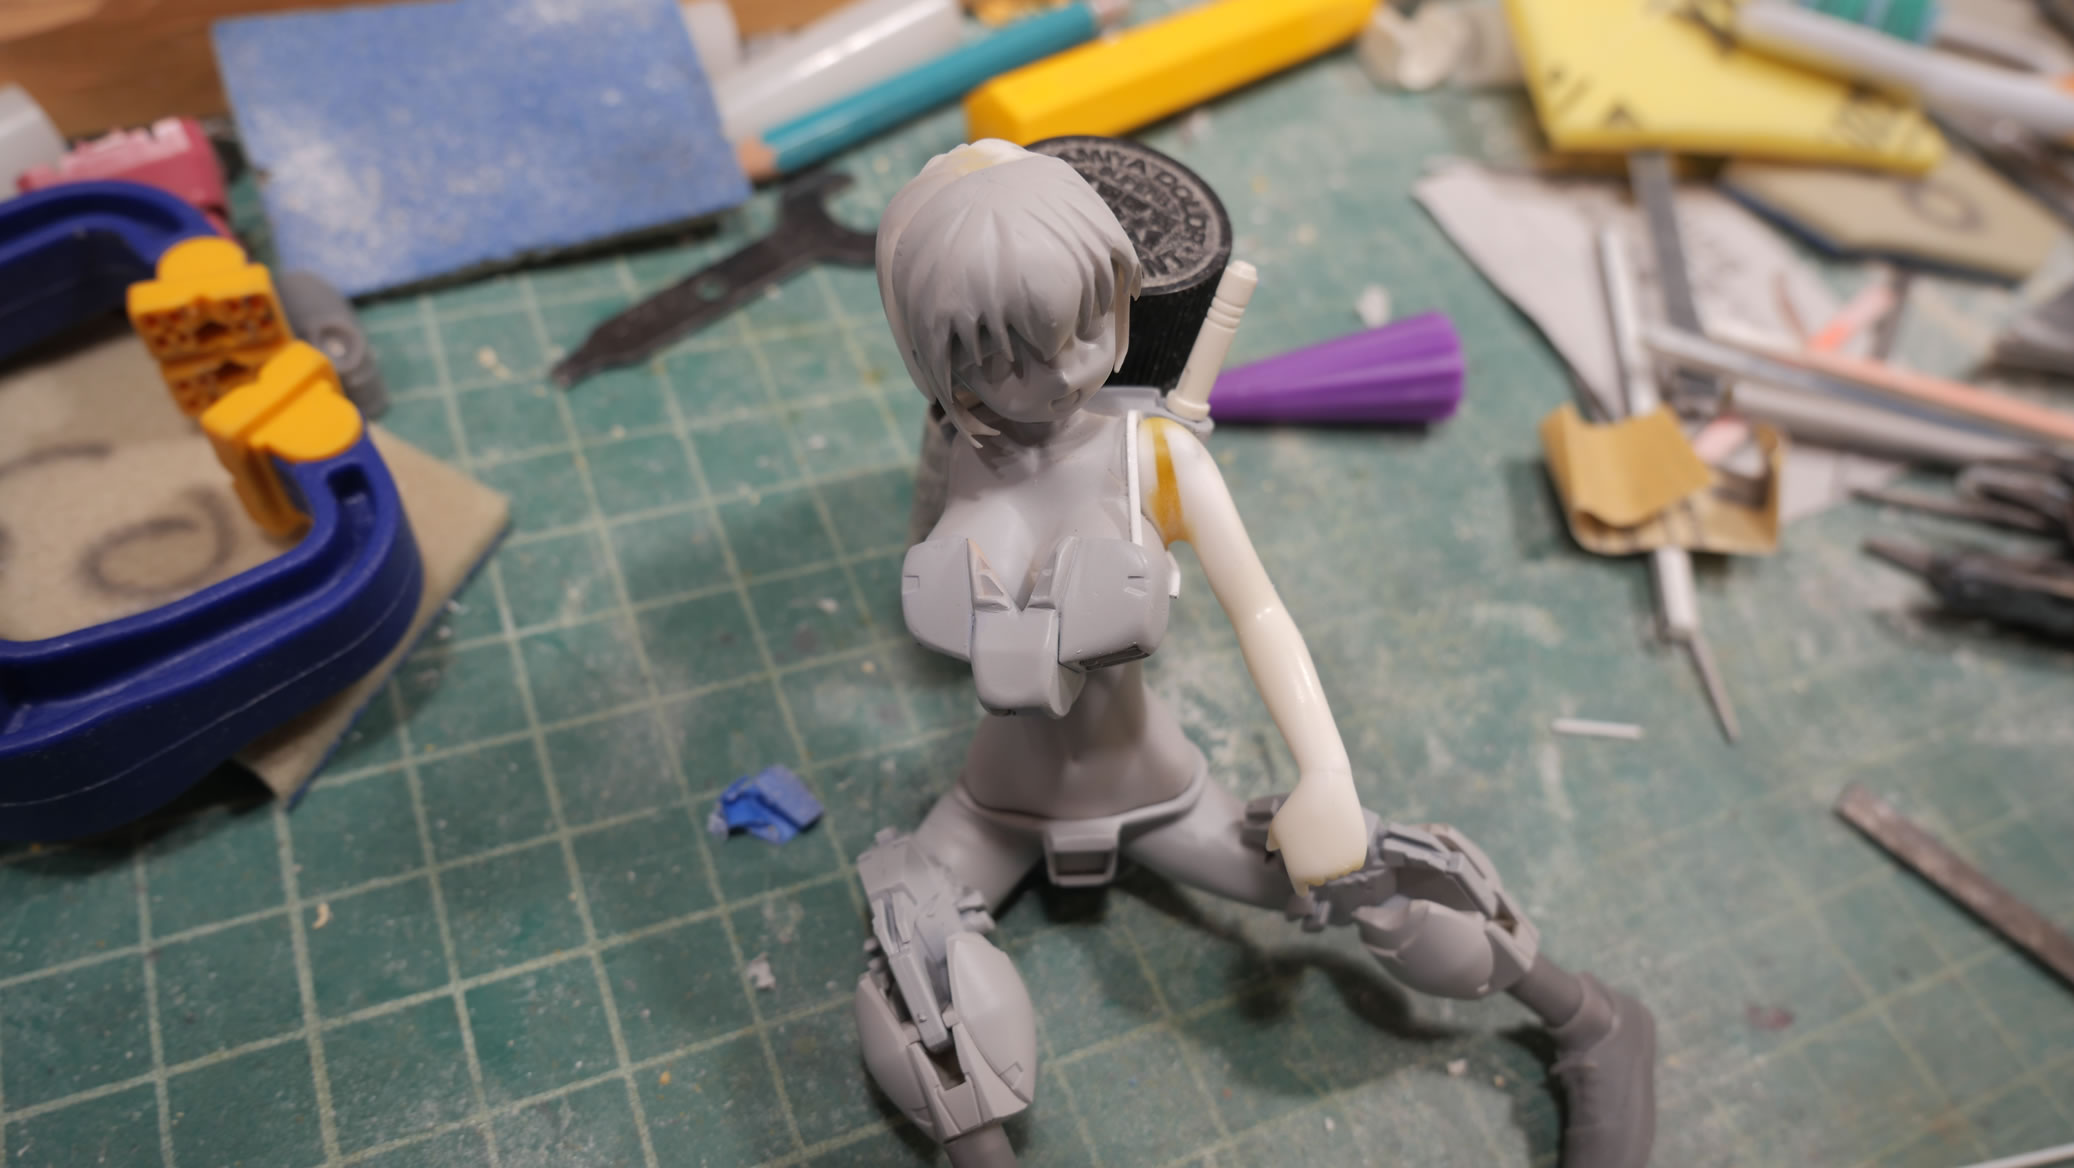
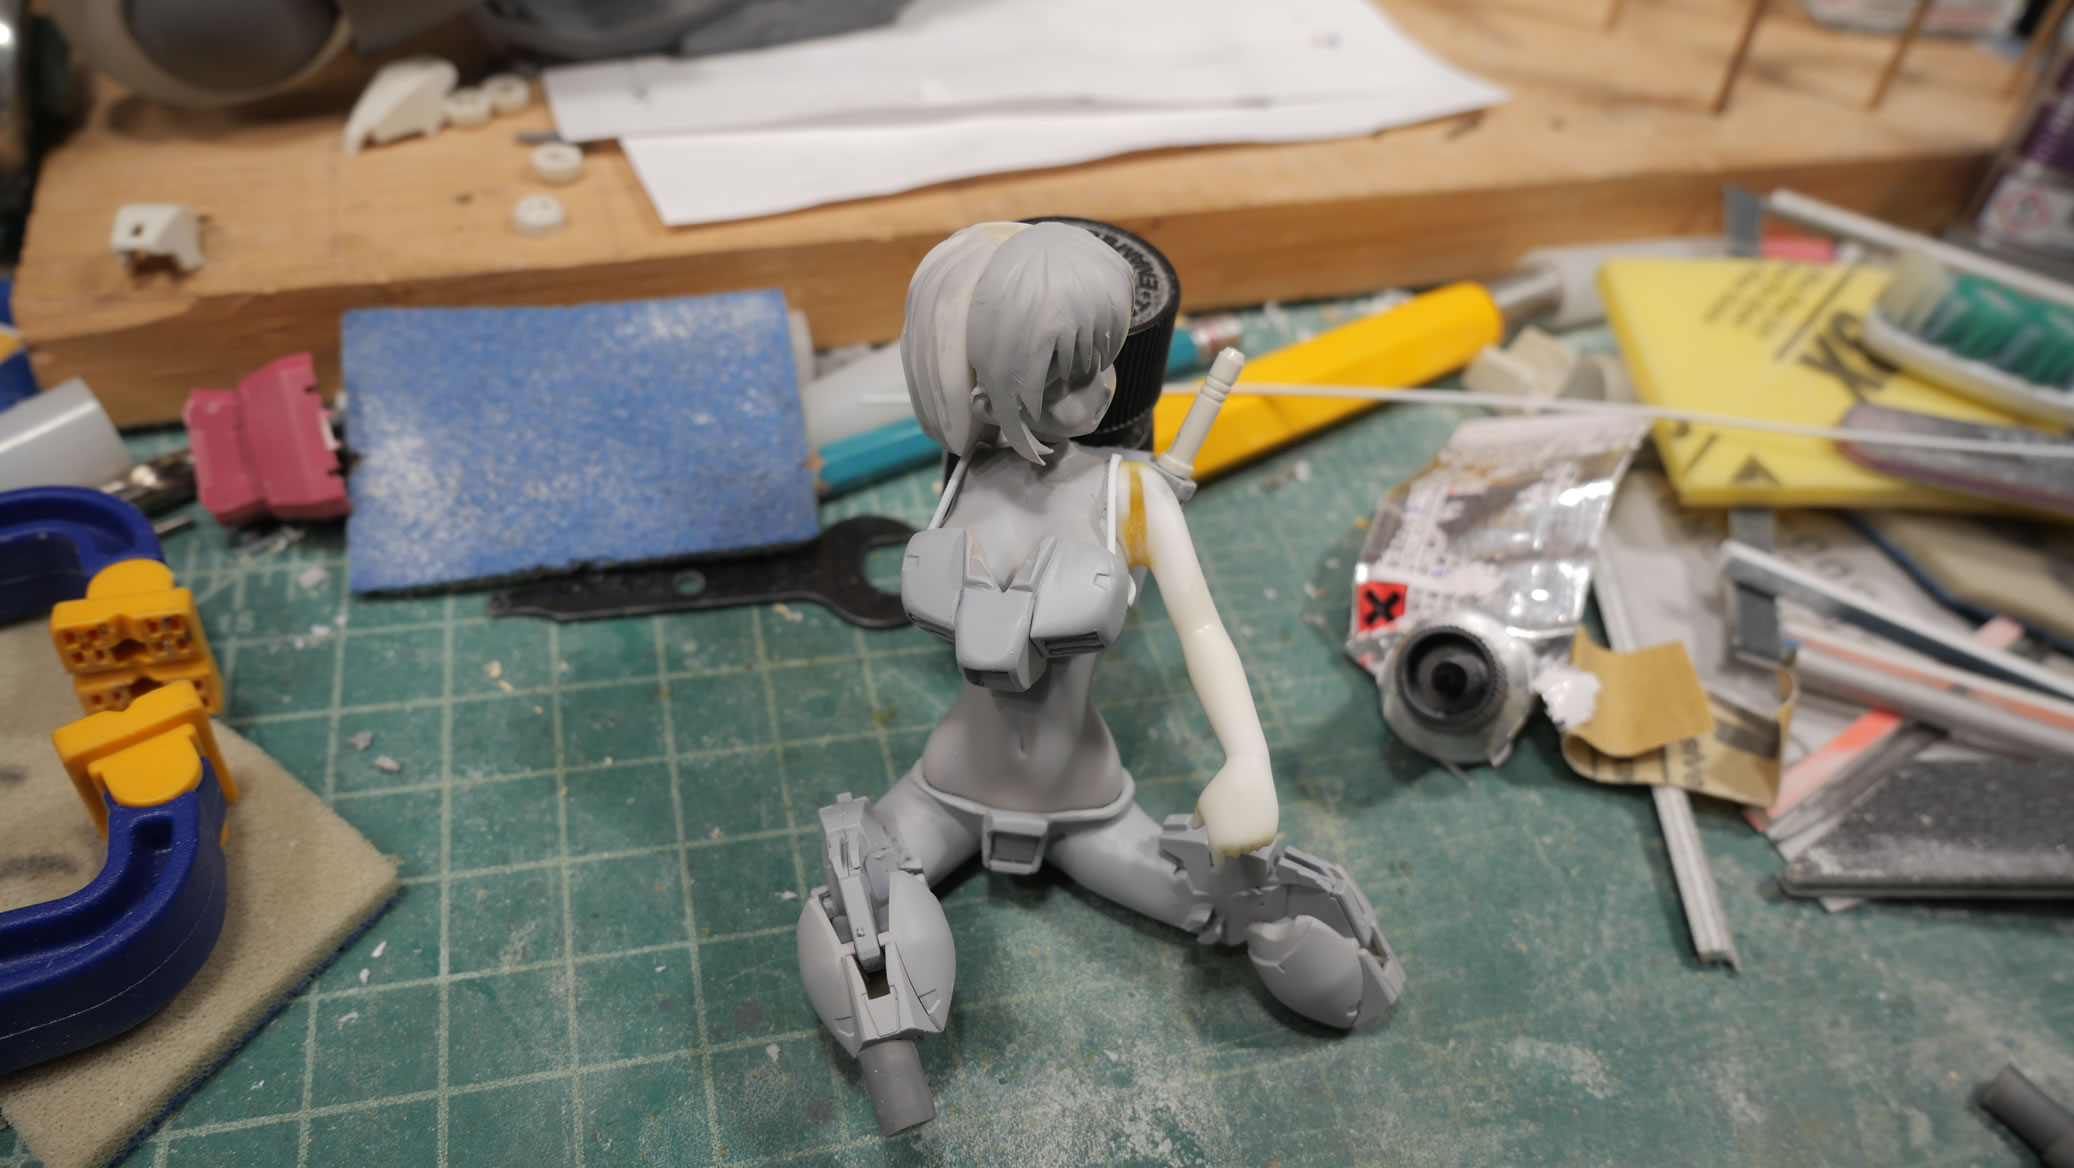
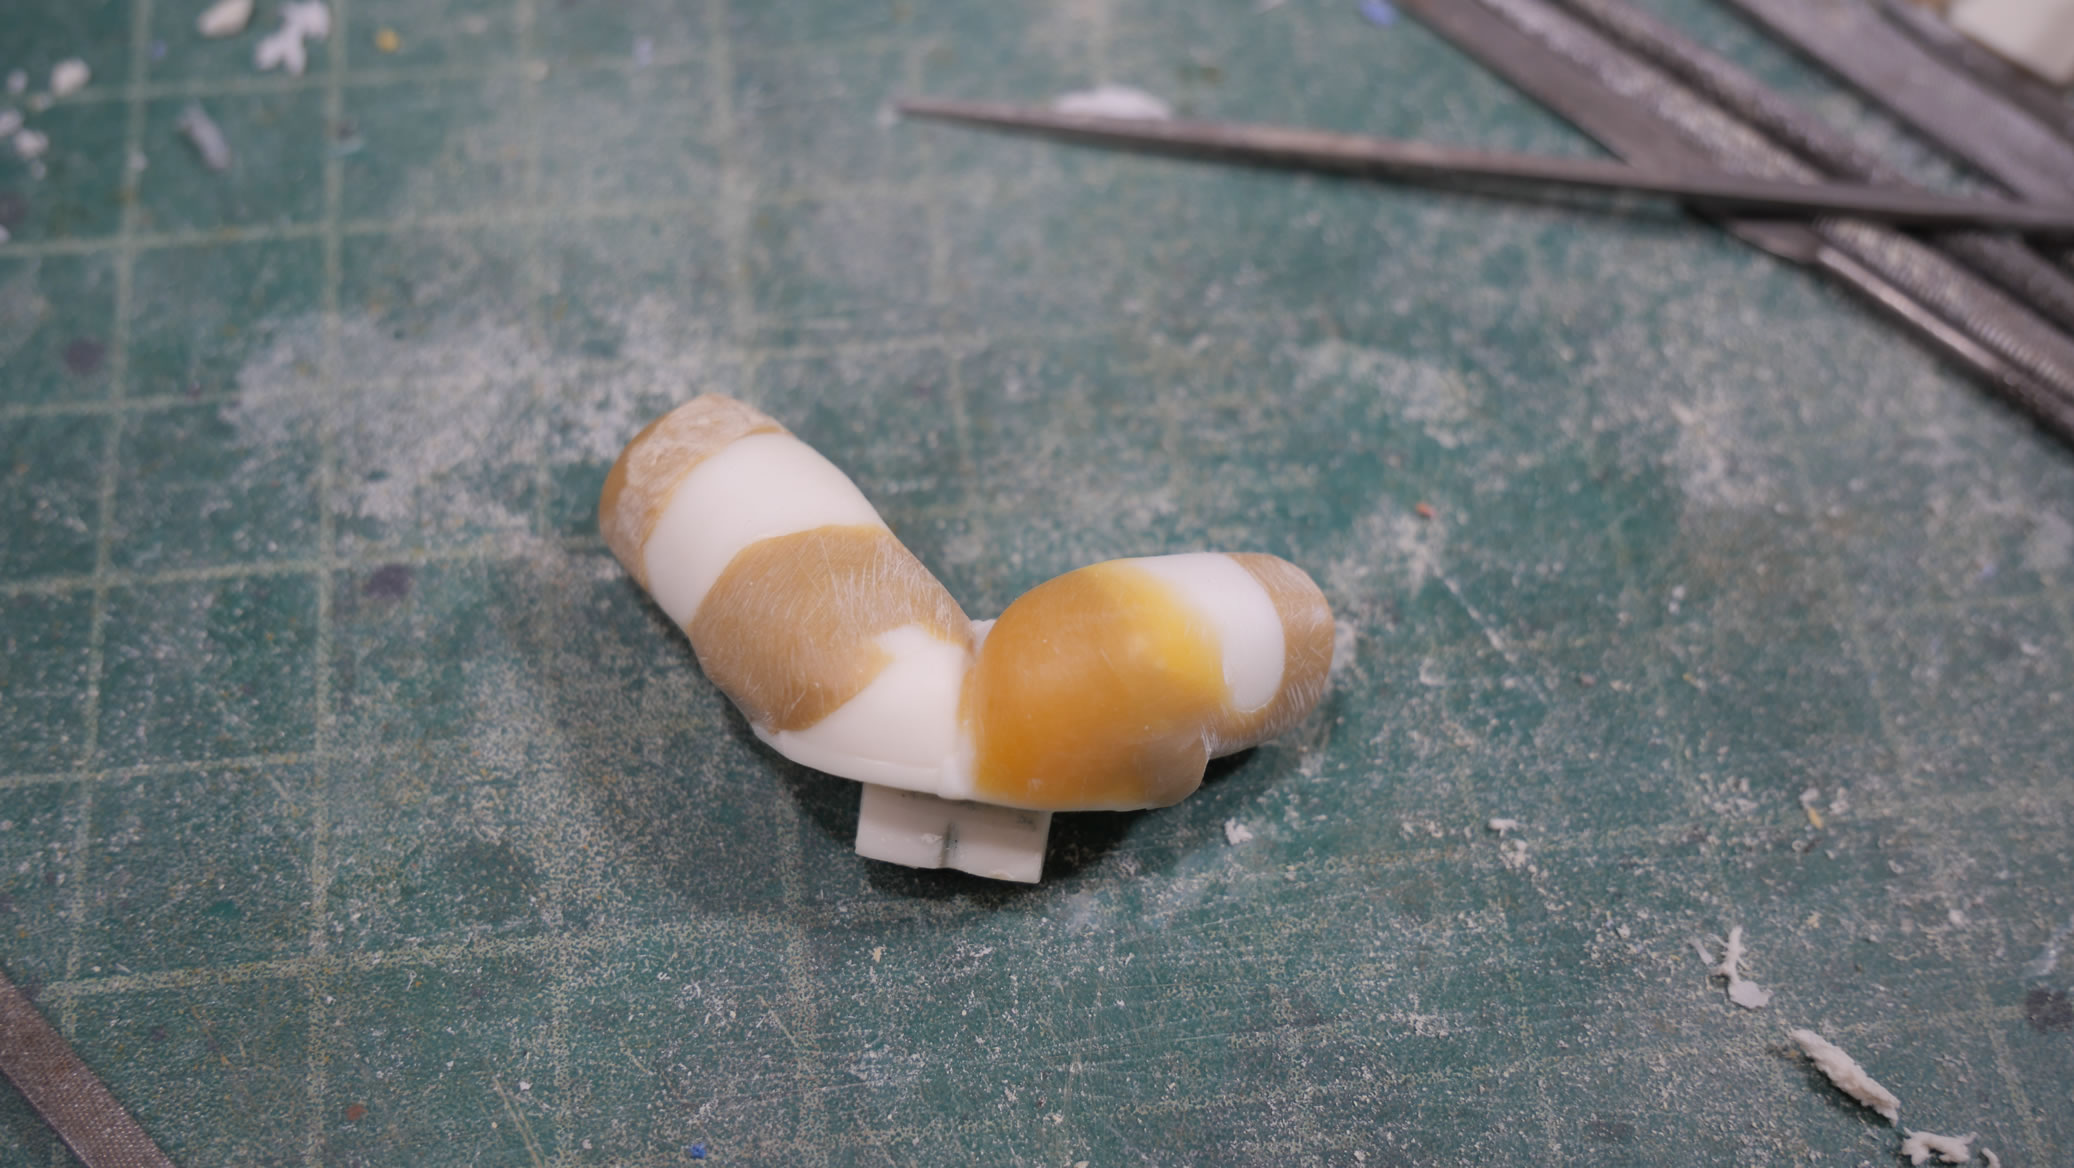
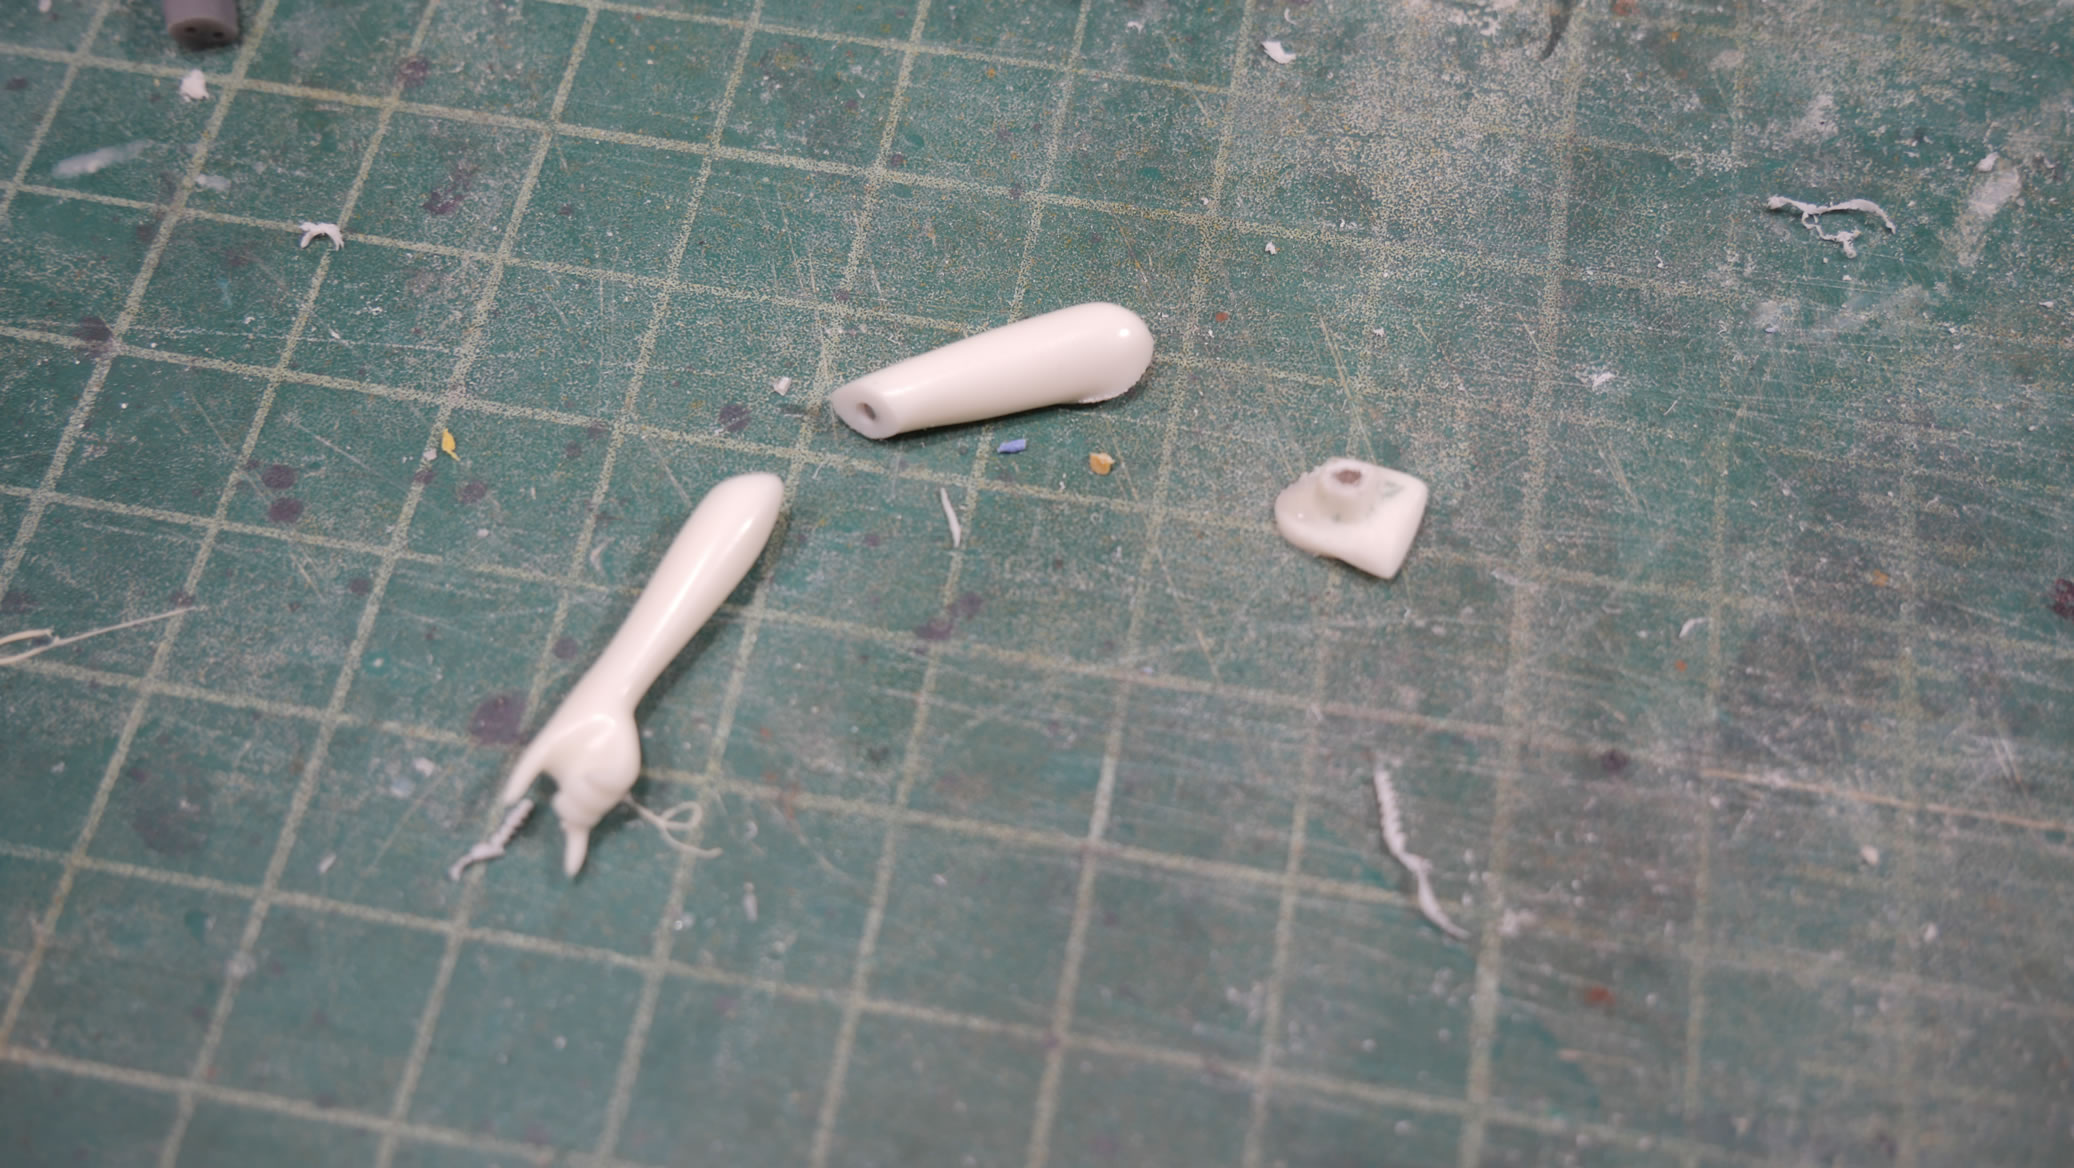
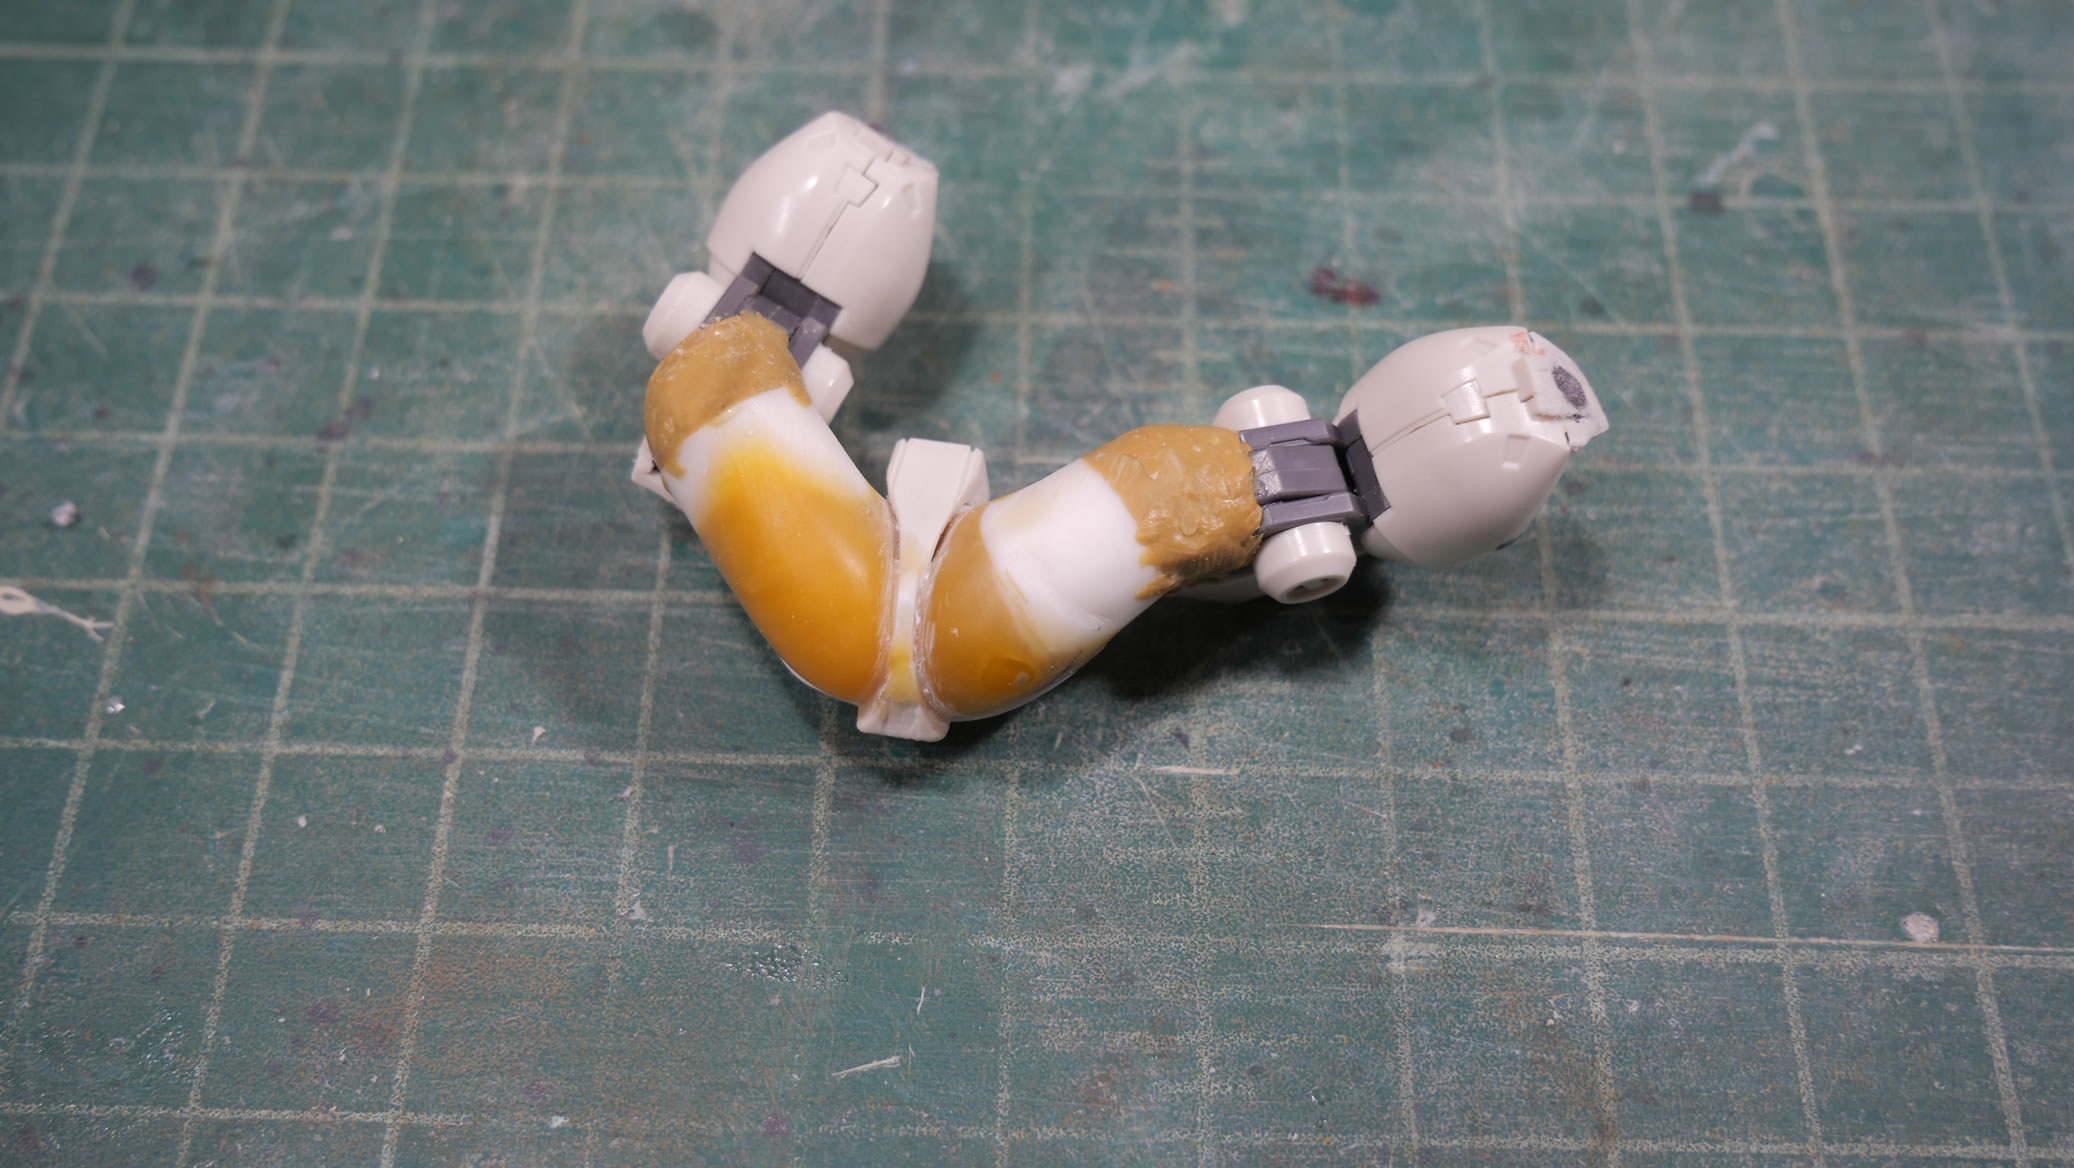
Back to the cutting board and the arm gets cut up again and we play with the positions until I’m fairly happy and then everything is glued down. Some styrene strips are used as filler, then light curing putty to fill in all the gaps.

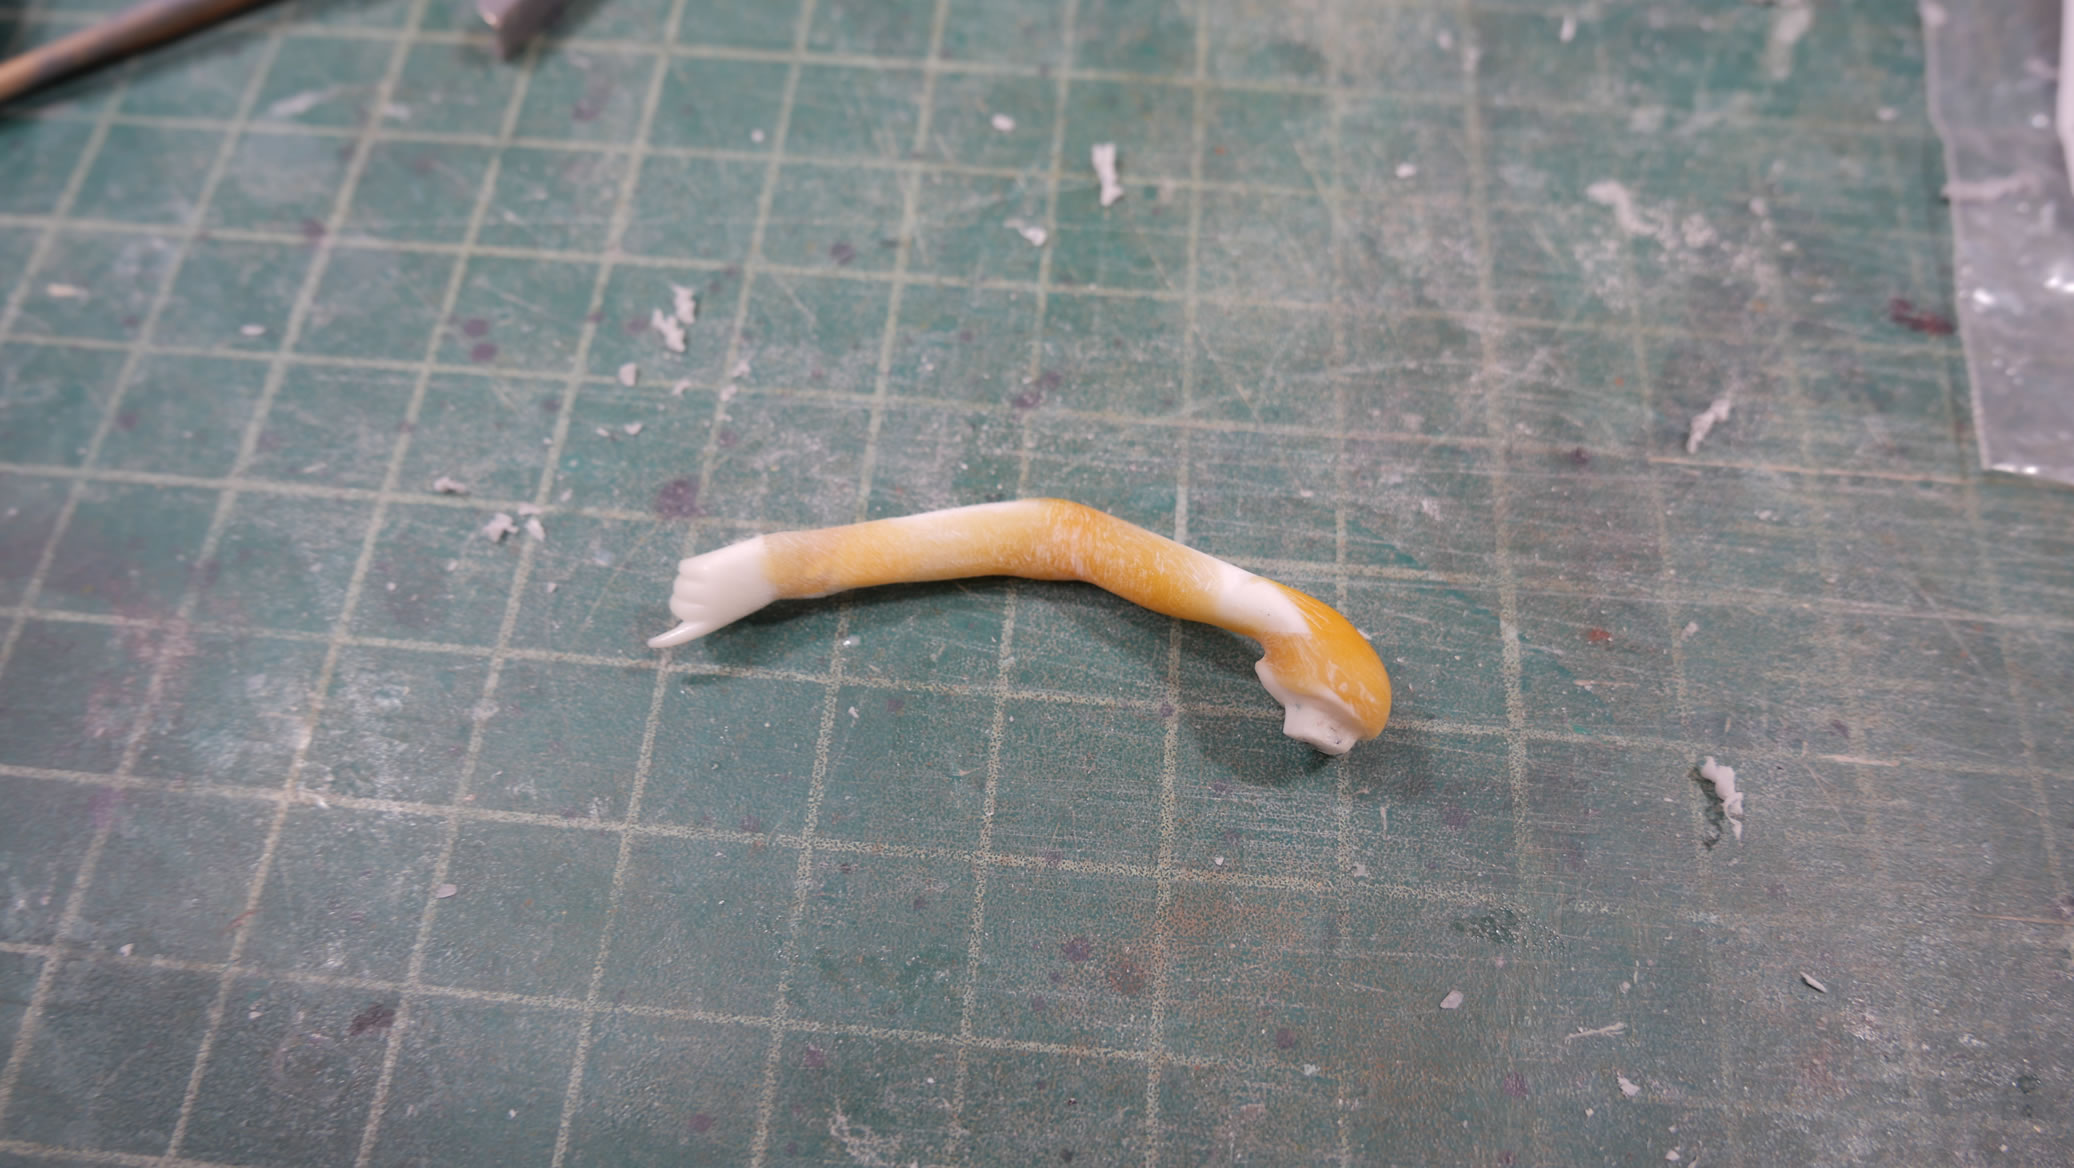
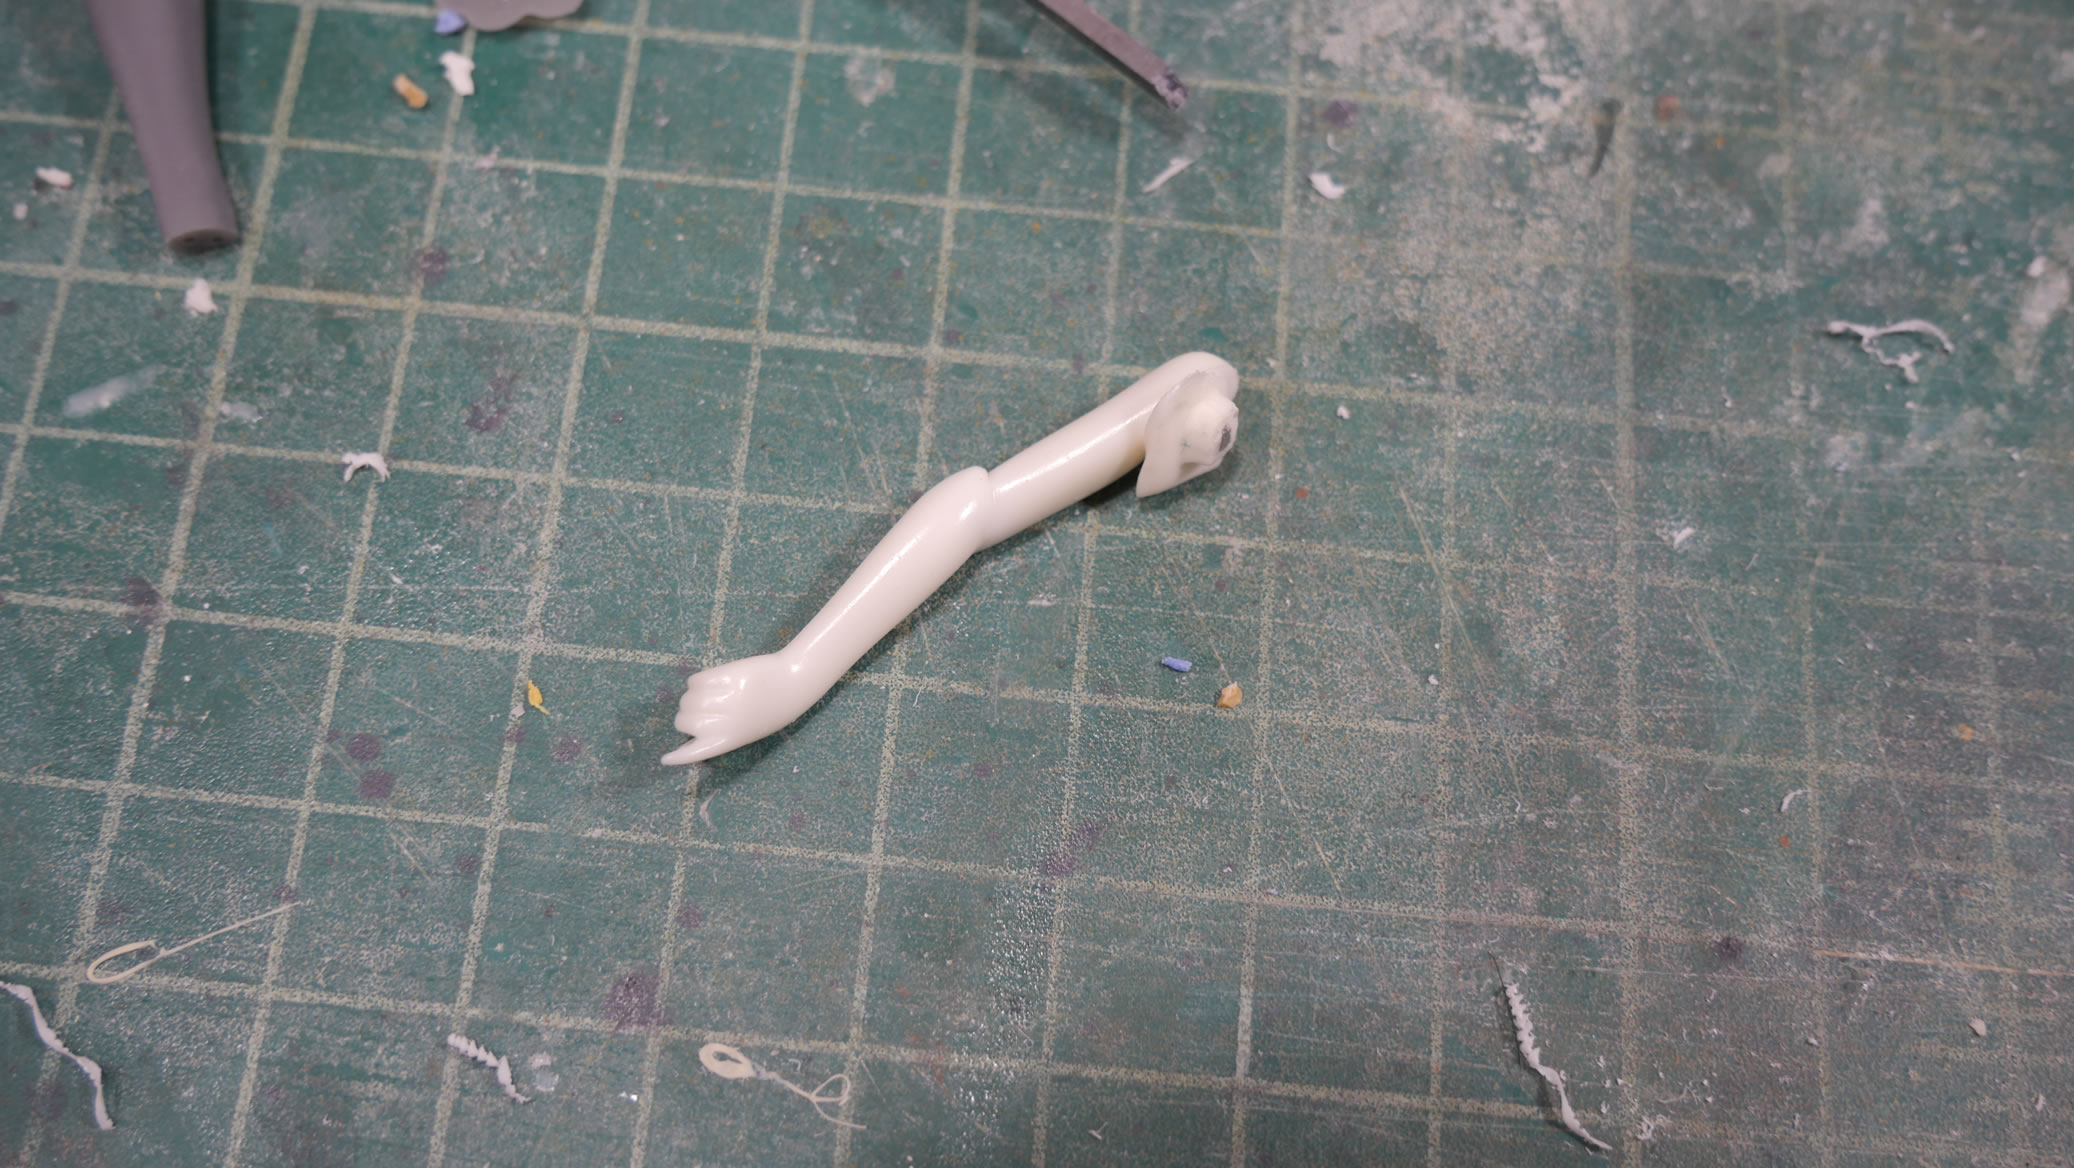
I like this shape better and a bit of putty and more sanding get things back on track.
Primer shows all the missed bubbles in the putty as well as the rough sanding spots, so a bit of rework to get things ready to paint.

Once the arms are done, its time to glue them to the main body and putty in the gaps. One arm at a time; the left first and making sure the gaps are gone and putty is filling everything.
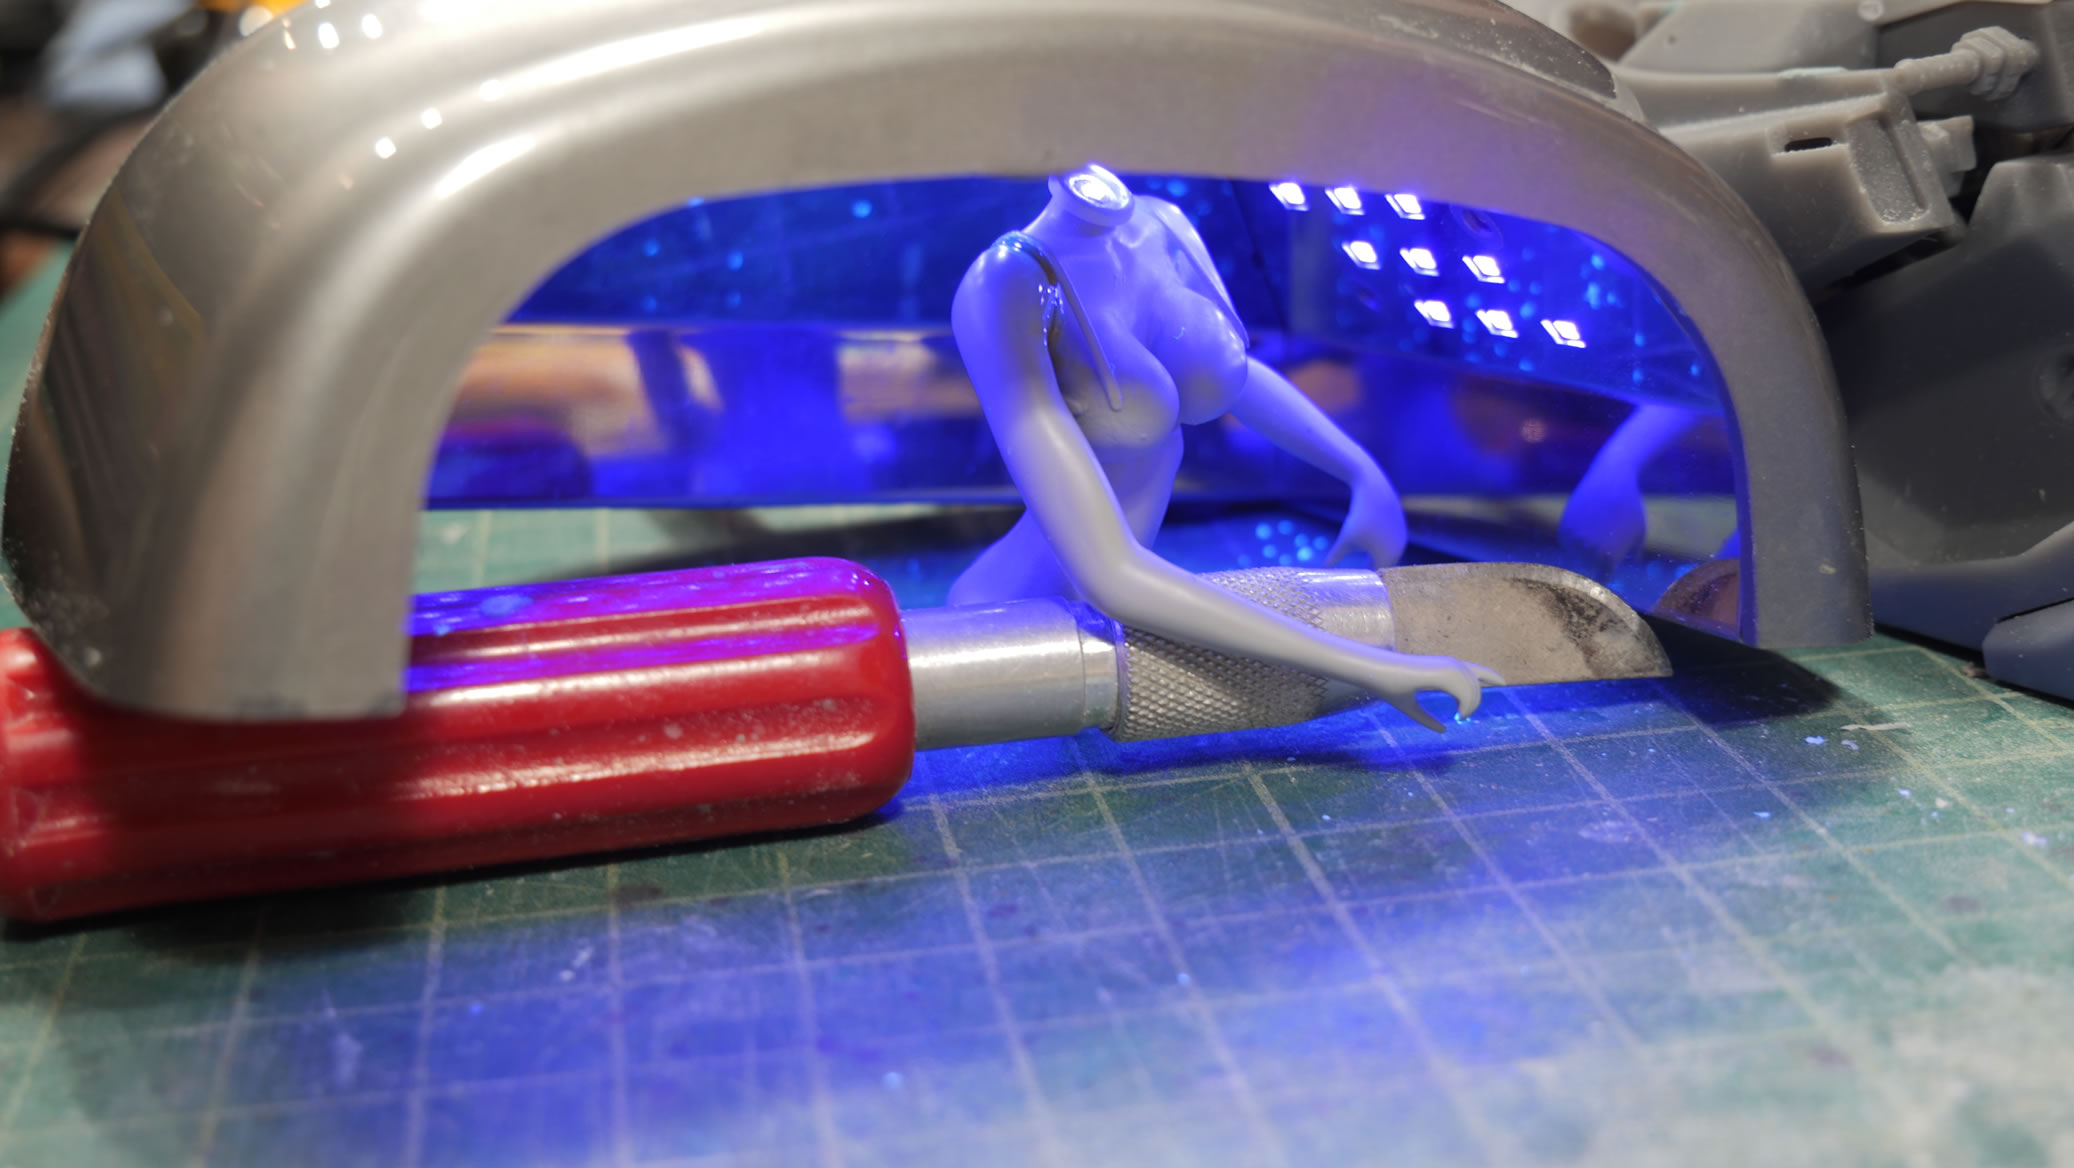
Once the left arm is done, on to the right arm. Light curing done with the nail salon curing box. Sand, prime, check, and fix if necessary. Now both hands are on the handles and everything looks good.
She’s got legs…
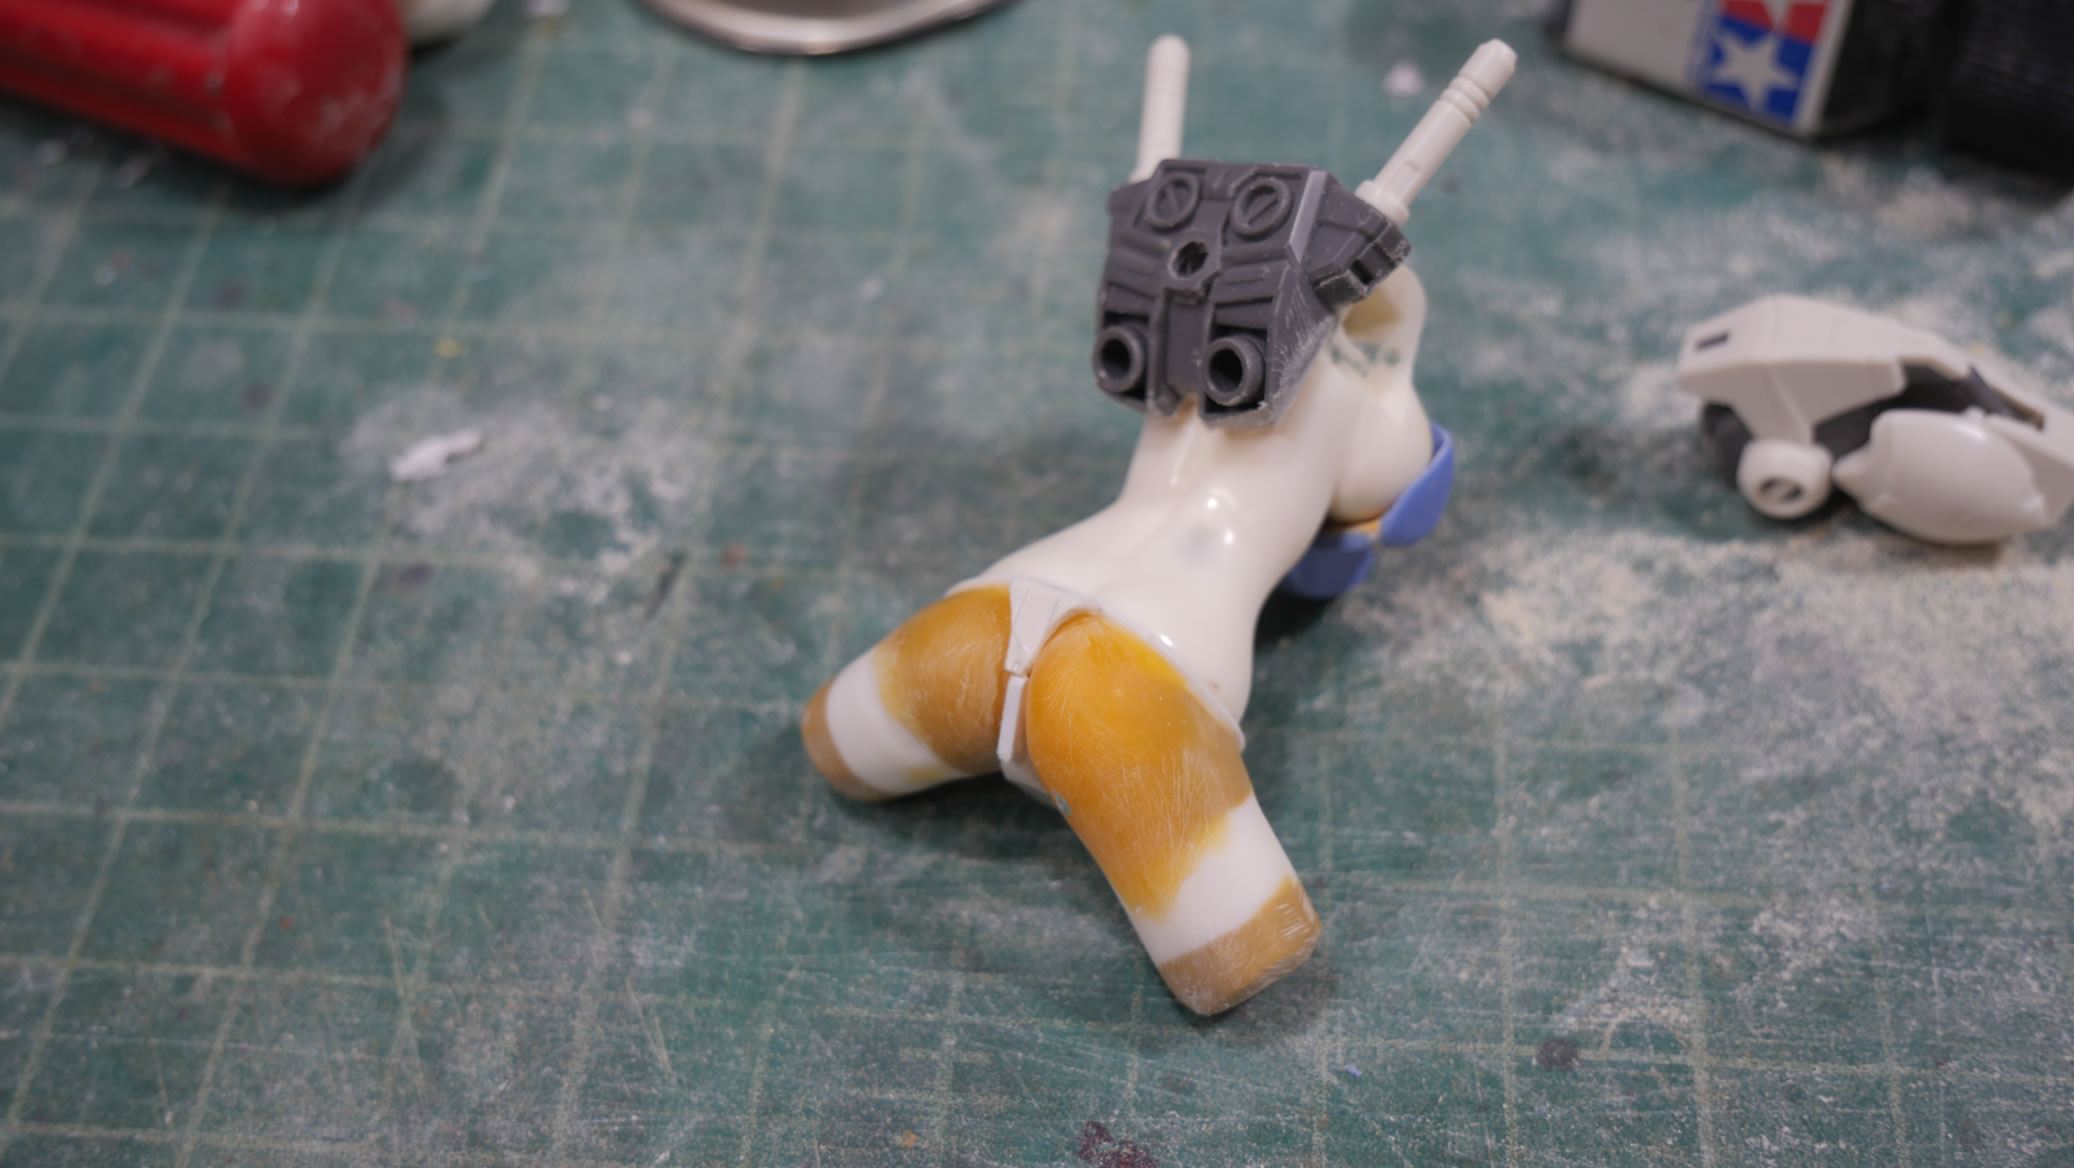
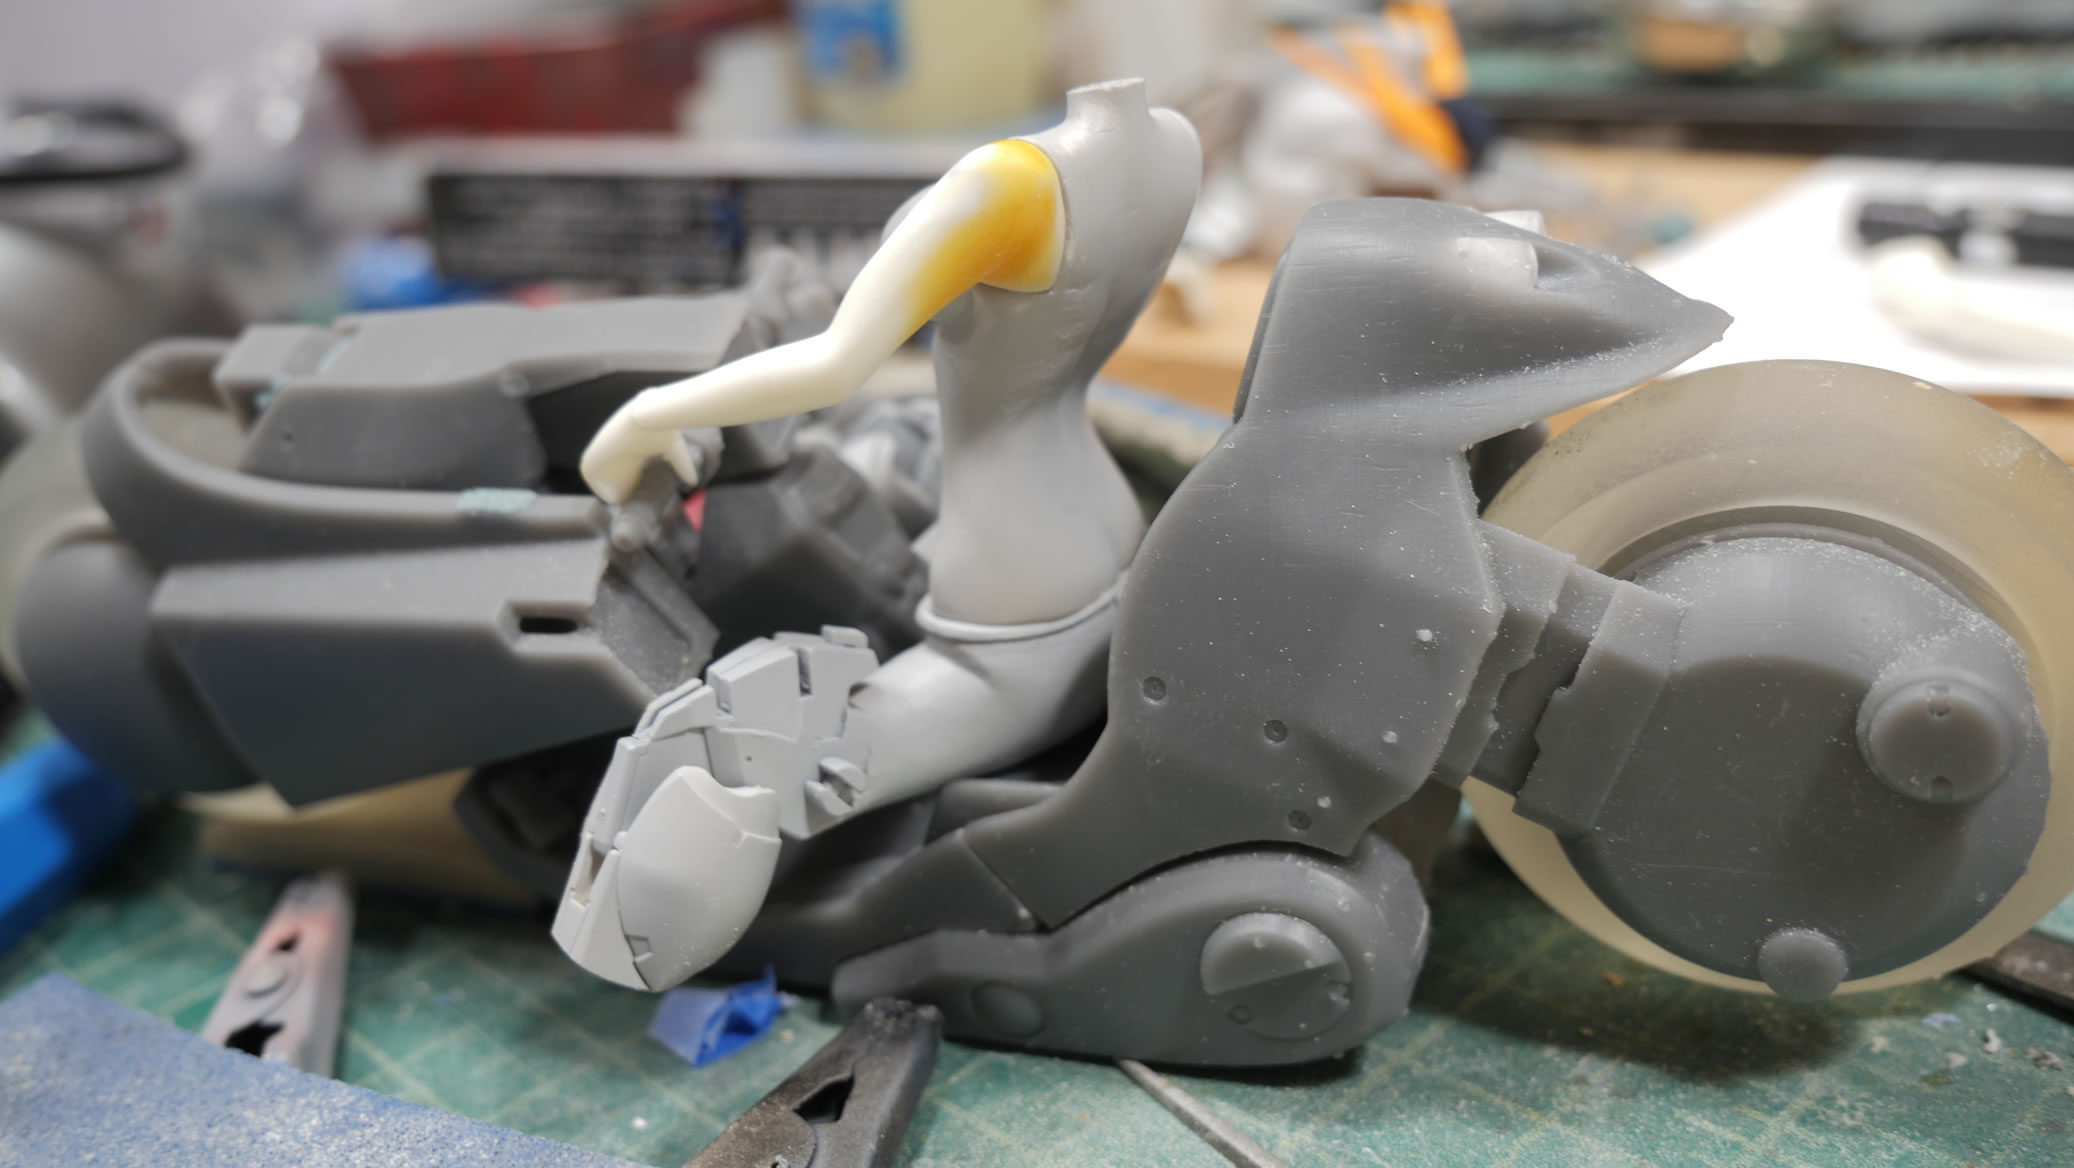
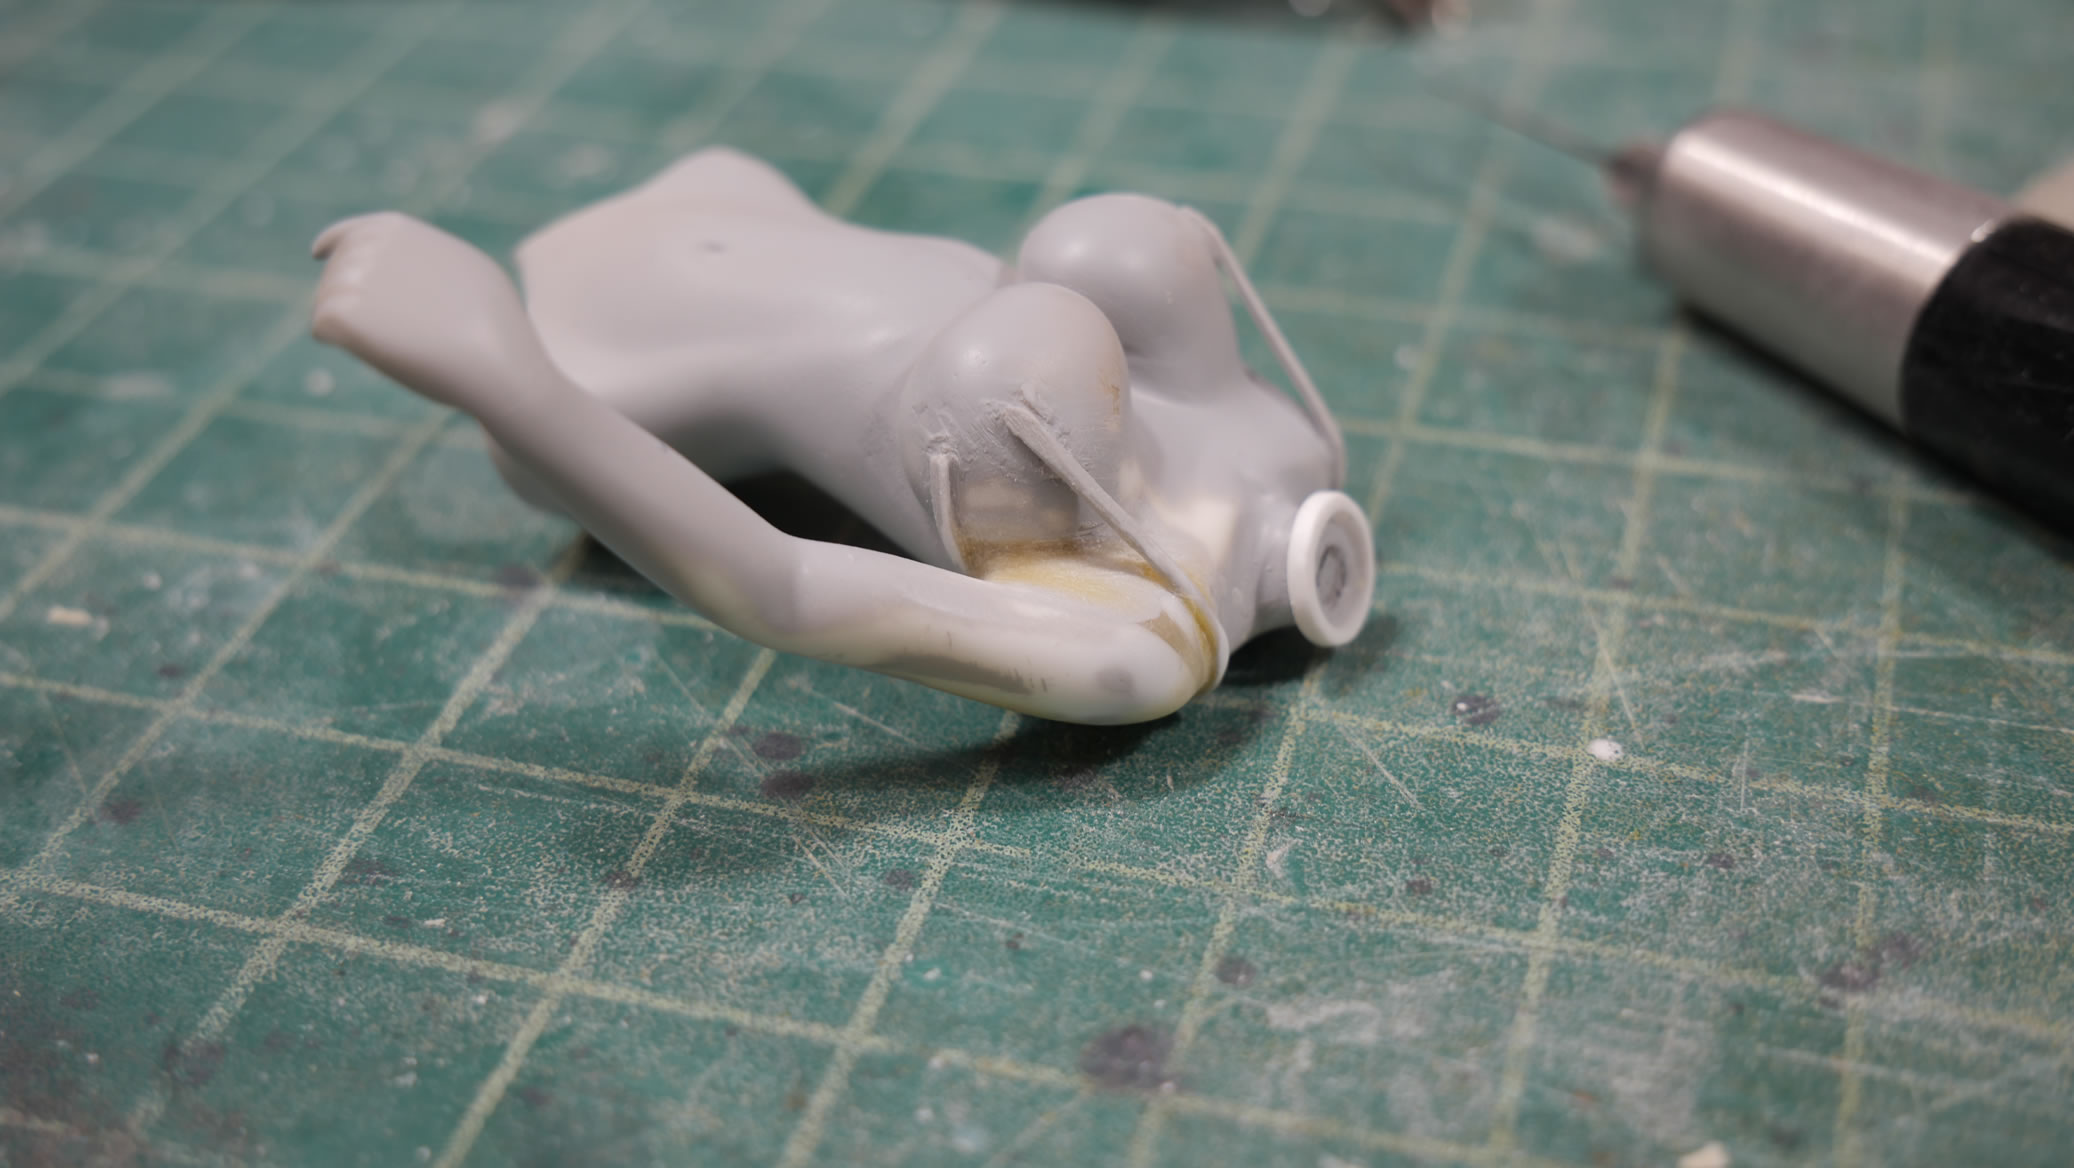
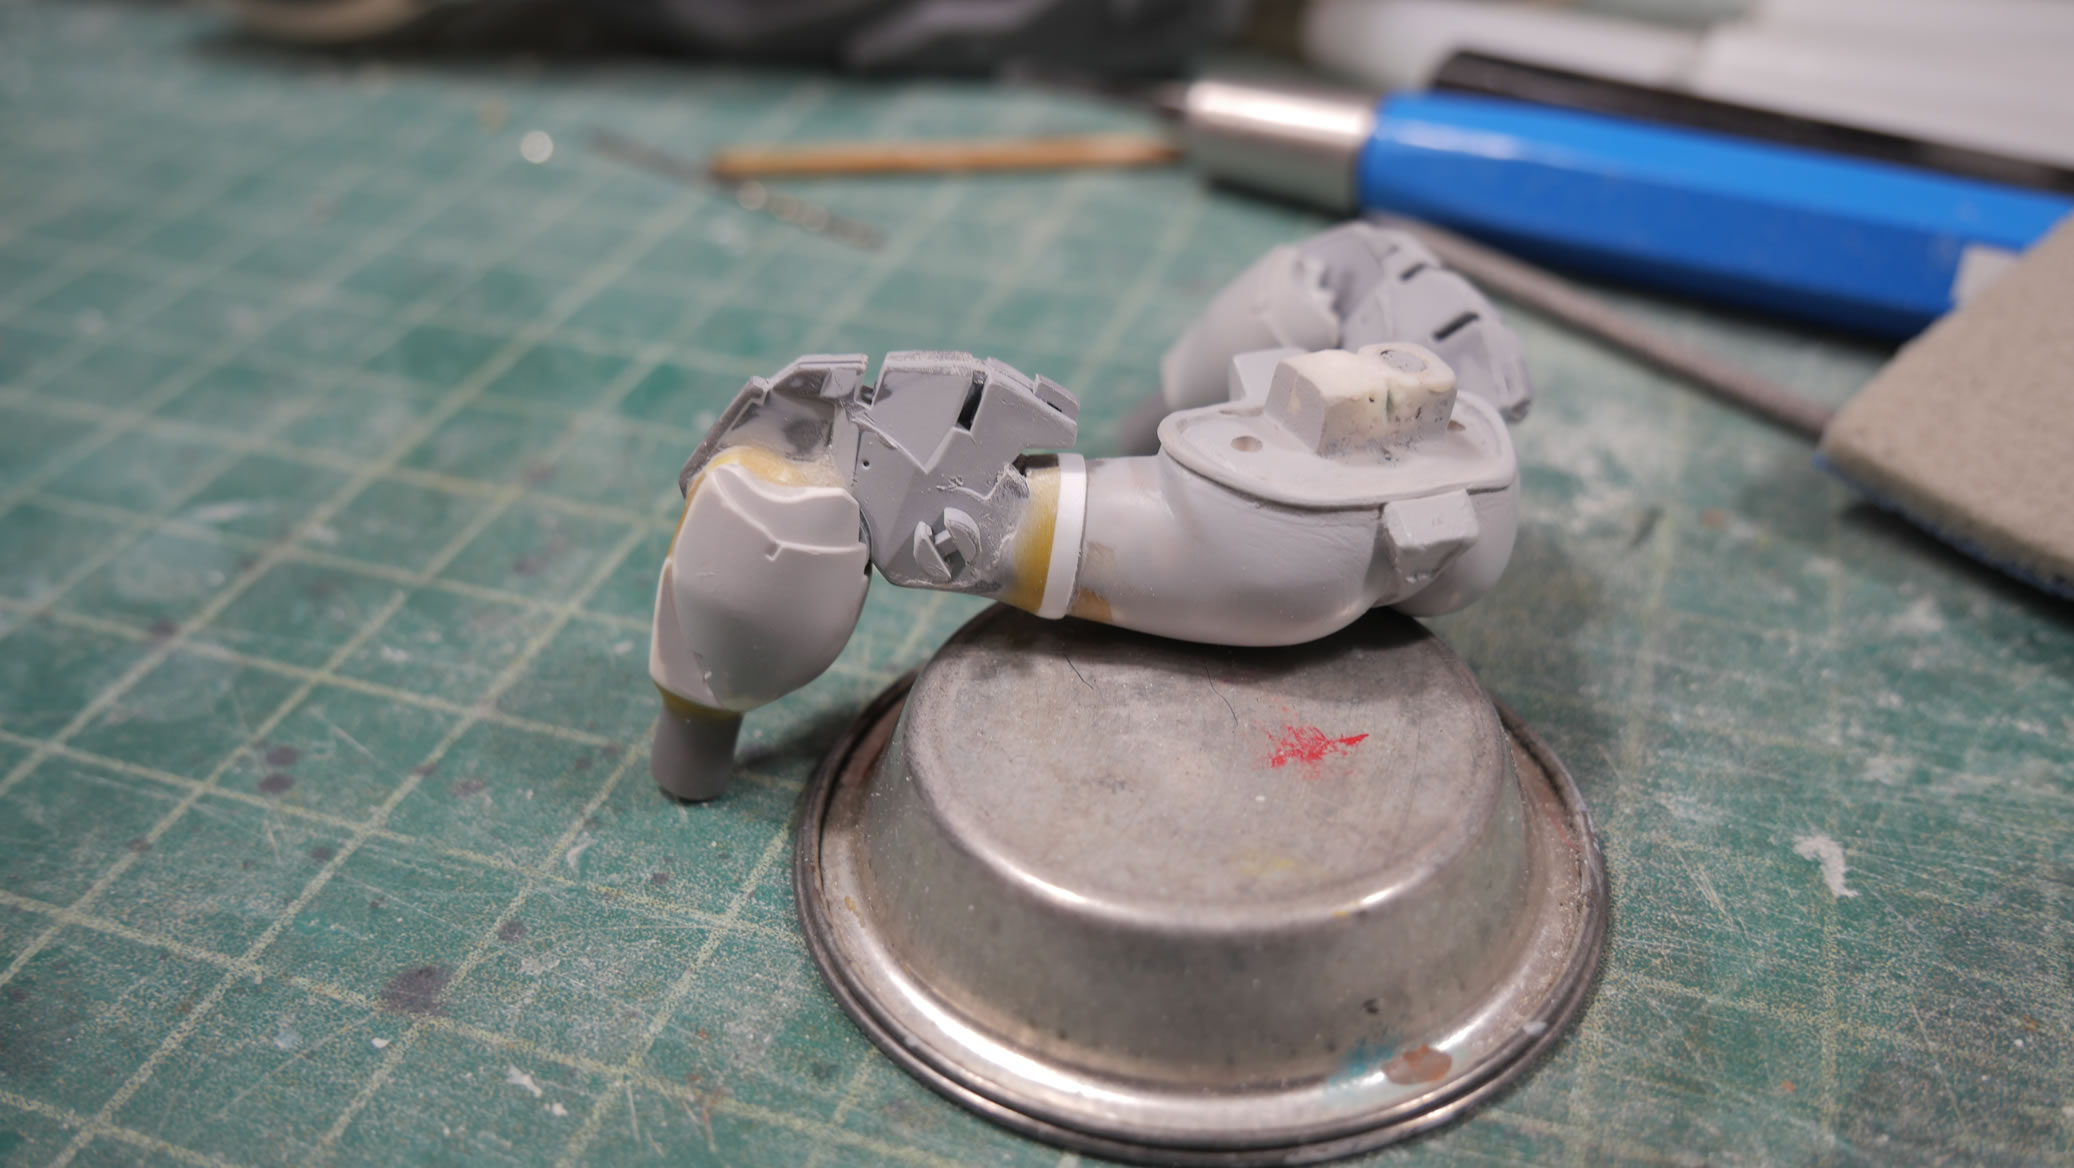
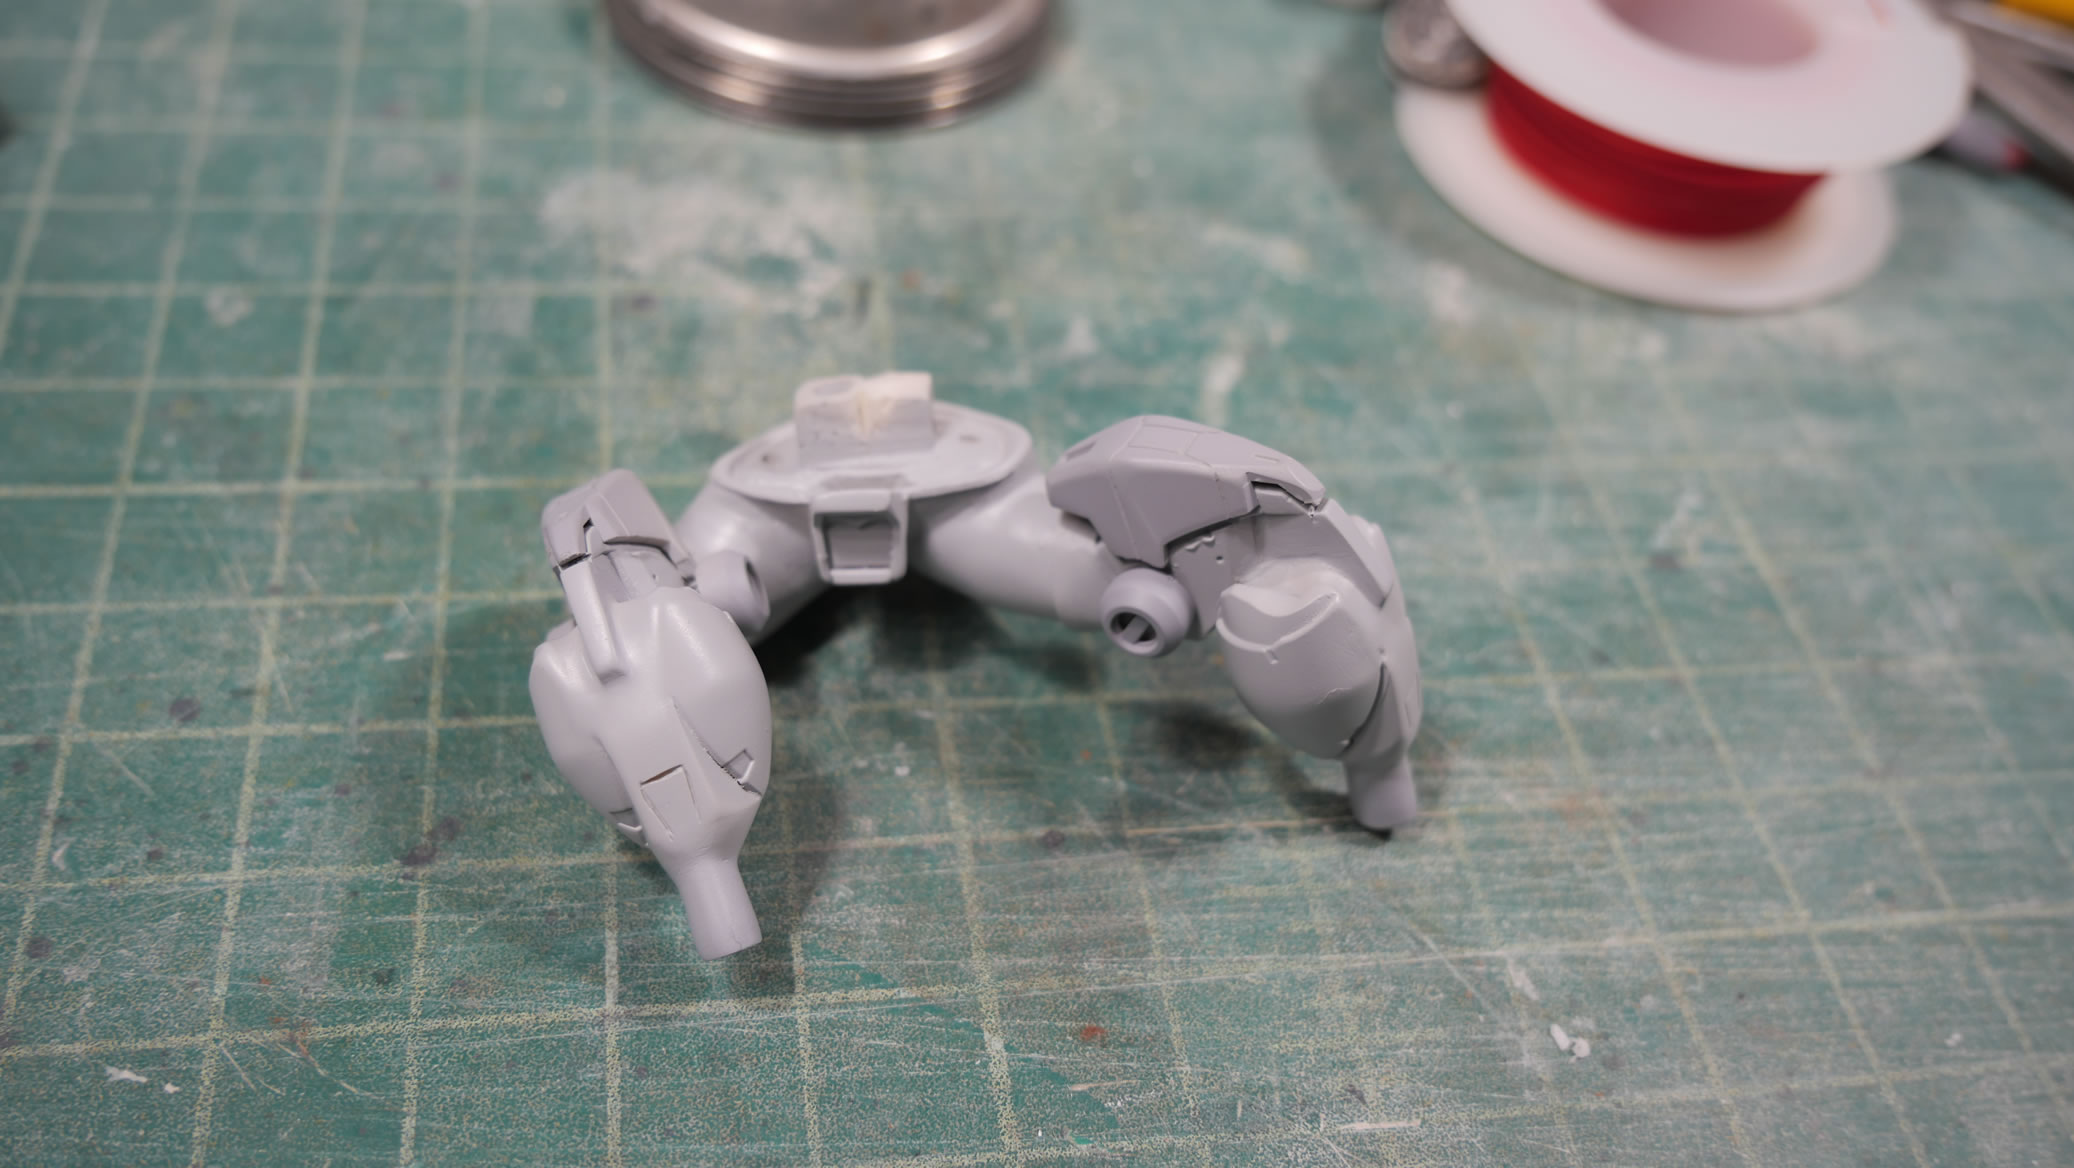
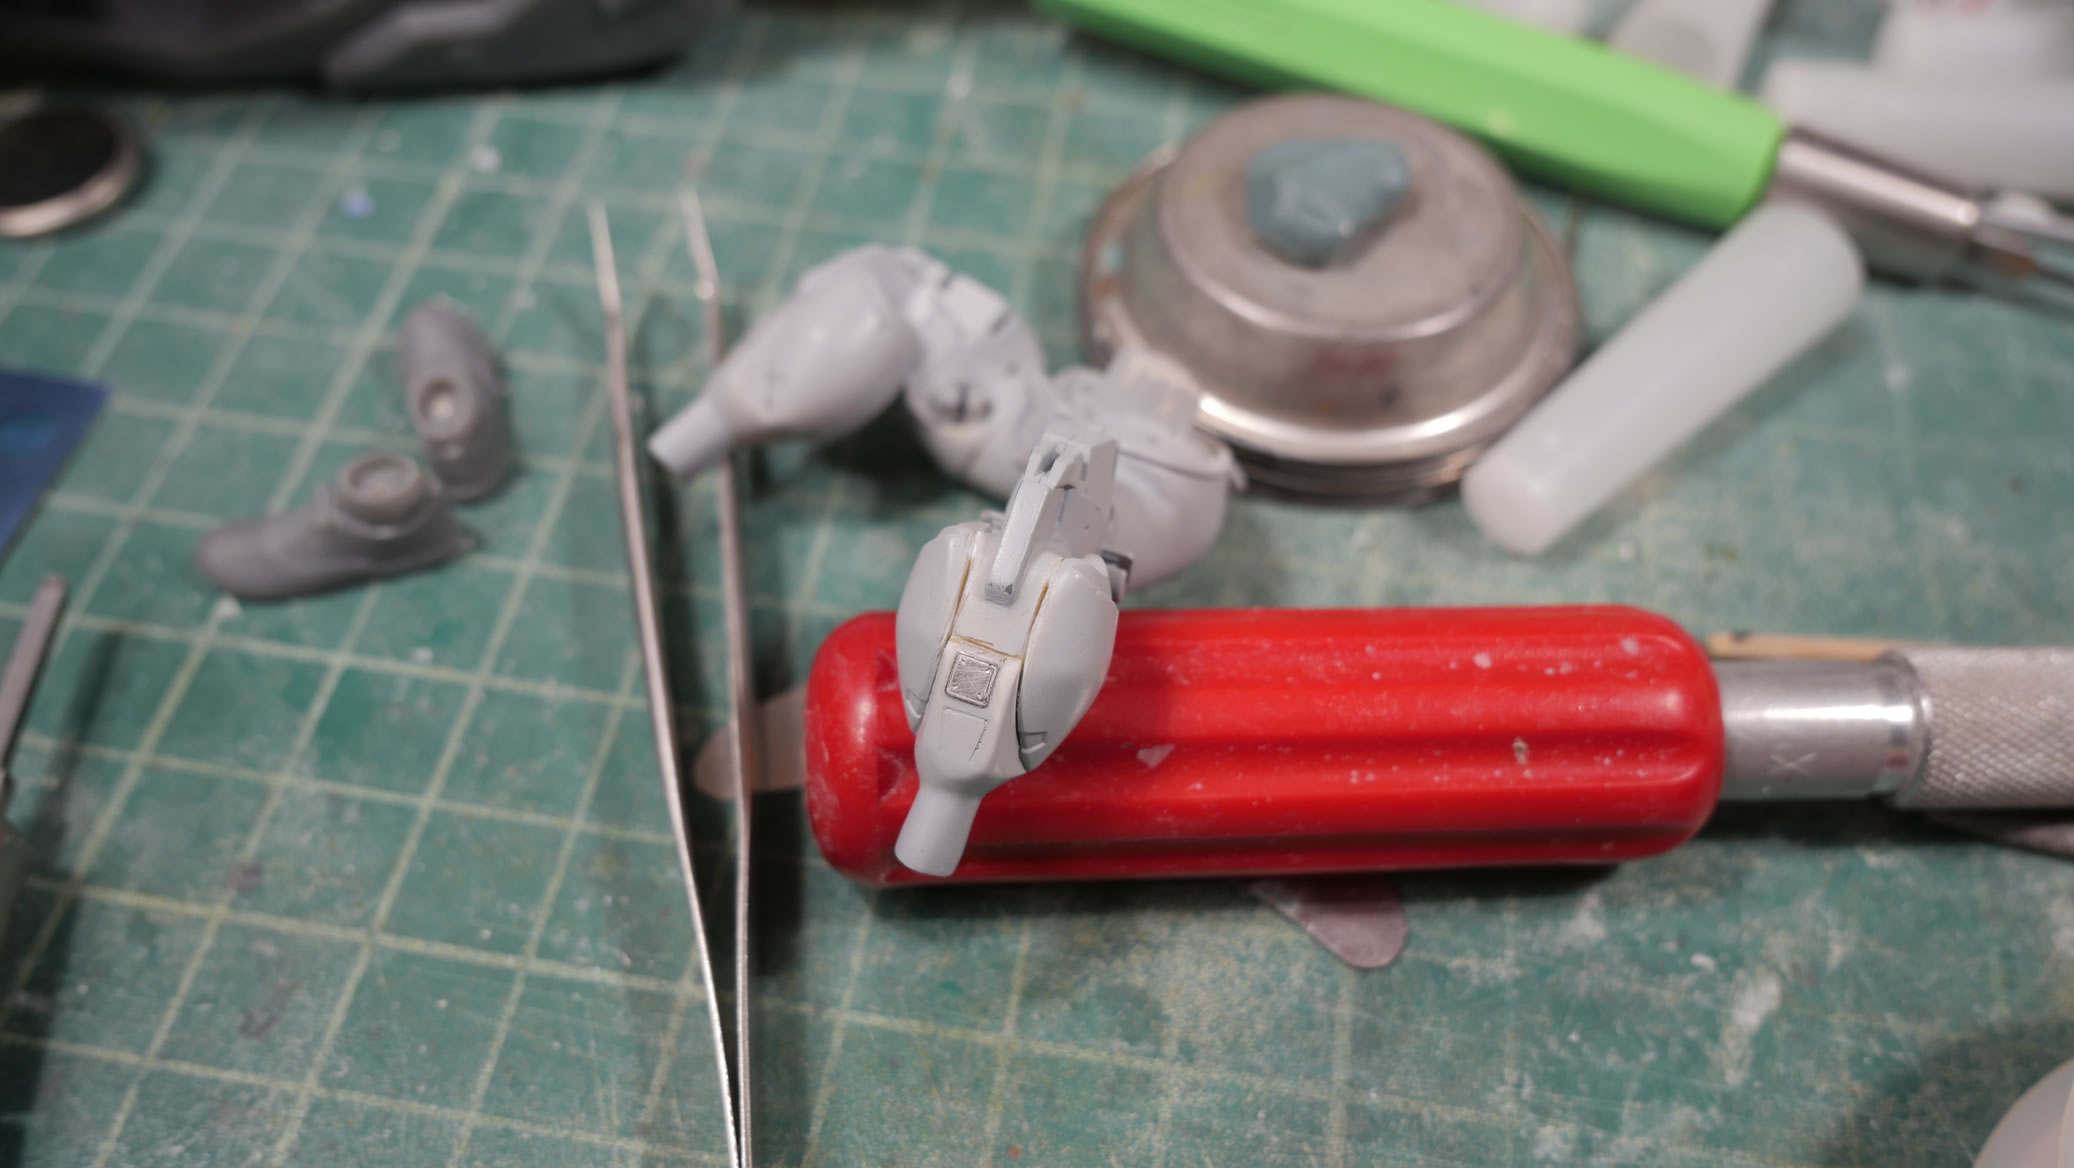
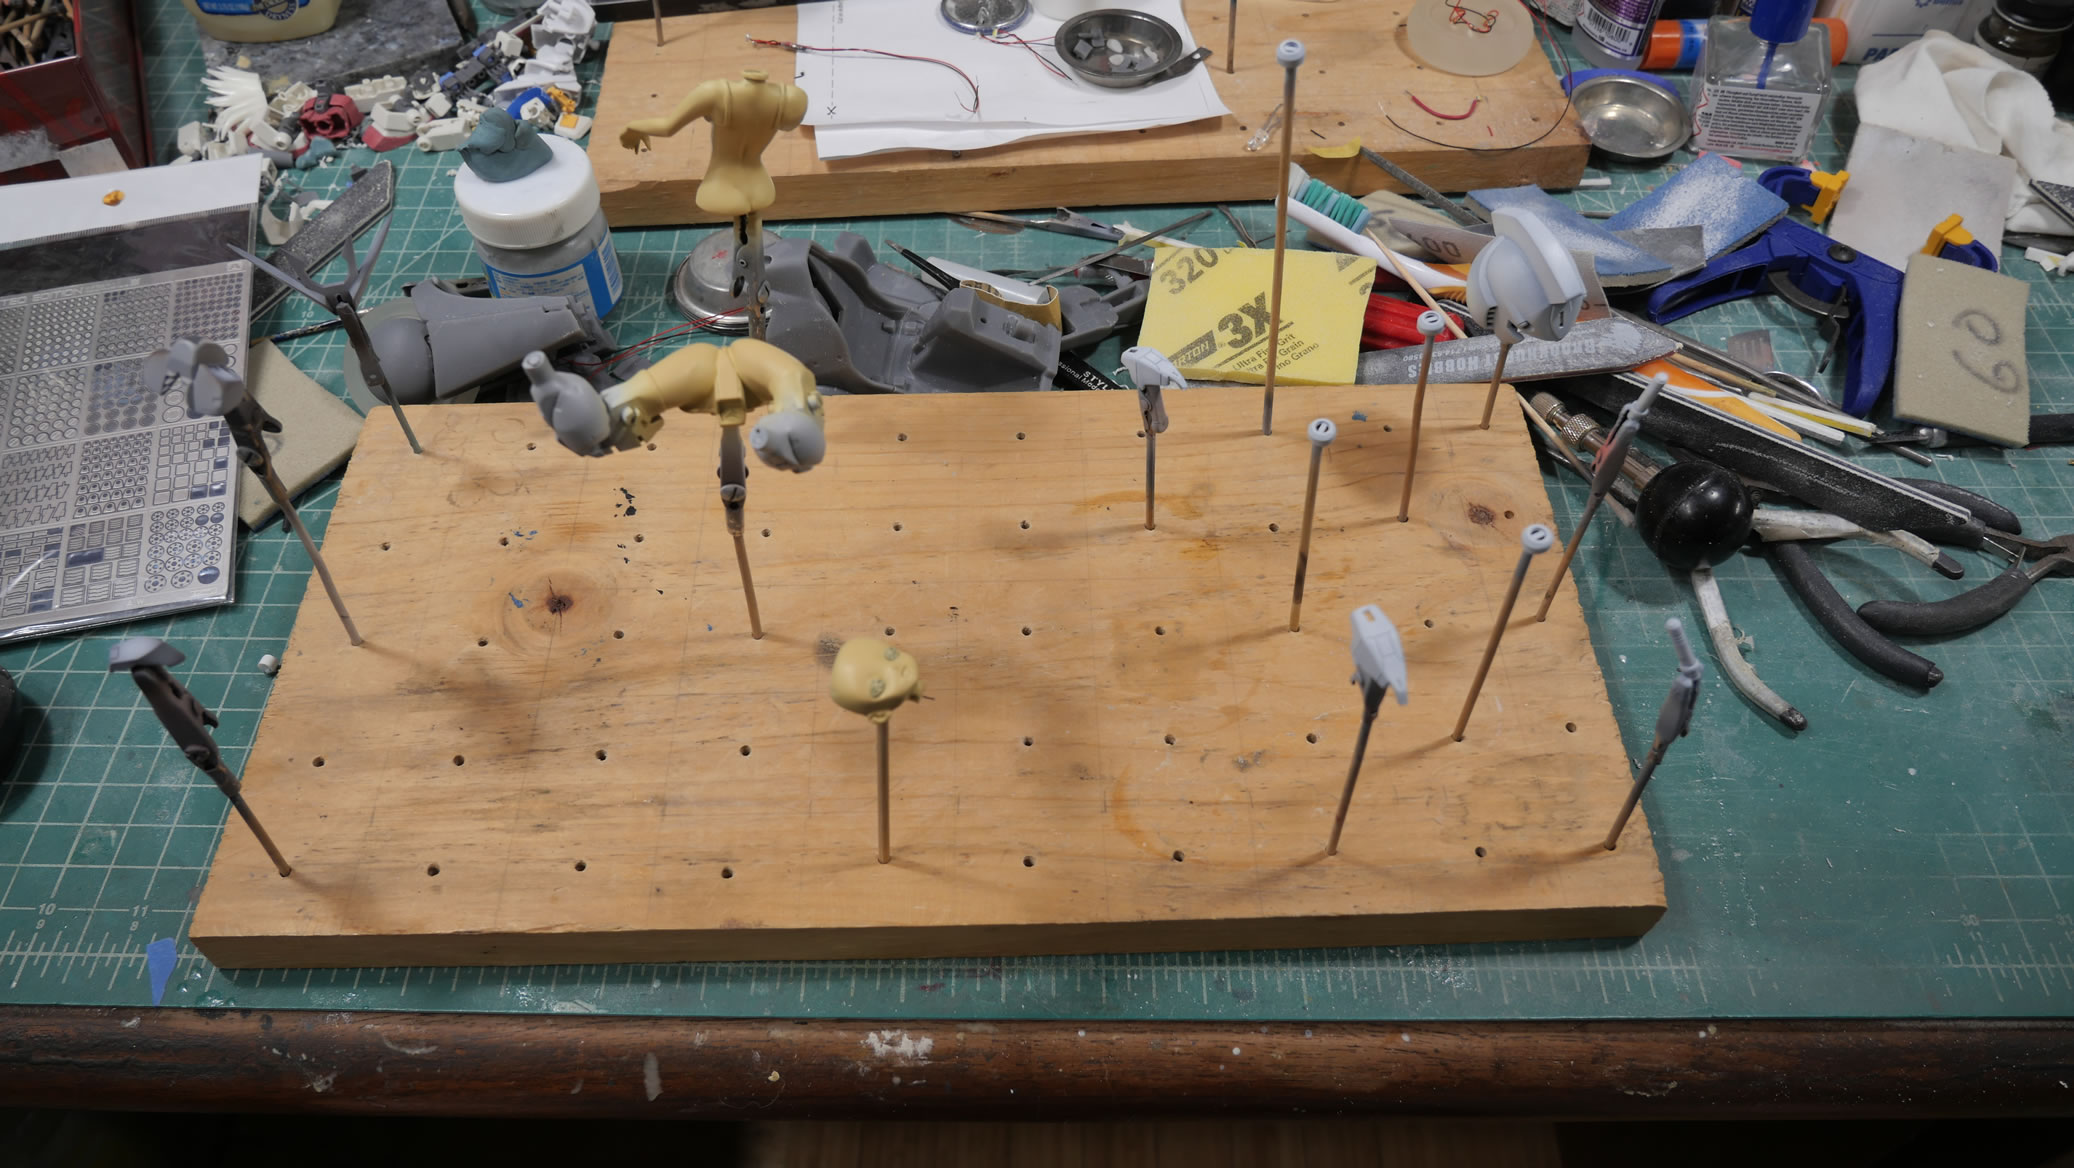
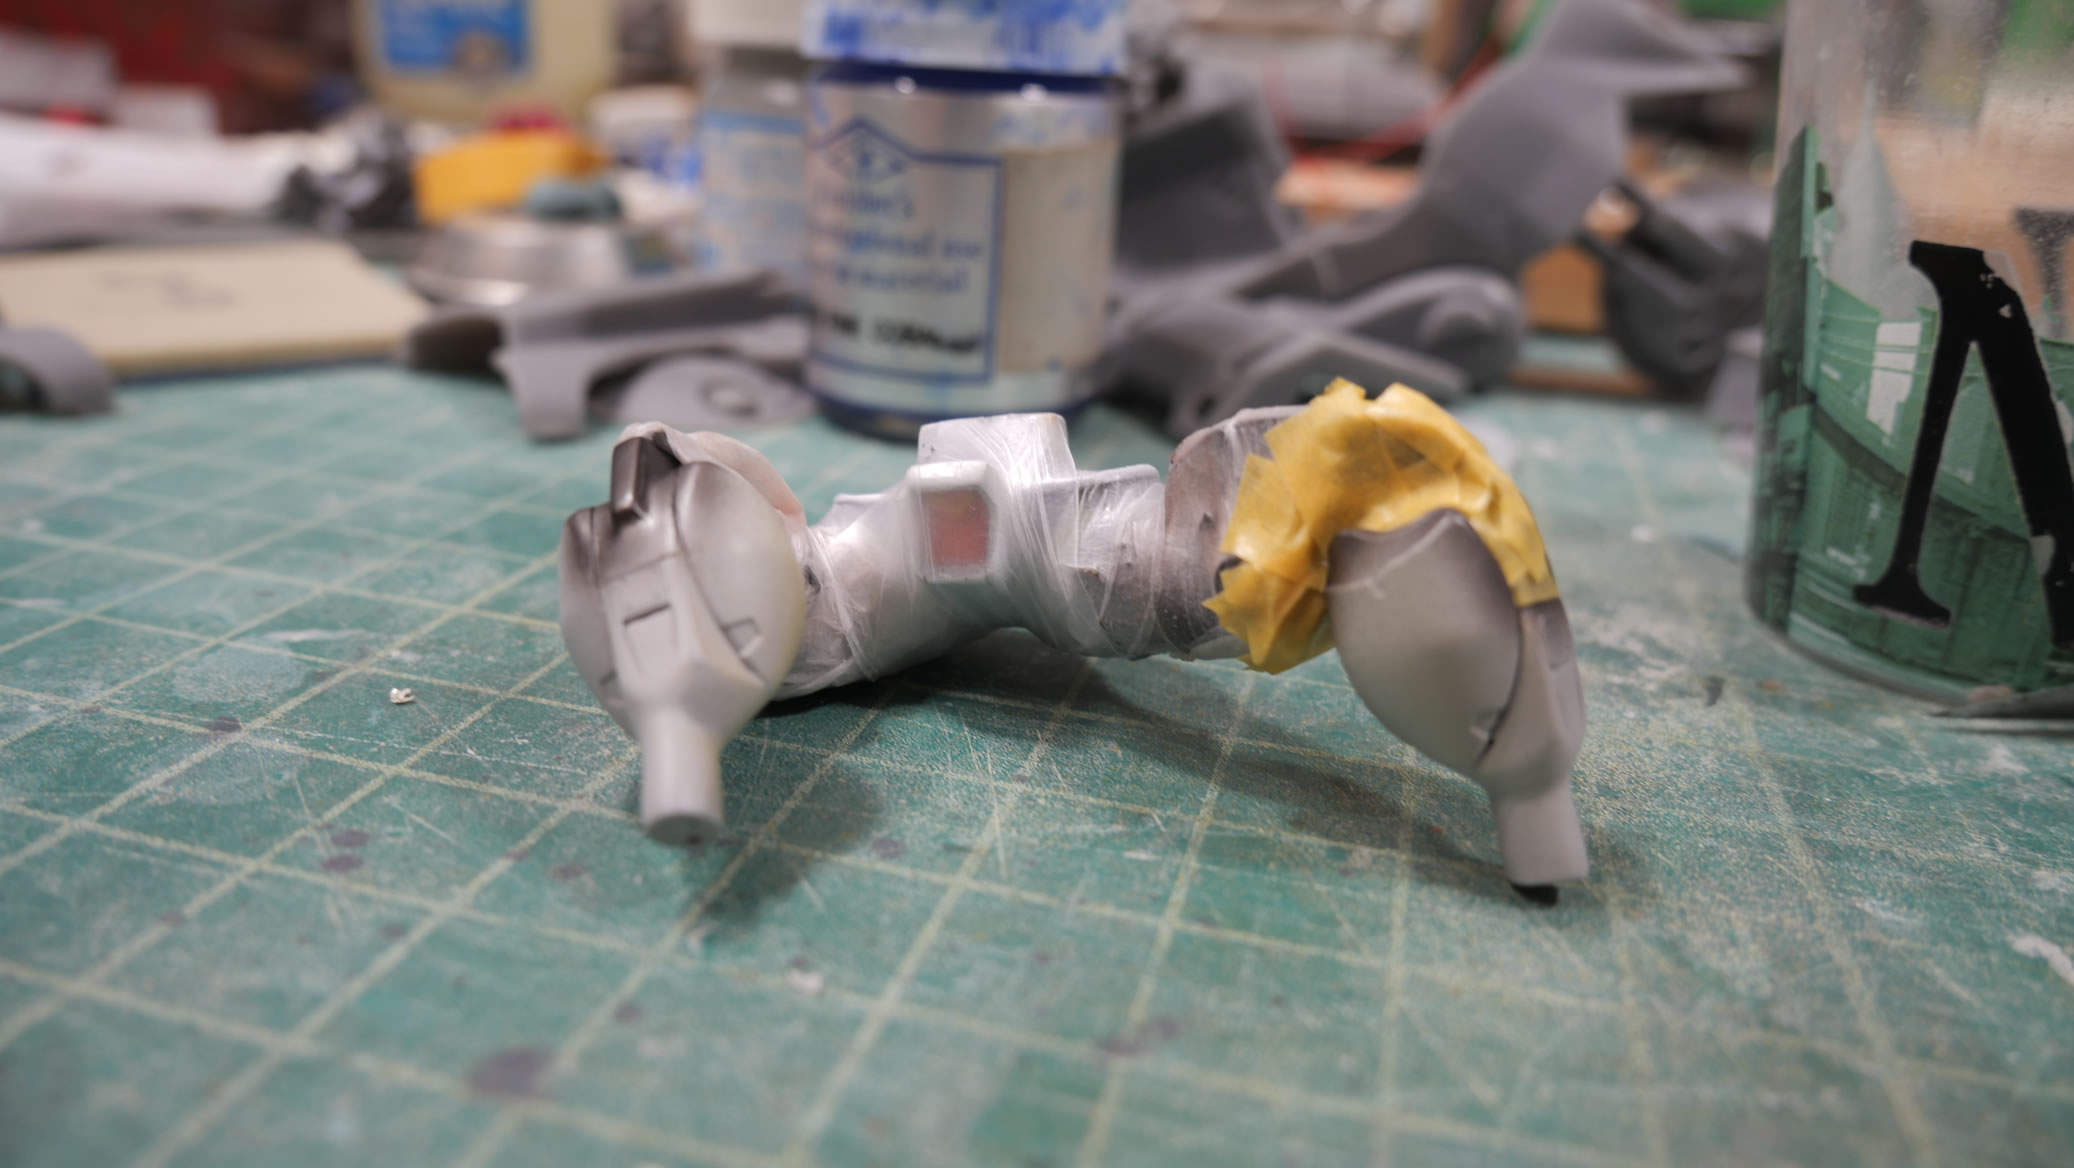
With the butt enhancements done, I can start attaching and positioning the BG 78’s leg pieces. Again, magnets are employed to help keep things attached while I position and glue the parts. I think I was working on the arms at this point, so while I wasn’t in a rush for the legs, I used epoxy putty as the filler here. I also 3D printed some legs and shoes from a free figure kit I found on thingiverse. A few scale tries and I got this printed nicely.
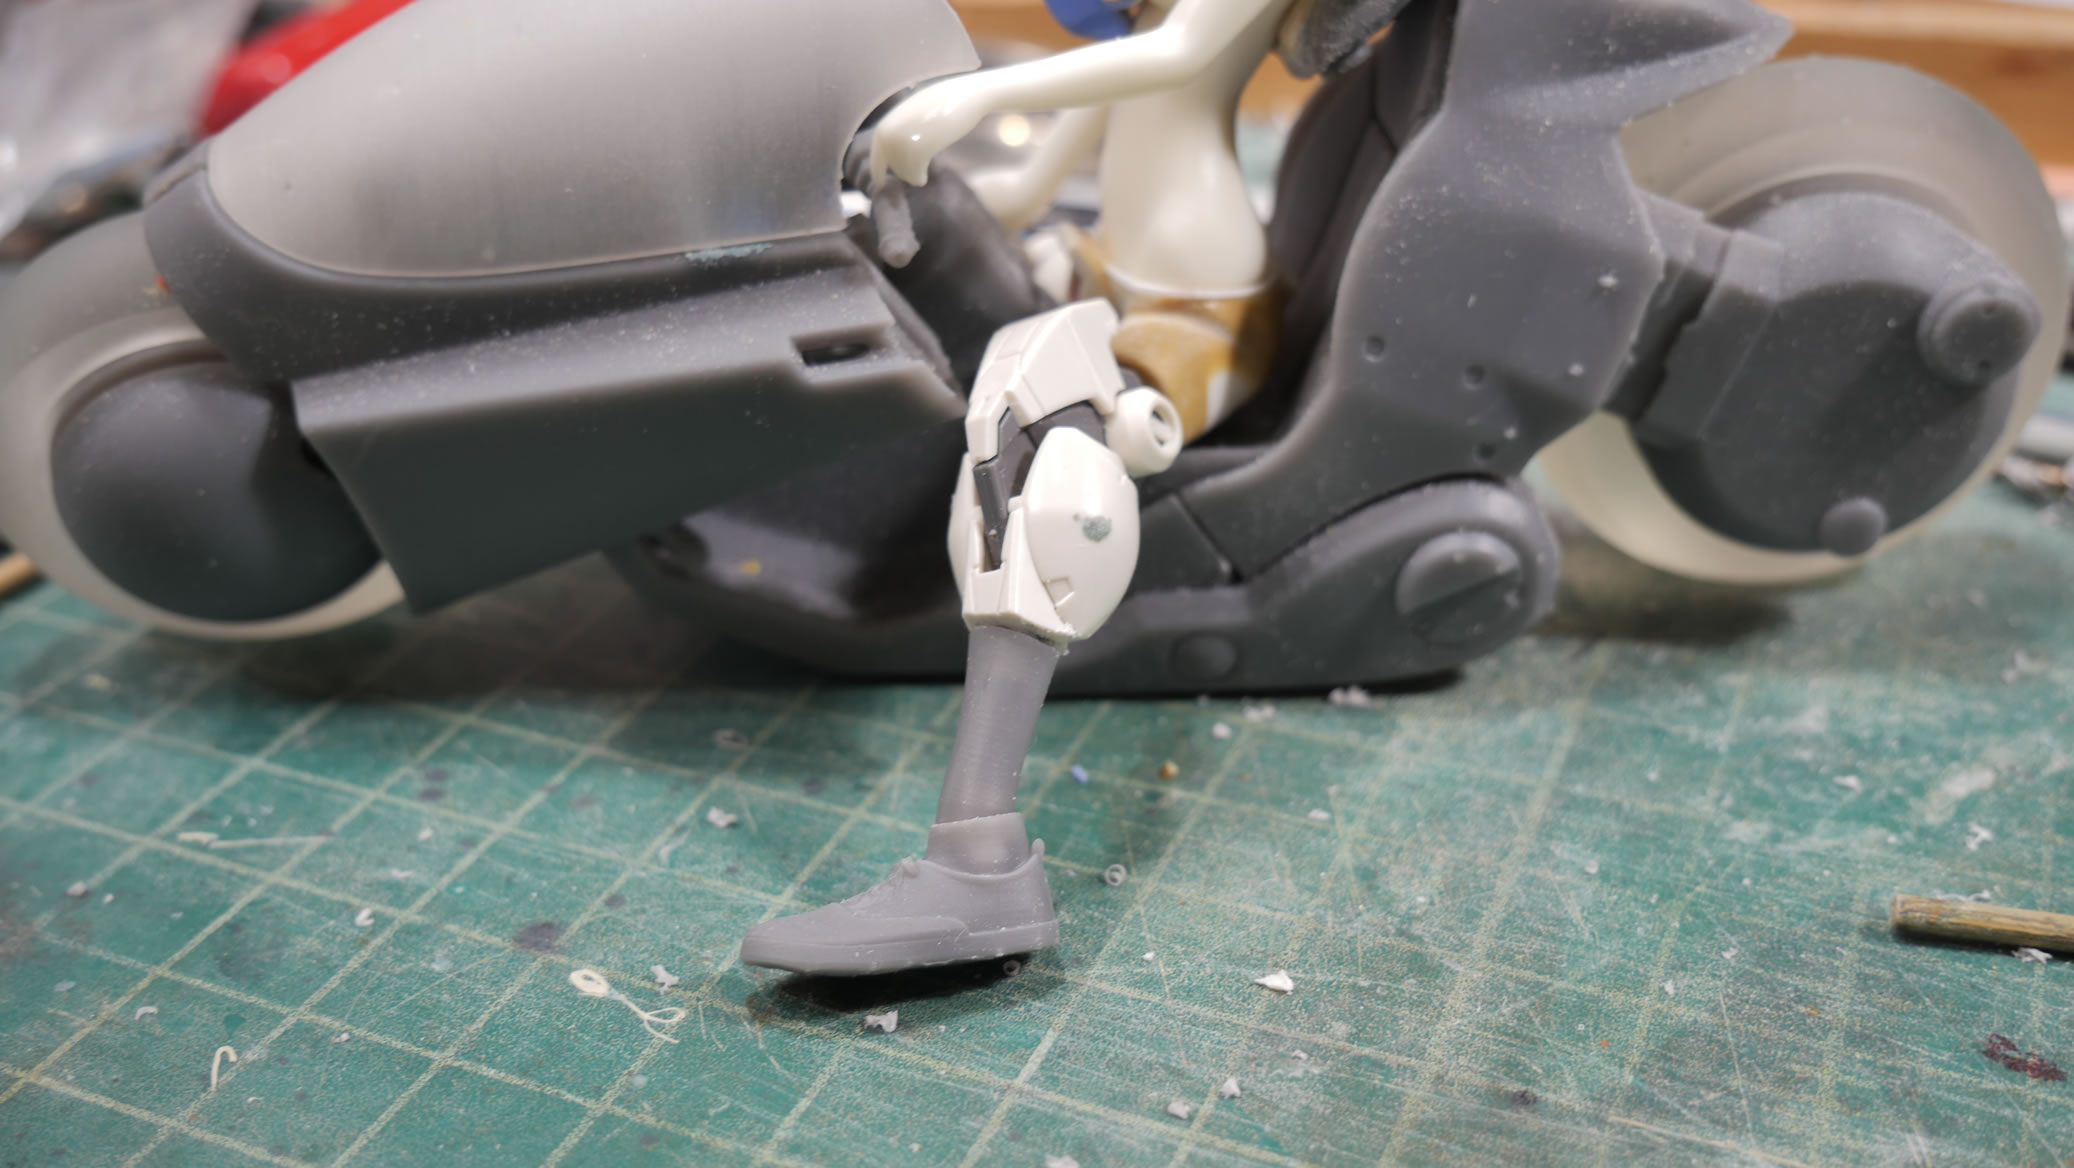
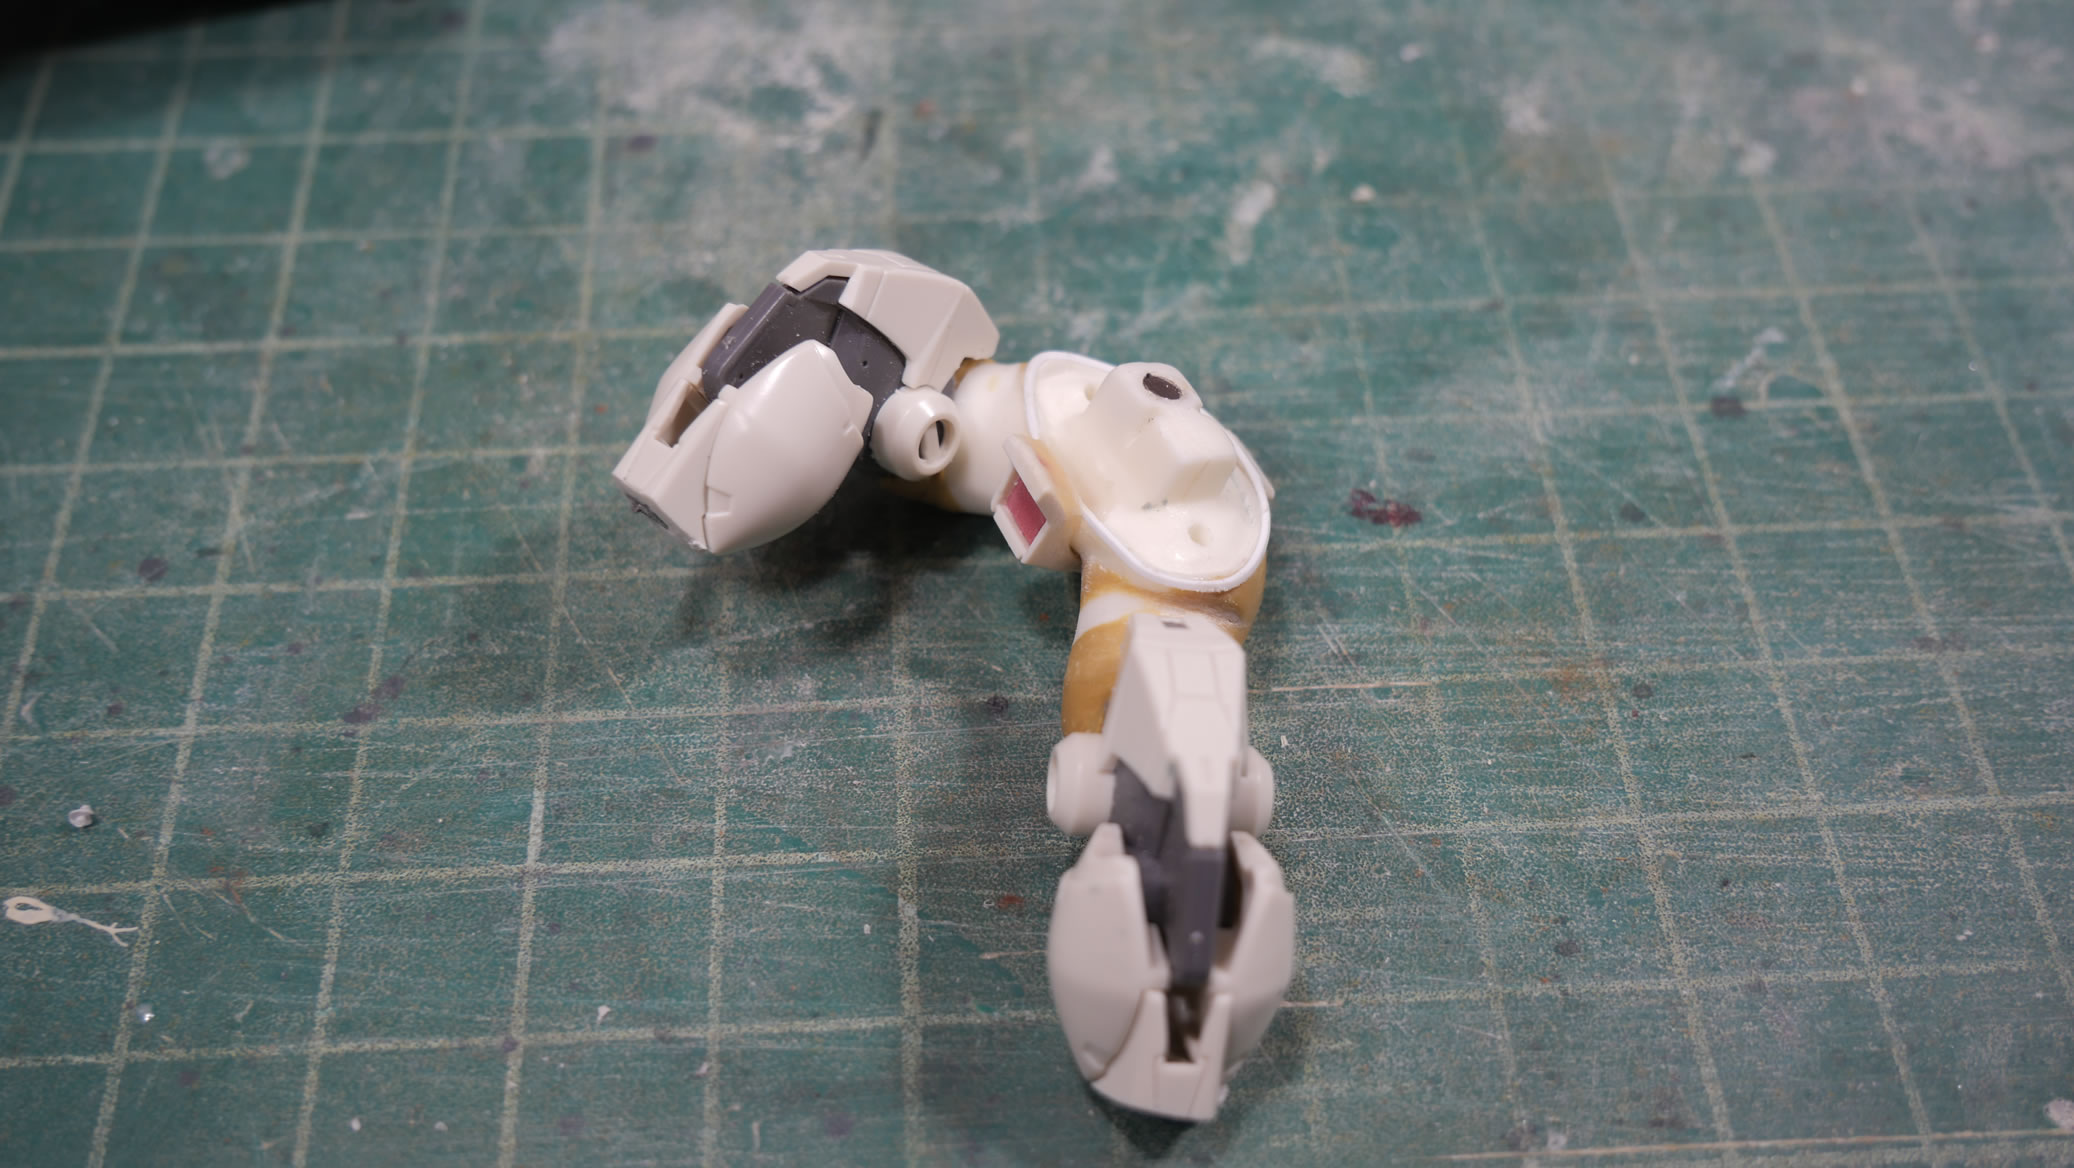
Lost of sanding work to combine the resin leg piece with the plastic BG 78 knee and calf.
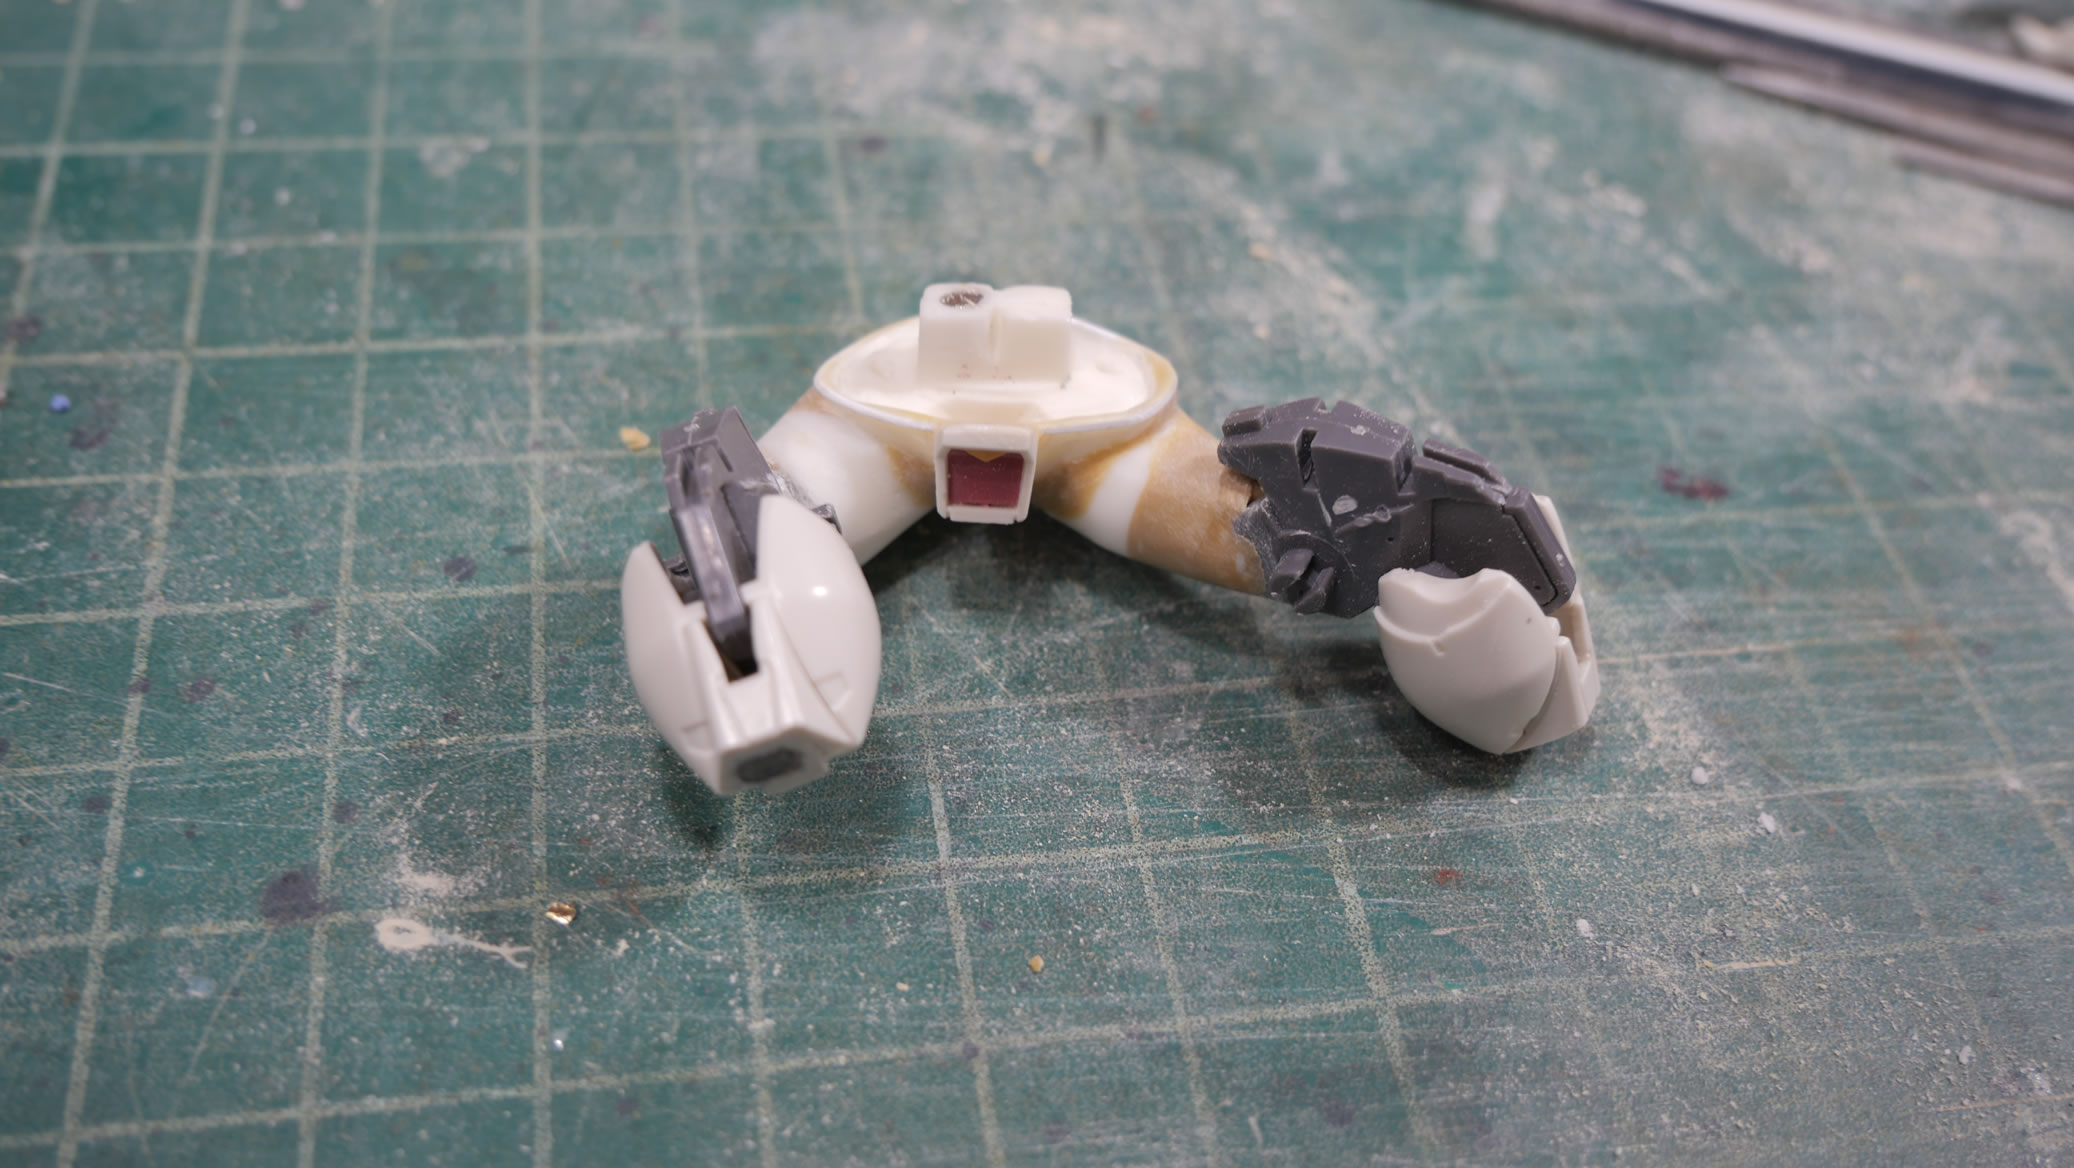
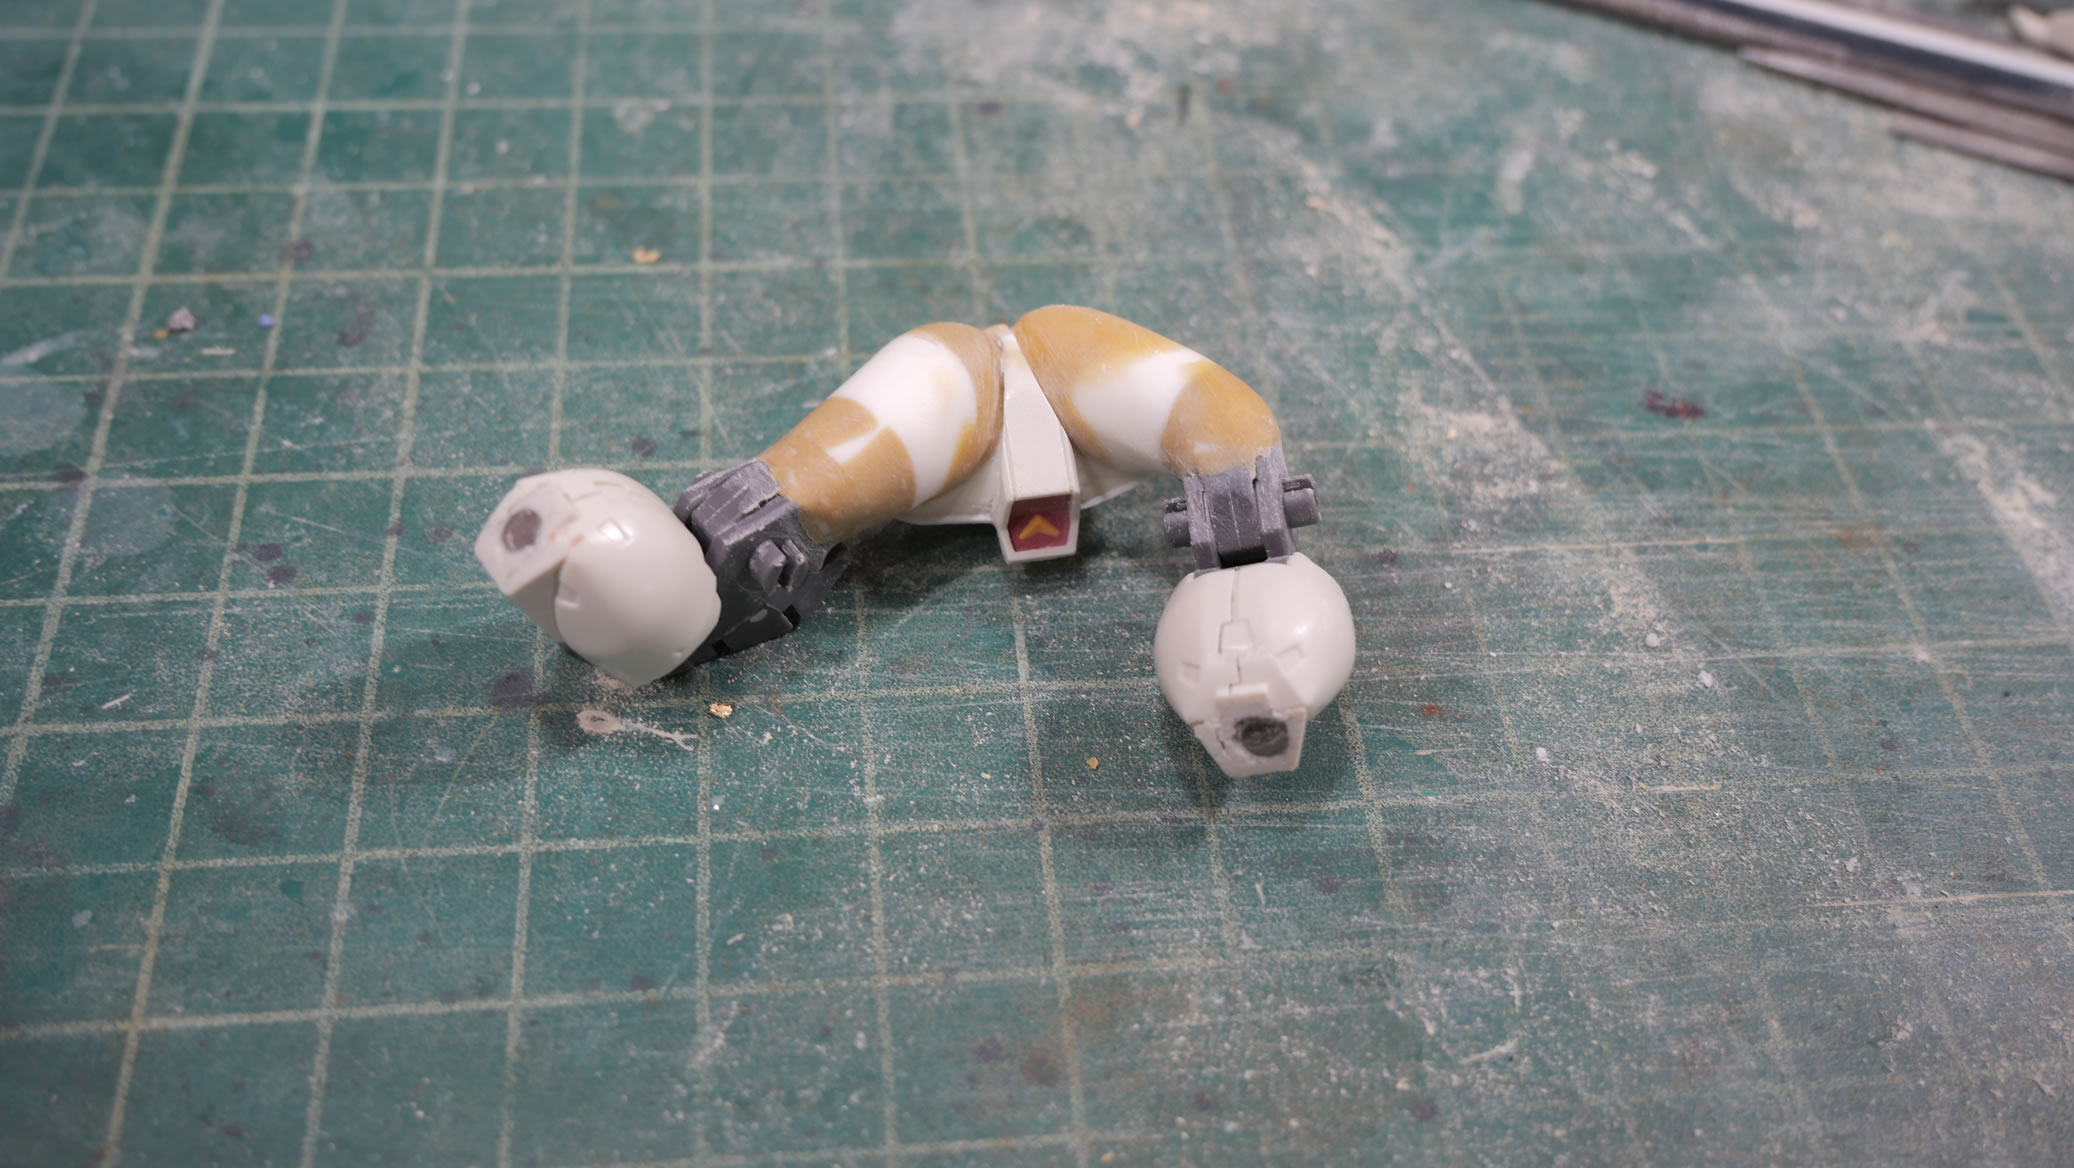
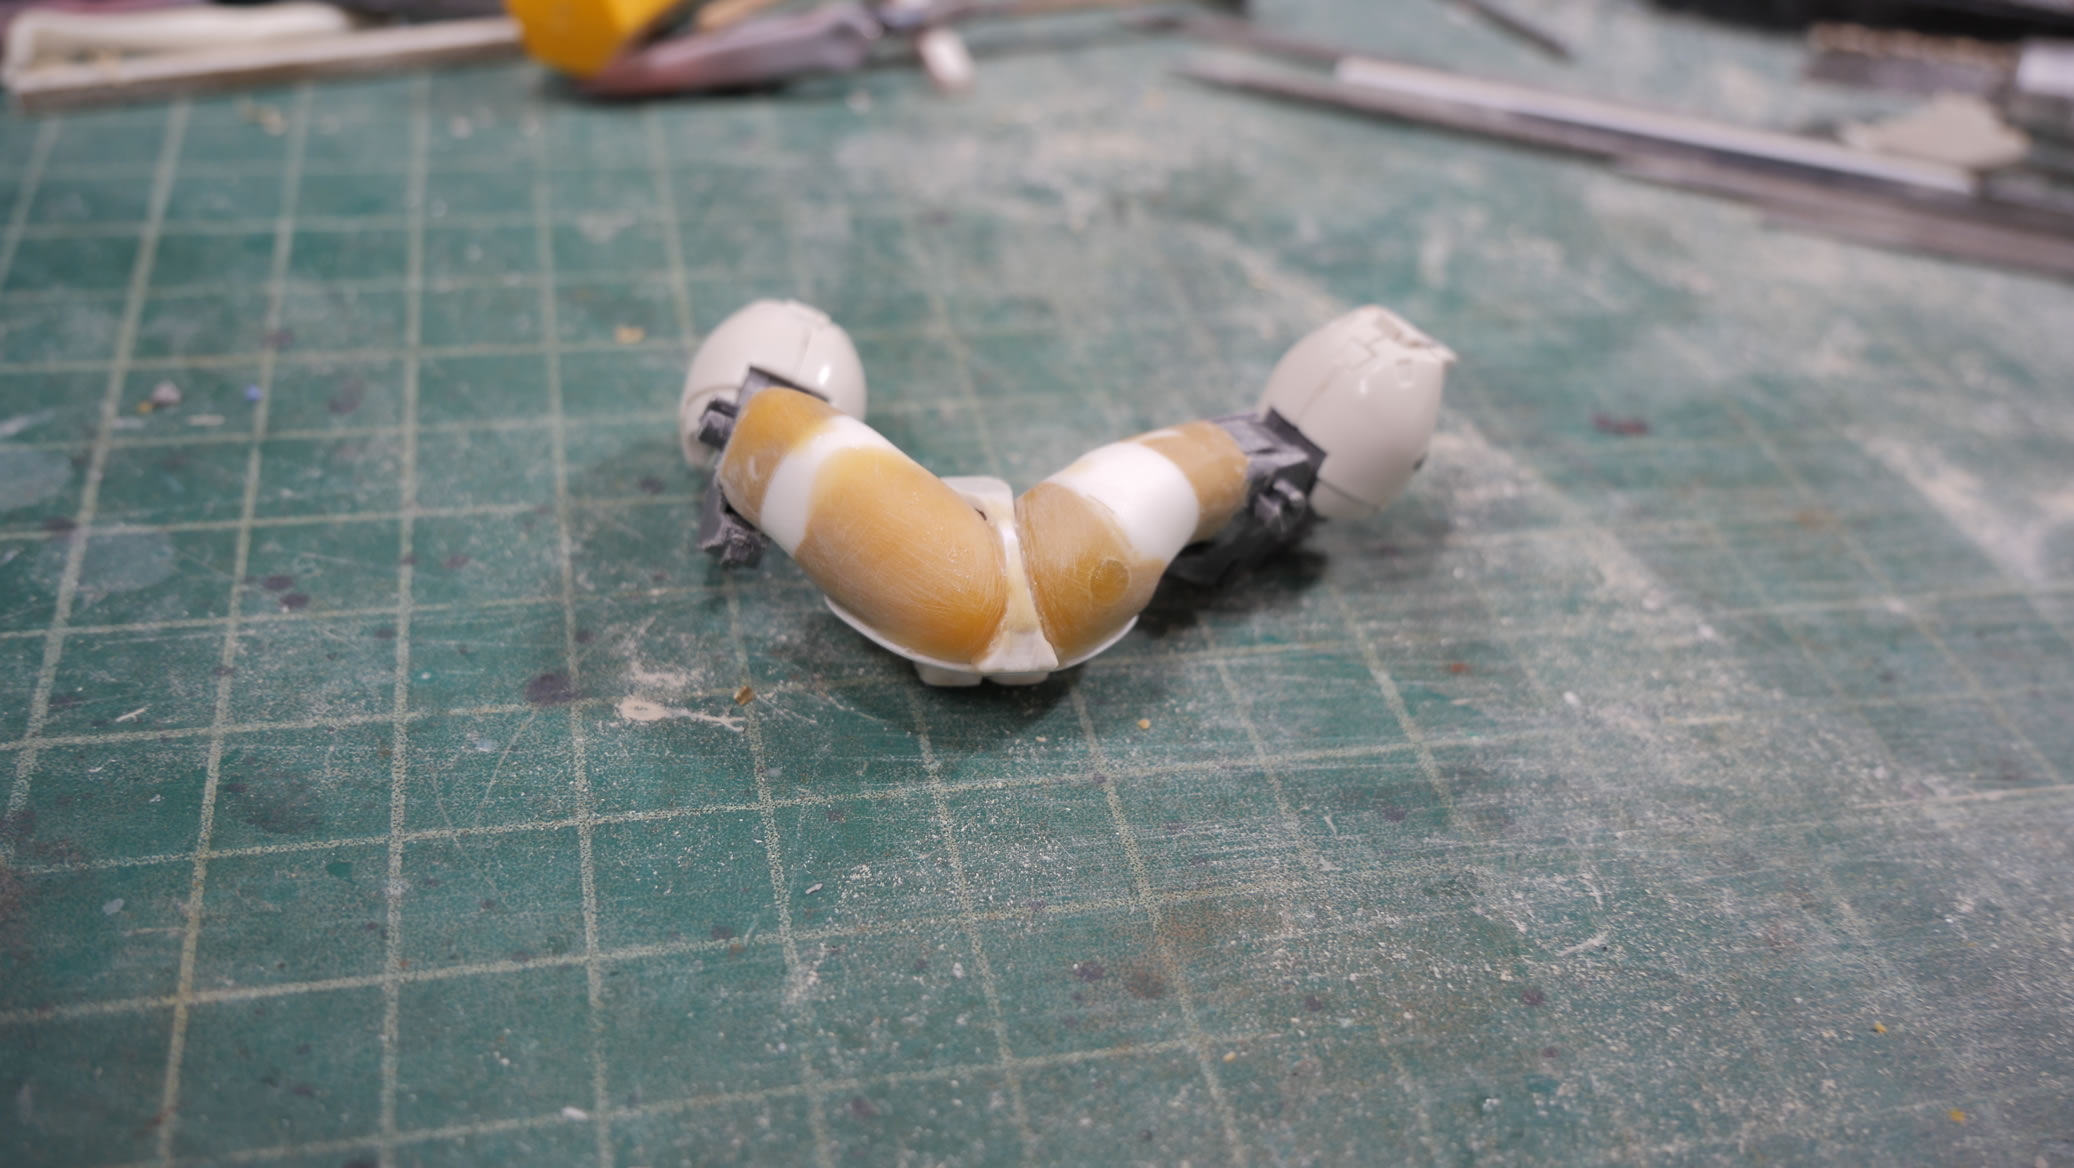
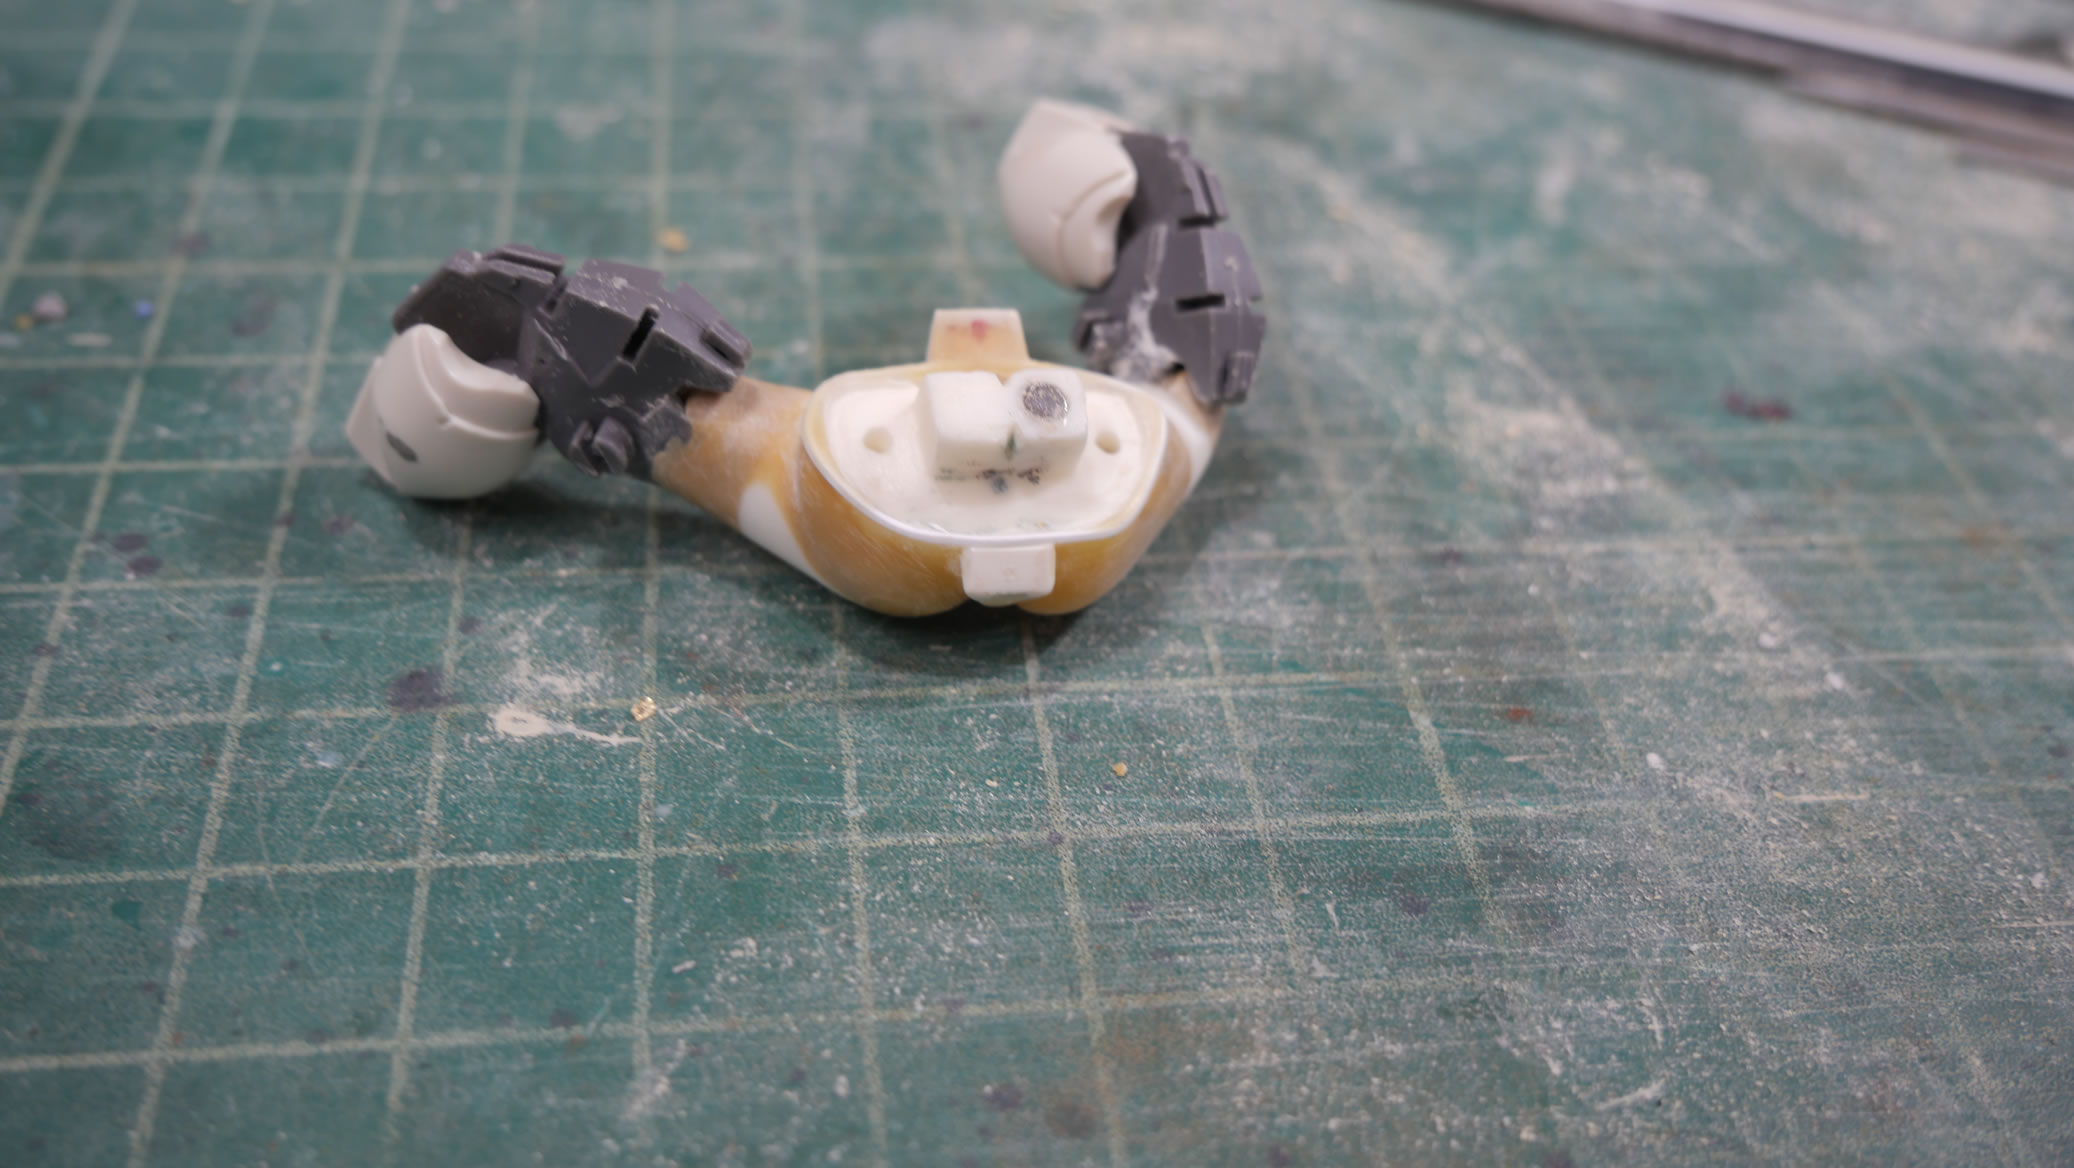
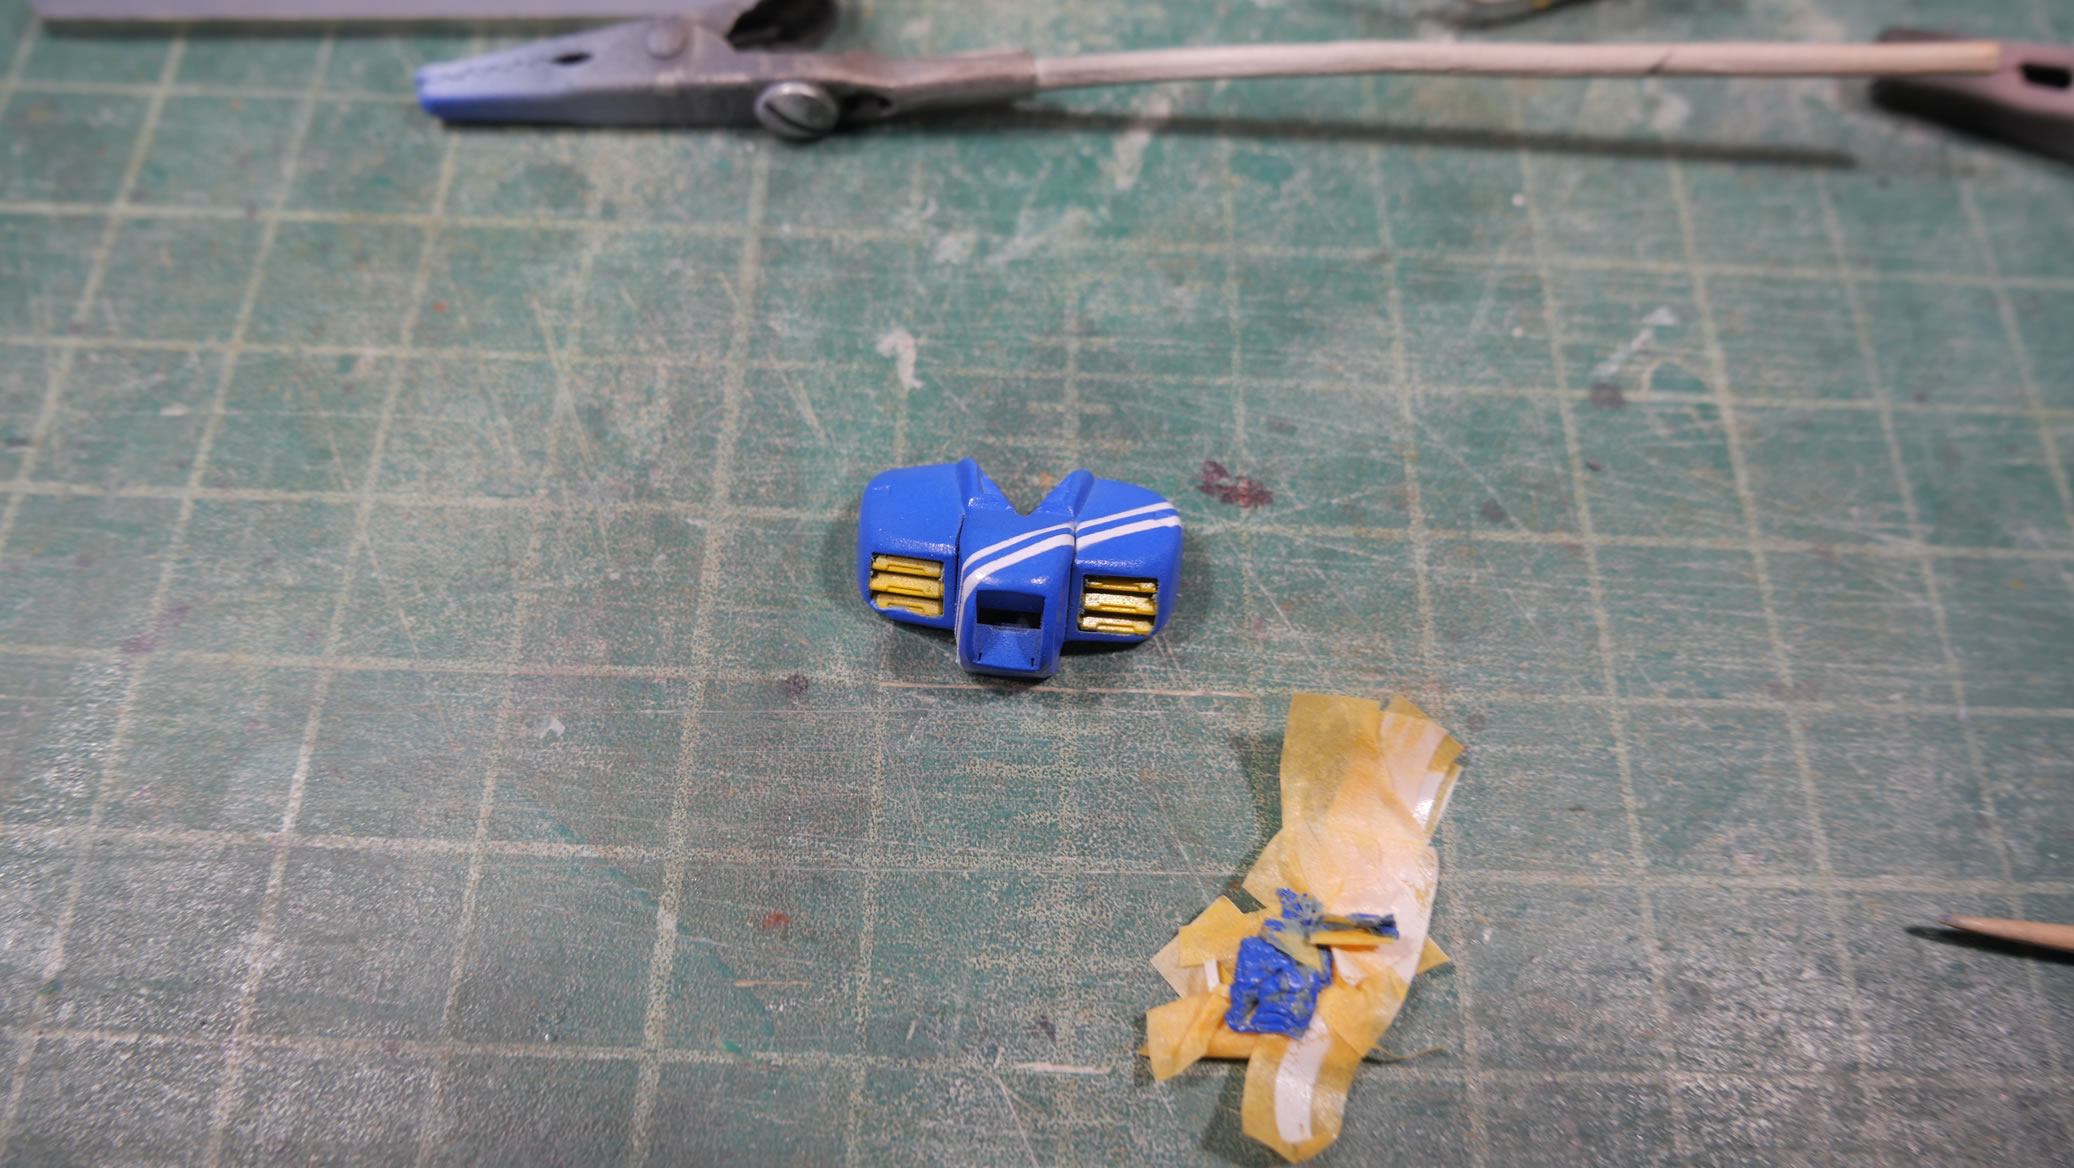
The gaps inside the BG 78 legs need some filling so I filled first with some styrene, then light curing putty to work the gaps. Added in some photoetch details as well. The thighs also got a strip of styrene wrapped around as a transition piece from the fleshy thighs to the mechanical knees and leg. This makes it look like the mechanical parts are a stocking of sorts. Sand prime, sand prime, and we’re good.
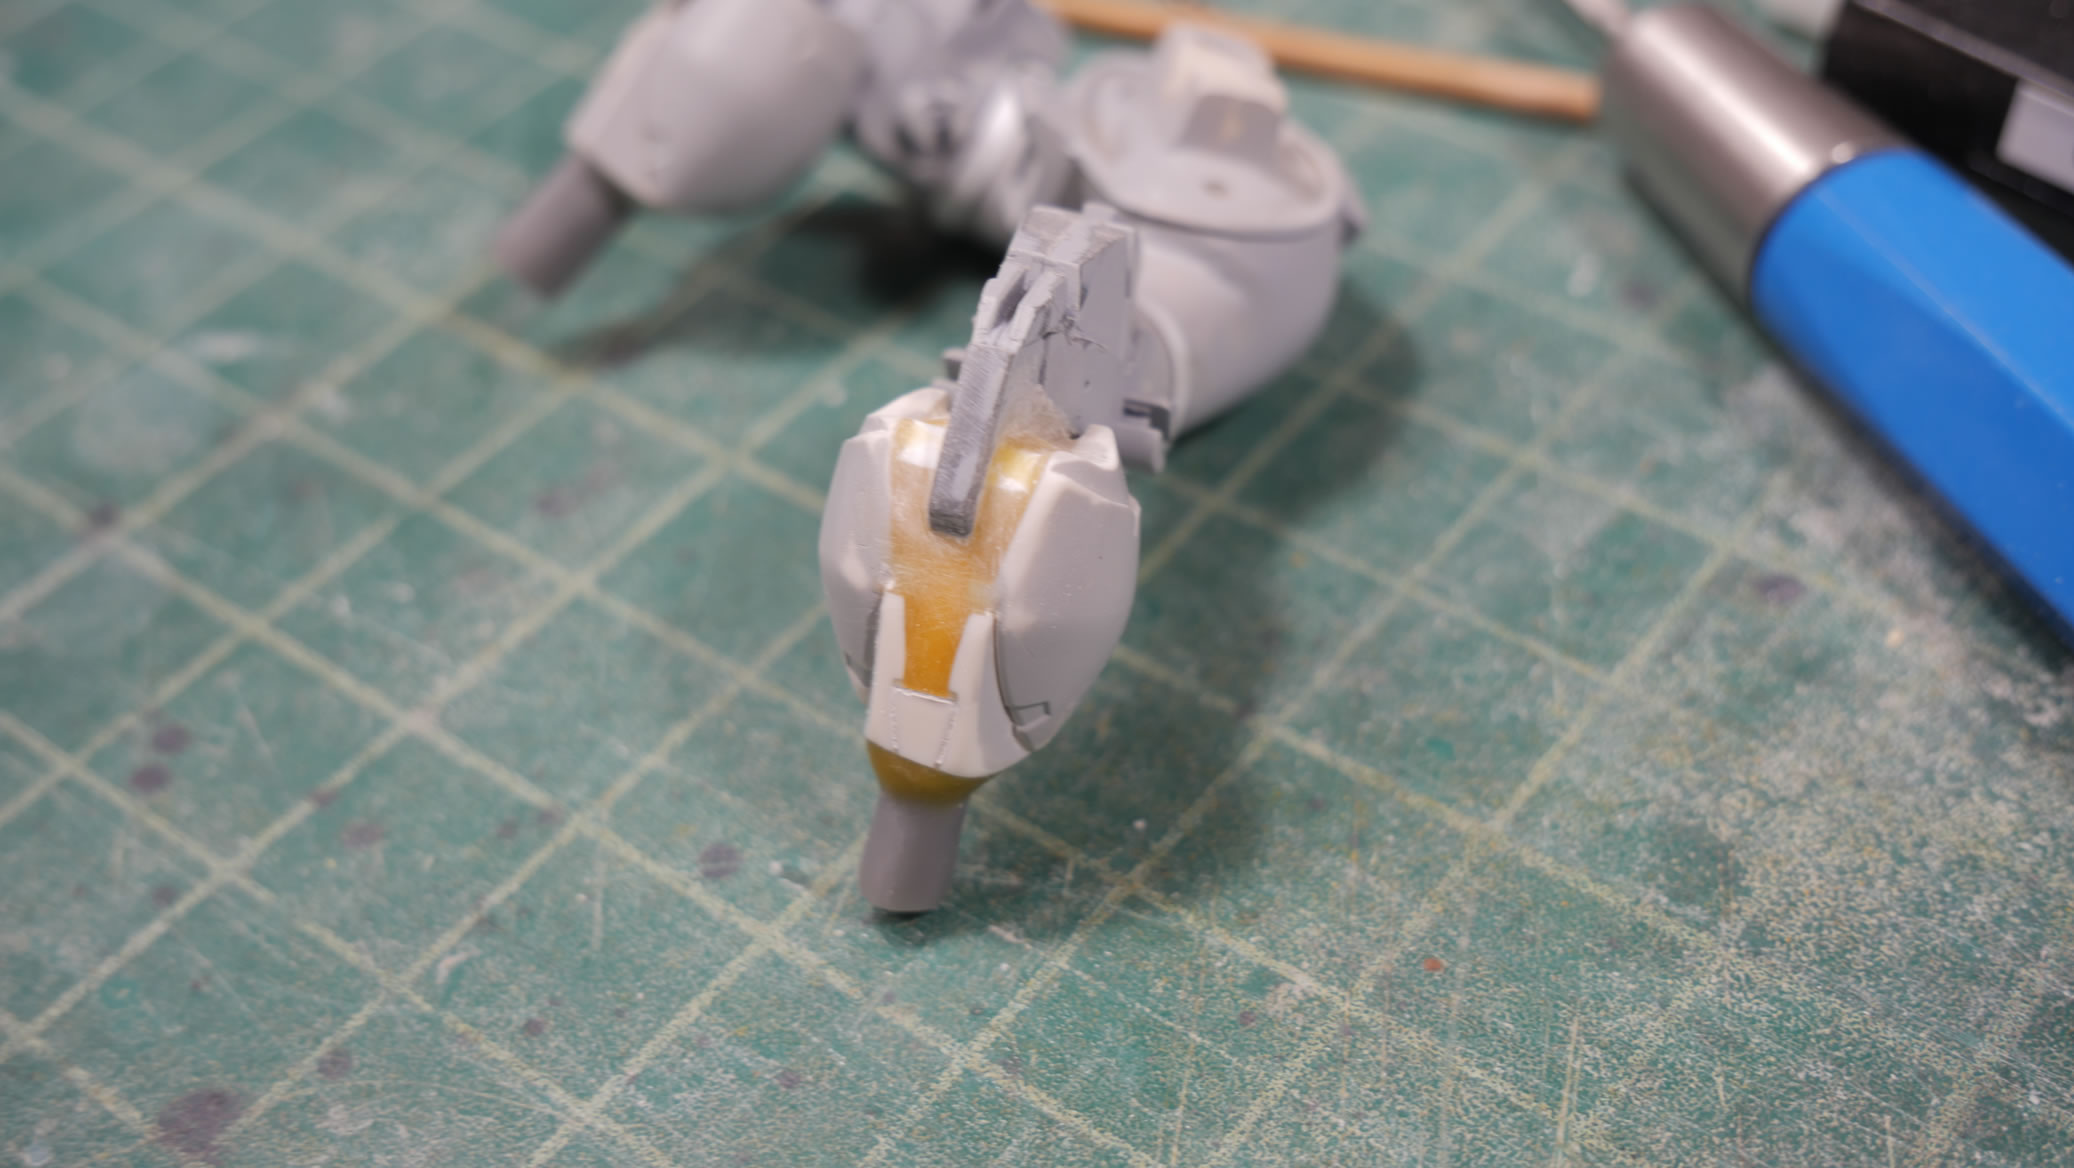
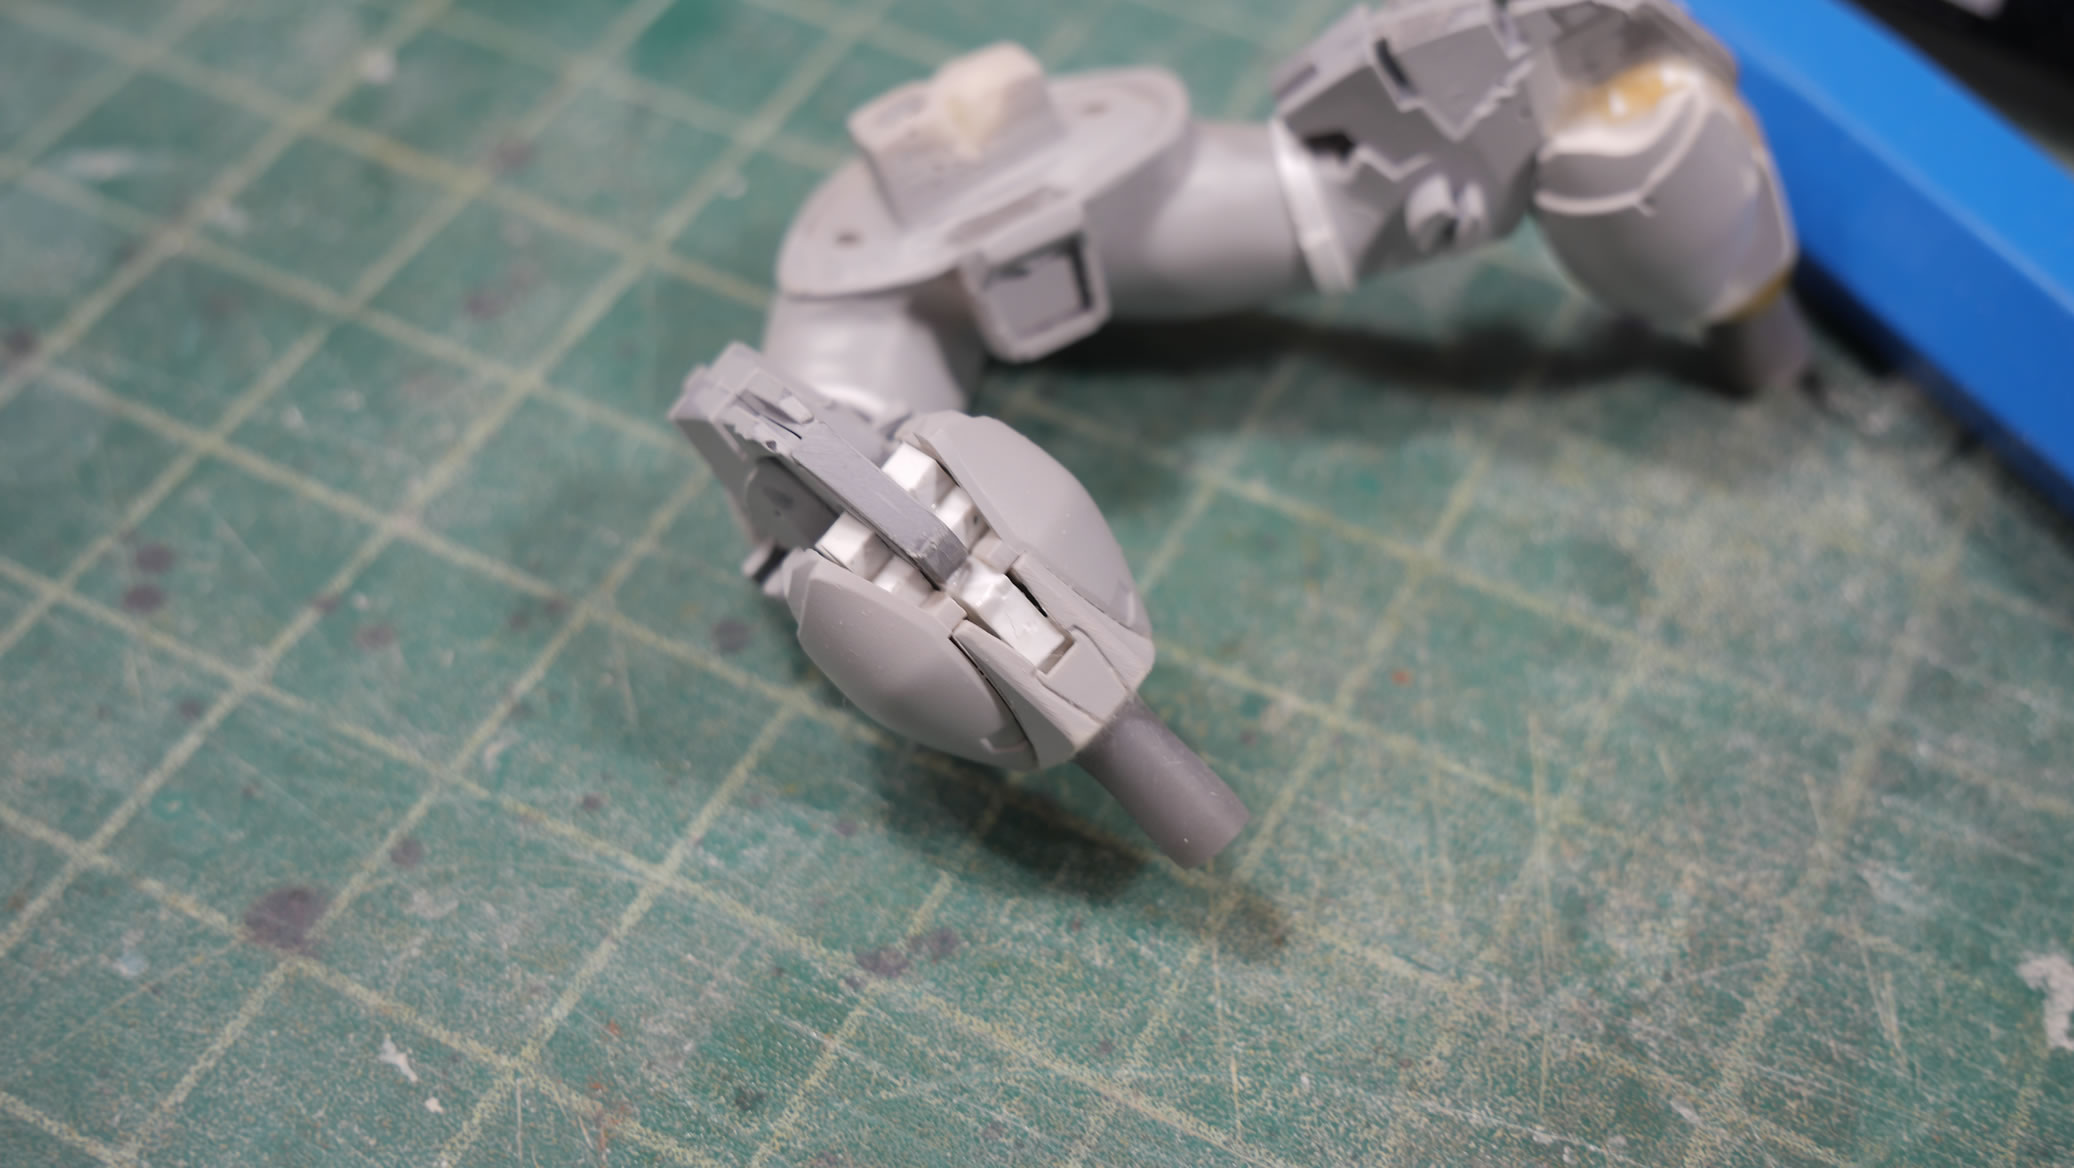
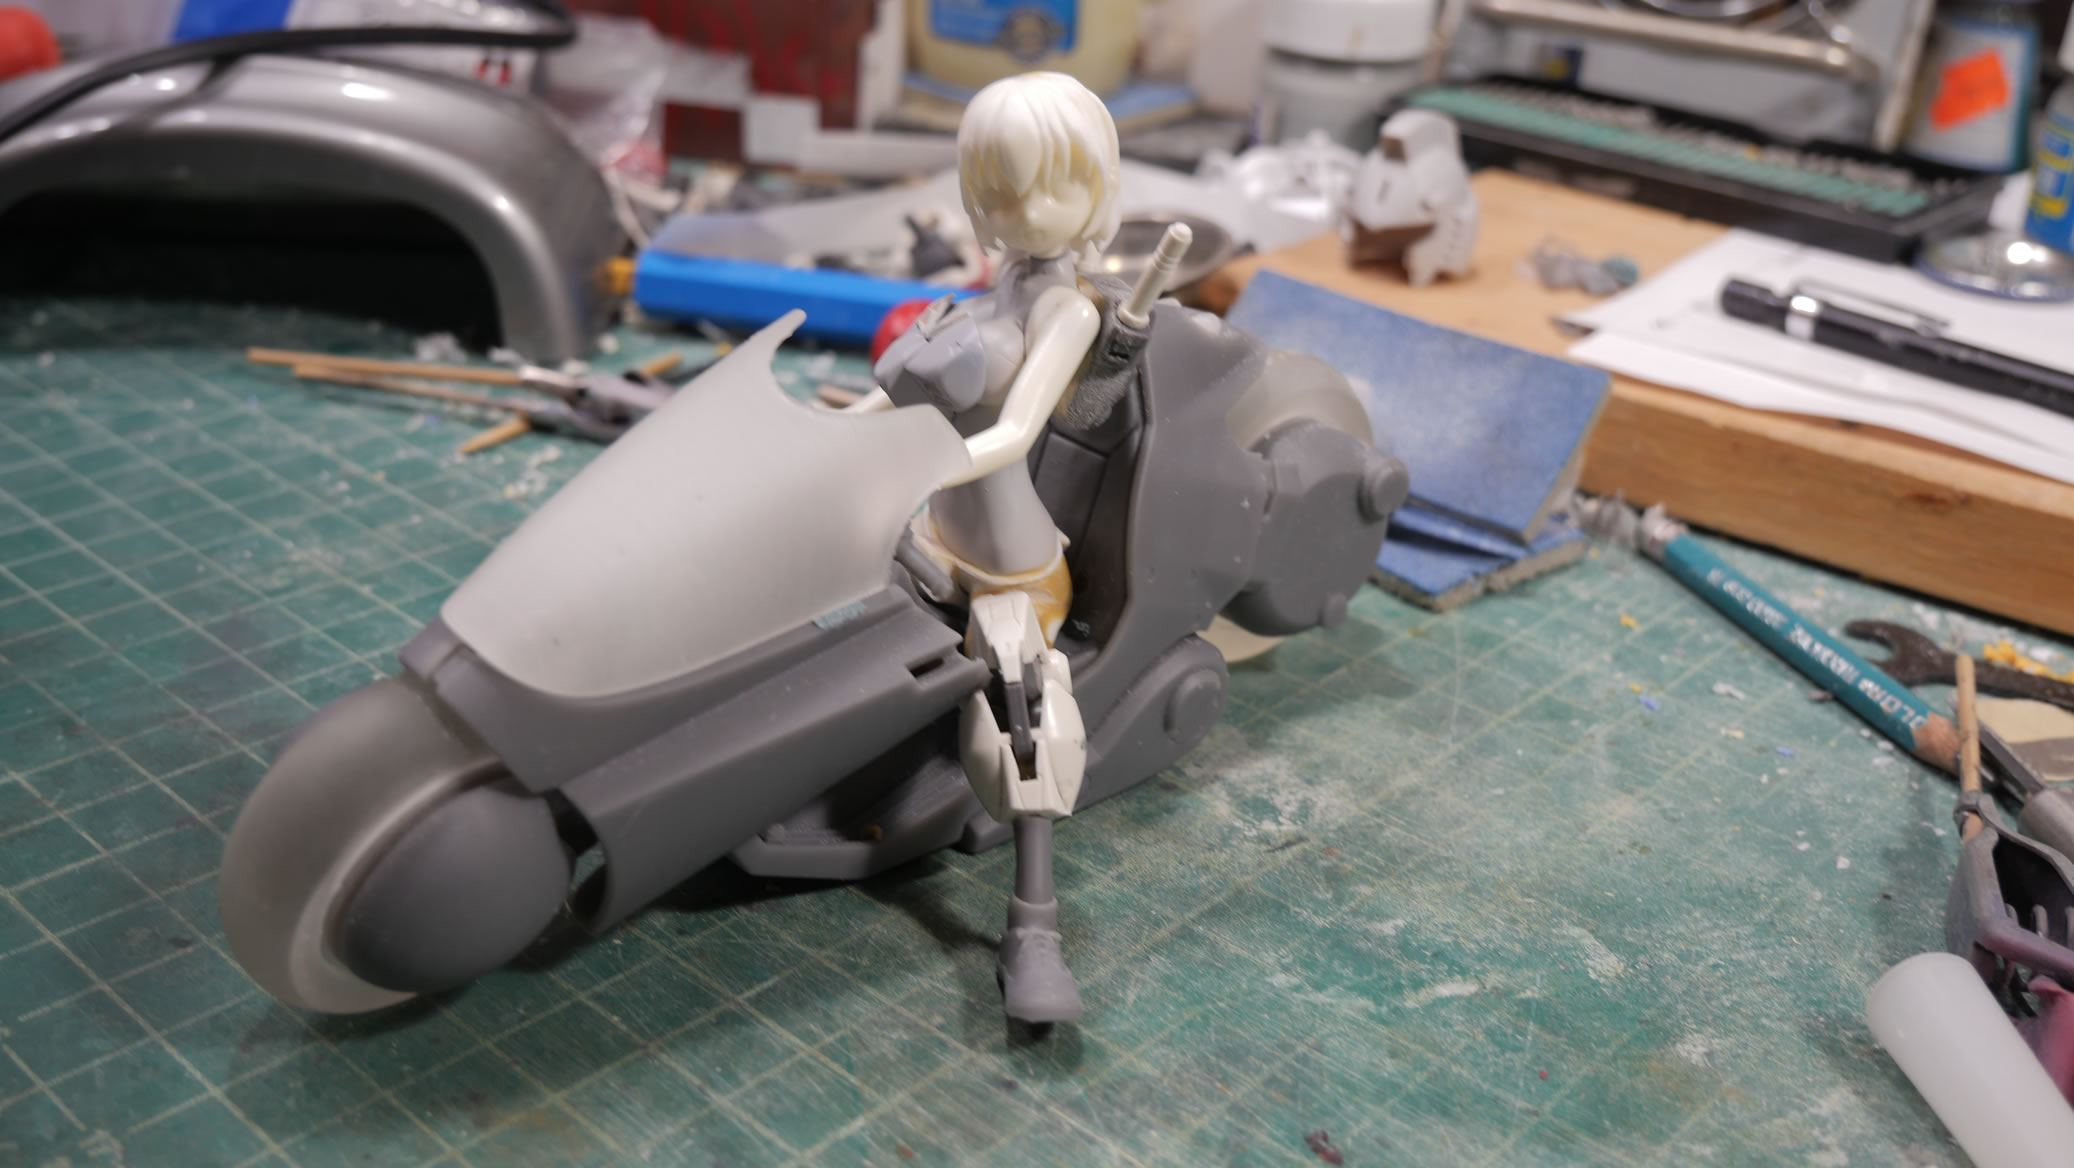
Primed and a little scribing work to add some much needed detailing. Once I filled in the lower leg areas, that sets up a blank canvas, so a little bit of detail work is needed.
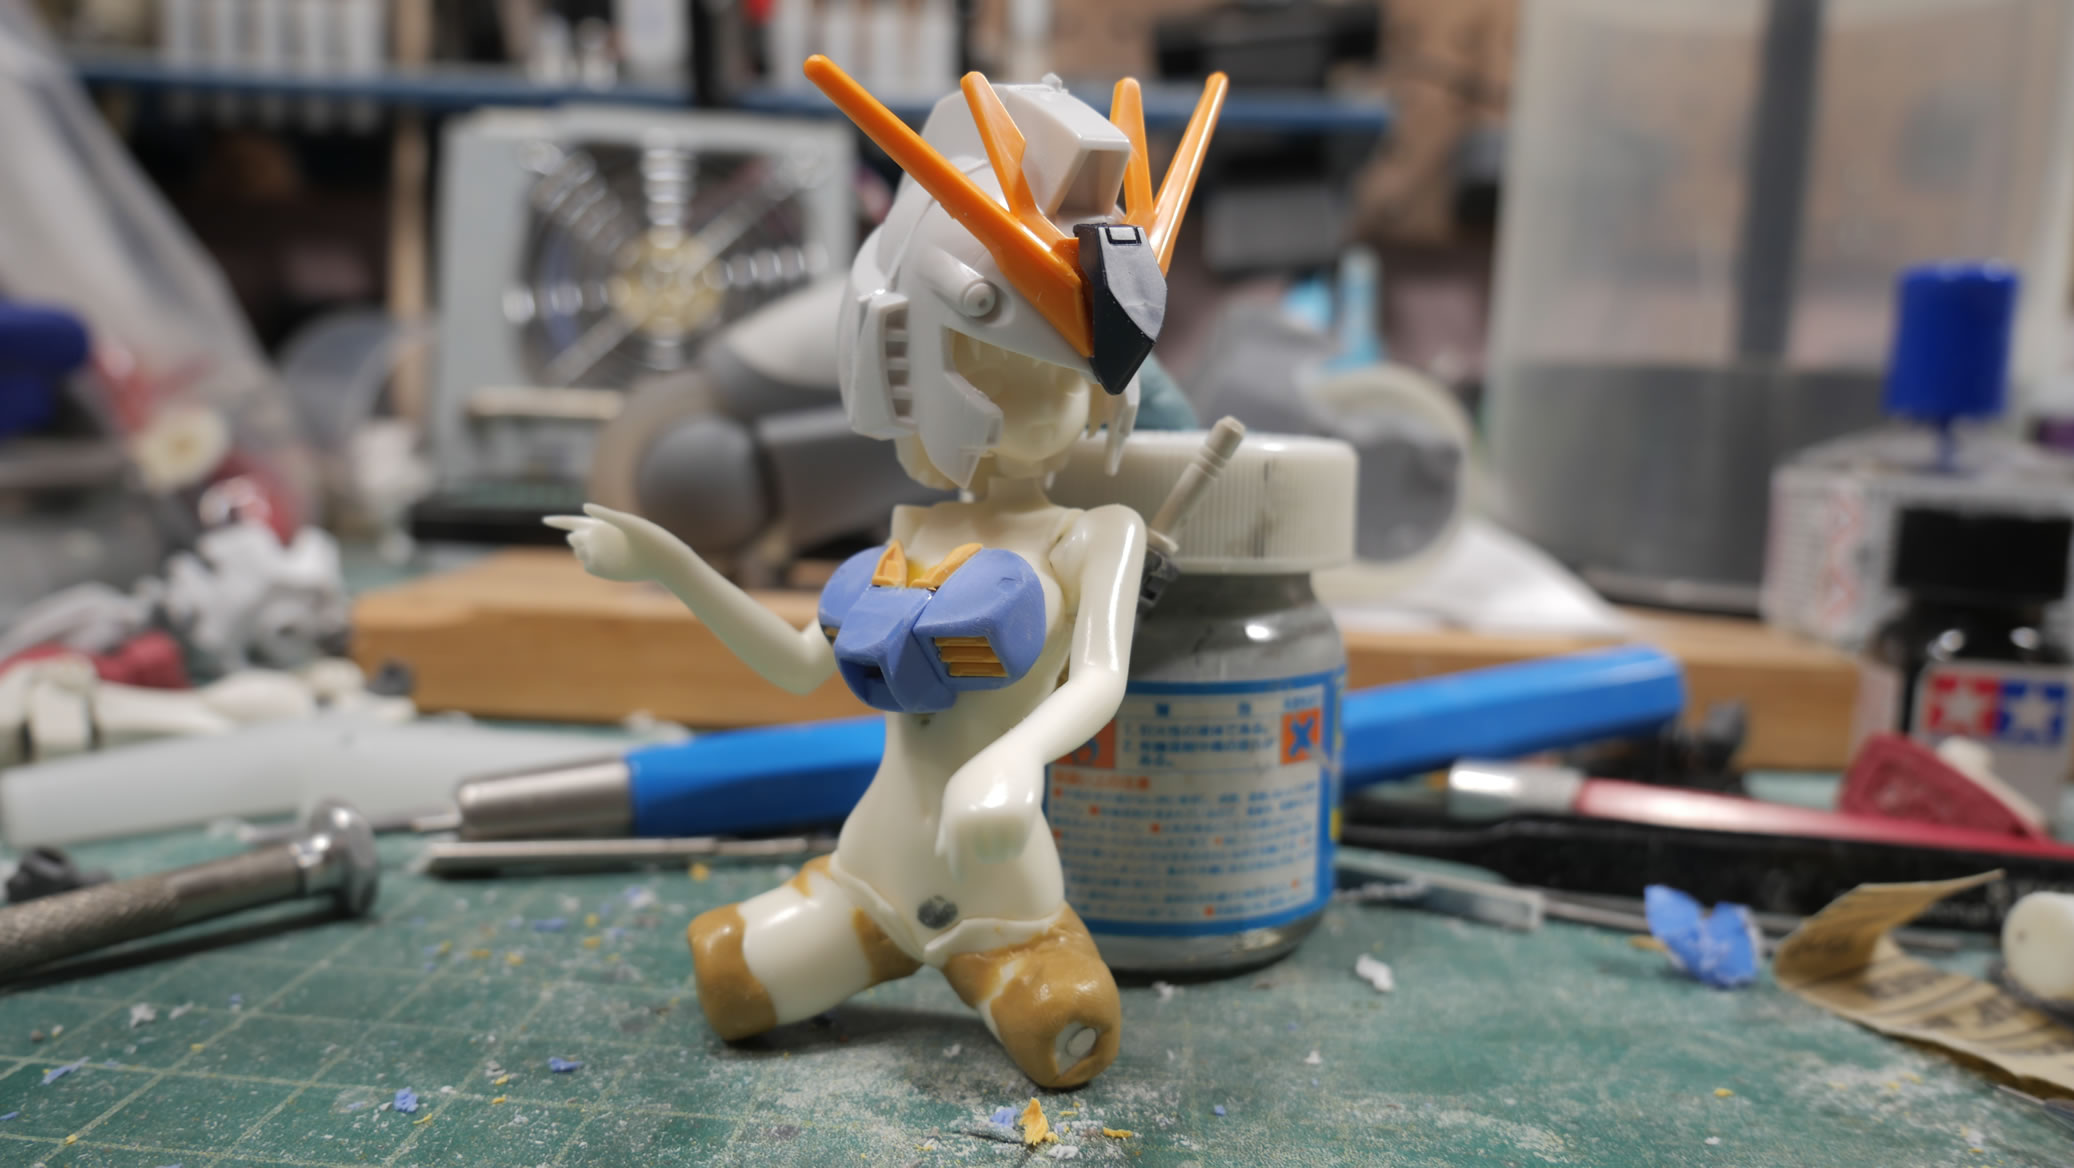
The body comes together
The arms are done, the legs are done, primer shows everything looking fairly decent. We are ready for painting the gundam bikini girl. Also notice that I added a strip of styrene around her neck that connects to the head. This works as a choker of sorts and I don’t have to putty the head to hide this seam.
Painting the figure
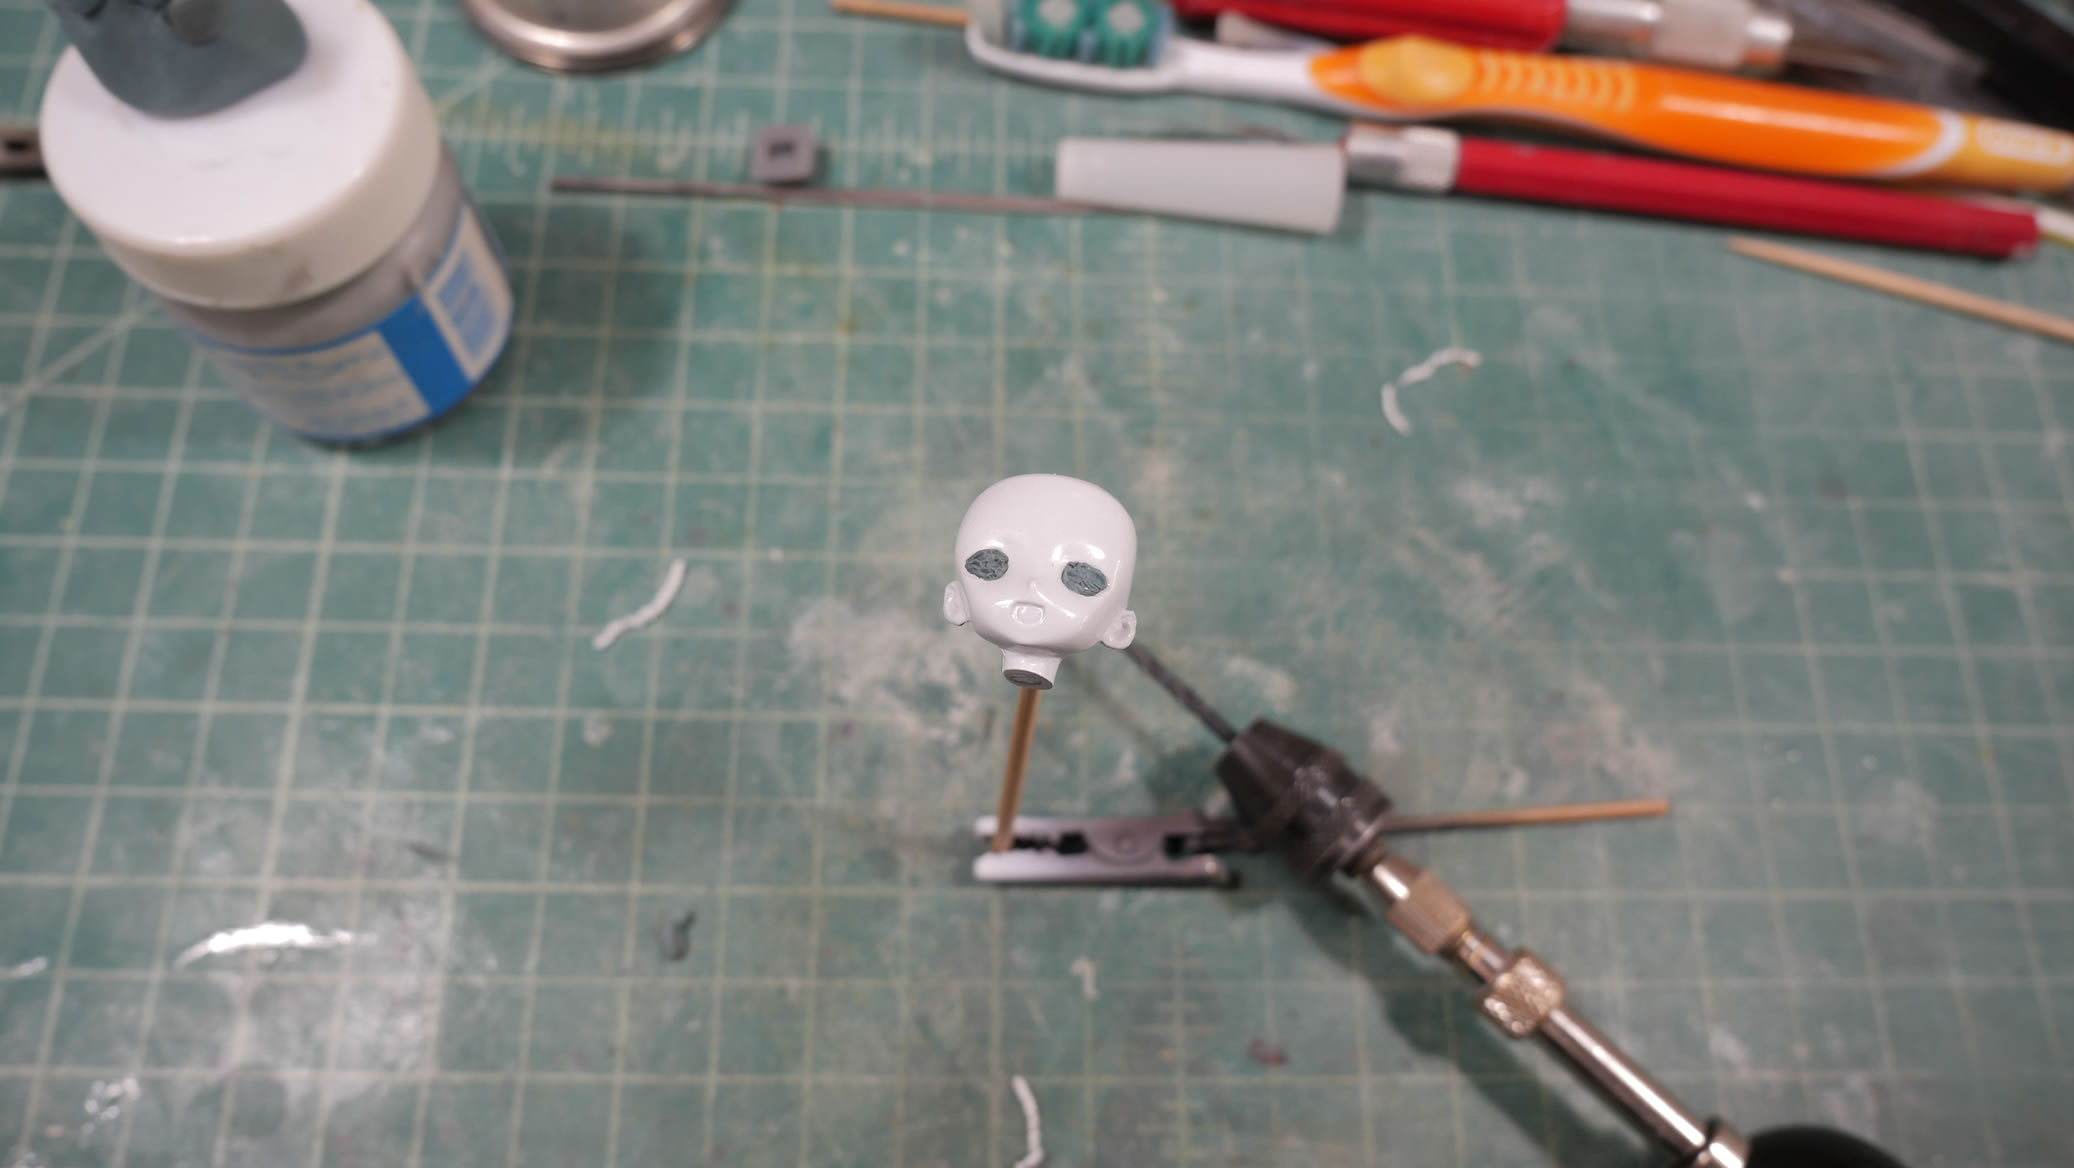
I always start with the skin. To neutralize the grey primer, I spray a base white over all the skin parts. The eyes of the head are masked as I want to keep that white there. Once that is masked, the skin parts are base coated in a darker base skin tone. Highlighted by a light skin tone, then blended together with a medium tone to balance everything.
I paint the individual hair pieces first before. I will explain this logic later when I get to working on the hair. The other white pieces are based coated in an earth tone then shaded with white. Mask and paint the bikini straps. Mask and paint the bikini bottom.

A hole punch set is used on masking tape to create circular masks perfect for masking off the backpack details.
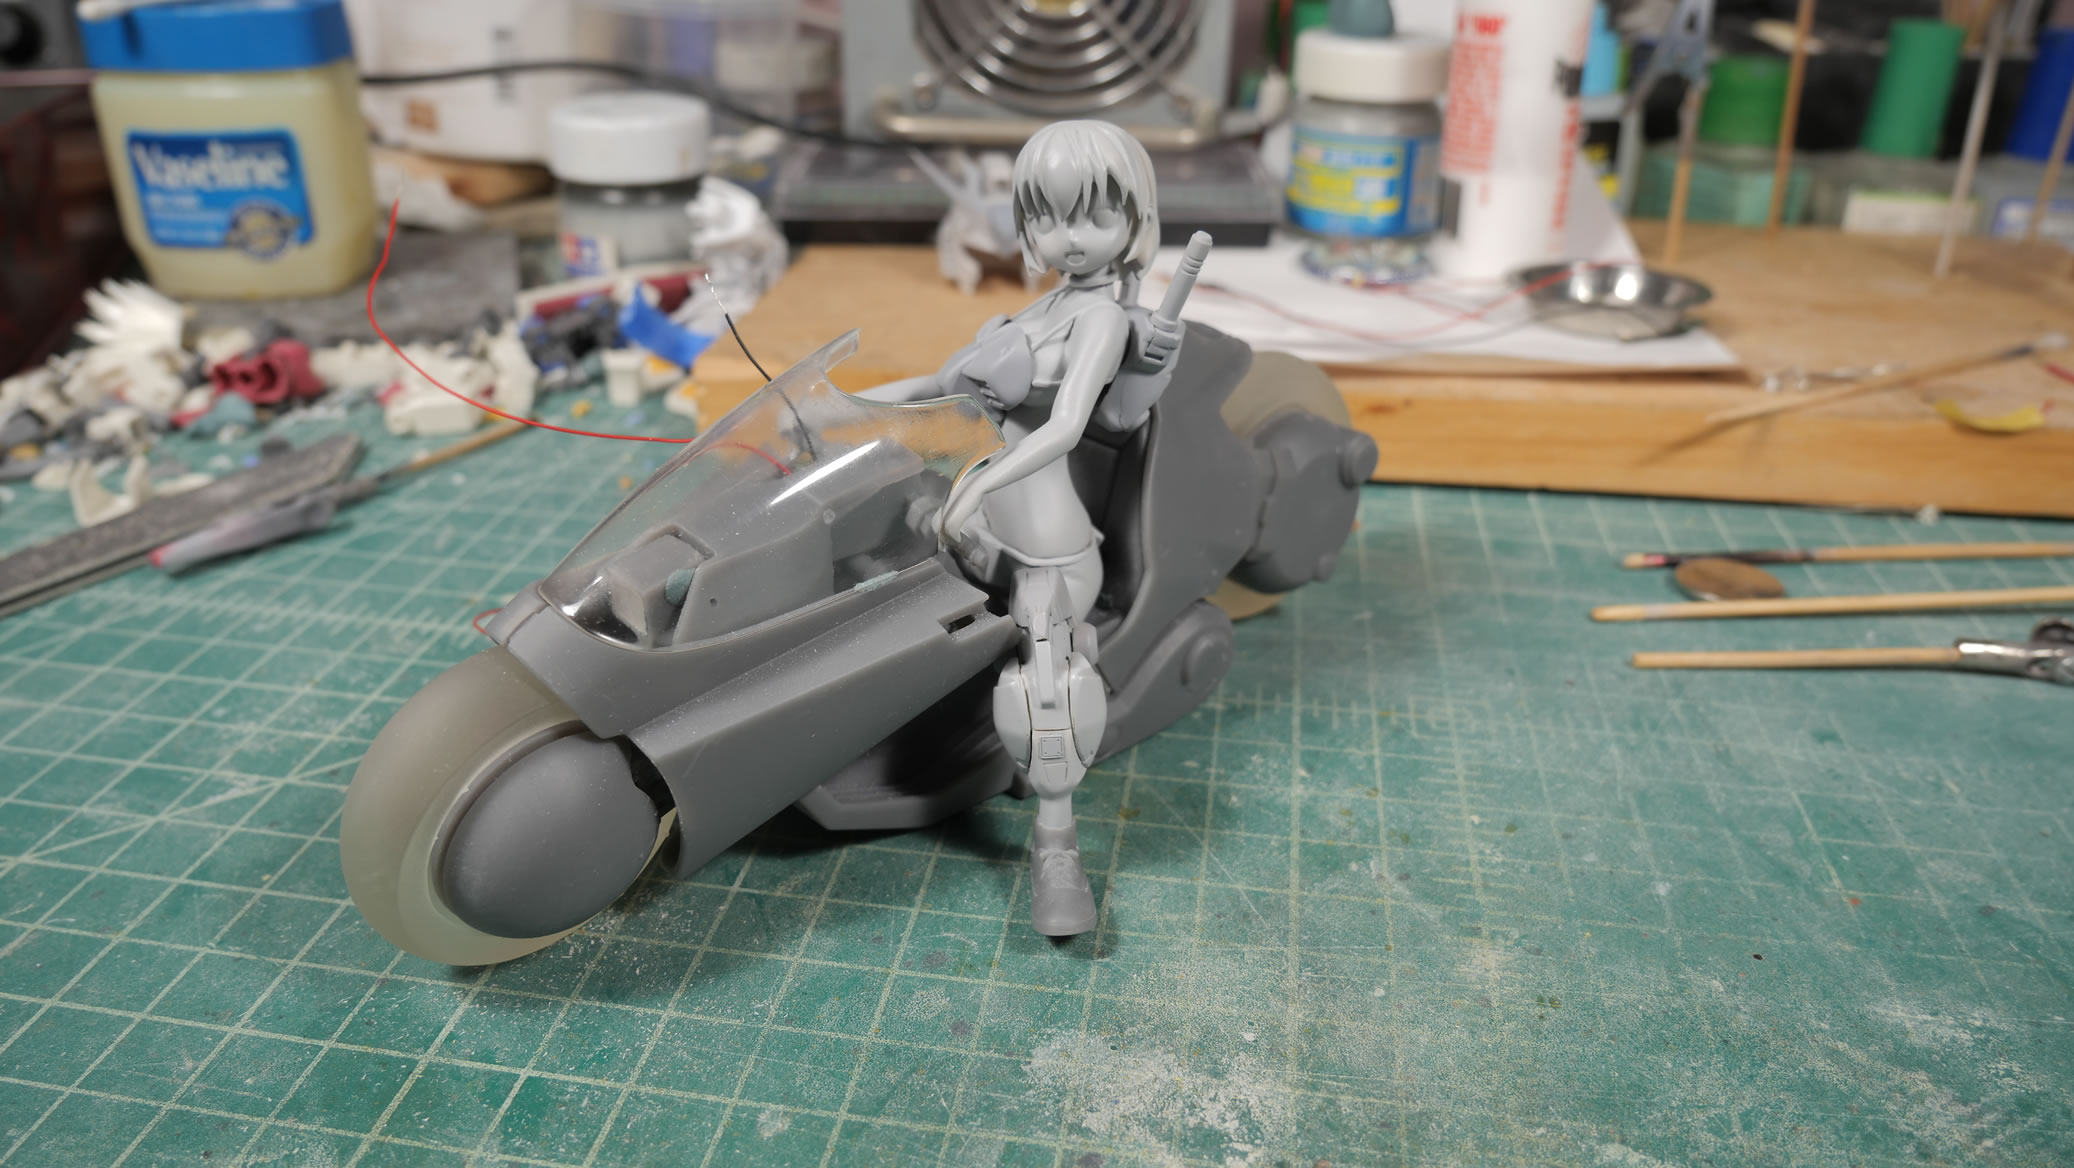
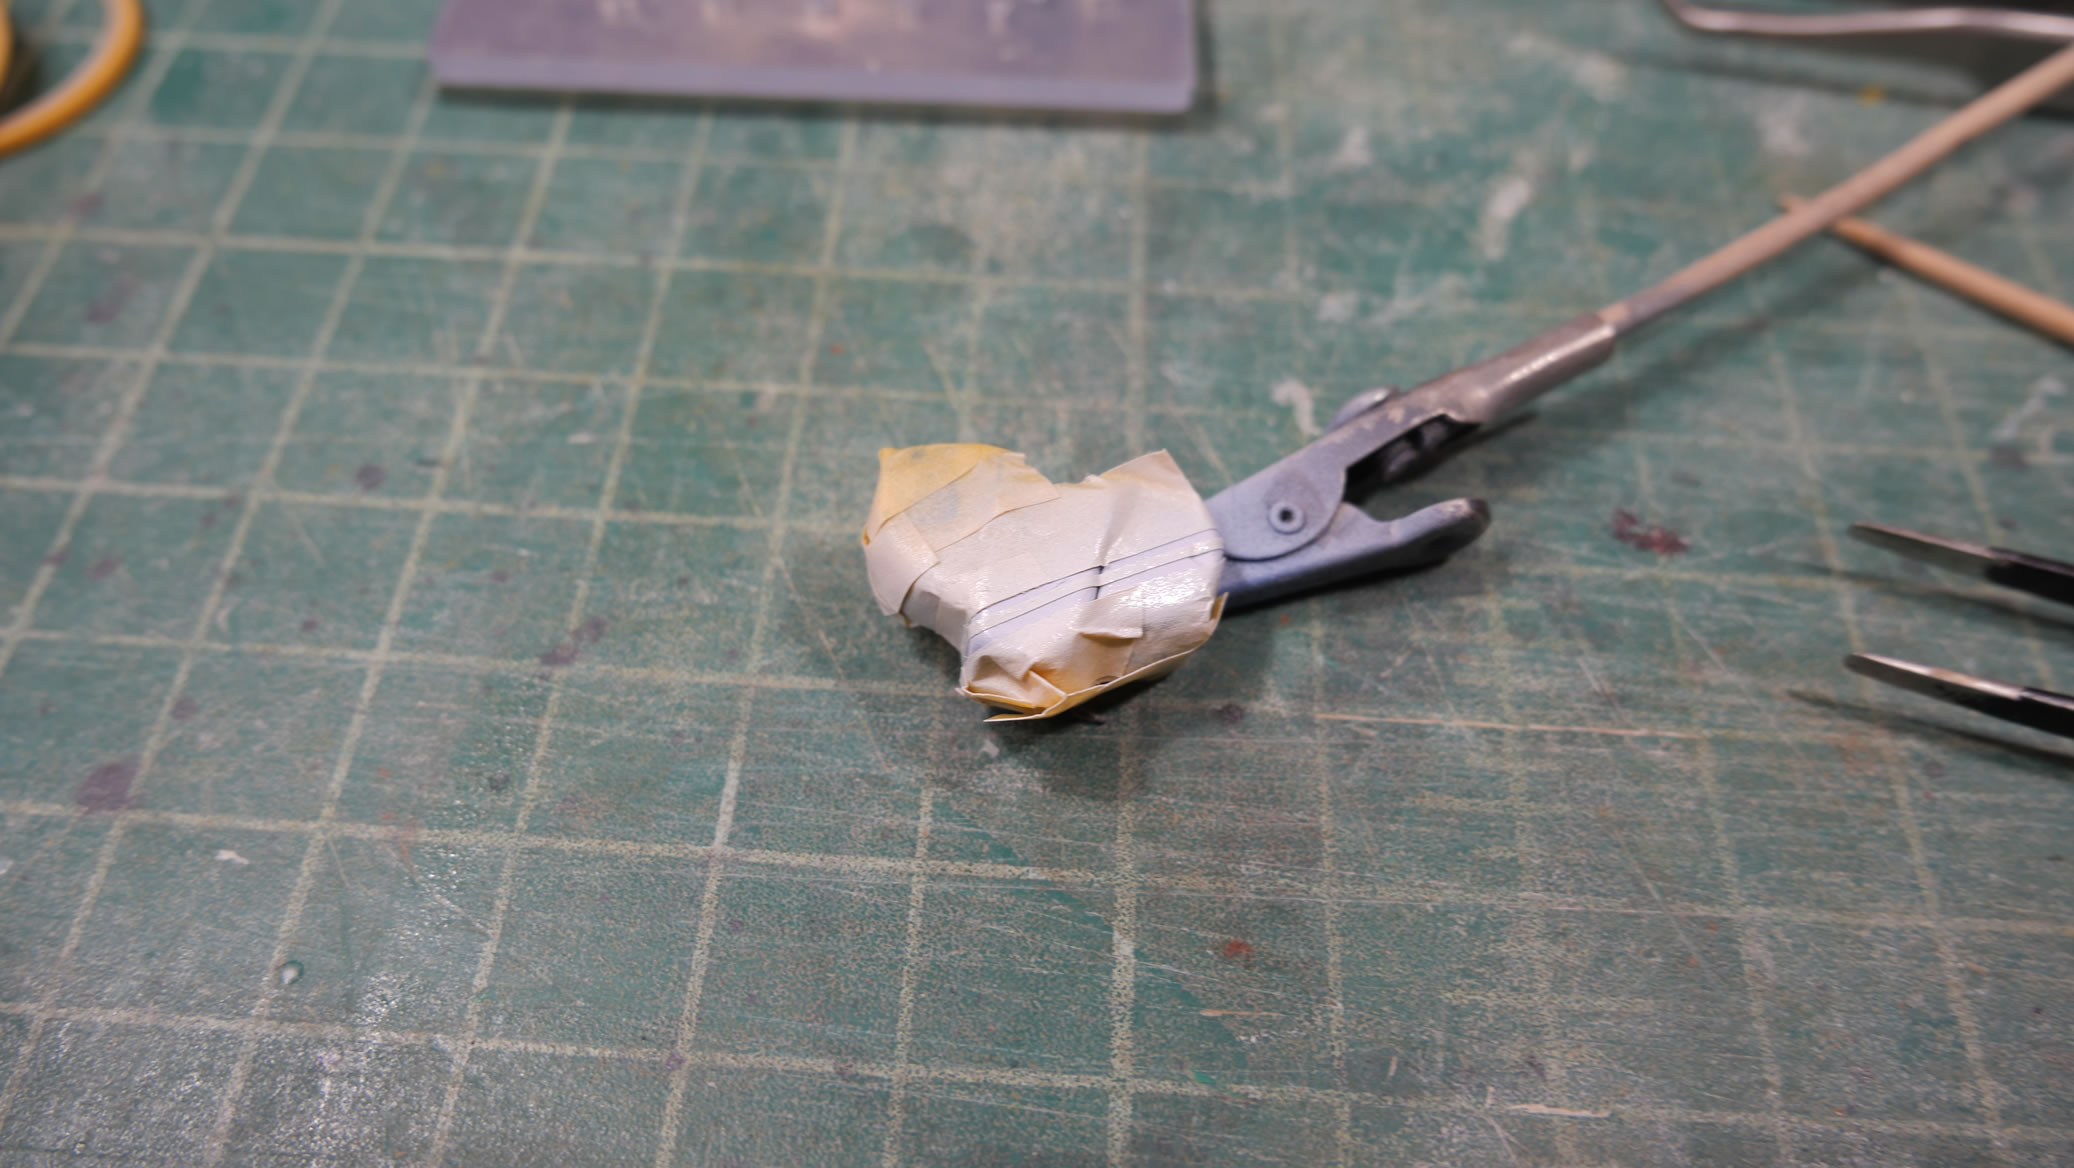
The eyes are left over decals from another resin figure kit. They are ever so slightly big for this figure, but I think they work. Once that is done, the two halves of the hair are glued into position and the face is masked off to get work on the hair.
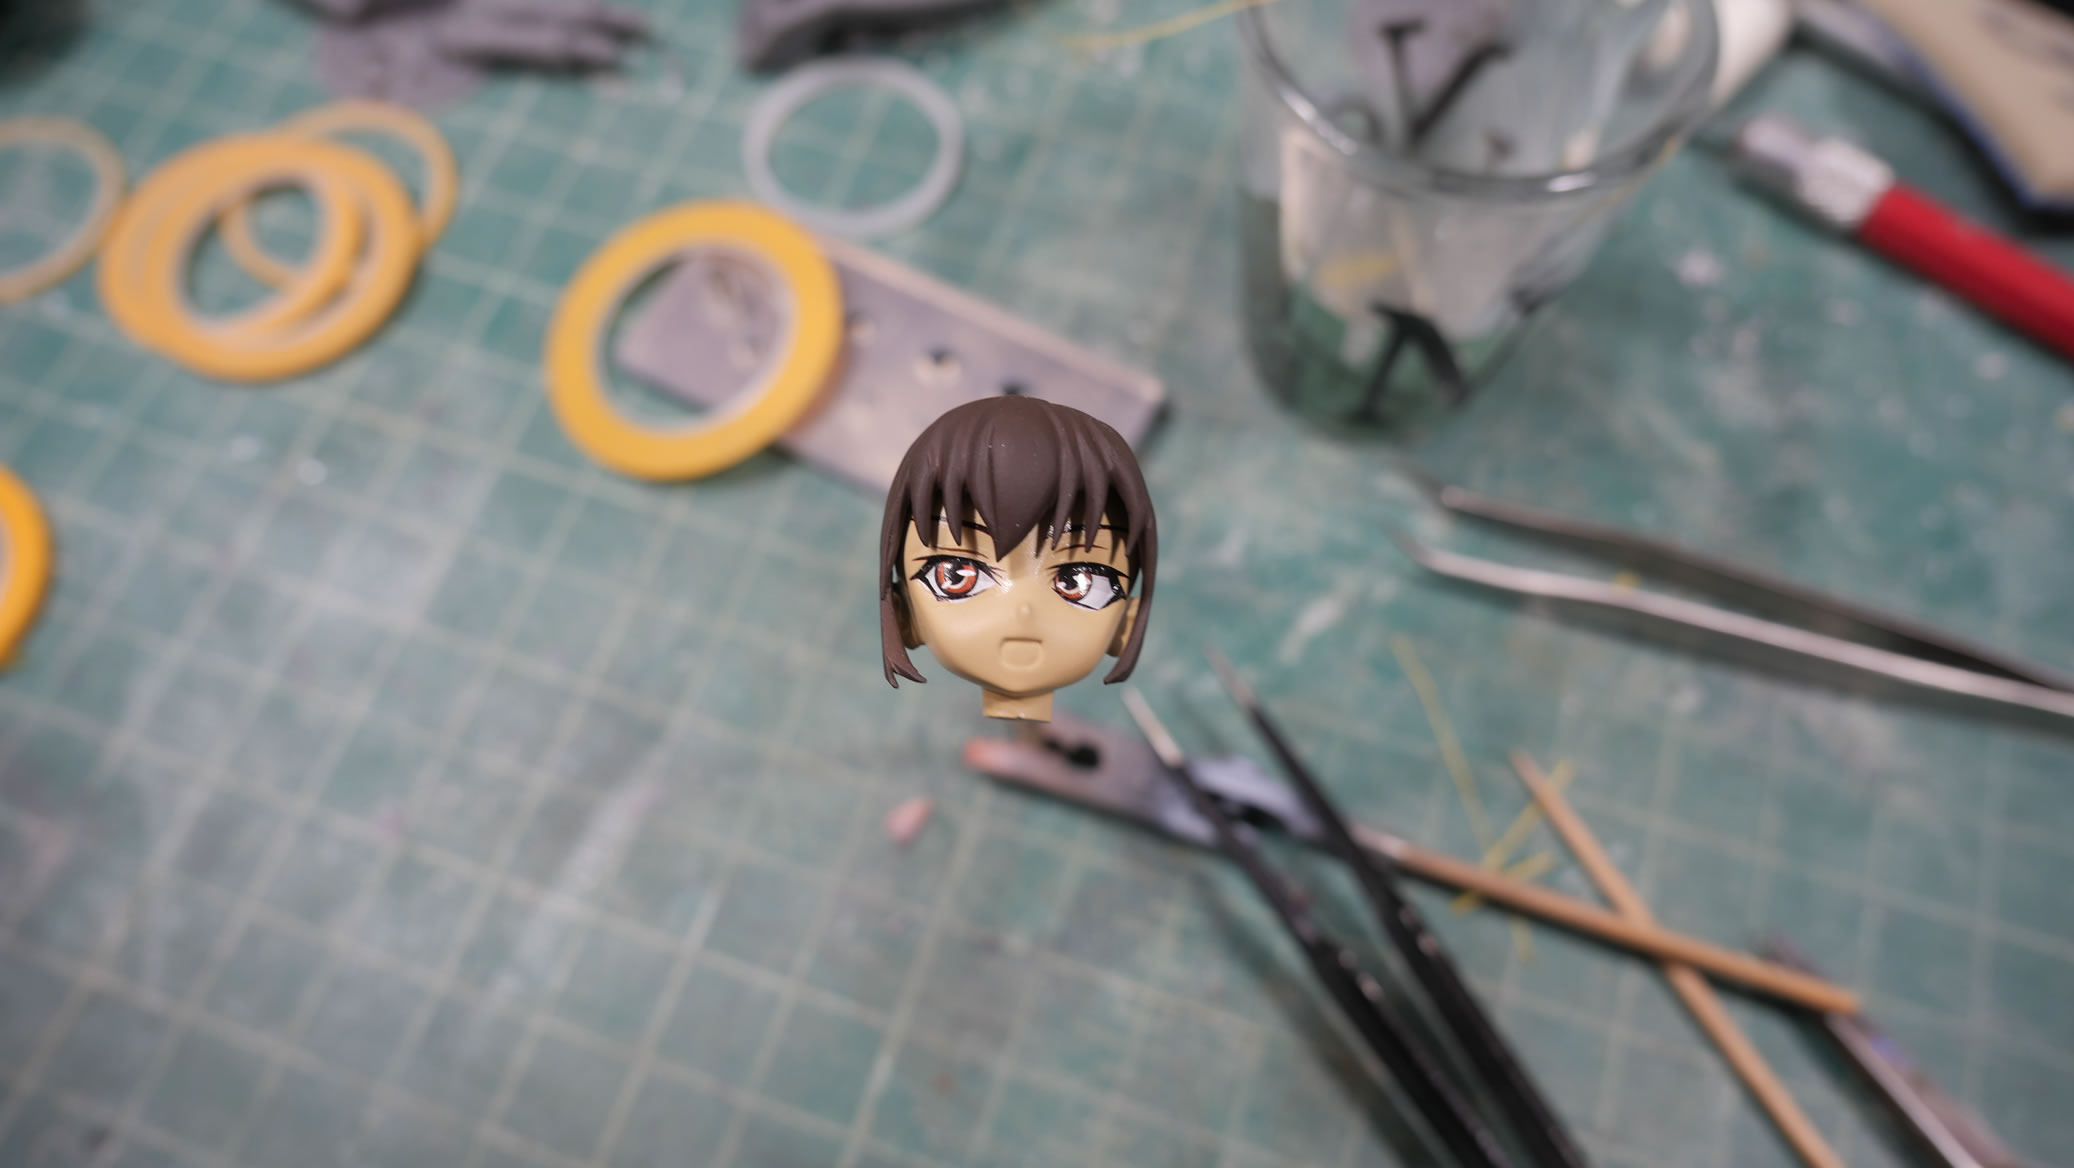
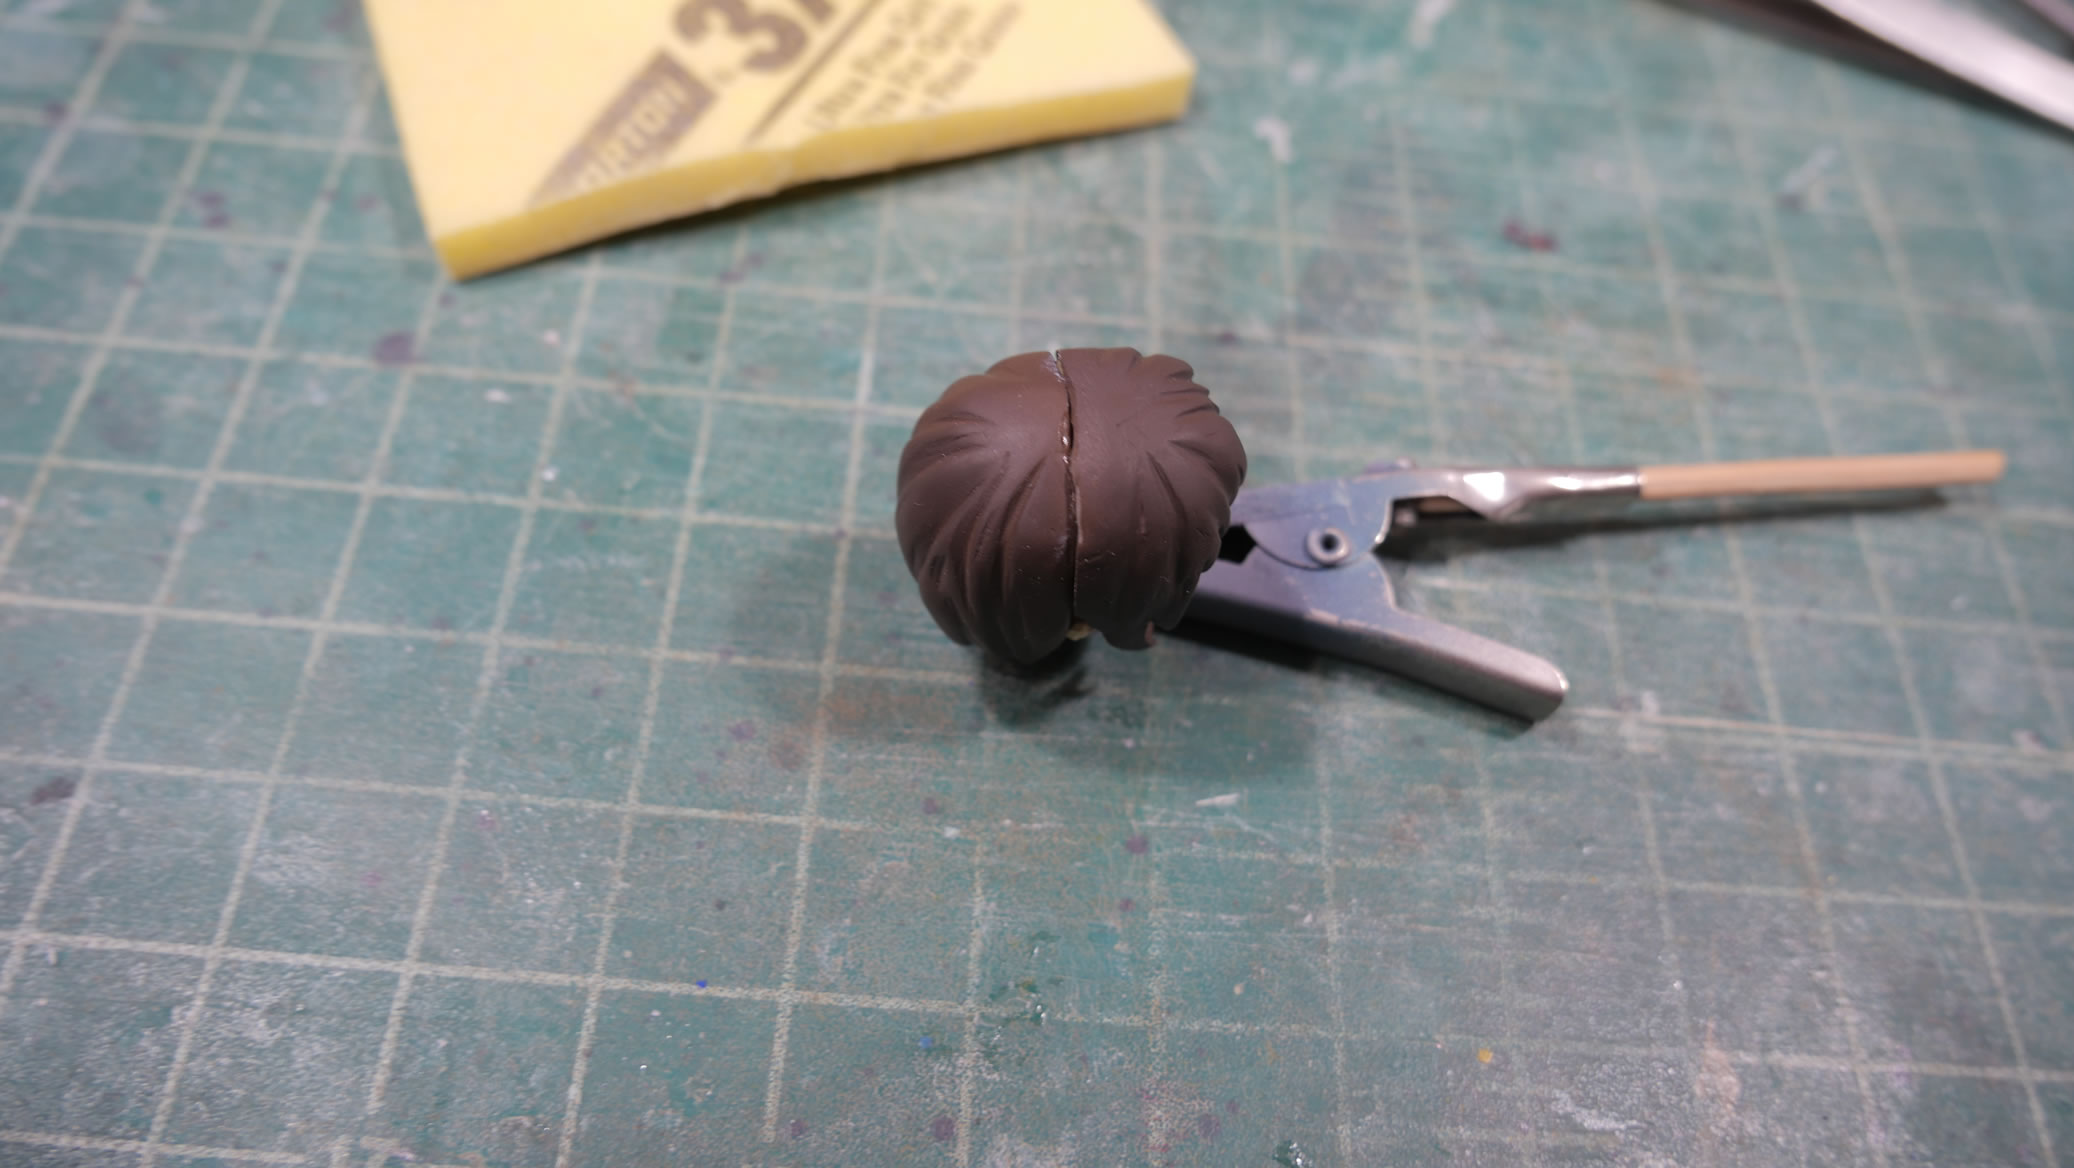
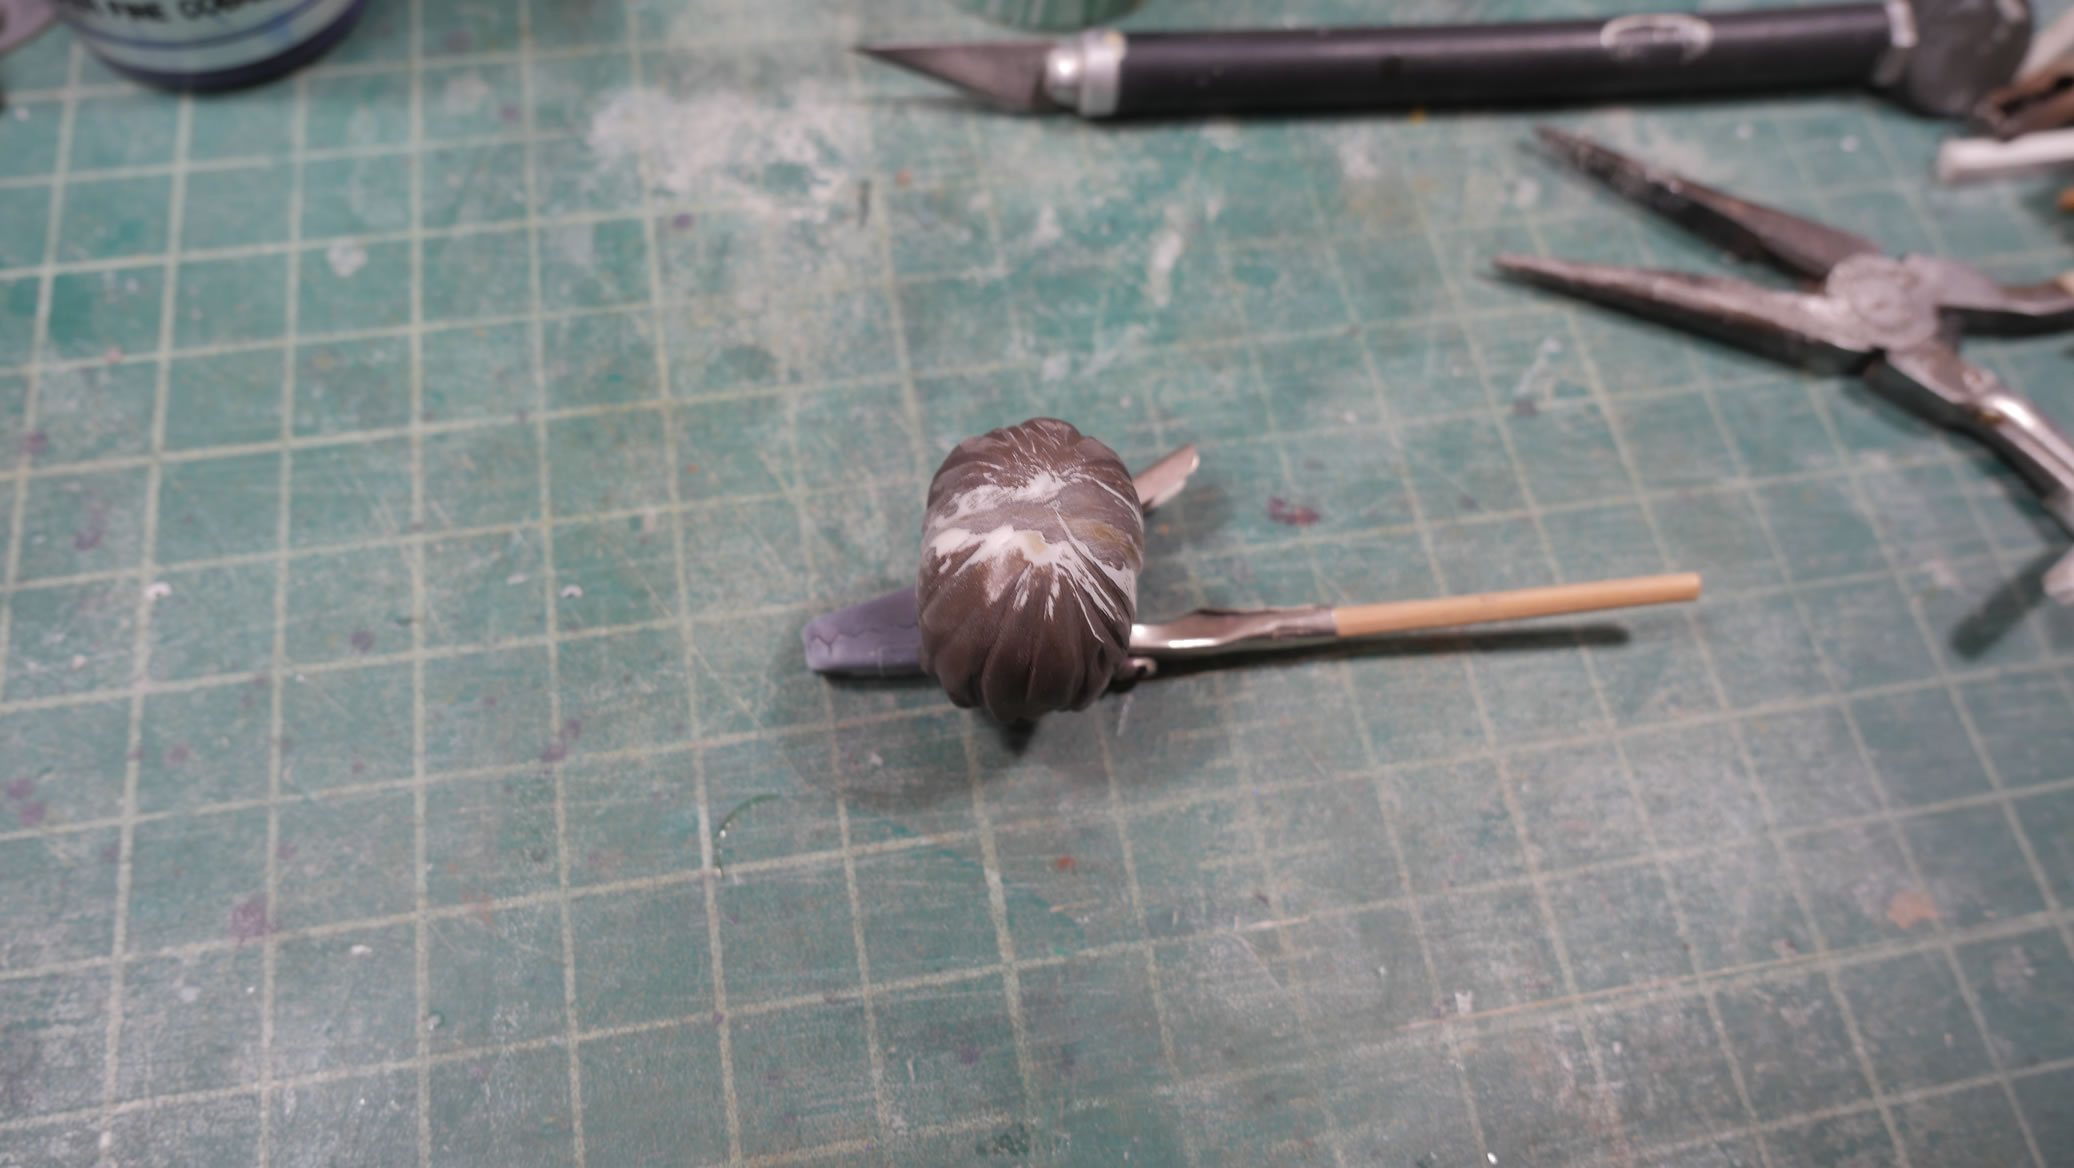
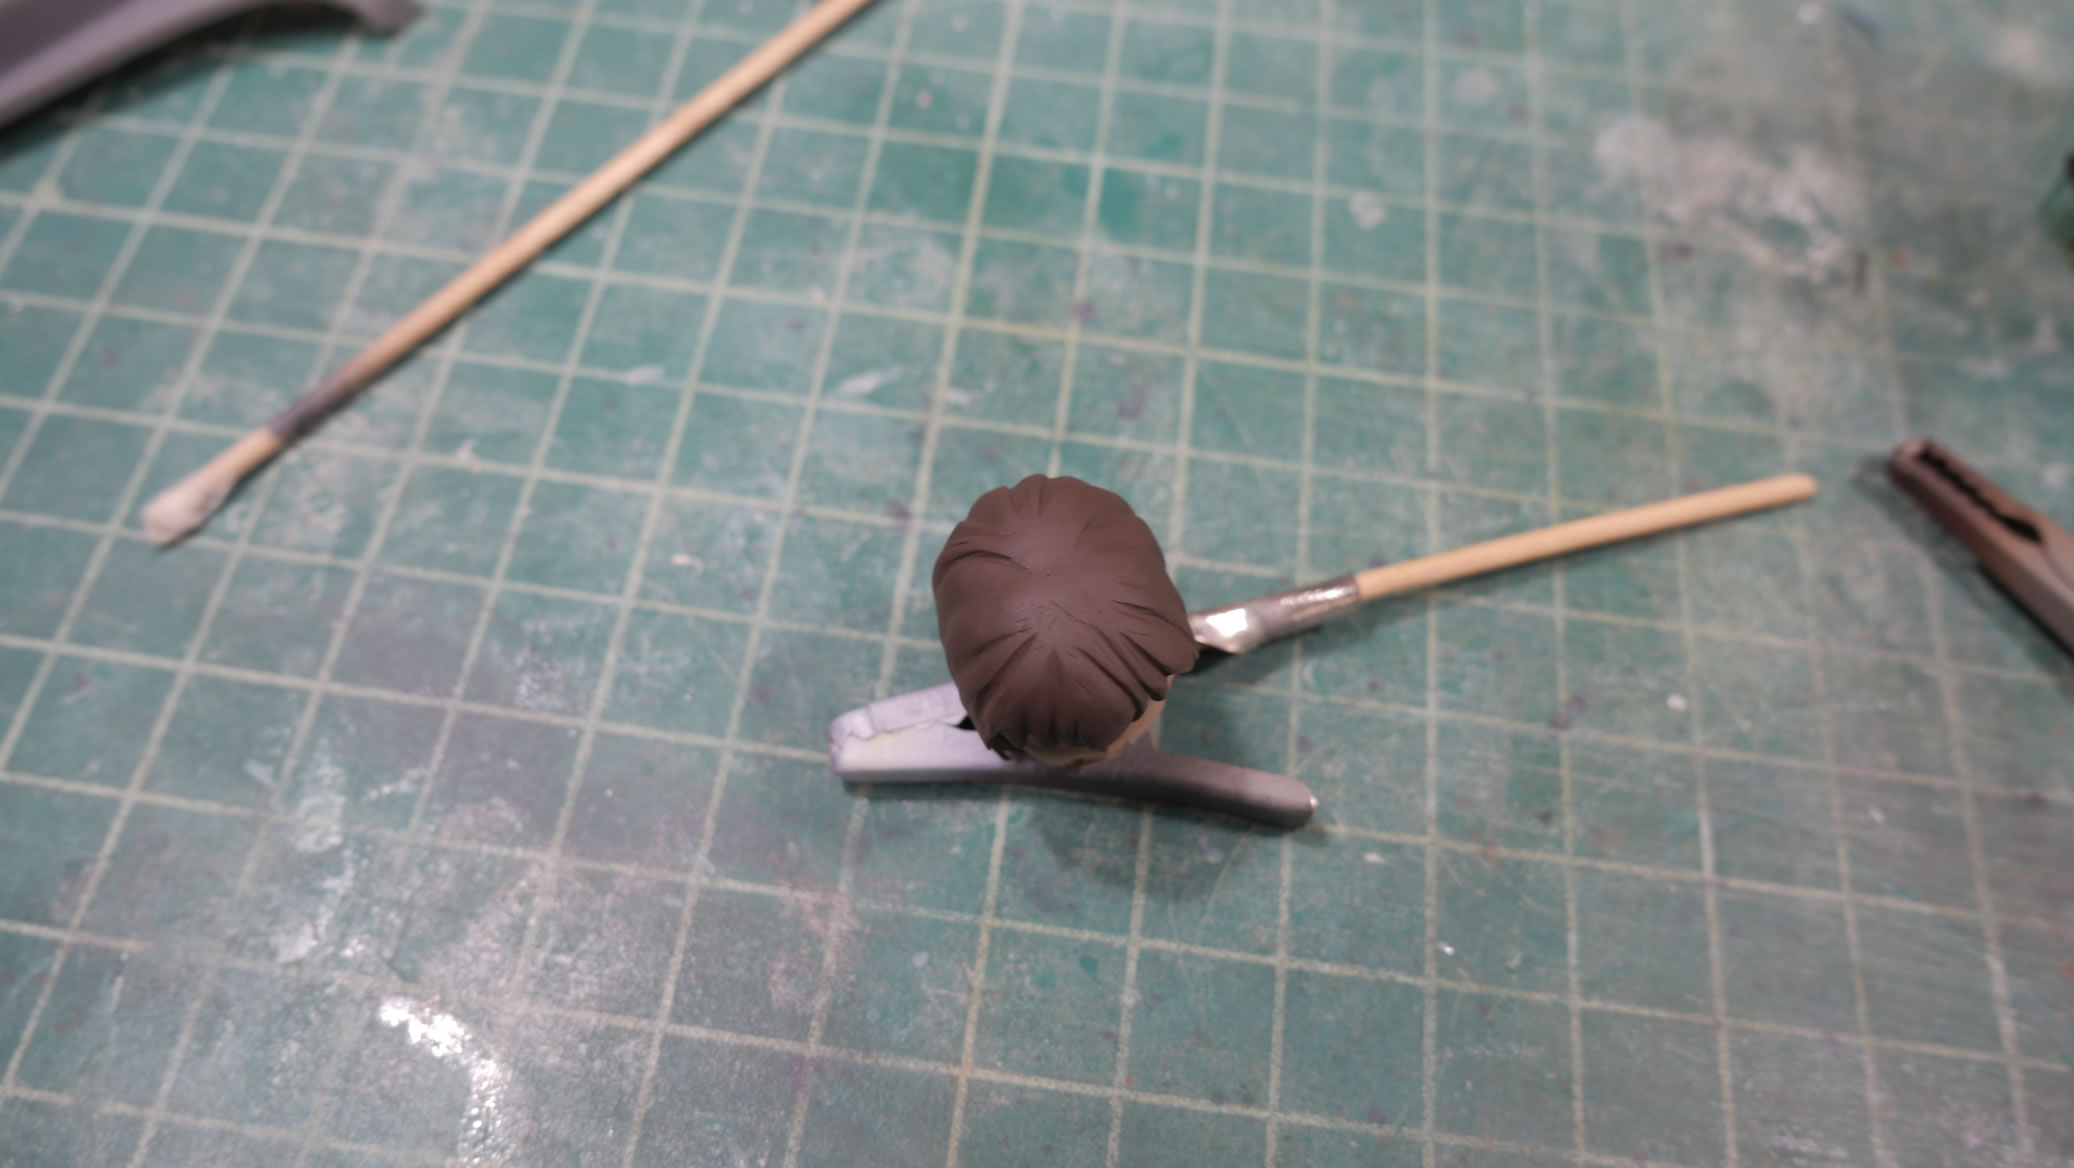
Putty and fill the hair, the paint to hide the same. Earlier, I mentioned that I painted the hair pieces before putting them together. This is so I can get all the areas of the hair painted. This just works for me, and I’ve been doing anime figure hair like this for a long time.
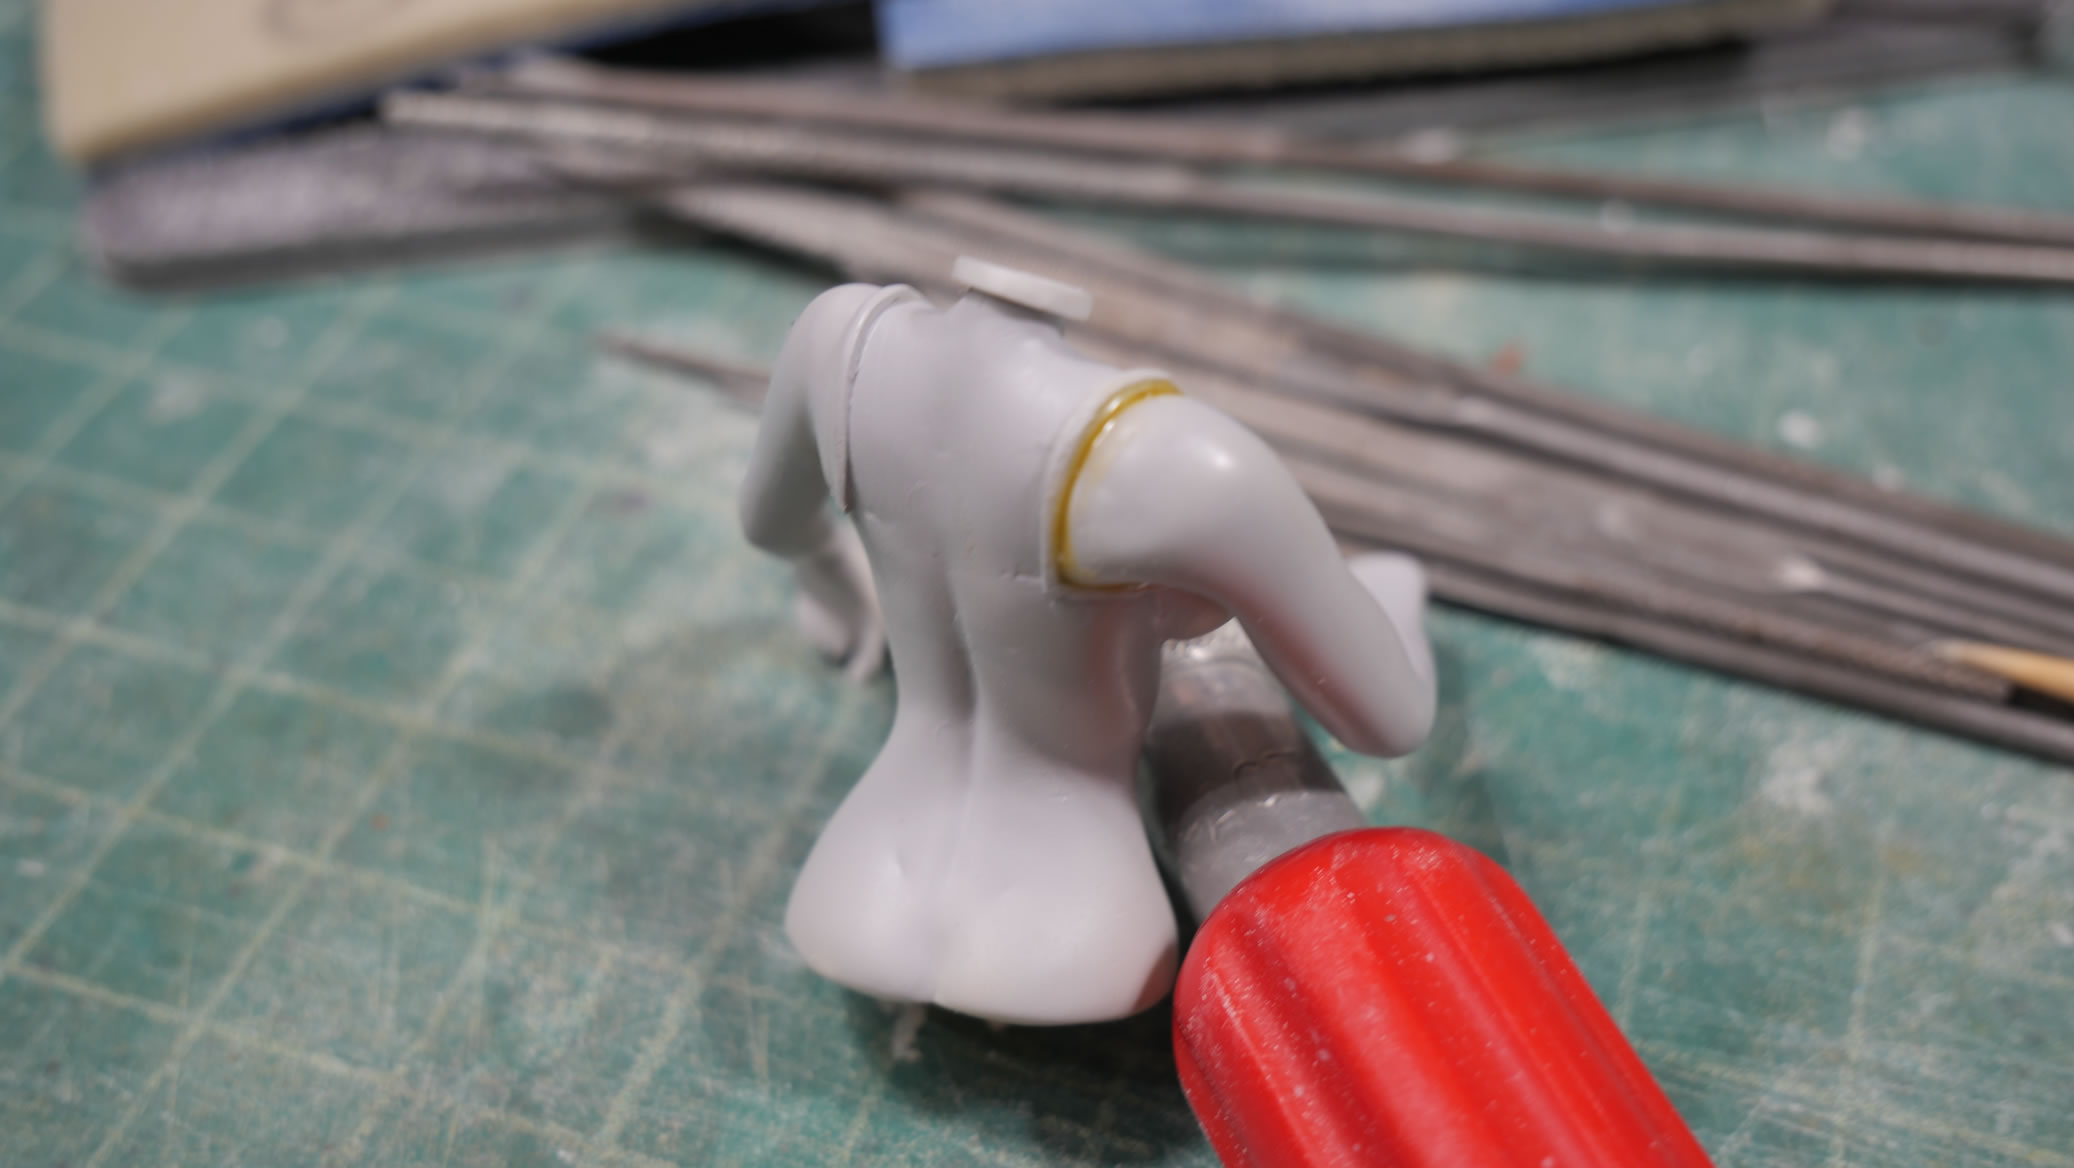
A little detail pin stripe masking for the bikini top to add a little flair. Mask a strip, mask around the strip, remove the place holder masking strip, then paint. Easily done for a nice effect.
More masking to the legs to continue painting.
With the exception of the shoes and ankles, the figure is done with principal painting.
Tattoos
To continue with the biker girl image, I clear glossed the body and applied a few tattoos. One tattoo came in the akira decal sheet I picked up recently, and the other is the Gundam Pixy emblem that will be hidden by her head and bikini top, so a little Easter egg for those looking at this in person.
The Bike
Now that the body is done, I can focus work on the bike. Apparently, I had the rear tail lights placed backwards, they are supposed to be inside the body of the tail, not protruding out. But I do like the look of the protruding tail lights. The fit was fairly nice and only a few areas need to be sanded down for better fitment.
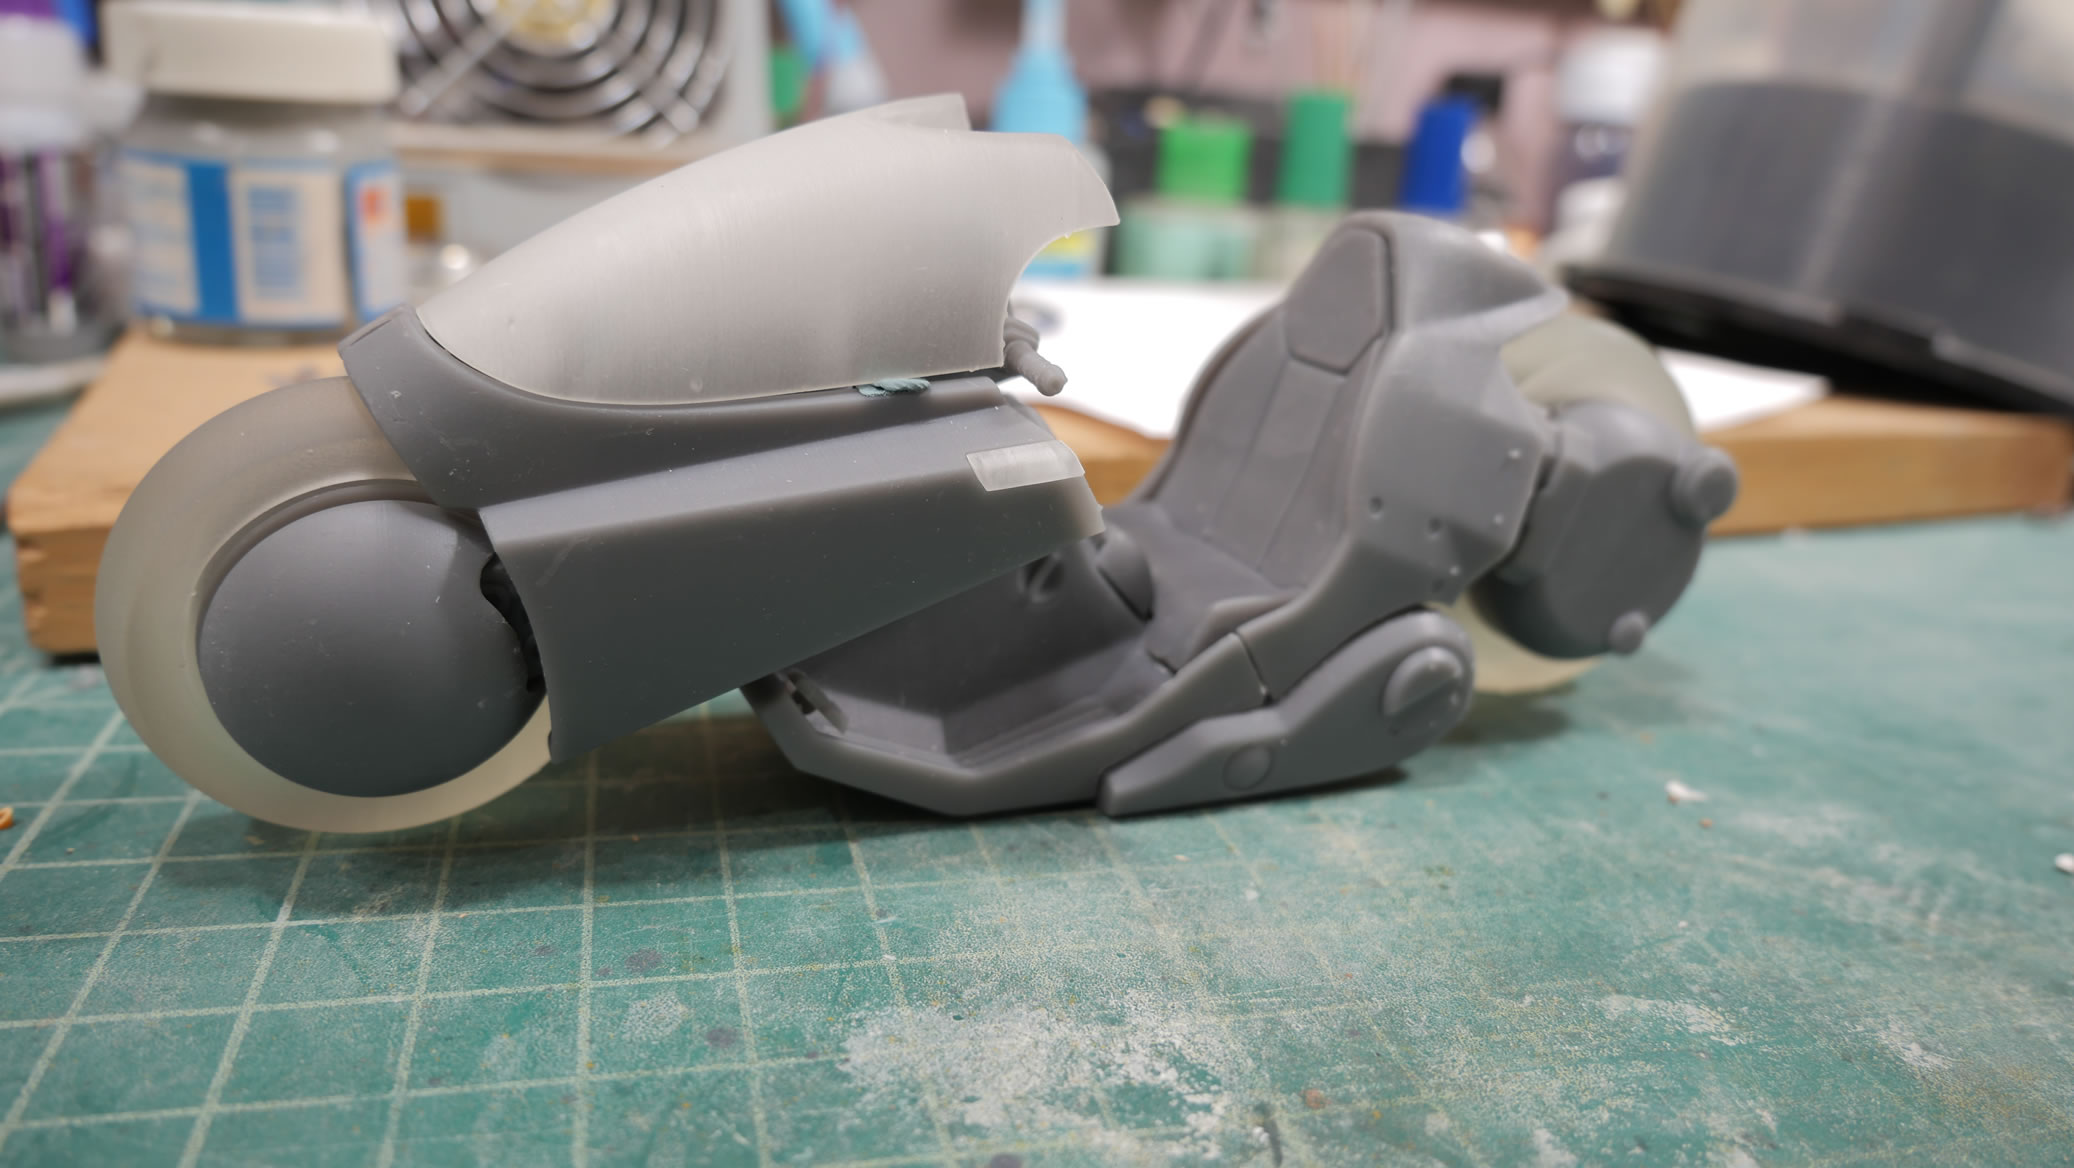
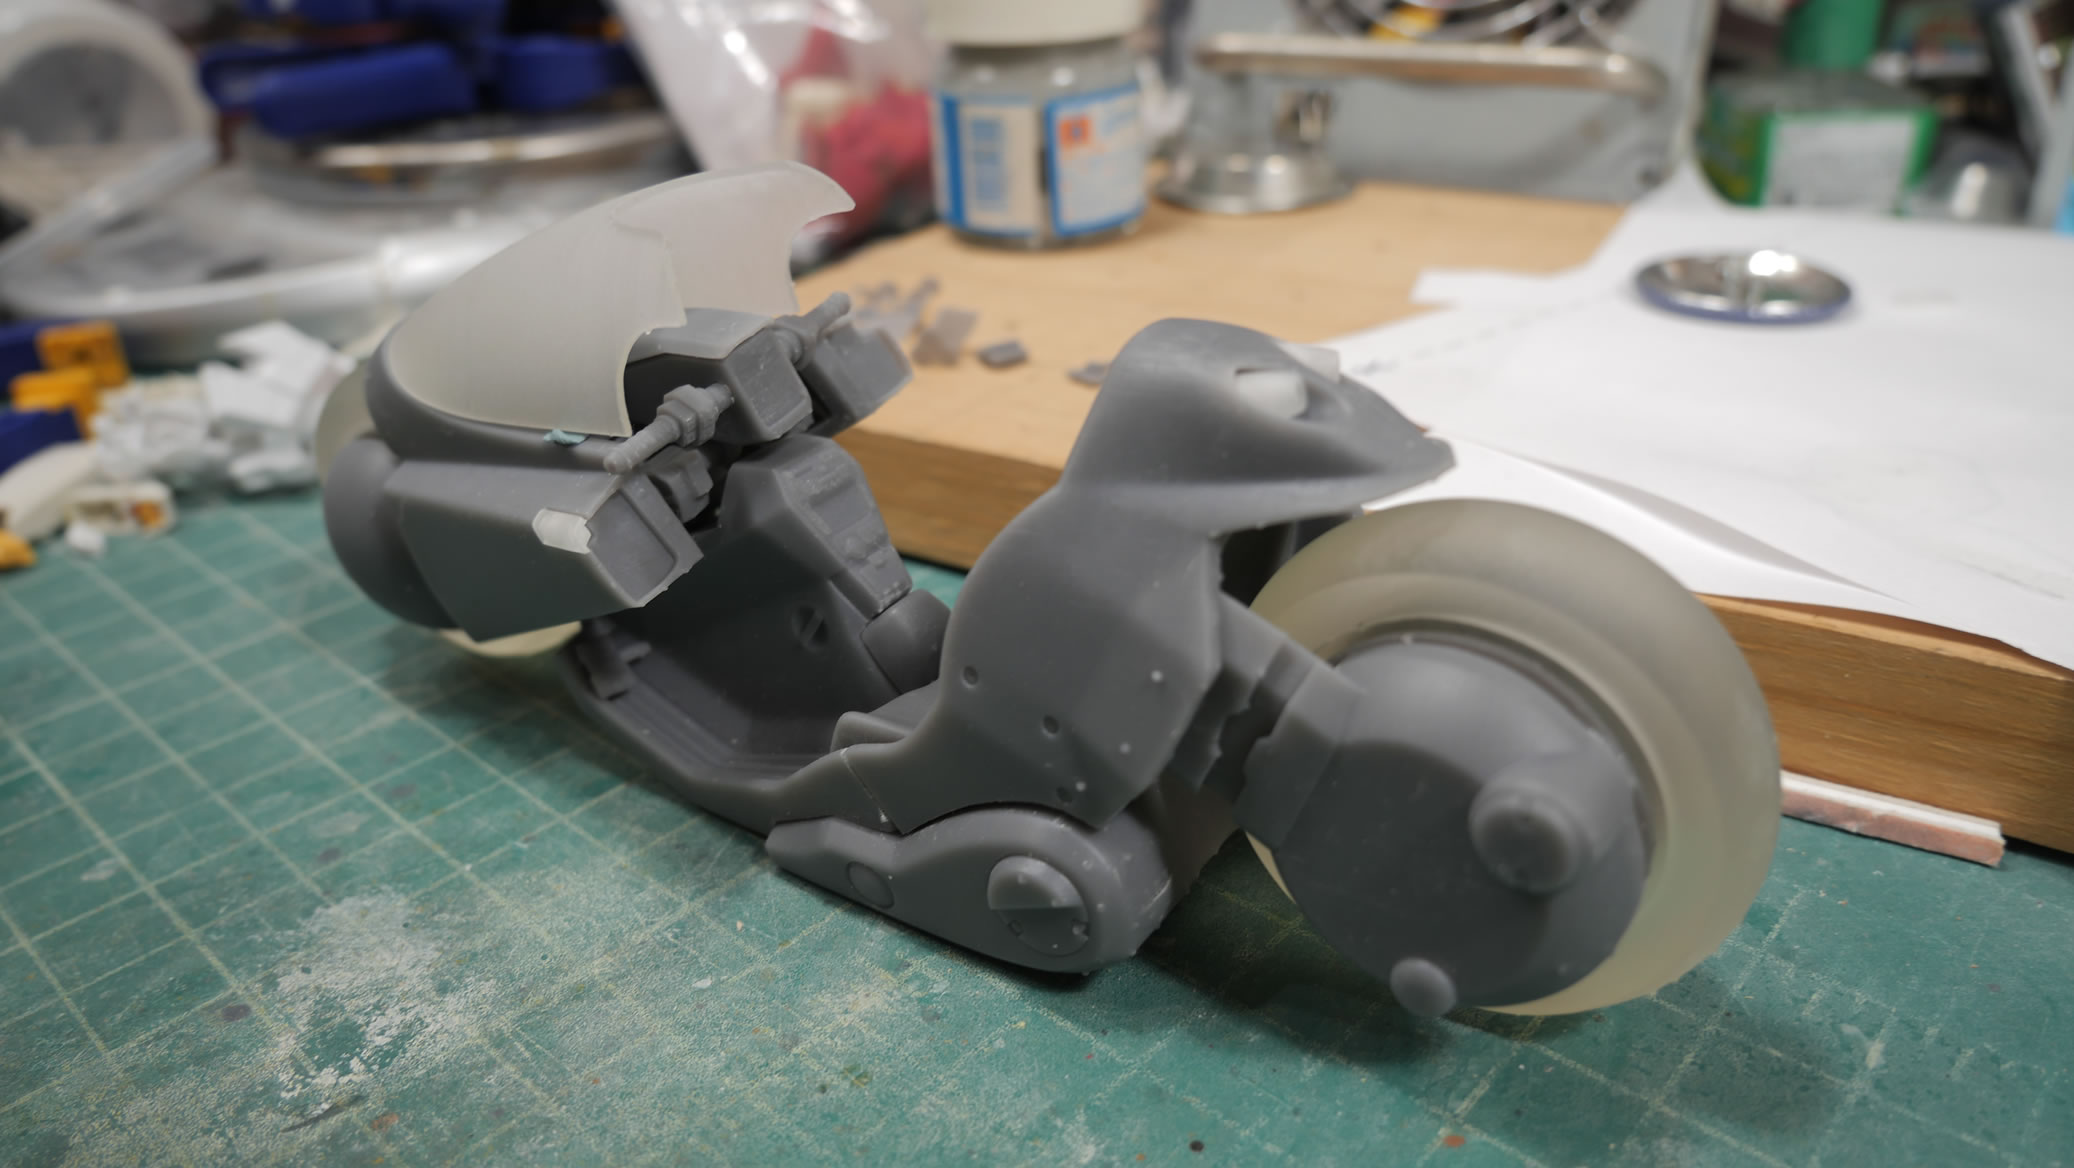
The windscreen was sanded down from 60 grit to remove all the support attach points and rough areas. Then 180, 220, 320, 1500, 2400, 3400, 4000, 6000, and 12,000 grits in succession and then clear coated. Once the clear coat cured, the screen was polished with Maguire’s compound and polish system. Not bad for a 3D printed clear piece.

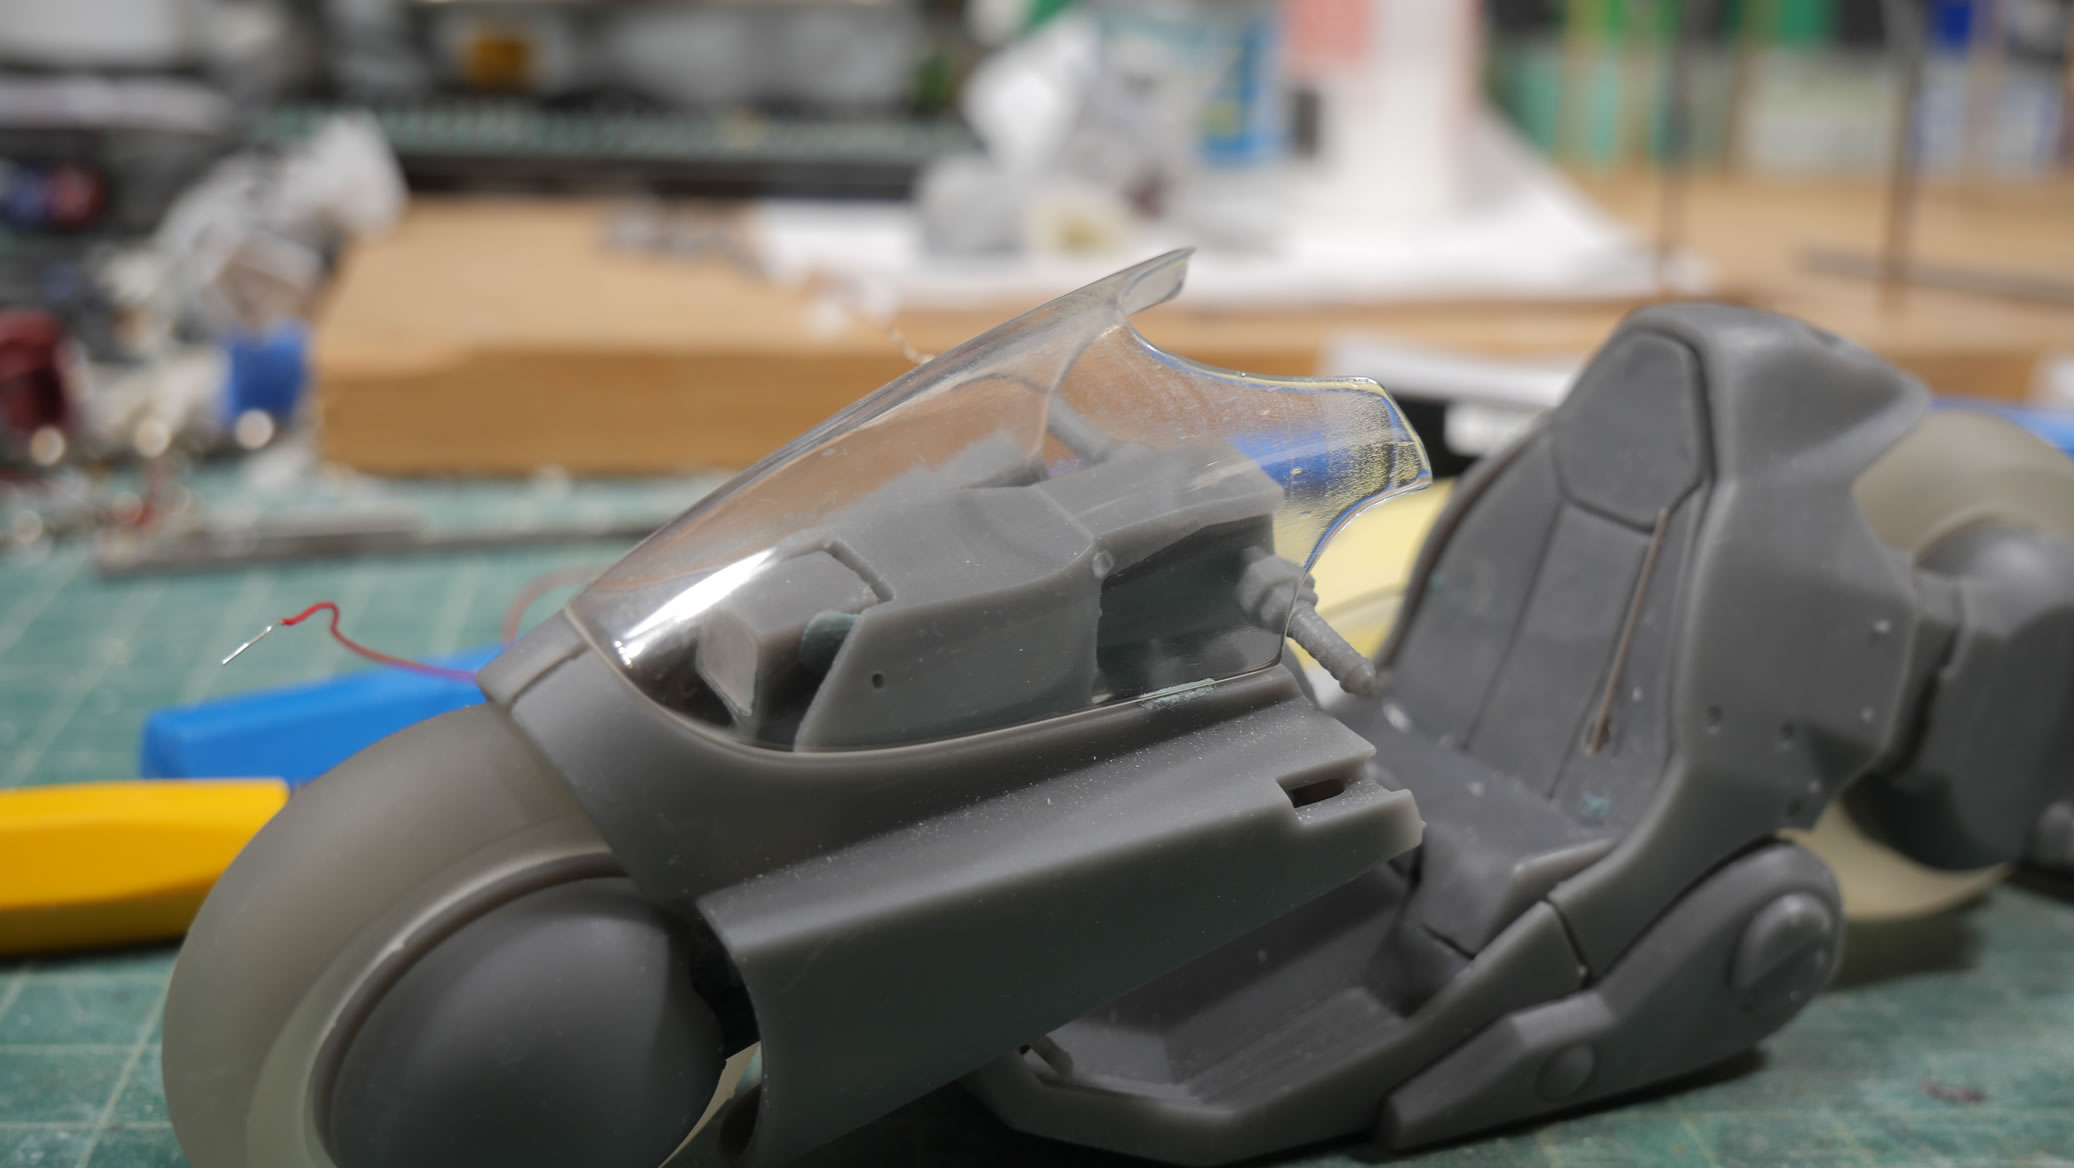
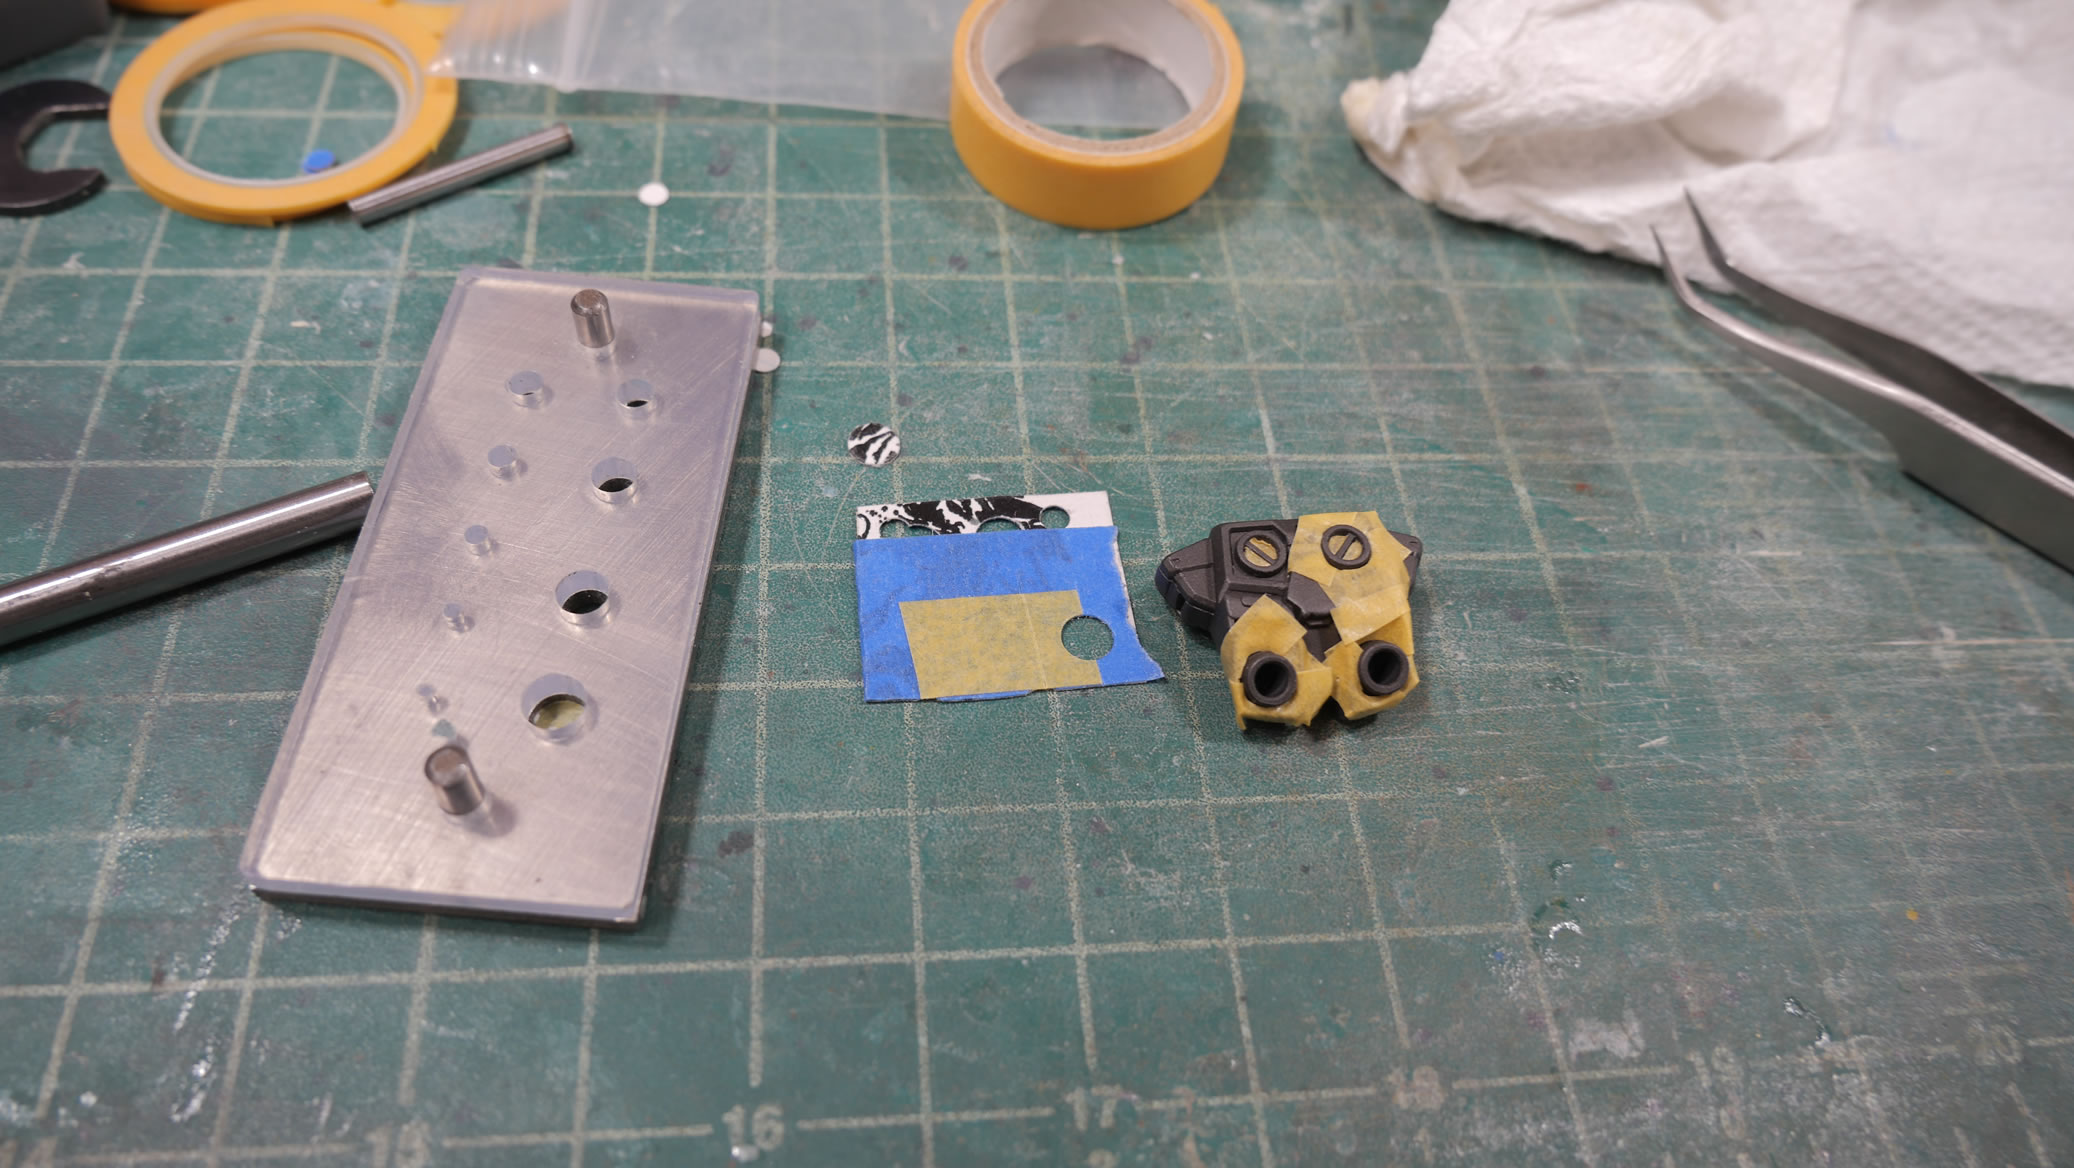
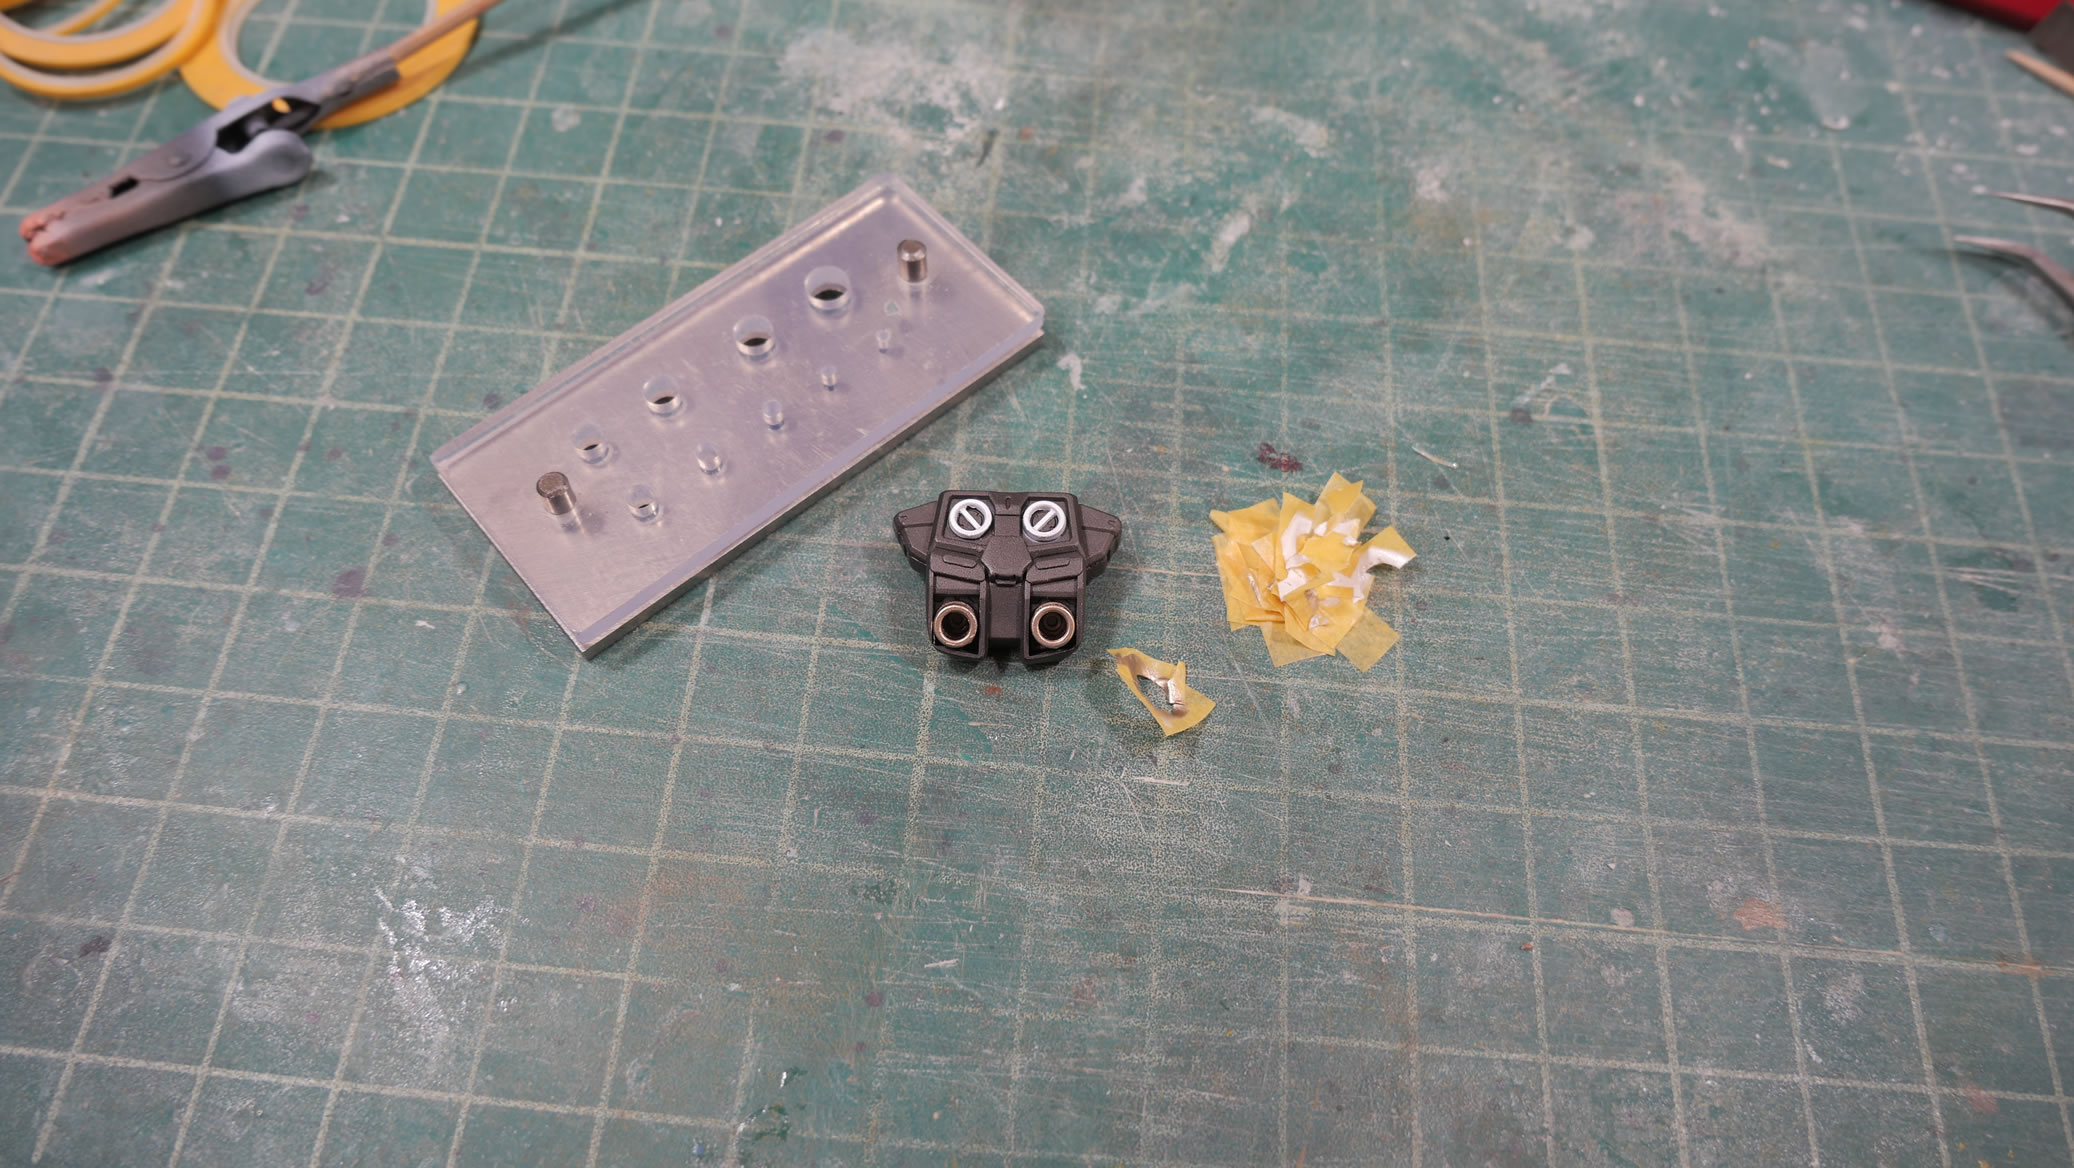
The front headlights got some drill work and magnets to attach the part. A little light curing putty and its like it was never there.
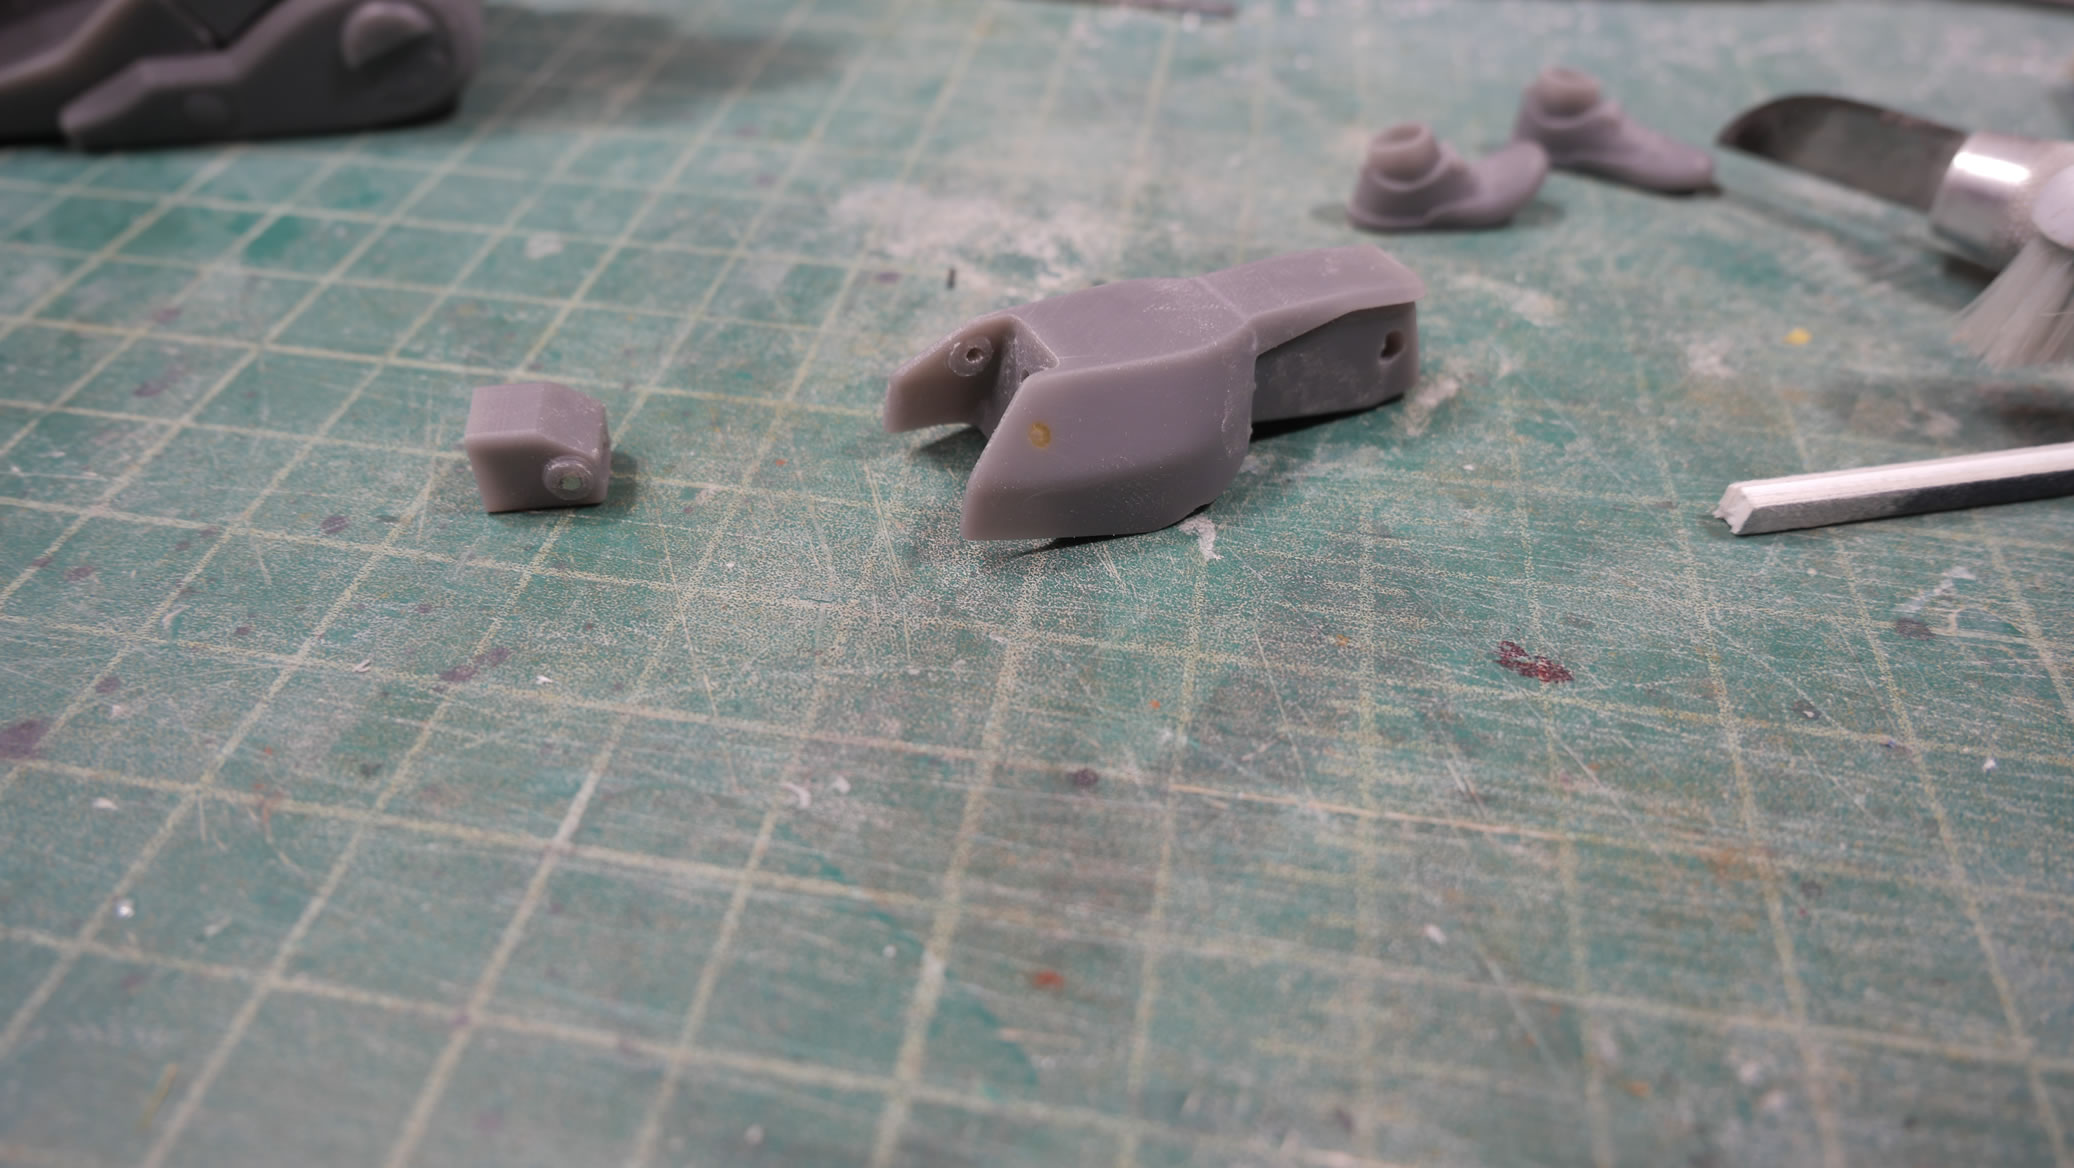
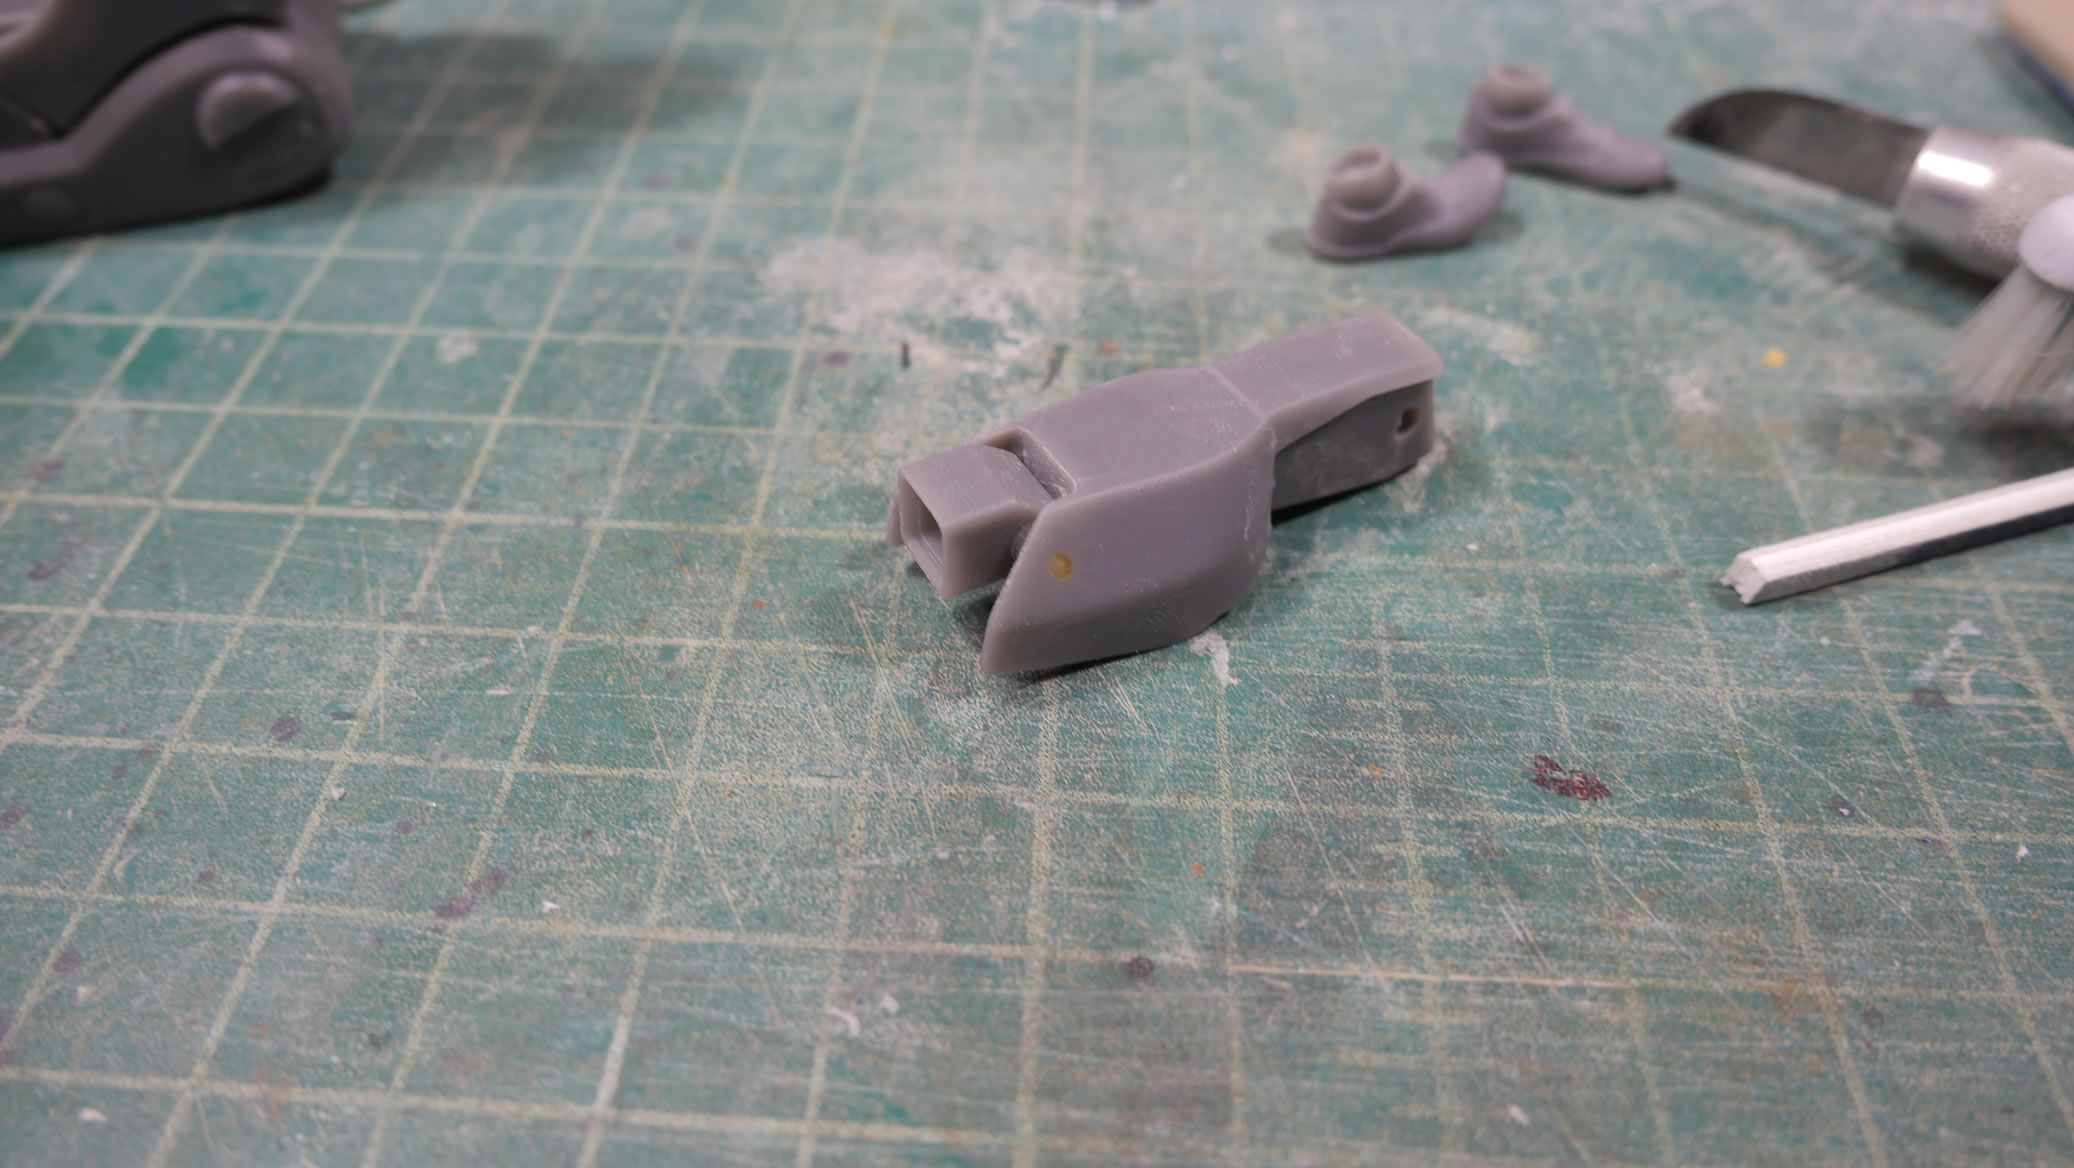
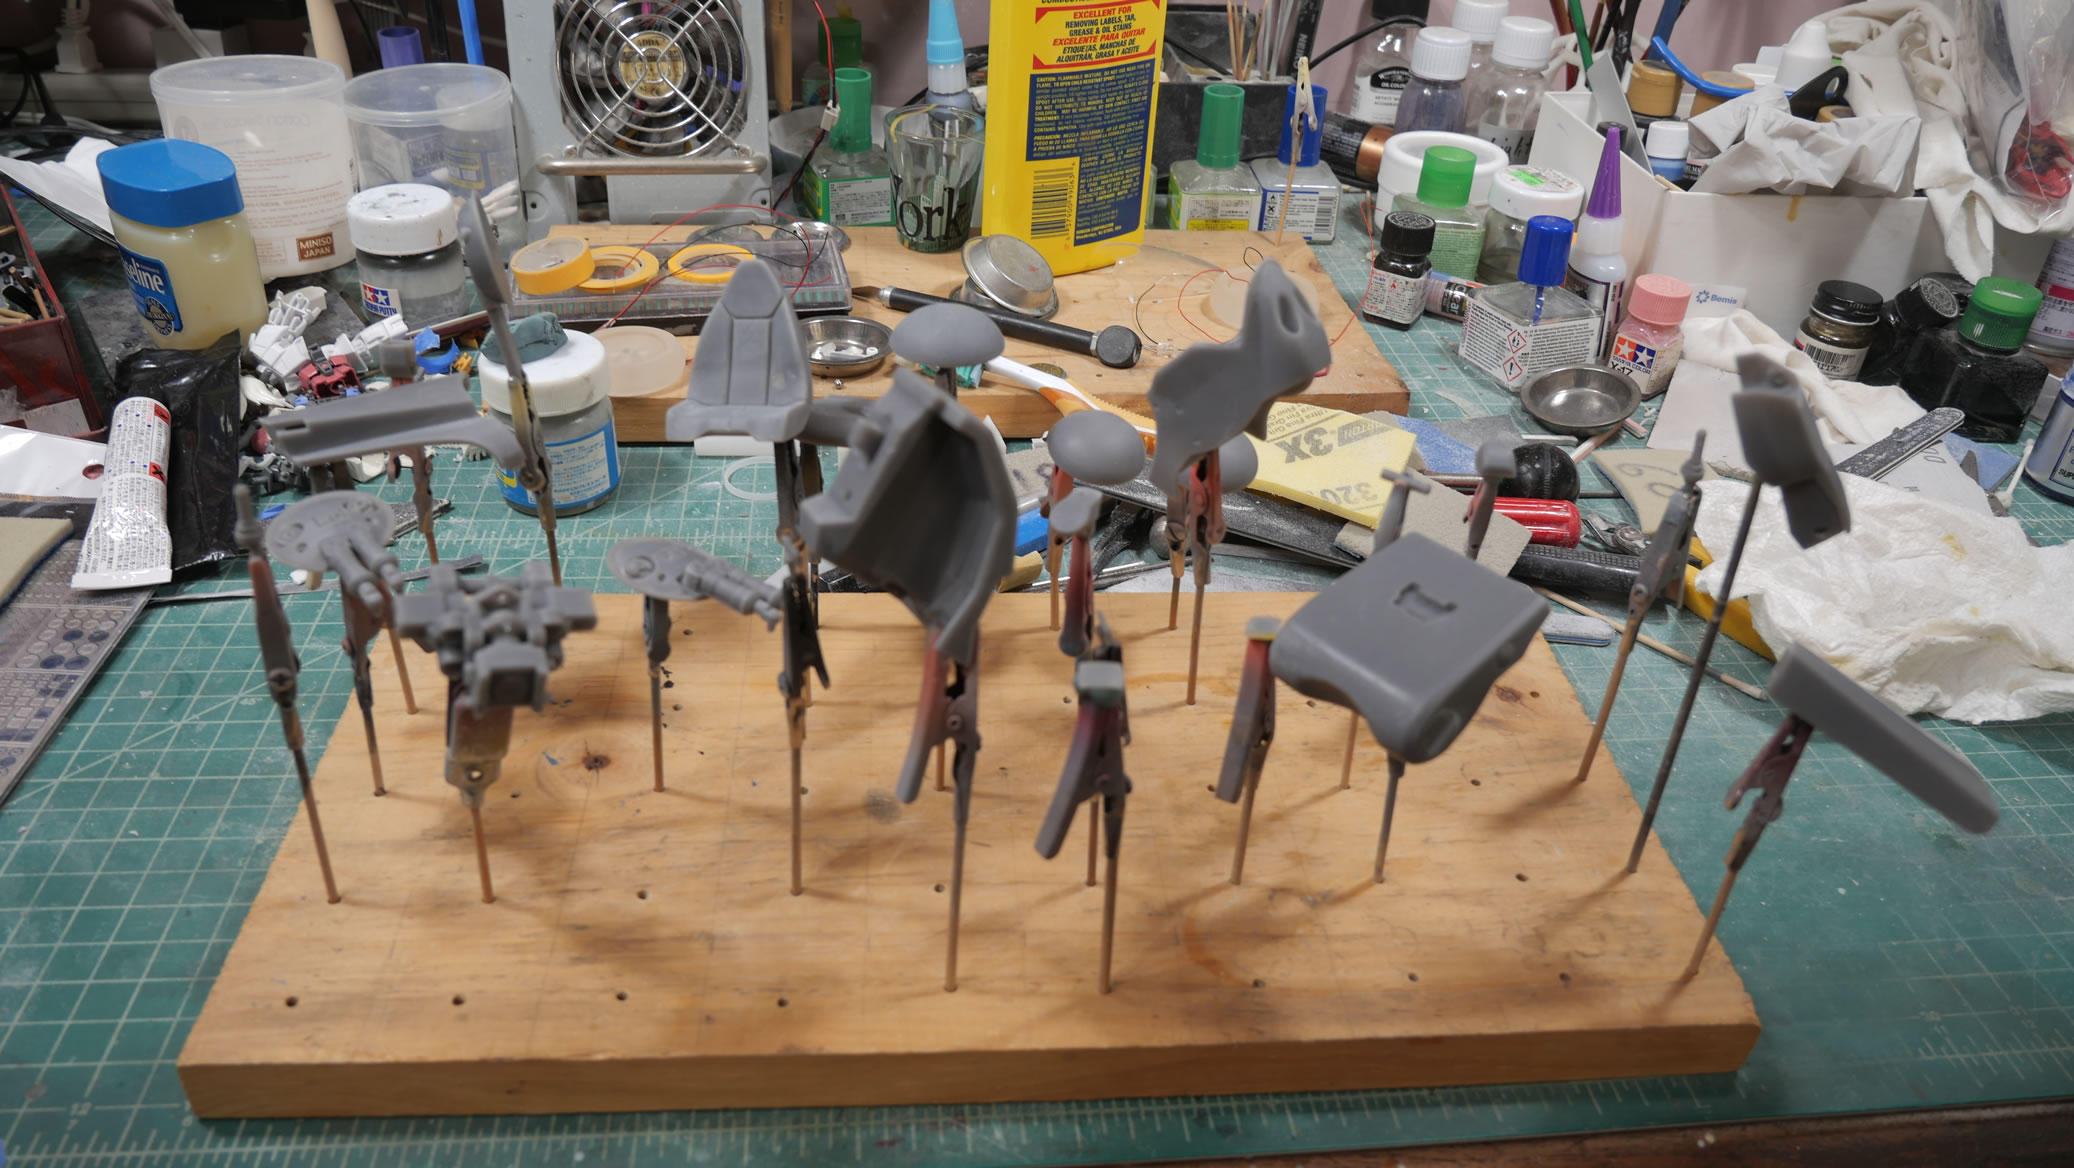
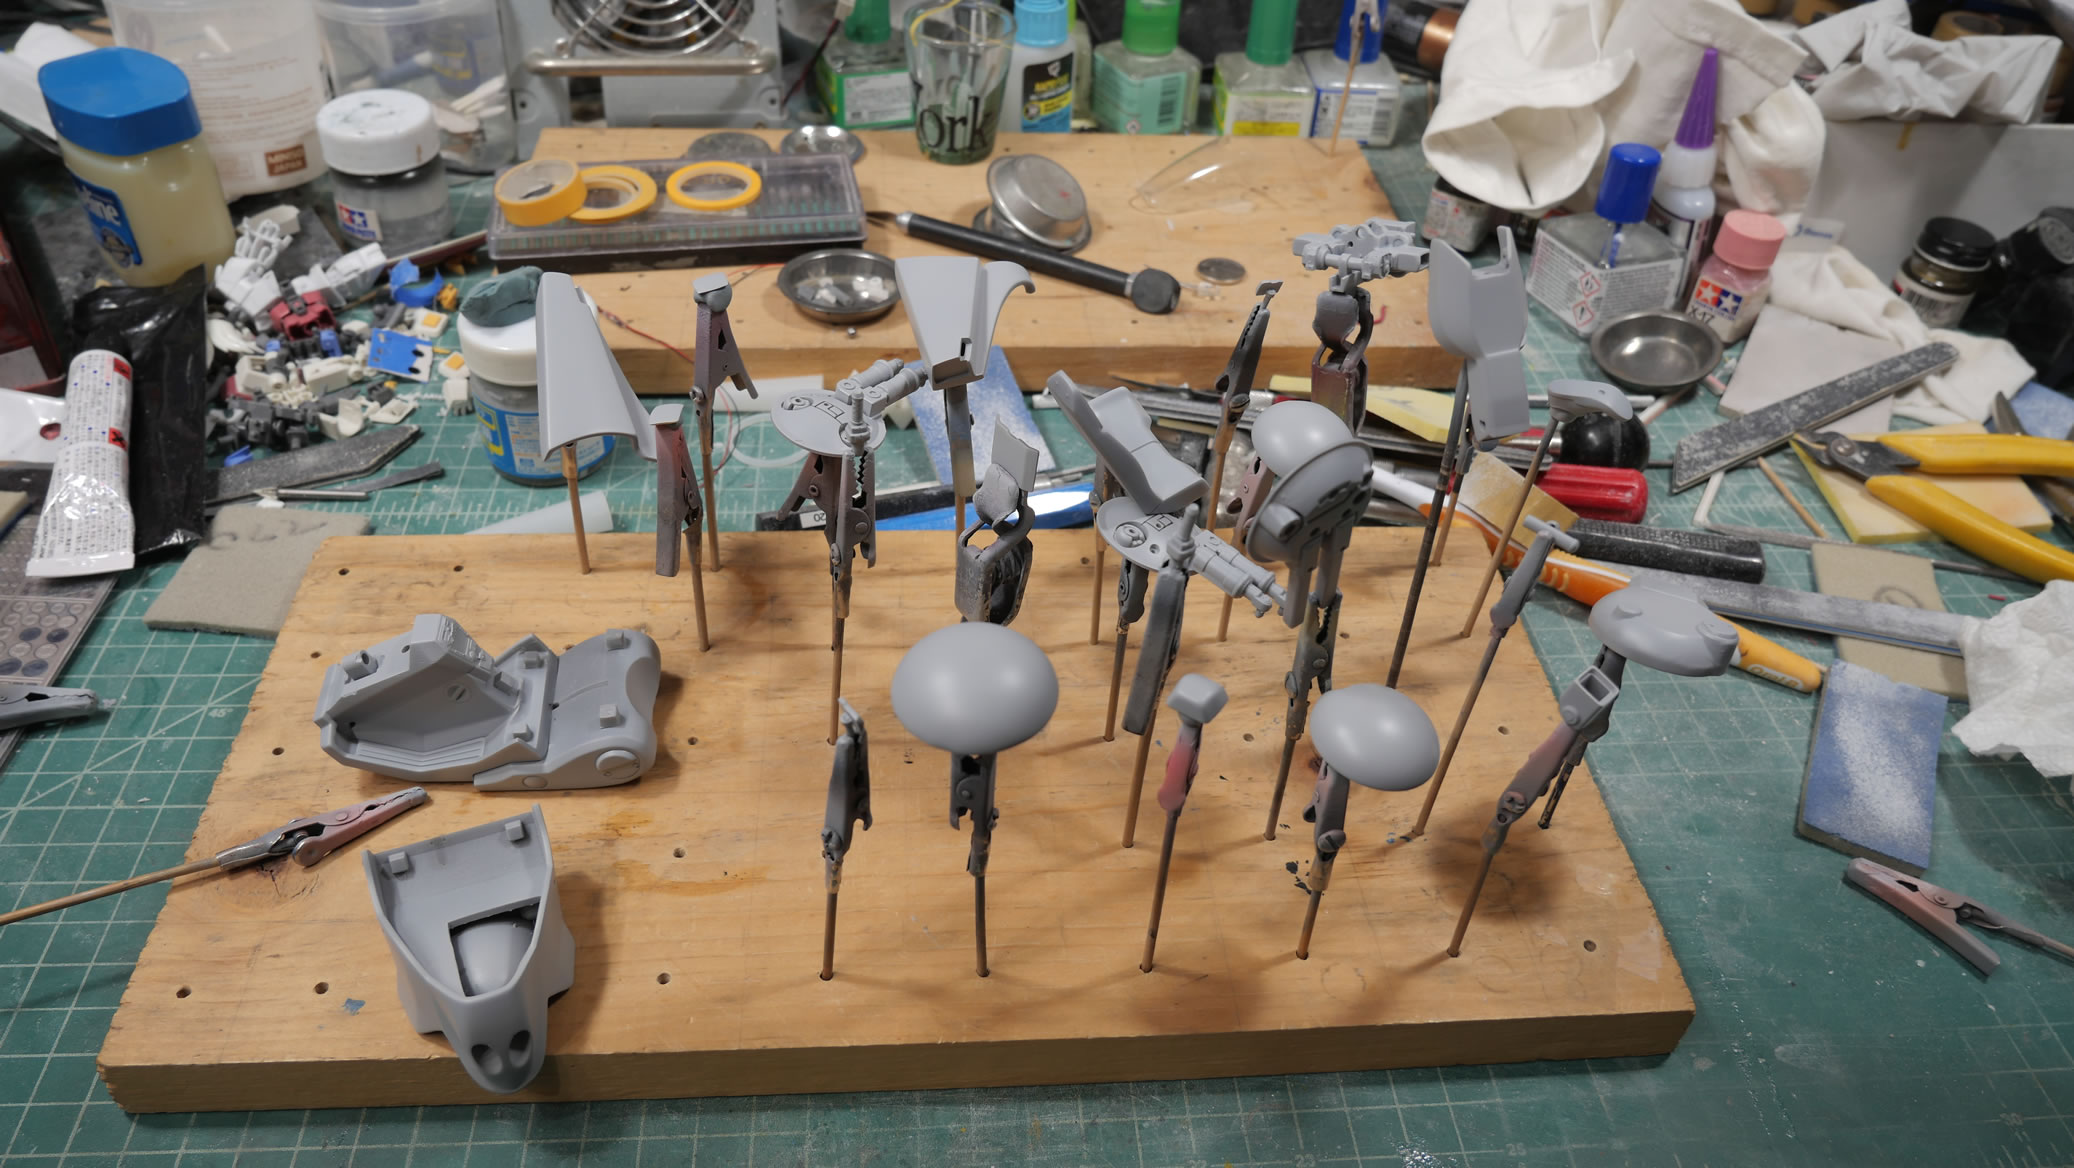
Parts are sanded. Print lines are minimalized with higher resolution printing, but they’re still there; so sanding is necessary. The parts are primed and checked for print lines and issues are fixed and reprimed.
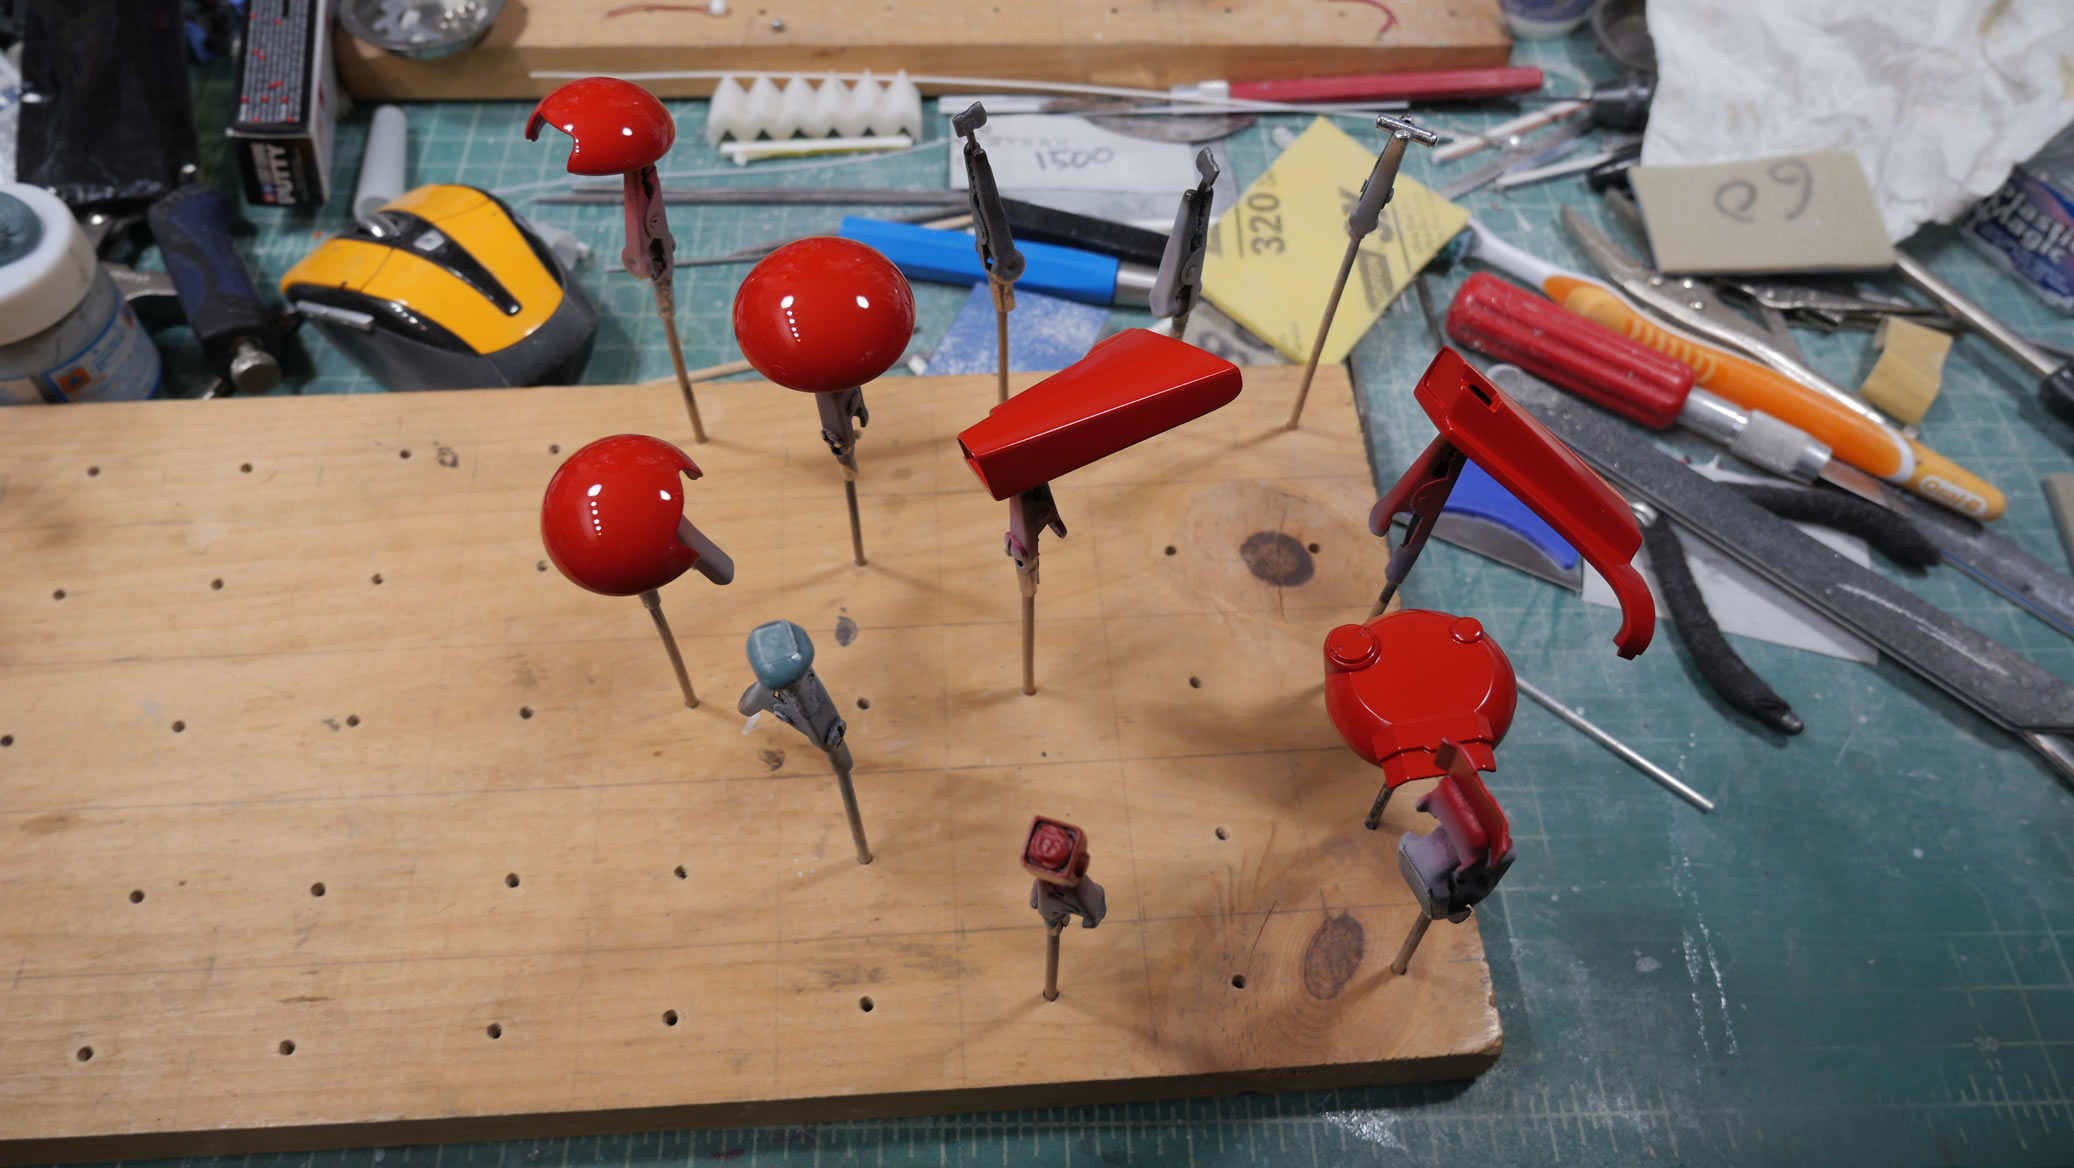
Yoshimura red from finisher’s is the red of choice for this kit. Fitting as Yoshimura does custom parts for motorcycles and has a racing team.
The main body is glued together and light curing putty to fill all the gaps. Lots of gaps here, but the light curing putty does a very nice job, and very quickly.
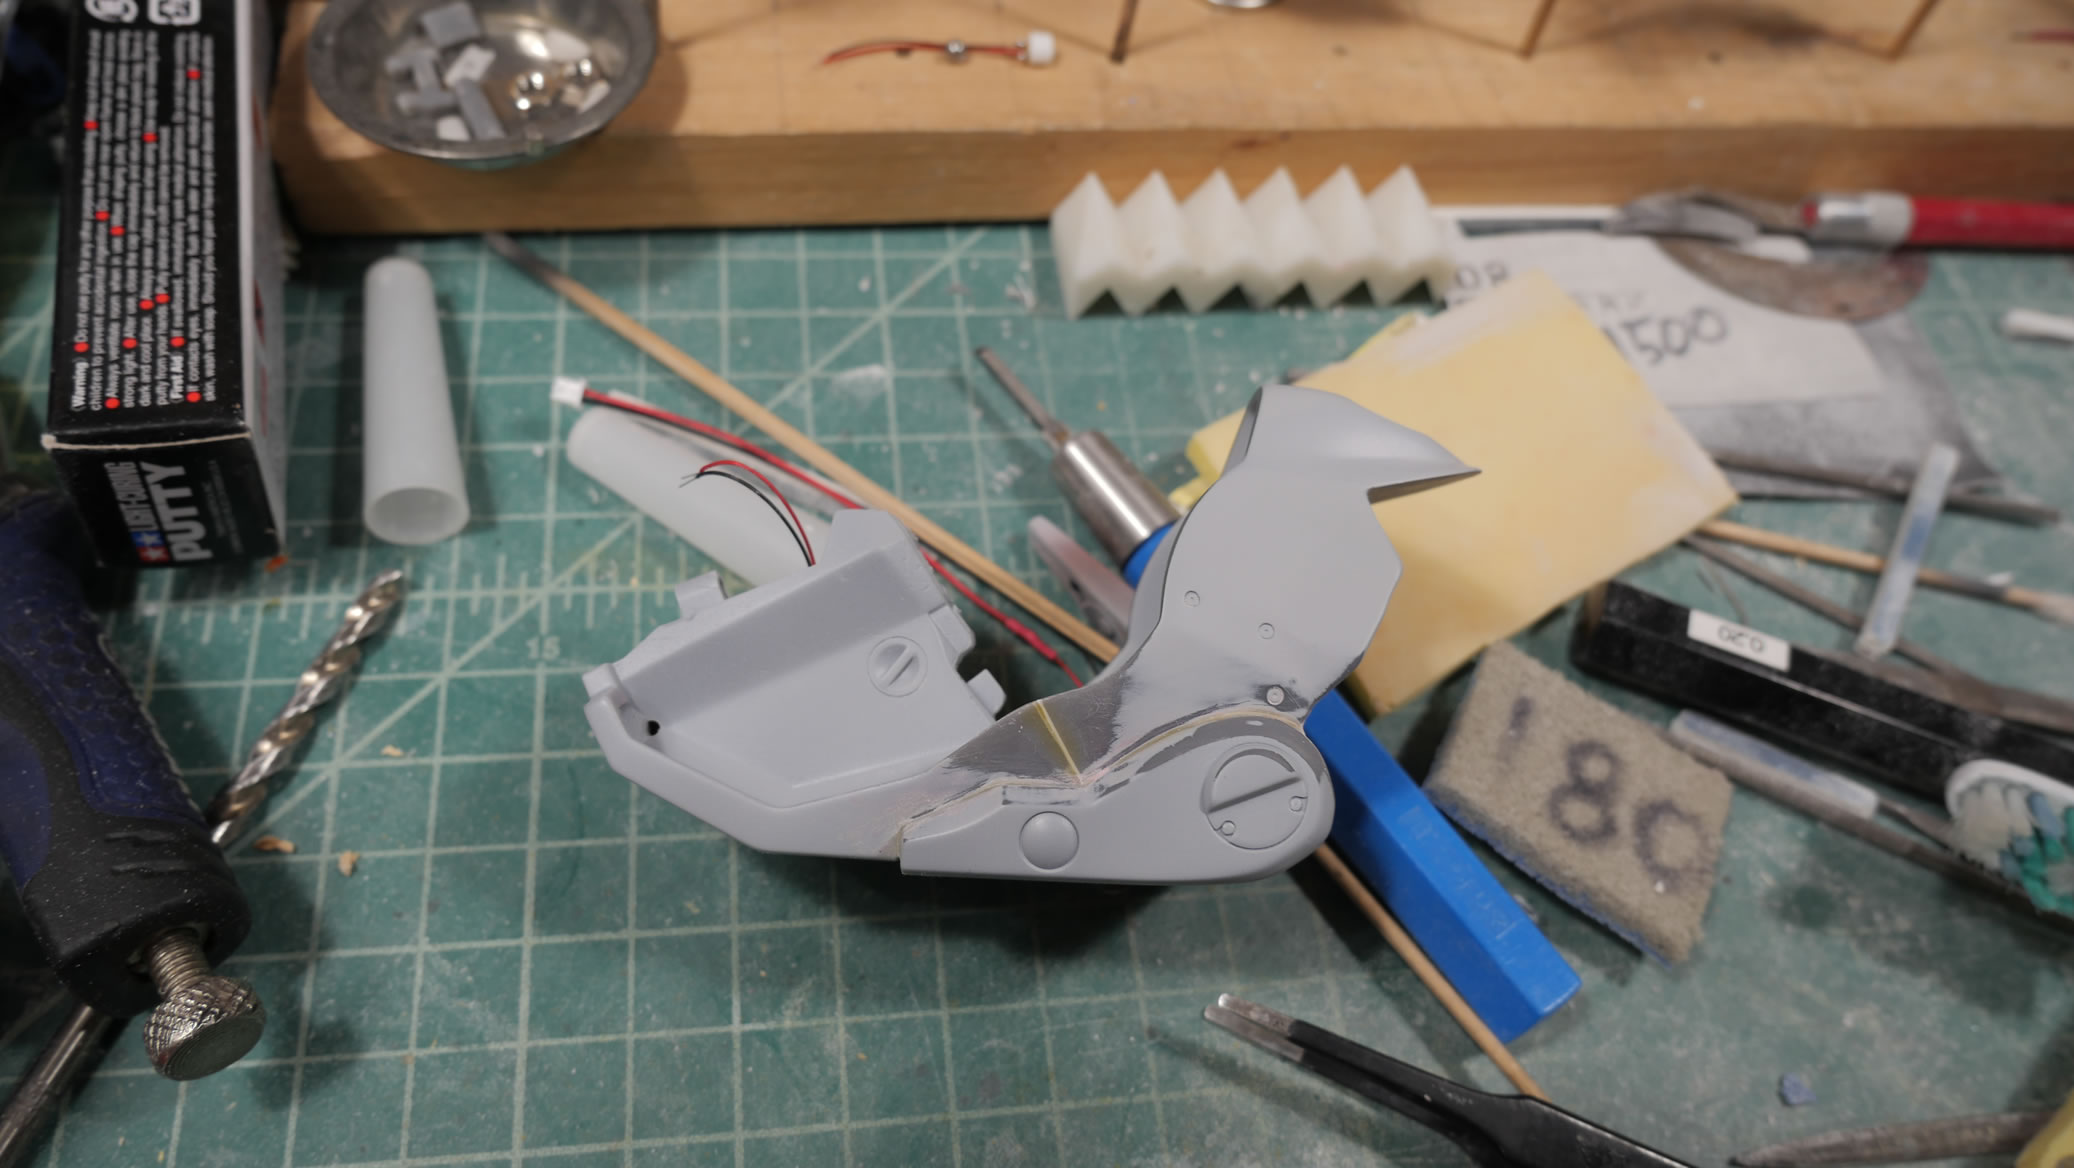
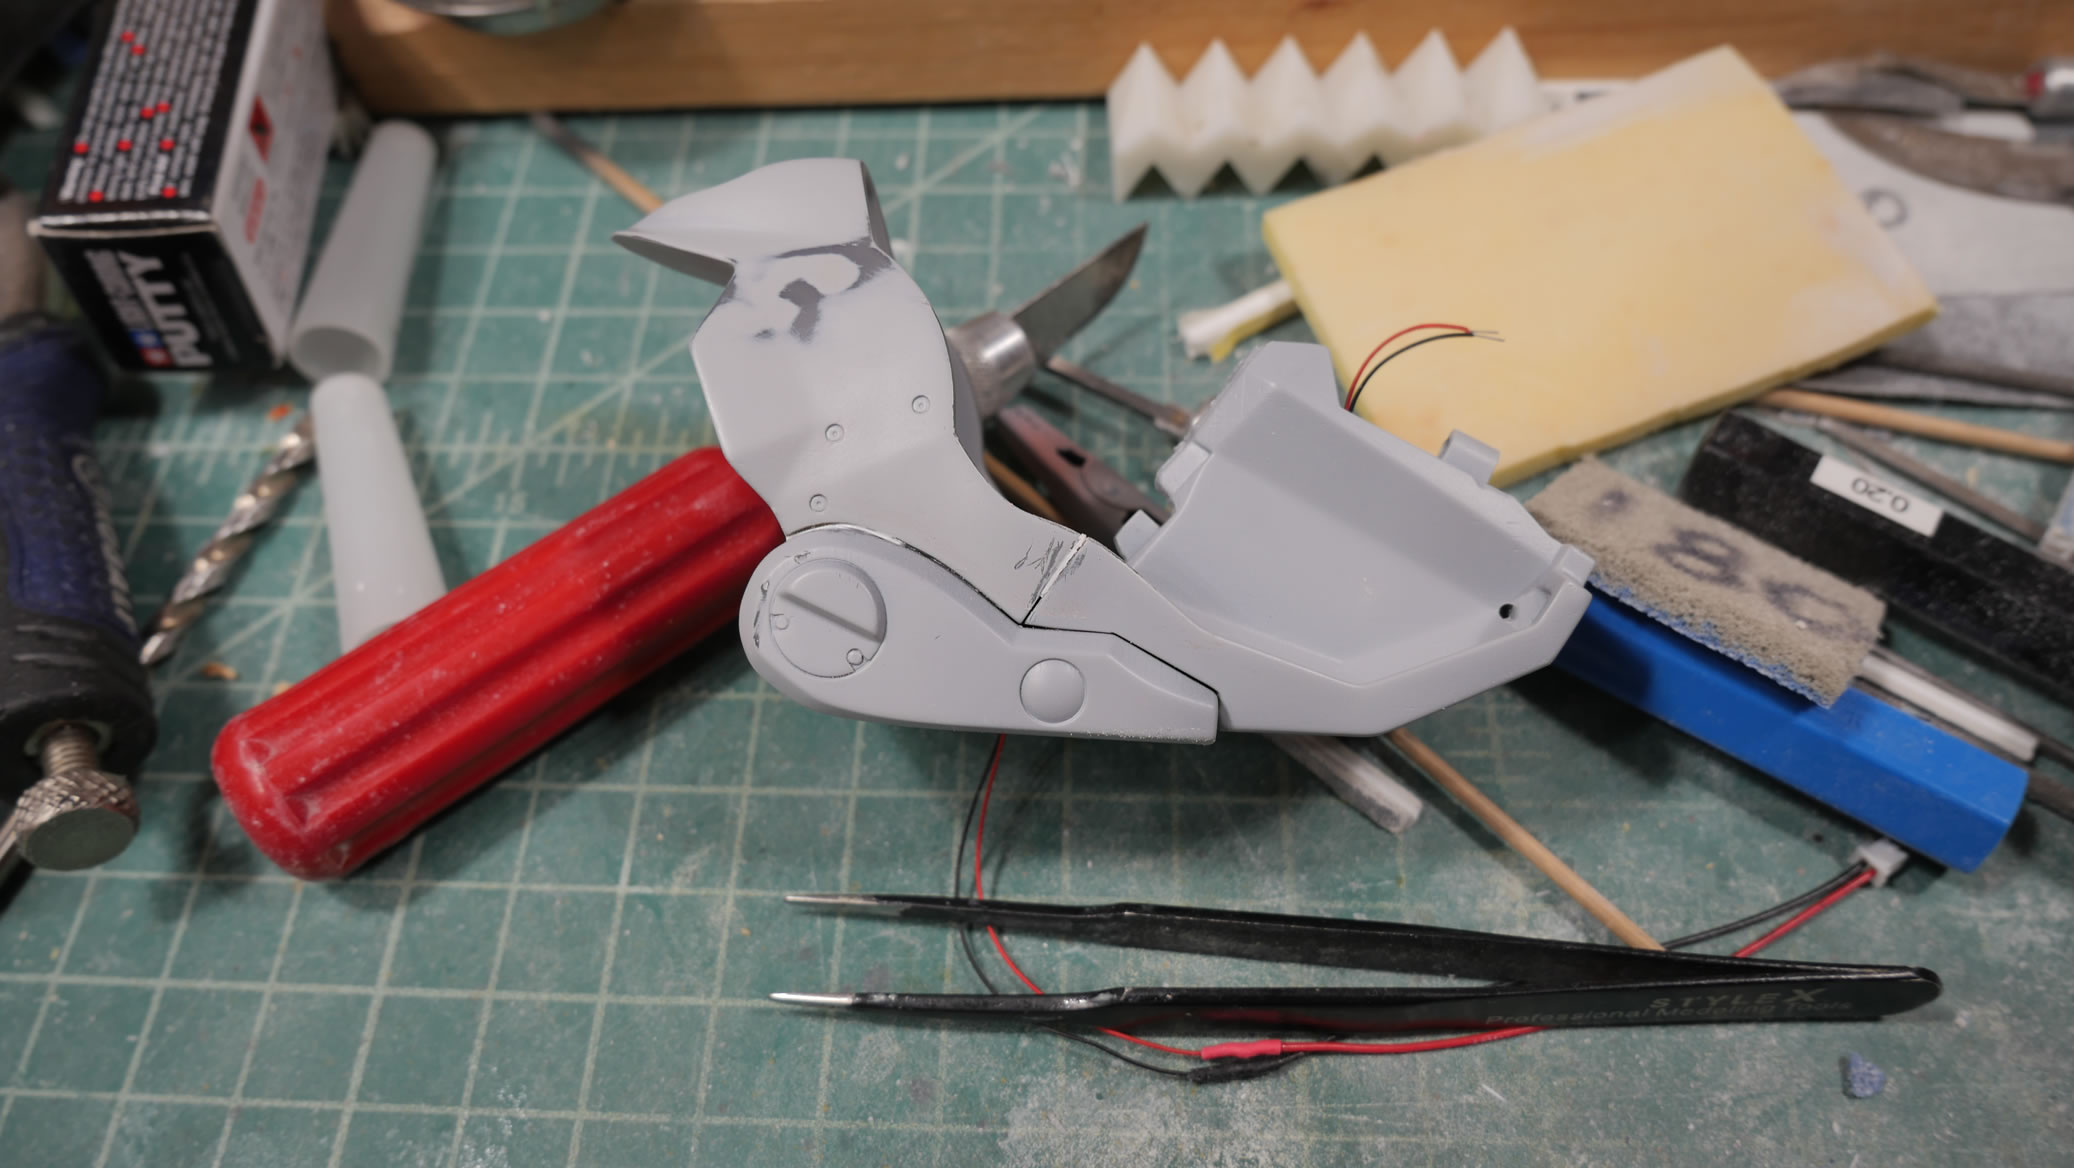
Gaps filled, sanded, and primed.
Tail Lights
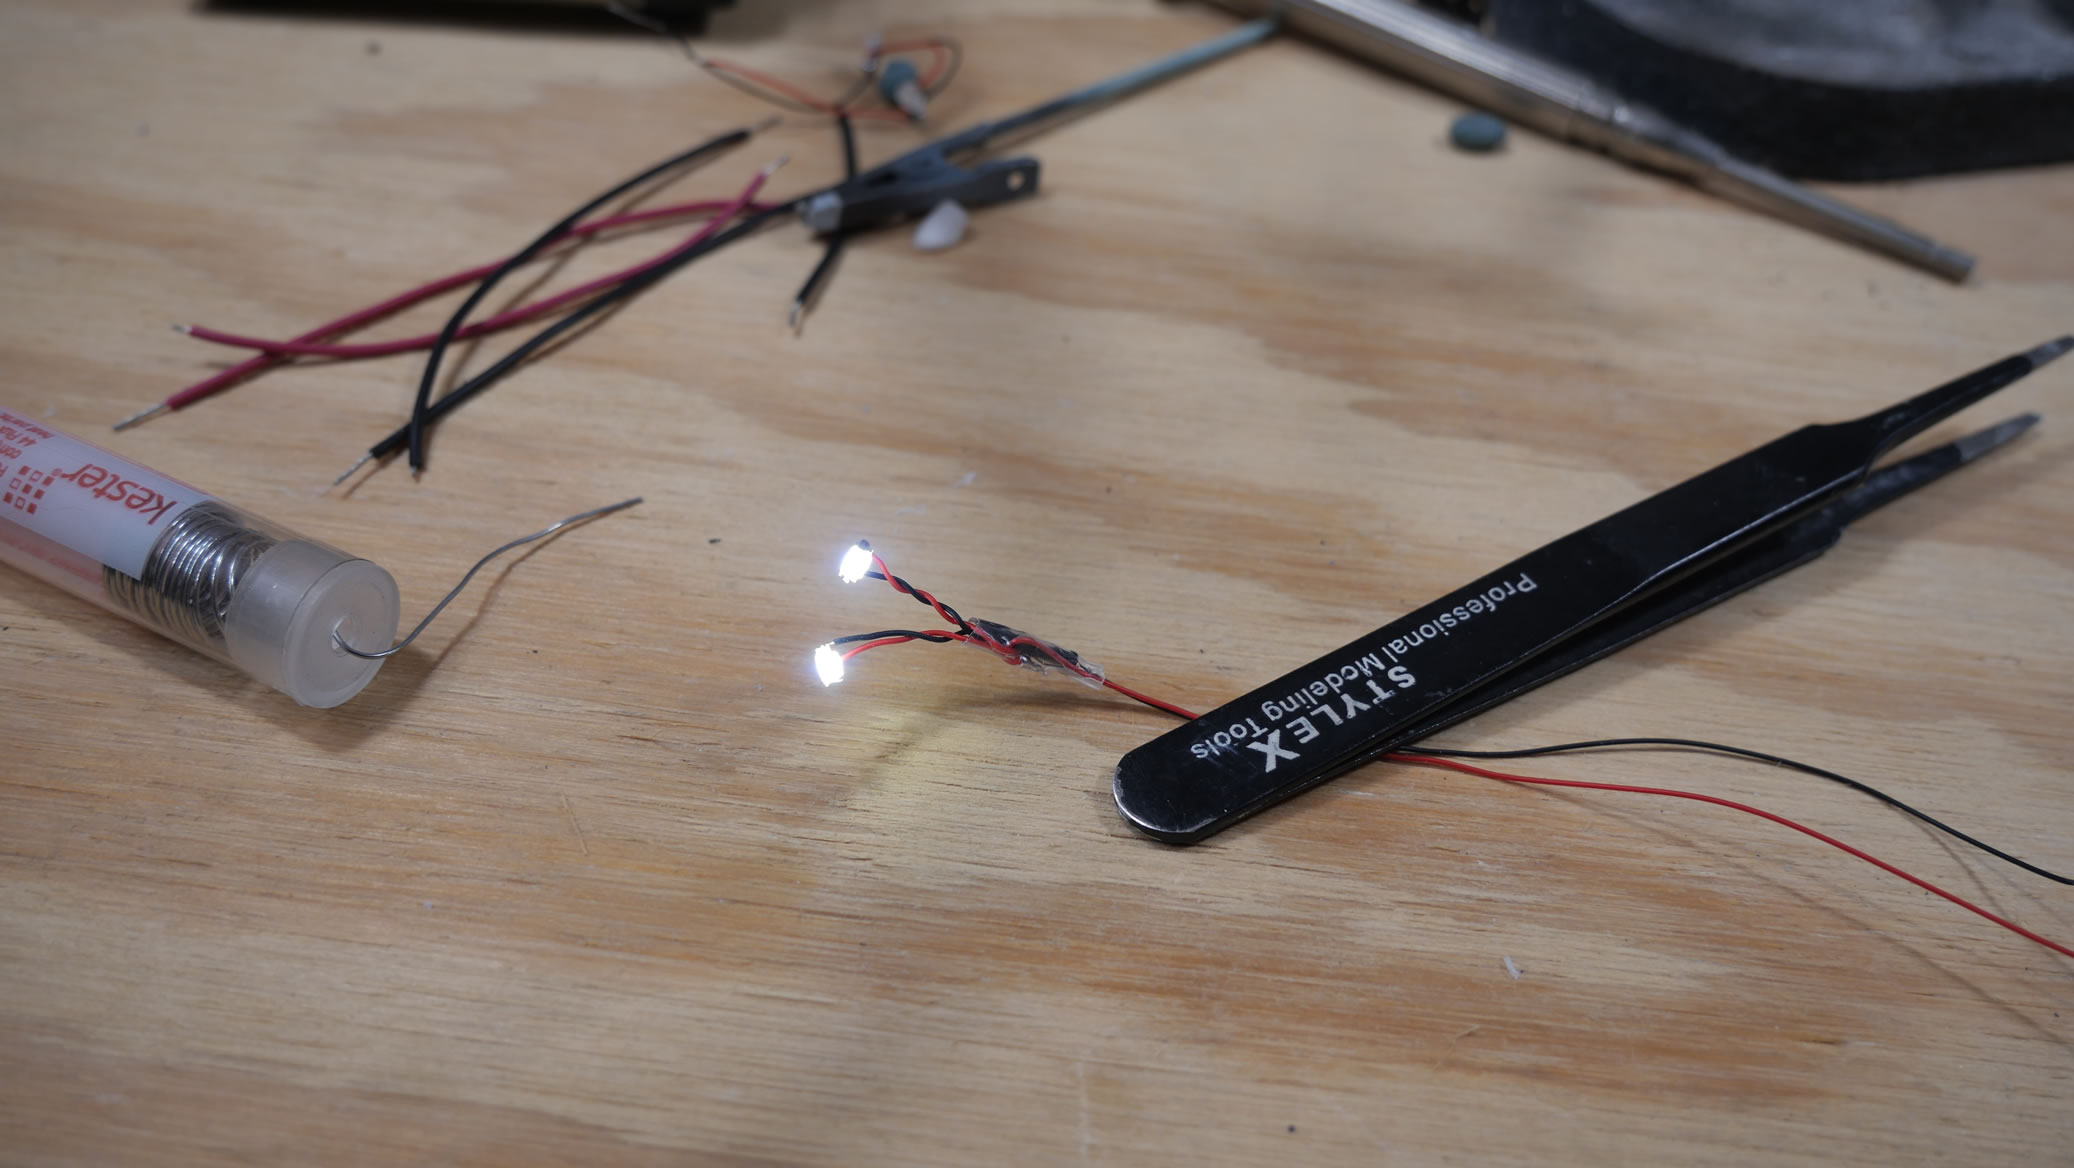
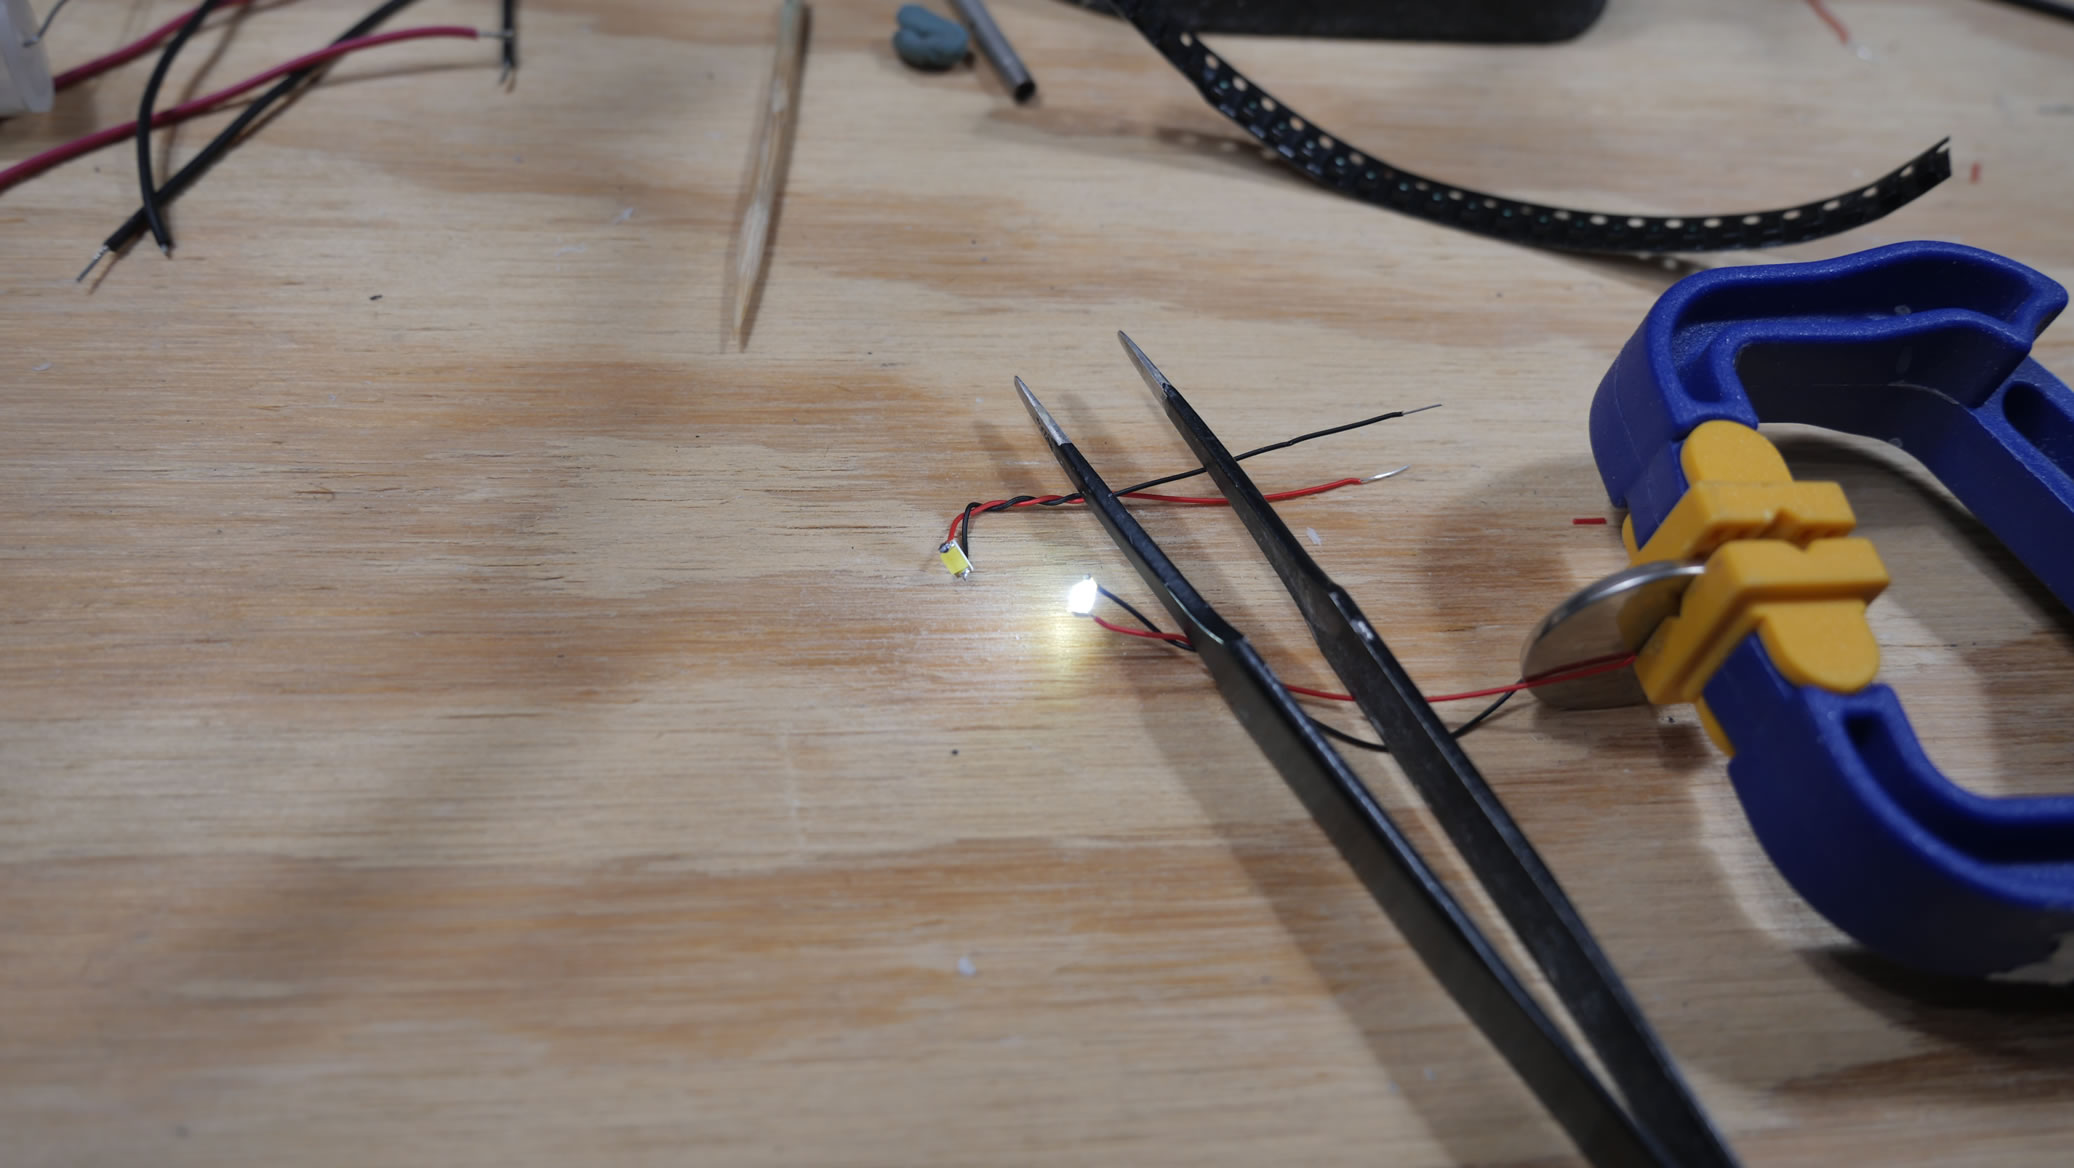
Electronic work. I tried the different sizes of LEDs I have and none fit into the little spot behind the rear tail lights. This 3D design was designed with lighting effects in mind, so there are wire channels here and there and areas to put lights. However, for this, I will need to solder up some SMD lights. Here’s what the tail lights look like once lit. Not too bad. I’m using white LEDs for all the lights on this project so I don’t have to deal with the math of different colored LEDs. I’ll just paint in clear colors areas that need a different color. So the clear tail light pieces will be painted in clear red.
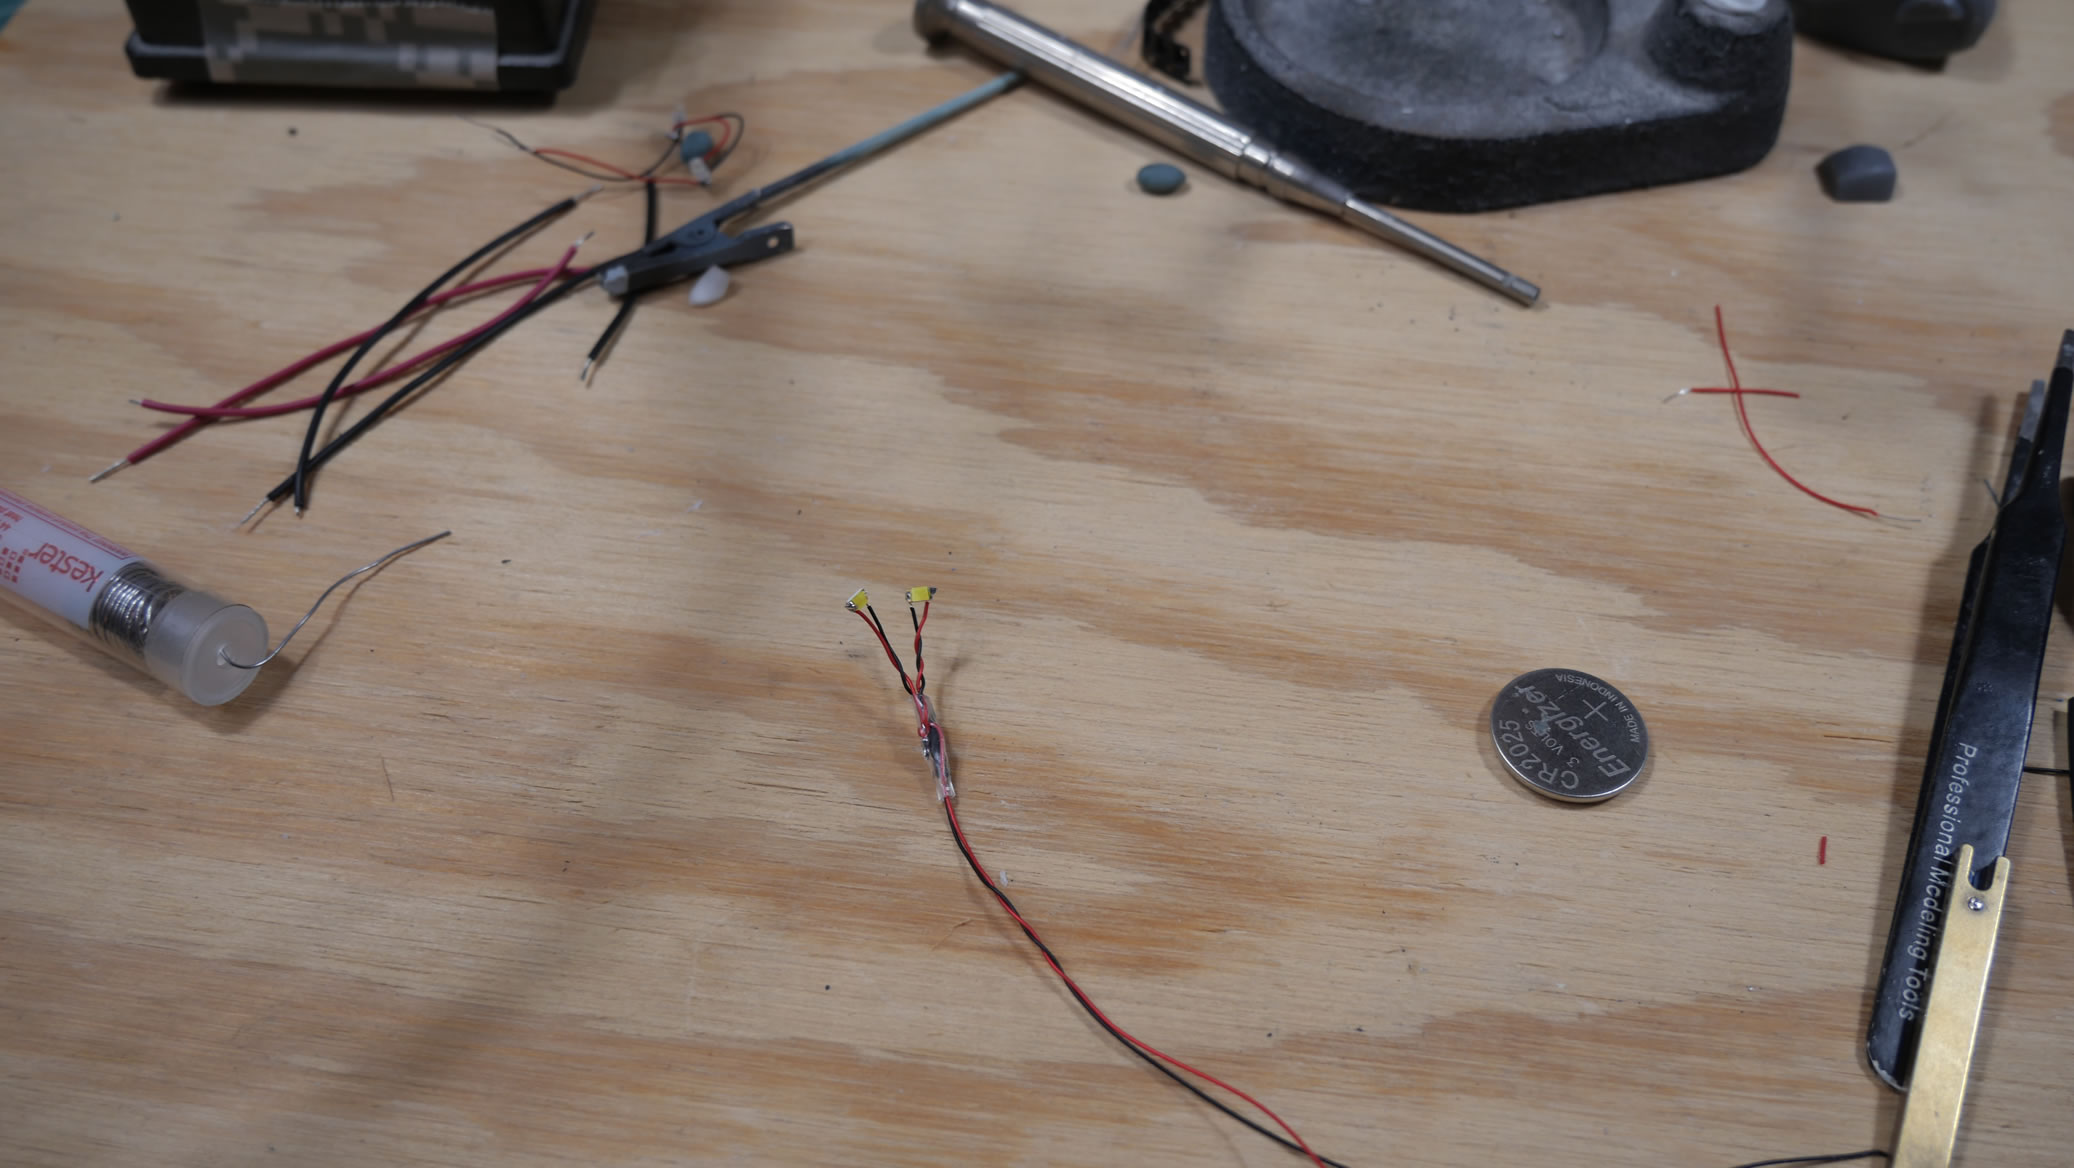
Here’s the surface mount LED work to solder things. There’s a mark noting the negative polarities. After a while, this gets easier, but I’m still horrible at soldering nicely. Eh, it works.


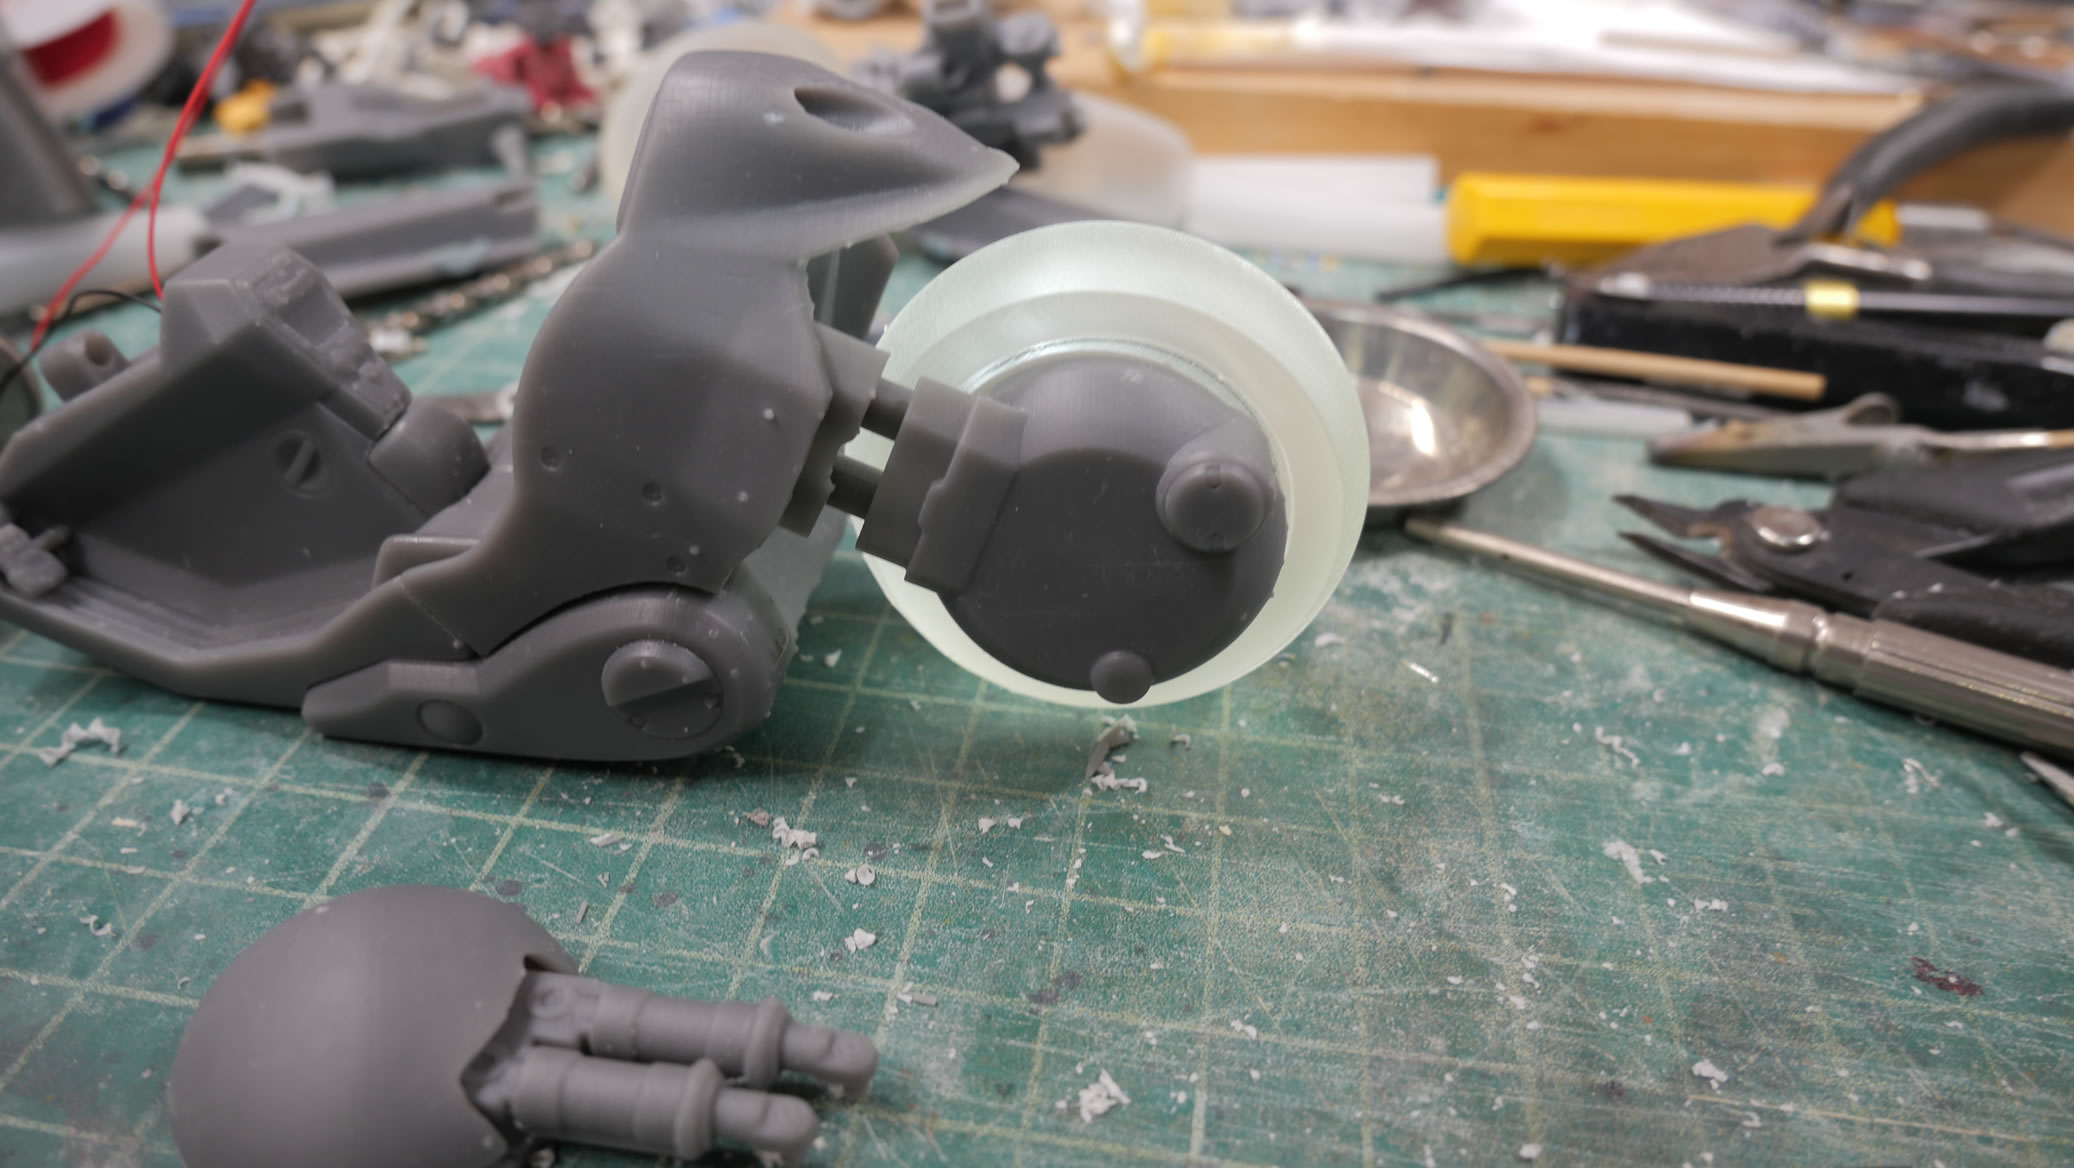
Light up wheels
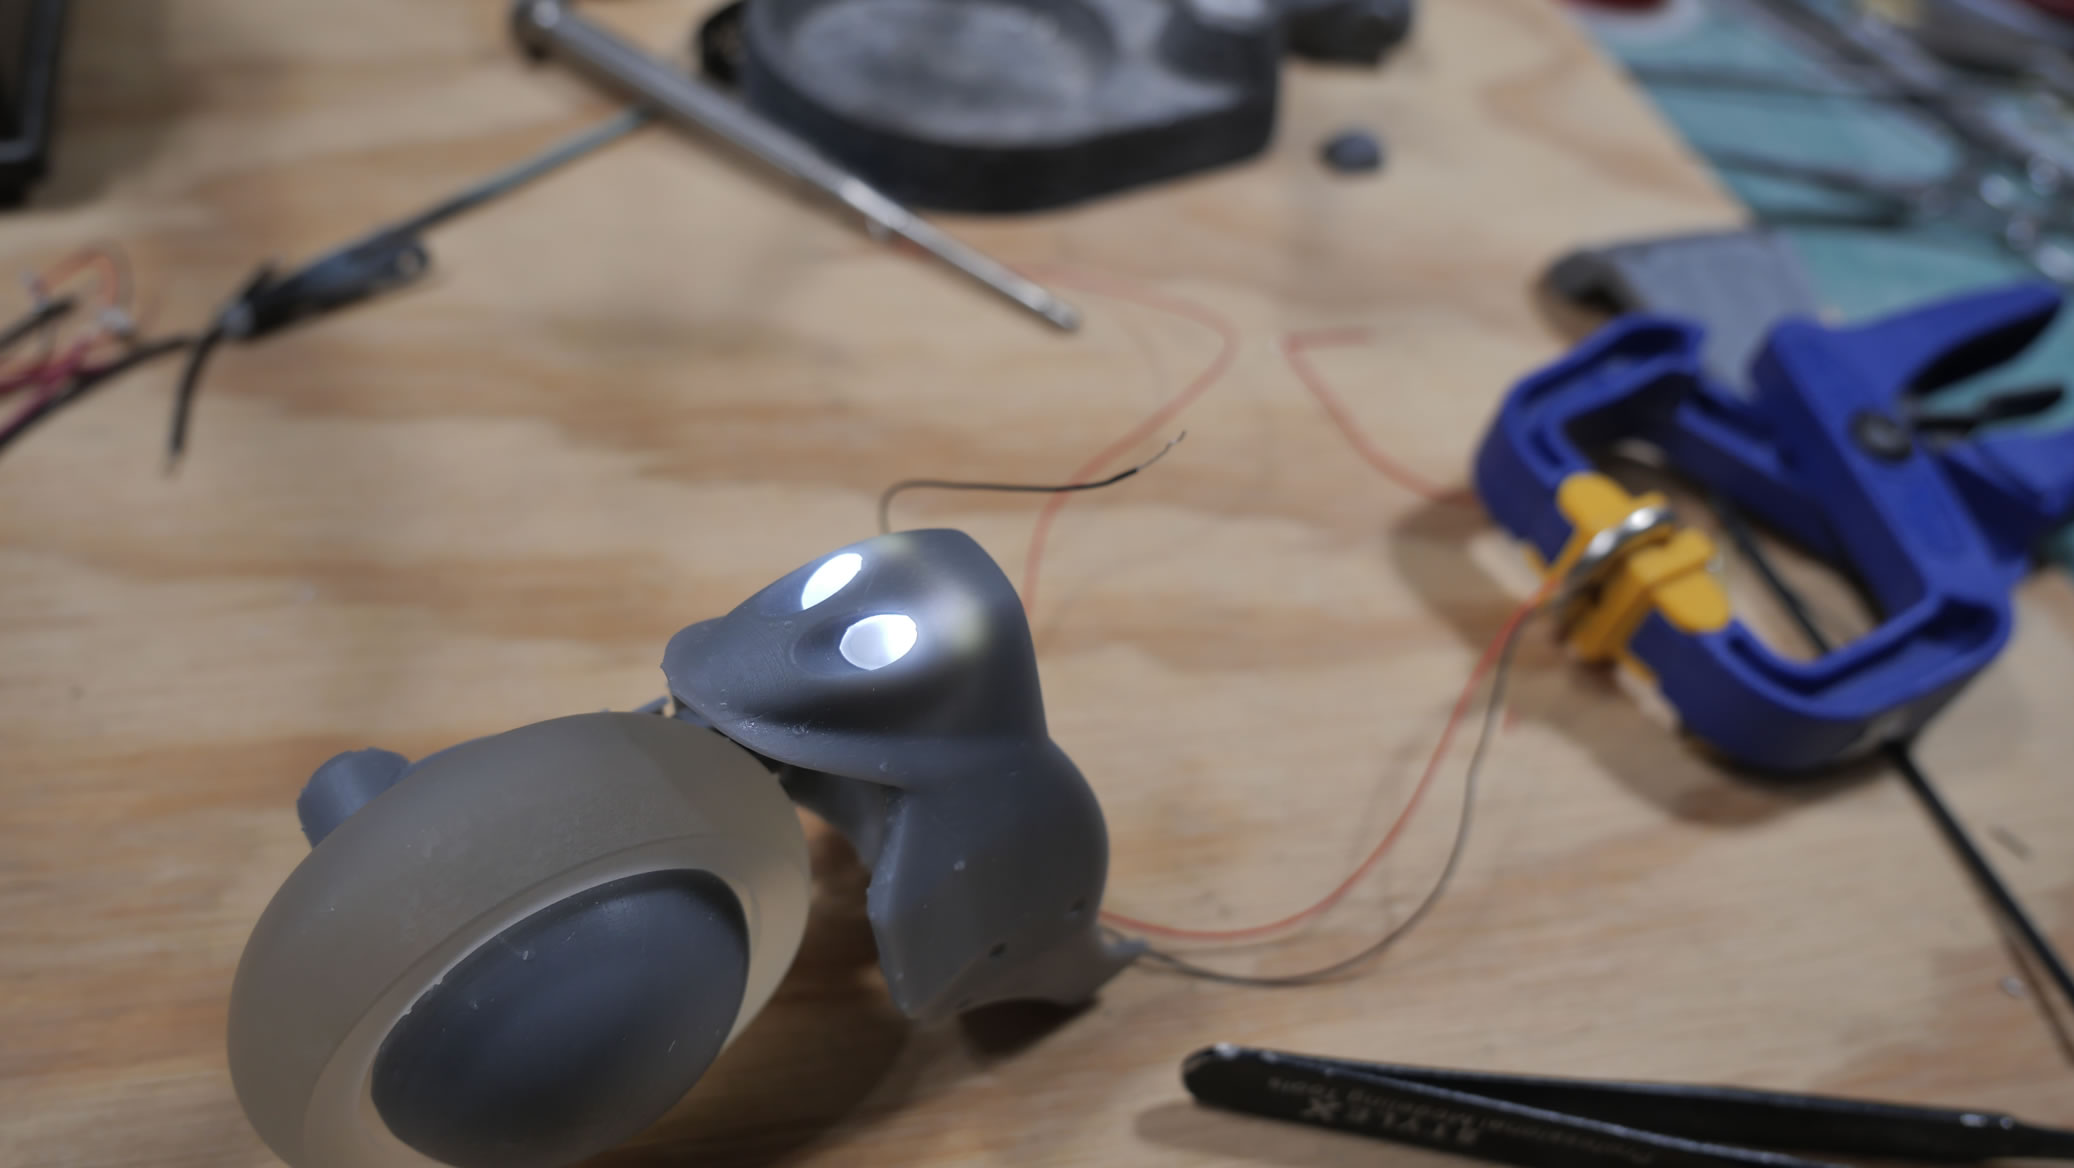
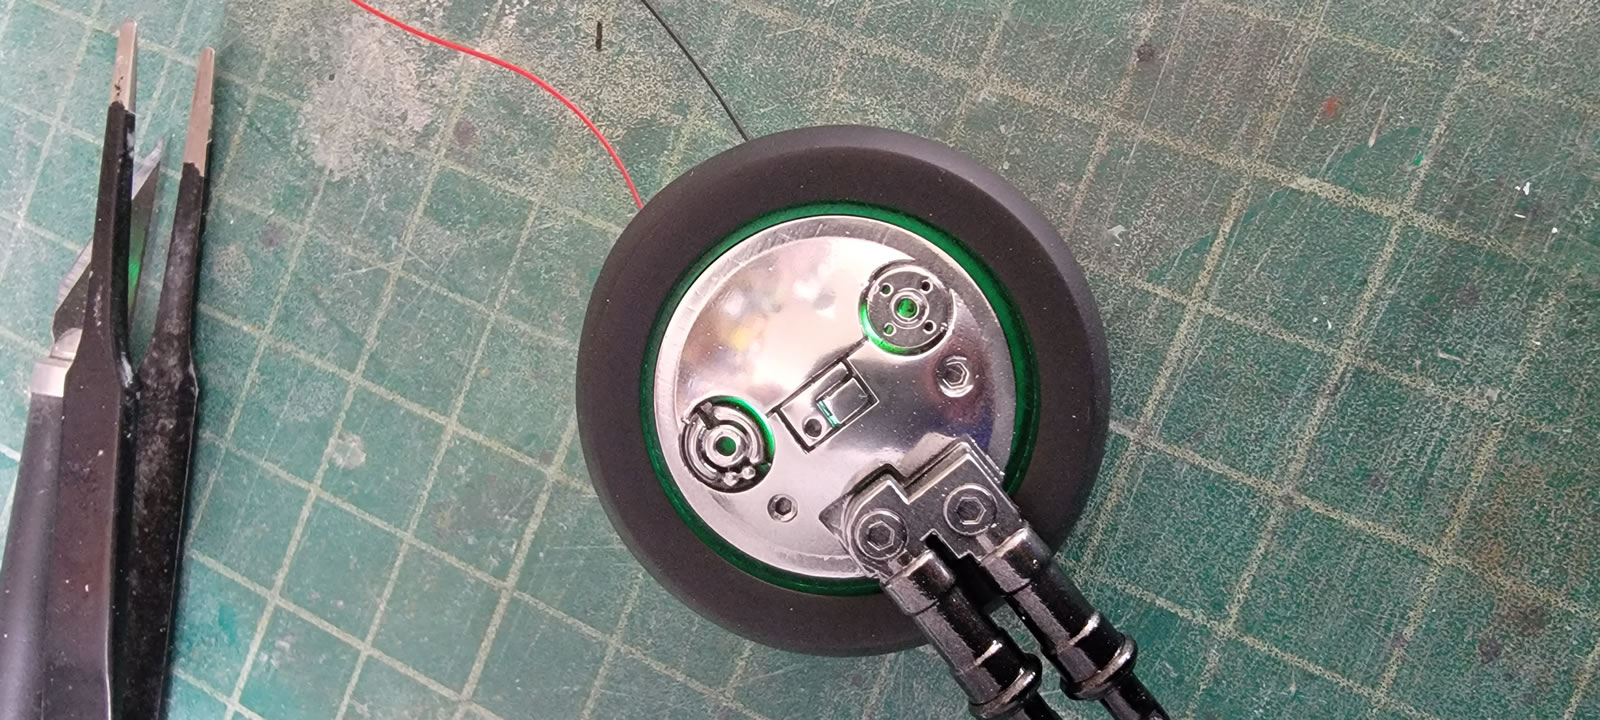
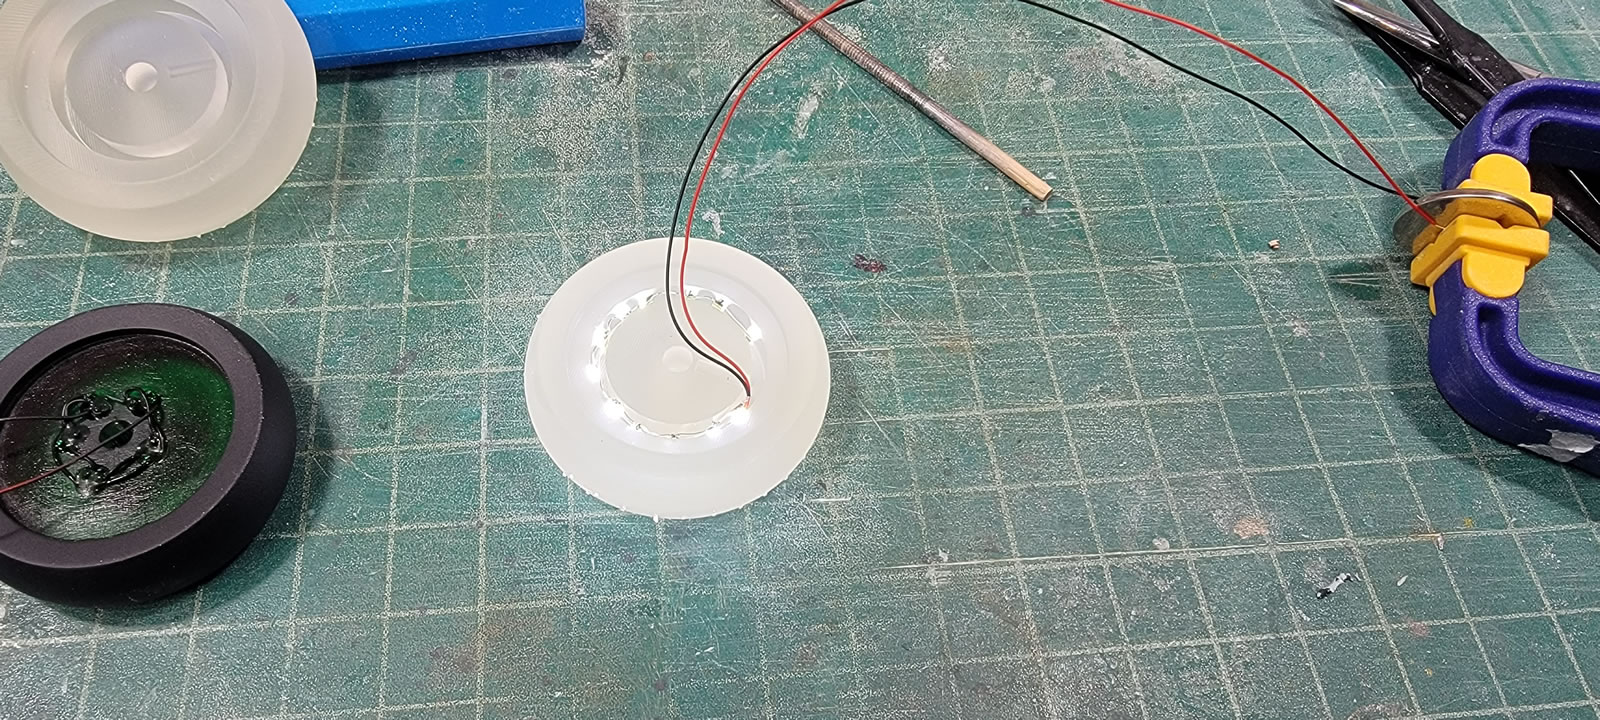
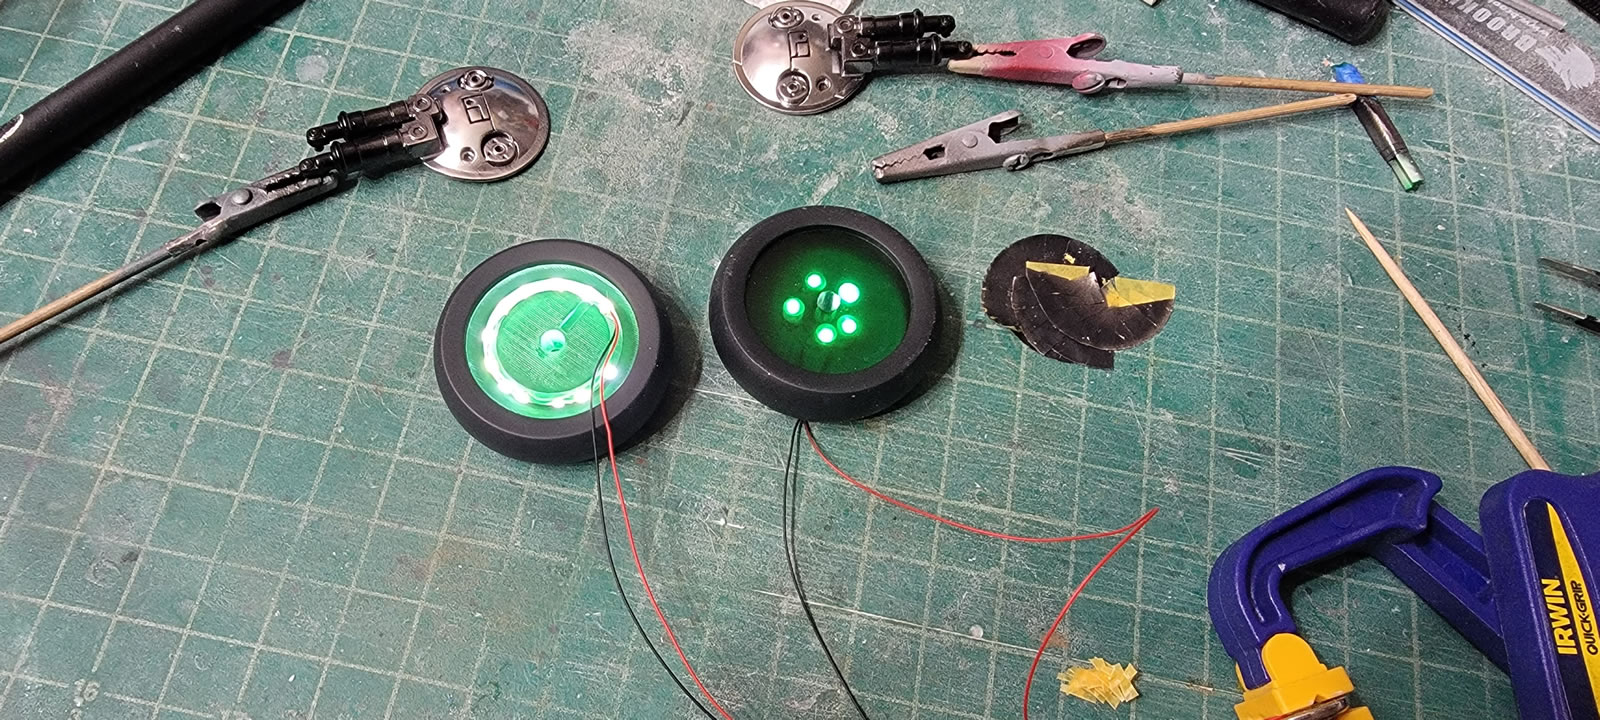
I had planned from the start to light up the wheels, so I printed them in clear. My attempt was to drill some holes into a center ring in the wheel, insert the LEDs, then paint and it should all work. Right? So in the first picture, the clear wheel is clearly lighting up nicely. Once I painted the clear green, I masked and painted the carbon black for the tires. And it’s still lighting up…
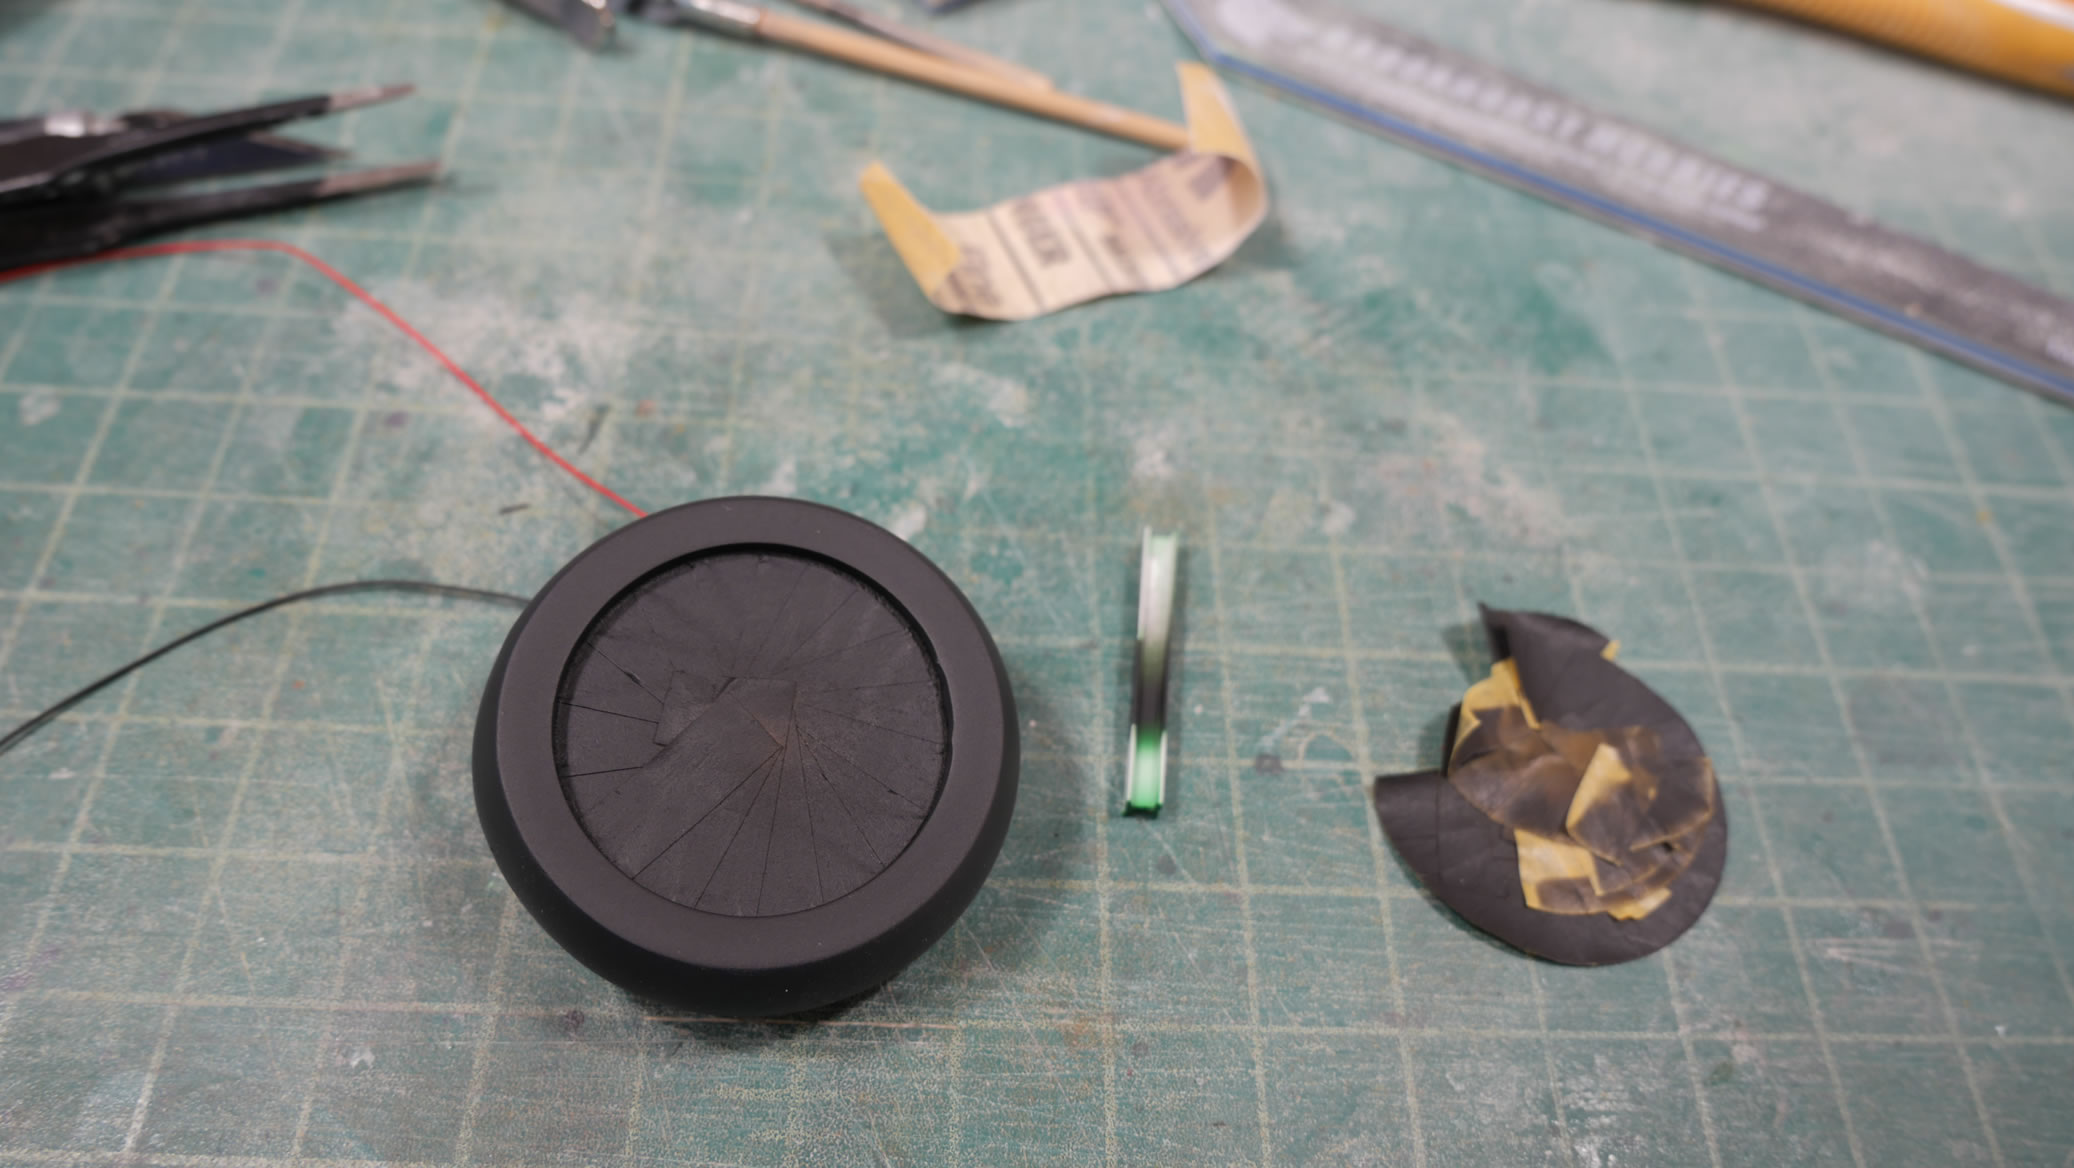
Then I did a test with the wheel covers and yeah, nothing. Turning out the light, I see a small sliver of light.
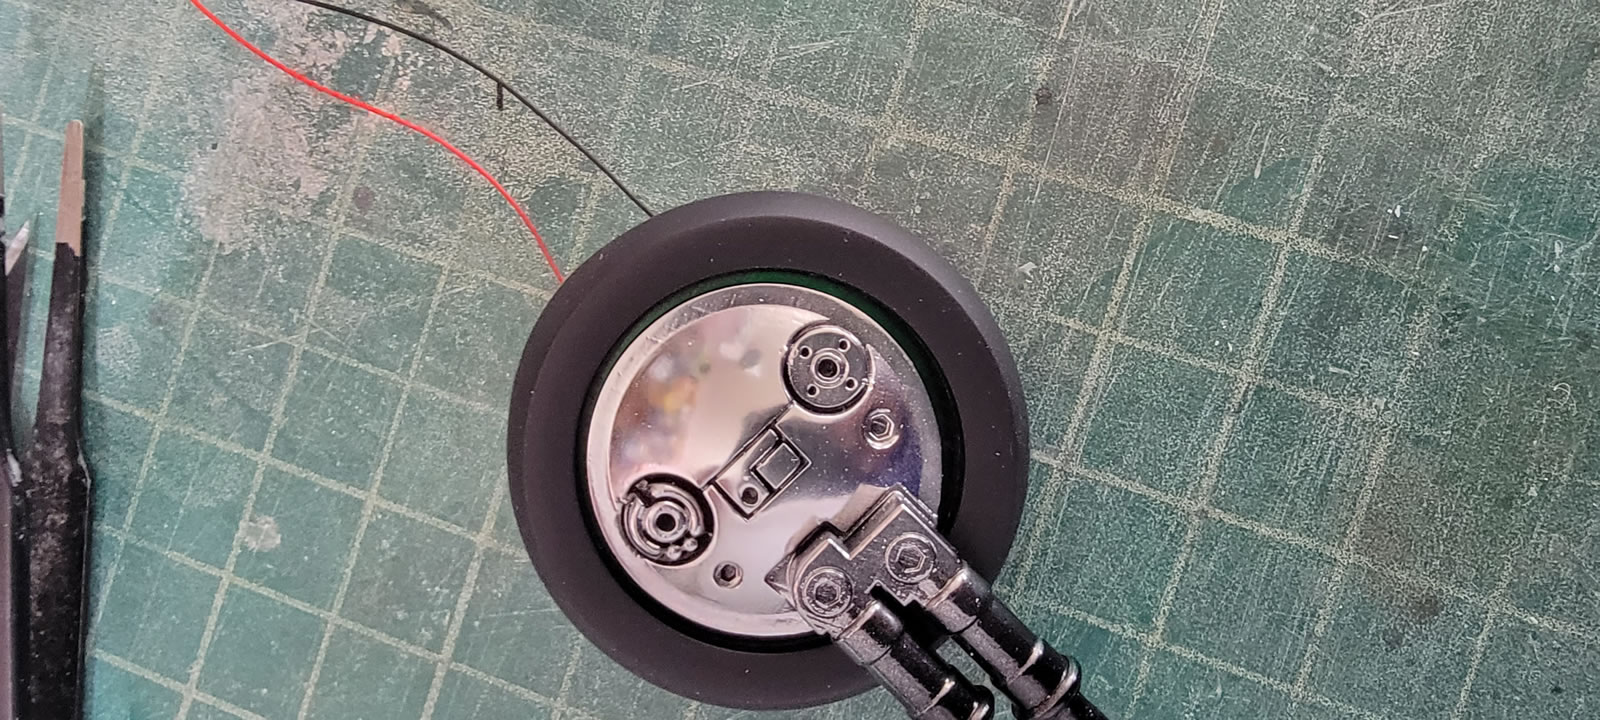
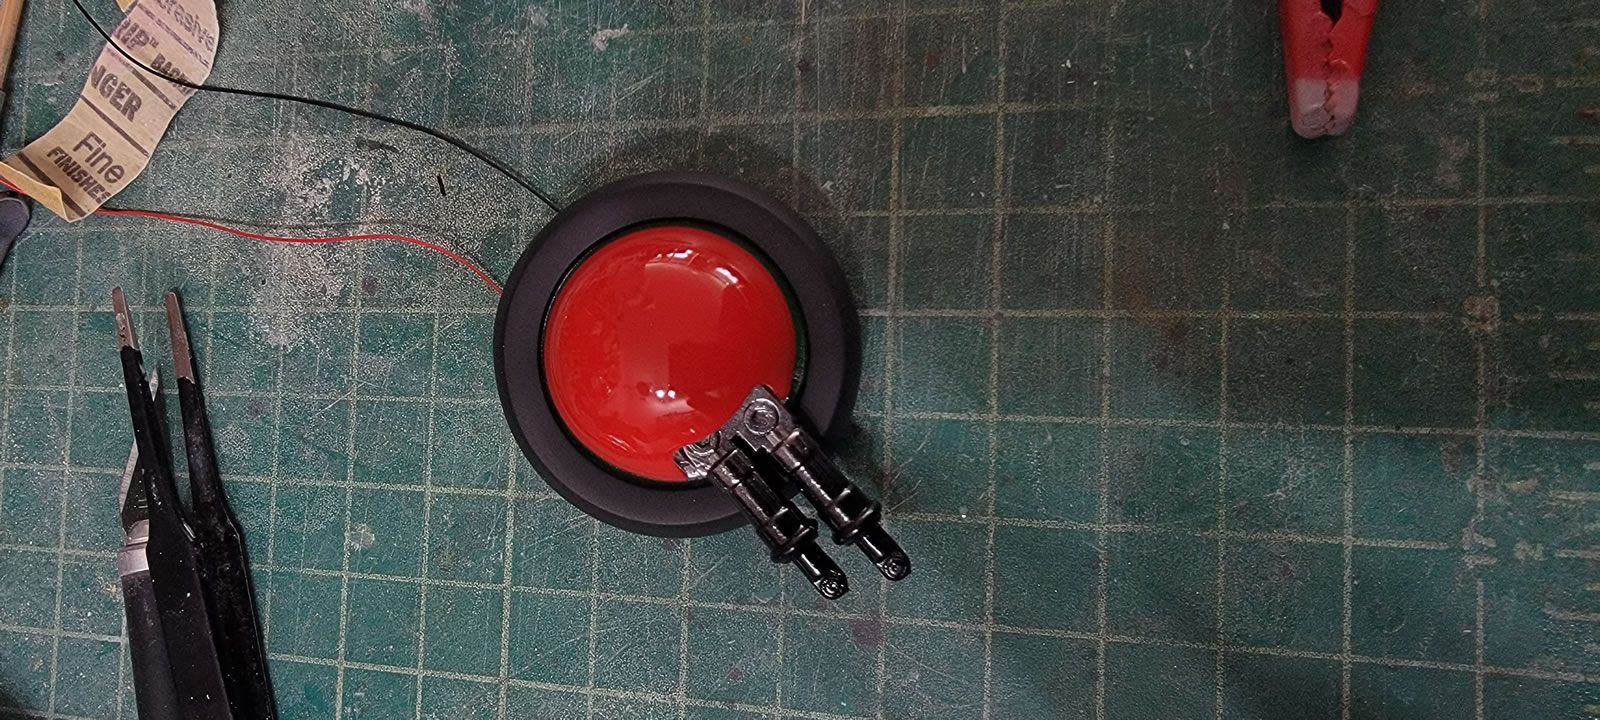
I then thought that the contrast with the red wheel covers and the lights turned off might help. It did not.


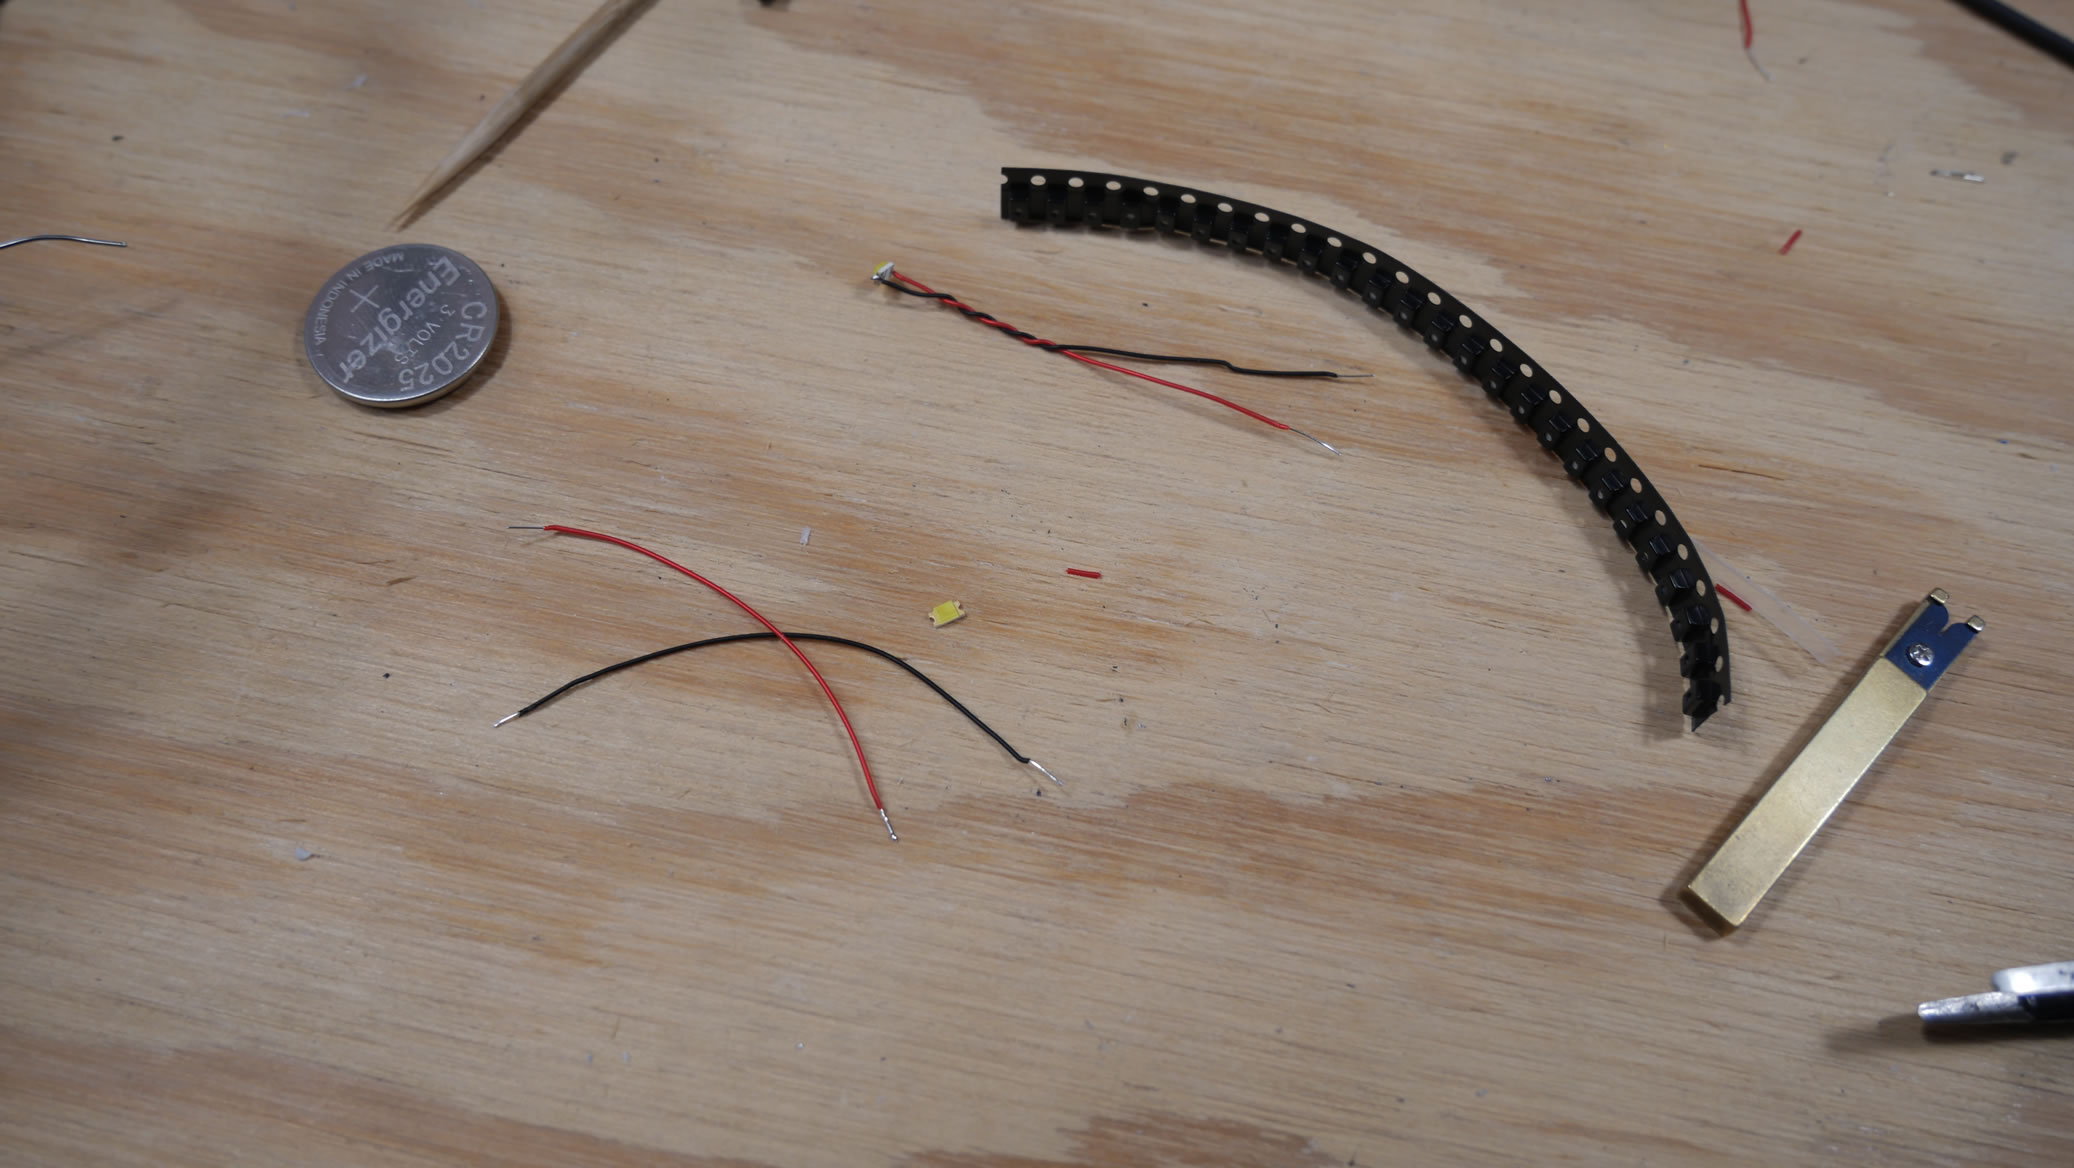
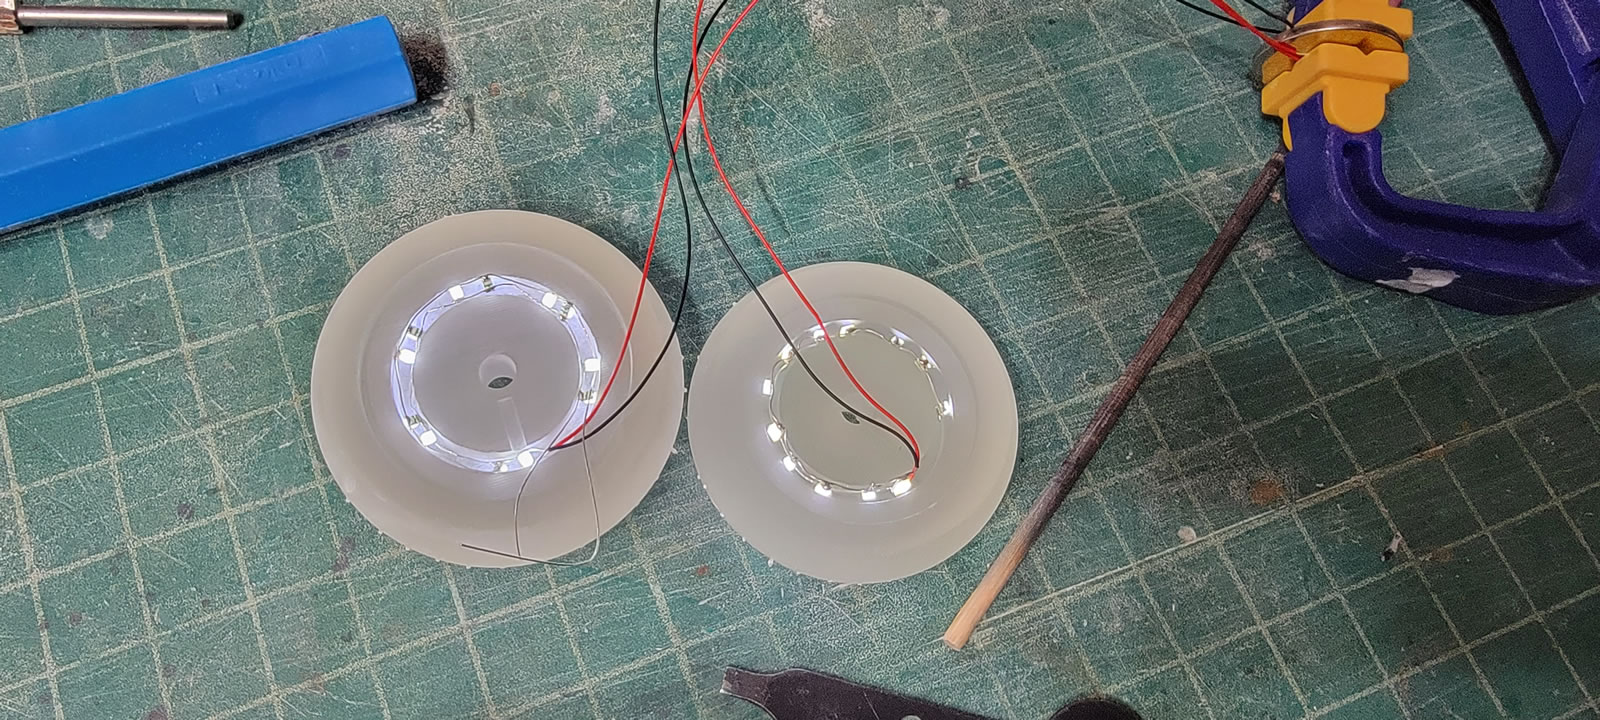
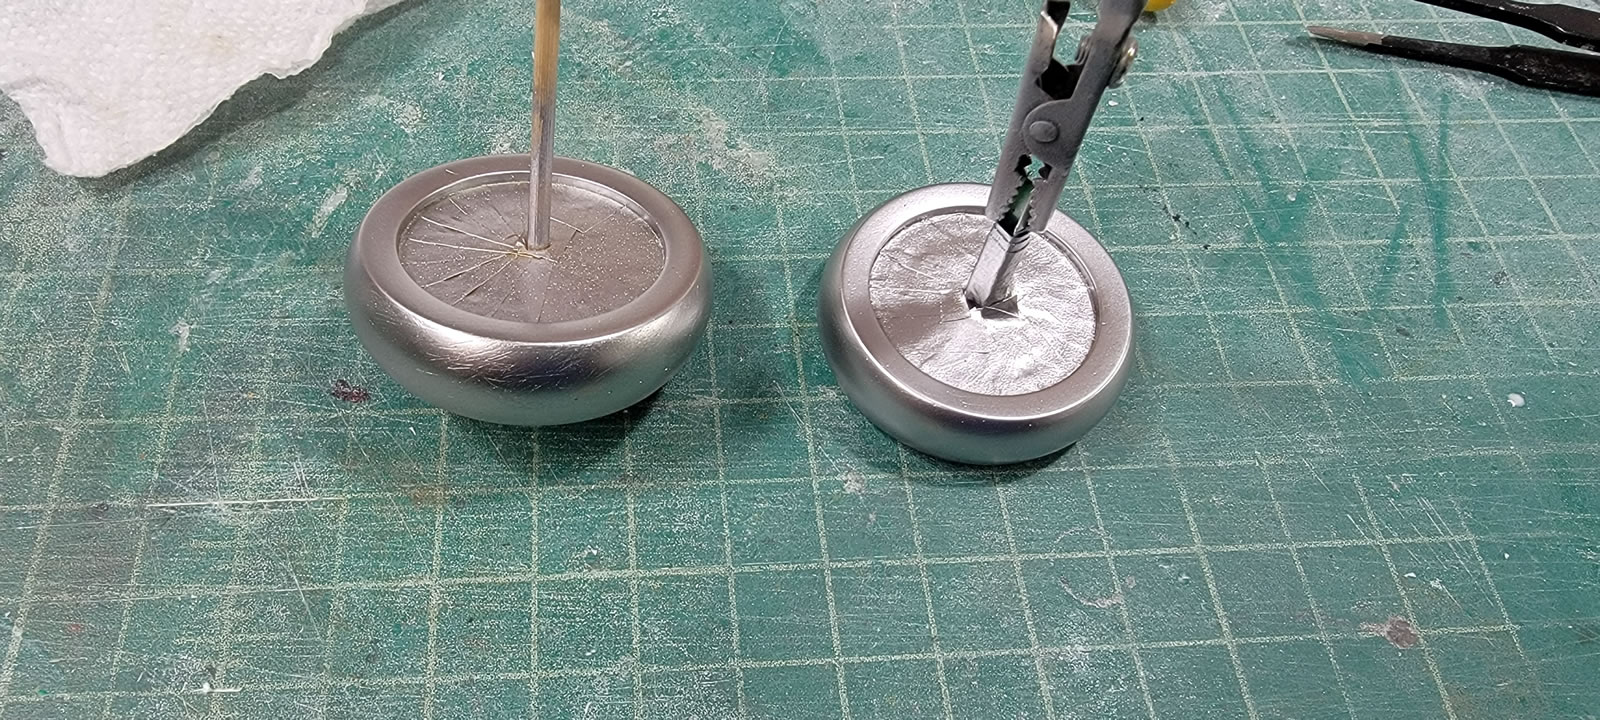
Ok, scrap those wheels and that idea. Time to reengineer things. I went back to the wheel’s STL file and edited them. I cut out a ring channel closer to the edge of the wheel and cut a wire channel. Exported the edited filed and sent it off to my printer. While the printer was doing it’s thing, I set to work on a new LED structure. Using the SMD, I created an SMD ring. I did two version, one with the LEDs all facing outward facing the tire, and another with LEDs facing the wheel covers in opposing sequence. The wheel cover’s internal areas were painted in chrome as to help reflect the LED lights.

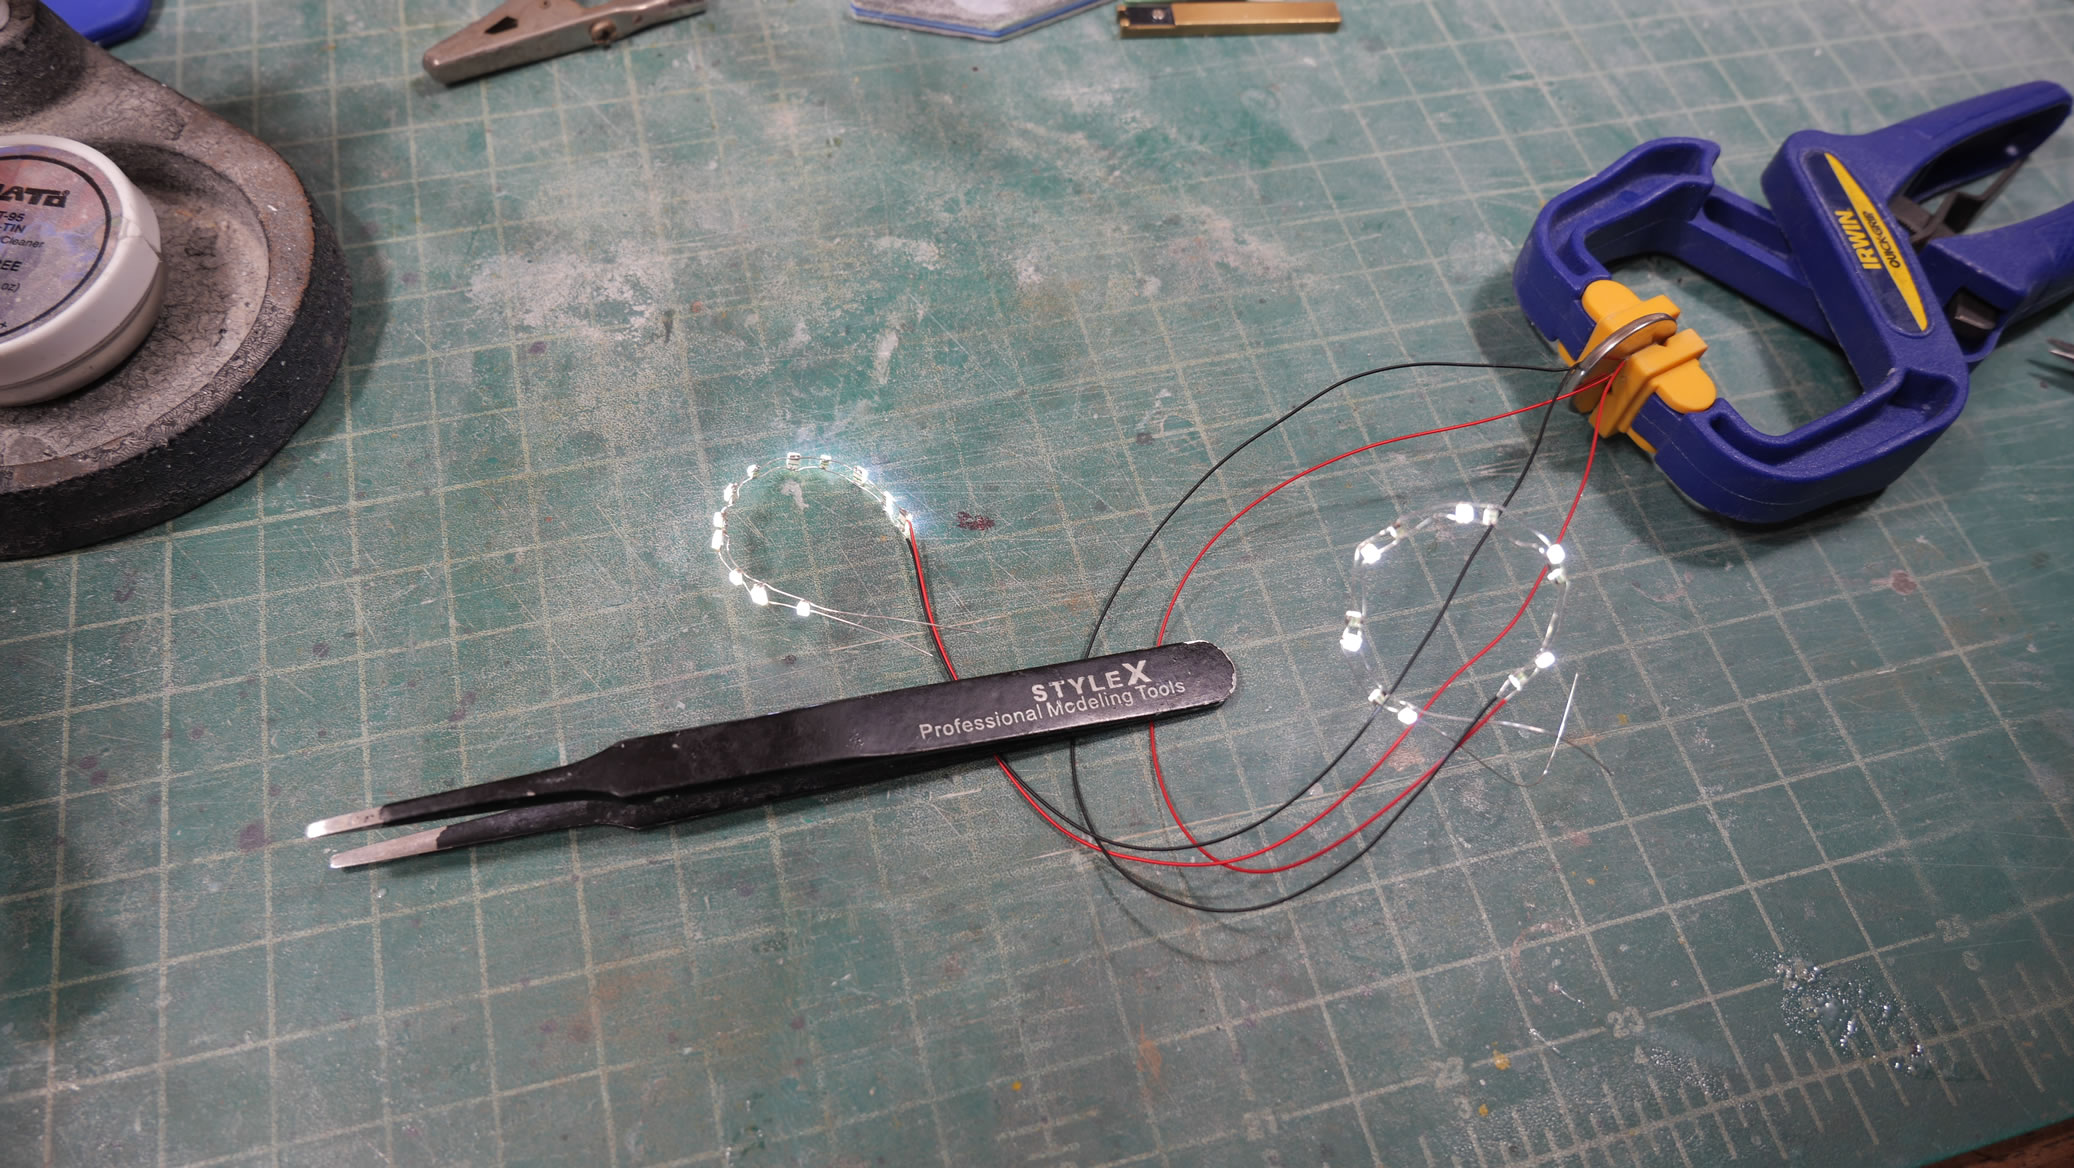
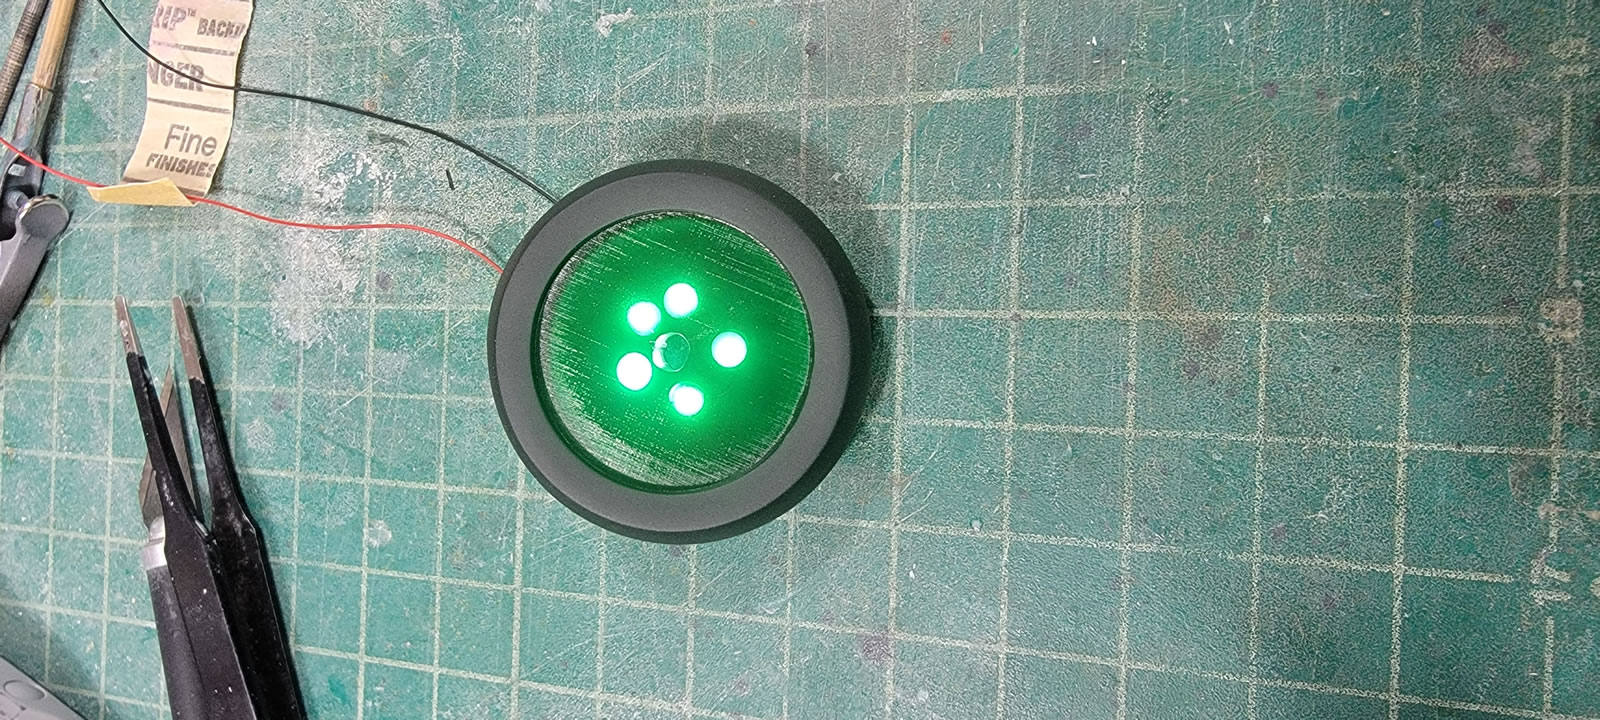
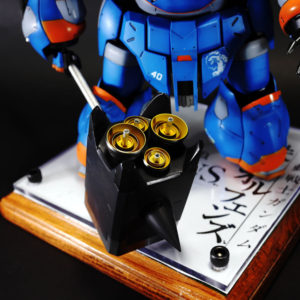
The new wheels are printed and time for a test fit. Yeah, these are already MUCH brighter than the previous version. Granted, I also increased the LED count per wheel but 3 or so more LEDs. Wheel cover test. And the two wheels with two LED structures in comparison. Still not sure which is better.


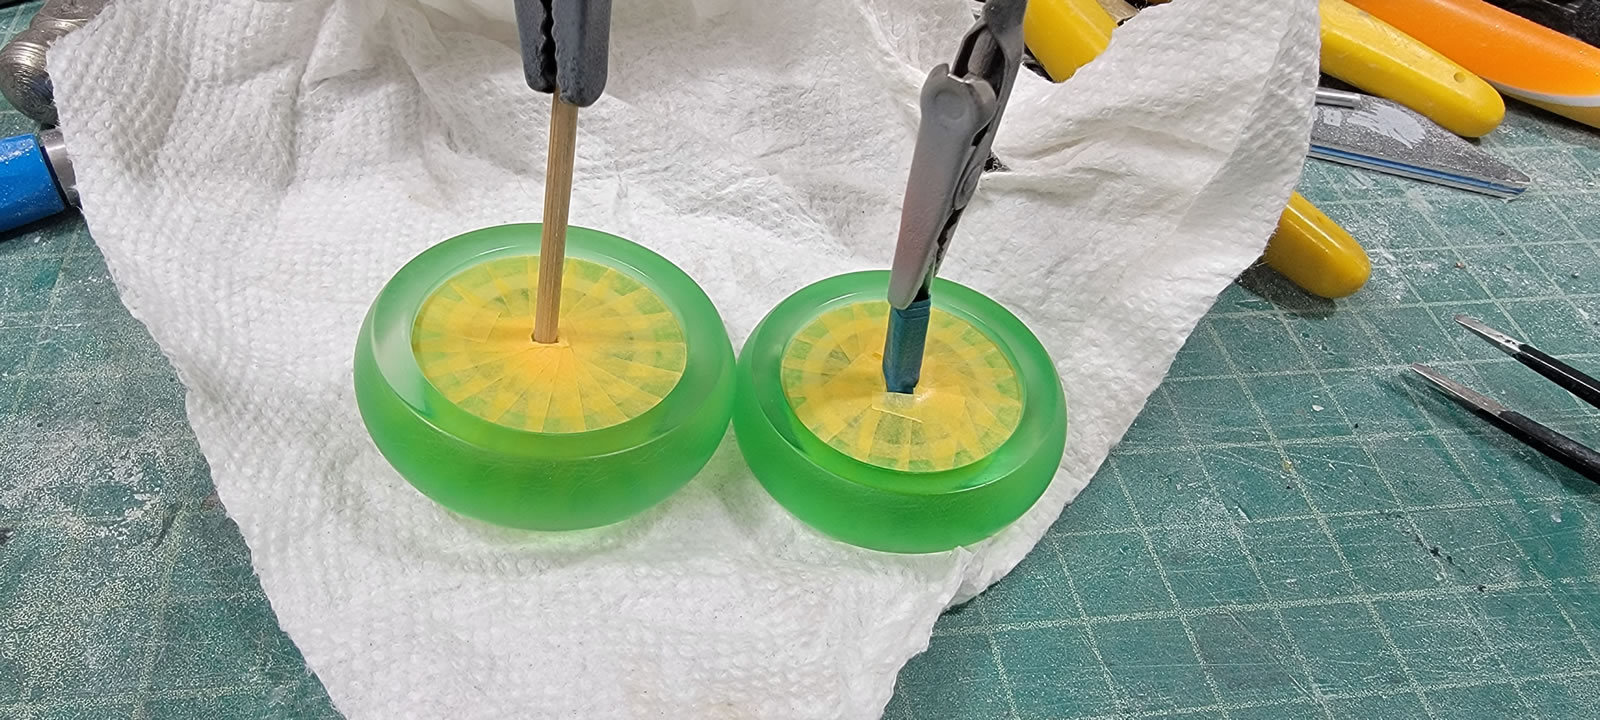
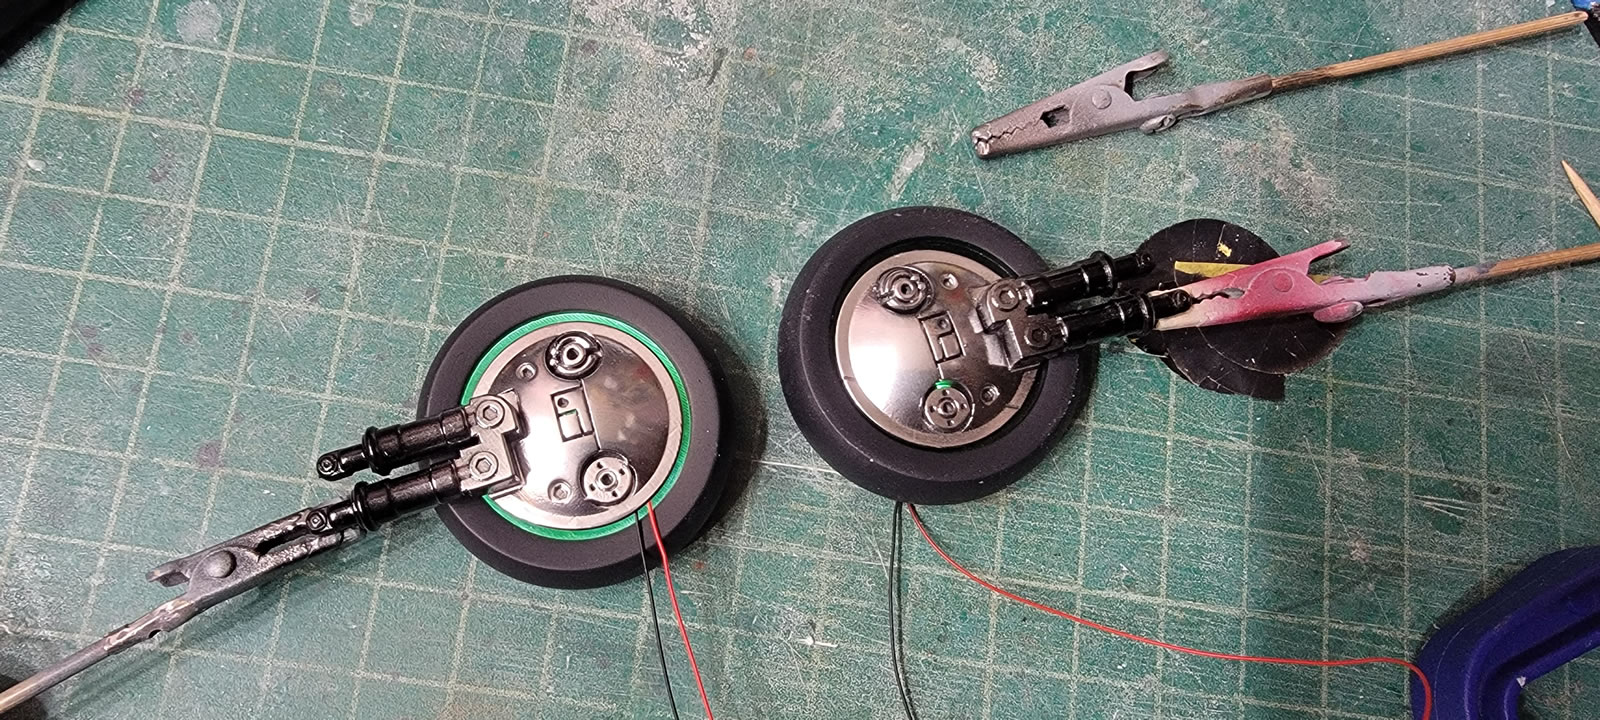
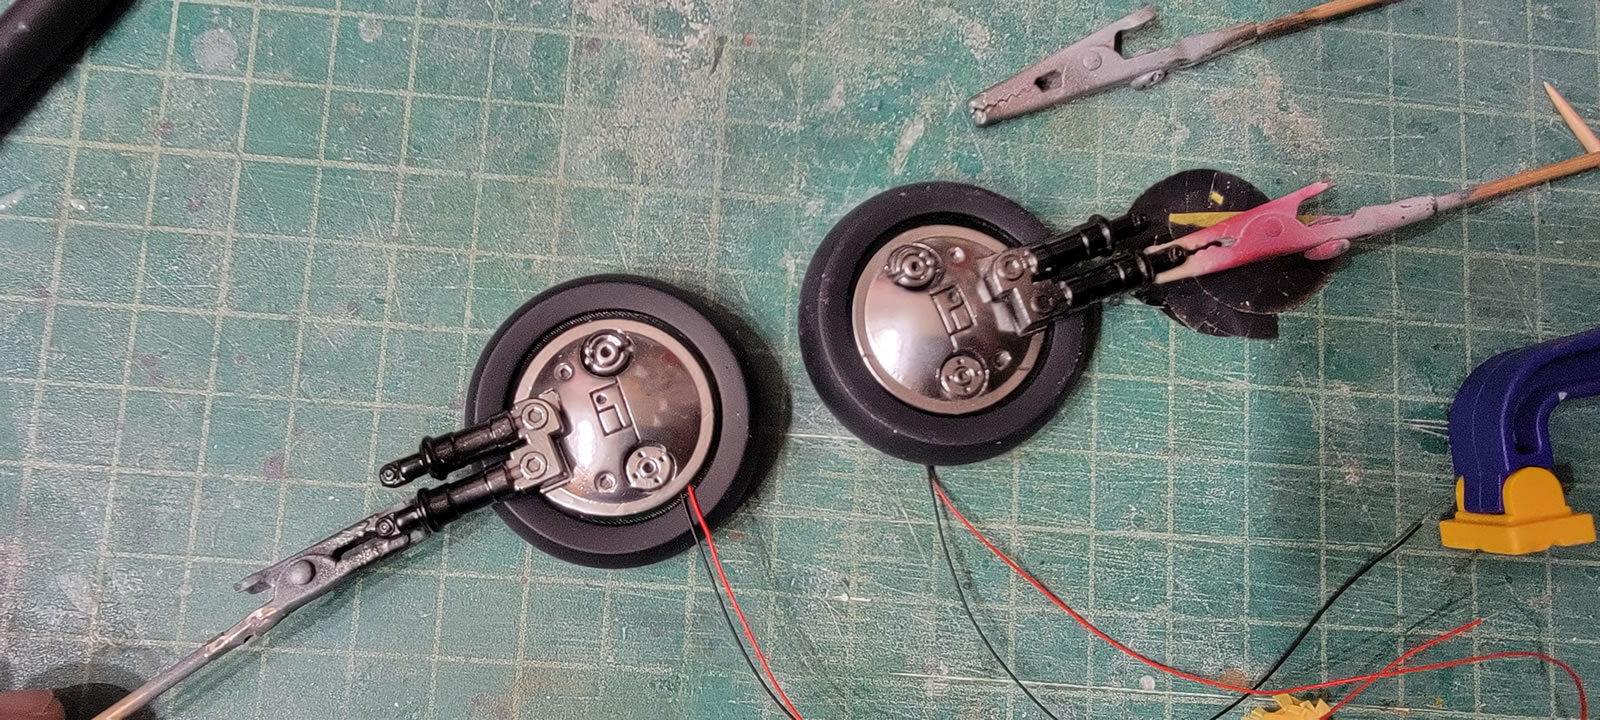
Wheels are painted first in the clear green for the center areas. Once cured, the center areas were masked off and then chrome is painted. This is also something different from my last attempt. I figured that the chrome will work to reflect the lights. Over the chrome, I paint the carbon black. The chrome is still visible to the LEDs so it’s still working to reflect light.
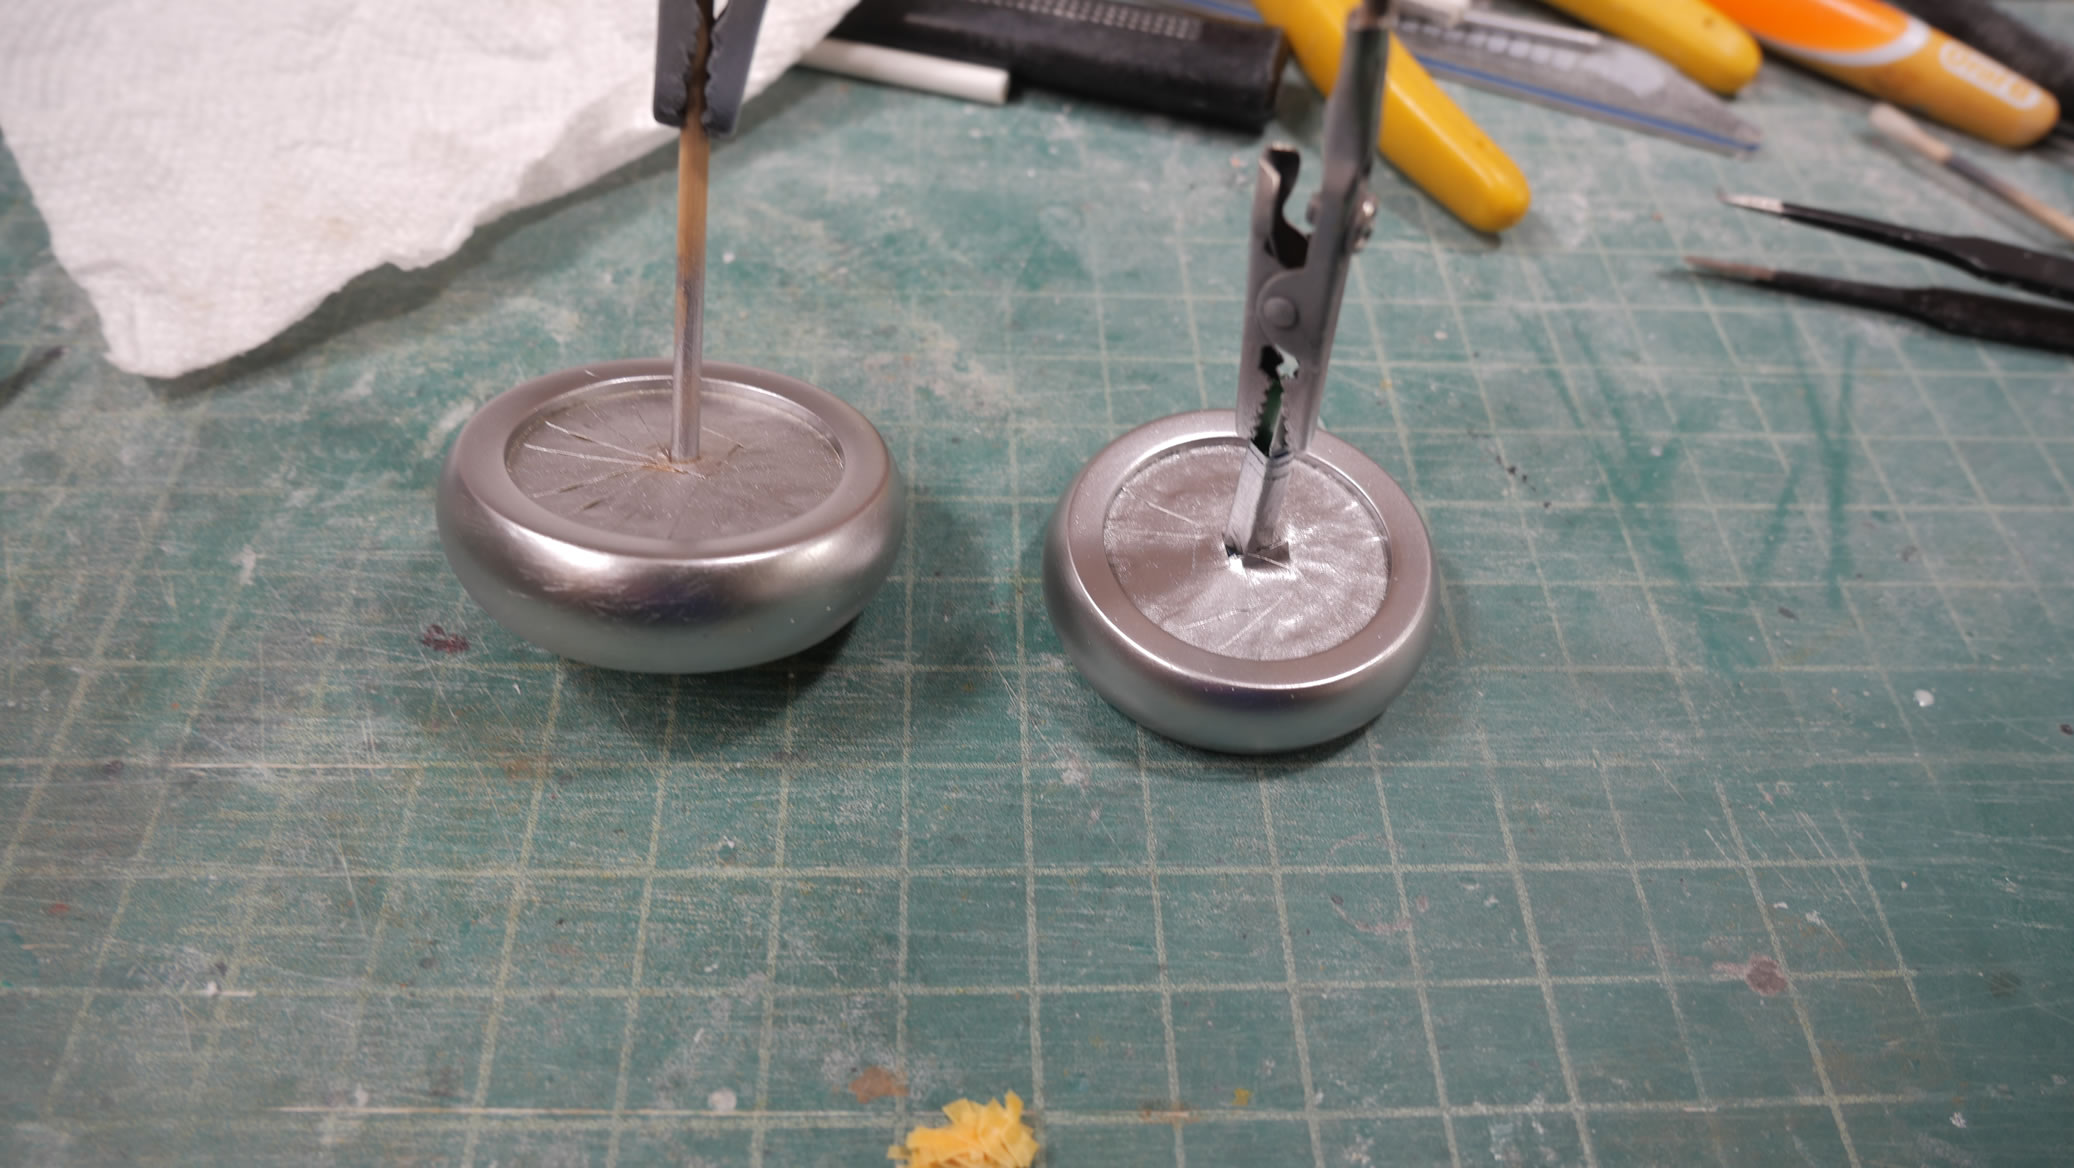
True test comes after I remove the mask and test the LEDs with the new wheels and the wheel covers. Here are comparisons to the first set of wheels. First picture in this set is with both LEDs on, second with both LEDs off. Big difference and worth the rework.
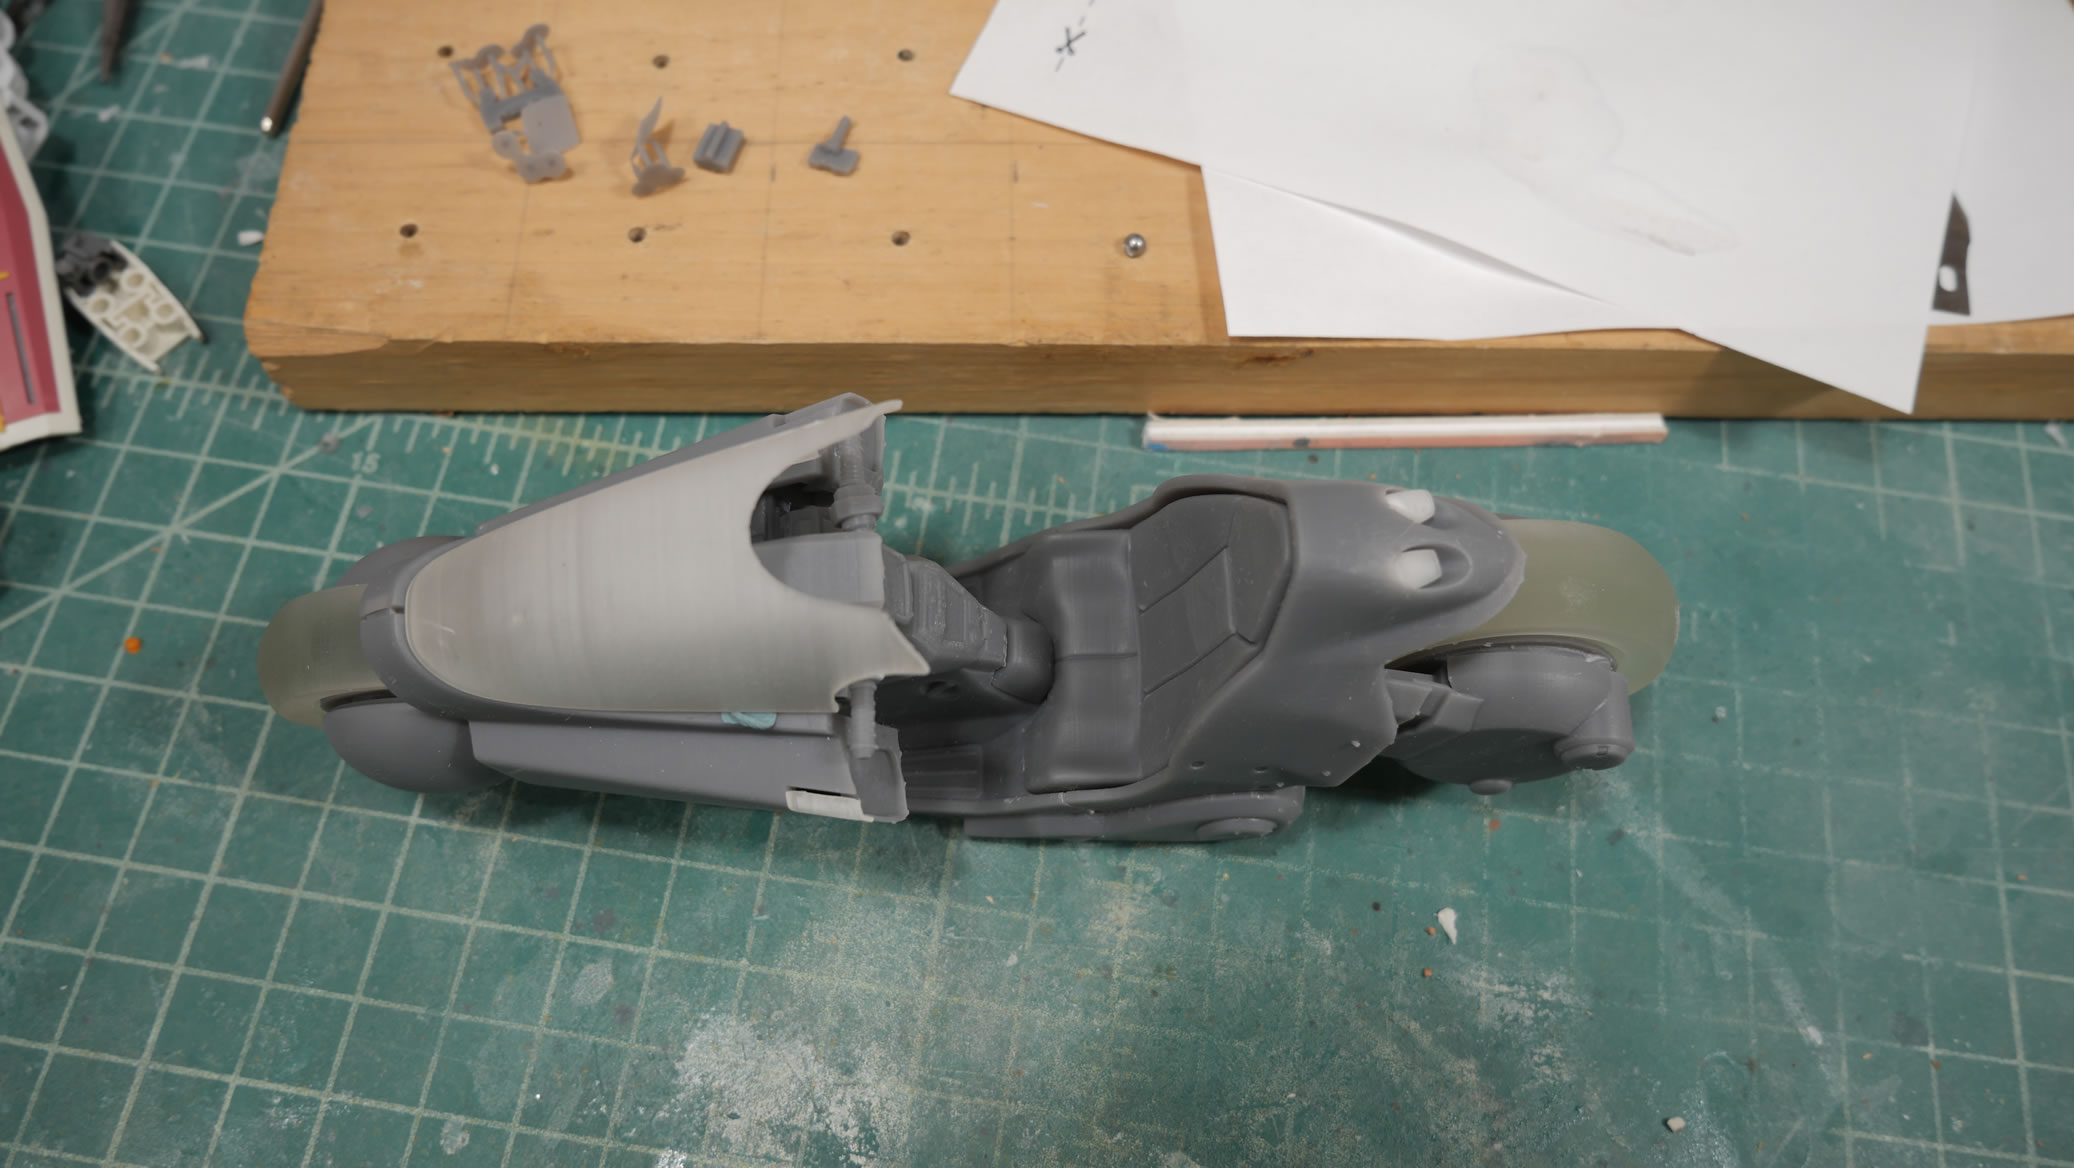
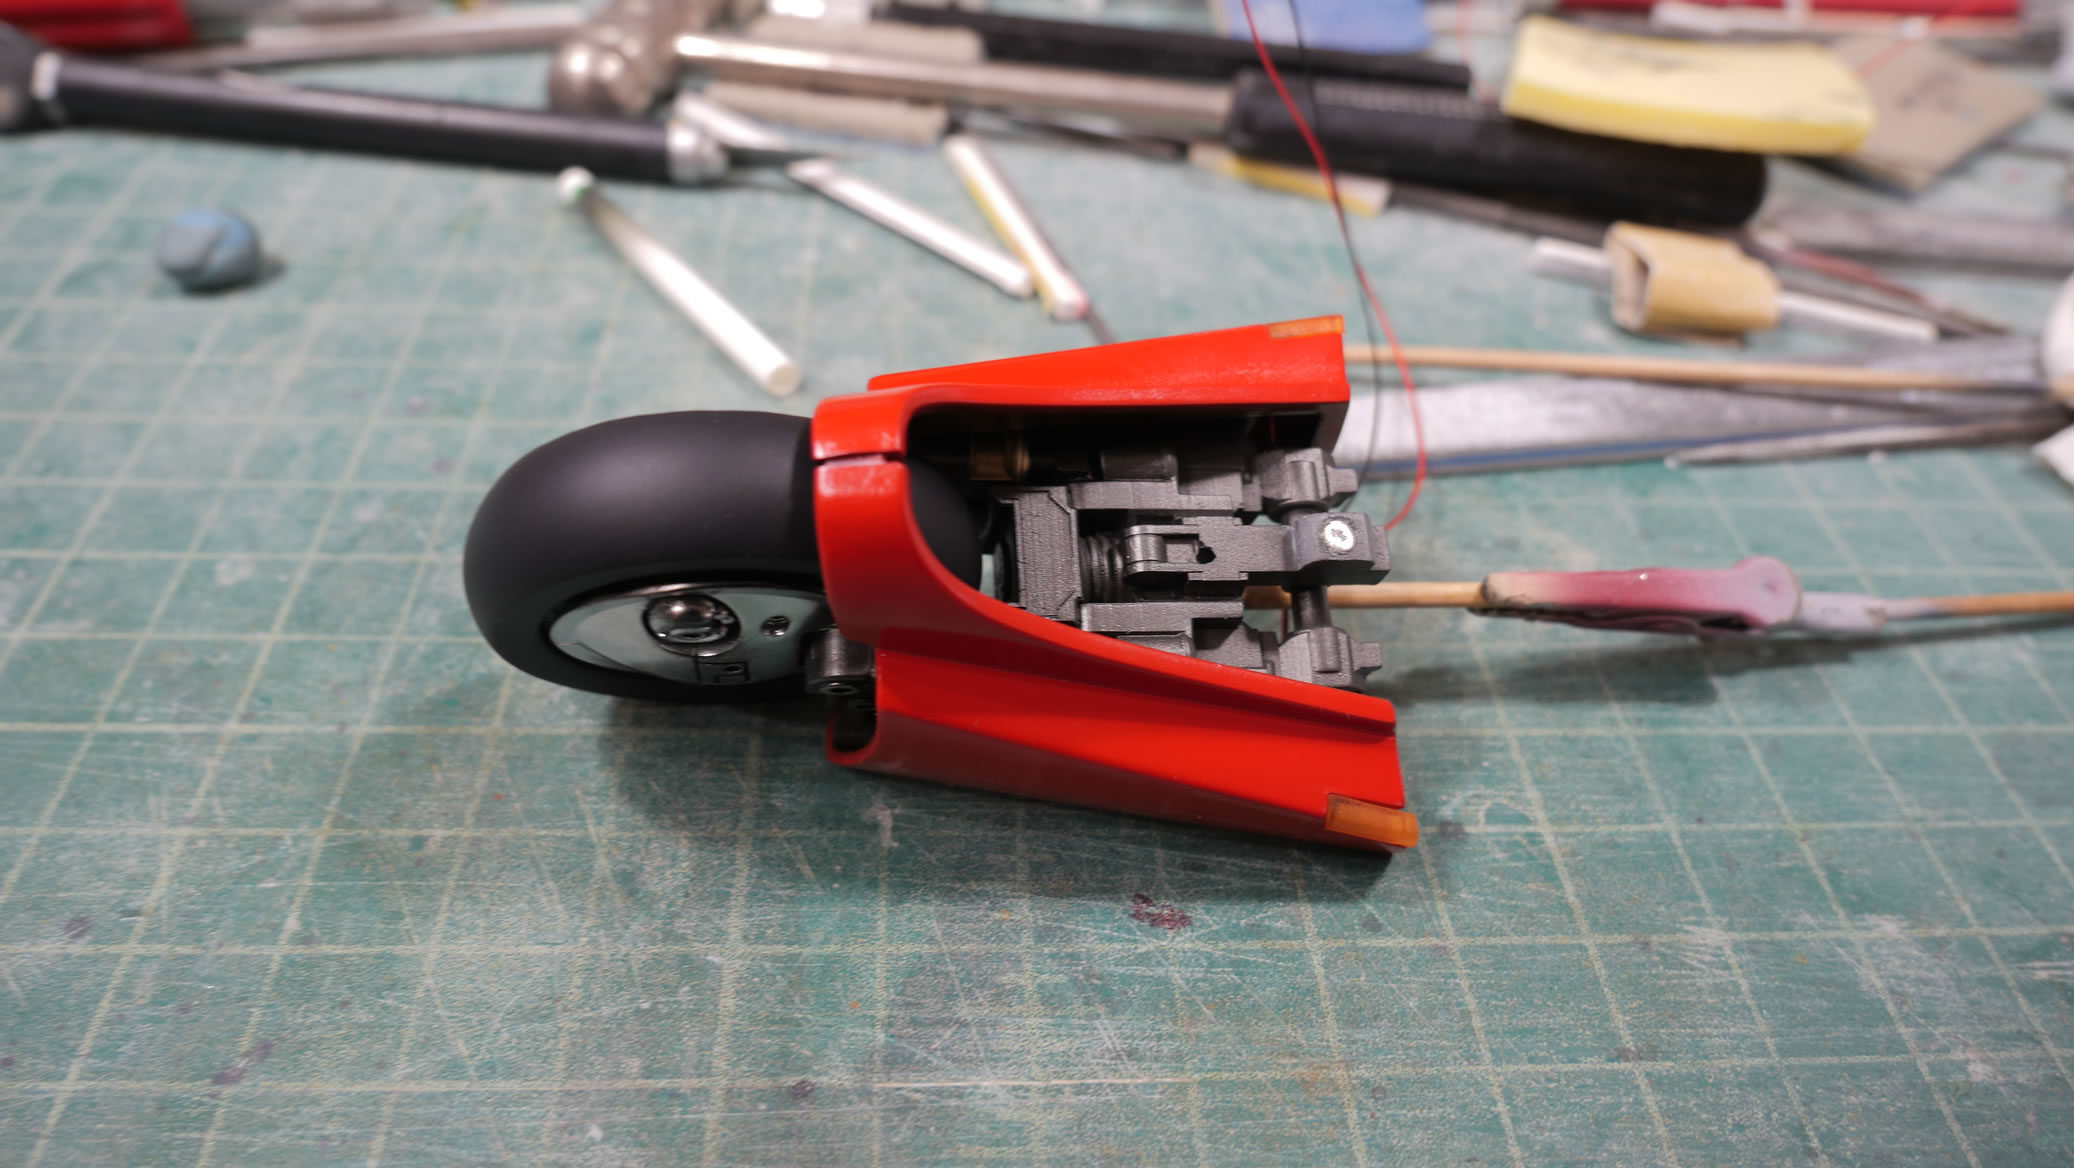
Wheels done, time to partially assemble the front end and mask everything off. The front end is a two piece part and there’s a seam that runs right down the middle. Just like the hair work, I paint the separate parts fully then glue them together and work on the seams. The seam is filled with light curing putty and sanded down.

Once sanded down, I can prime and repaint this small area and it is an easy patch job.
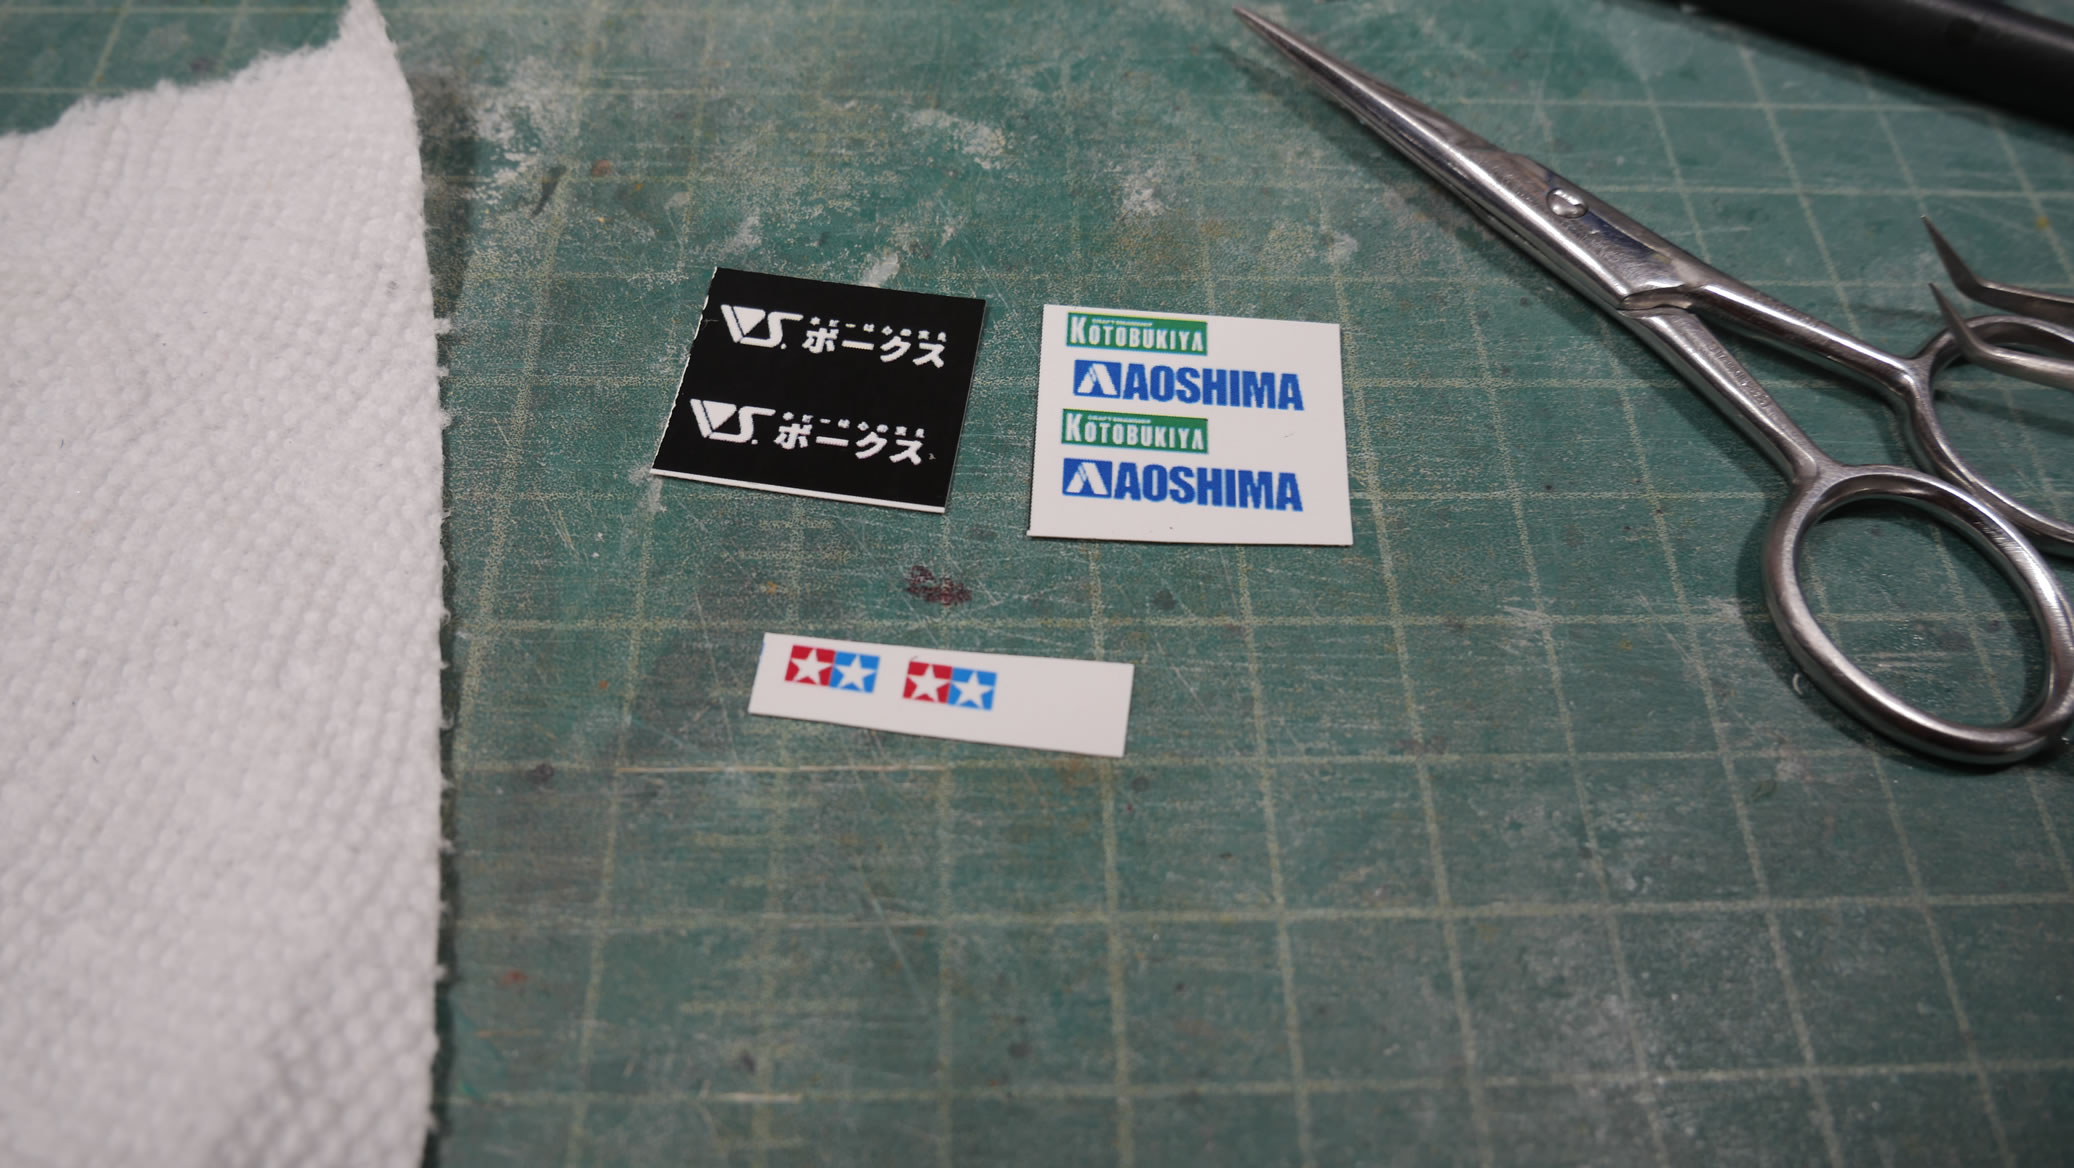
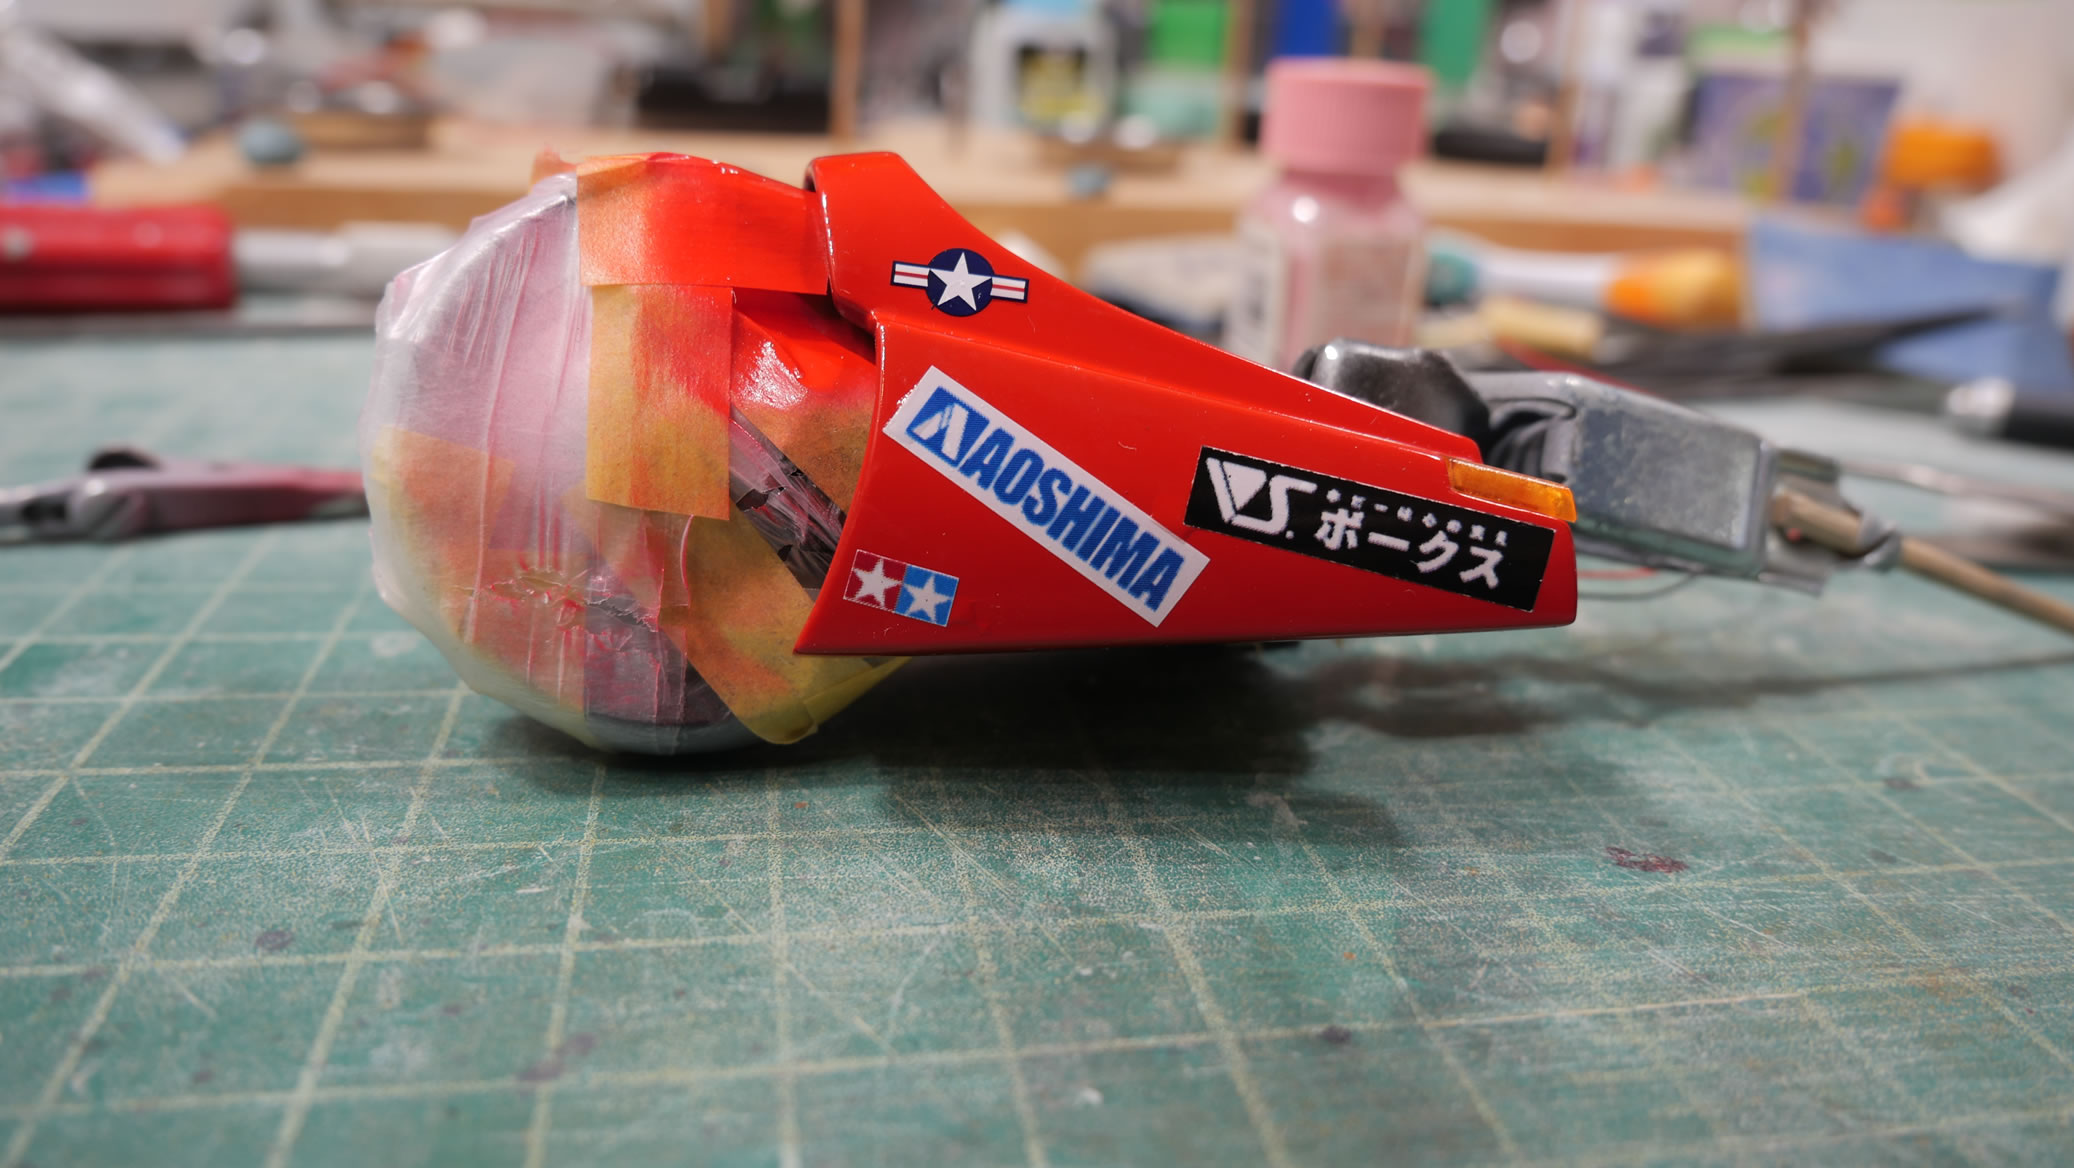
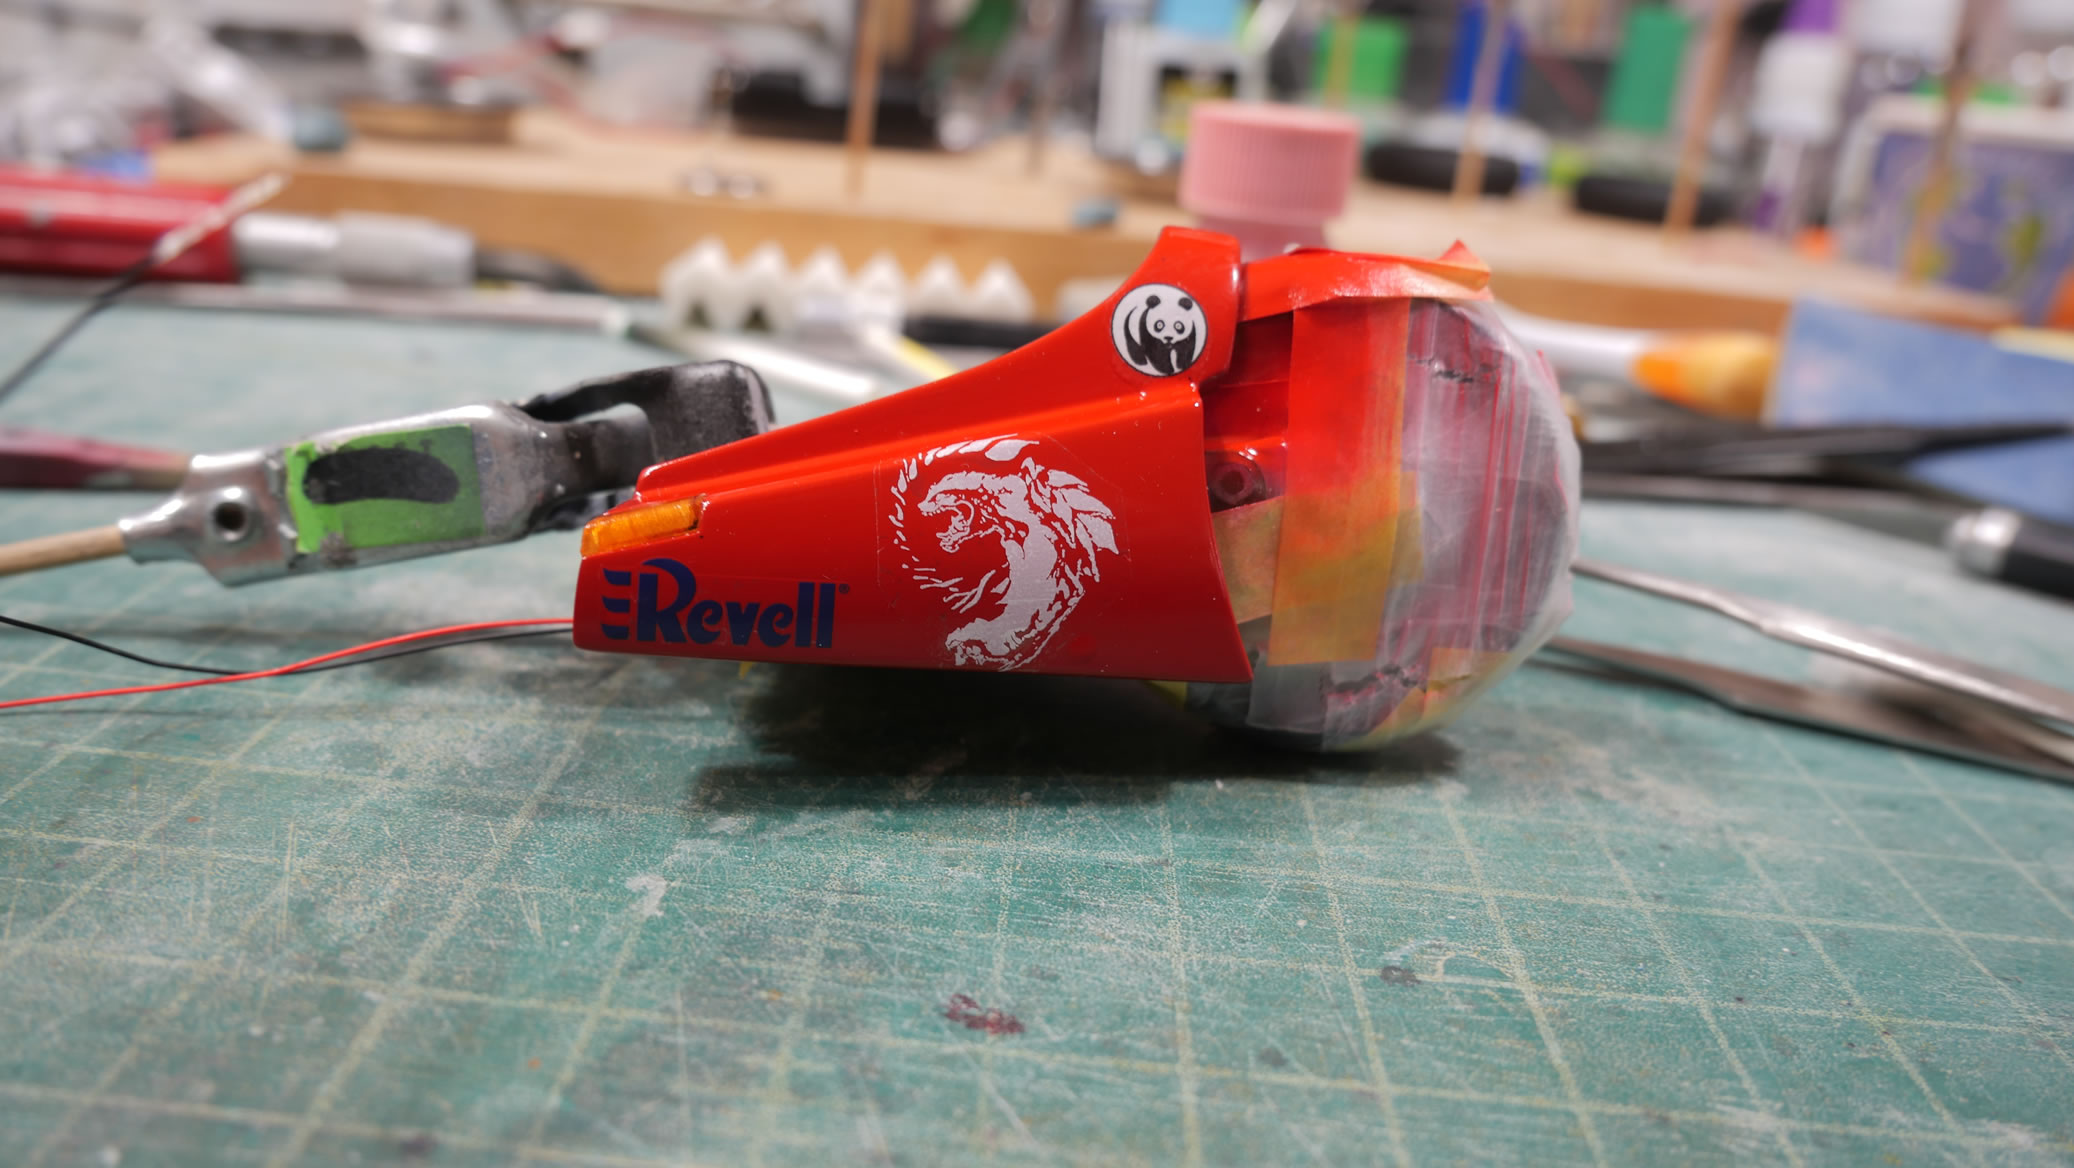
Next up, the decals. Those familiar with the iconic Kaneda bike from Akira know that there are some well known bumper stickers plastered on the bike. There is even a special DVD cover with a ton more advertisements plastered on the bike. I picked up a decal sheet that was designed off that DVD cover, but the decals were designed for a 1/6 scale bike. I figured I could scan and reprint the decals at a smaller scale. Then I thought I could go in a different direction. I started rummaging through my decal box to get company logos off decal sheets. I had Italeri, Hasegawa, Fujimi, Tamiya, Volks, and of course Bandai. The problem was that most of these decals completely fell apart. Aside from the Bandai ones which are nicely done as part of their decal sheets. Even spraying a layer of clear gloss over the old decals didn’t work. I did manage to salvage an old colored Hasegawa and found a black Bandai logo. The Revell logo worked too. I used my own logo, the Gamera decal, and for the rest, I just pulled the logos from the web for Volks (Japanese version), Kotobukia, Aoshima and Tamiya. I had a bunch of black and white tamiya decals I could have tested, but I thought the well known red, blue and white stars would pop more. I haven’t seen the black Bandai logo much, so that was an instant choice.
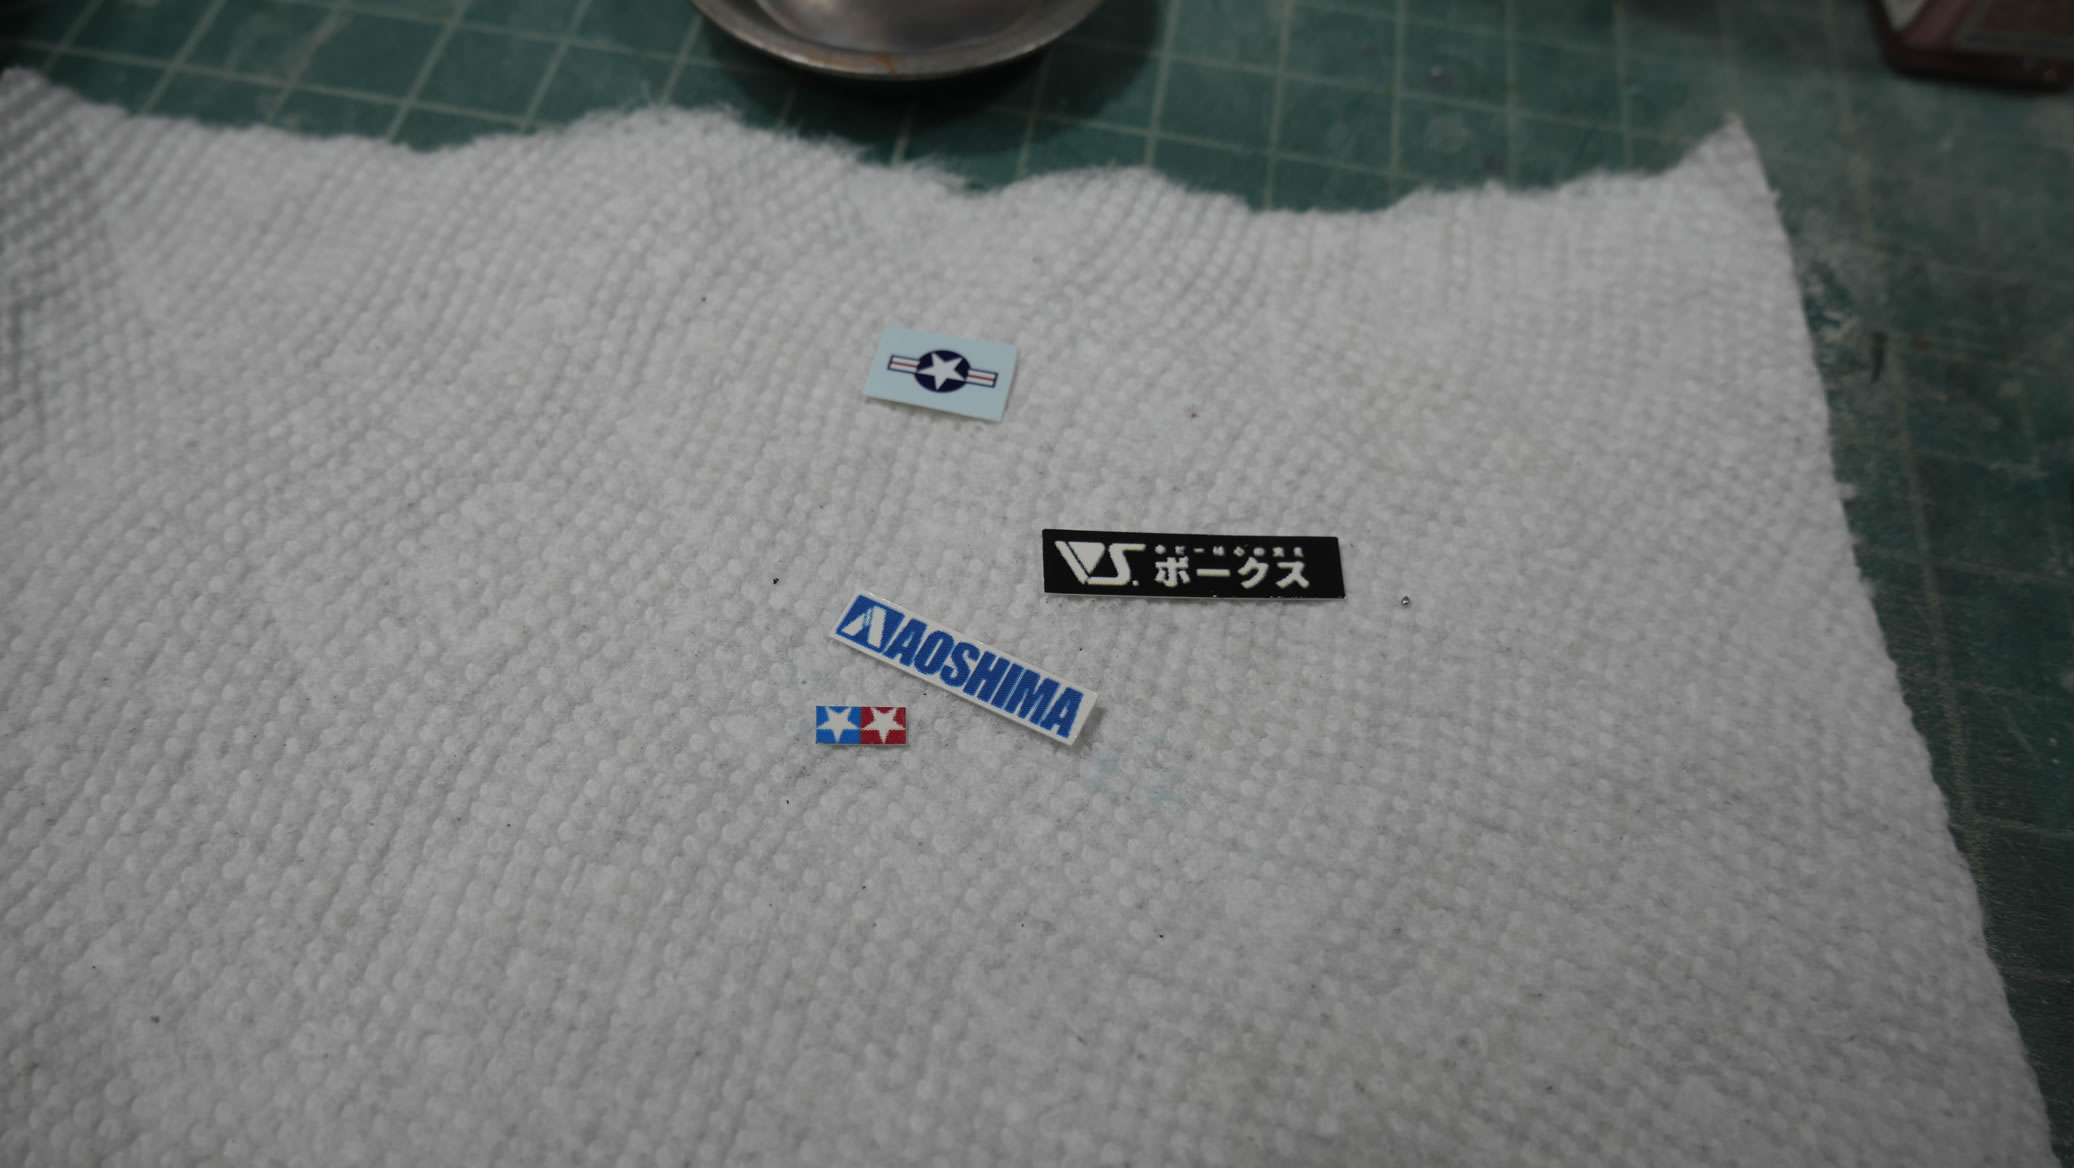
Pulling icons from the web, I edited them to remove the white and just used my laser printer on white decal paper to print out the new decals. A clear coat of gloss helps keep the ink from melting away when trying to work with the decals. They went on perfectly and after several cycles of spraying clear, sanding with 4000 grit spraying more clear and repeating this helps reduce the edges of the decals so they look flush and the finish is ultra shiny.
The decals are done and protected; I get to wiring up the front end. The wheel lights, the front head light, and the eide markers are wired up and soldered together. While all this is happening, the main body is getting paint and work on that end.
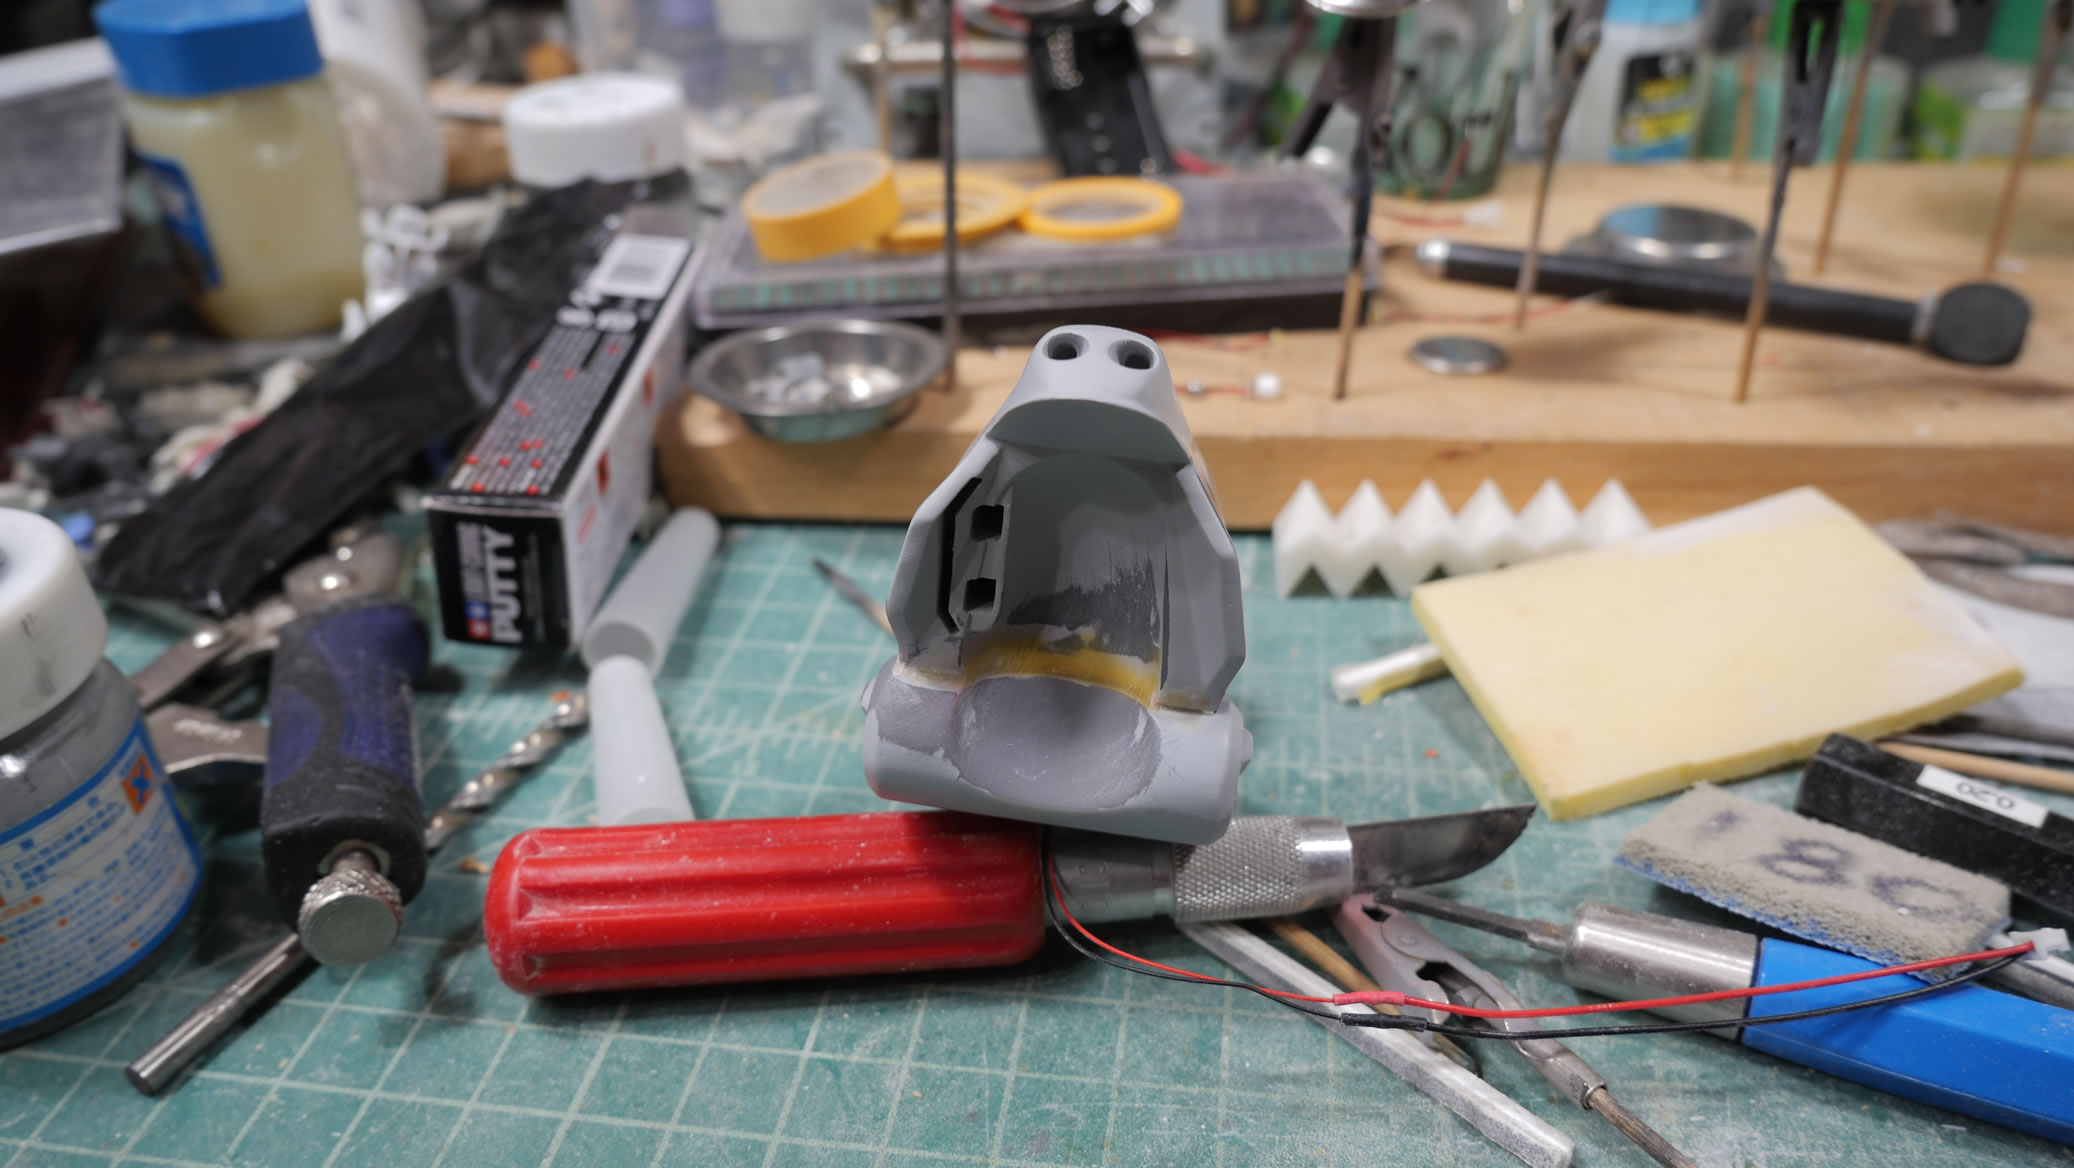
The Helmet
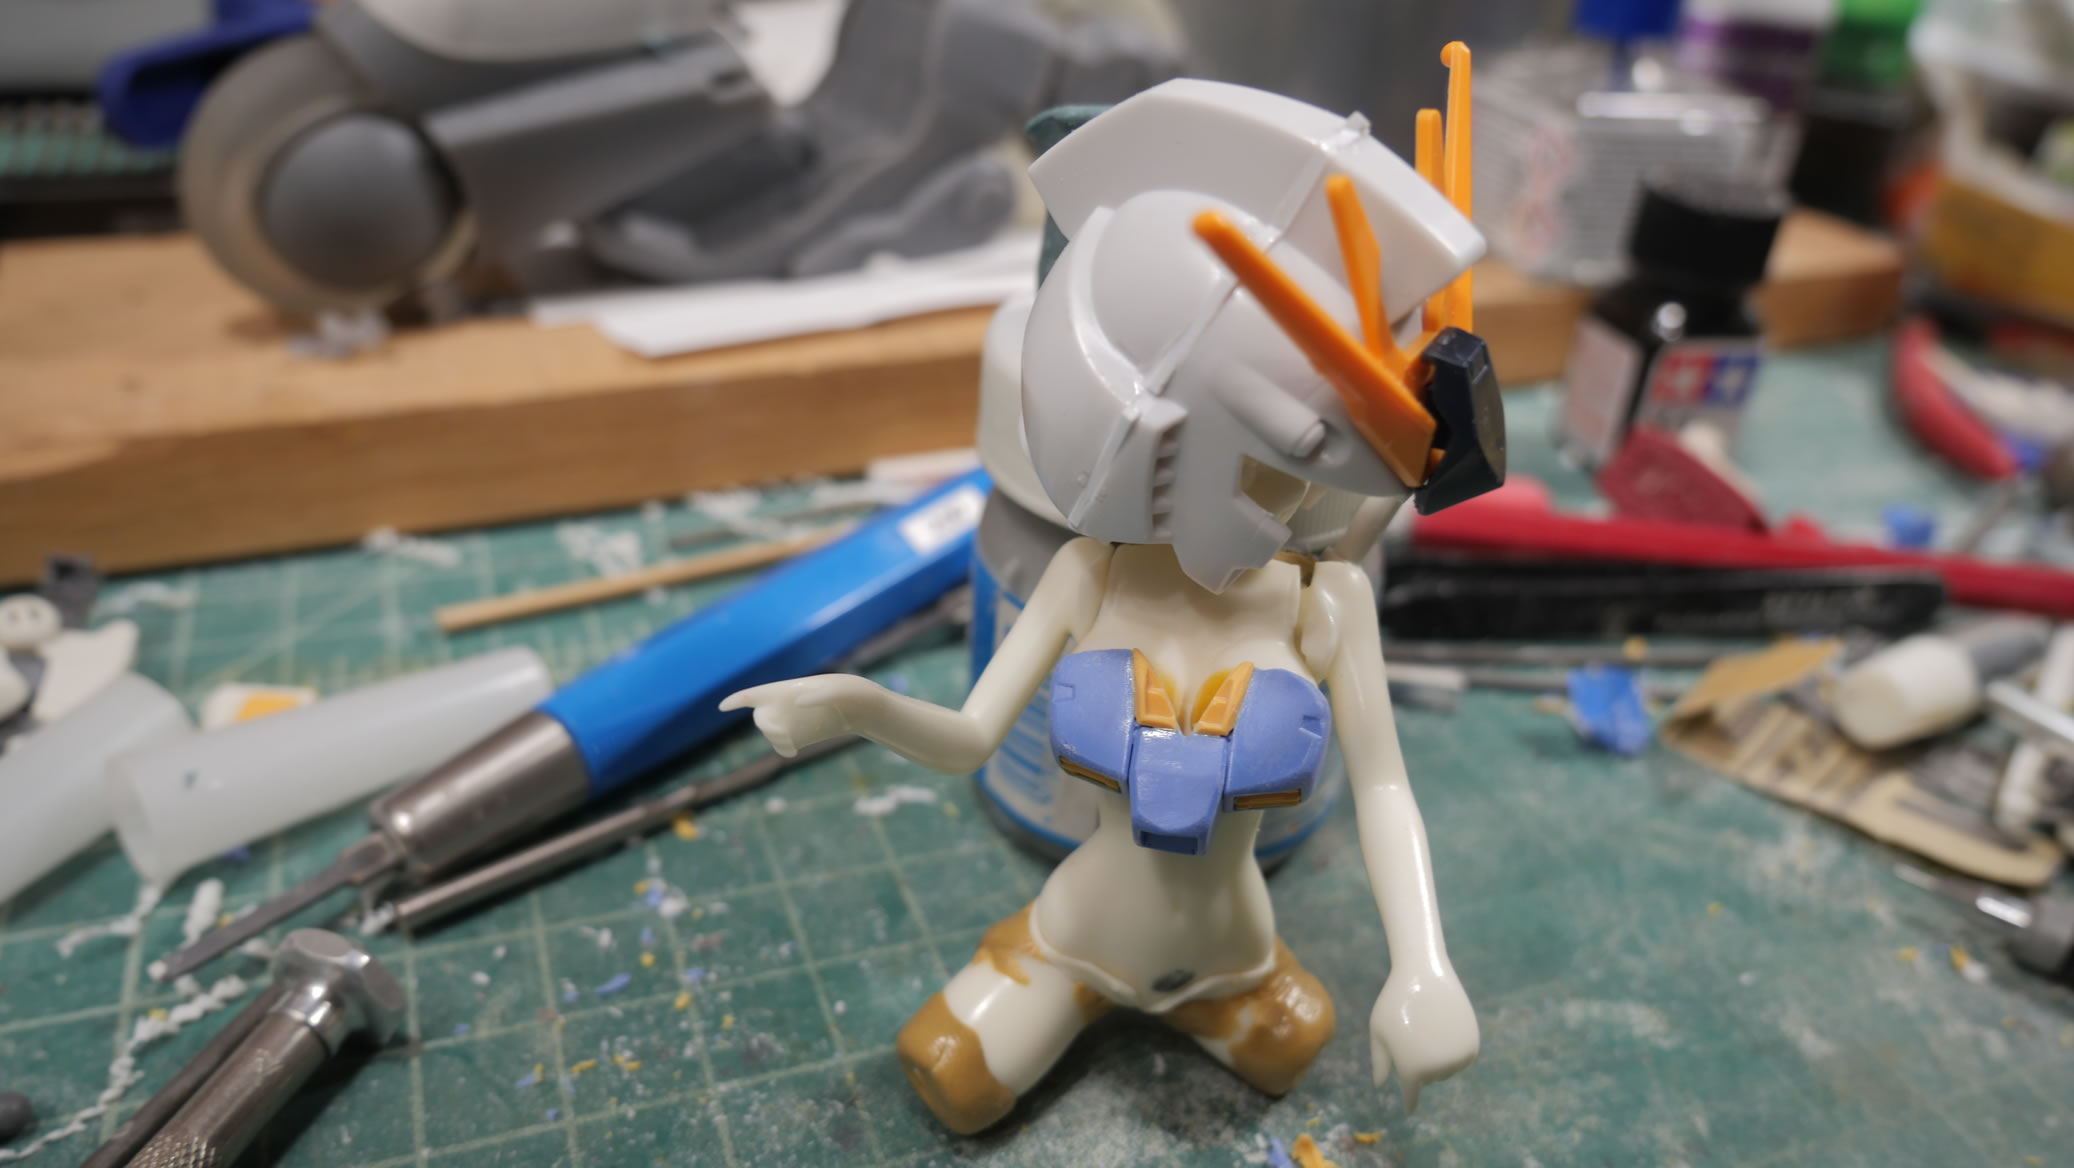
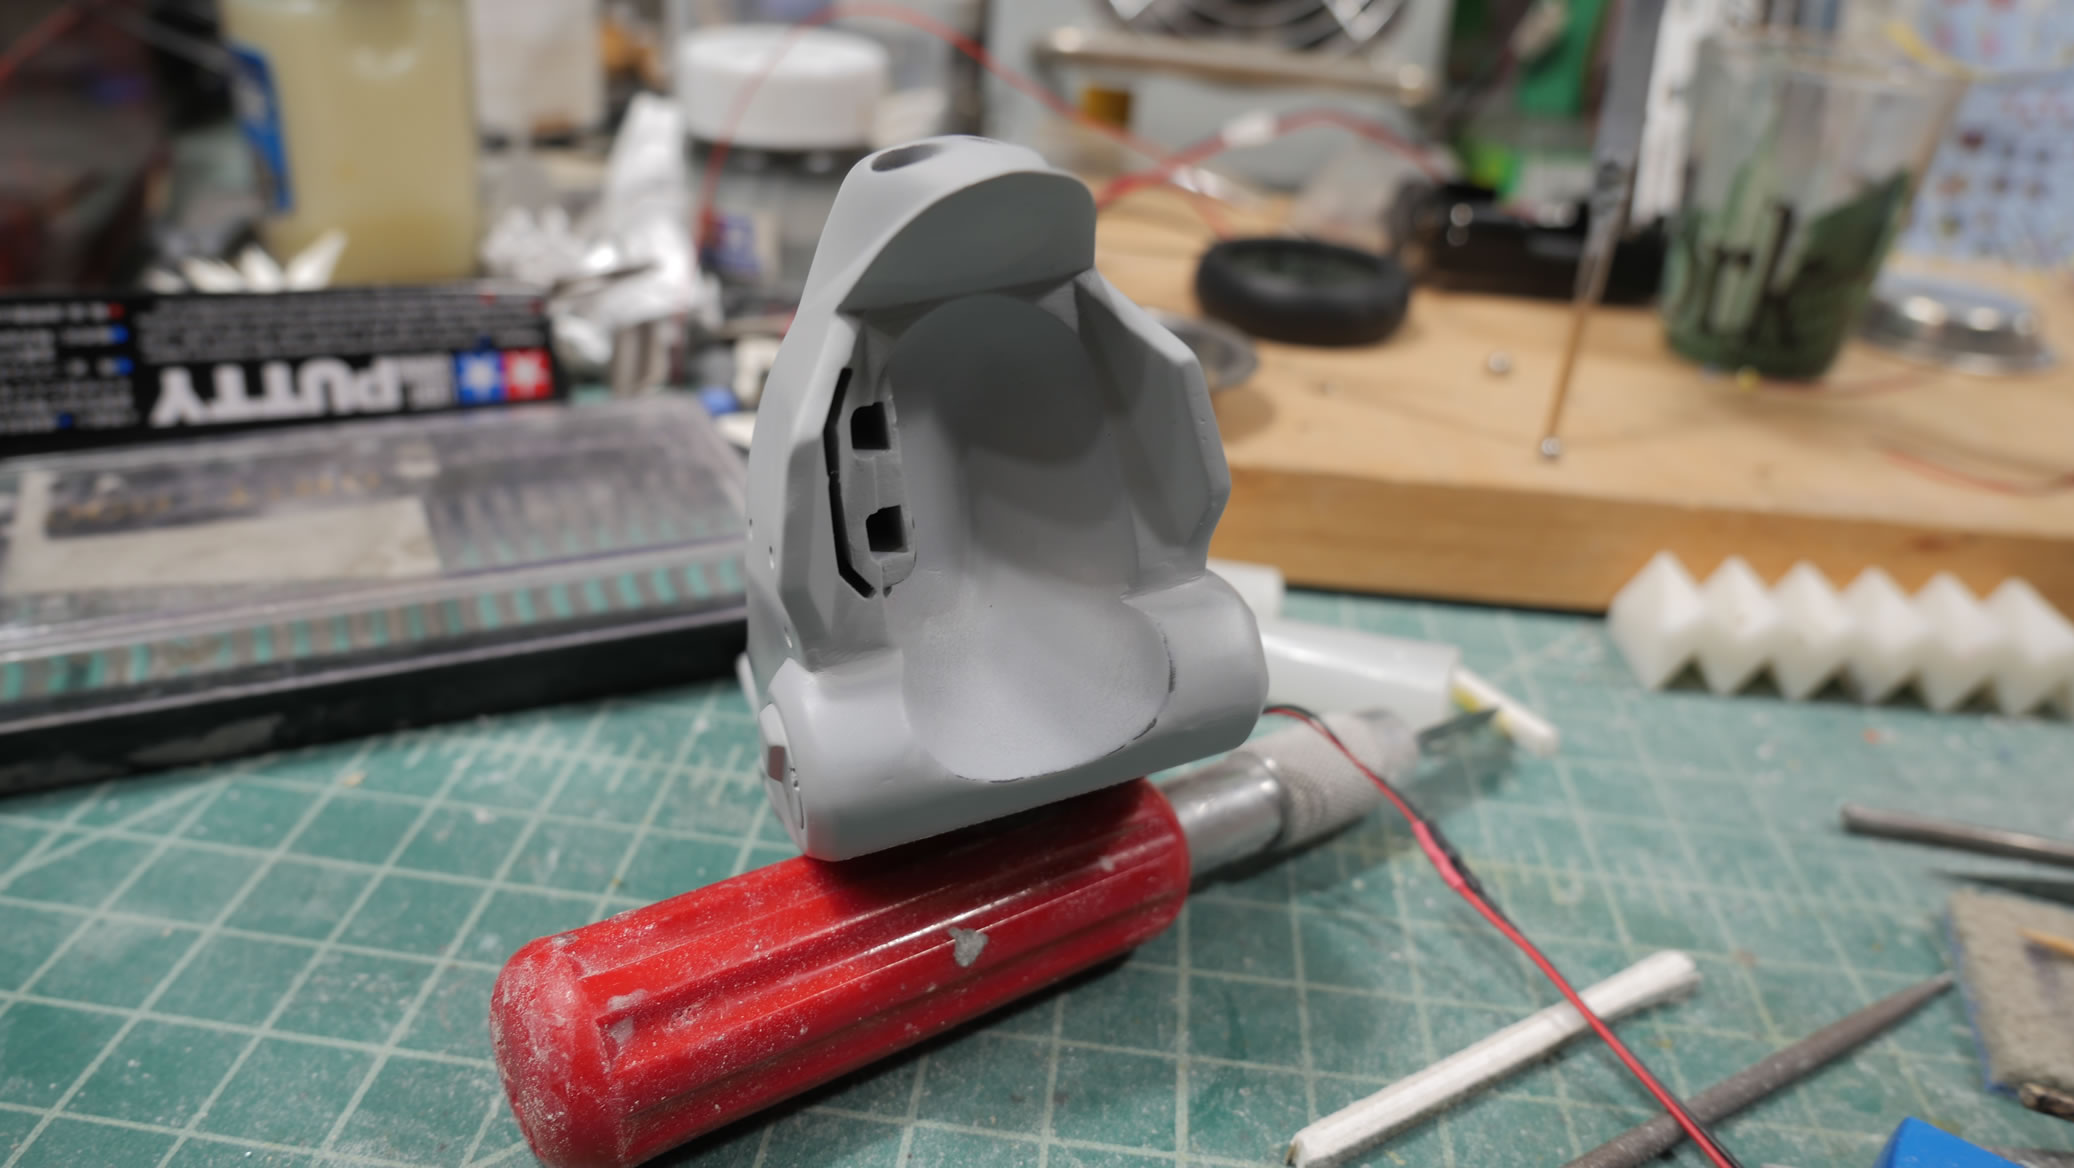
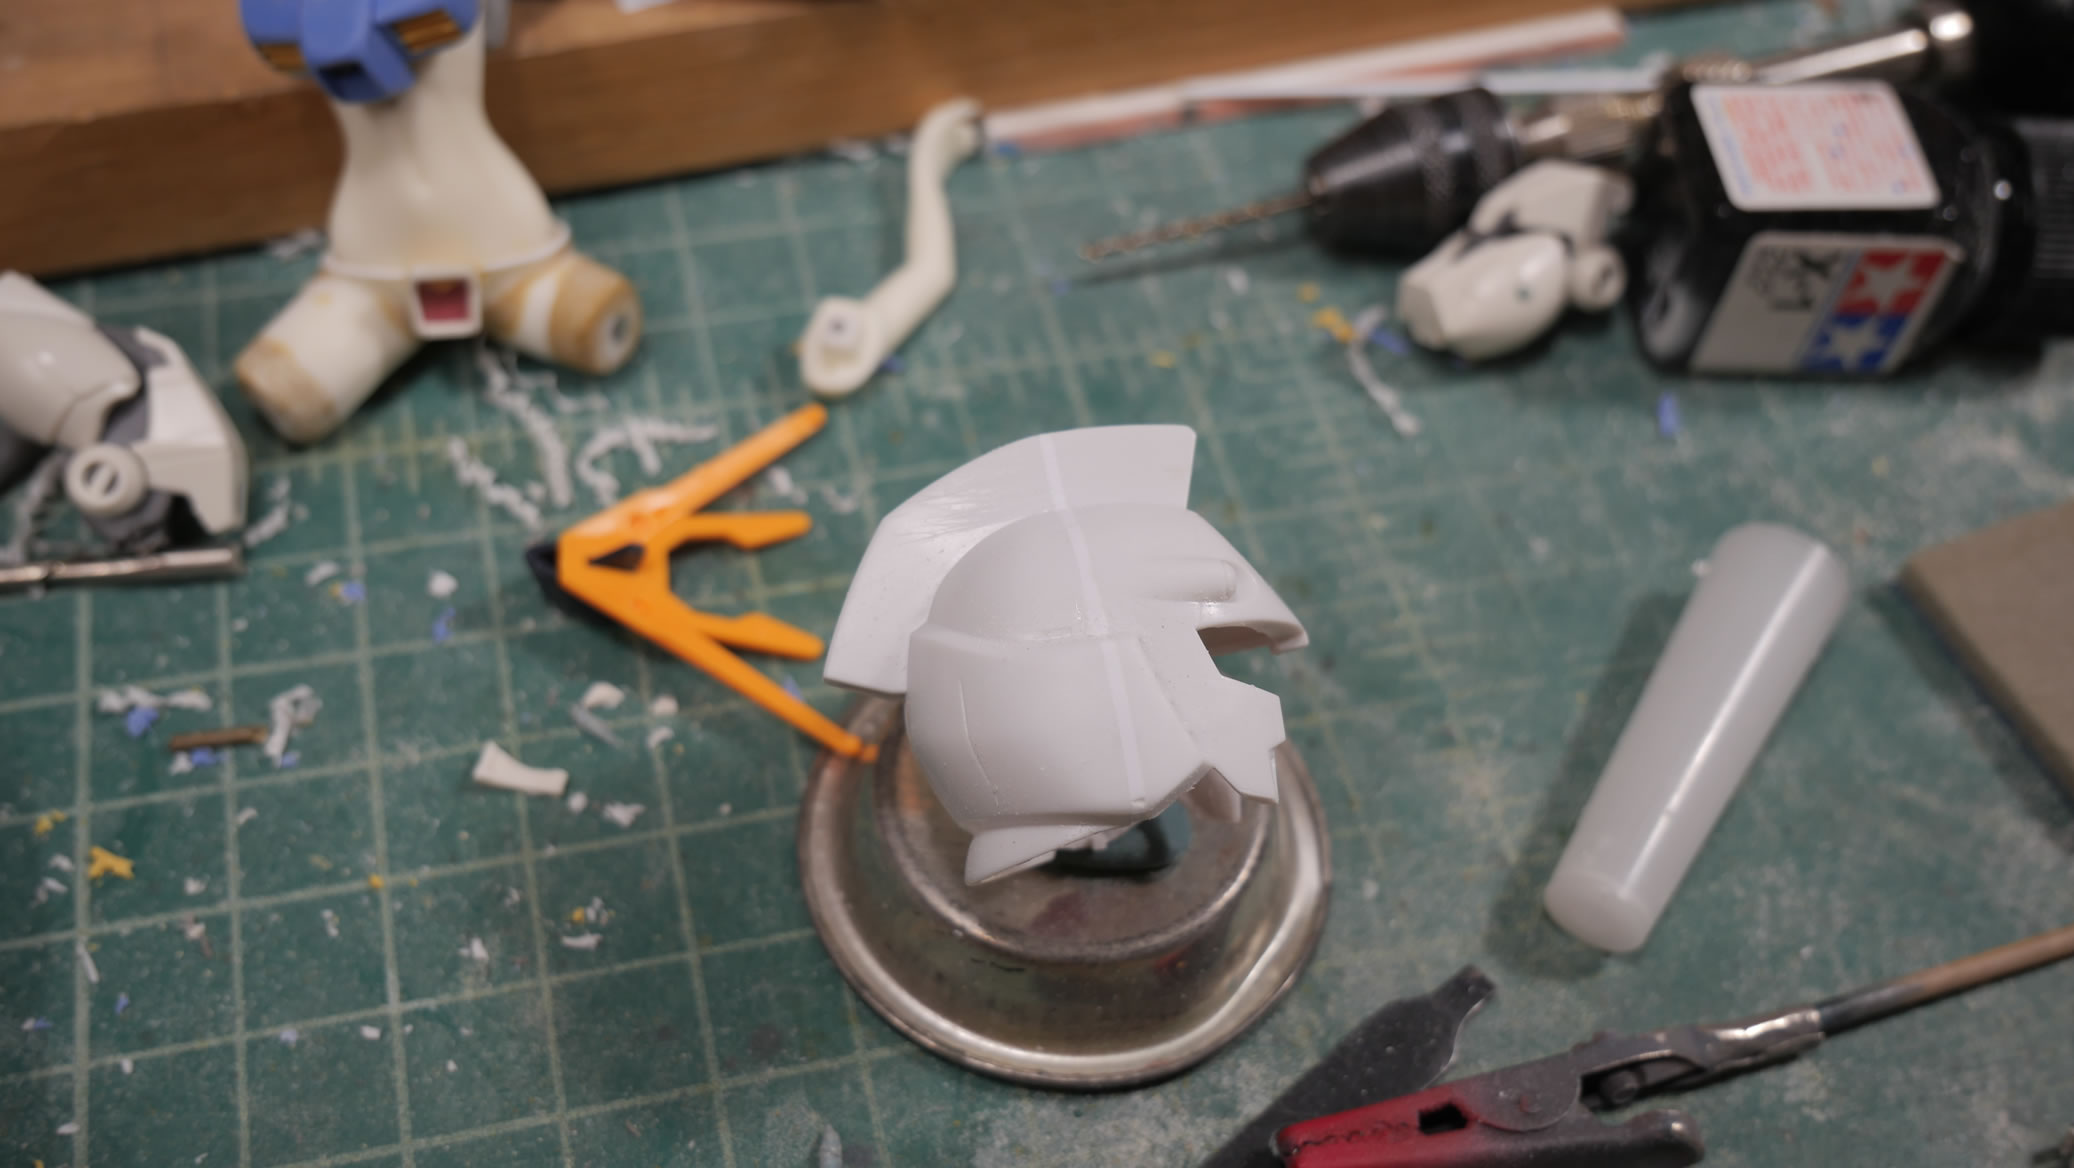
The SD Nu Gundam head is the perfectly sized to fit over the figure’s head. After clearing out most of the plastic inside the two parts, they are glued together to work on that seam. Here’s a comparison with a newer SD Nu head I had started working on a while ago. The older head was bigger inside and works better as a helmet. I glued a little padding on the inside to help with the fit ontop of the figure’s head.
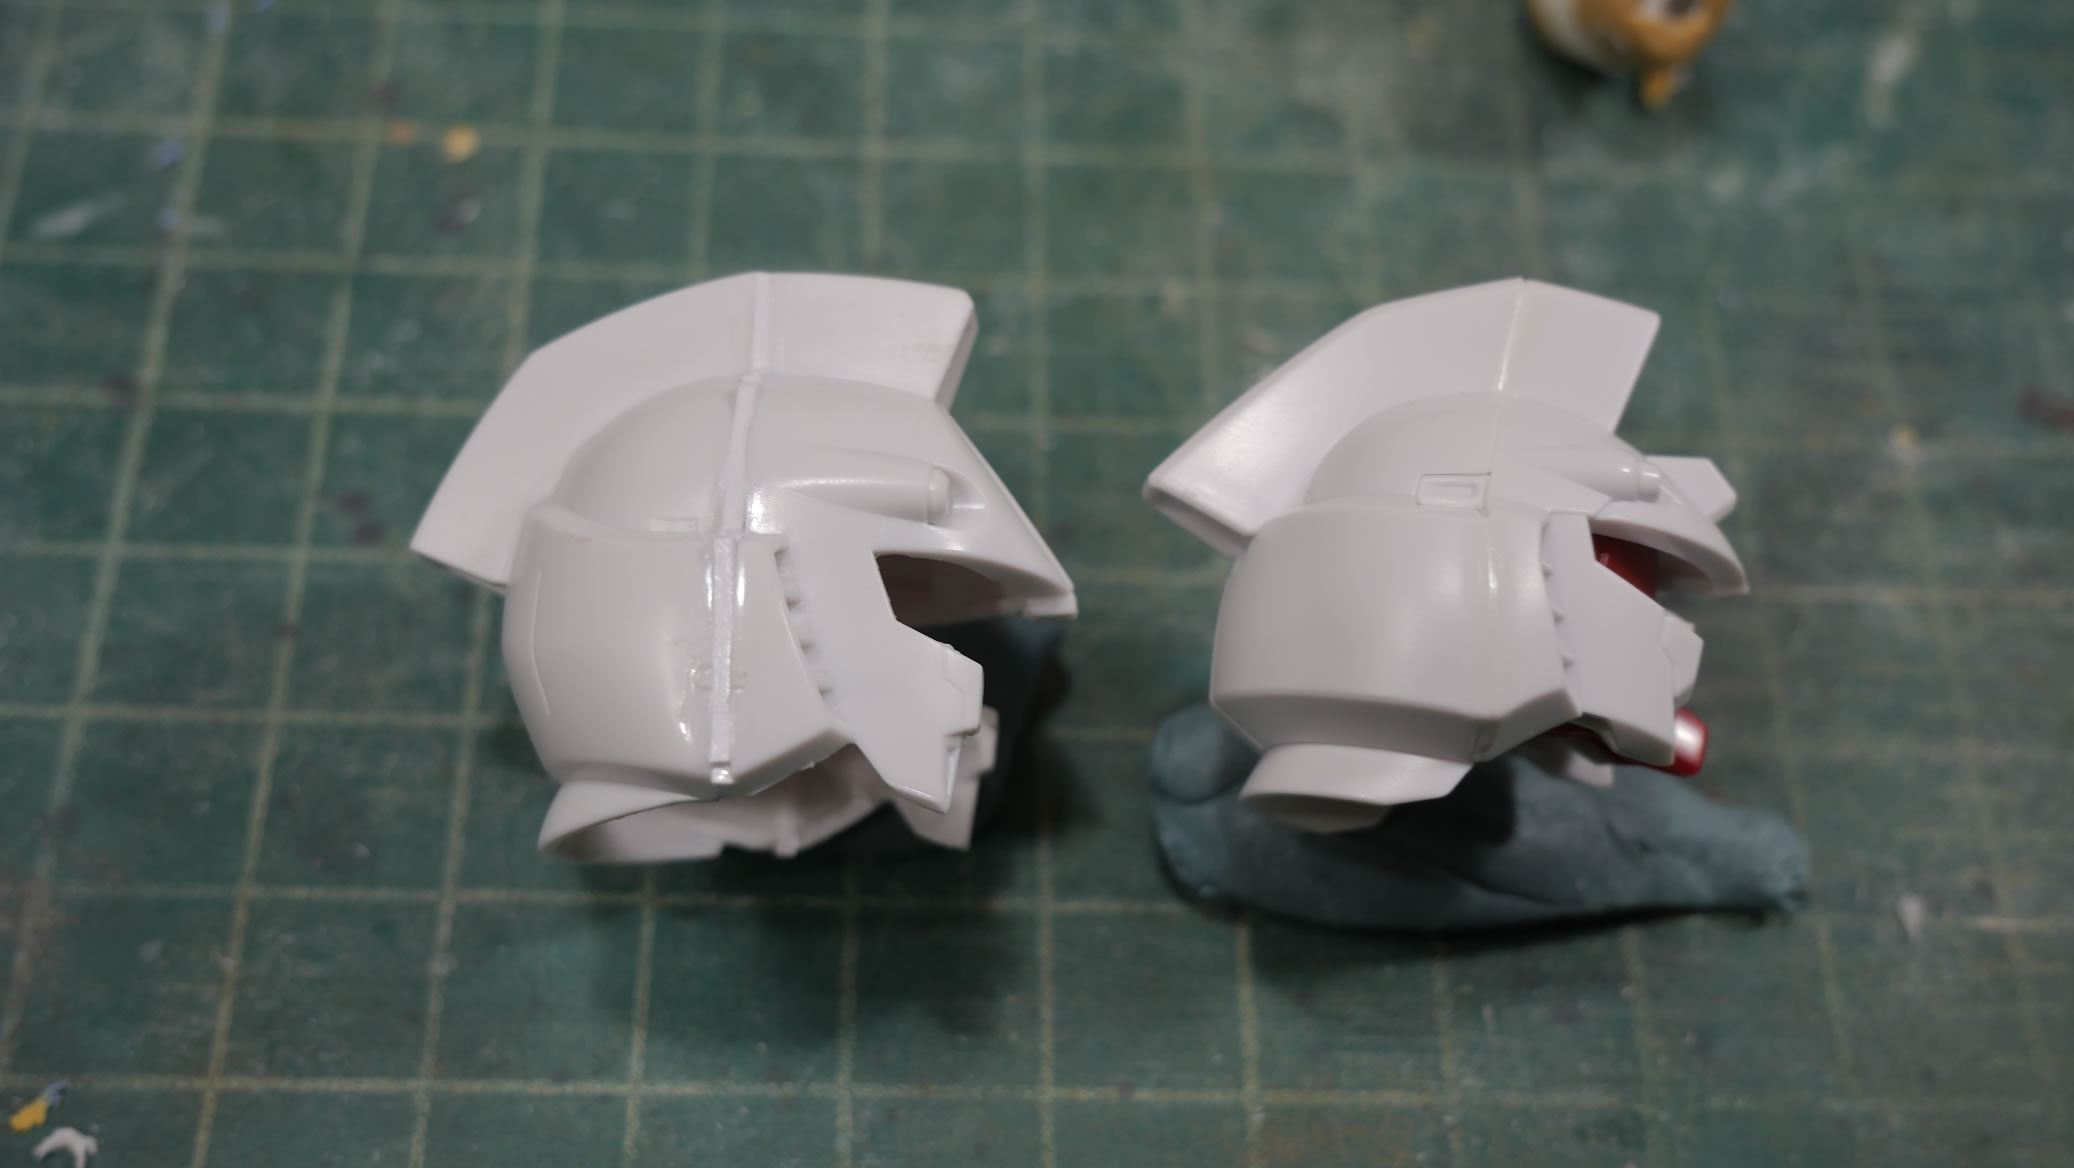

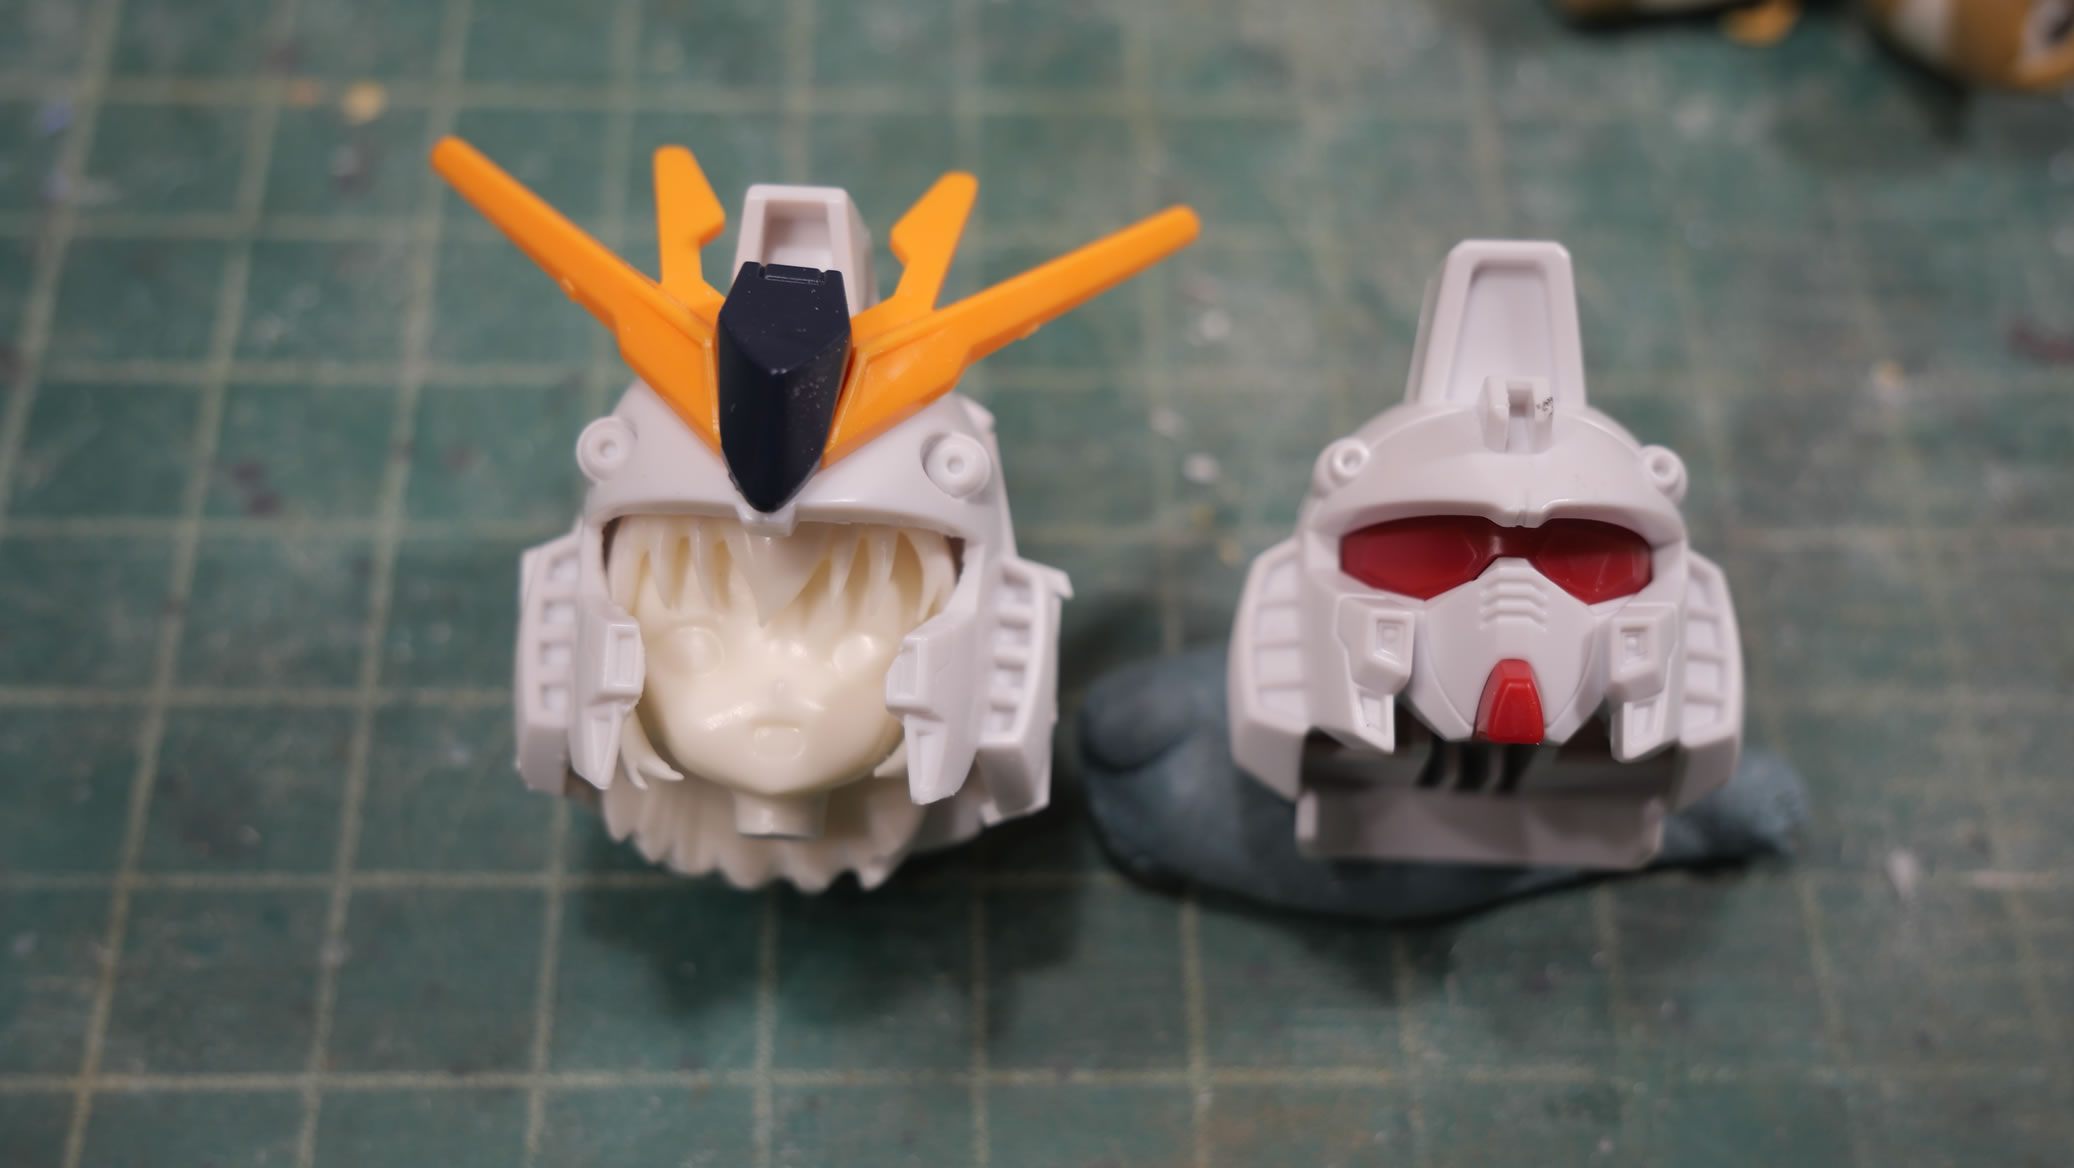
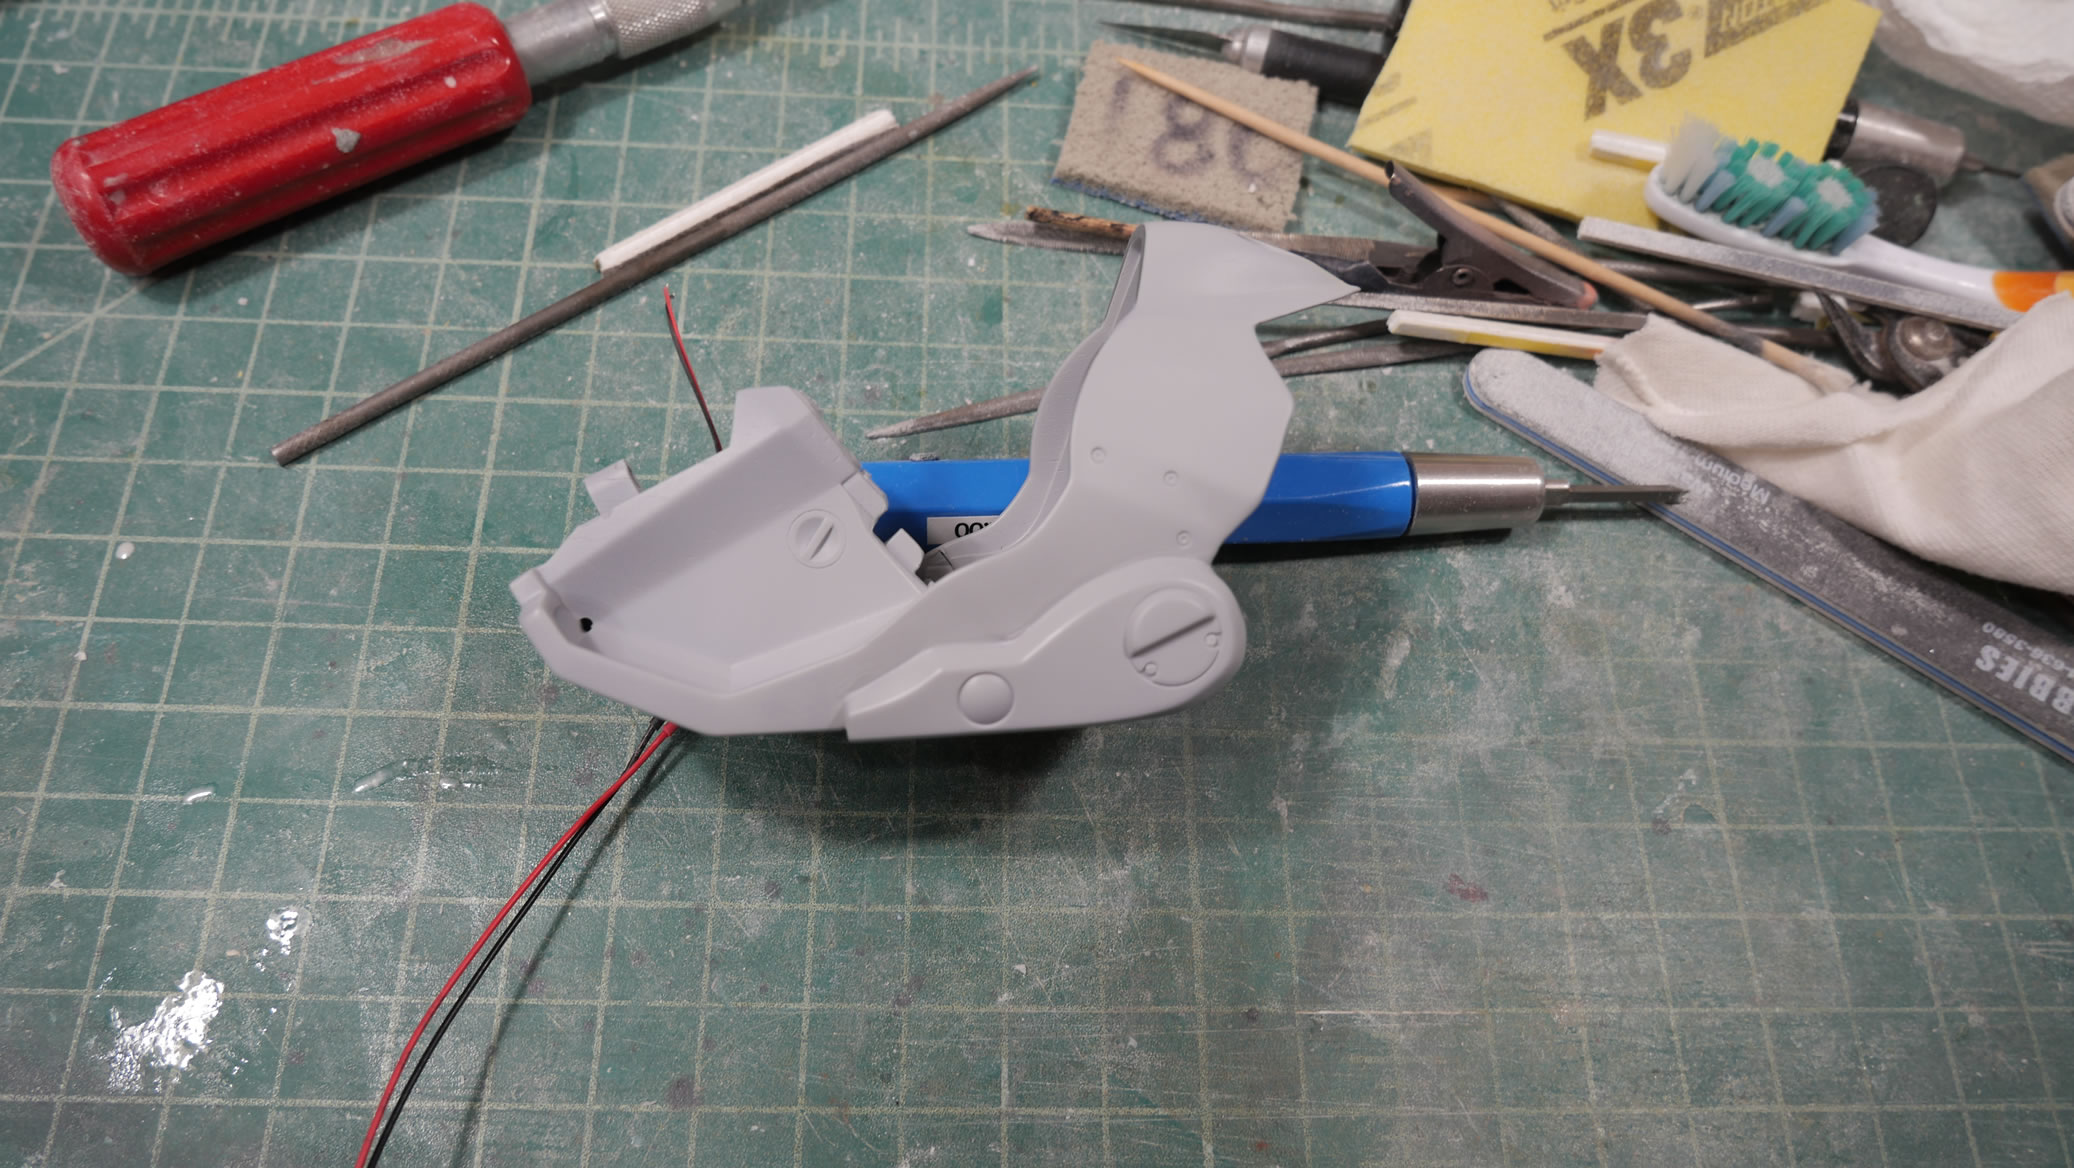
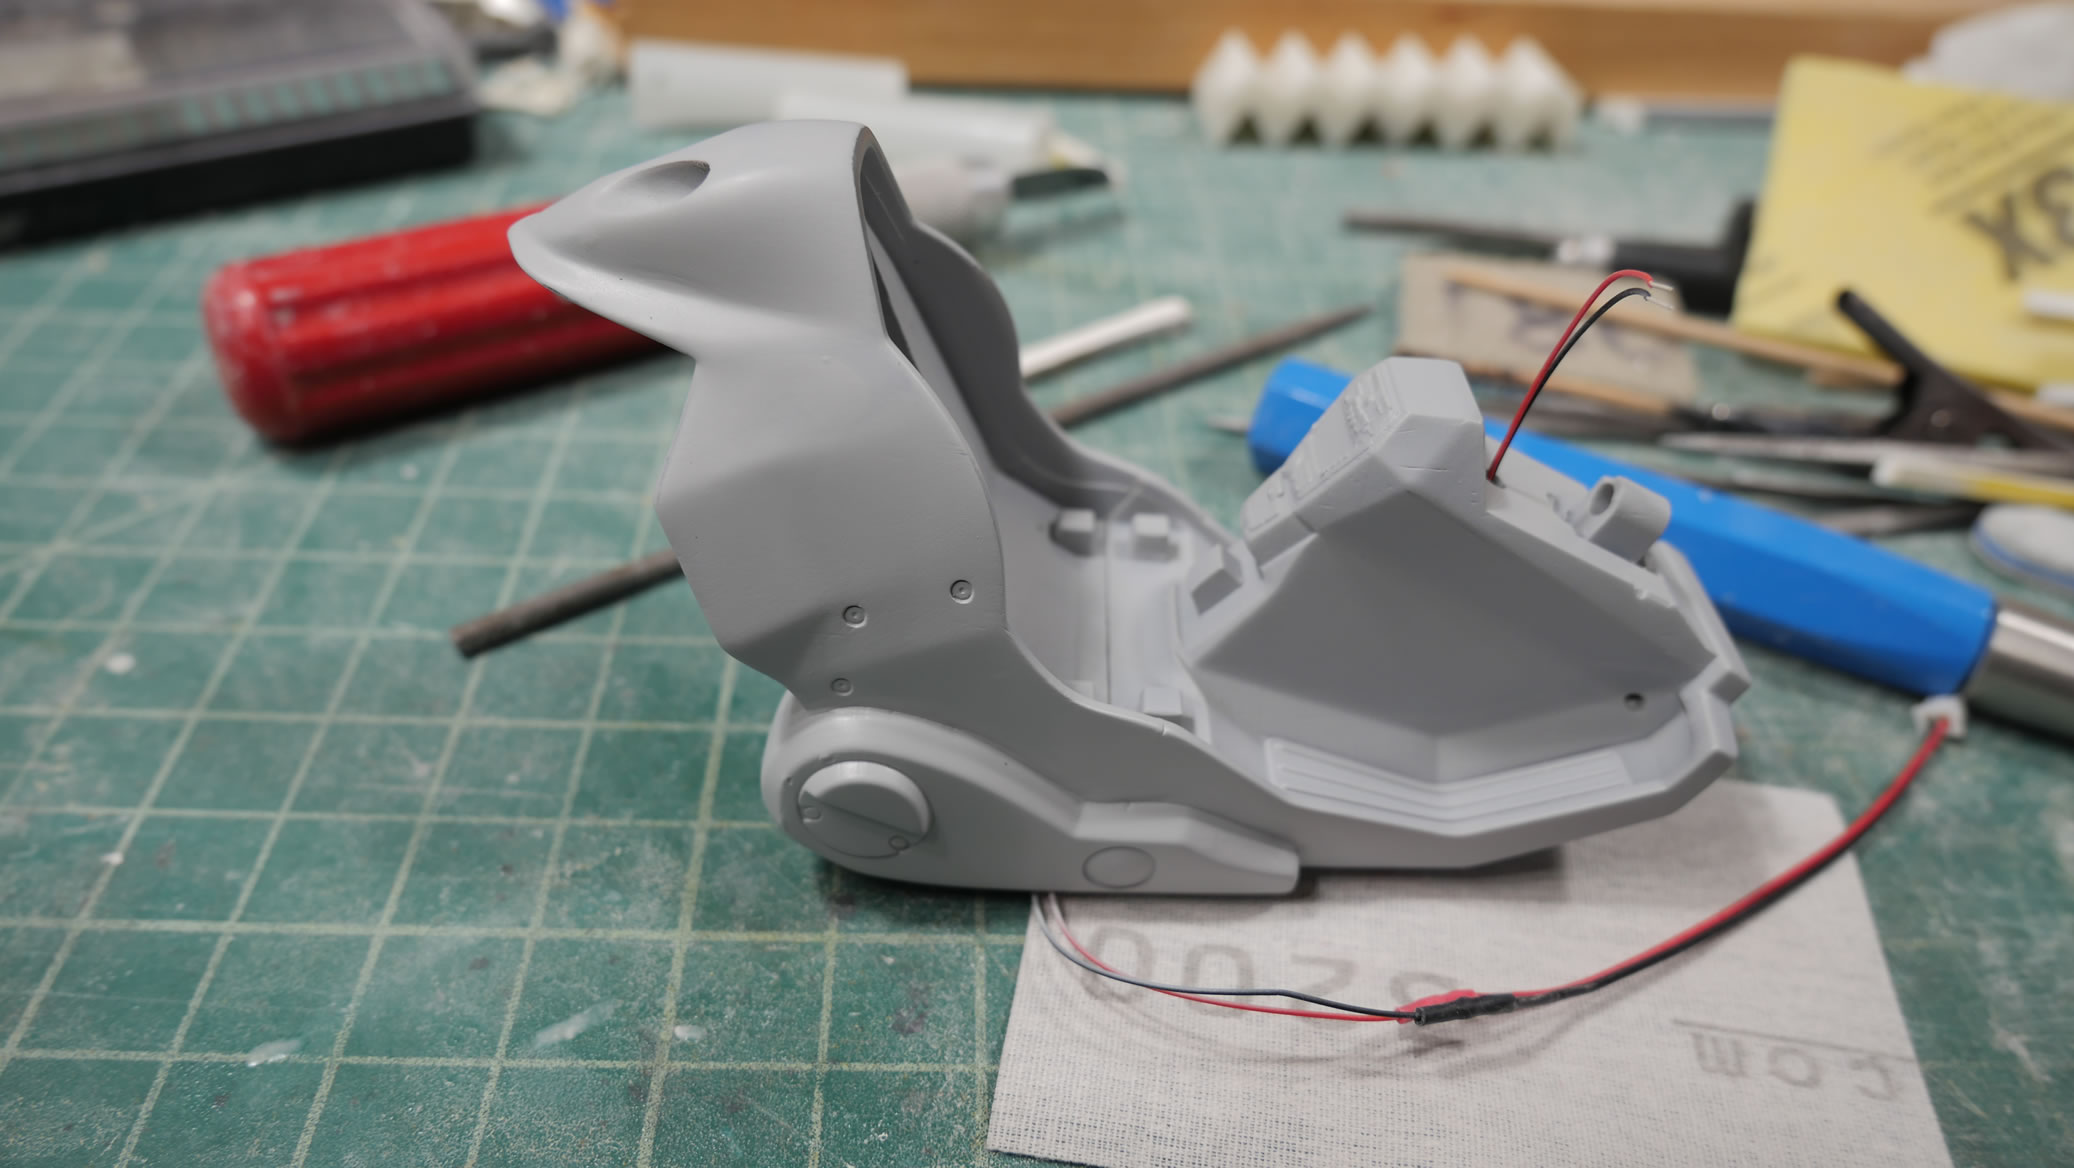
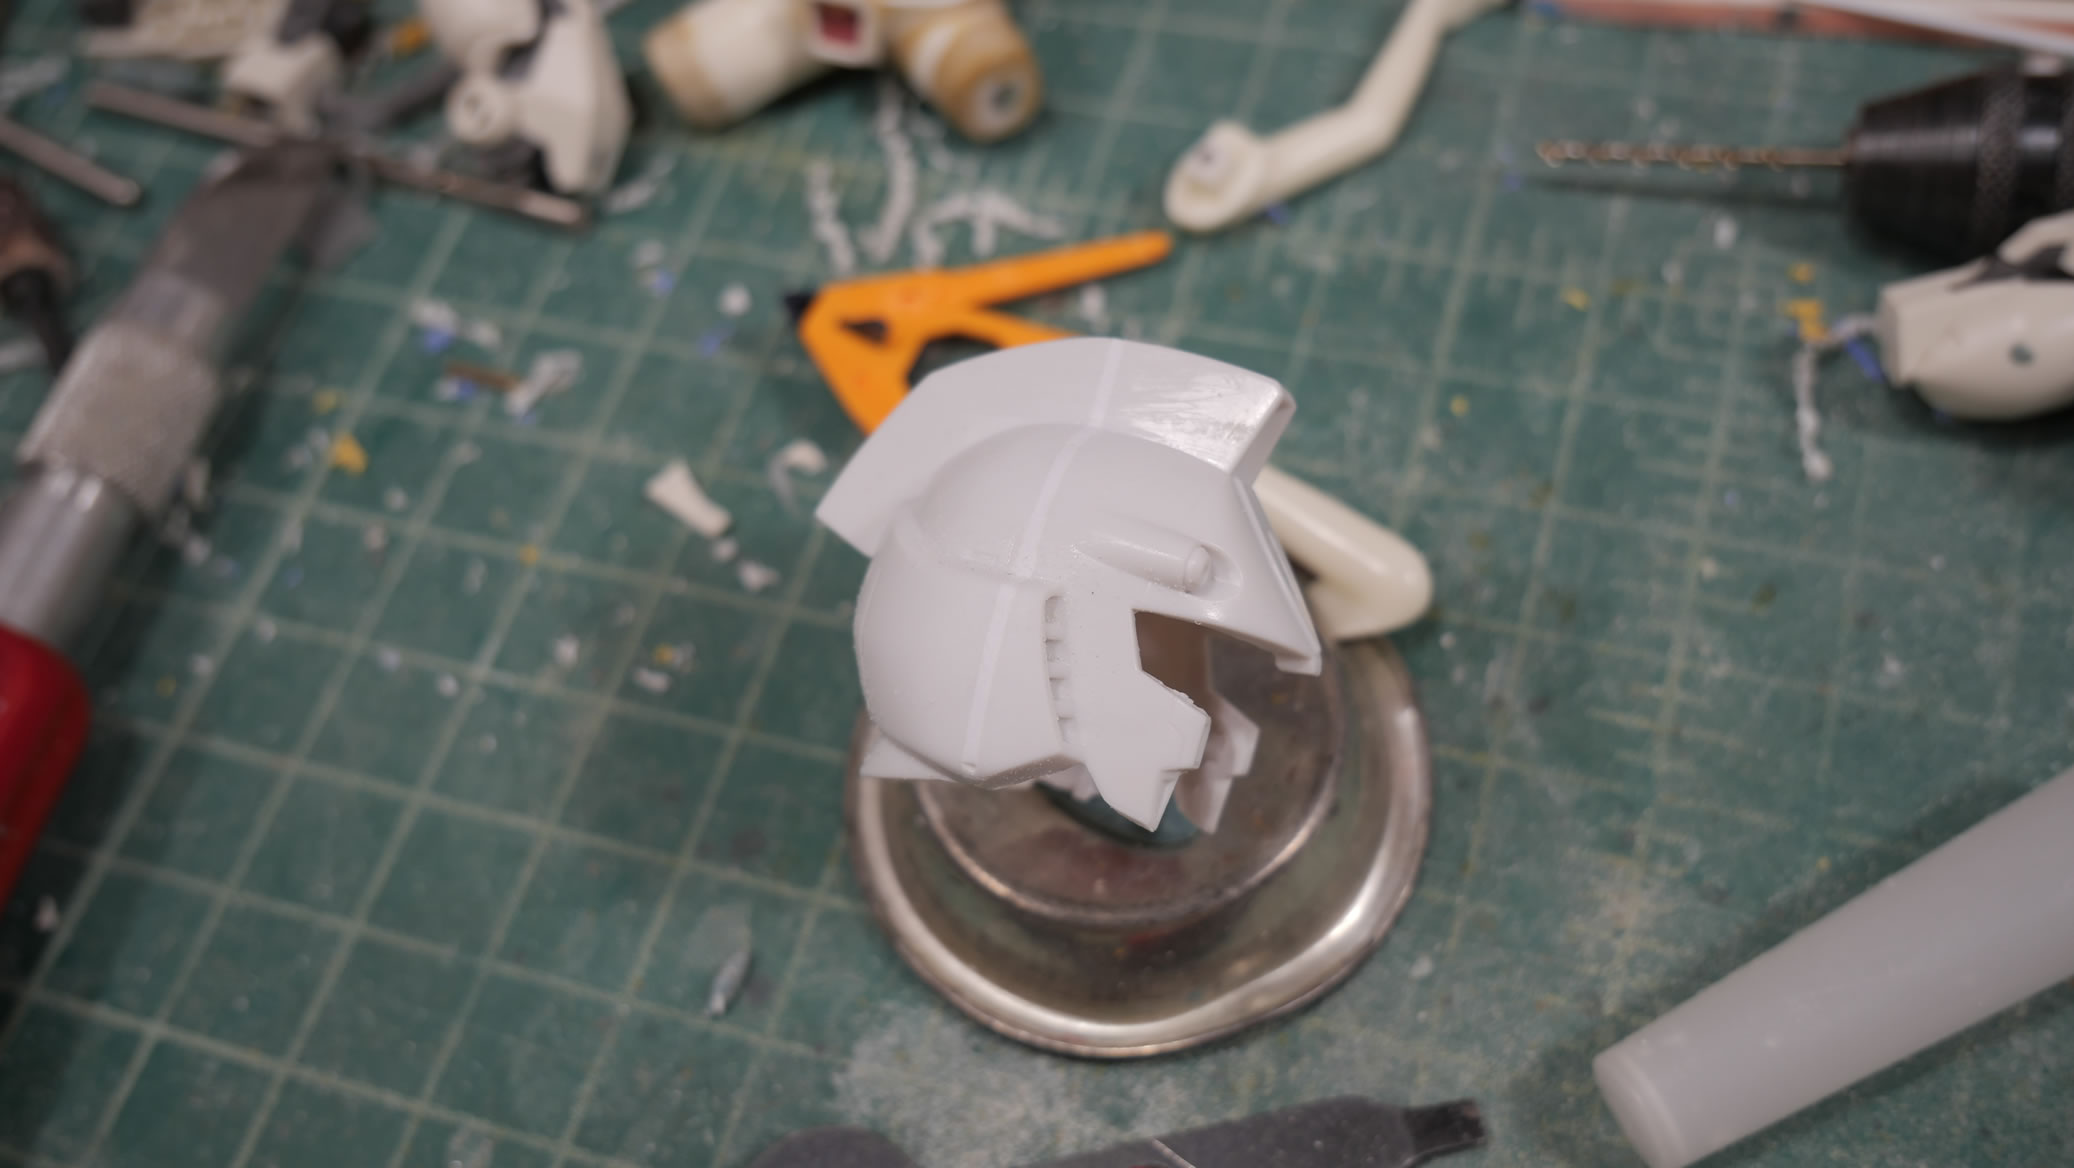
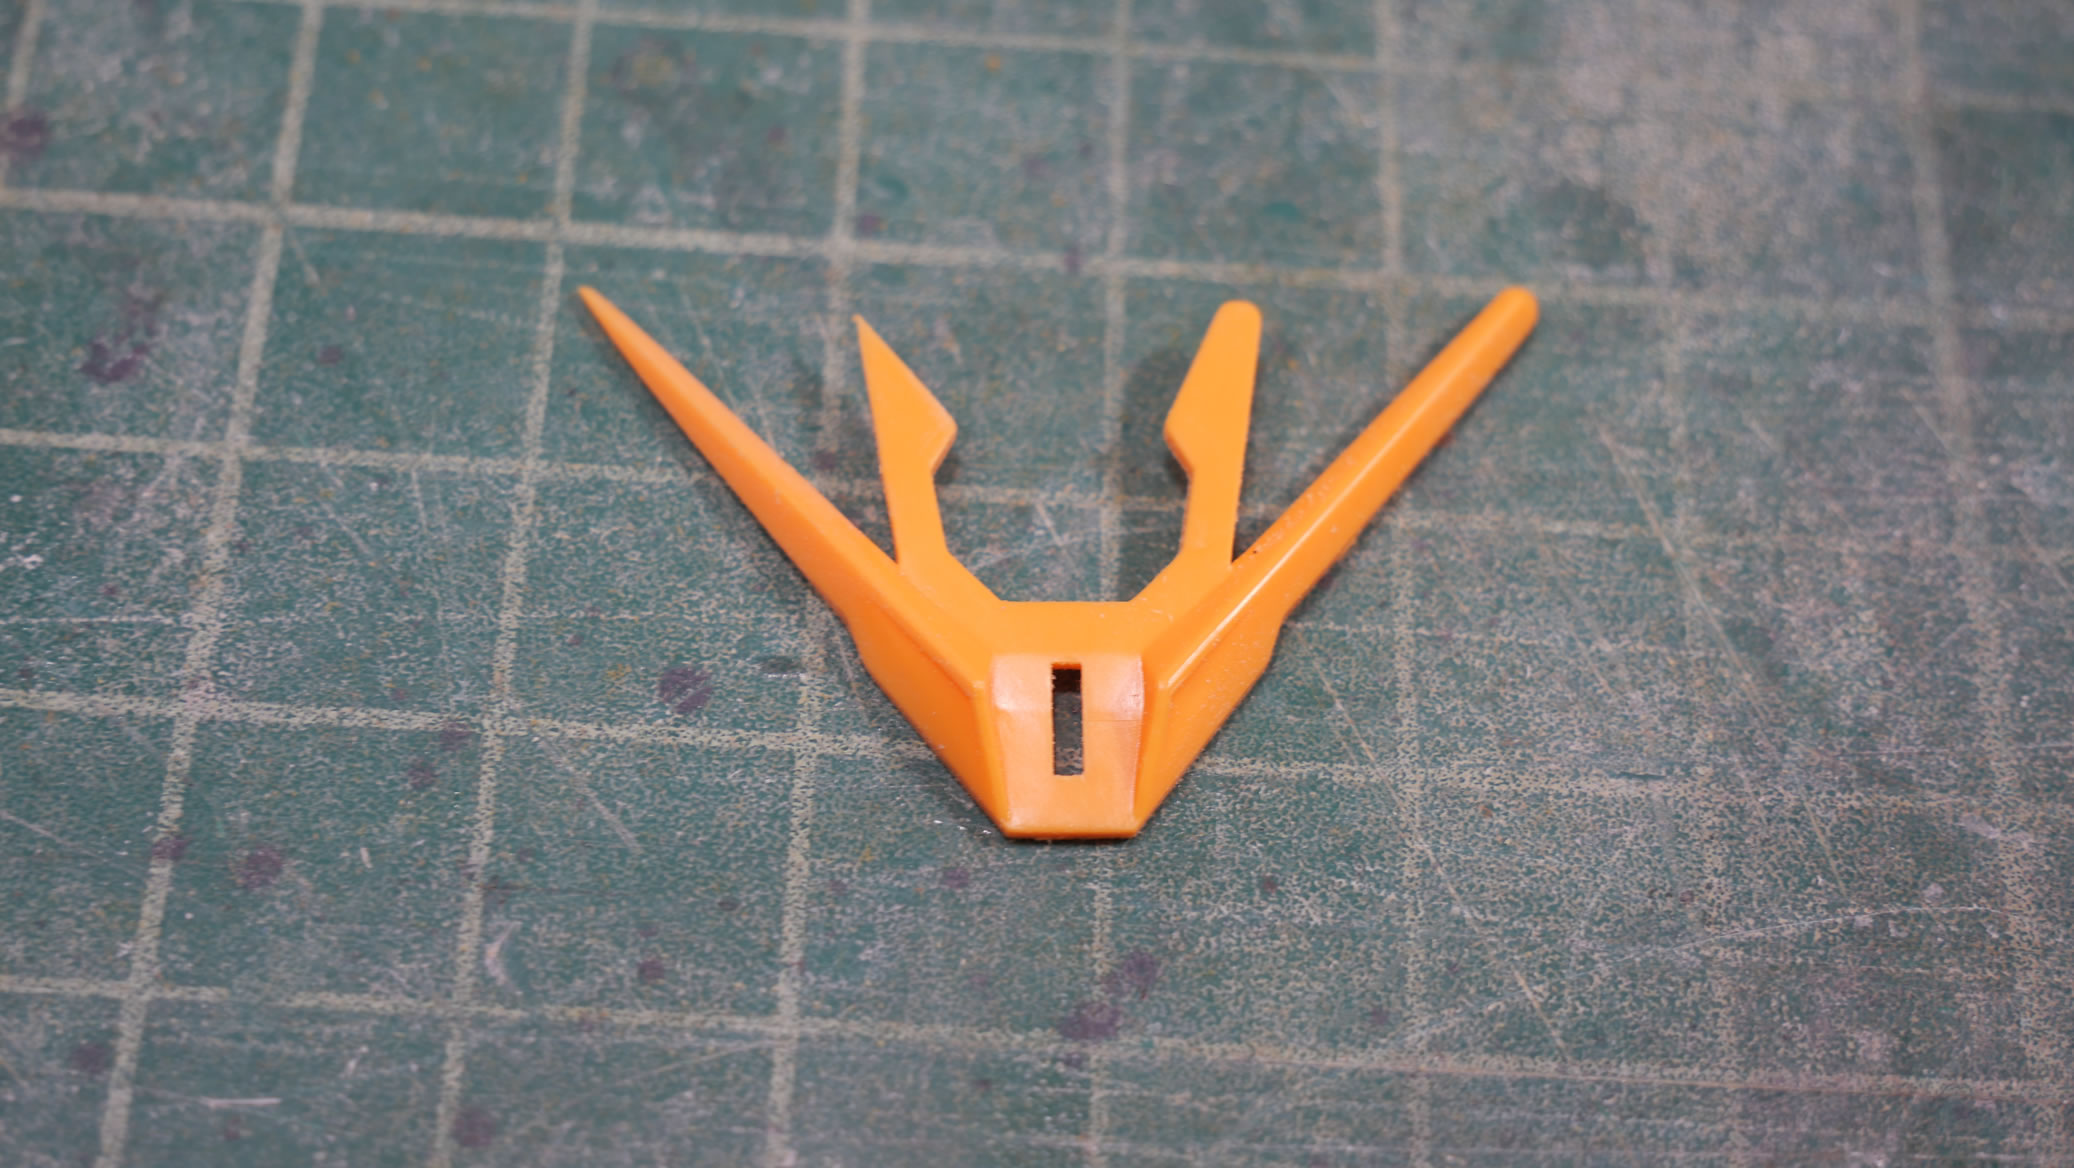
Seams are sanded down and some over zealous pastic reomval was fixed with some light curing putty. The V-fin is sanded down to sharpen edges as well as thin them down. Here is a right side/left side comparison.
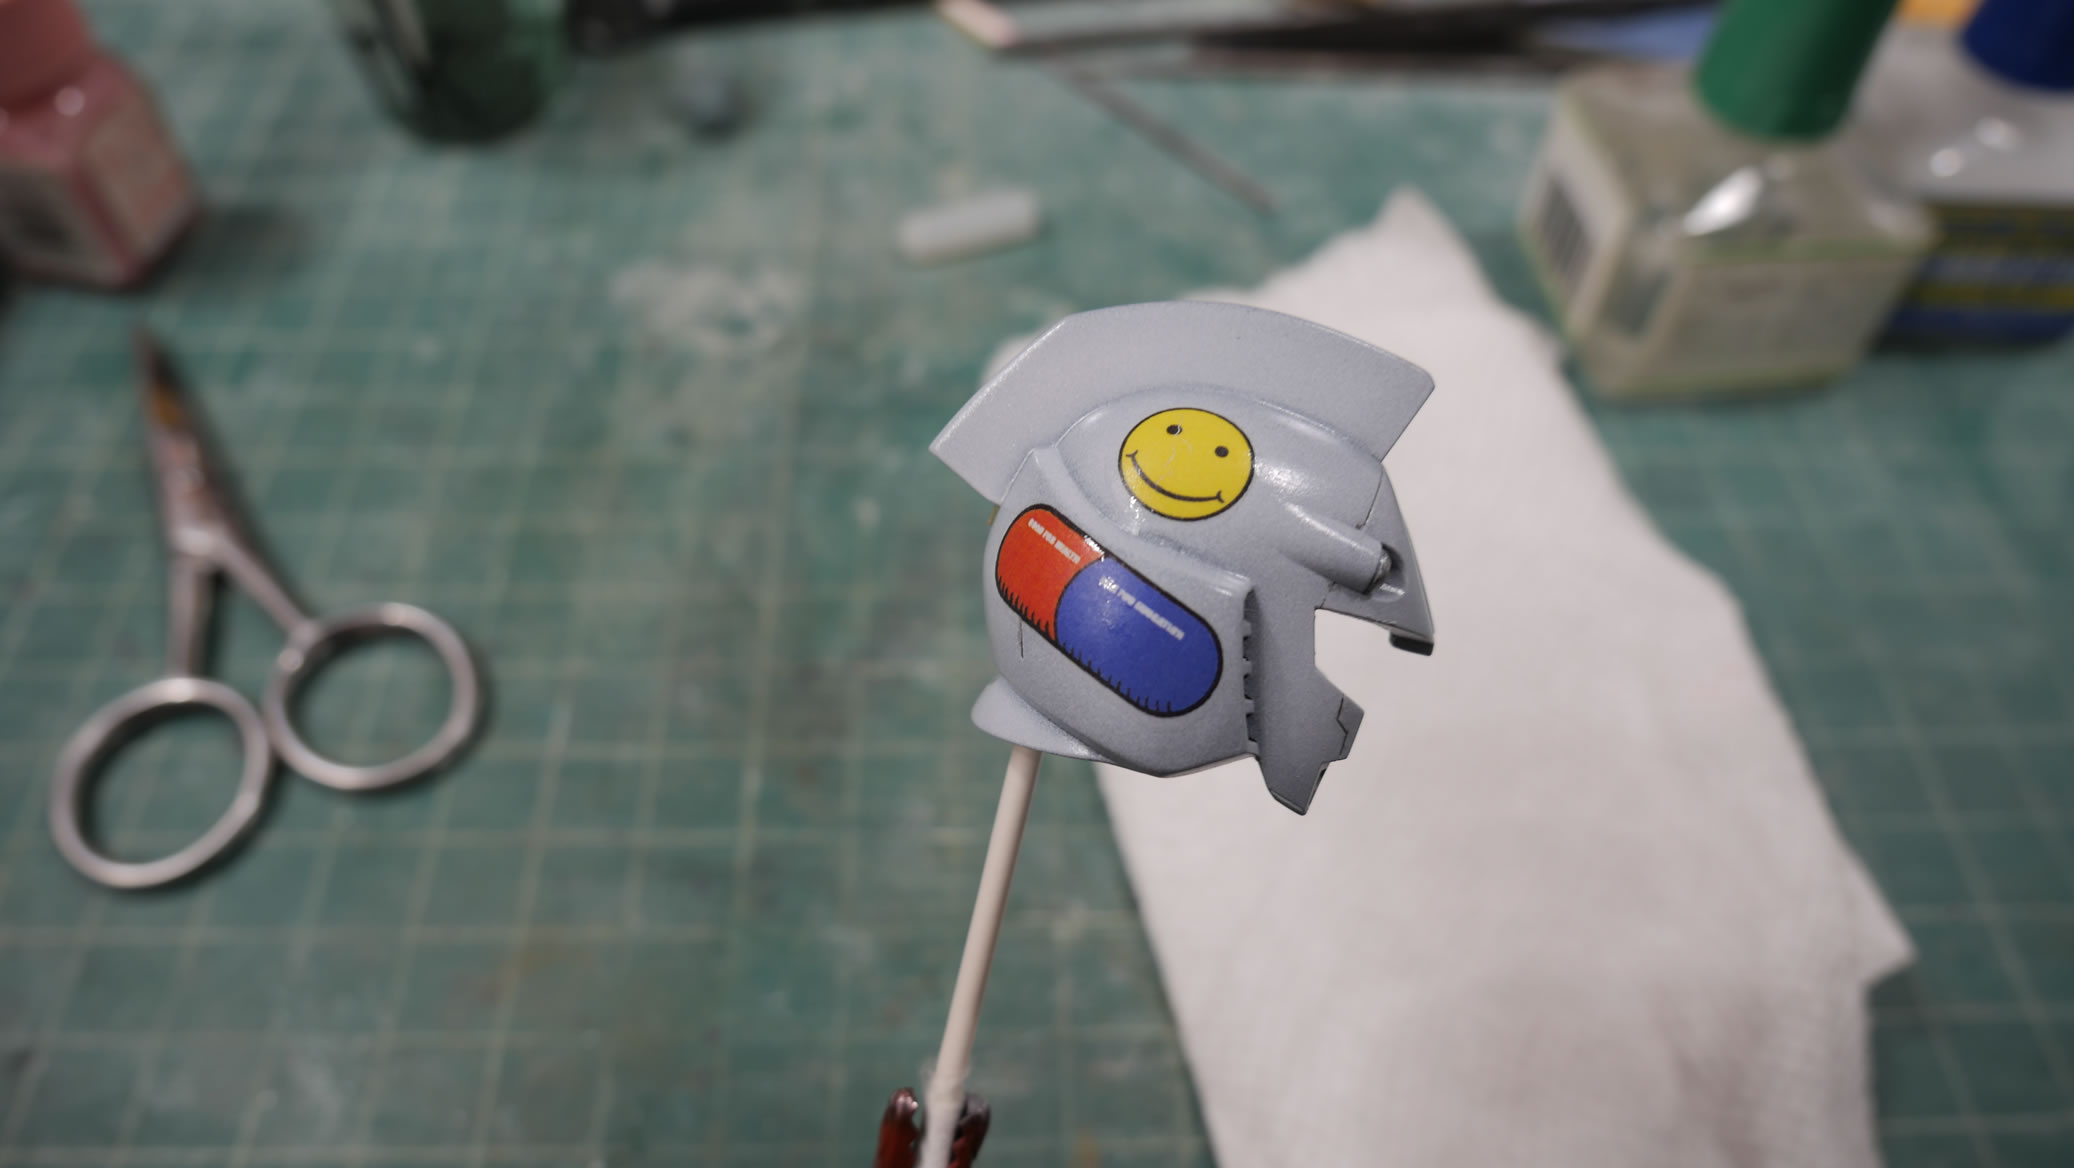
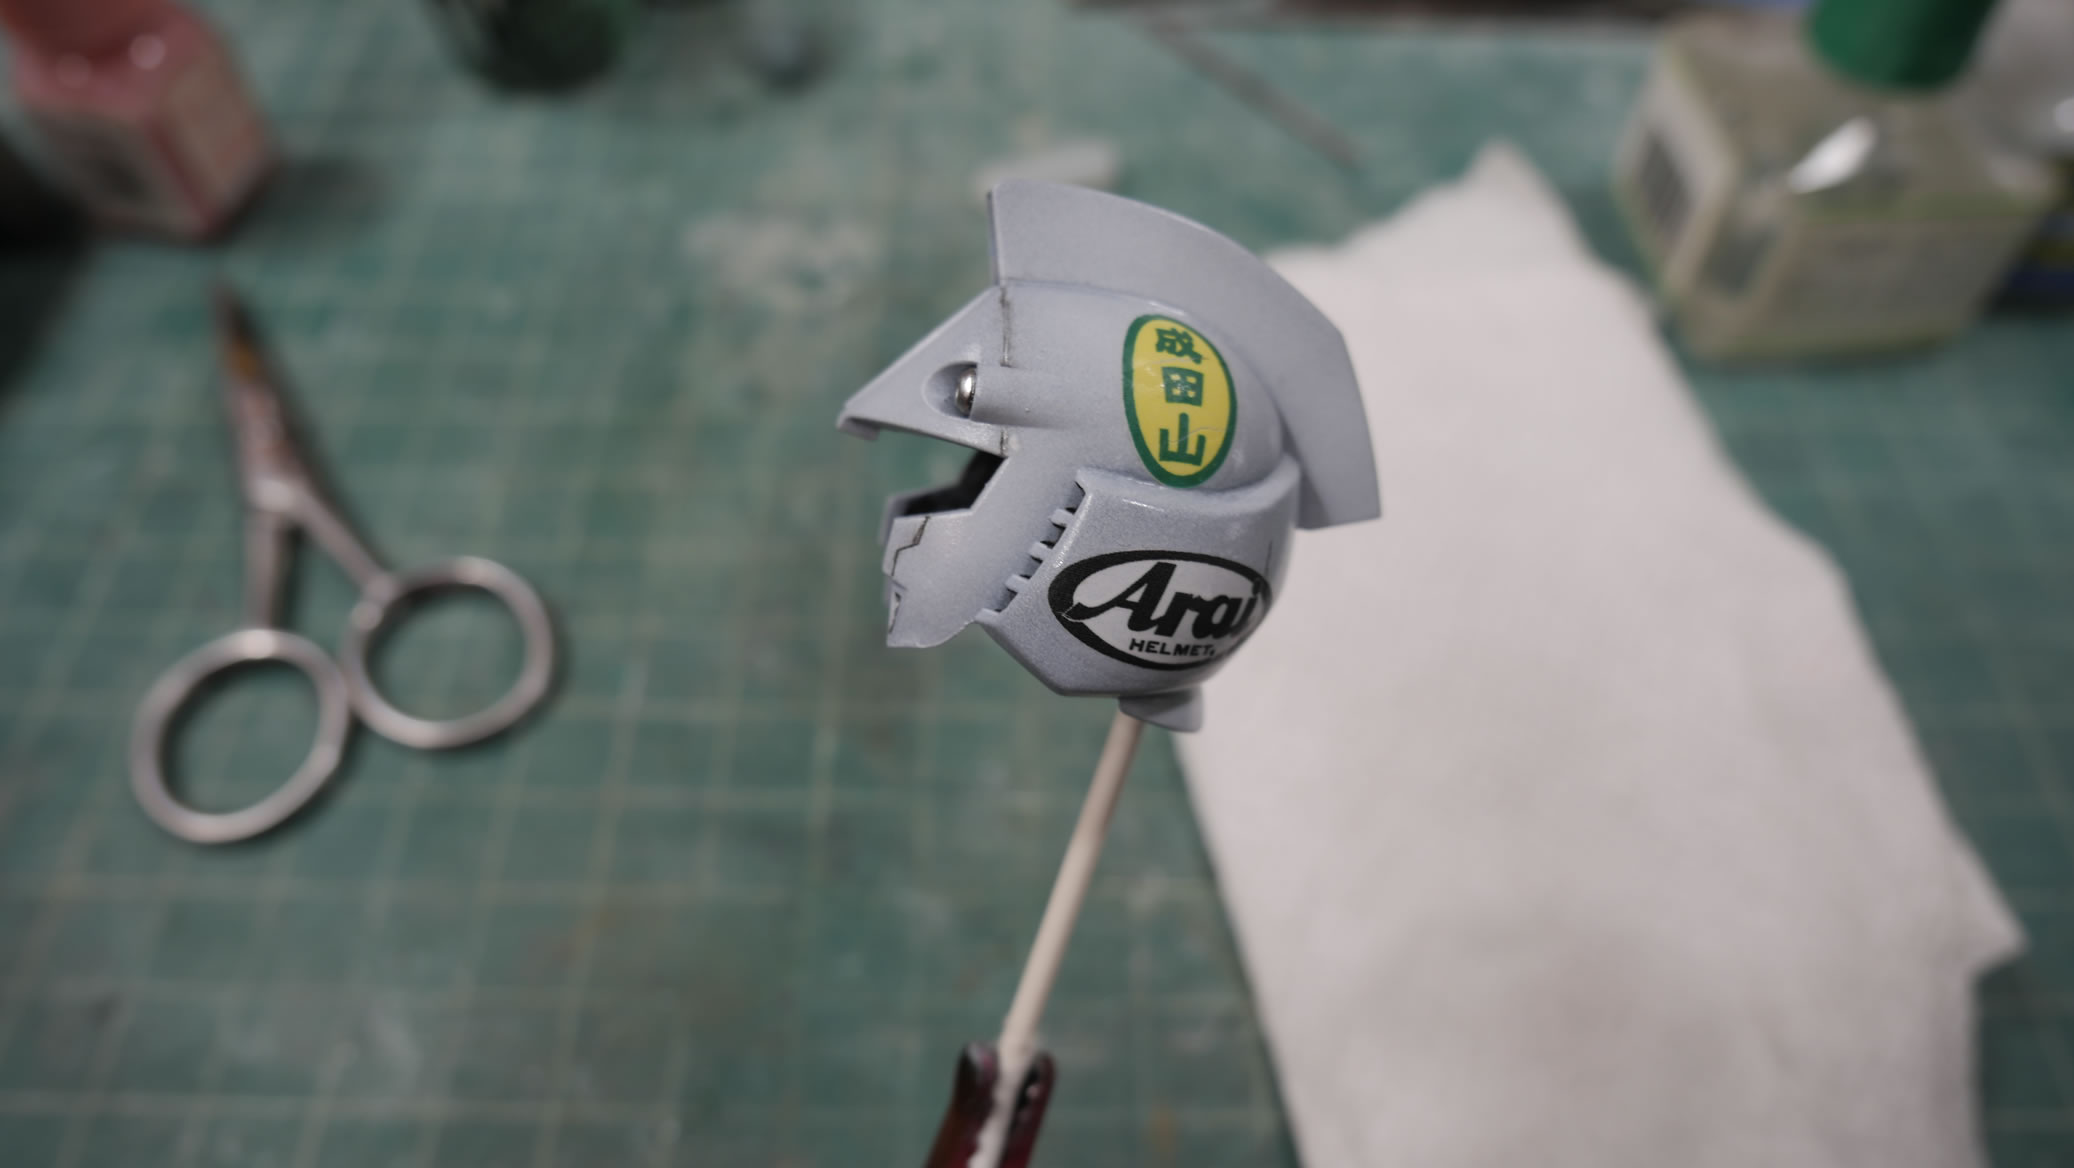
Decals from the Akira sheet work well for the helmet. They are a bit on the thick side and some of the decals cracked. It works out that Arai is a motorcycle helmet maker; and I had to add the Good for Health, Bad for School Akira pill on the side of the helmet.
The base
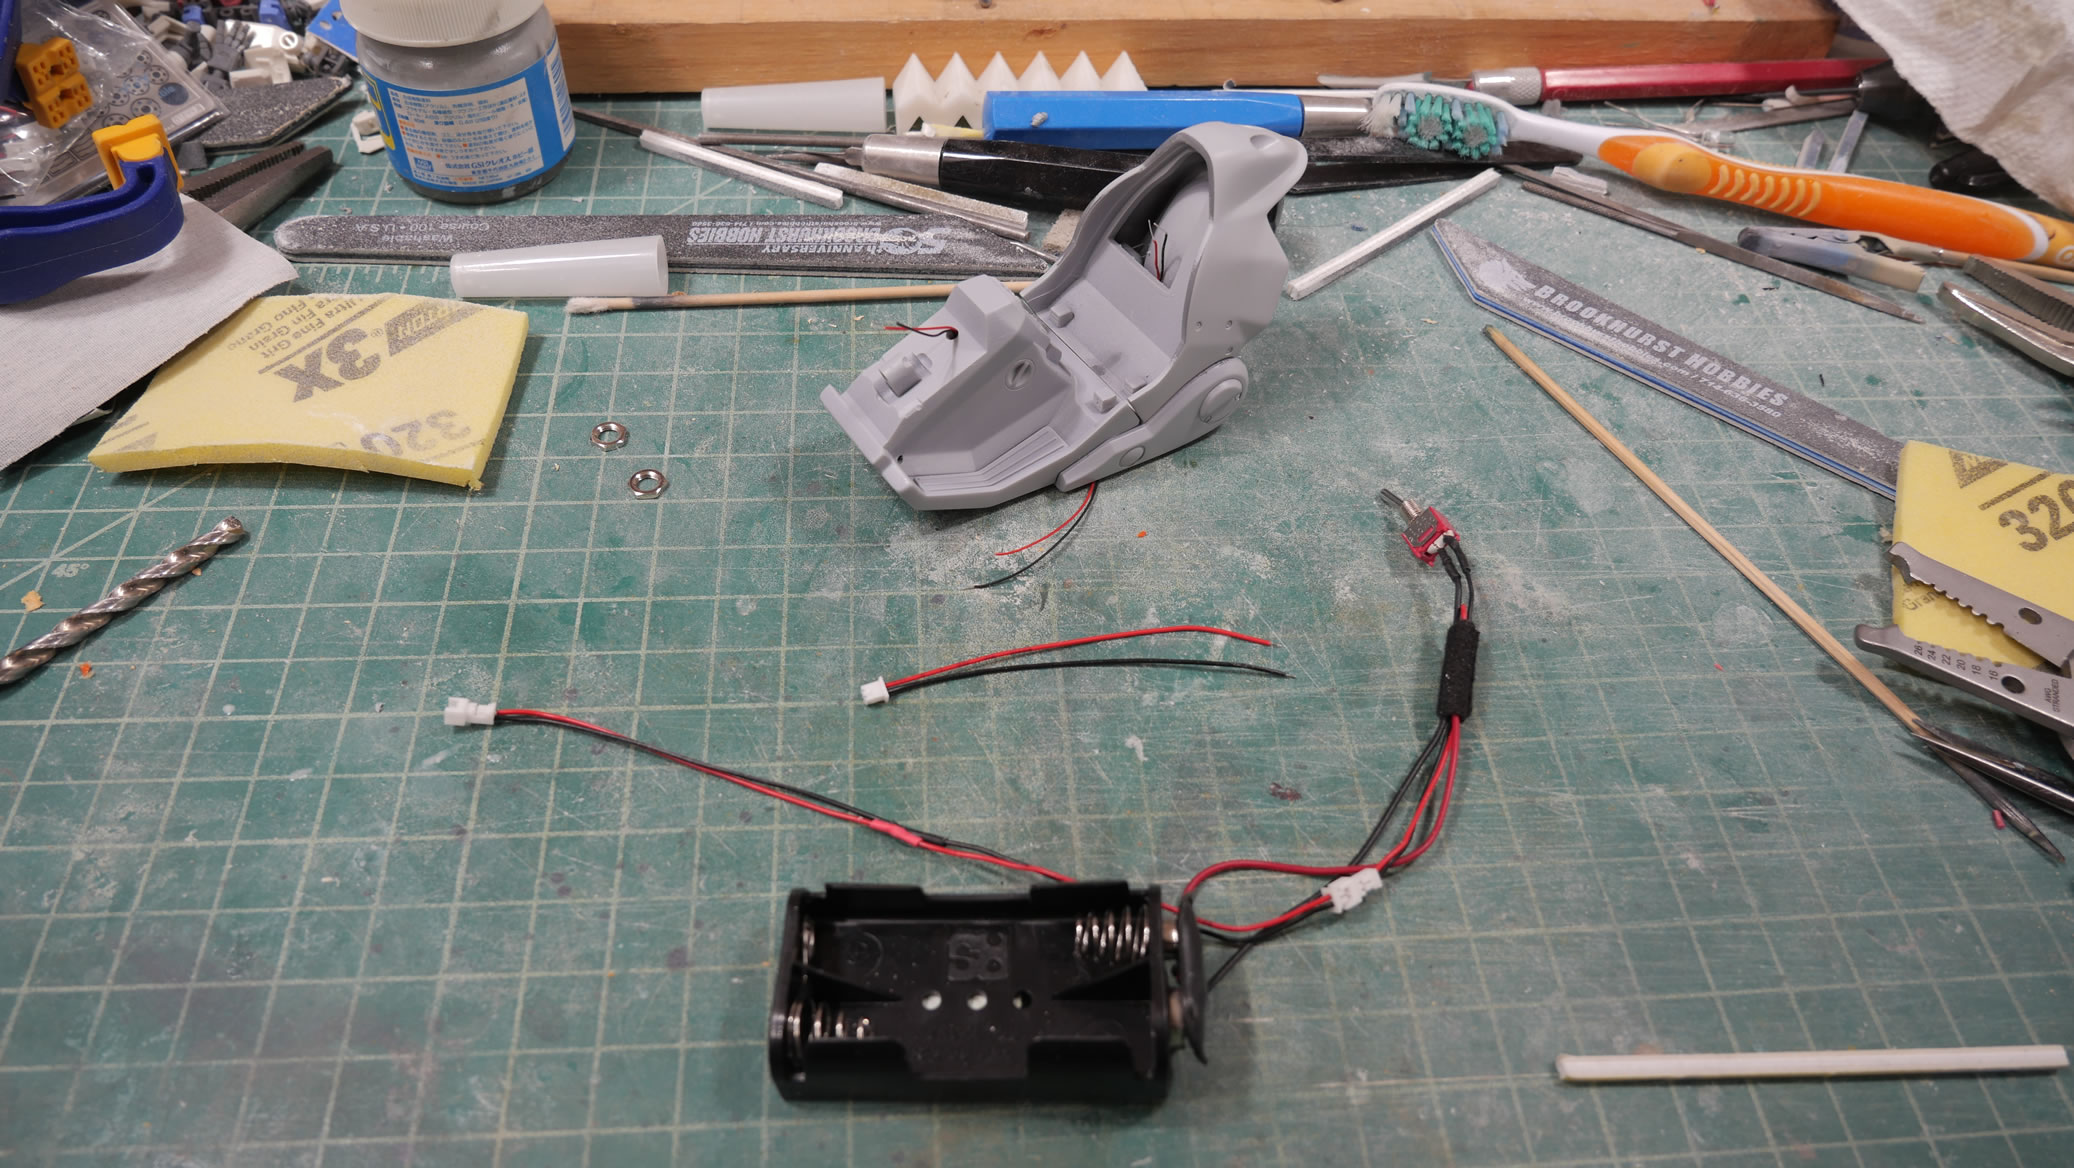
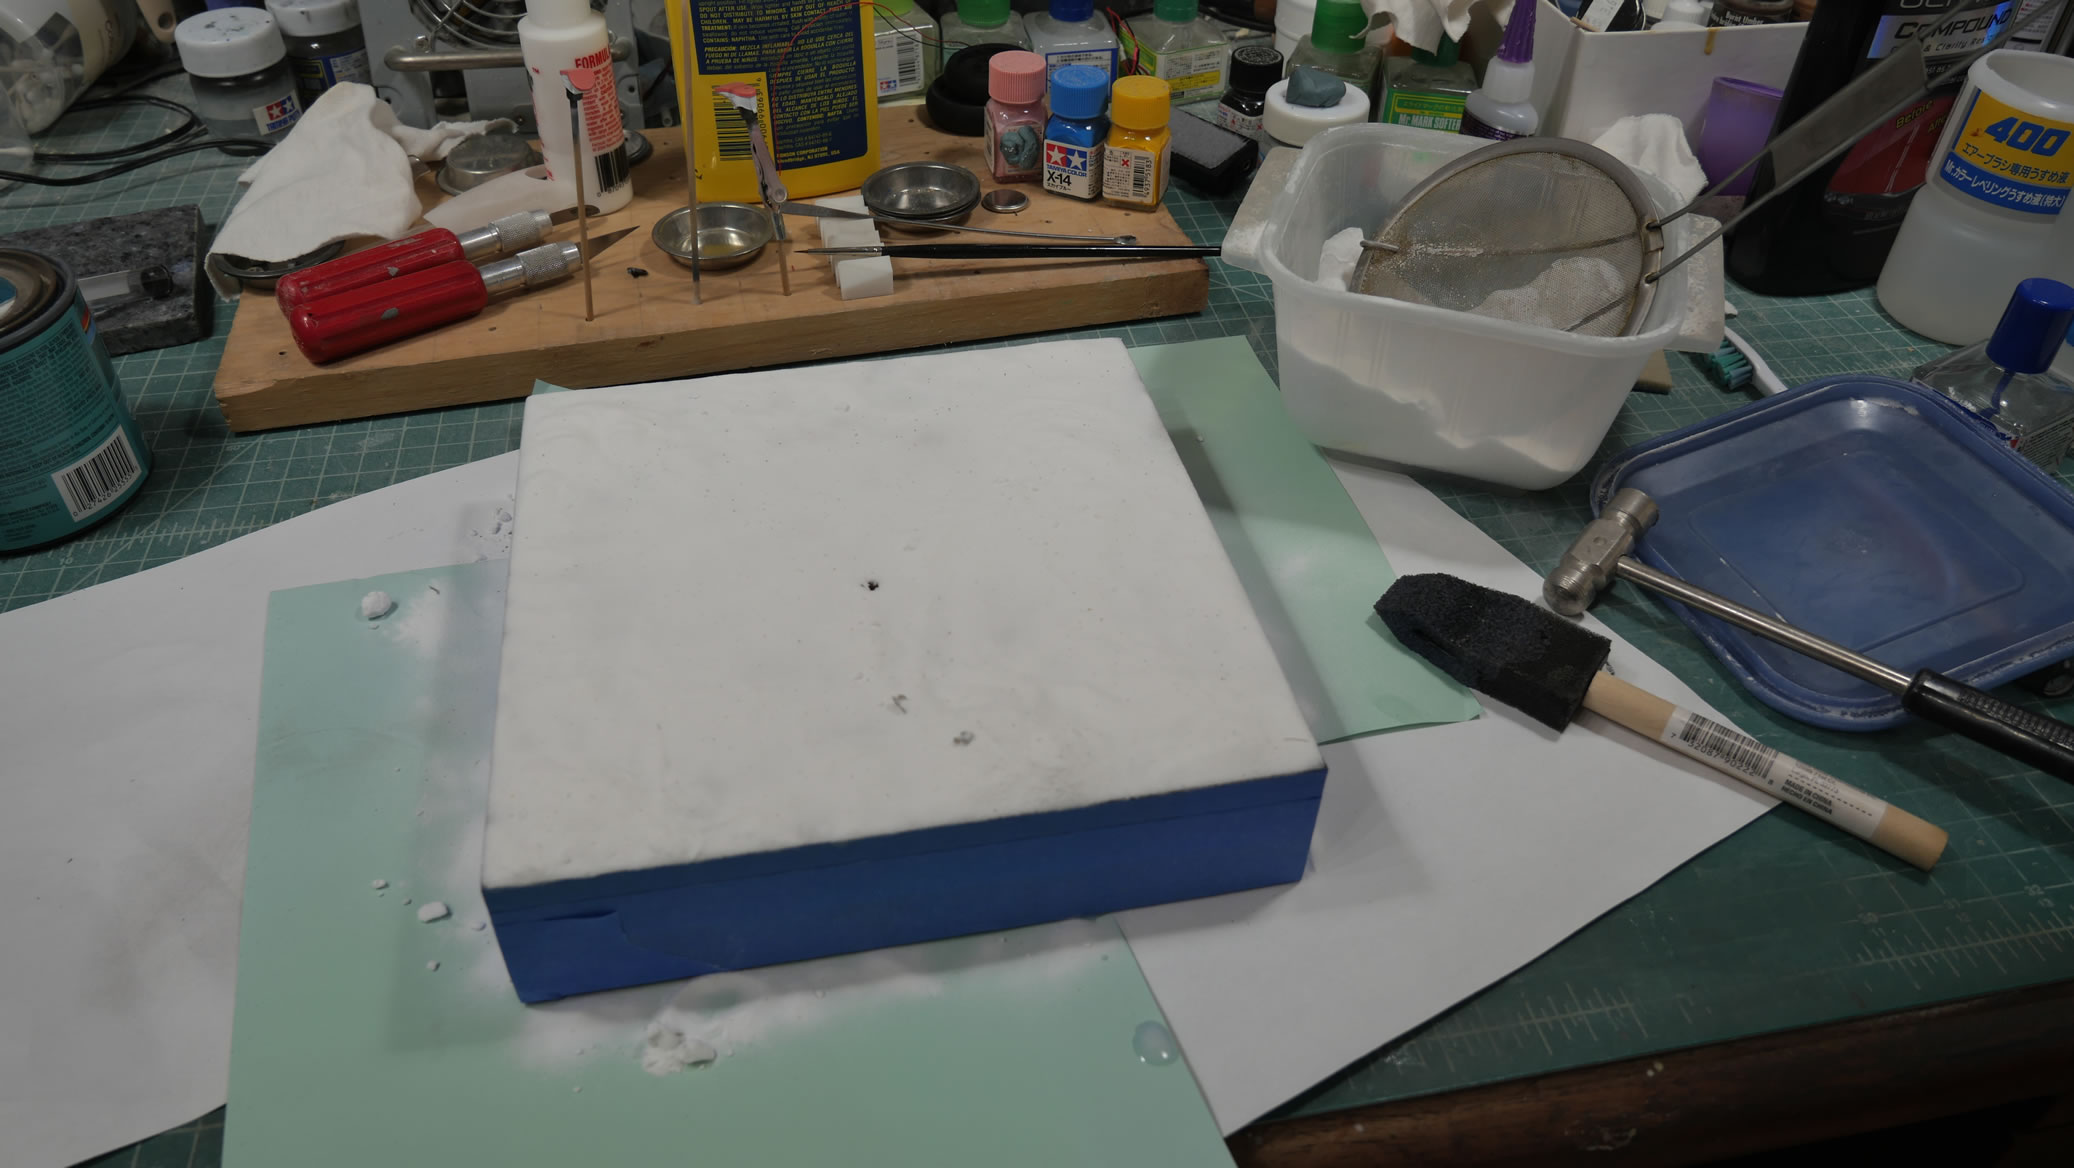
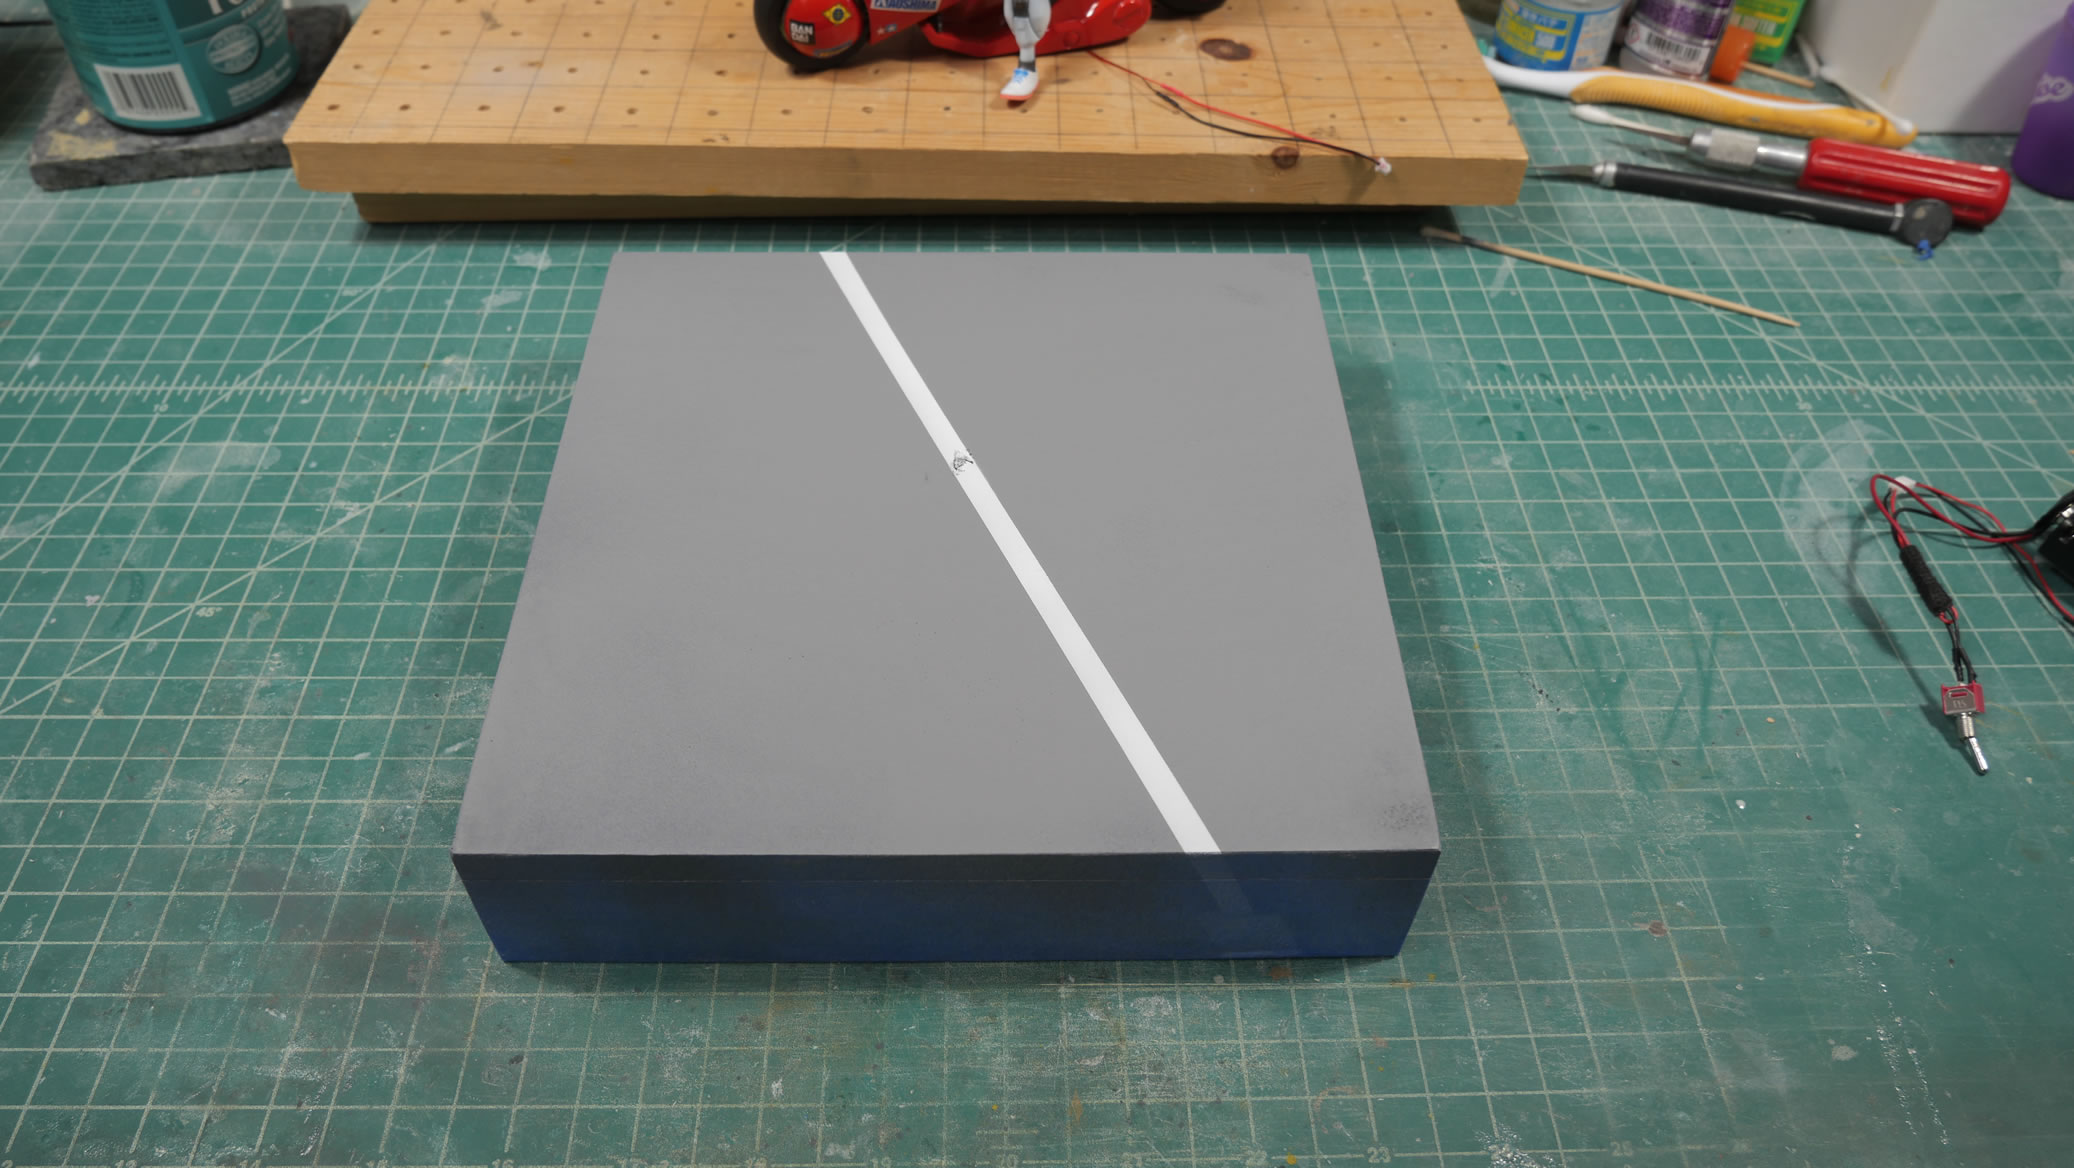
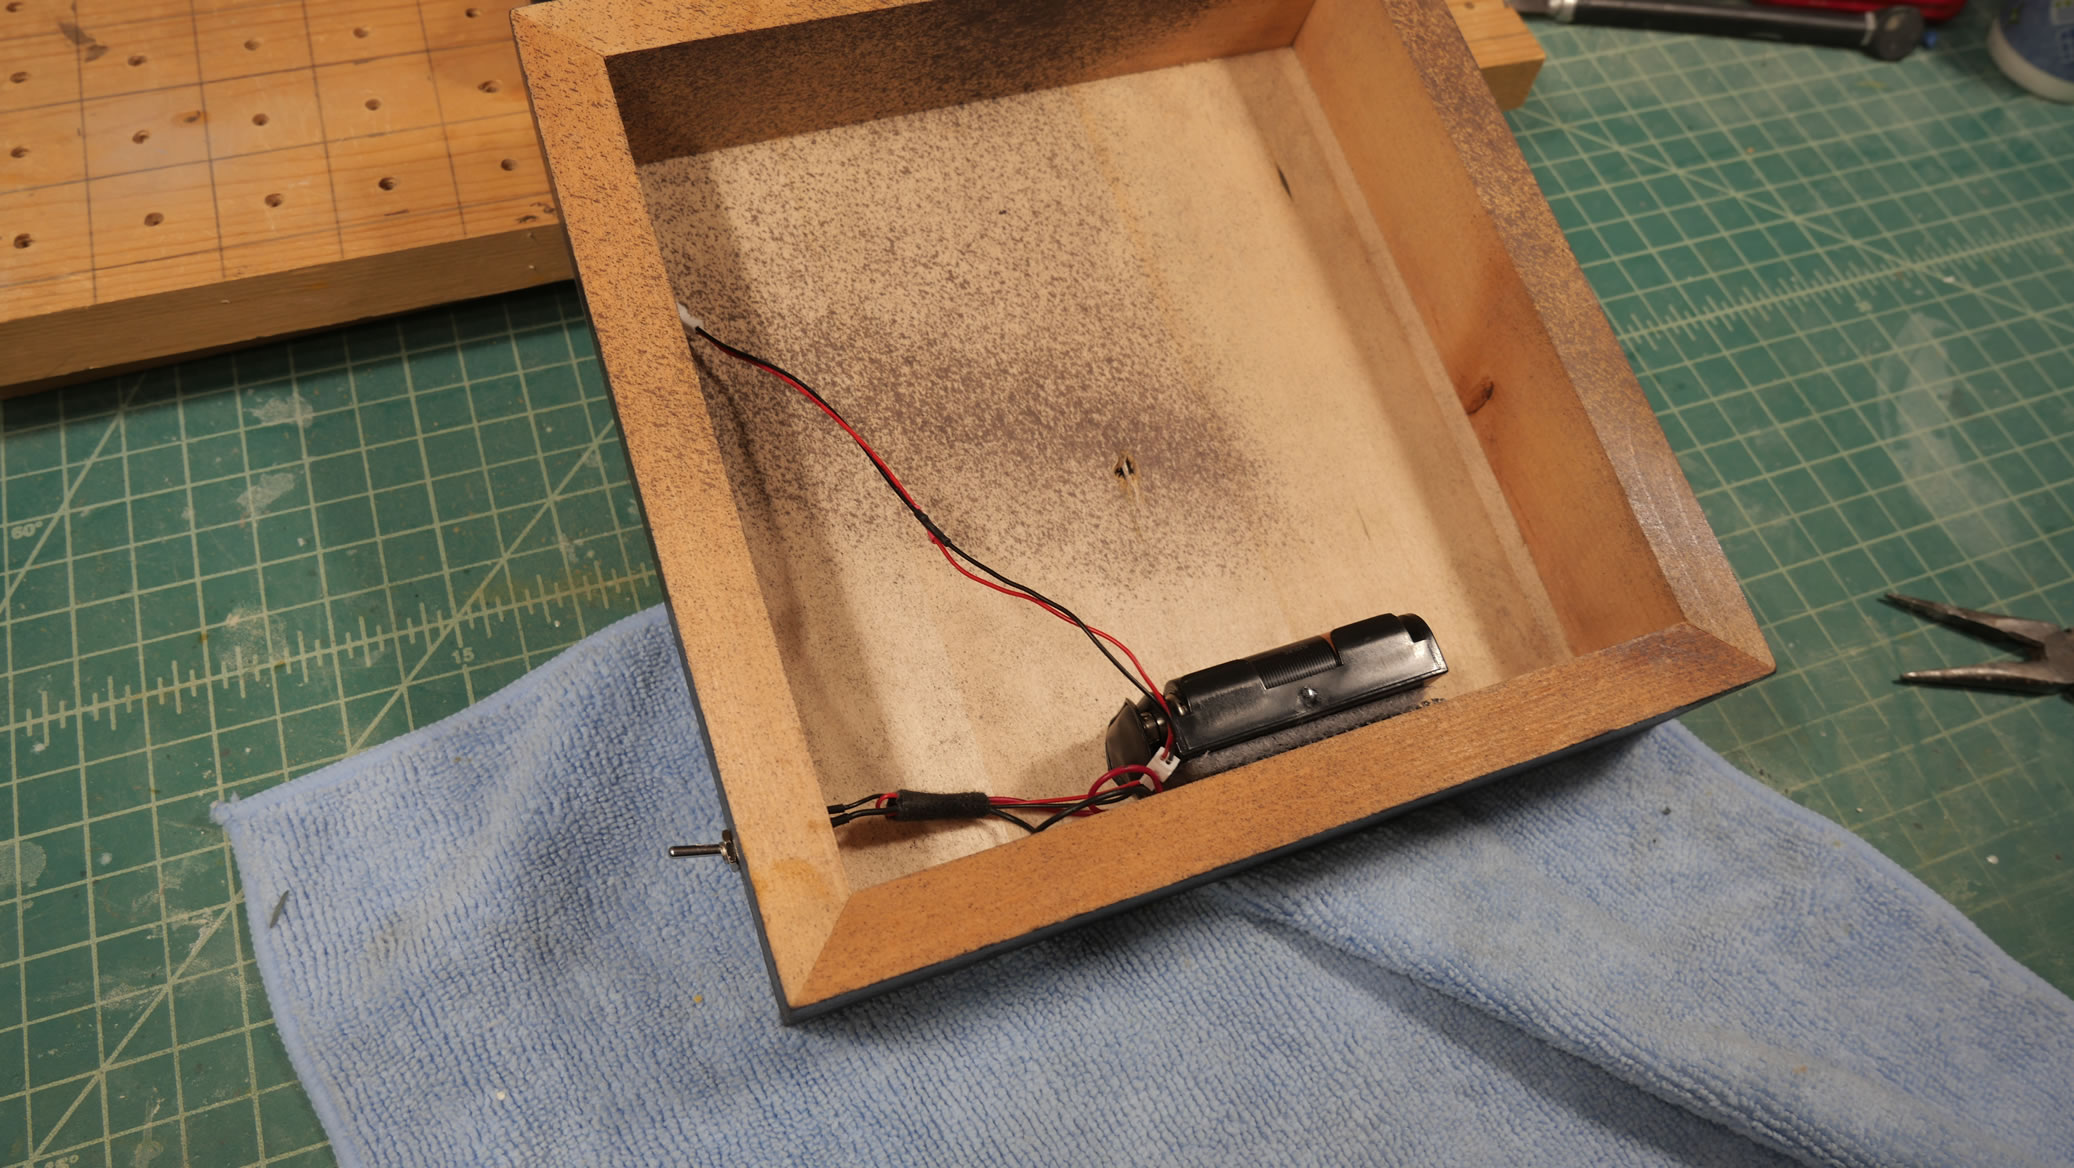
The last bit of work is the base. I built a switch assembly to a battery pack that sits inside the wood base box. I have some velcro that works to hold the battery box in place. The wood base is just a box from Michaels. The edges were sanded and a hole is drilled for the switch assembly. Once the edges were painted, they are masked off.
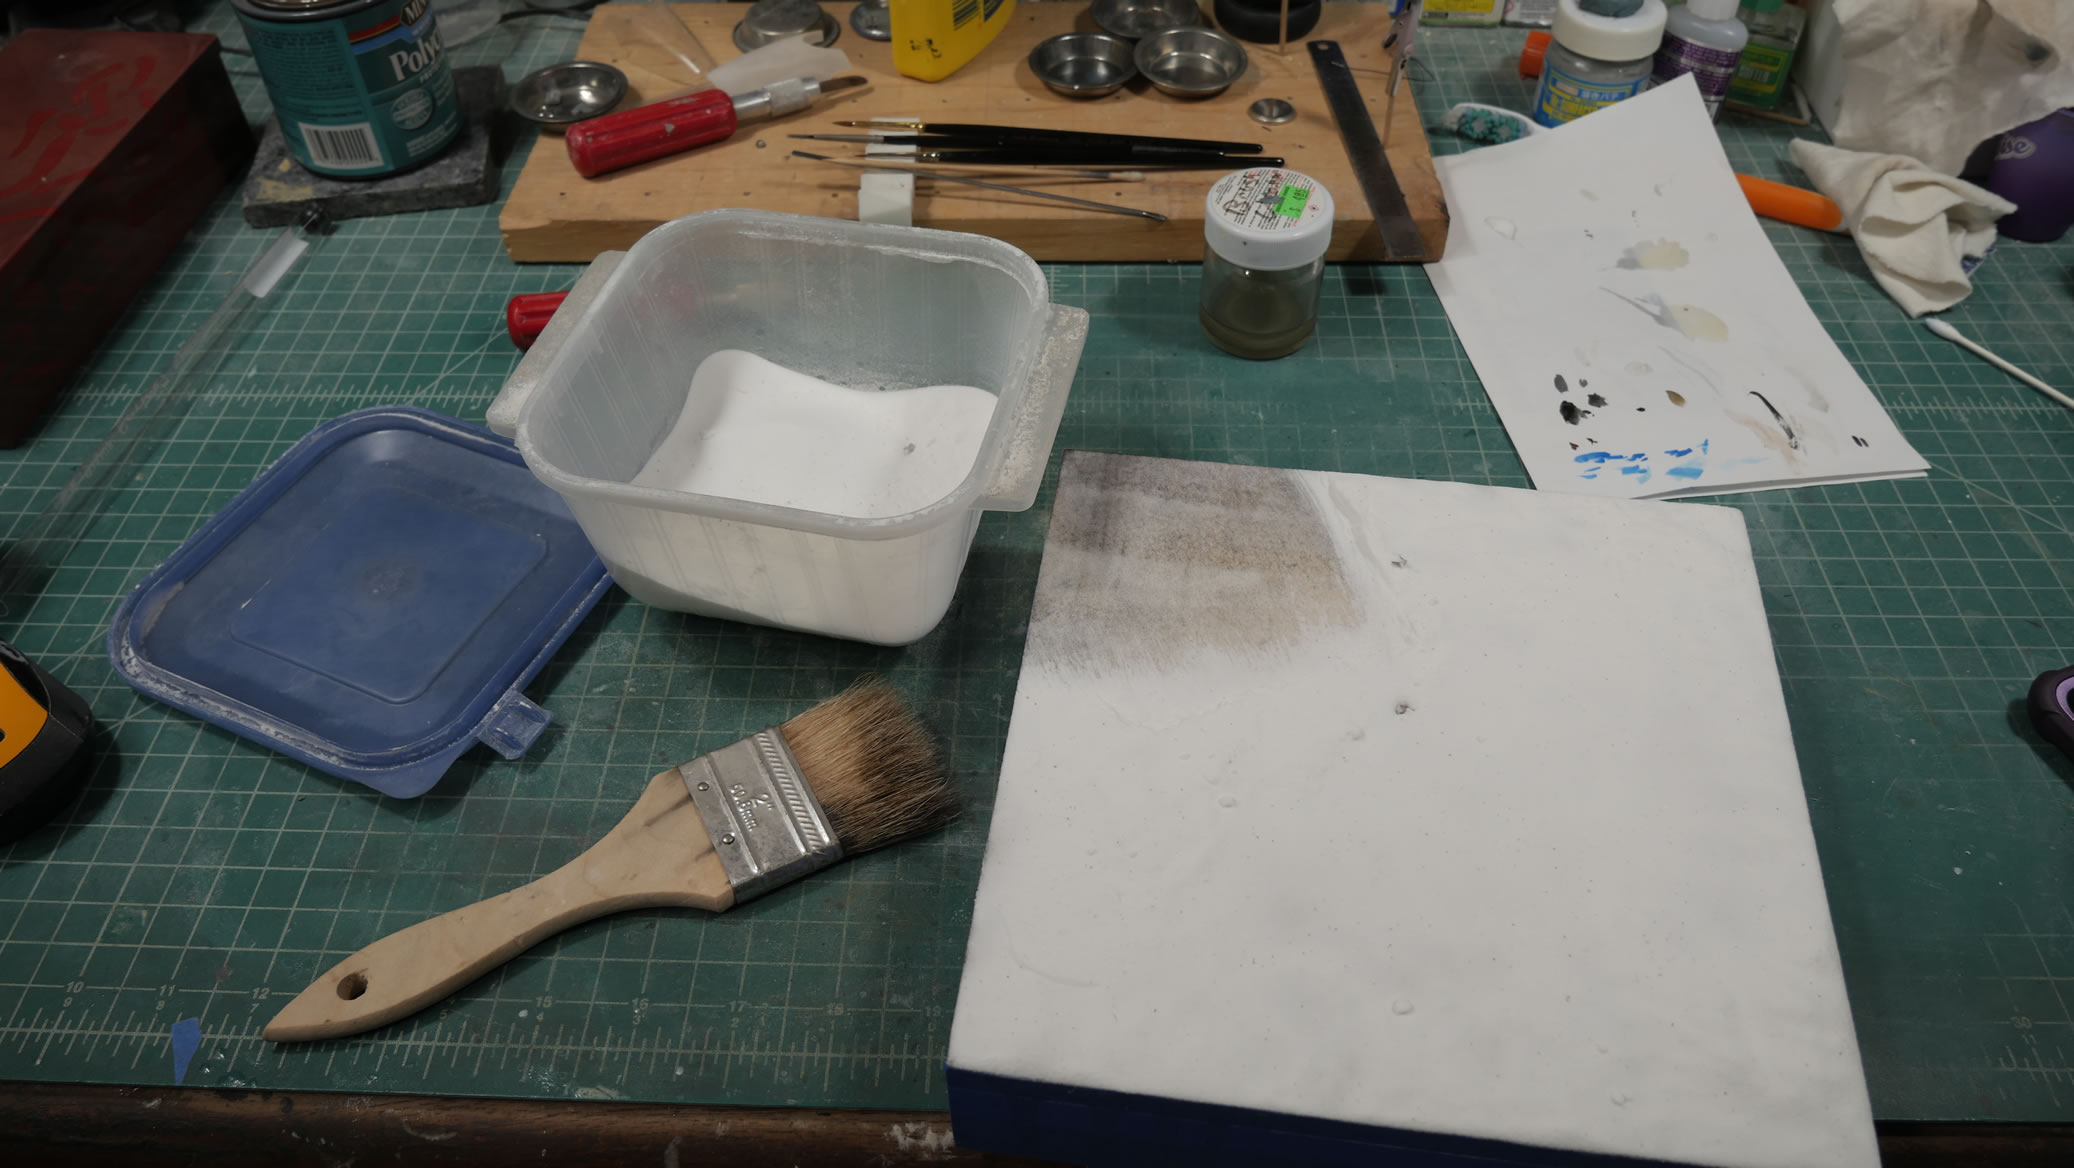
An acrylic medium is brushed onto the wood base and baking sode is sifted over the wet surface. As the acrylic medium dries, a thin layer of baking sode is glued to the surface.
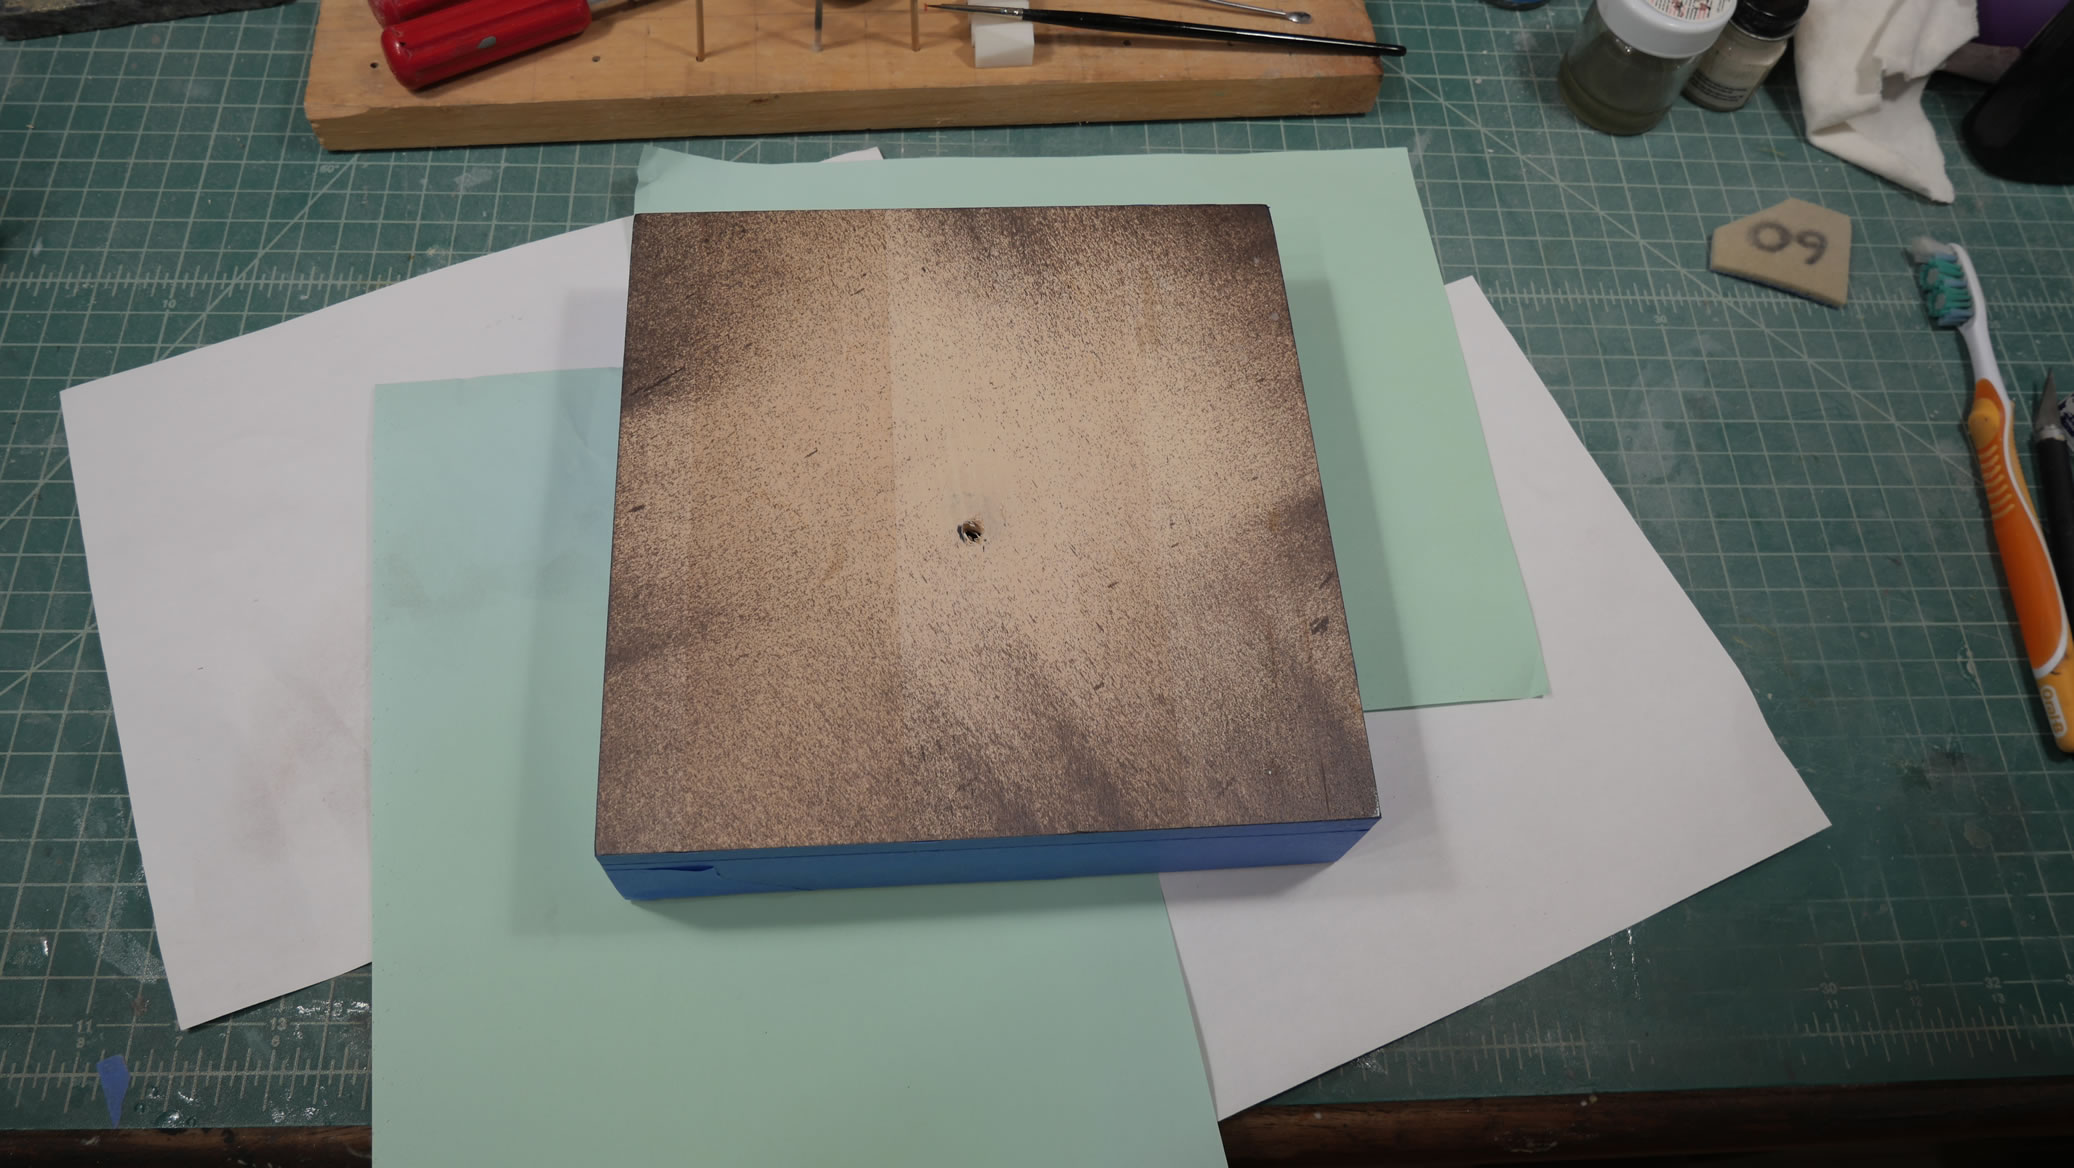
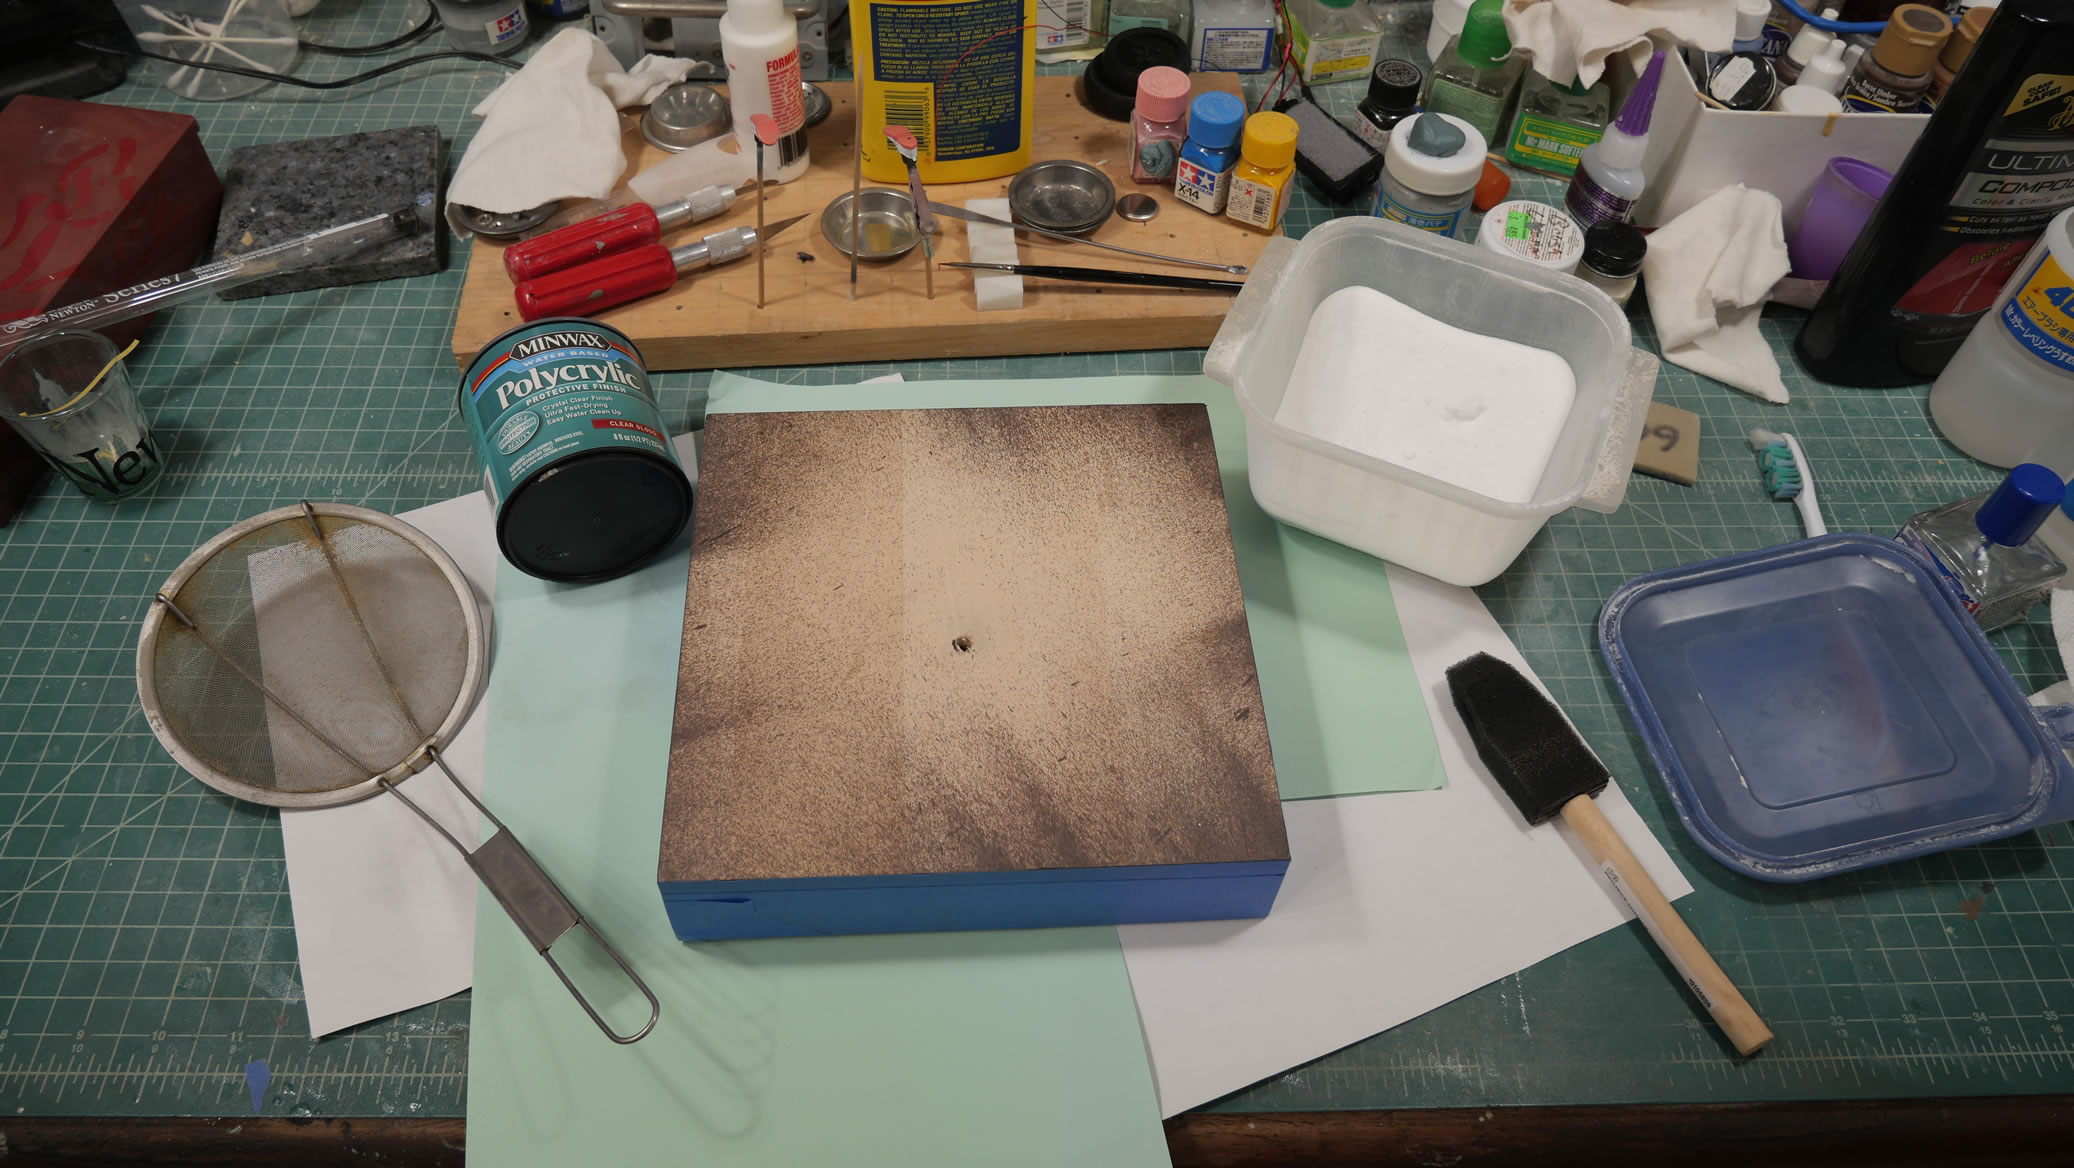
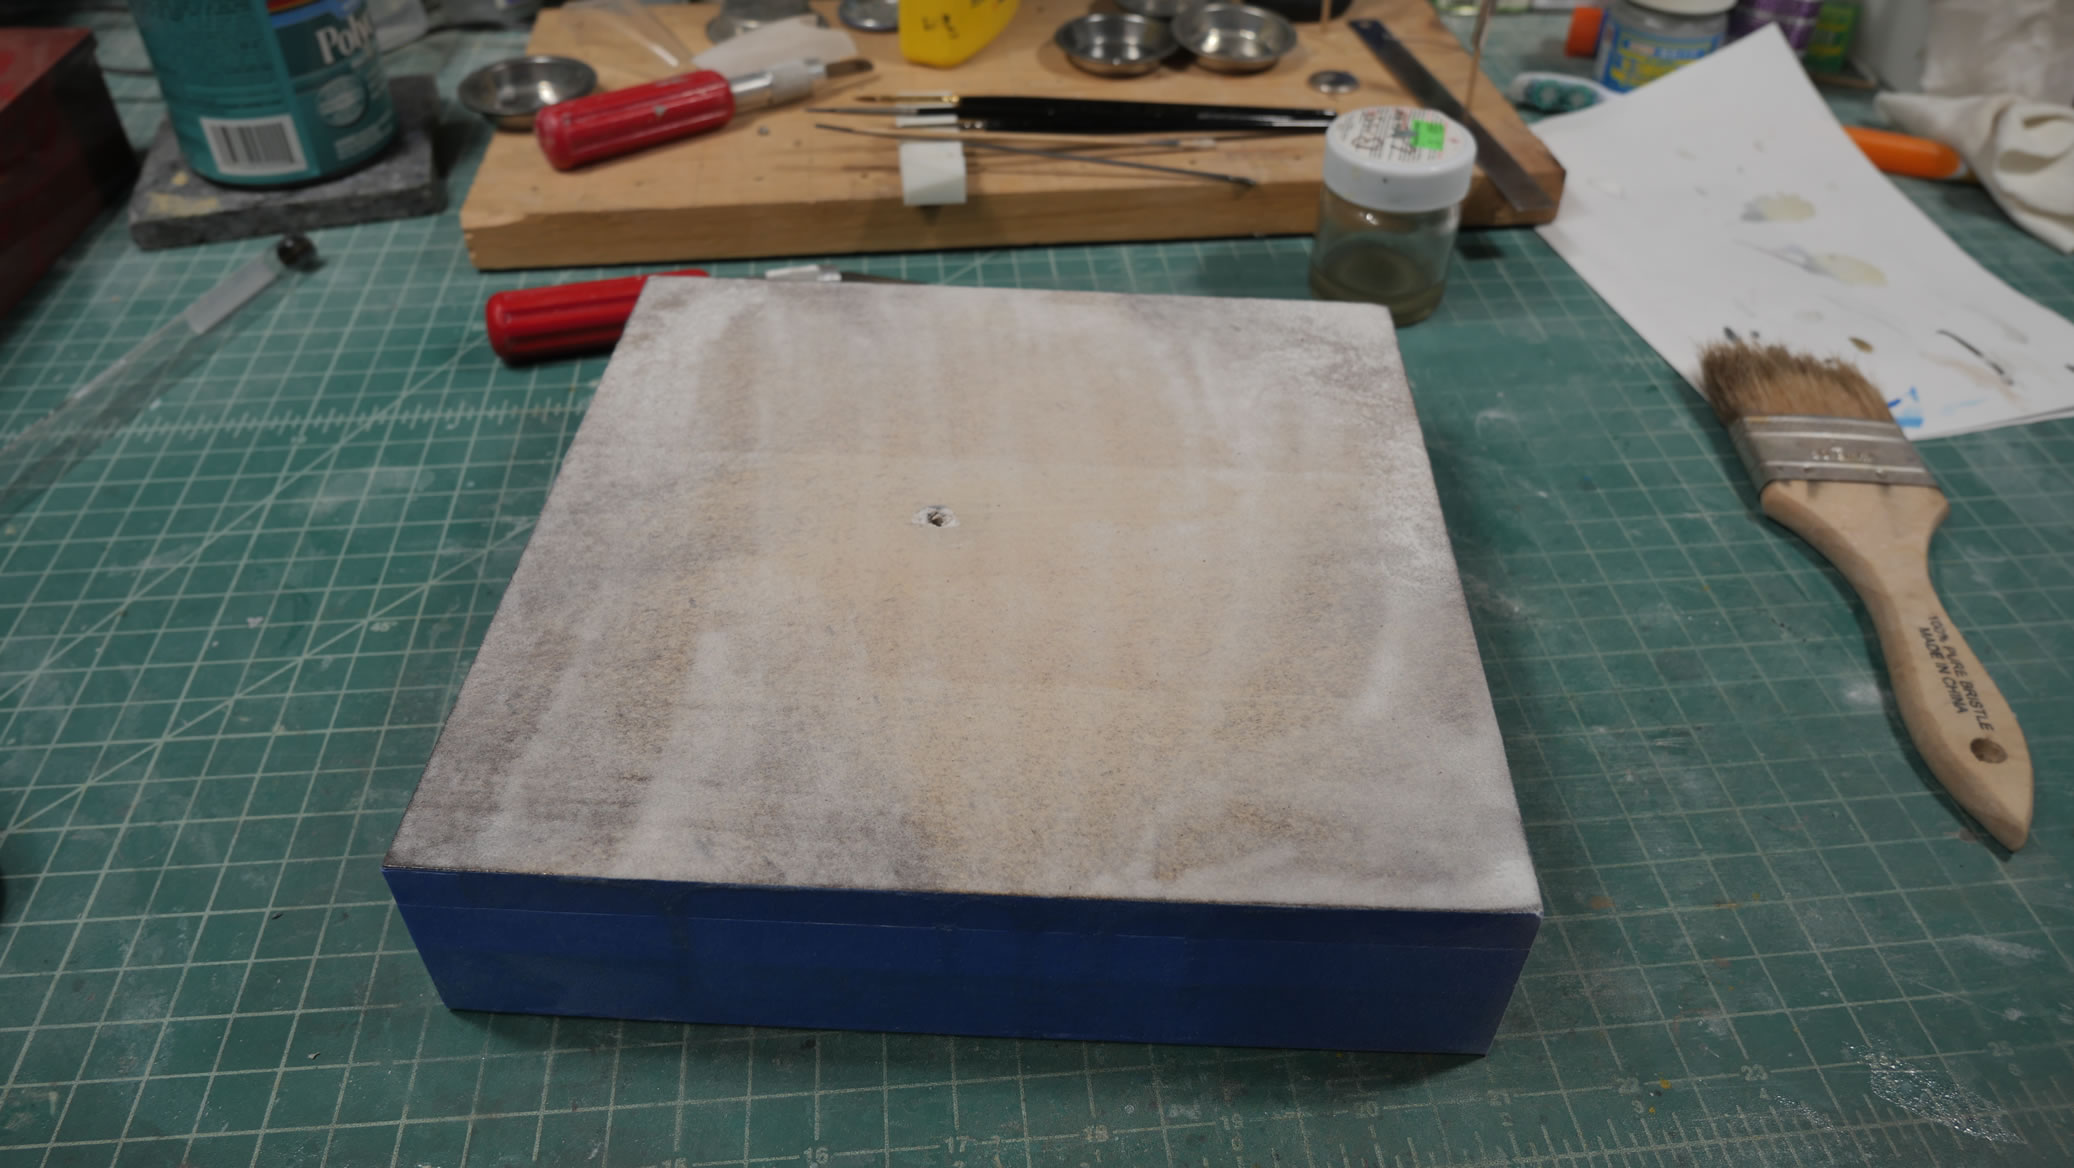
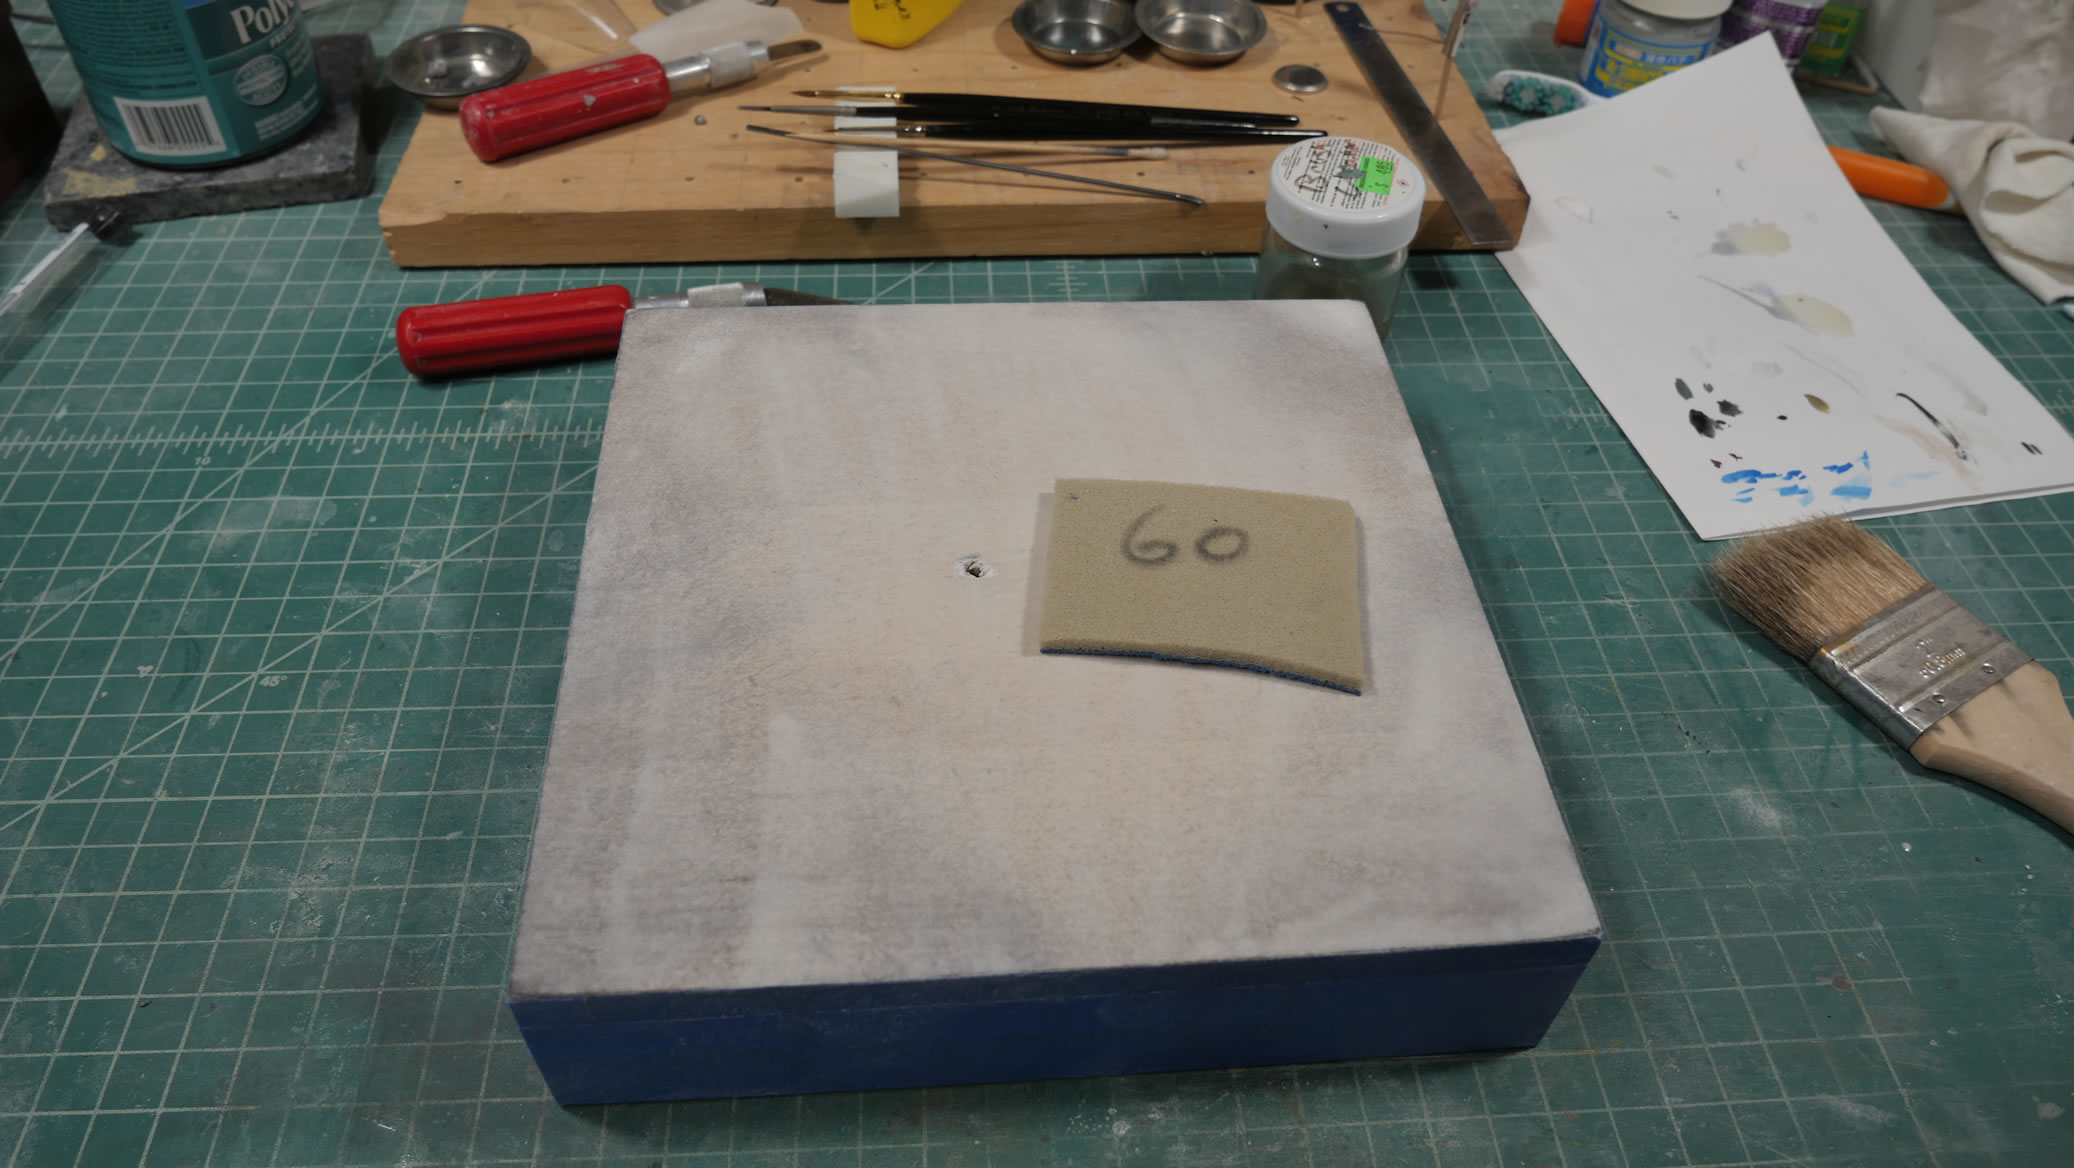
Once dry, just brush off the excess baking soda back to my container and lightly sand the surface to make things uniform.
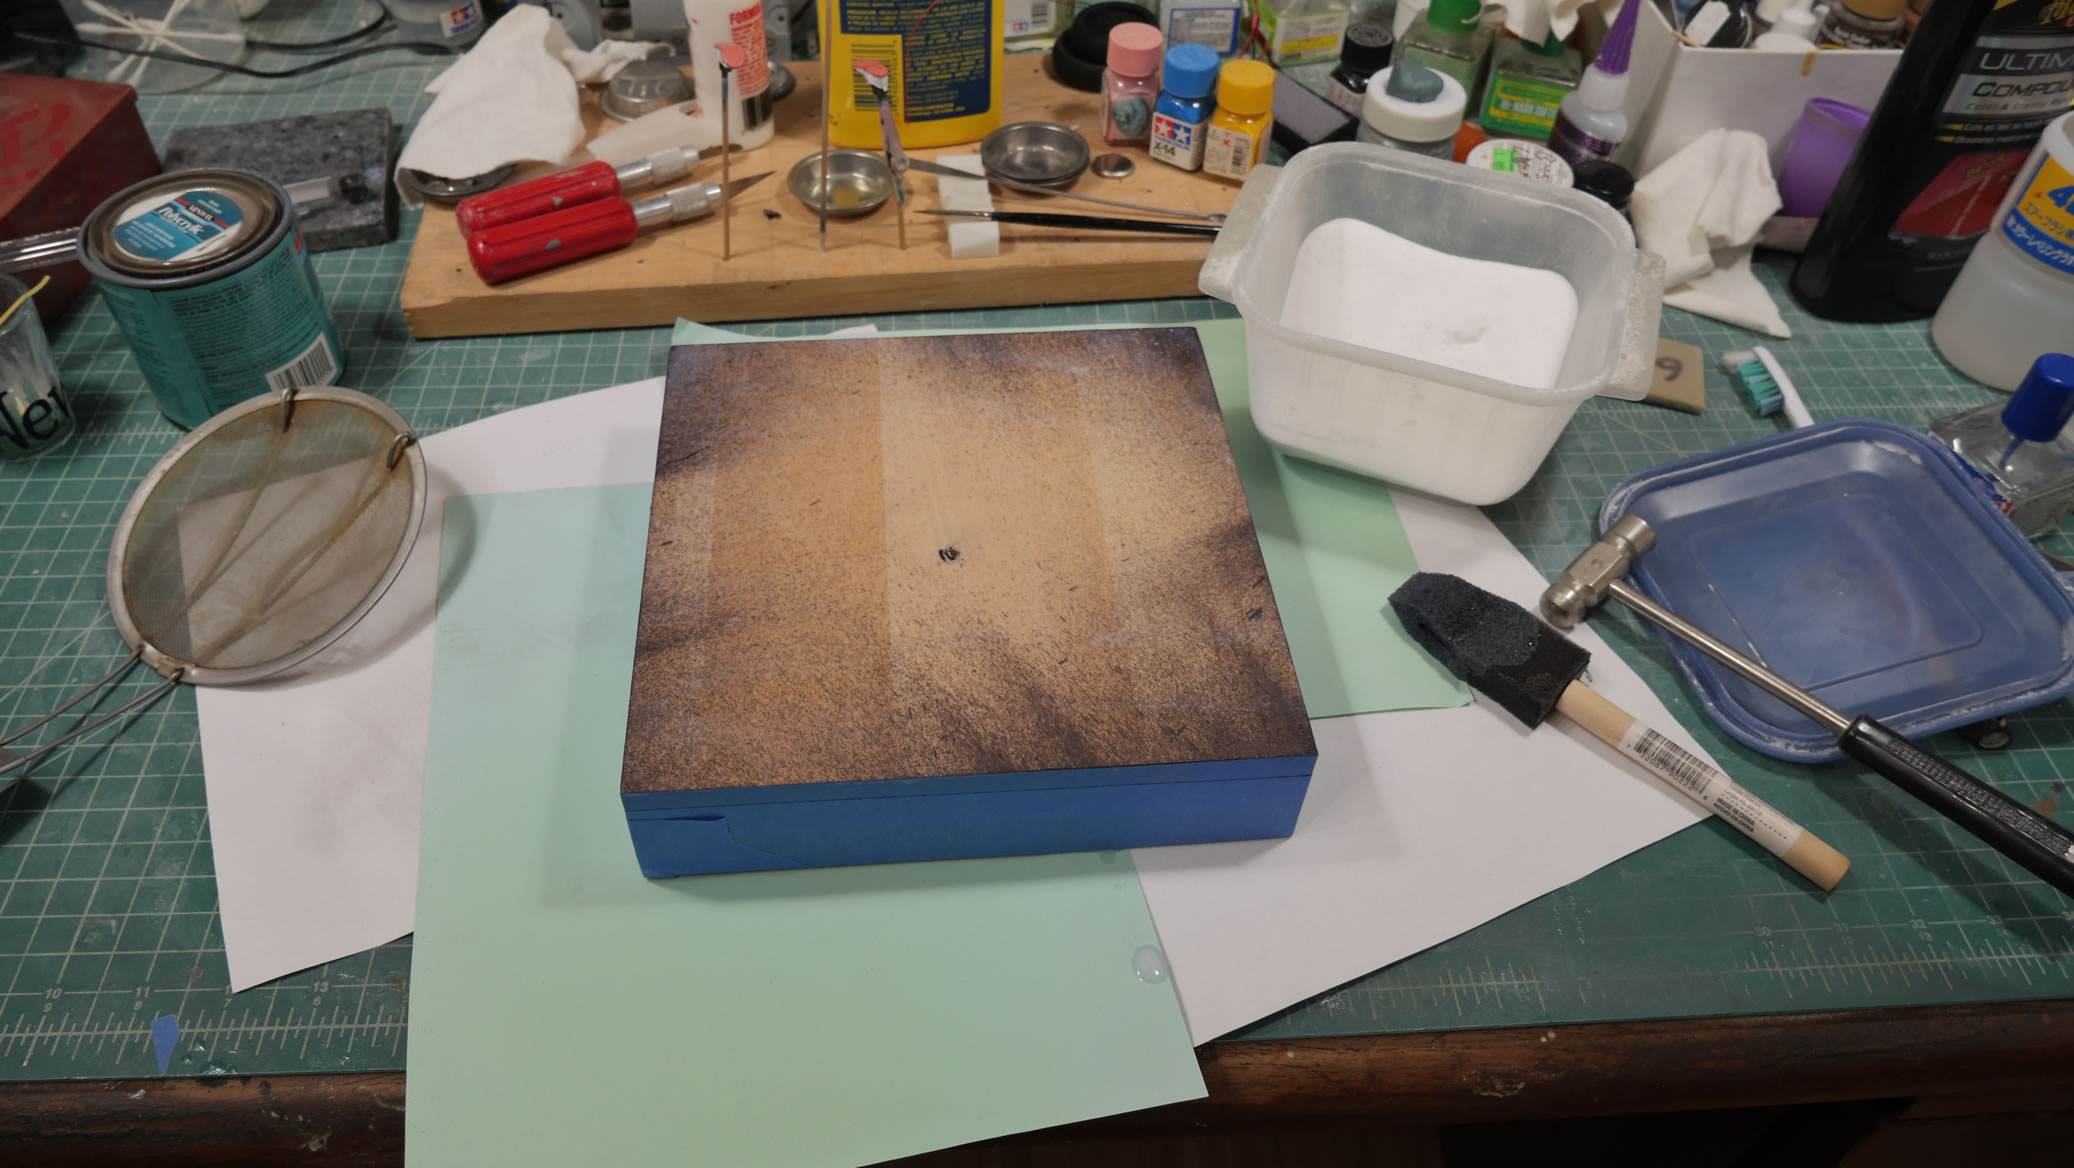
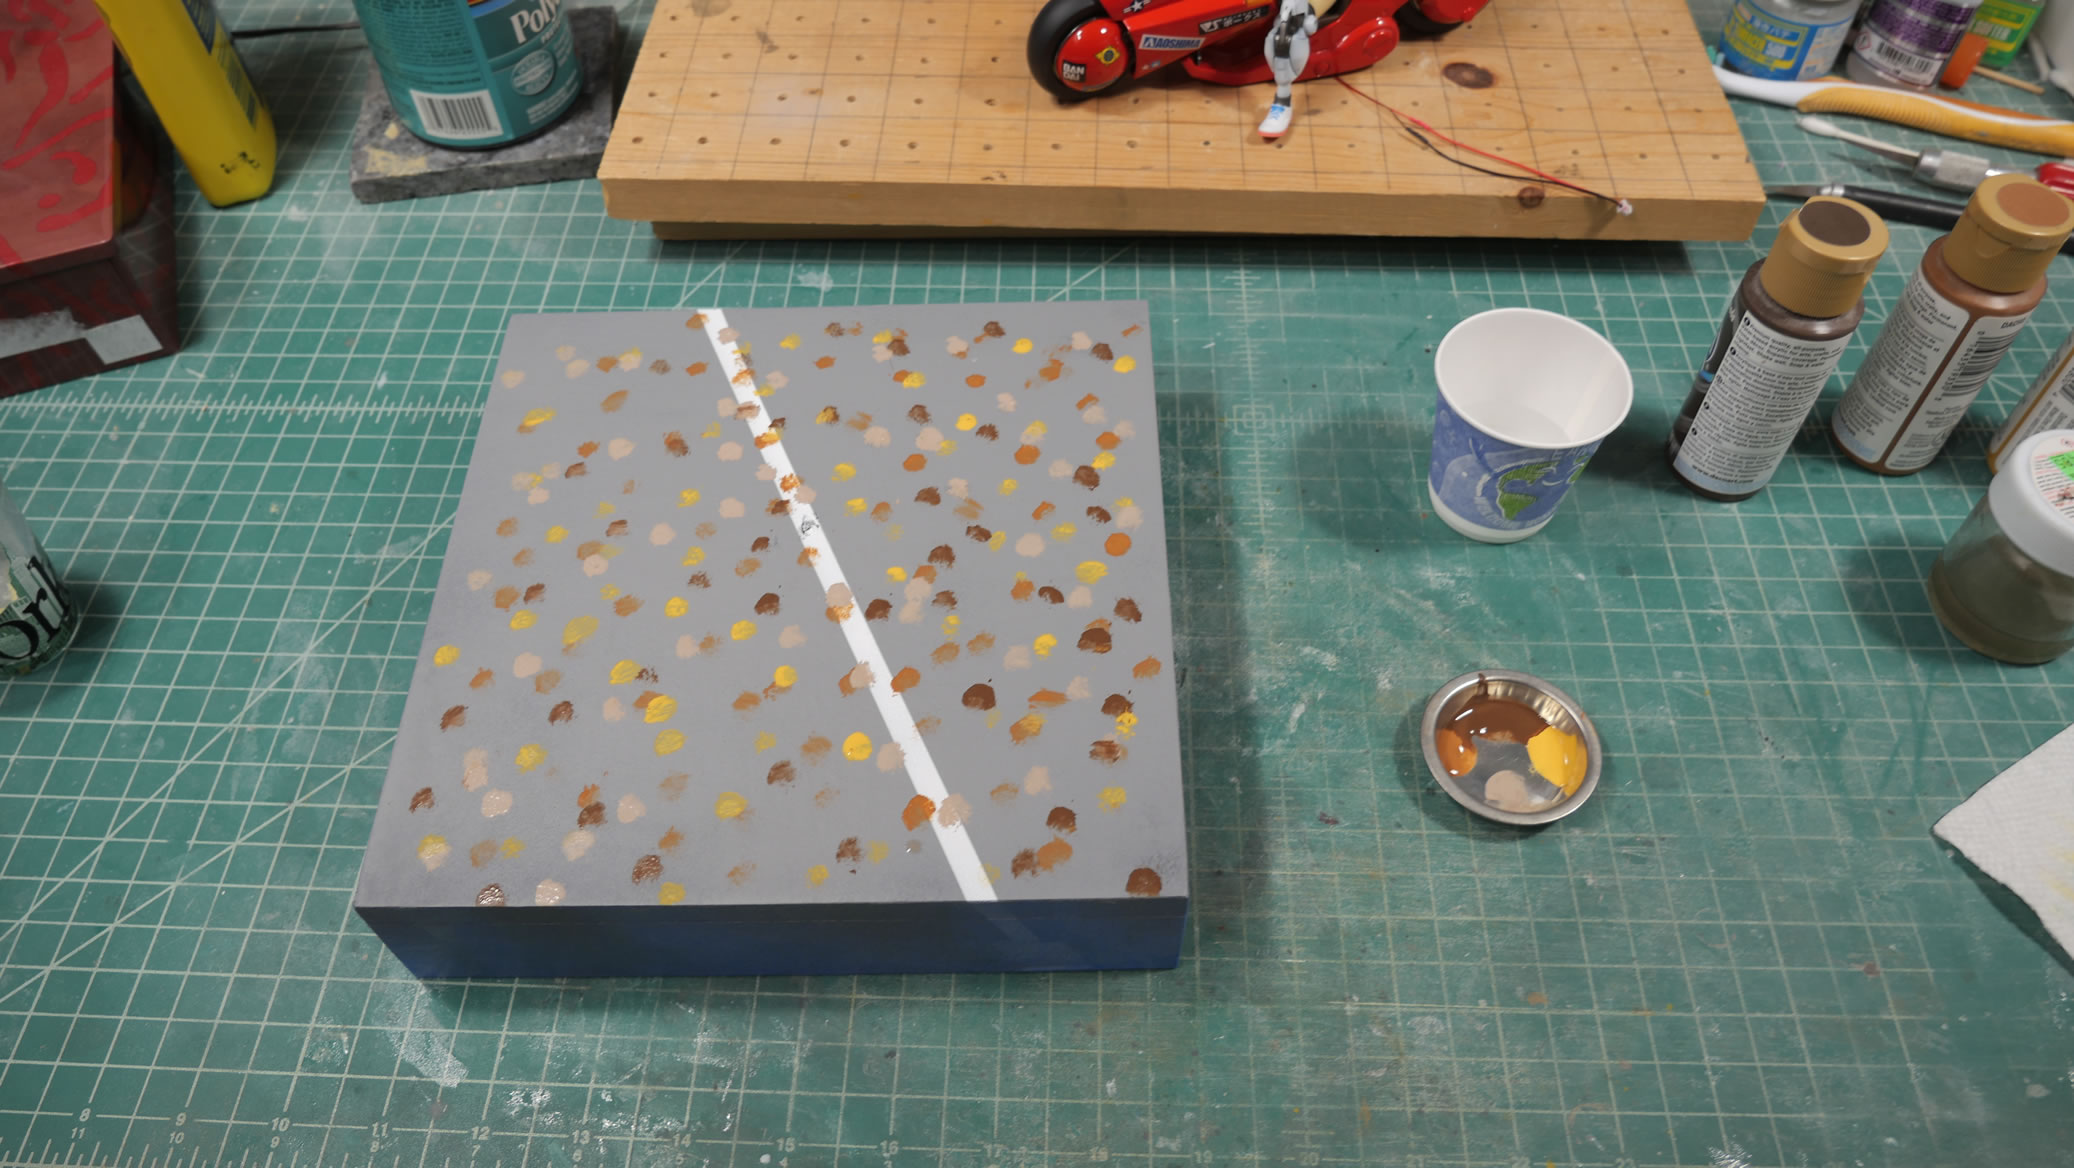
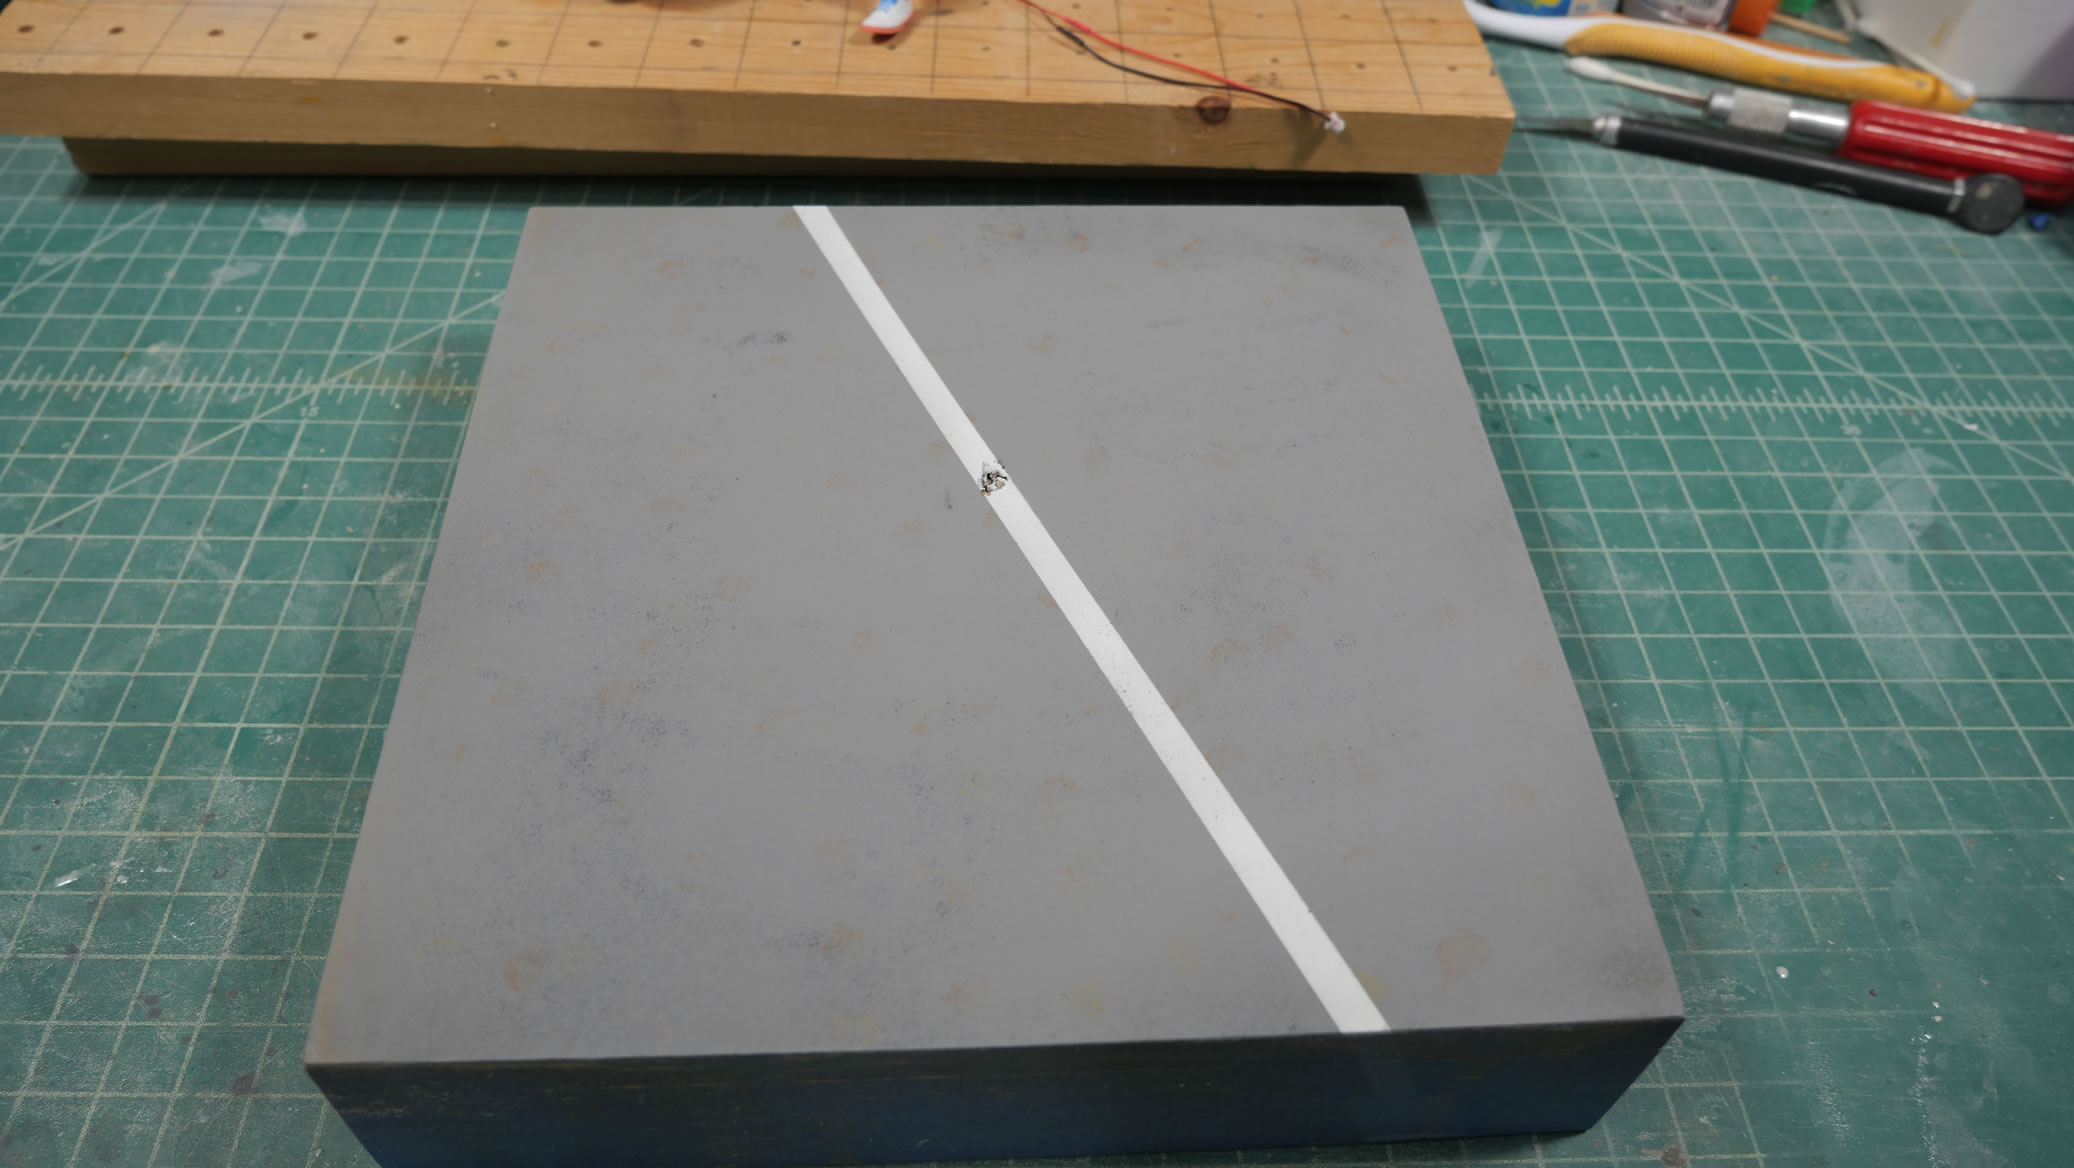
I sprayed a layer of dark grey from a can of tamiya. Over that, I sprayed volks primer. Once that cured, I masked and painted a white street line. Once that was dry, some acrylics are used as a filter. A black wash and some light sanding to remove paint from some of the raised areas give the surface a weathered look. A final clear flat is sprayed and the base is done.
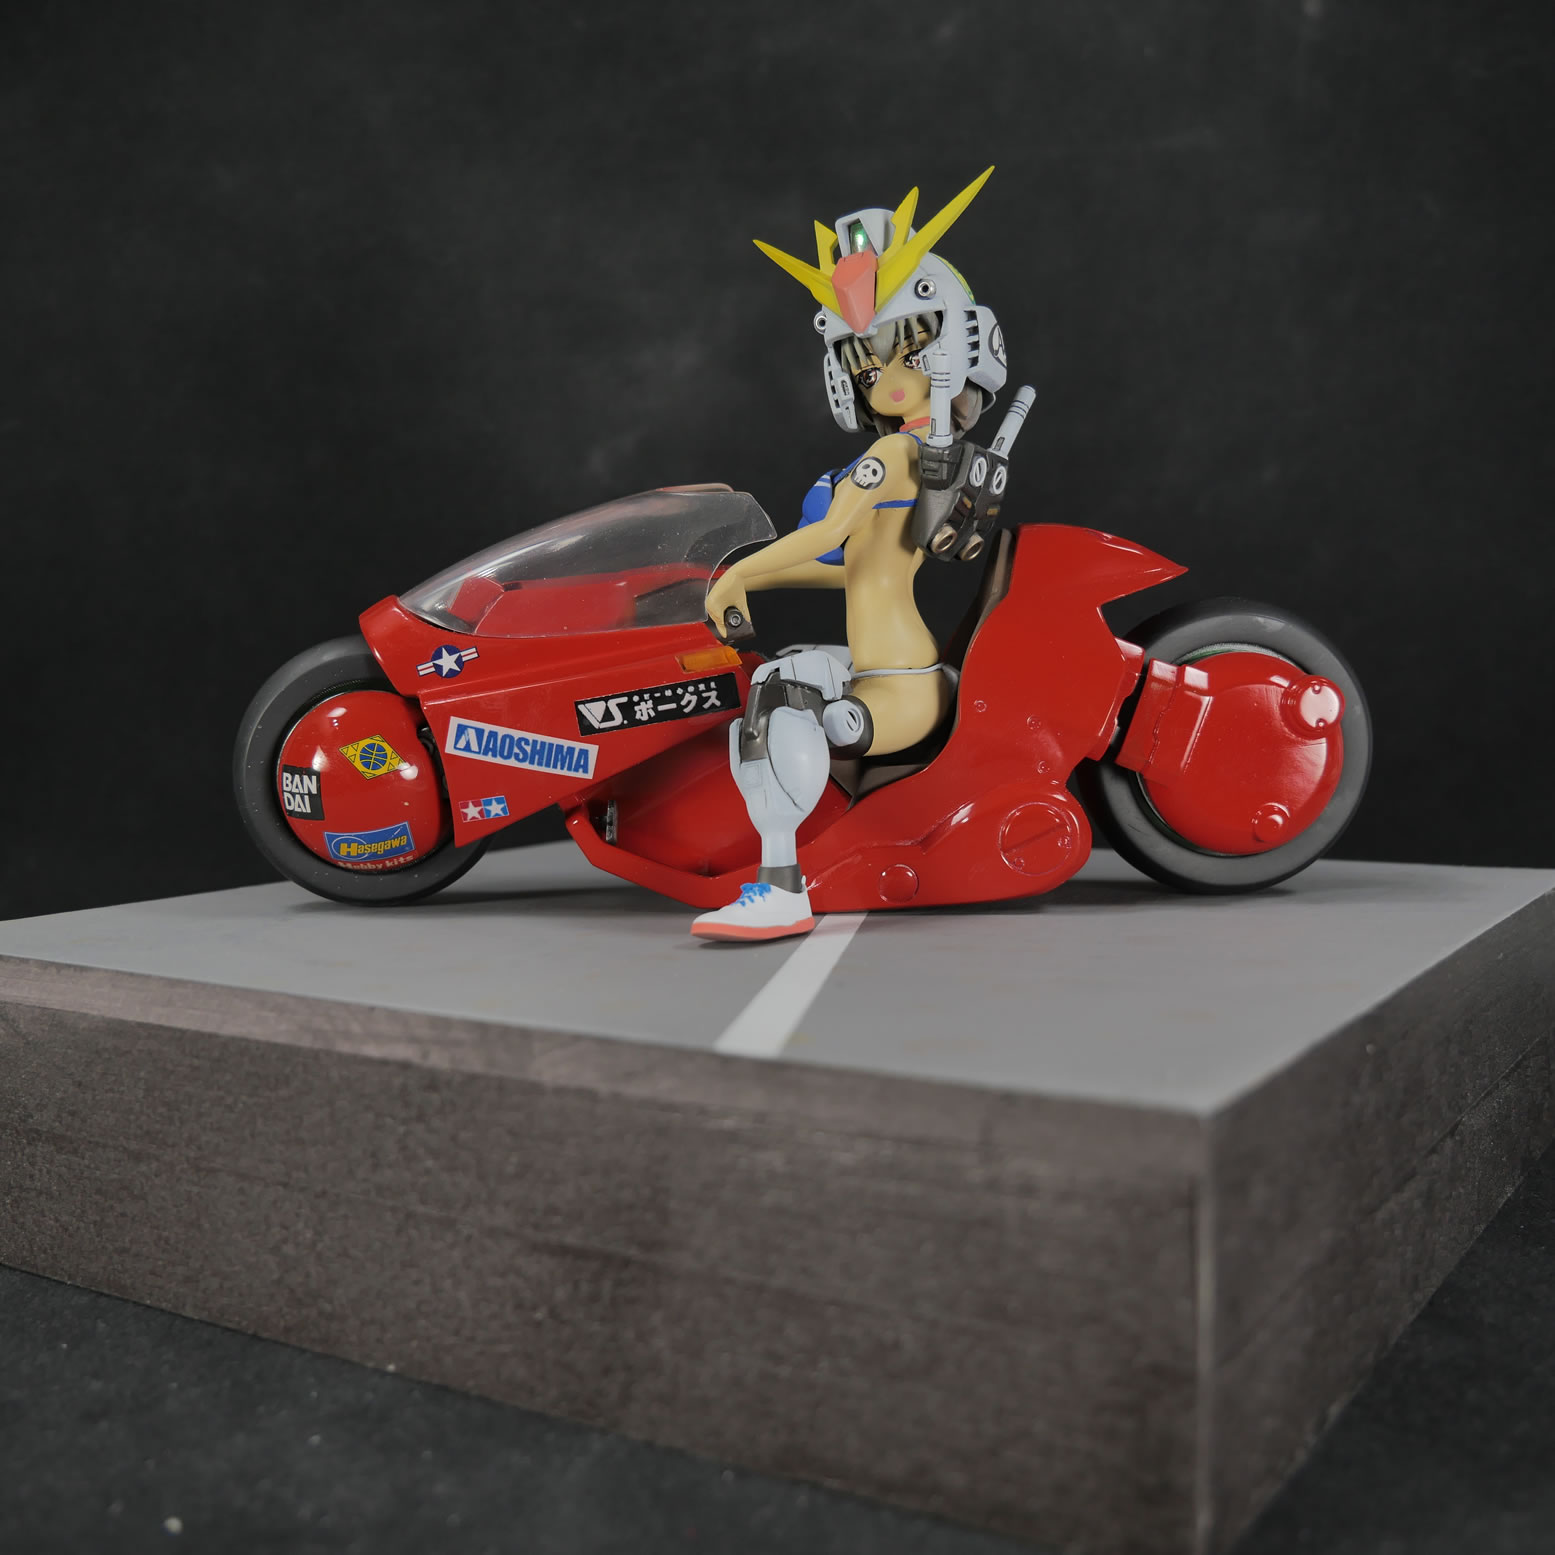
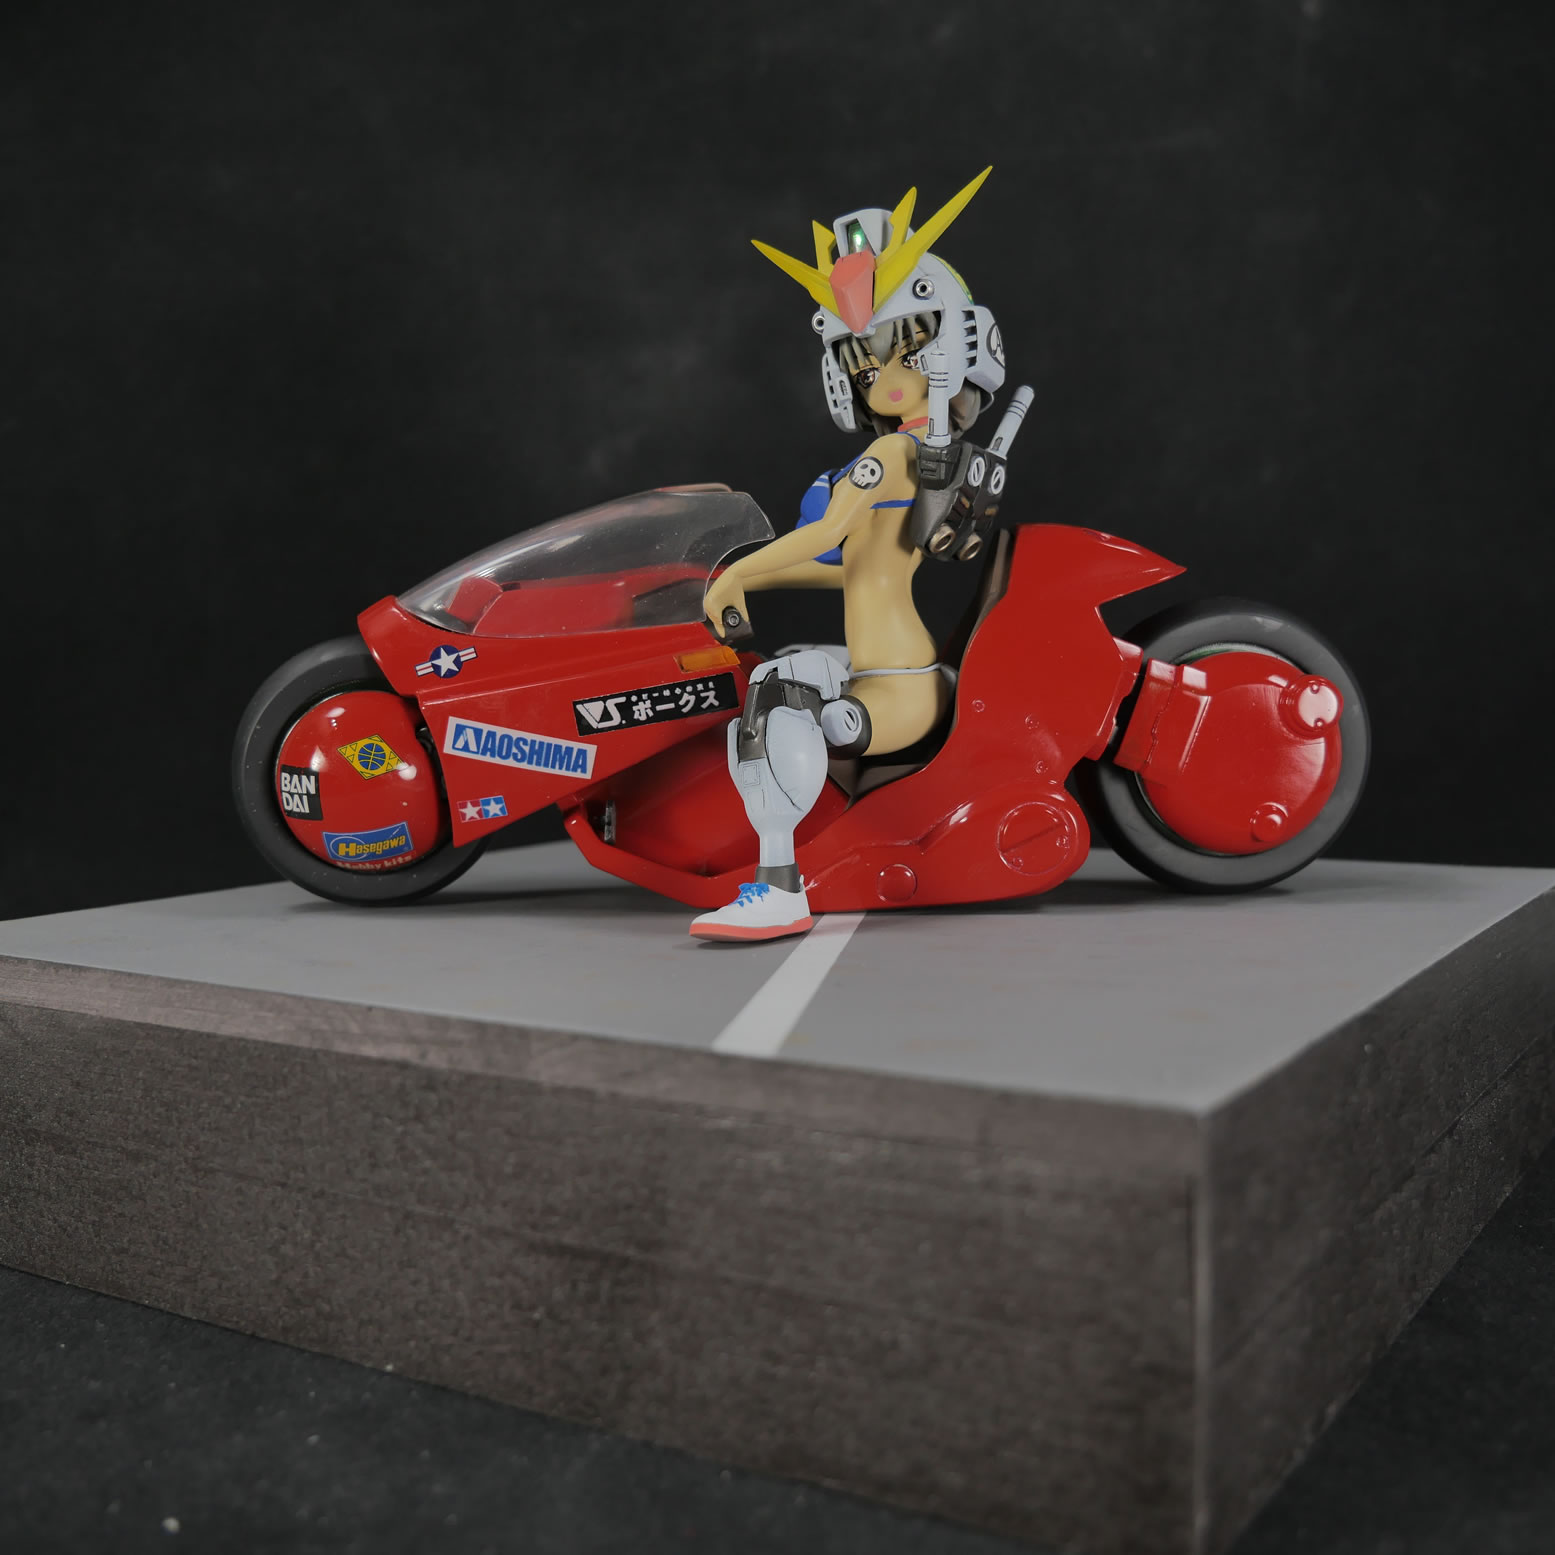
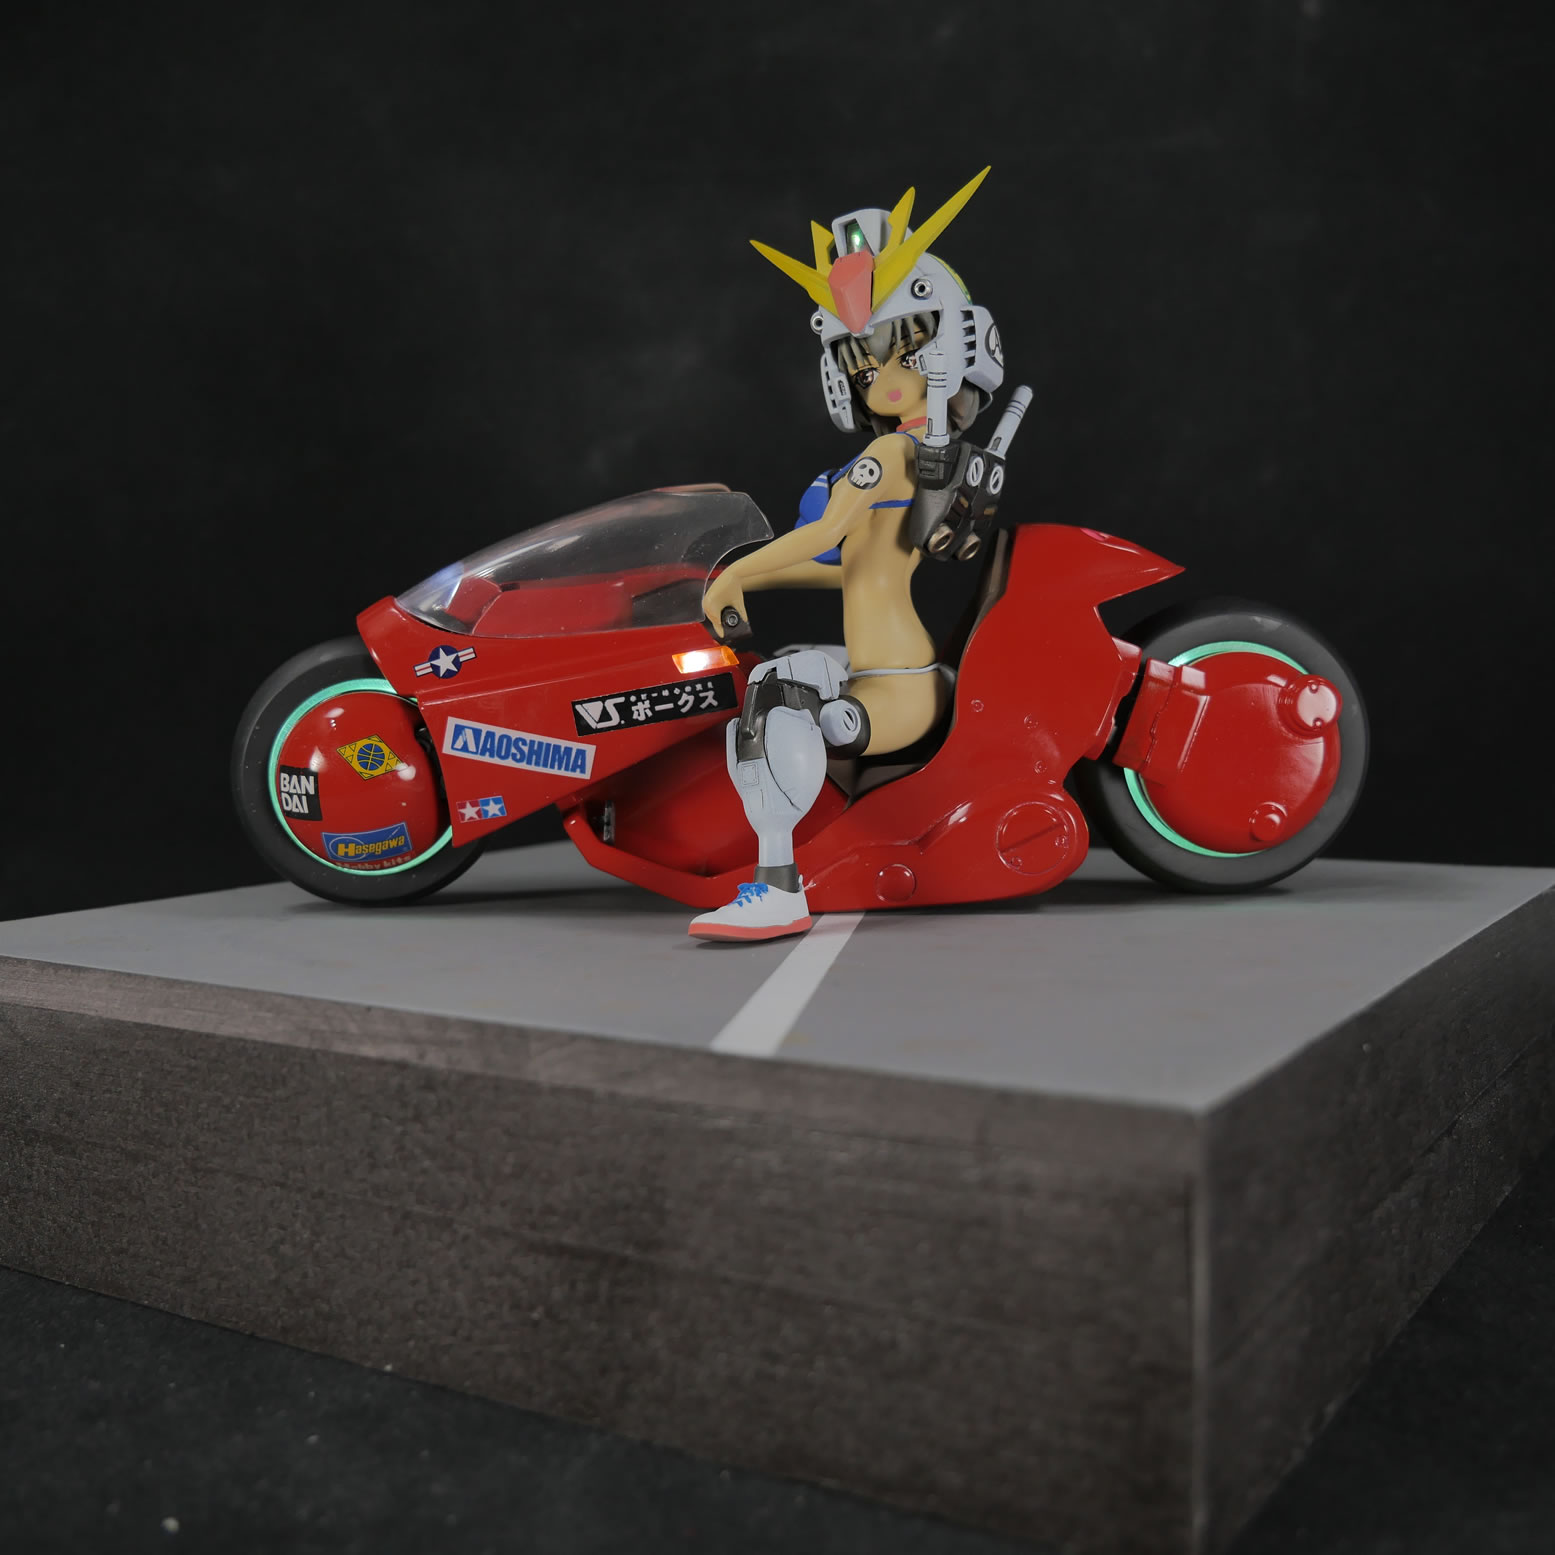
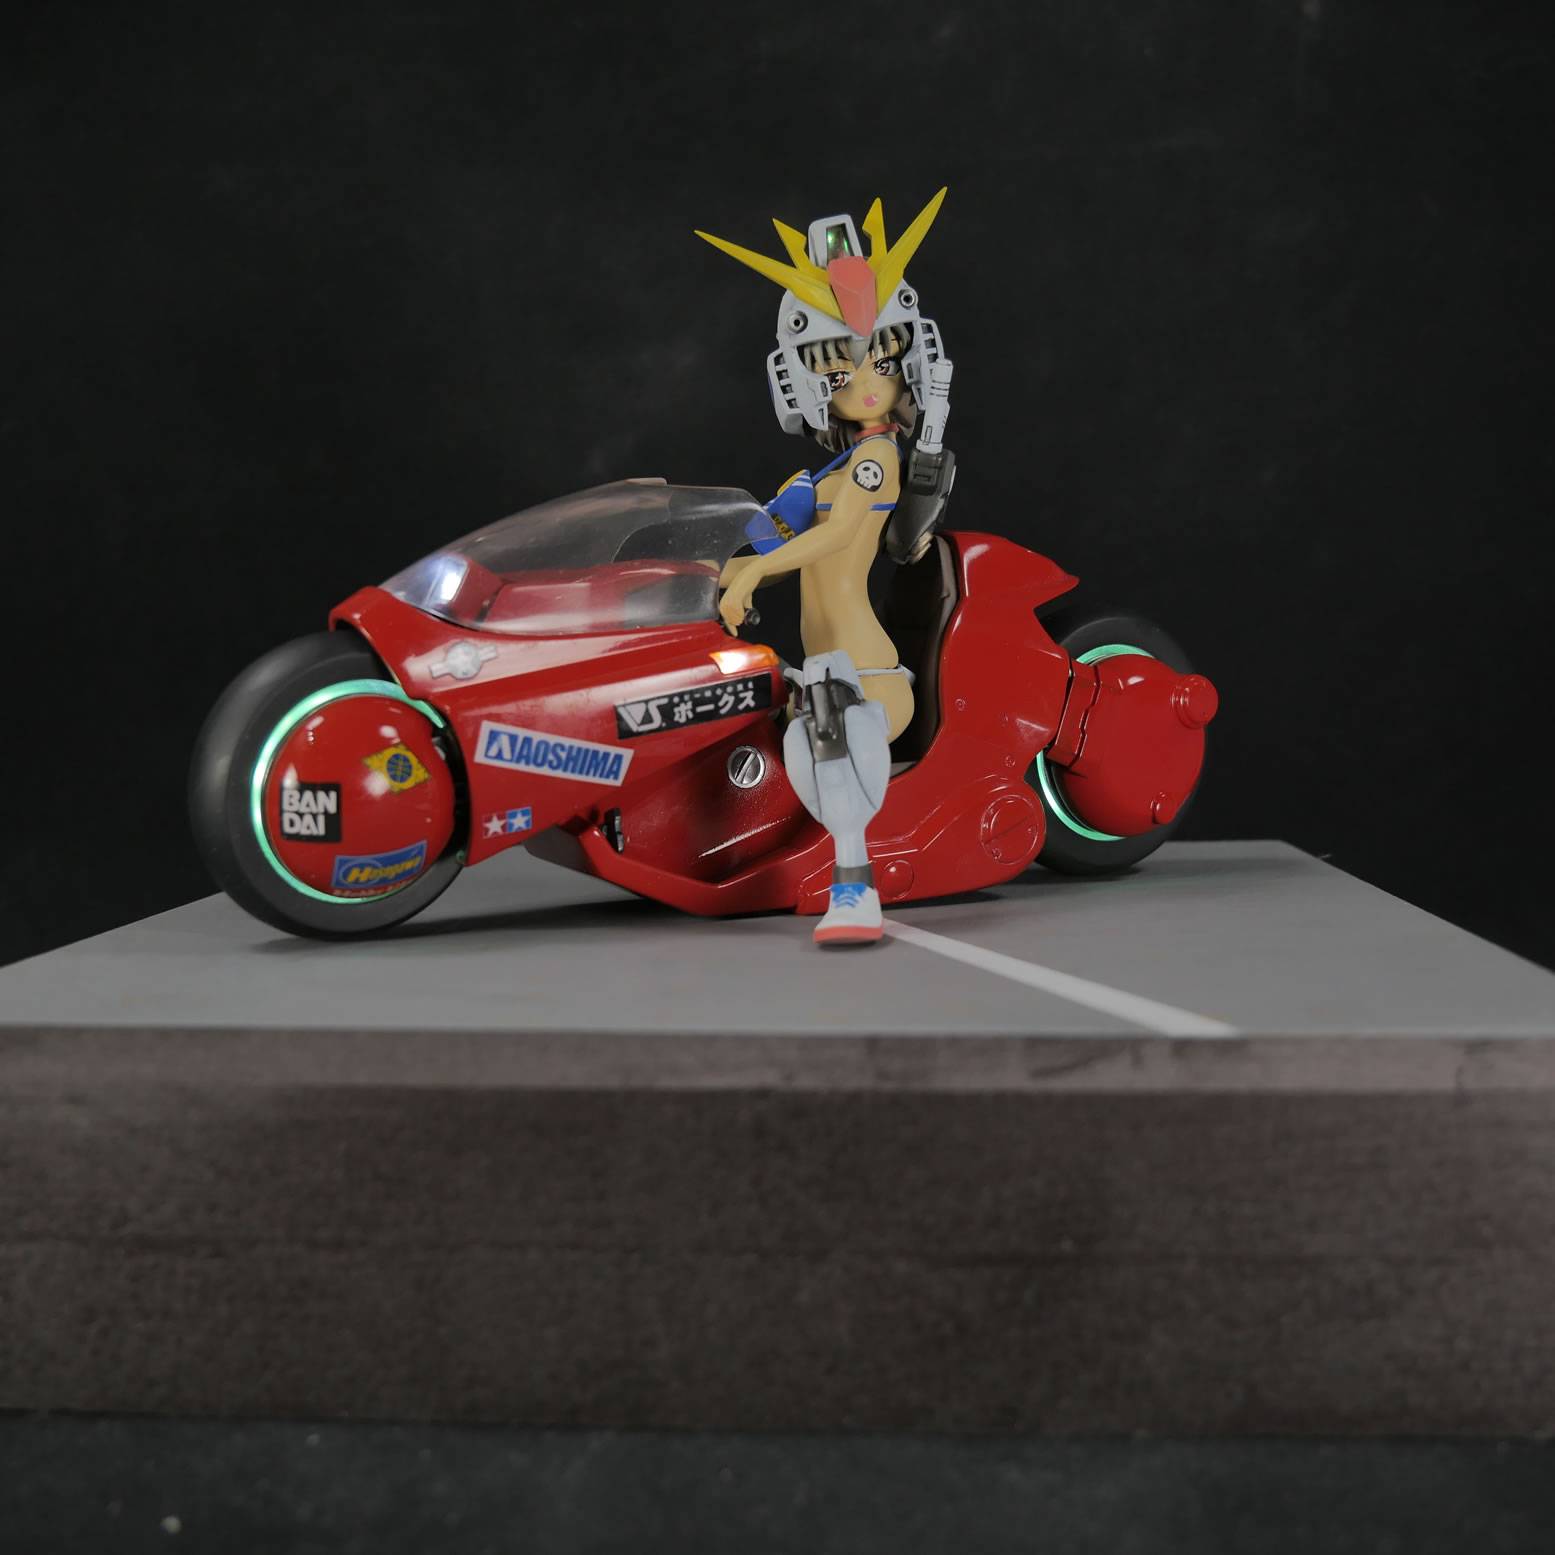
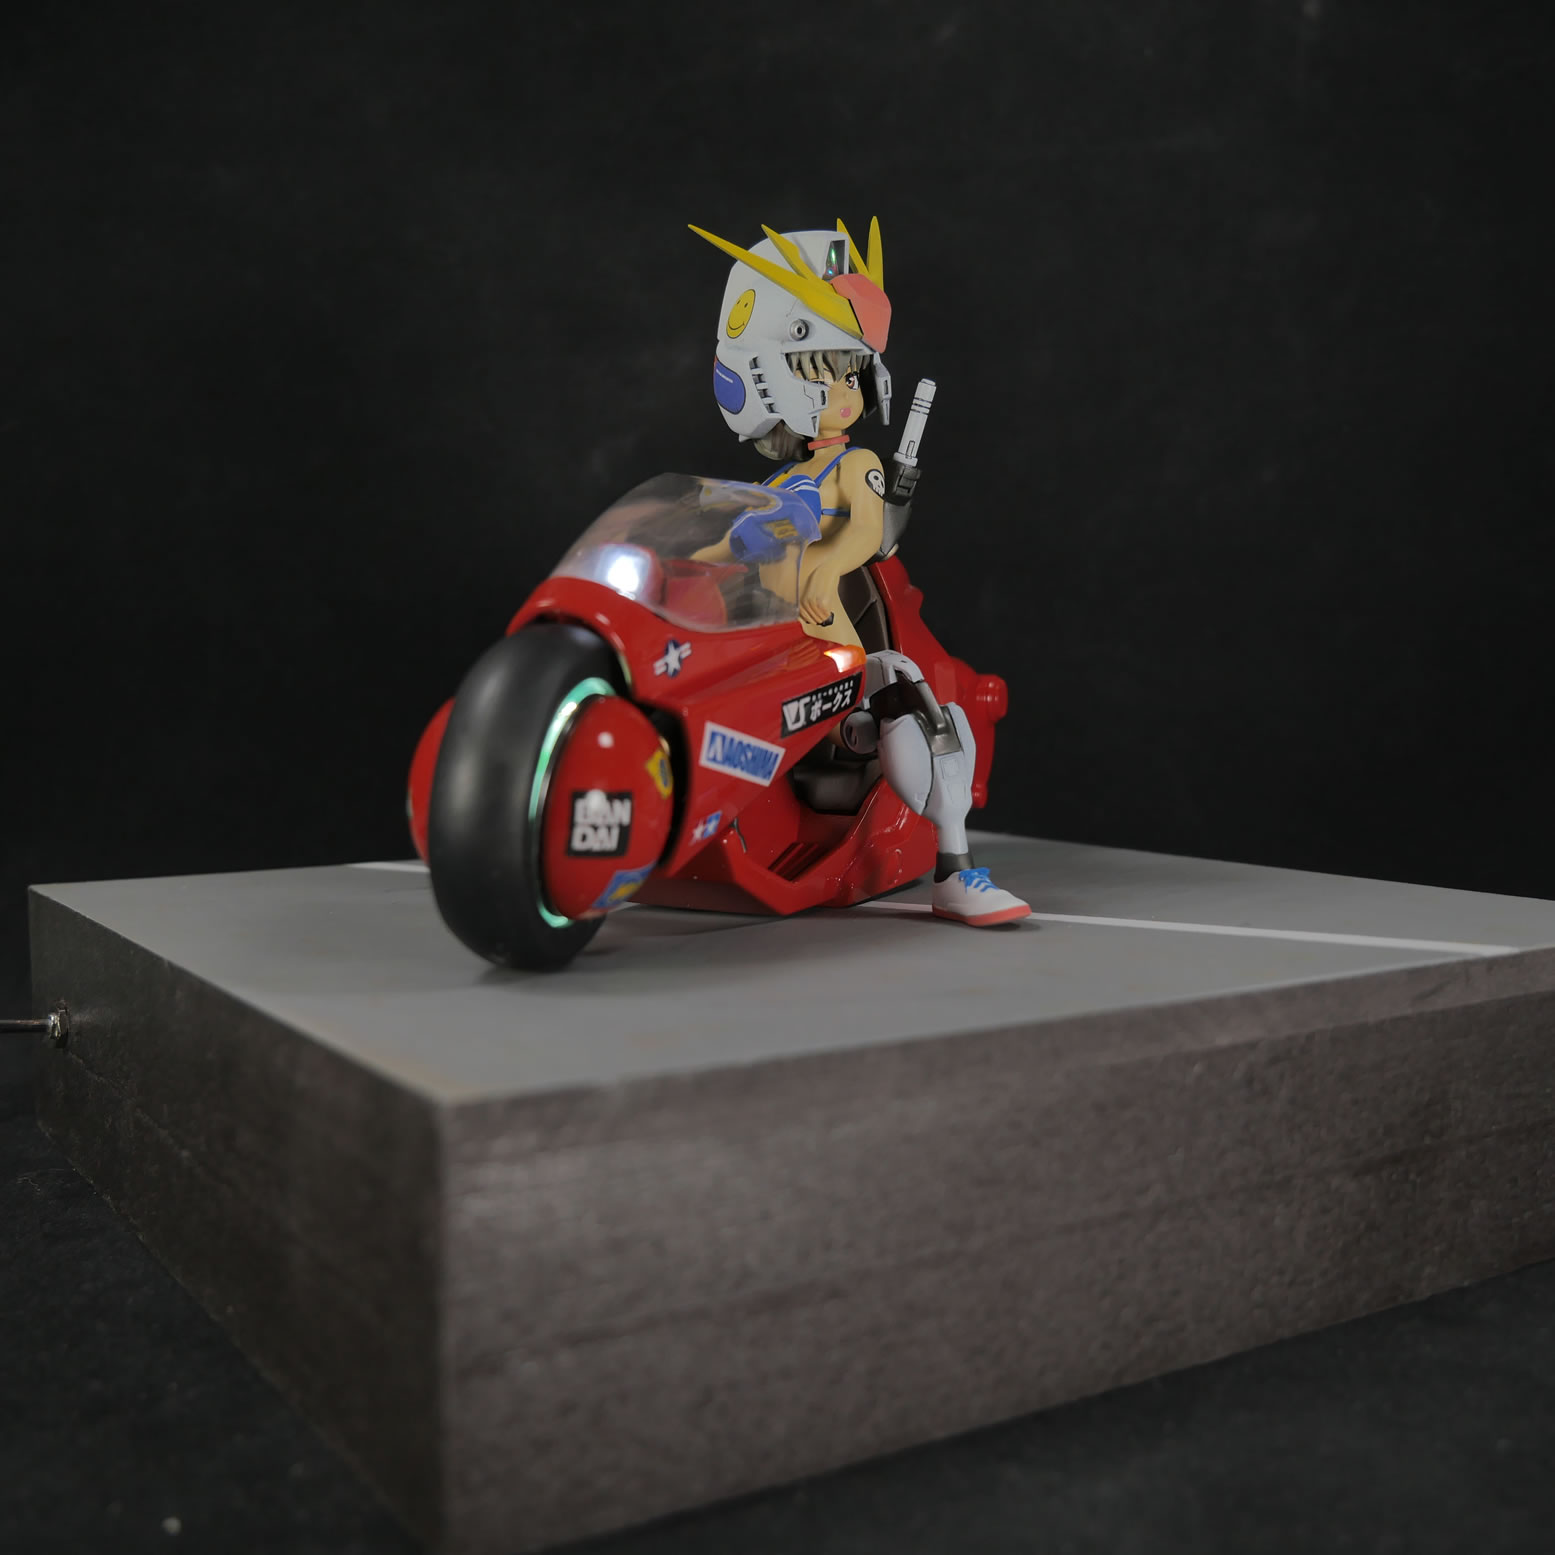
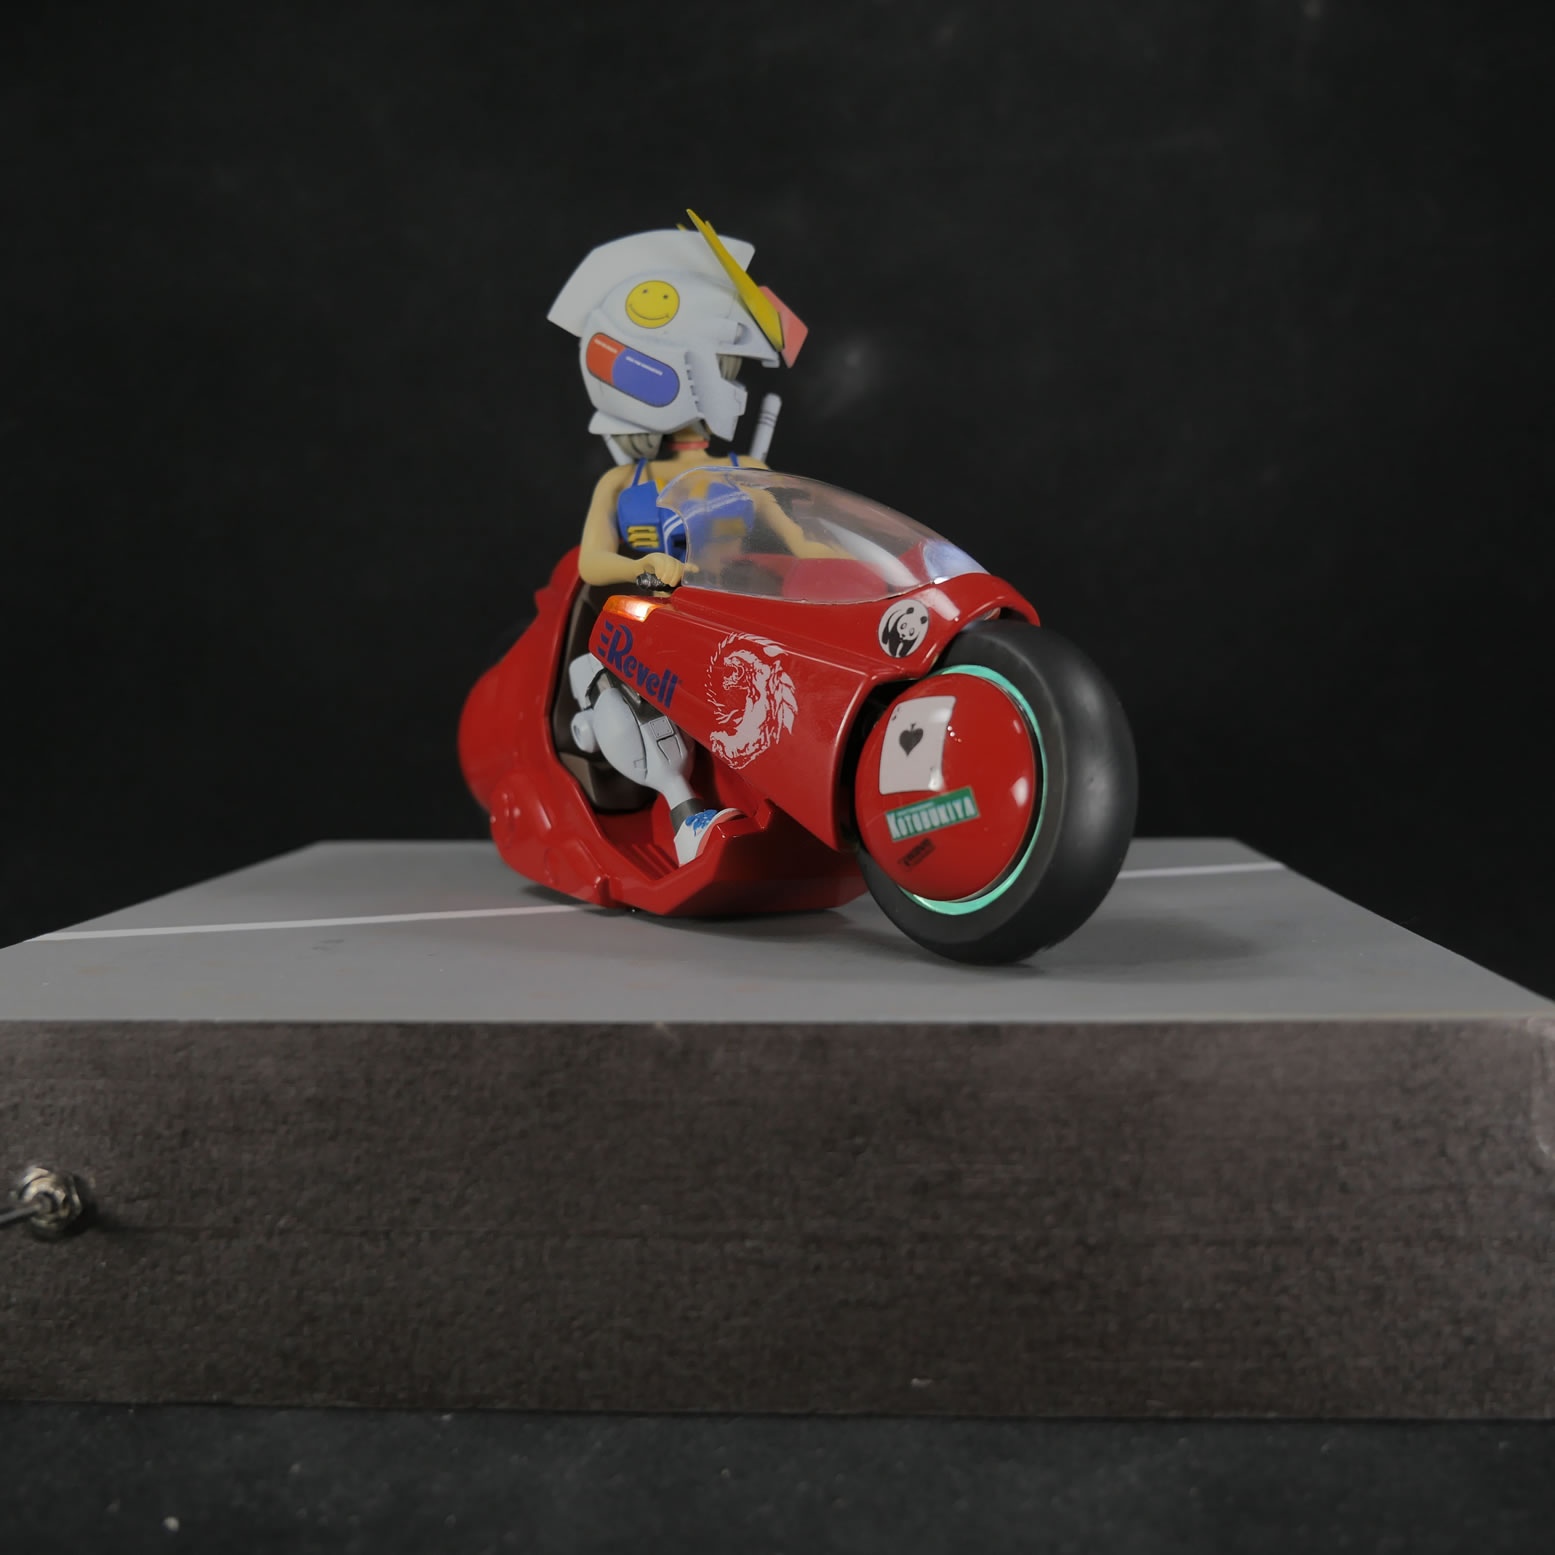
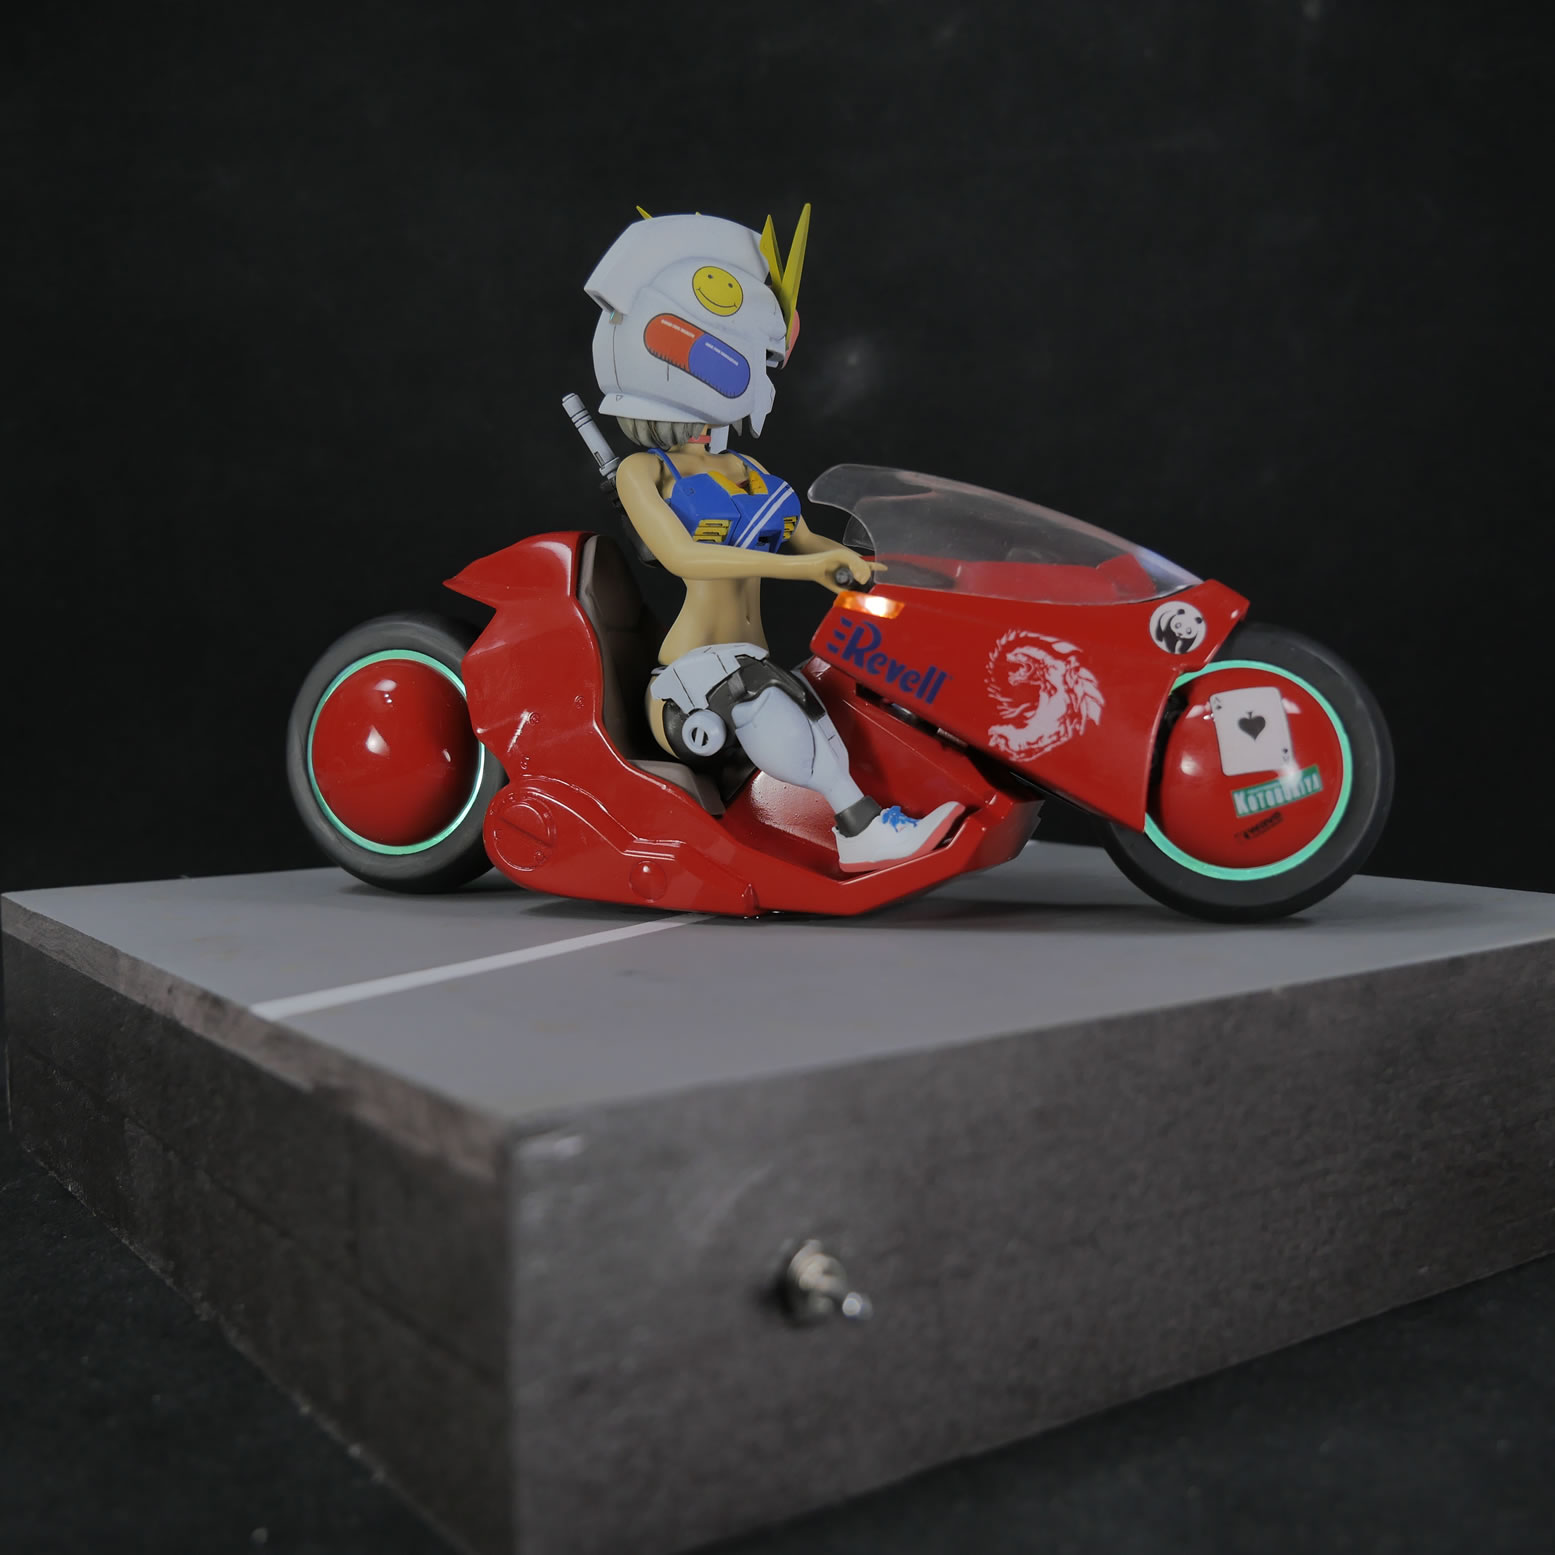
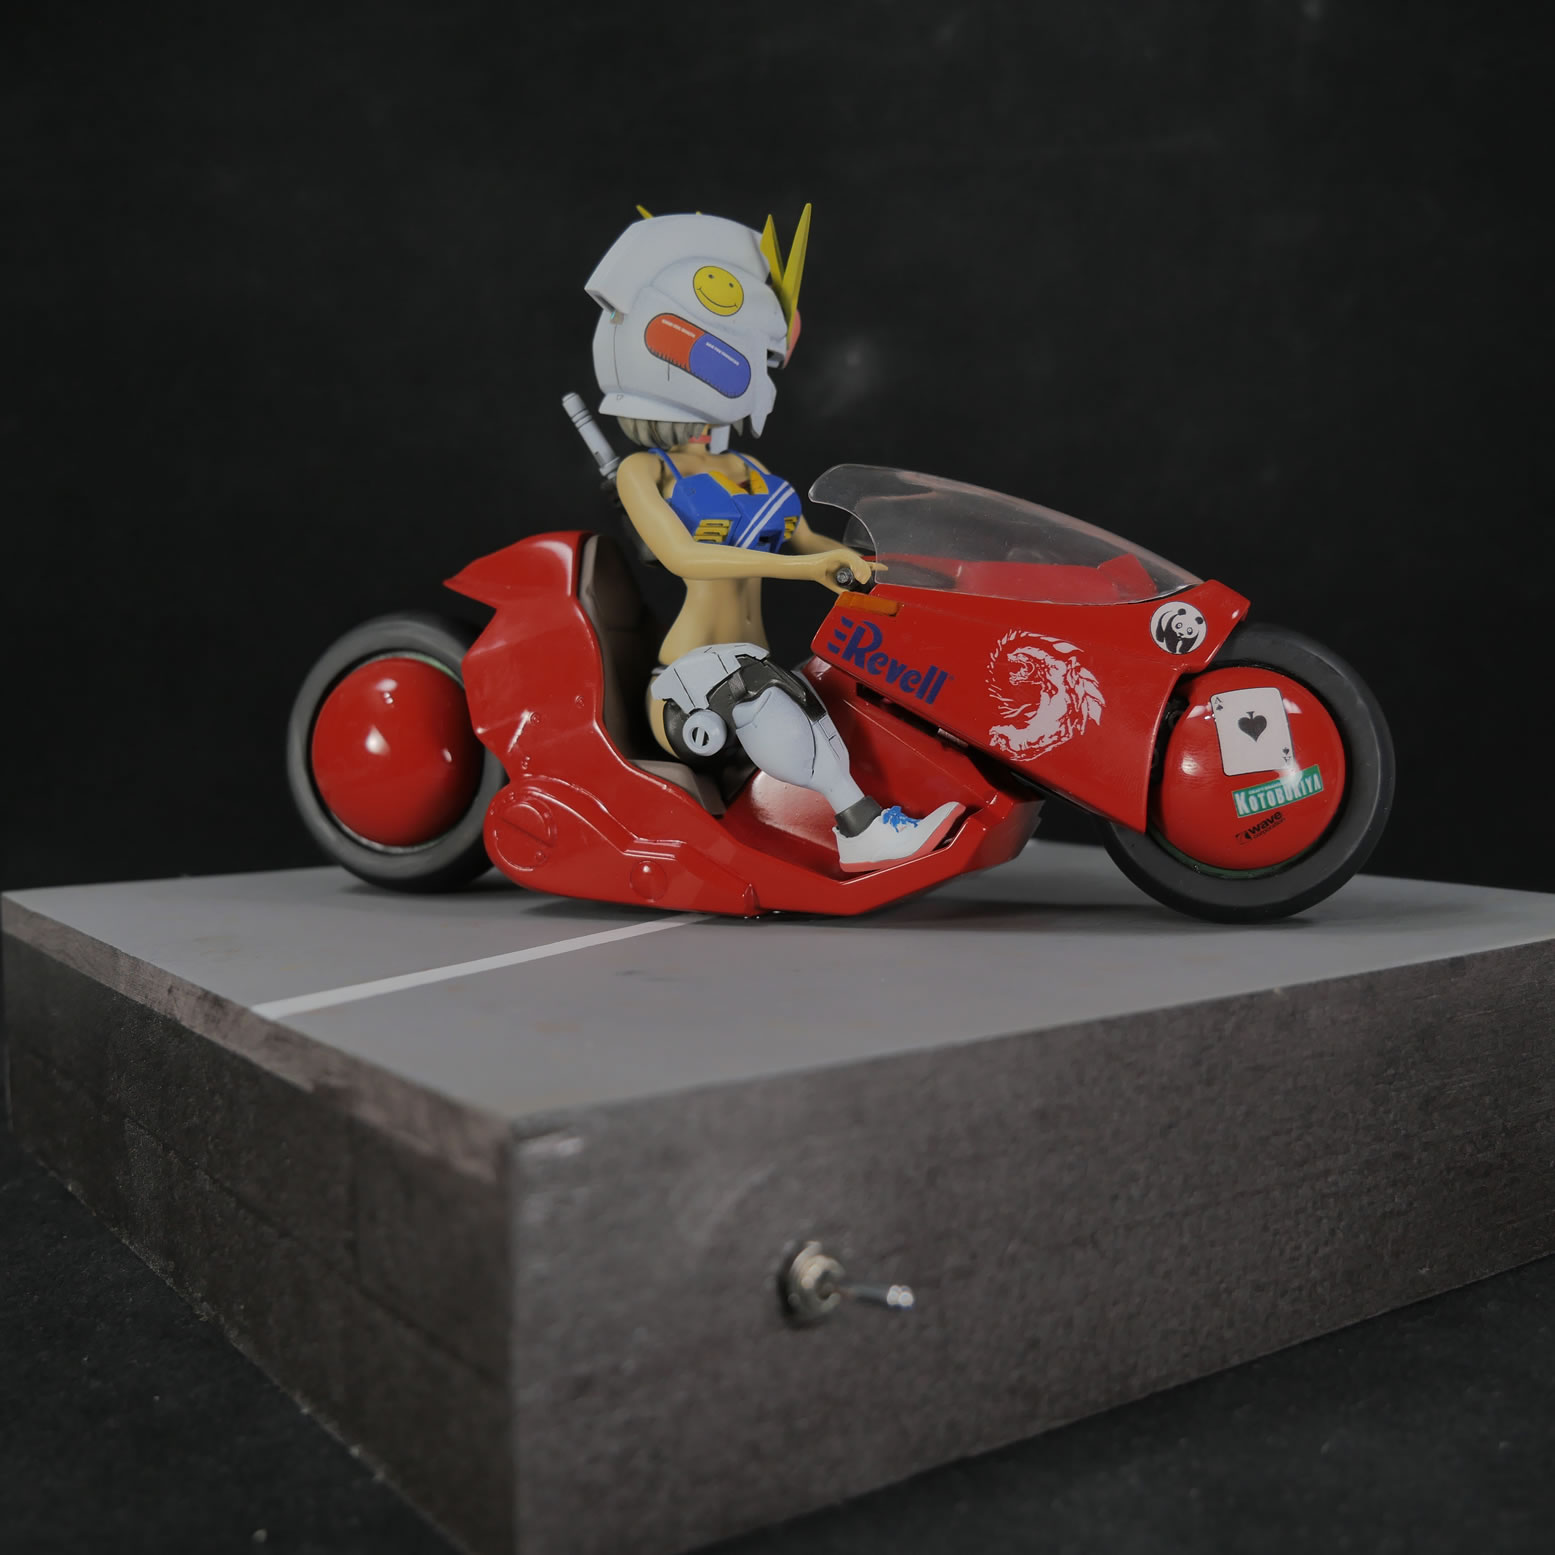
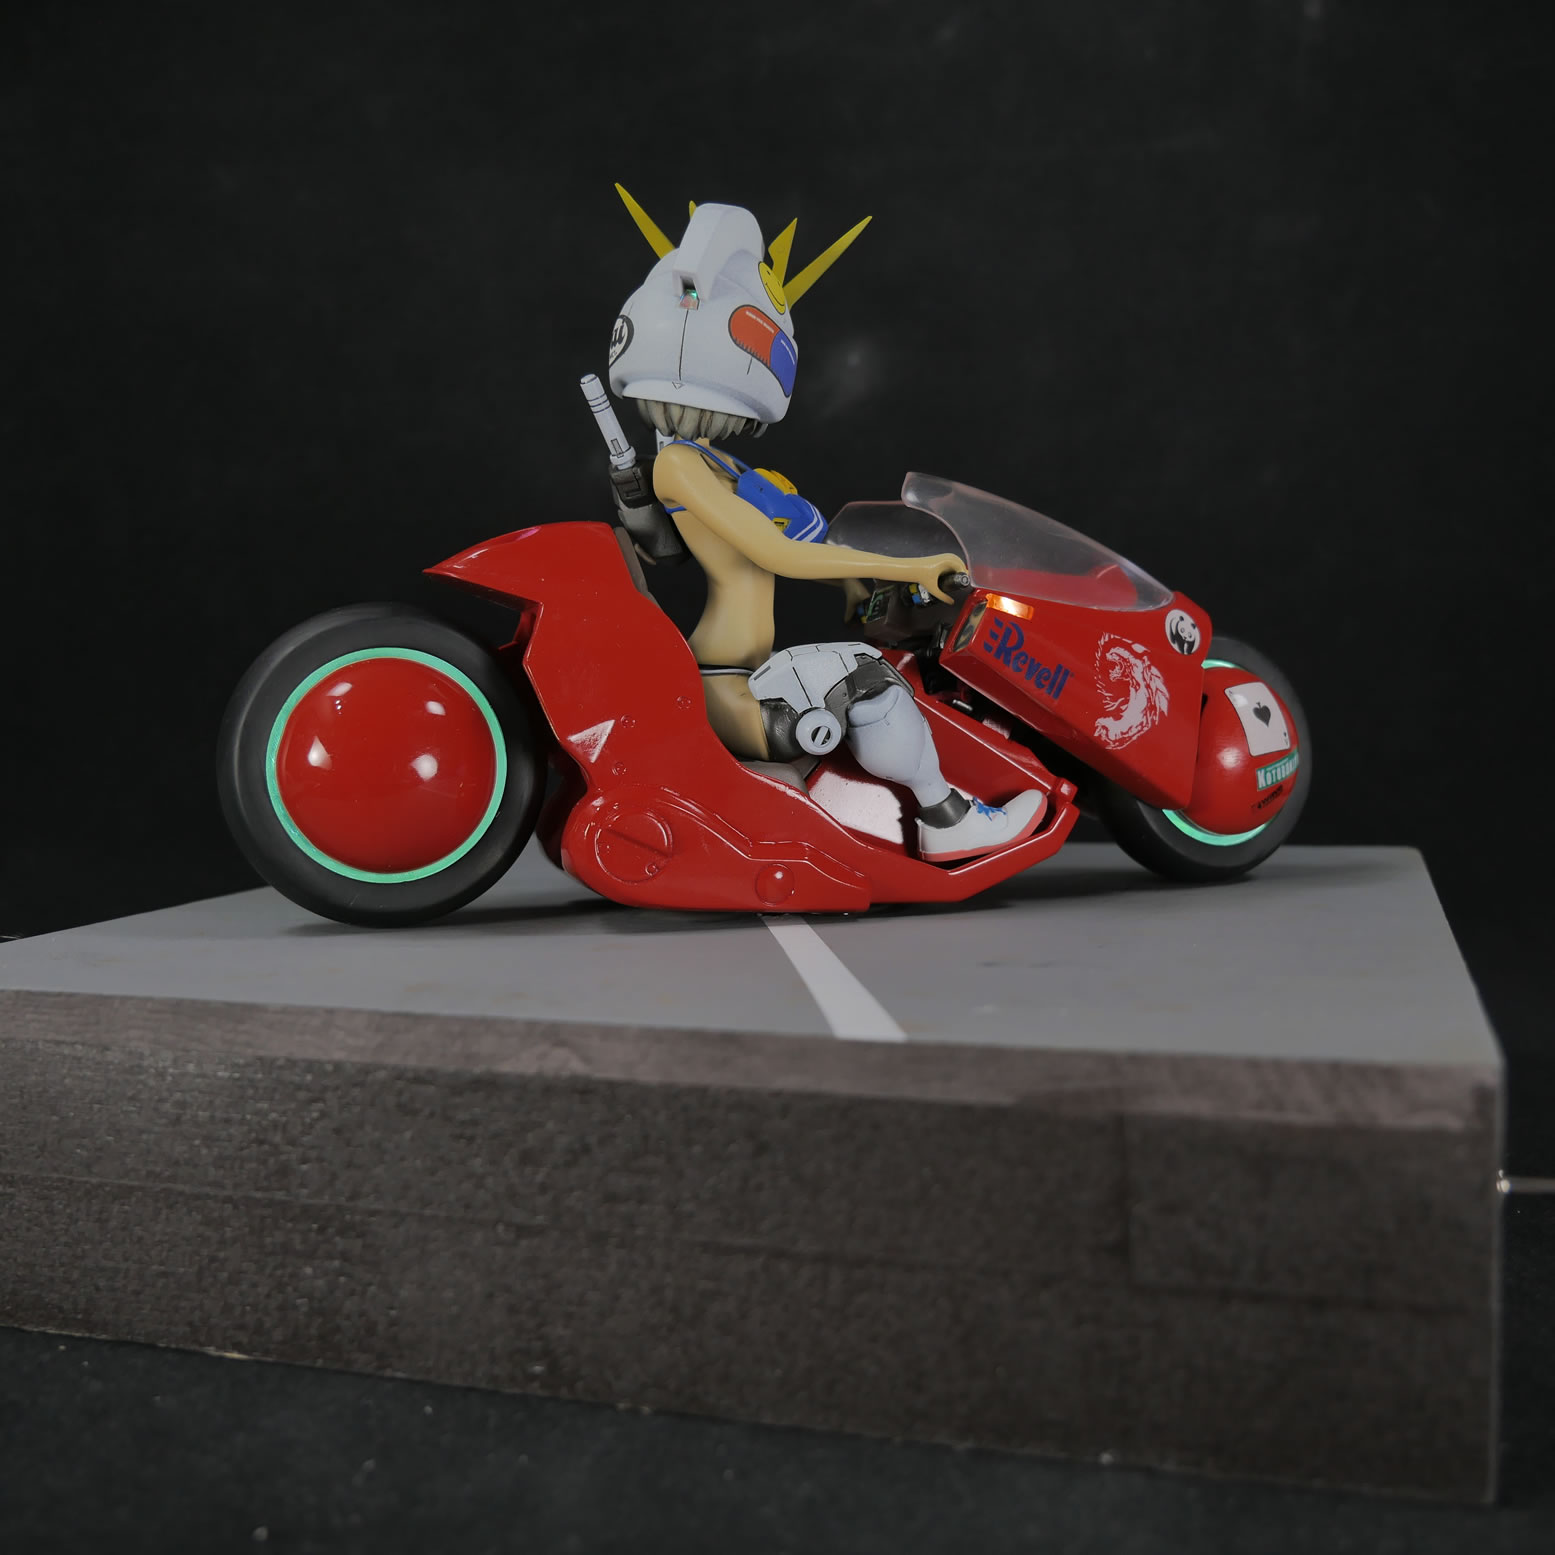
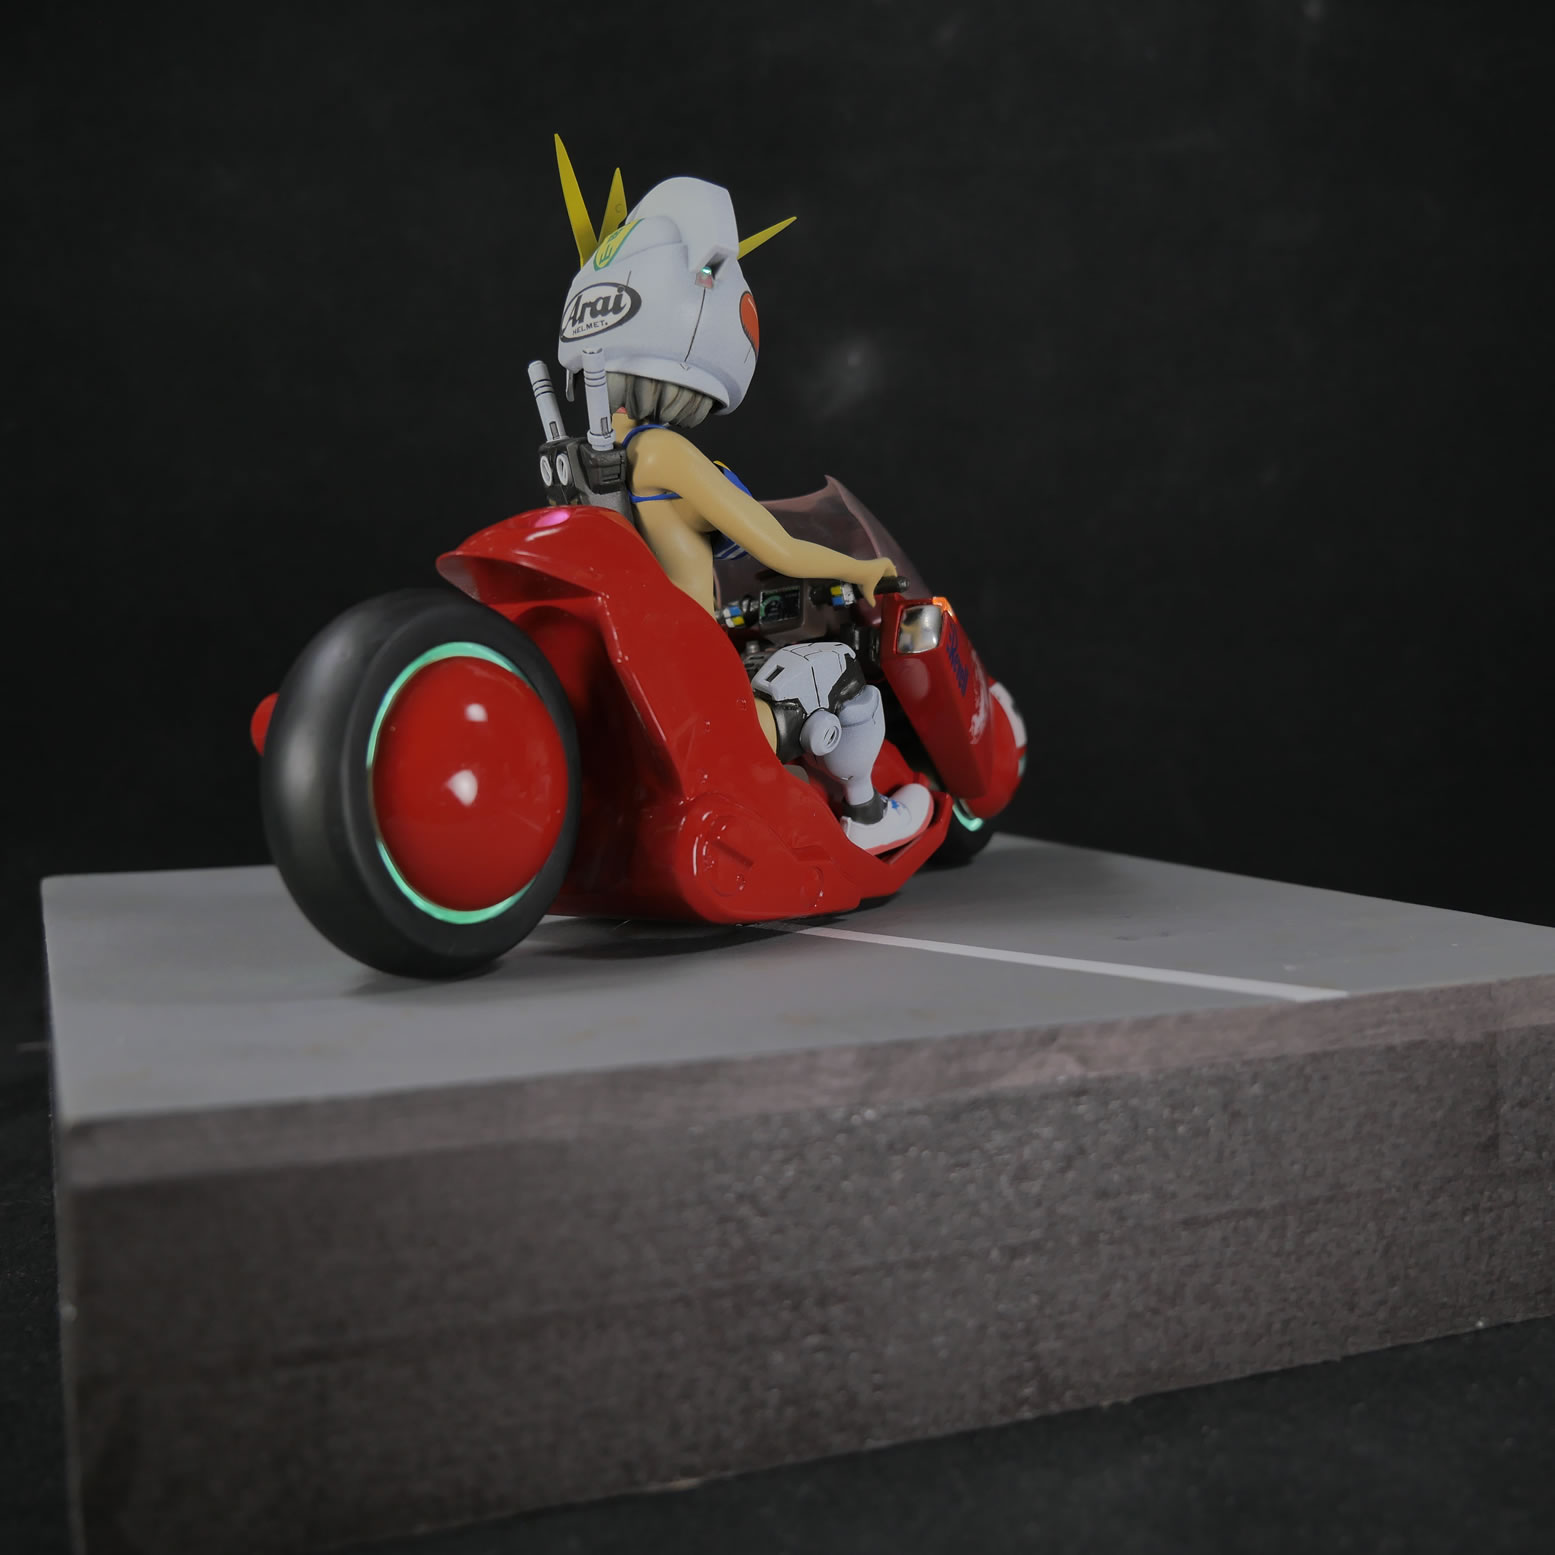
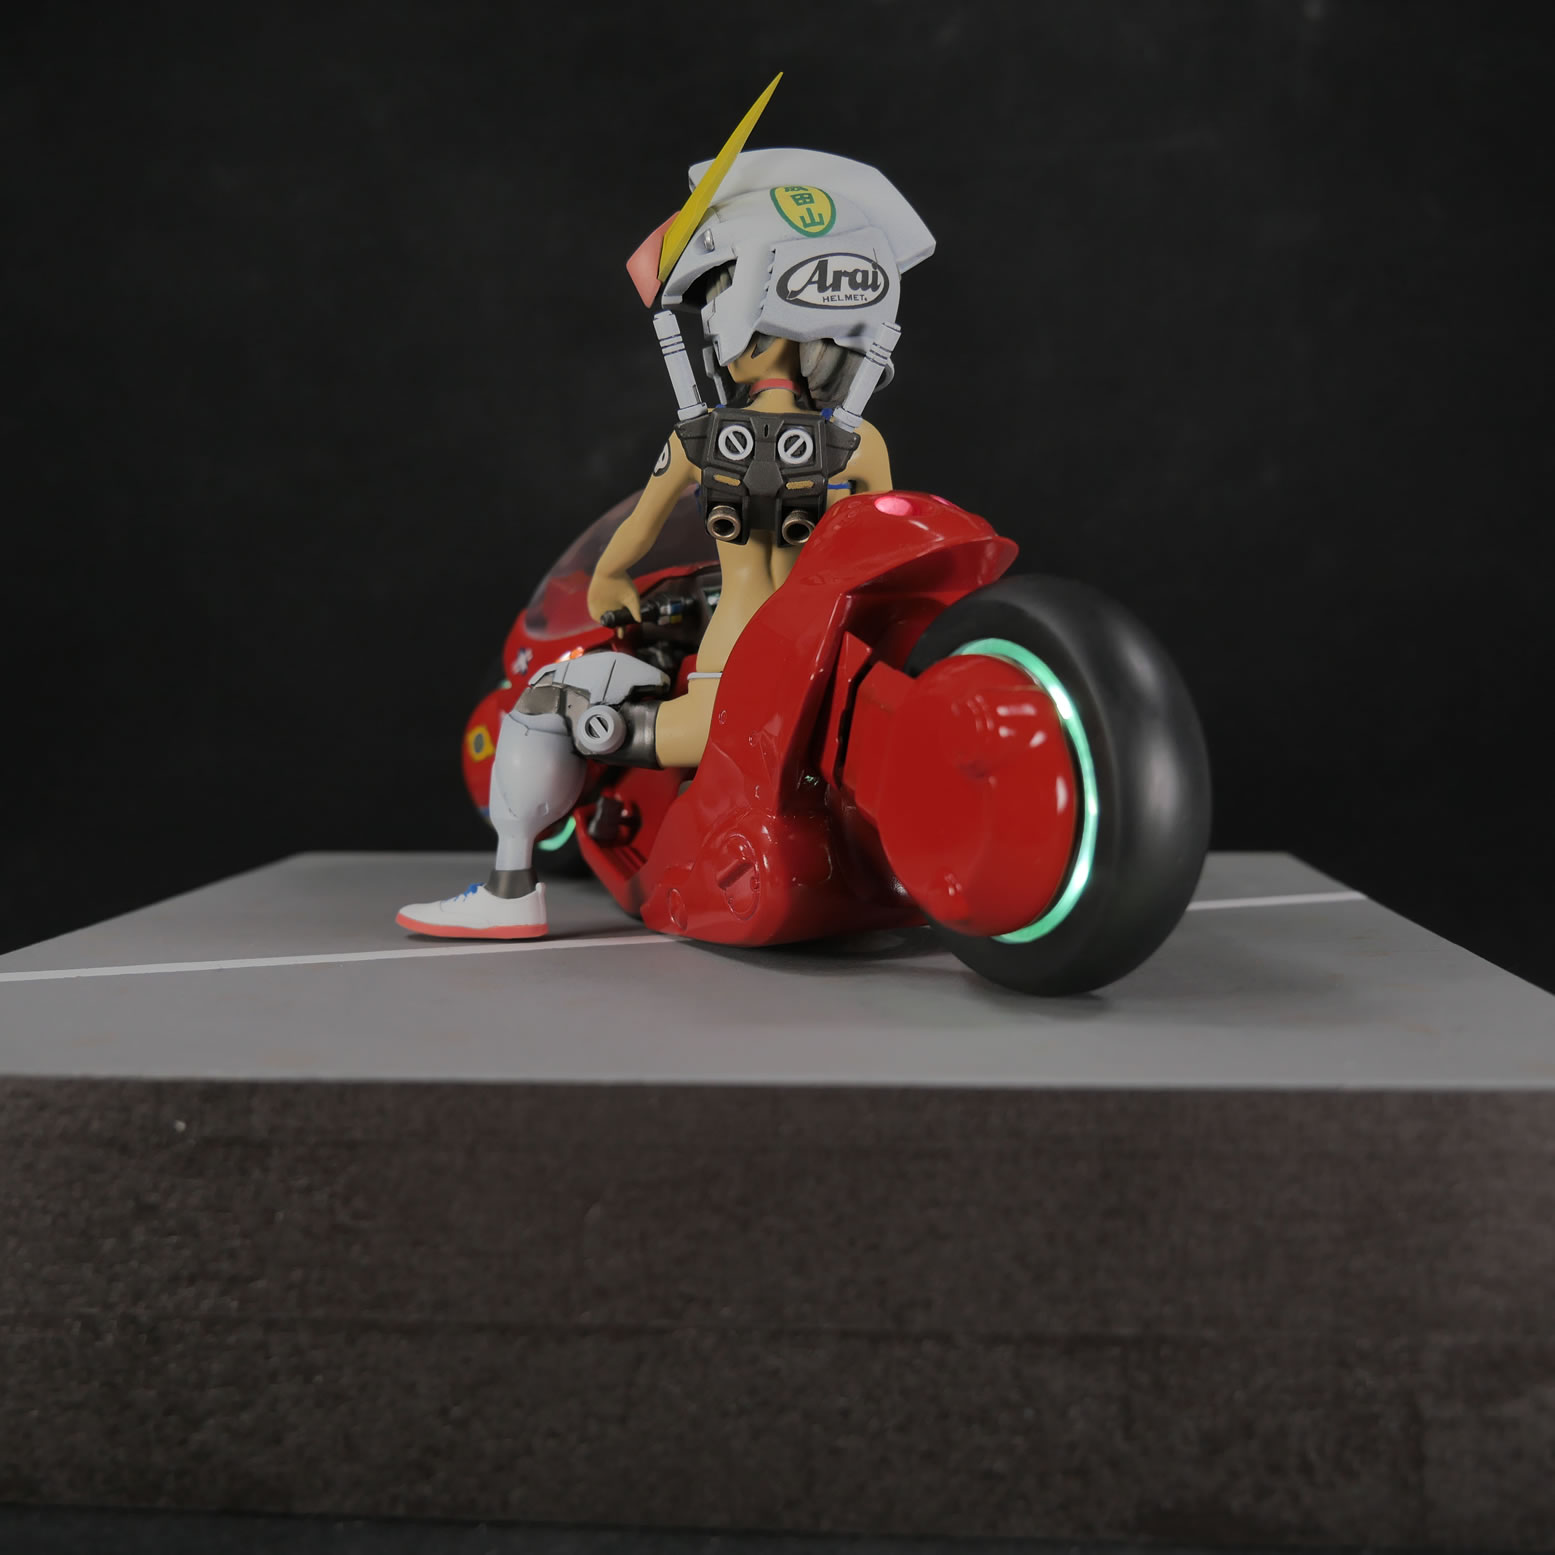
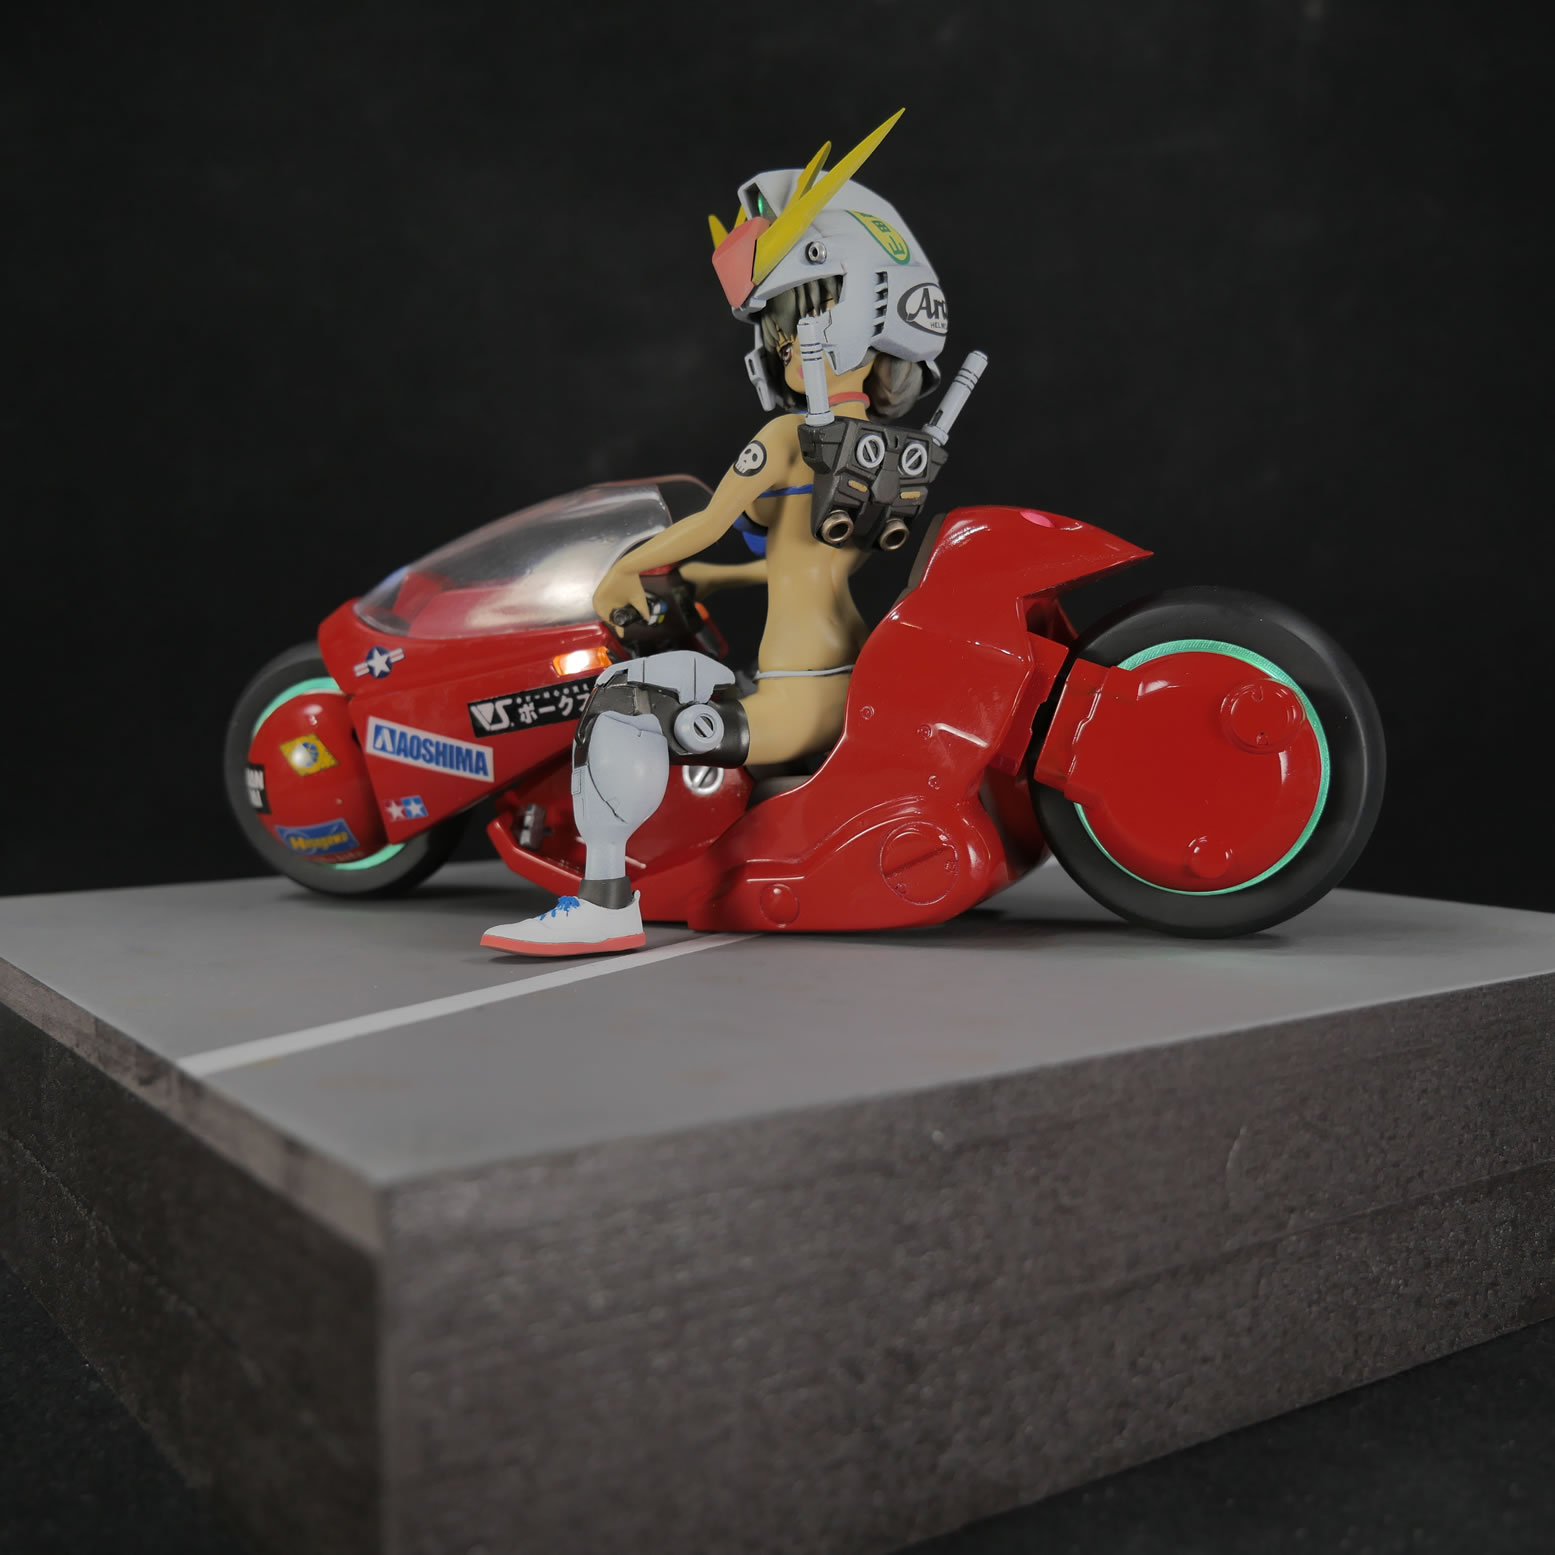
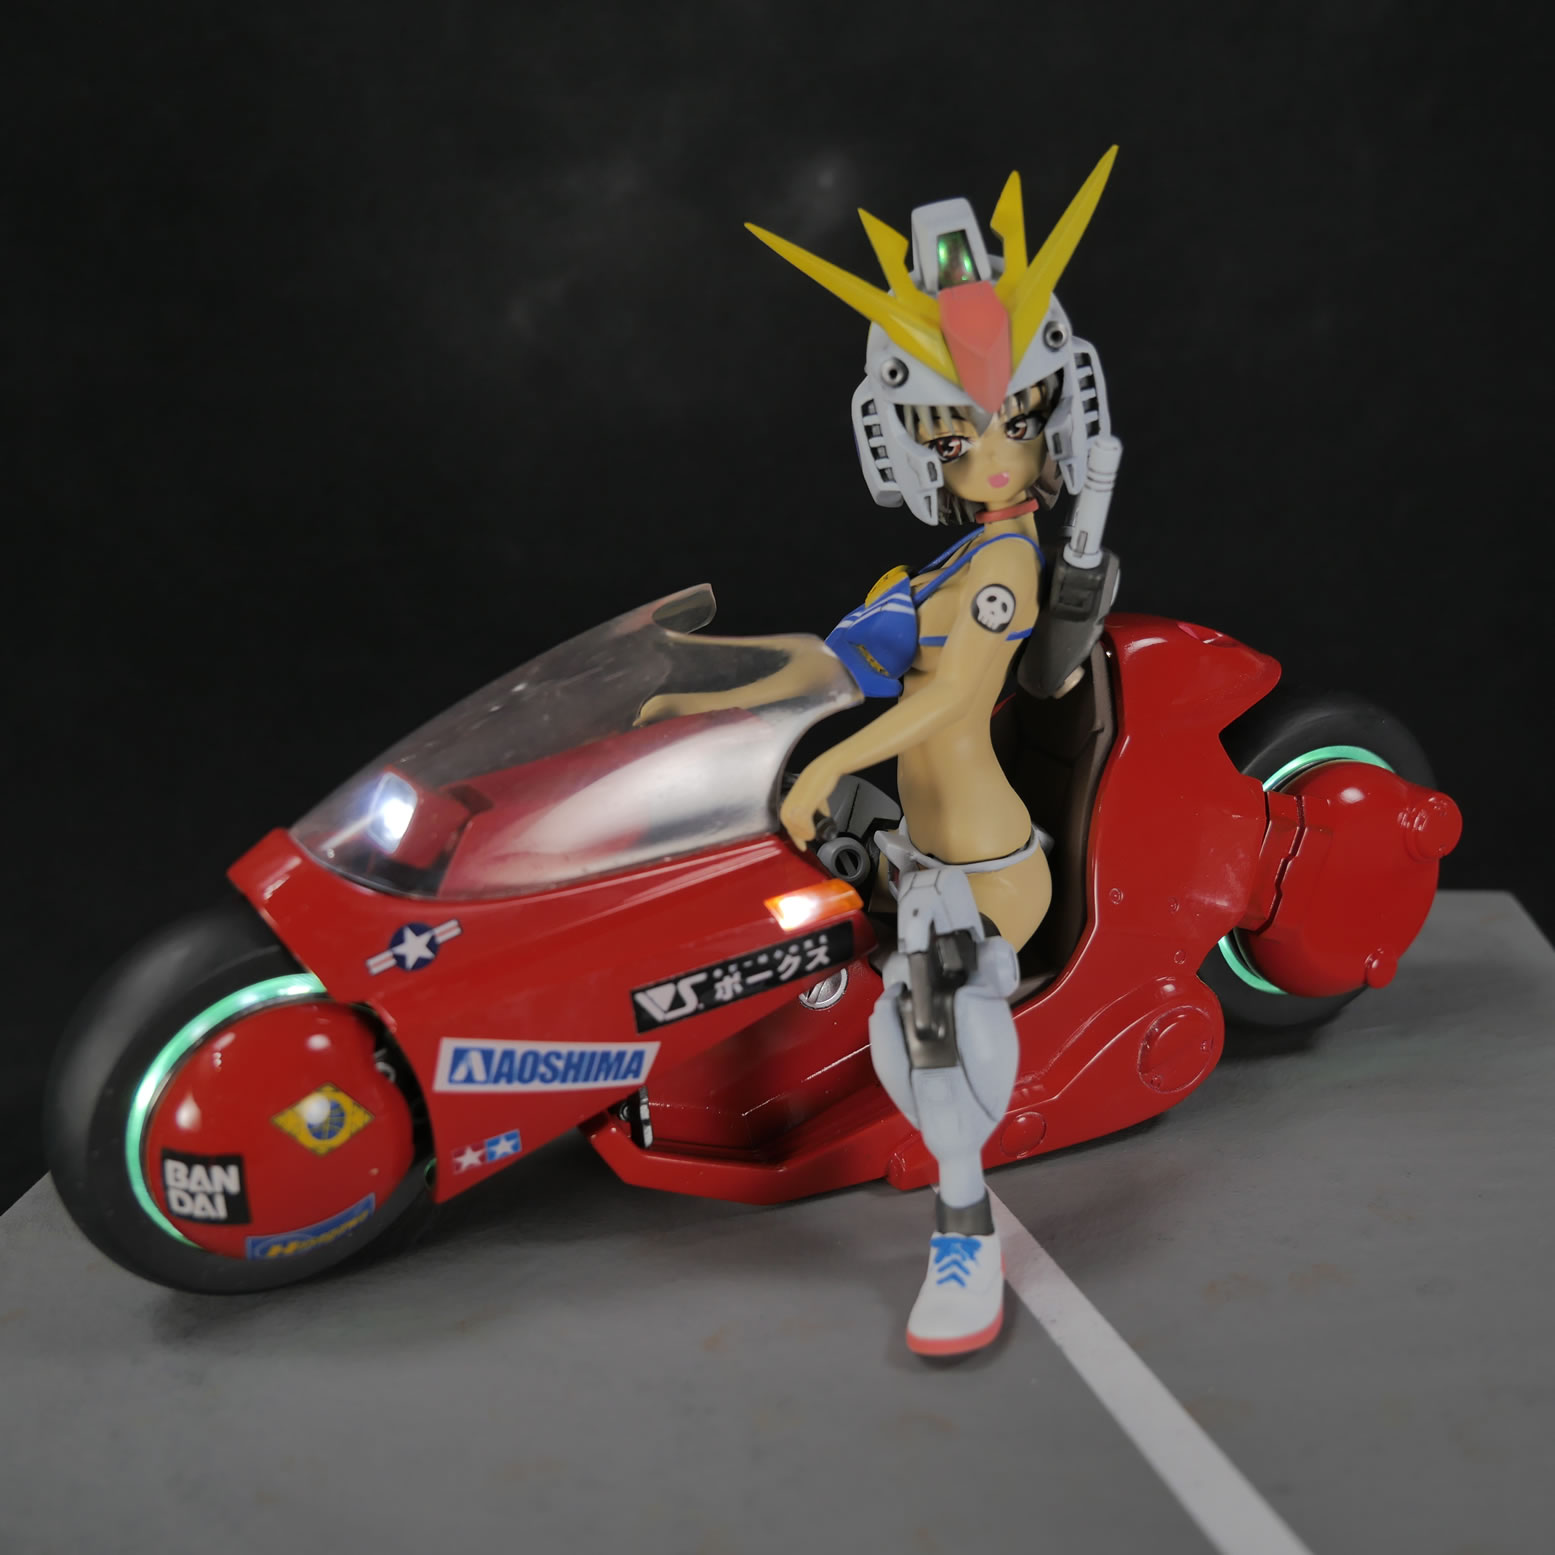
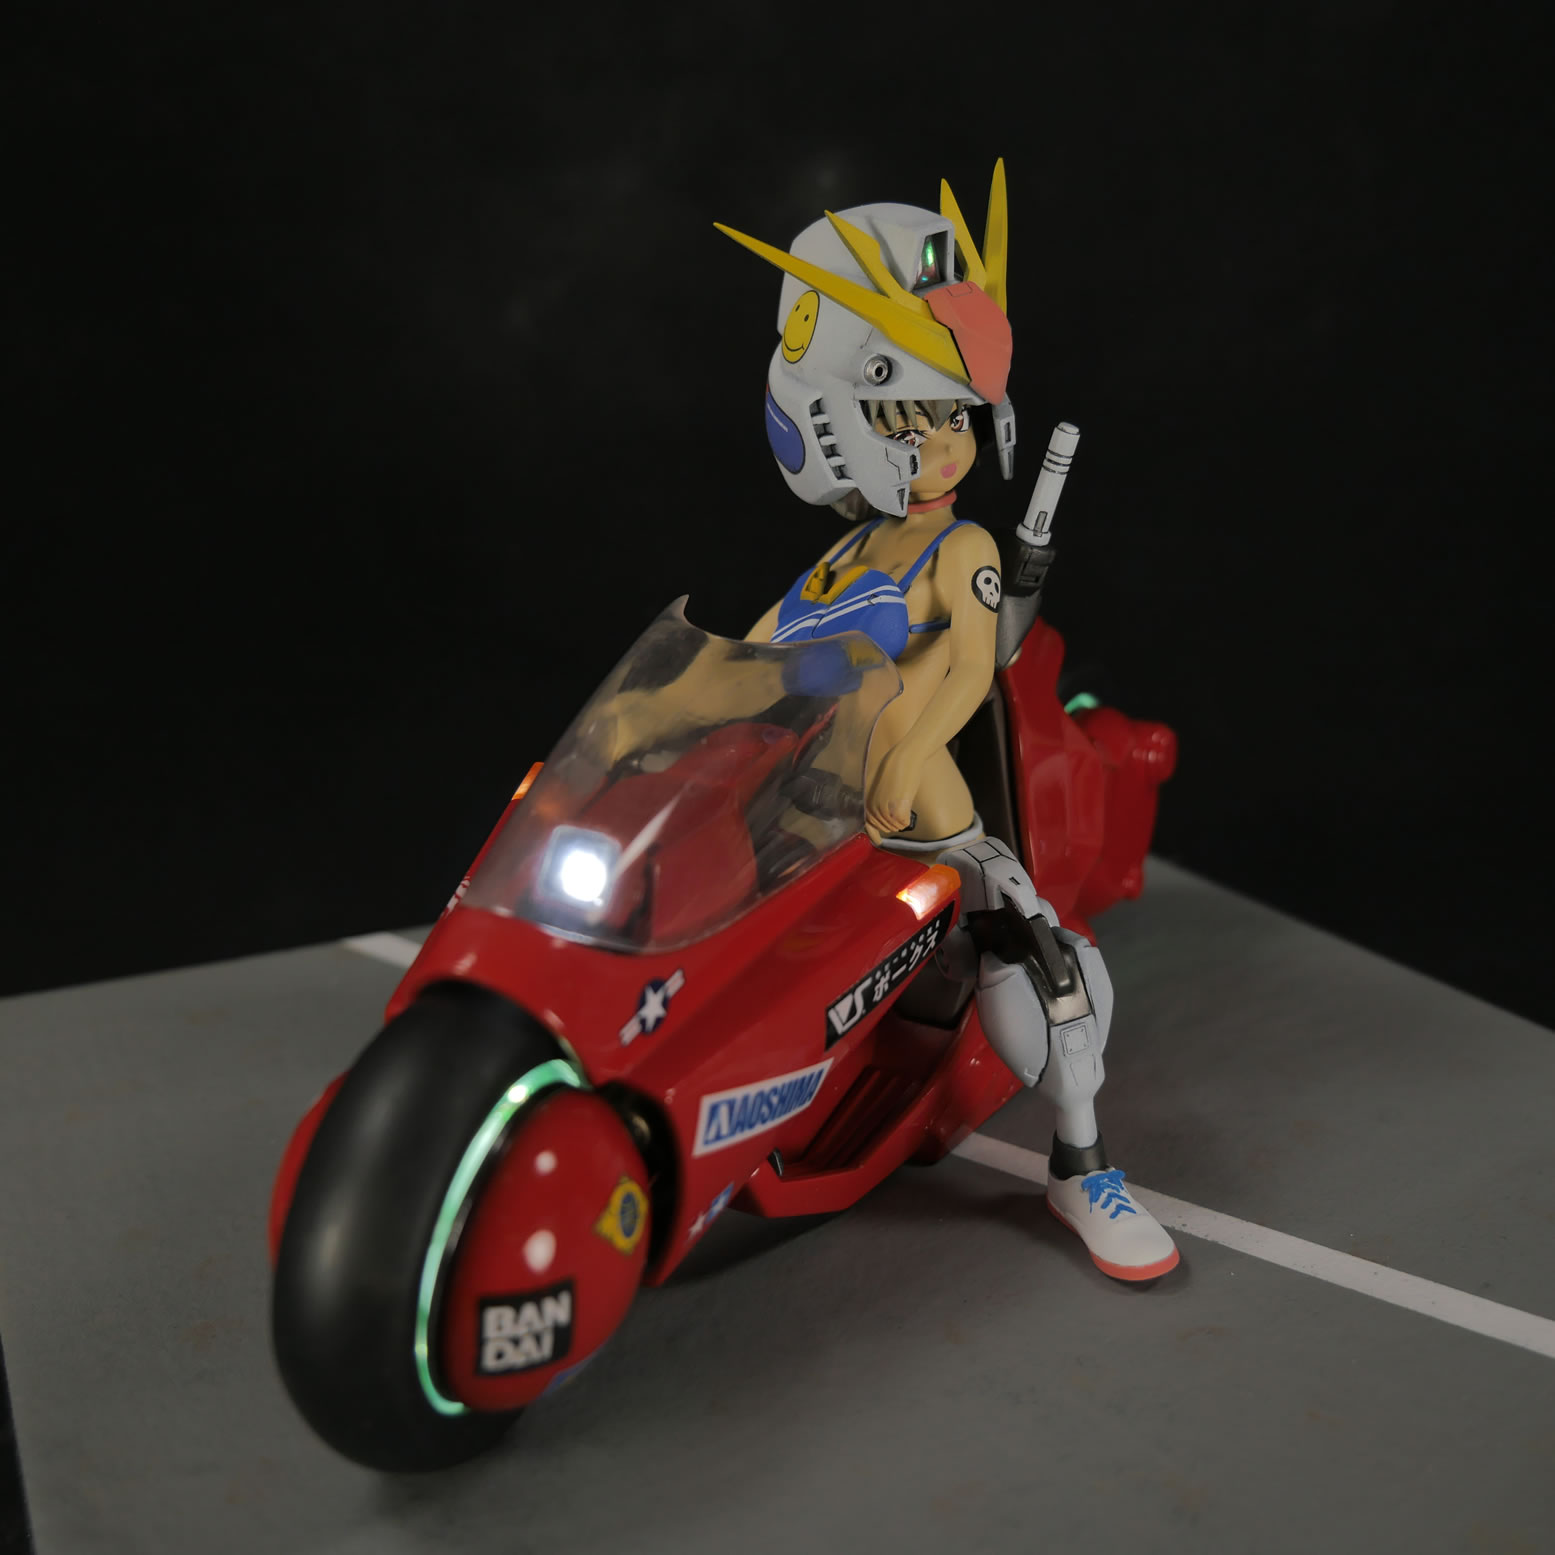
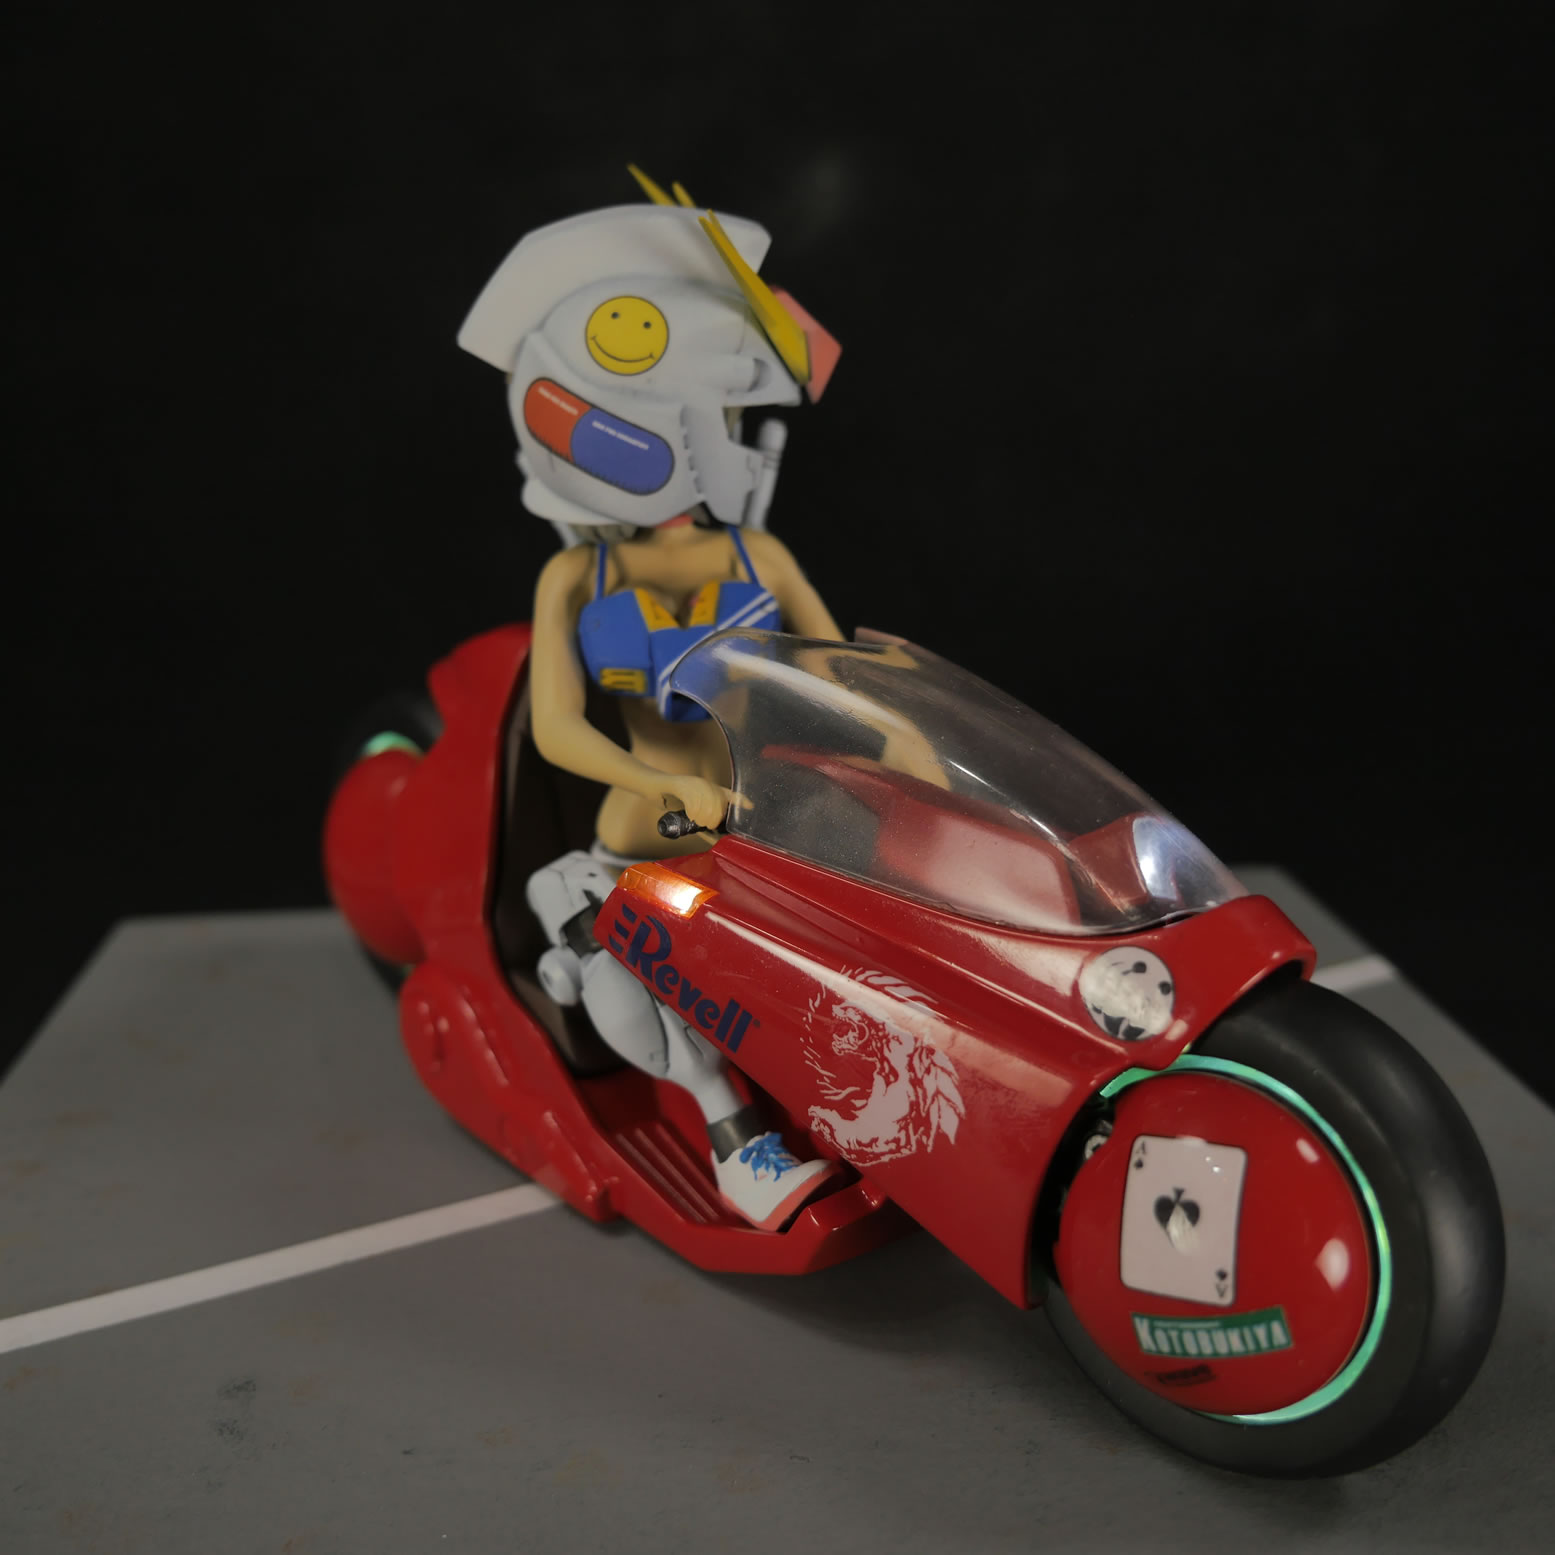
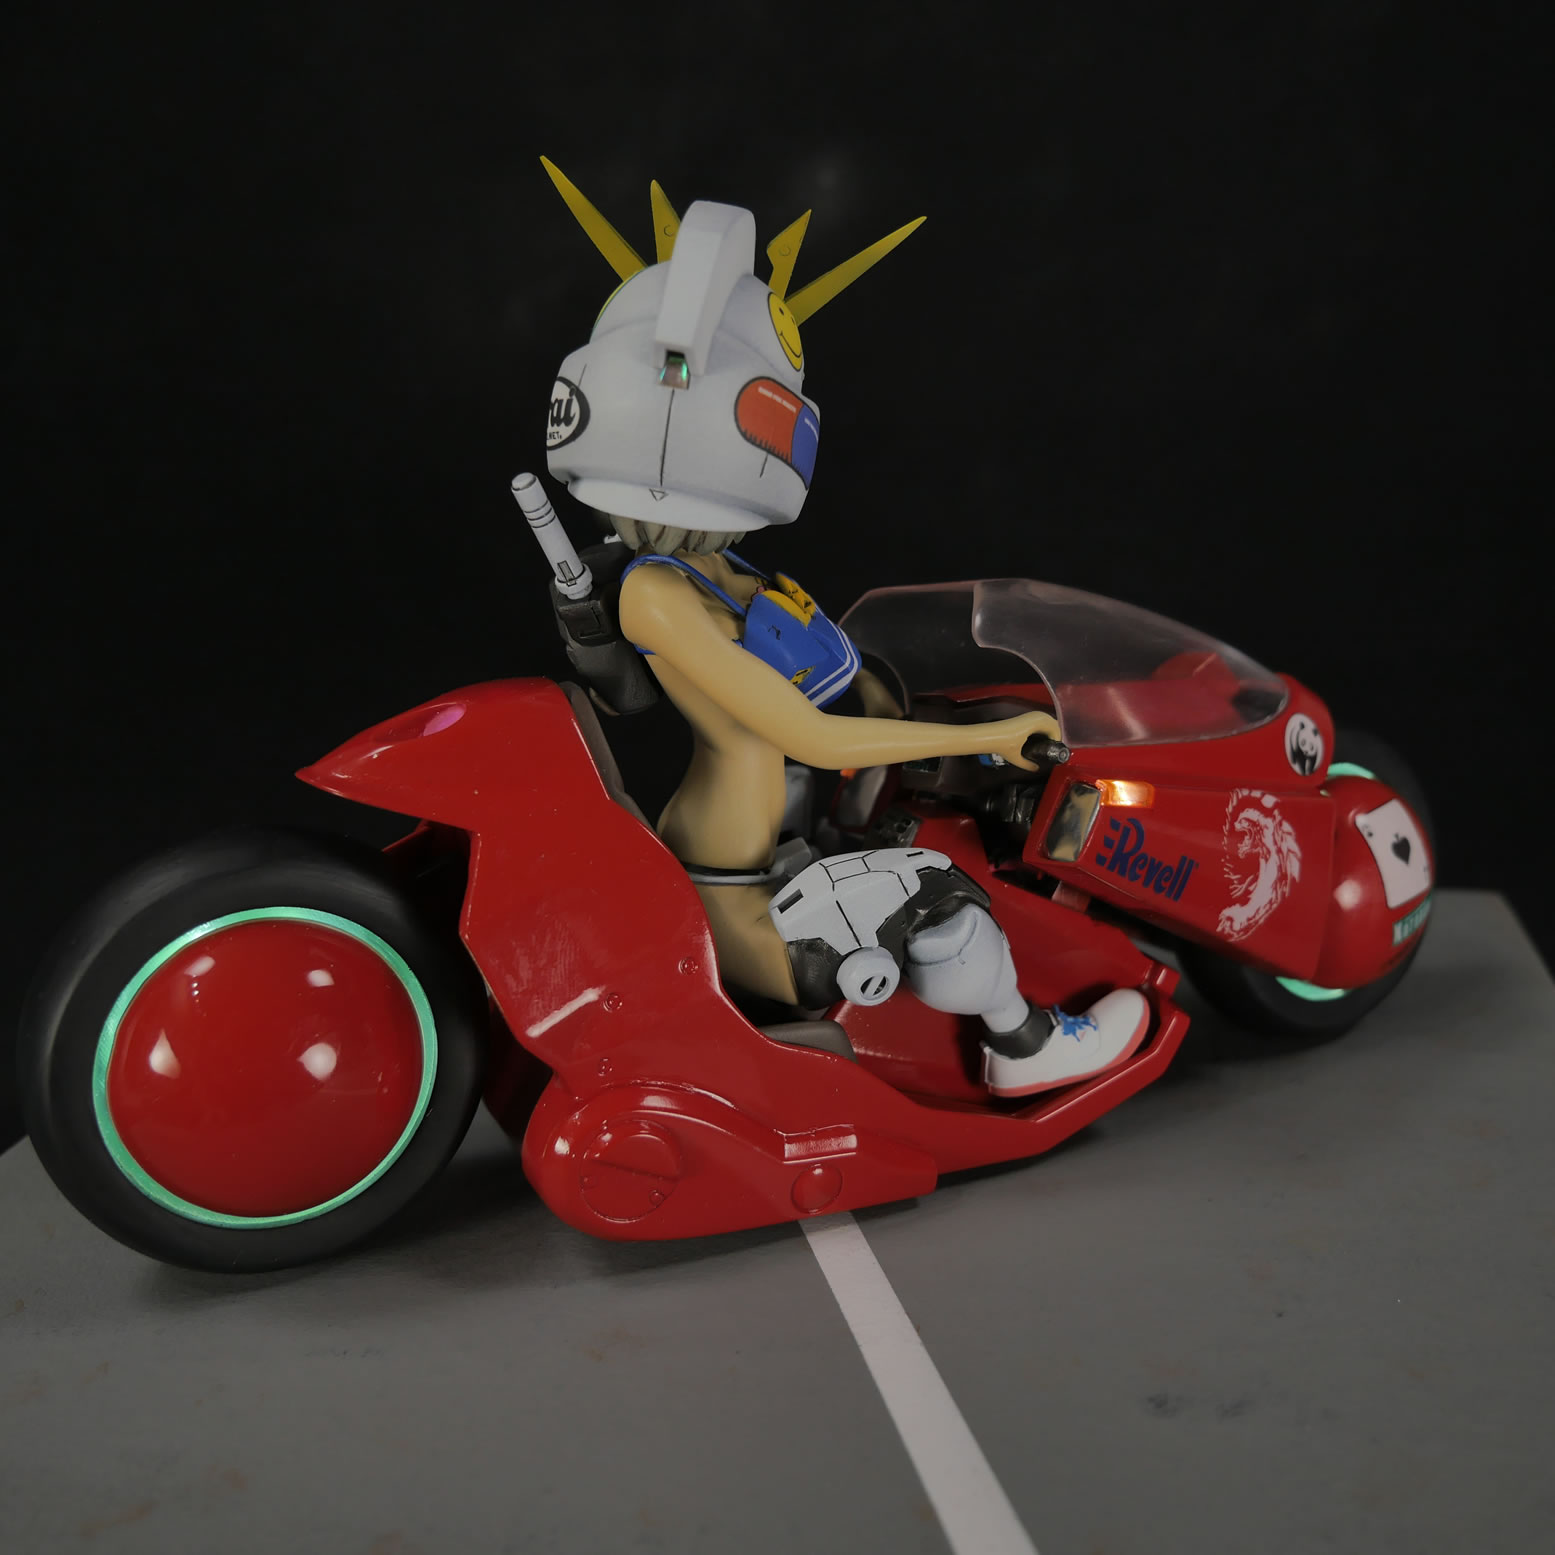
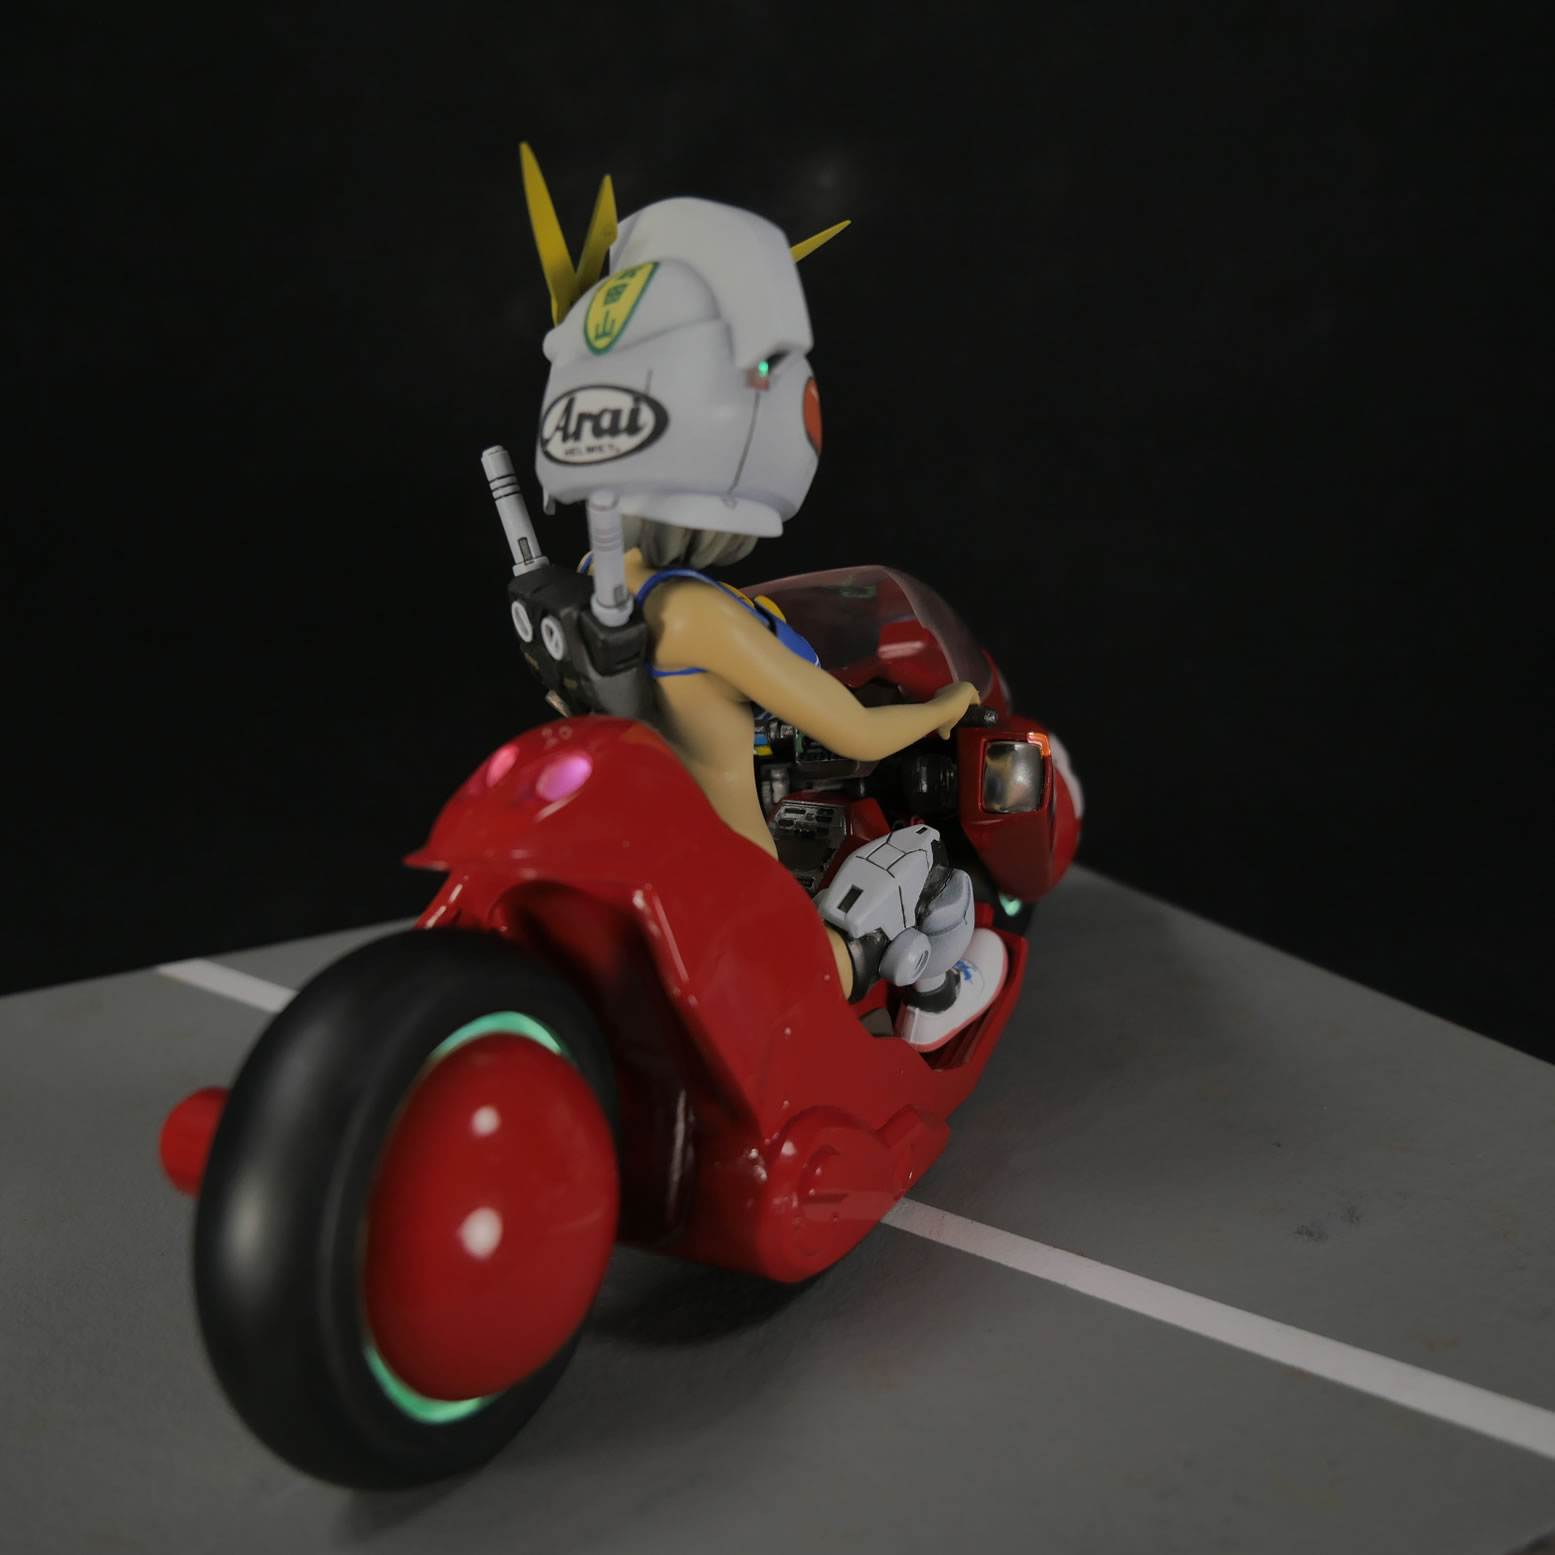
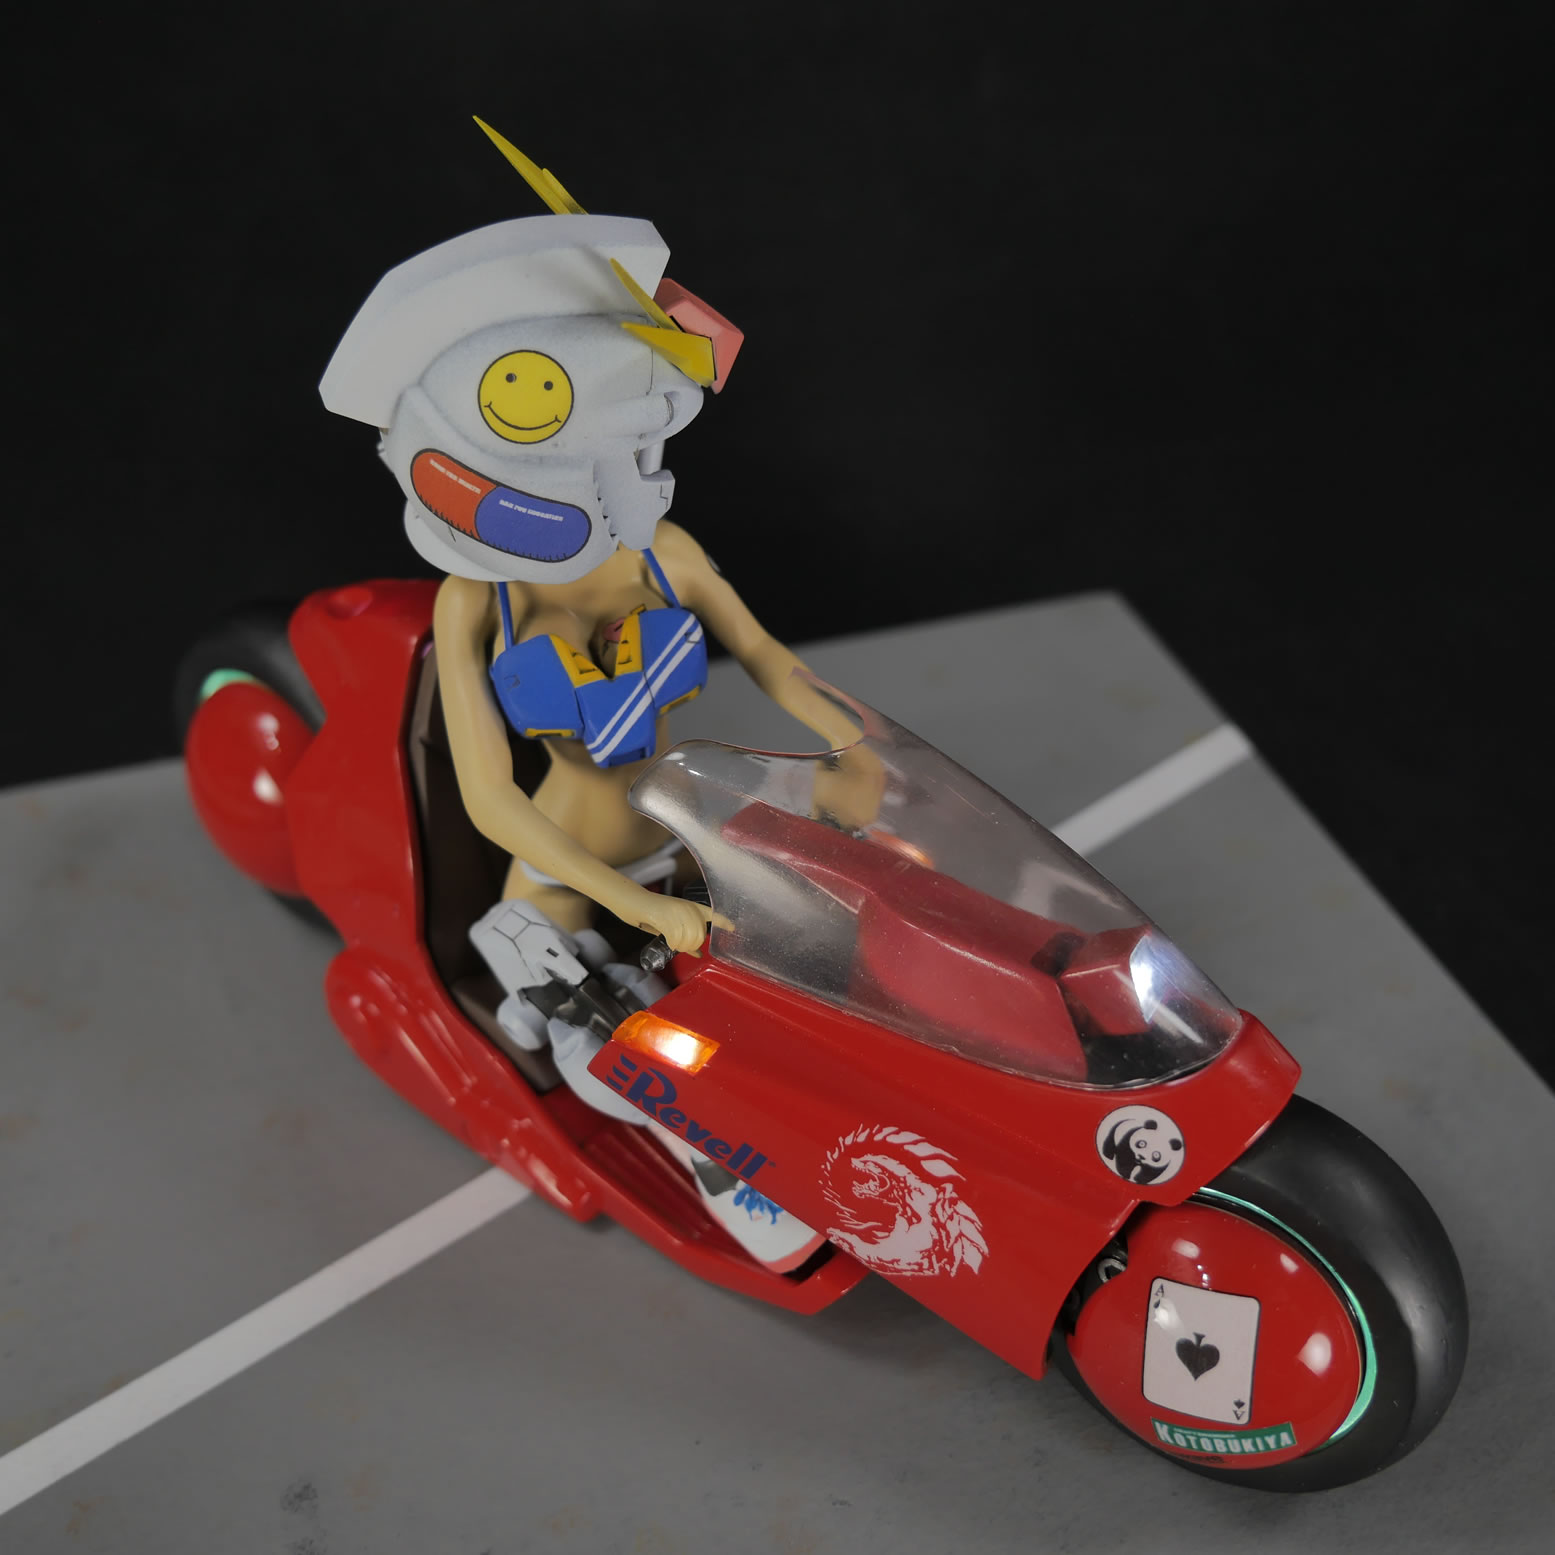
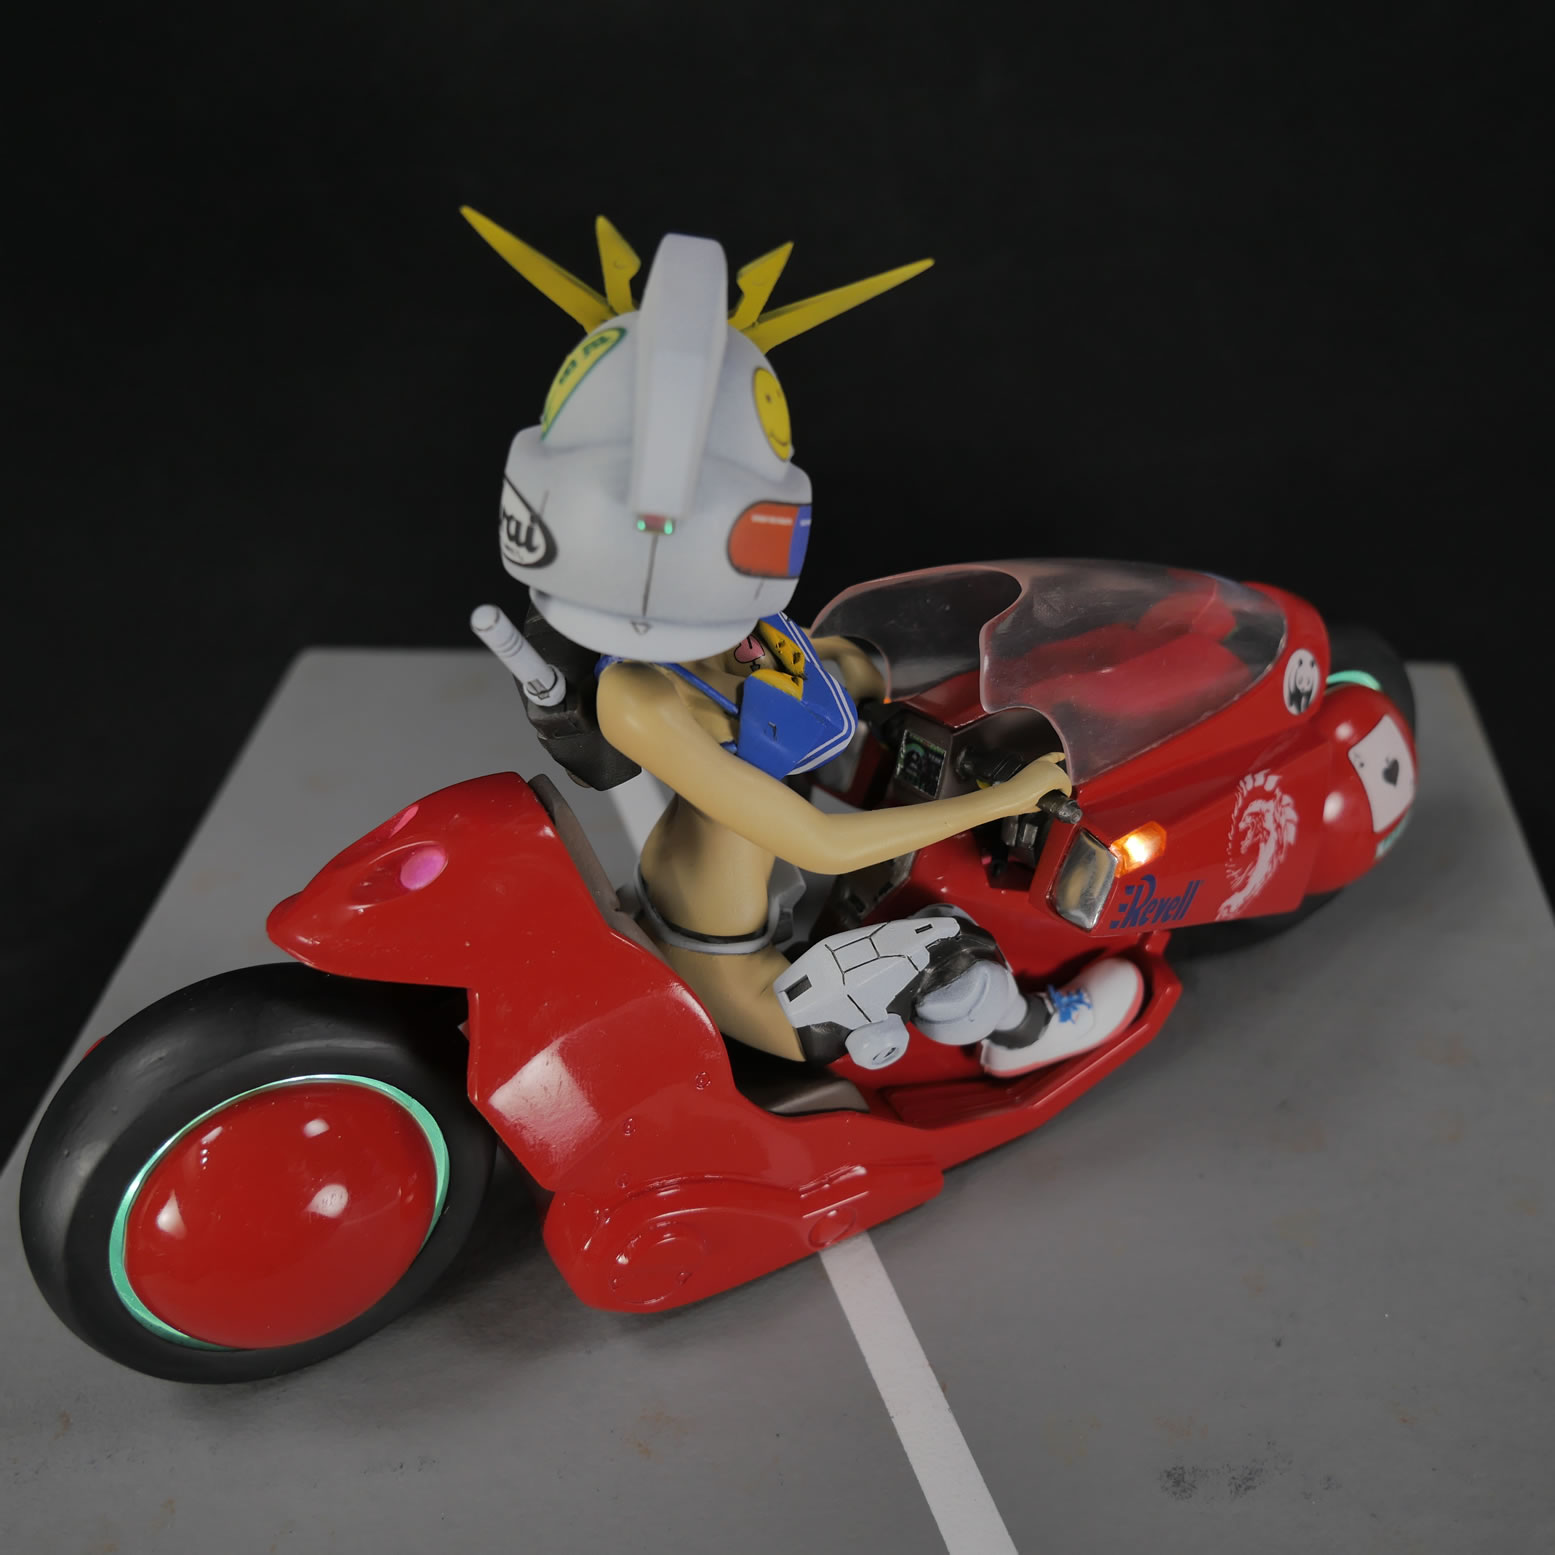
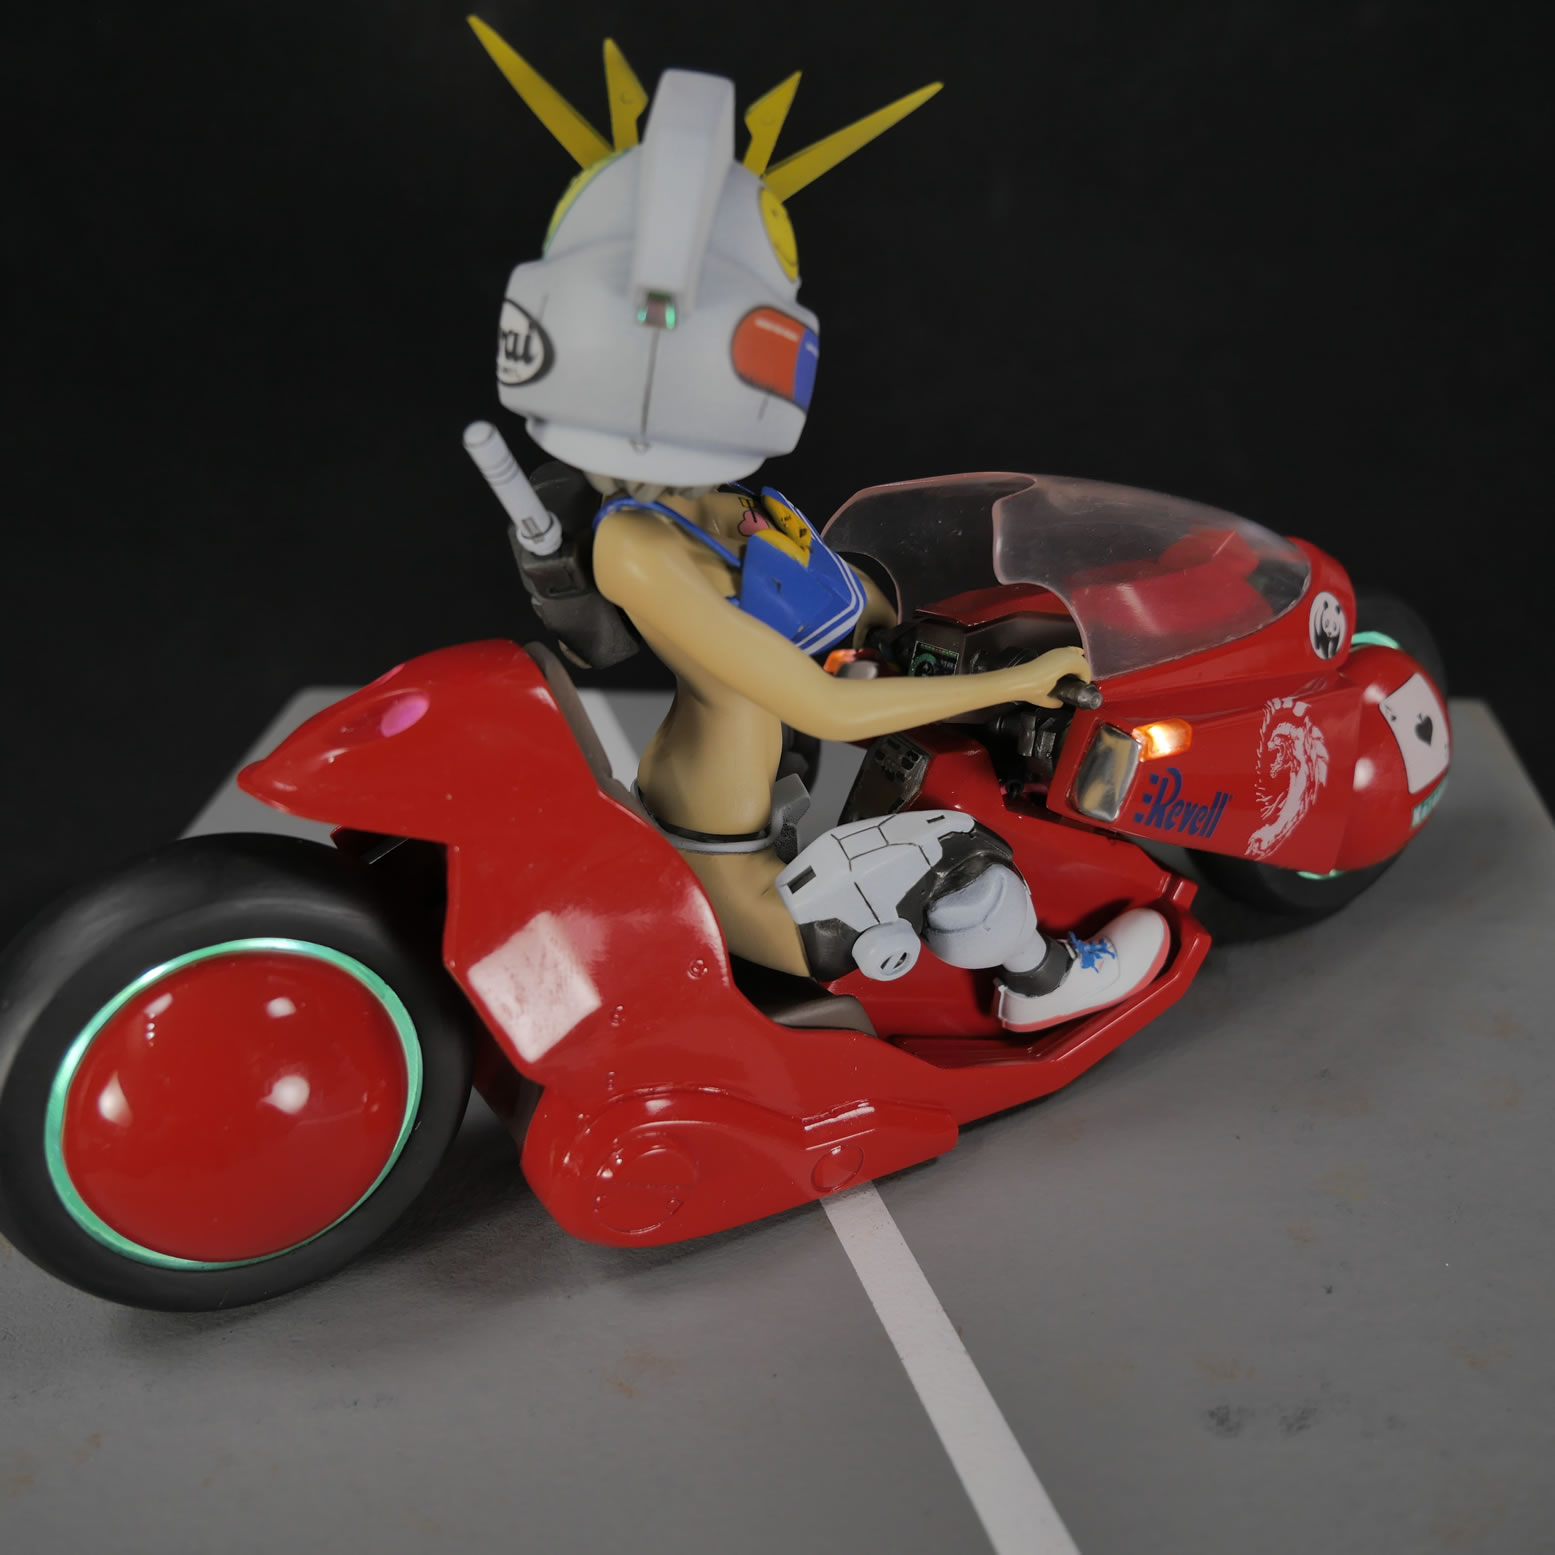
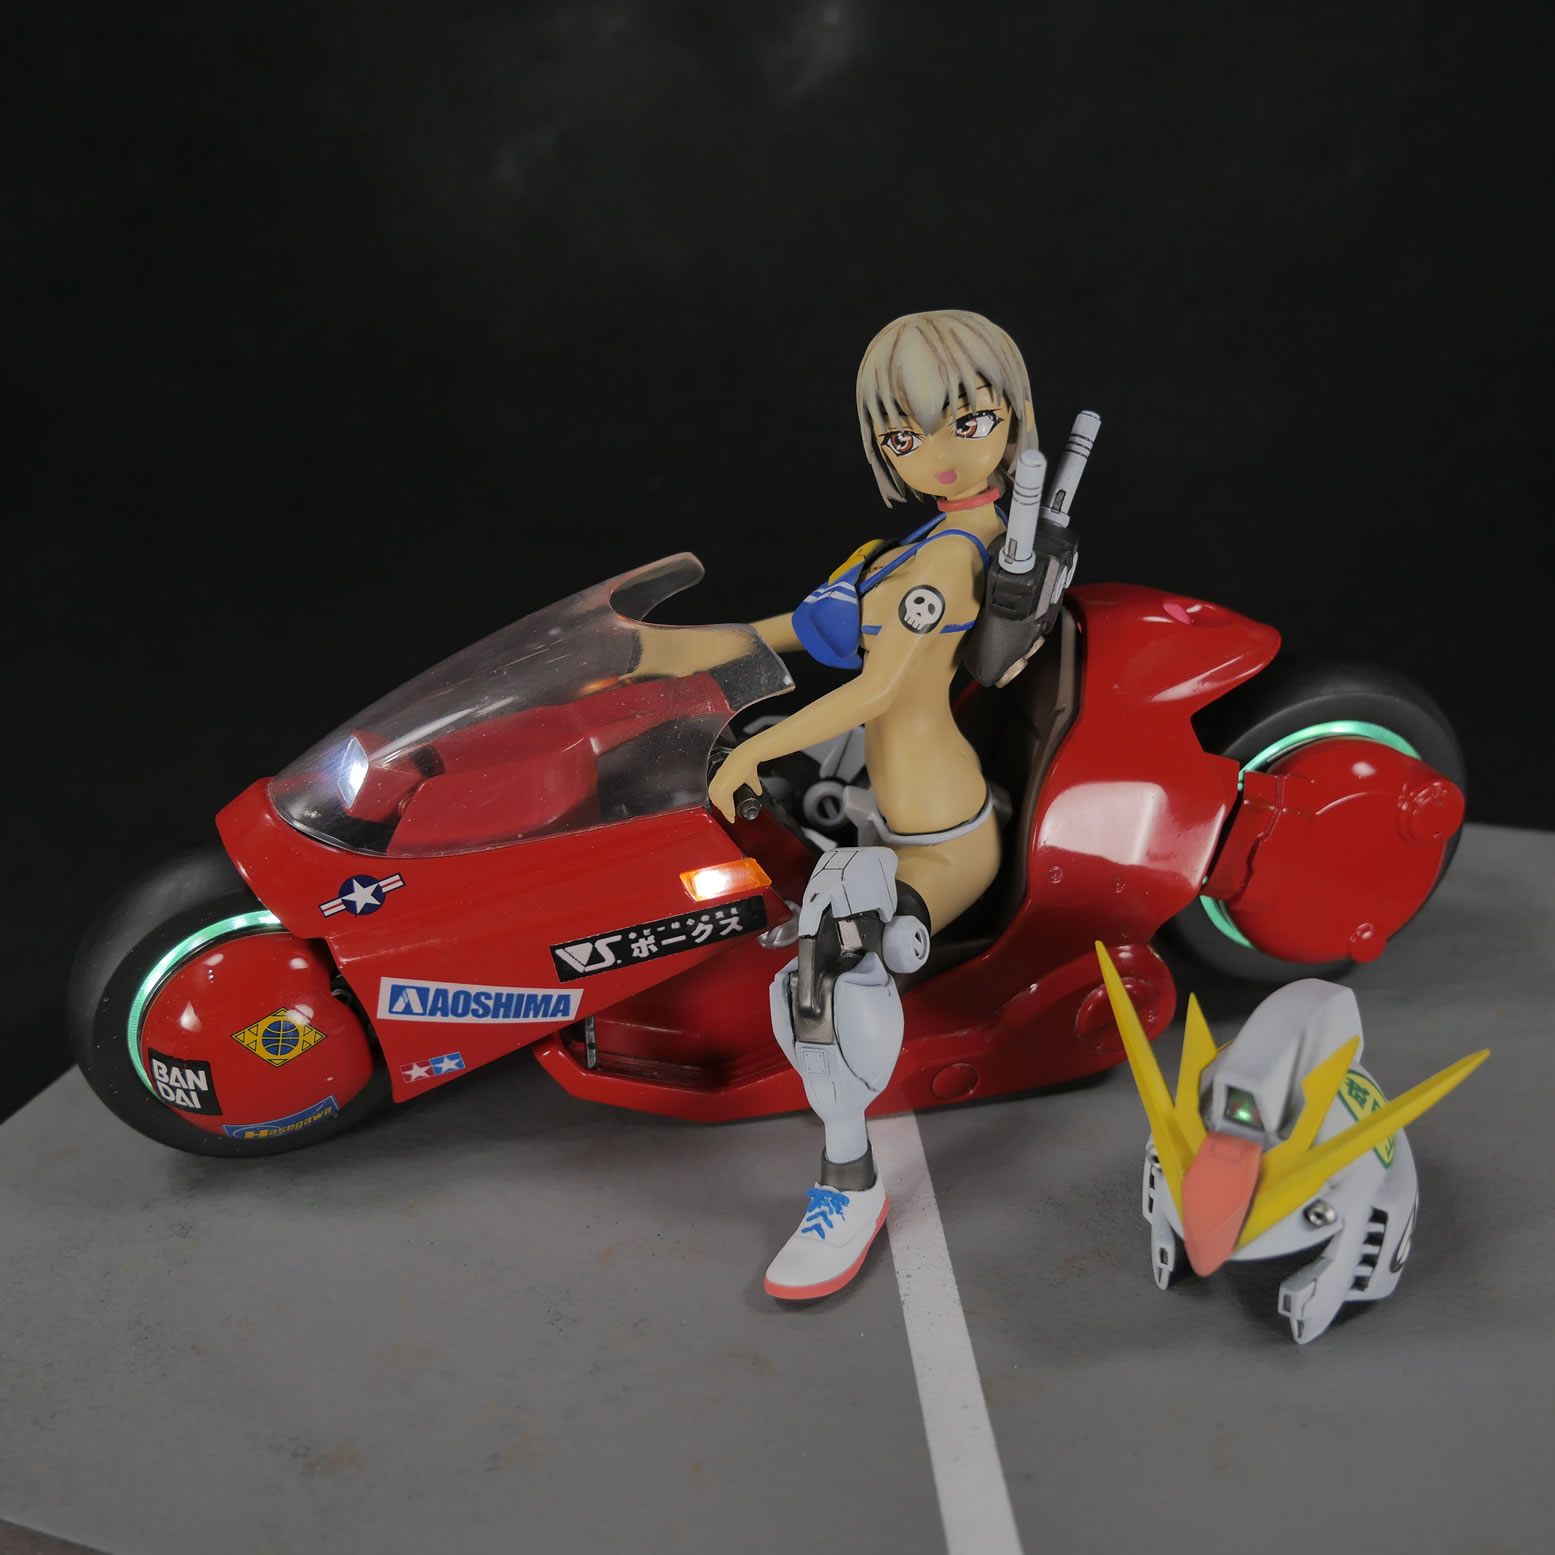
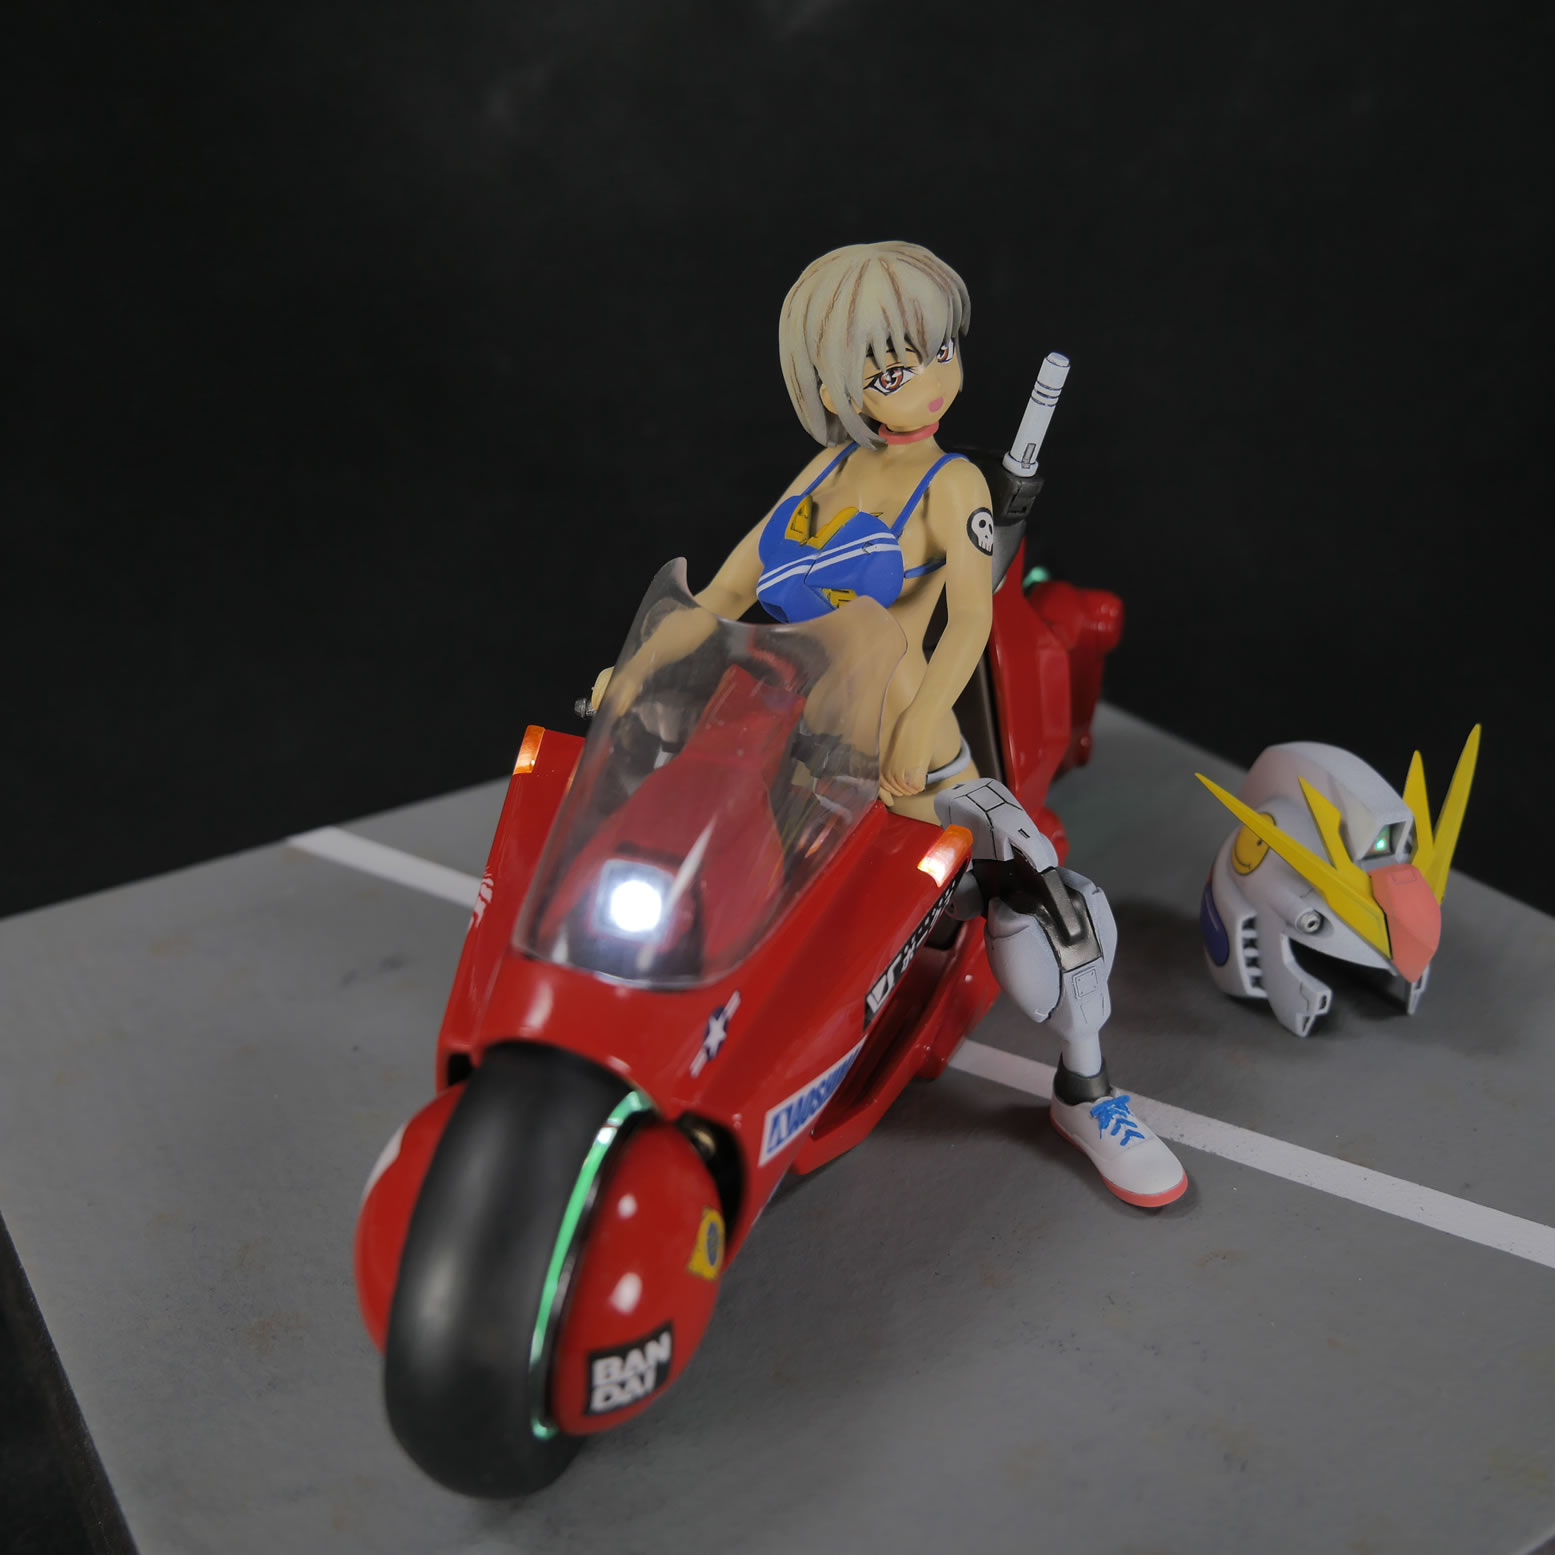
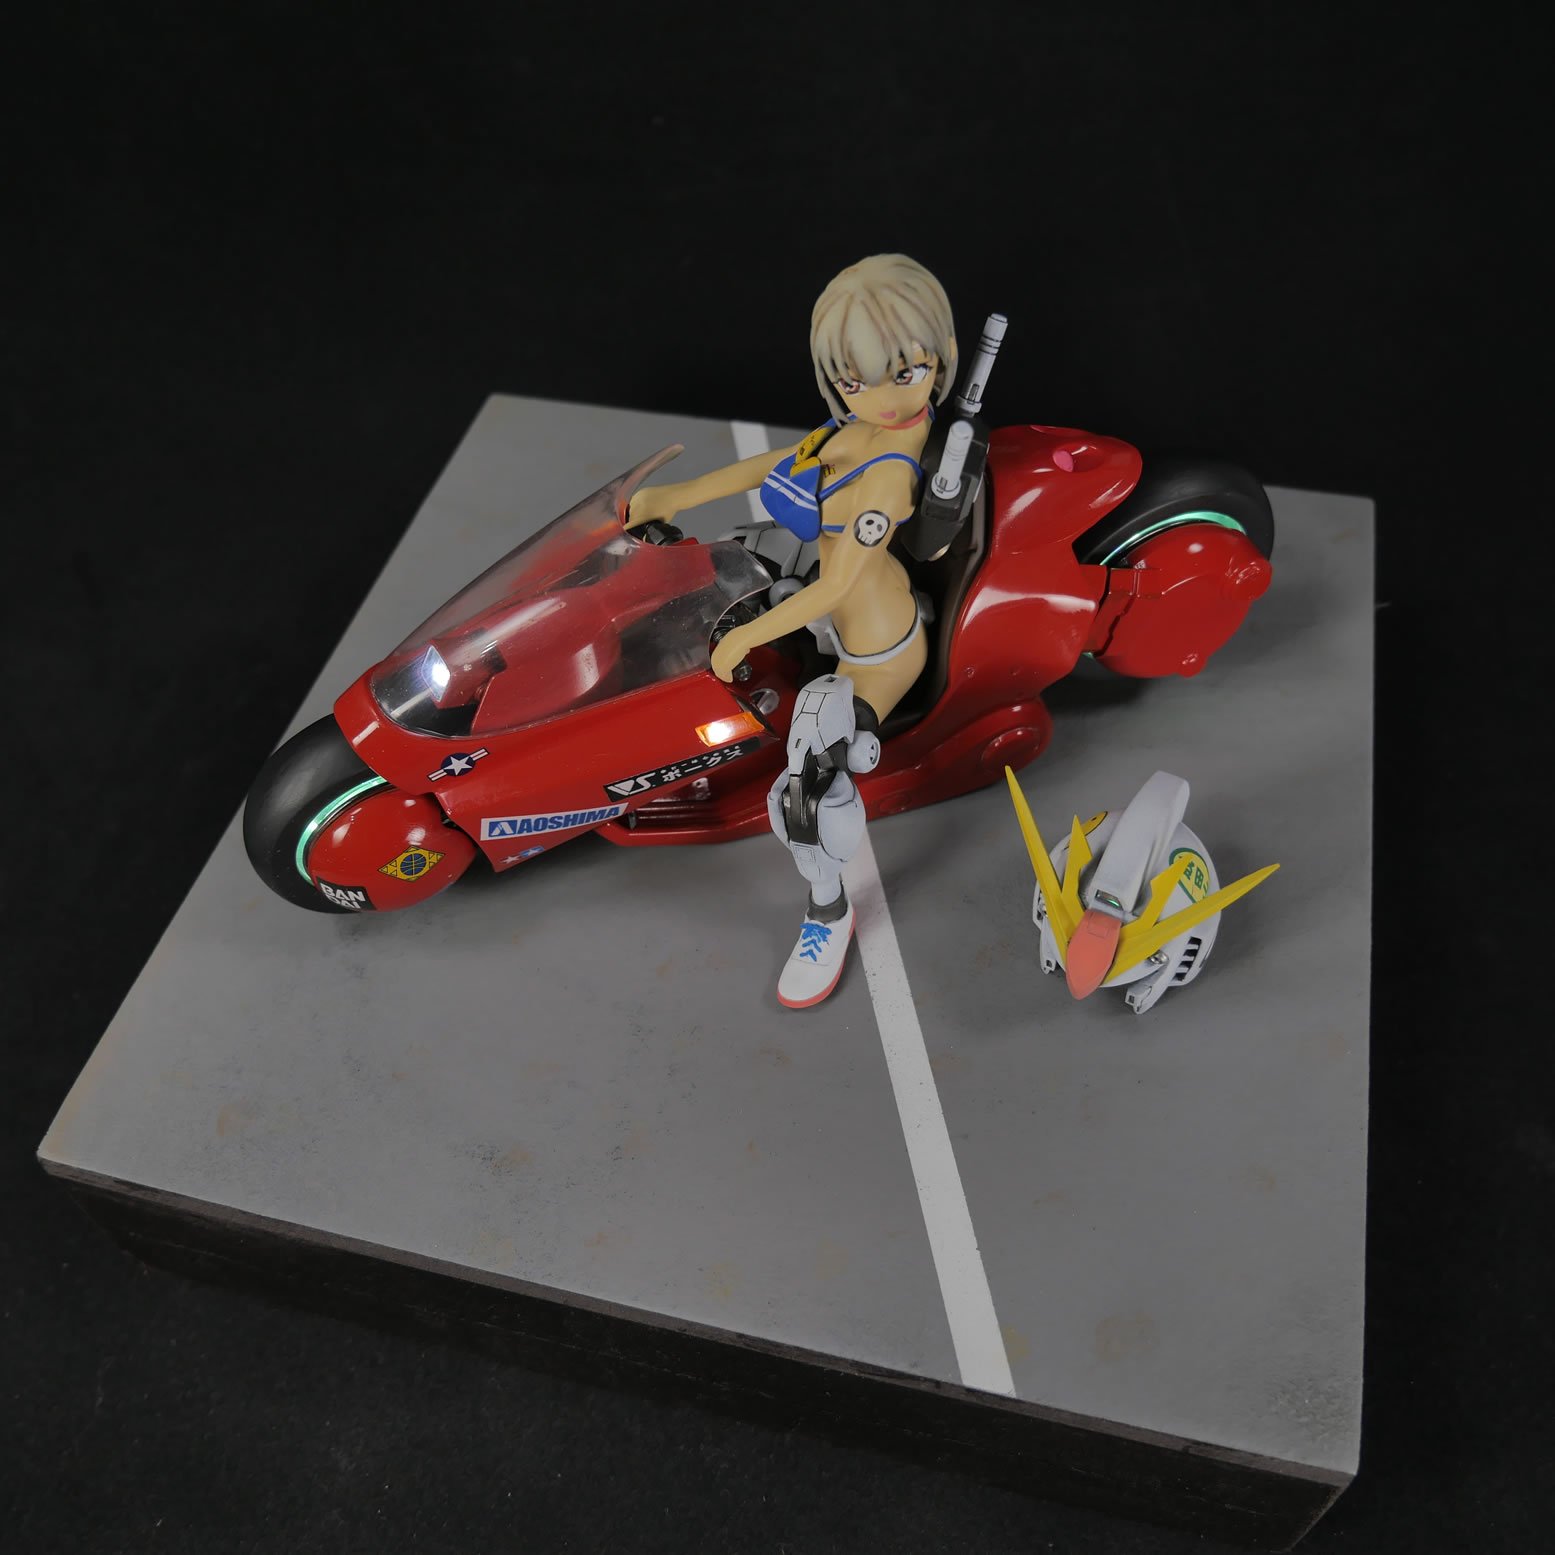
With that, the project is done, here are some finished pictures:
|
|
|
|
|
|
|
|
|
|
|
|
|
|
|
|
|
|
|
|
|
|

|

|
|