This is a kit that is at least 12 or so years old. I think my friend picked this up while we were in HK (the conversion kit version). This is a recast of that conversion kit and actually recasted the MG Zaku II 2.0 parts needed for the kit. Well, almost all the parts. I found one missing part that I ended up having to recast myself from one of my built Zeeks.
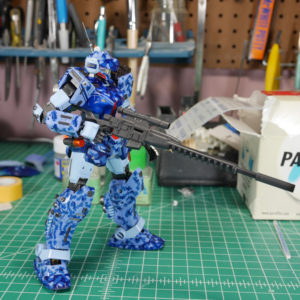
So a nicely packaged resin kit, craptastic photocopied instructions. I needed some help from the MG Zaku’s 2.0 manual and the old MG Kampfer manual to help guide the build. I also did a quick paint spoon test for colors I thought would work on this project. Top of the spoon down, we’ve got Mr Color Orange Yellow, Finisher’s Light Gun Metal (the color I really wanted to use for this), and Mr Color German Grey. At least I have the main color scheme figured out – I can get to resin clean up.
_jpg.jpg)
_jpg.jpg)
_jpg.jpg)
_jpg.jpg)
Continued.
As I said, the instructions that came with the kit were wanting; so I needed the Zaku manual just to assemble the recast resin parts.
_jpg.jpg)
While building the inner frame, I also discovered that there was a missing piece from the Zaku. The part is sorta in the resin kit’s manual, but no where in the parts list. Good thing I’ve build several Zaku 2.0; so I can just pull the part and make a copy.
_jpg.jpg)
_jpg.jpg)
_jpg.jpg)
_jpg.jpg)
Once I got the inner frame figured out, the upper torso armor and shoulders come together nicely. Blue sticky tac is used to hold some parts together.
_jpg.jpg)
_jpg.jpg)
_jpg.jpg)
360 view of the torso test assembly.
_jpg.jpg)
_jpg.jpg)
_jpg.jpg)
The legs and lower torso come next and we get a better look at things. The arms won’t stay in place as they’re too heavy, so this is a good enough test fit.
_jpg.jpg)
_jpg.jpg)
_jpg.jpg)
Off comes the head as the real work starts.
_jpg.jpg)
I drilled out the internal mono eye piece and added in a metal collar and a wave clear lens. Making sure the assembly fits, I then grab some wire and a very small LED.
_jpg.jpg)
_jpg.jpg)
_jpg.jpg)
_jpg.jpg)
There is a bit of light bleed here, but I’ll fix that with primer and paint. This is just a test to make sure it all works and the wiring fits.
_jpg.jpg)
_jpg.jpg)
_jpg.jpg)
Getting the head painted up first gives me the first look at the paint scheme and makes sure the light bleed issue is dealt with.
_jpg.jpg)
_jpg.jpg)
_jpg.jpg)
Some added photoetch details to the upper torso in the lower neck area. Just some minus mold detail. Then the upper body is ready for paint and primer; well, after getting a dip in some industrial strength cleaner and scrubbing in the ultrasonic cleaner (not shown).
_jpg.jpg)
_jpg.jpg)
The back torso area has some gaps and that was filled with some styrene and light curing putty. You can fix anything with a little putty.
_jpg.jpg)
_jpg.jpg)
Addressing the thrusters that came in the kit. They’re nice; but being recast, they’re horrible. There is too much clean up and redoing details that I cared to bother with. Yes, anything can be fixed with putty, but why – when I can replace them with wave option parts, or better yet, I can design my own and print them.
_jpg.jpg)
_jpg.jpg)
_jpg.jpg)
_jpg.jpg)
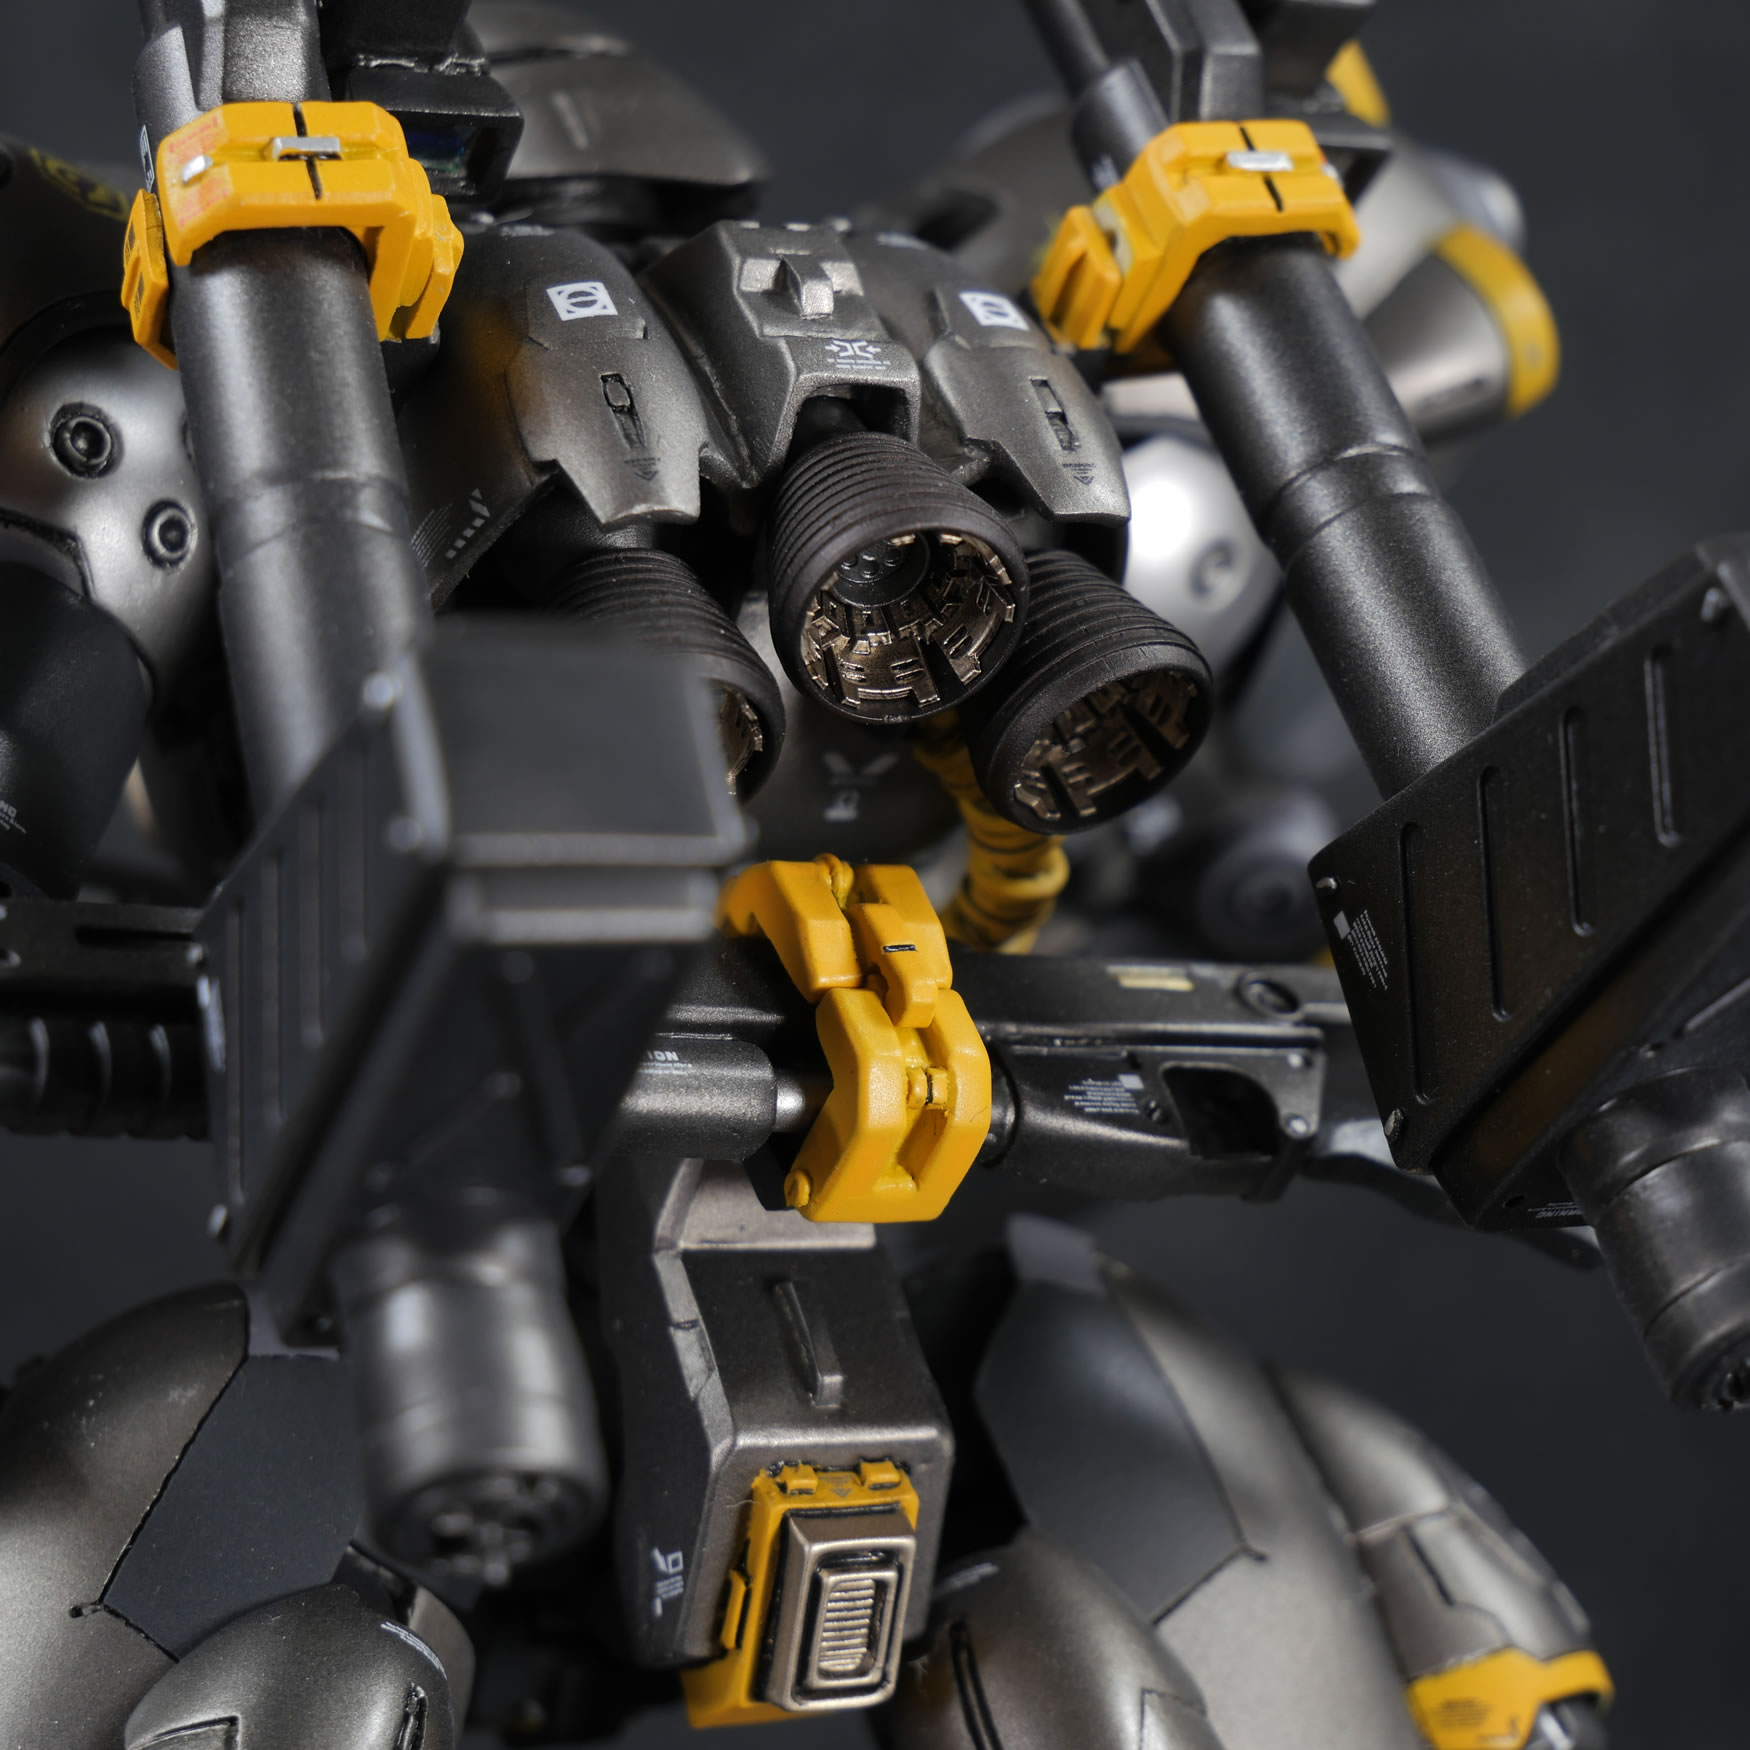
I first looked online to maybe purchase some after market thrusters. Then when I found designs I liked, I found they were long out of production. I fired up blender and did my best to copy the design. I made a 3 piece thruster bell assembly, the outer bell, a middle bell, and inner thruster piece. Once painted up, they look pretty nice.
_jpg.jpg)
_jpg.jpg)
_jpg.jpg)
Upper torso painted. I’m taking a different approach to building than my usual method. I’m building in subsections. This way, there is a bit of completion once I’m done and I don’t get burnt out with just focusing on one process of the build (like sanding and fixing EVERY piece of resin).
_jpg.jpg)
_jpg.jpg)
_jpg.jpg)
Shoulders get paint and lots of masking. Paint, apply mask, then paint again, then mask again, and repeat until recursion ends.
_jpg.jpg)
_jpg.jpg)
_jpg.jpg)
_jpg.jpg)
Recursively remove the masking tape to find a missed area that needs to be remasked and repainted. Doesn’t happen too often, but does happen.
_jpg.jpg)
_jpg.jpg)
_jpg.jpg)
Arms are done next and the upper torso is just about complete.
_jpg.jpg)
_jpg.jpg)
_jpg.jpg)
Leg work. some more photo etch details for an area that will never been easily seen; unless one looks for it. Even then, it’s shoddy work – so don’t look too close.
_jpg.jpg)
_jpg.jpg)
Work on the leg pieces. The side thrusters in the inner legs was not overly defined. Left alone, it just looks like the armor melts into a thruster. It didn’t look good to me, so I scribed out some definition around the thrusters. A little primer to see the work better. Granted, not the greatest work, but better than what was there before.
_jpg.jpg)
_jpg.jpg)
_jpg.jpg)
Resin parts usually have air bubbles or are just so thin they break. Recasts even more so. Light curing putty to the rescue. I can rebuild anything very quickly with light curing putty.
_jpg.jpg)
_jpg.jpg)
_jpg.jpg)
_jpg.jpg)
Fill, rebuild, and sand – all within the span of about 15 to 30 minutes depending on how fast you work. Much faster than your run of the mill liquid putty or epoxy putty.
_jpg.jpg)
_jpg.jpg)
_jpg.jpg)
Primer shows missed areas or a completely fixed part.
_jpg.jpg)
_jpg.jpg)
What I didn’t show earlier, the dip in industrial strength cleaning. This removes the mold release on the parts and helps with paint adhesion to the bare resin.
_jpg.jpg)
Parts are on skewers attached to alligator clips and primed. The food dehydrator I have in the workshop is my paint drying booth.
_jpg.jpg)
_jpg.jpg)
_jpg.jpg)
Ugh, the never end to the resin issues. Light curing putty helps mitigate these quickly.
_jpg.jpg)
_jpg.jpg)
_jpg.jpg)
_jpg.jpg)
The main body is done. Notice that the arms just droop. Yeah, this will need to be fixed posed with some glue later. The resin is pretty heavy unlike run of the mill gunpla plastic.
_jpg.jpg)
360 view of droopy arms Kampfer. At least I can see the whole paint scheme and I think this works. Now to move on to the weapon systems.
_jpg.jpg)
_jpg.jpg)
_jpg.jpg)
_jpg.jpg)
The kit came with heavy, and warped bazookas. They’re longer than the stock MG kampfer kit’s. I’ve build a number of the MG Kampfer, so I just needed to look at my spare parts bin and found the stock bazookas. They look fine with the kit, so rather than work on unwarping it, I’ll work on the horrific seams down the middle of the plastic bazs. I don’t know which was worse. The weapons are painted with finisher’s black topped with gaia gun metal.
_jpg.jpg)
_jpg.jpg)
The main kit parts are taken apart and clear coated. Ready for decals. The OG kampfer kit came with very little decals. Time to ver ka the shit out of this and spend a few days just doing decals. Once done, another layer of clear gloss to seal everything in as well as help diminish decal lines.
_jpg.jpg)
_jpg.jpg)
_jpg.jpg)
Panel line wash and a final clear flat tones down the natural glossiness from the paint as well as the several layers of gloss sprayed for the decals. The test spoon was also clear flat coated as I wanted a good representation of my final color.
_jpg.jpg)
Assembly is in stages as I need to fix pose the bastard. The legs were first. Then the arms. The cans of tamiya paint and bottle of tamiya enamels help rig the parts up while the epoxy glue does it’s work setting up.
_jpg.jpg)
_jpg.jpg)
_jpg.jpg)
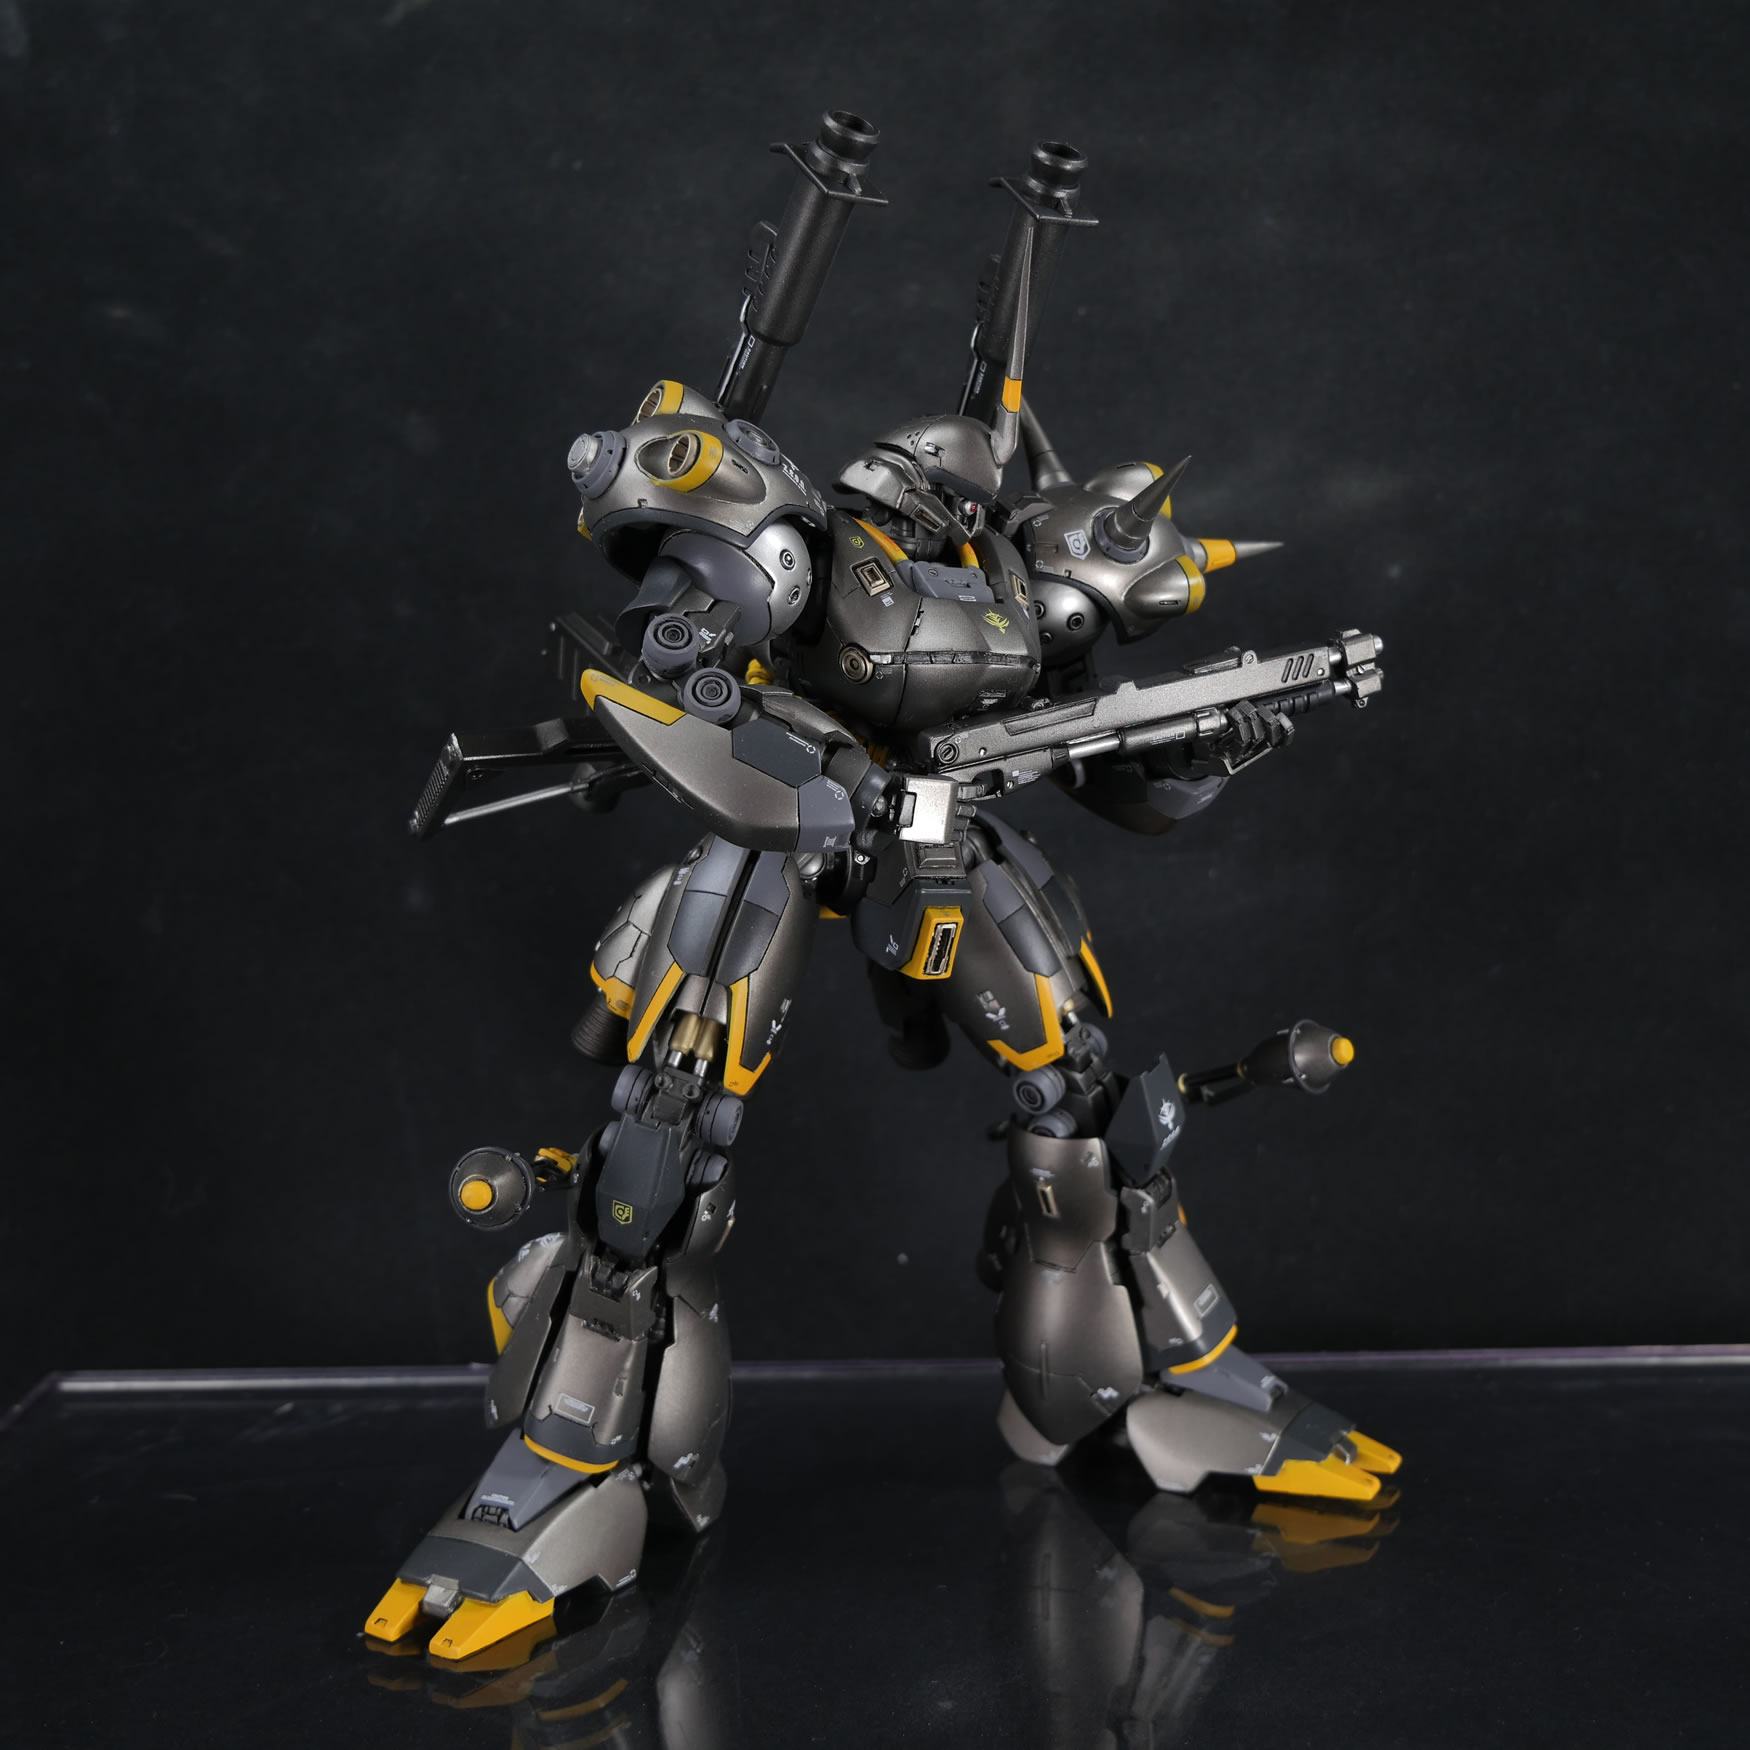
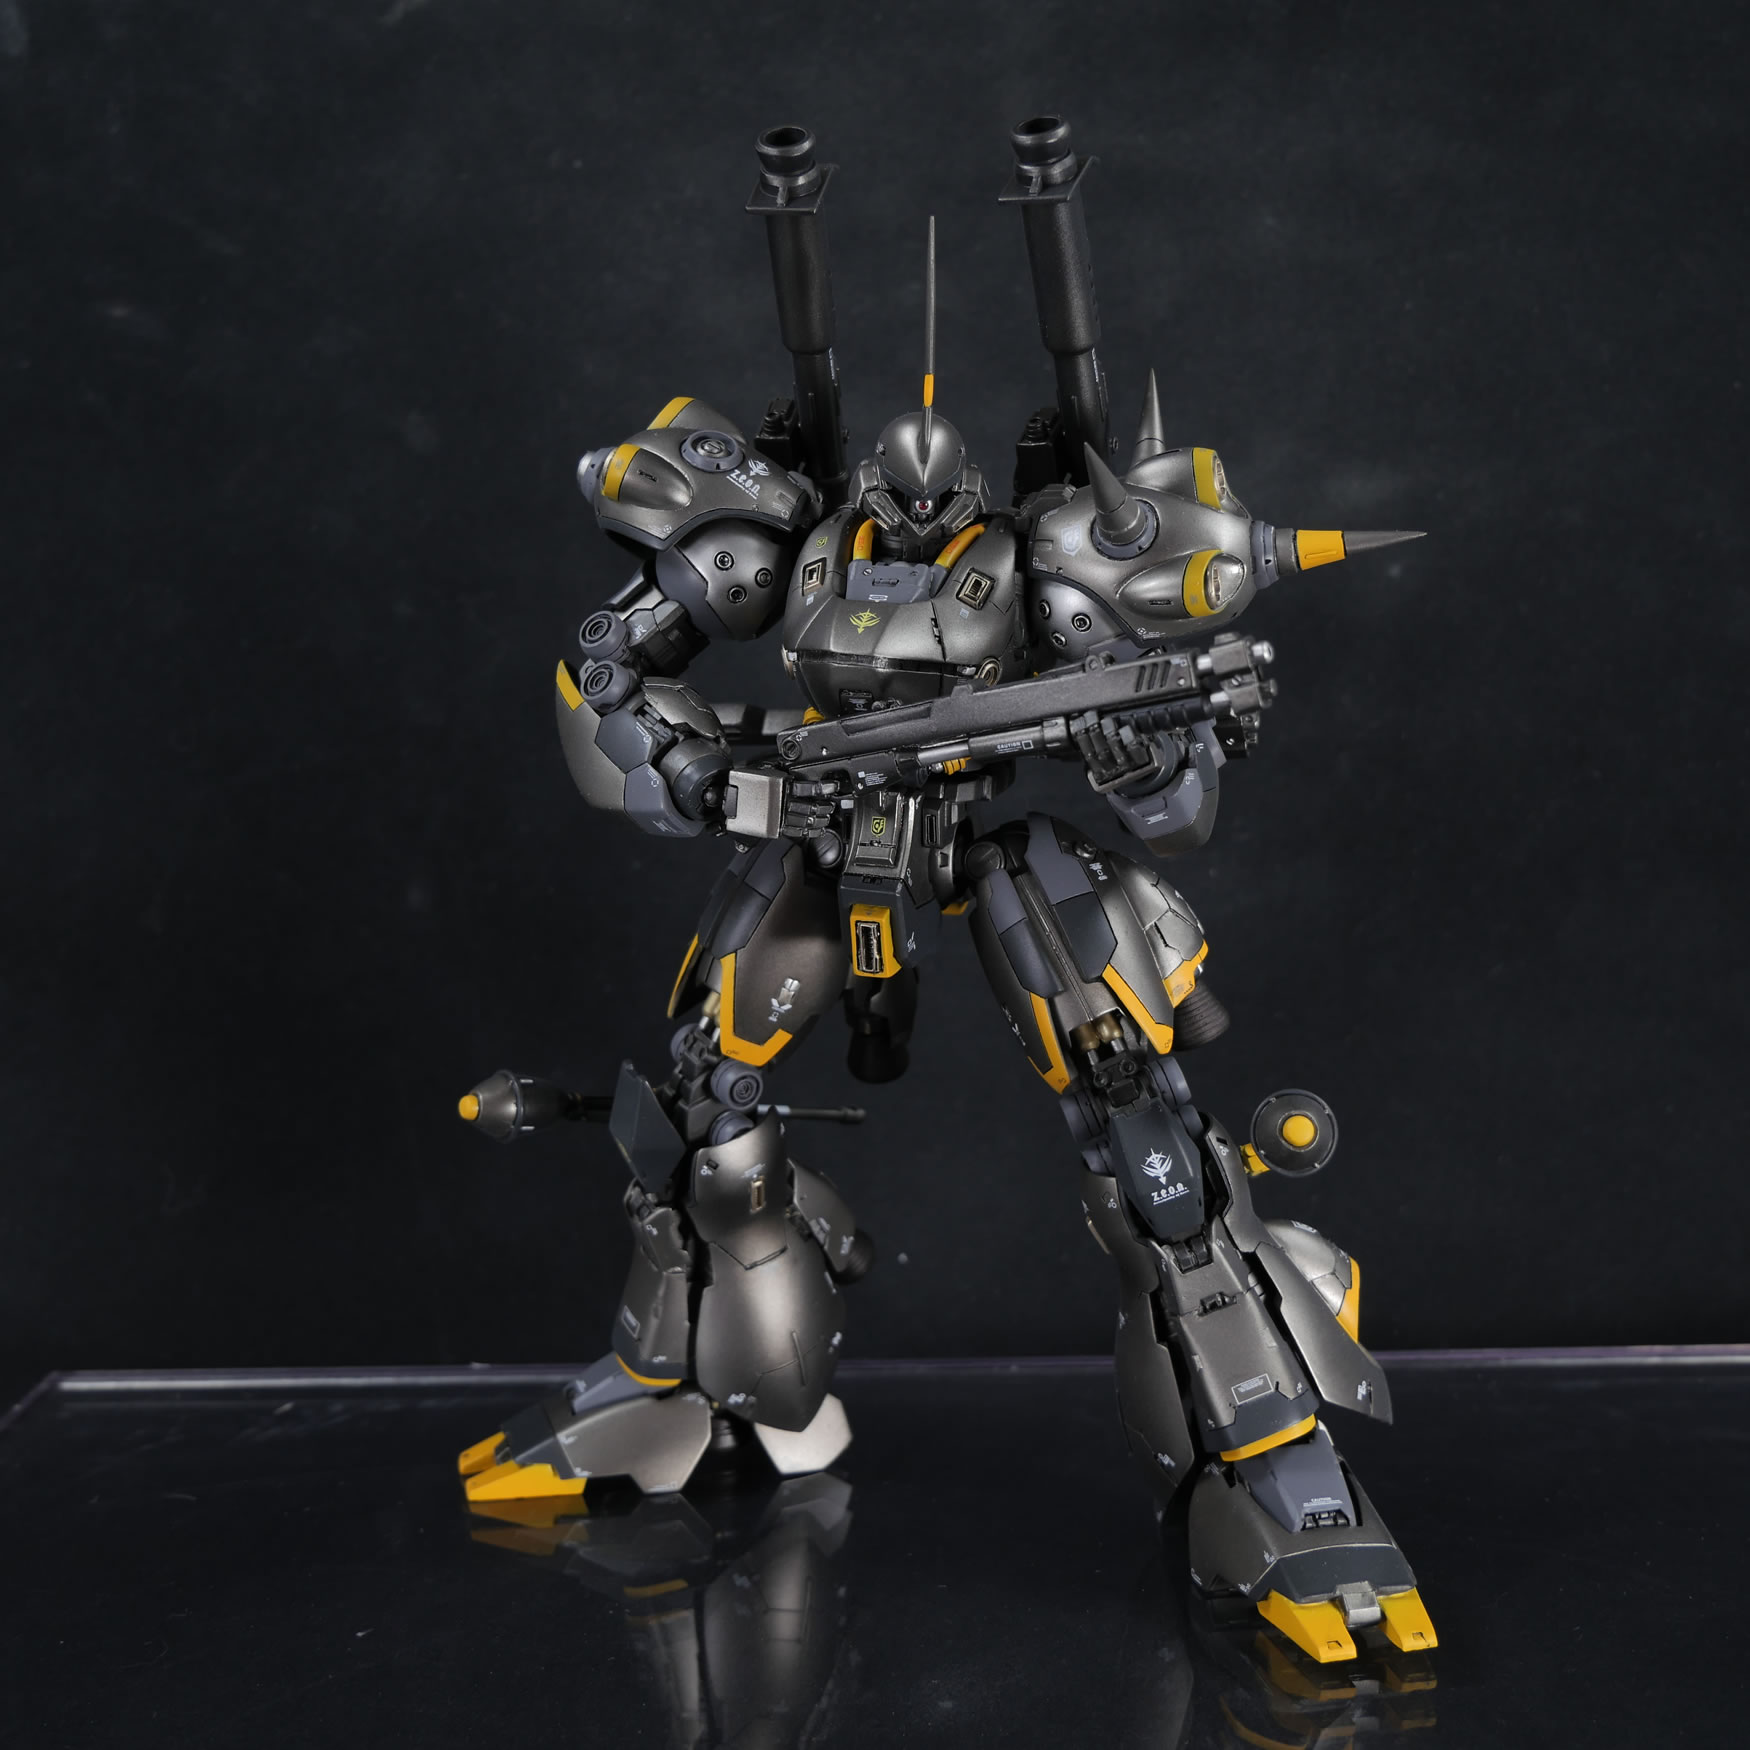
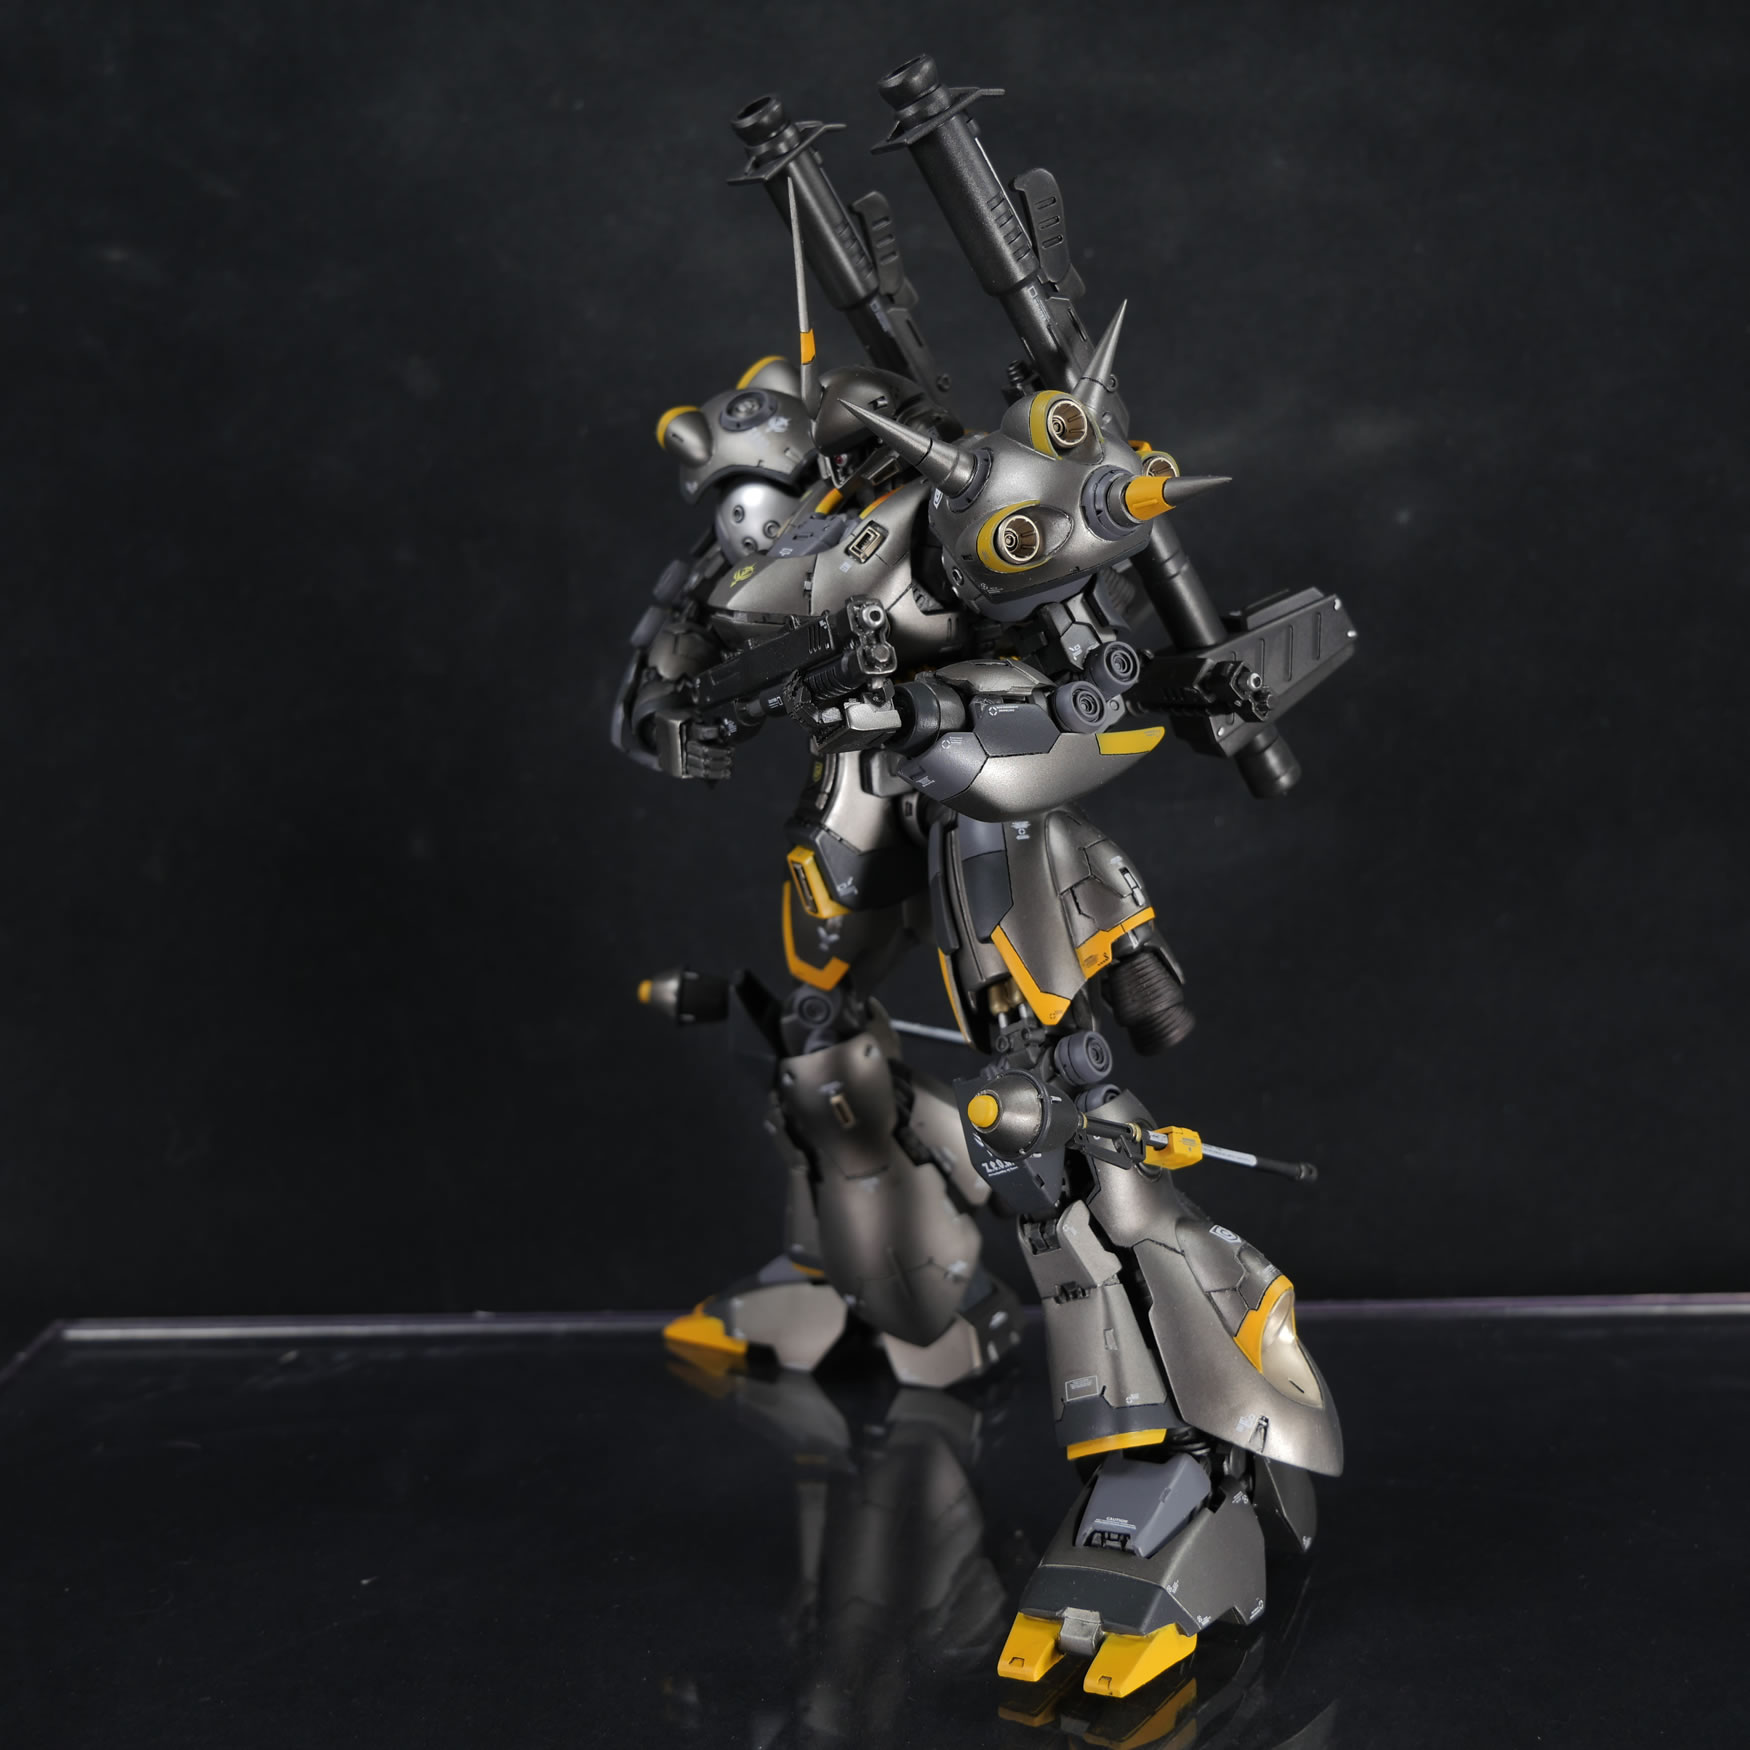
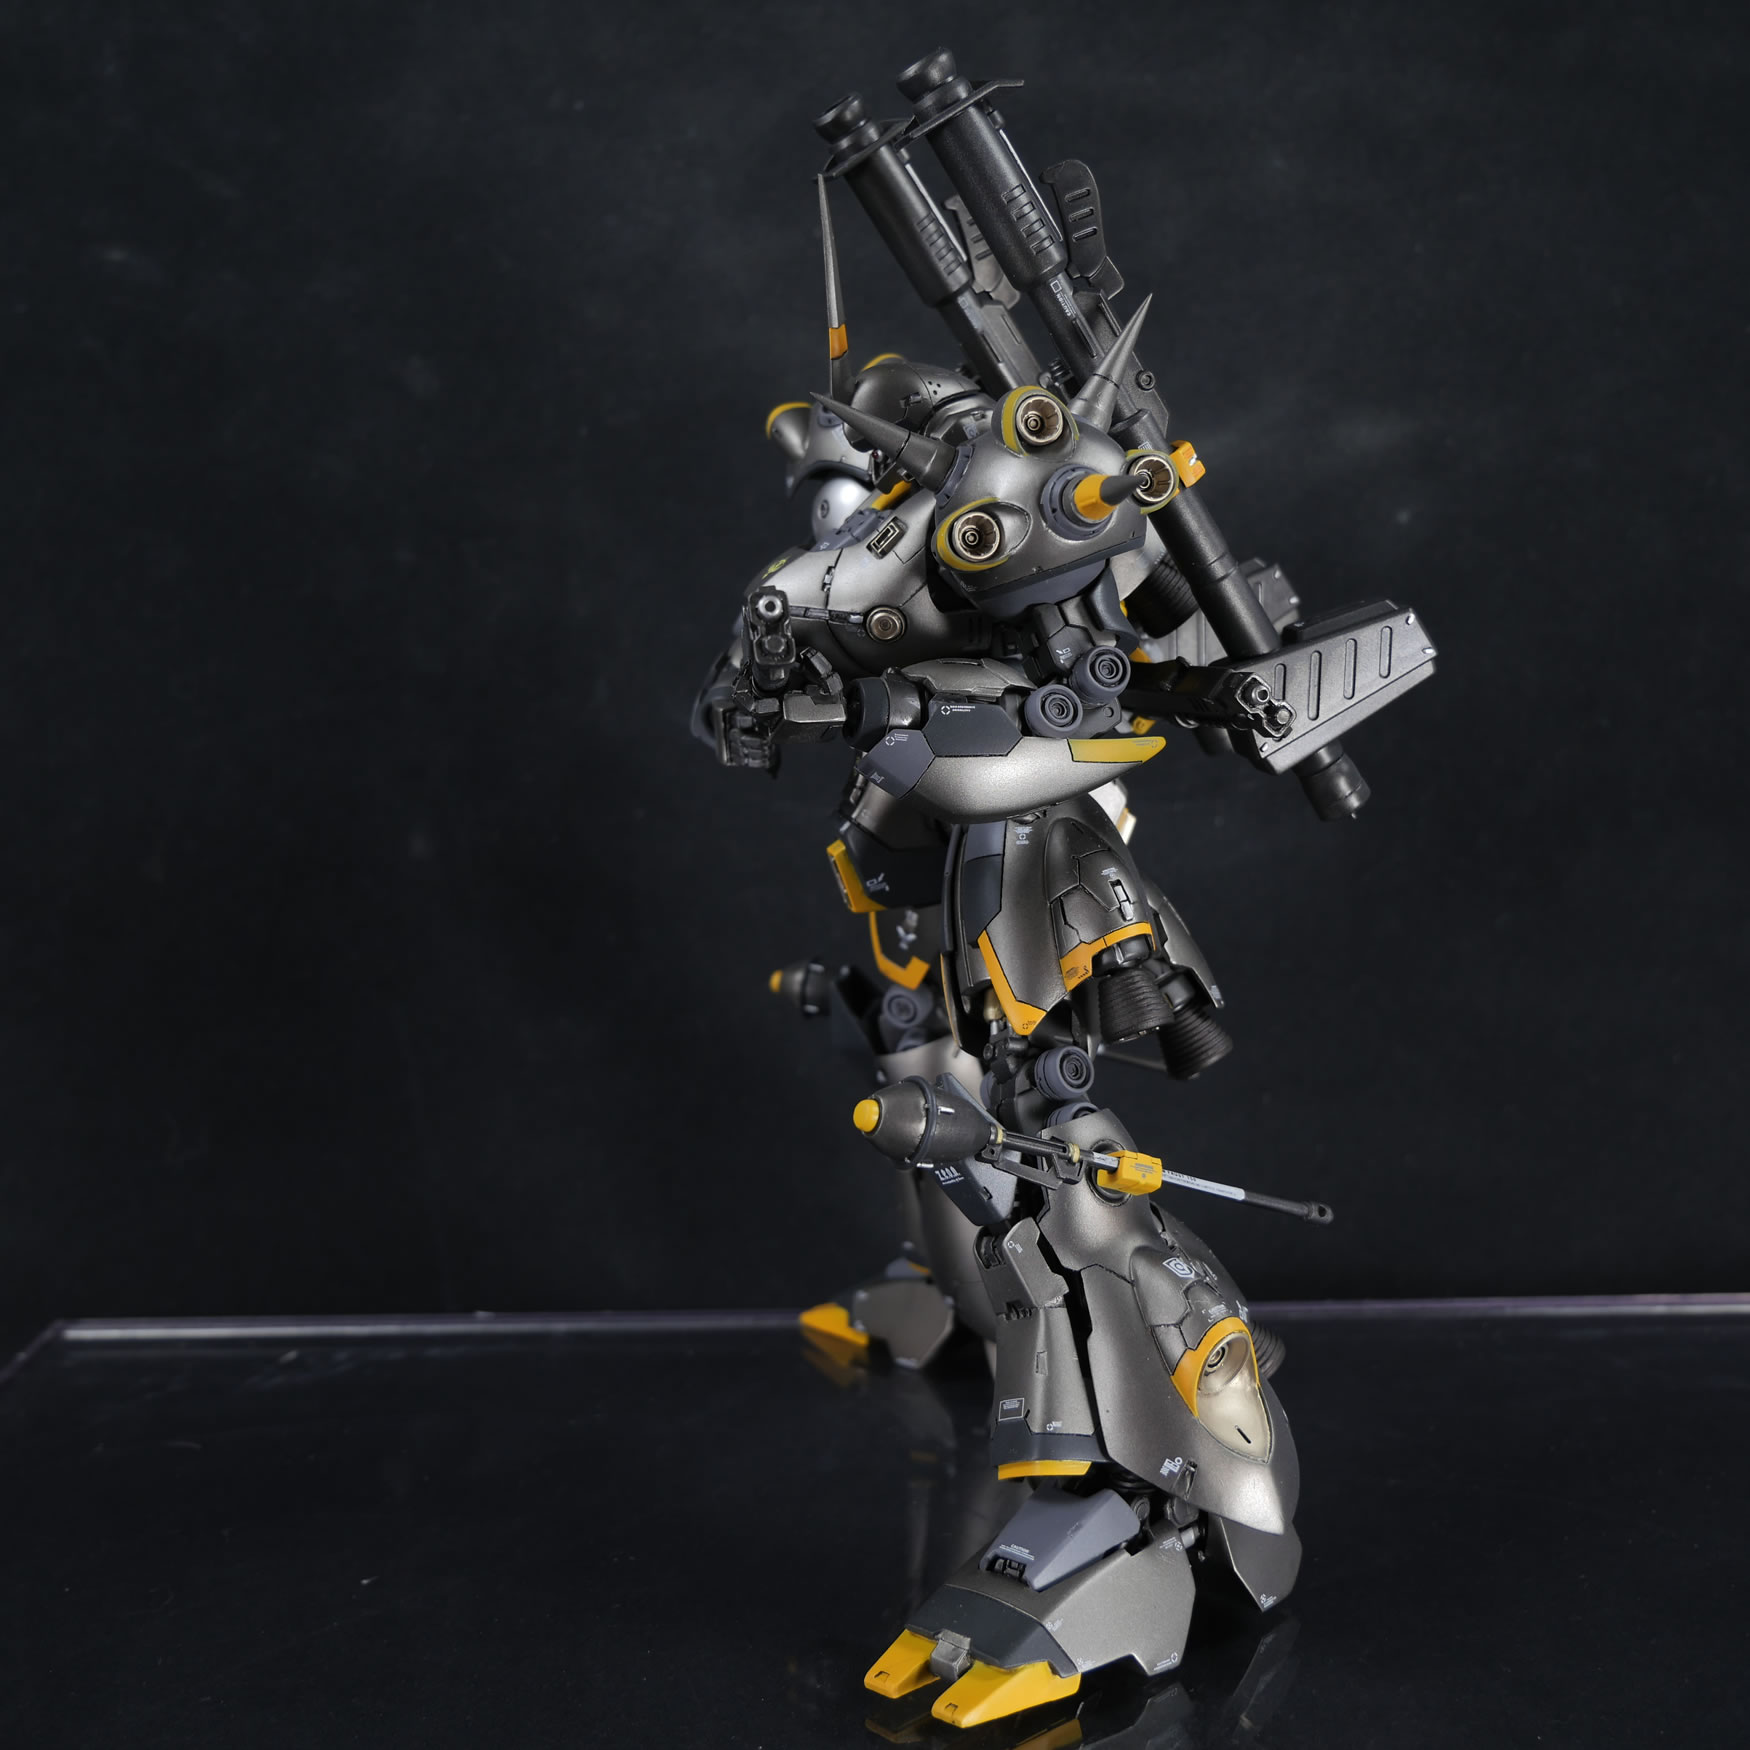
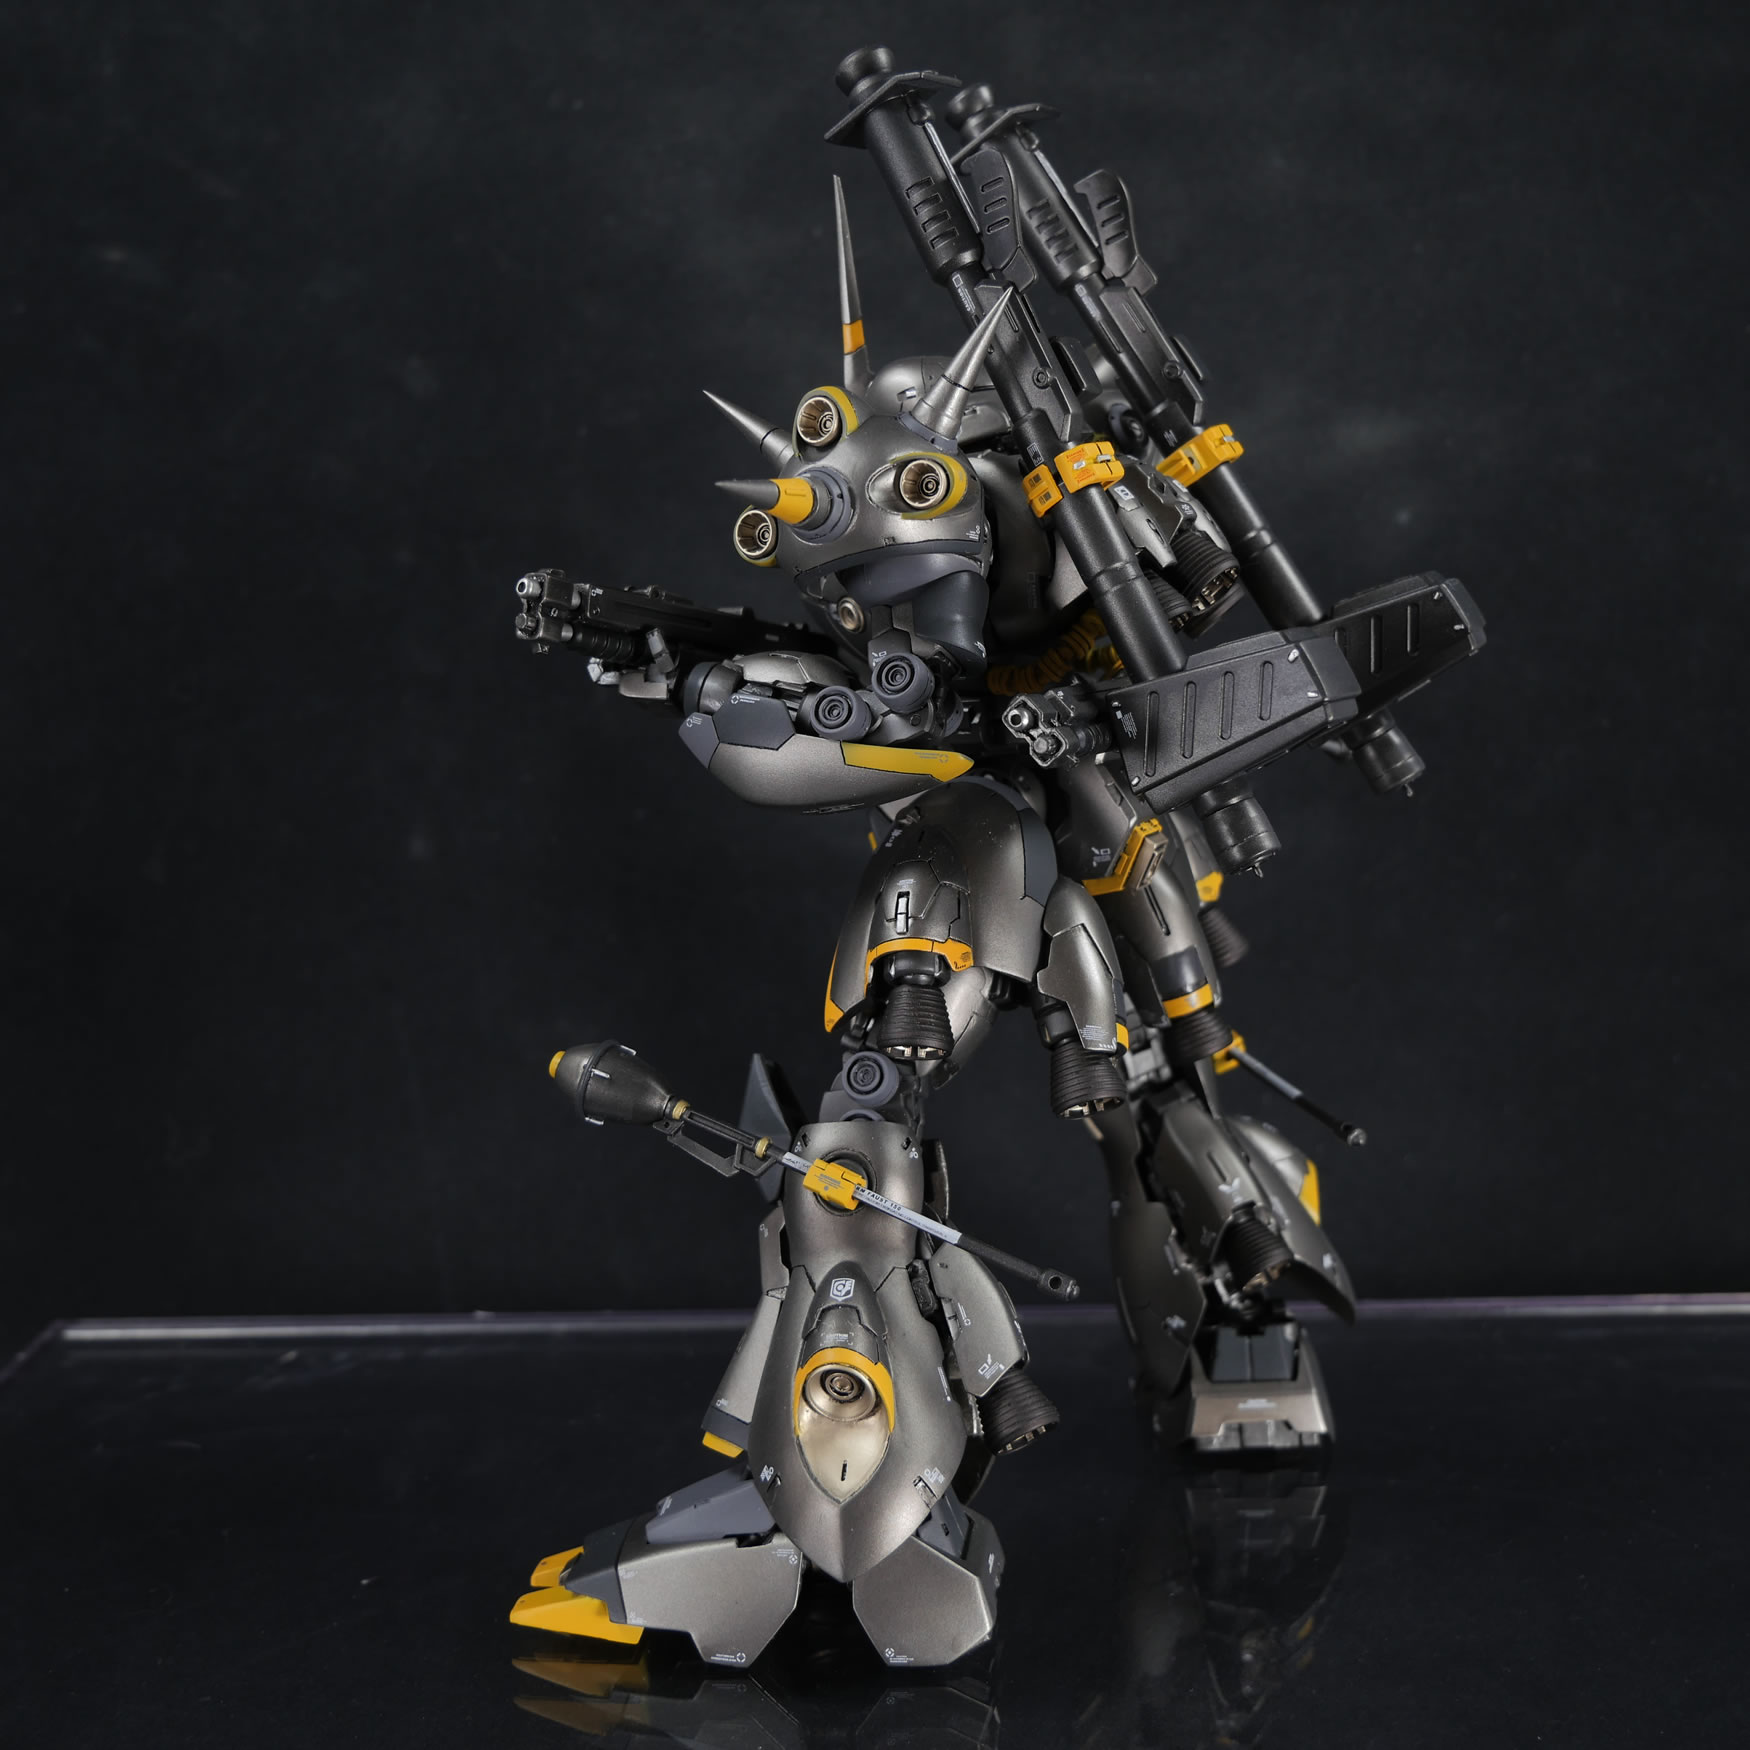
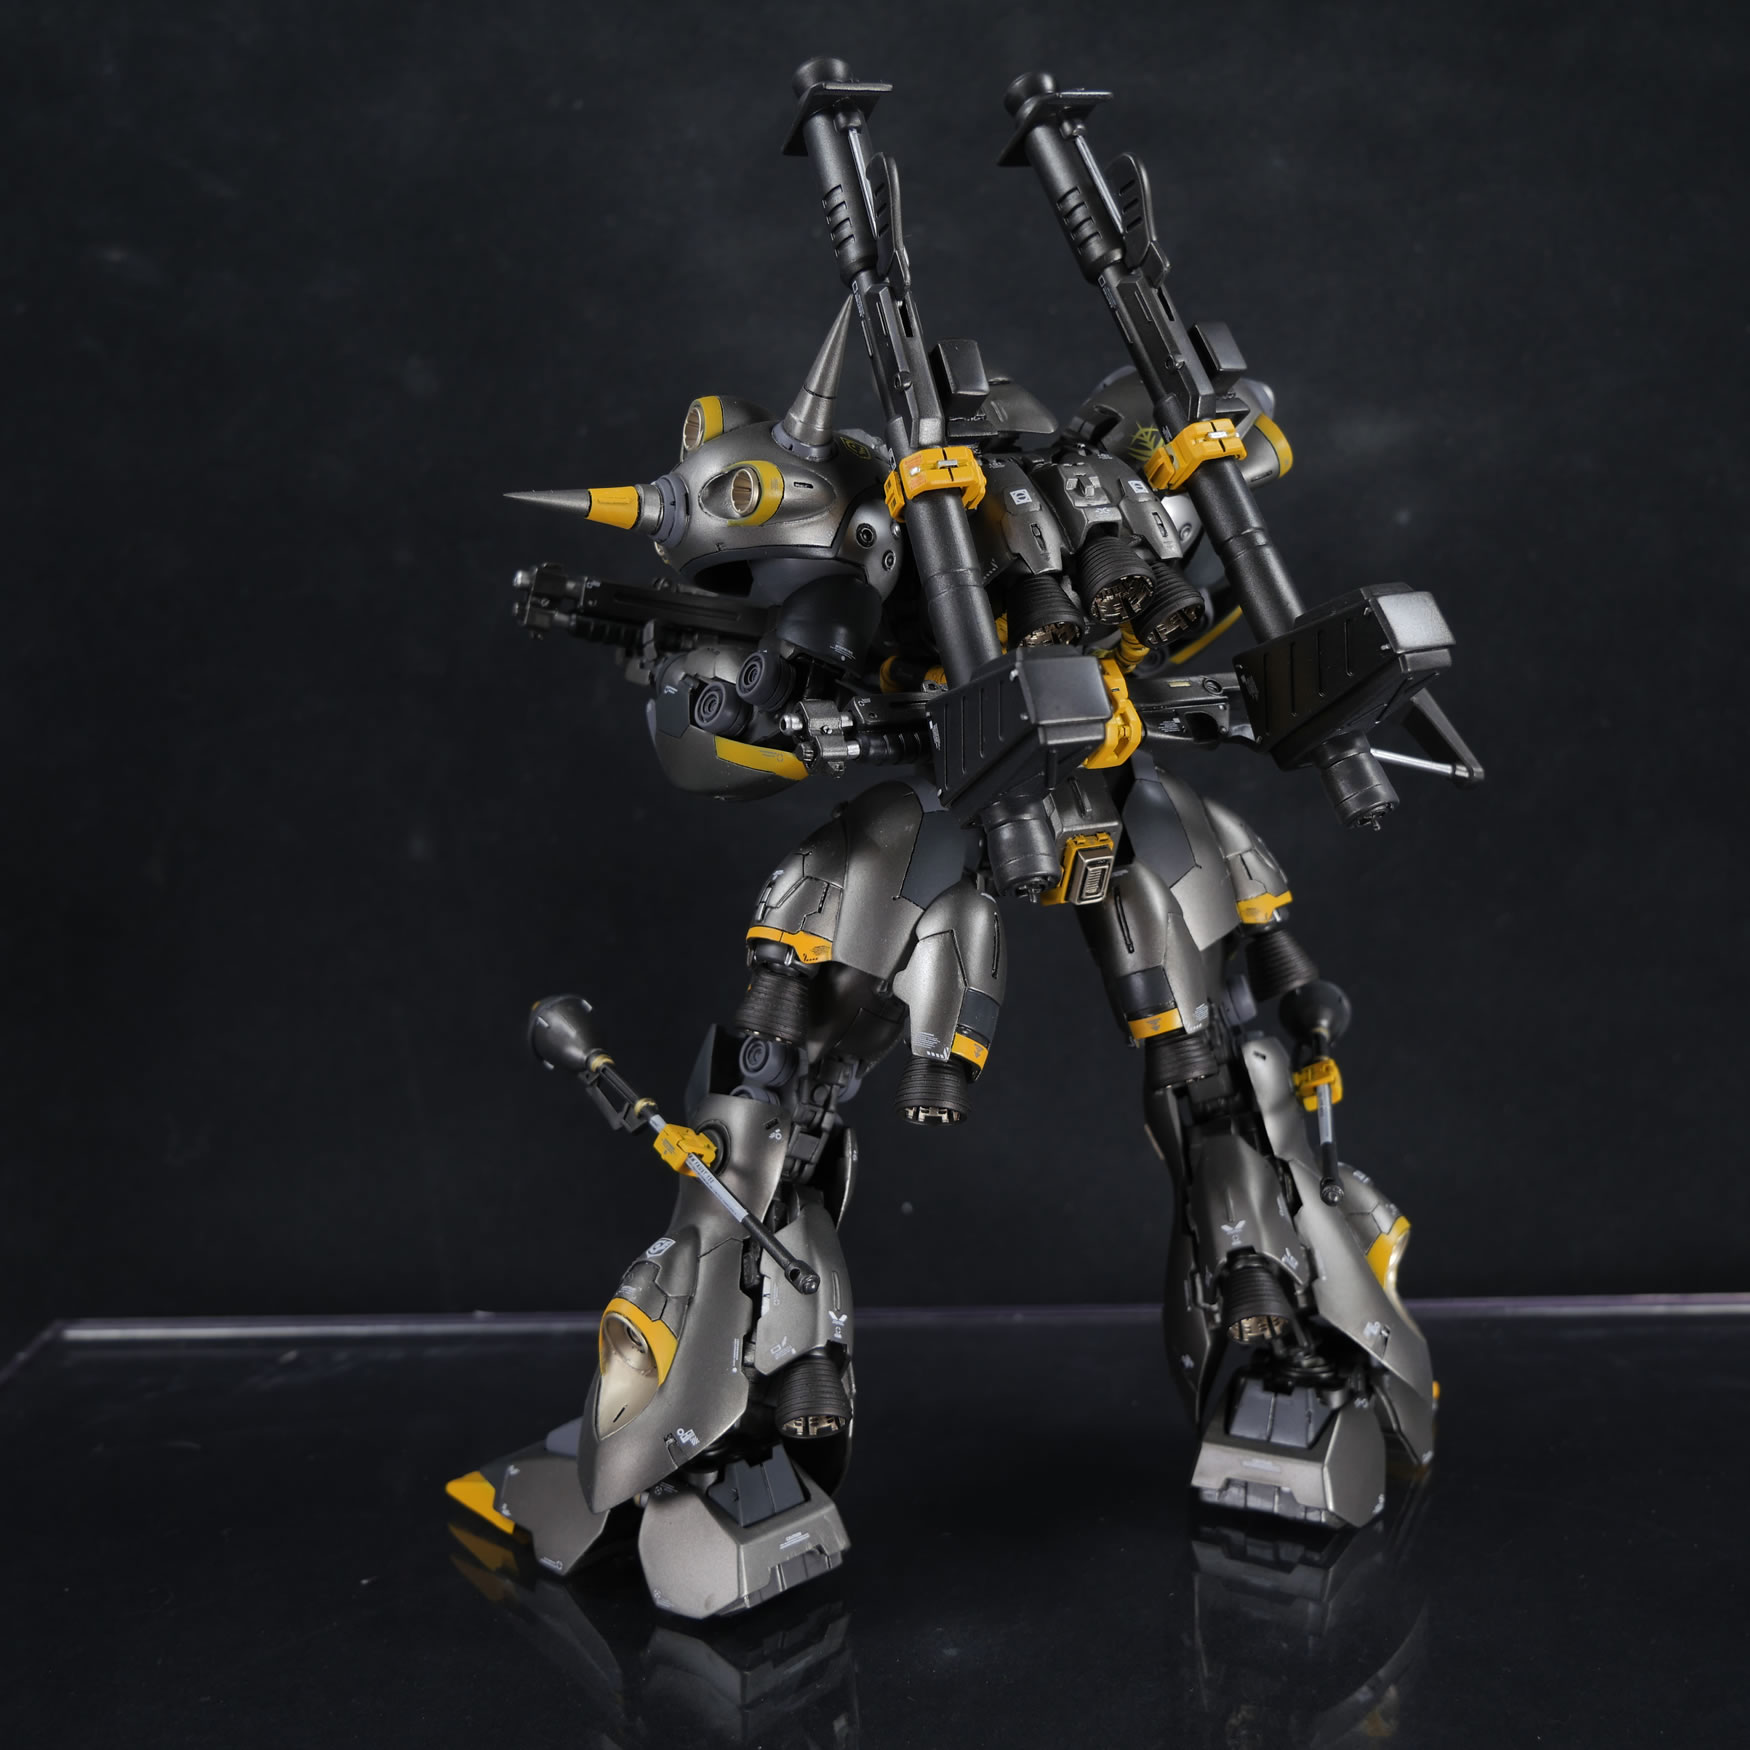
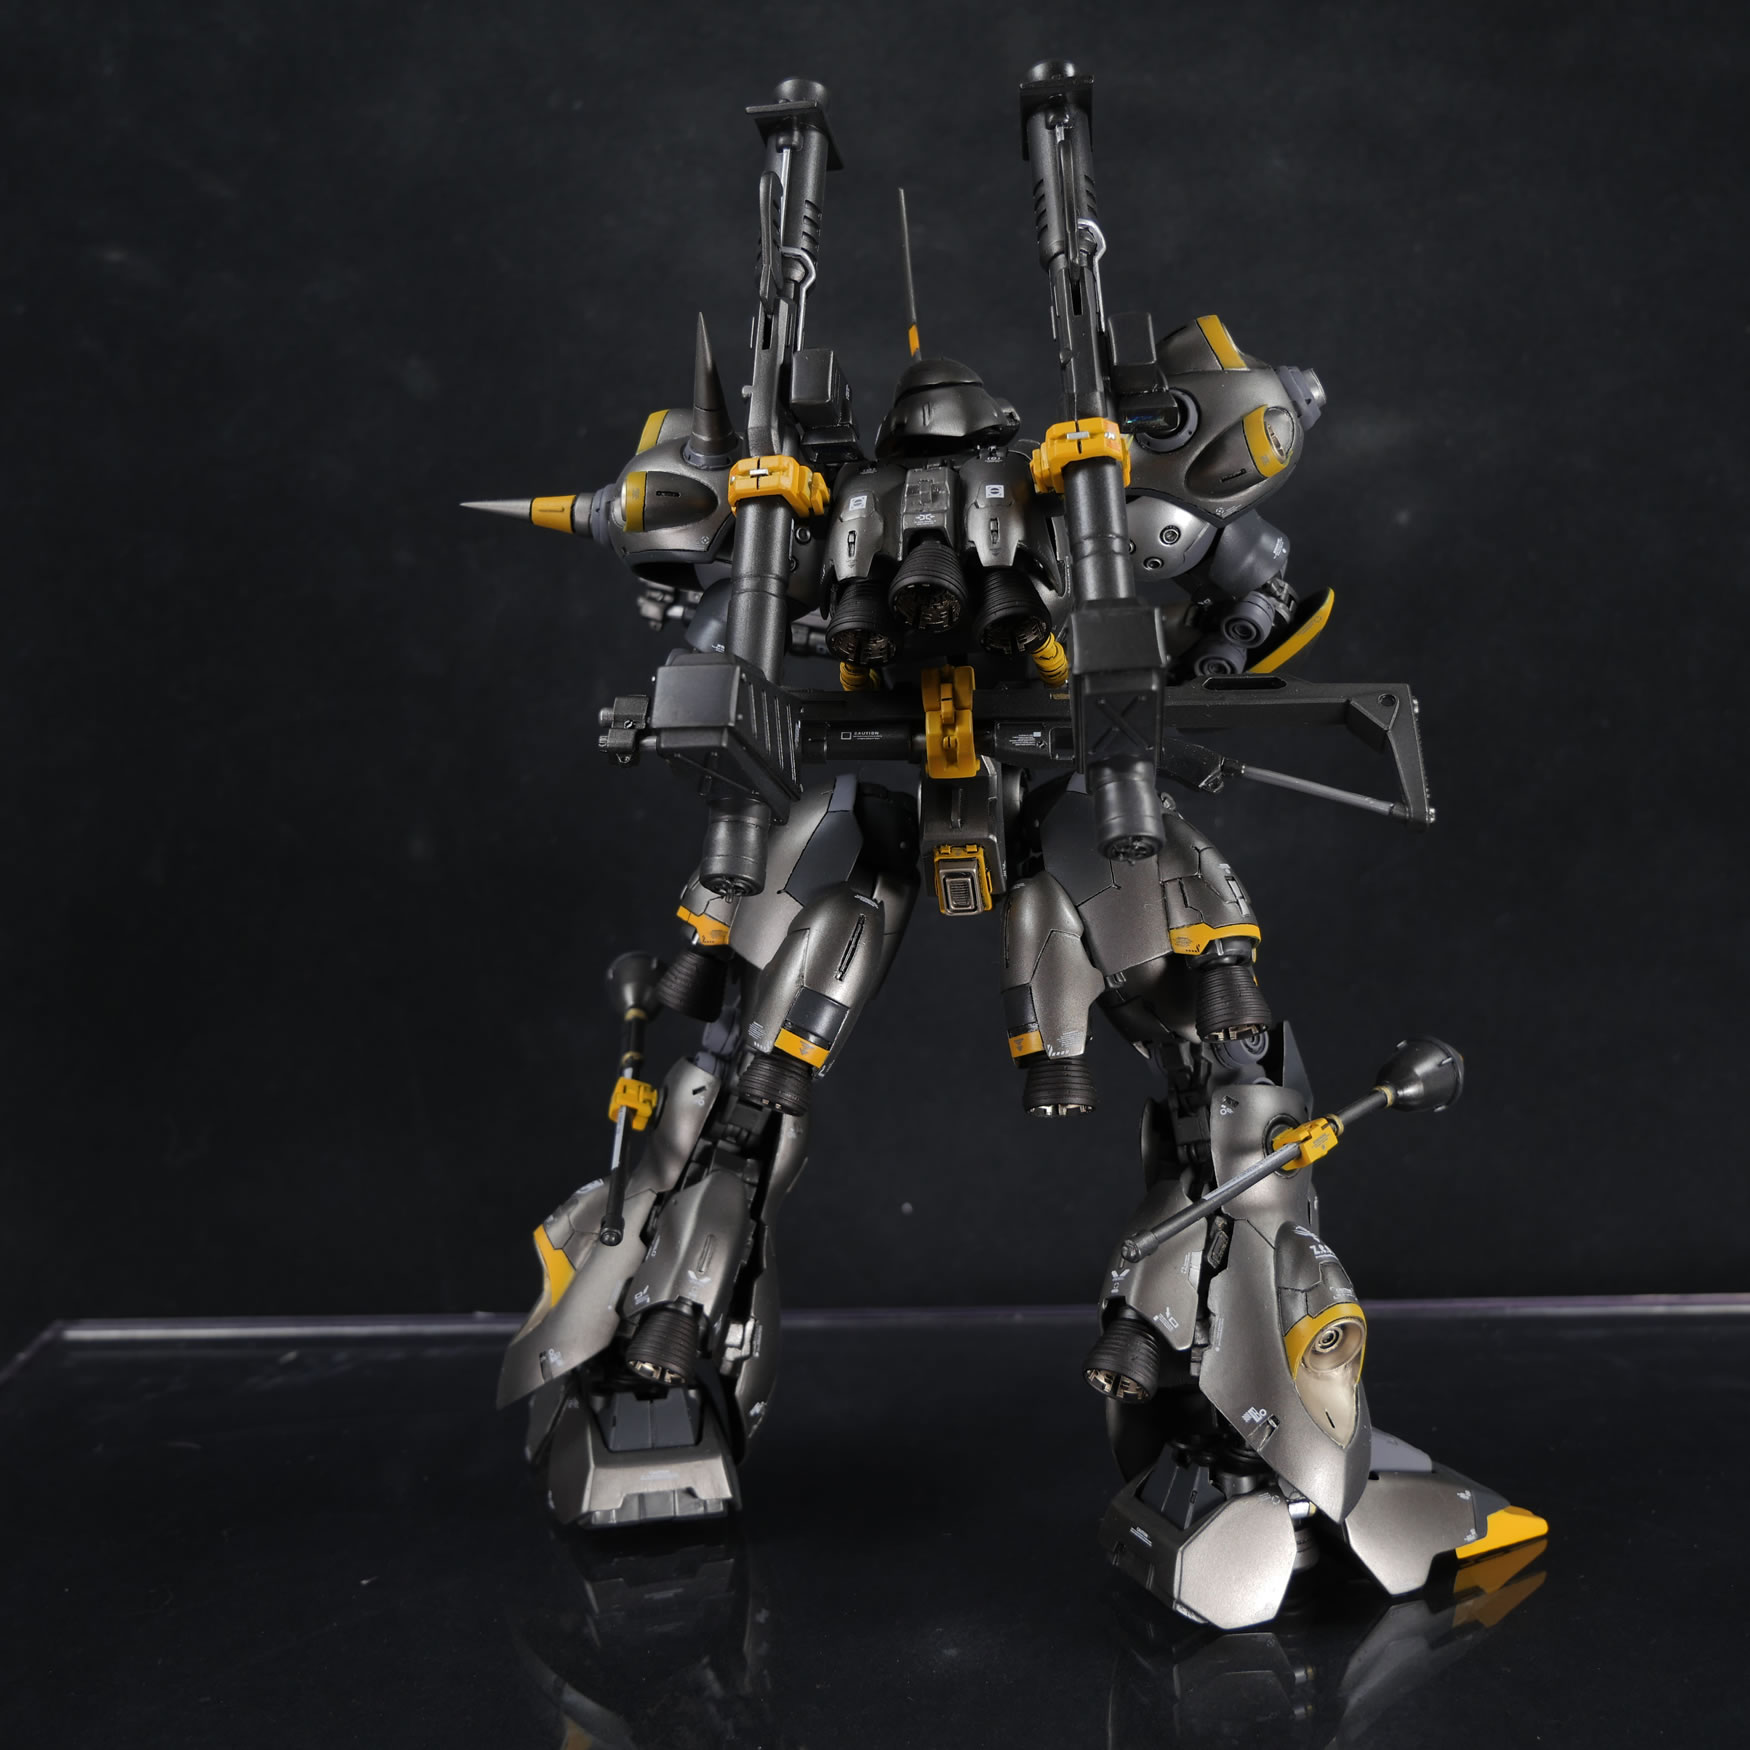
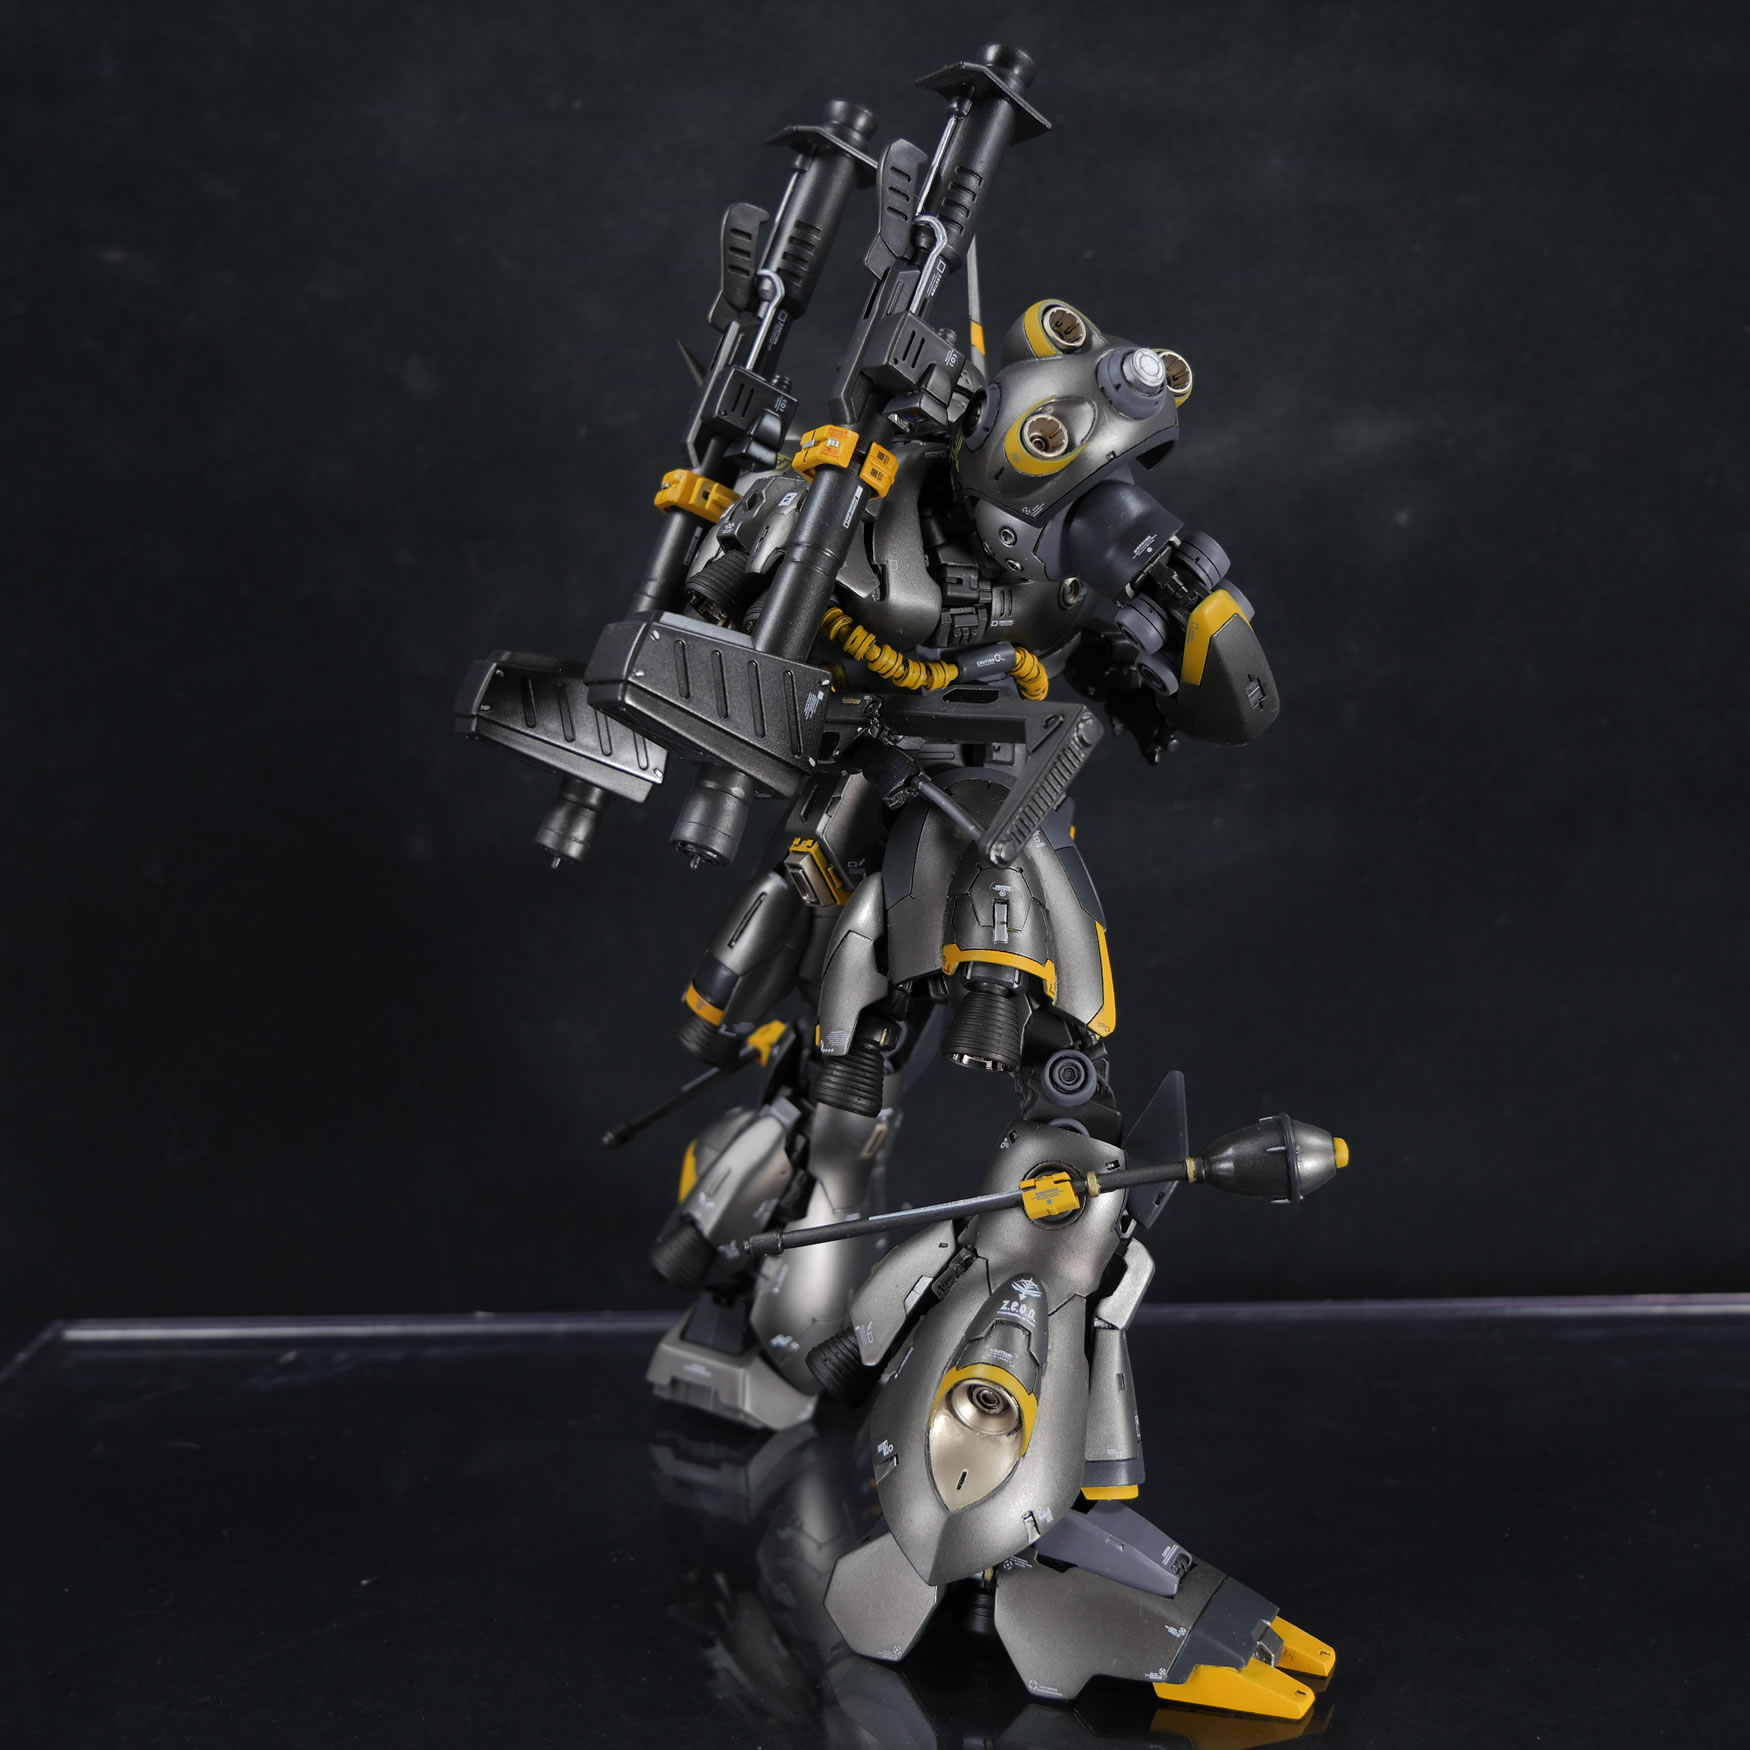
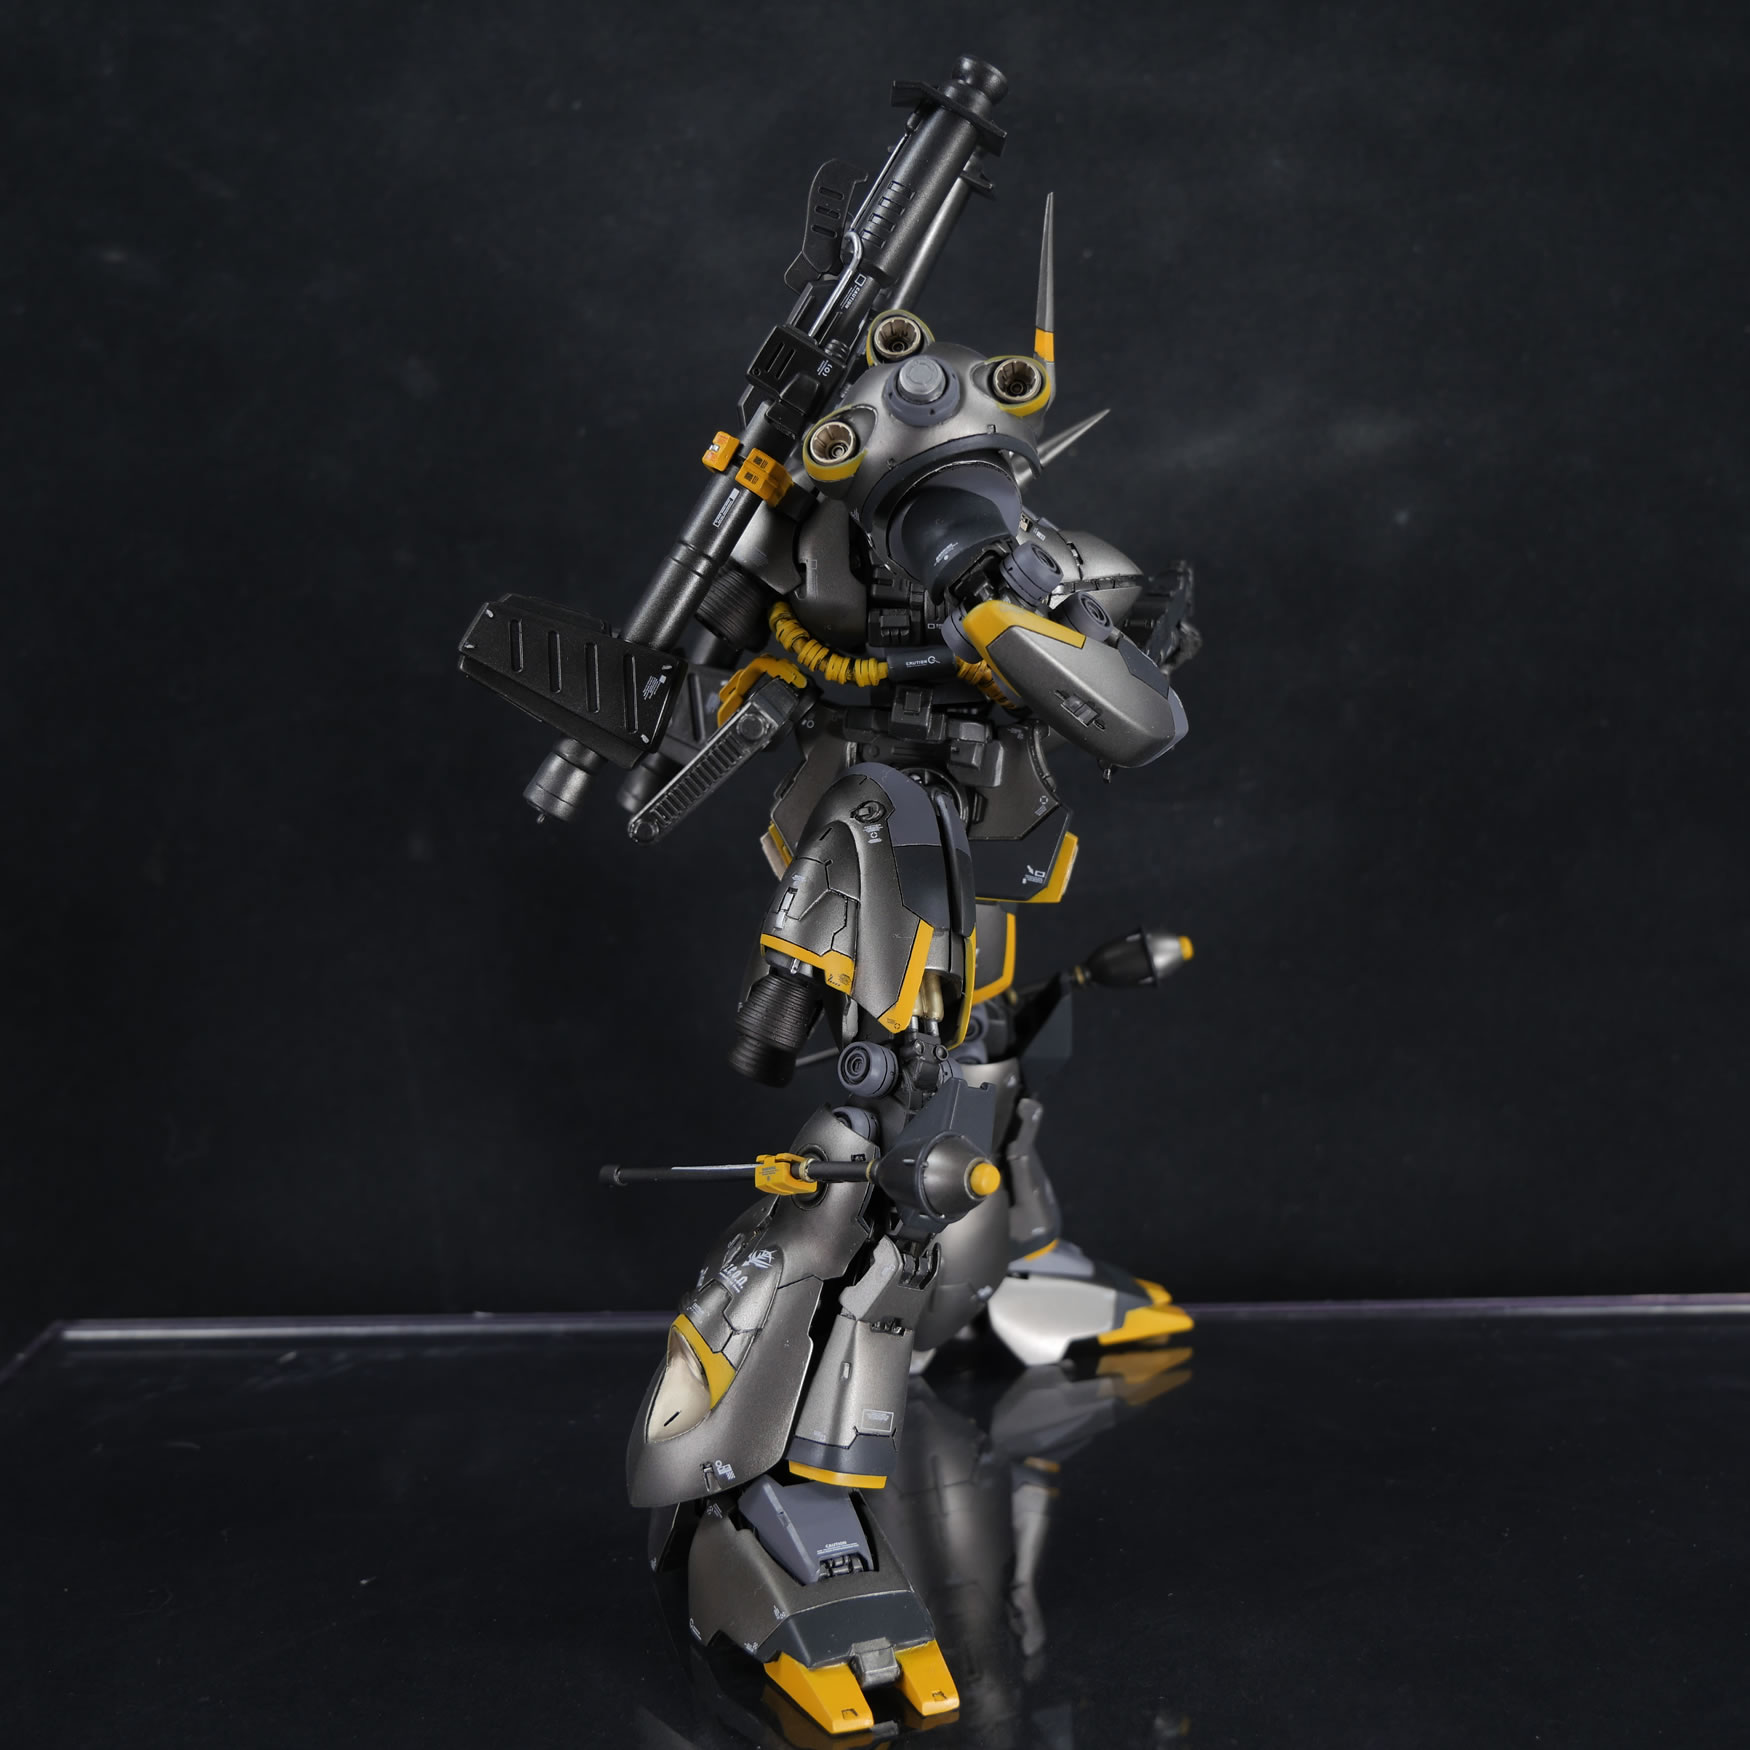
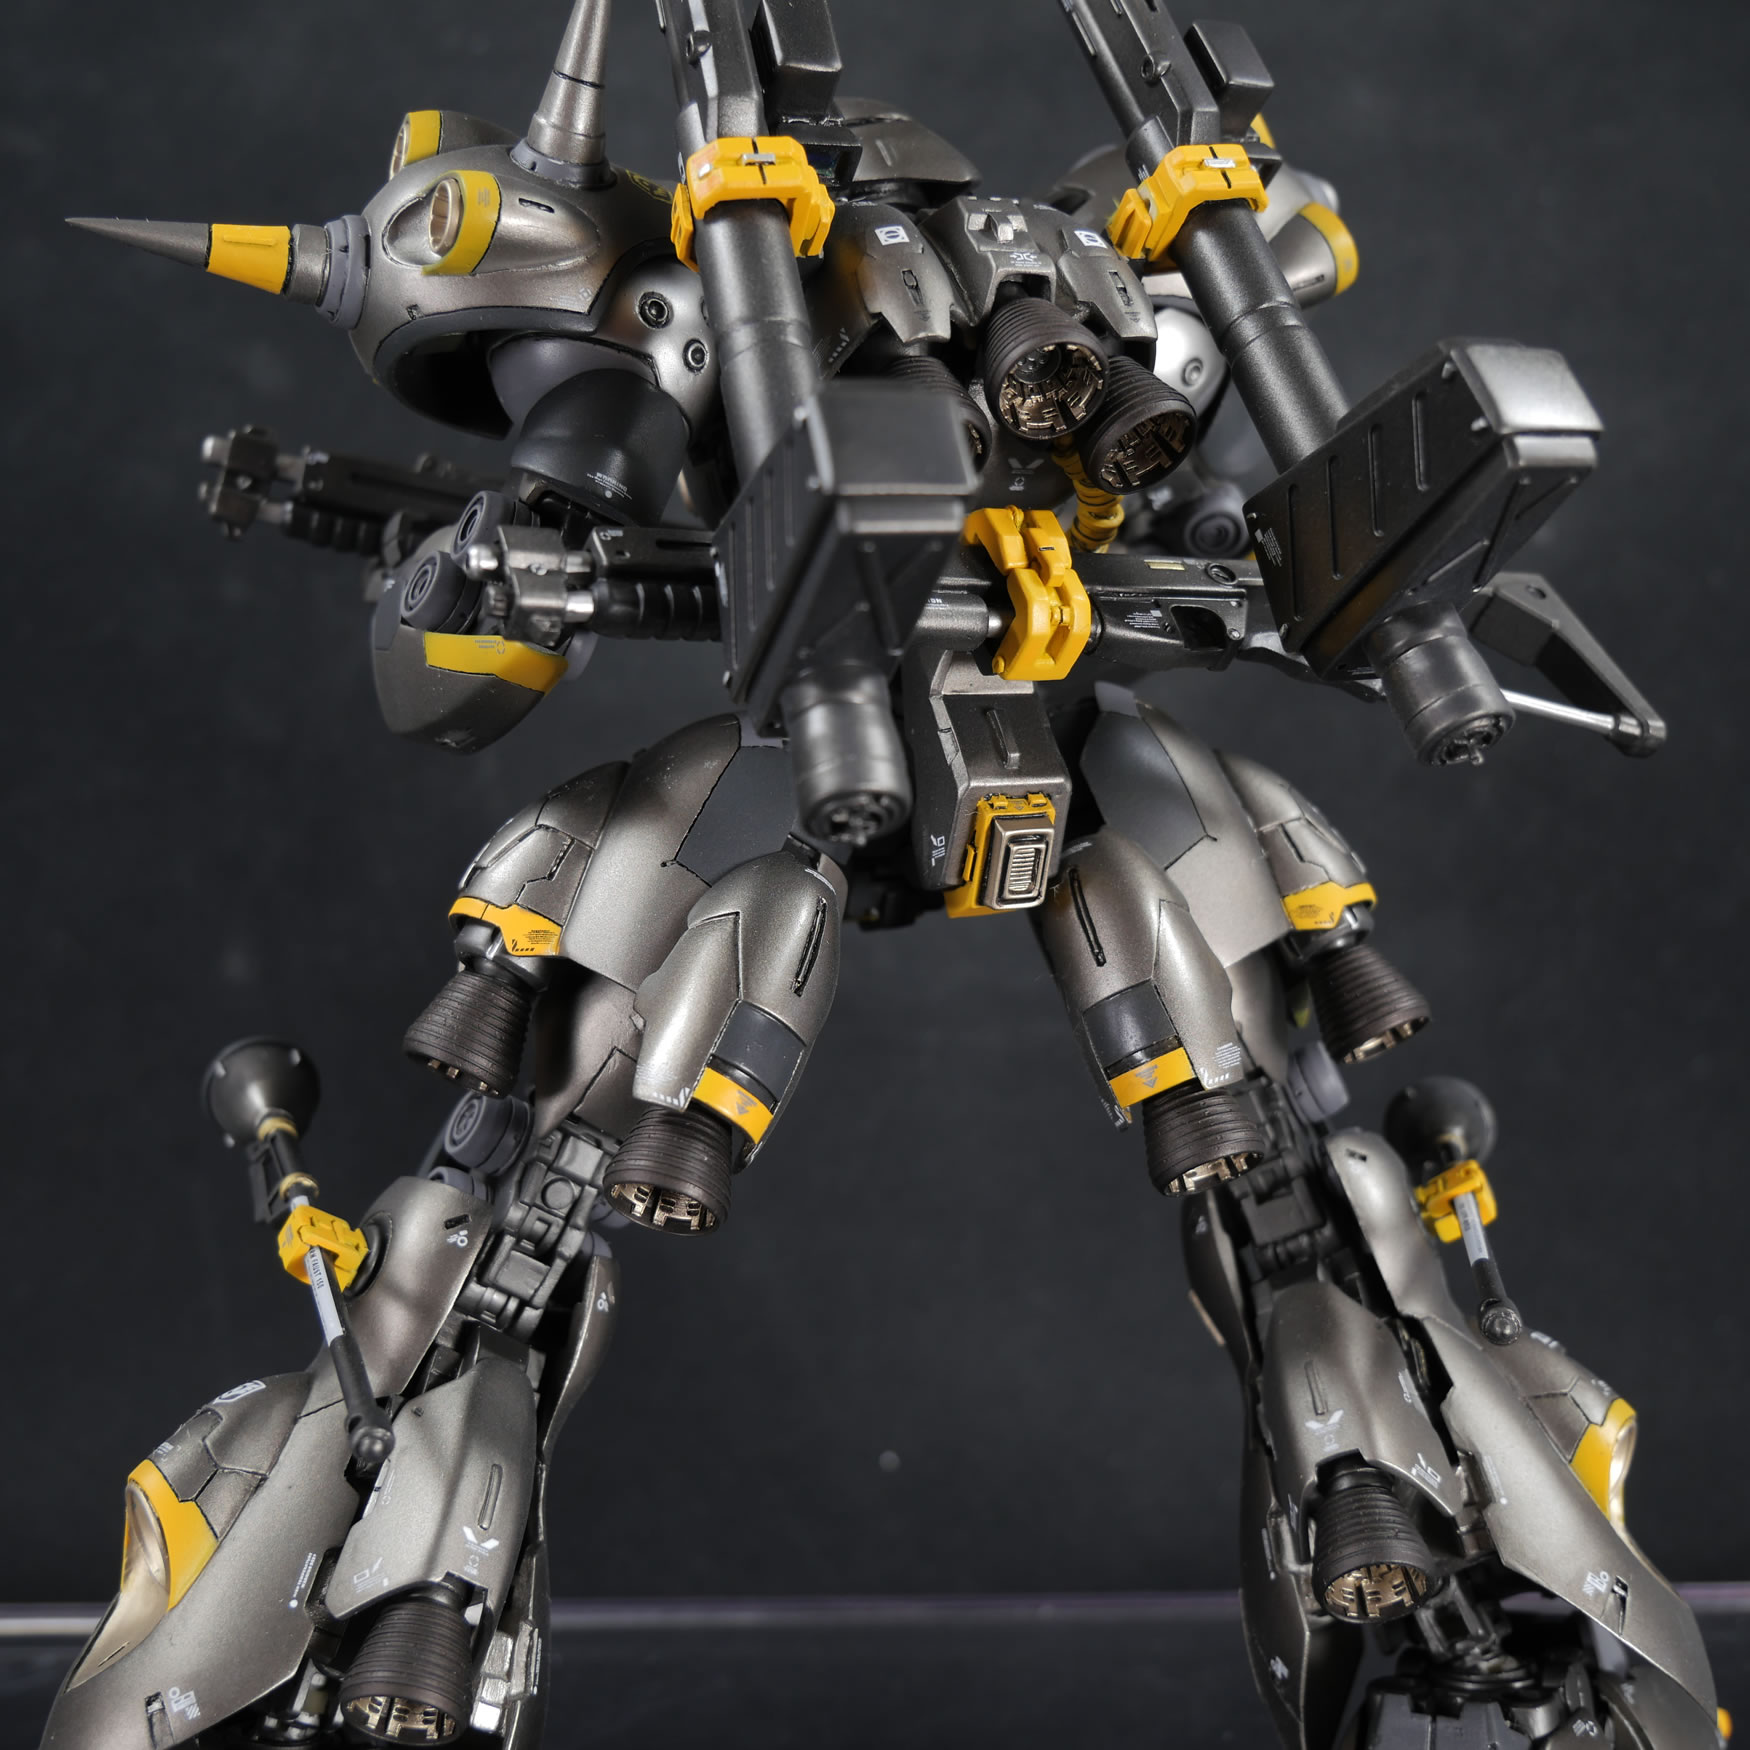
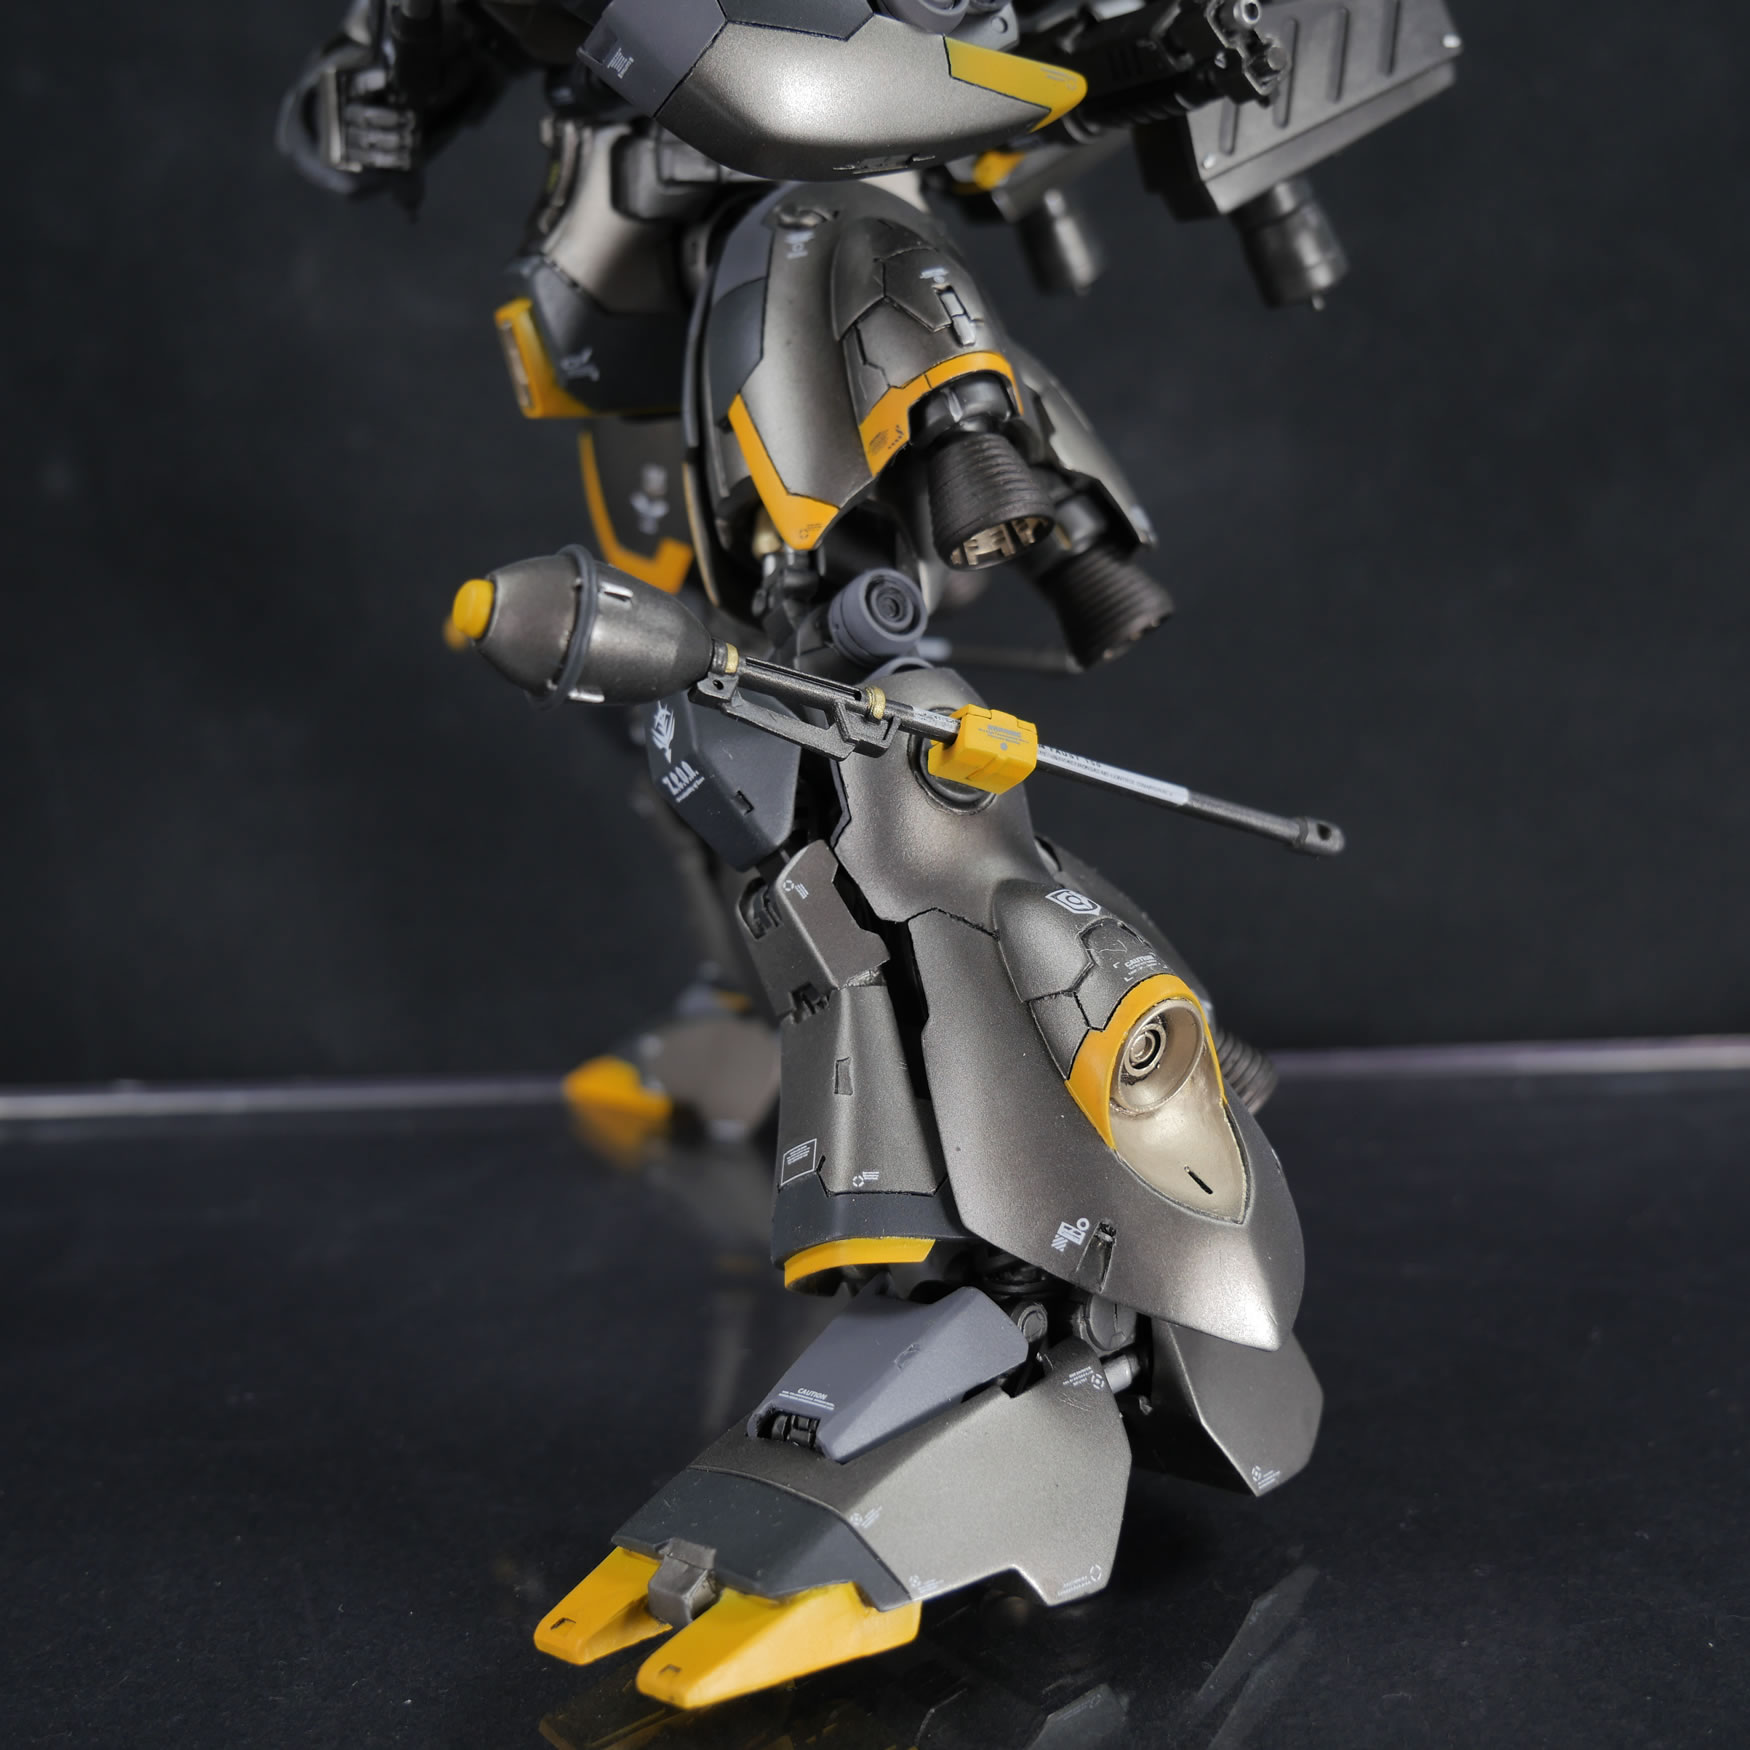
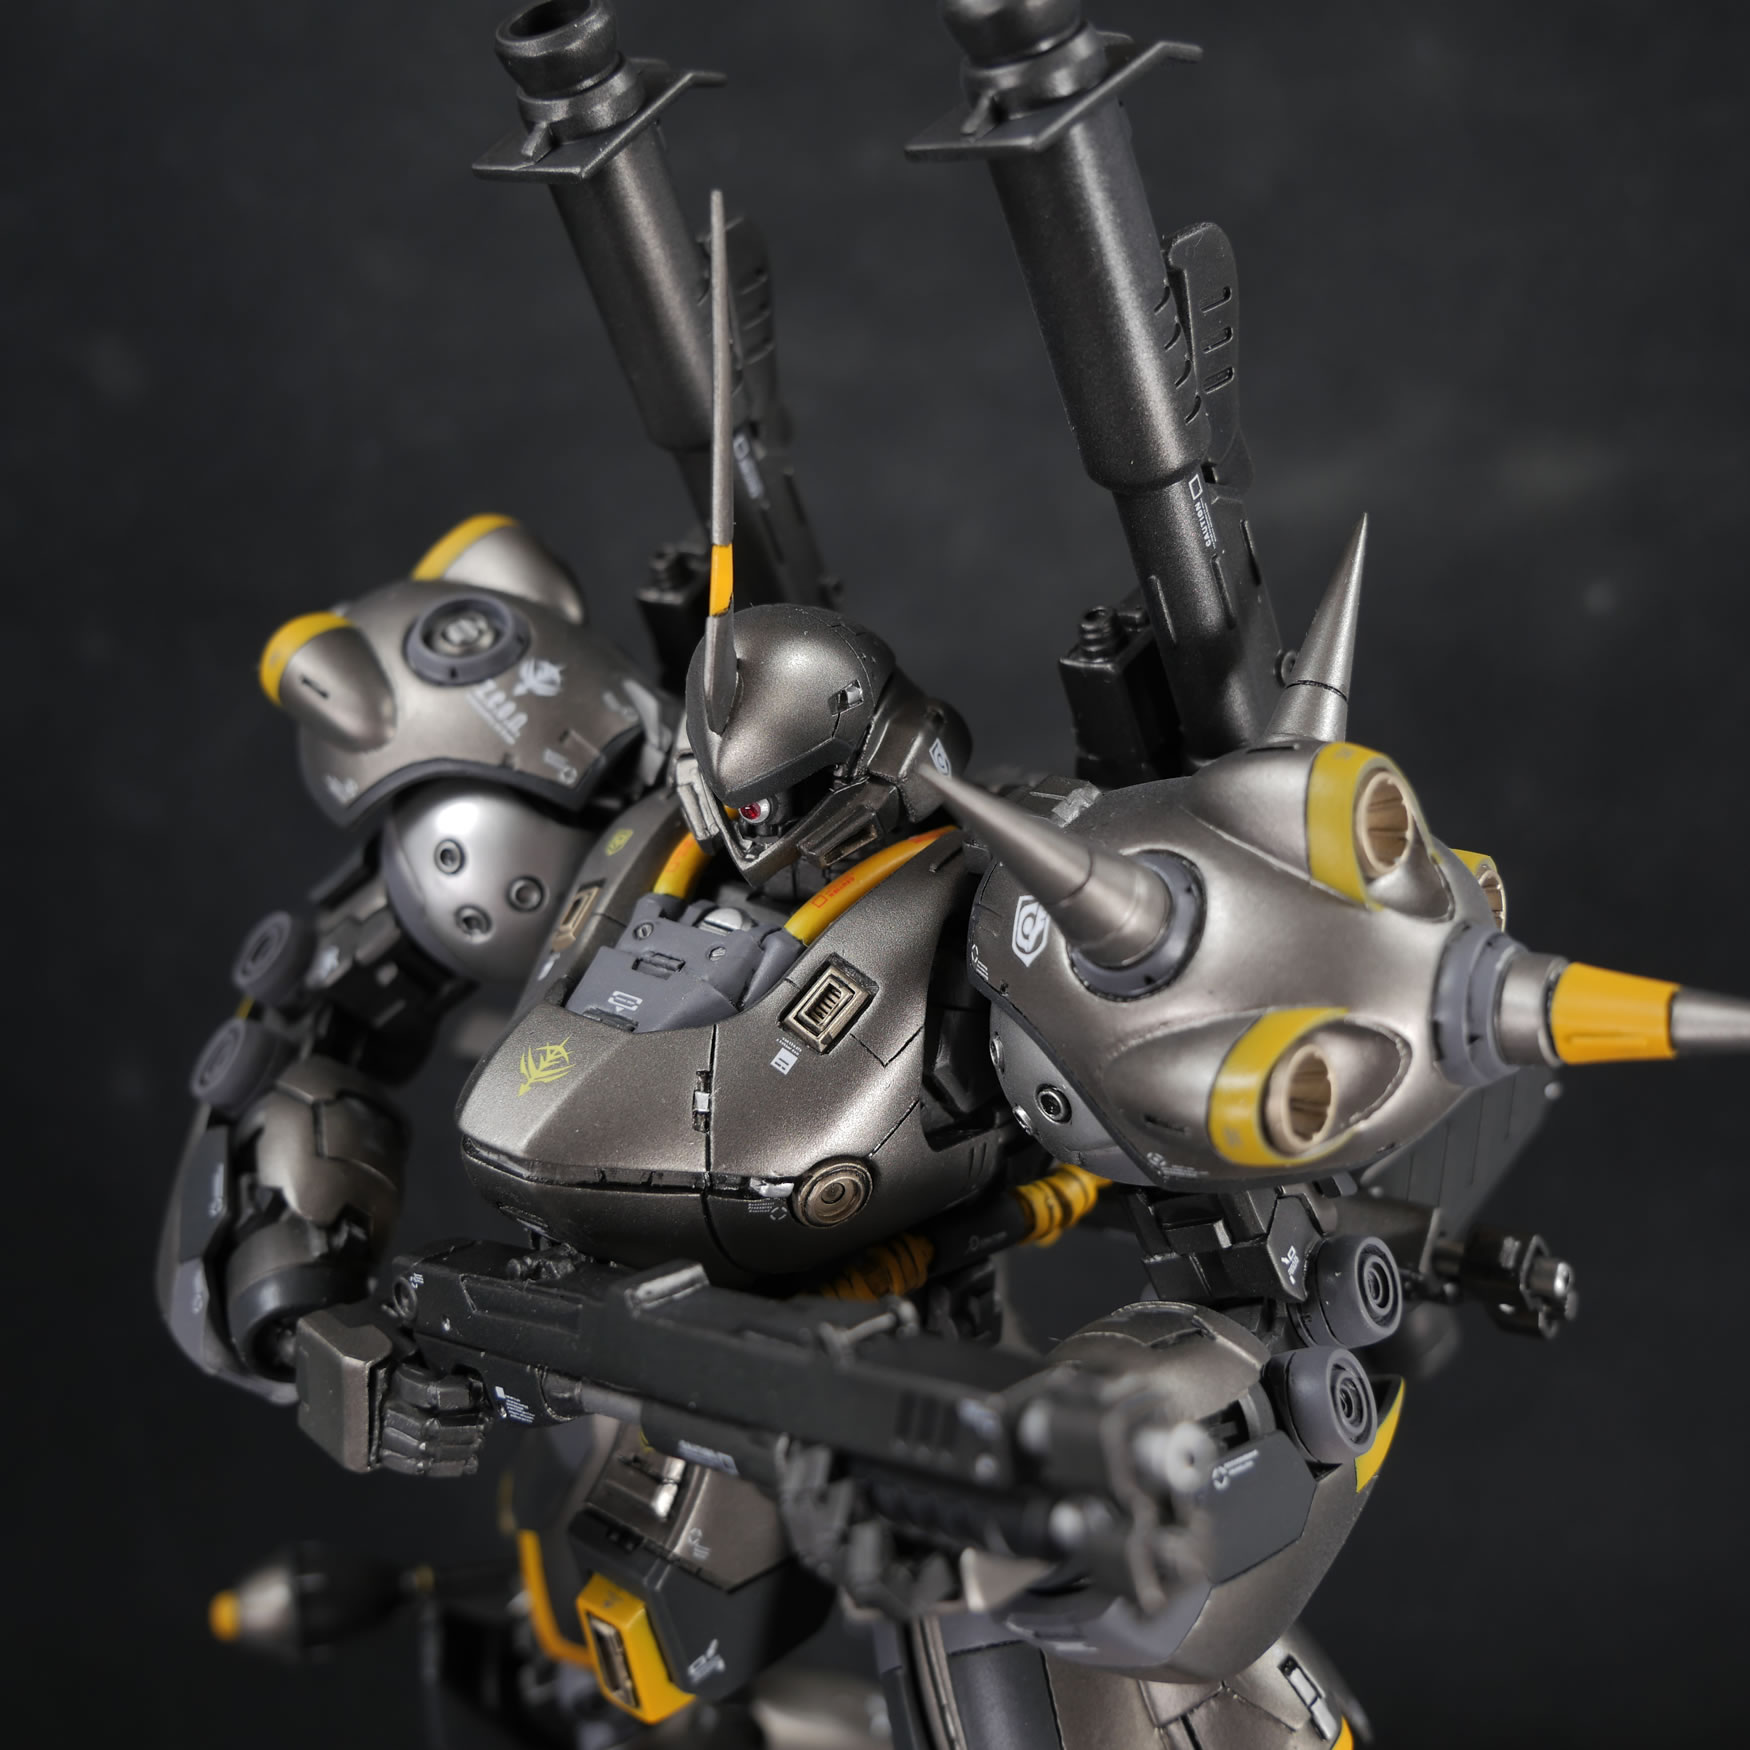
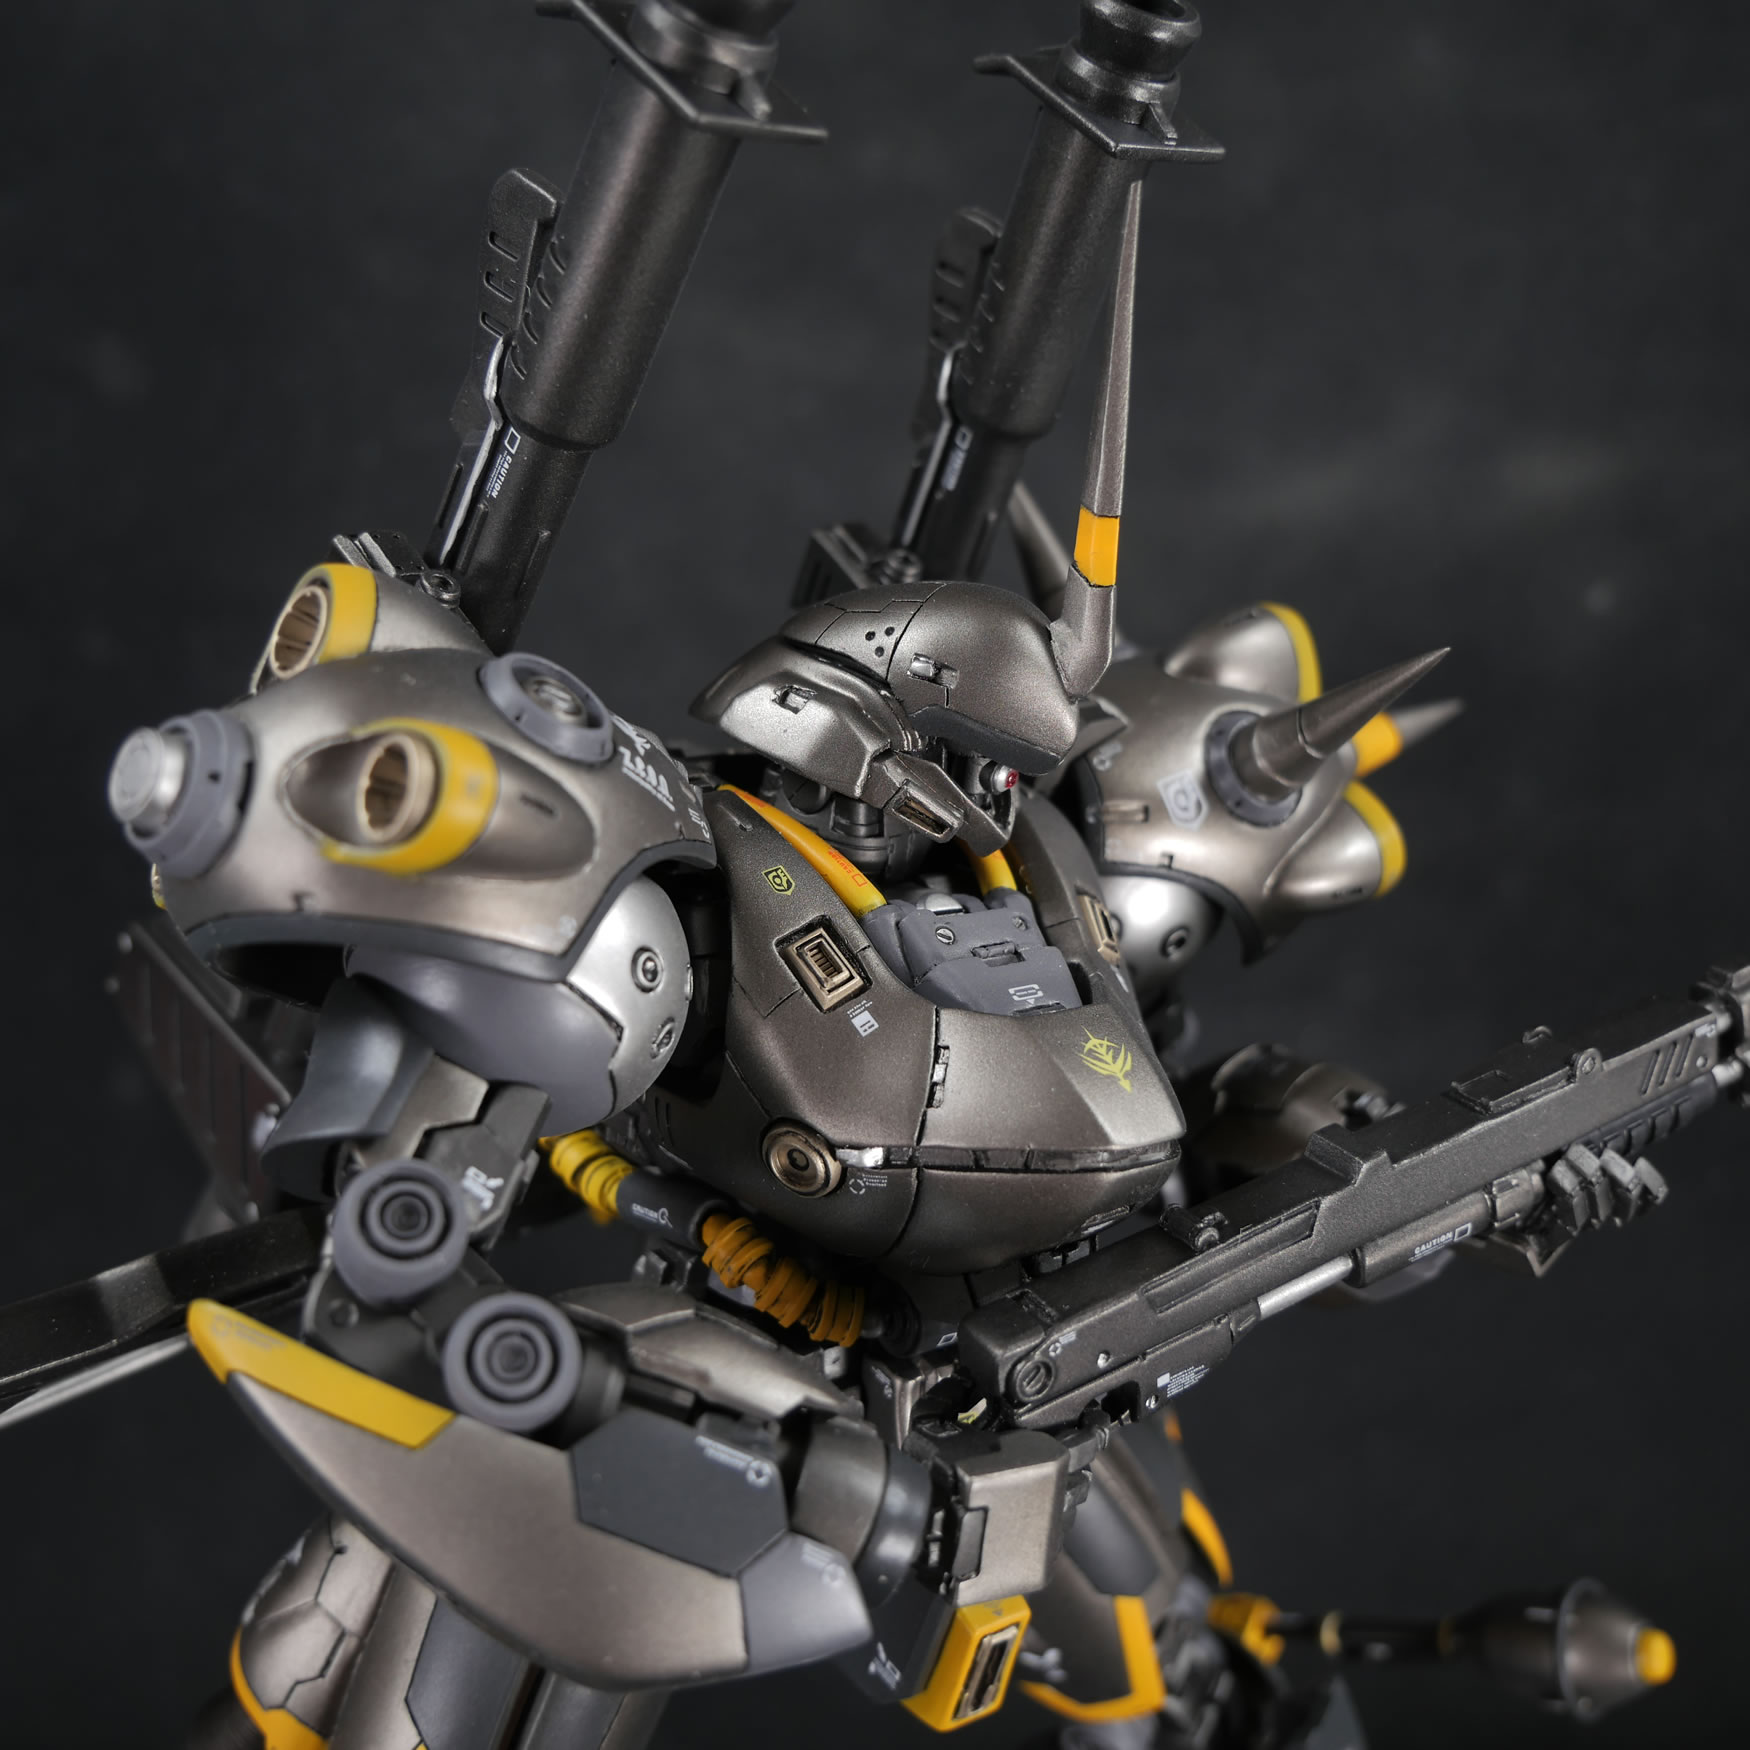
Once it’s all glued and set, I set up the photo area and lights and took pictures.
_jpg.jpg)
Completed pictures below:
|
|
|
|
|
|
|
|
|

|
|
|
|
|
|