On the StarShipModeler’s FB page, there is a Prop/Model Kit maker that designed Mando’s N1 Starship from the recent Book of Boba Fett series. I believe it first appears in episode 5 that was released about the last week of January 2022. Tons of folks started making mods to existing Naboo kits and toys, and there were a handful of folks designing 3D versions for printing. Alain Rivard designed one and was posting progress on the SSM FB page. I was definitely interested and I hadn’t built a Star Wars kit in forever. So I followed the progress and order the files once he was done and got to printing. Here is a before and after.
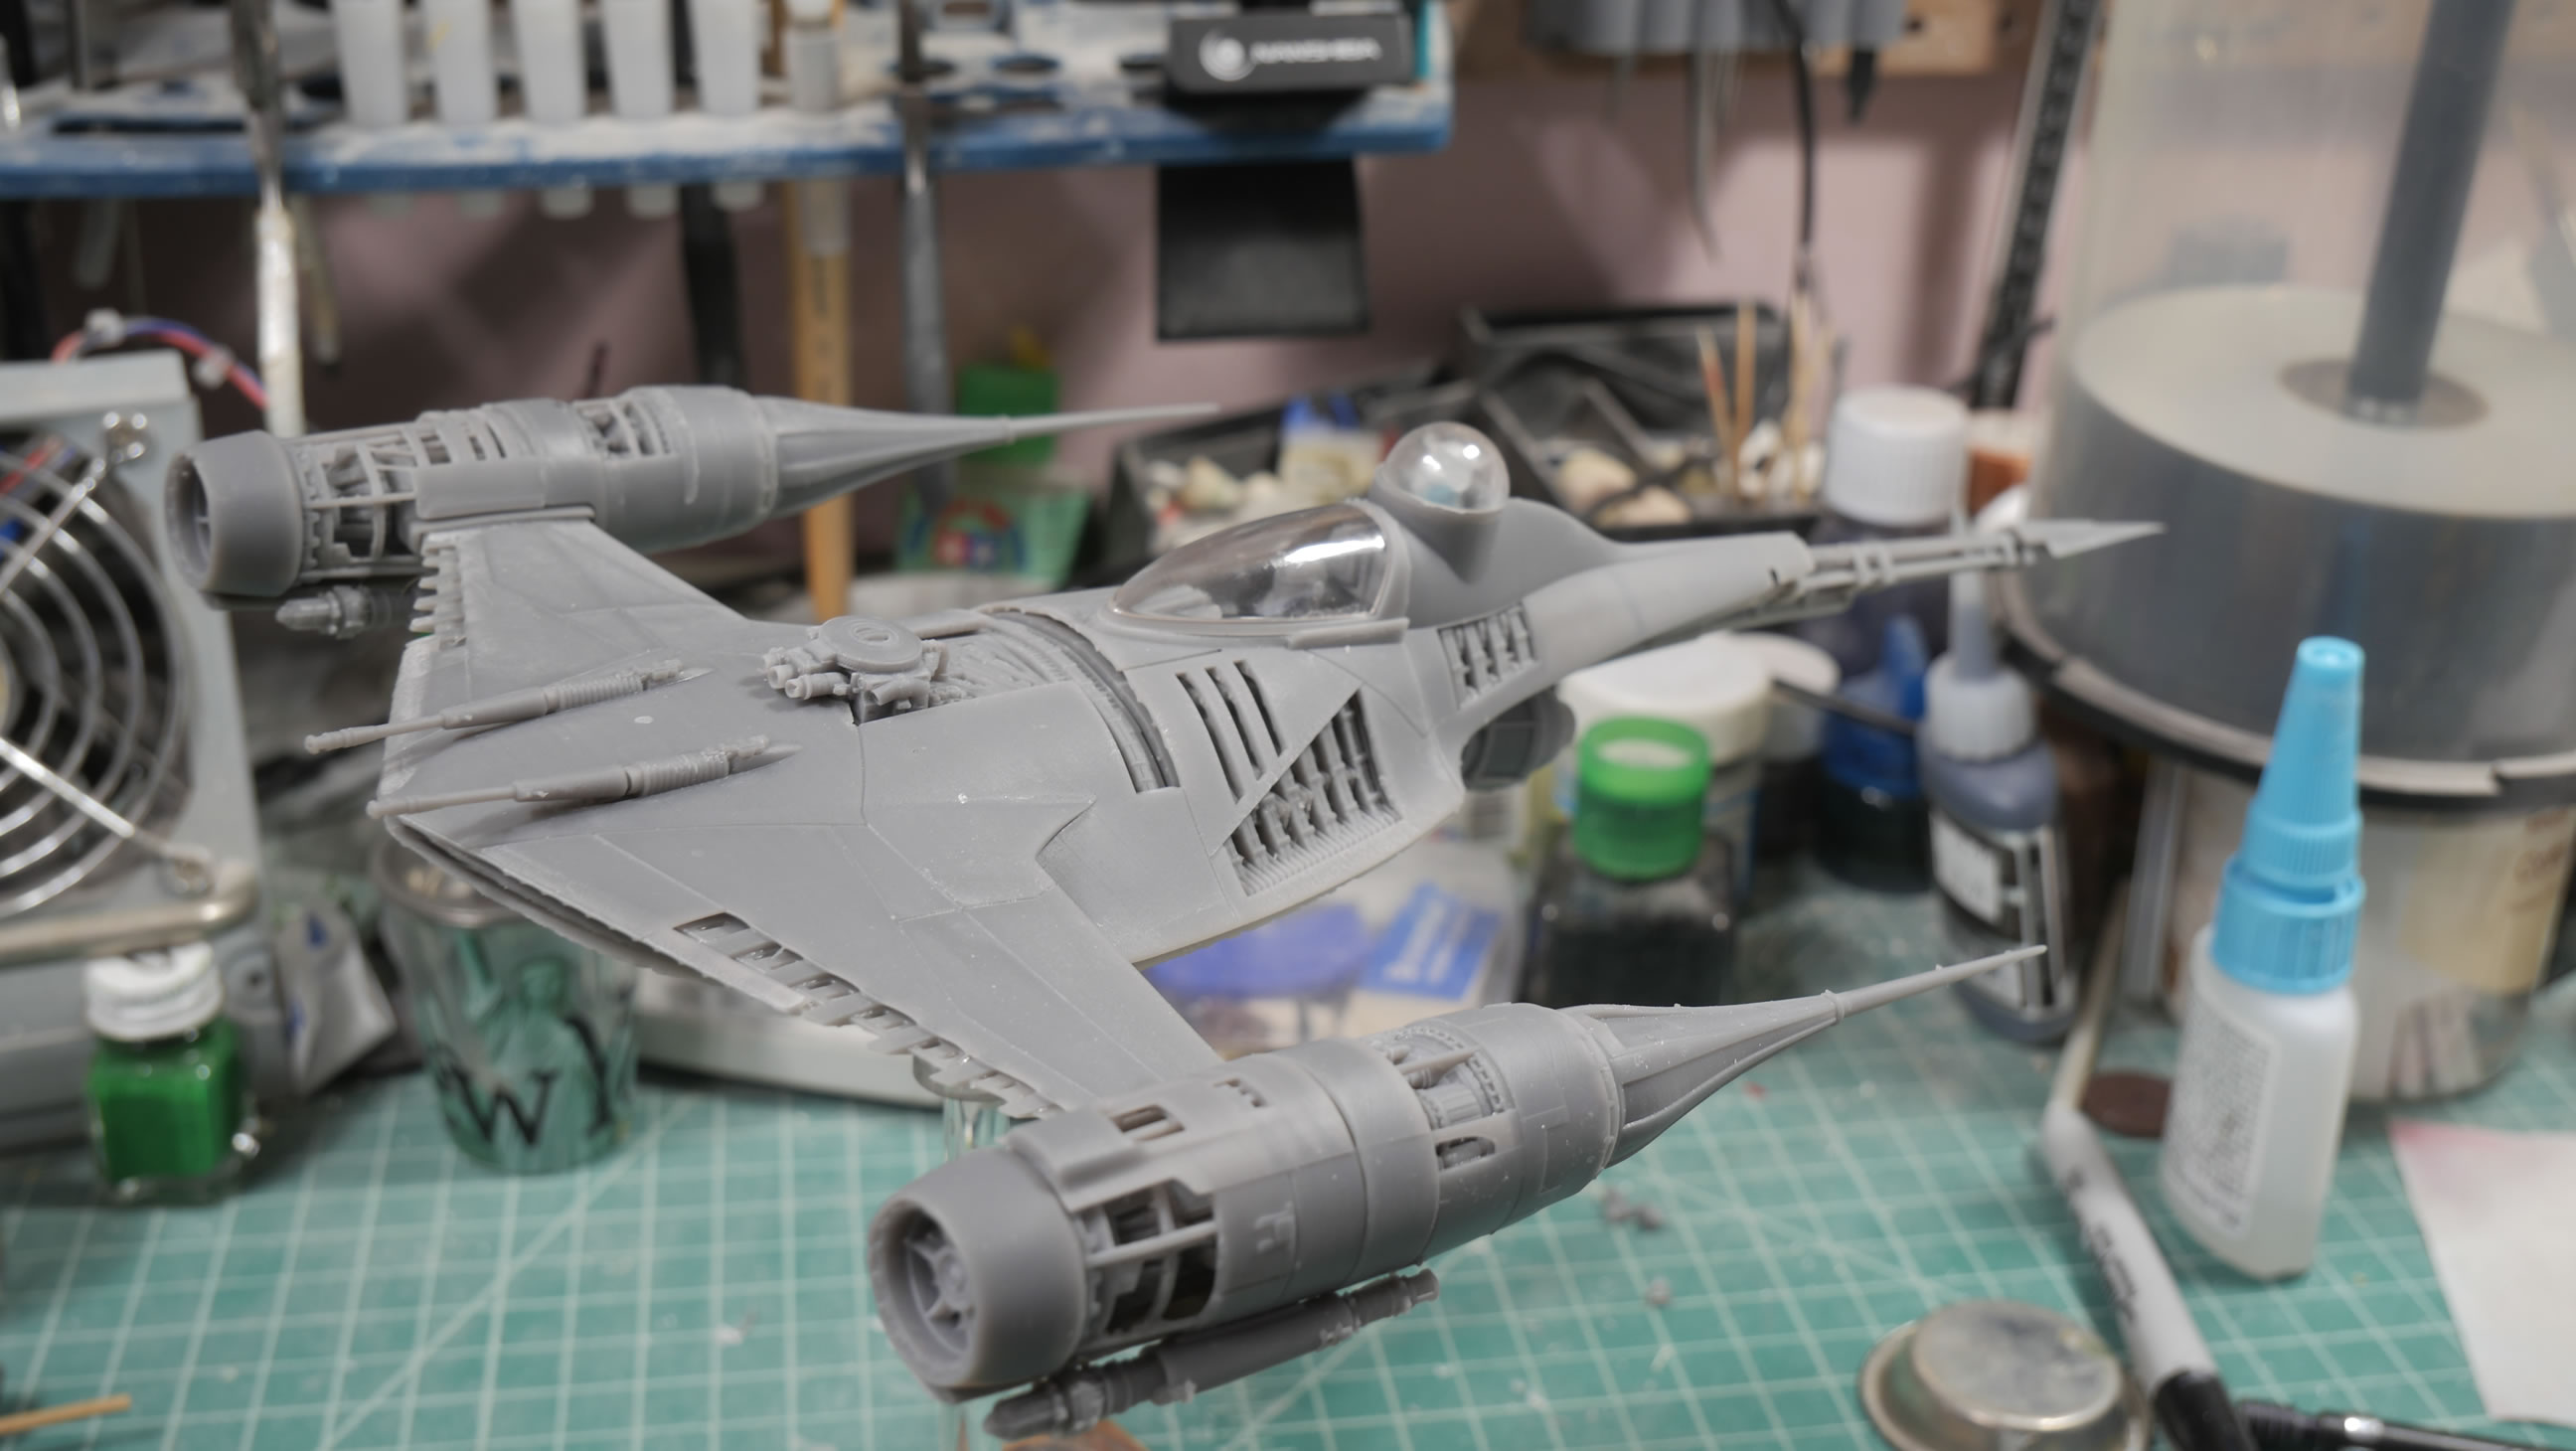
Full details of the build after the jump.
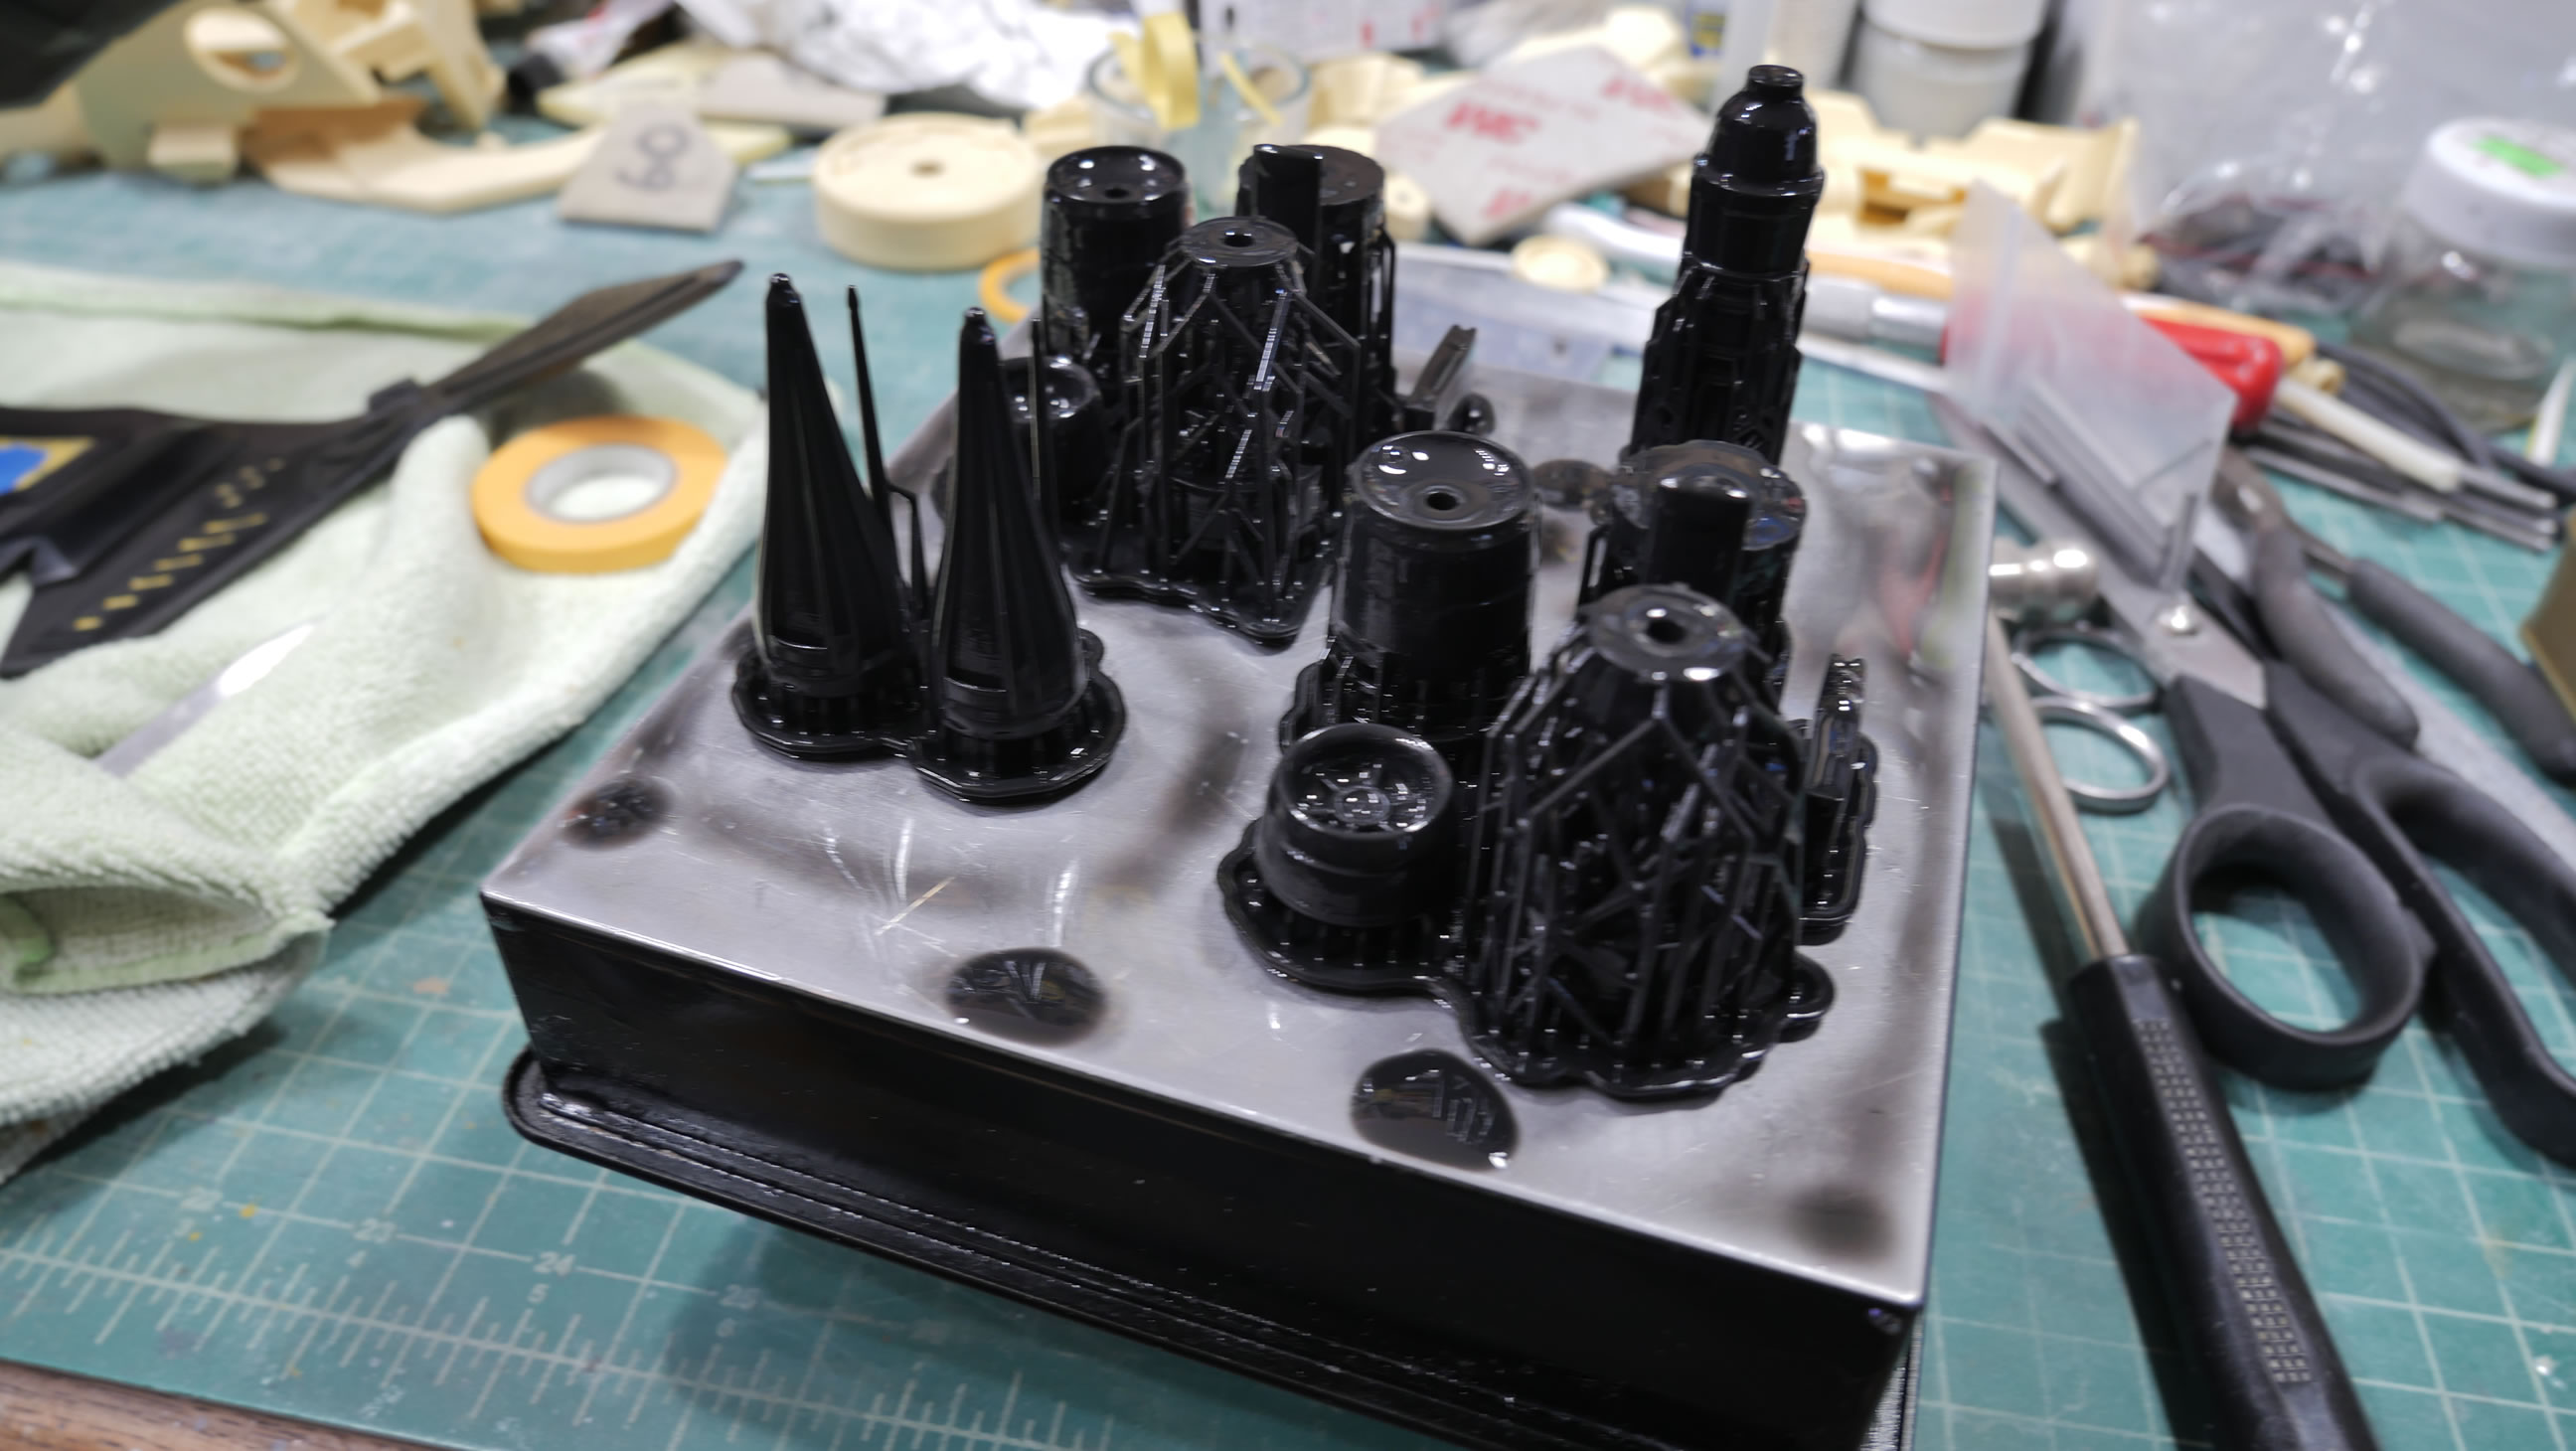
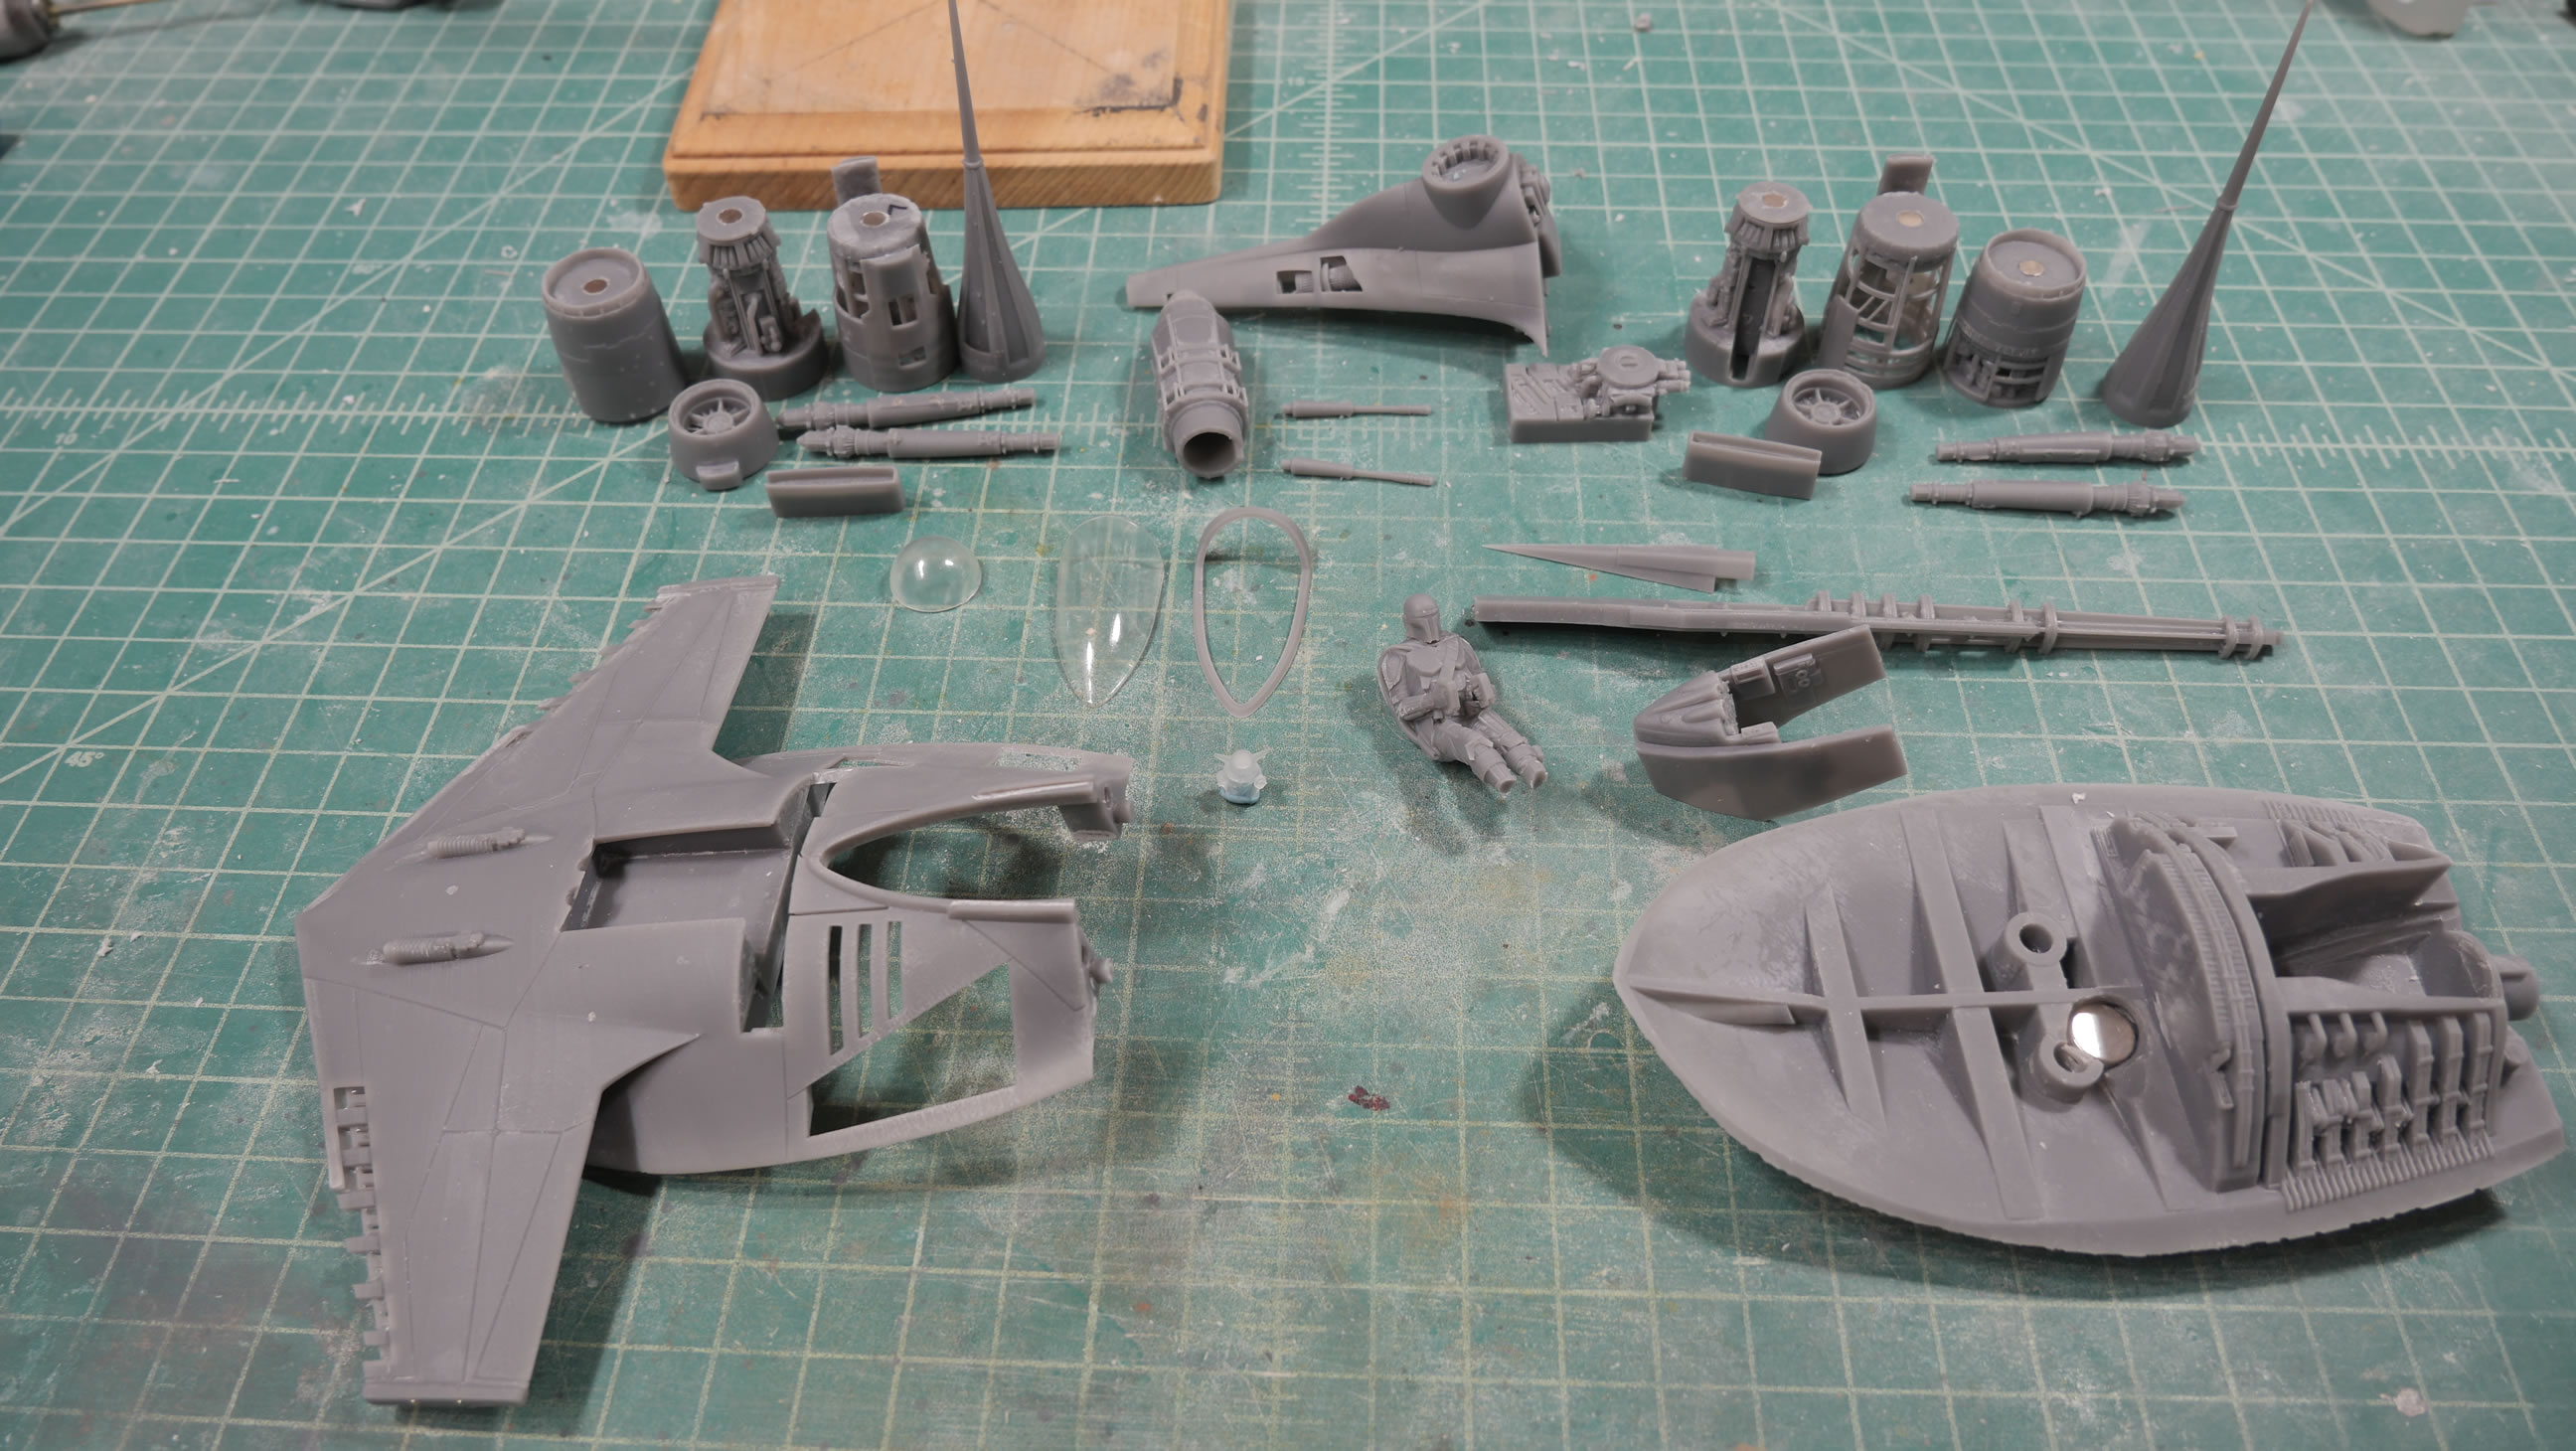
The kits design was in 1/24 scale; but my print bed is too small to print out the main body pieces, so I scaled them by 75% in my slicer and printed out a kit in 1/35 scale. I figured I could find a 35th scale pilot and modify it to create Din. I printed at 50 microns (.05mm), I could have gone down to 25 microns but the print time is double and I don’t really gain that much in resolution. I ended up printing in 4 session to get all the parts printed; 3 in black resin and once in clear resin. I also did a few reprints for parts that didn’t quite print correctly. Some modifications to the print orientation significantly helped.
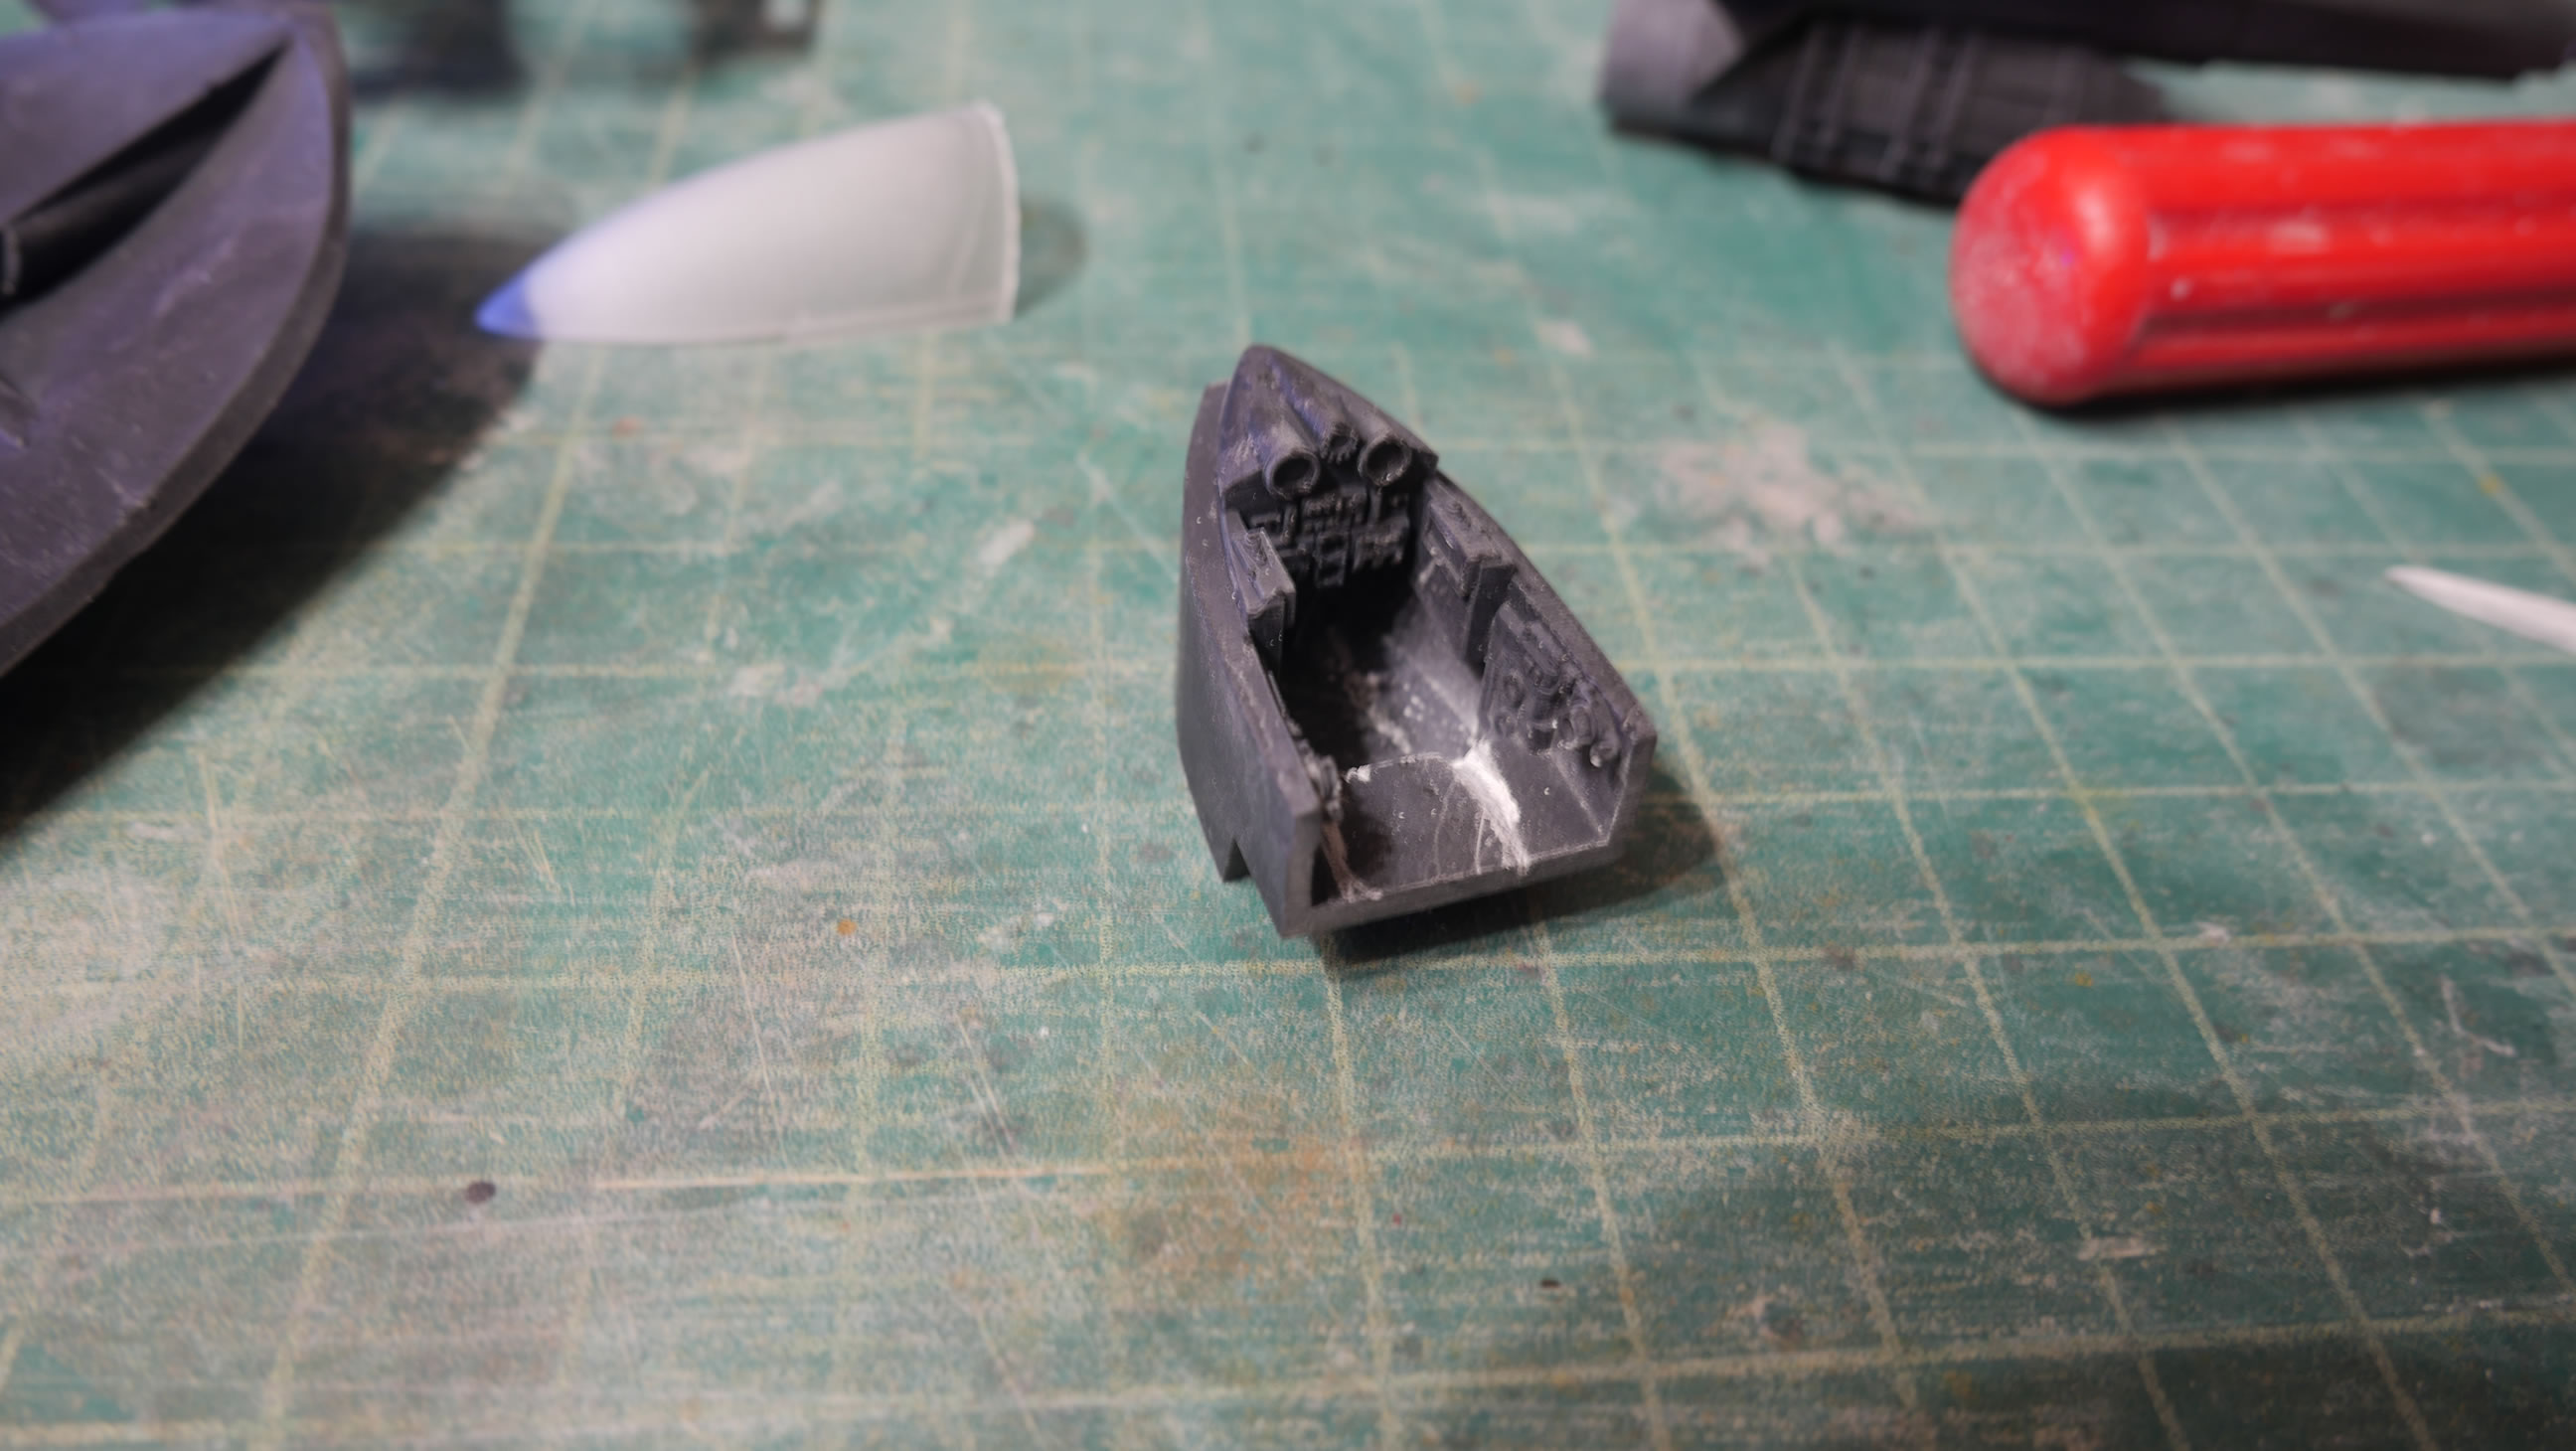
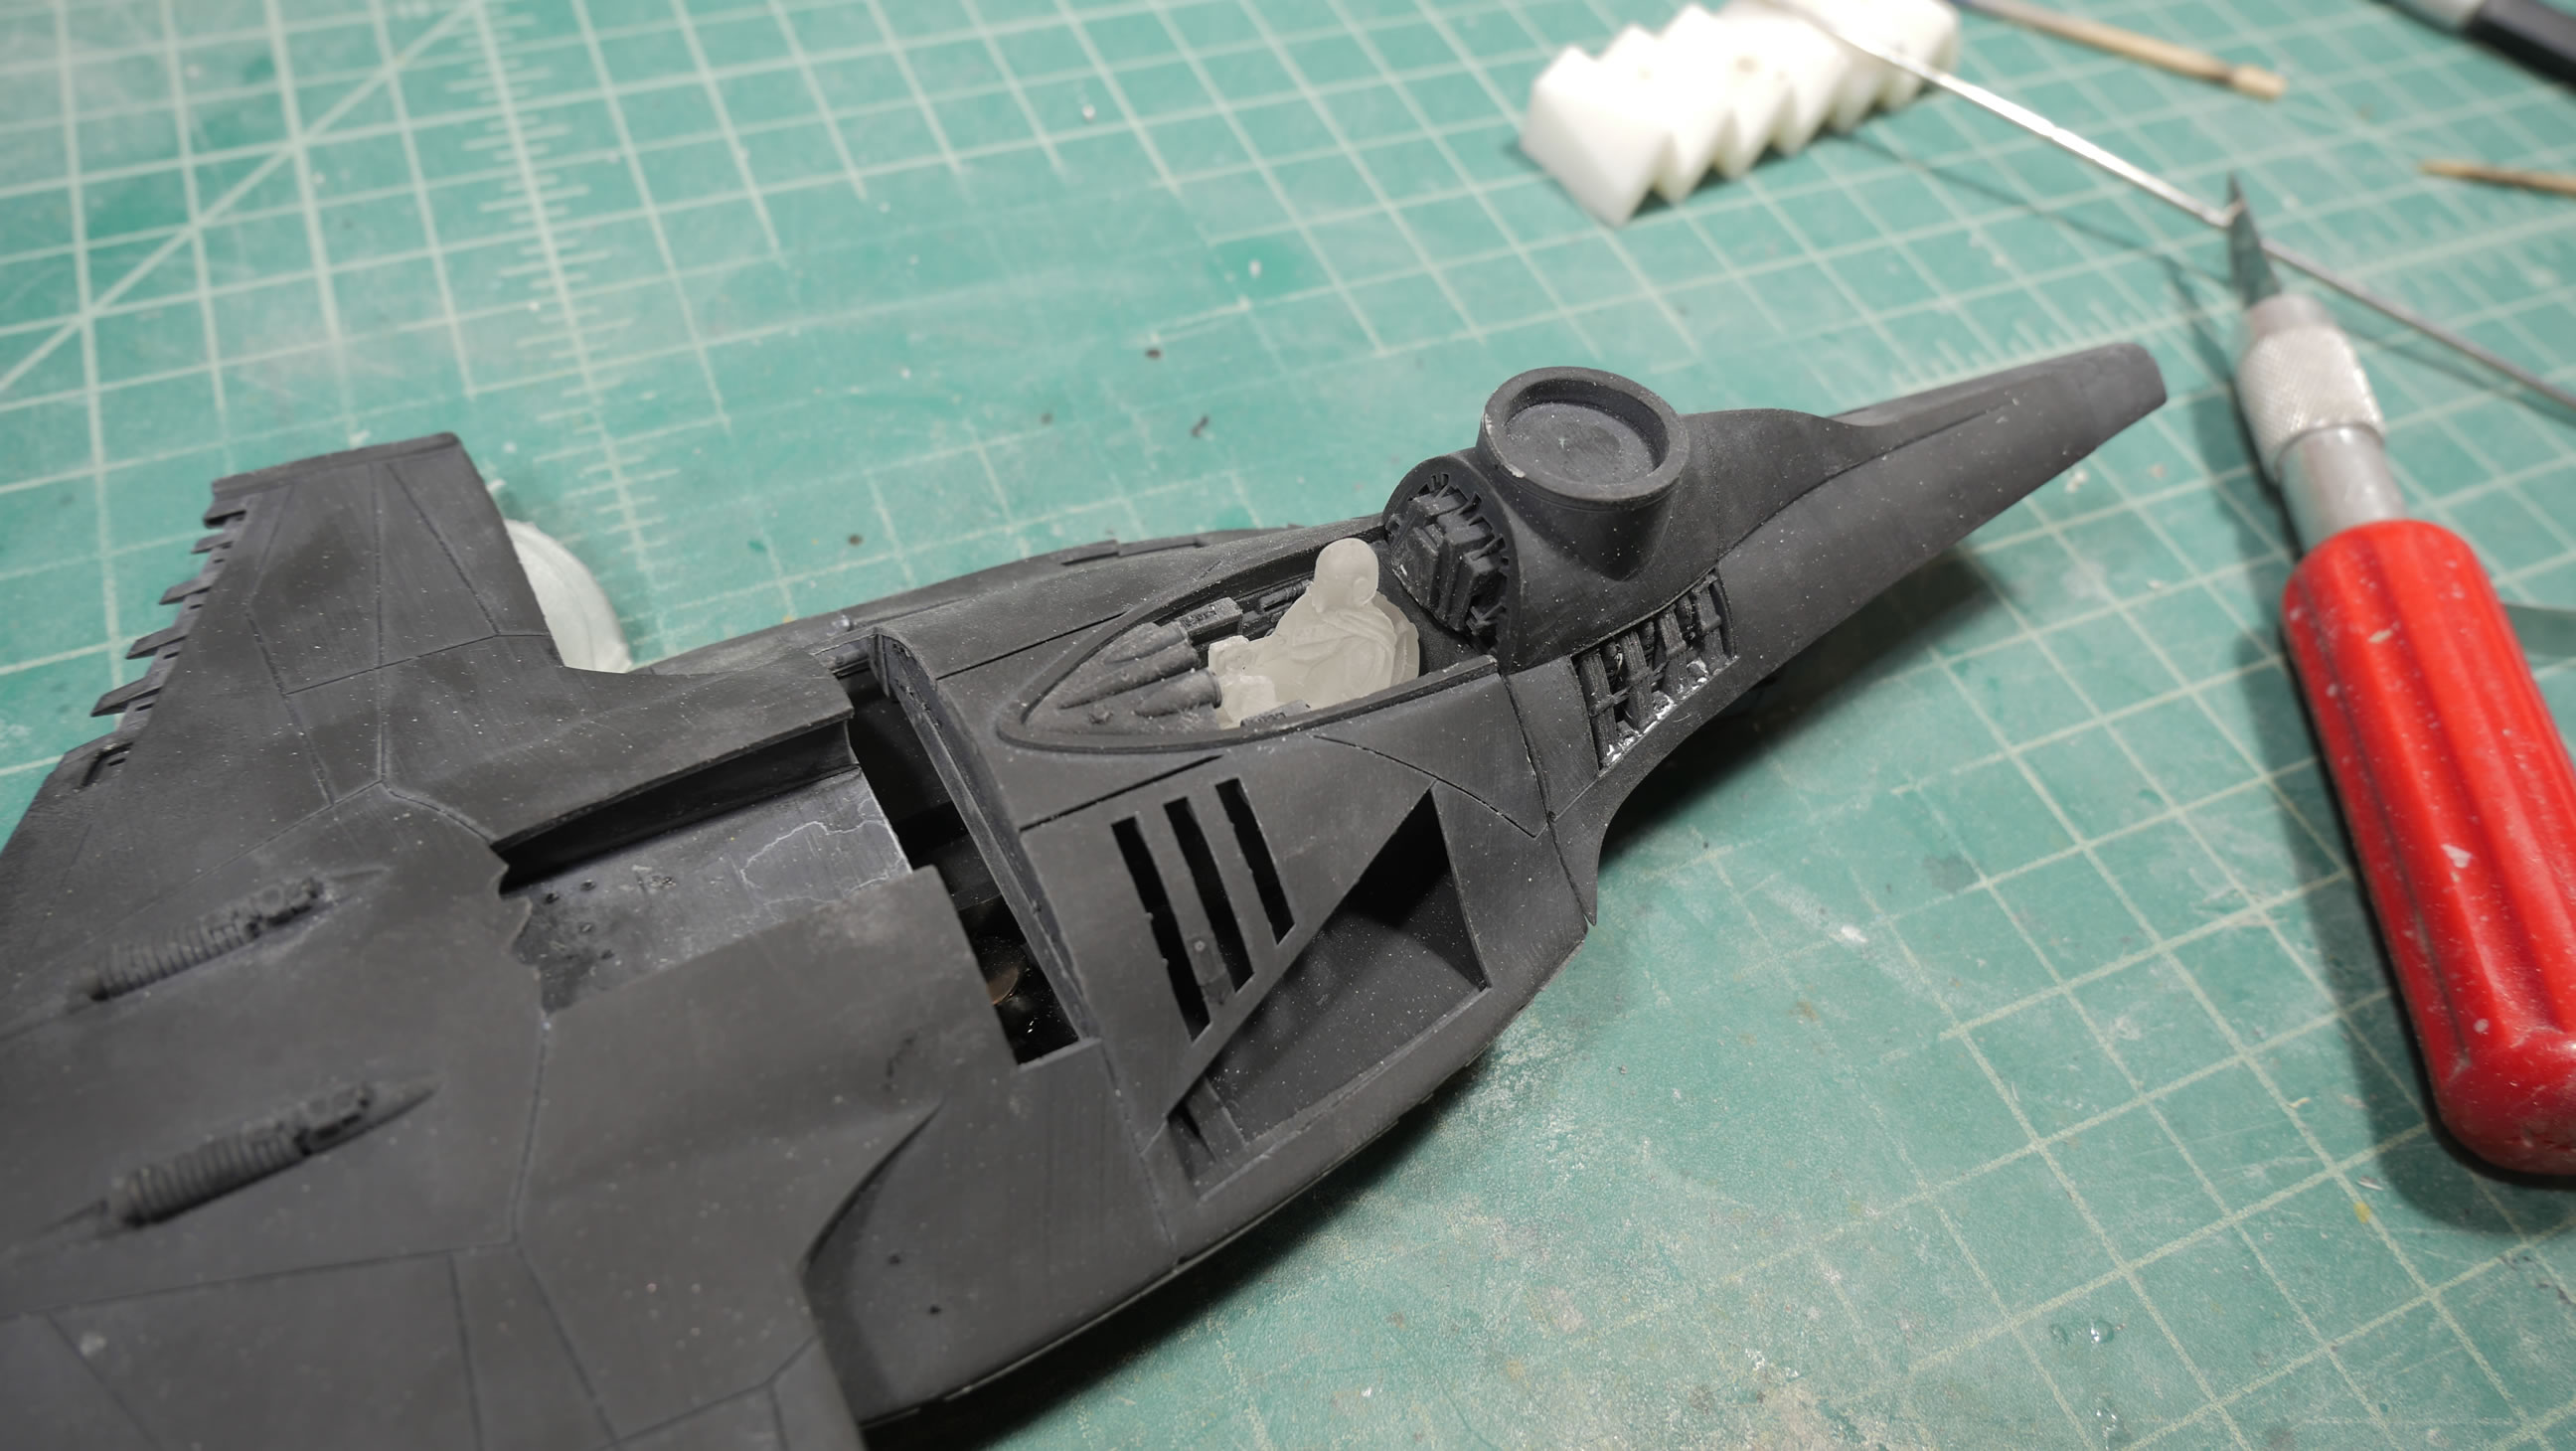
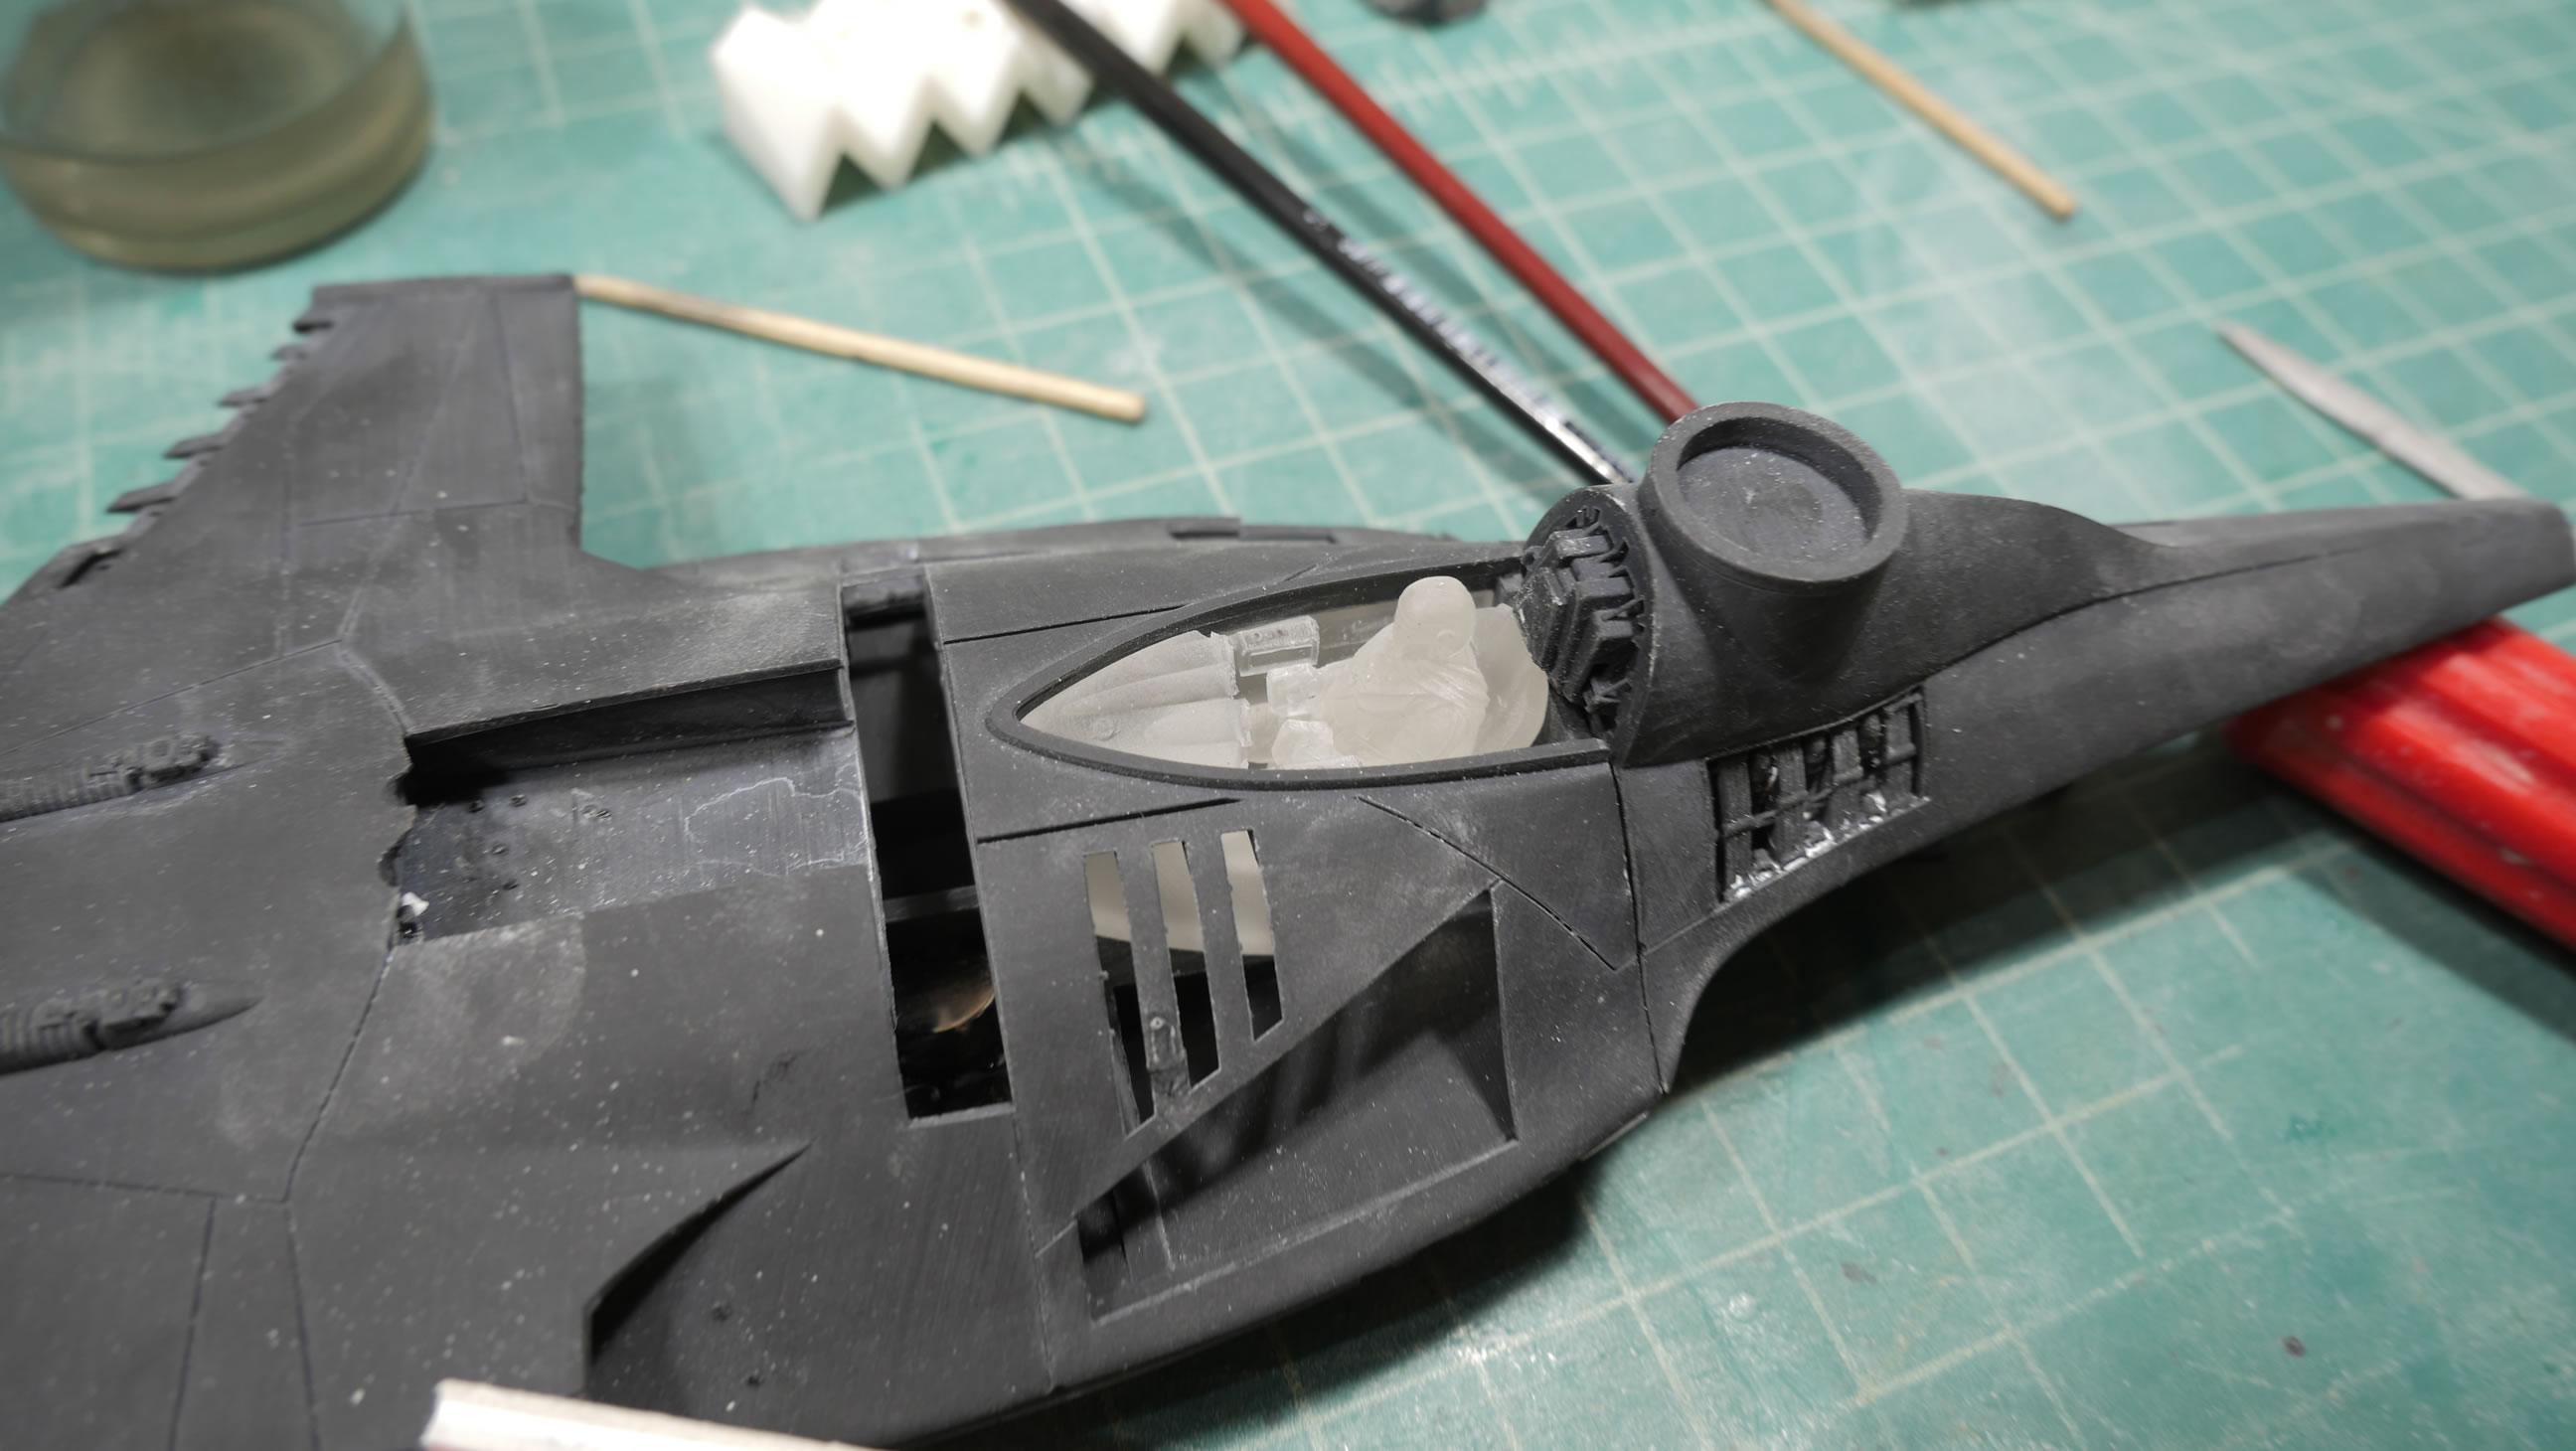
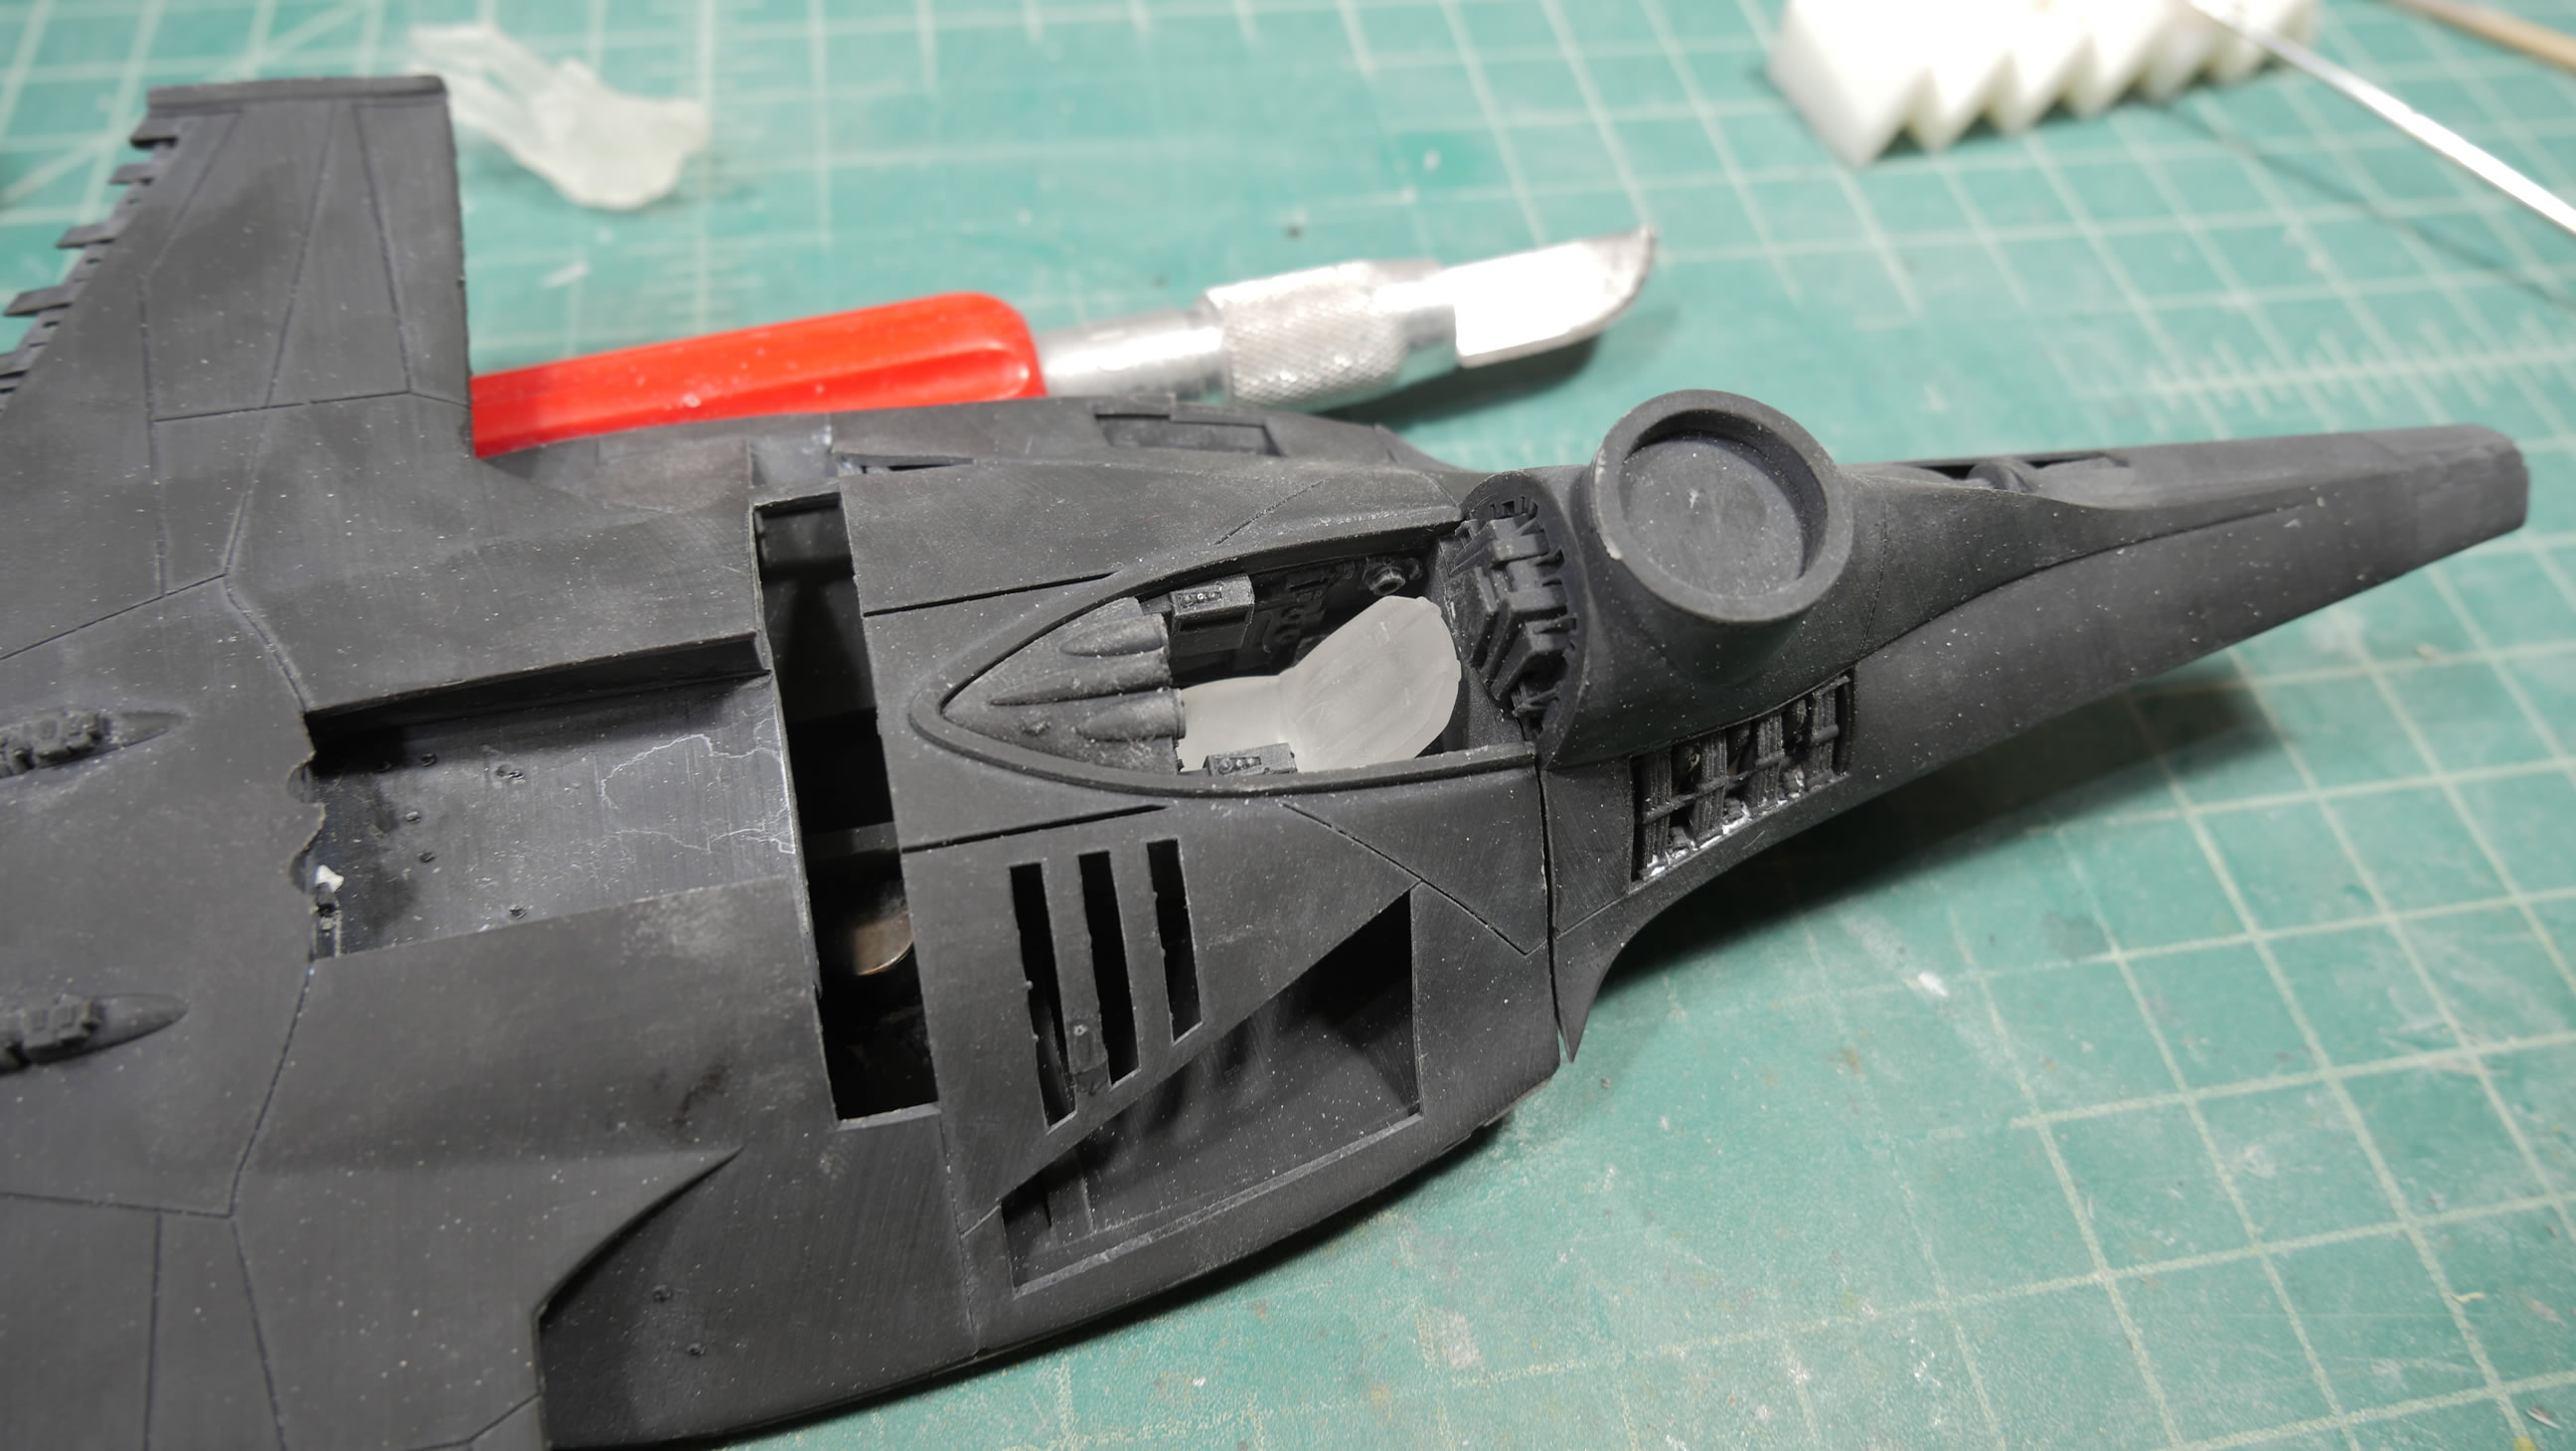
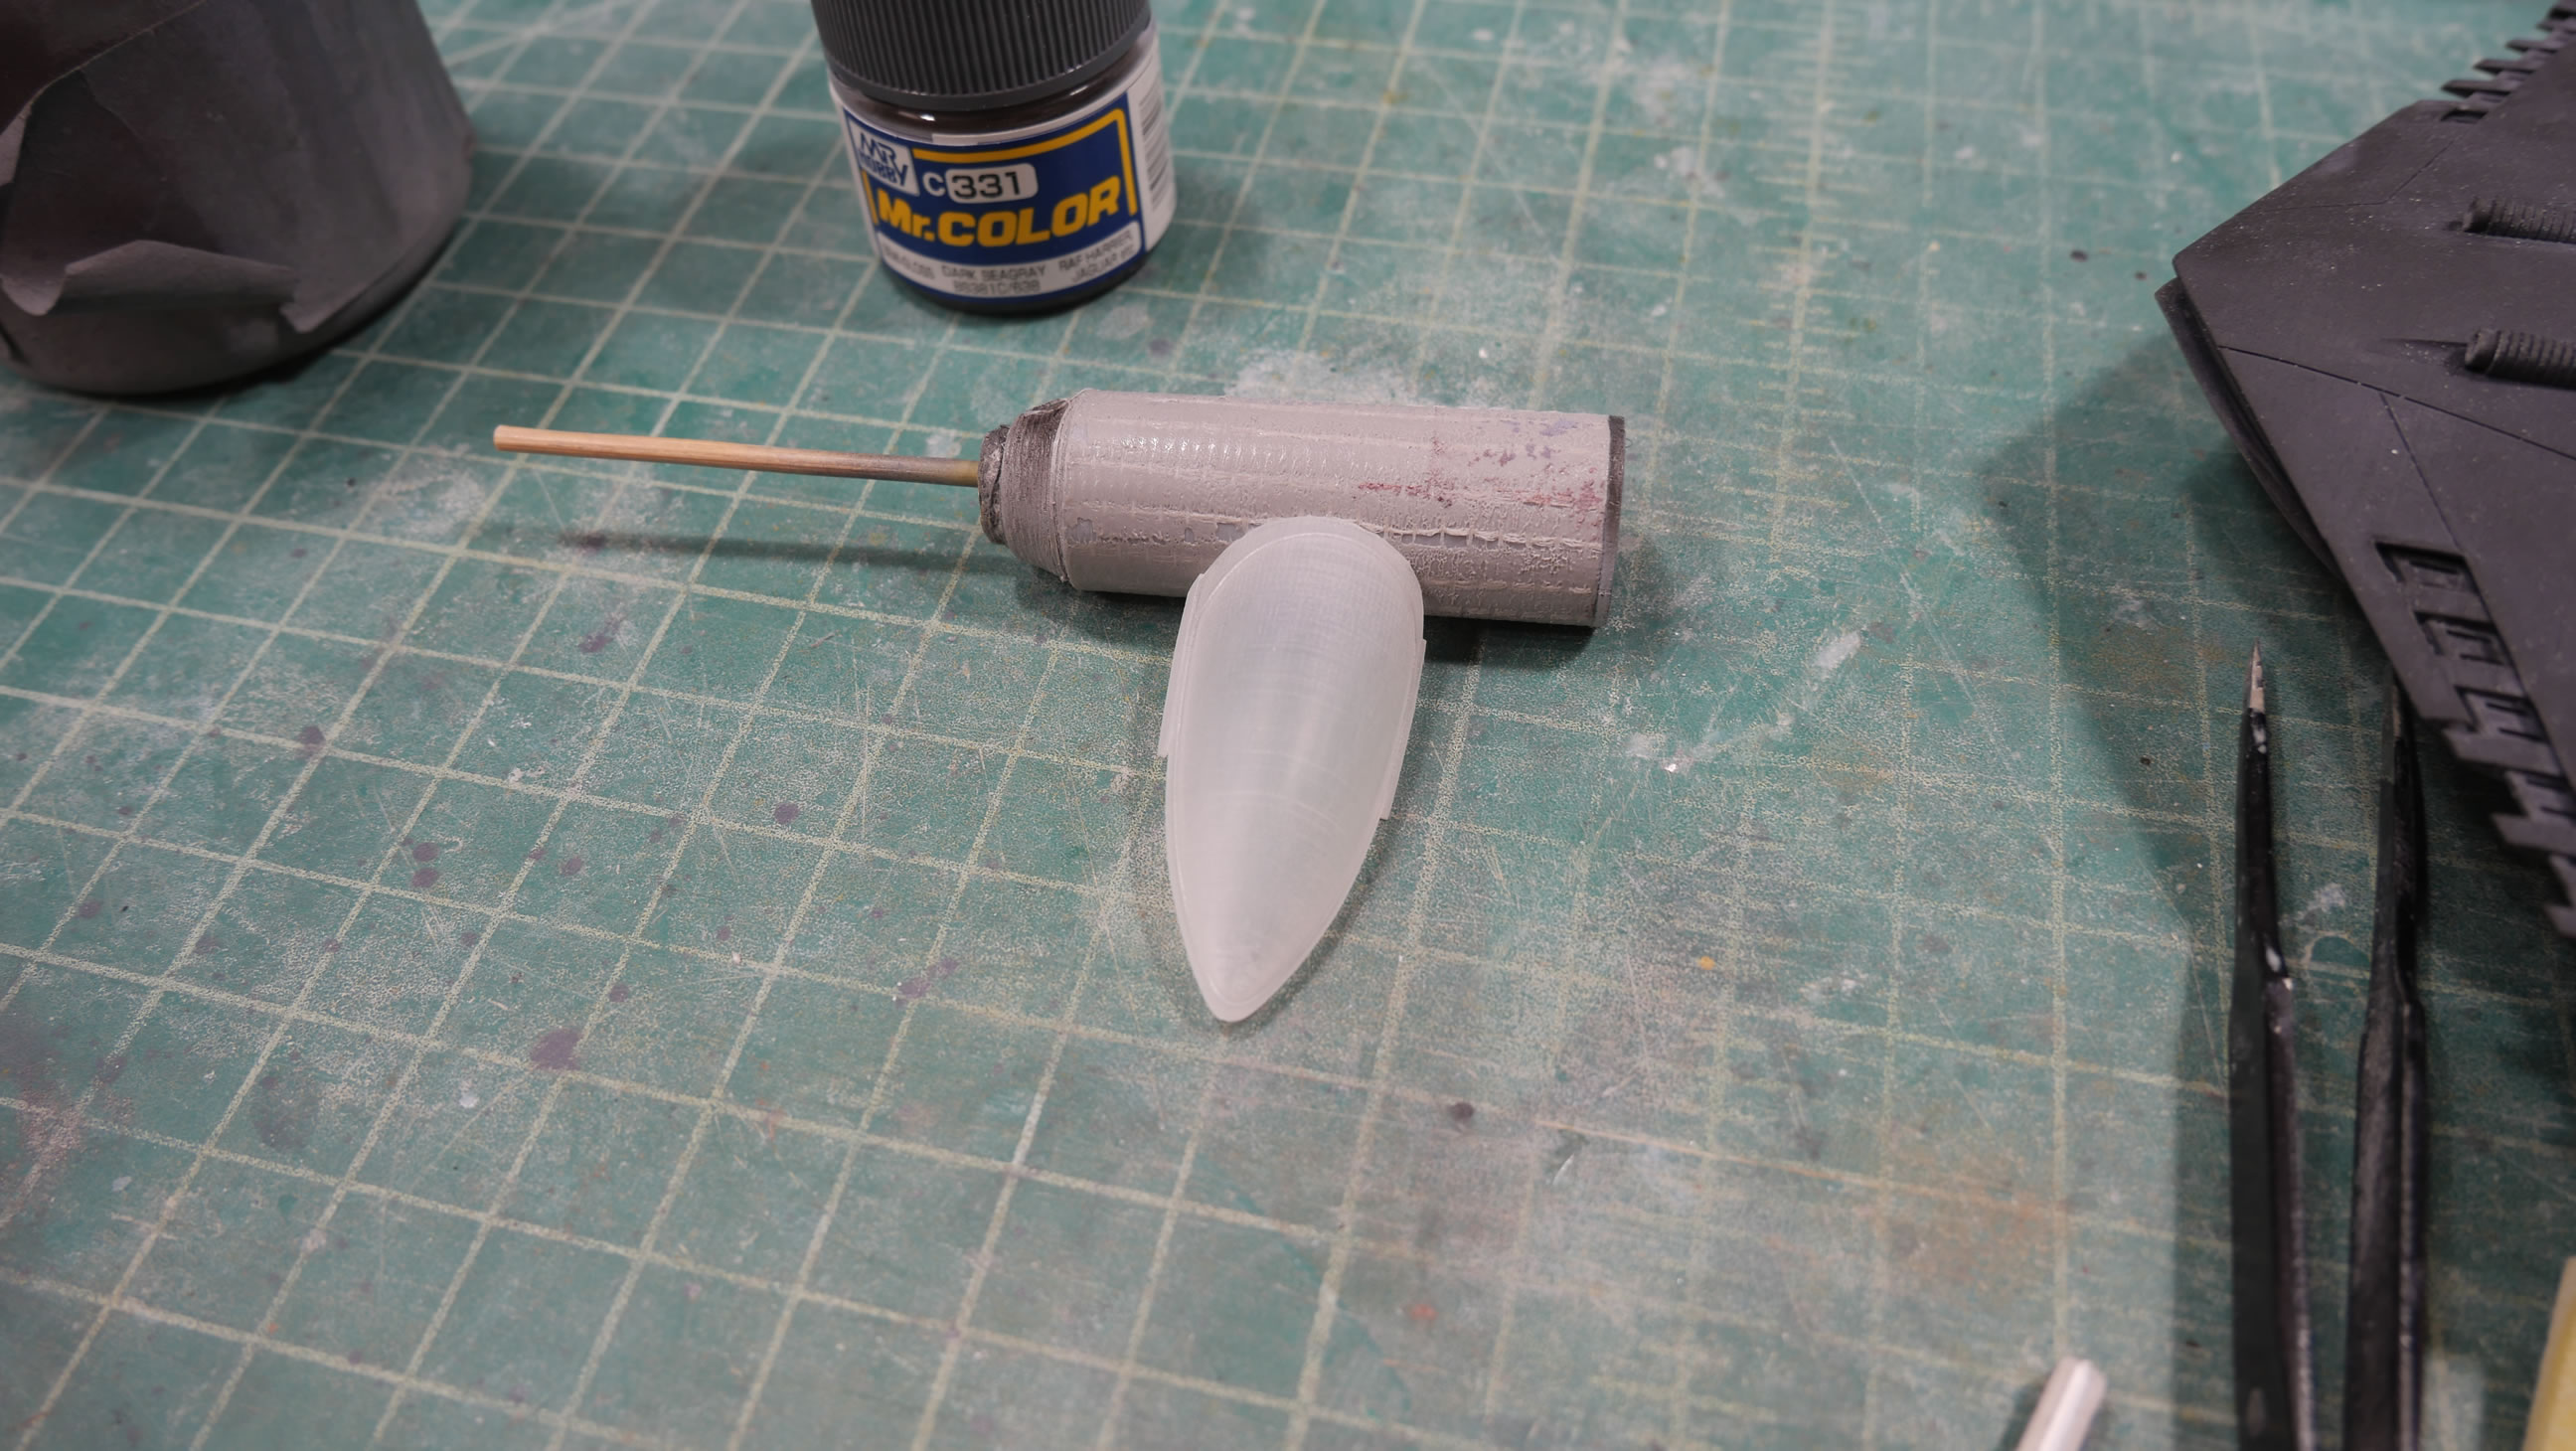
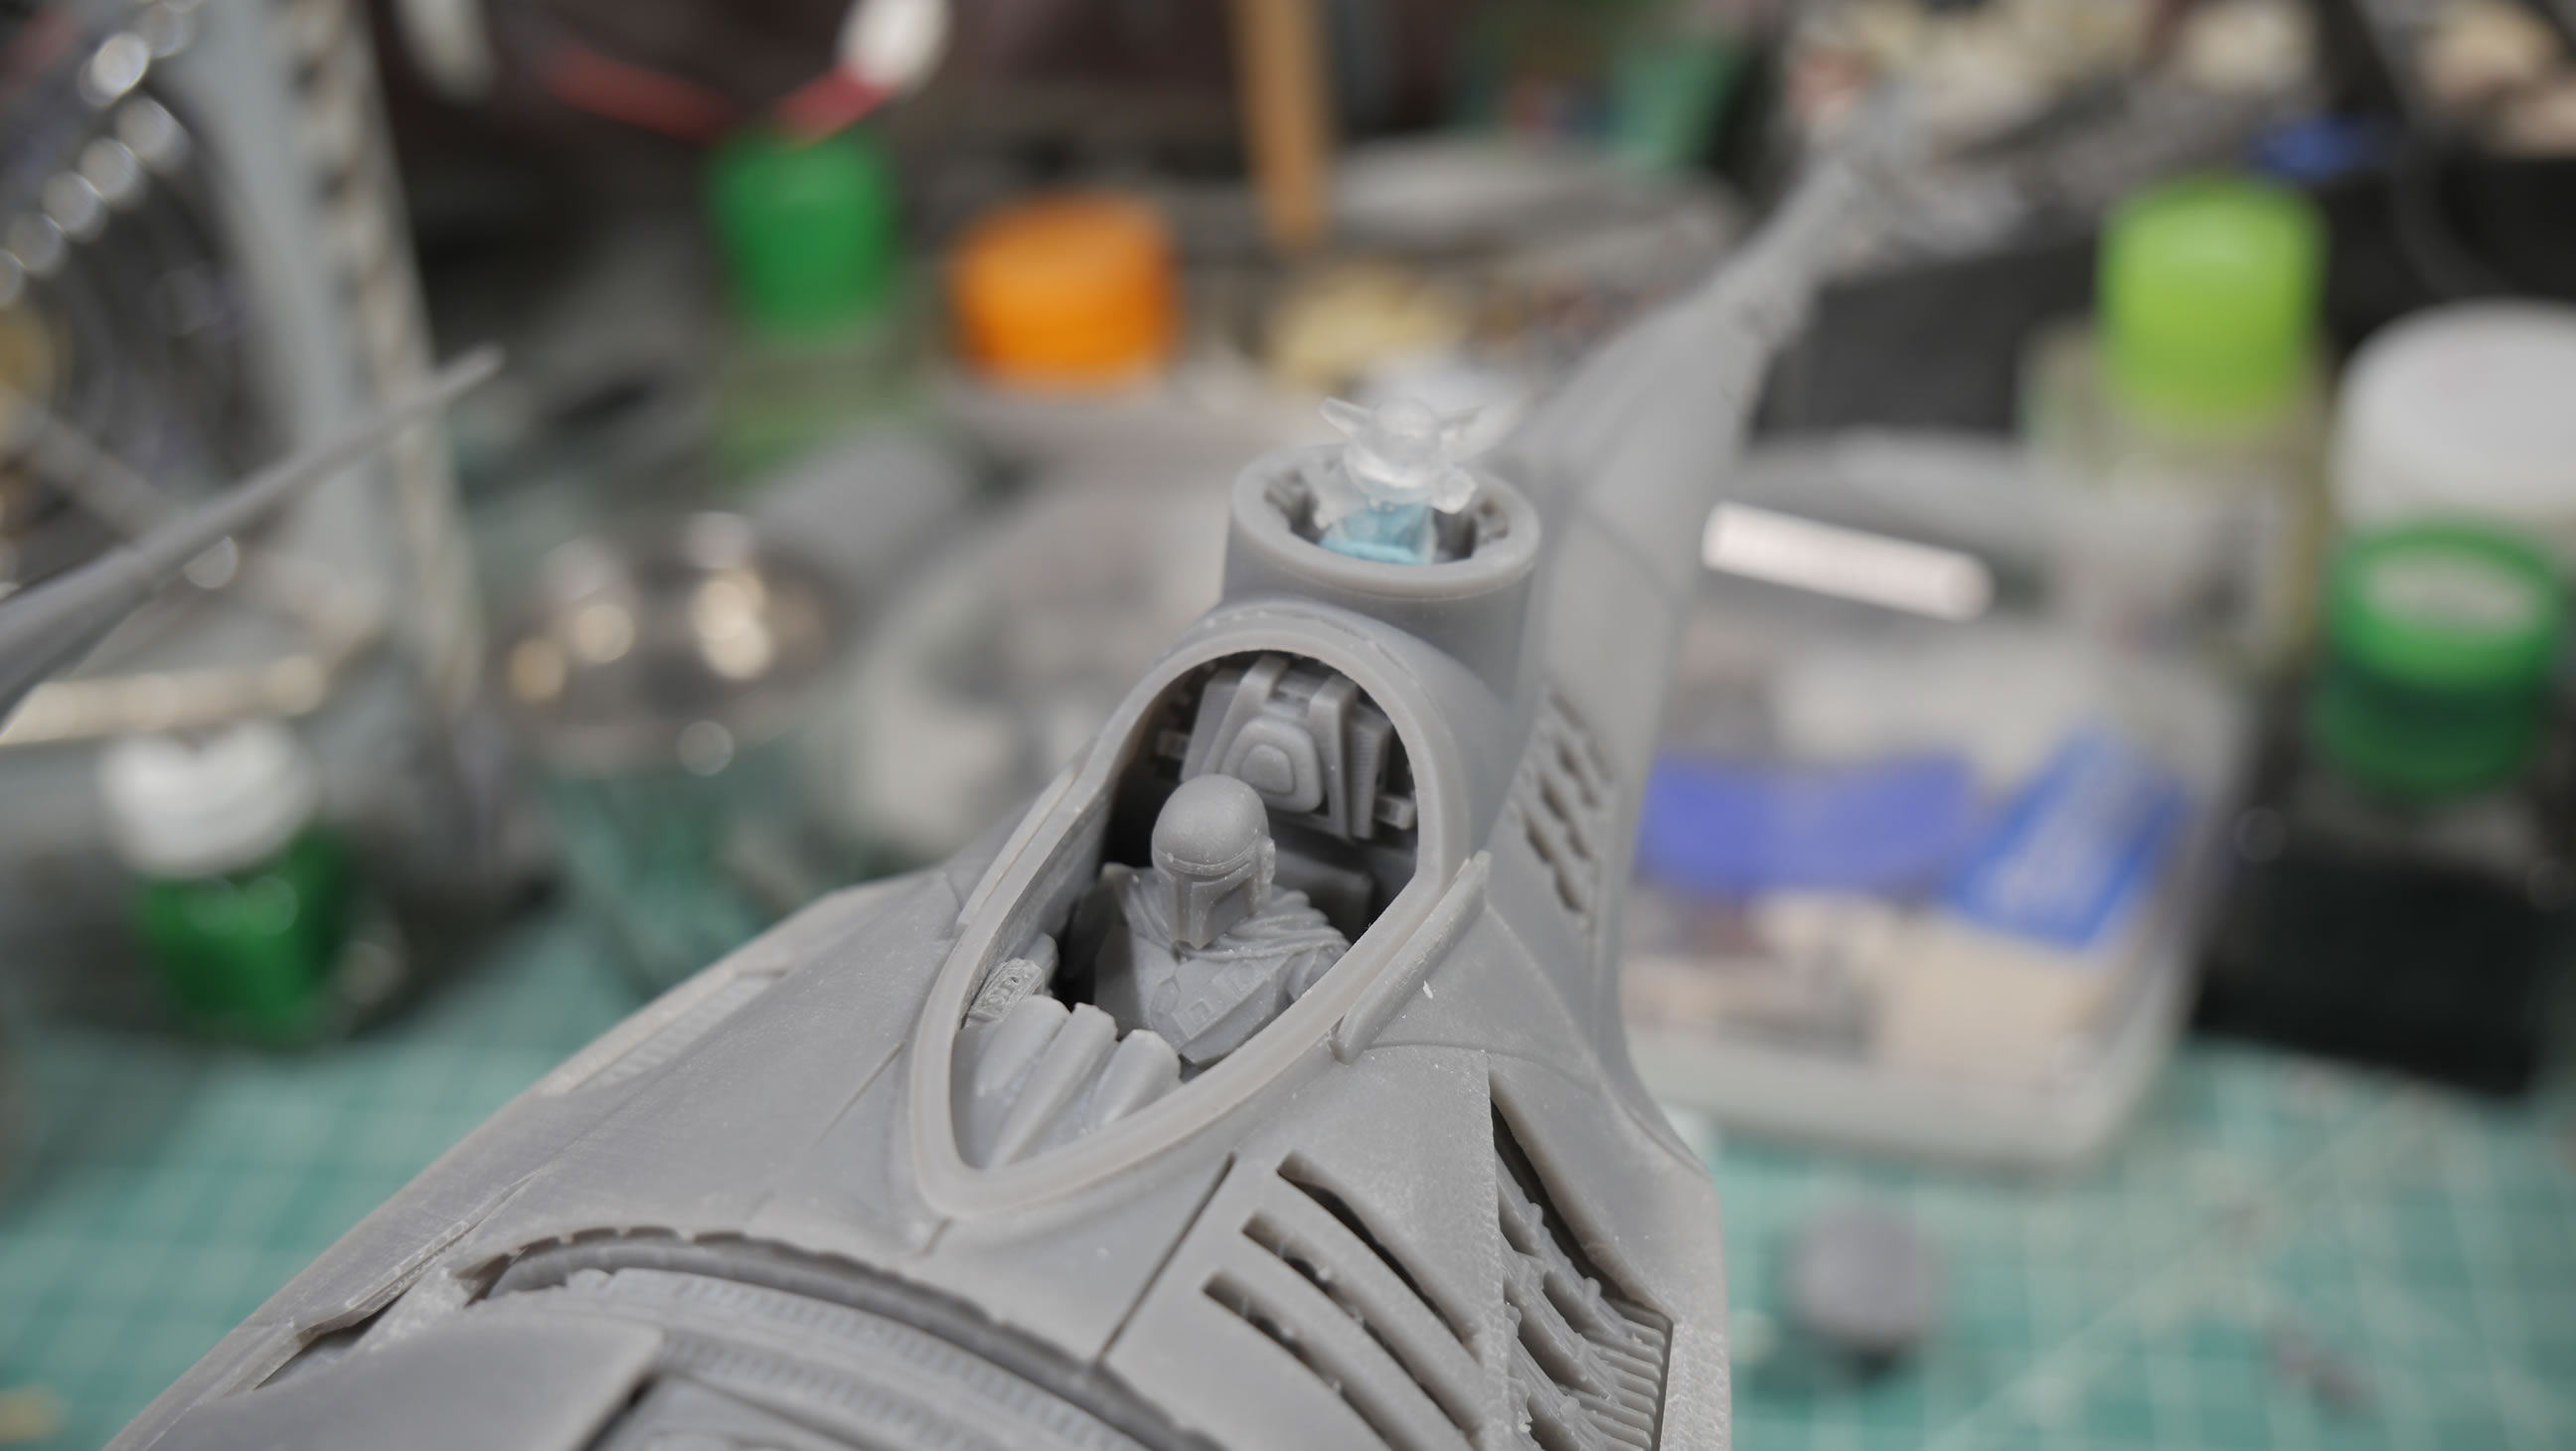
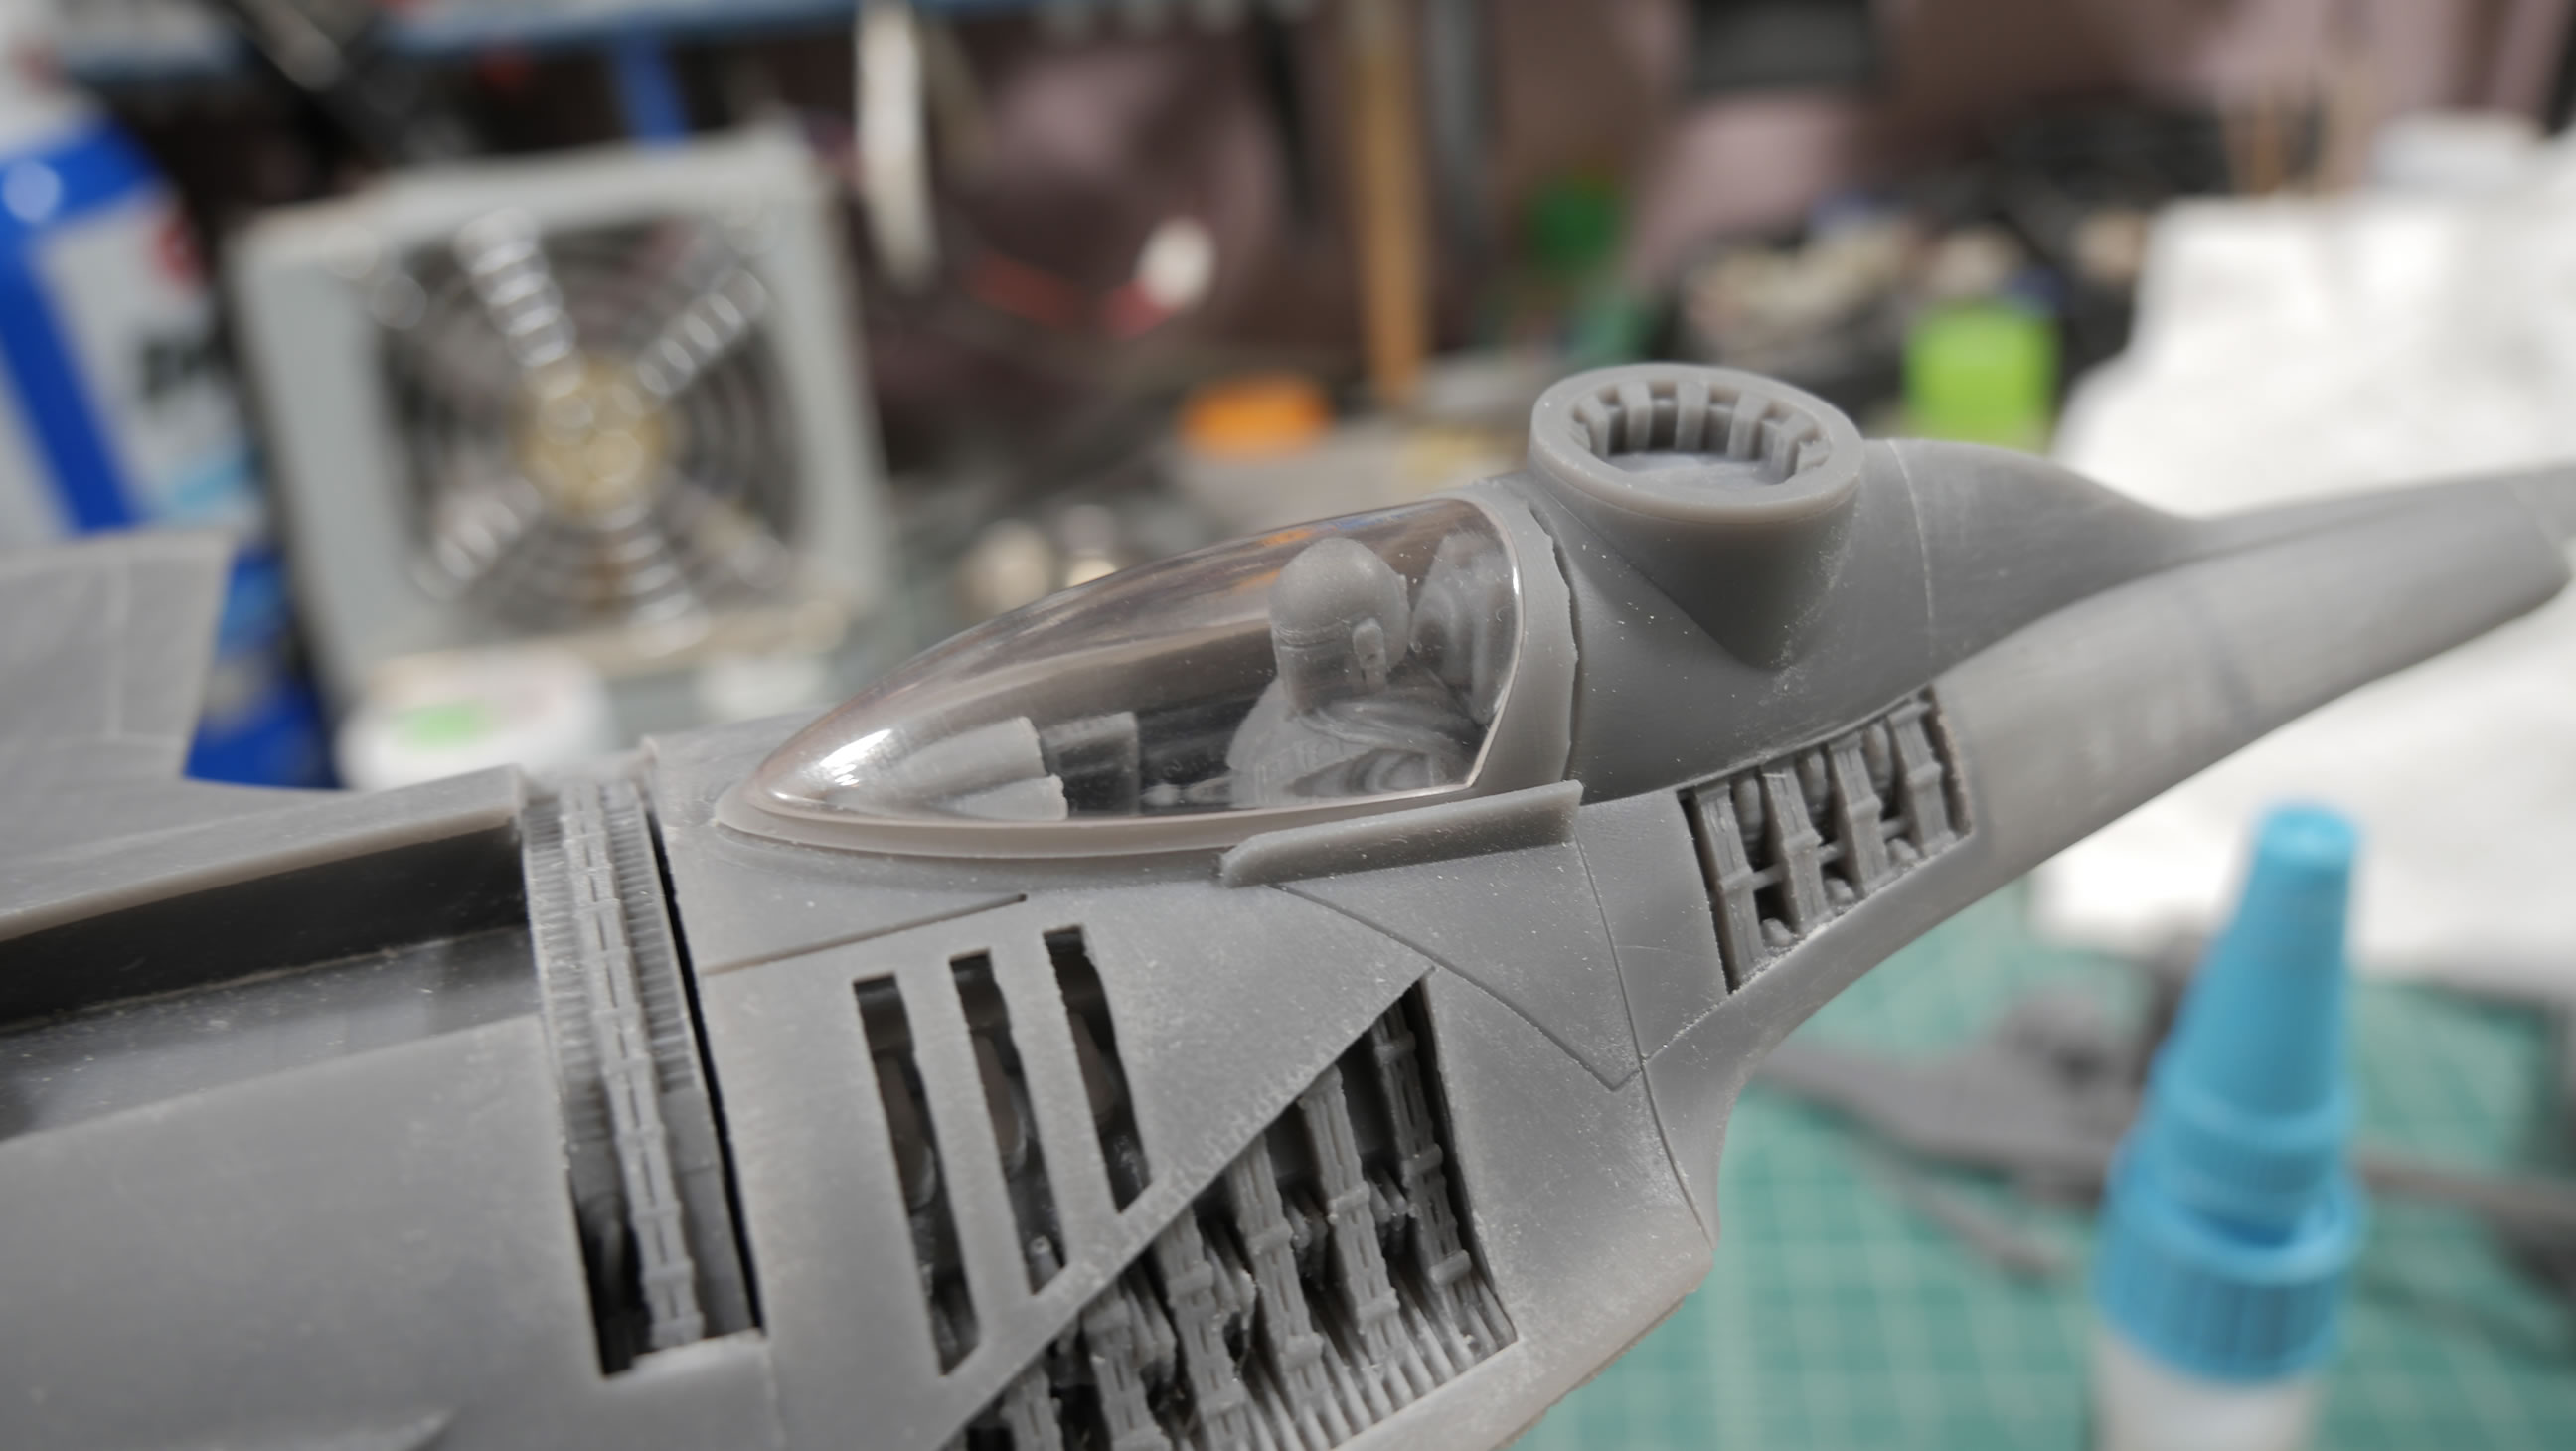
The fit wasn’t the greatest, so most of the keys needed to be enlarged or sanded down a little to fit. This is a design issue but not a big deal as model builders we can always add or subtract materials to make things fit. So after a little sanding work, I got the kit together. I also found another N1 kit on Gambody that has a Mando pilot figure. So I bought that specifically to get the pilot. A little sanding here and there and I got the pilot to fit. That kit also had a seat, and Alain’s didn’t so I did some mods to the cockpit and added in the seat. The last picture is the printed canopy. It’s not much to look at, but after some sanding work, it should start to clear up.
The above happened about 3 weeks into February. Alain posted up that he was doing a version 2 to fix some fit issues and just clean up the design a little more to his liking and probably from comments folks gave him on his design. I got the new files the second week of March and went ahead and printed everything. The only thing that didn’t change were the power couplers. But I printed those out too just so that V1 kit was complete. I sold that to a friend.
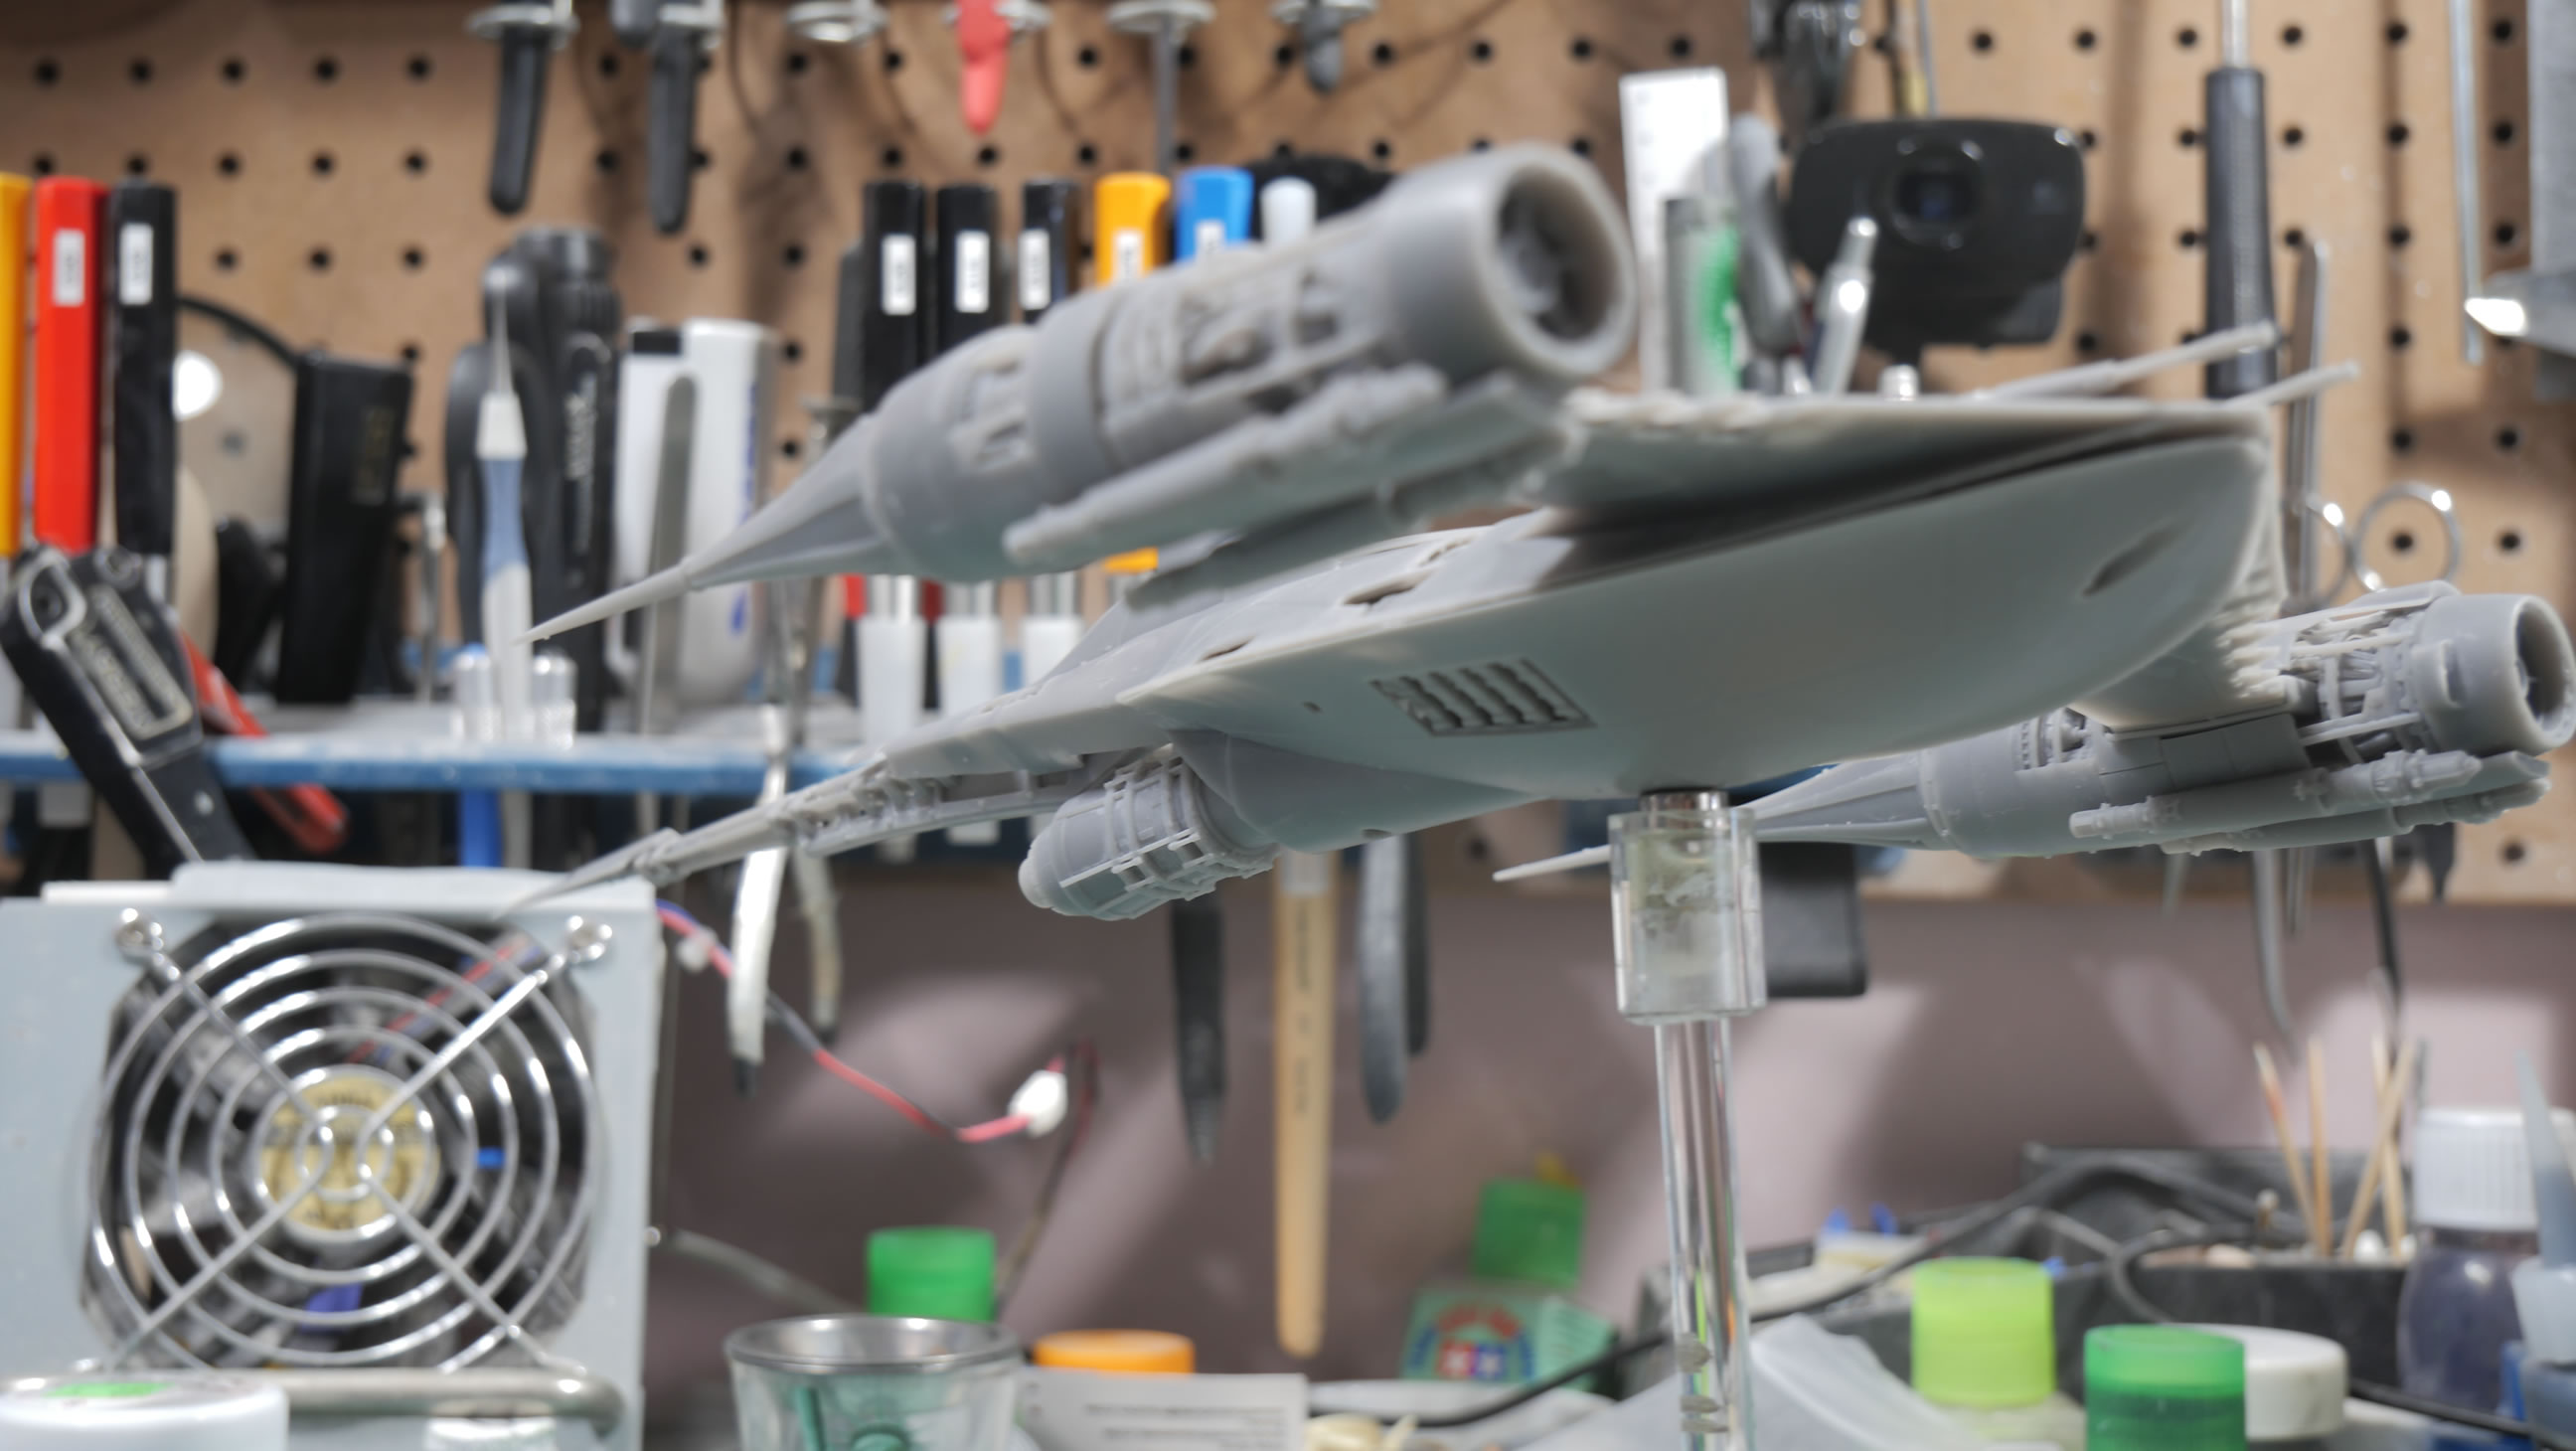
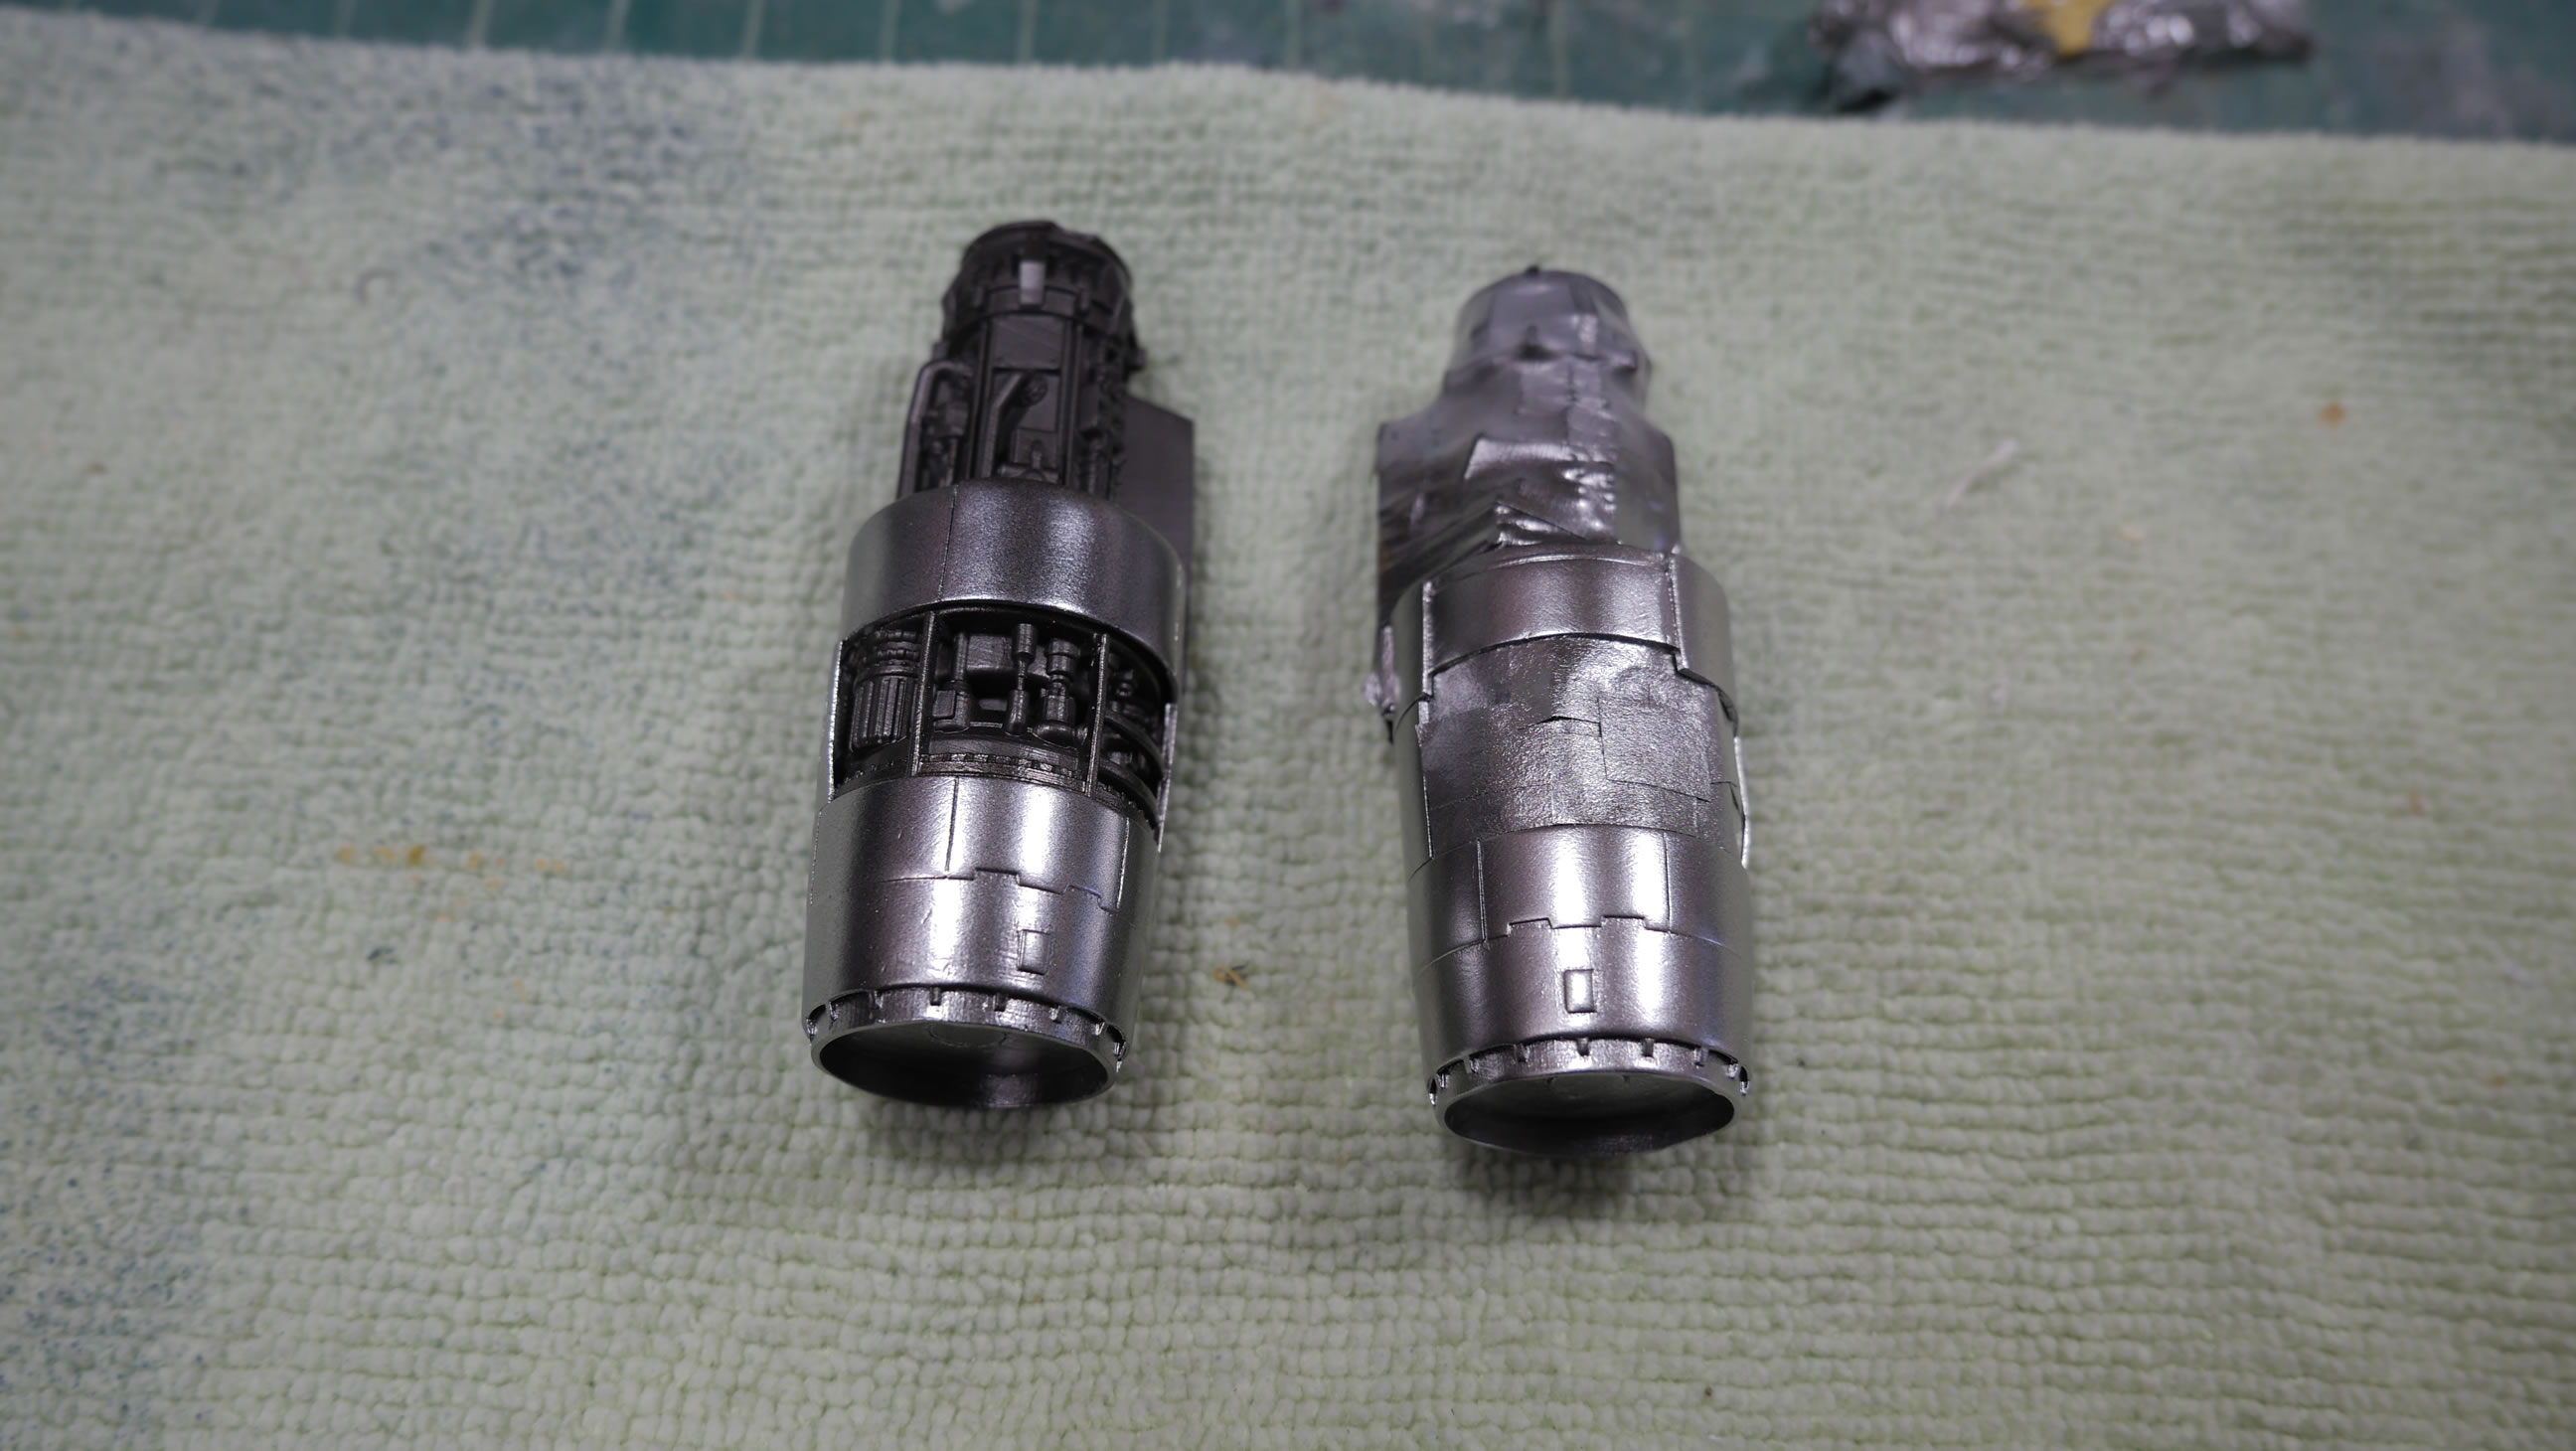
Version 2 next to Version 1:
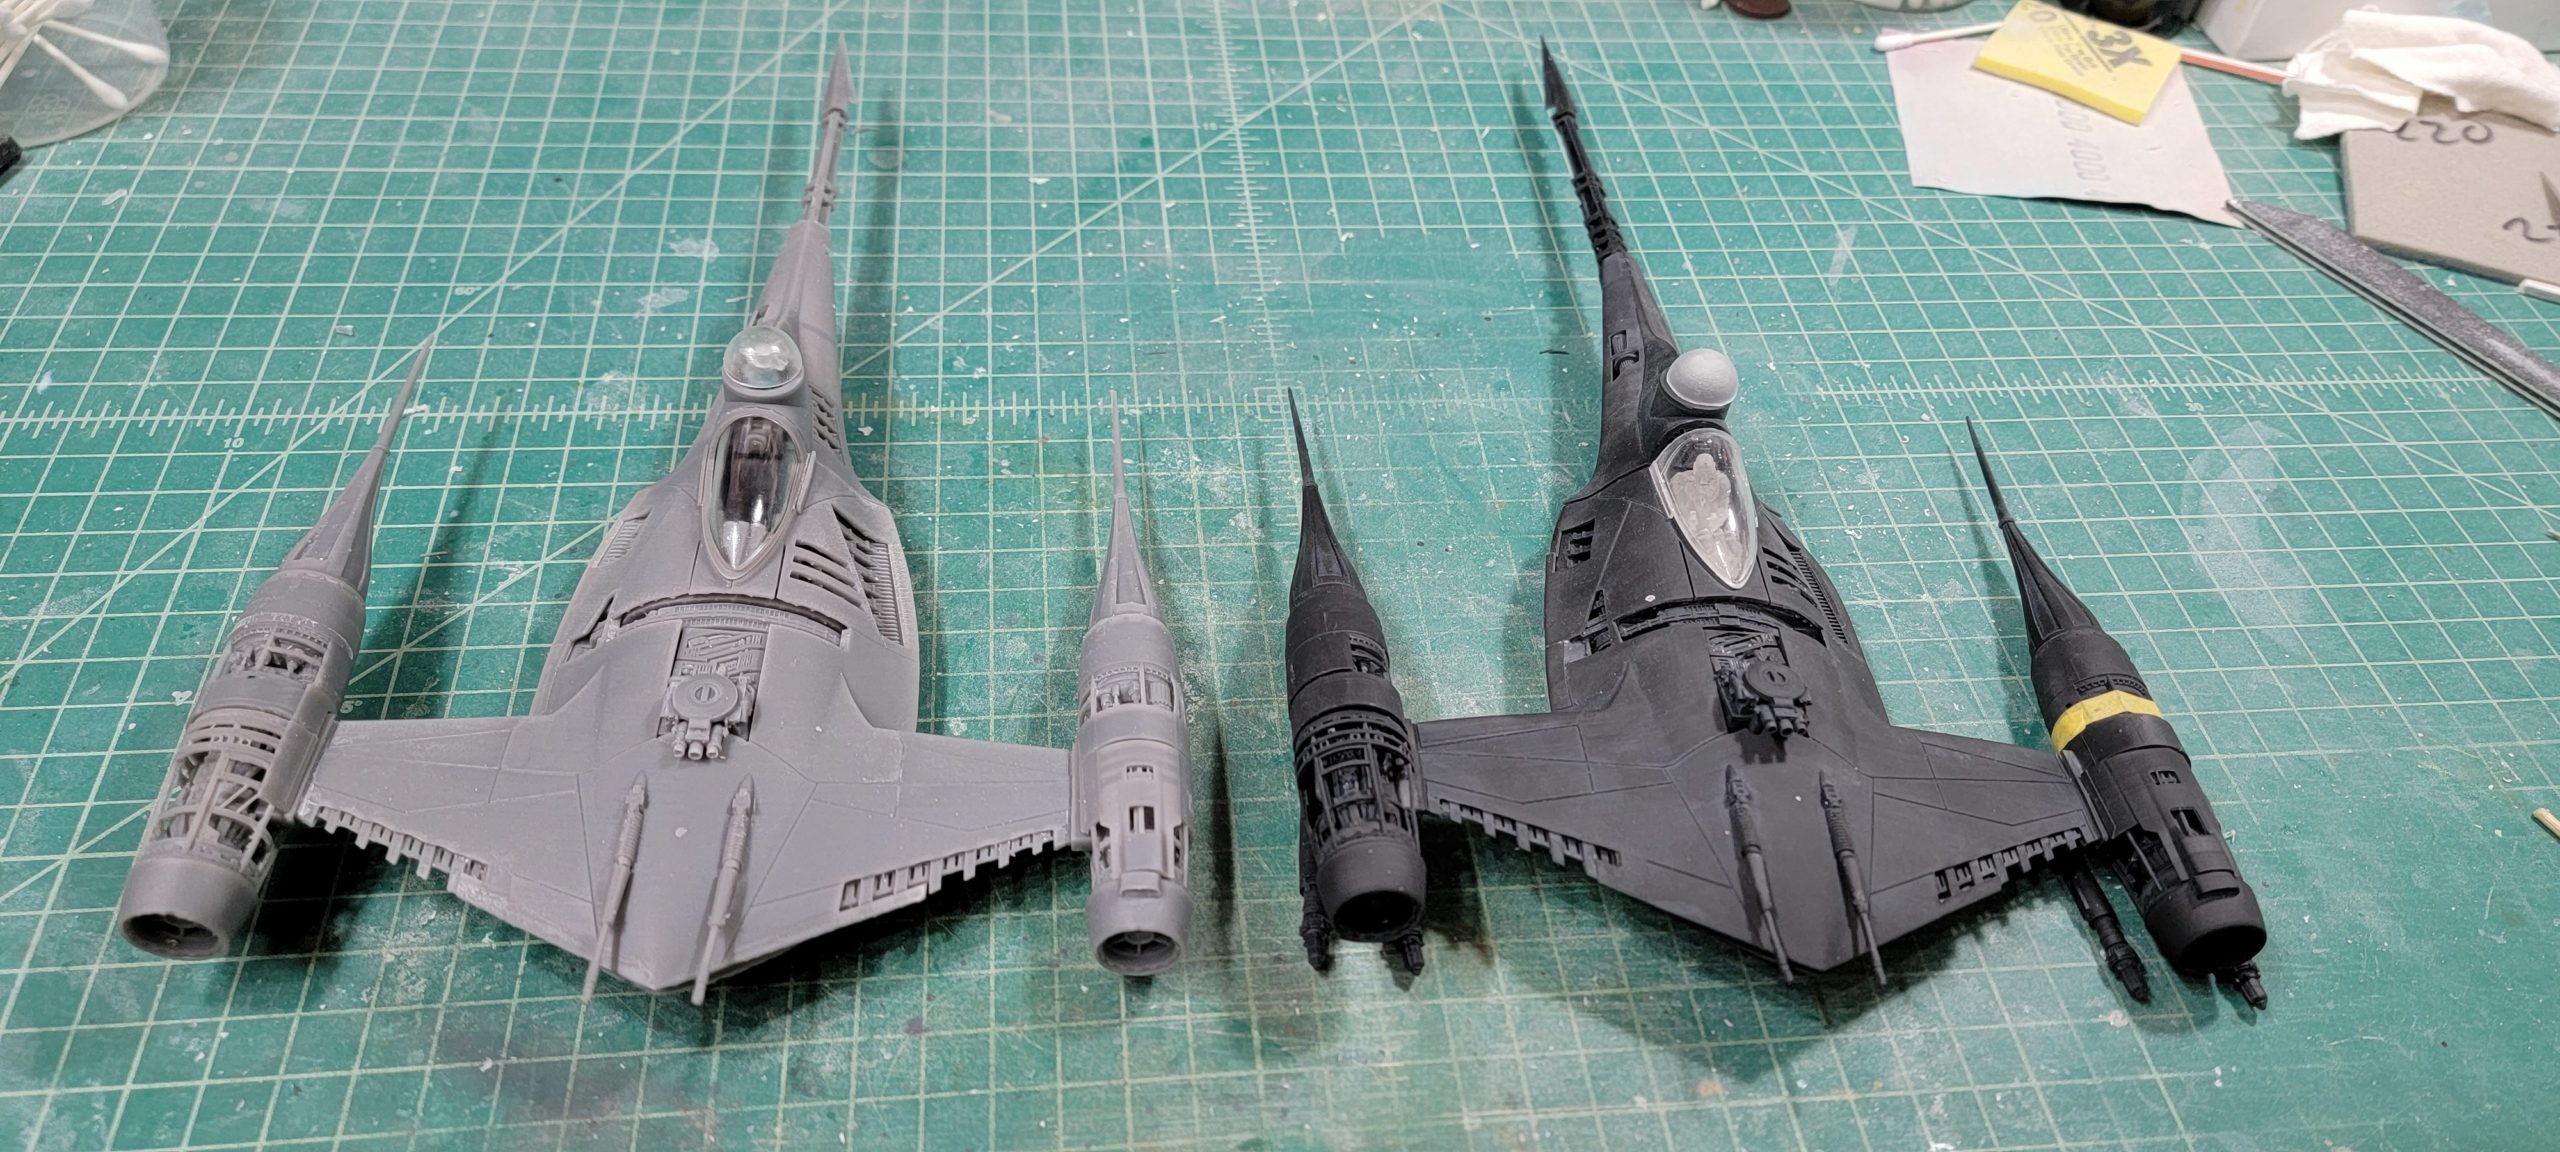
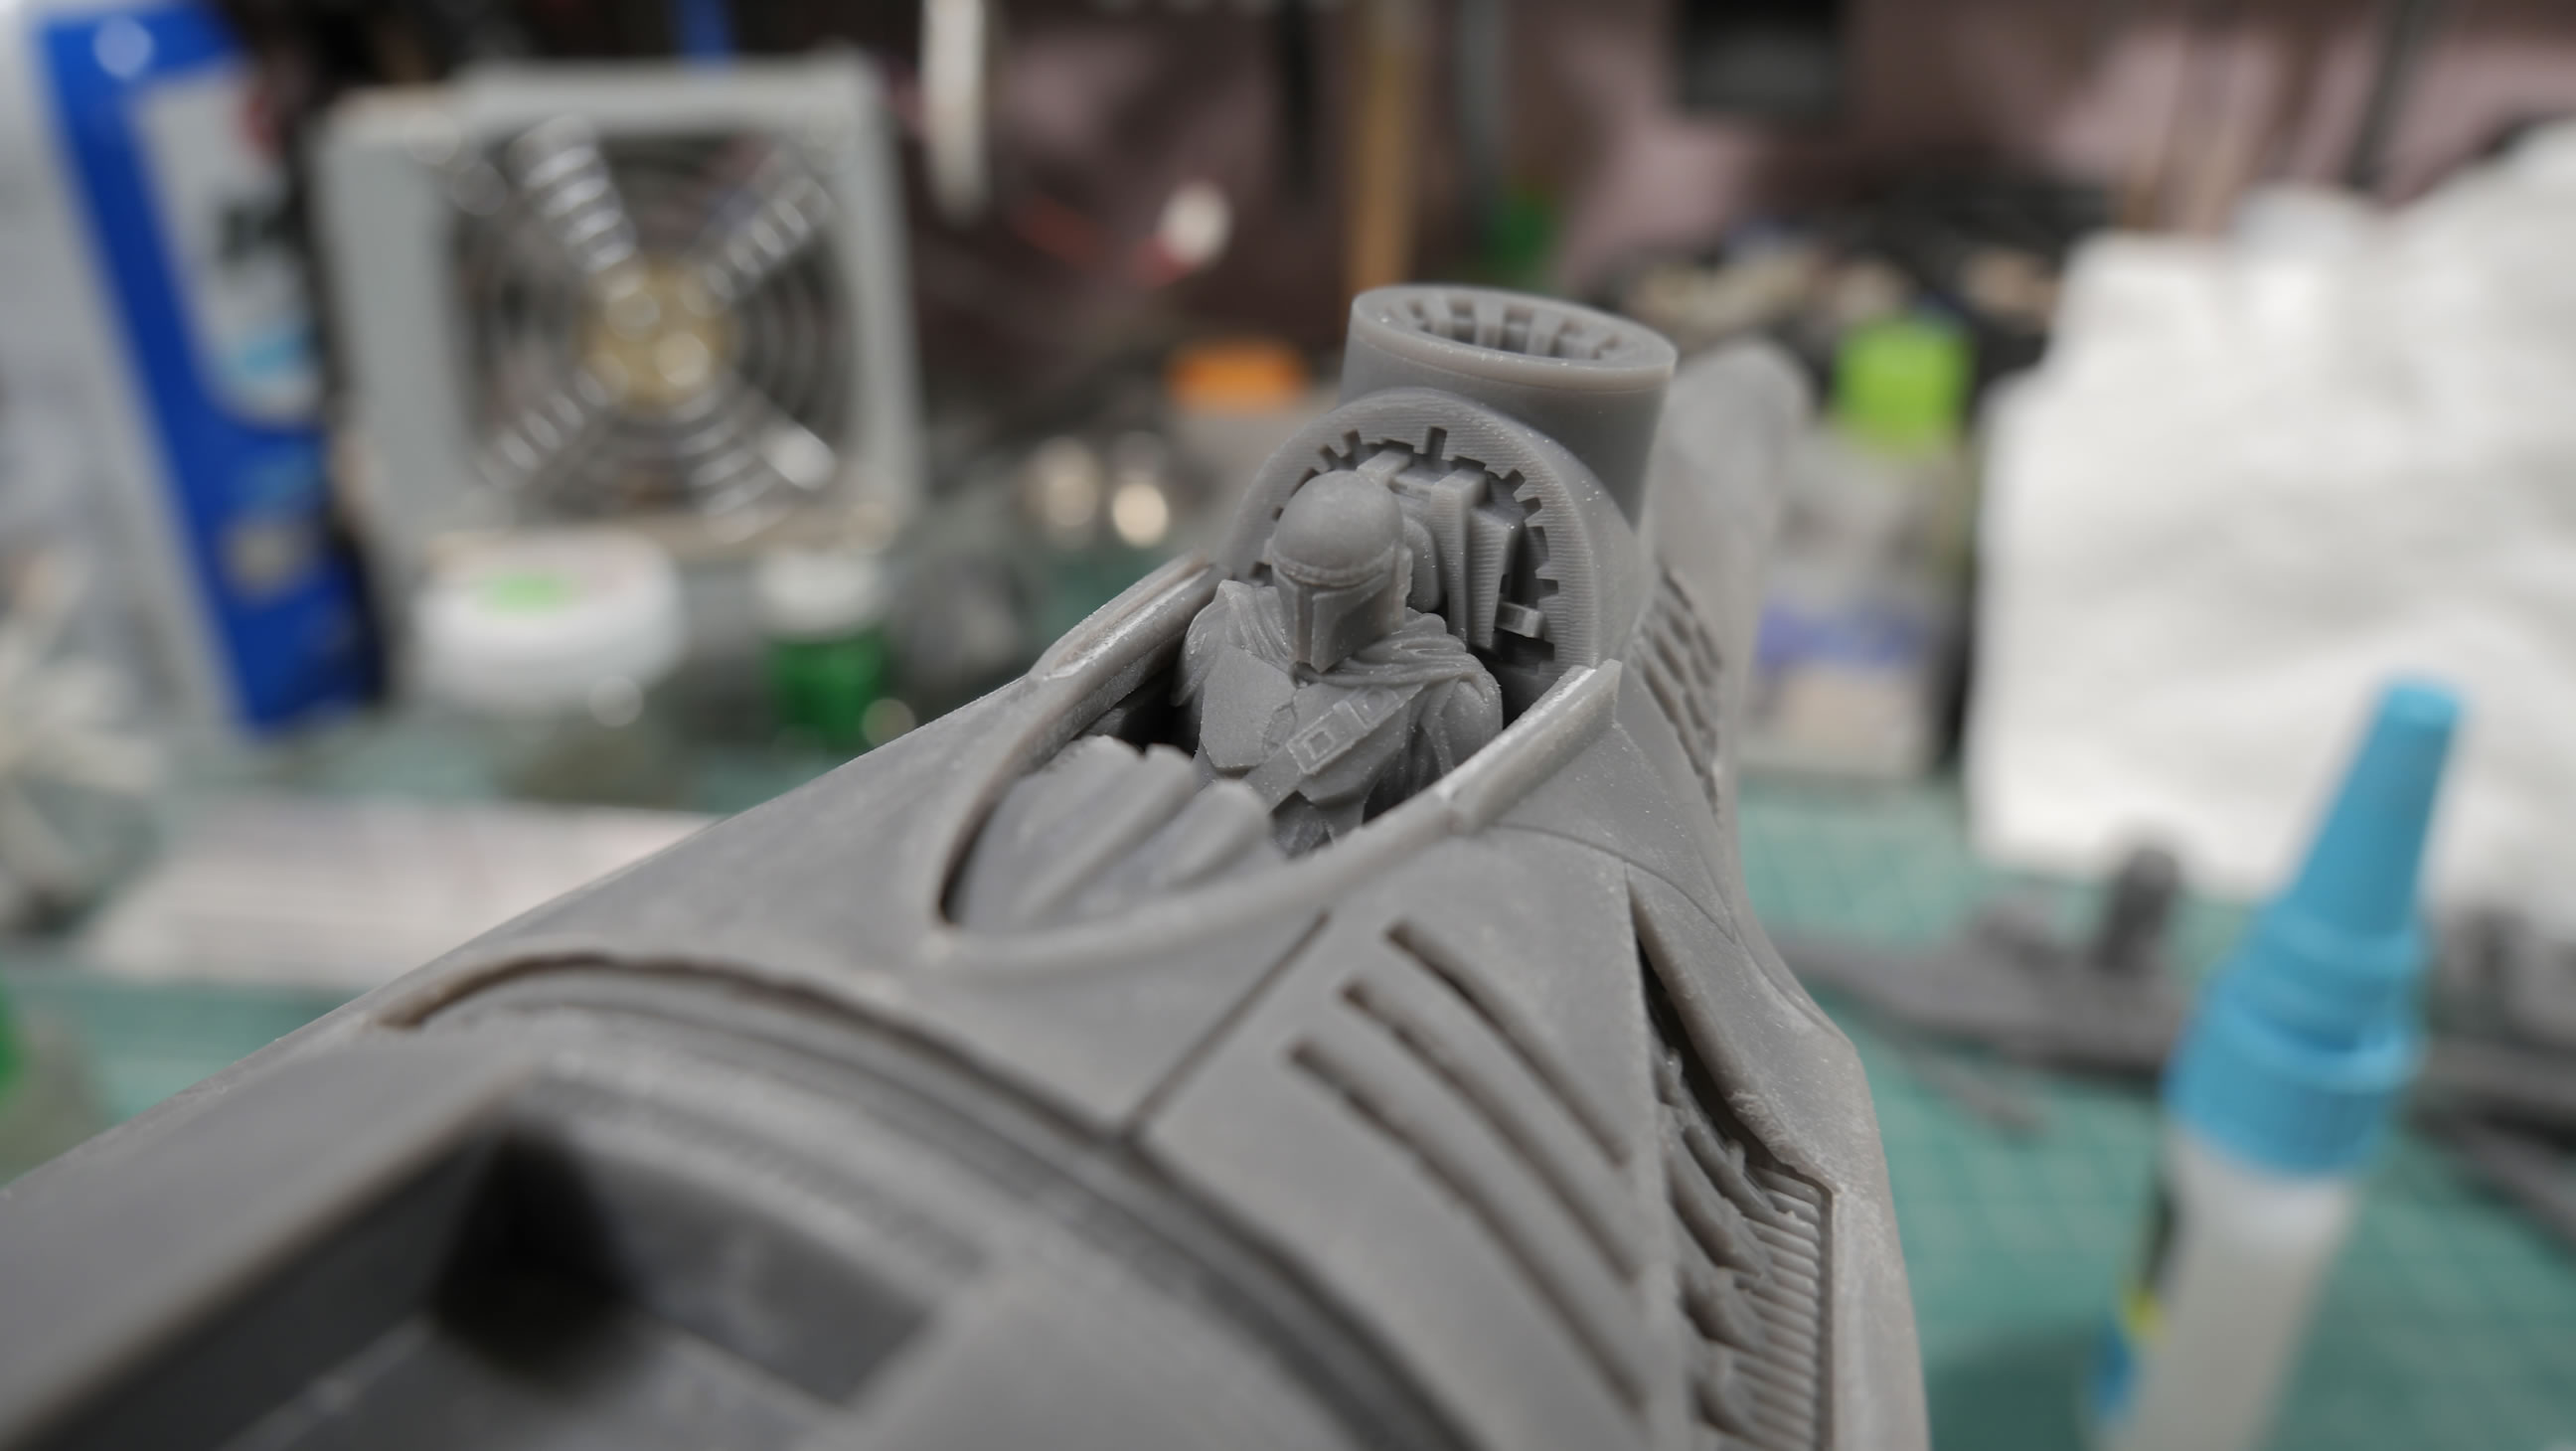
Test fit is better, but there are still a few issues here and there. Most likely from the printing process and post curing slightly warping things. Again, we’re model builders, we can add and subtract material at will. I reprinted the Mando pilot. No more need for the seat from the other kit, and a little material subtraction to the Mando figure got him fit perfectly.
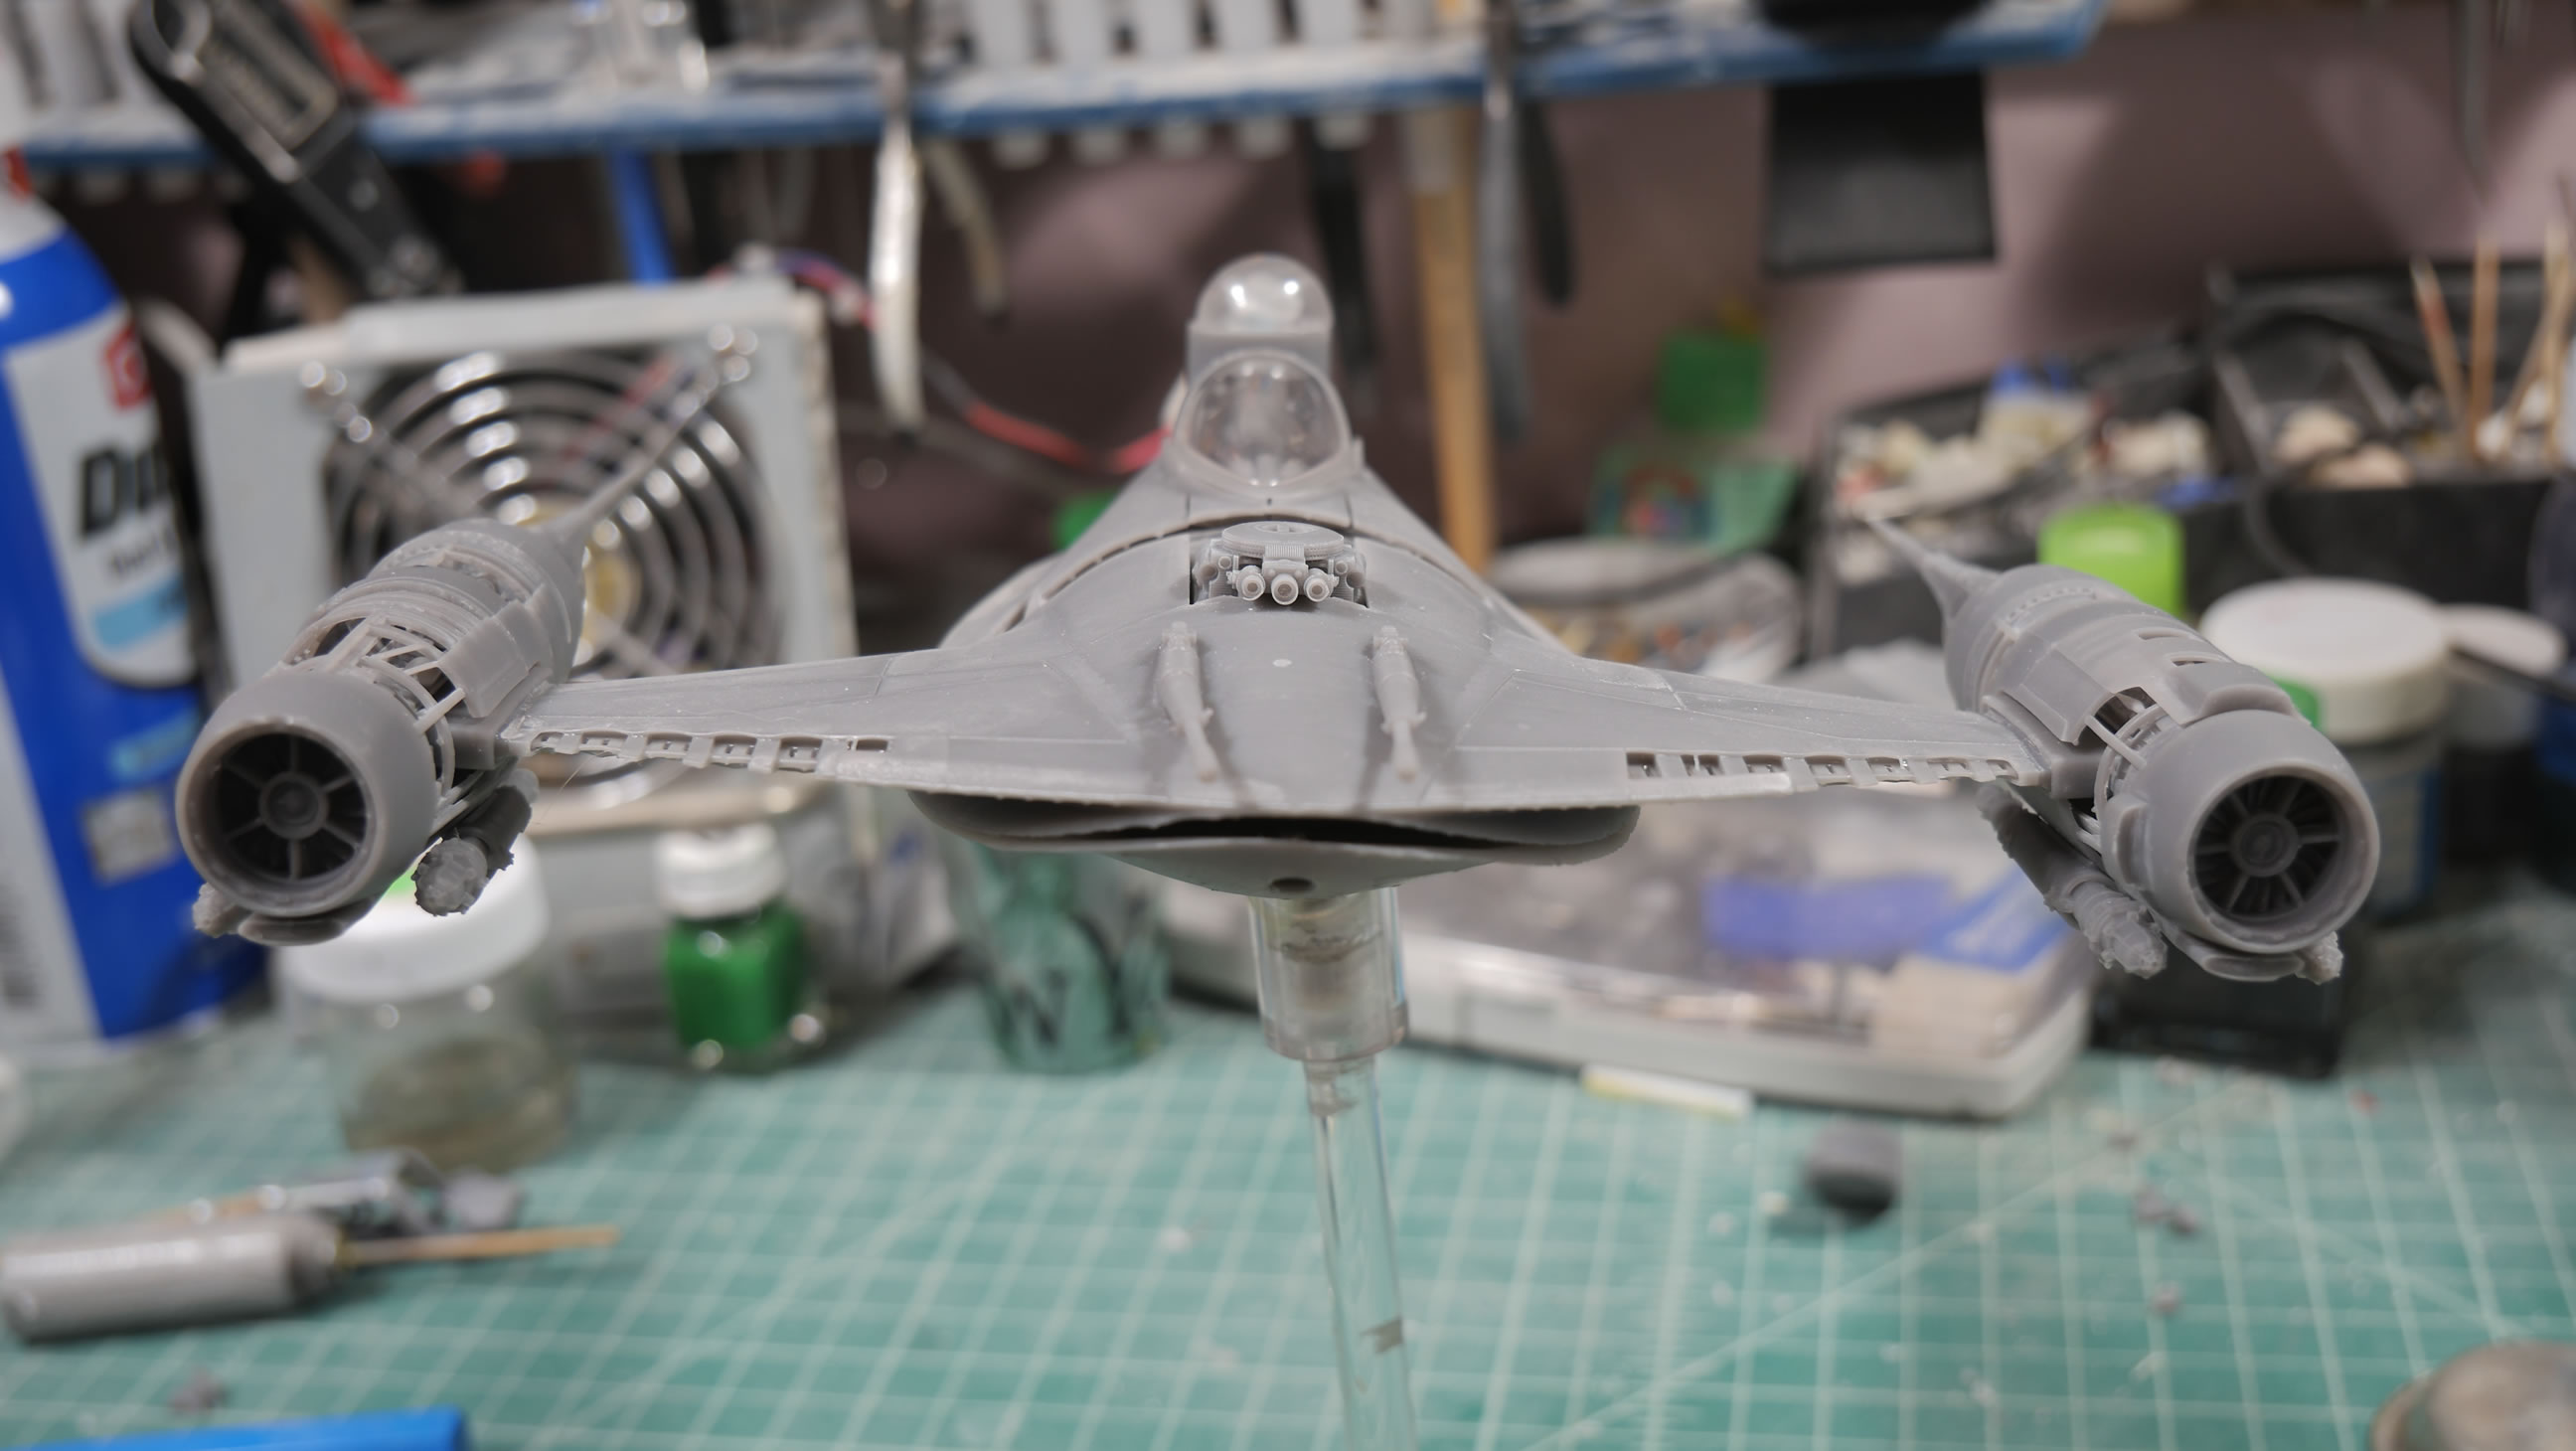
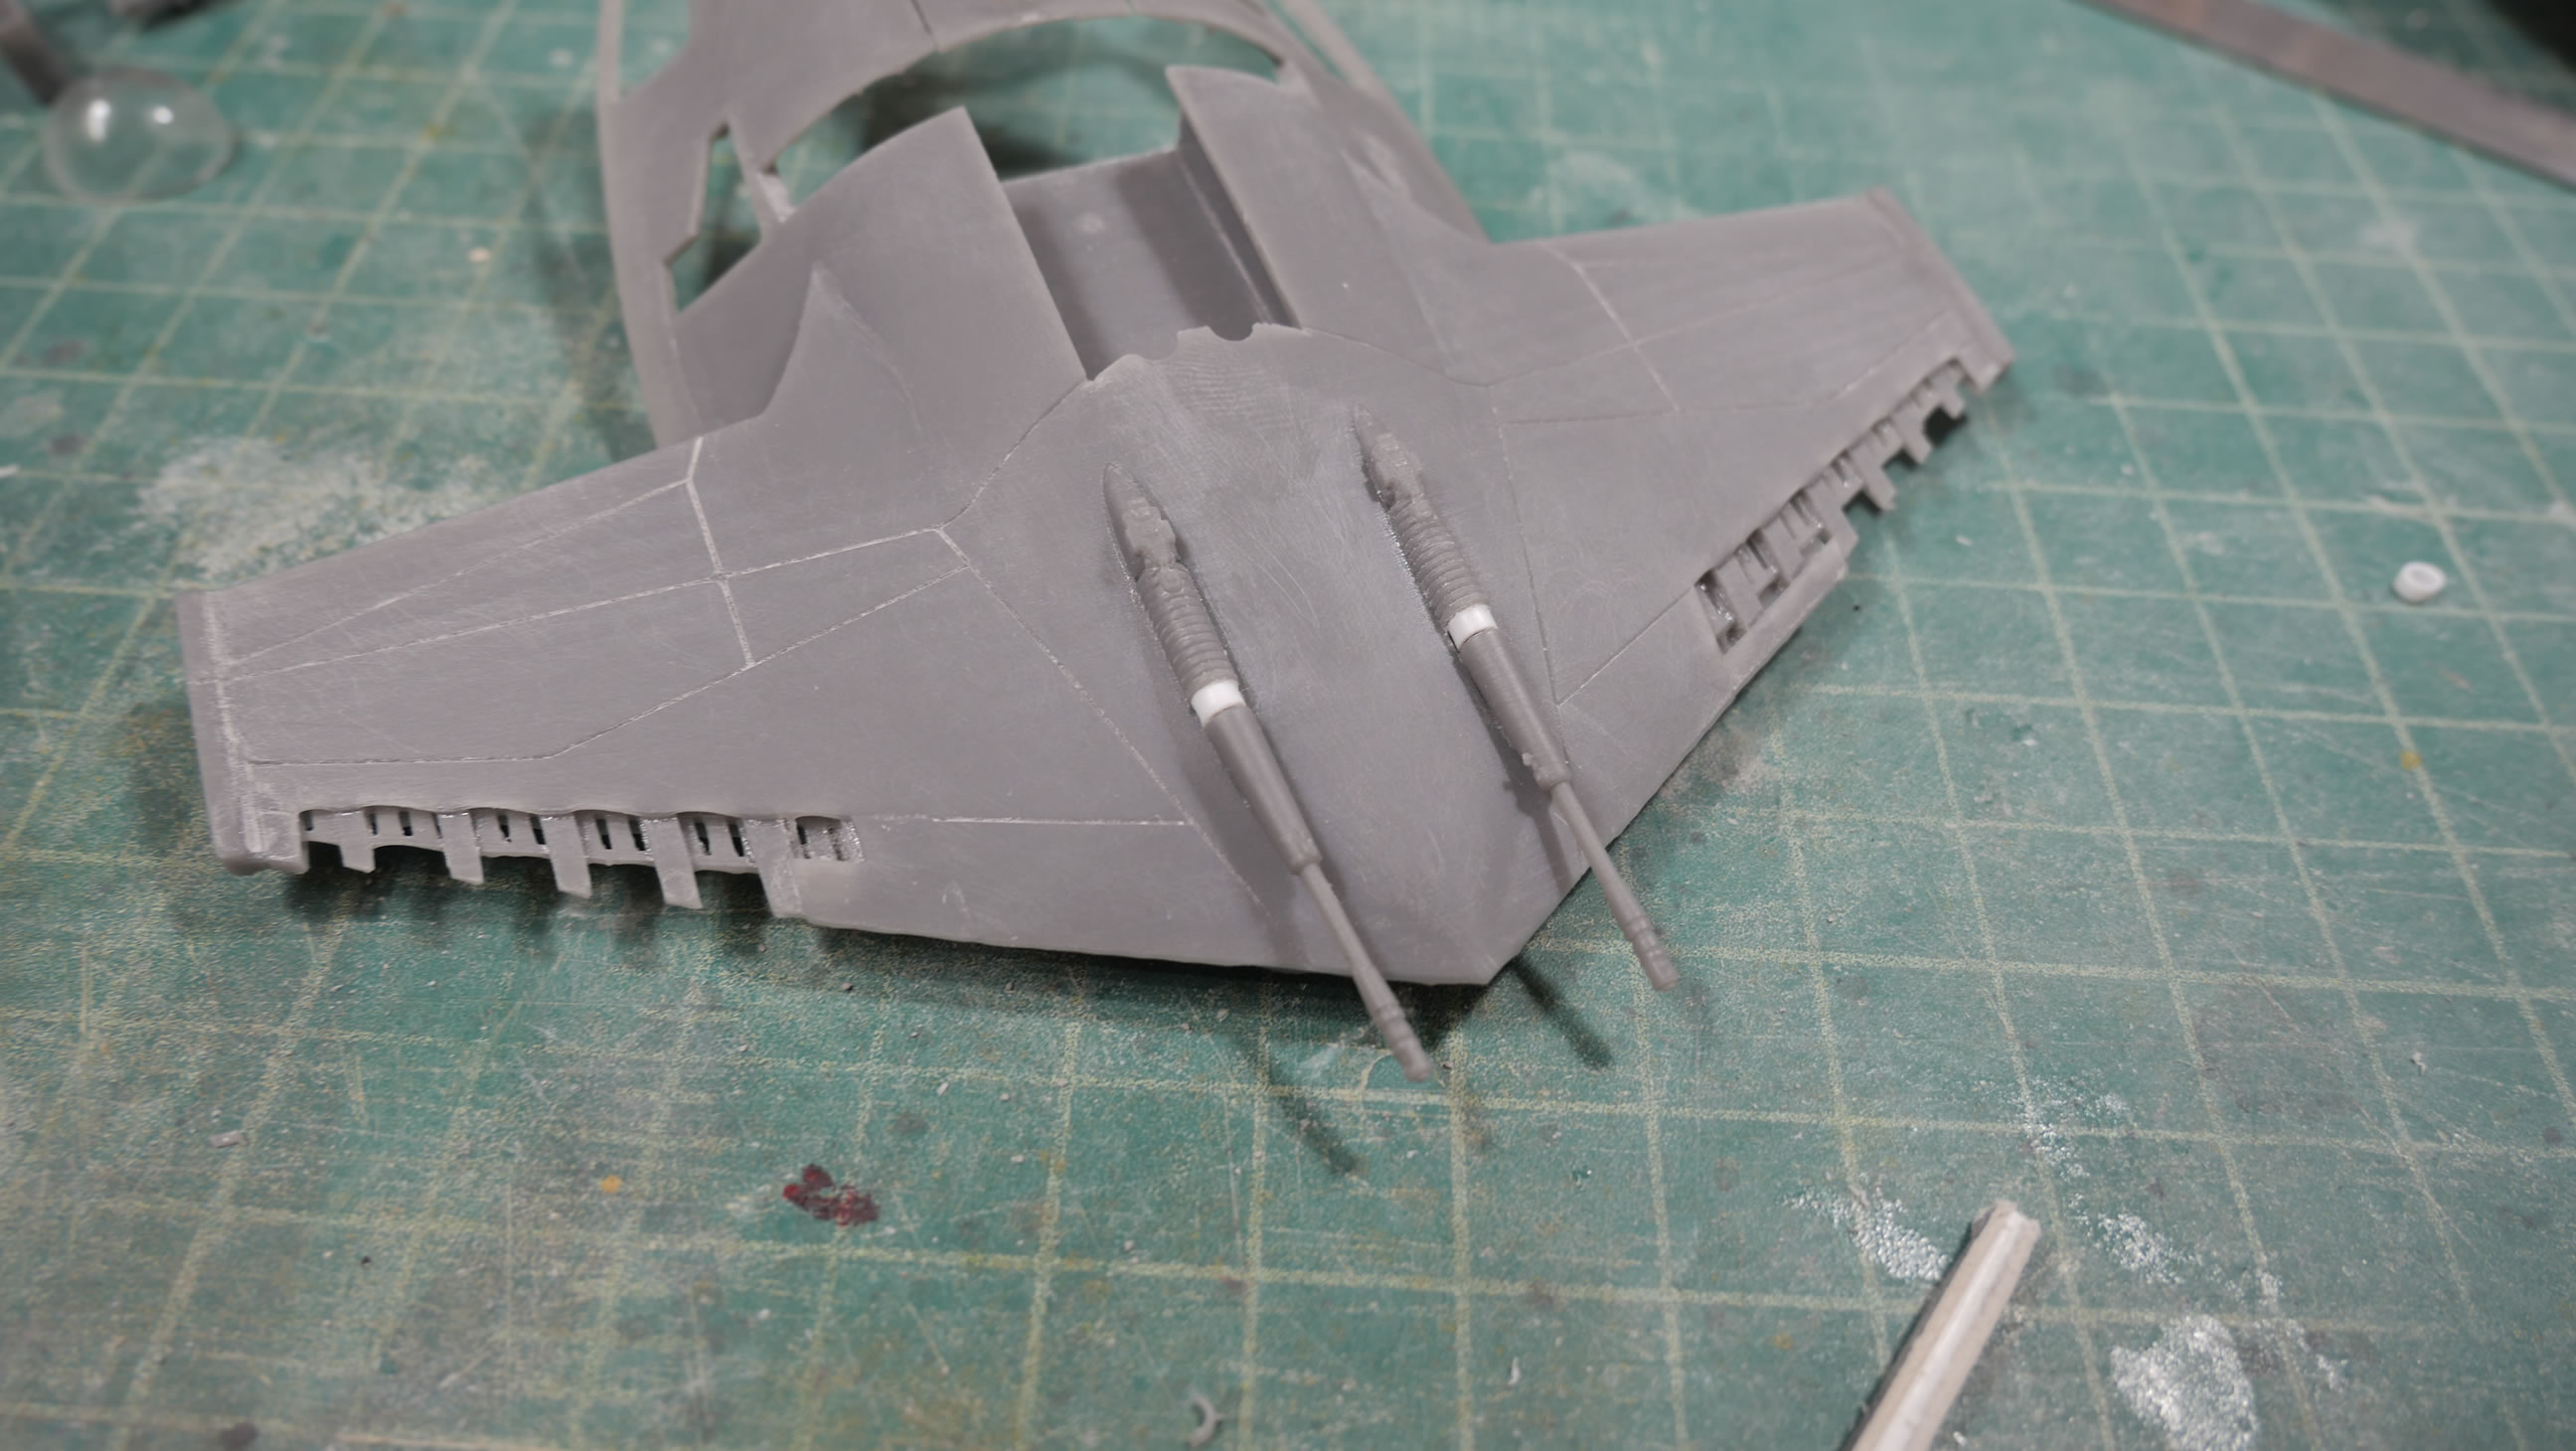
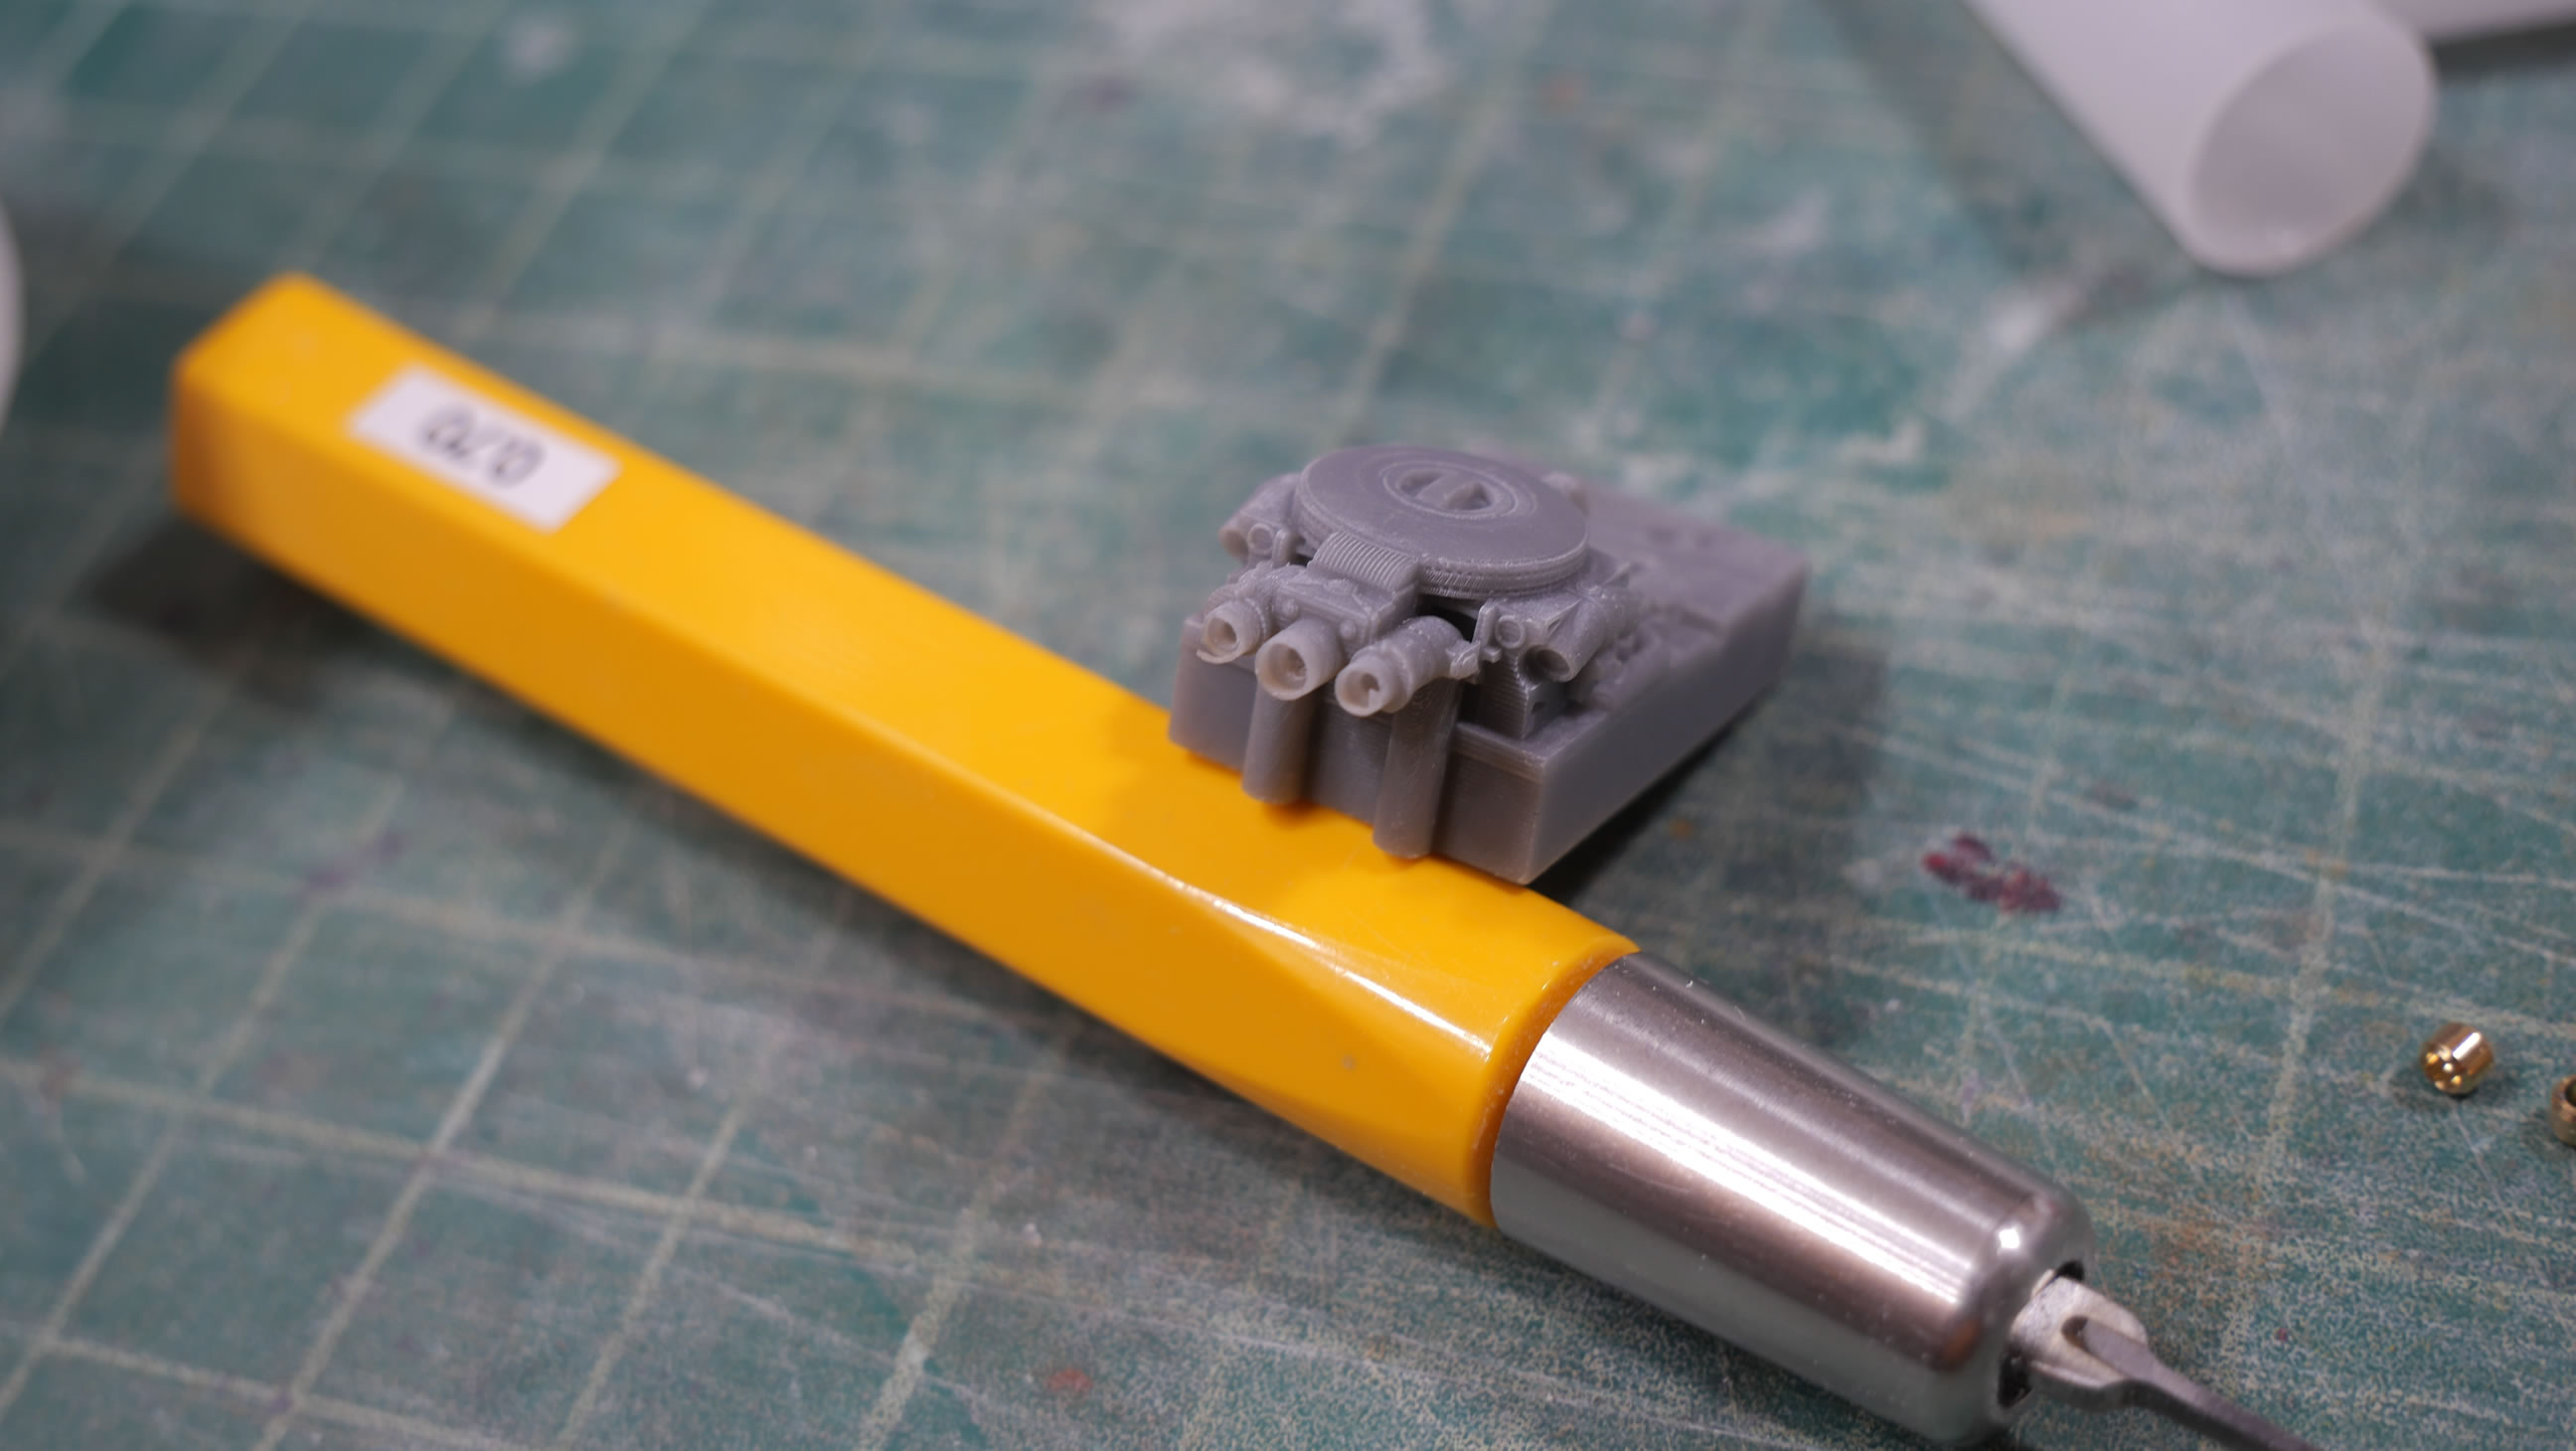
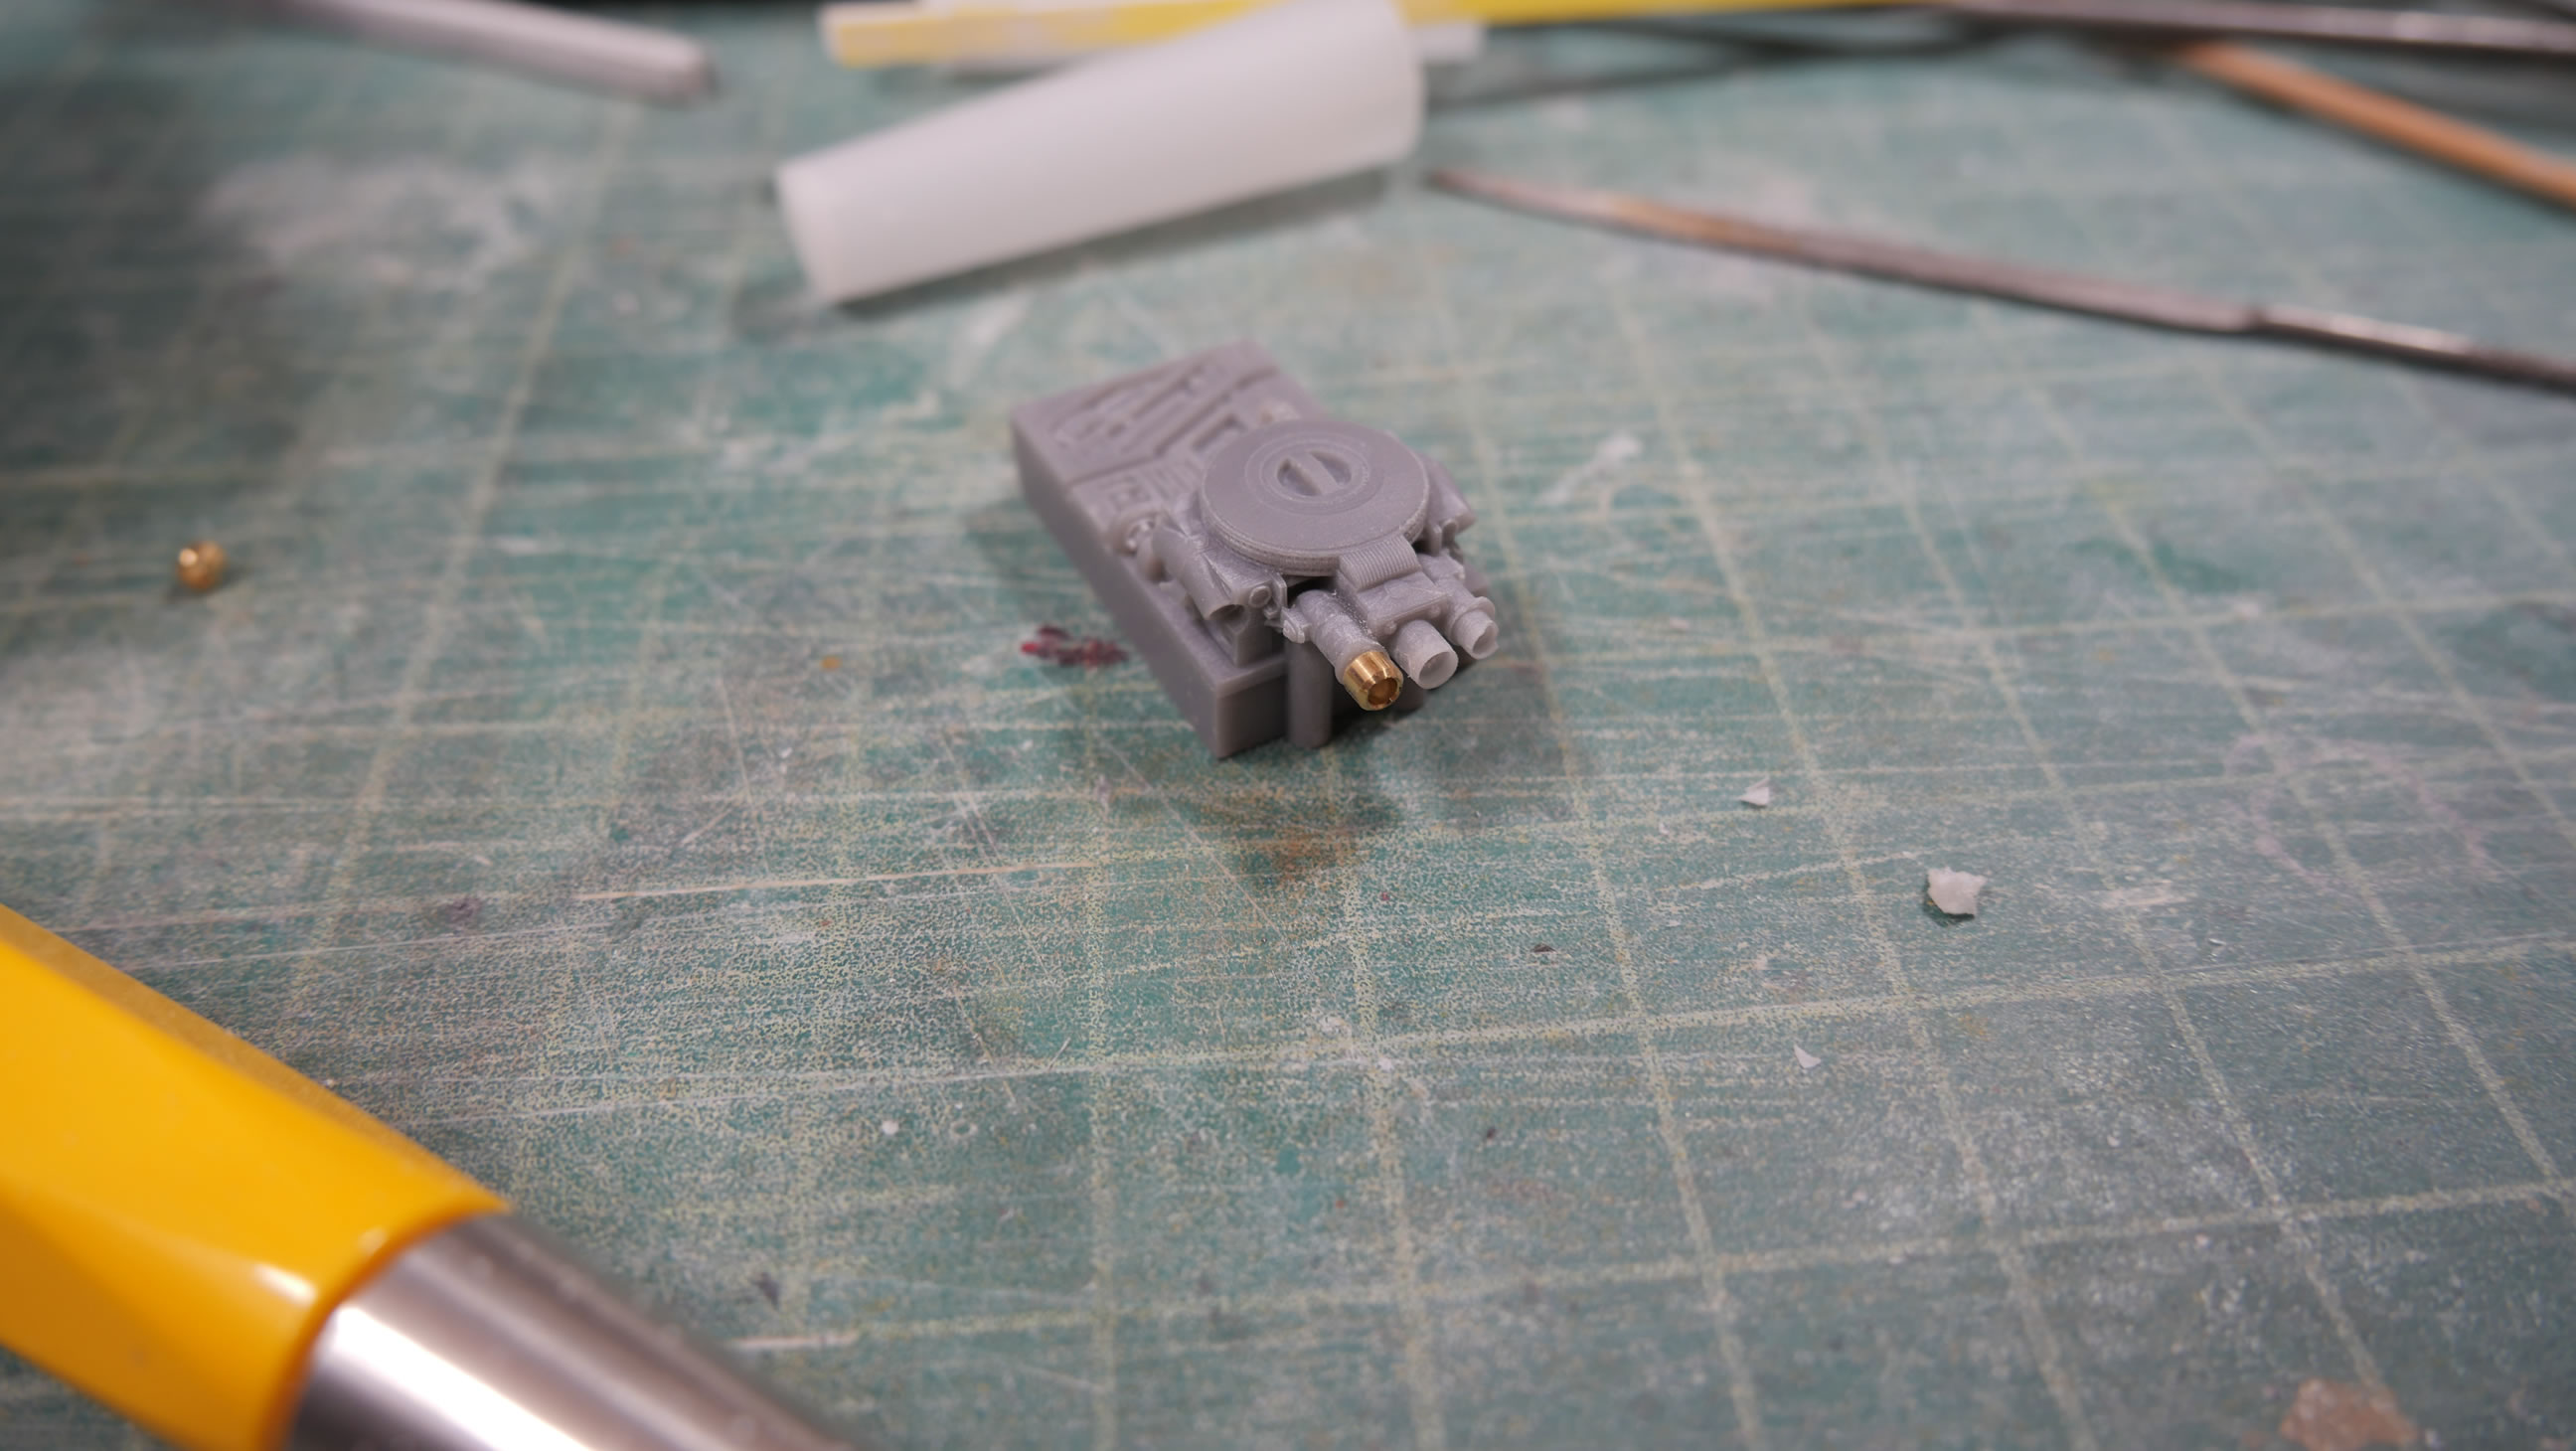
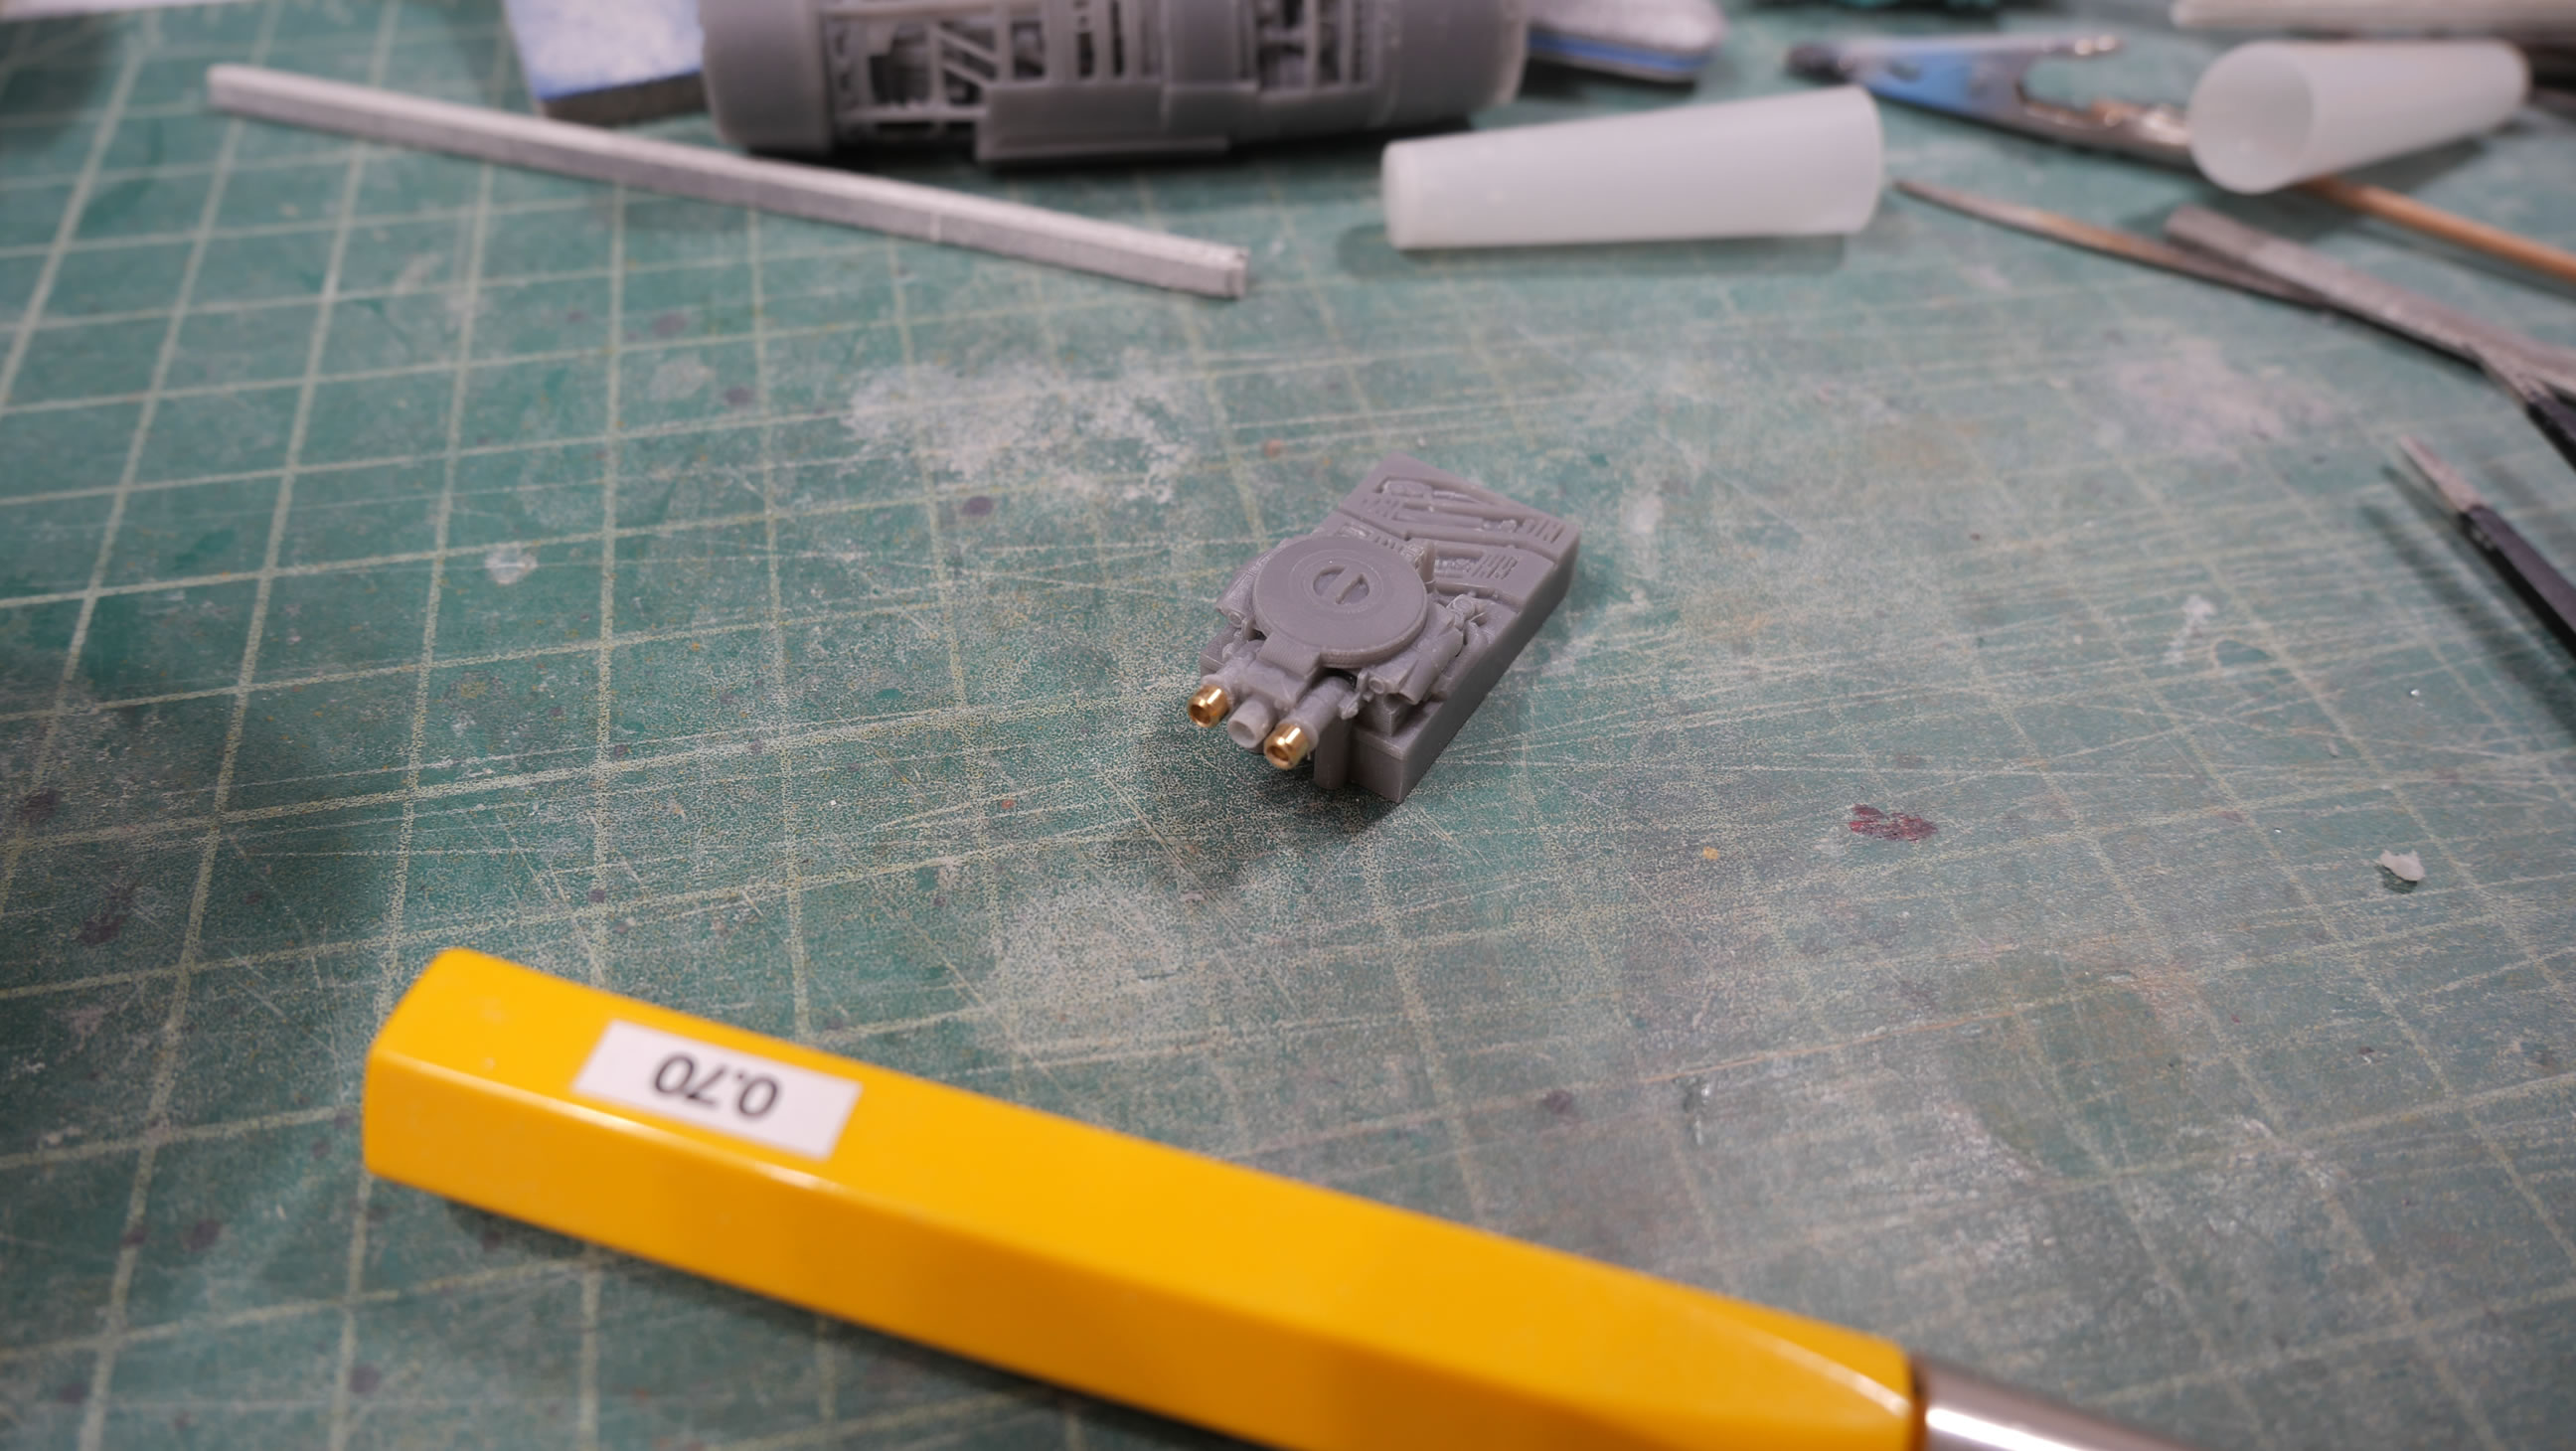
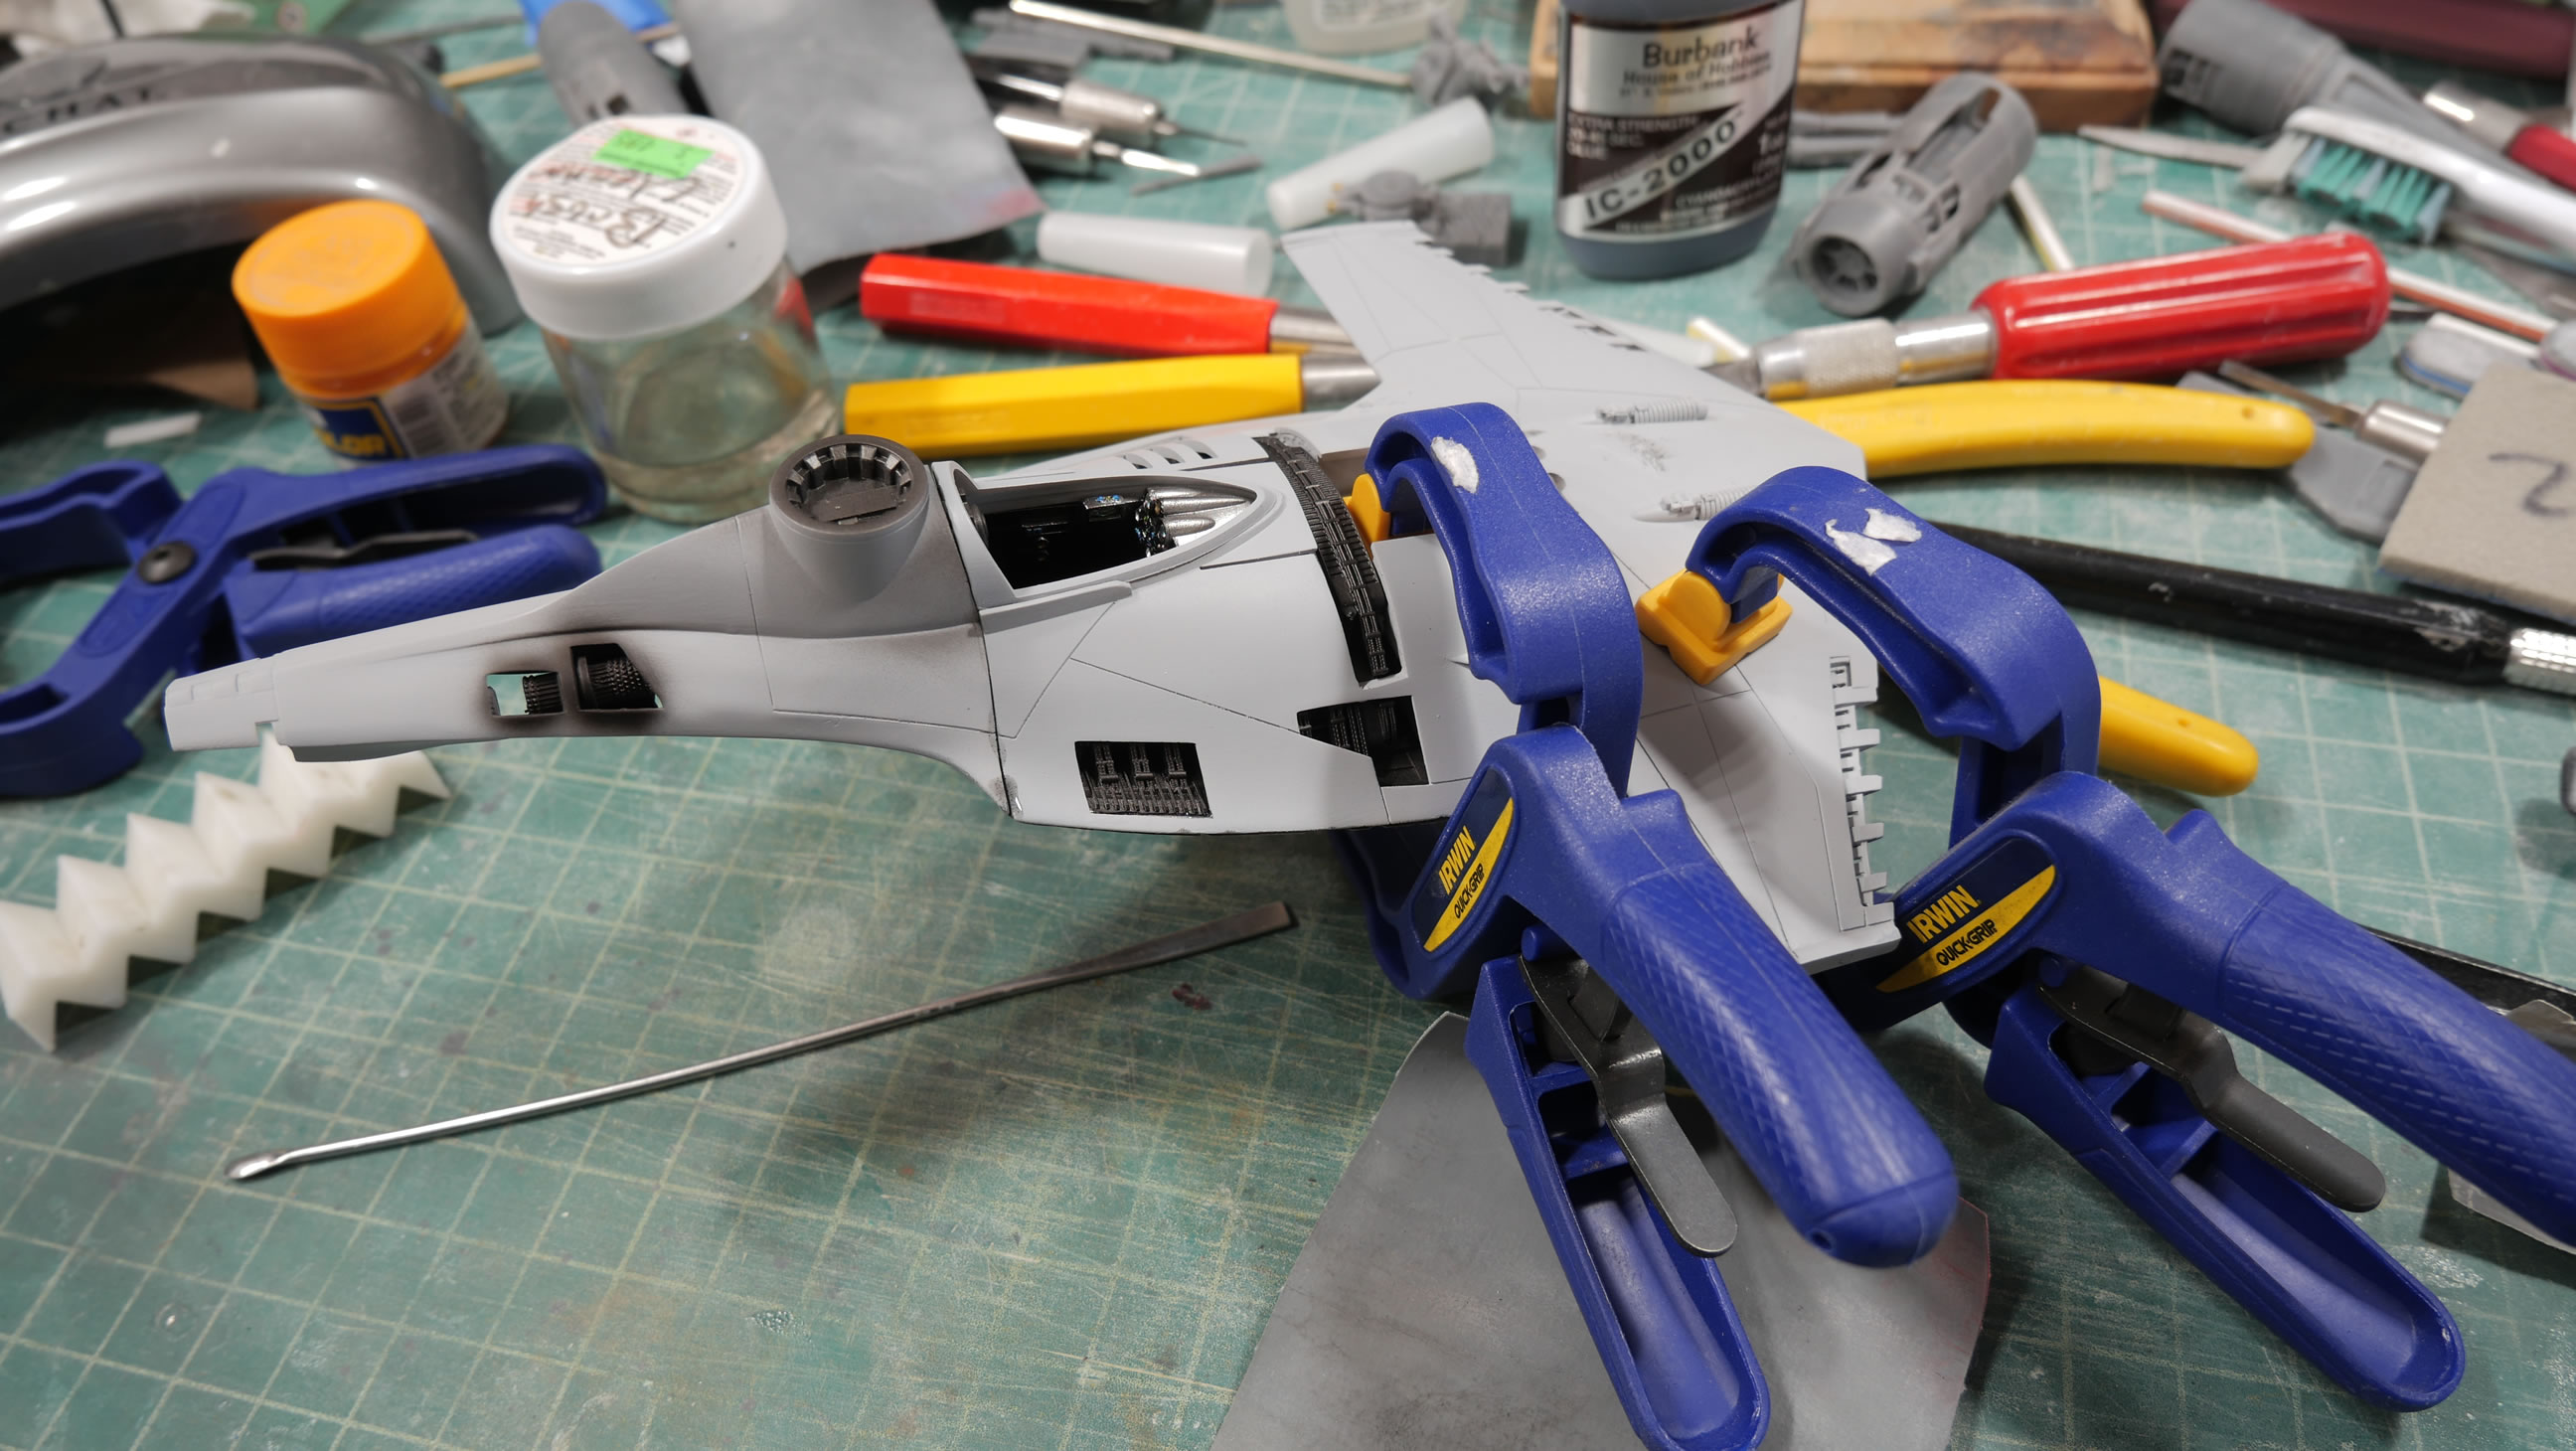
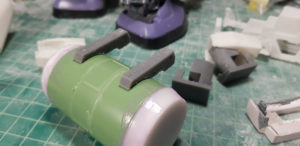
The first version of the kit, I used some metal tubes for pinning the engines together. This time around, magnets. The orientation of the magnets also helped me keep the left side parts together and not mix them up with the right side engine. The power converters are also pinned with magnets. These parts will be glued into position when I’m done, but for the time being, it helps for test fit and build progression to have these parts attach just with the magnets.
And here’s a video of the magnets in action:
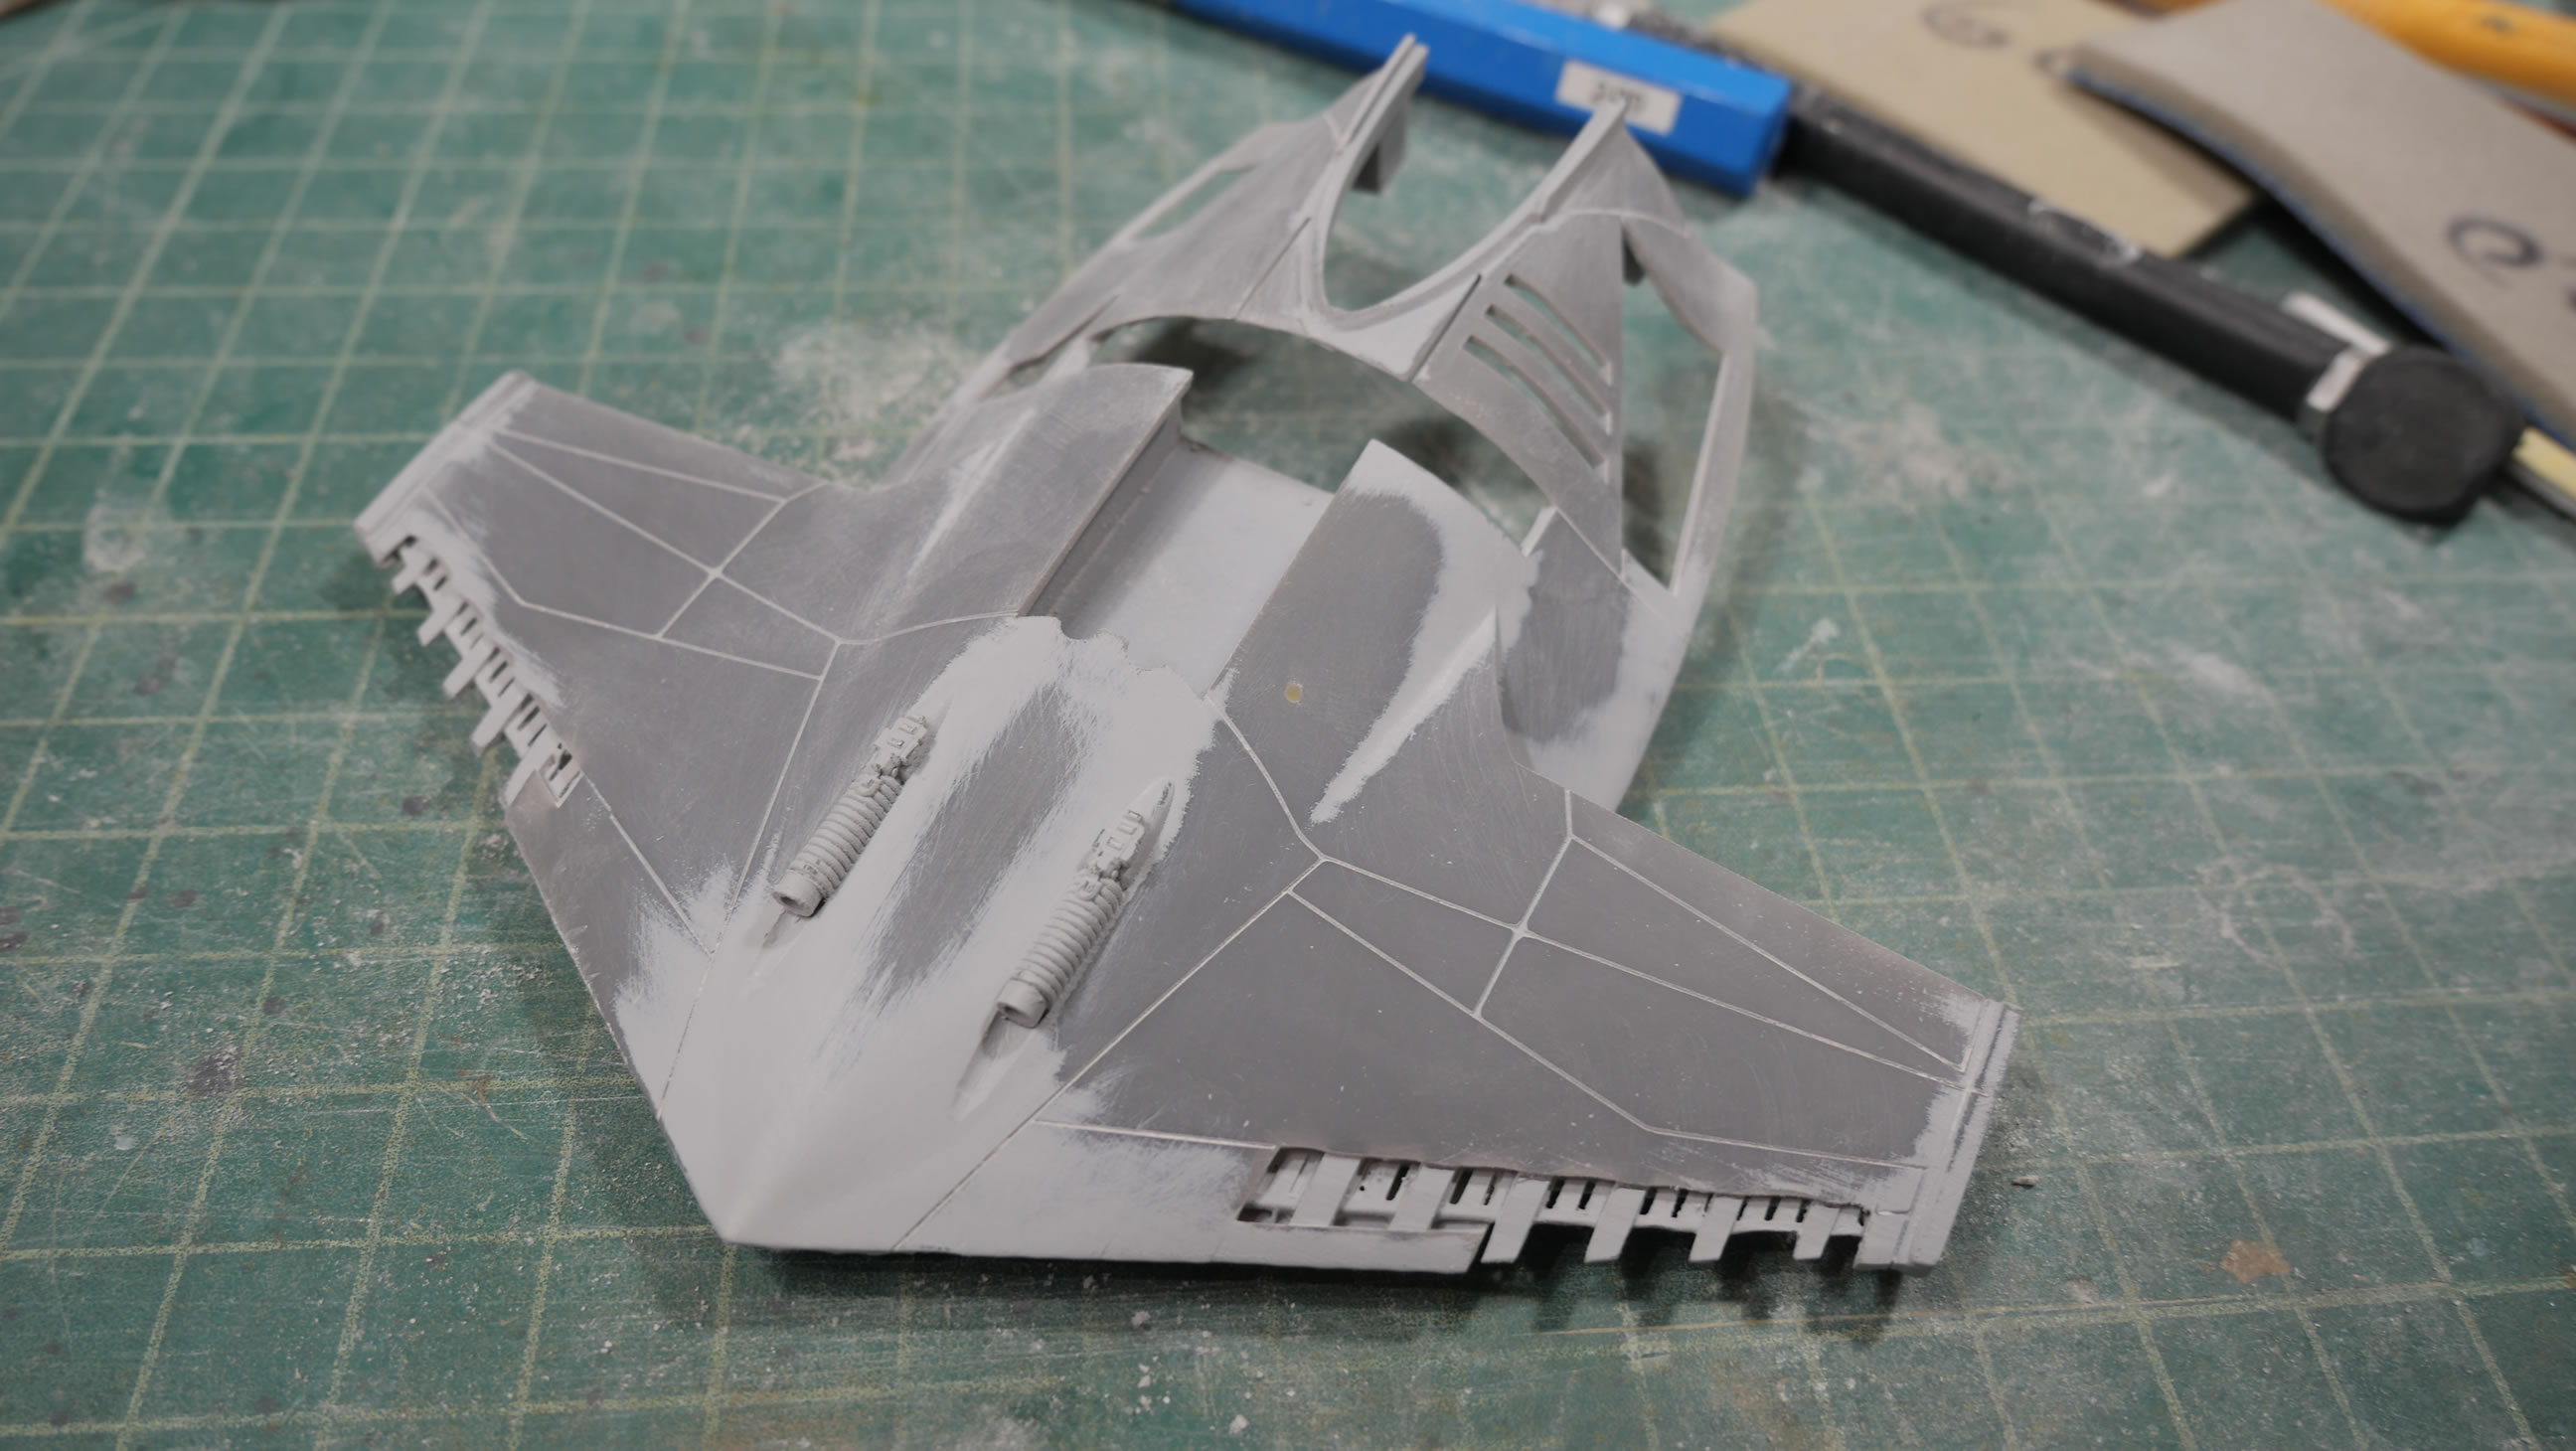
My haste in removing support material also chipped some of the more delicate areas of the print. So a little light curing putty comes into play to rebuild those damaged areas. I have more details on using light curing putty later in the this build writeup.

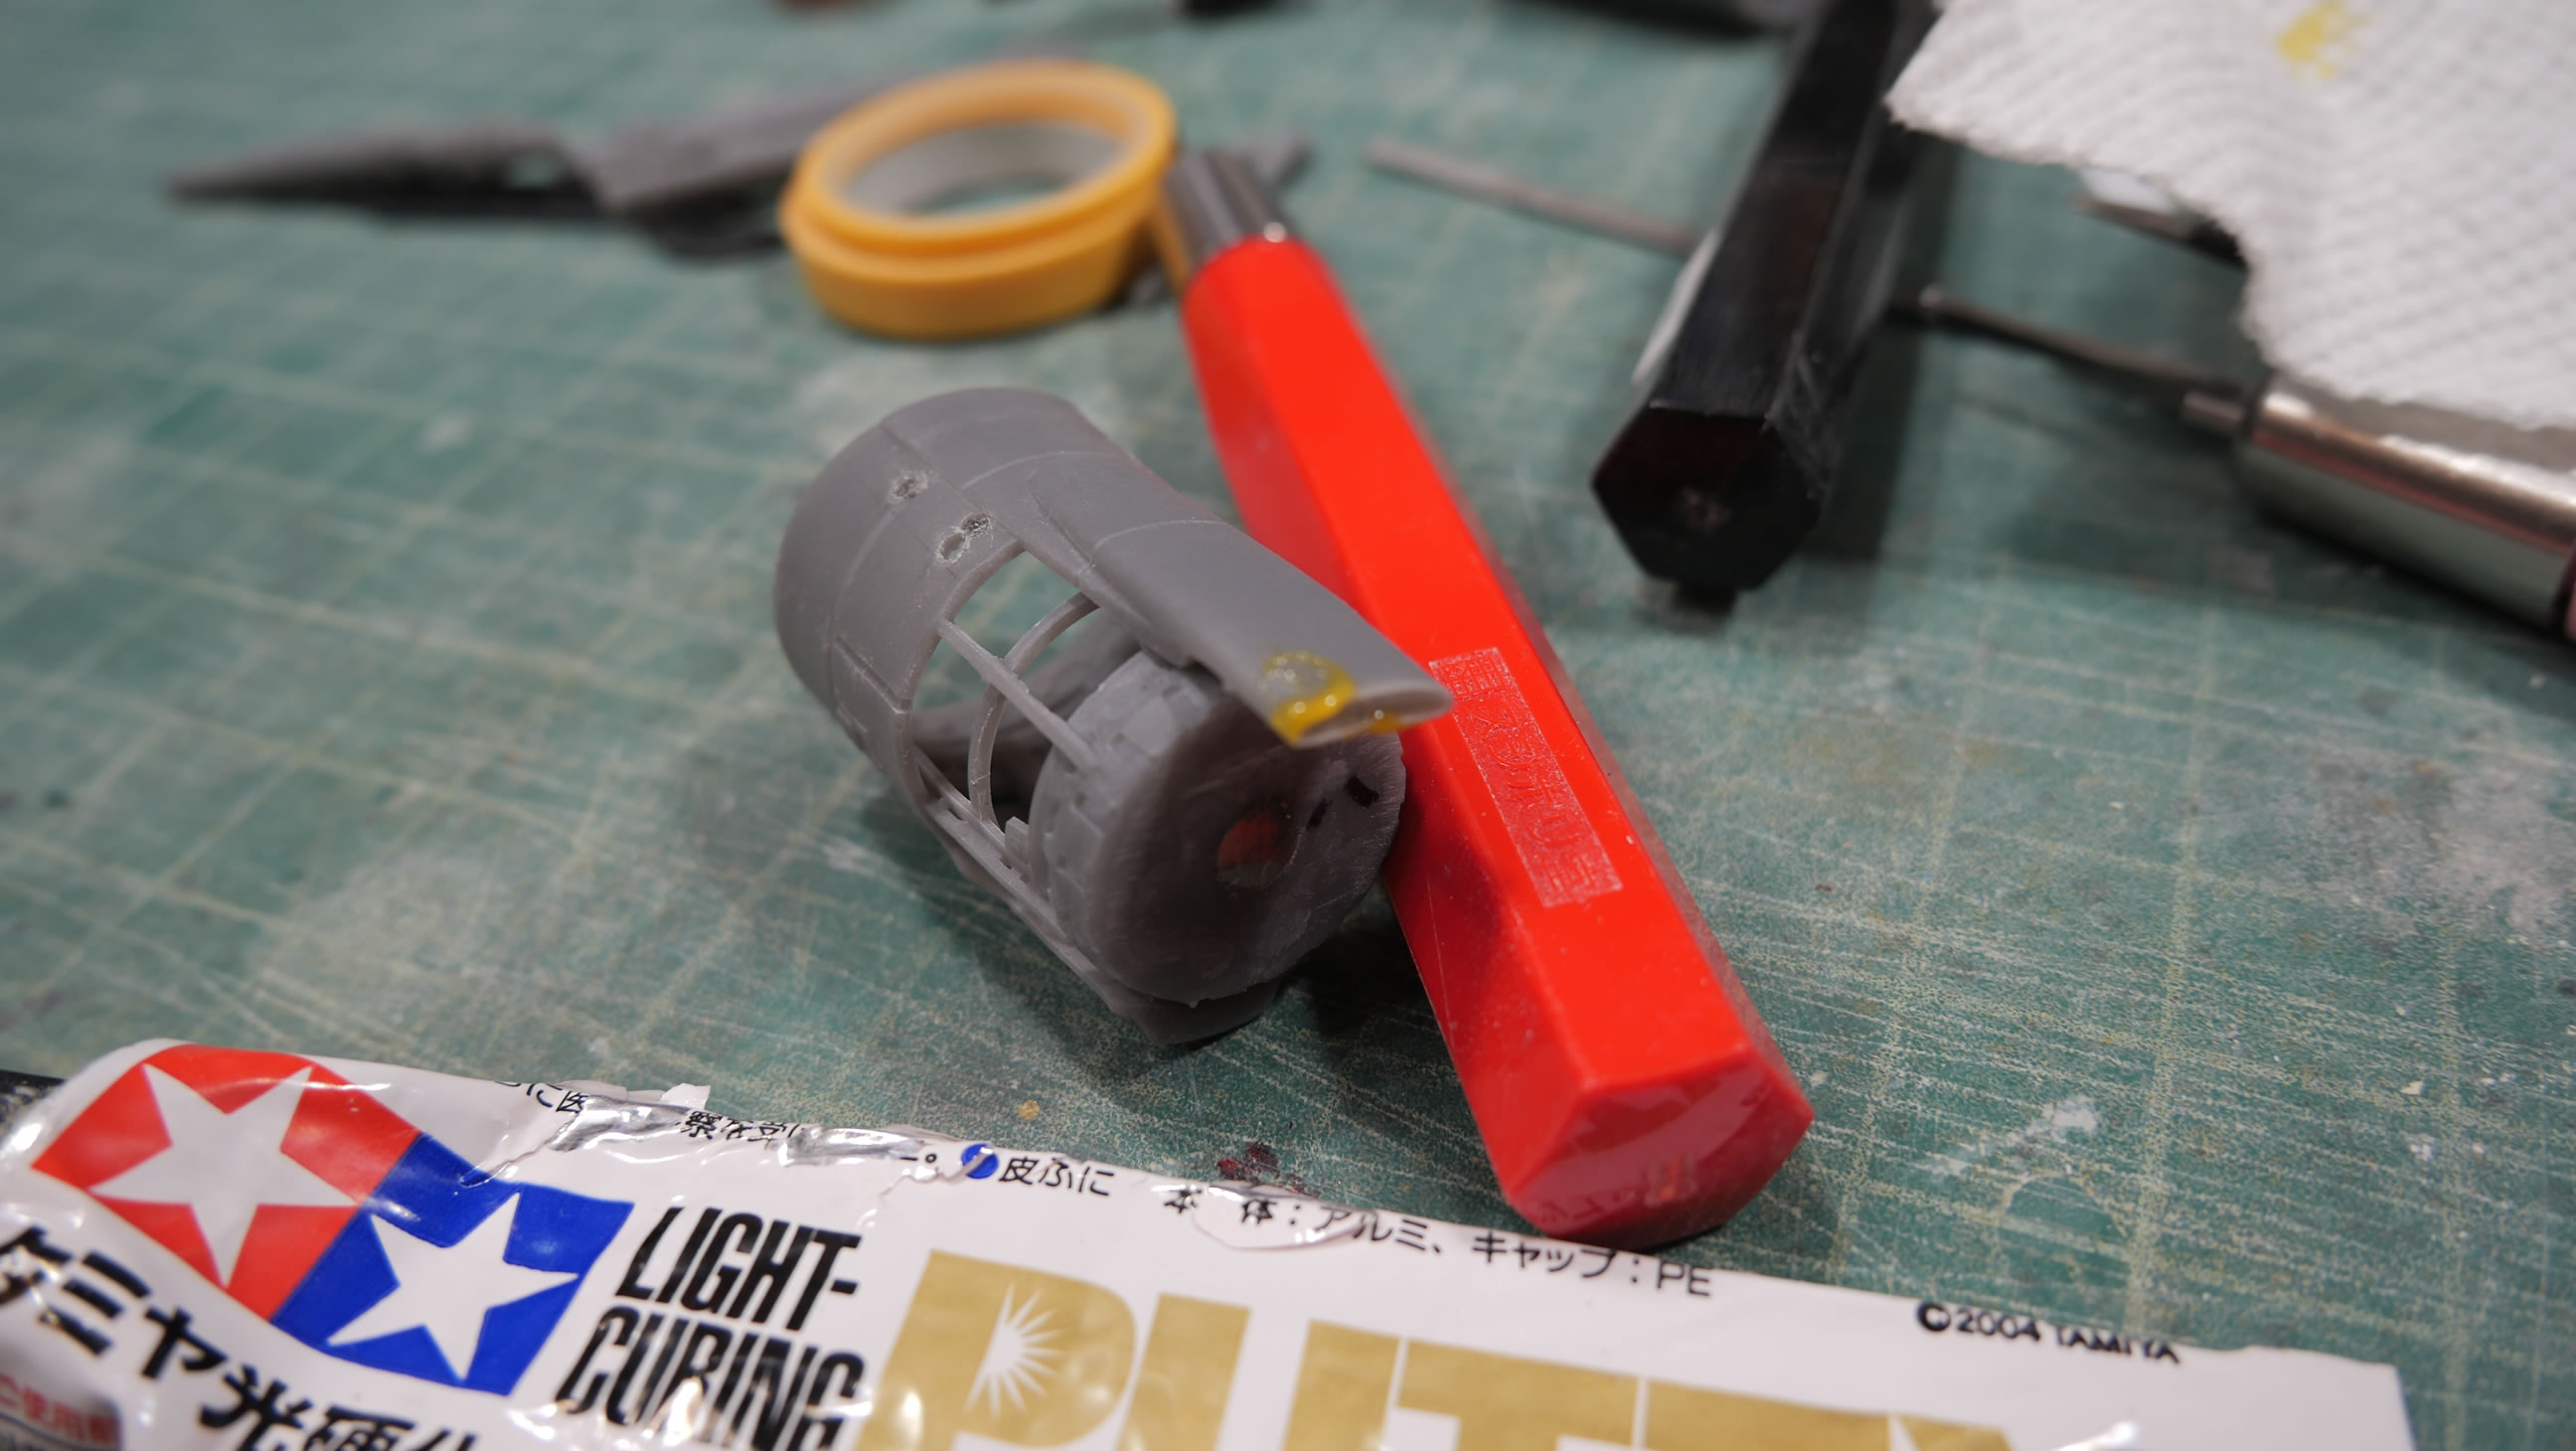
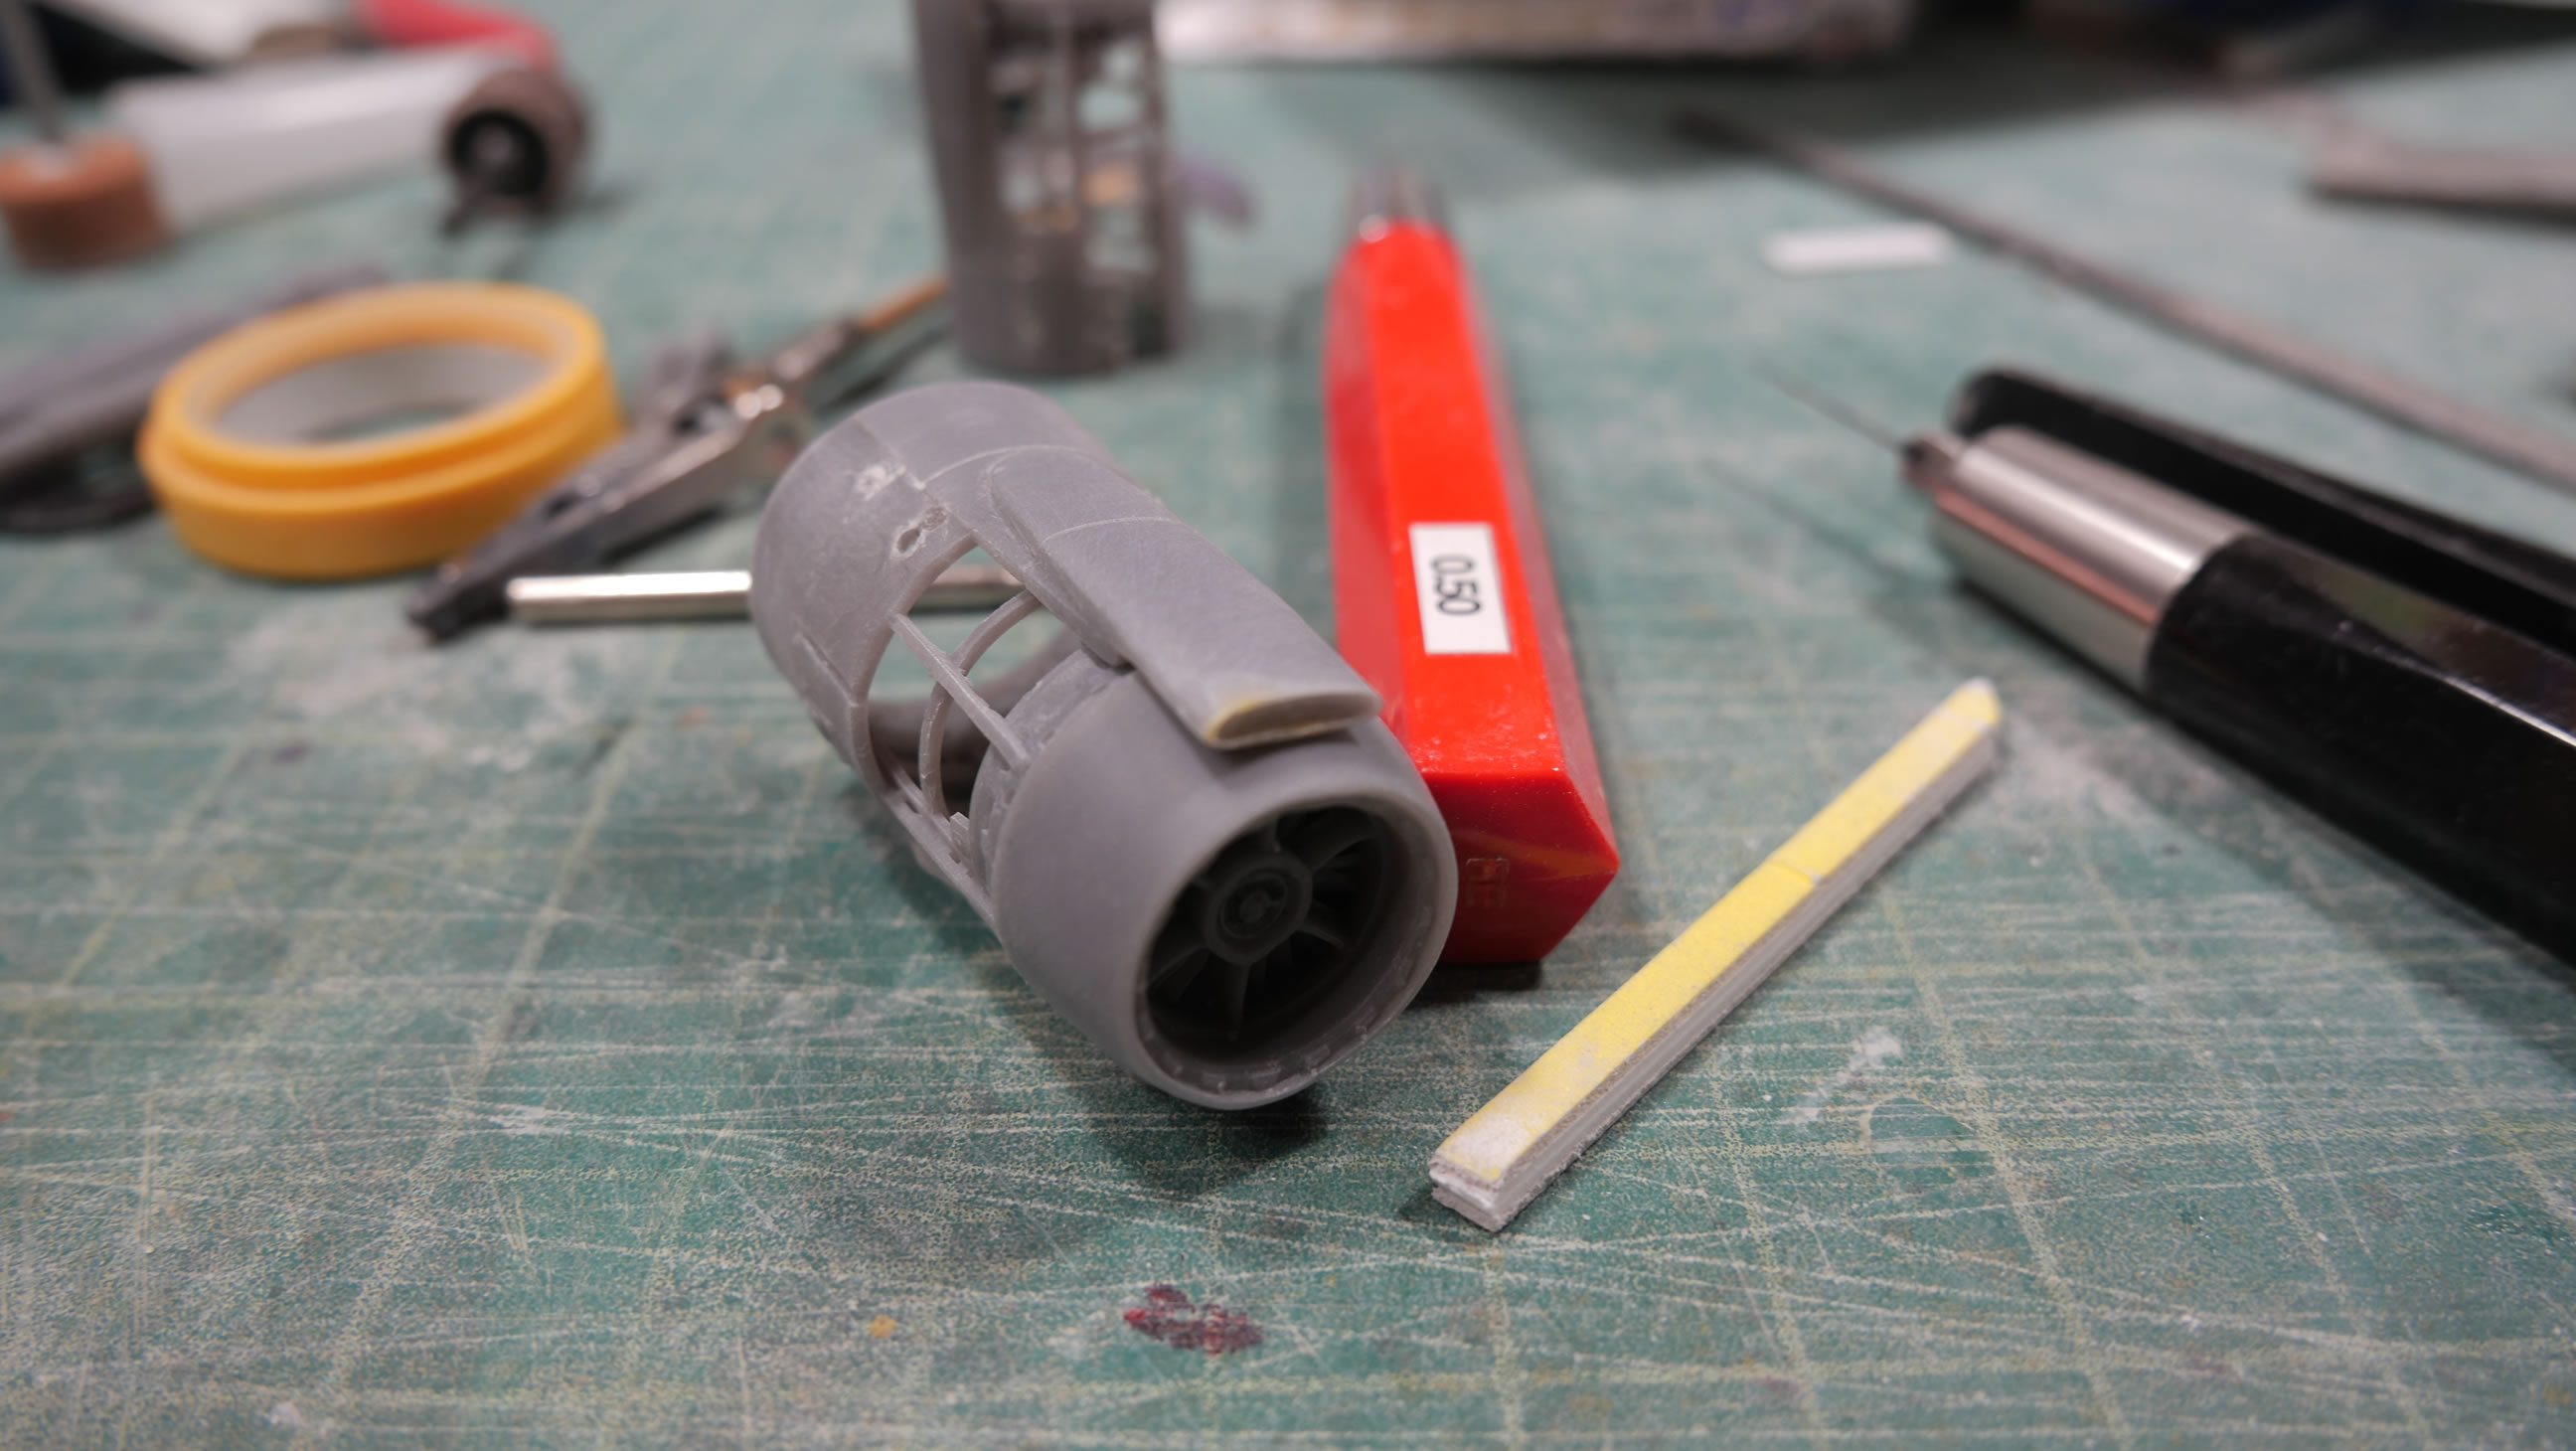
The housings for the cannons also broke, so I removed them and replaced them with plastic tubing. The body is also sanding down. The print was .05 mm for each layer, so the print lines are there, but pretty small. Sanding and priming will fix most of the issues. And I’ll resand and reprime to get the surface to an acceptable finish.
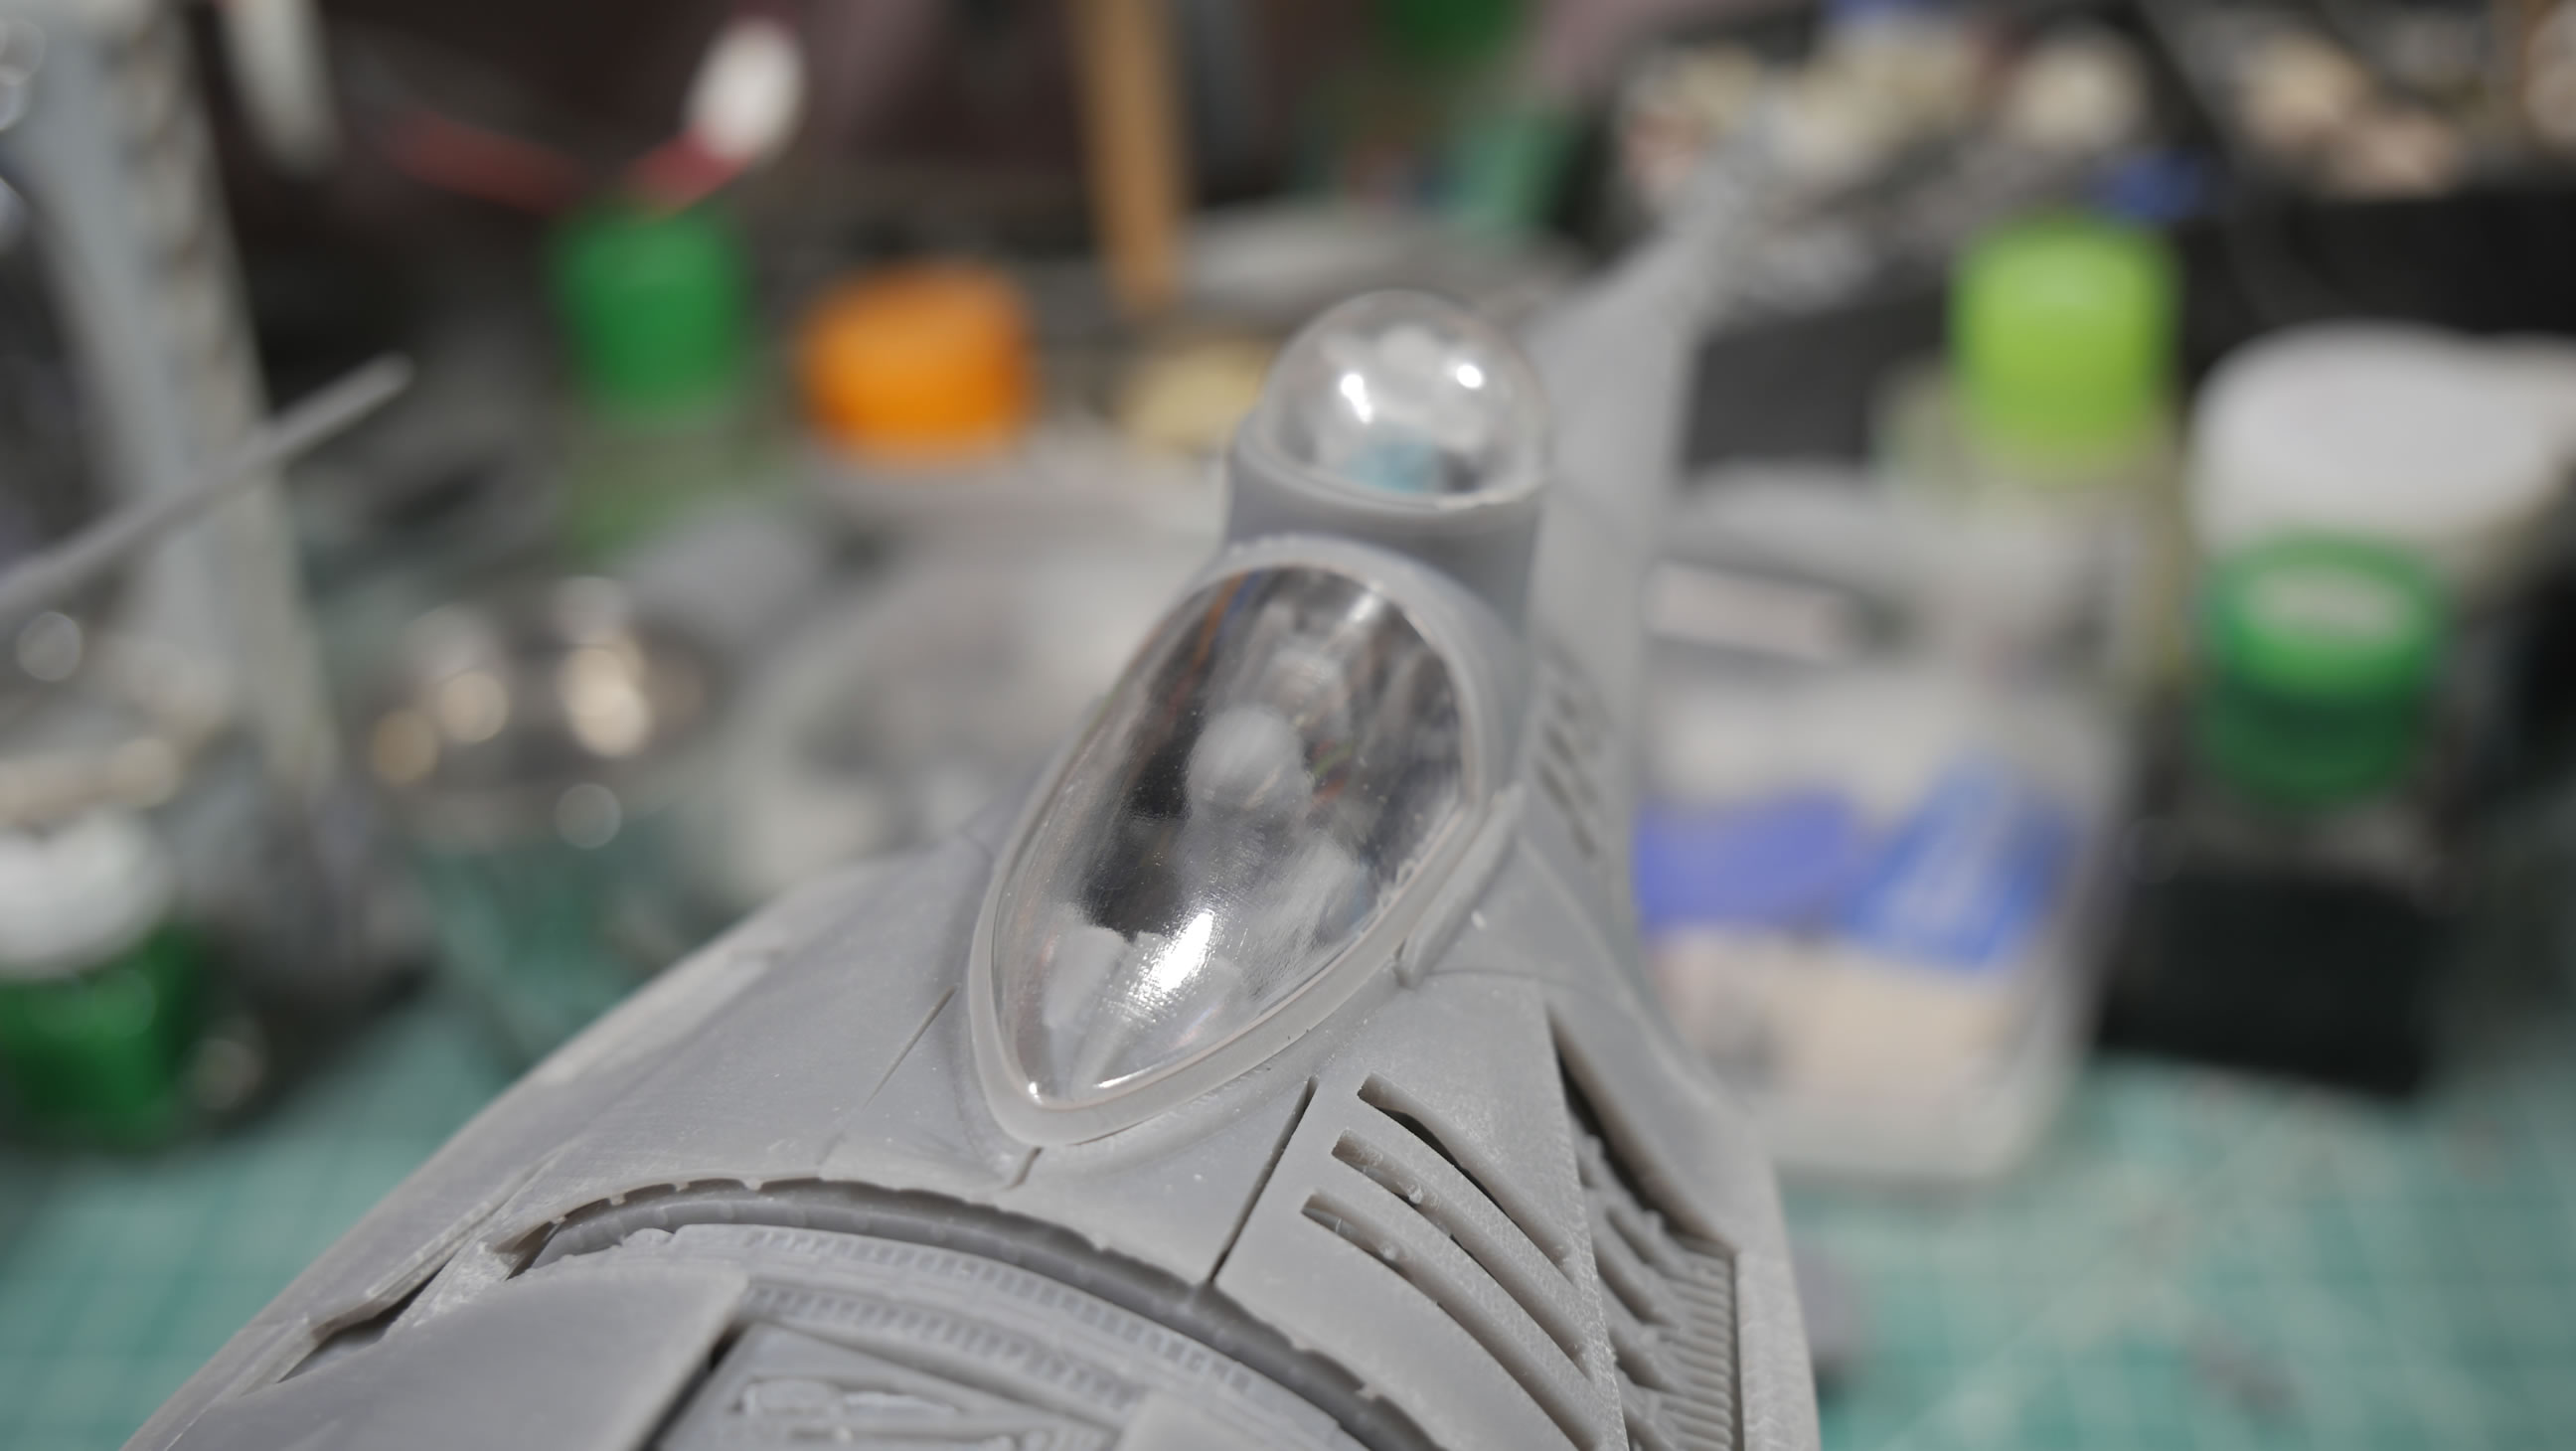
A quick test fit after some sanding and polishing work with the printed canopy. The canopies are sanded with 60 grit sanding sponges to just grind down any print lines. For the canopies, I printed at .025mm, but up close and in these pictures, you can still see the print layers. I will sand more and then spray some clear gloss, then sand that, and use a car polishing system that consists of a compound and polish to finish up the canopy.
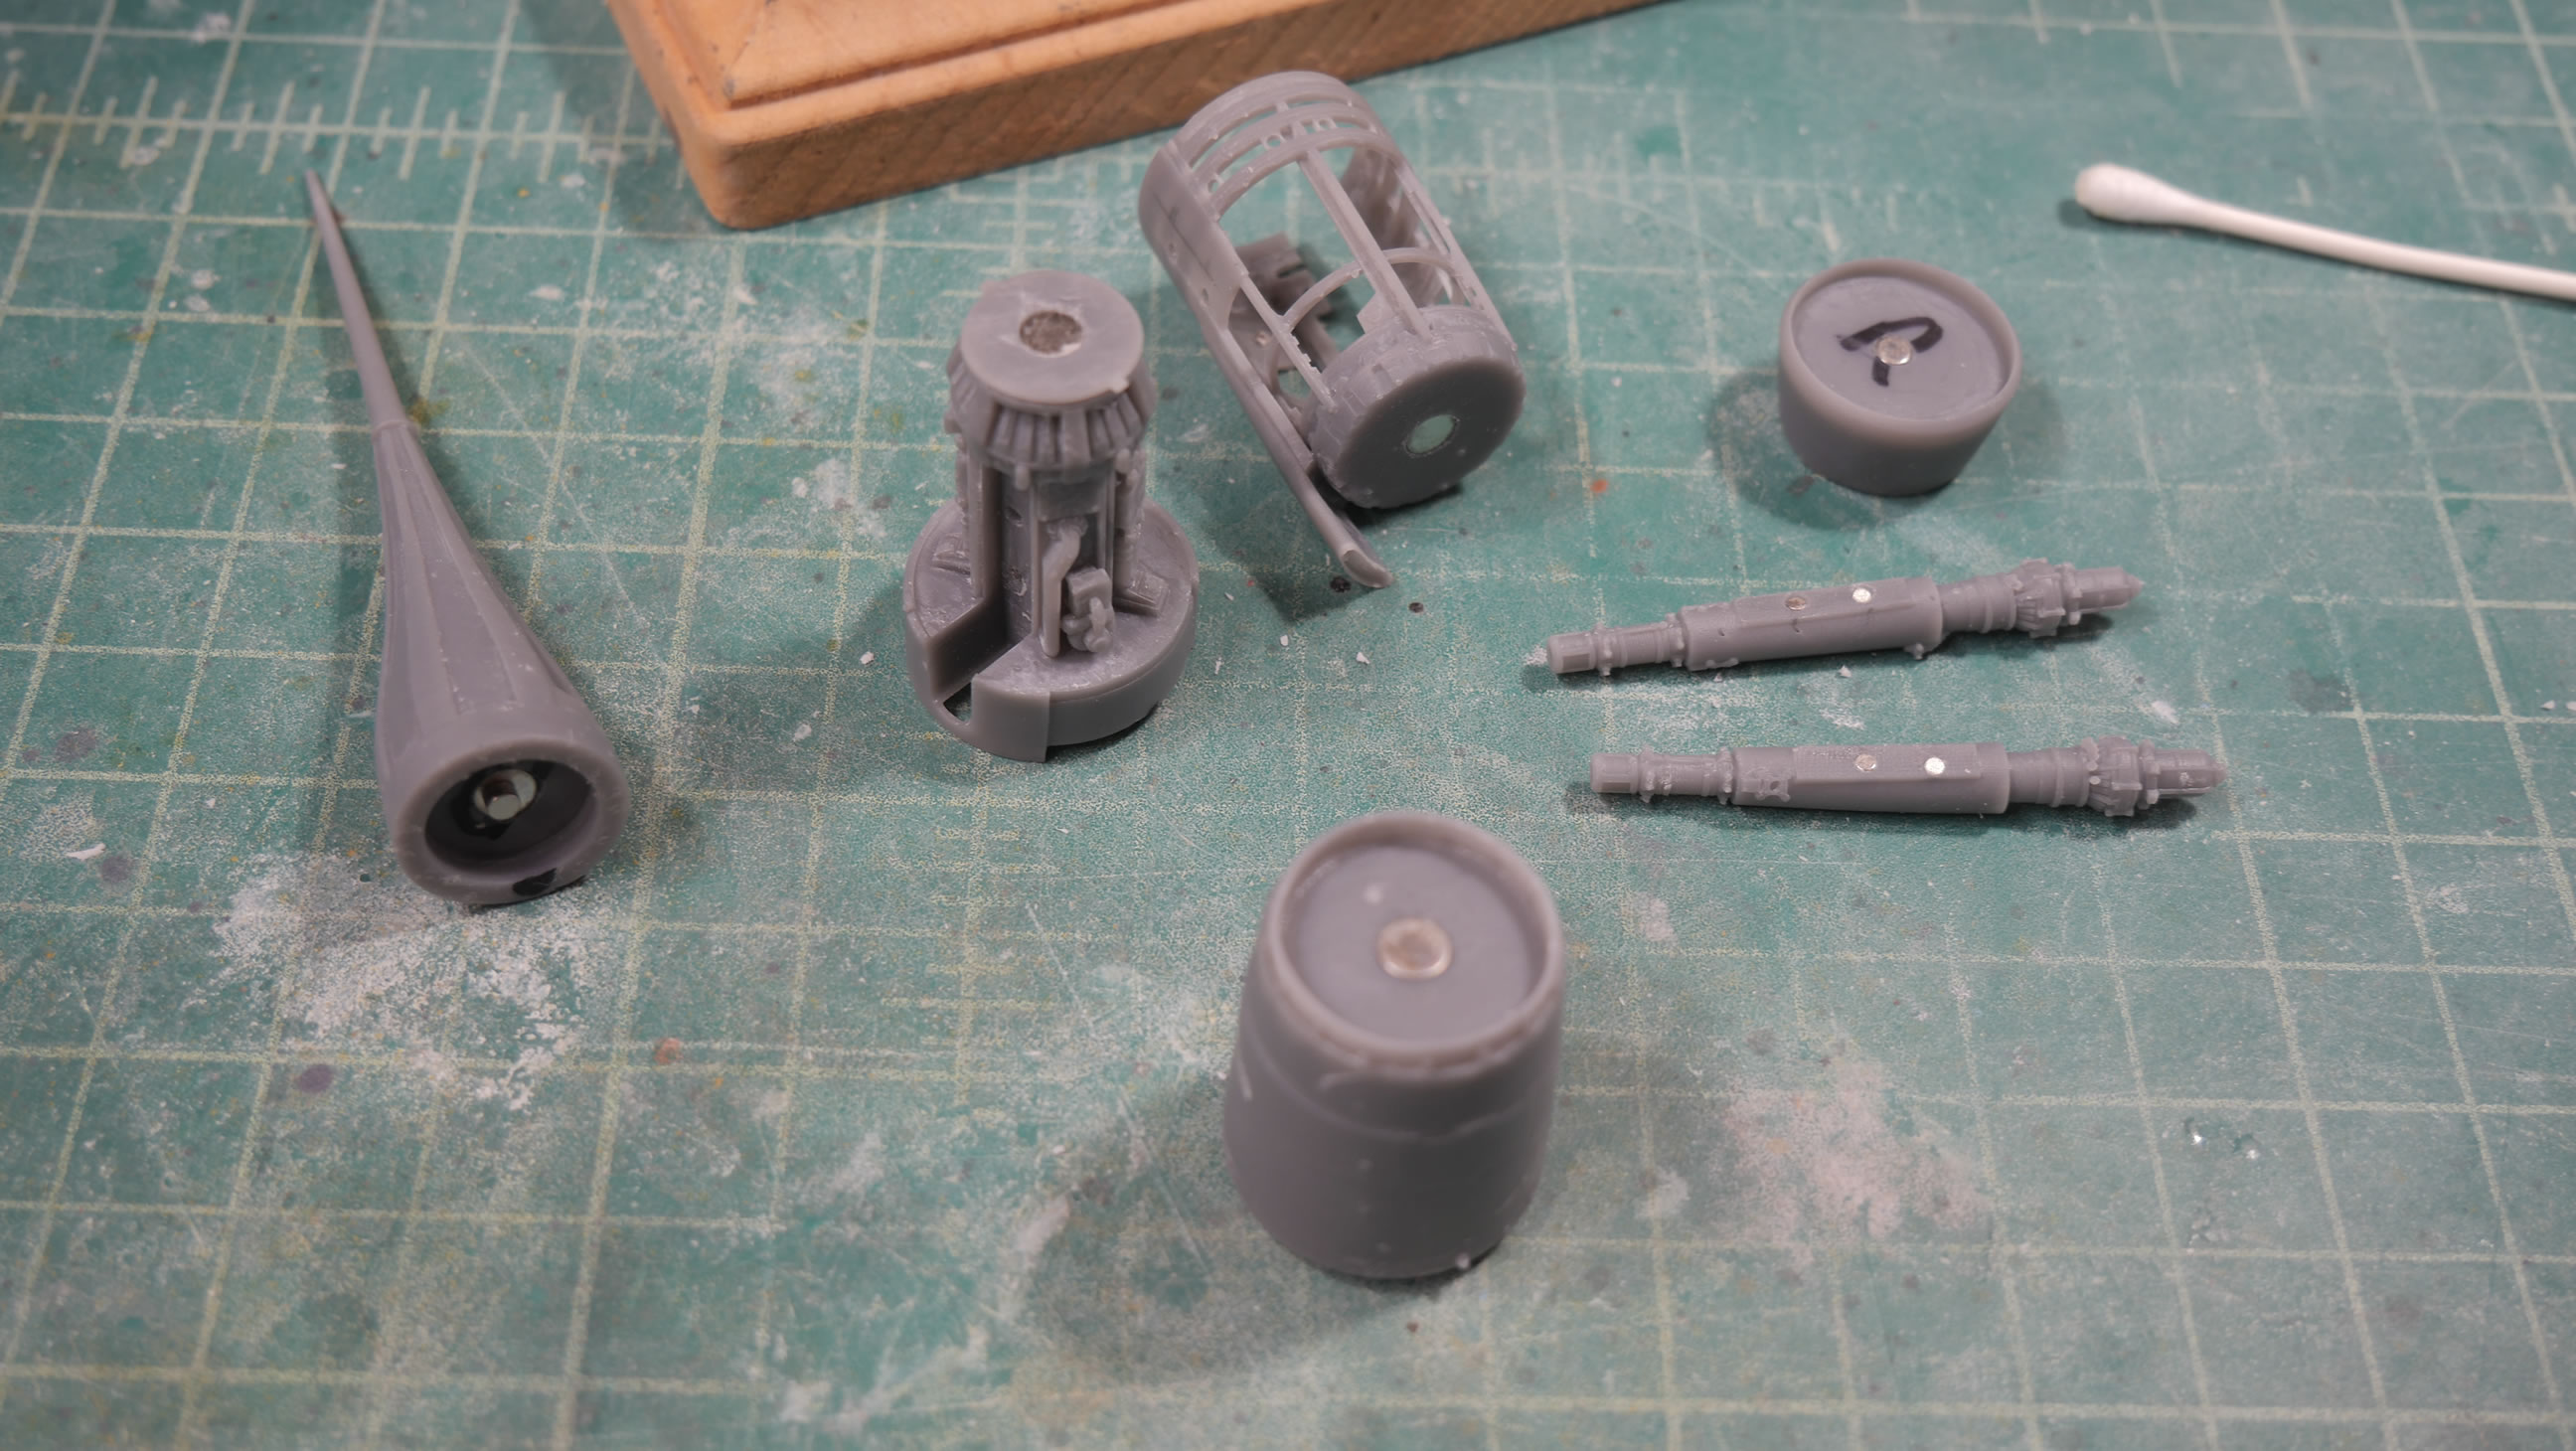
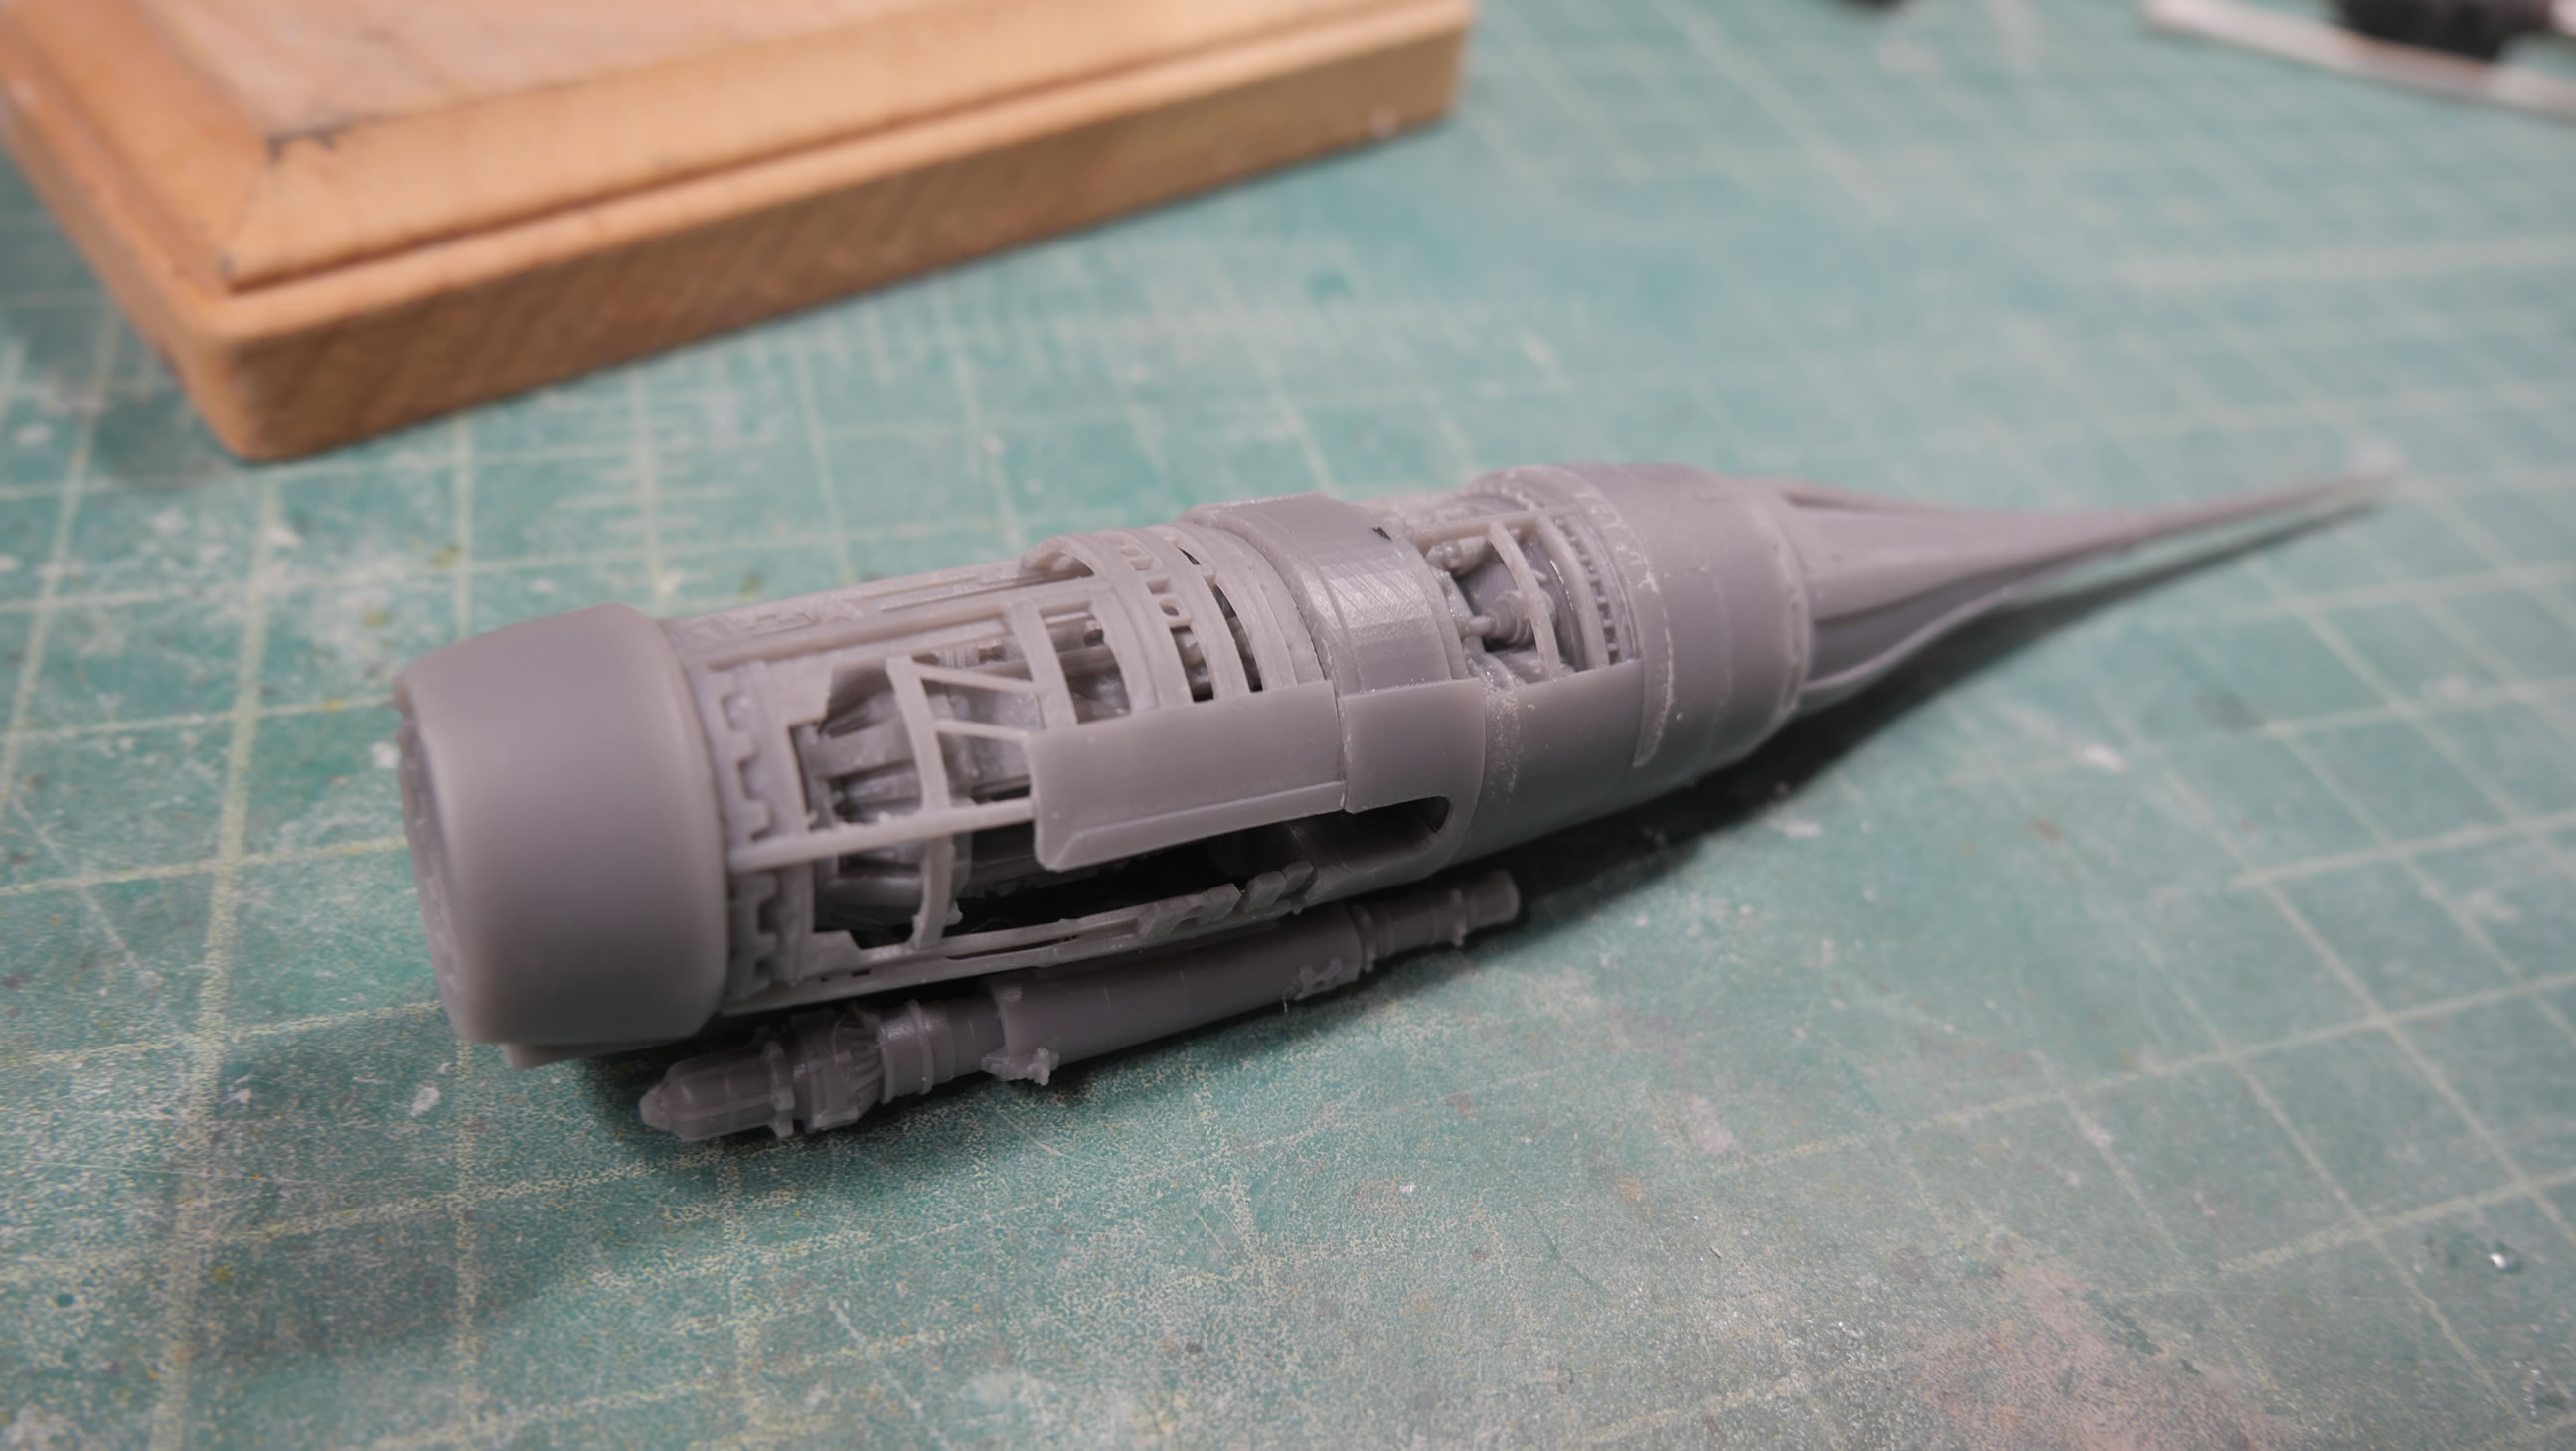
The hemi piece also suffered some damage. The intake ports are pretty delicate. I printed this at a smaller scale than intended so already delicate parts are even more so. I just cut them off and replaced them with some metal collars I have. Once glued and primed, no one would be the wiser.
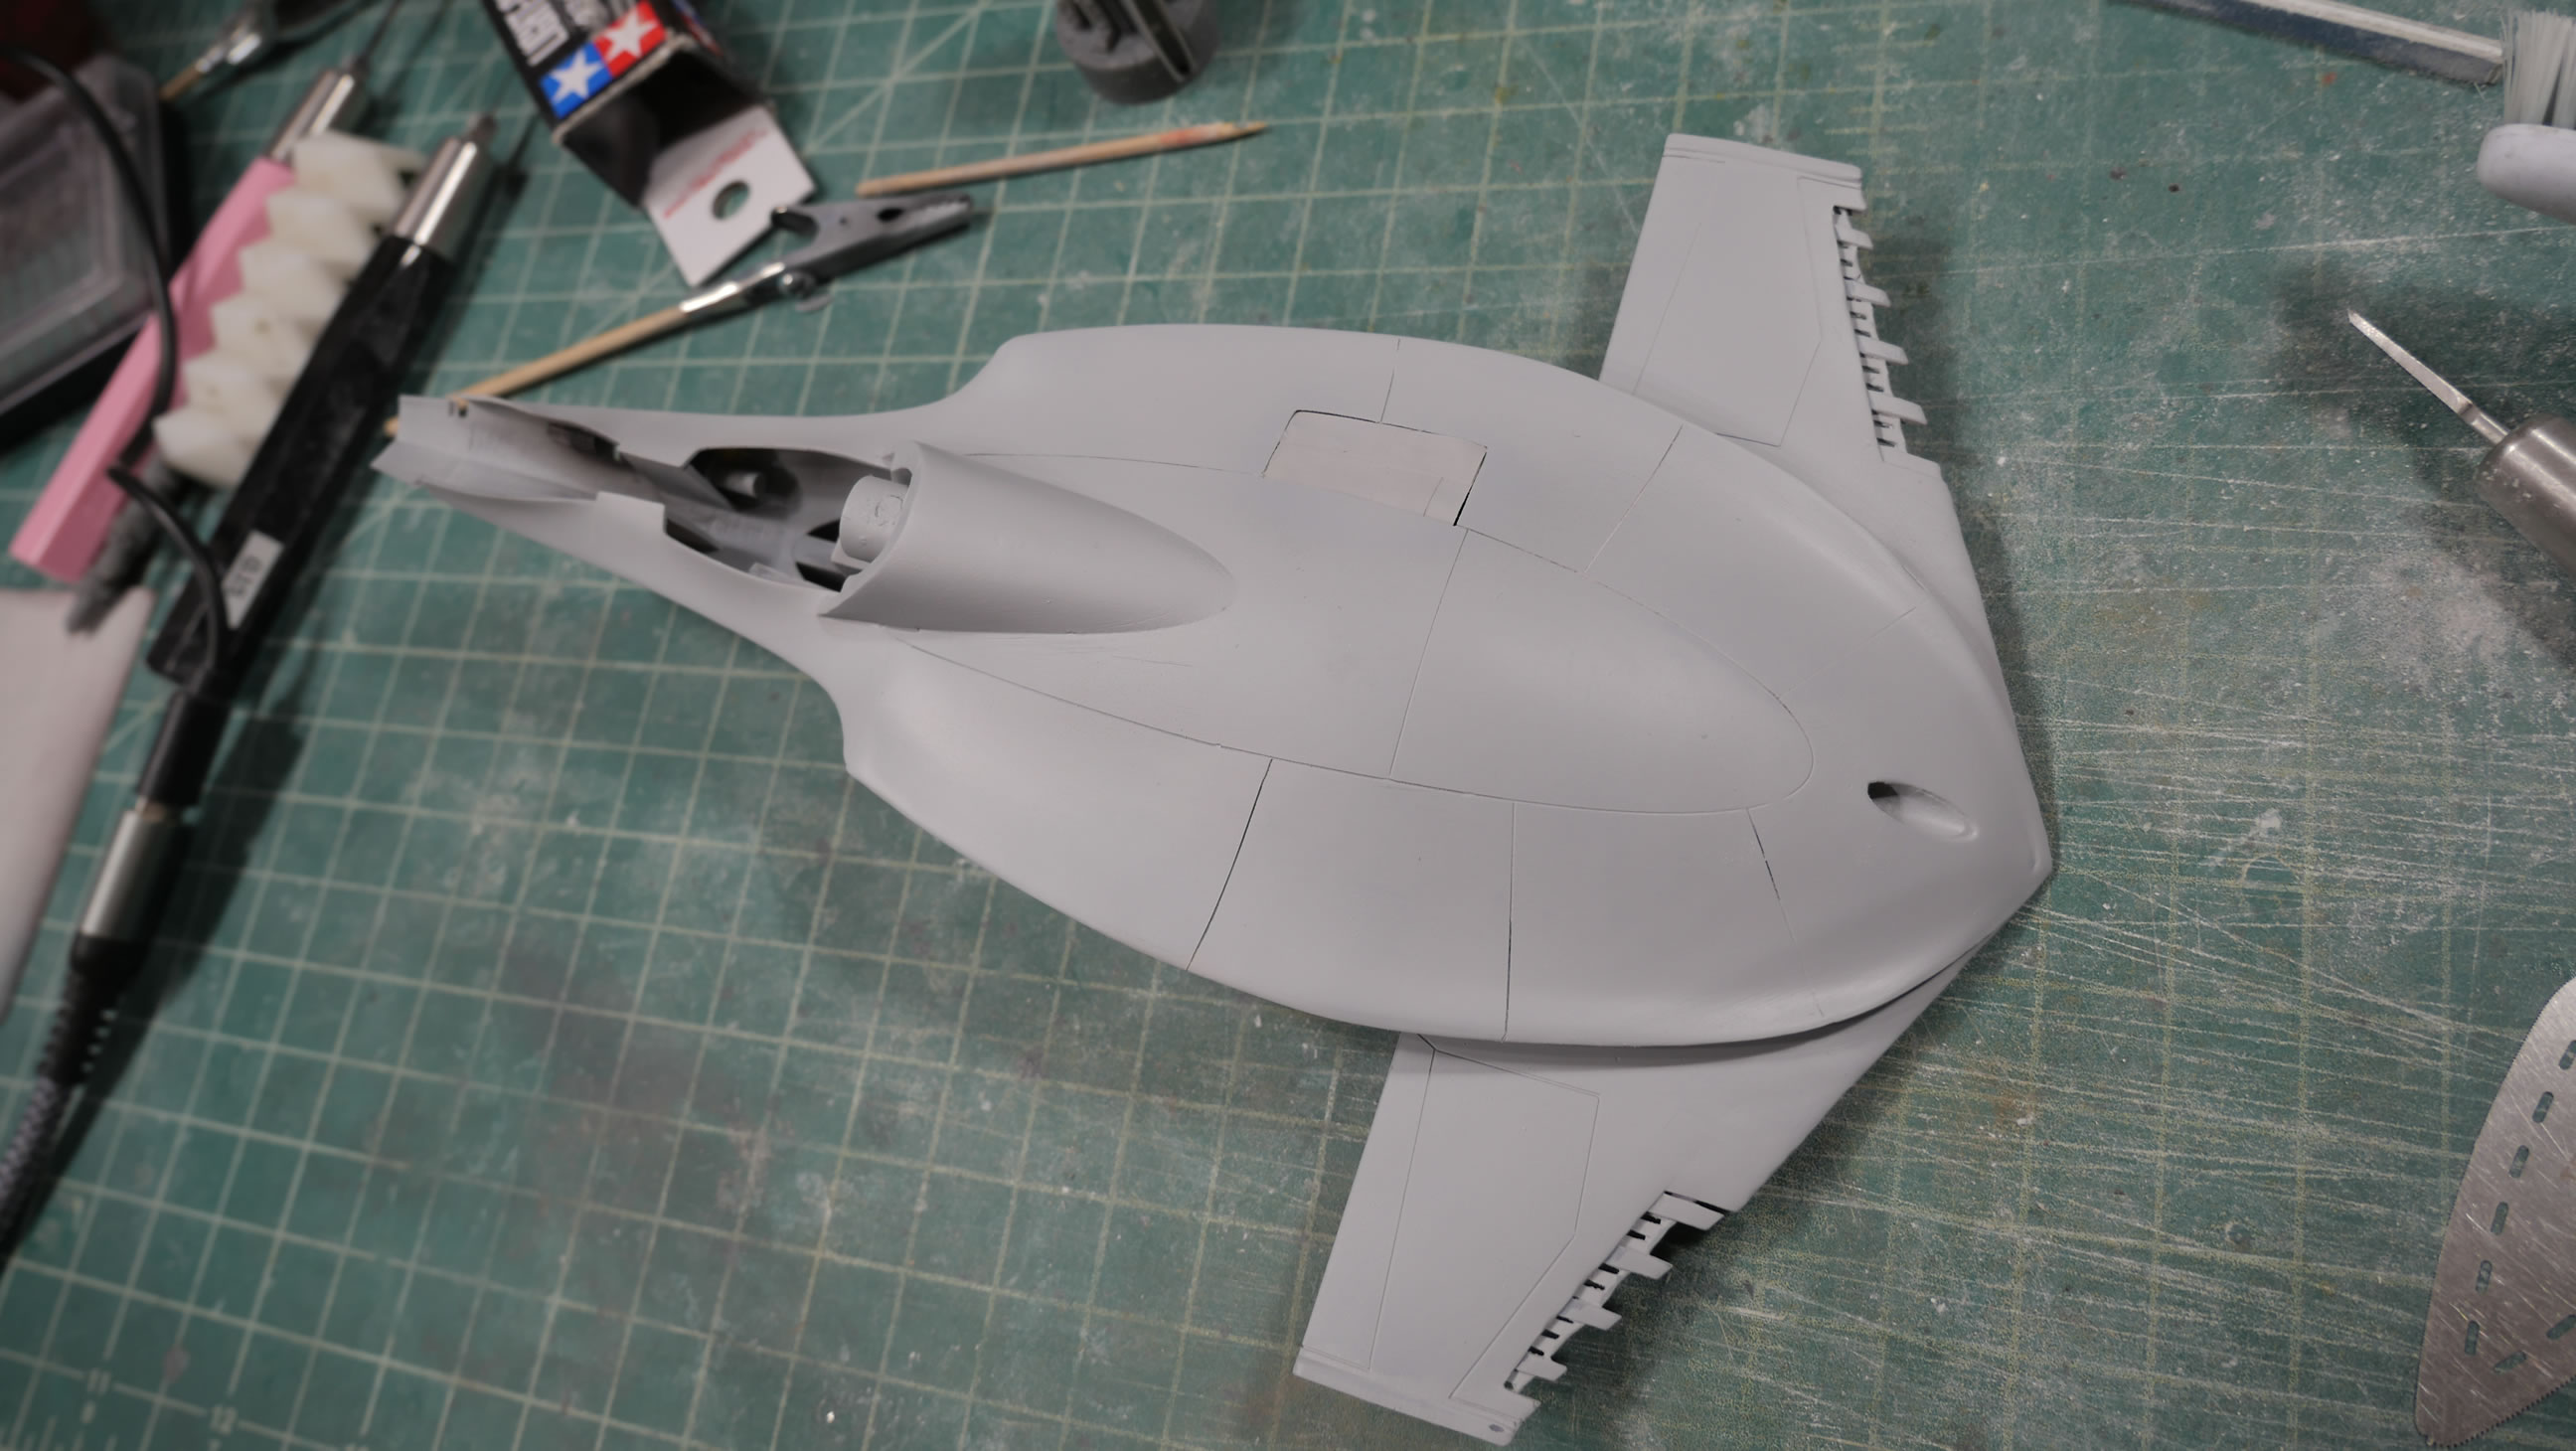
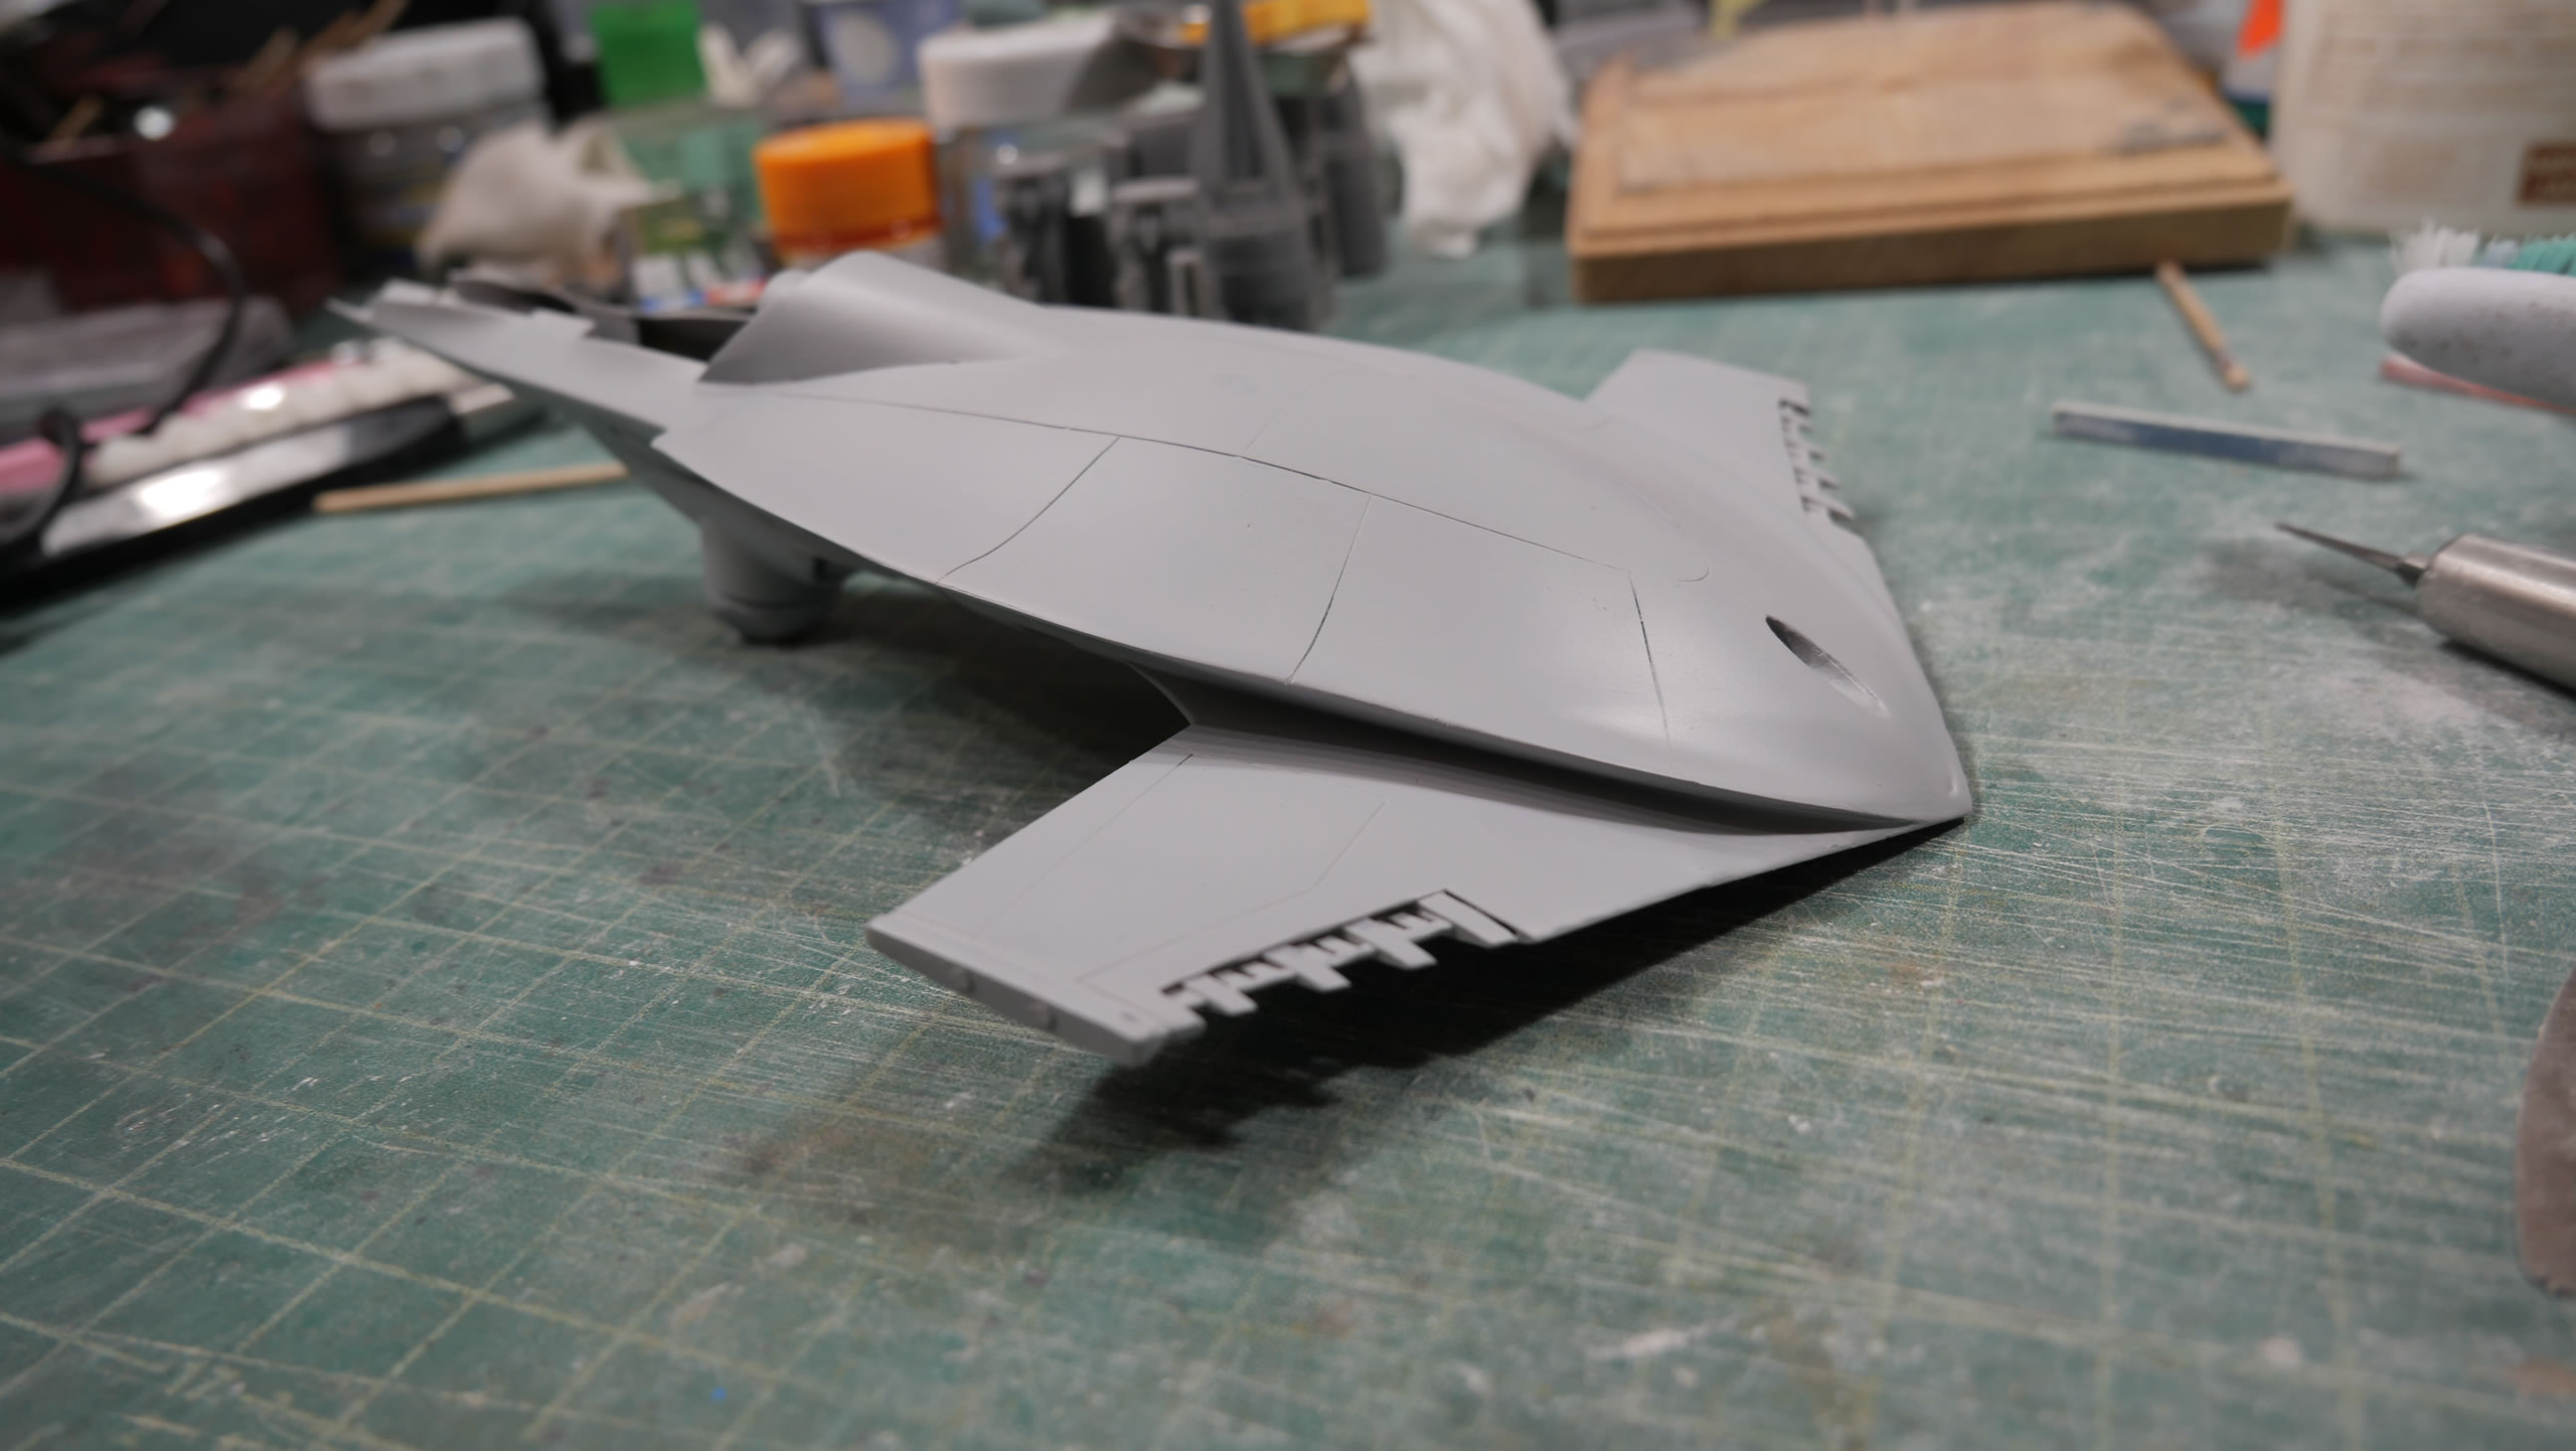
Sand, prime, sand, prime, repeat until the surface is smooth. I do this to the three main body parts.
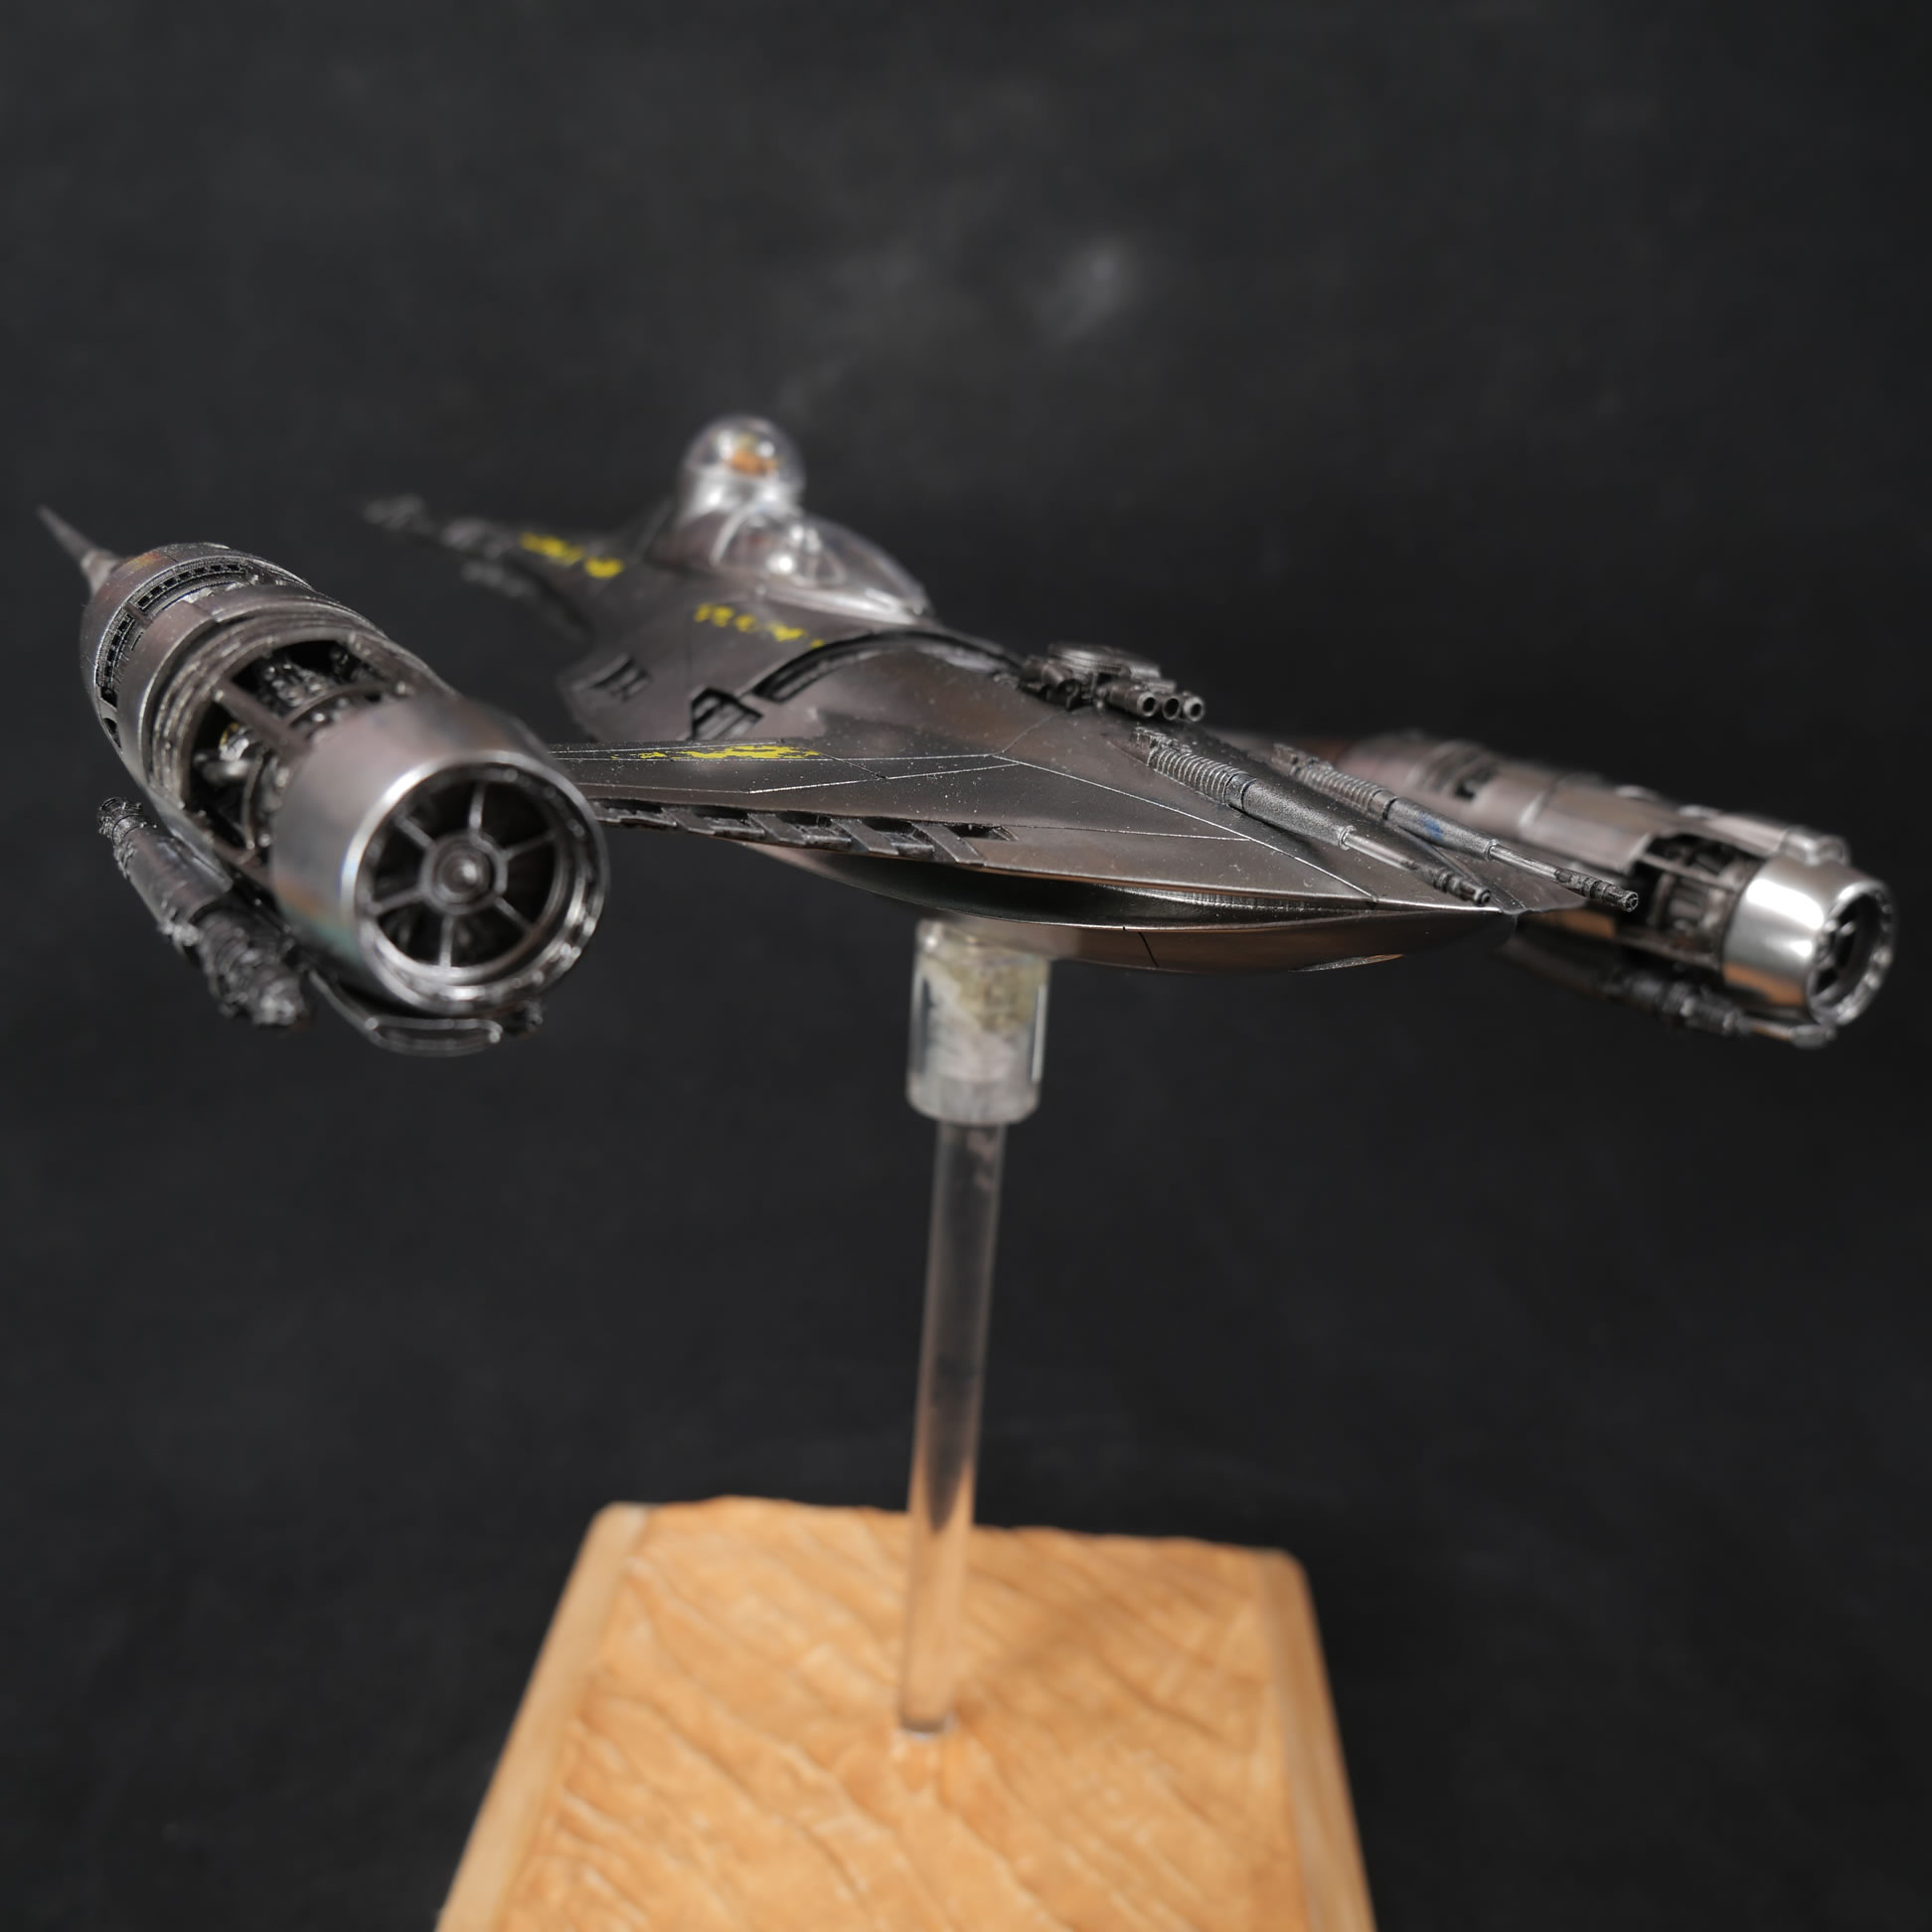
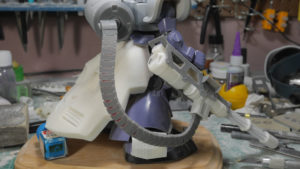
Once the three main body parts are smooth, it’s time to mate and glue them together. Also note, there is a fairly big magnet glued to the top side of the bottom body part. A corresponding magnet will be glued to an acrylic rod so that I can display the model in flight. There is no landing gear for this kit as the TV series just show it maglev landing. It would be cool to design a maglev display base, but I don’t fancy the idea of someone bumping into it and shooting the kit off into some other kit while at a contest. CA glue and clamps while the glue sets up. The internal engine areas are painted as well.


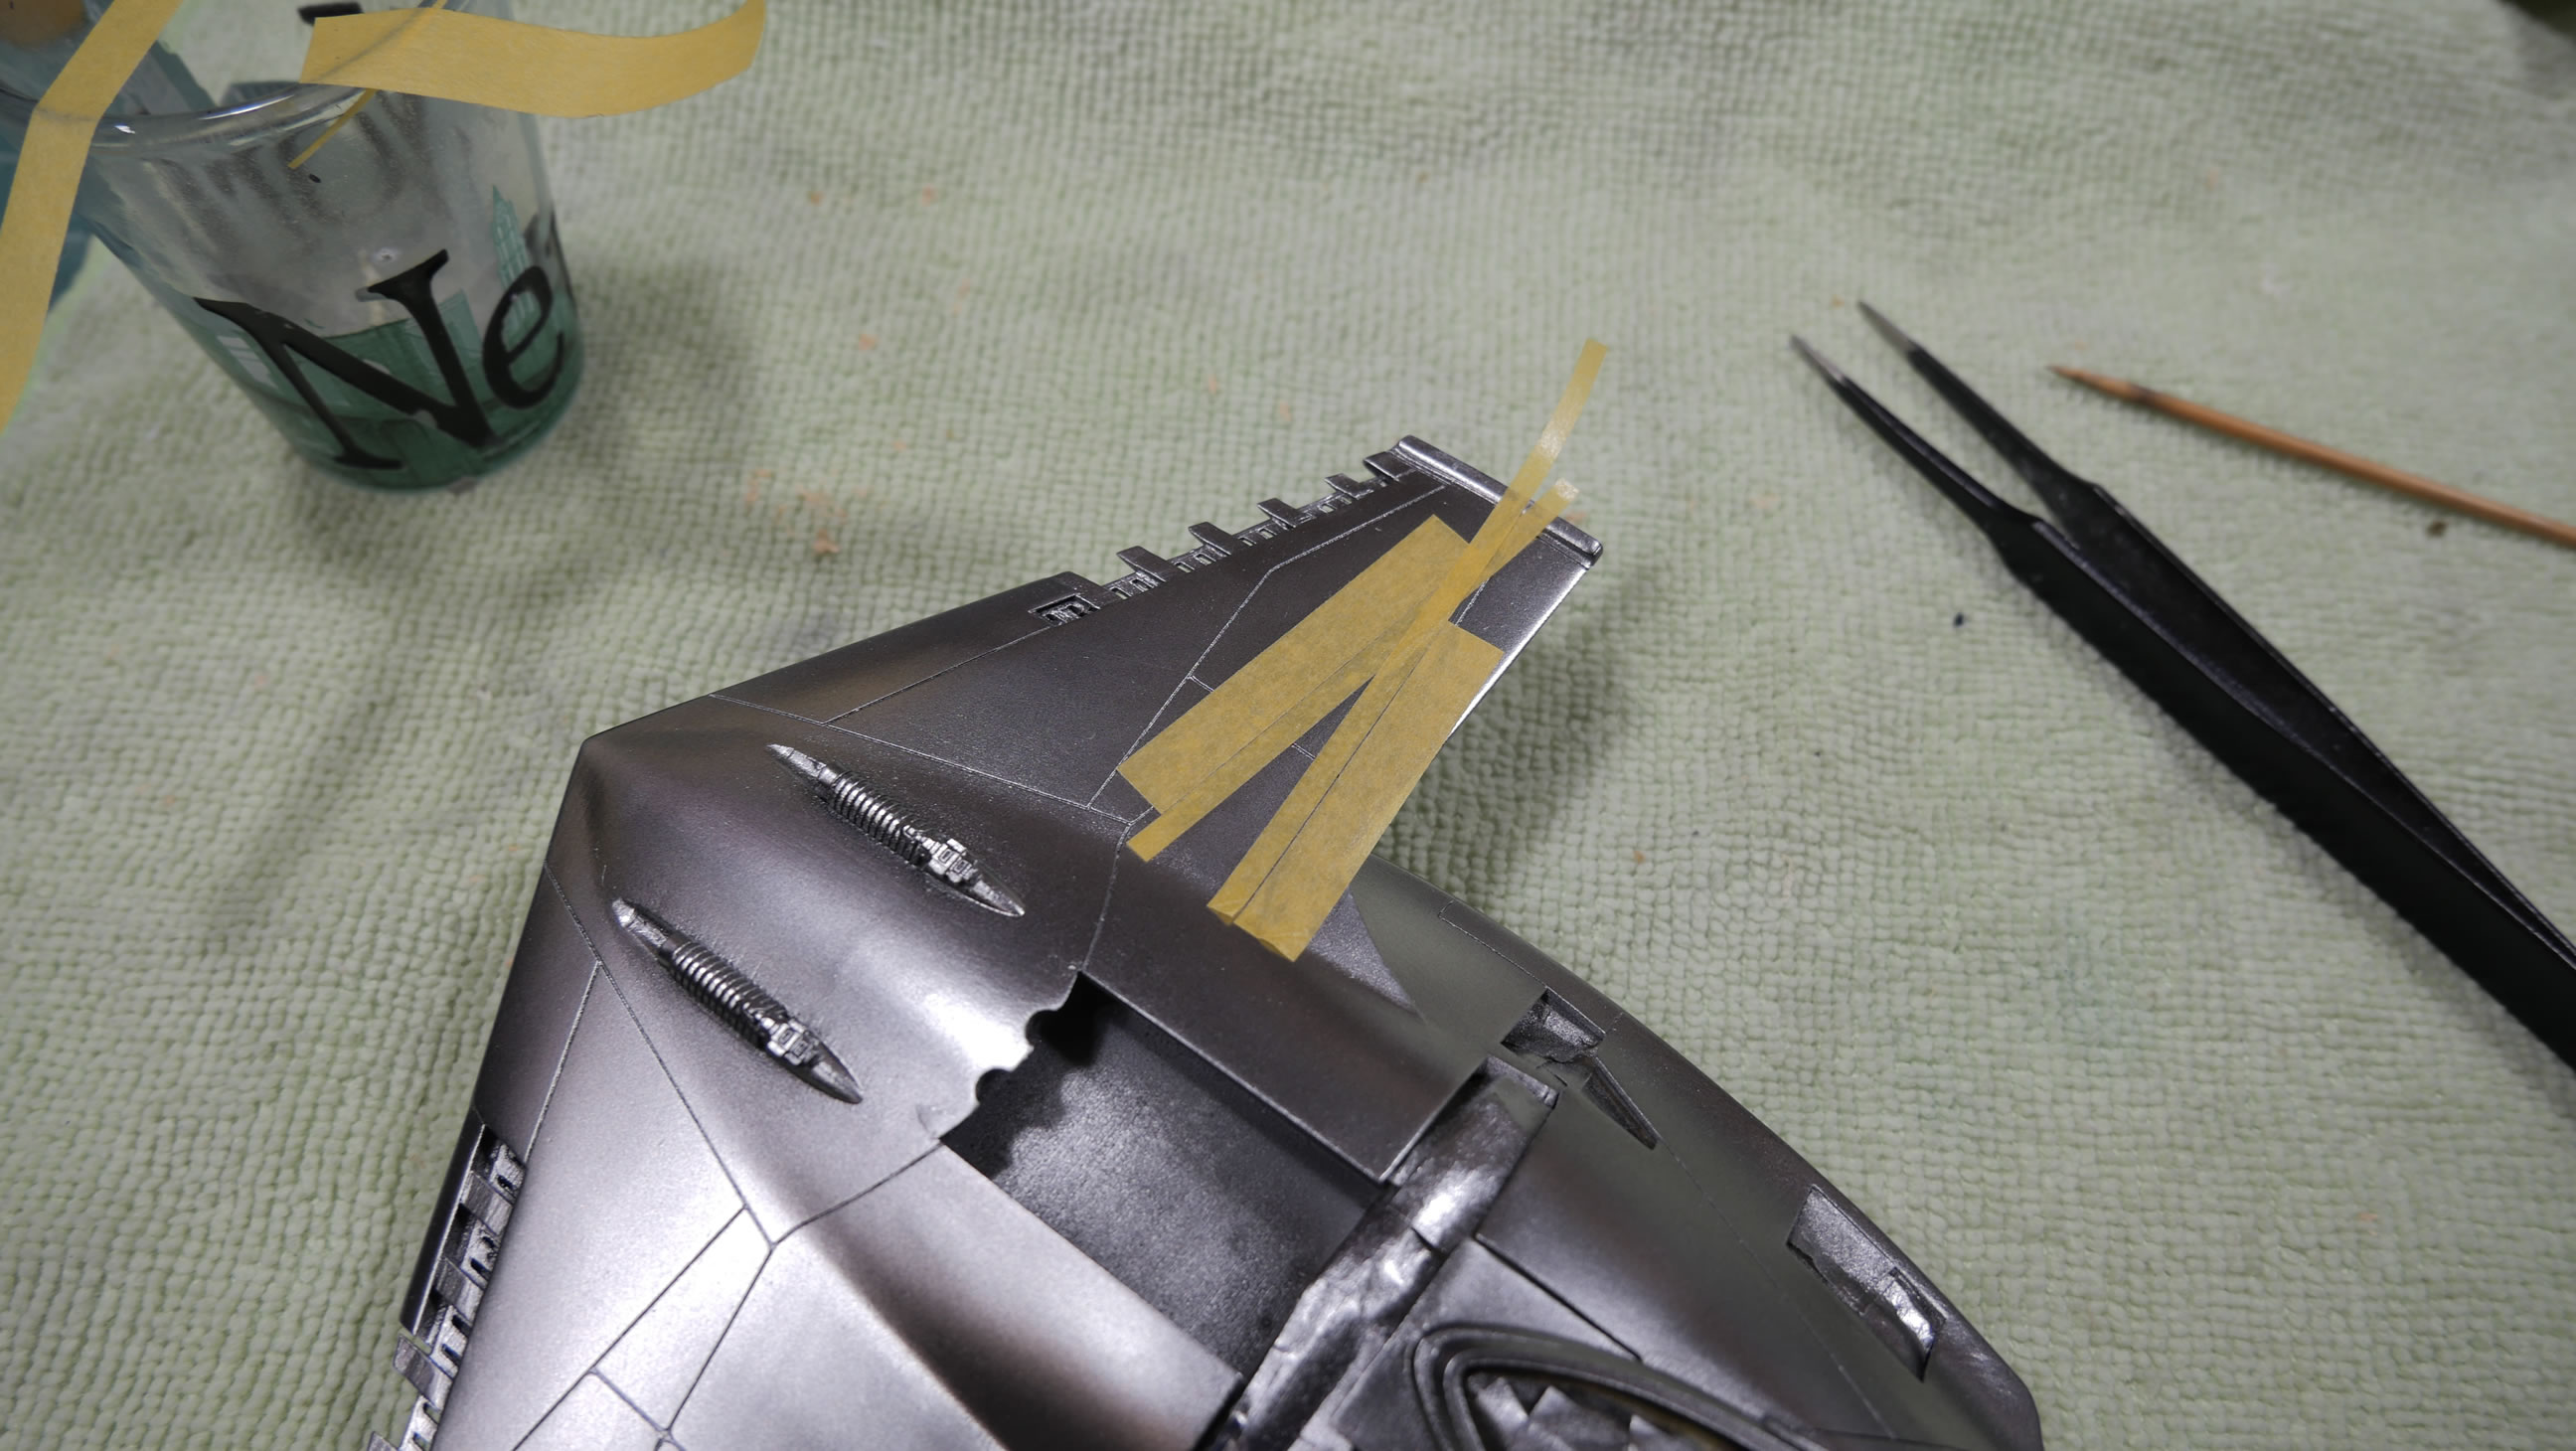
Once the glue is set, the exposed engine details are masked off.
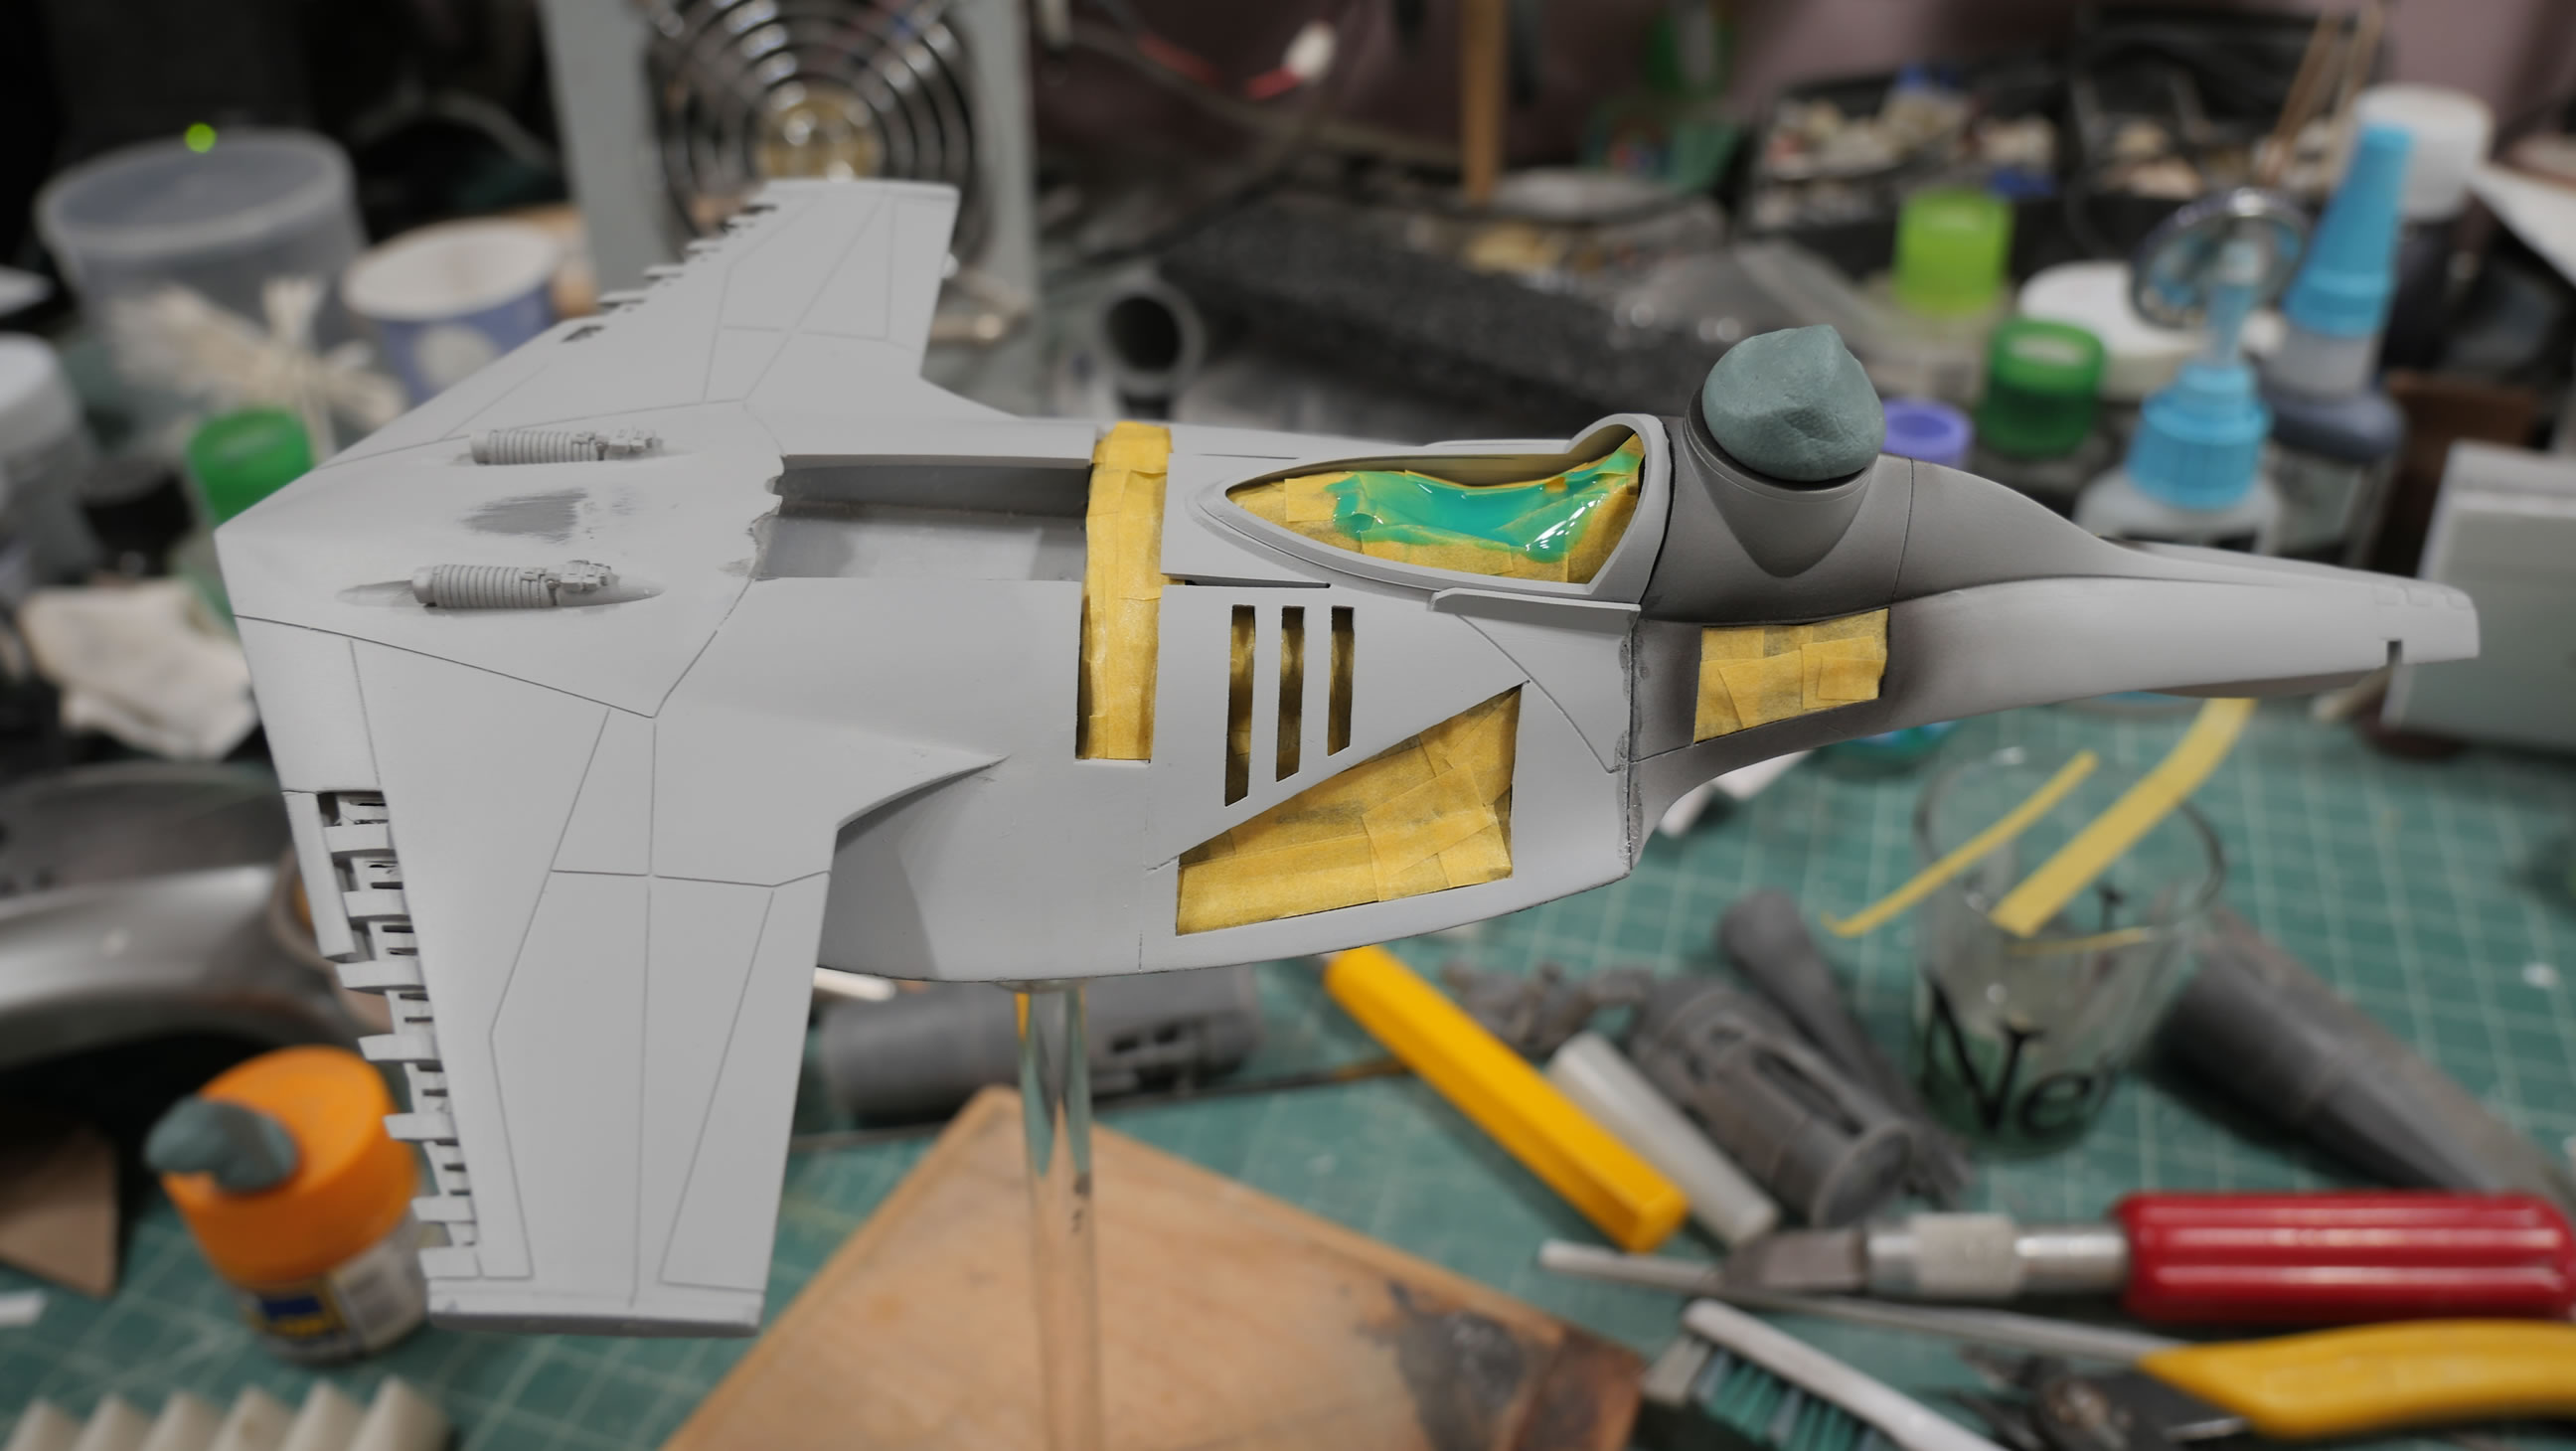
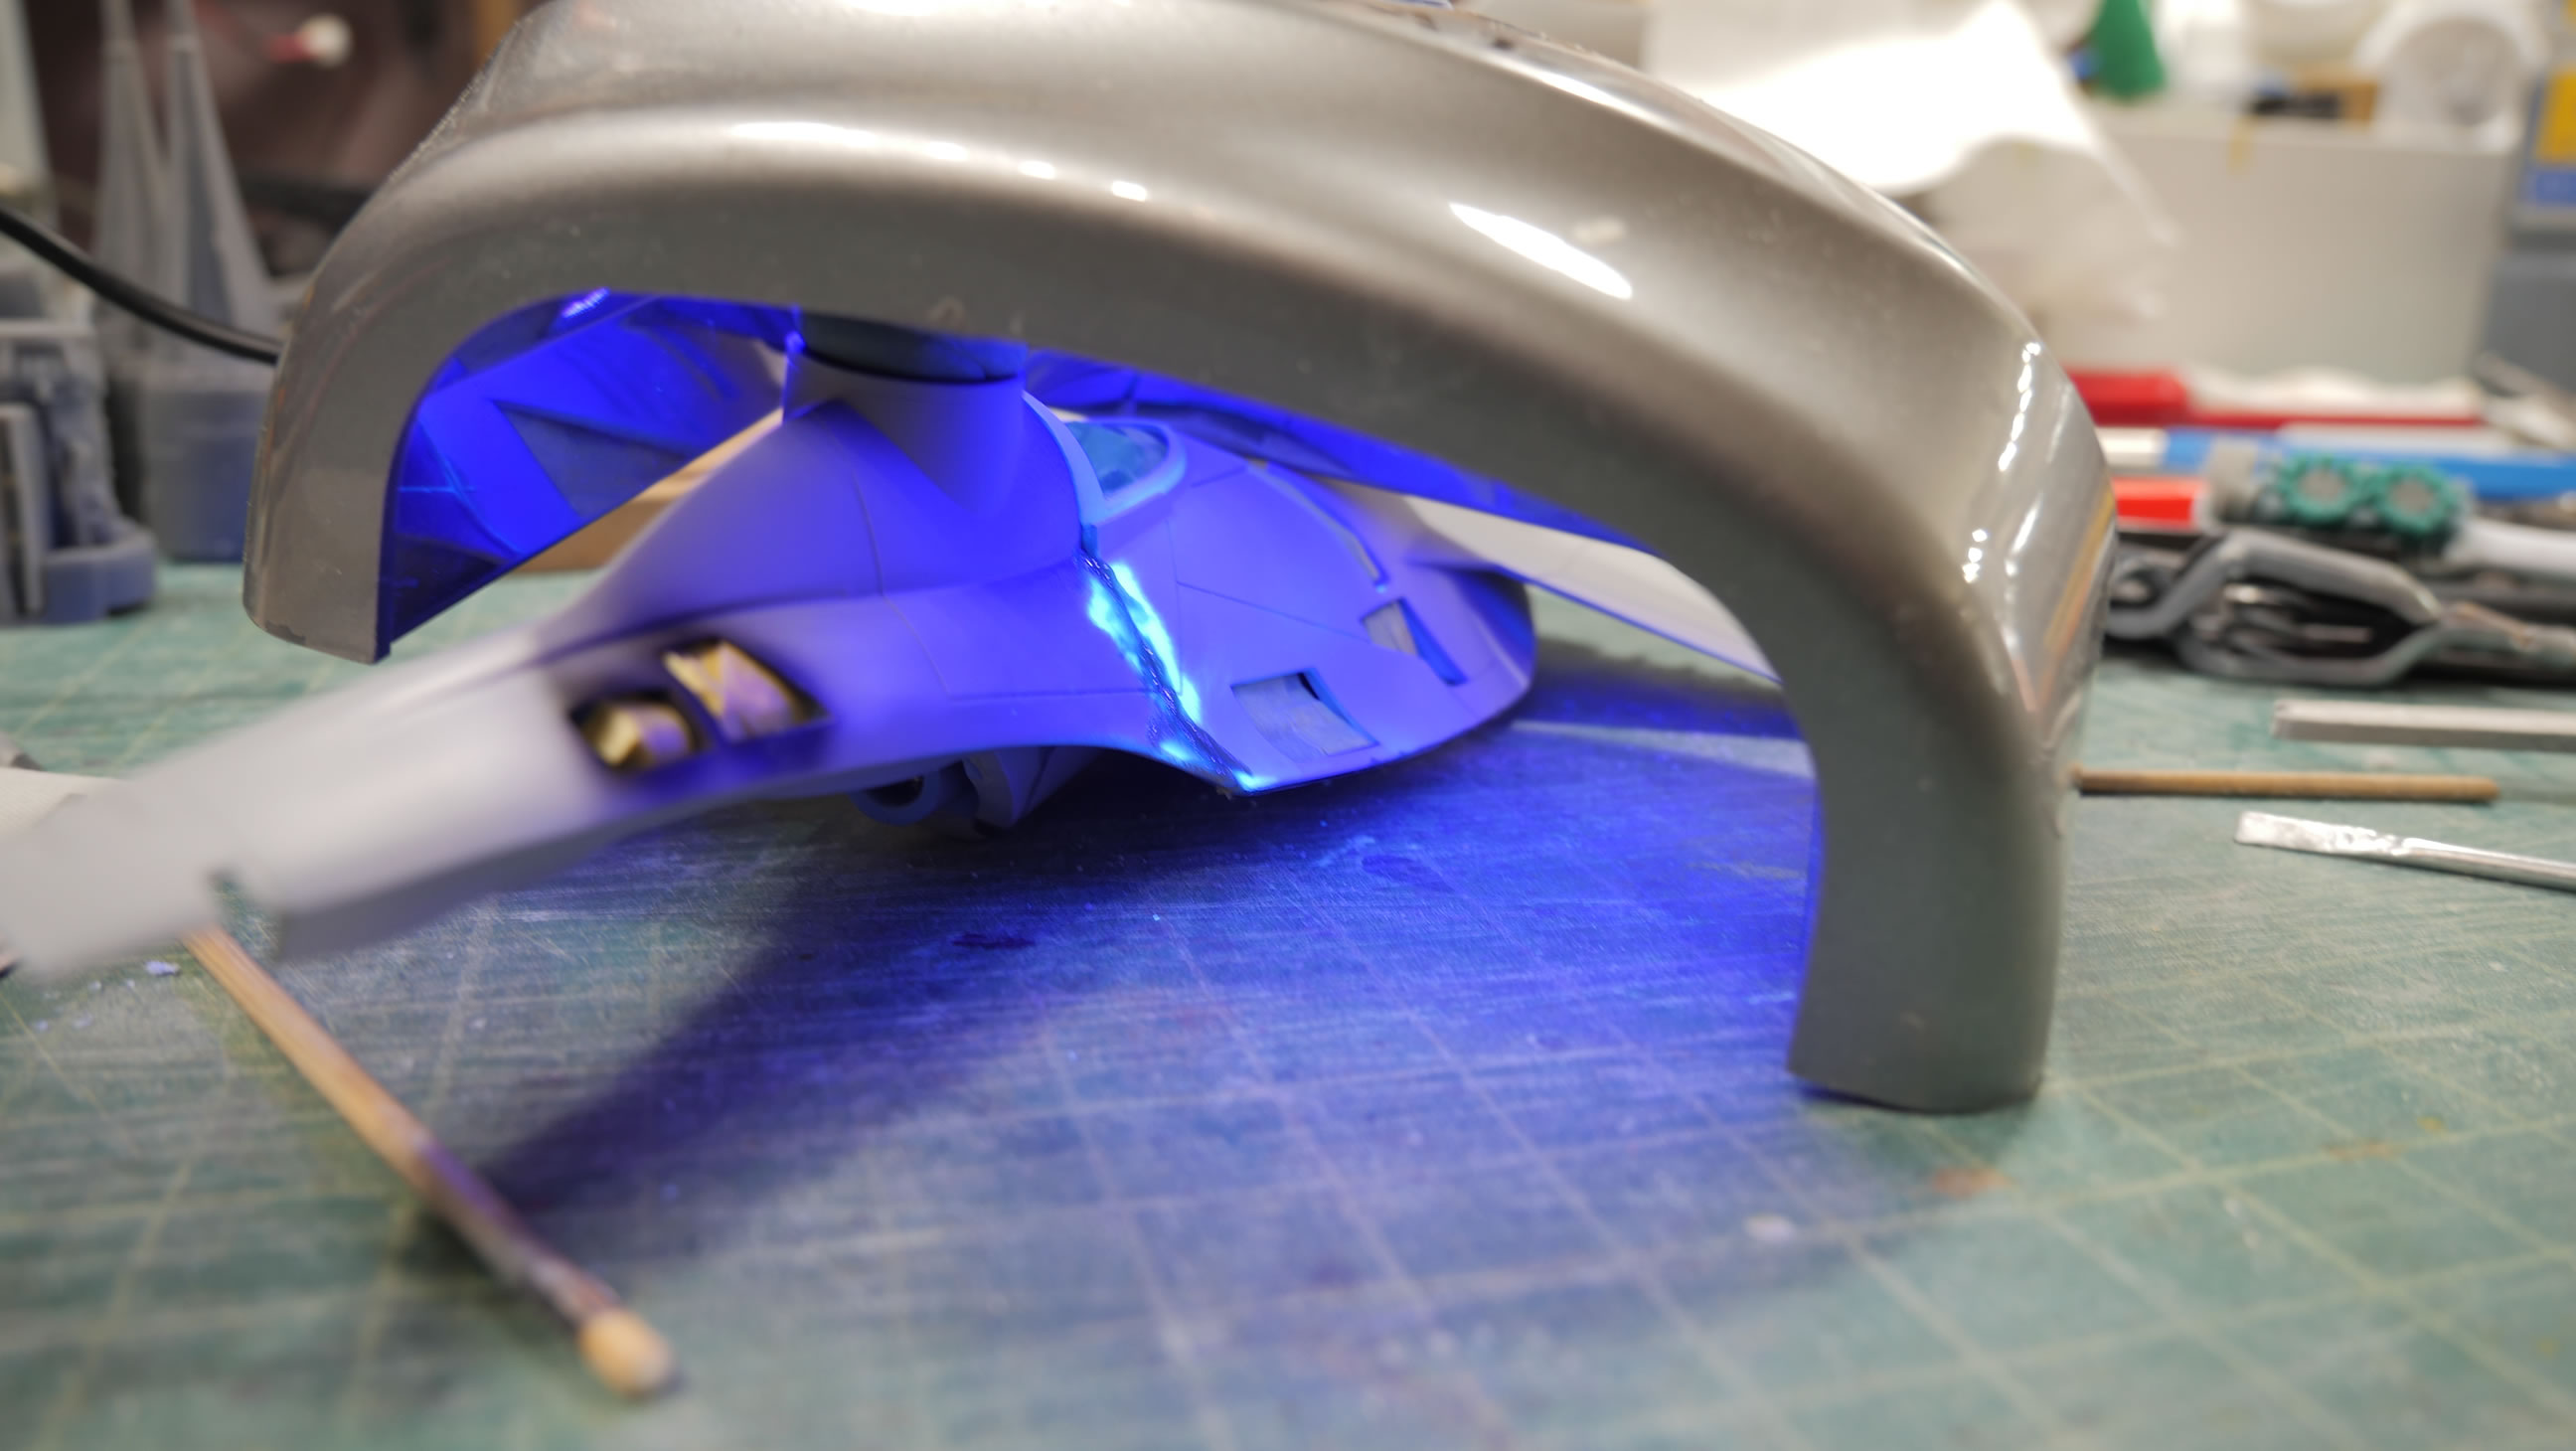
With the painted parts masked off, work on fixing gaps and seams between the three body parts begins. Using light curing putty, the process is actually fairly fast and painless. Putty is applied to the gaps. A nail salon UV lamp is placed over the putty areas, and in less than 2 minutes, the putty is cured and ready for sanding.
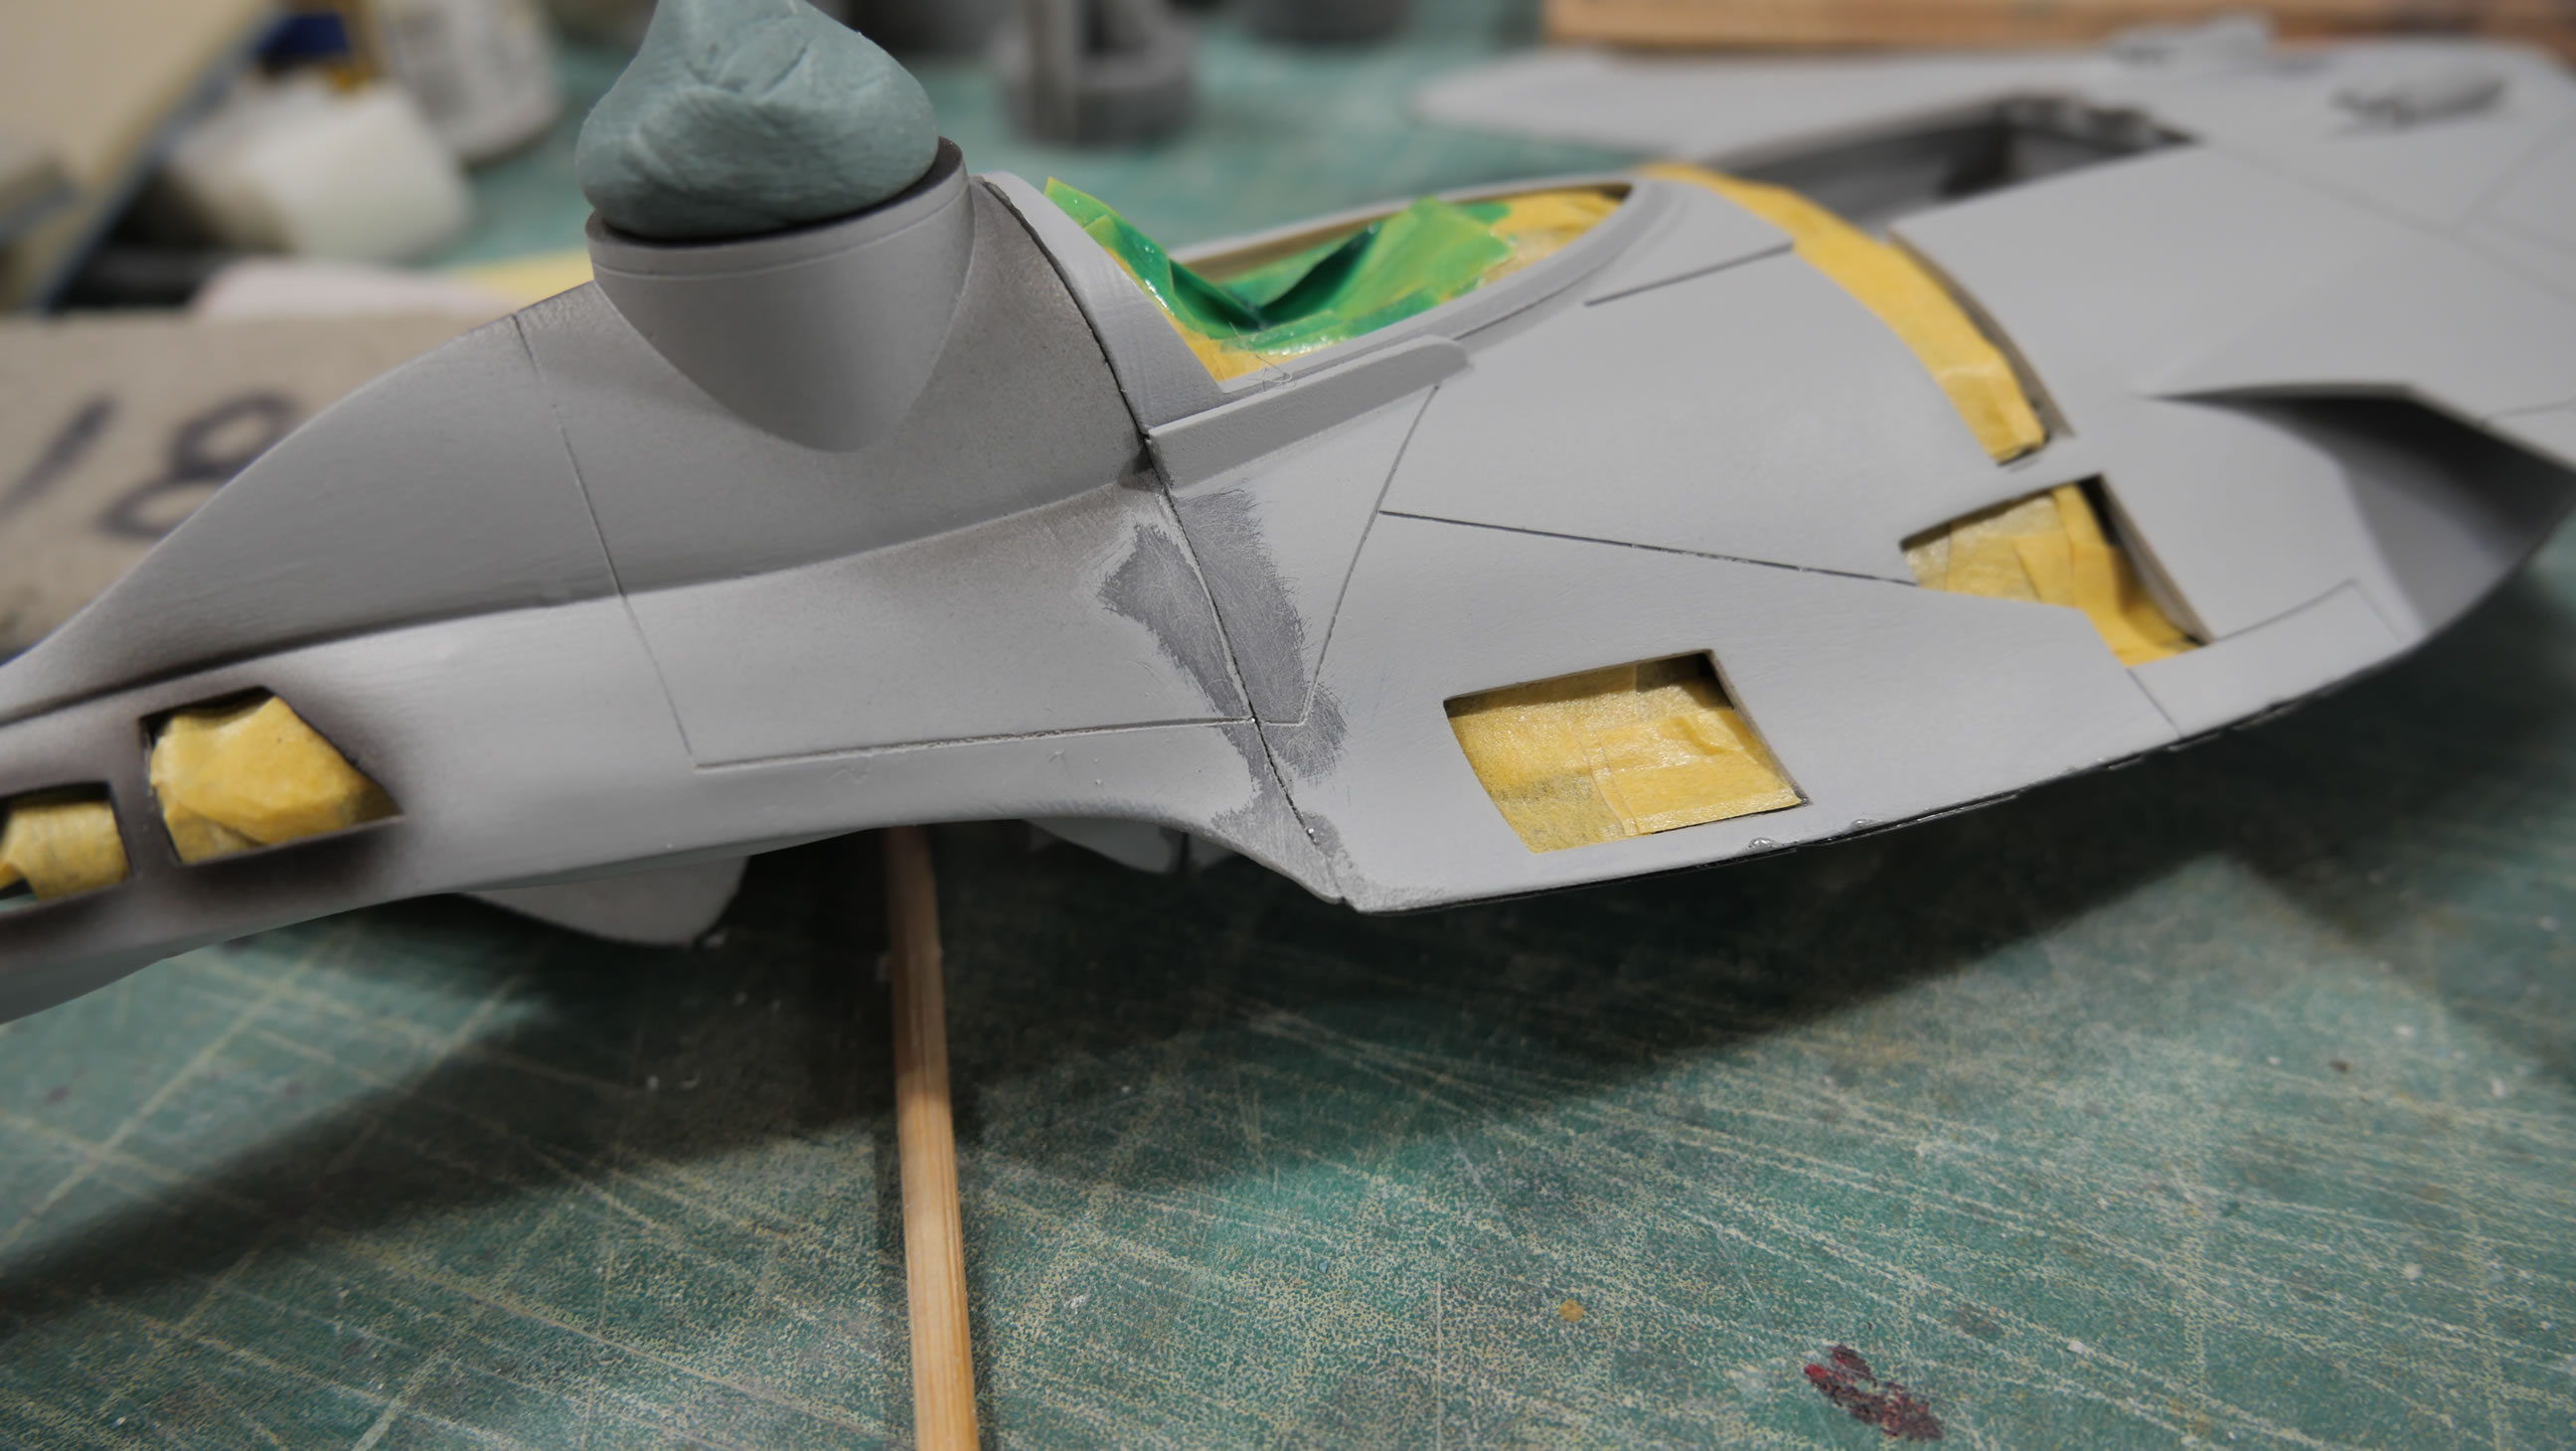
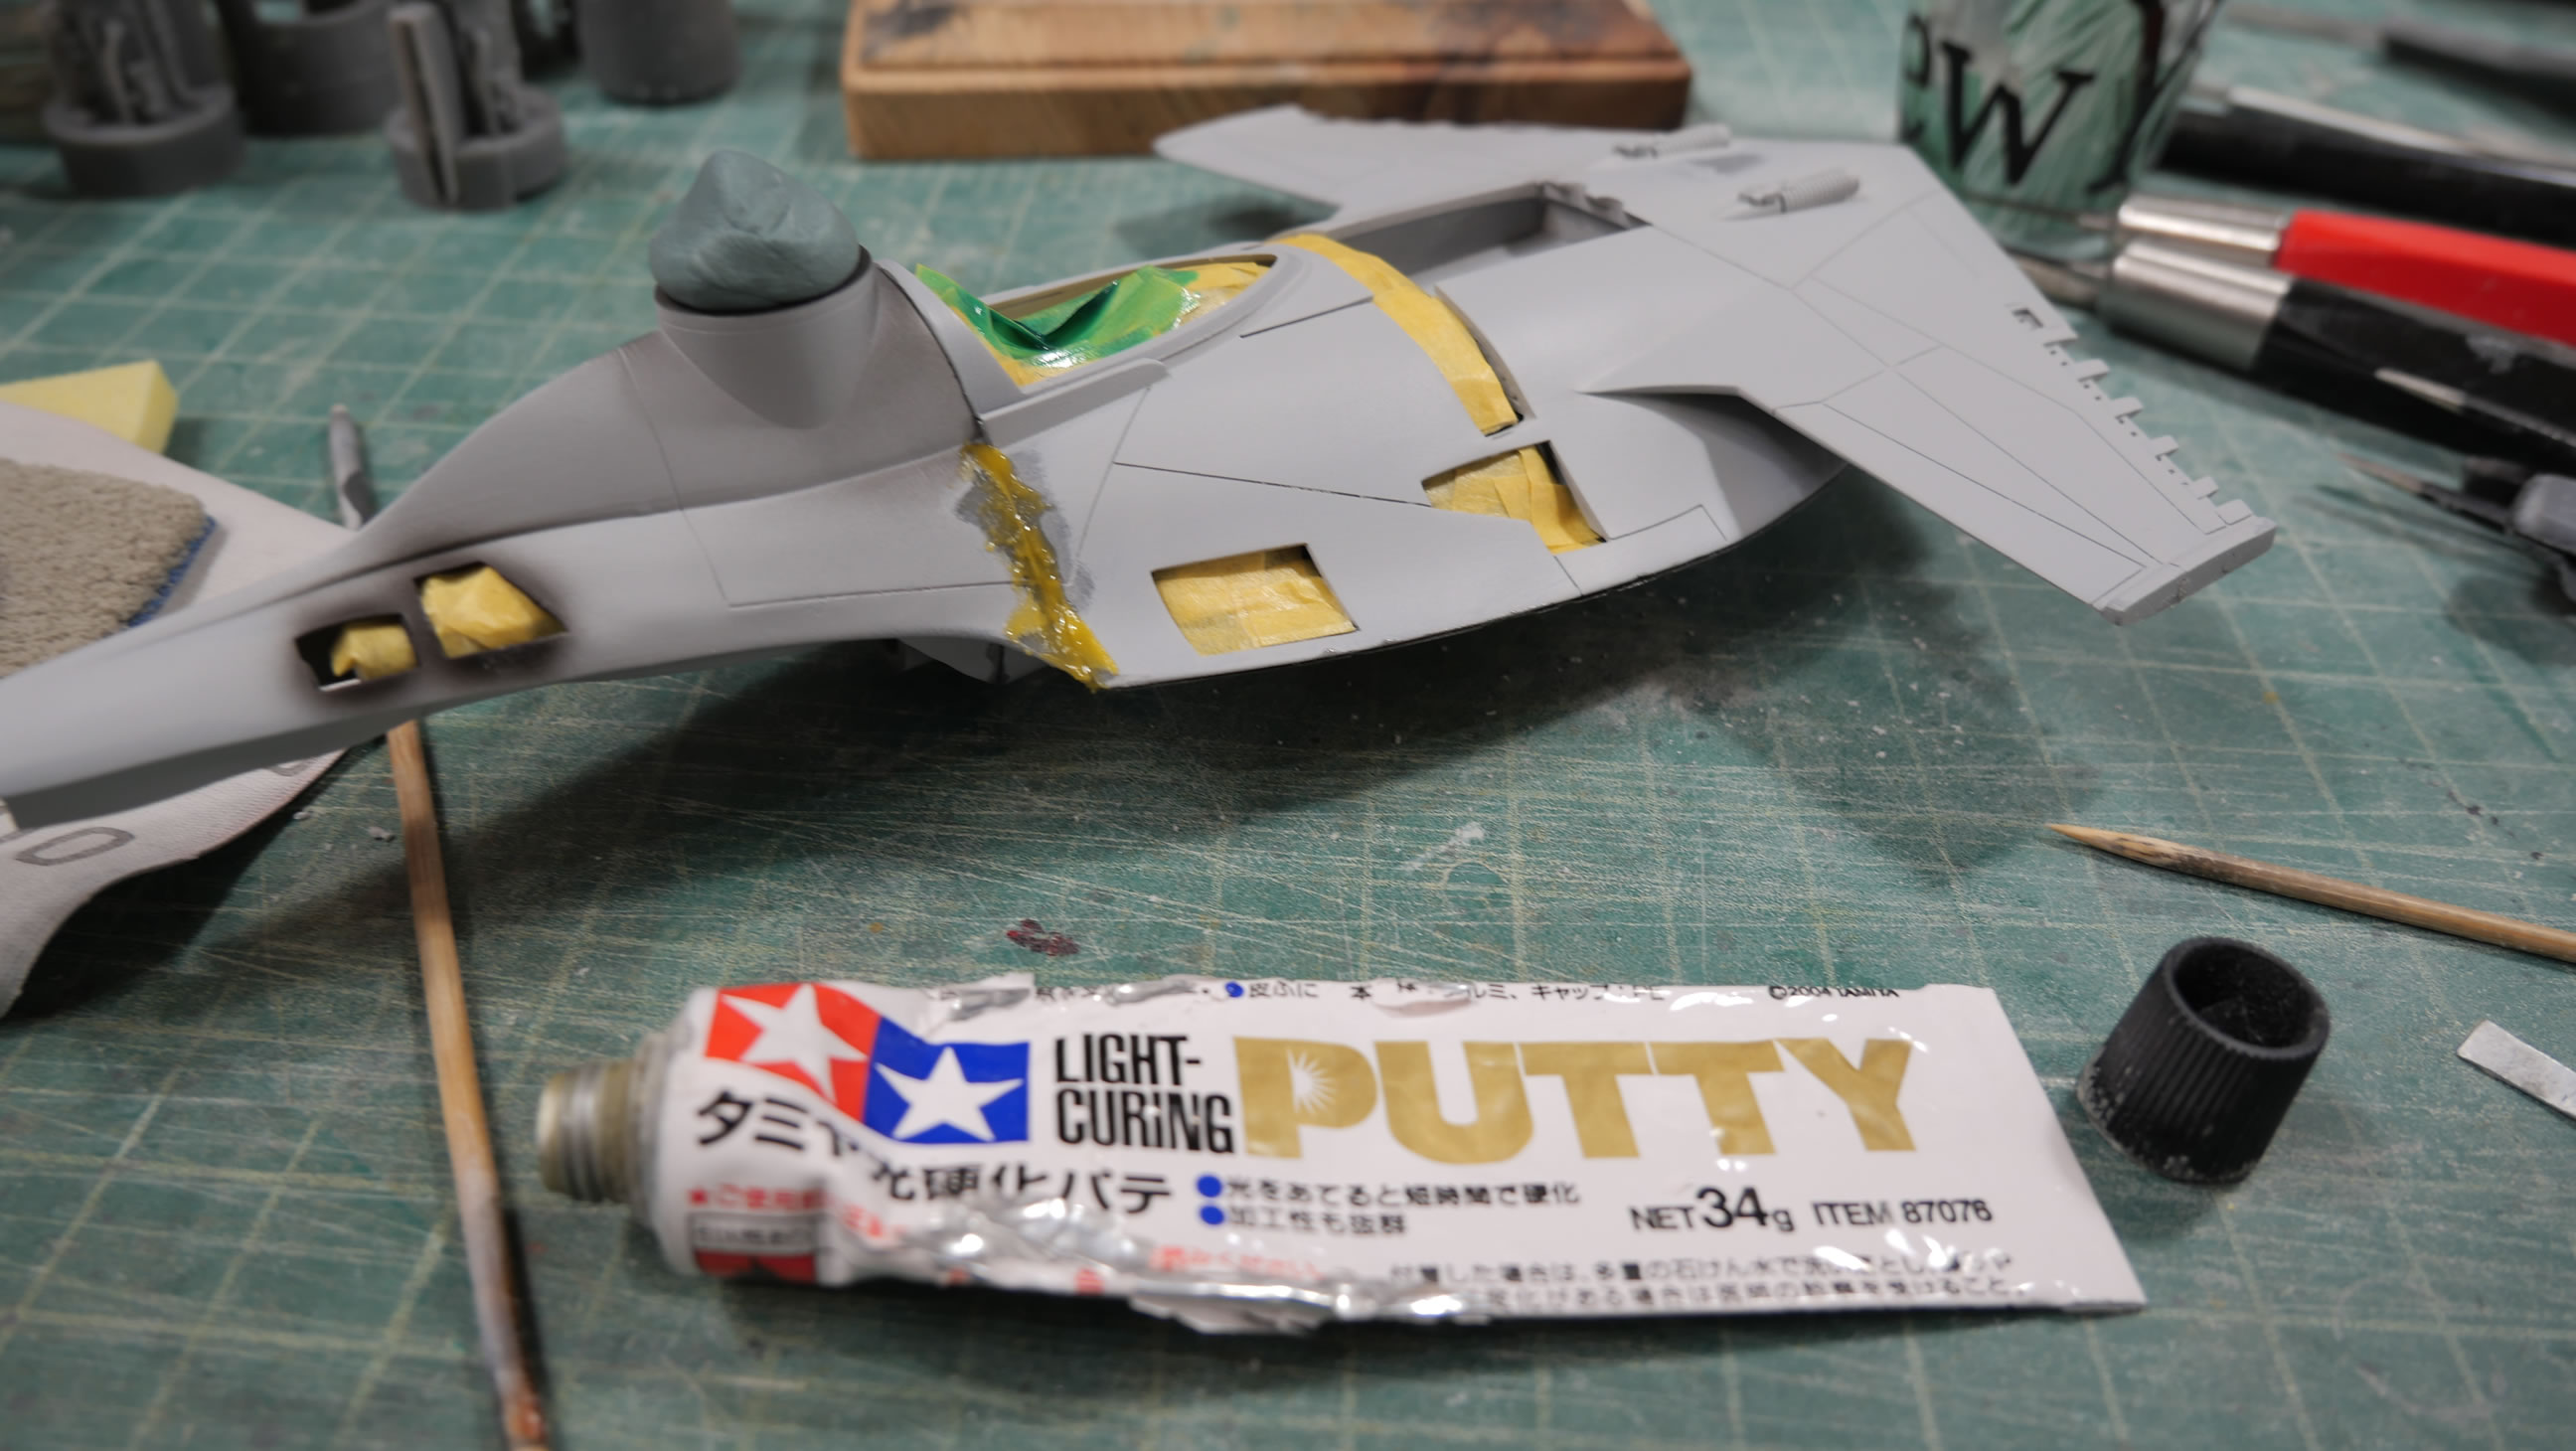
Sanding the surface smooth, the area is primed to check for mistakes. If there are no mistakes, move on to the next area. Light curing putty has been my go to putty for at least 15 years now. I don’t want to wait over night for things to dry and cure before getting to sanding.
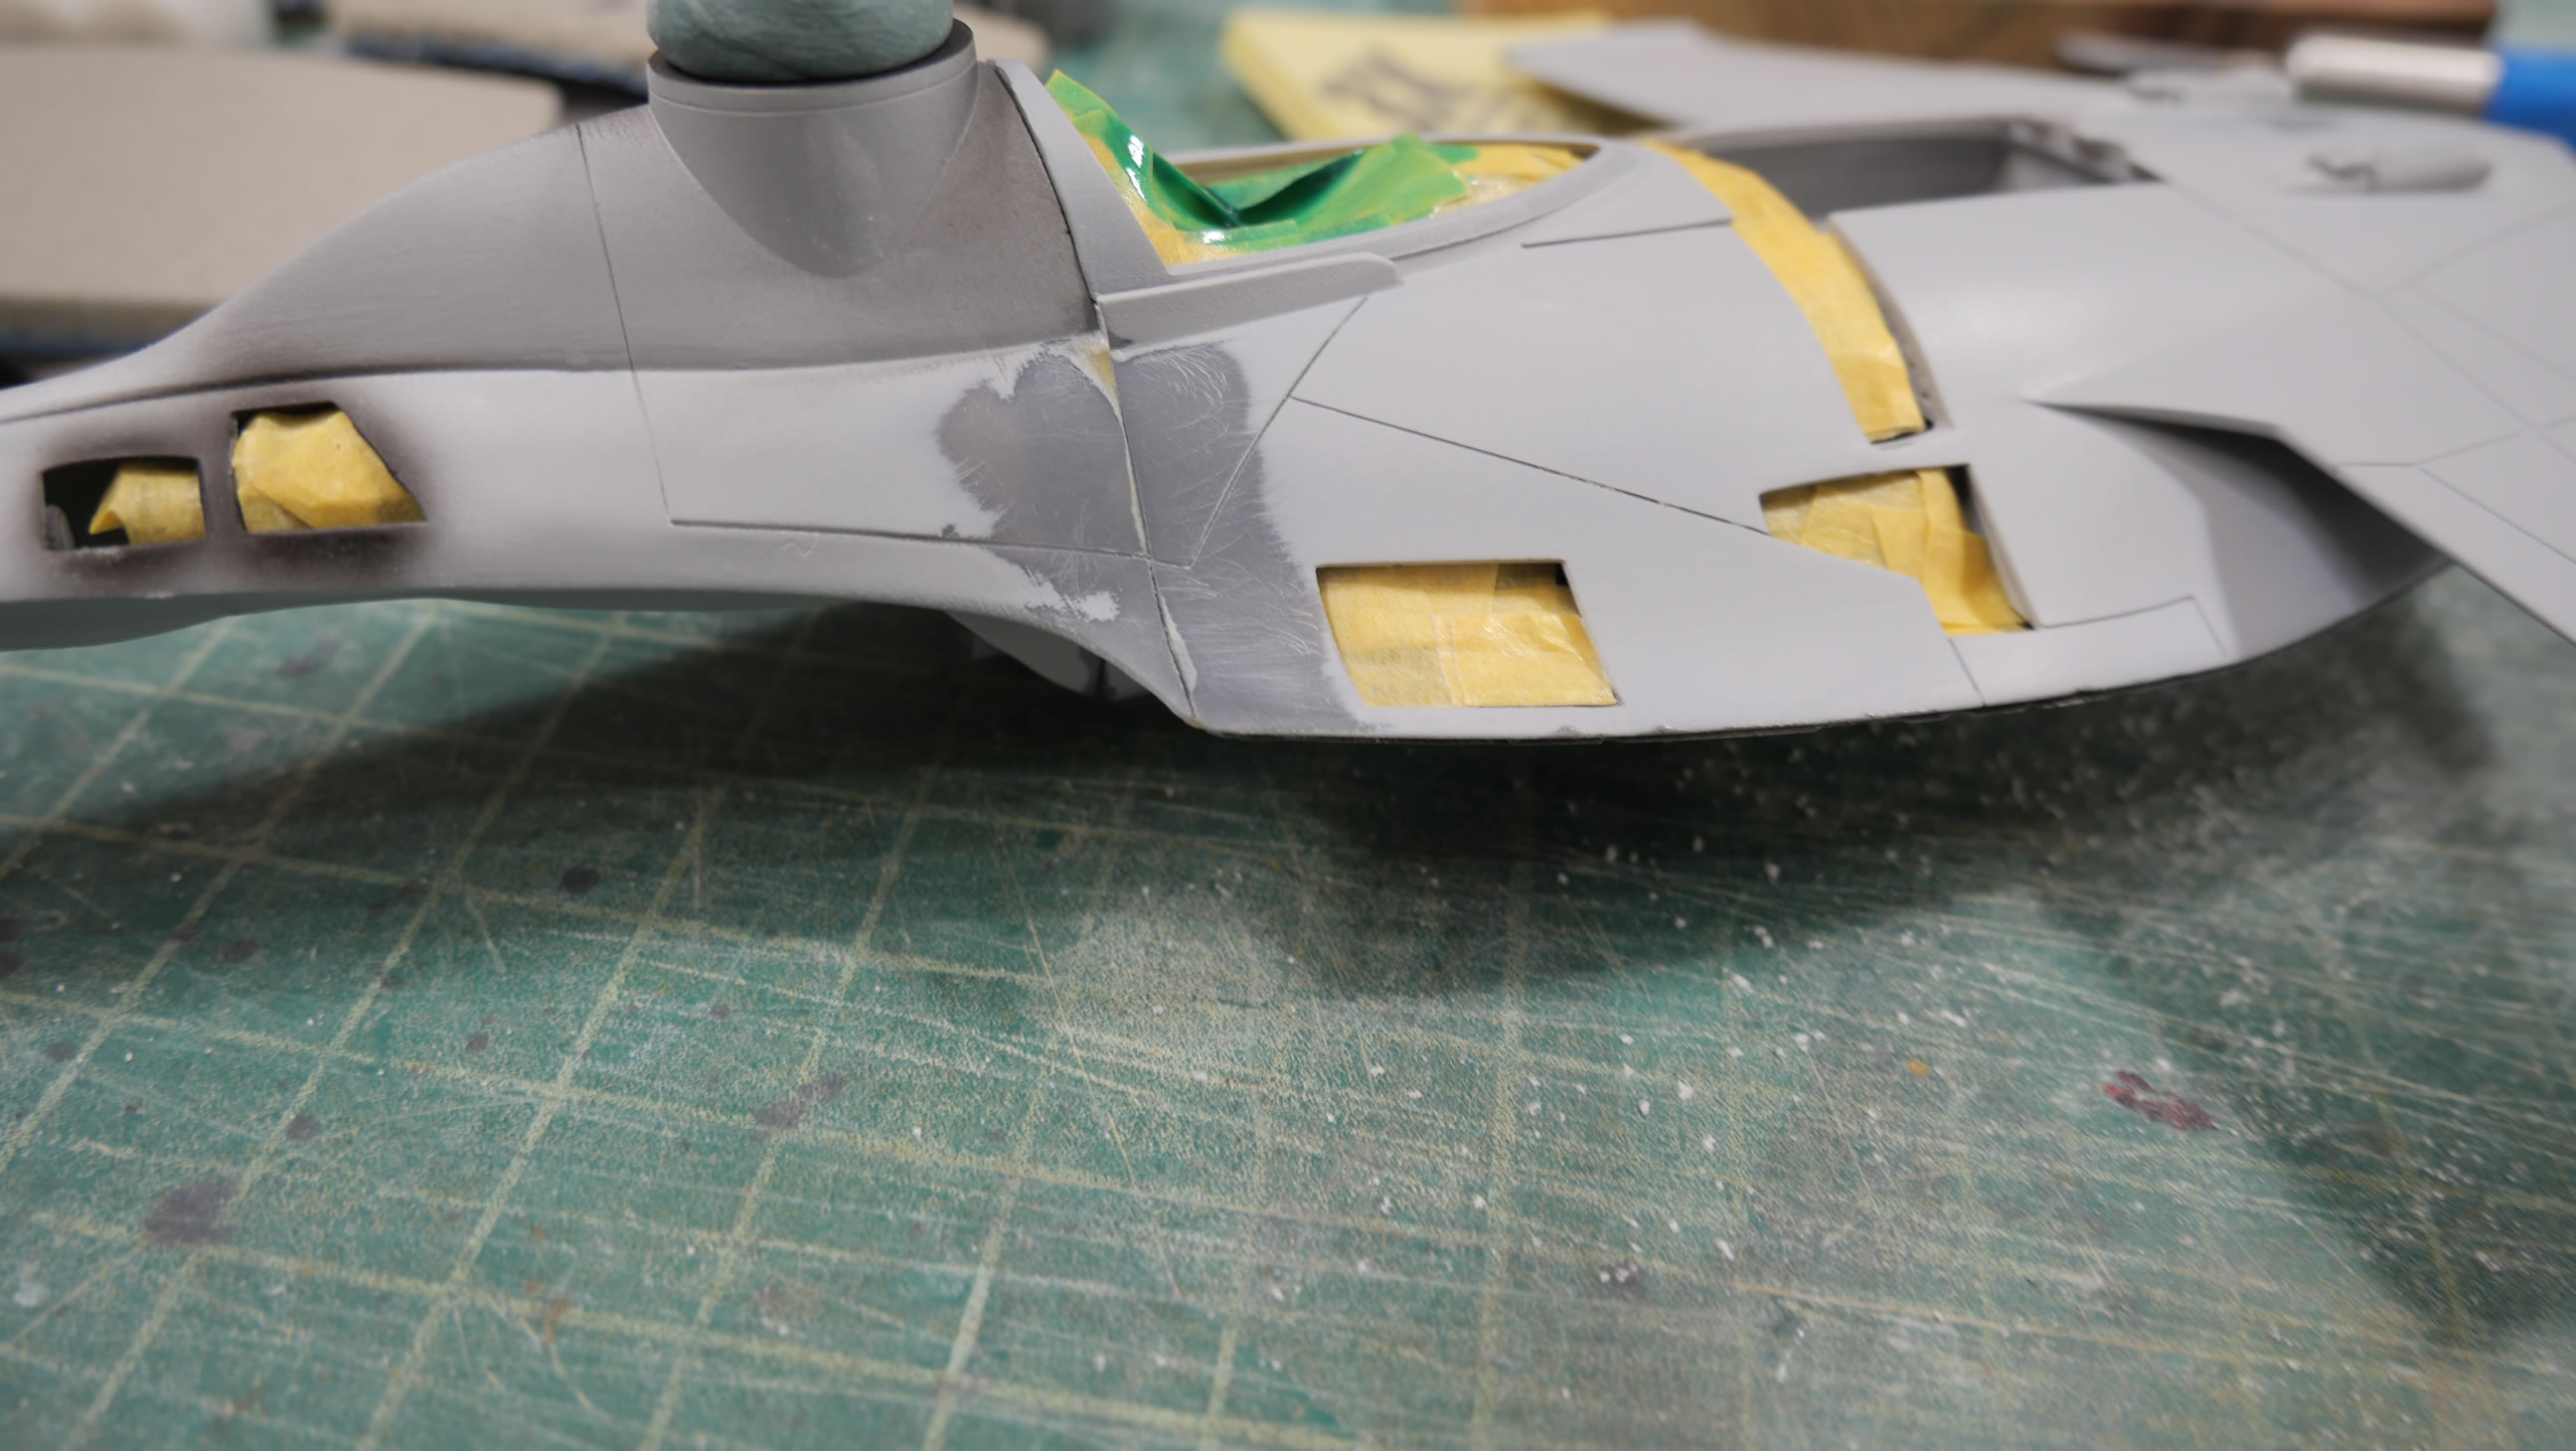
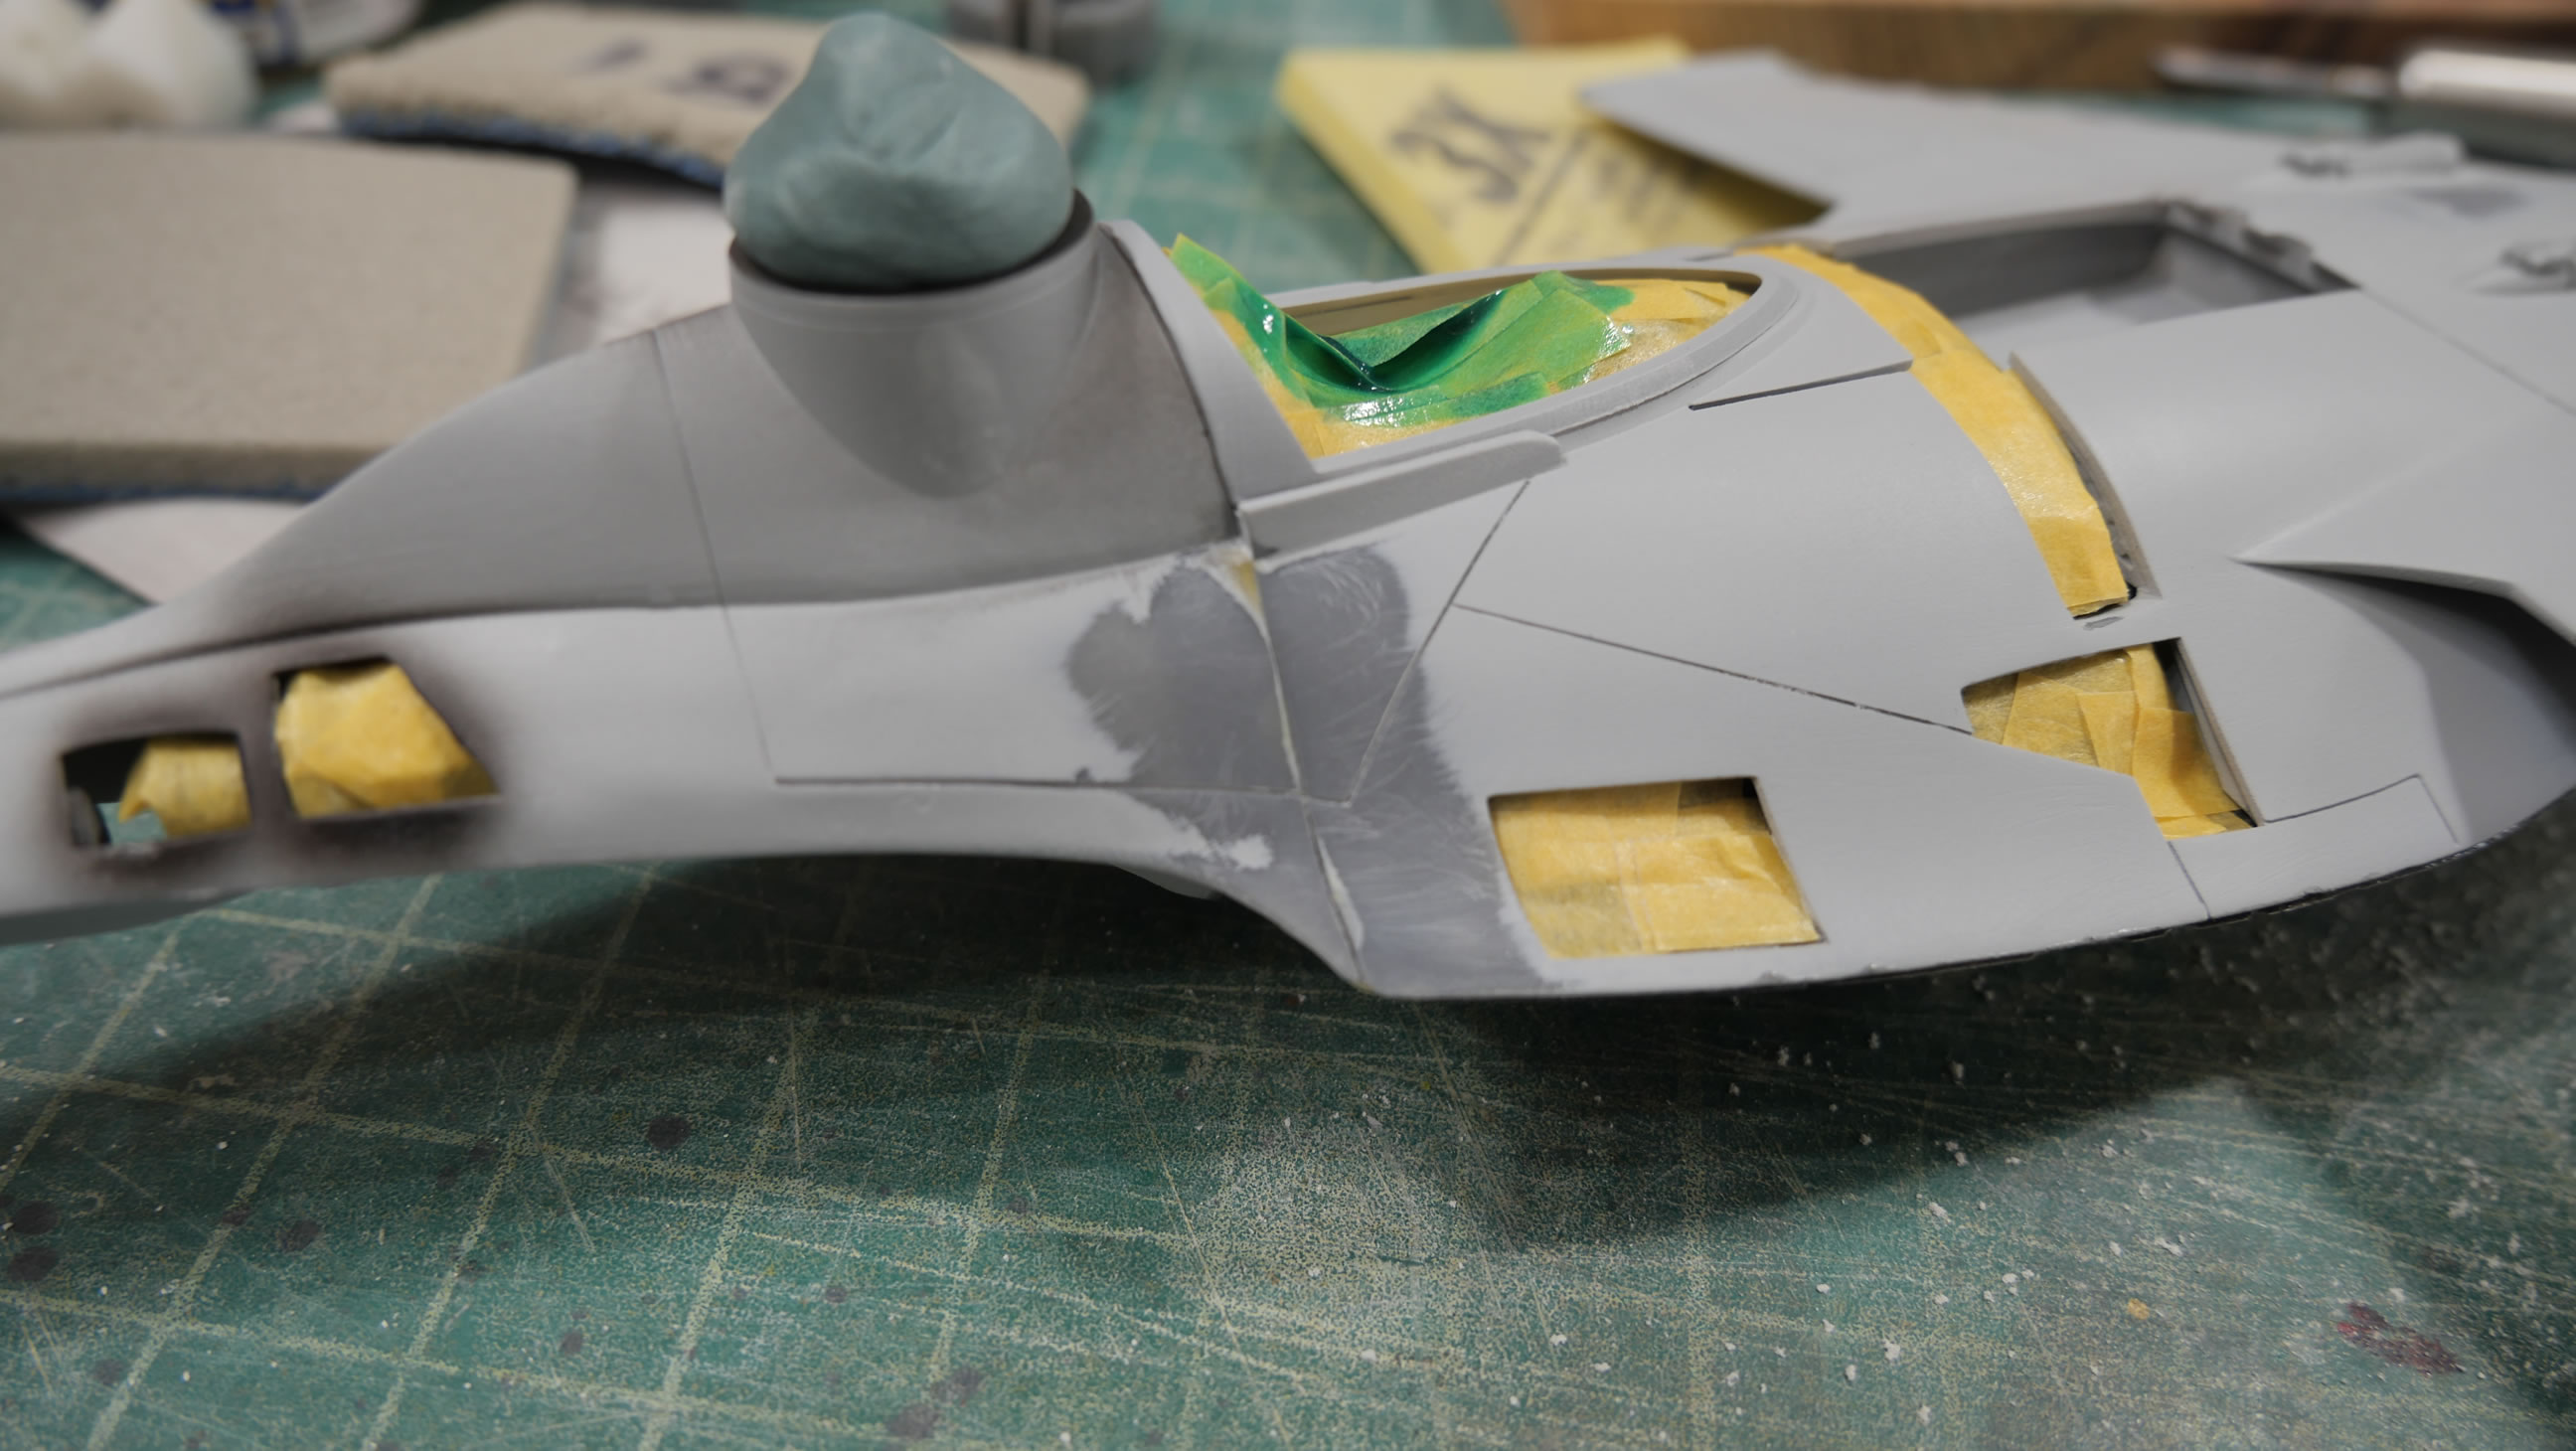
Same application to the other side and the sides of the kit where the top and bottom halves meet. This putty also works great to rebuild damaged areas; adding materials.

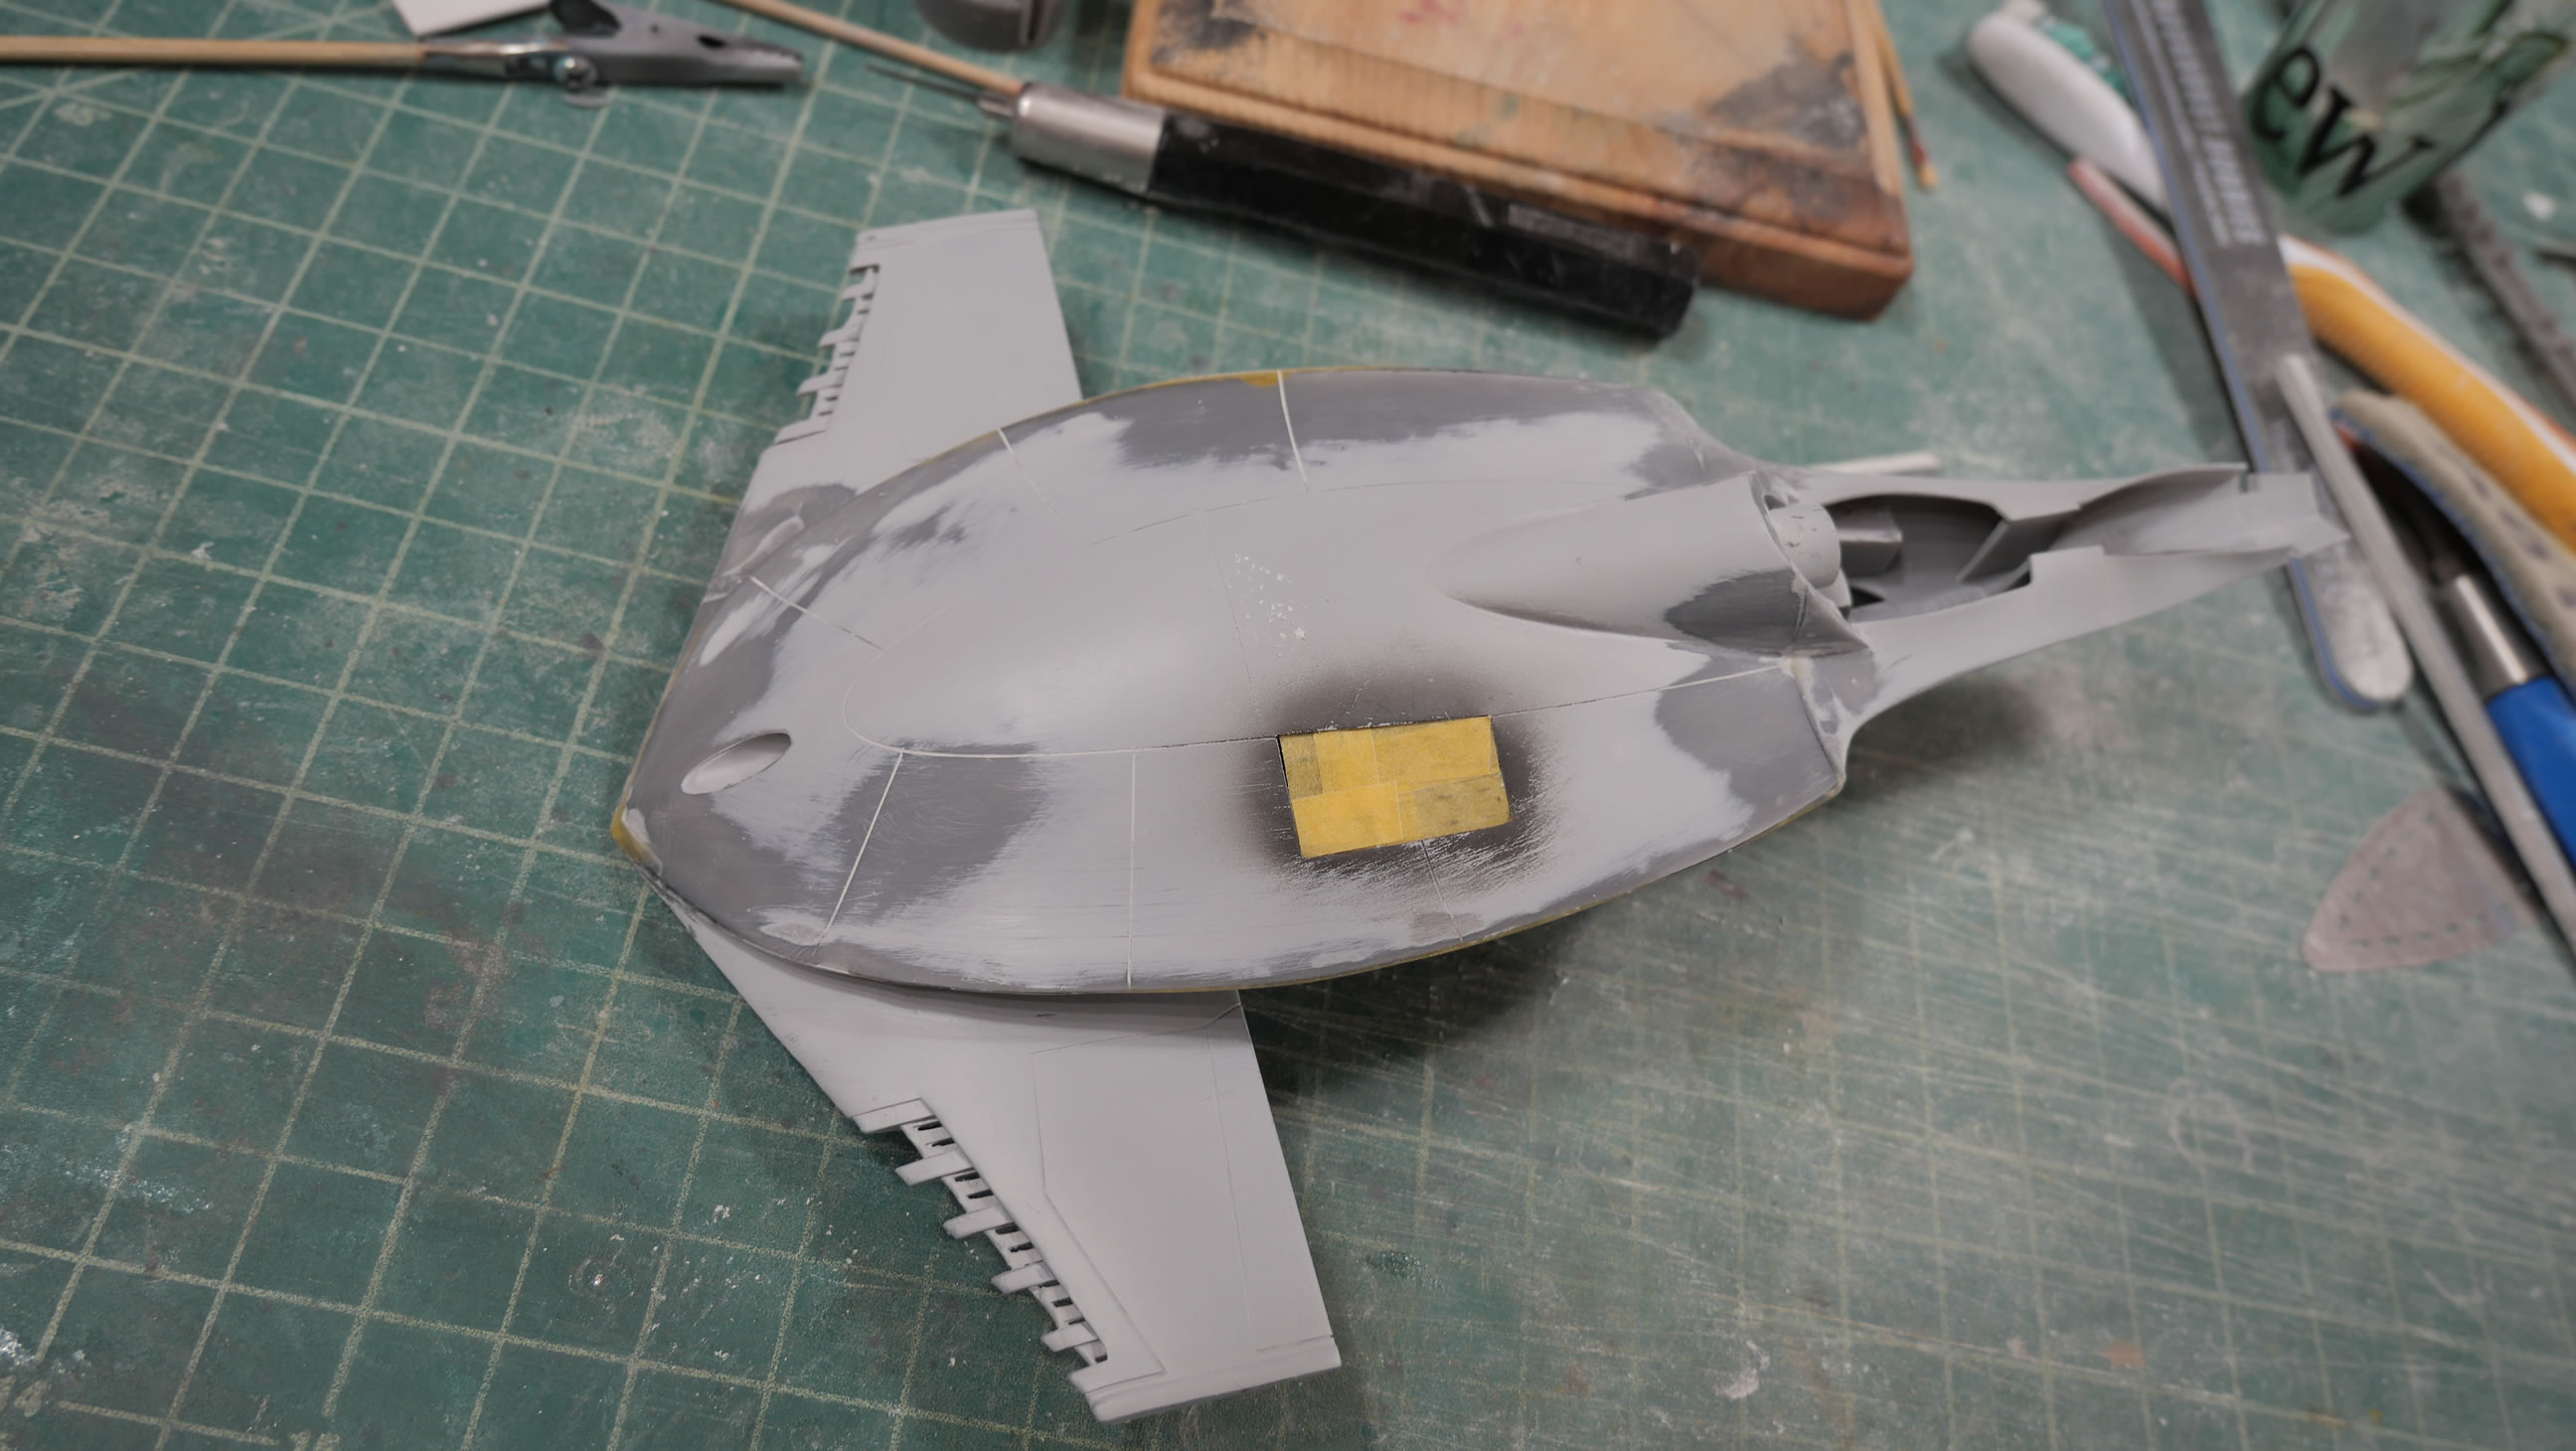
The body work and surface prep is completed in a single night’s build session. Pretty damn quick and efficient.
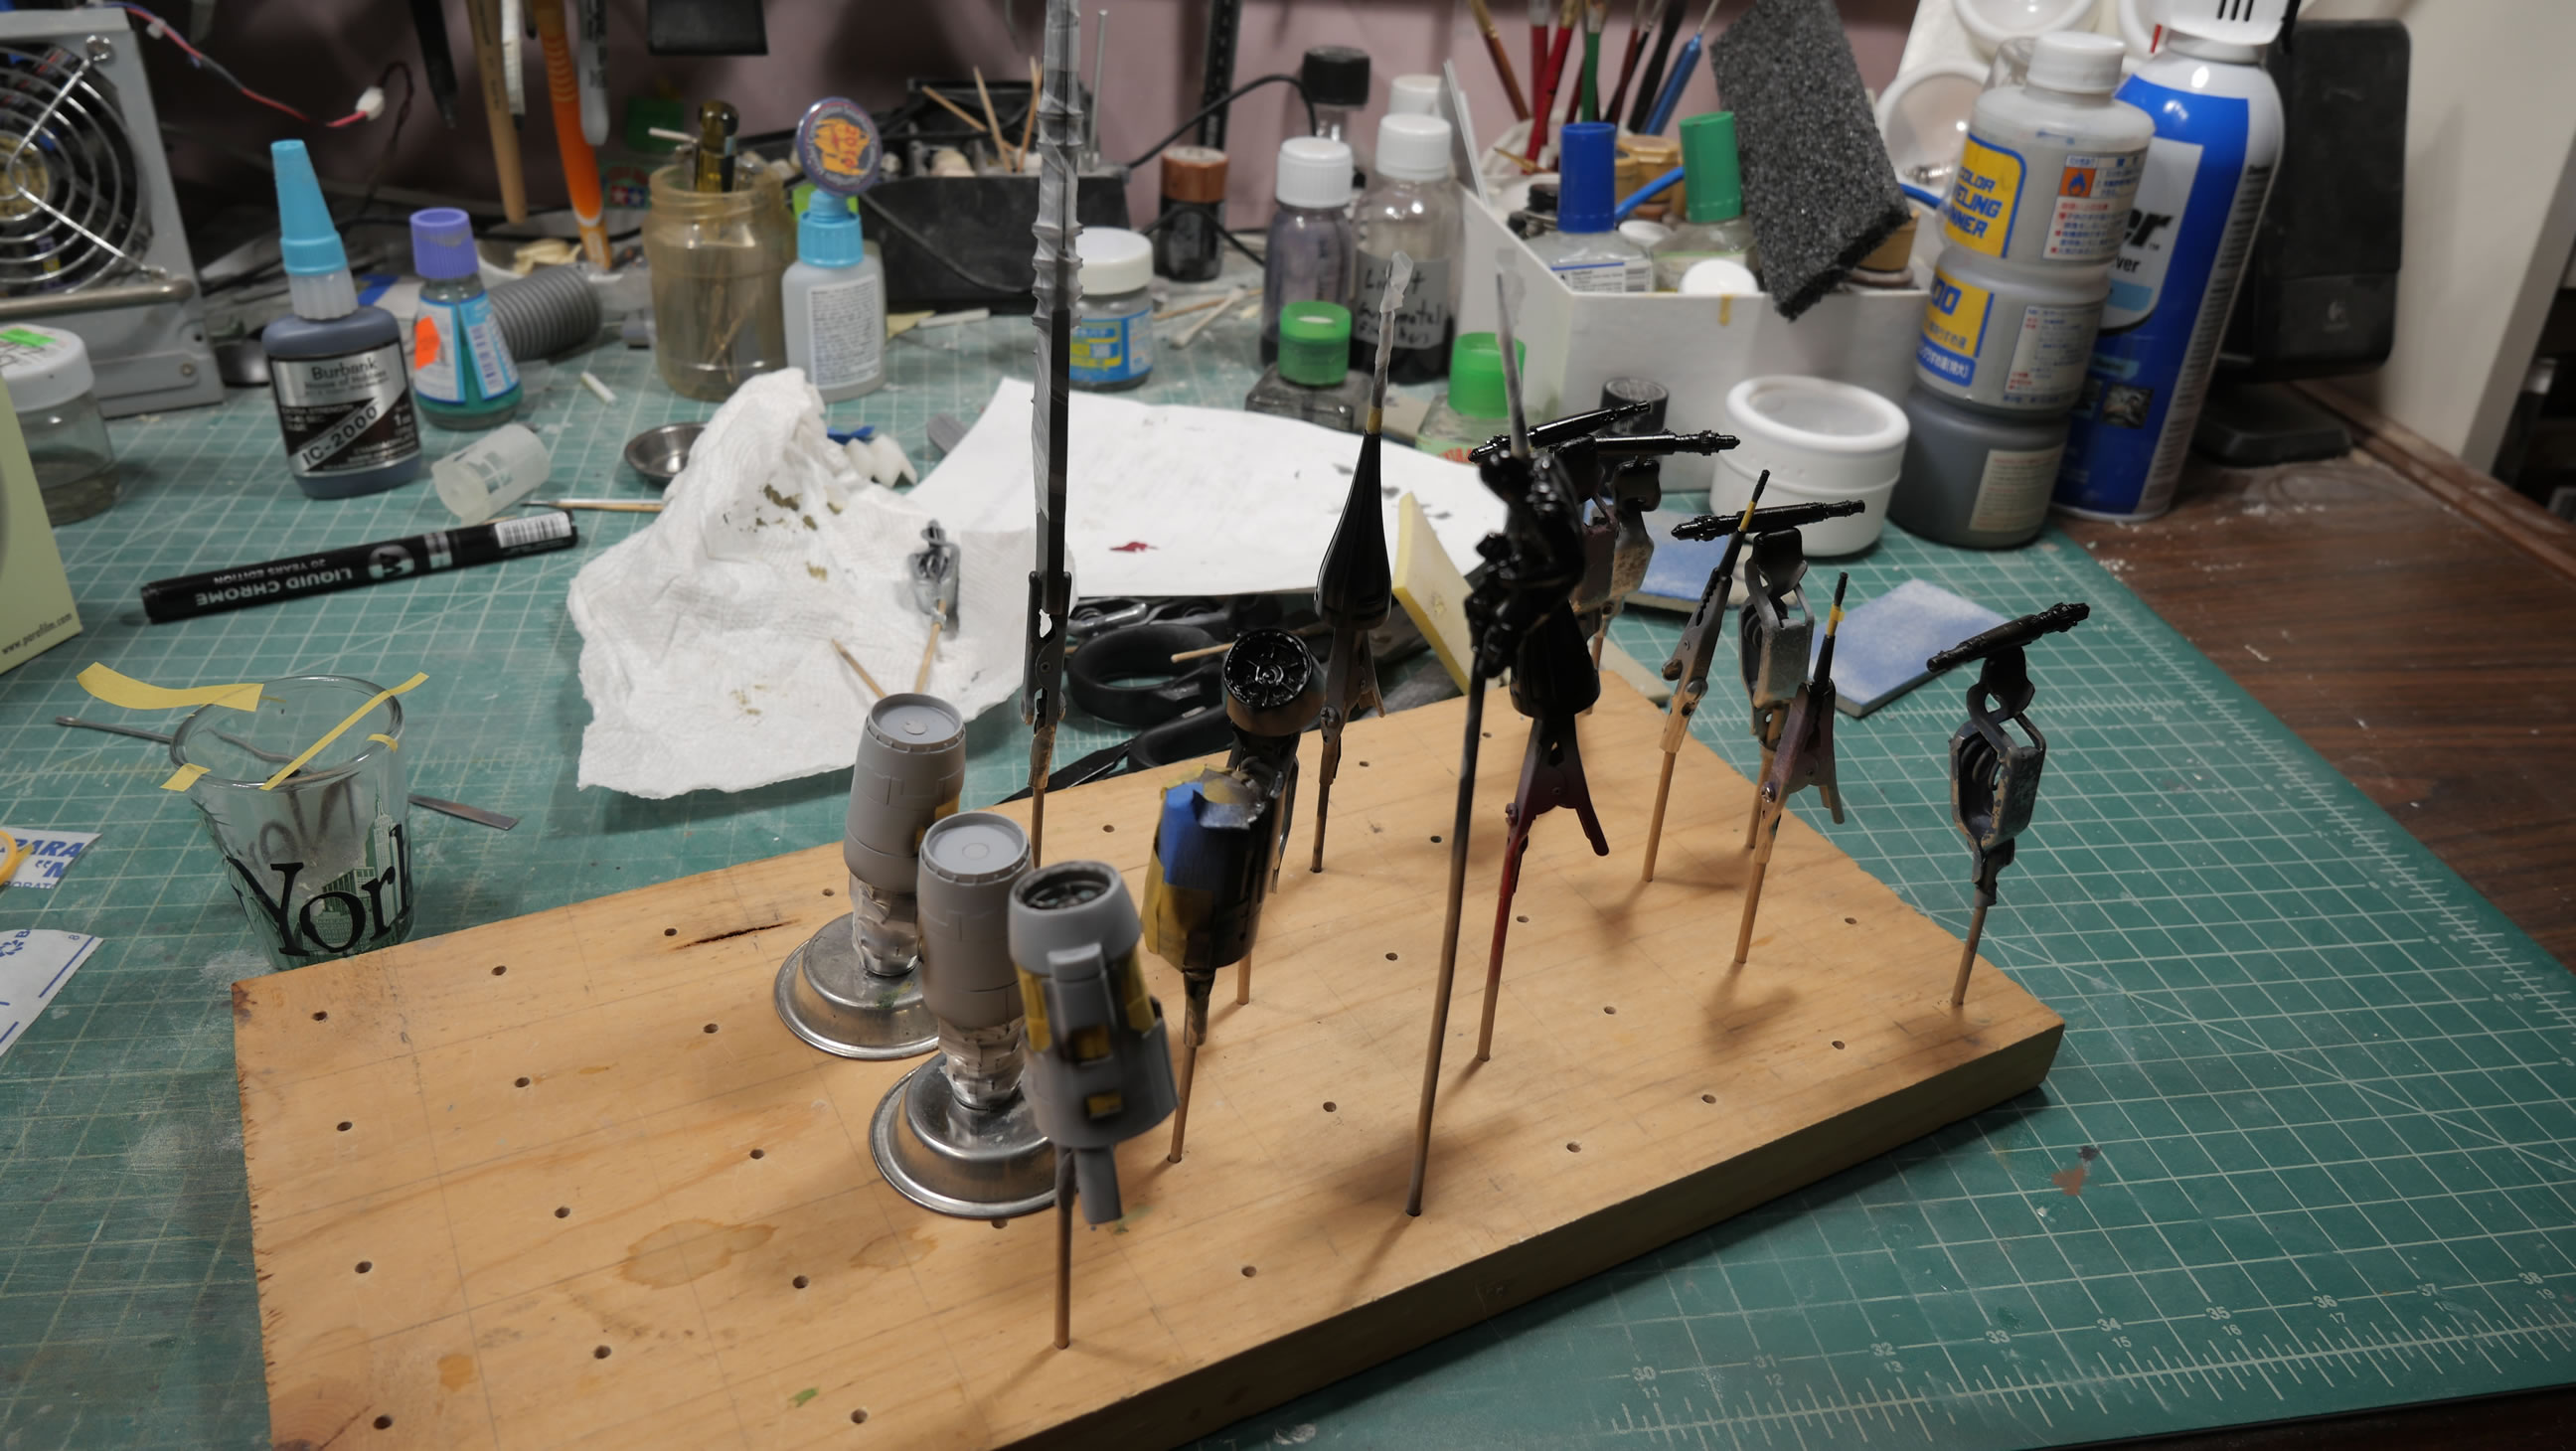
The other parts are in various stages of paint. There is a decent amount of masking involved as is the nature with most of my build style.
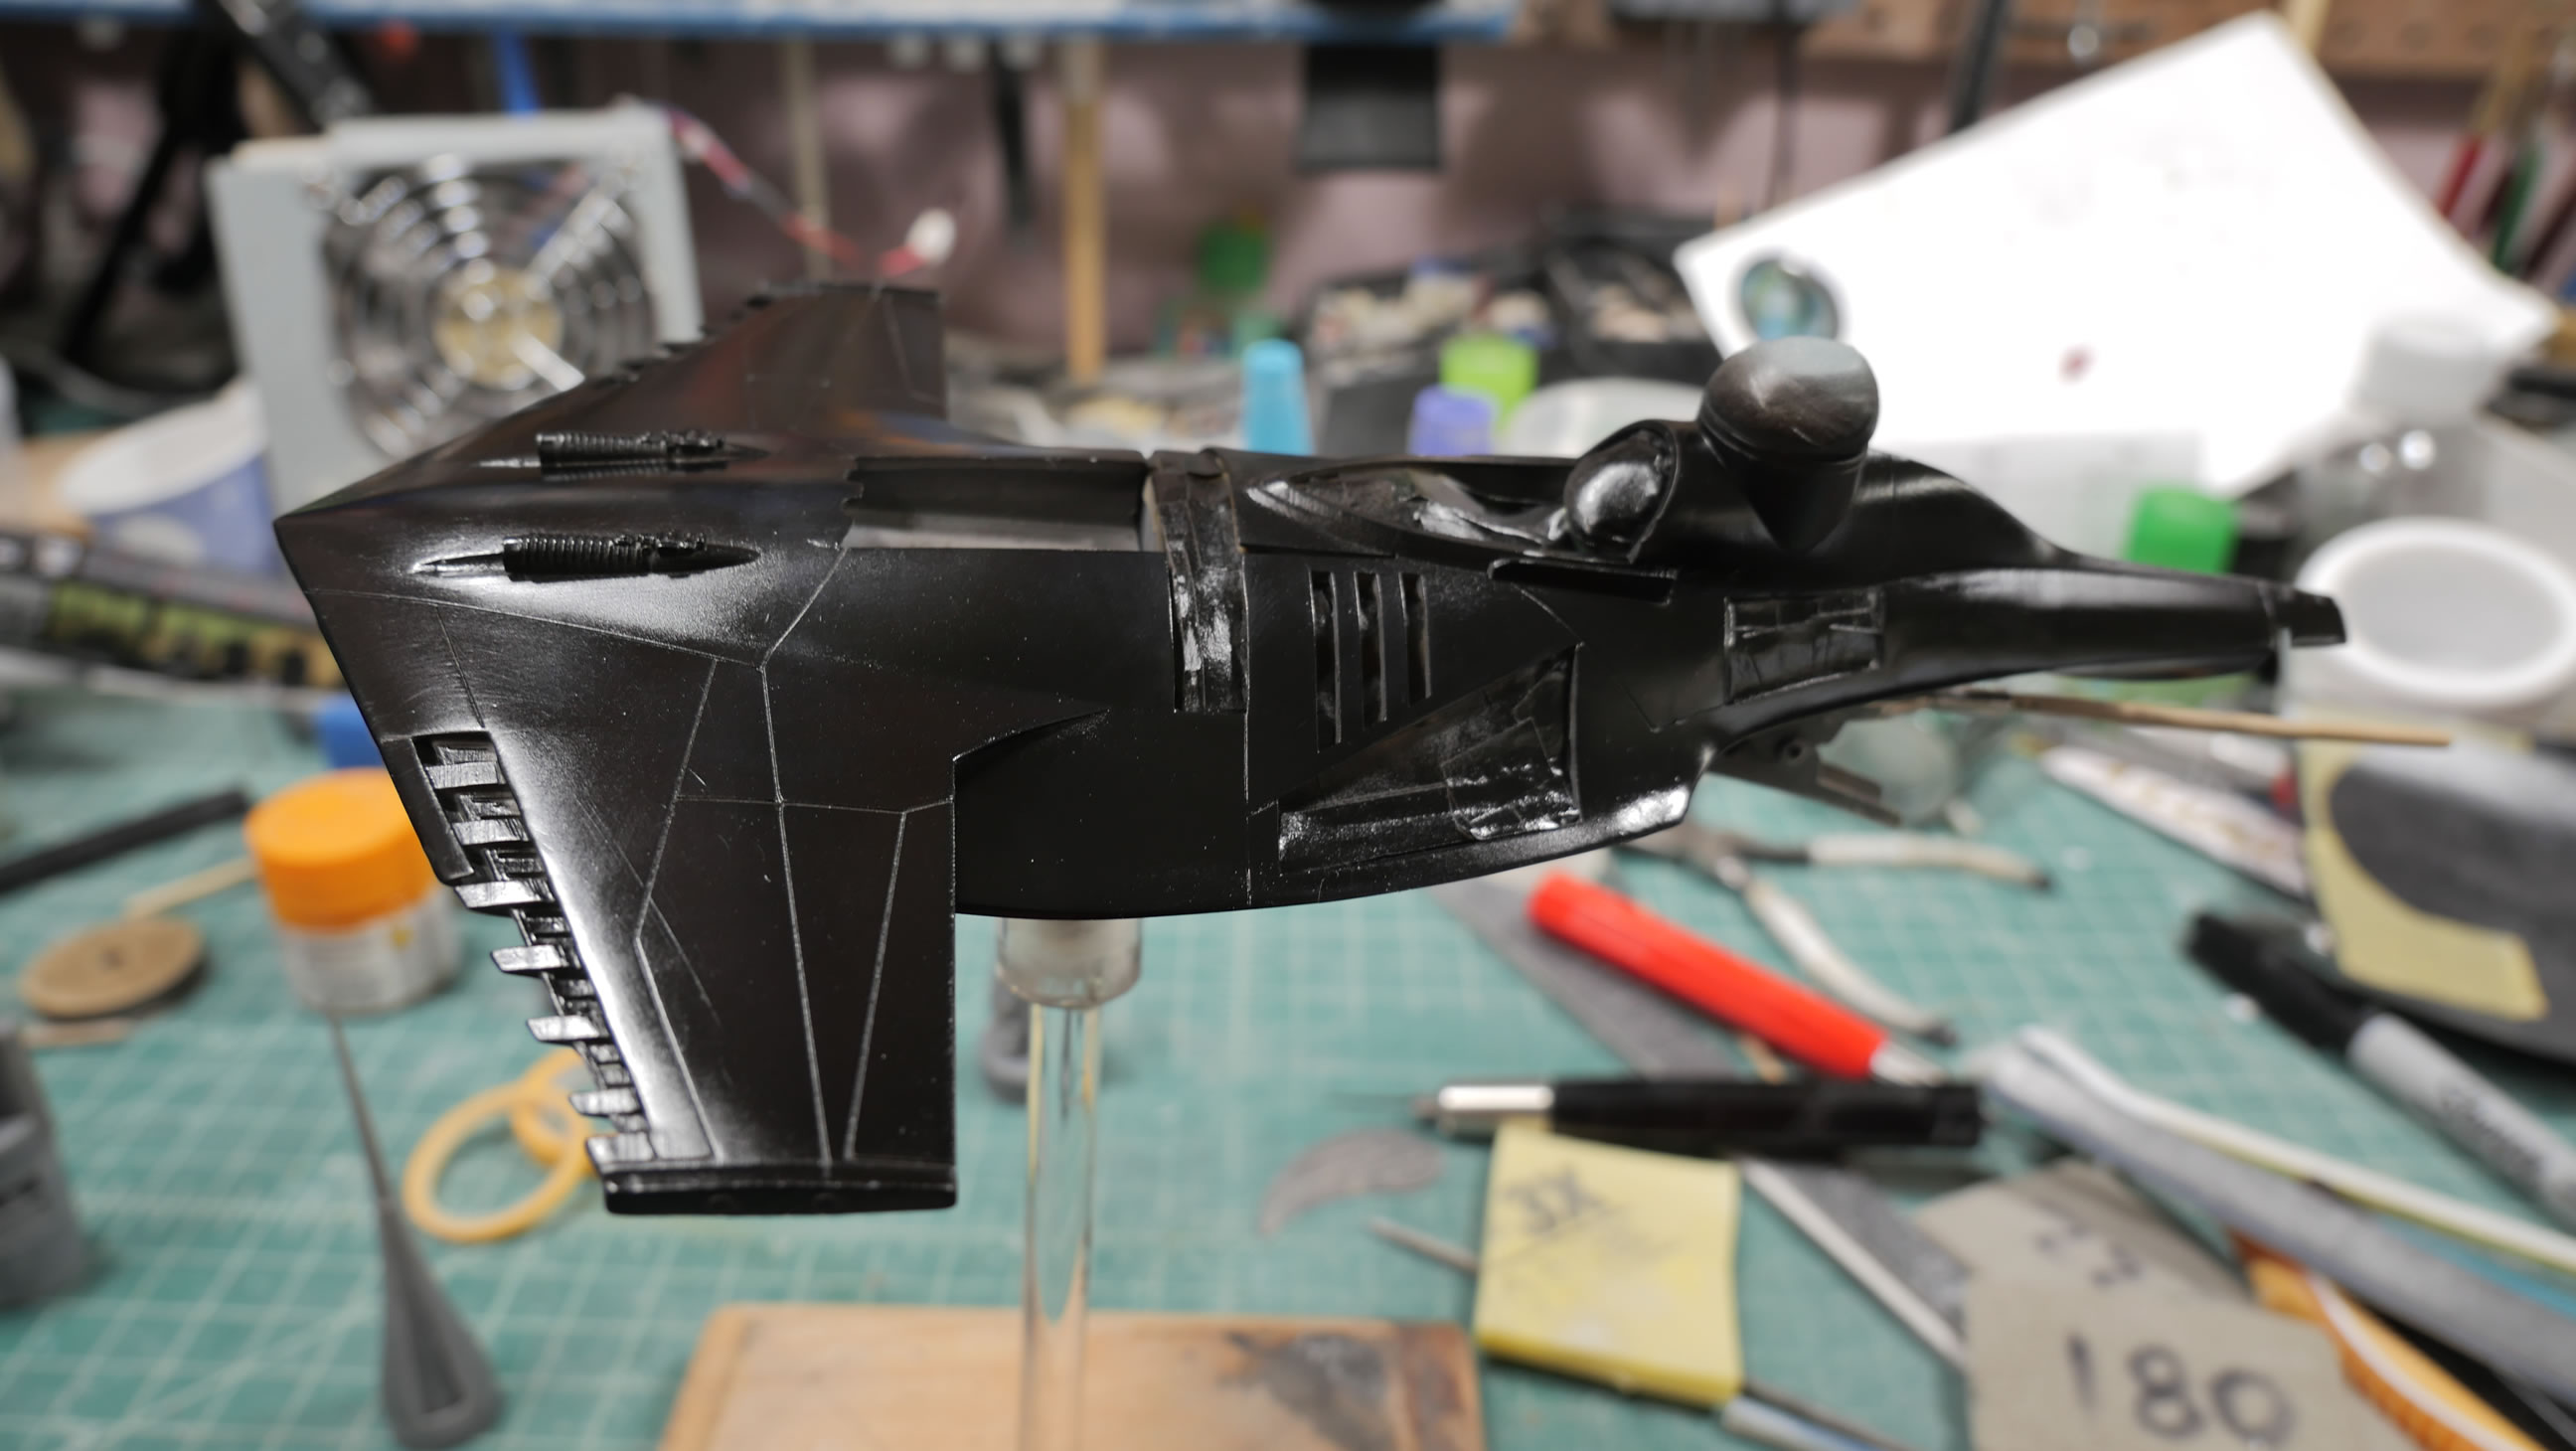
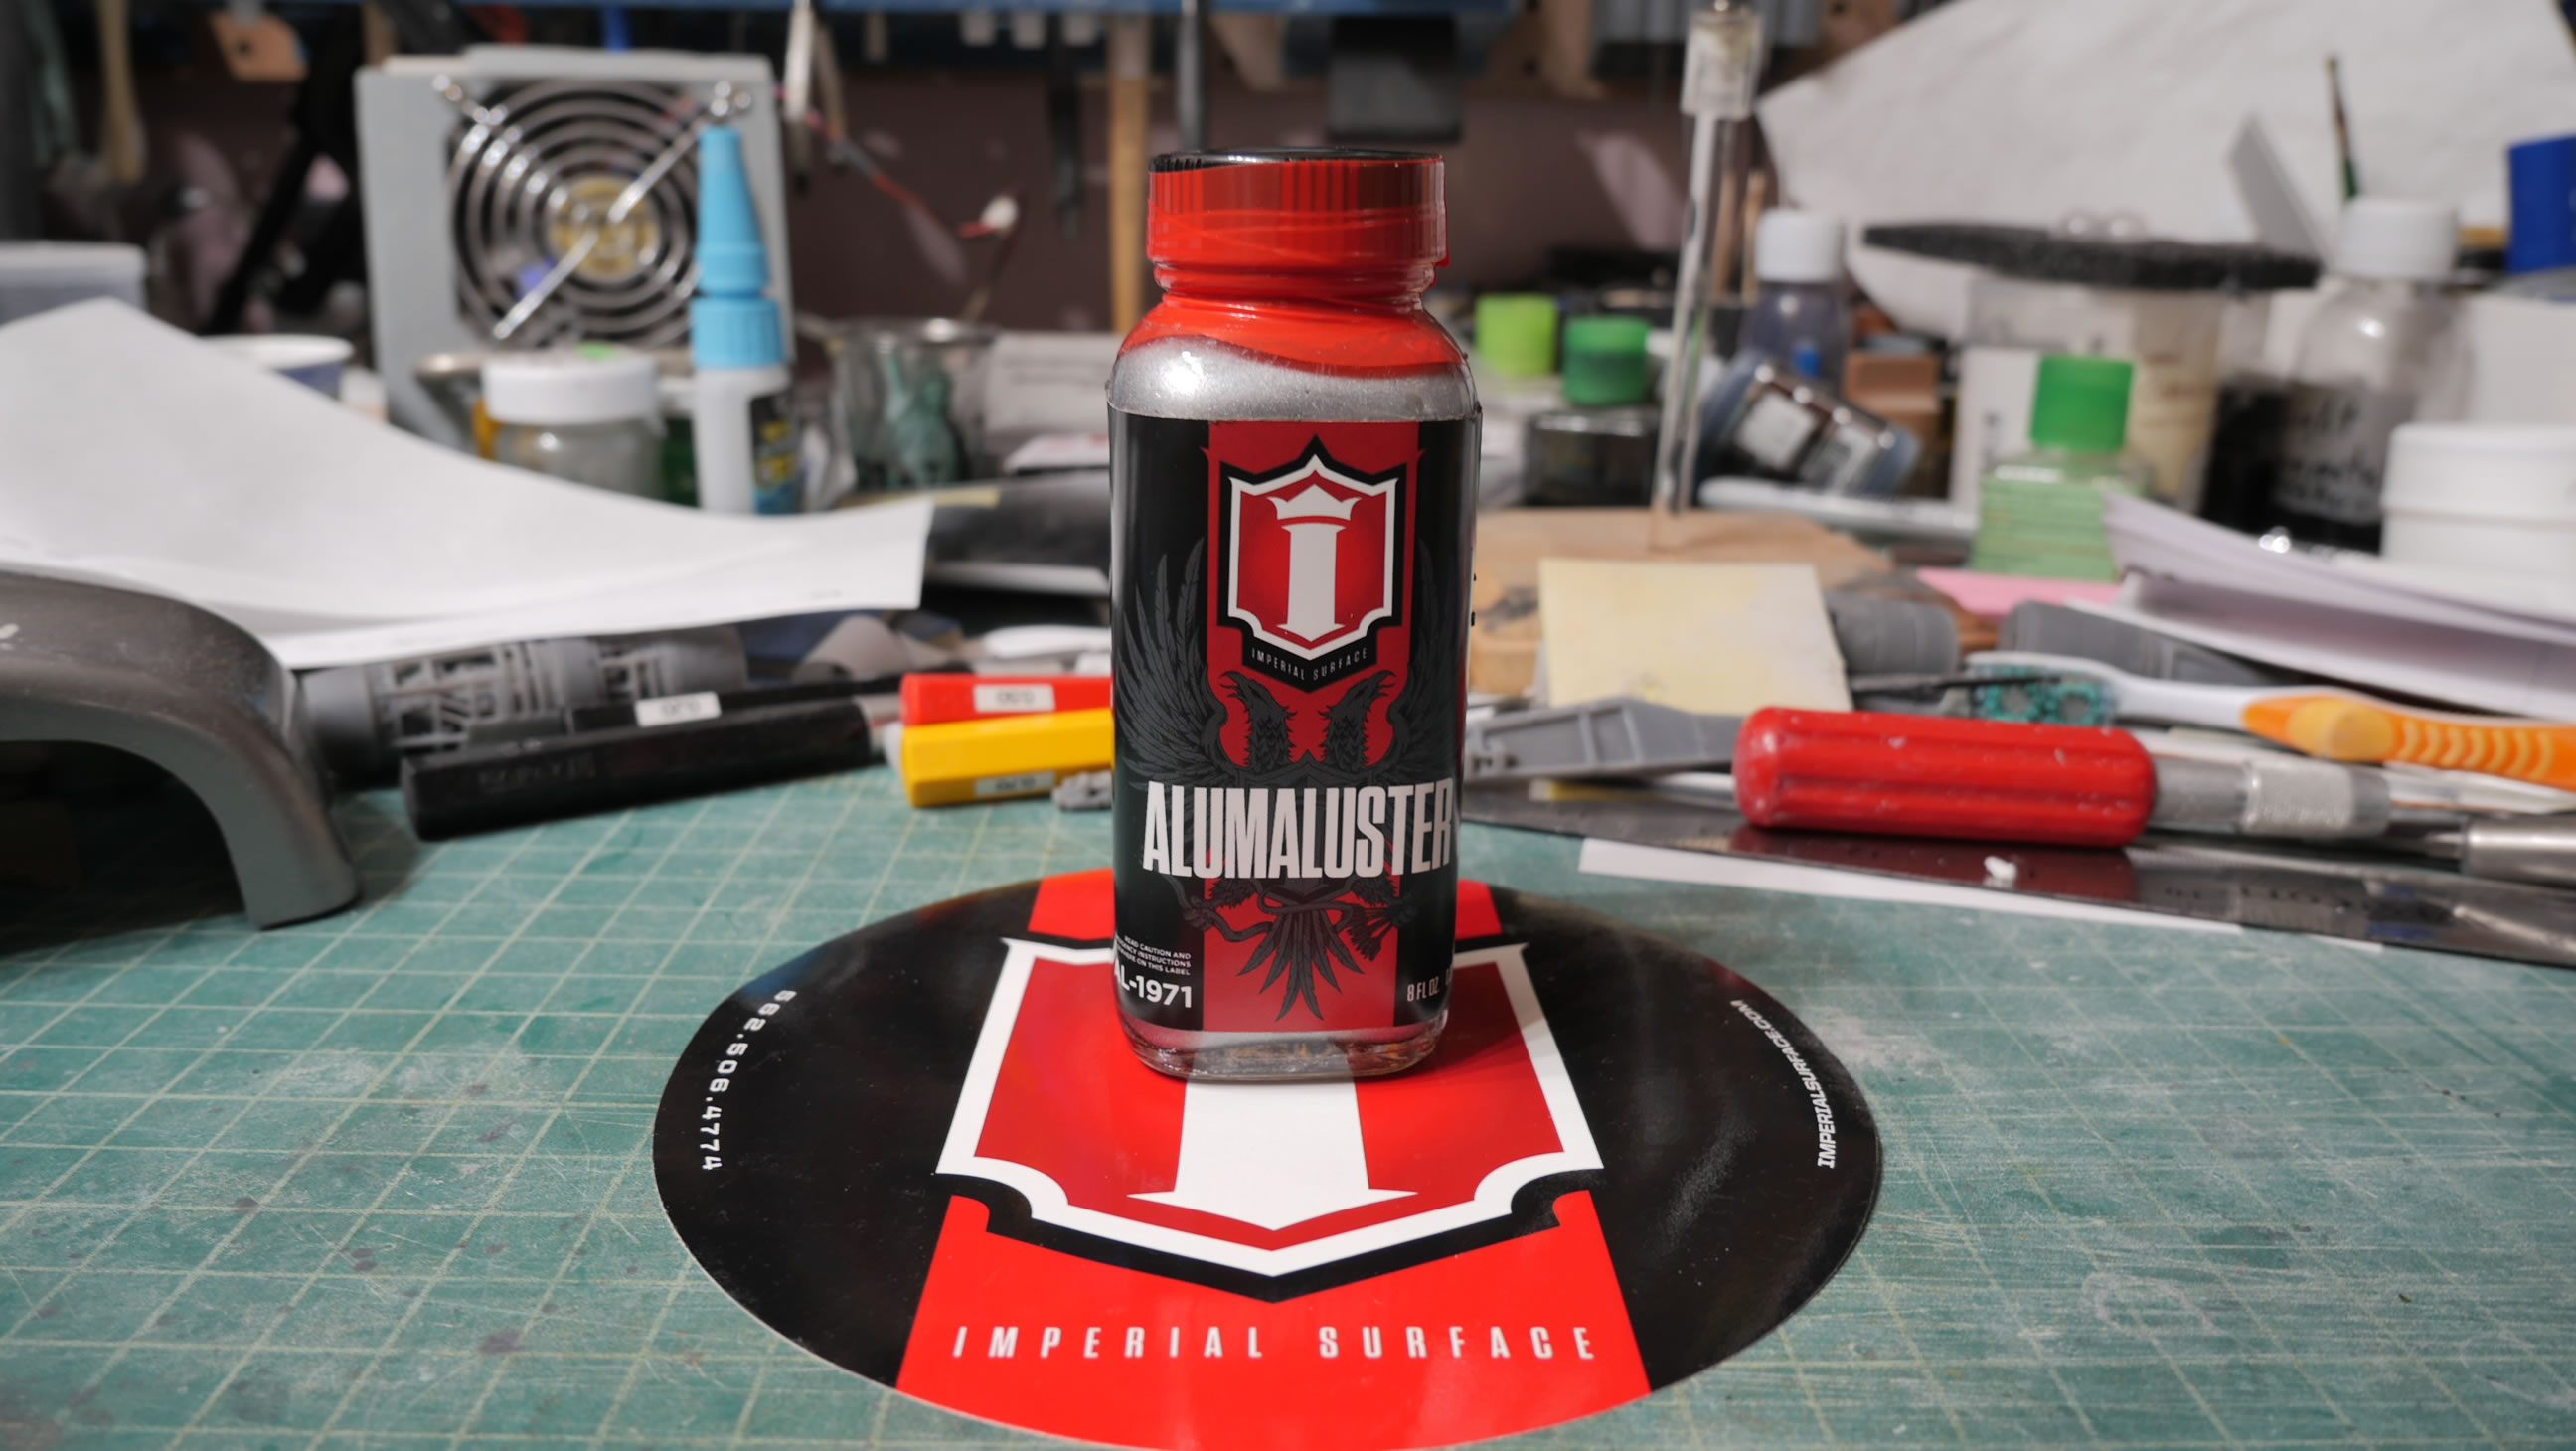
The main body is ready for paint. First layer is a gloss black base coat using a lacquer based Japanese paint called Finishers. There are a few shops that carry the stuff, but you can always order direct from them. The shop owner, Nobu-san is very cool. Next up is a paint that a fellow modeler recommended; called Alumaluster by company called Imperial Surface; they’re local, and supply the film industry with paint, so why not support a local business. I got the 4oz bottle, and it’s not cheap. BUT, it’s pretty amazing stuff. It dries/cures very quickly, and is not delicate to masking tape. Most of my high shine Alclad products do not like masking tape. This stuff was pretty good with it and fairly durable. I’ve dropped the painted kit a few times and not a scratch to the paint. Broken parts, yes, but the paint was solid.

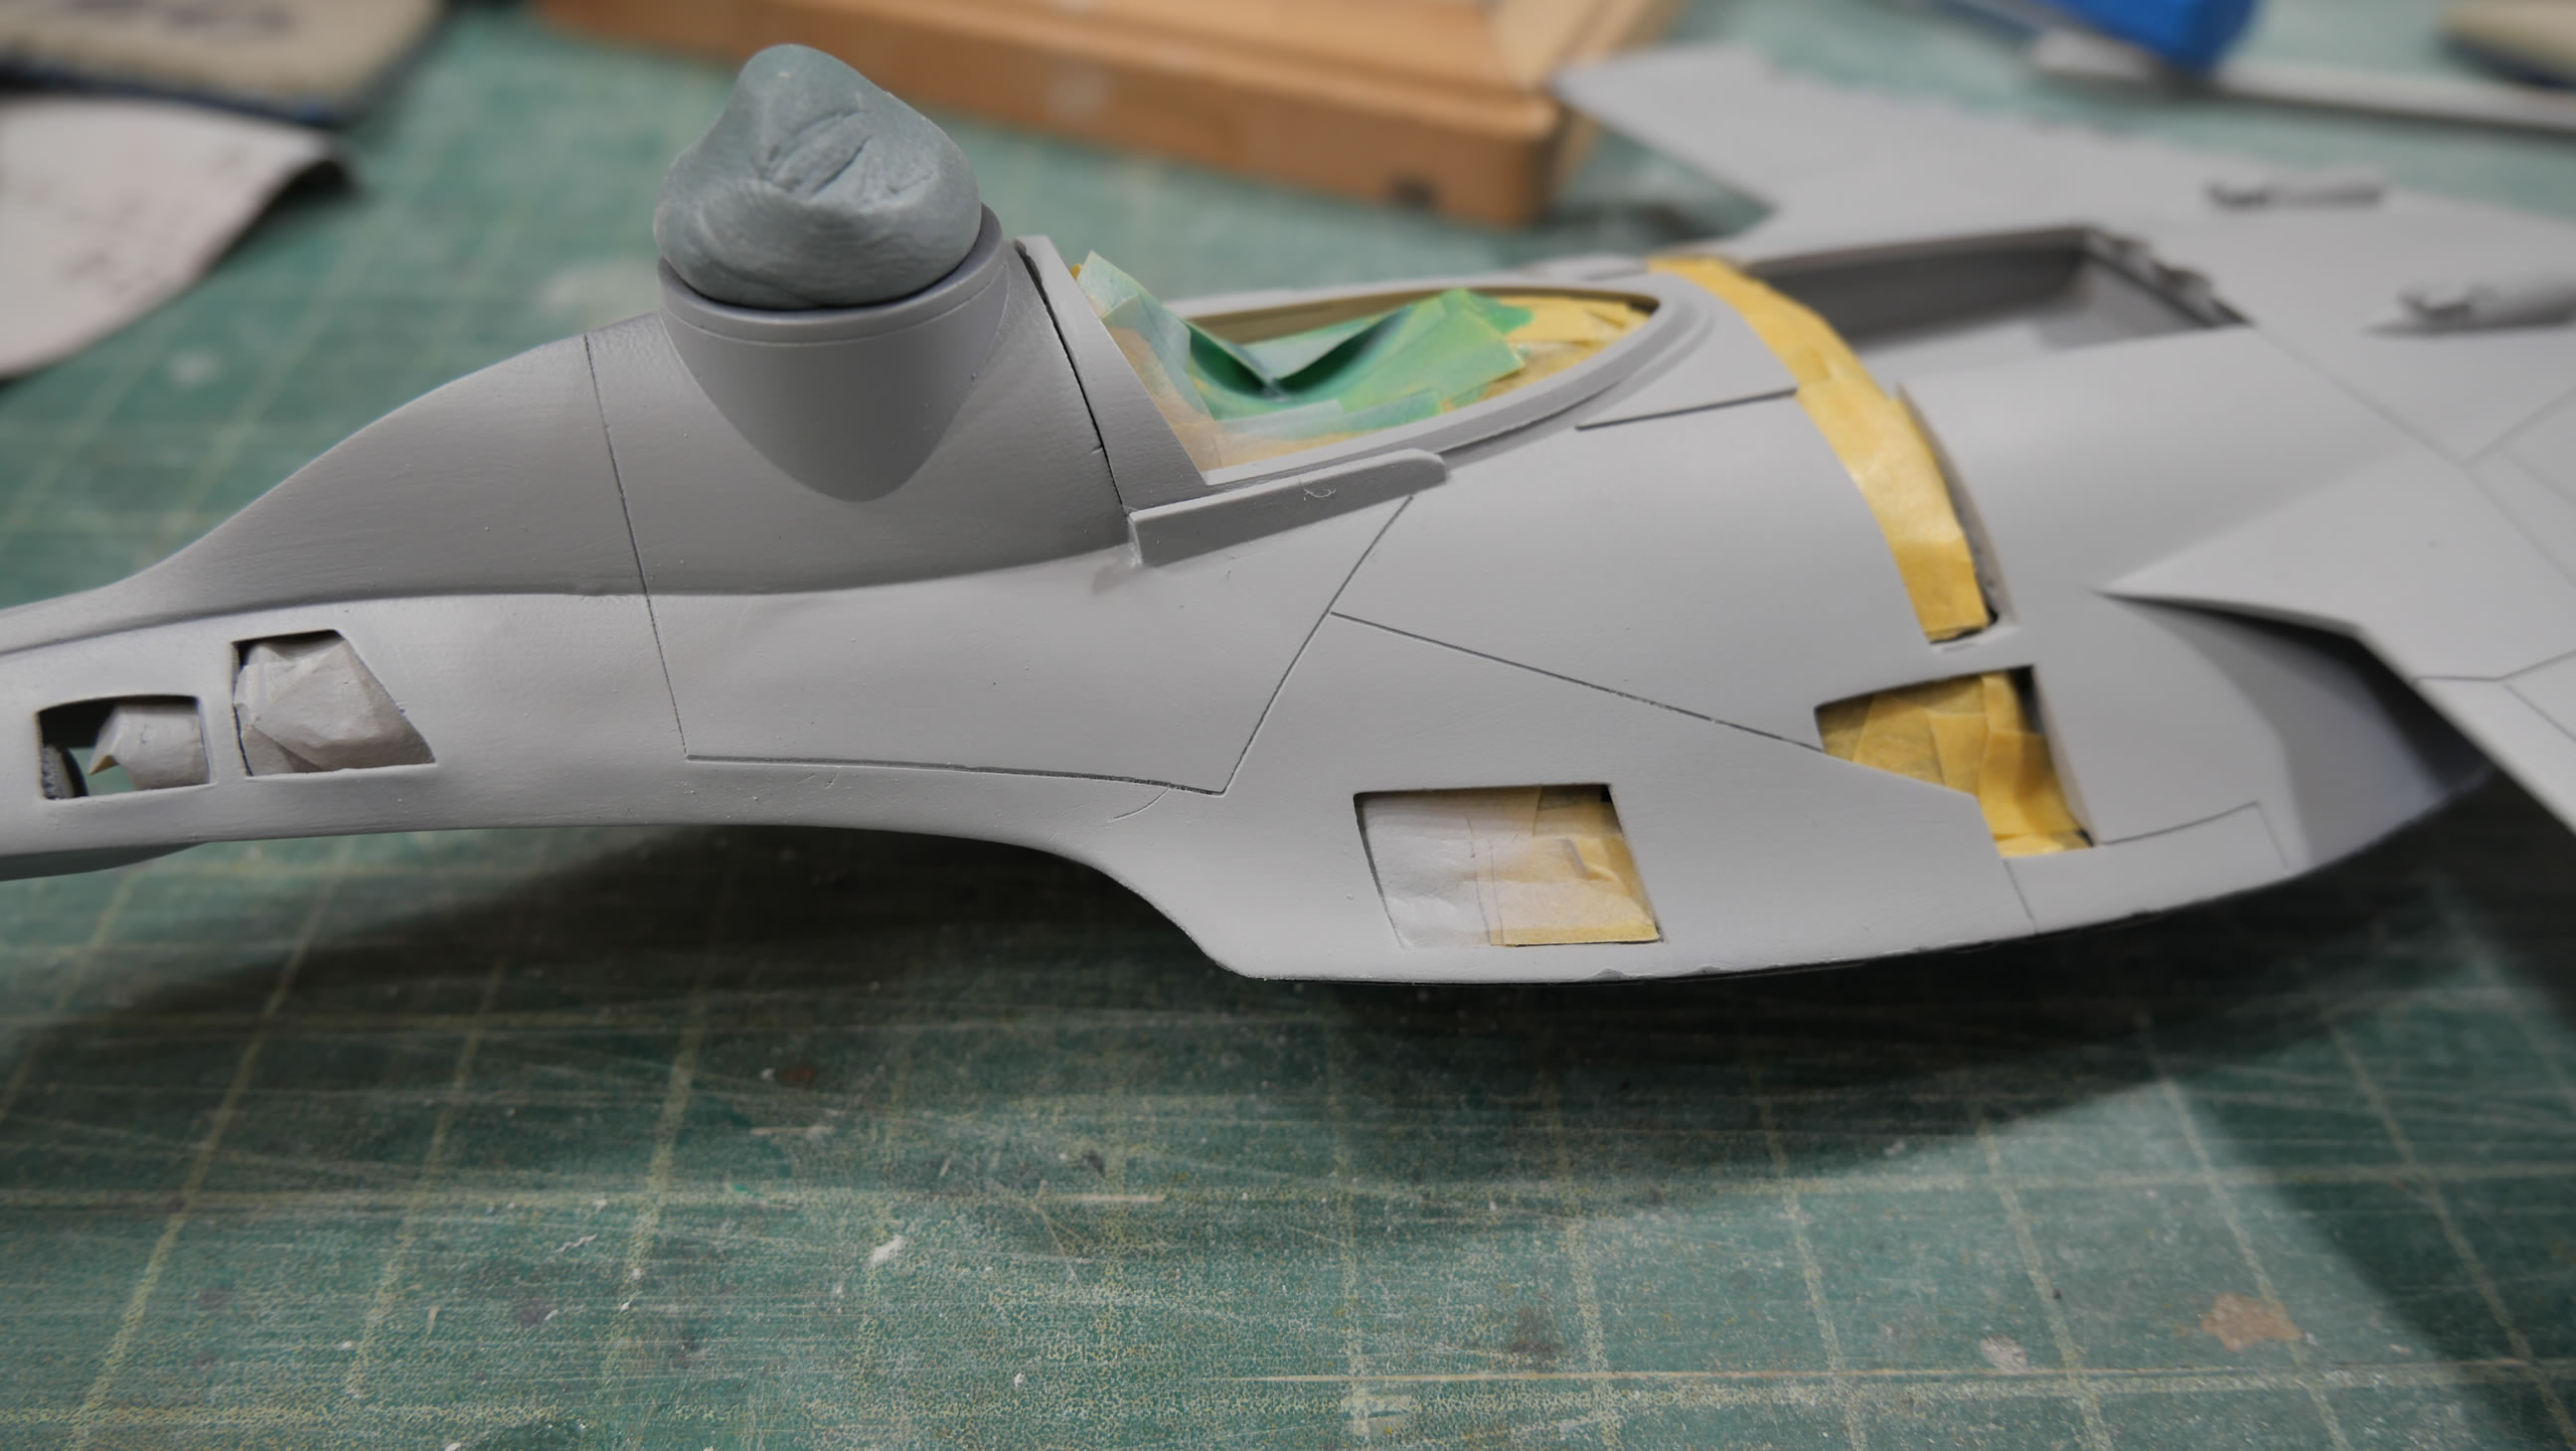
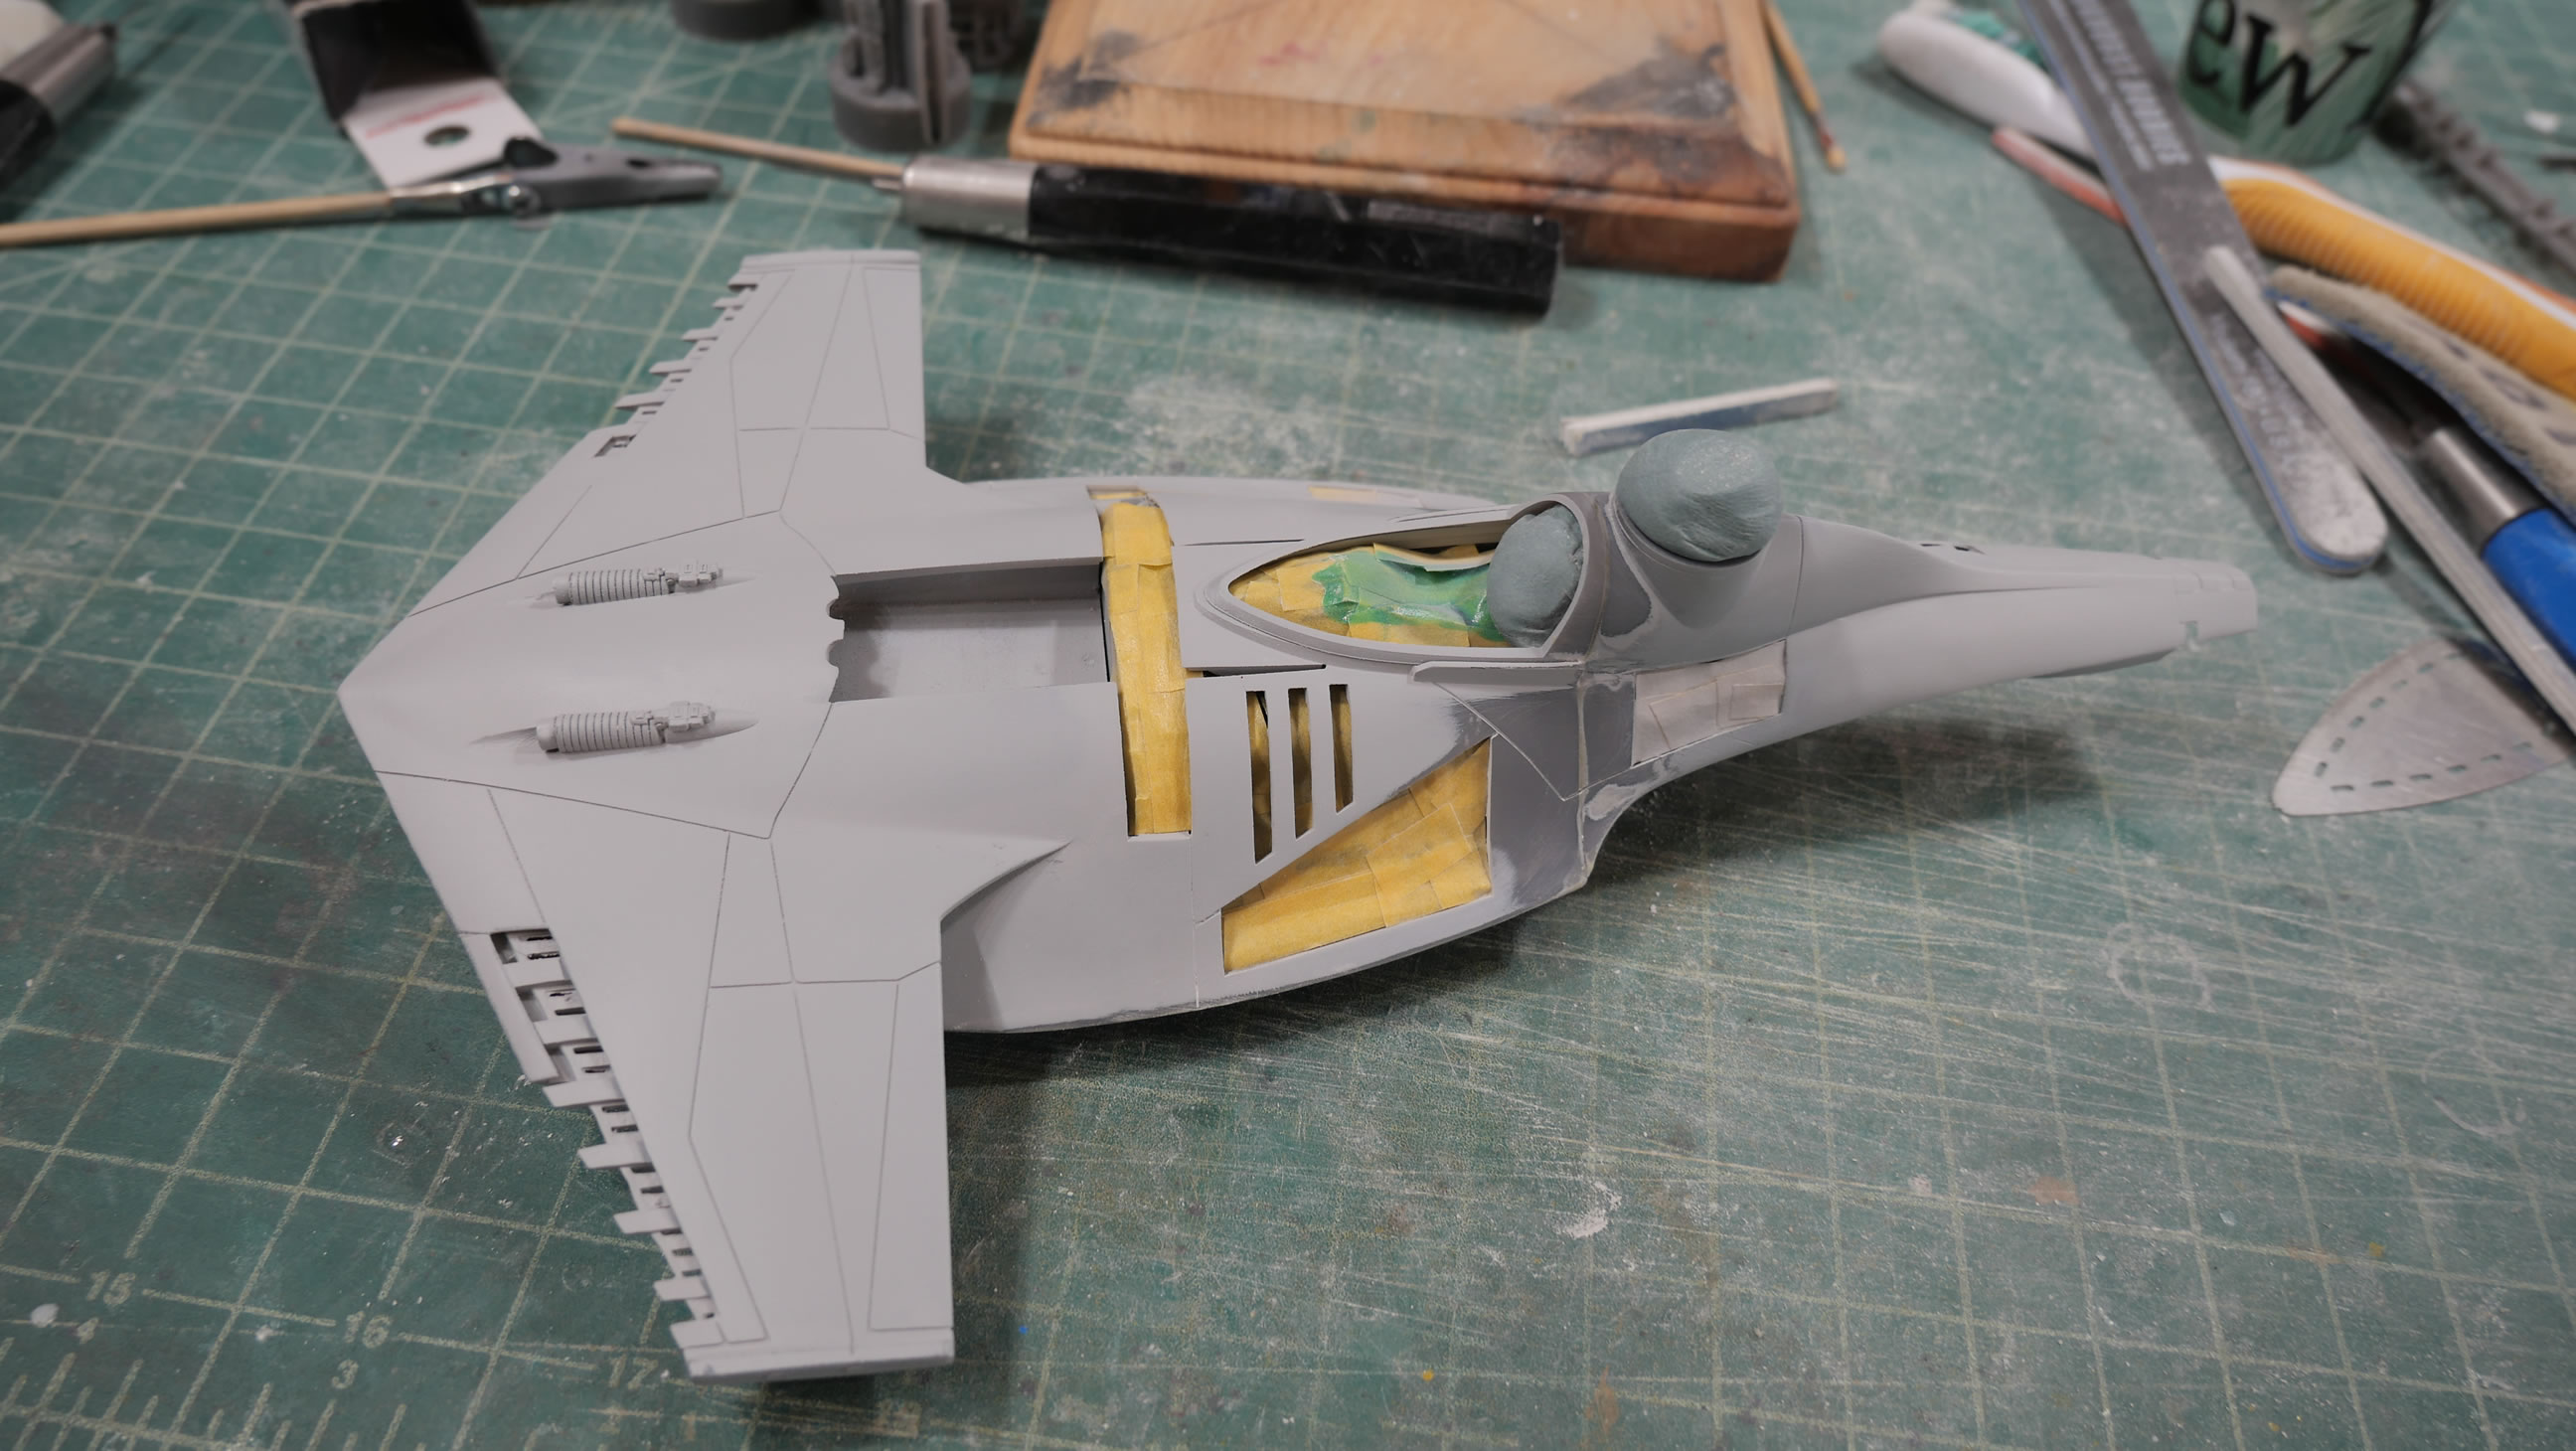
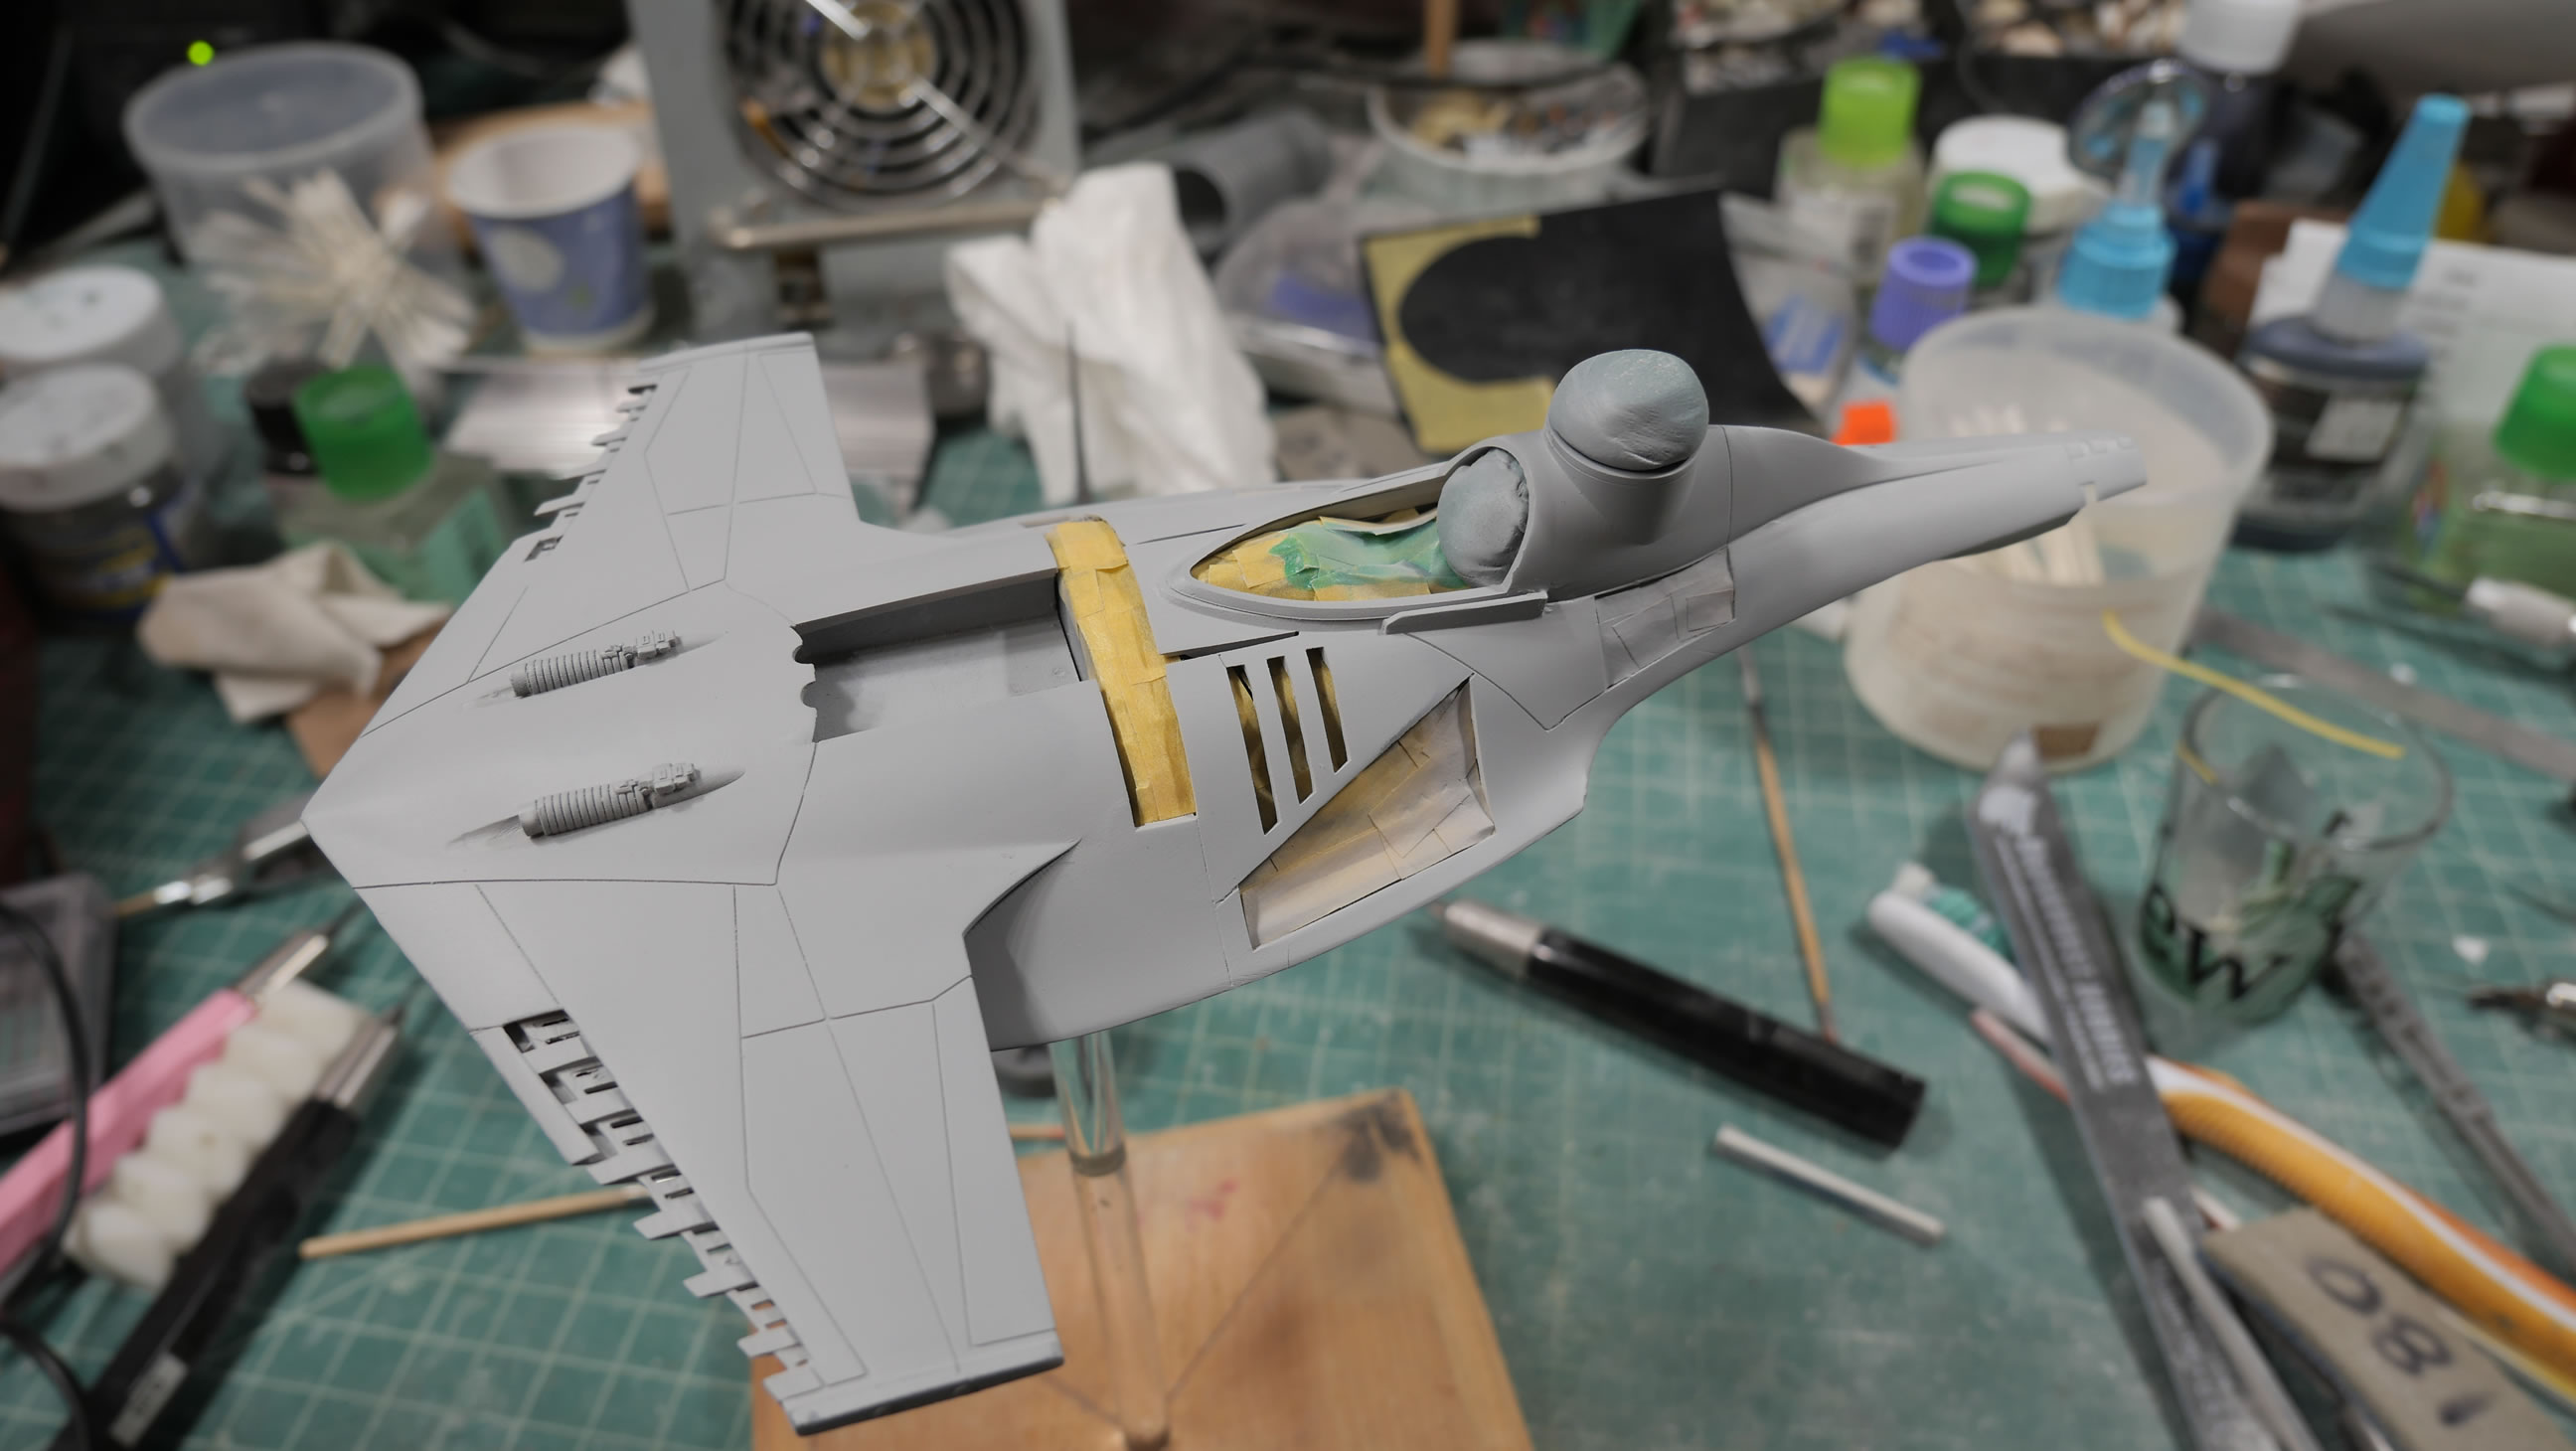
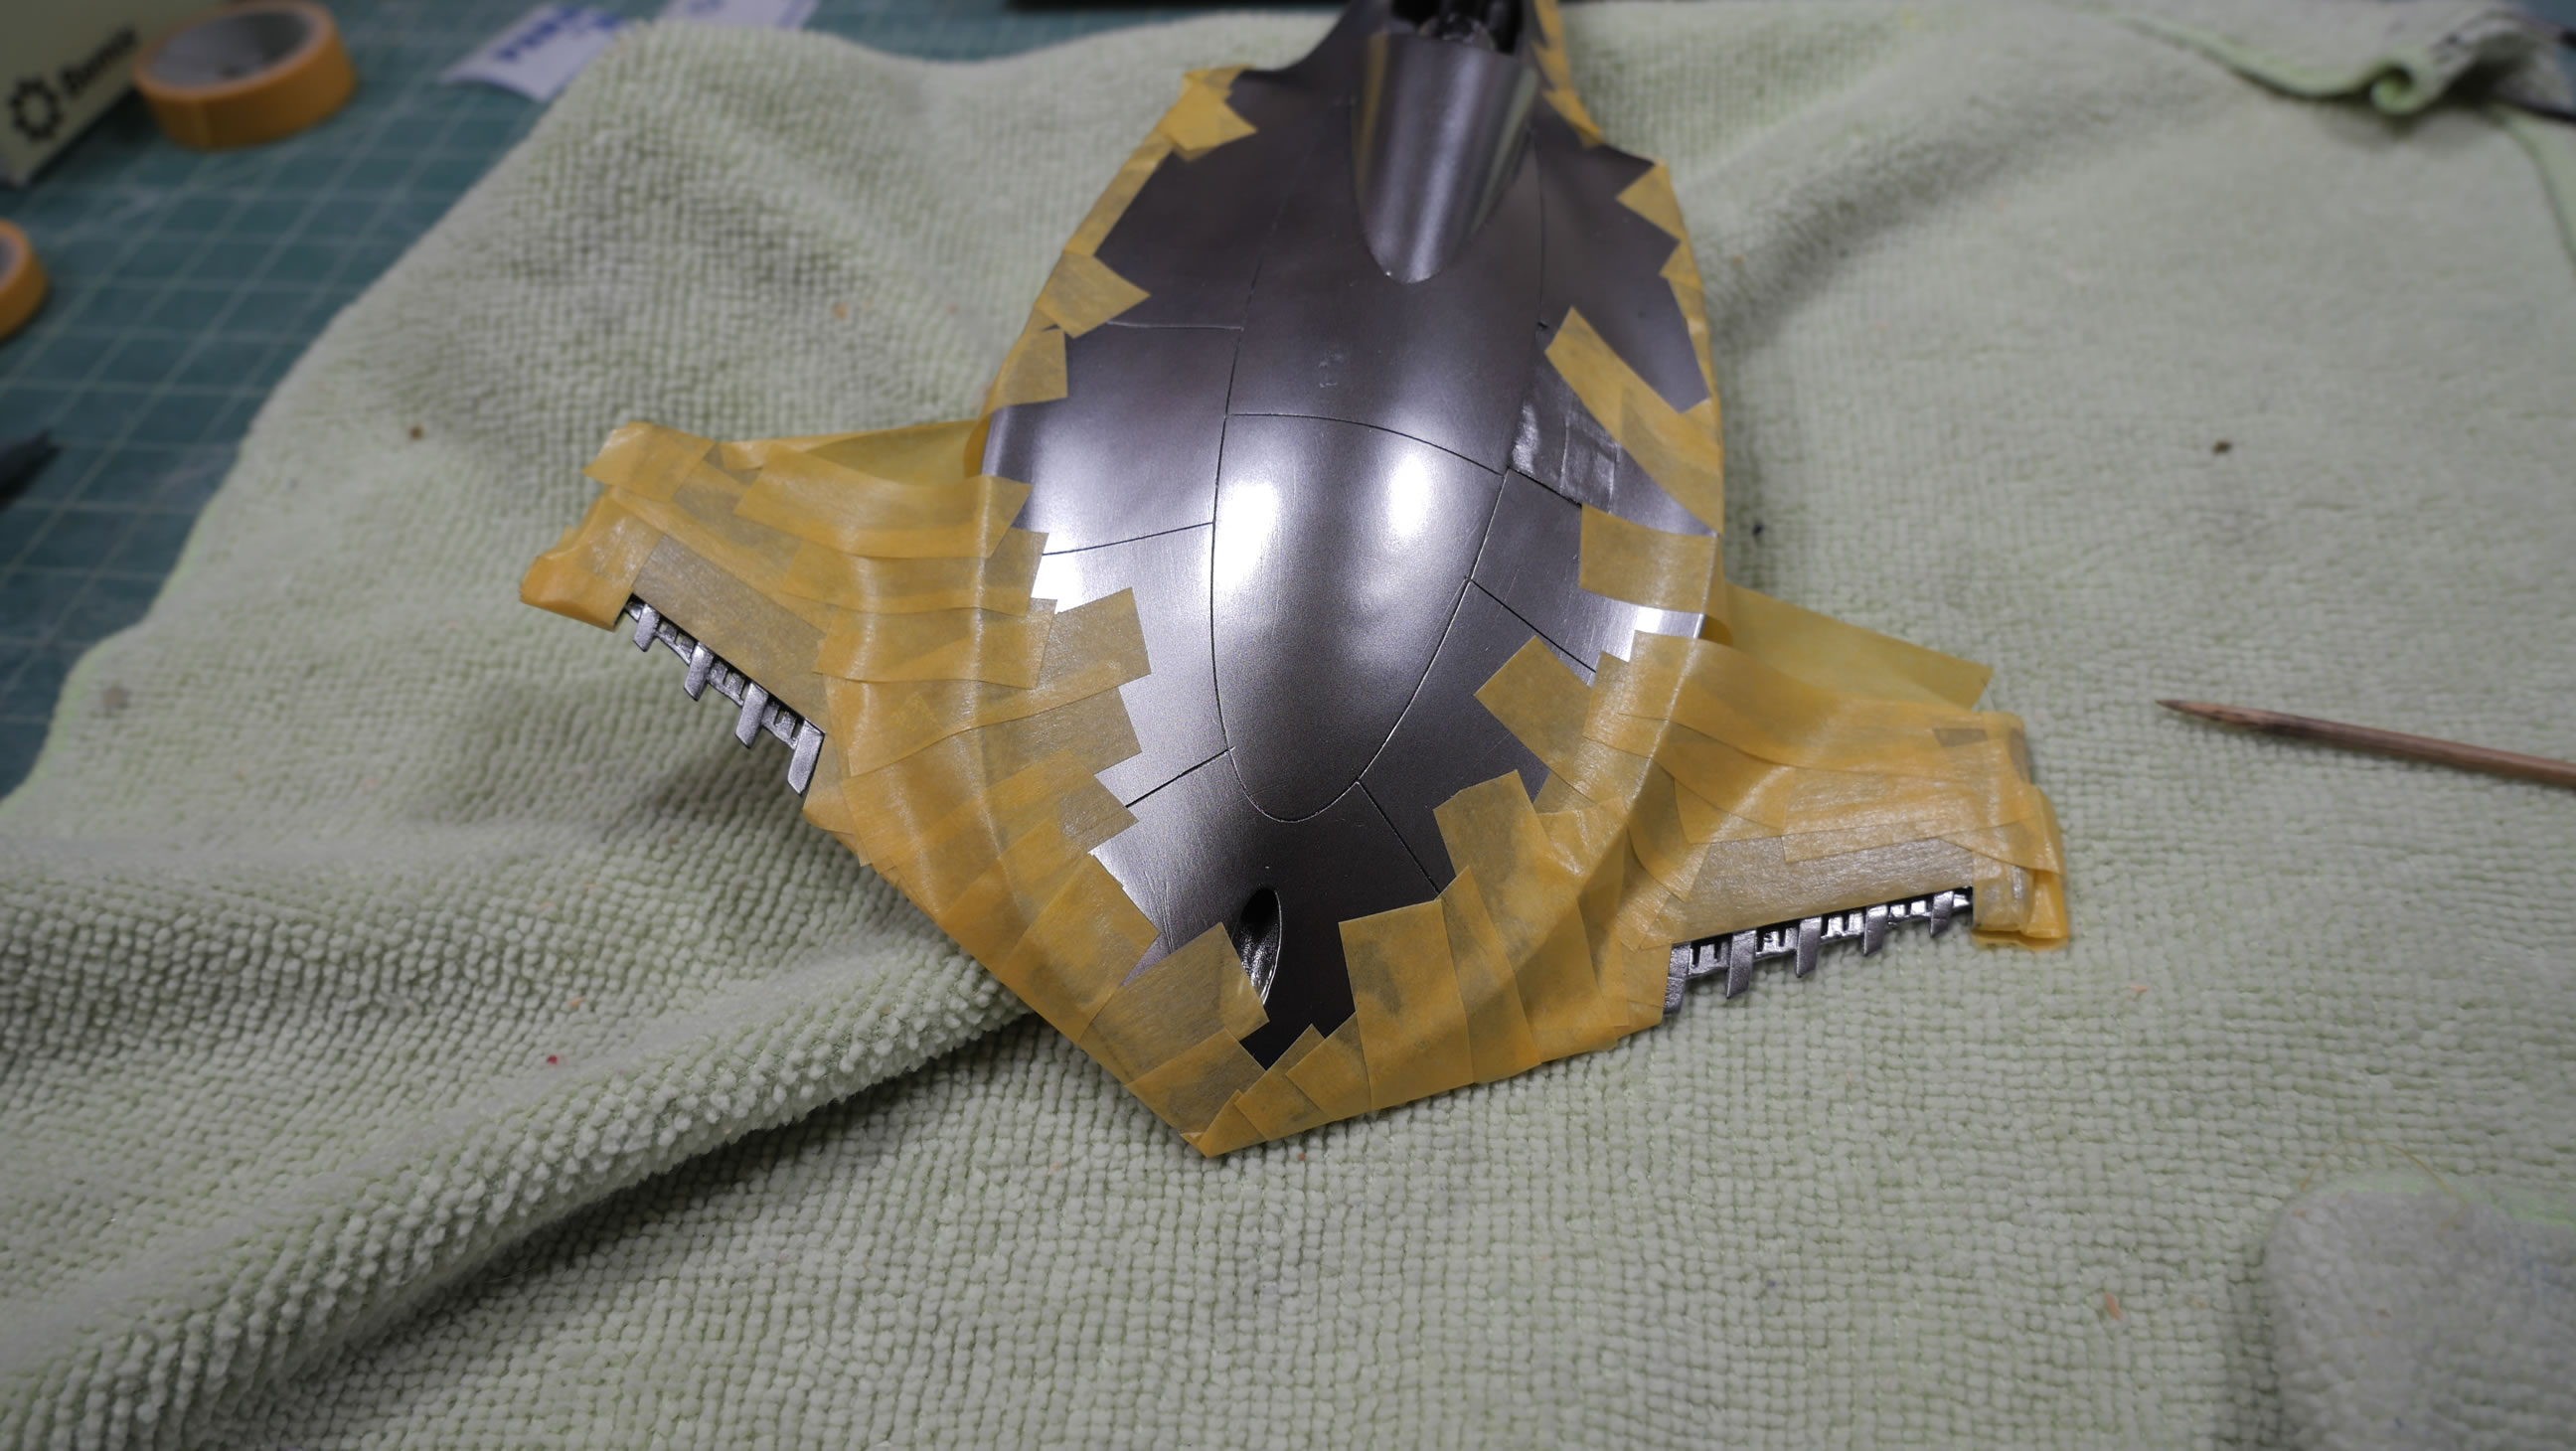
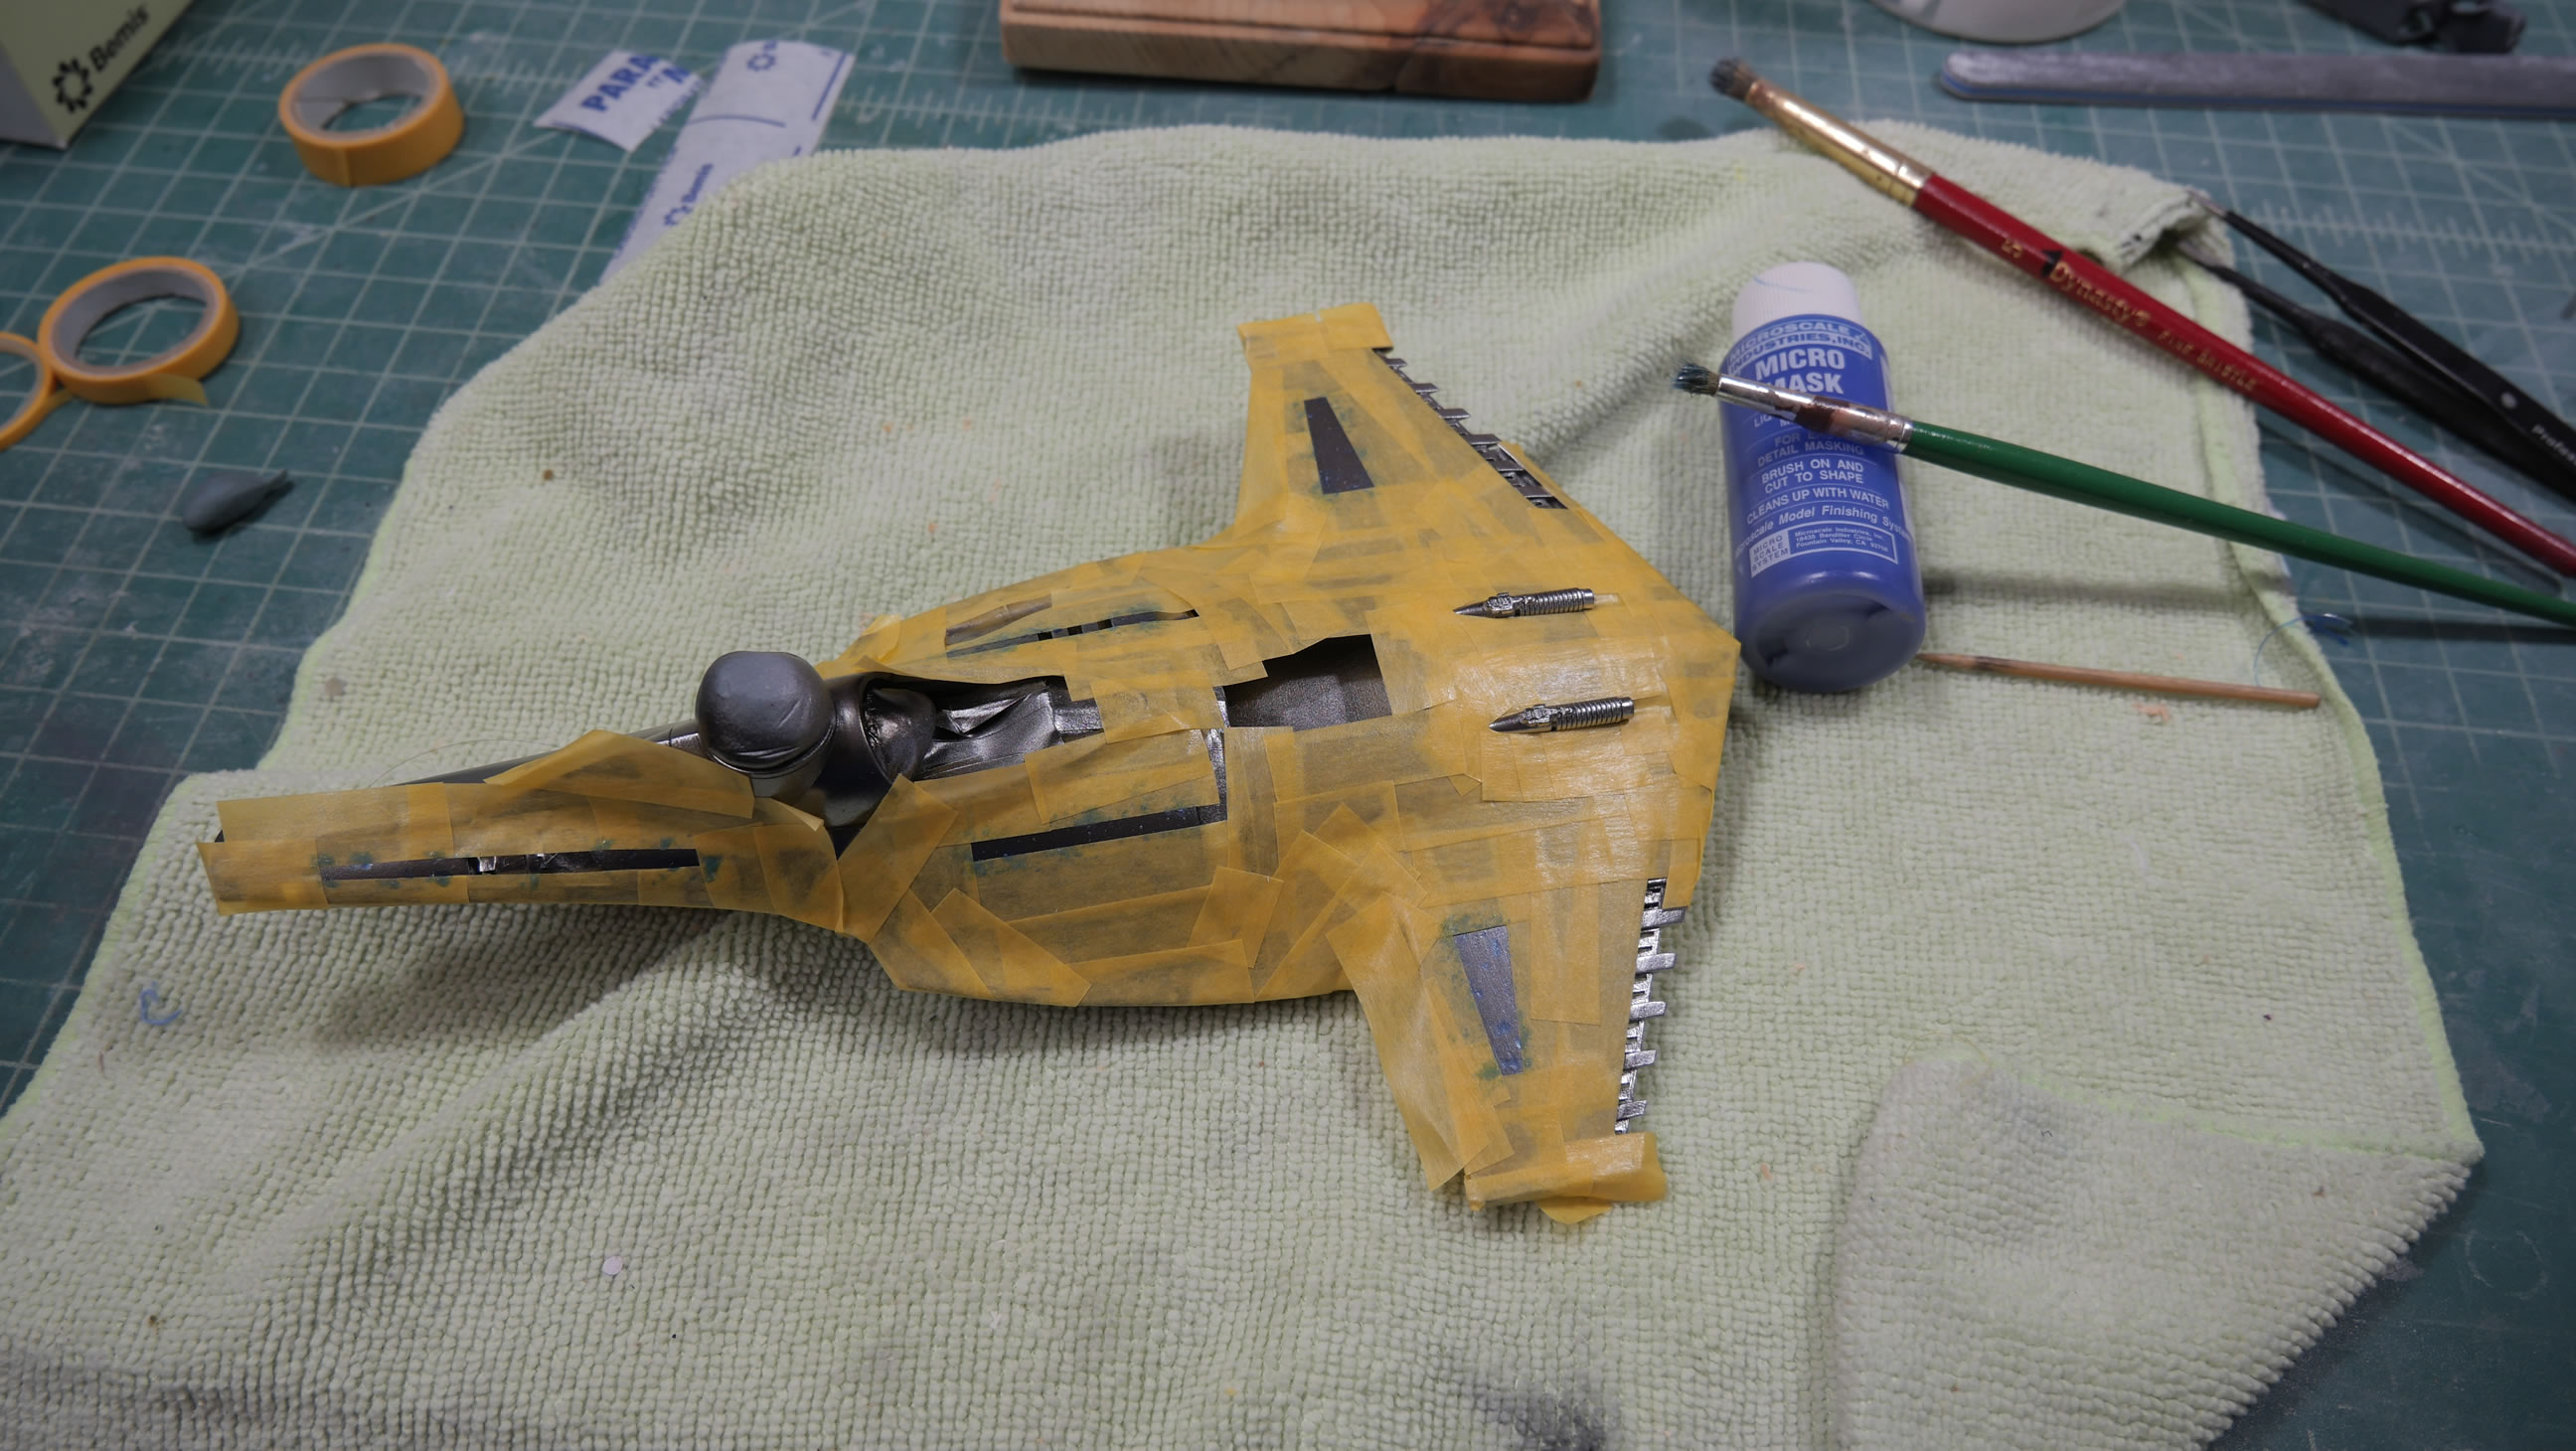
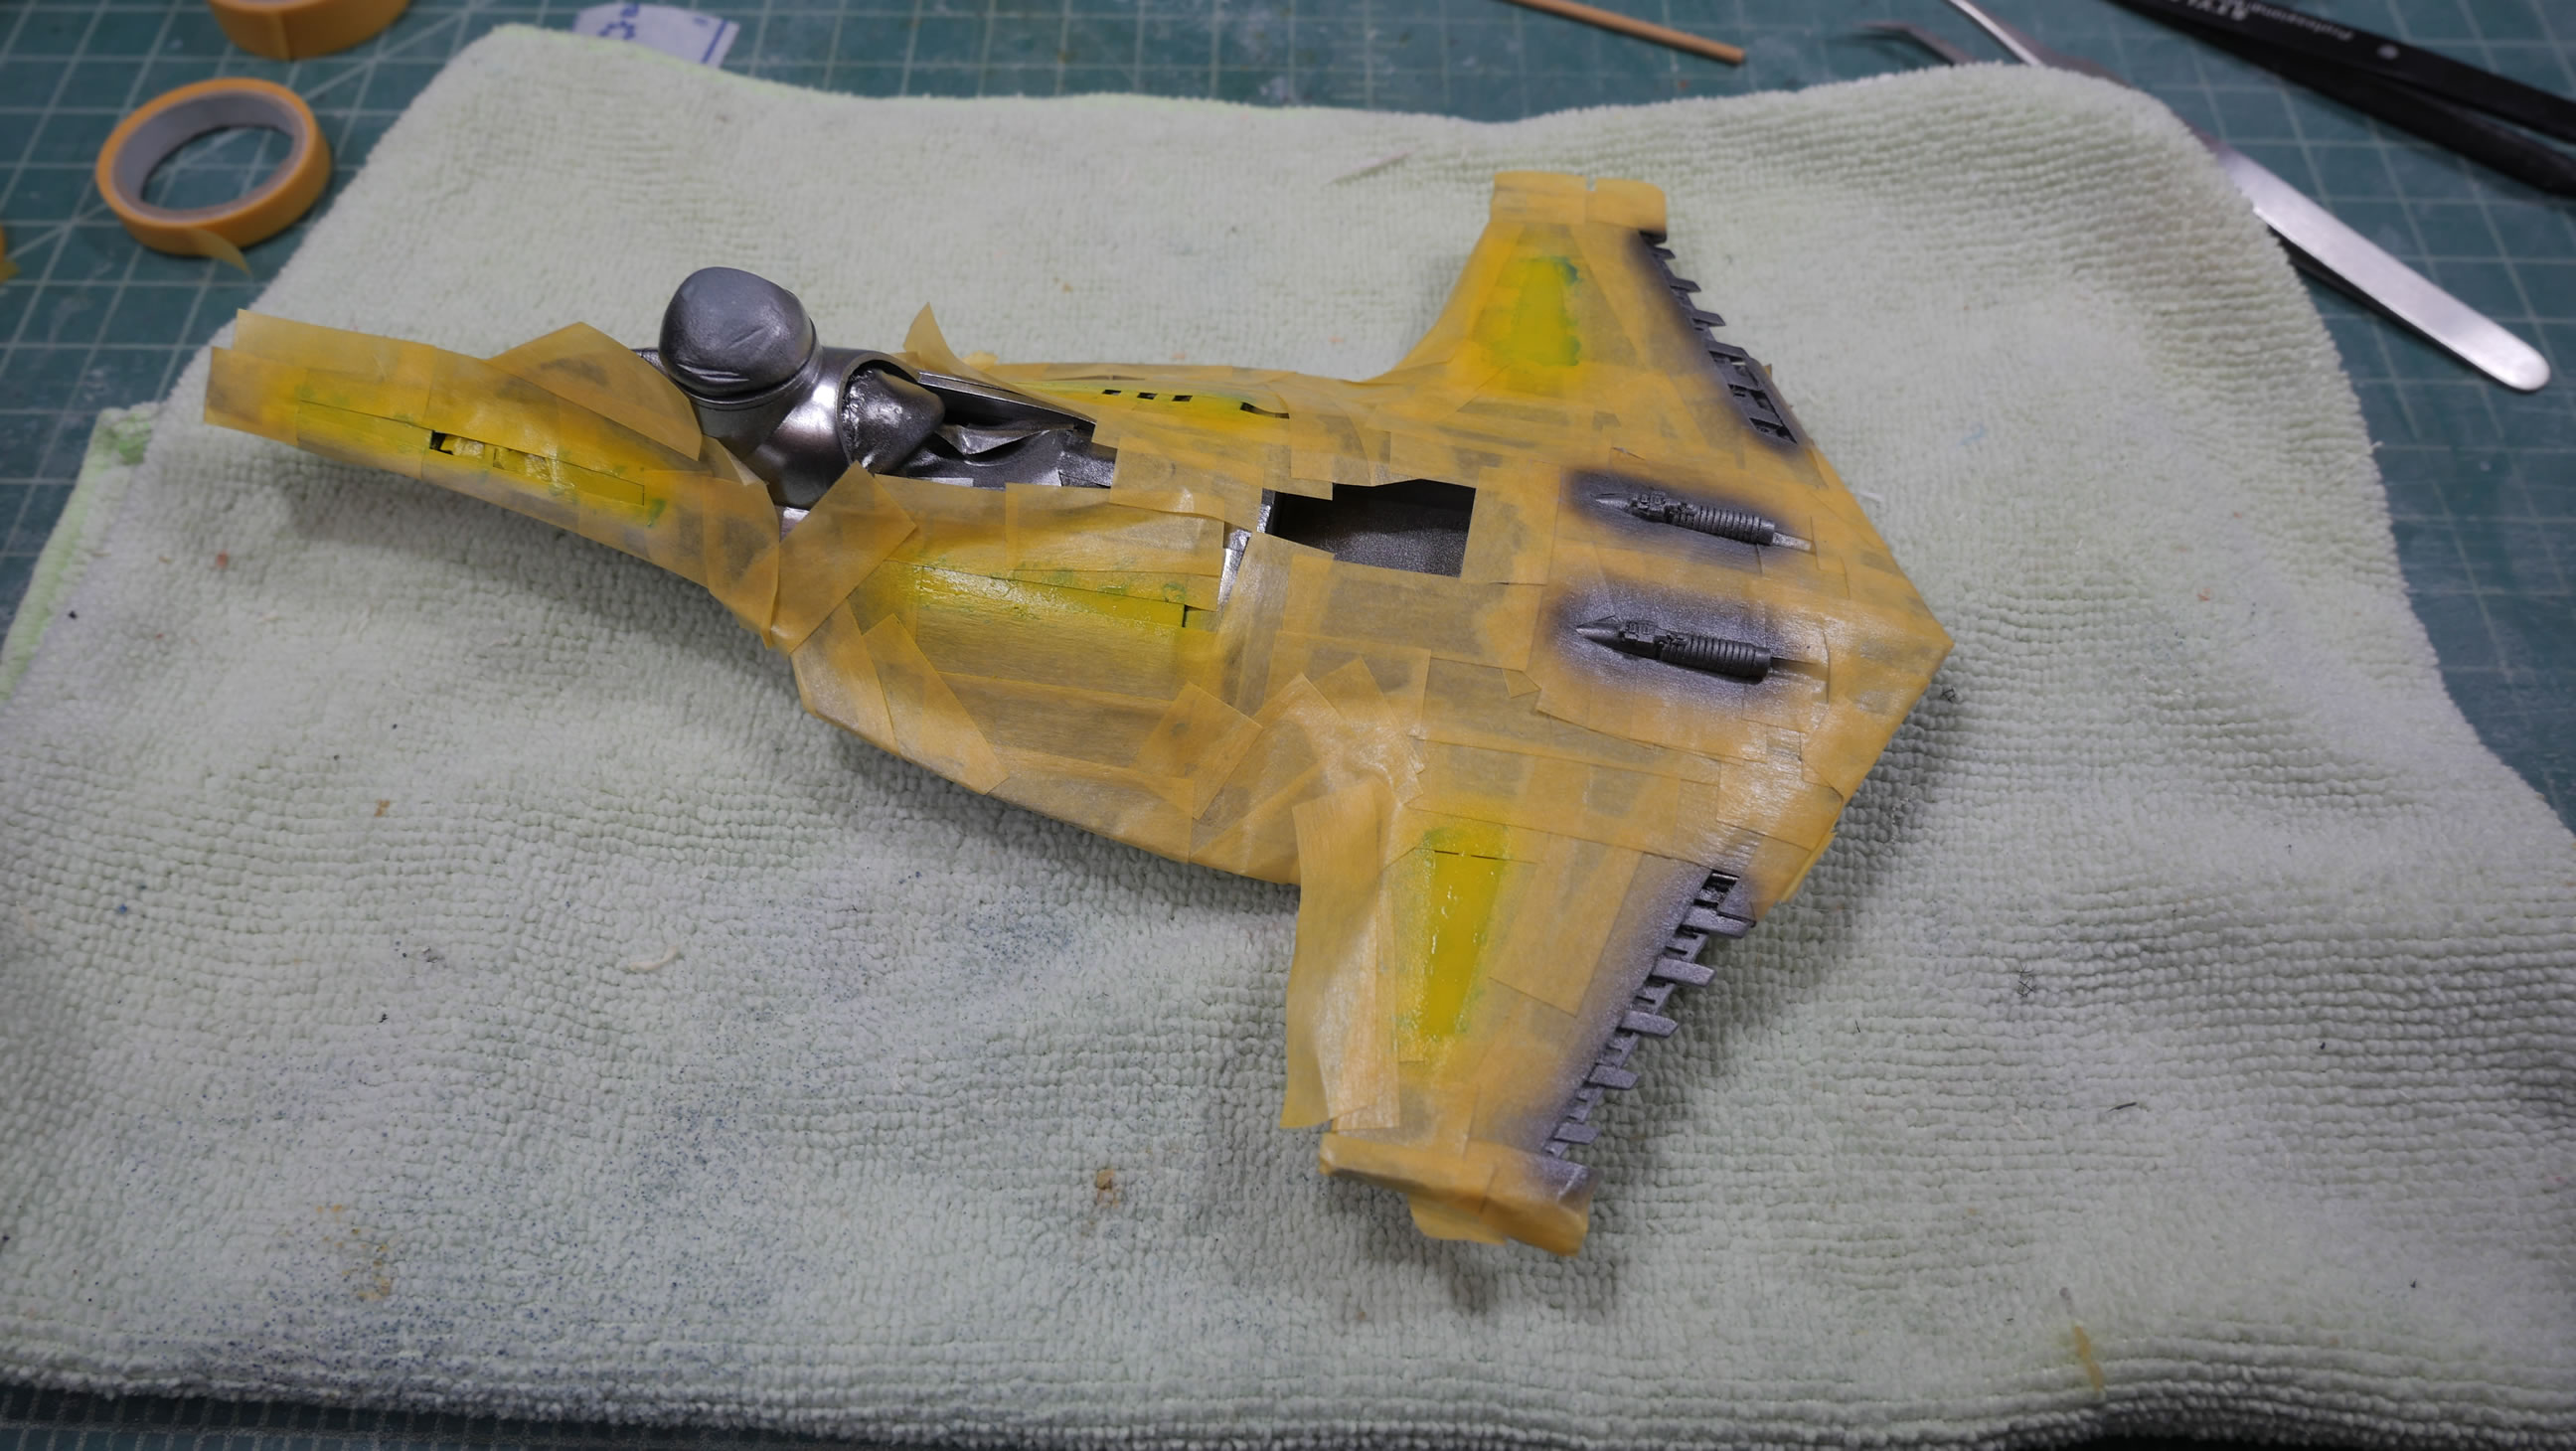
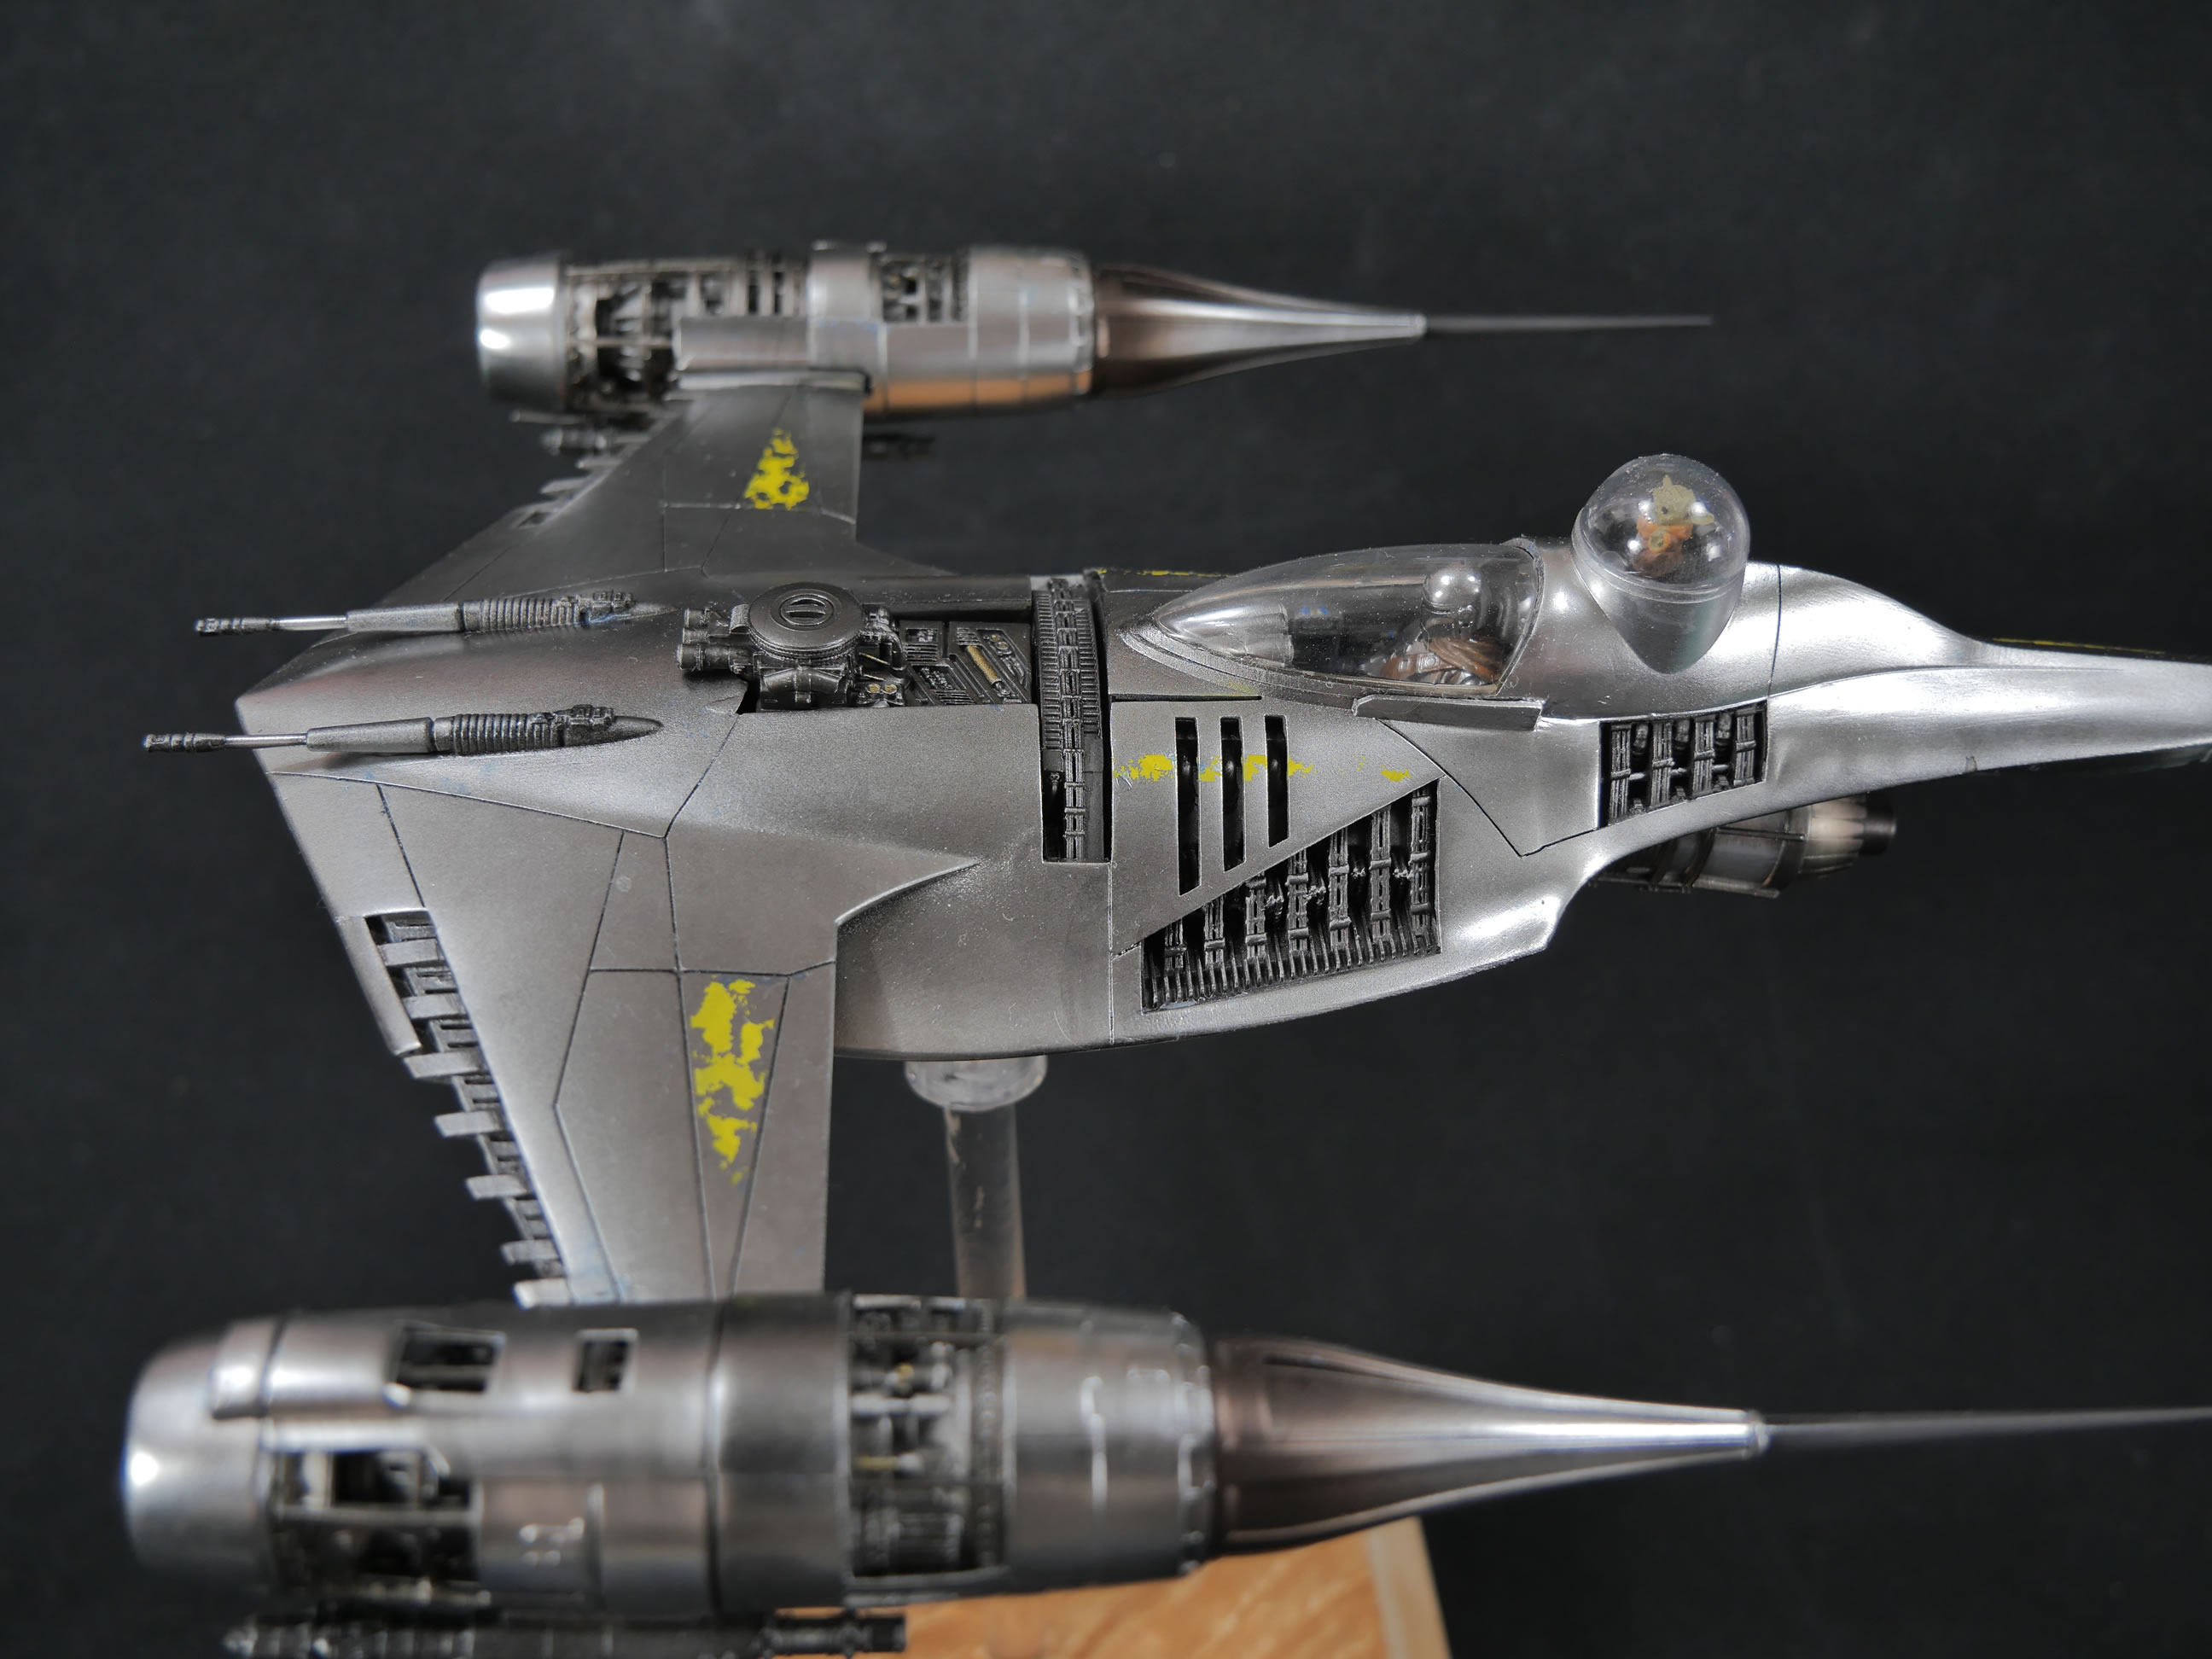
Speaking of masking, time to mask off the yellow stripes. I had to guess at the shape and sizes of the yellow stripe markings by watching the featured episodes. So I think I’m close enough. The cannons also need to be masked off to paint them in a dark aluminum alclad. Once the stripe shapes are masked. I used some liquid mask for the paint chips in the yellow. I needed to spray on a white first, then lay down the yellow to get the best tone. Just yellow over the alumaluster wasn’t cutting it.

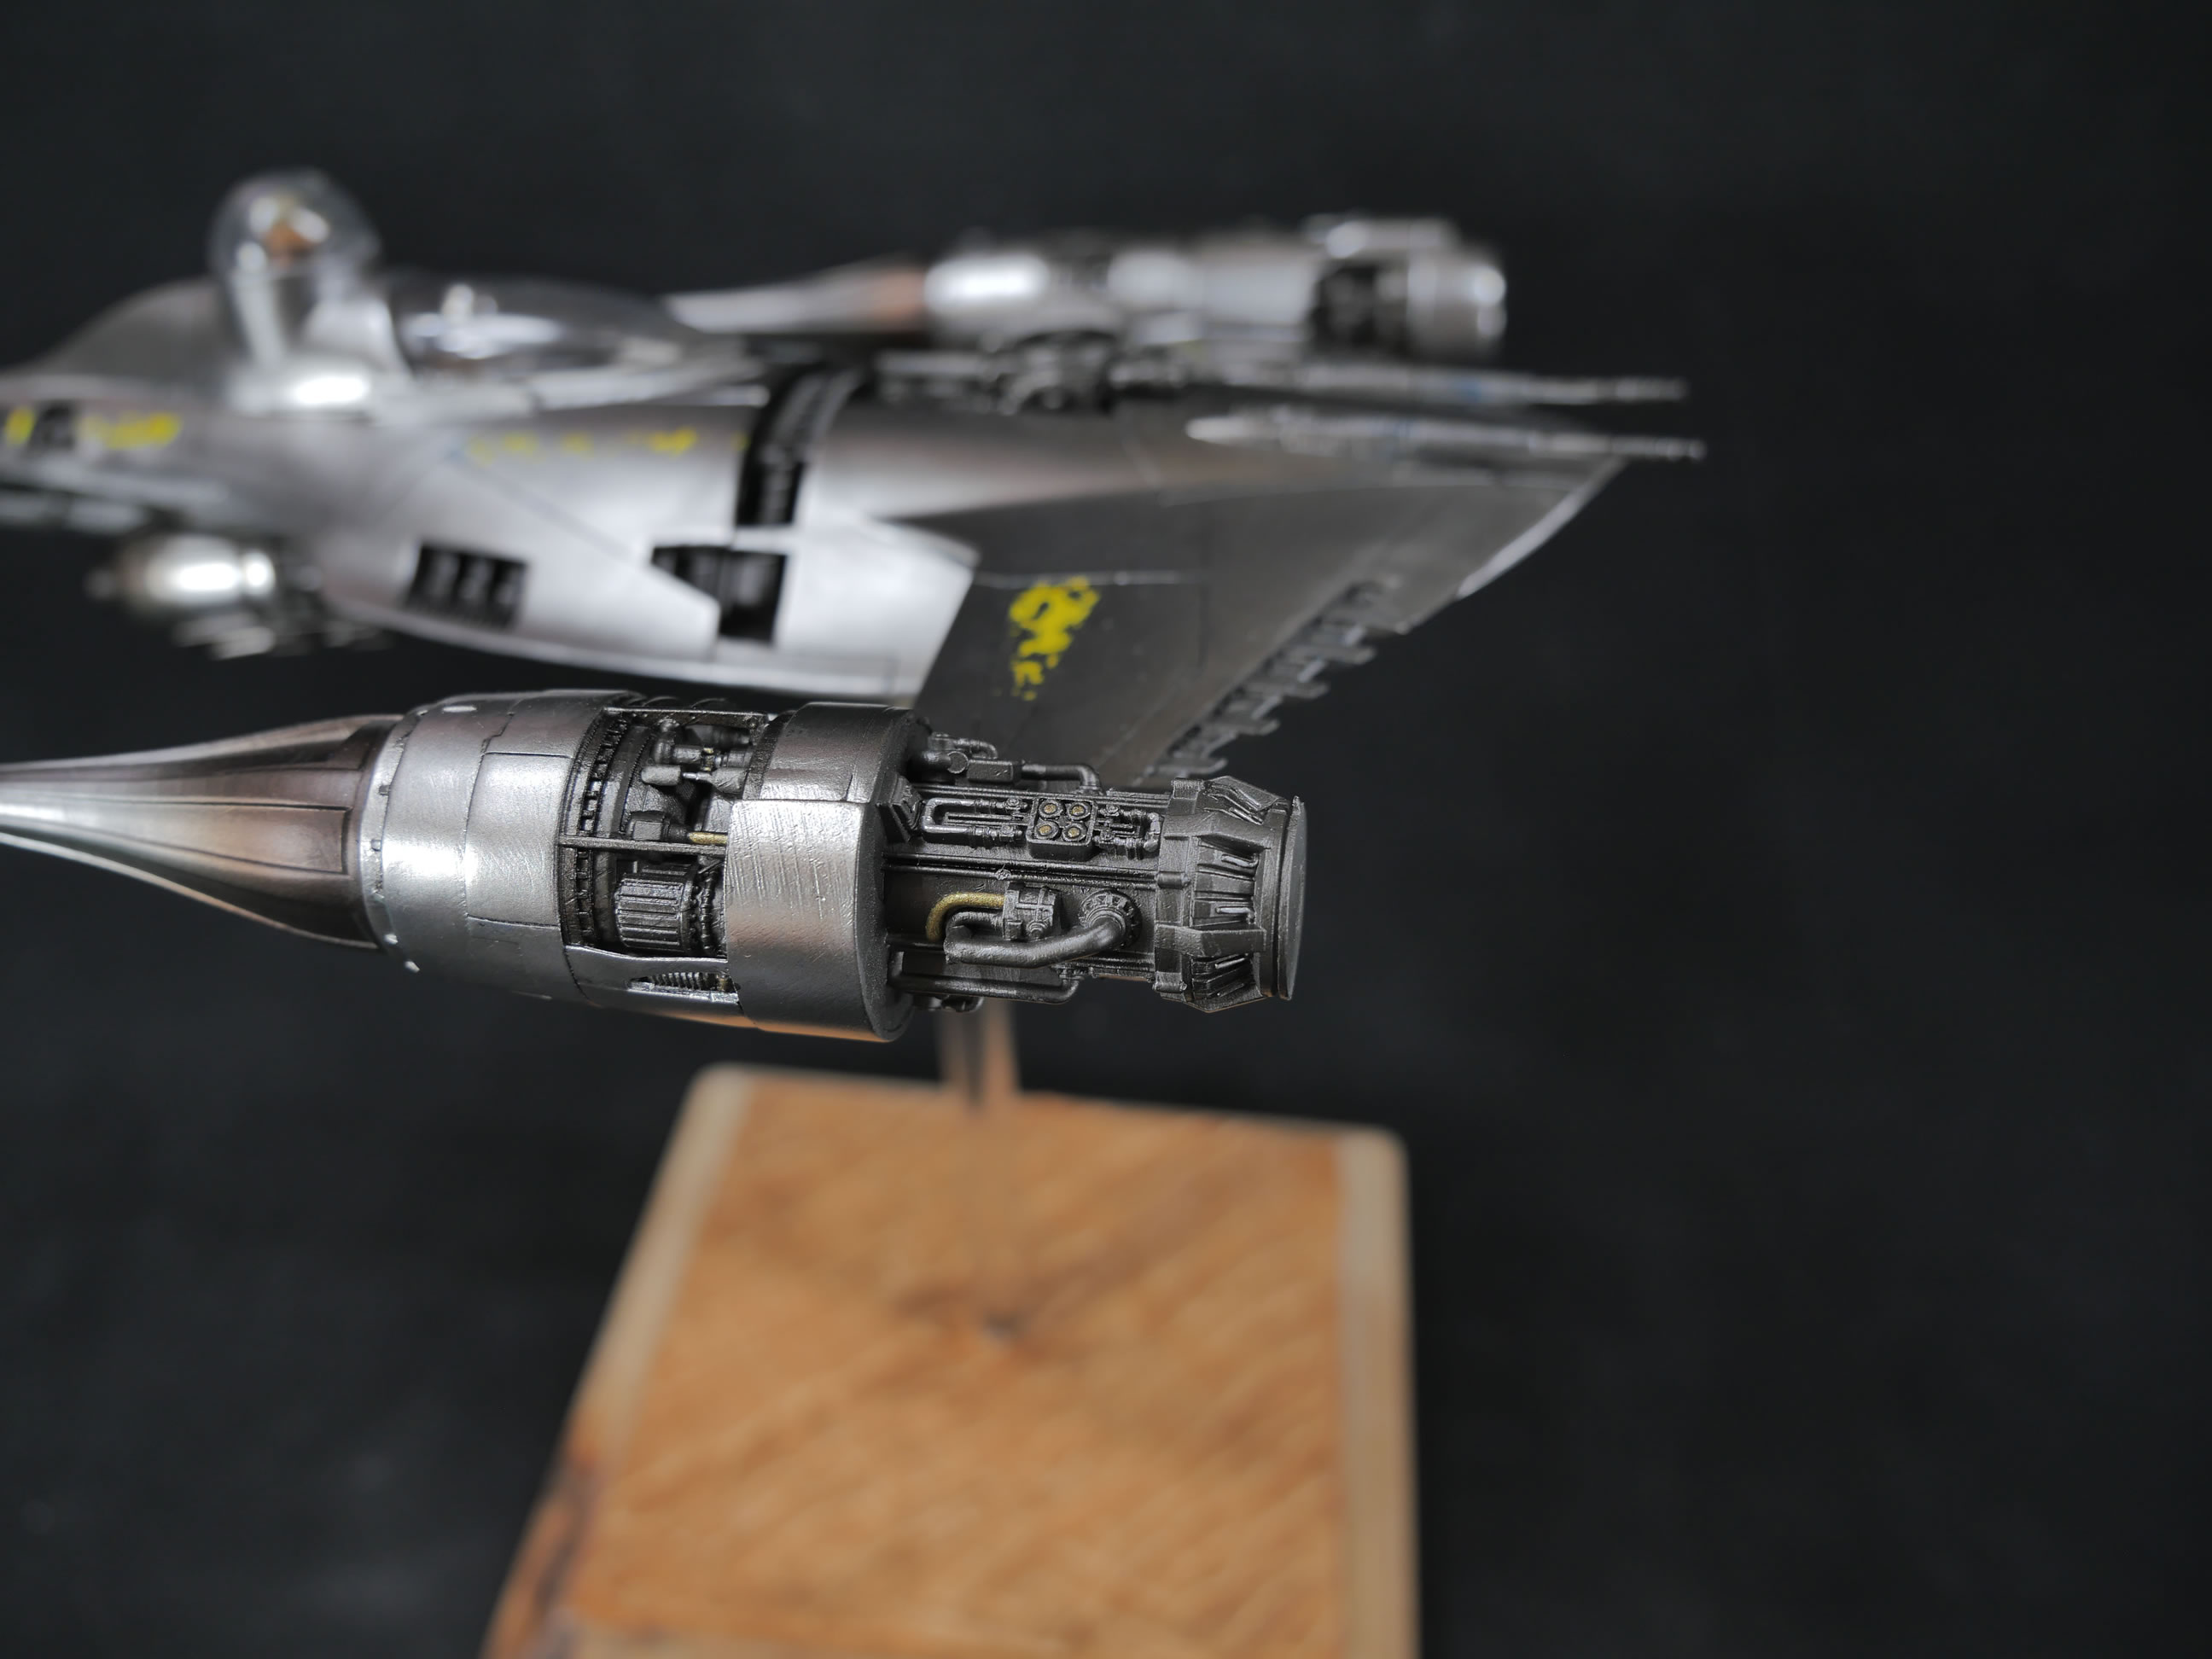
Painted and ready to be unmasked. The engines are also unmasked. The engine internals were painted with alclad magnesium. The frames for the engine cowls were done with gaia gun metal. Details were hand painted with enamels. The engines are finished with some dry brushing and a simple wash to bring out more of the raised details. Again, some amazing work by Alain Rivard.
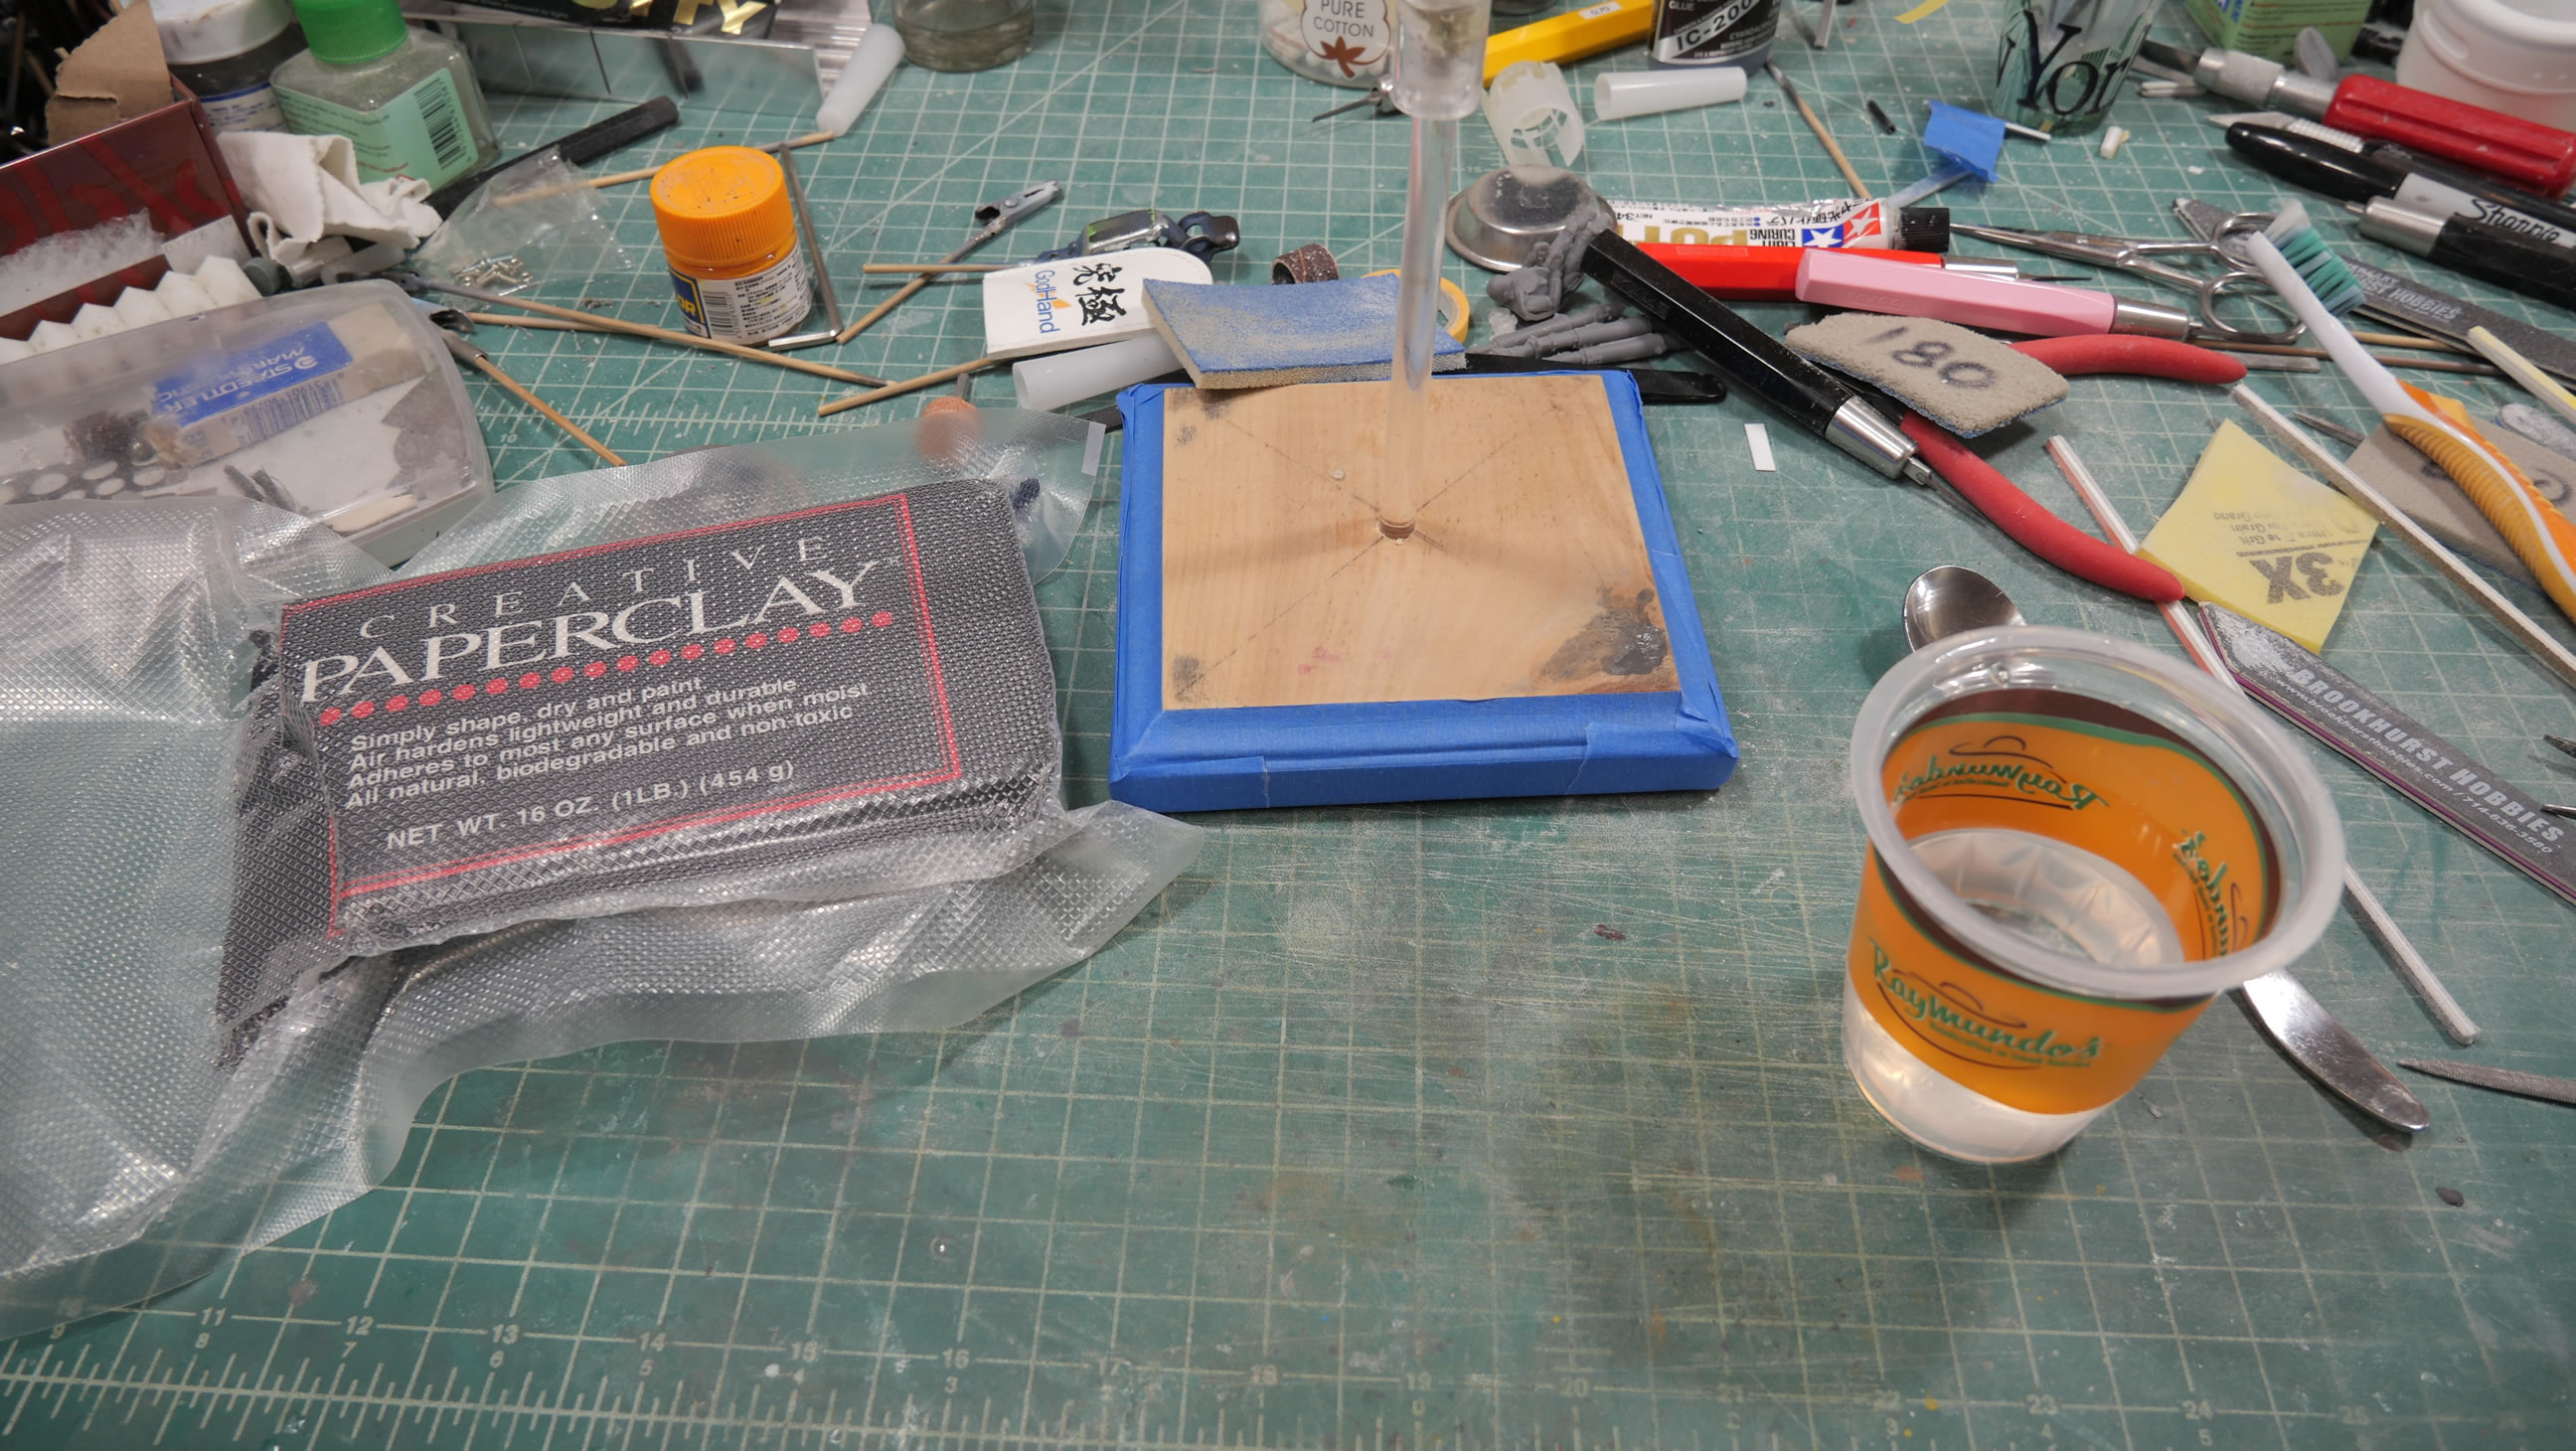
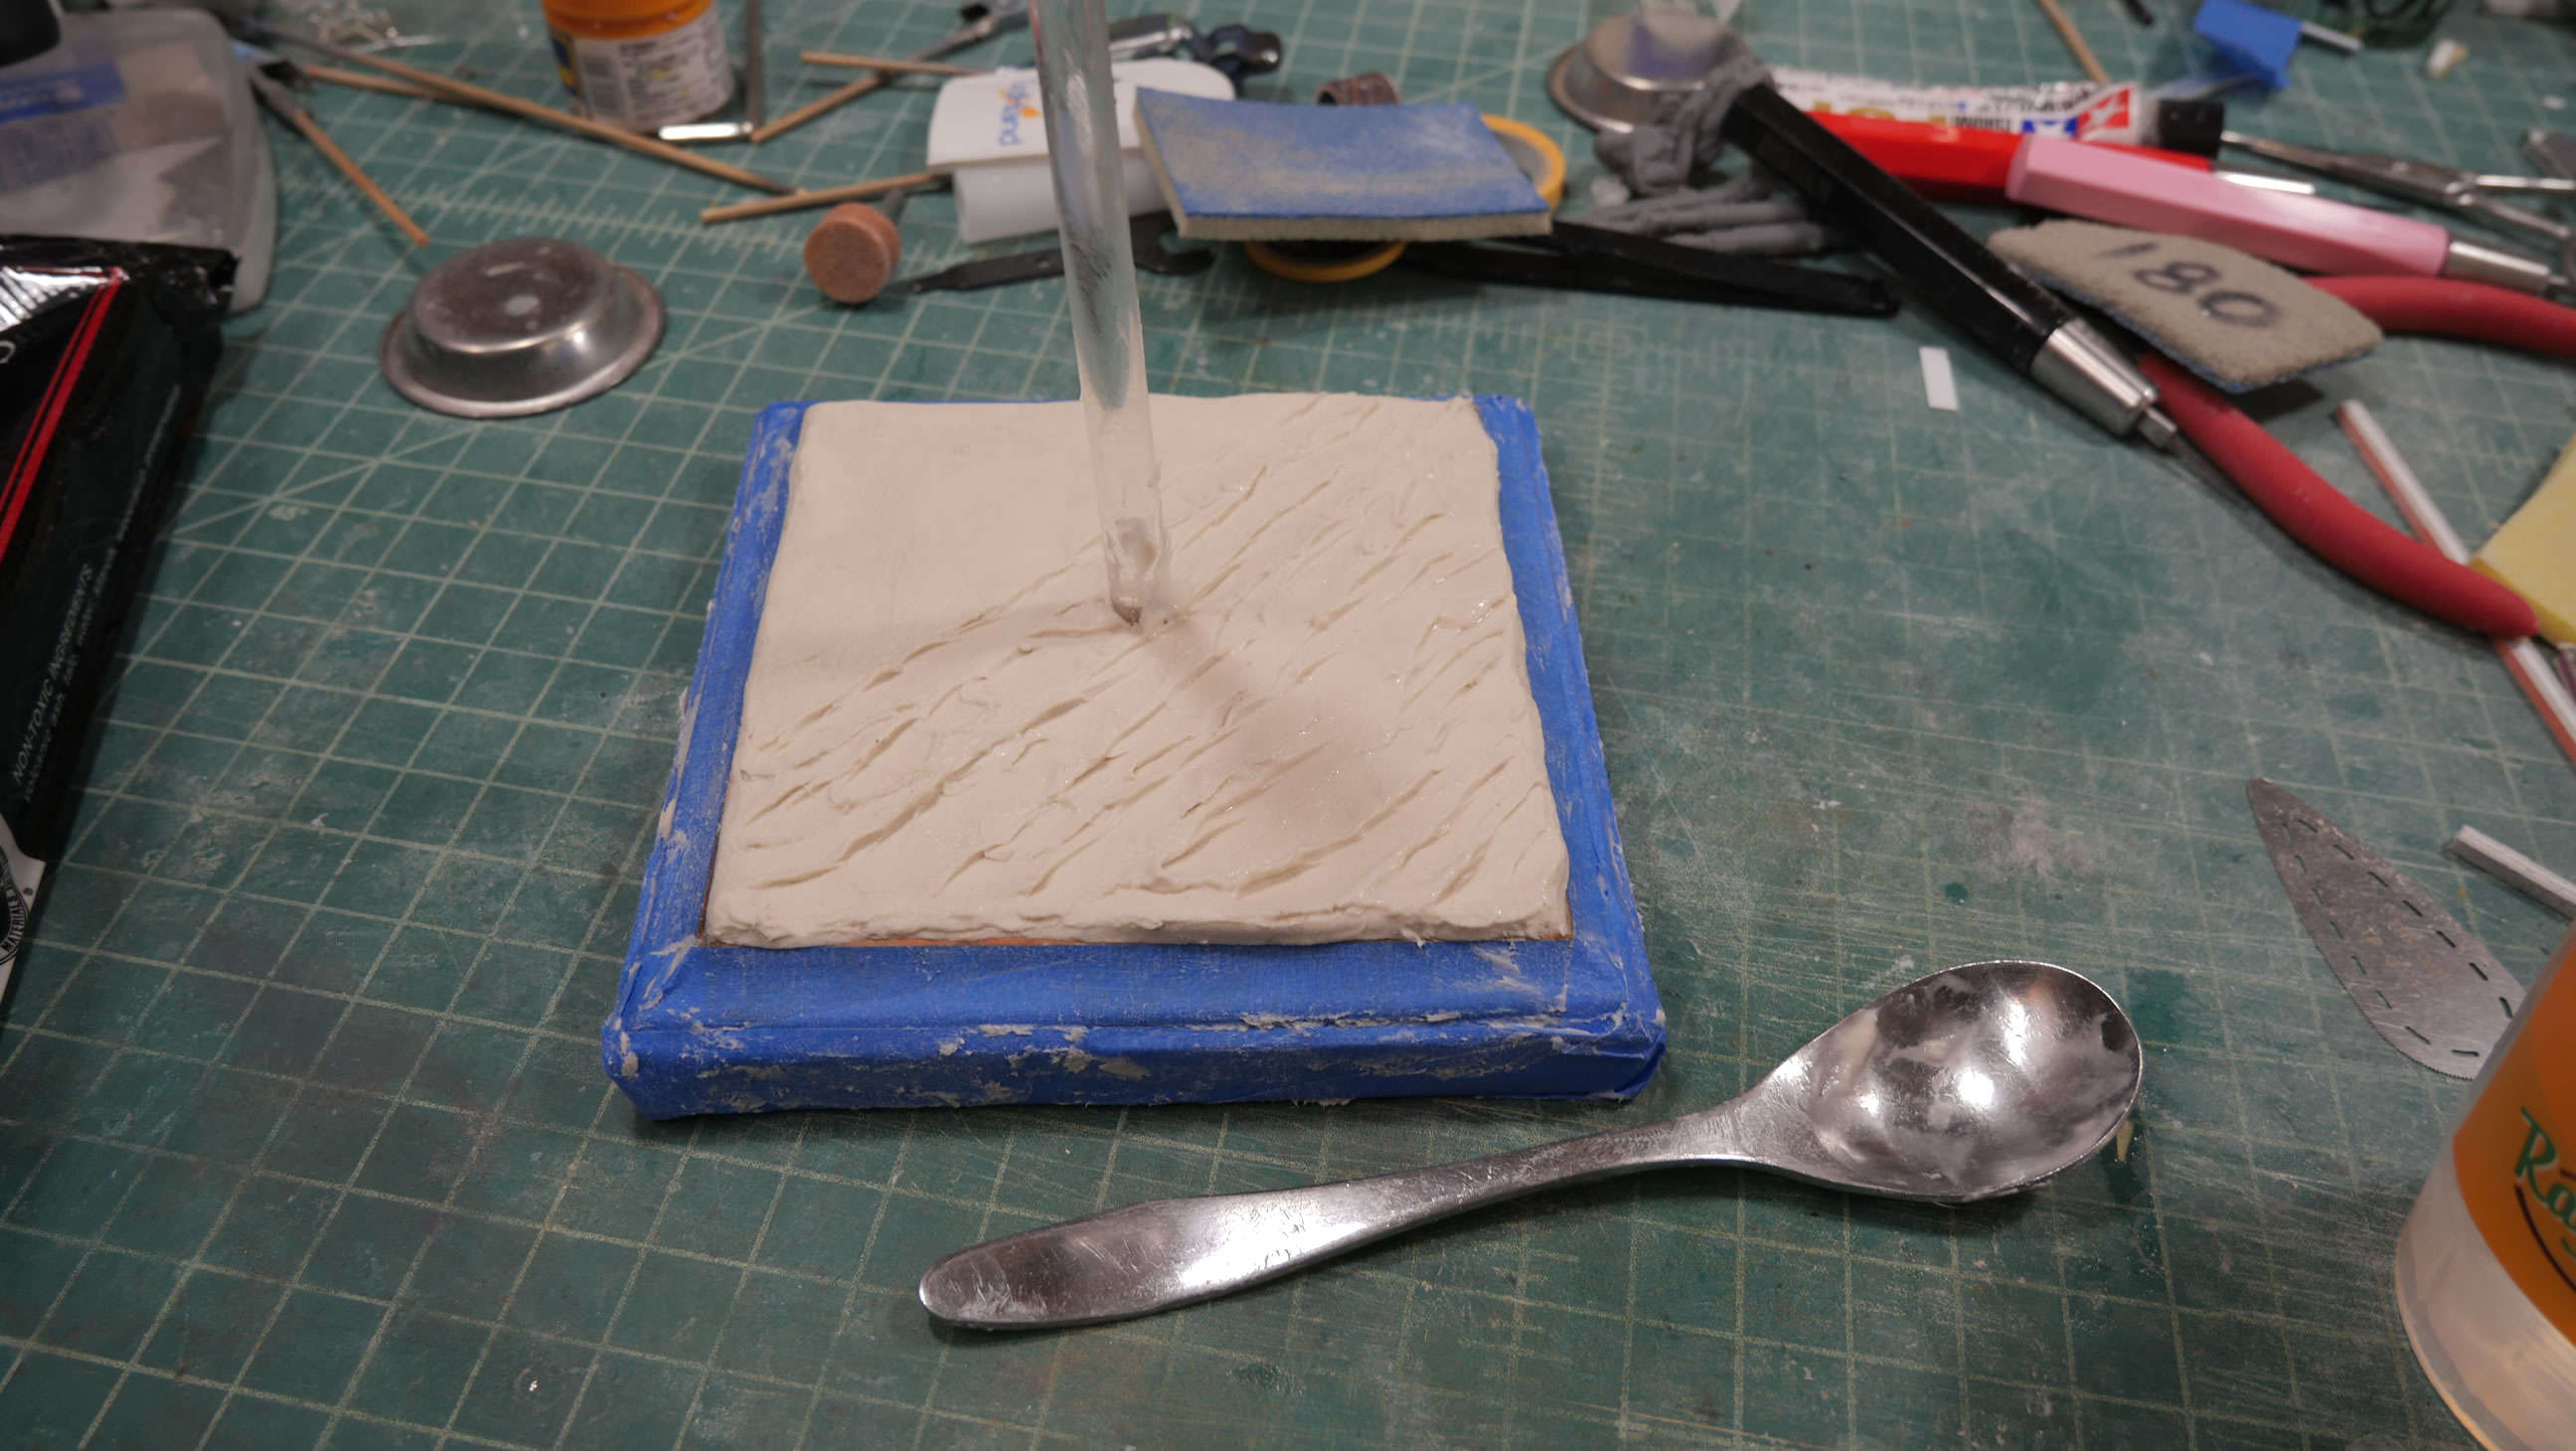
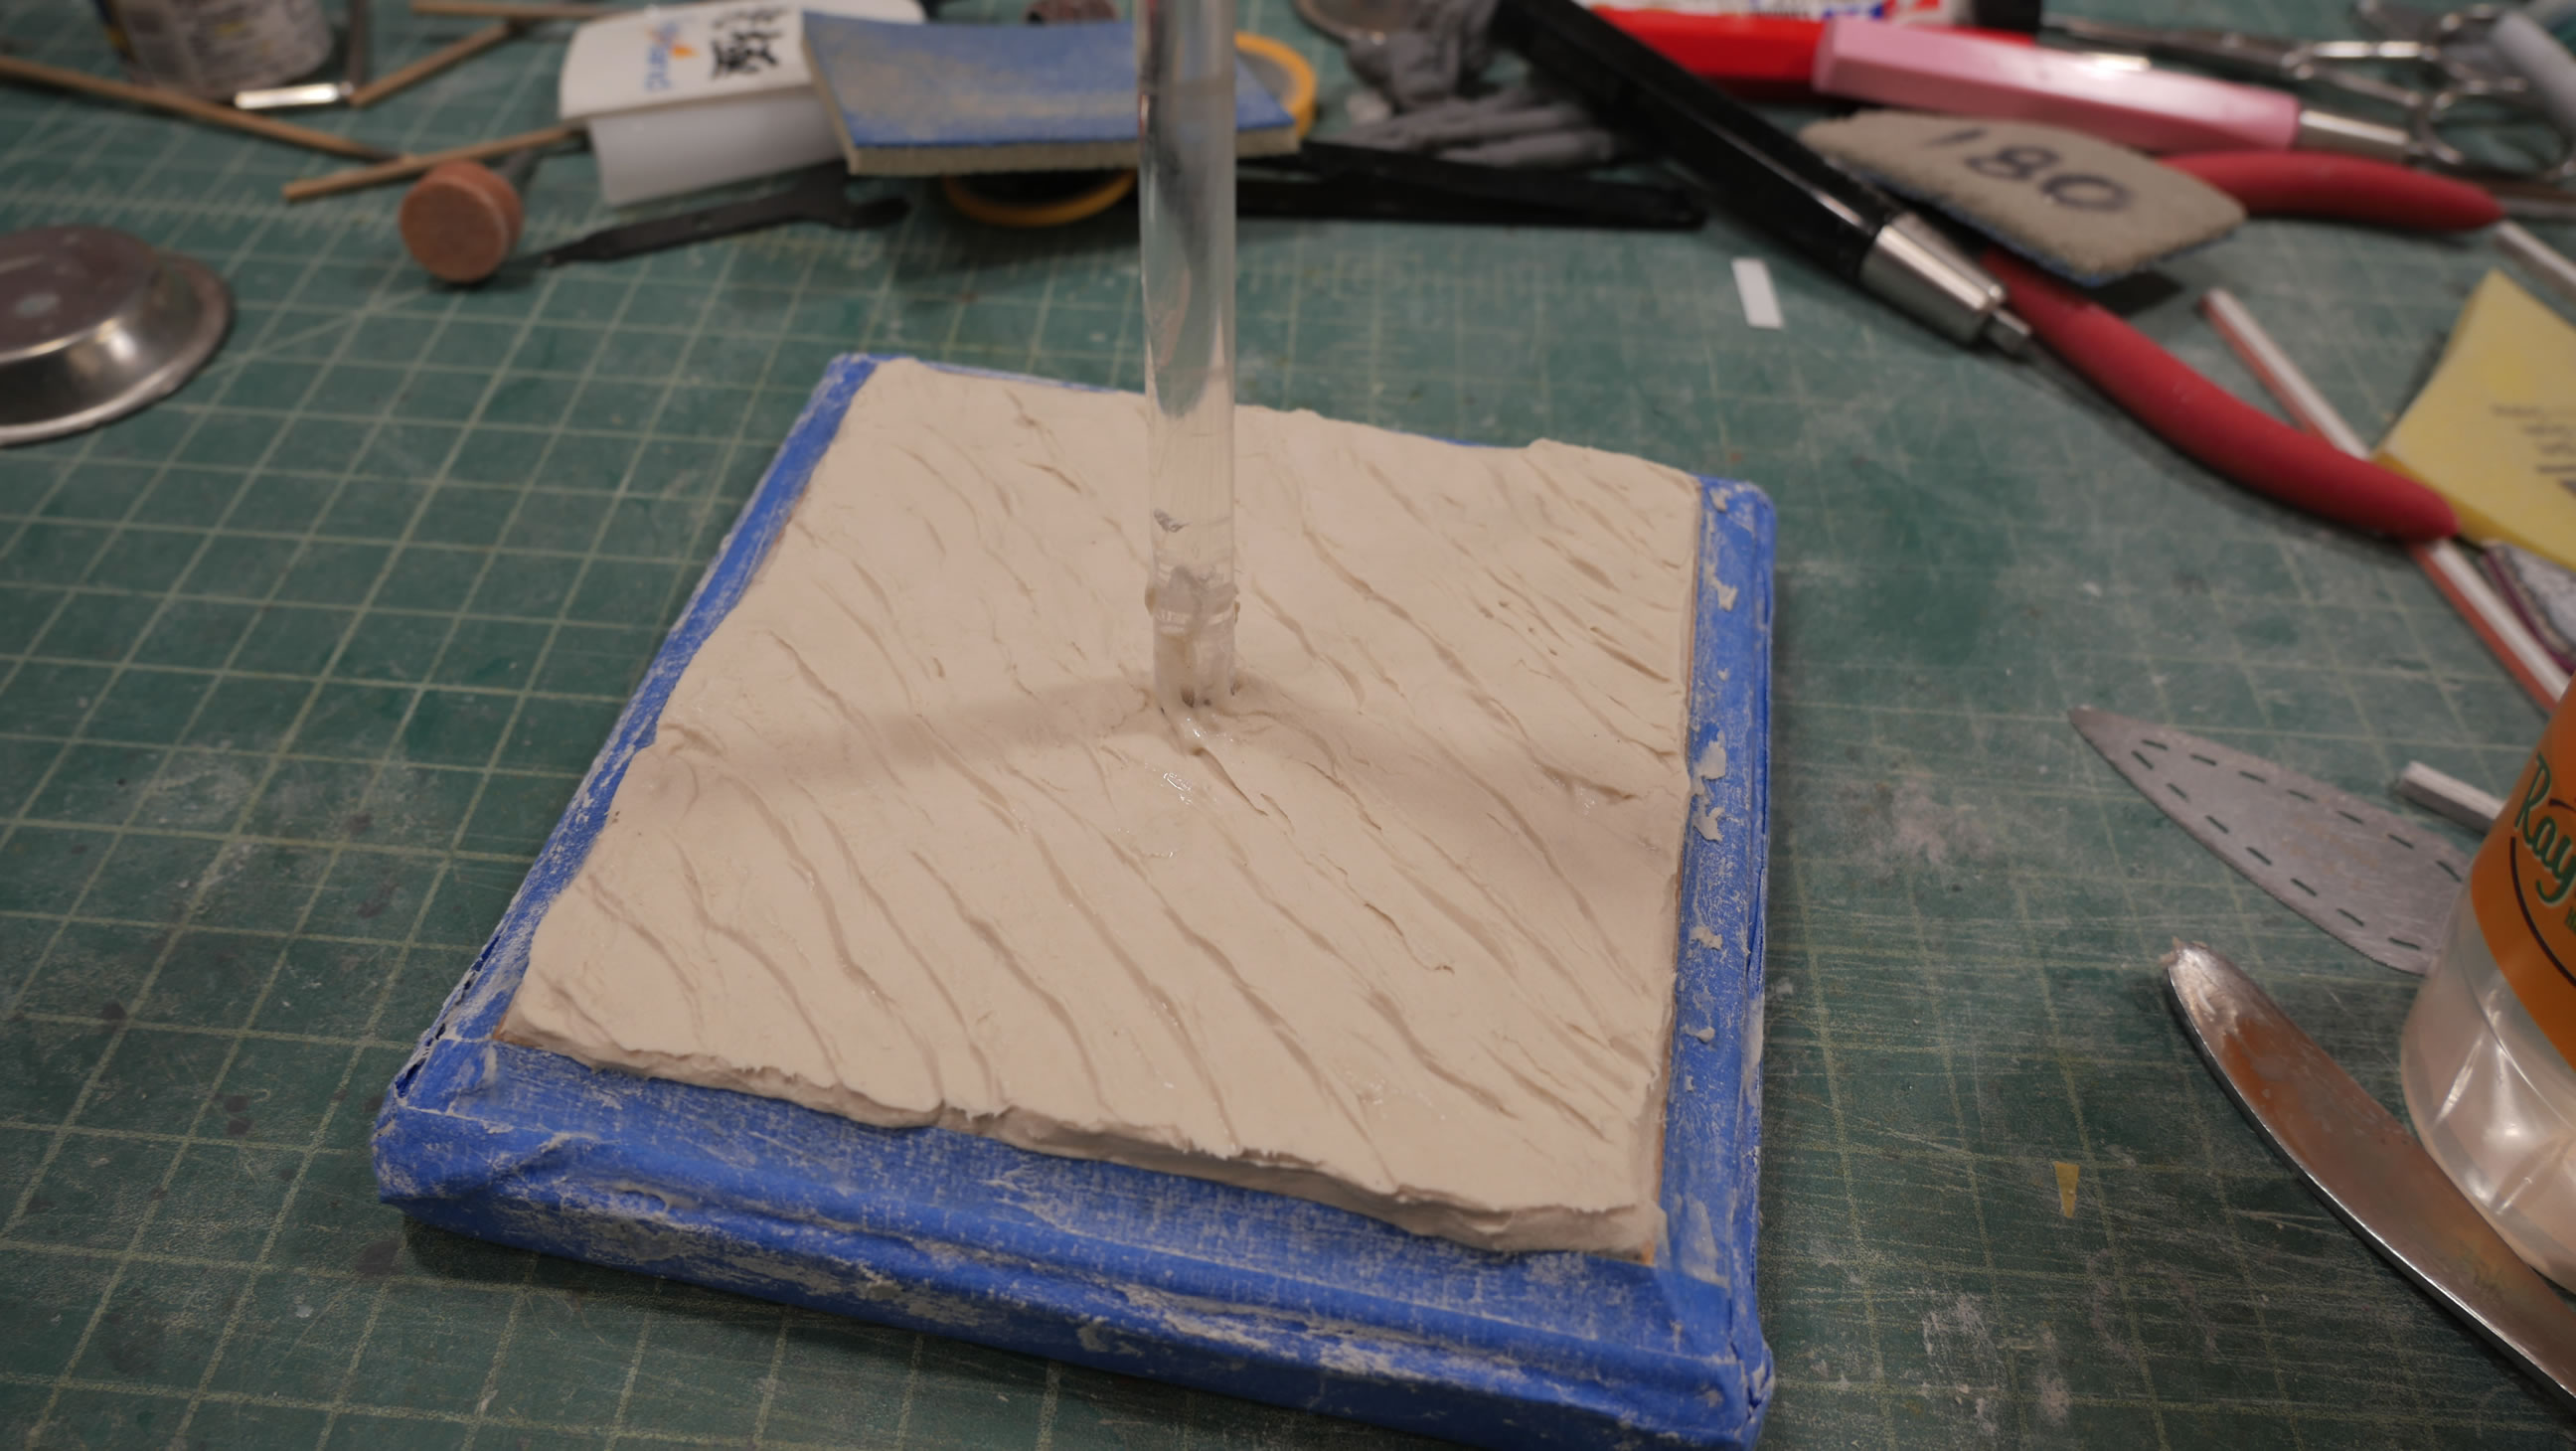
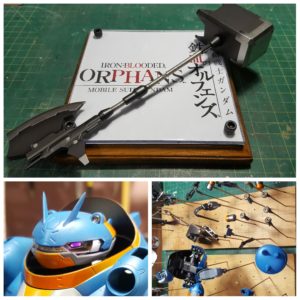
The base is a simple affair as I was trying to finish the kit for a local contest that was happening 2 days from this point. The wood base already has an acrylic rod glued to it. I masked off the sides of the base and grabbed my paper clay out of the vacuum bags (keeps it from drying out). The surface of the wood is moistened and the clay is applied. A spoon is employed to make sand waves. Not pictured is a quick paint with acrylics to finish things.

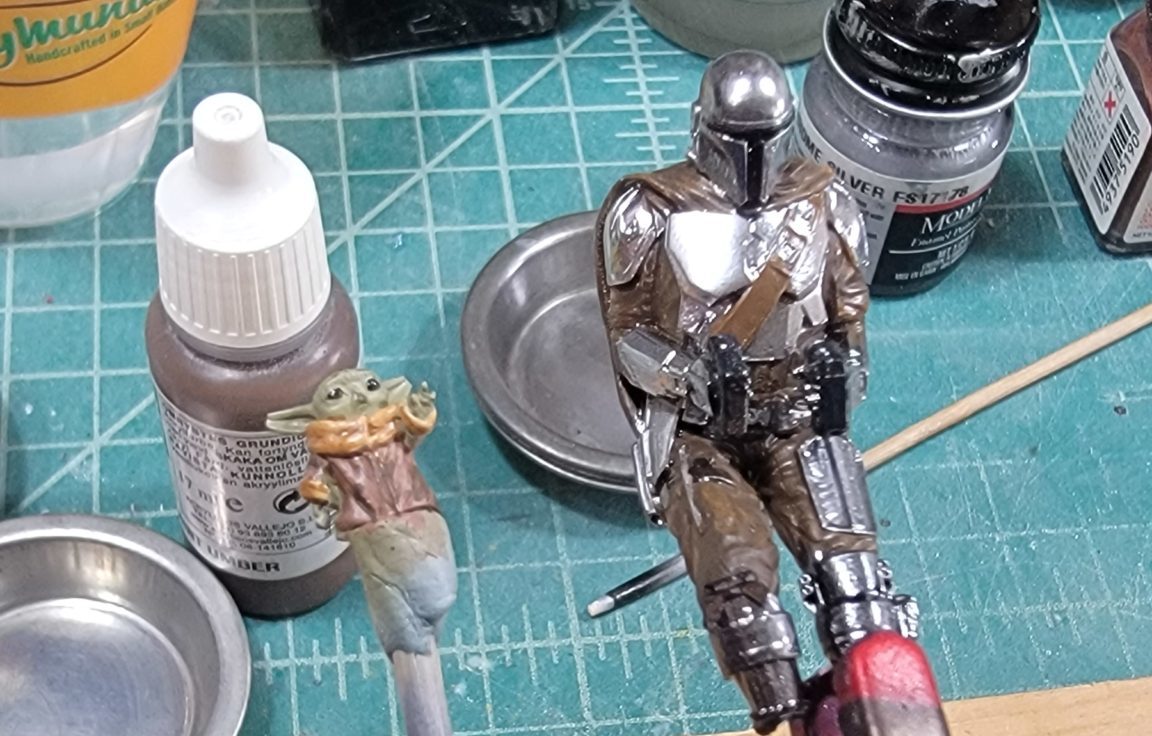
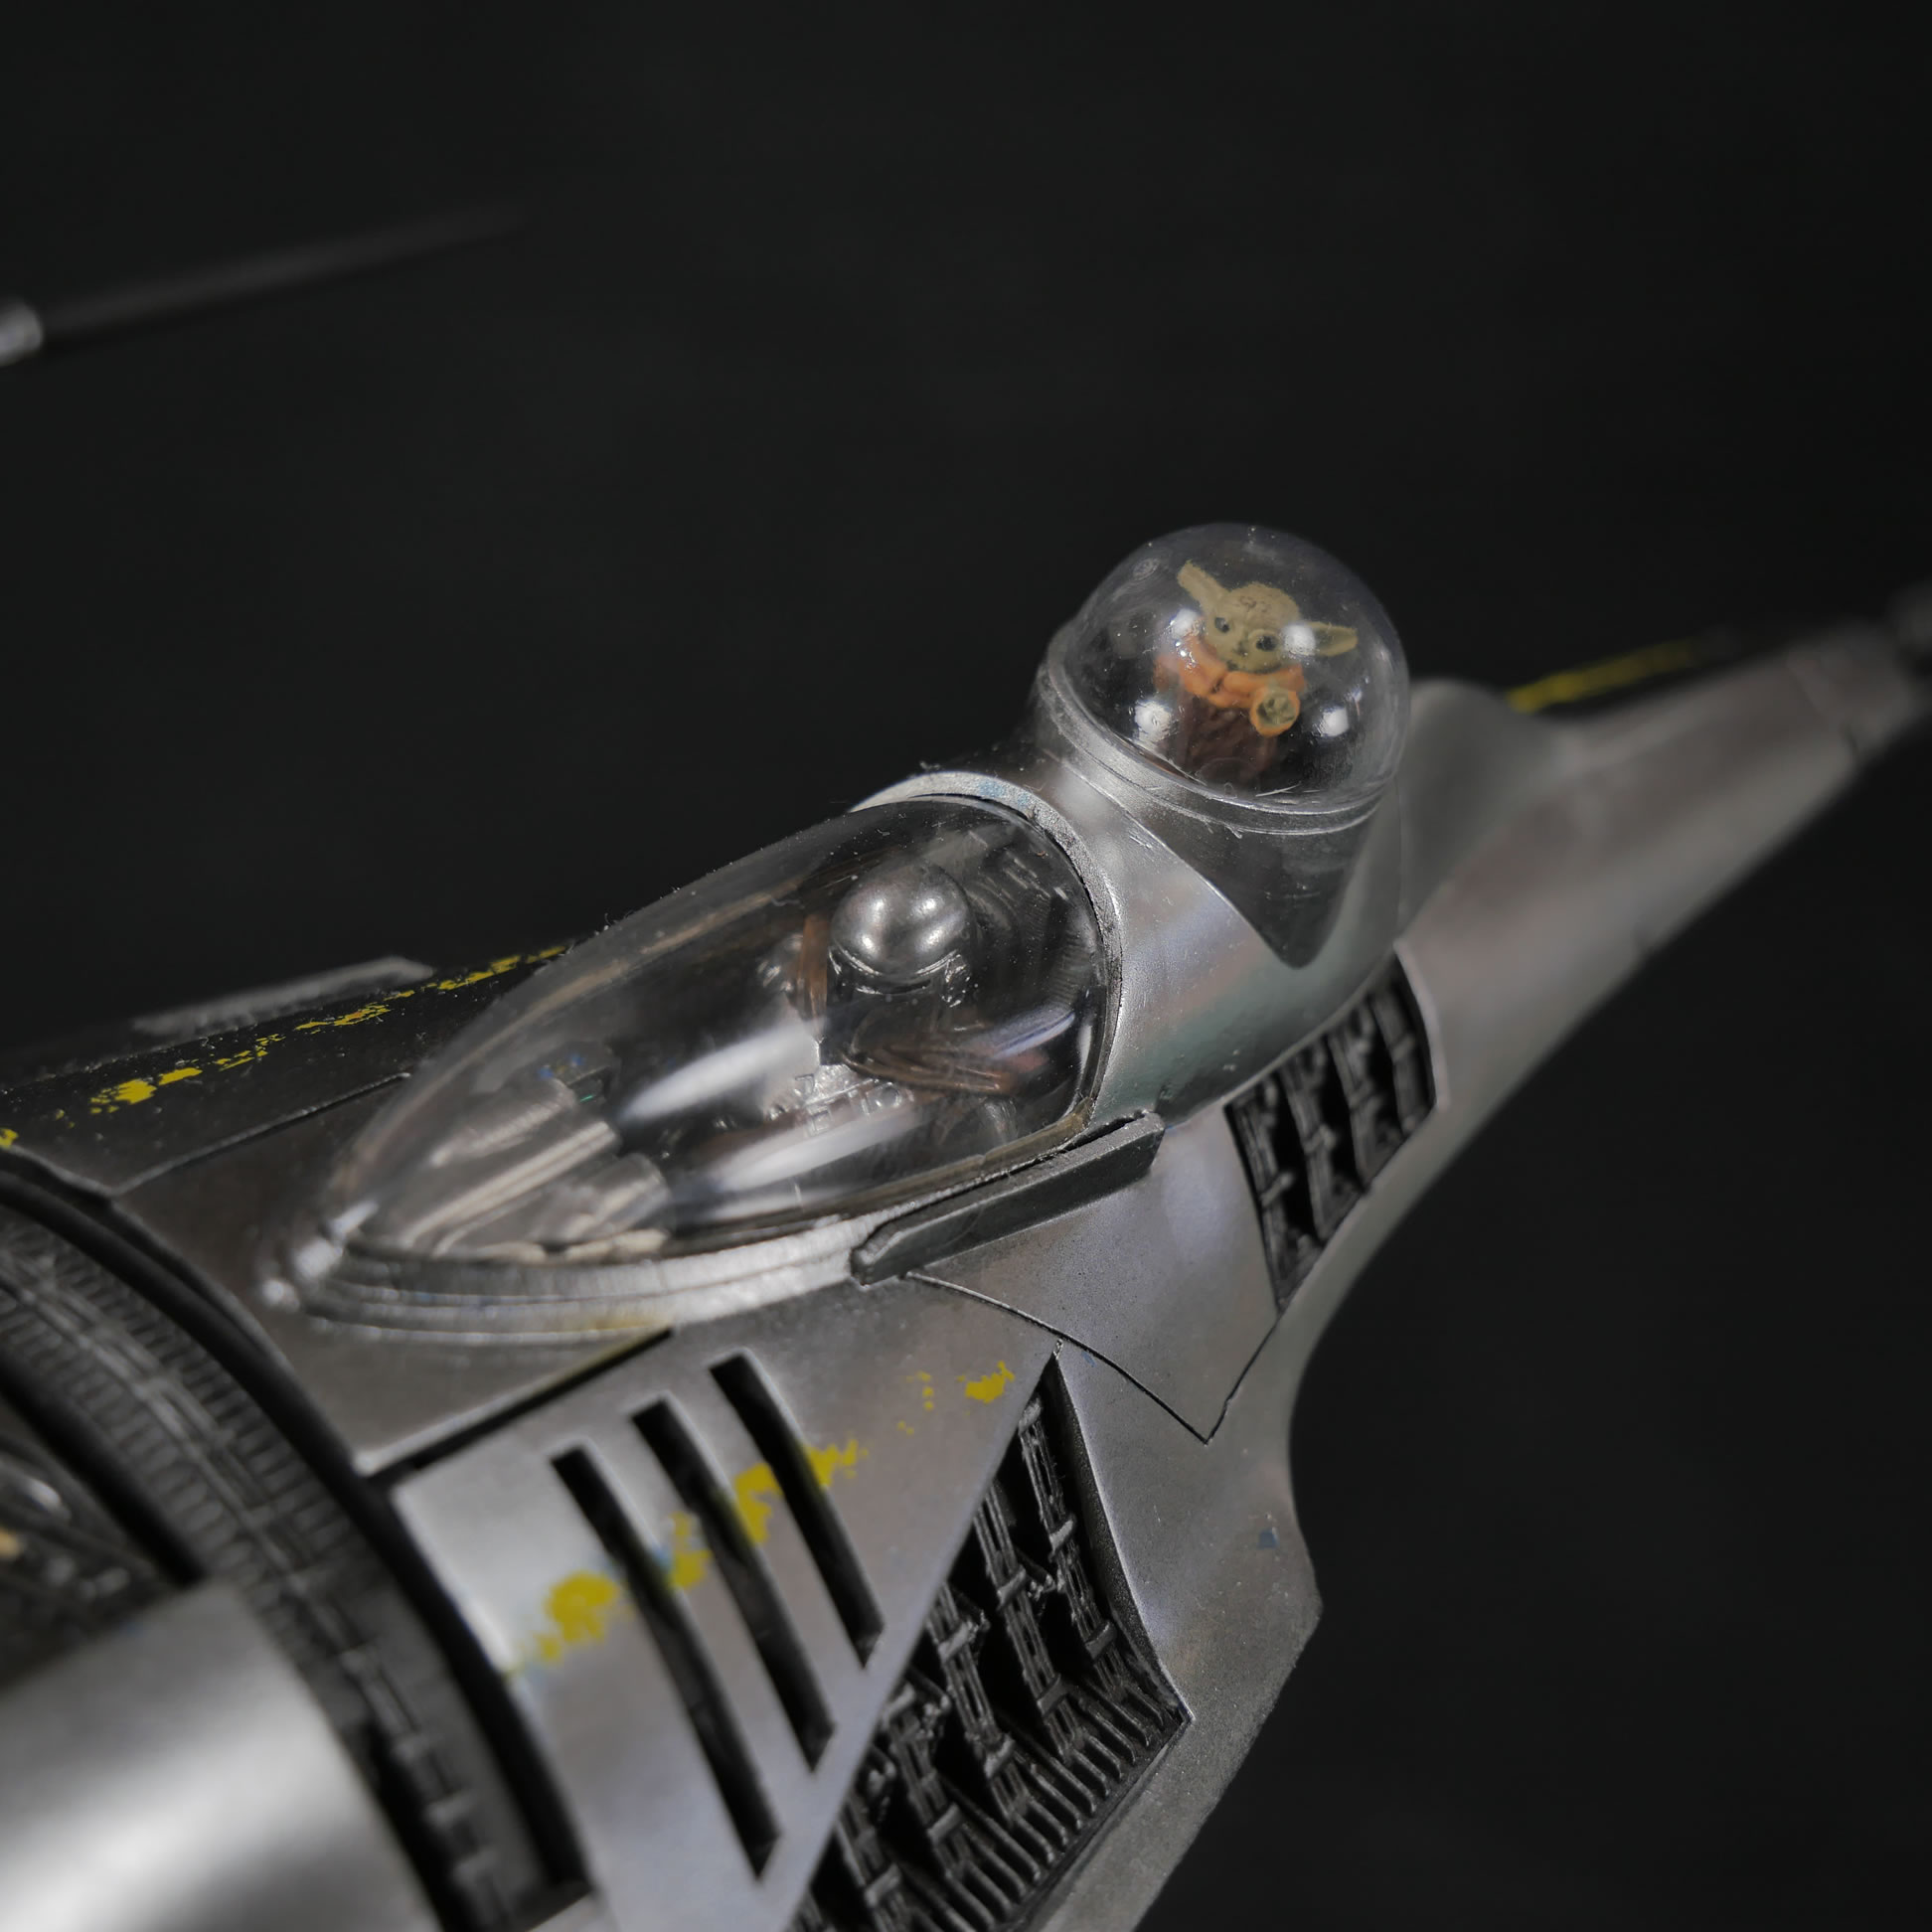
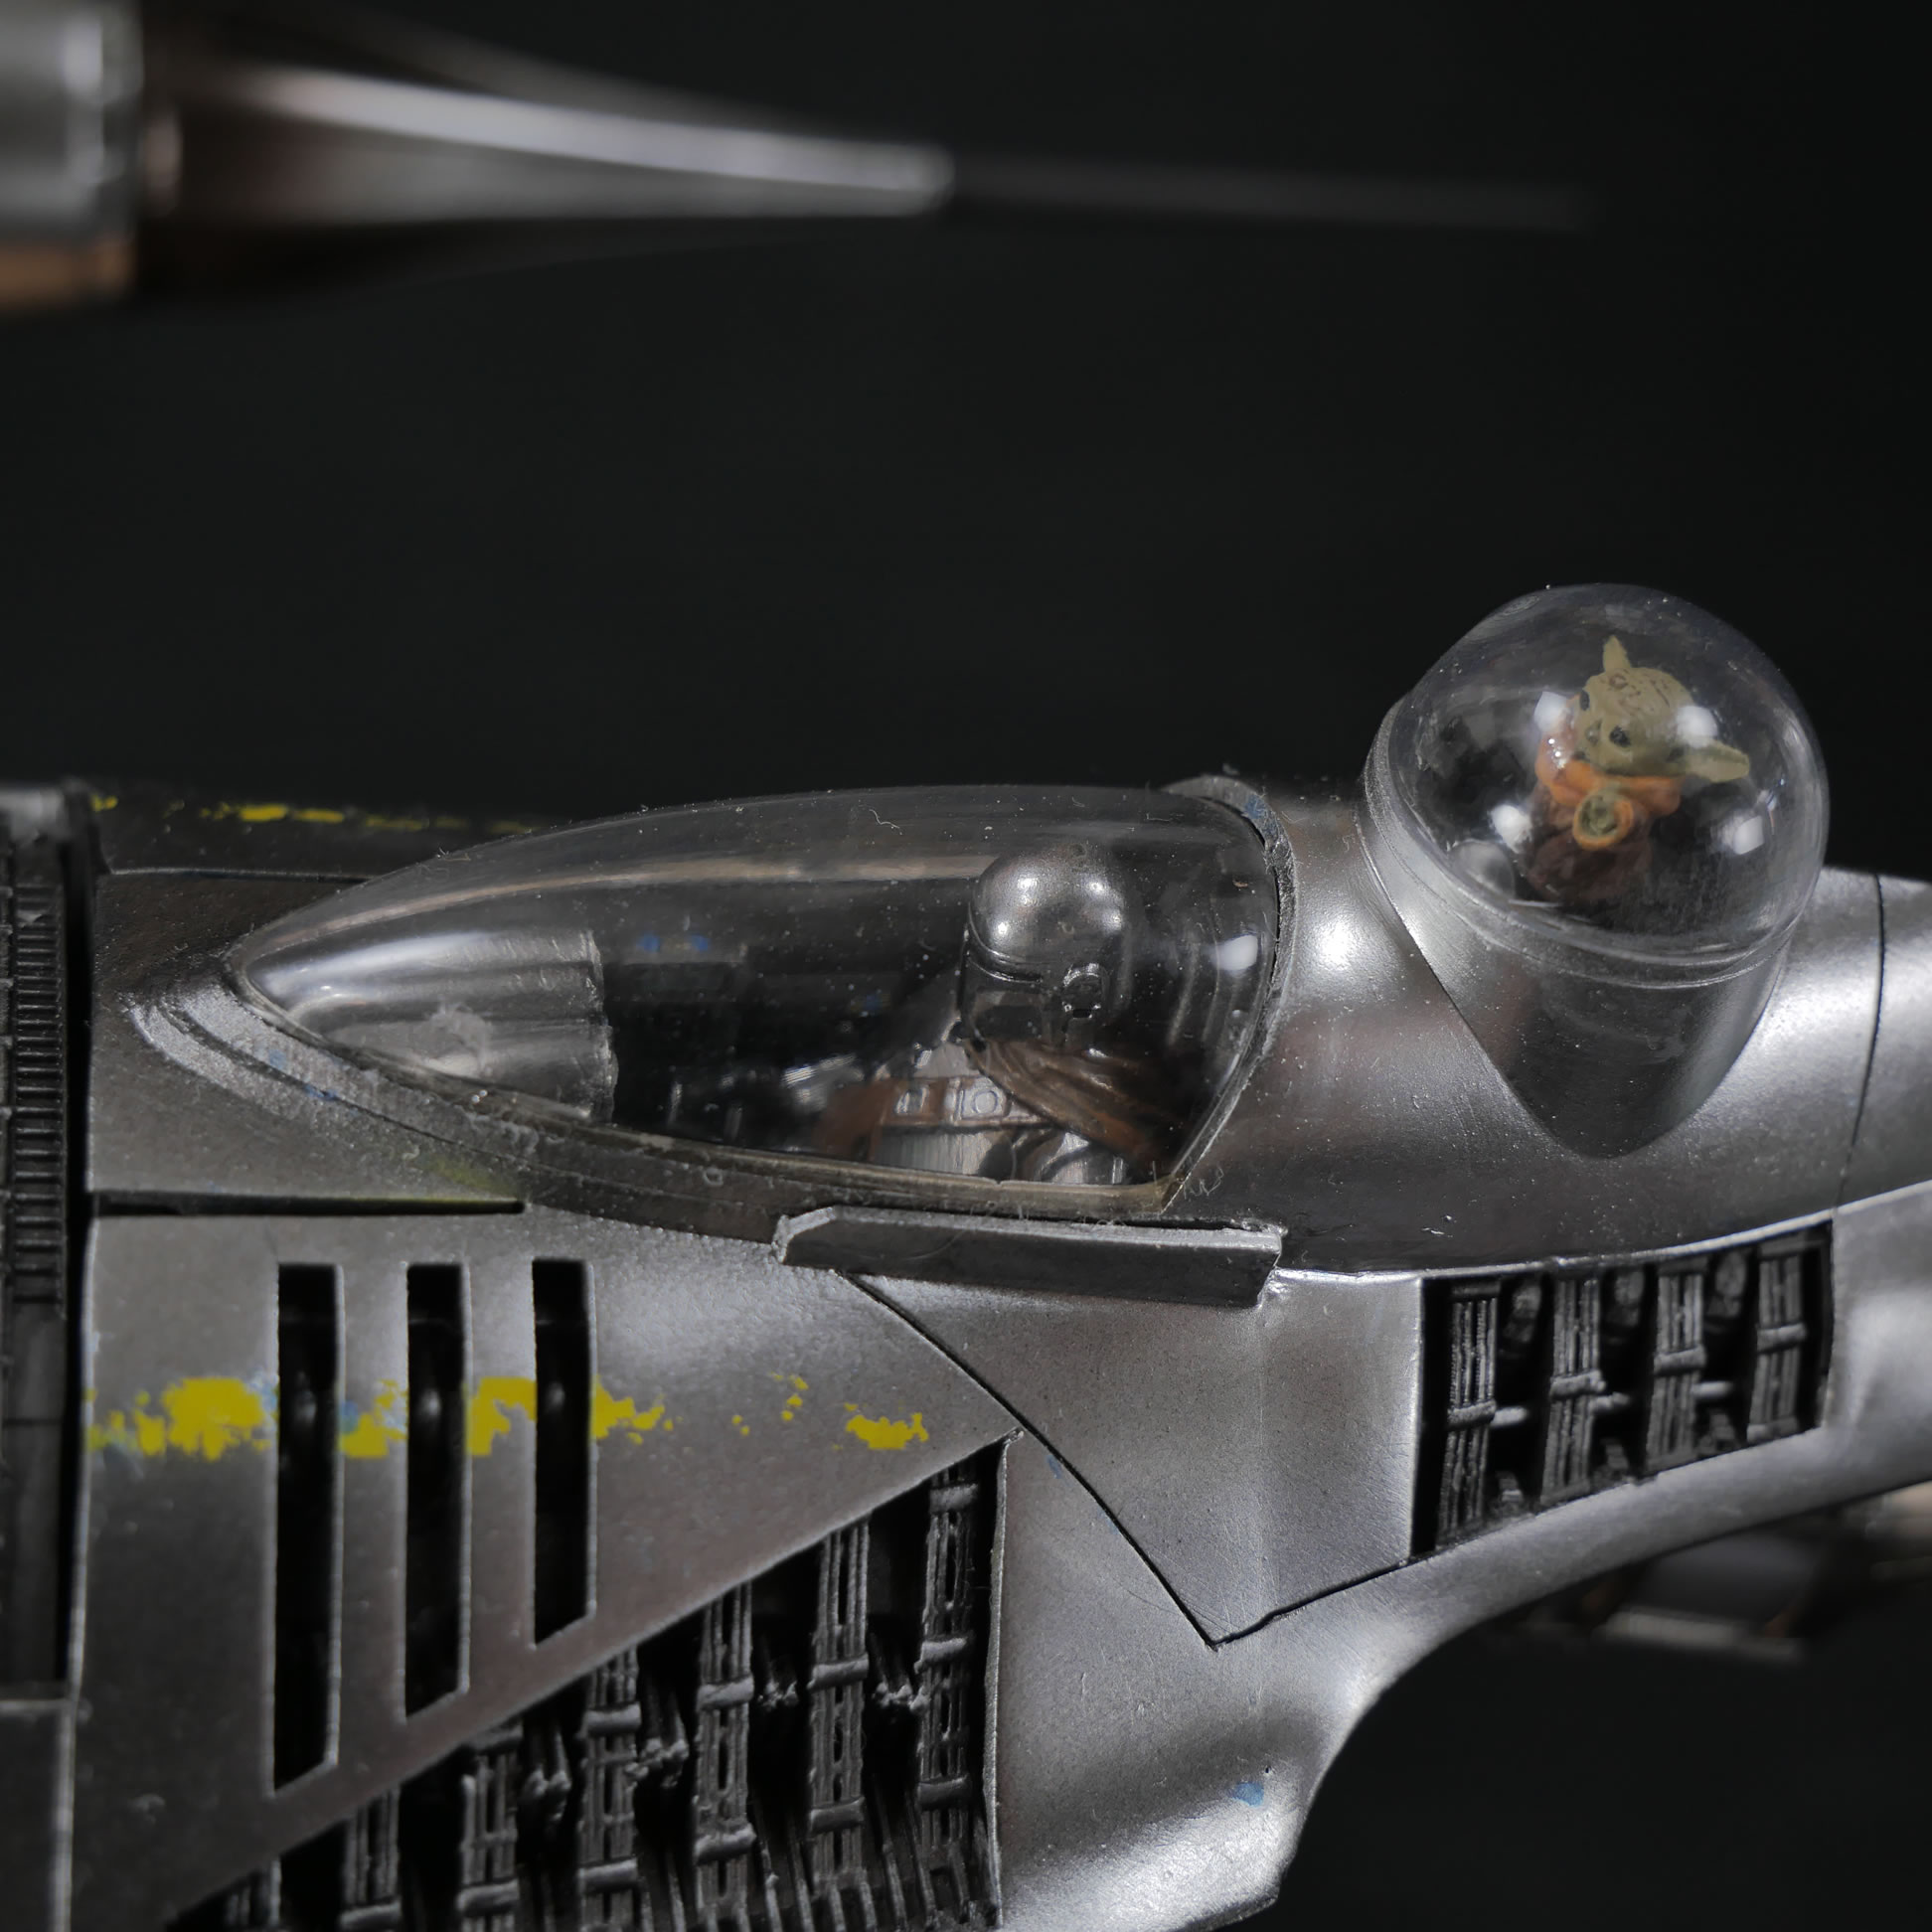
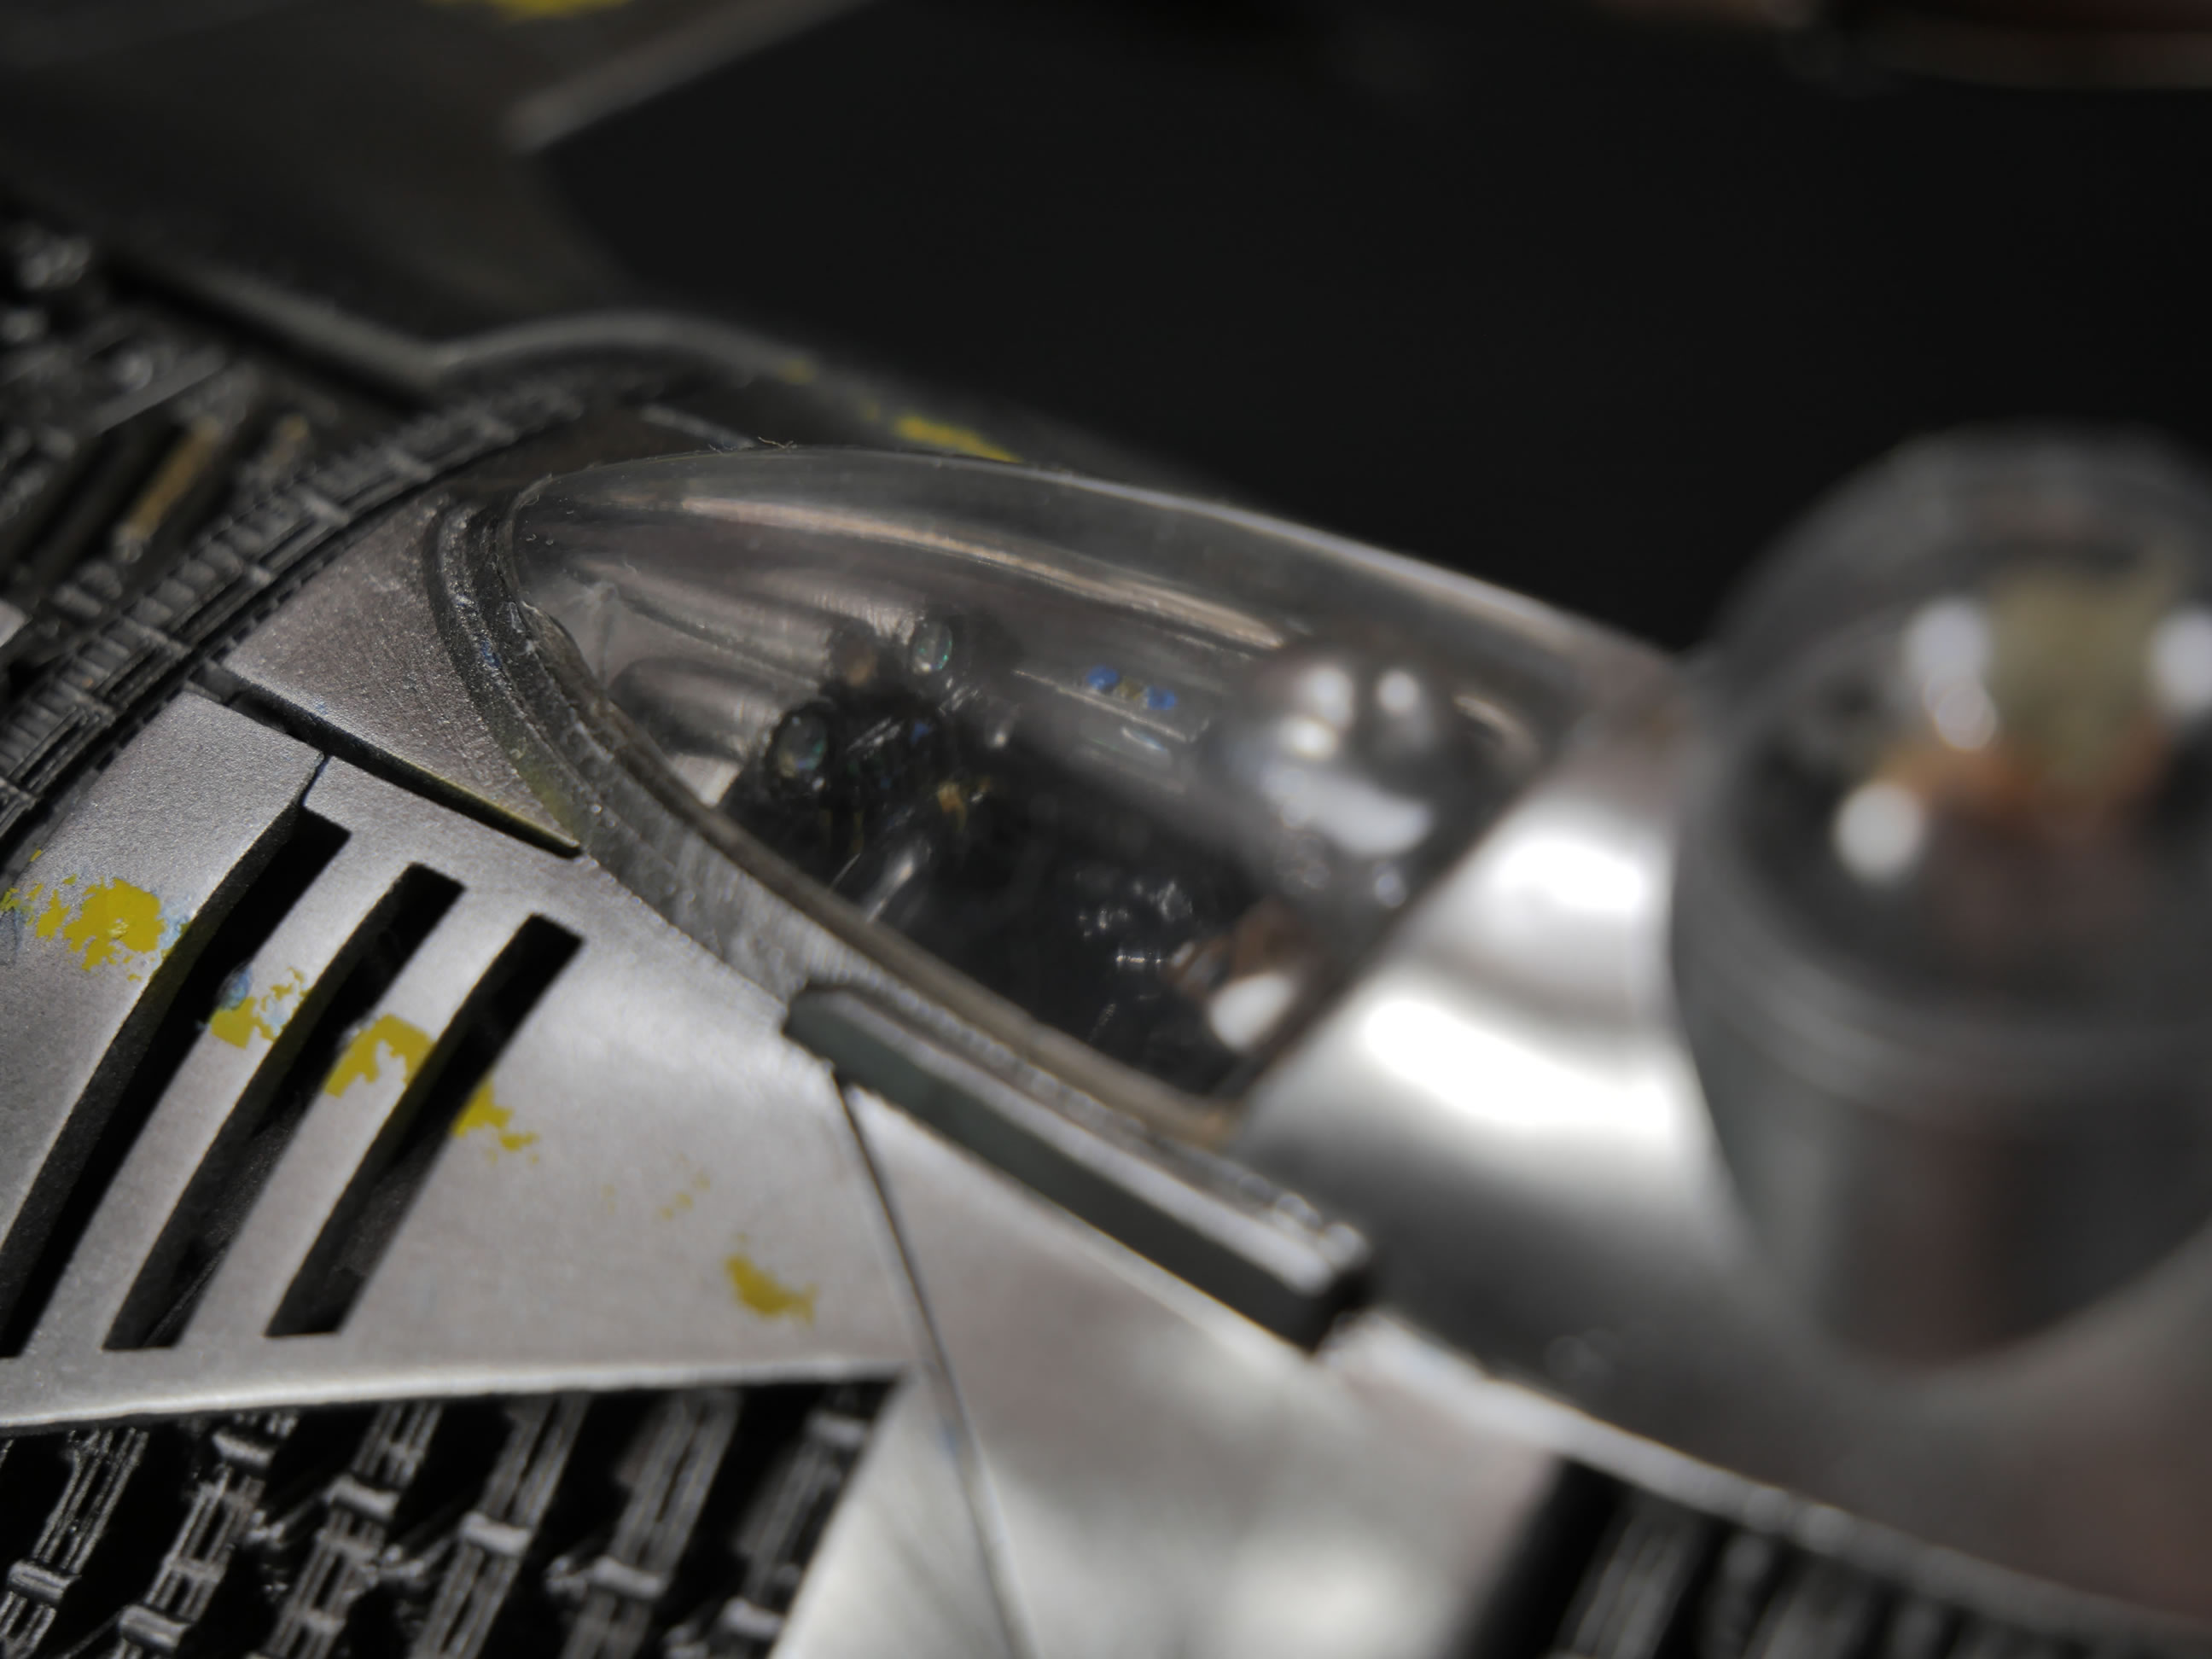
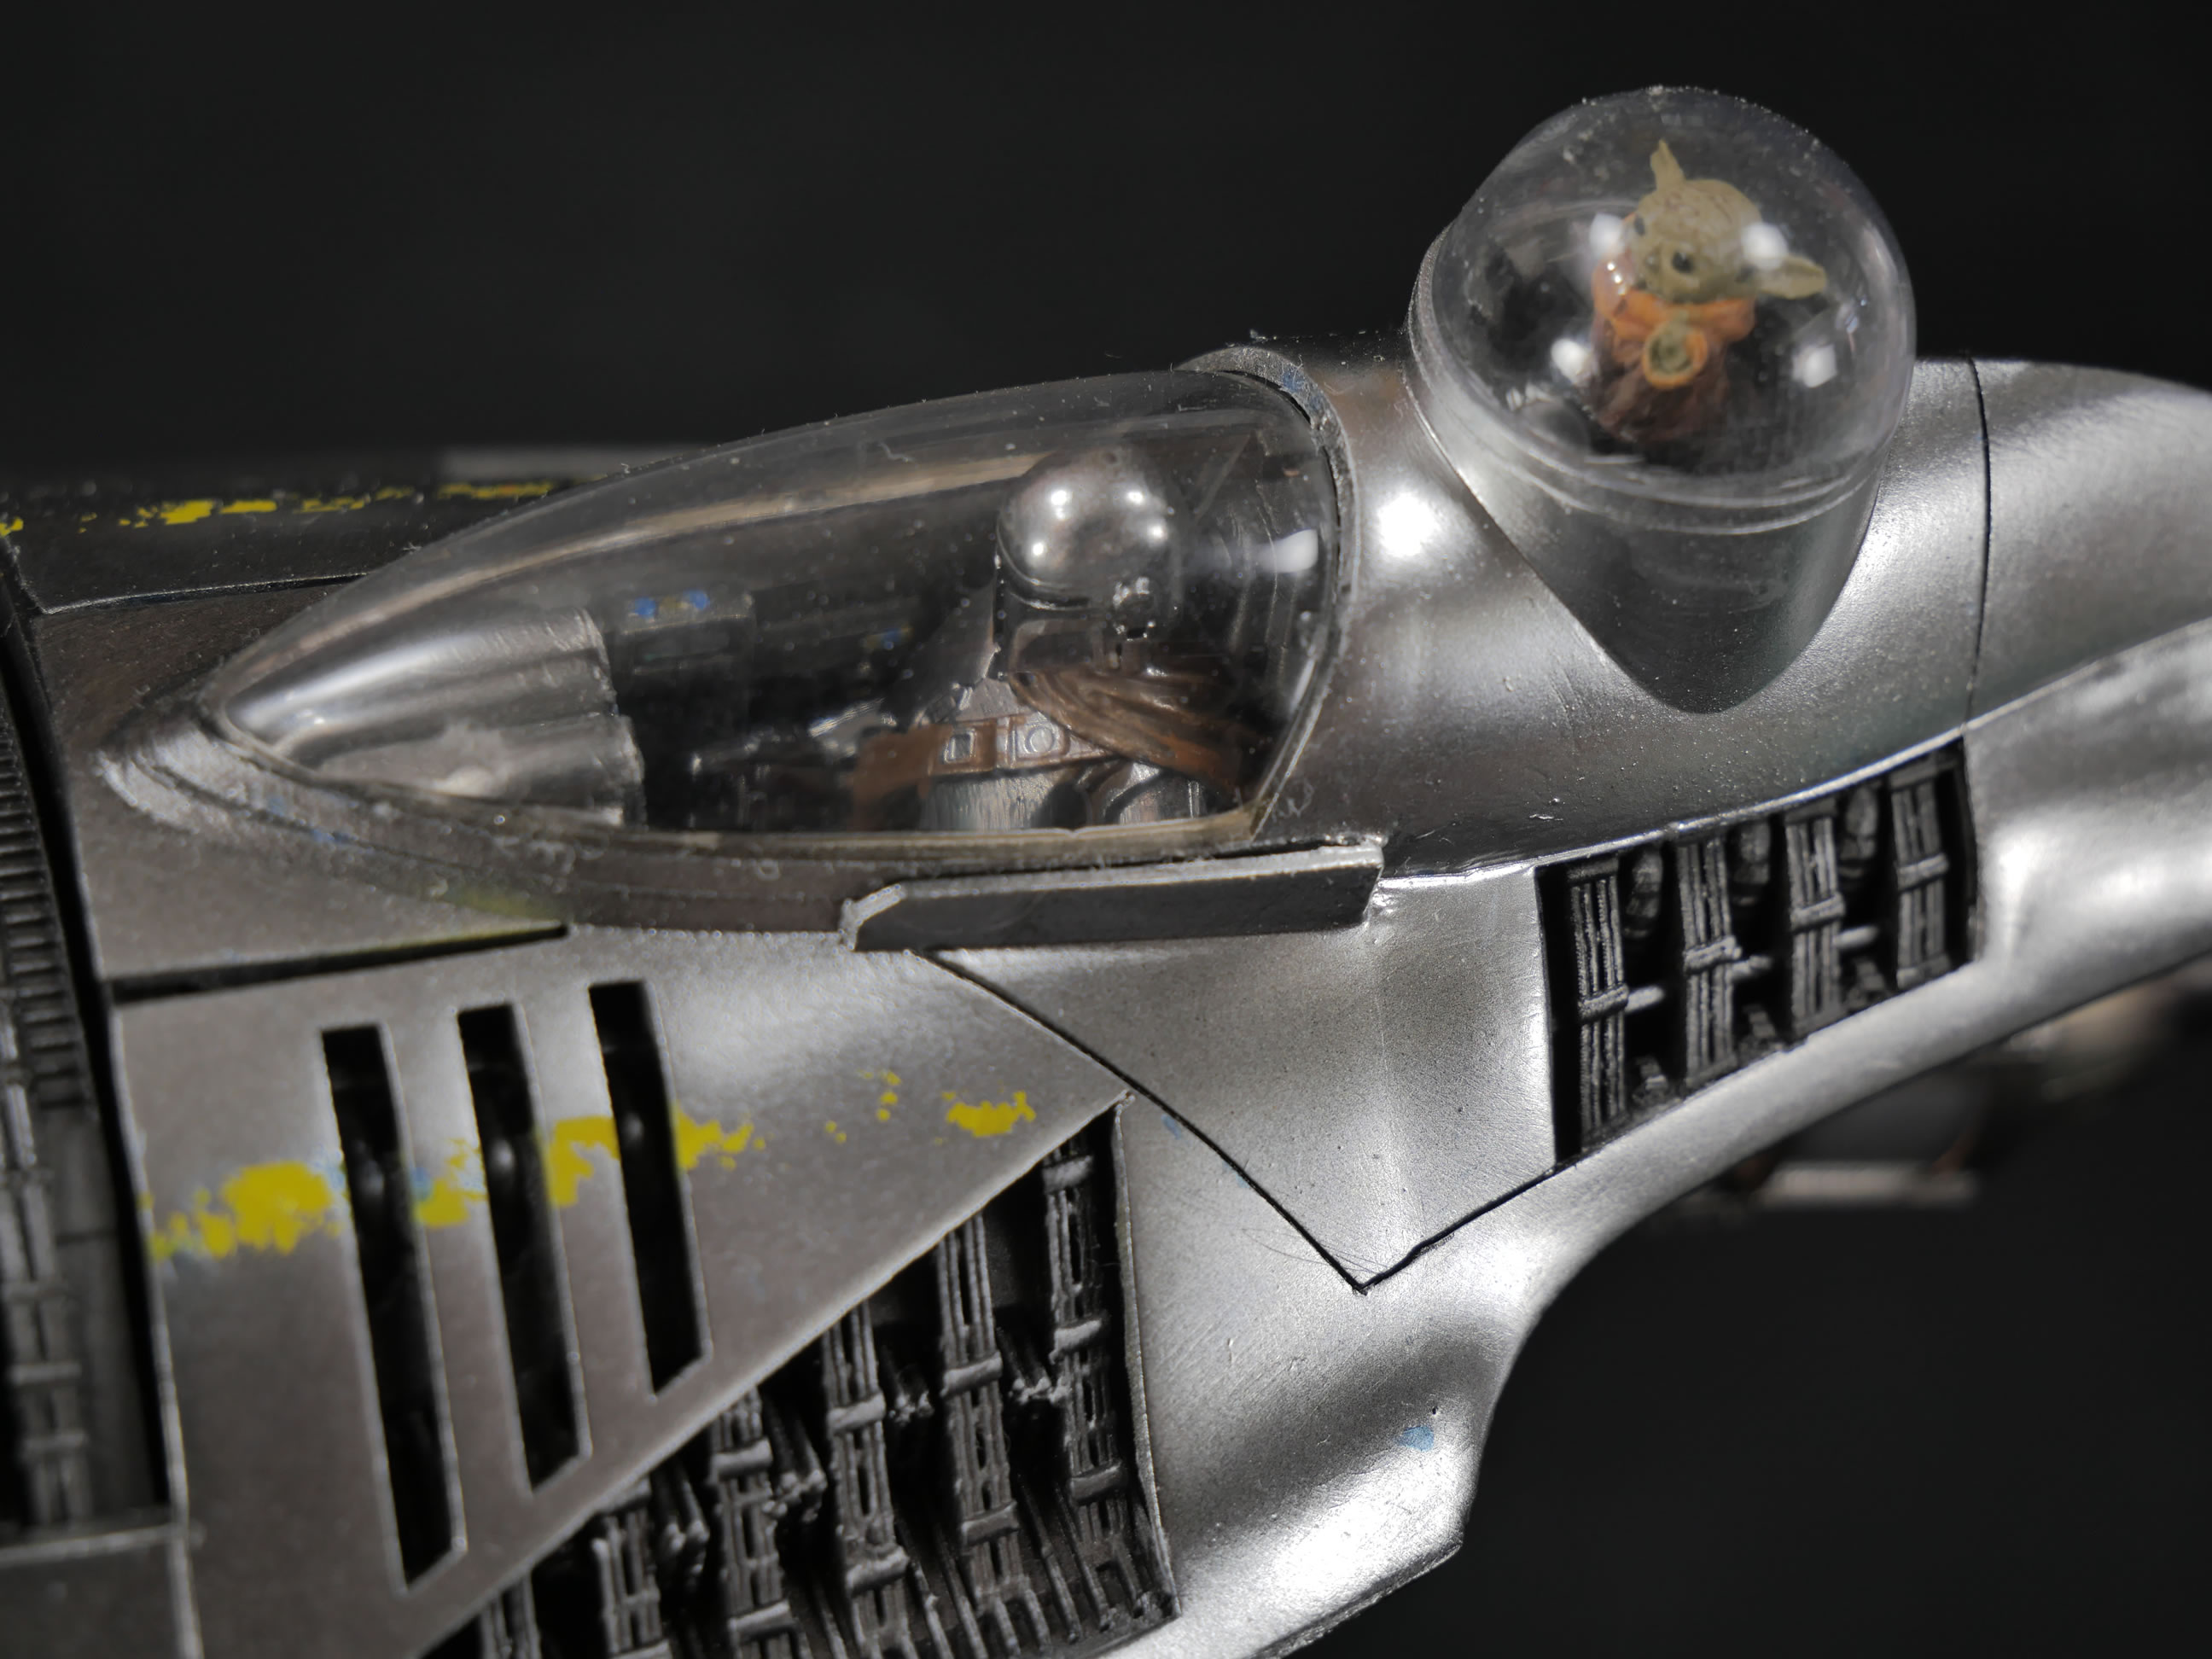
Next up is to paint the pilot and copilot. The little Grogu I had a 3D file from when the first season of the Mandalorian came out. I just resized it down to 35th scale, and he fits perfectly inside the droid port.
The last bit was more liquid mask all over the surface so that I could spray on some thinned Mr Color Smoke grey, which is a clear color but I was a little too light handed on this and the effect is barely visible. I may revisit this now that I’m done with pushing through for the contest. But then again, I think it looks fairly decent as is and will probably just be lazy and move onto the next project.

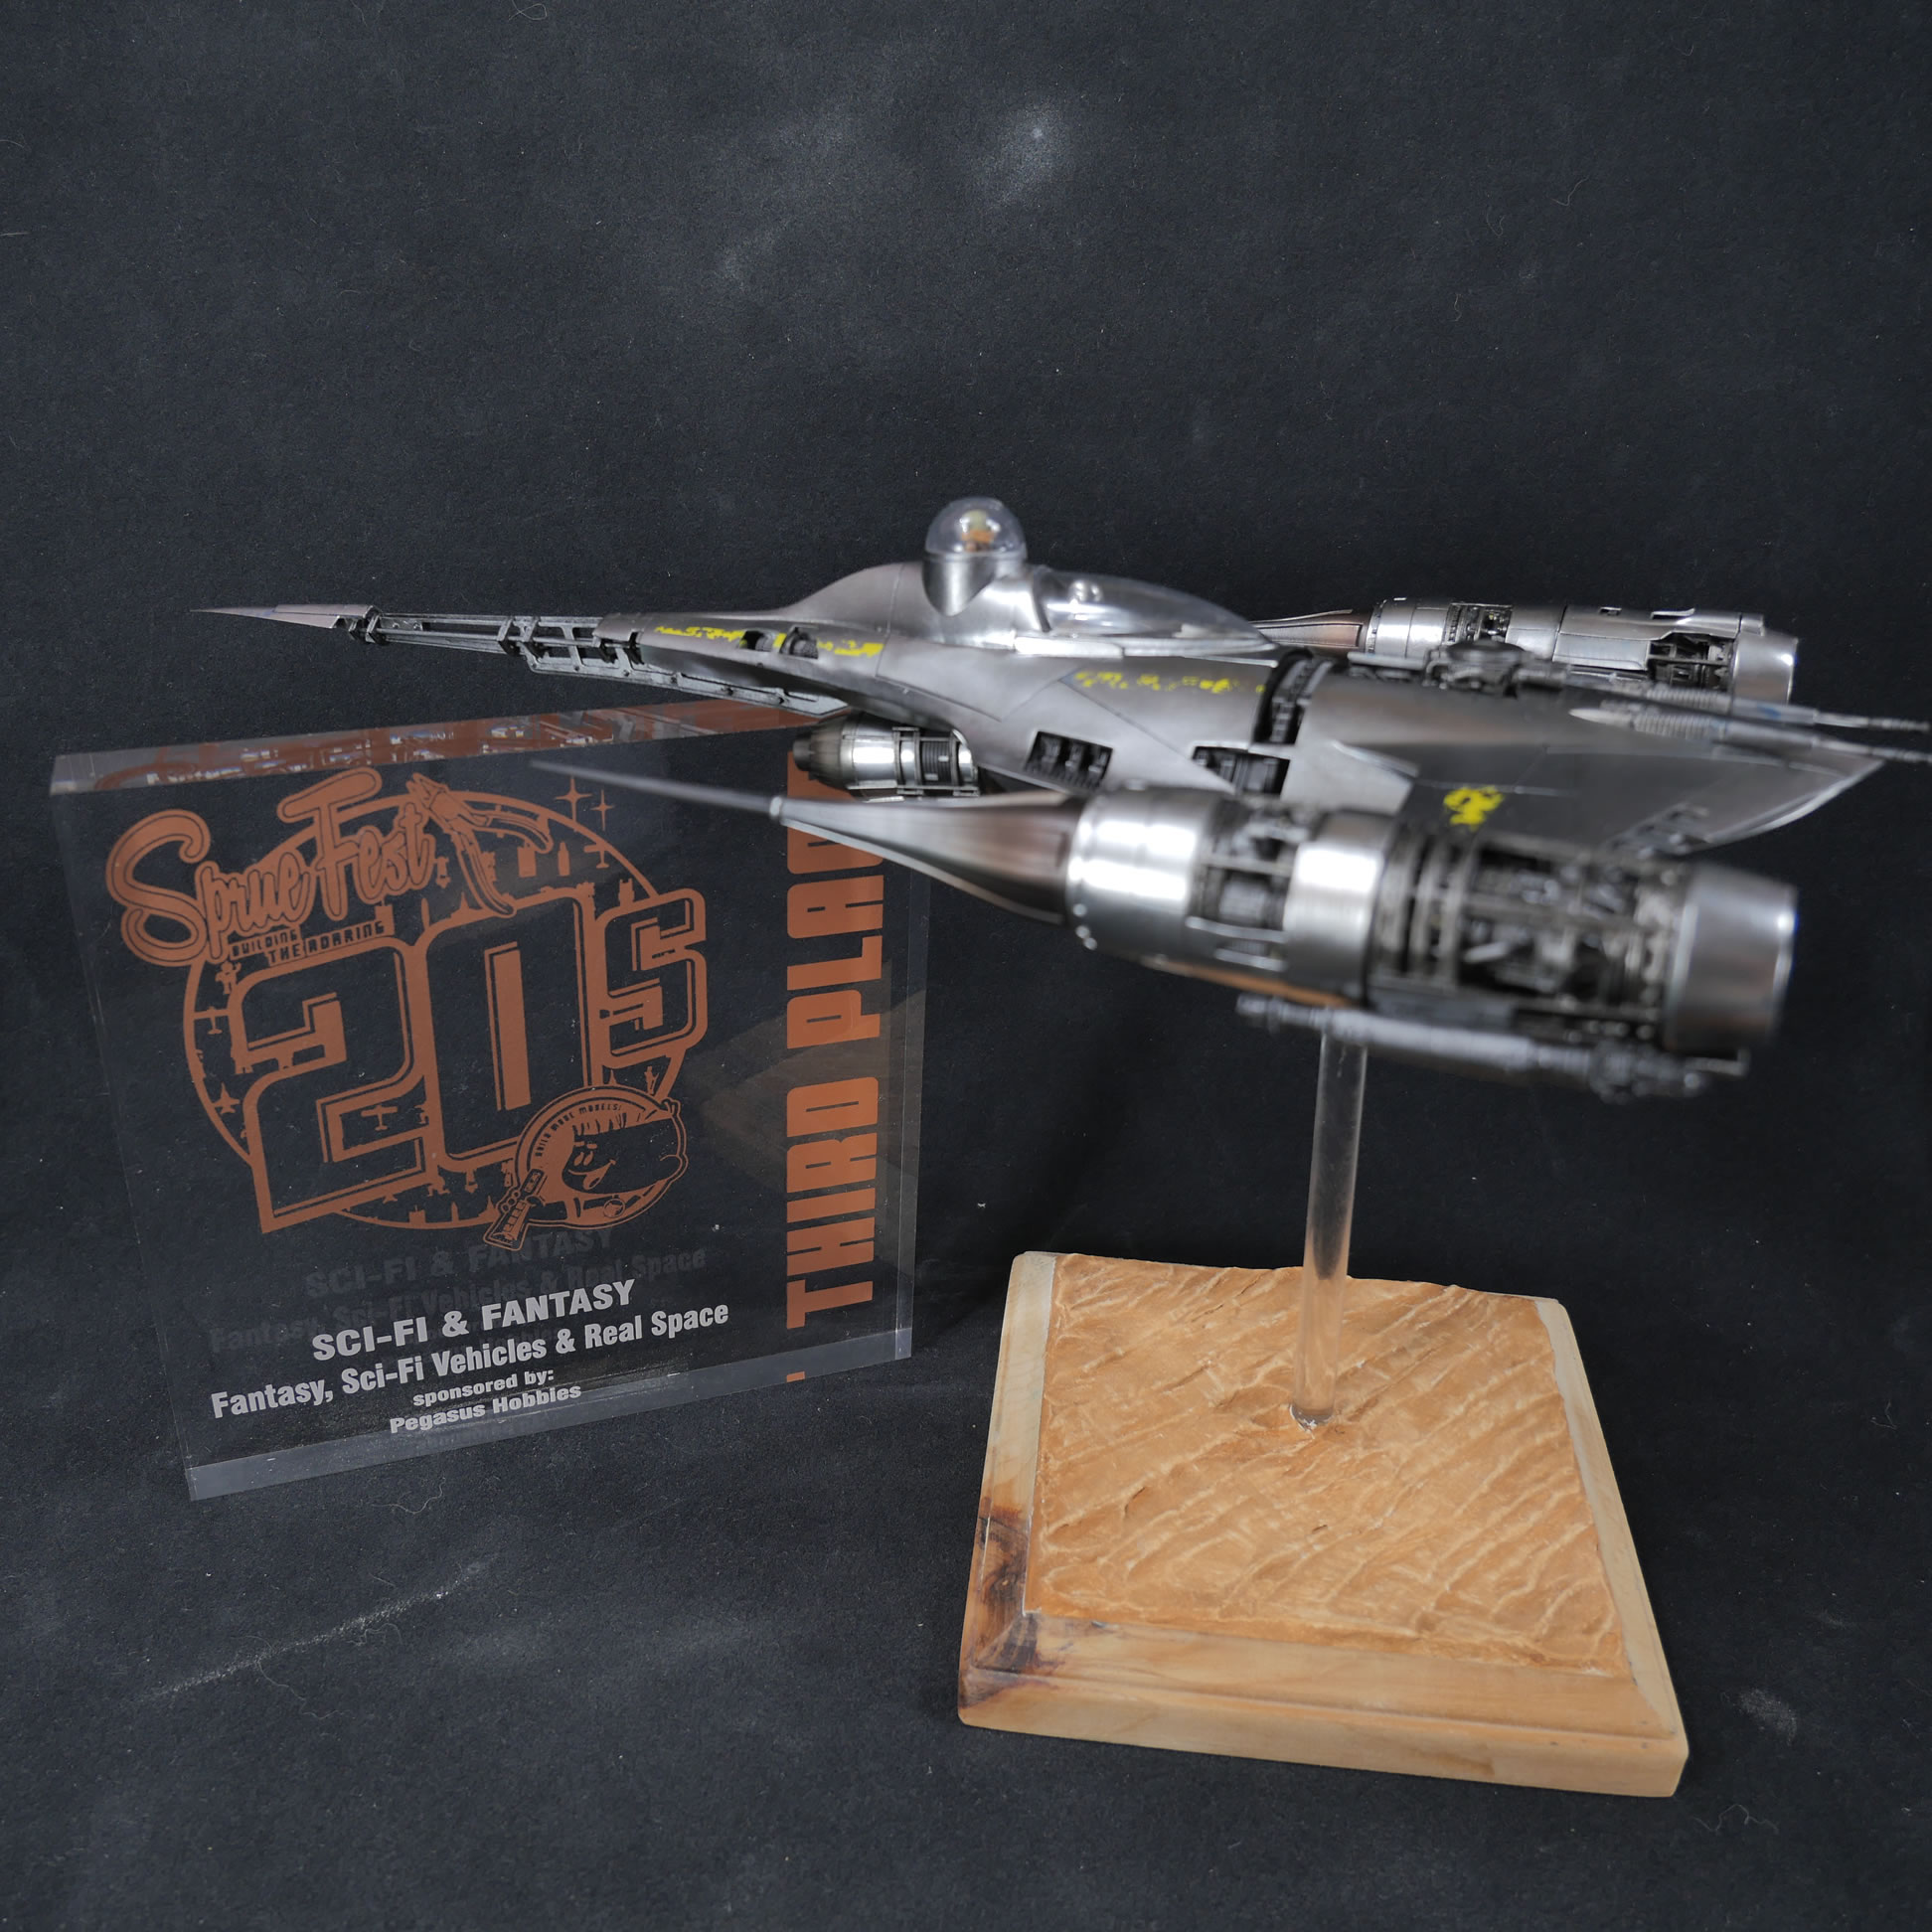
Oh yeah, at the local contest, I took 3rd in the category, so not too shabby for a project I quickly rushed though at the end.
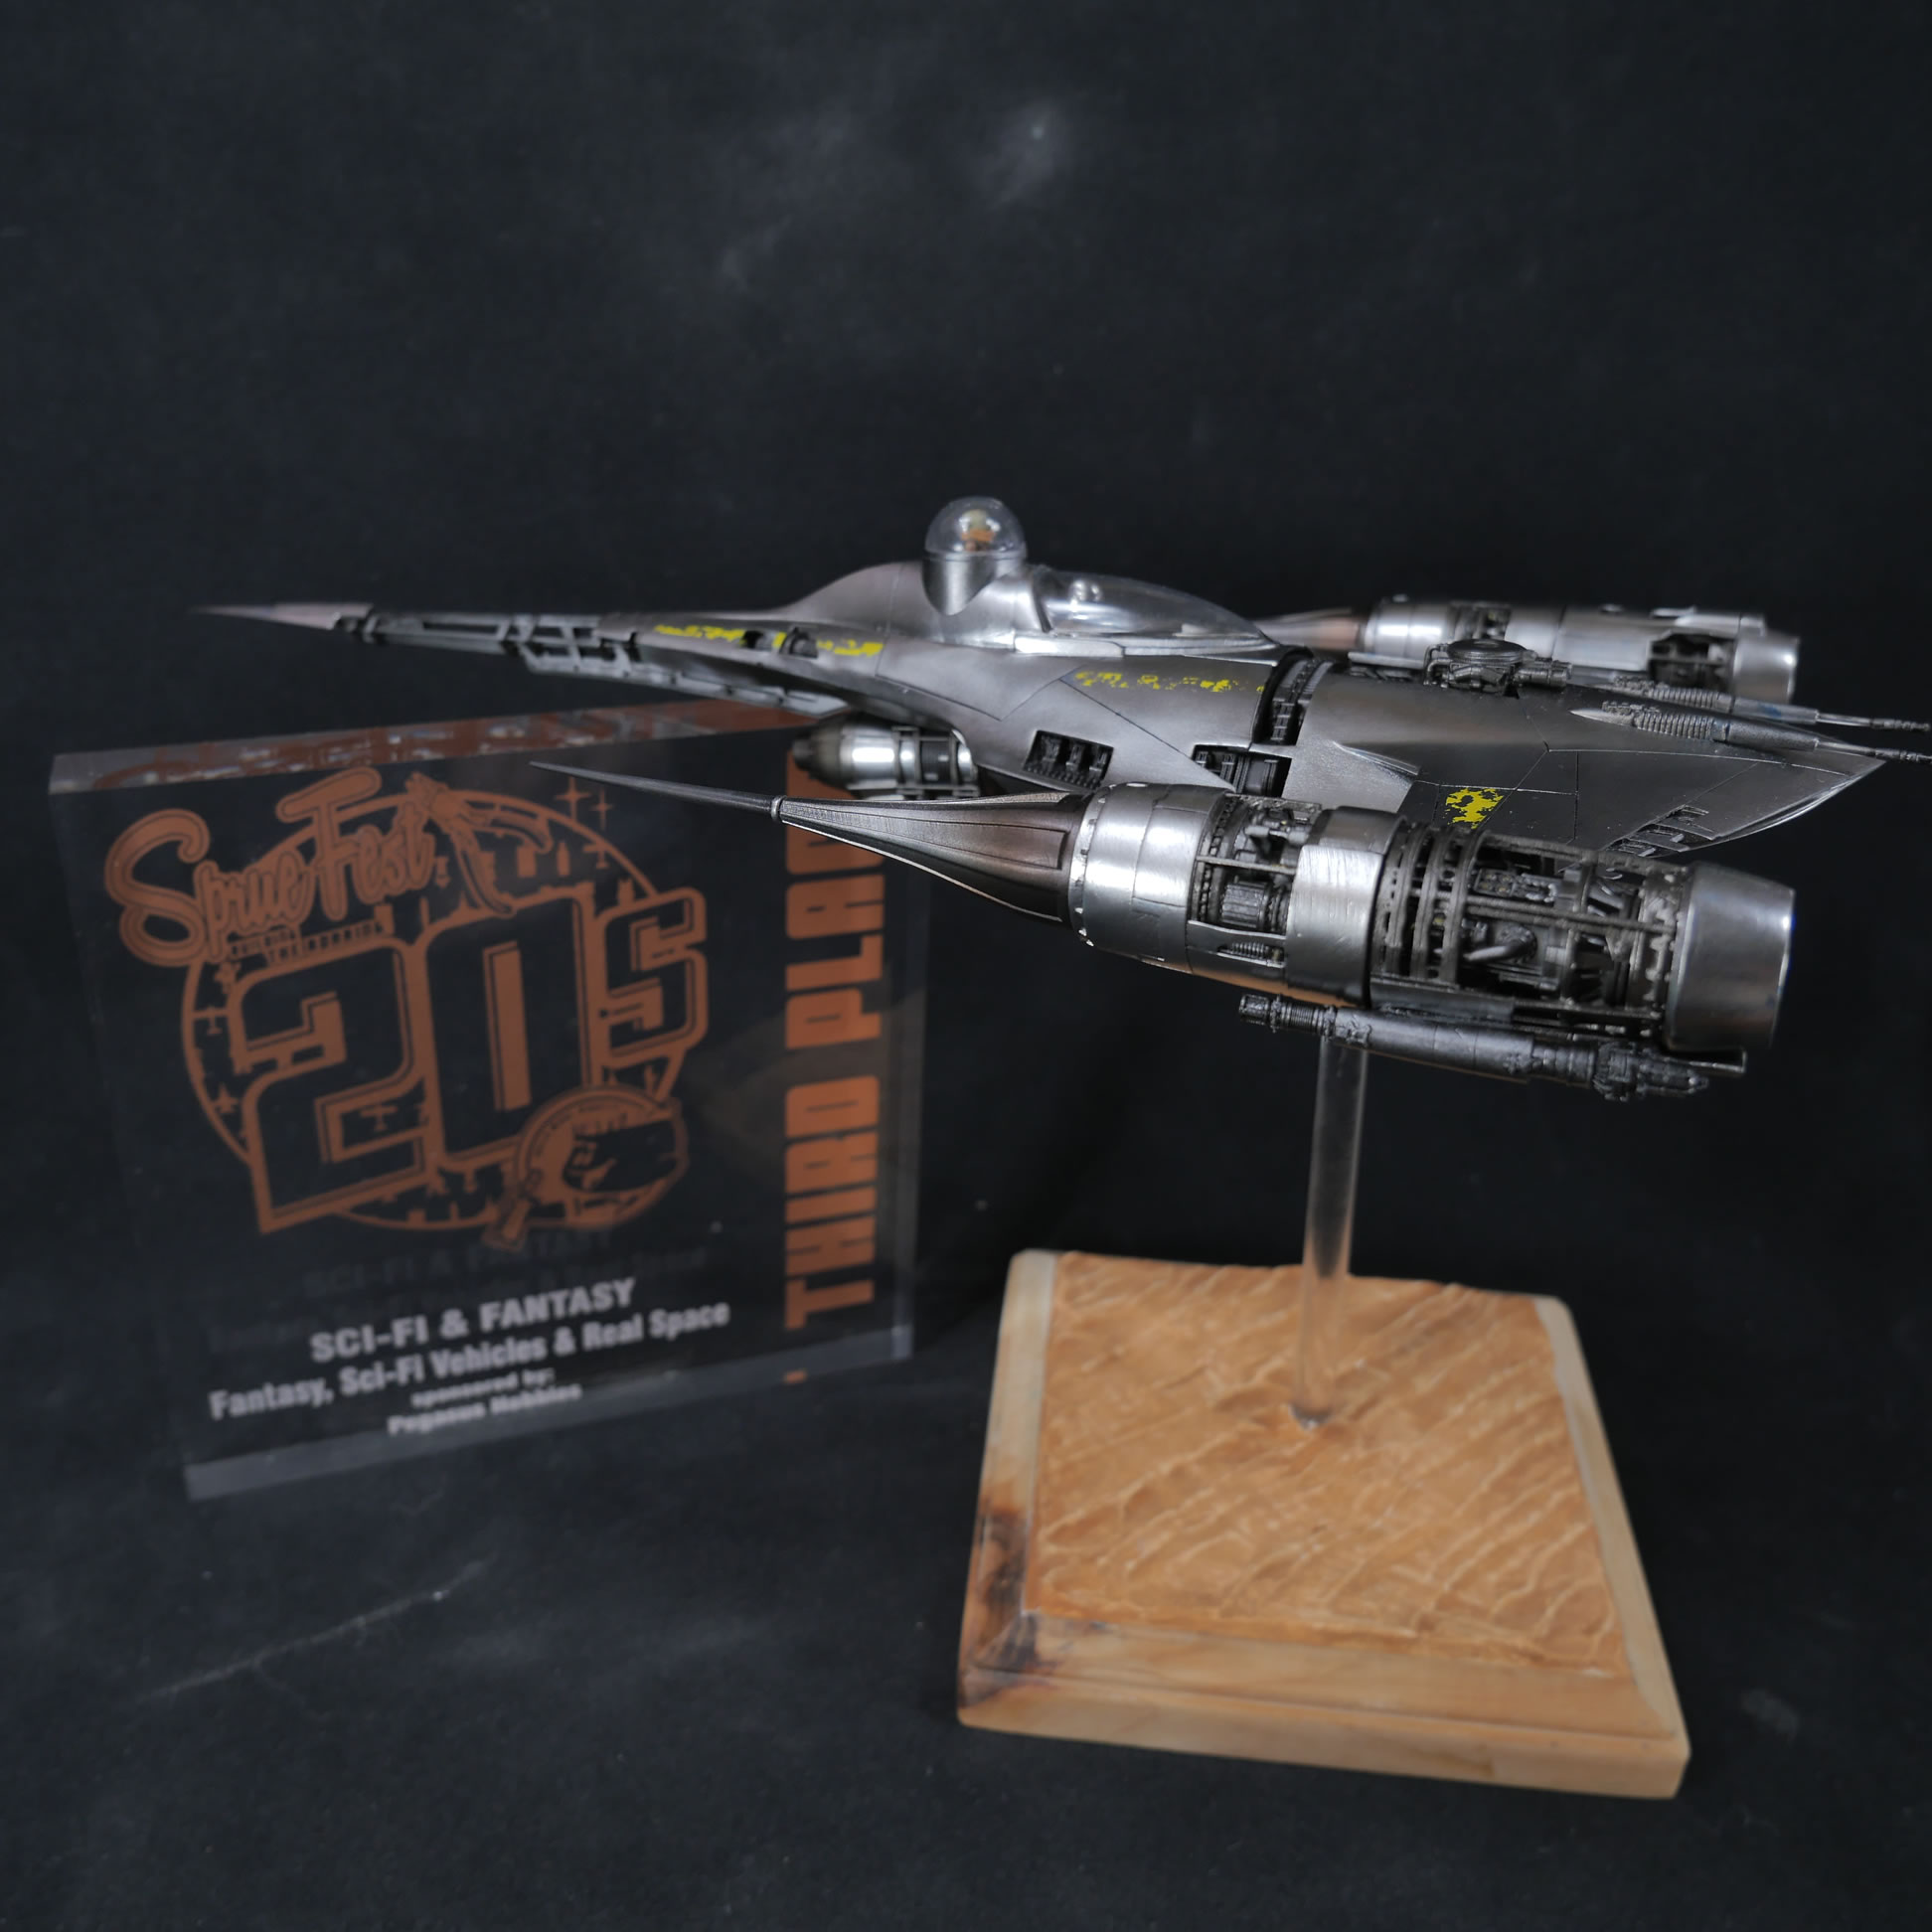
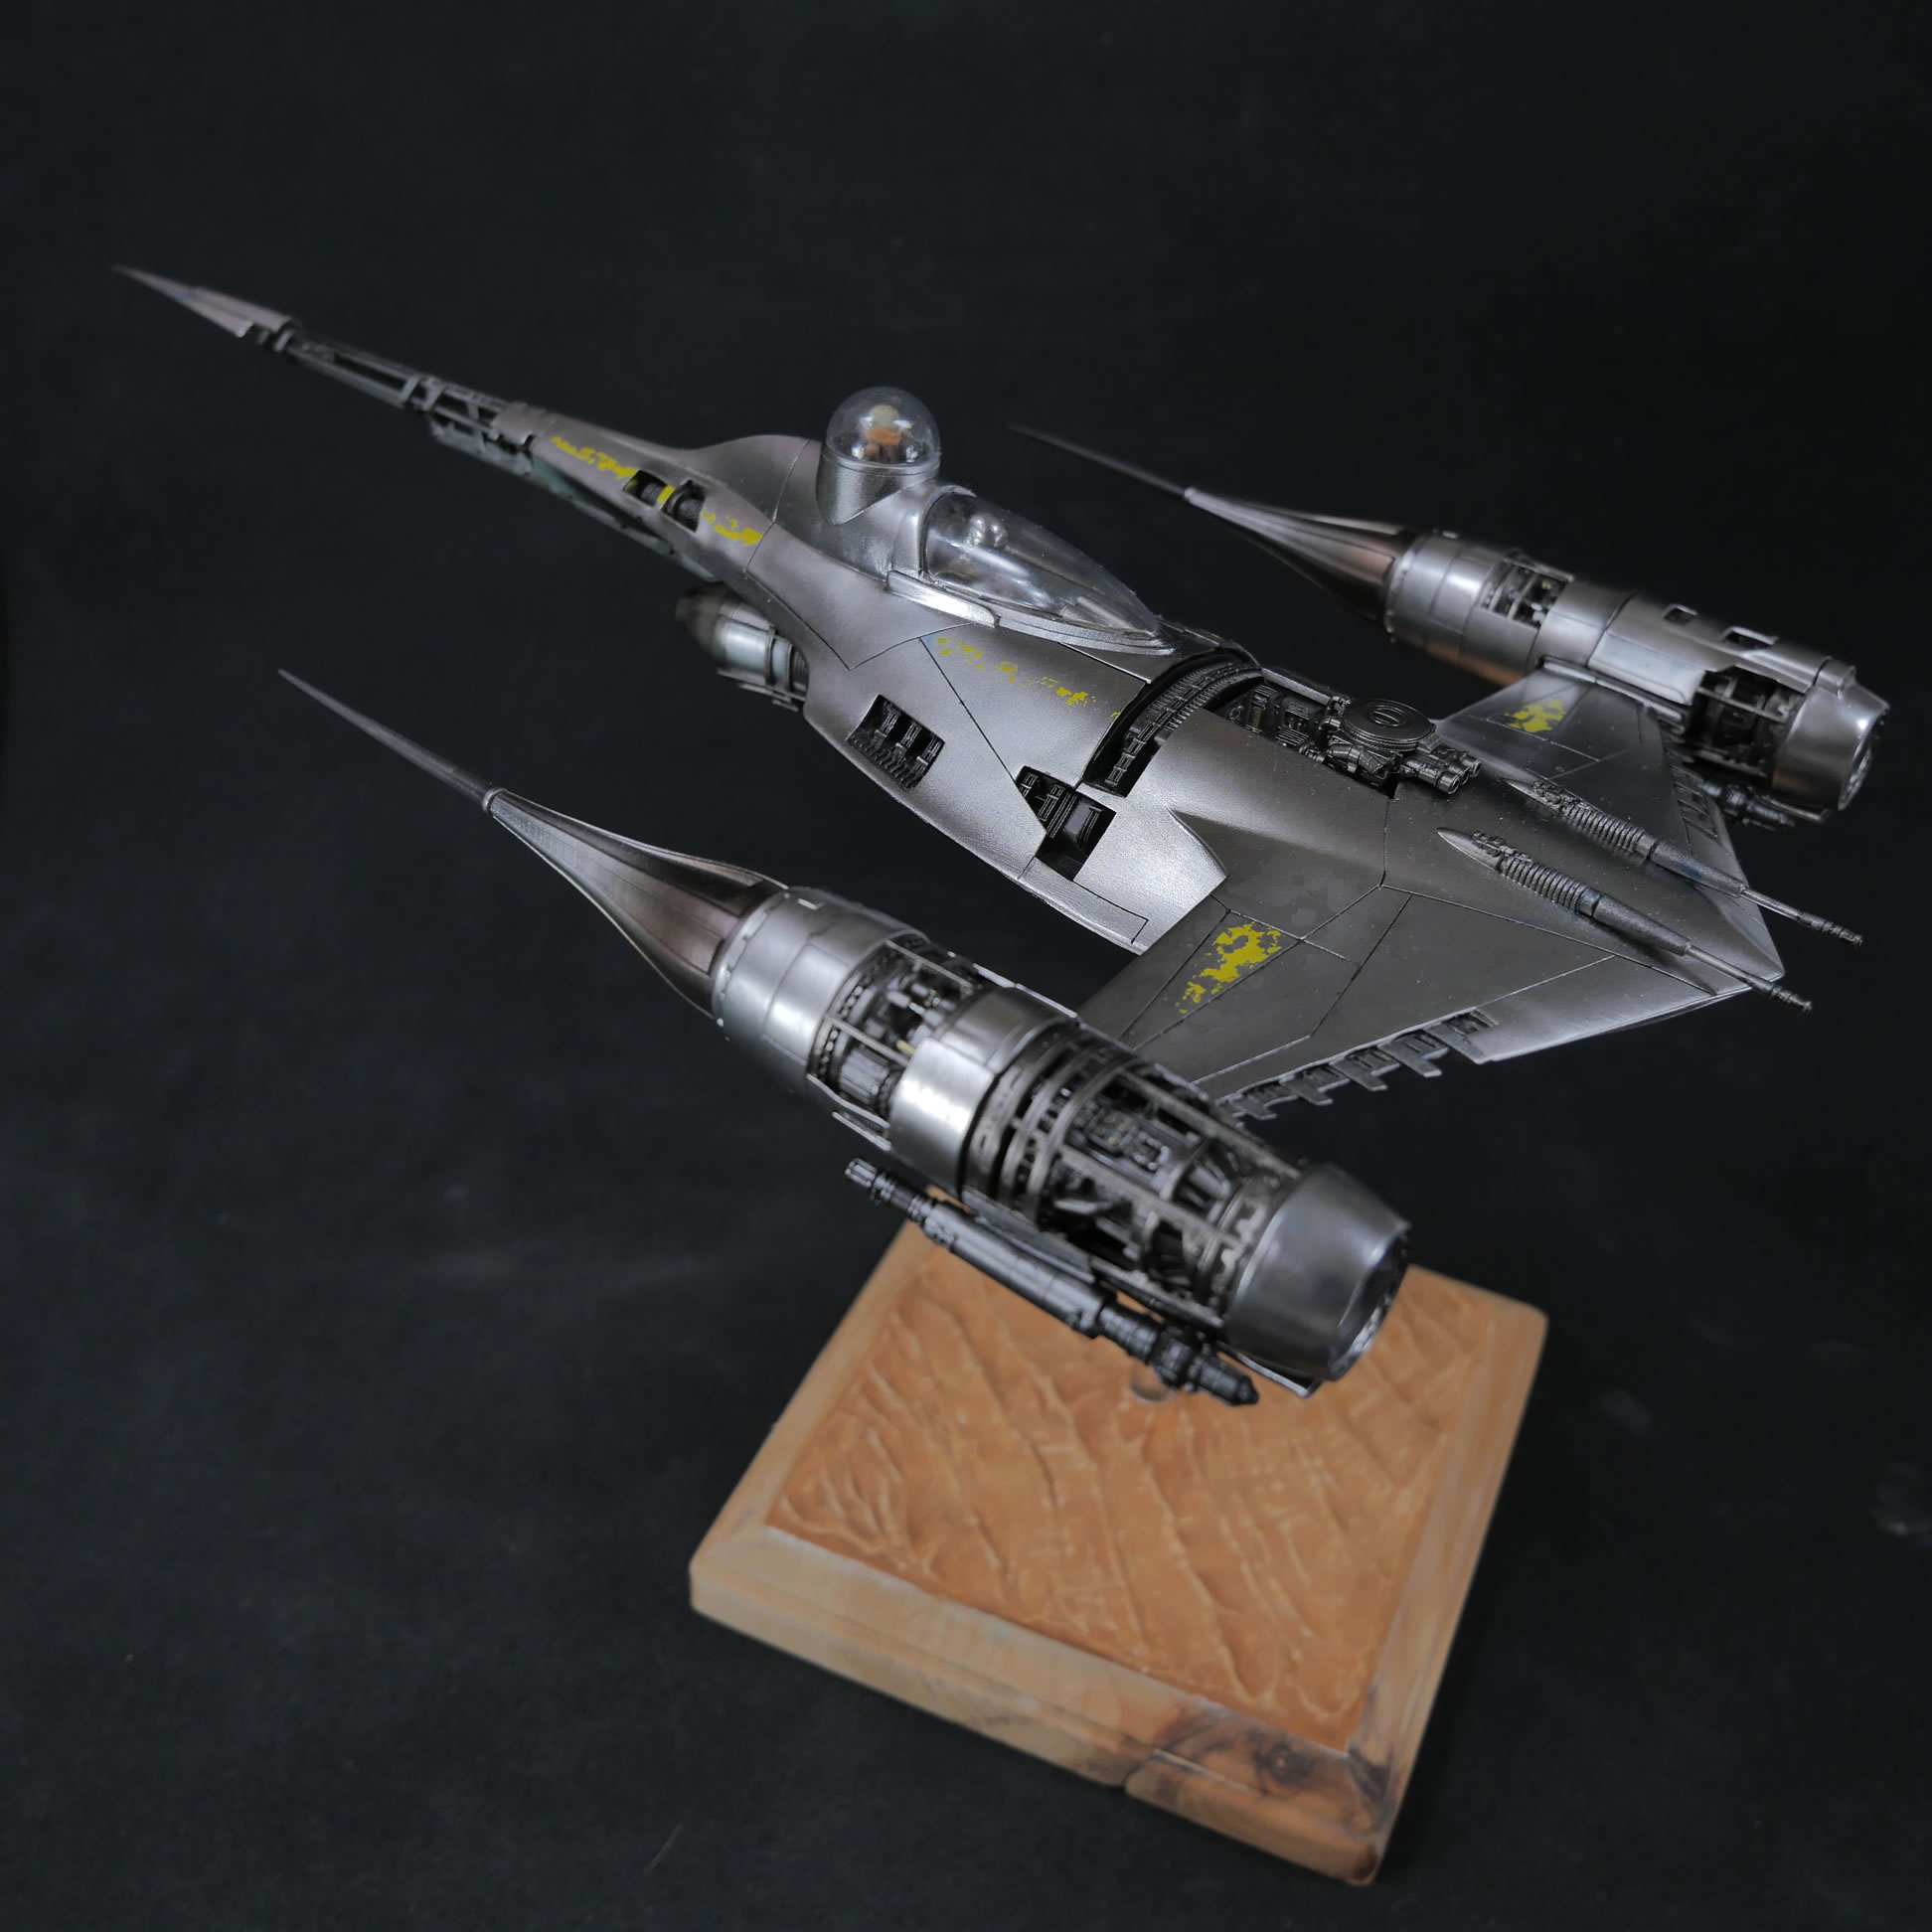
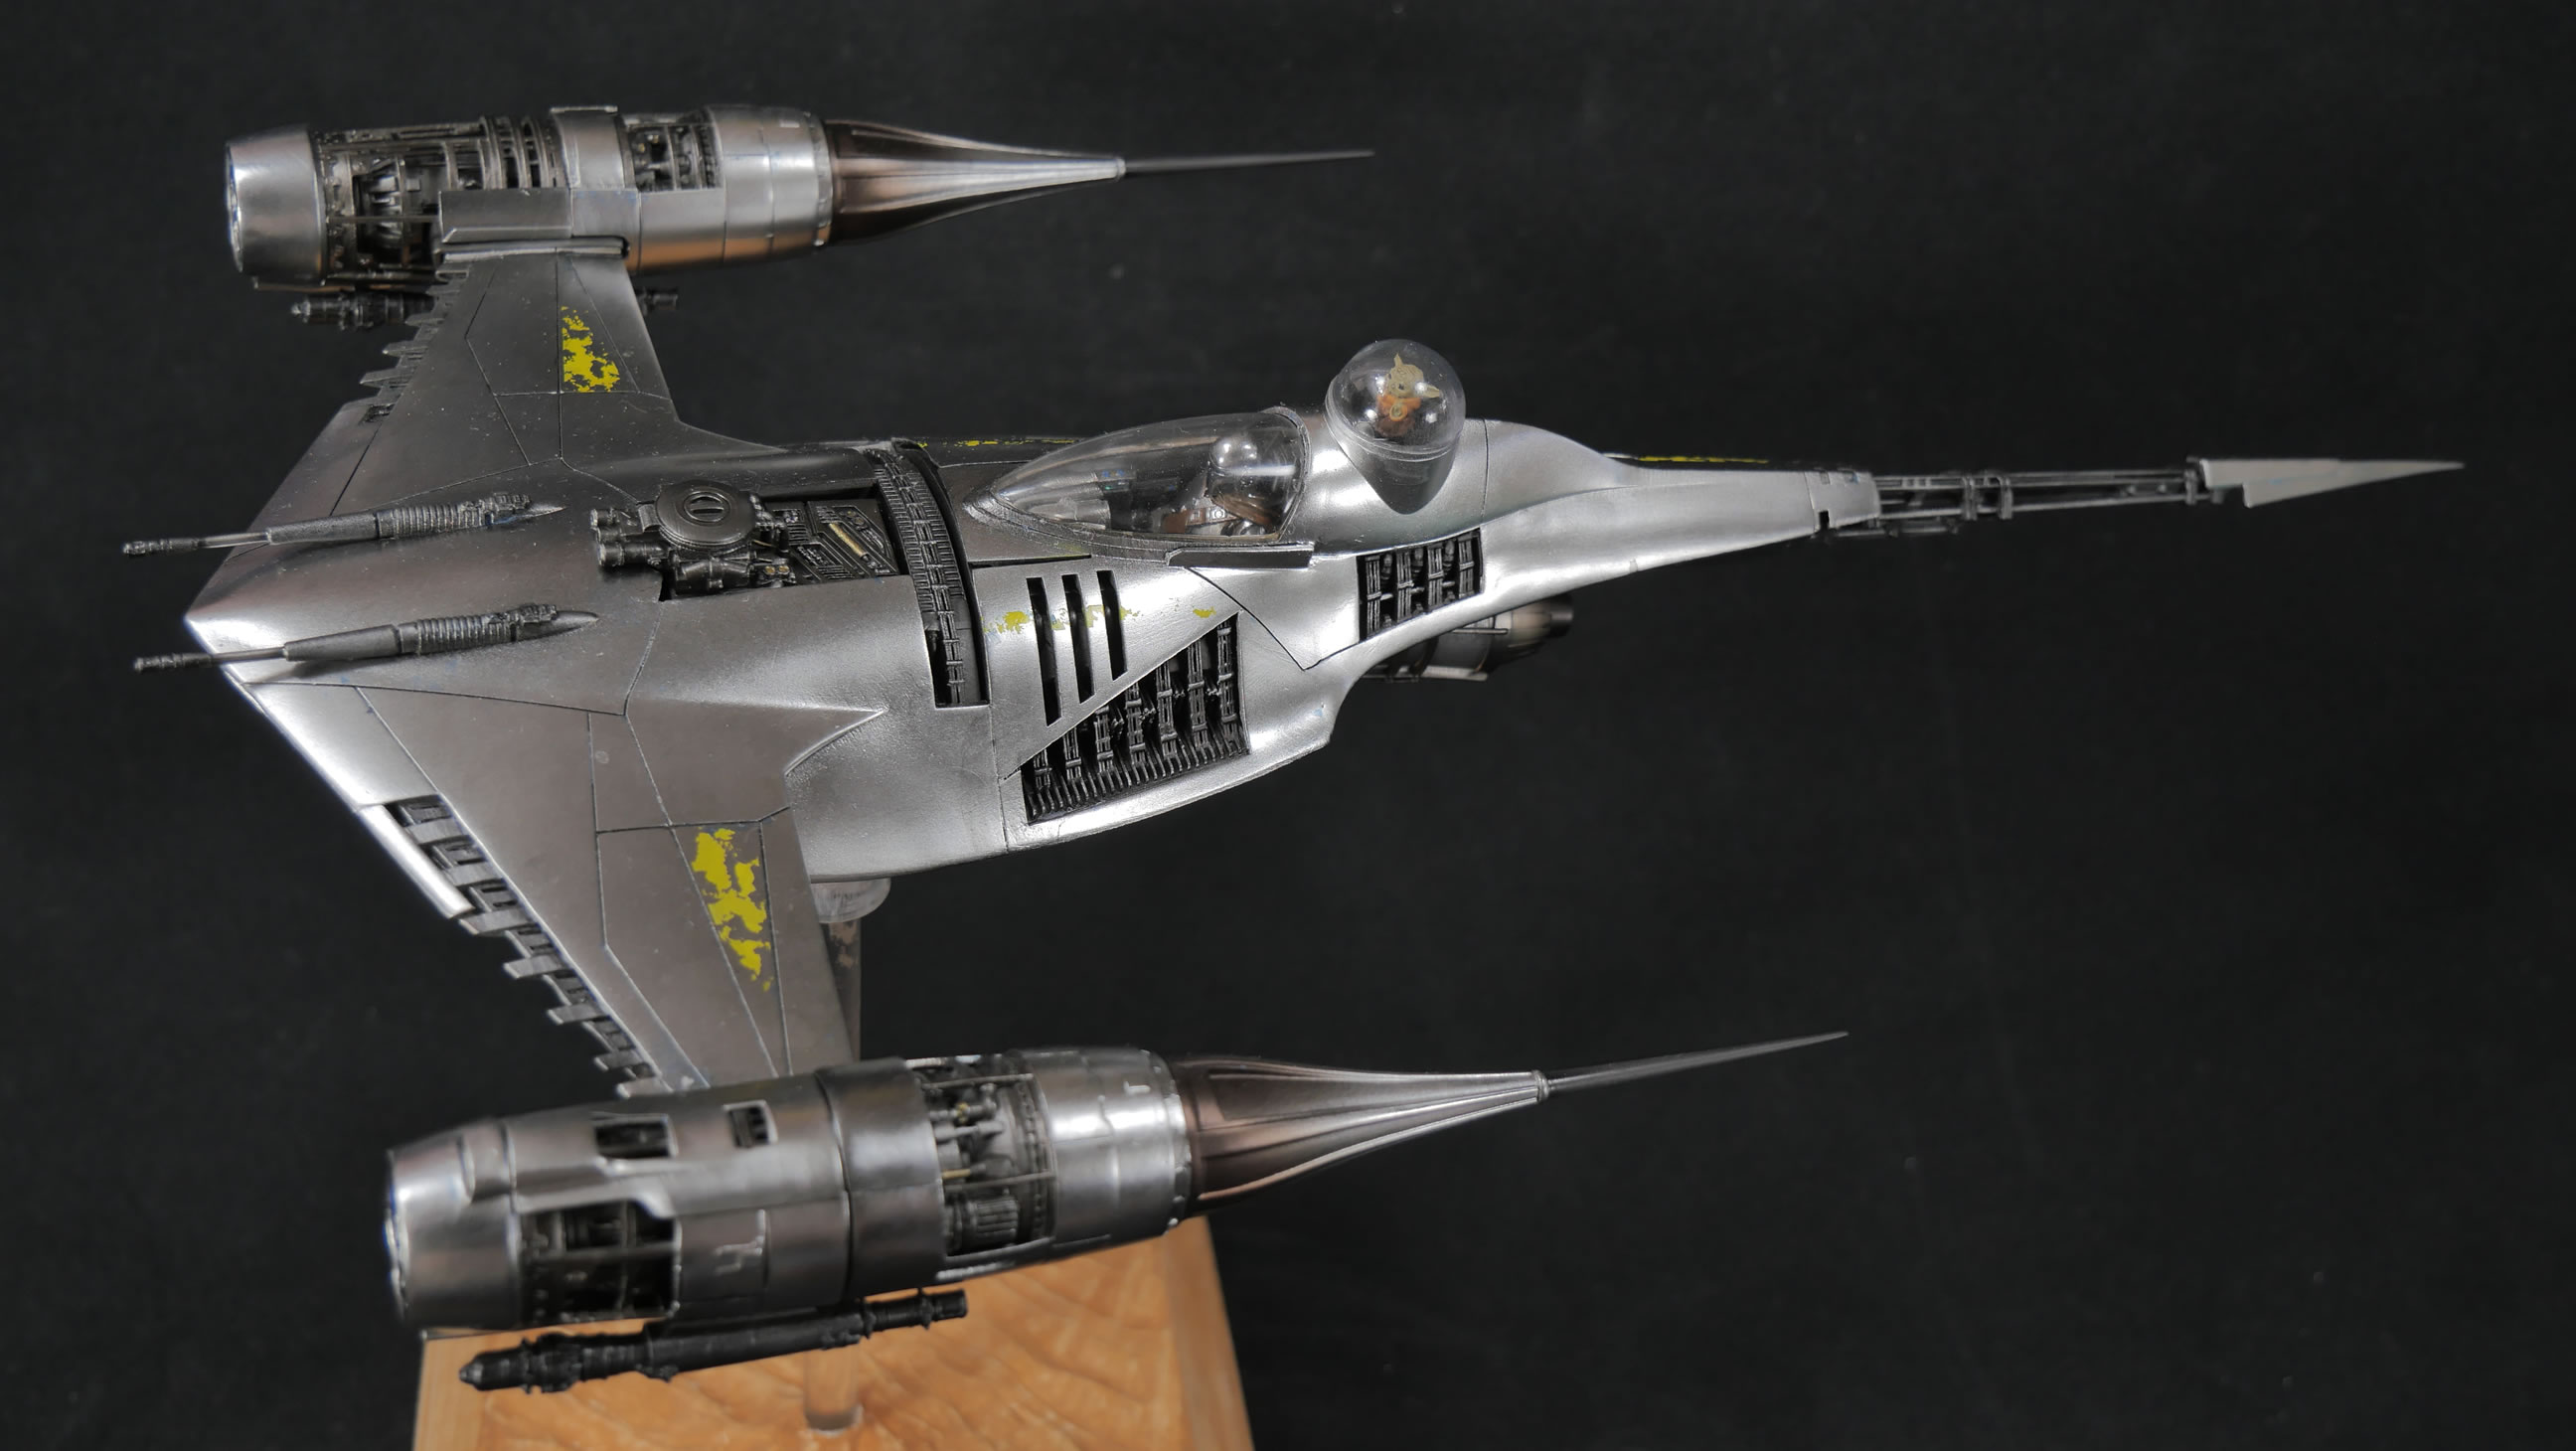
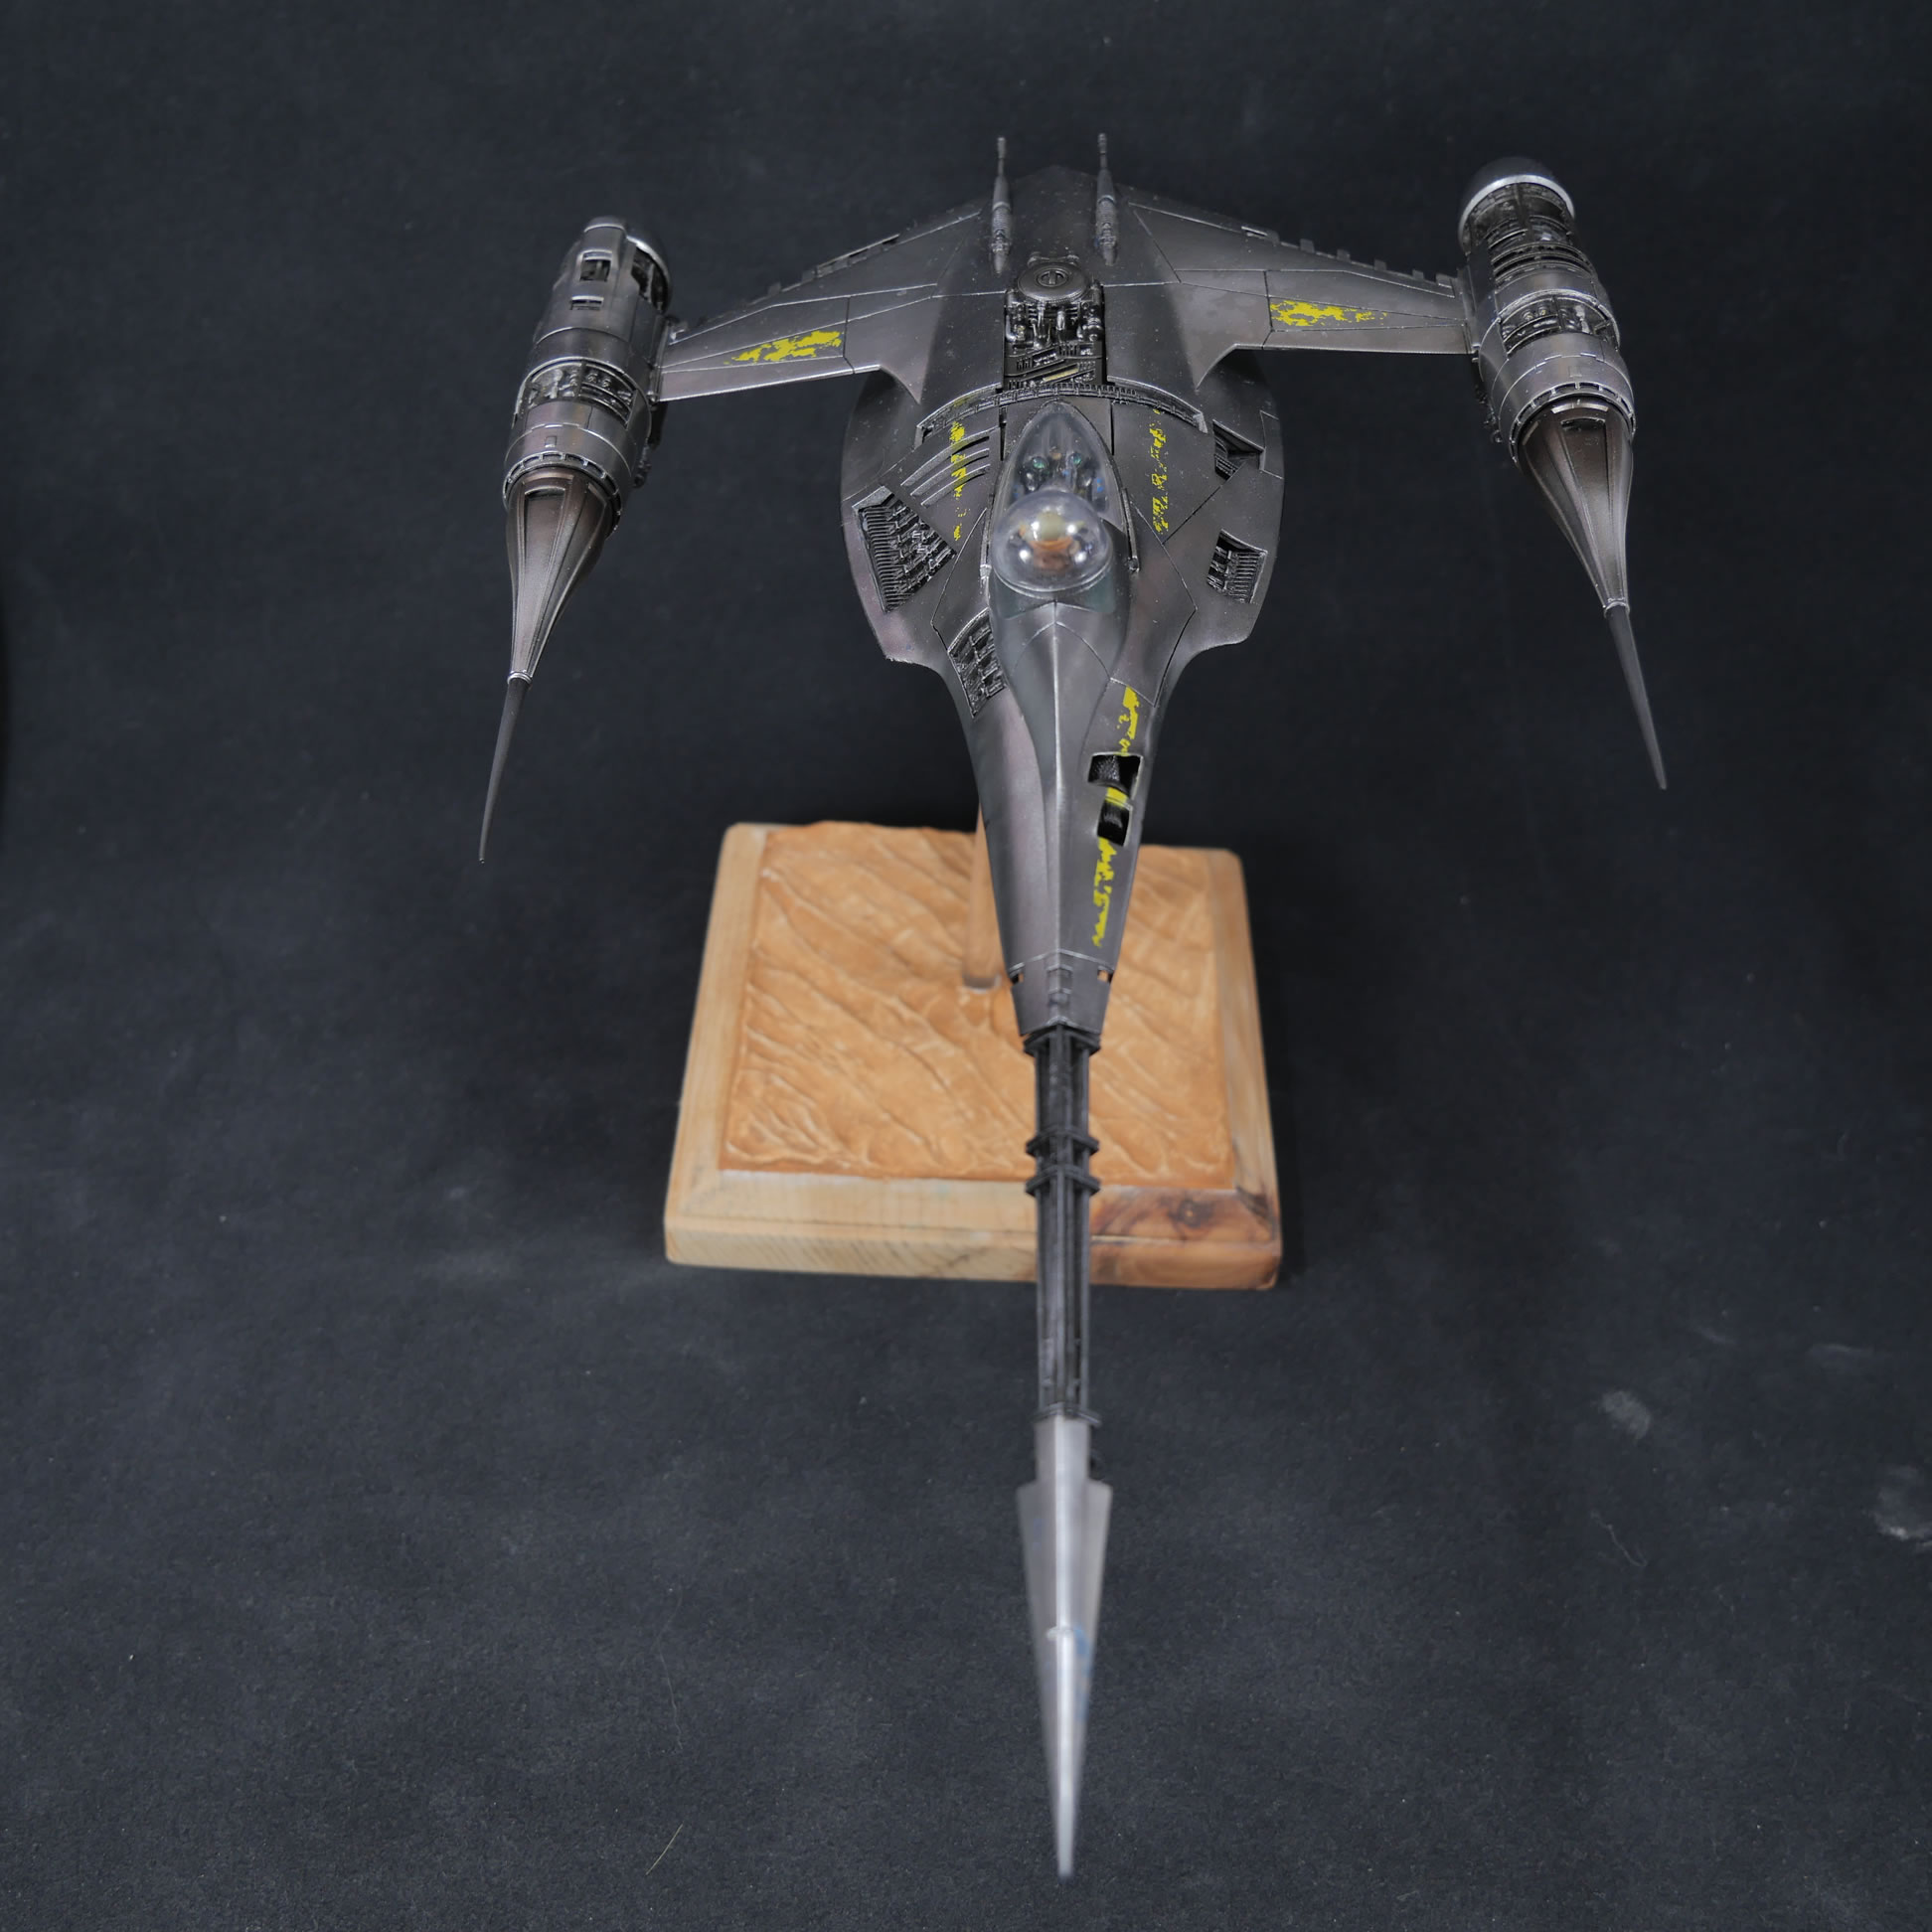
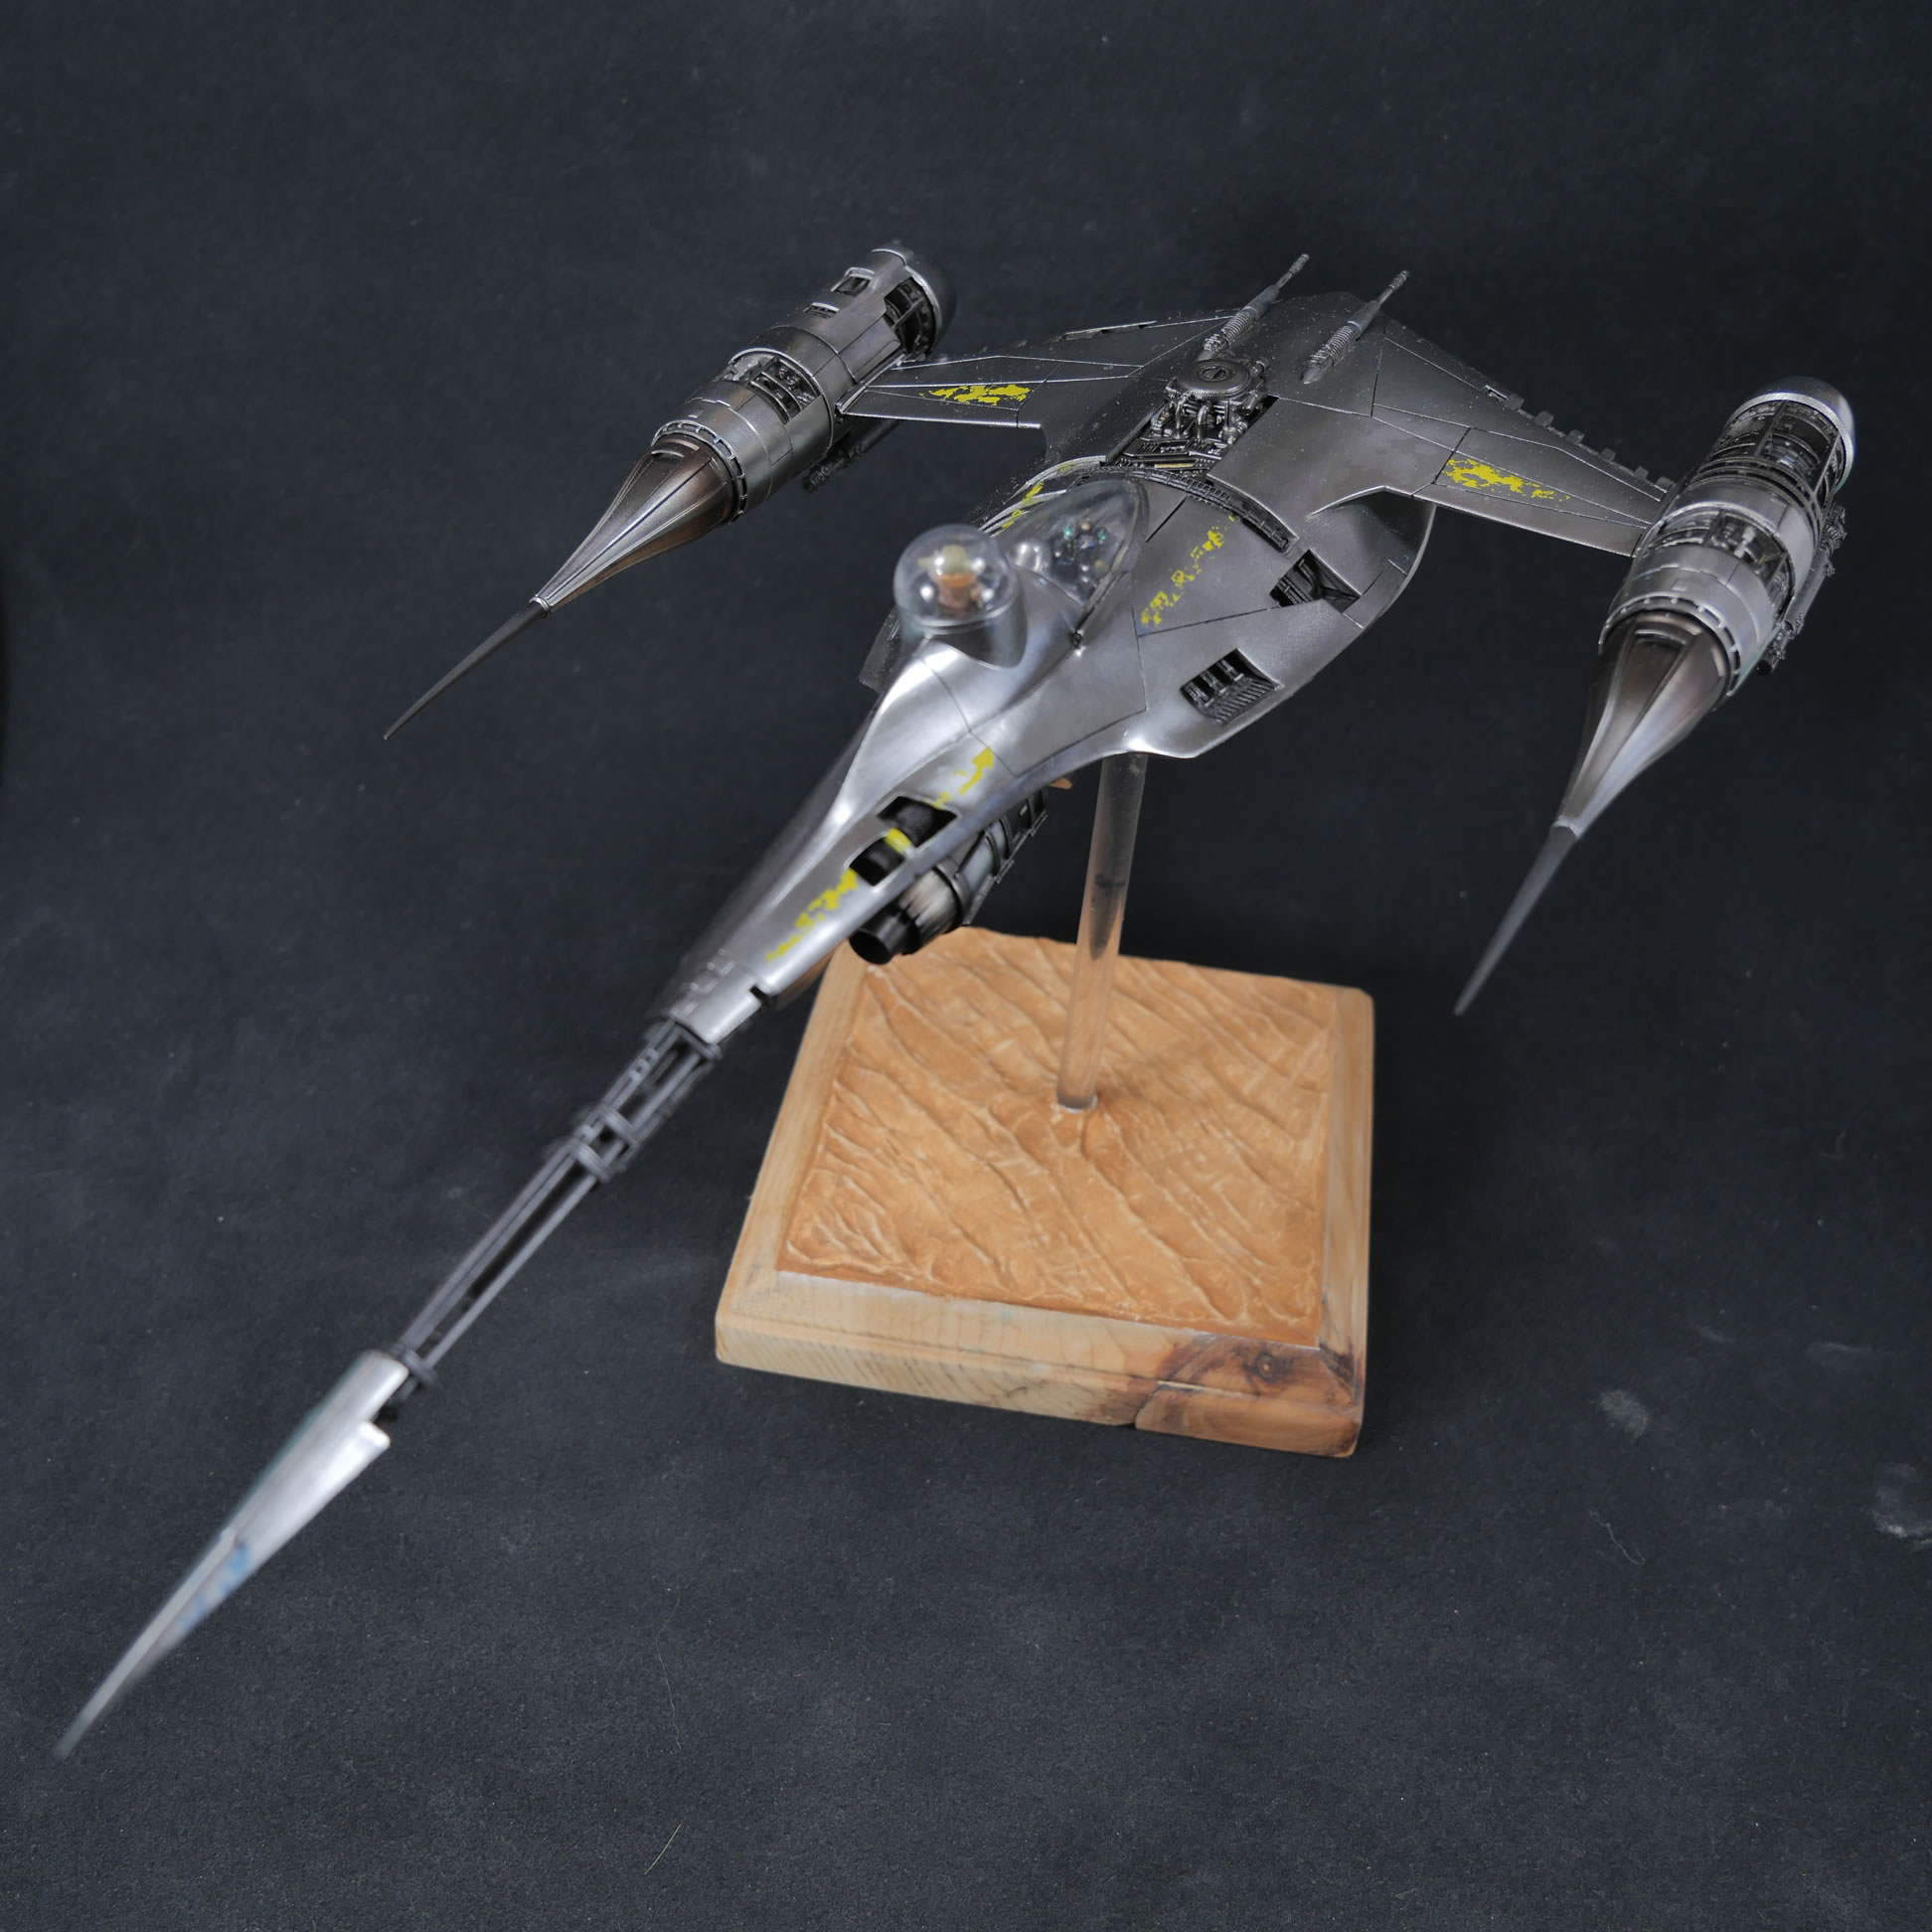
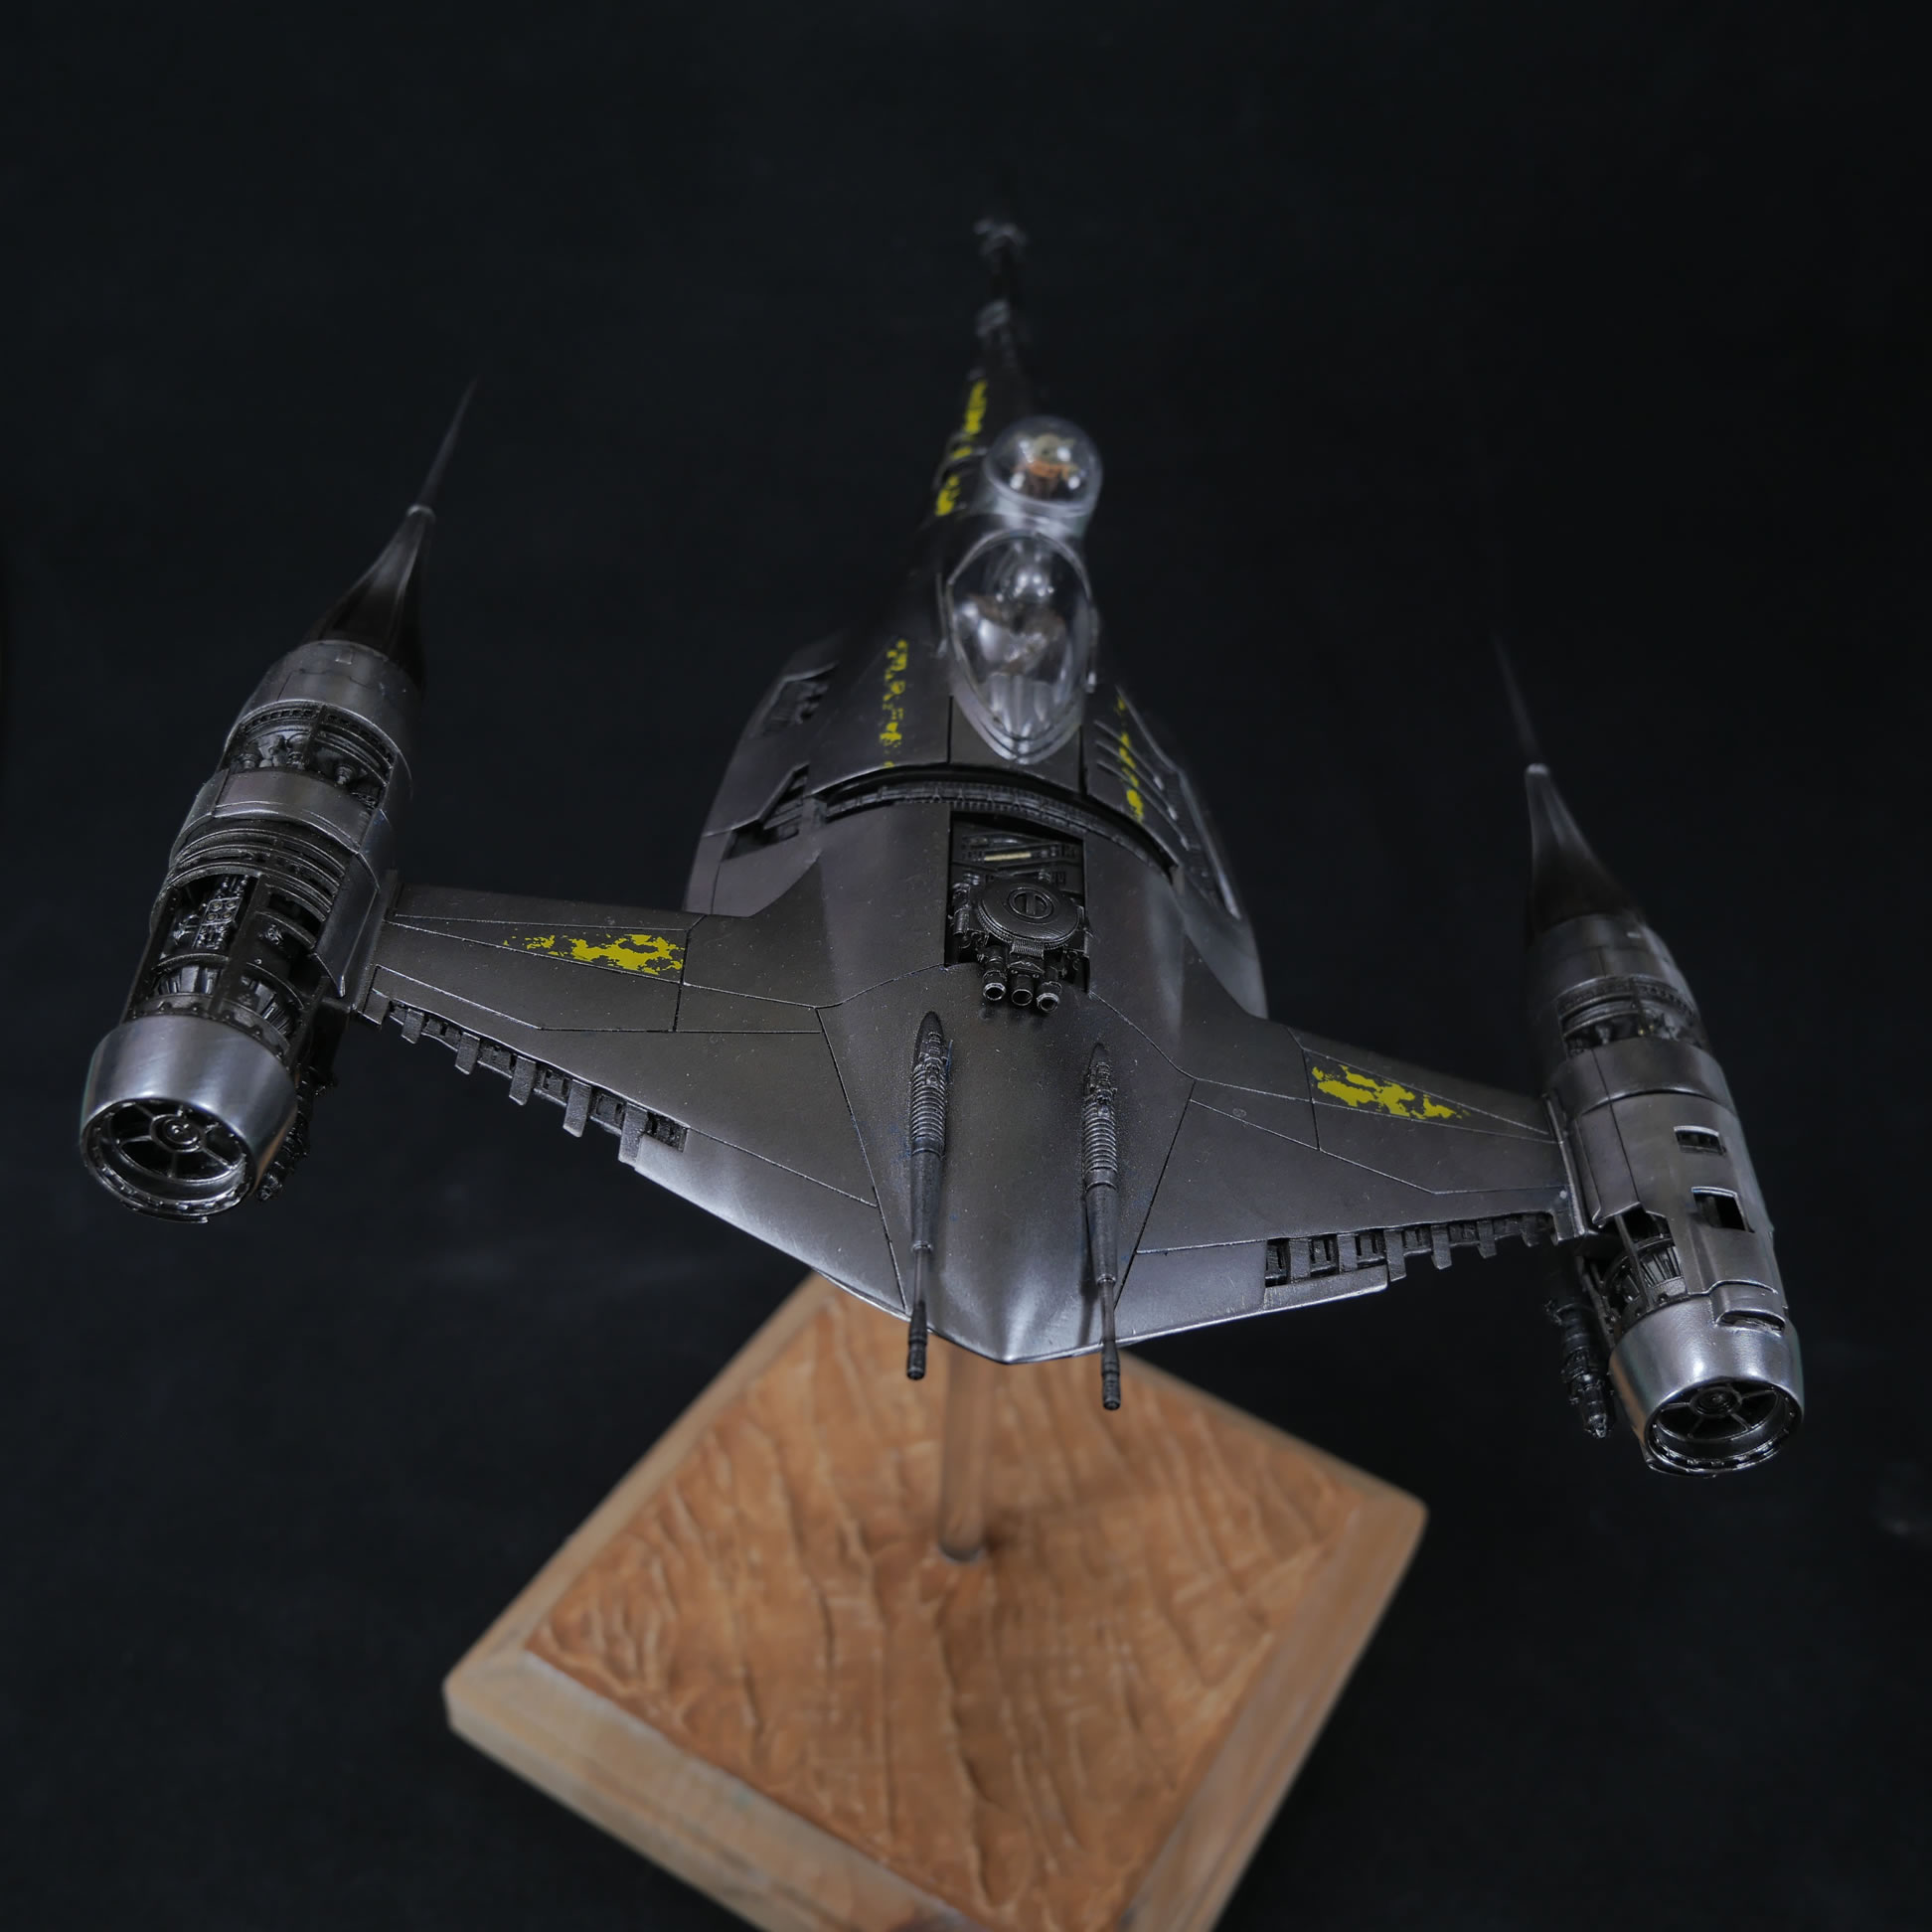
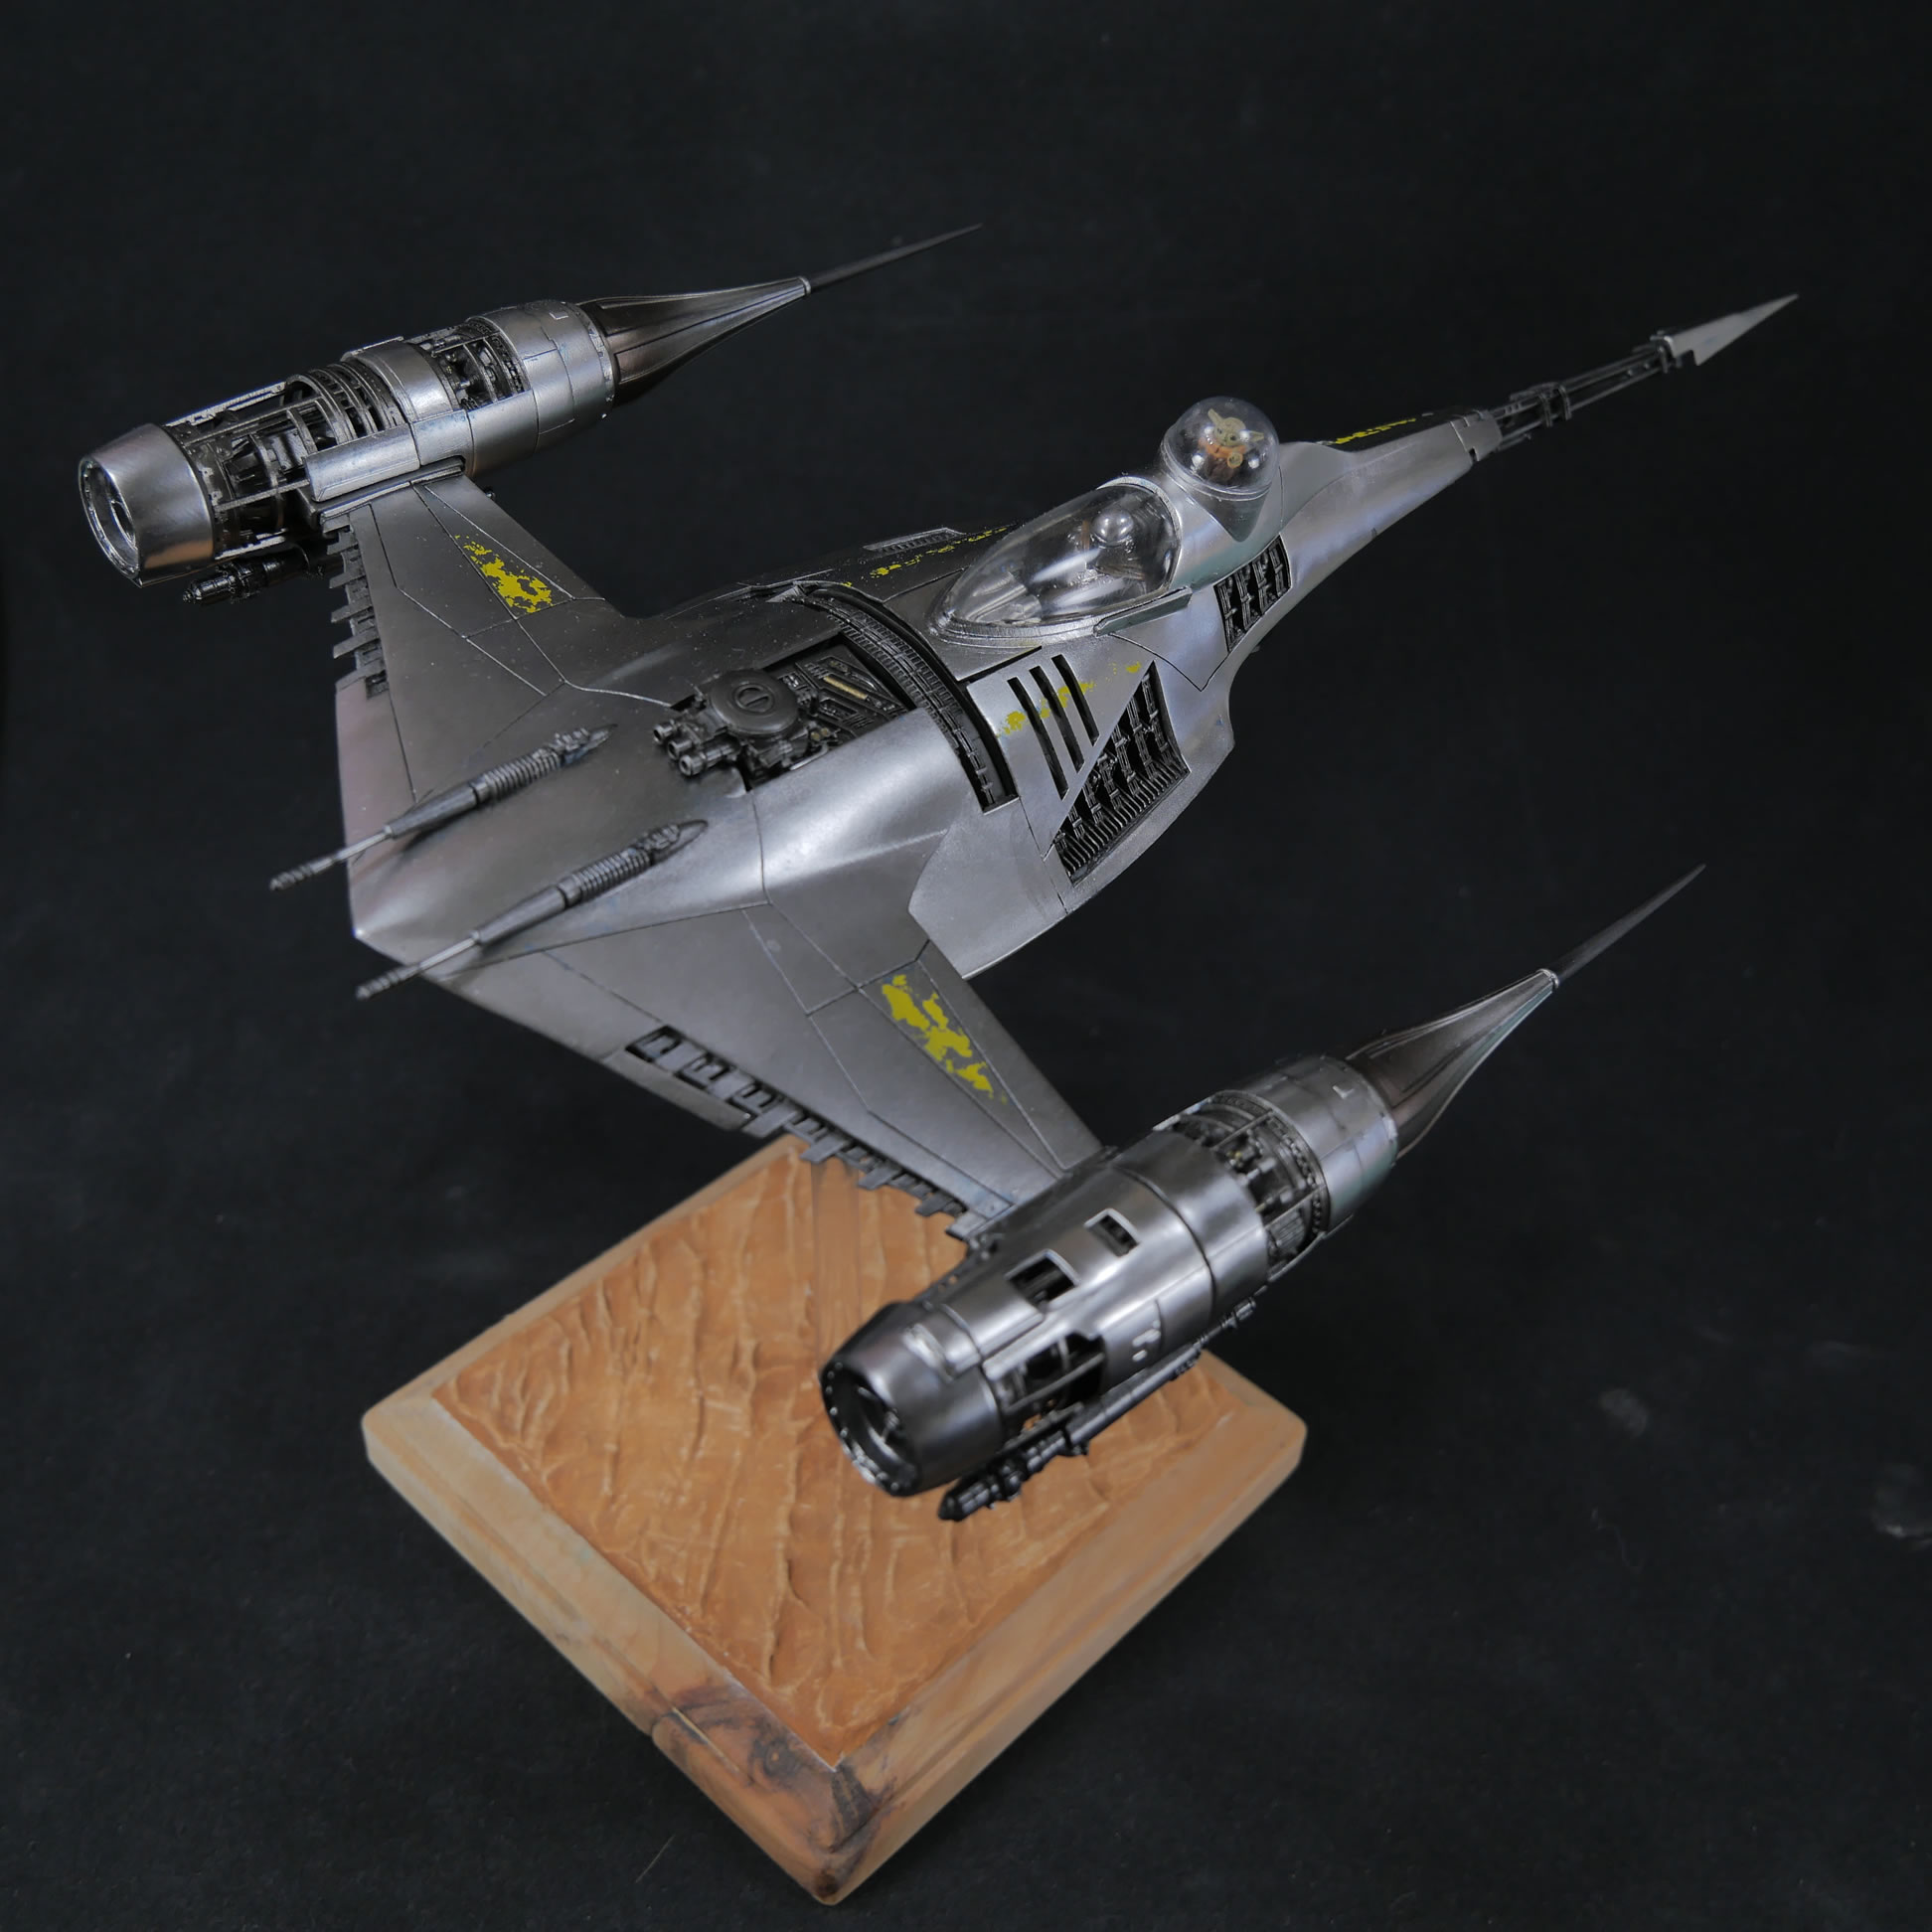
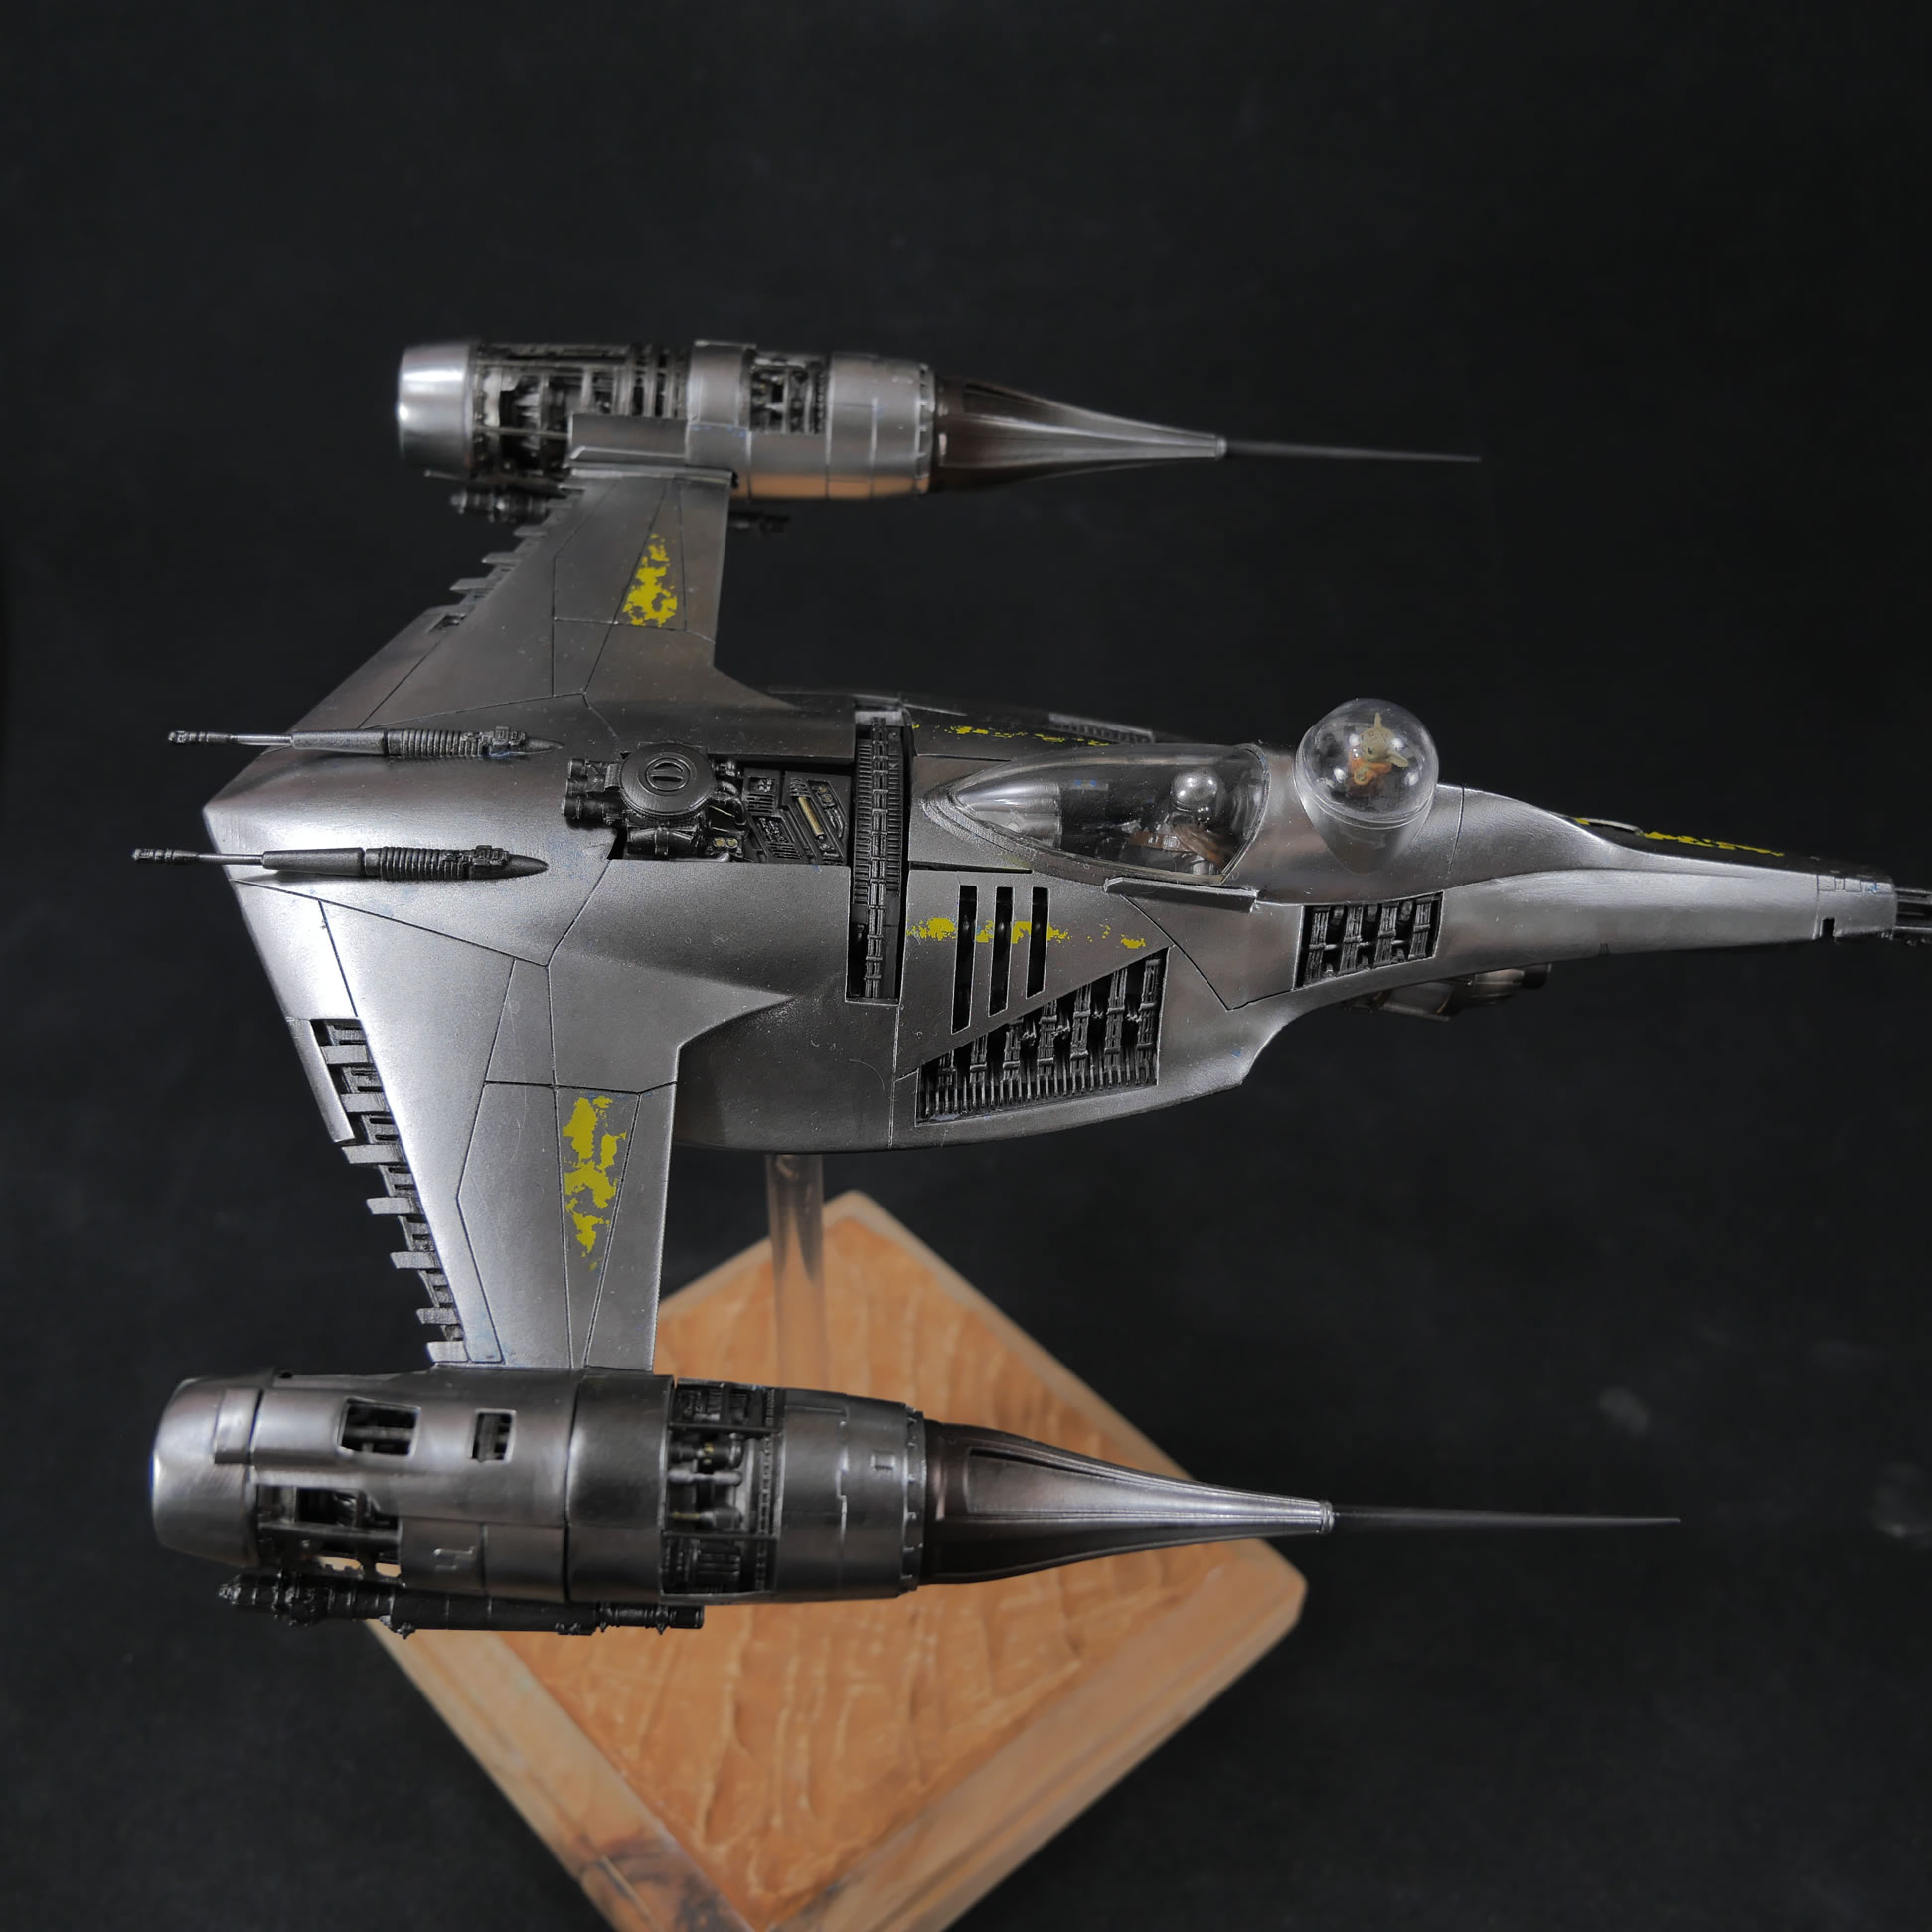
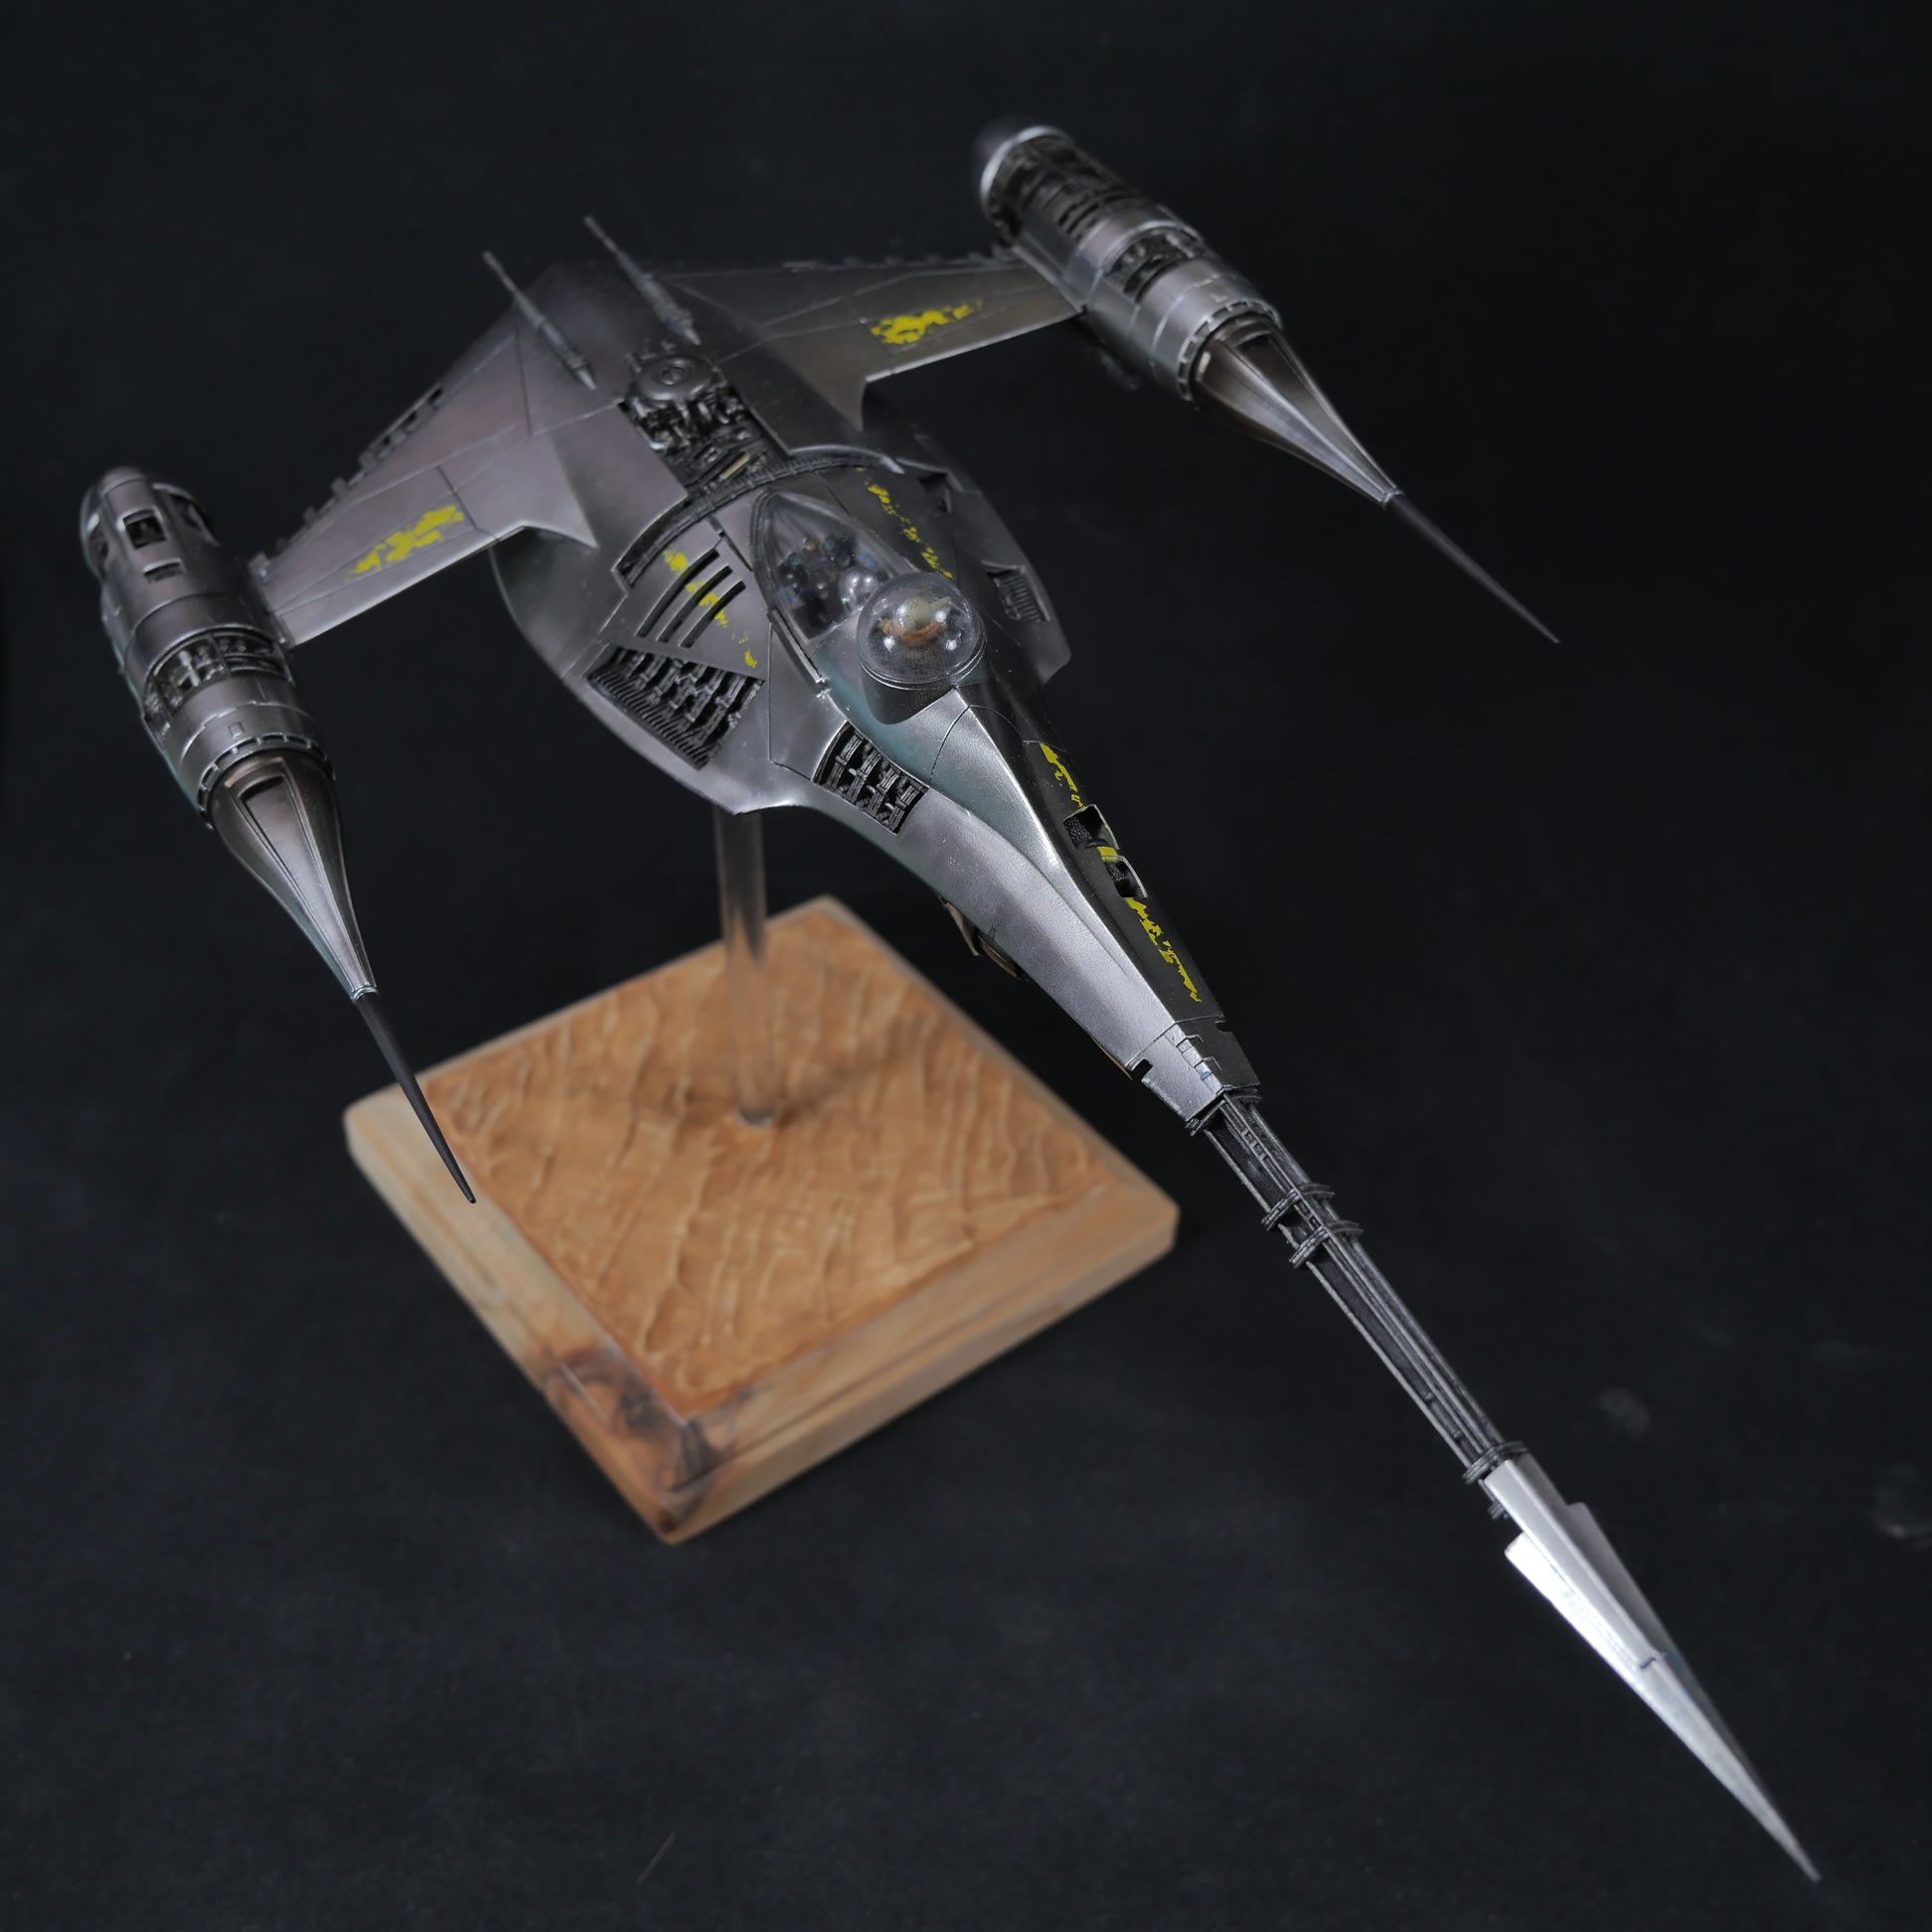
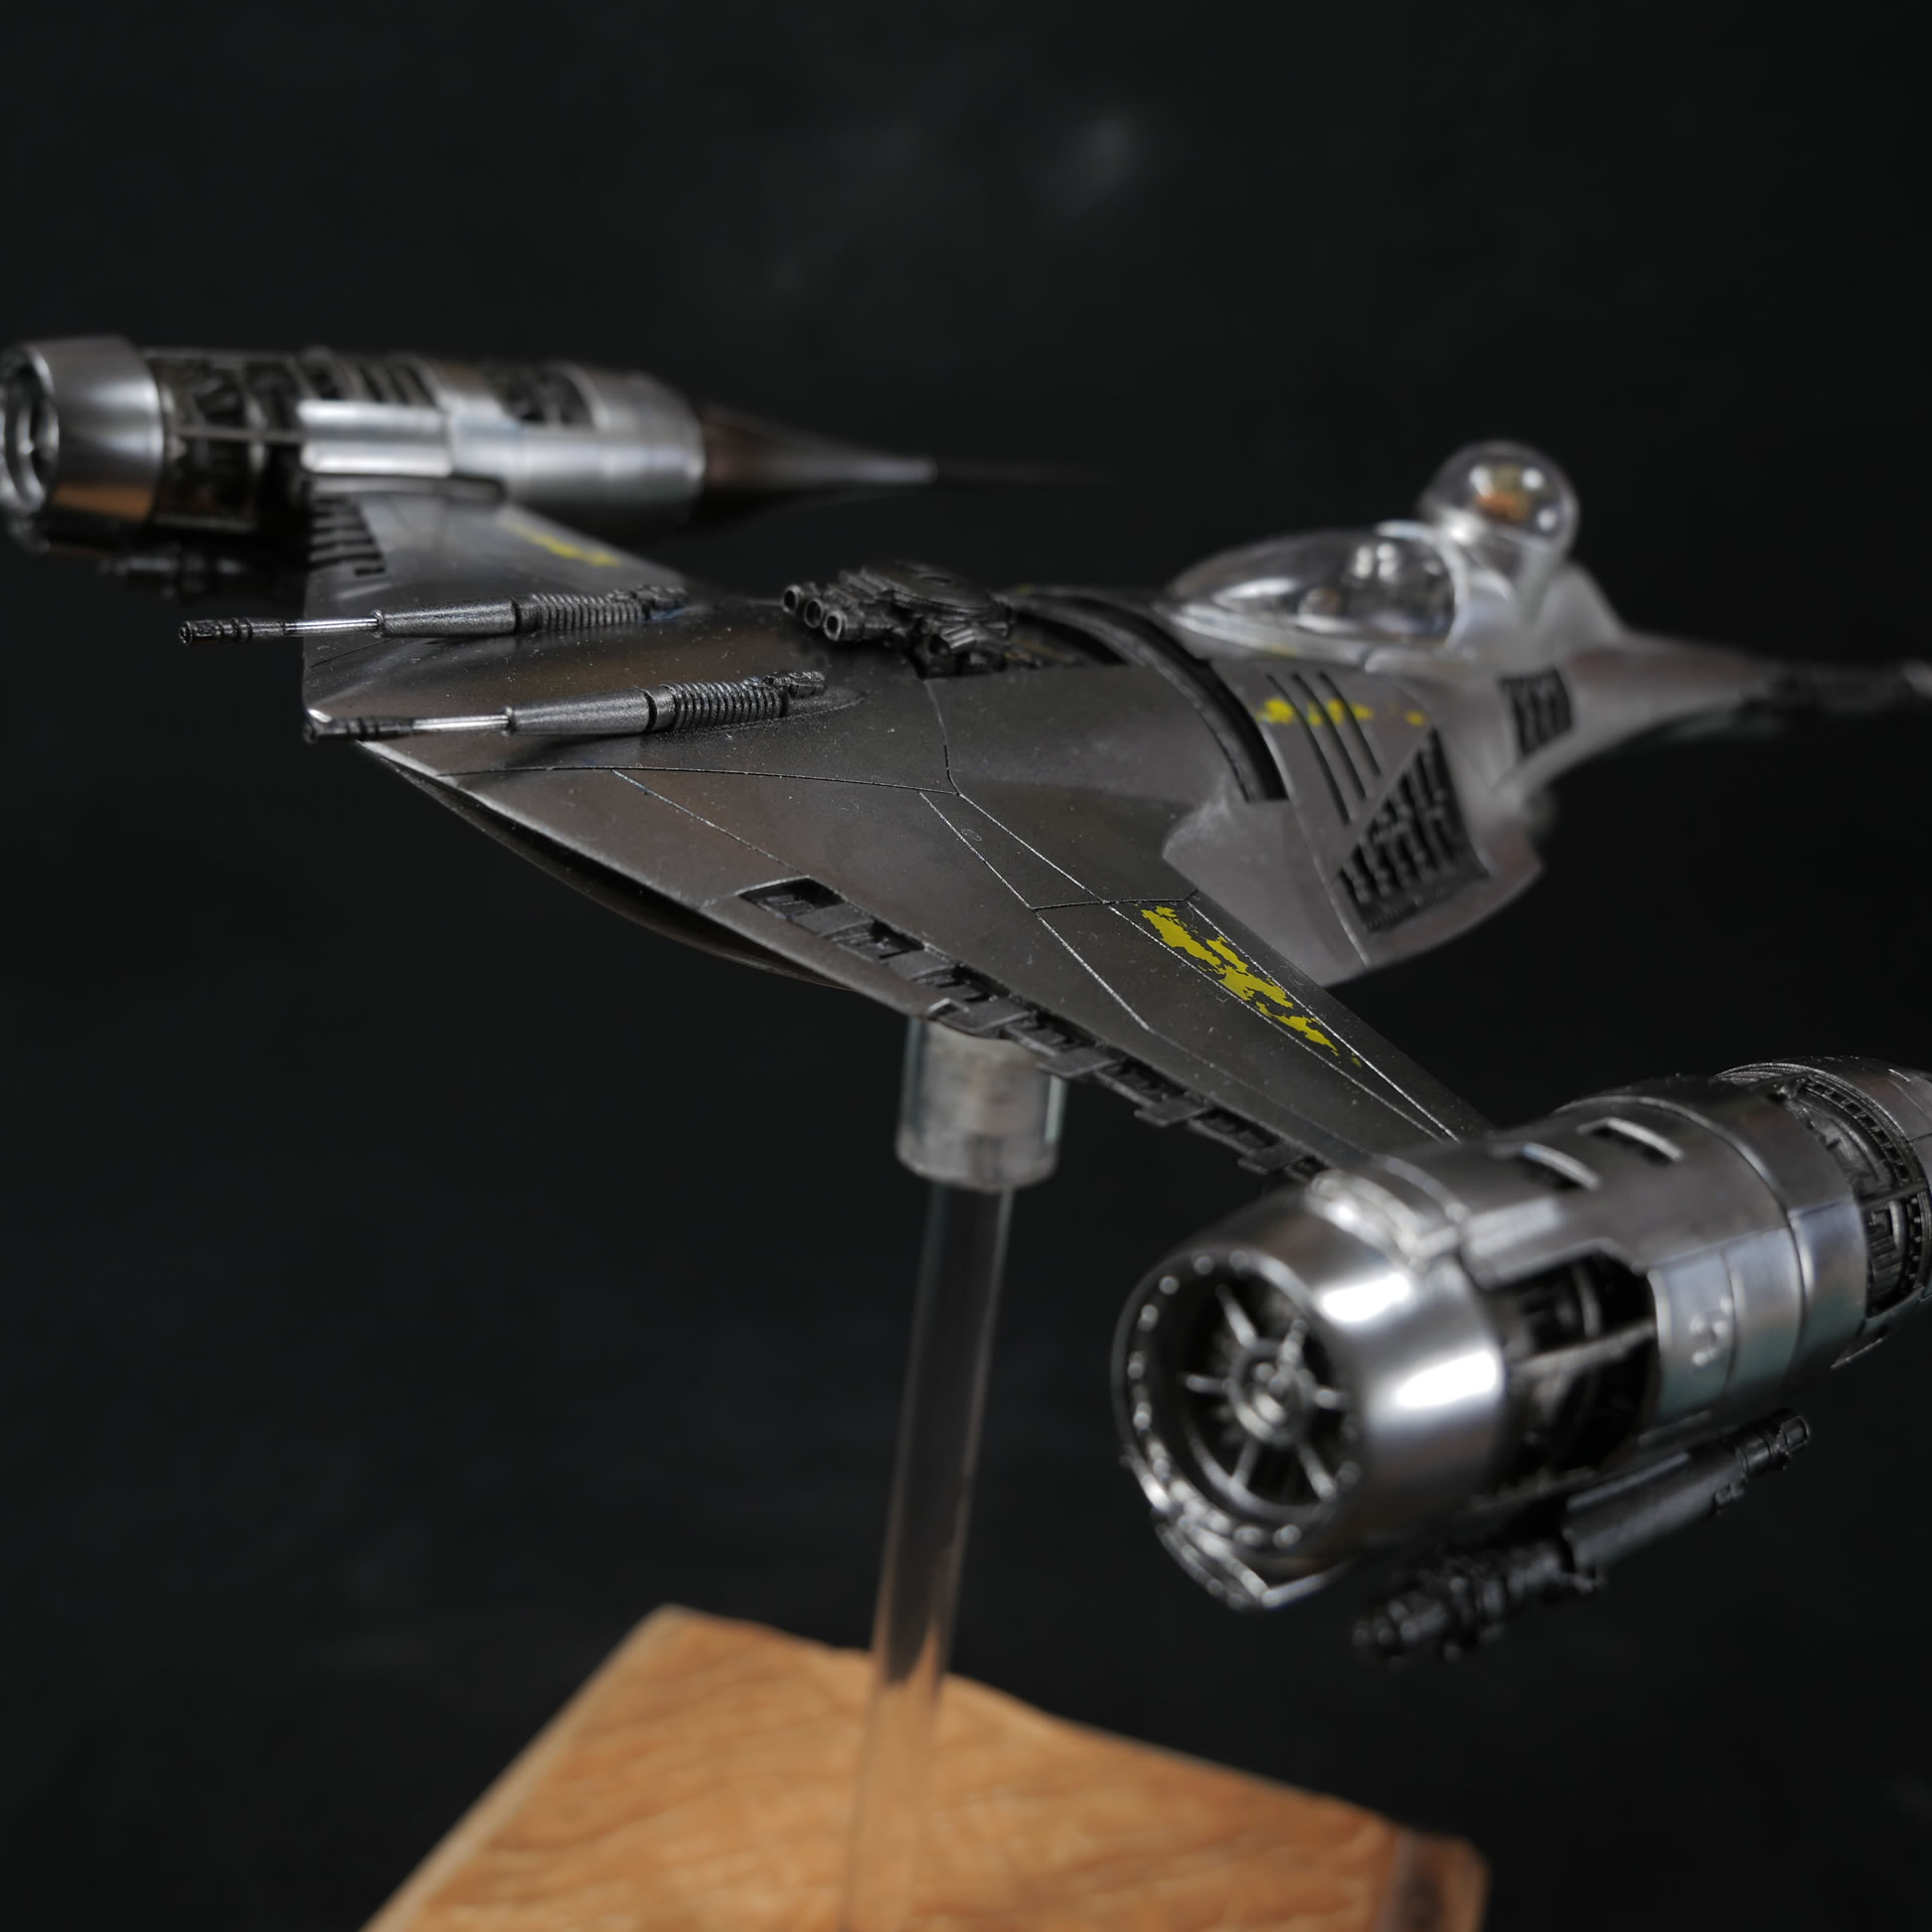
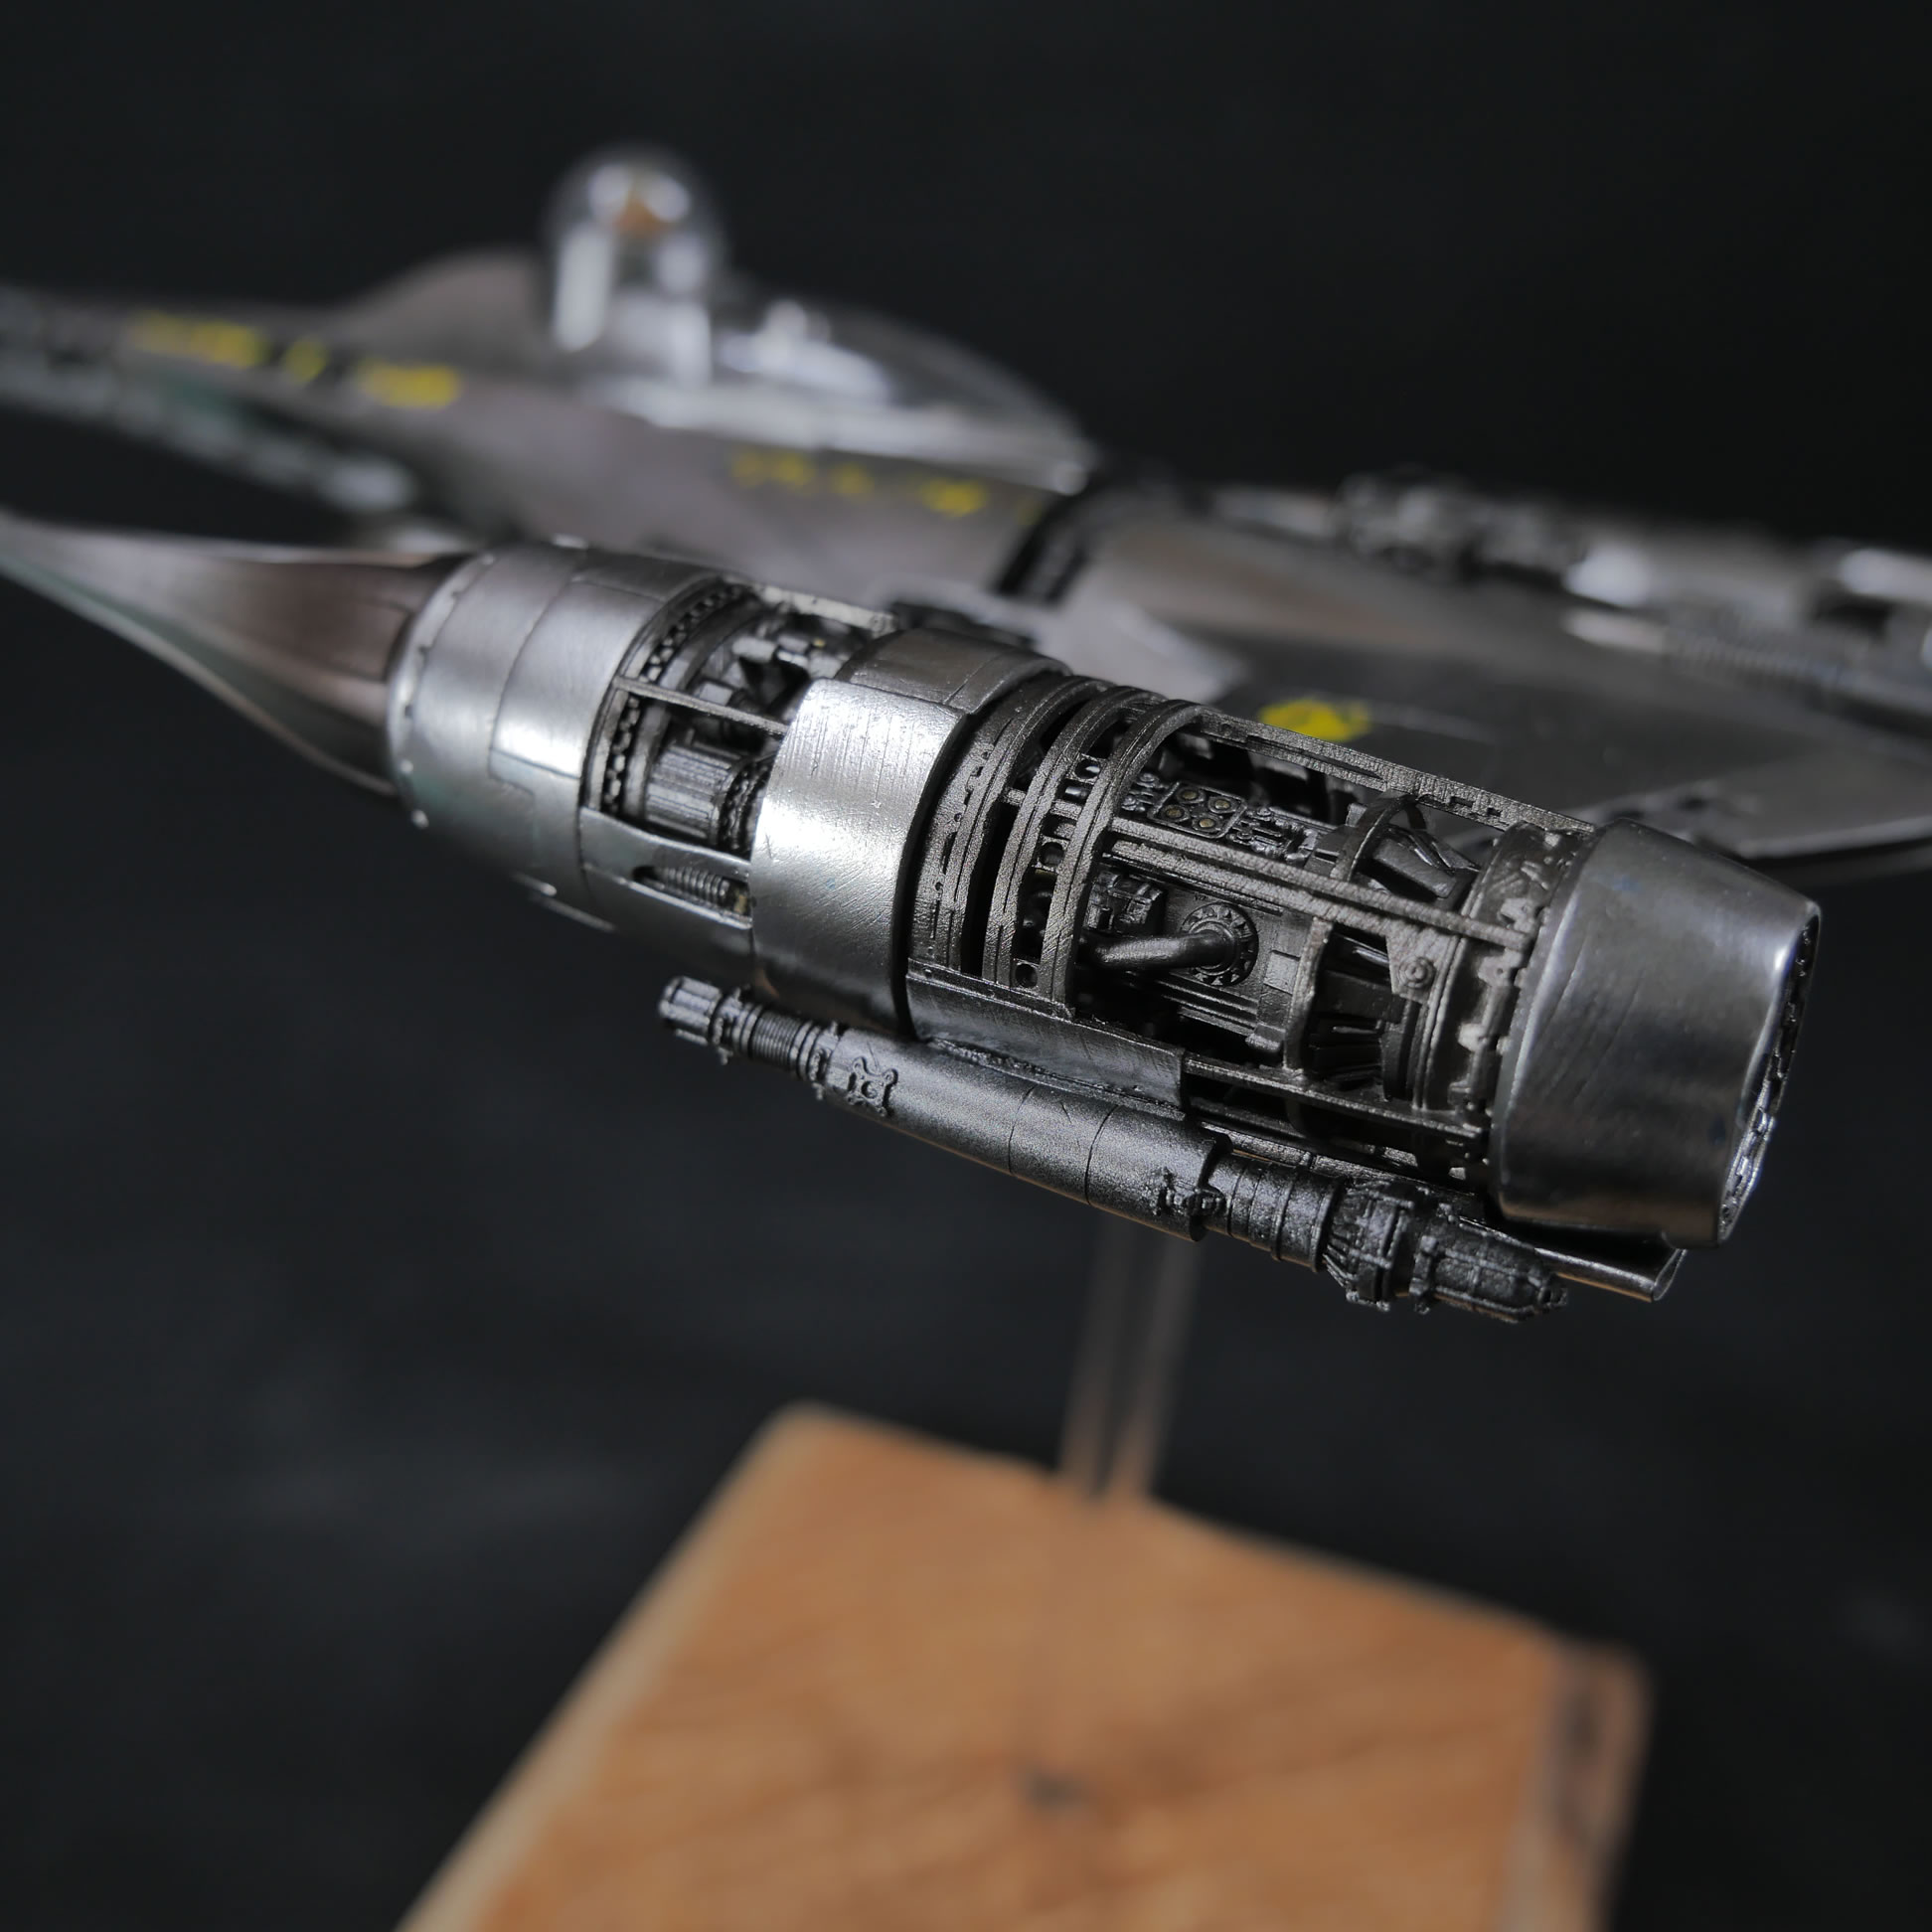
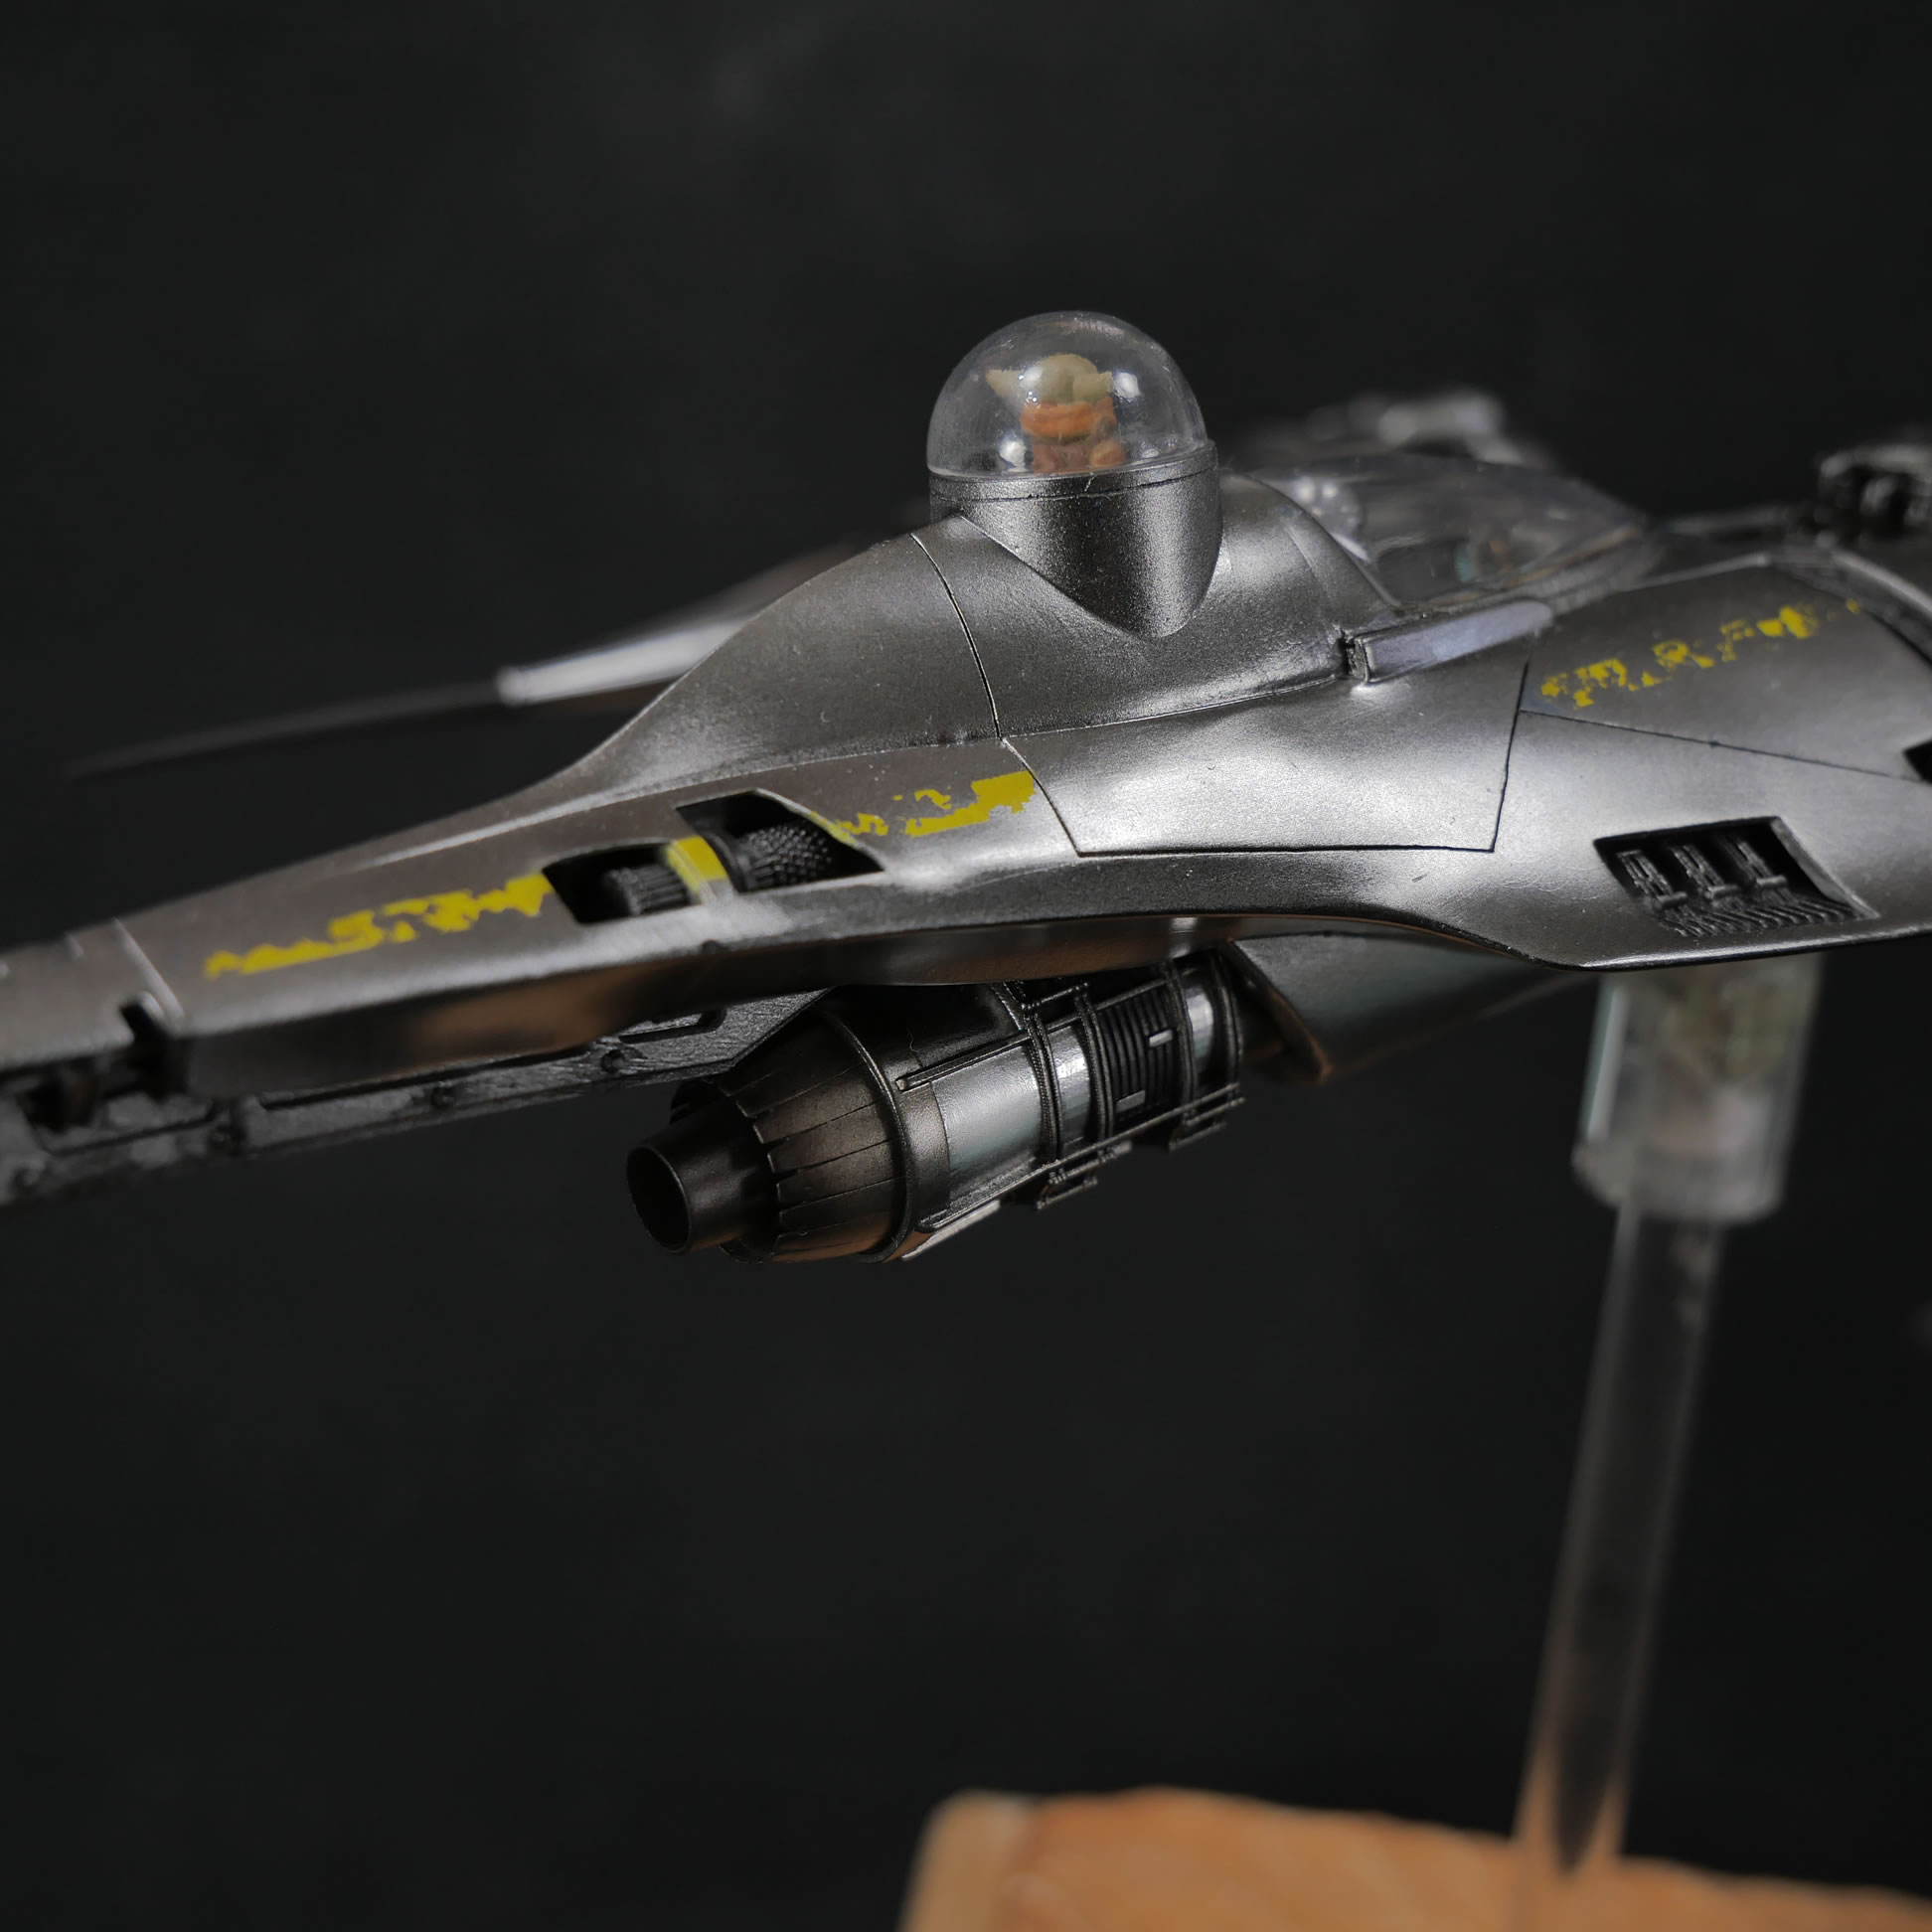
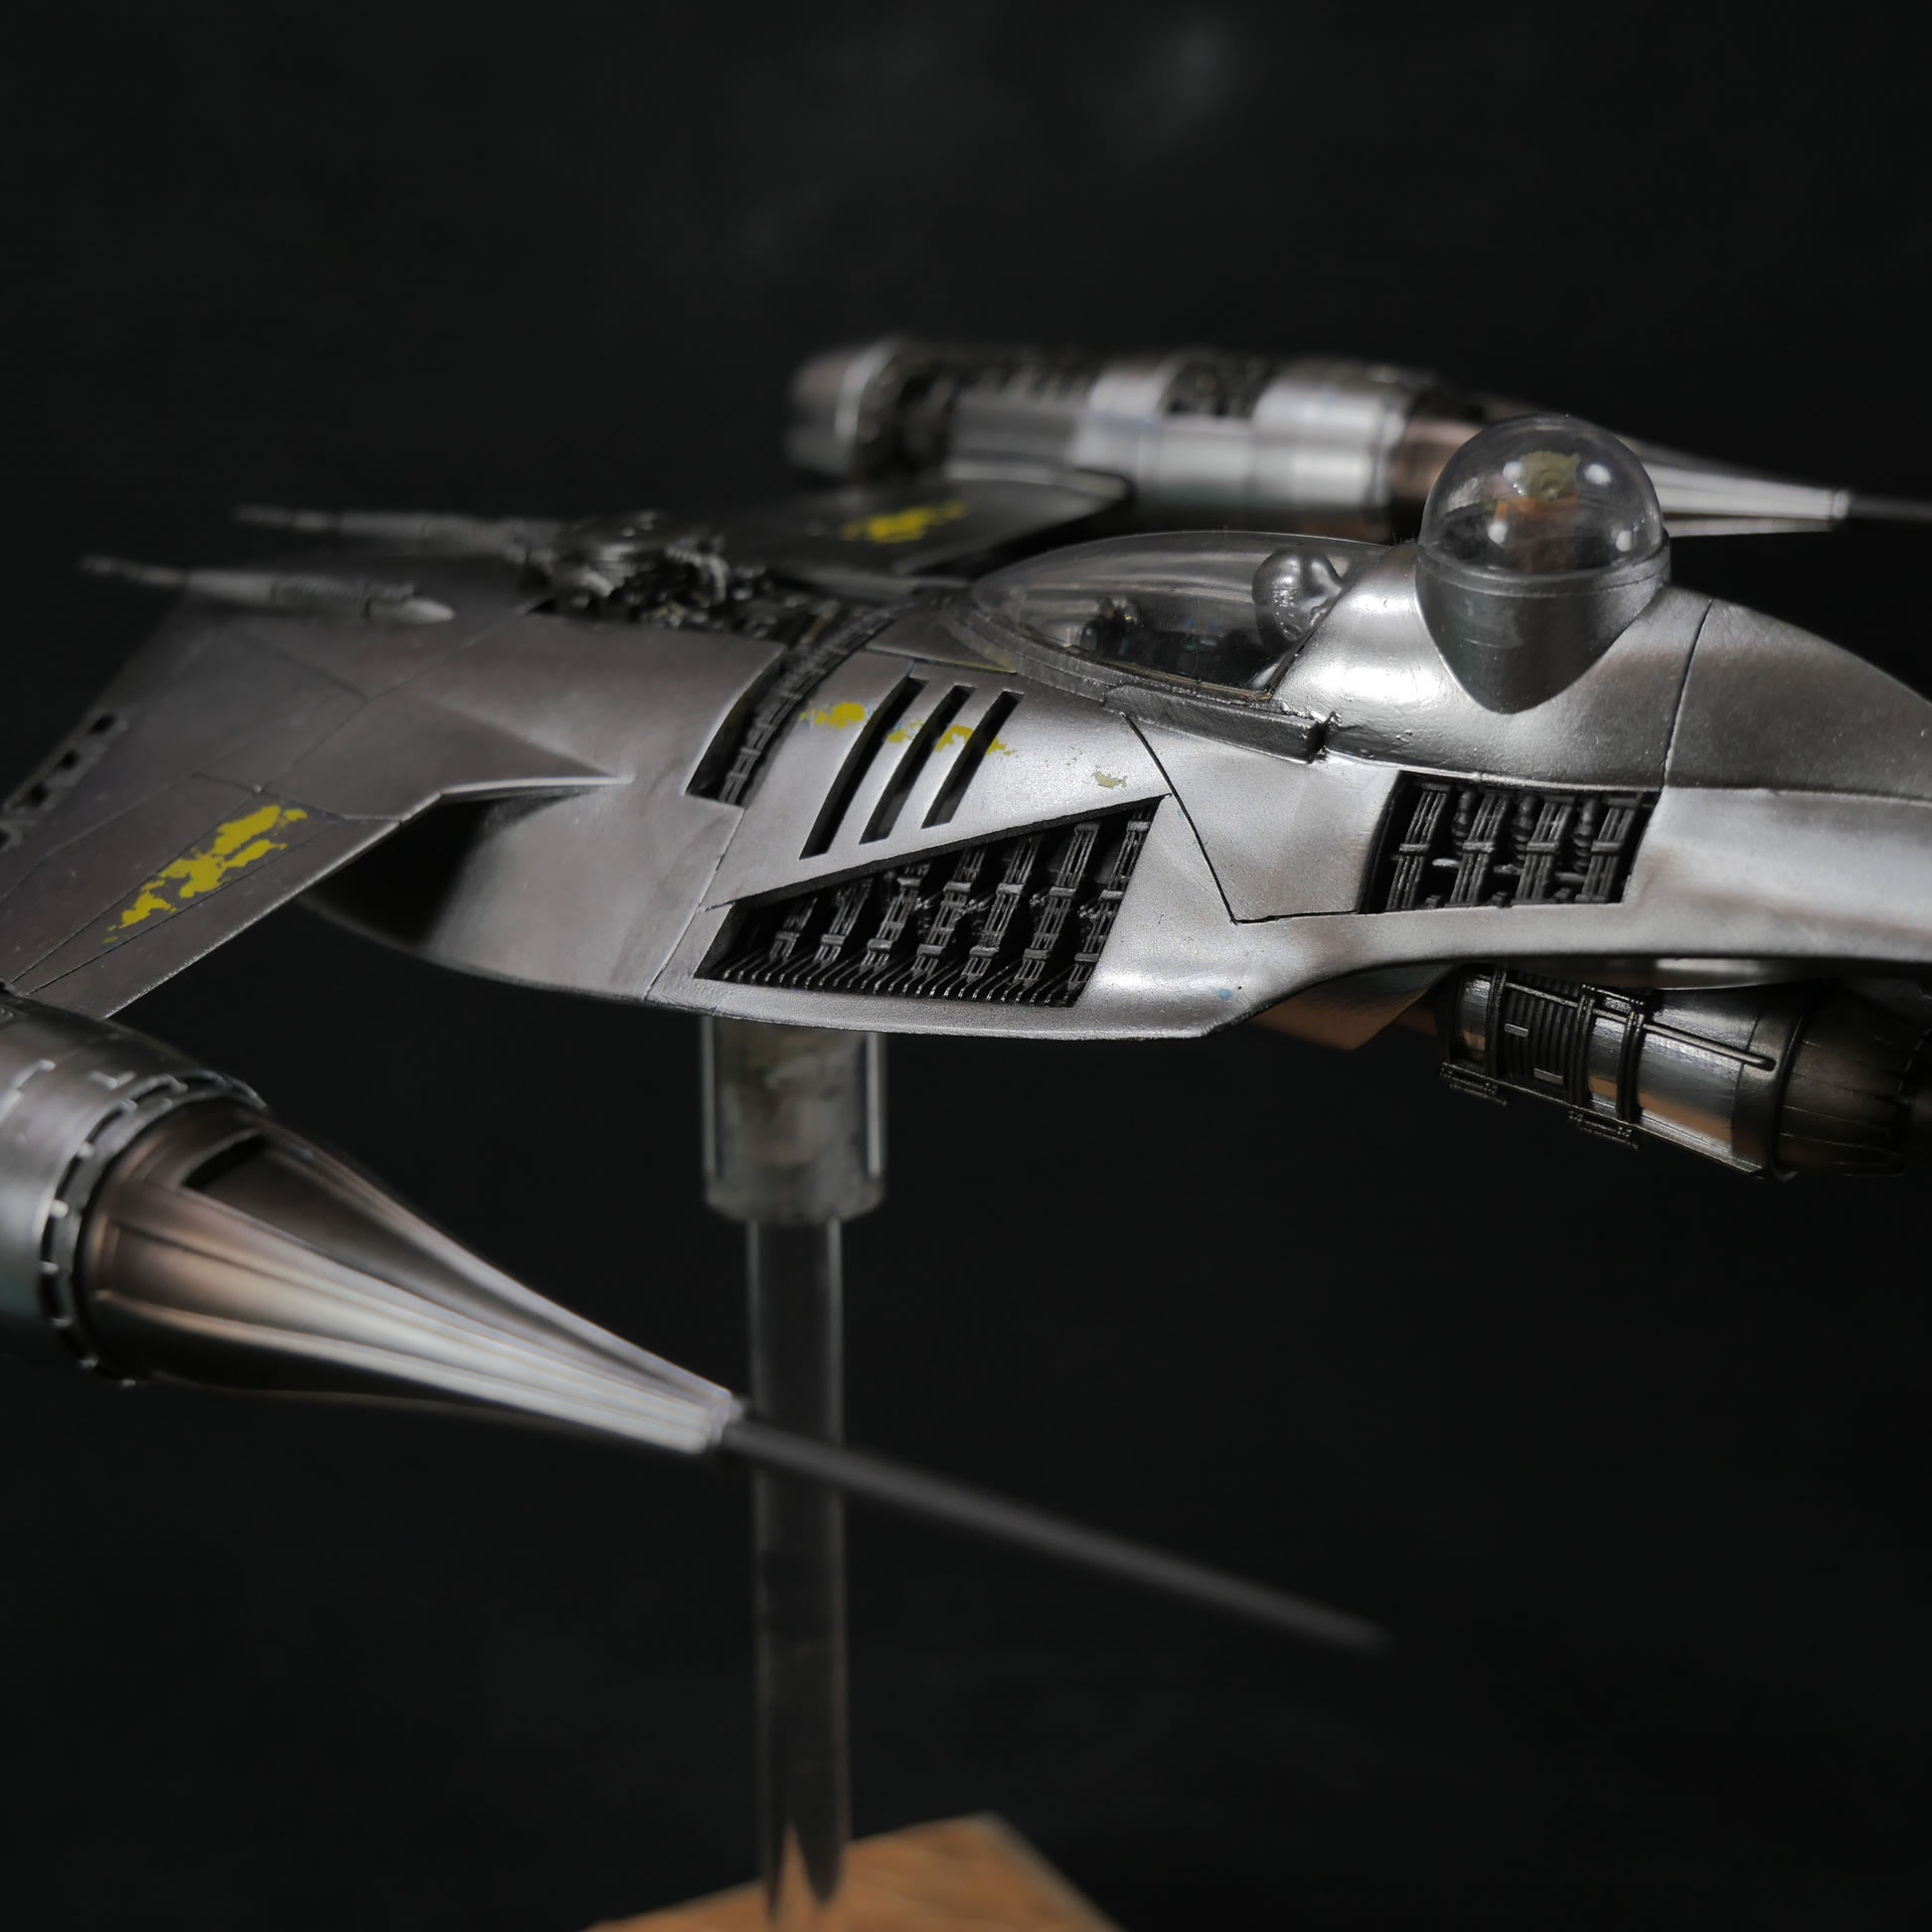
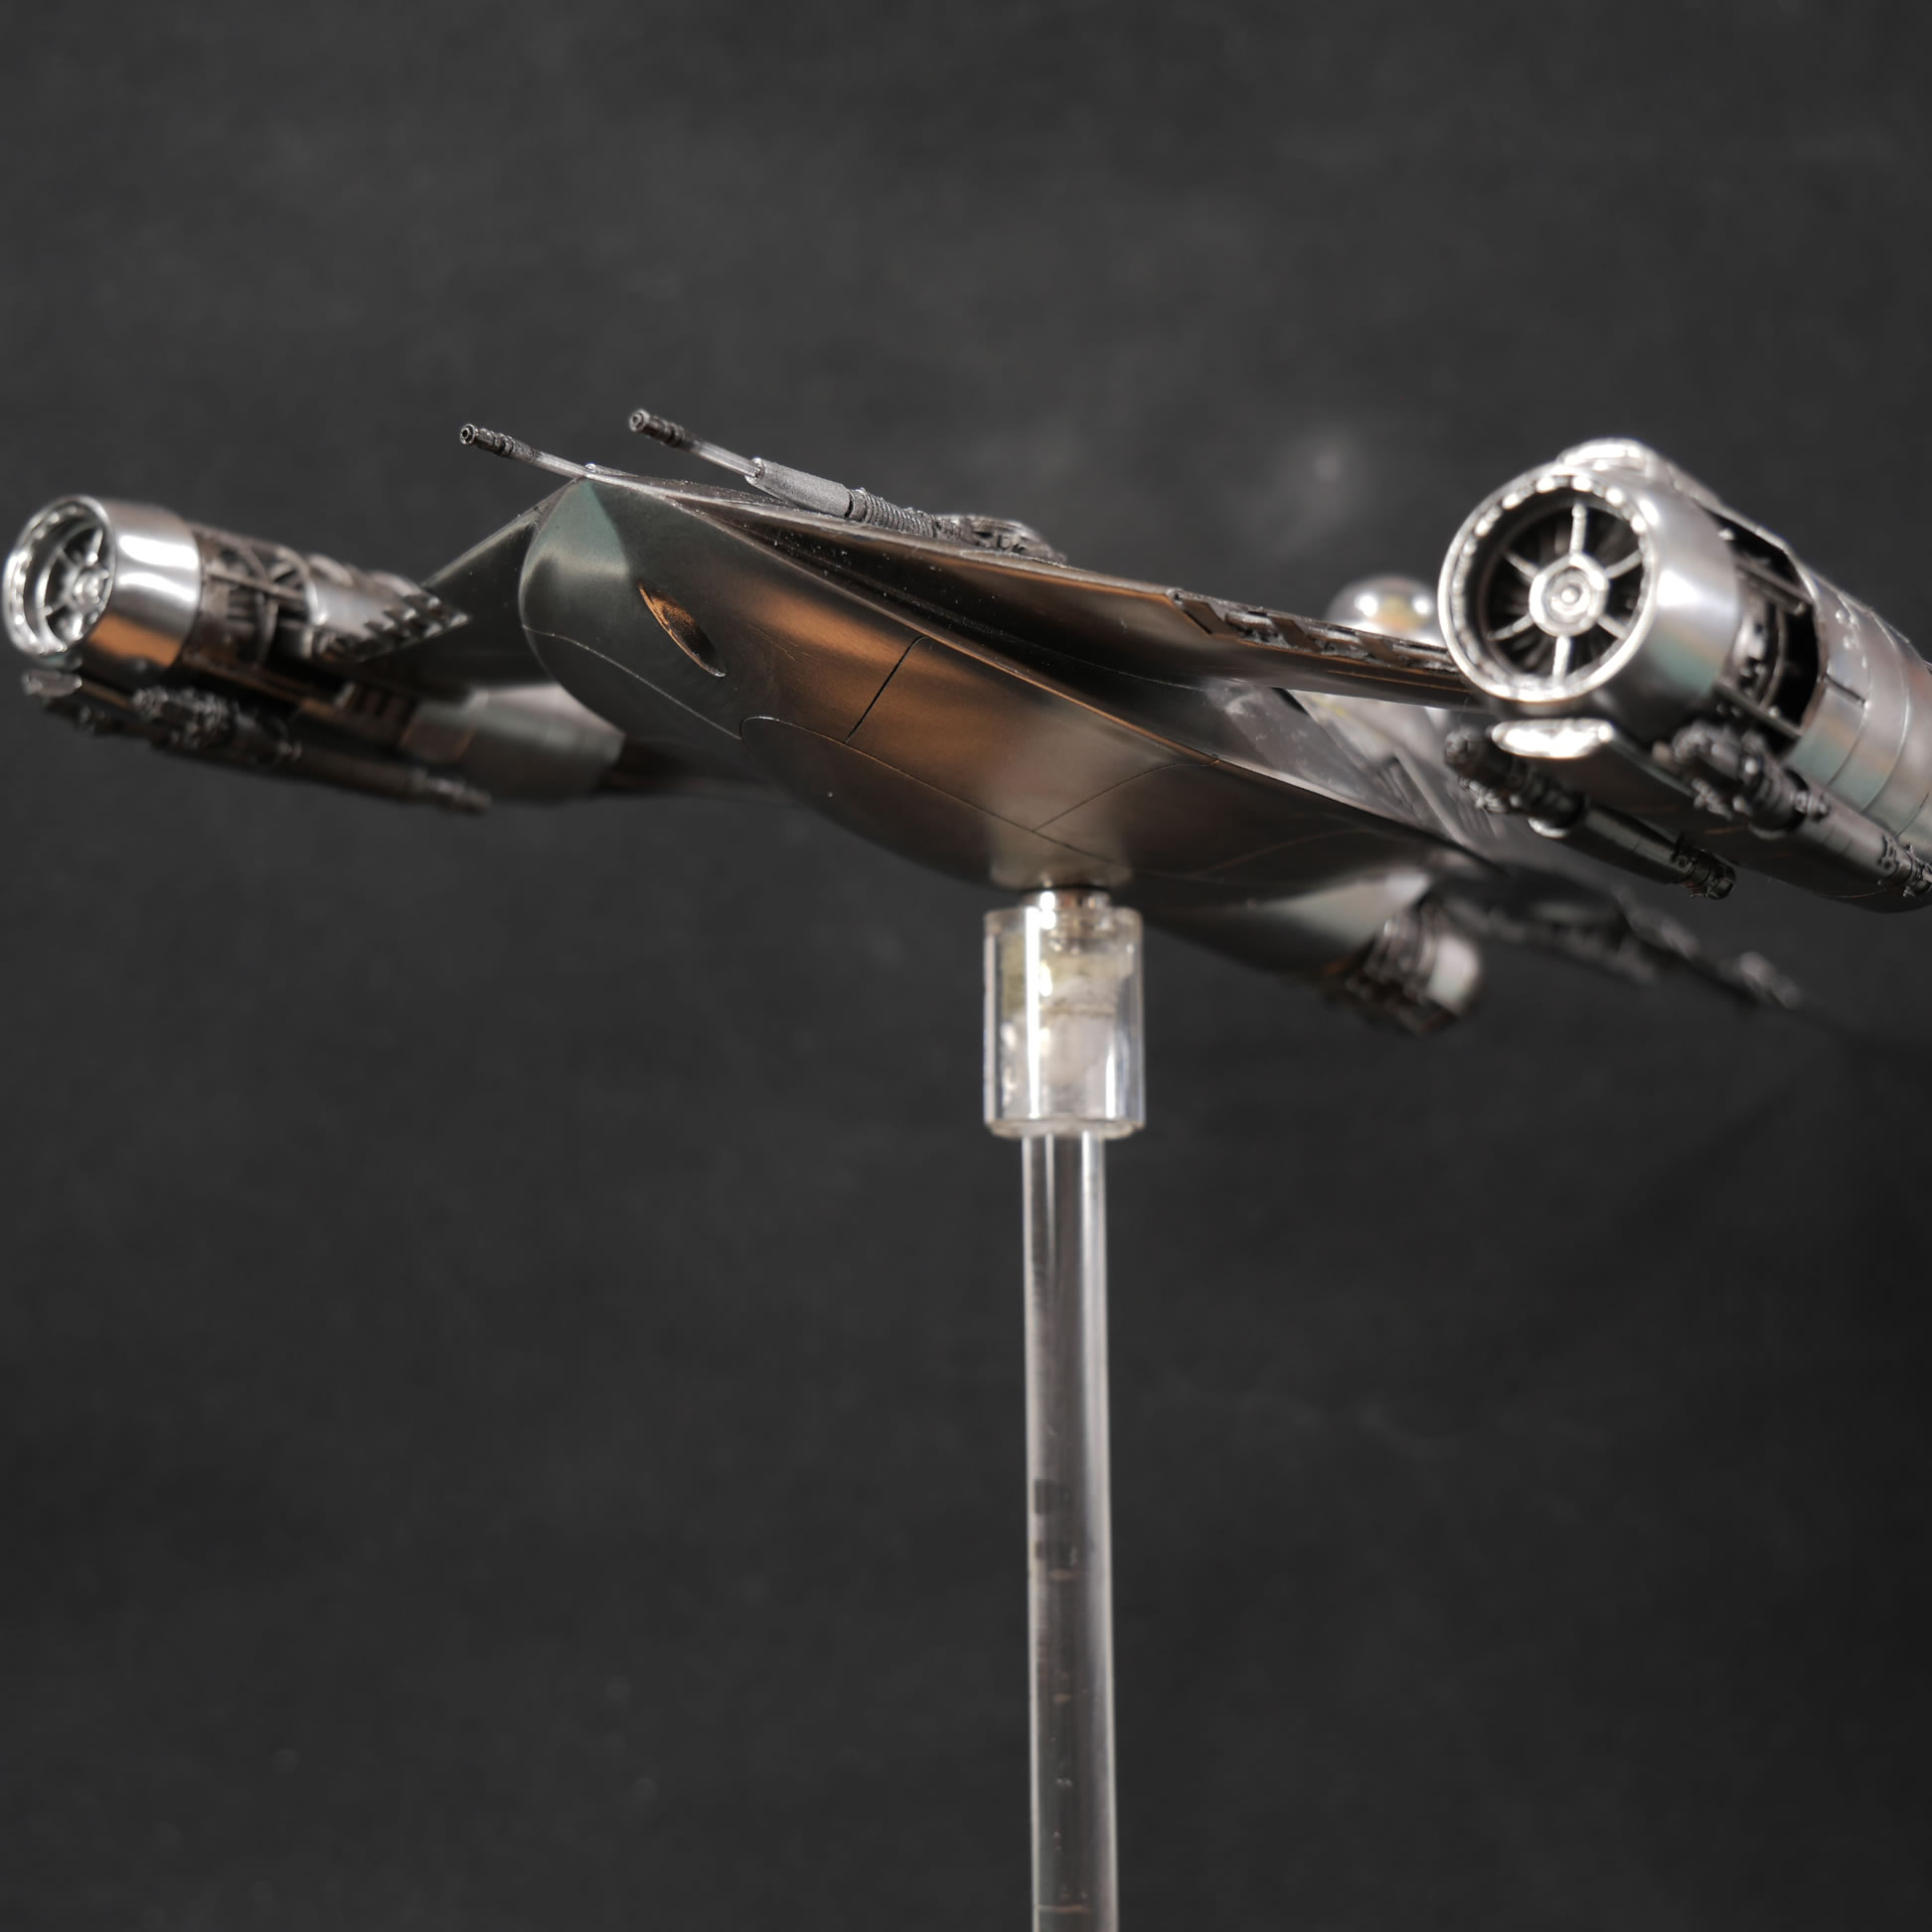
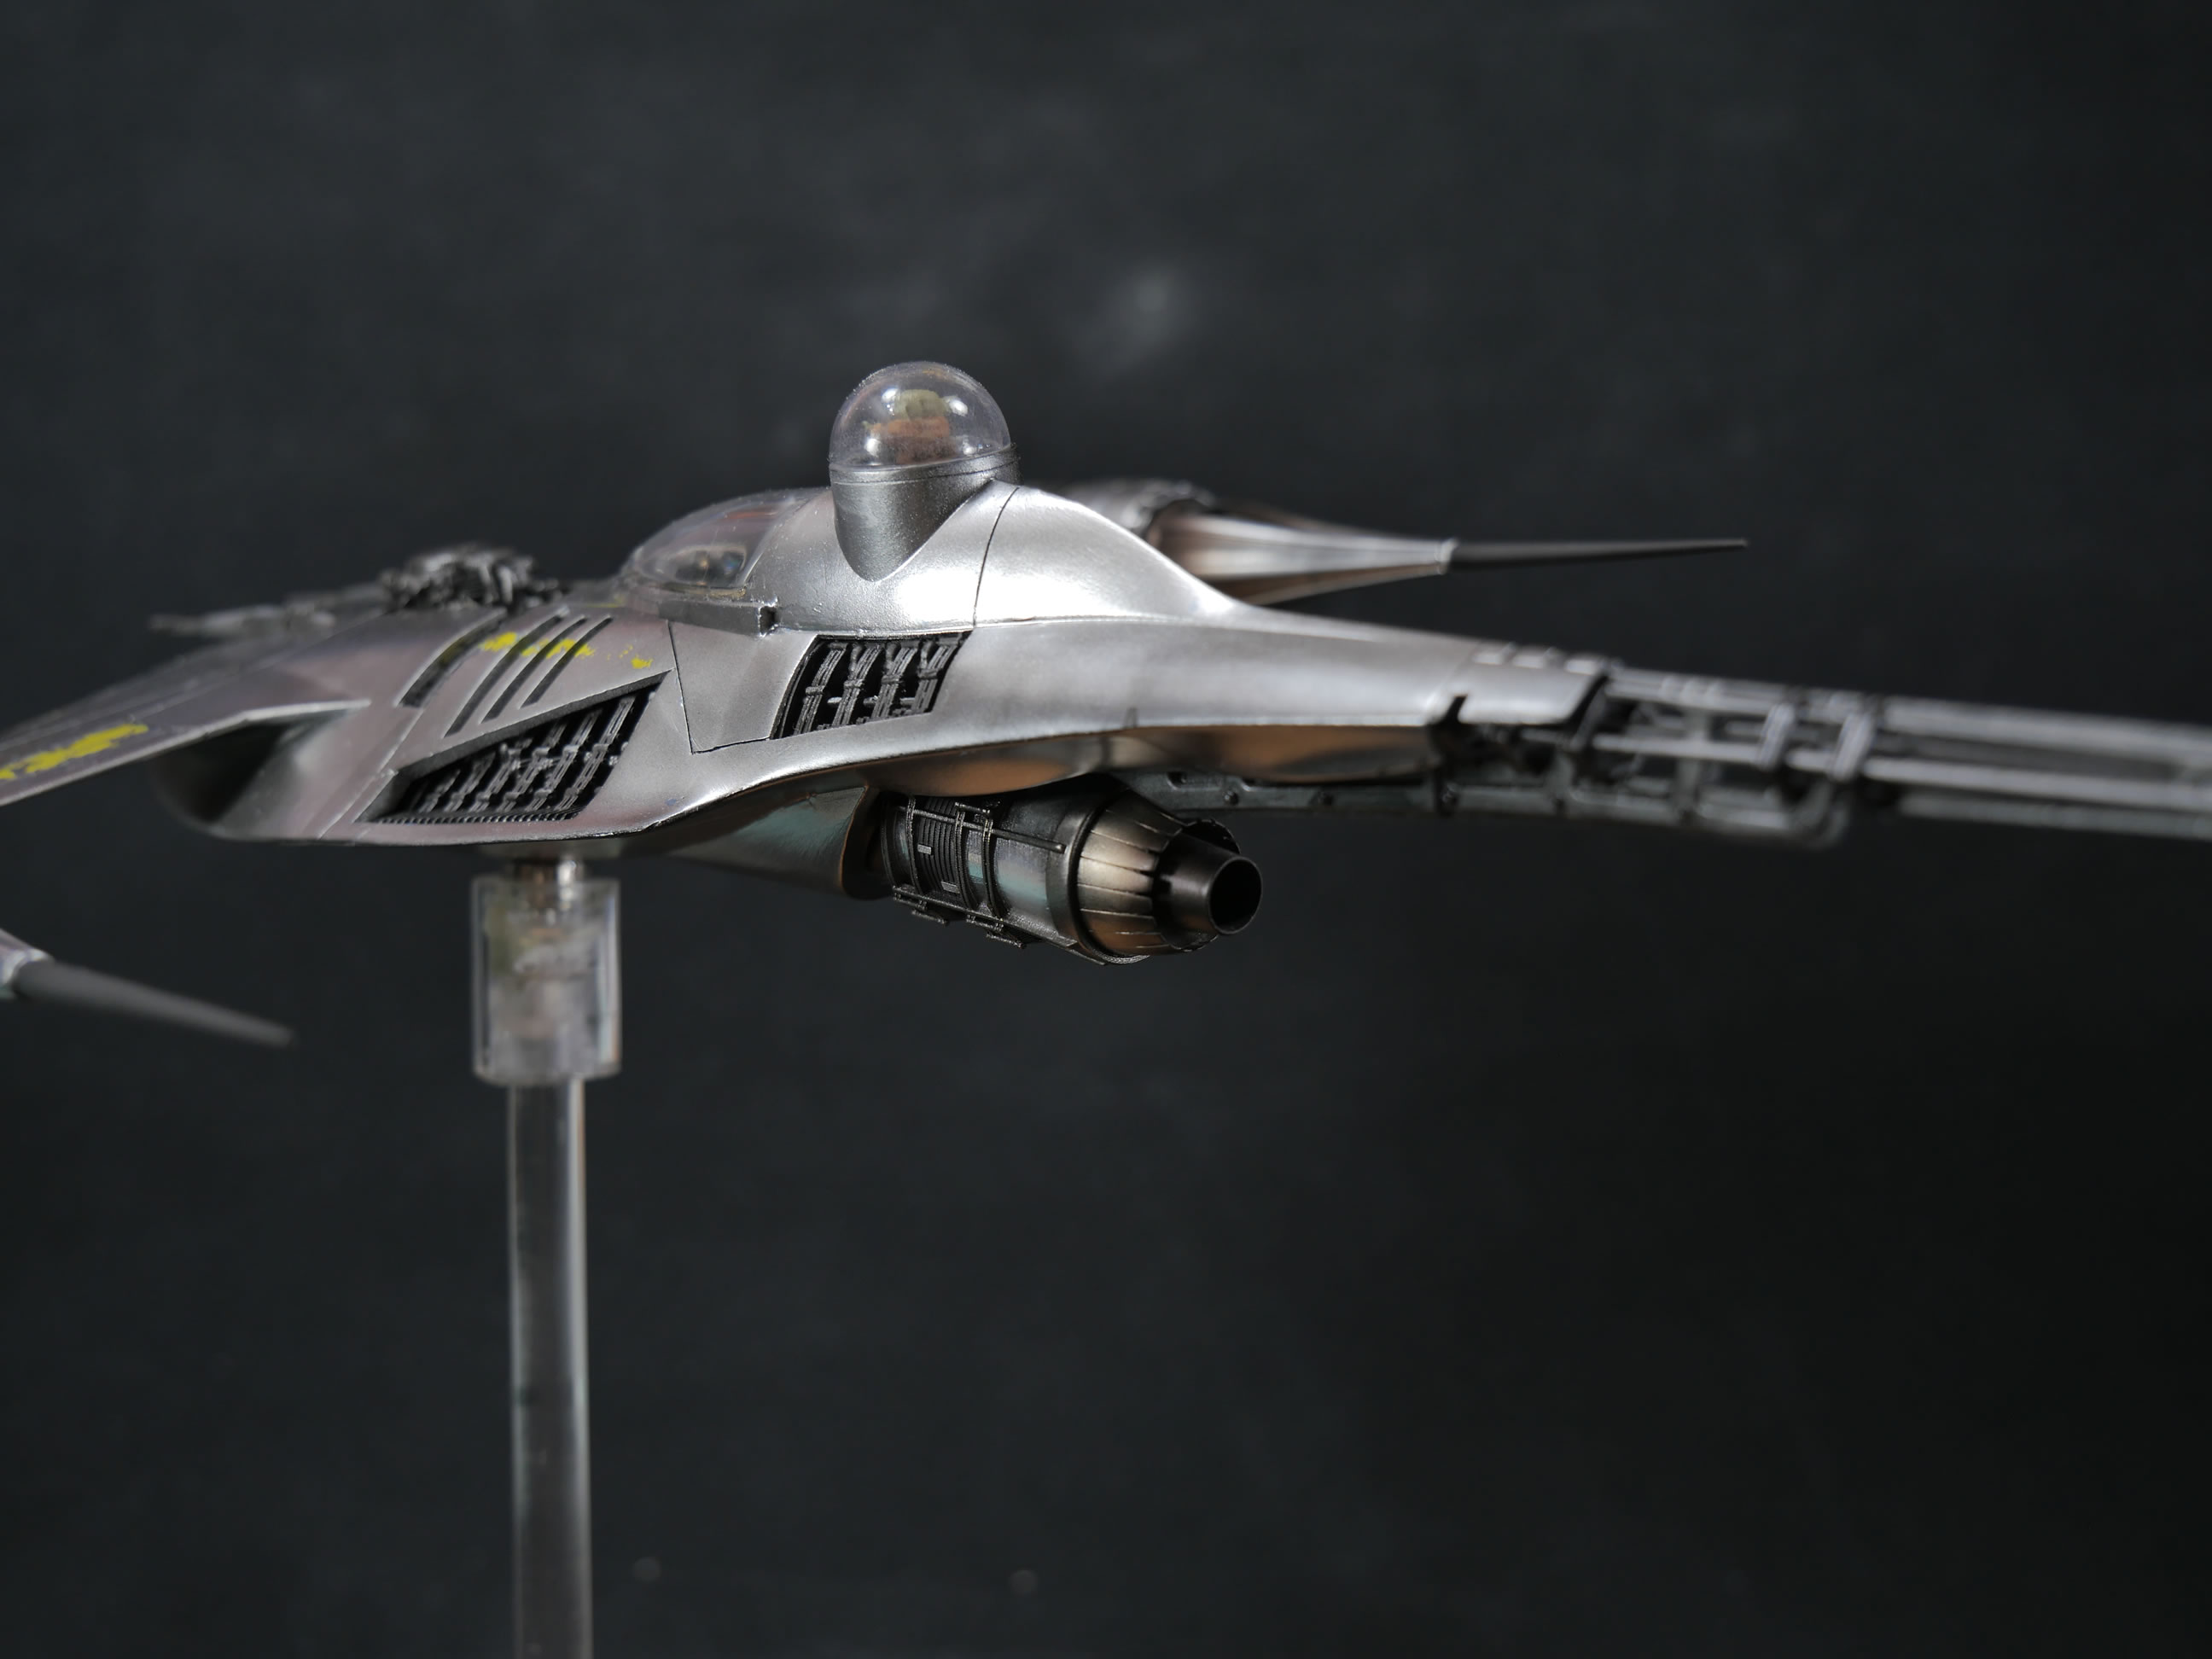
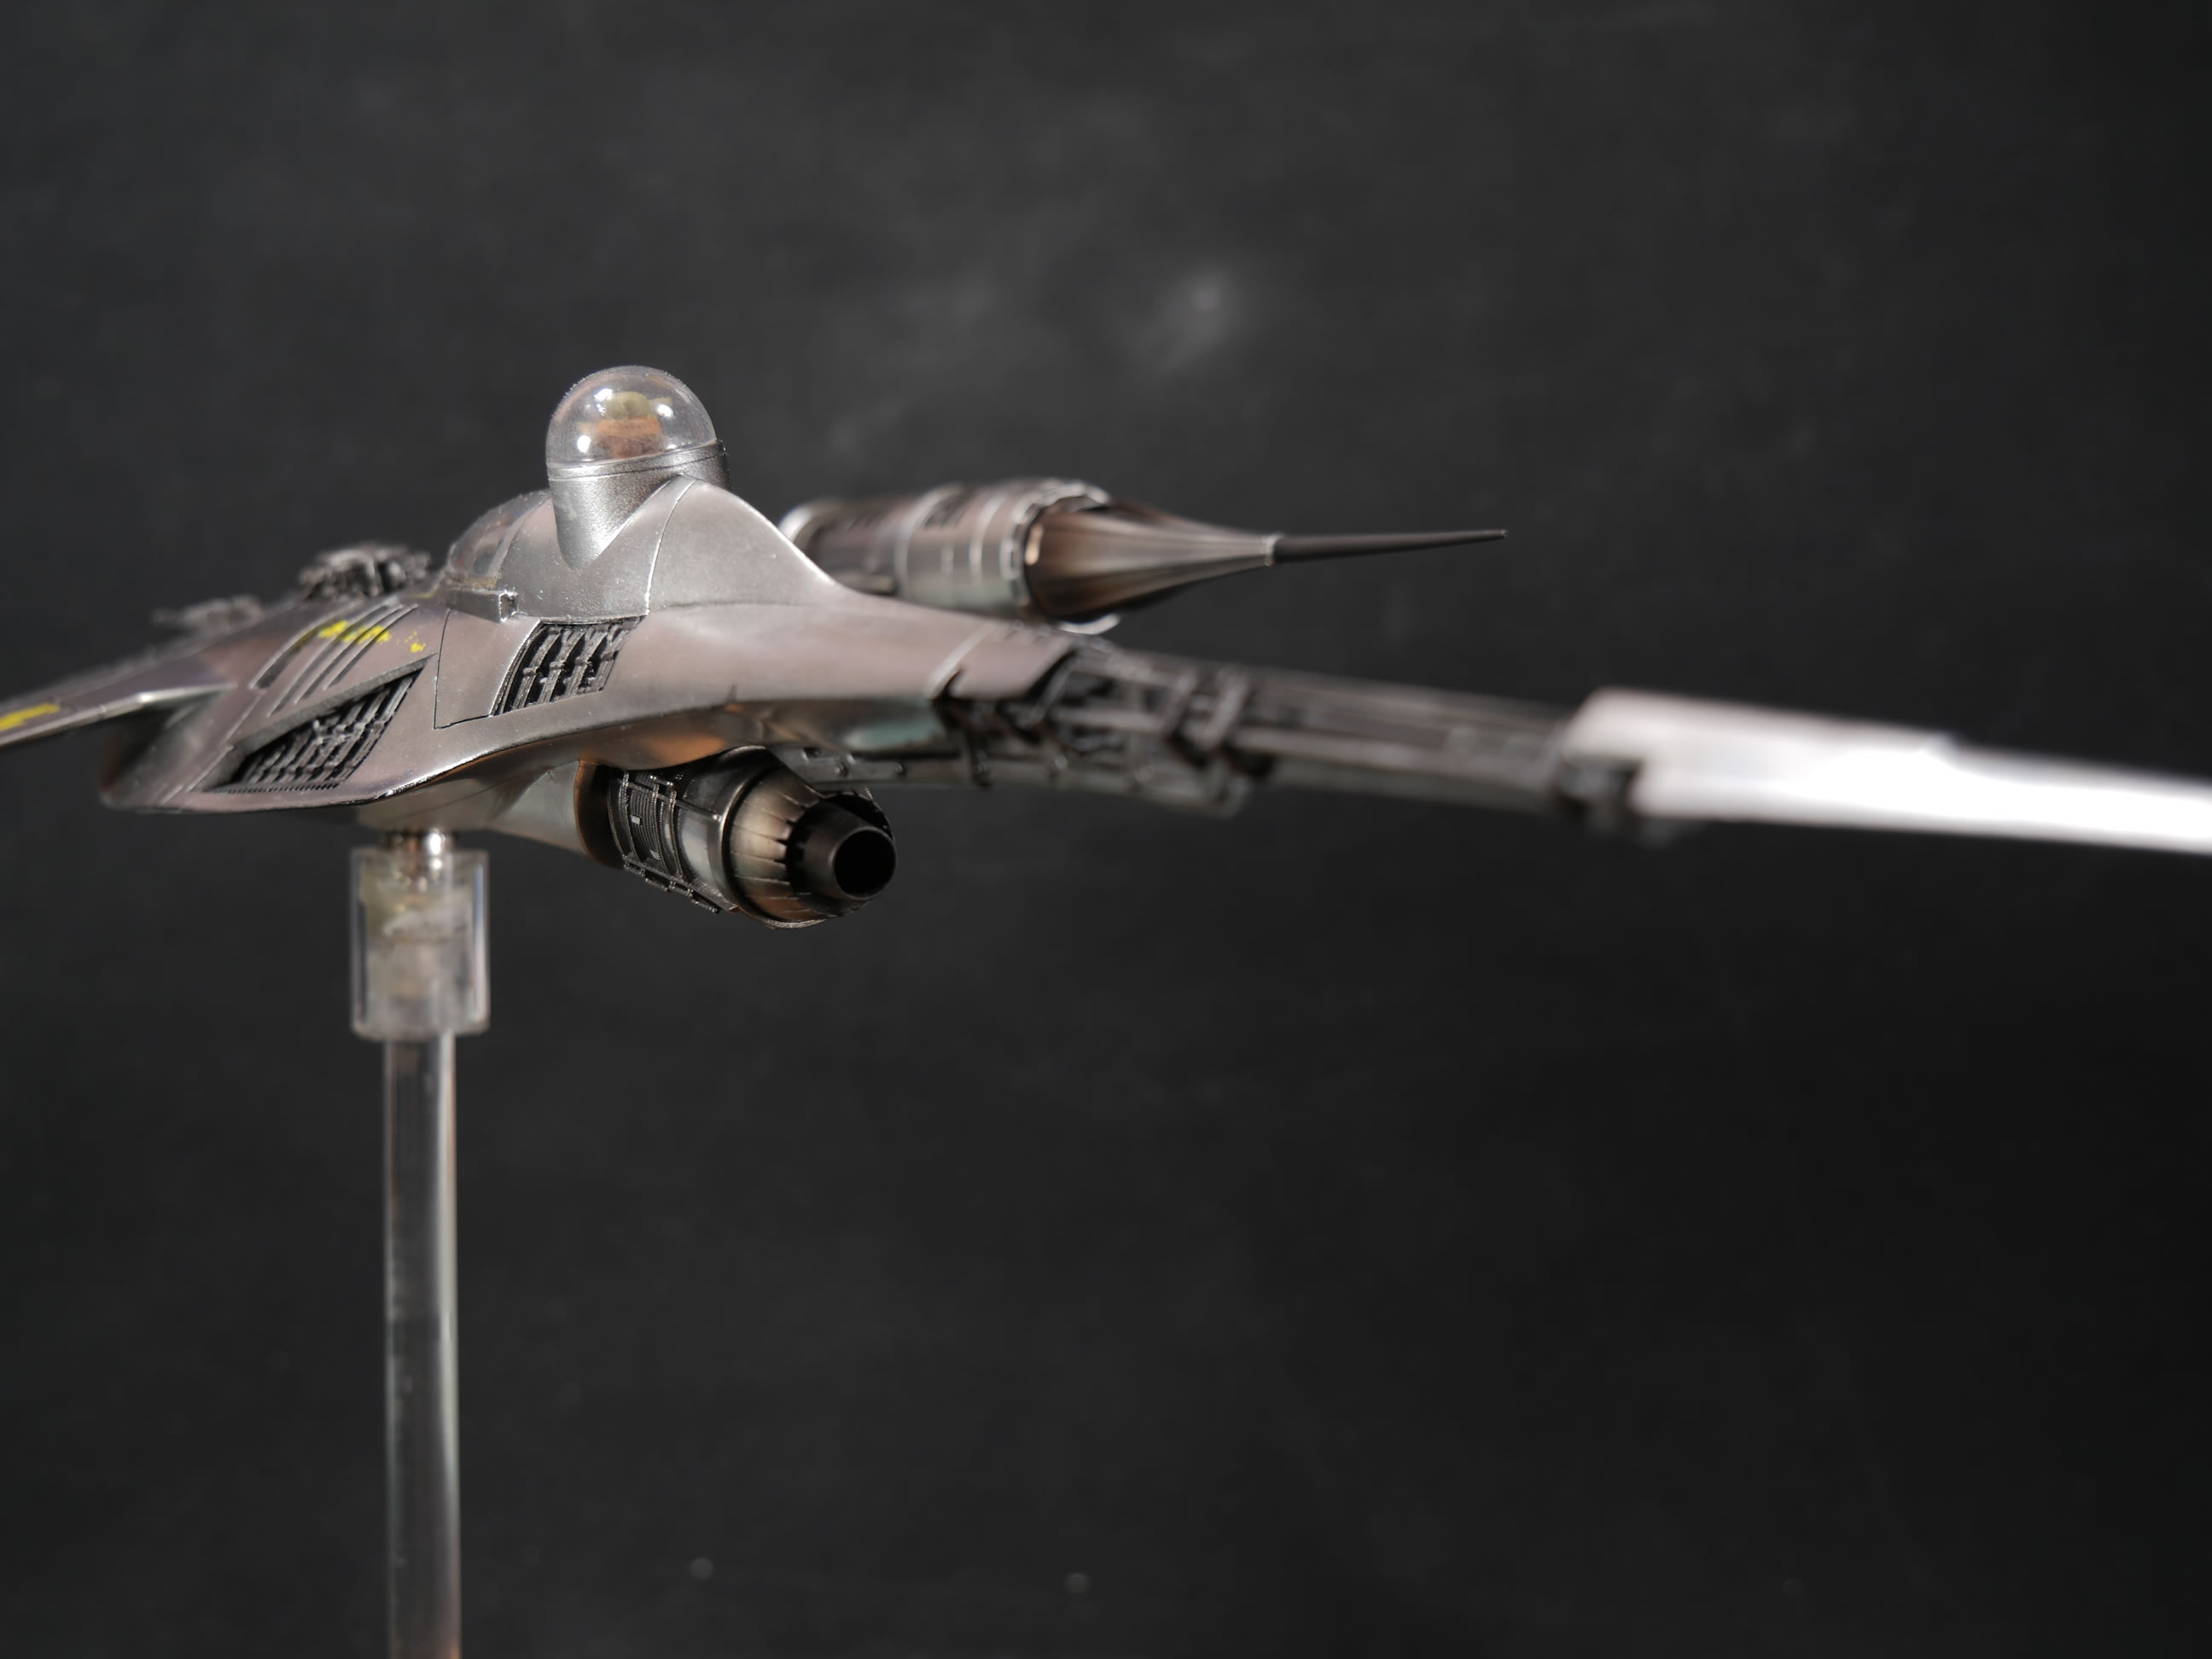
Completed picture are below:
|

|
|
|
|
|
|
|
|
|
|
|
|
|
|
|
|

|
|
|
|
|
|
|
|
Clem check out the Epax E10 resin printer. The 4K 8.9” is $700 on their website. It’s an upgradable printer. I will upgrade mine to a 10” 8k soon. Also check out the creality wash/cure station. Makes life so much better. Nice job on the model! You have inspired me to print one one as well.
Thanks Jim, Yeah, I’m pretty happy with my form 2. Most stuff I do doesn’t require the bigger volume, but it’s good to know that there are reasonably priced options. Man, I don’t know where I would put it, my workshop is already bursting at the seams. The wife wants to do some stuff cleanup. A wash/cure station would be awesome too, but again, space issues. Looking forward to your build!