This project was started the first week of May and should have been done within 2 weeks. It is now approaching the tail end of June and it’s still not done. I keep running into problems with the final body work bits. I realized that I didn’t post up any progress pictures of this build to the blog, so here we go.
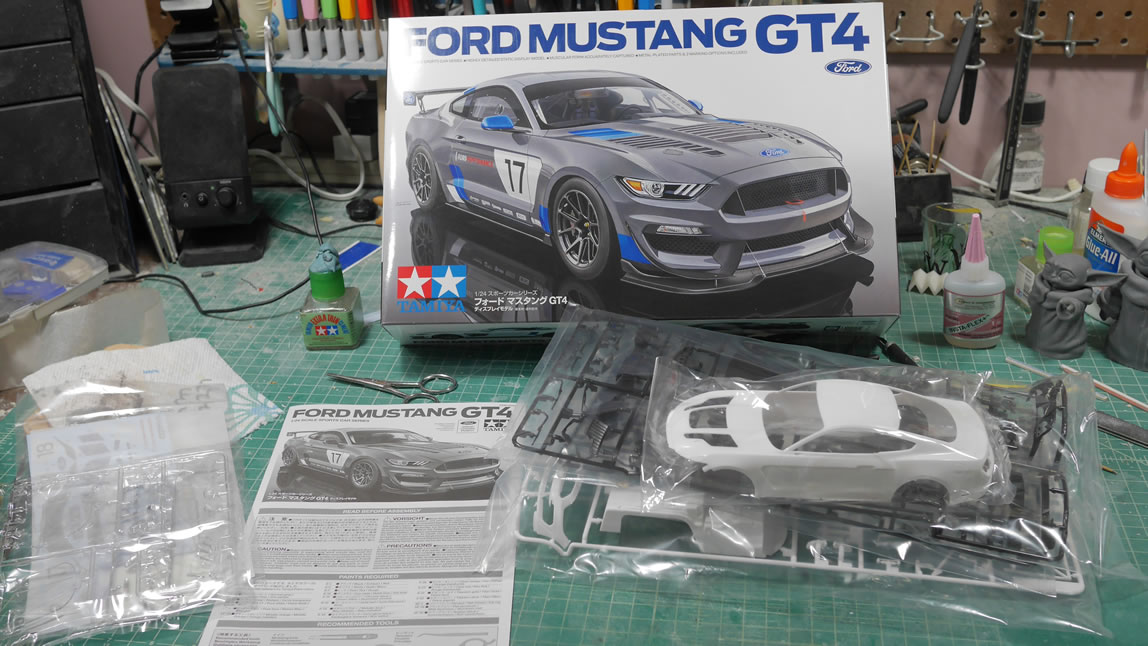
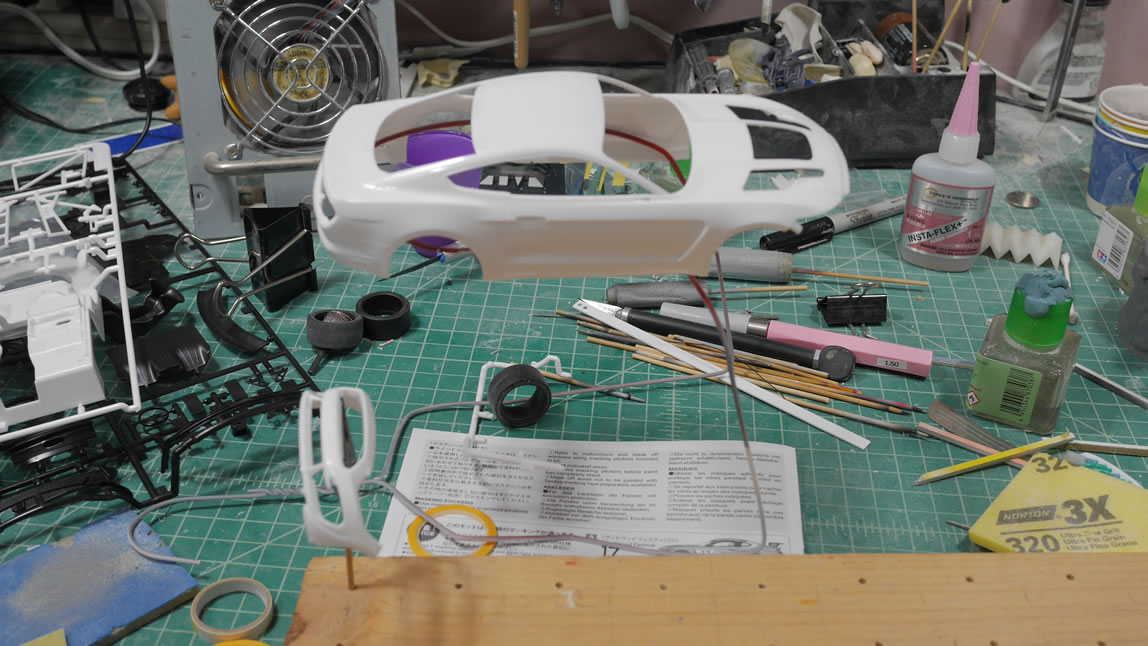
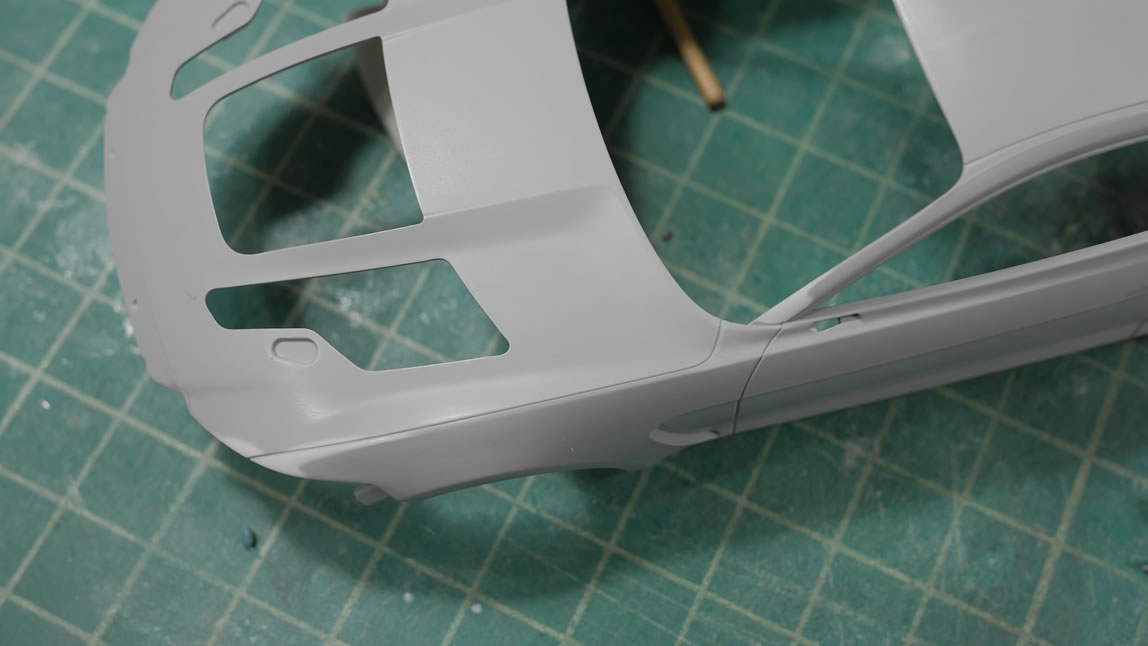
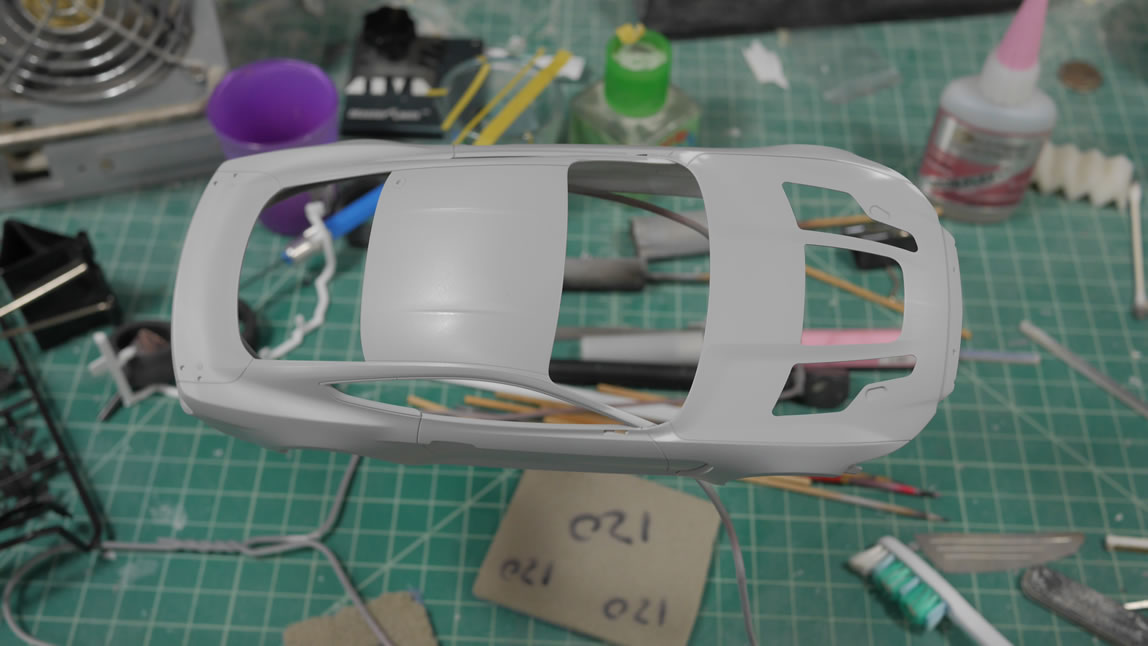
This kit was released some time in April, and I went out and grabbed out because it looked pretty cool and I wanted to try some polishing techniques I saw online. Right out of the gate, we get working on the body. It is white, so defects and mold lines are a little hard to see. A quick primer session remedies that, and I can see areas that need to be addressed and sanded down.
The rest of the progress after the jump.
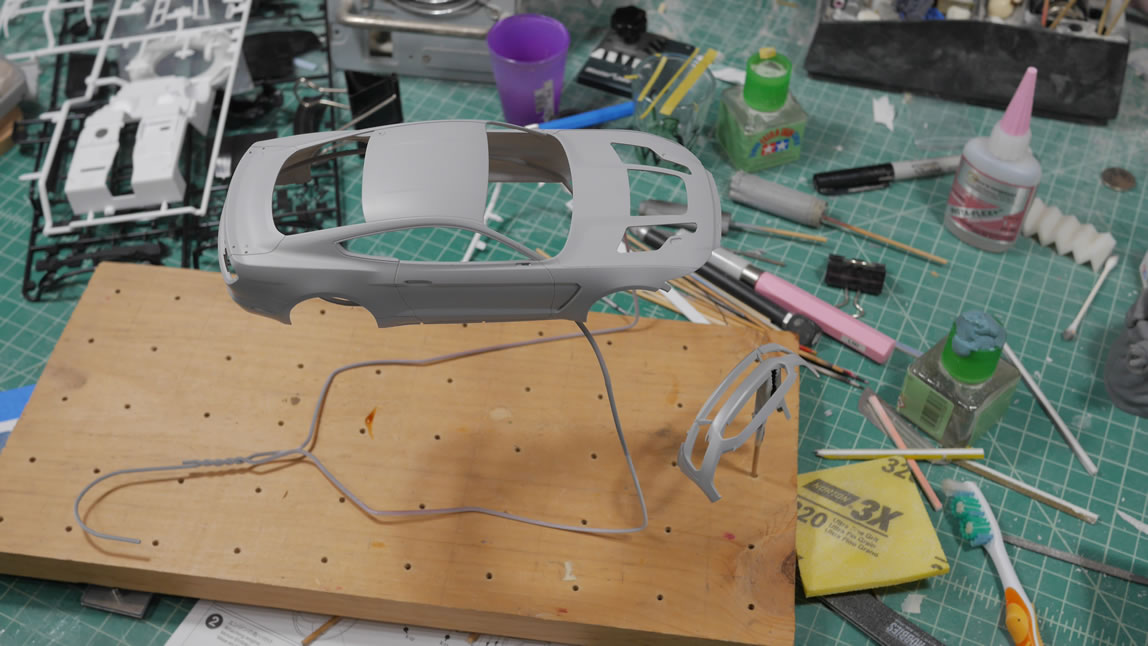
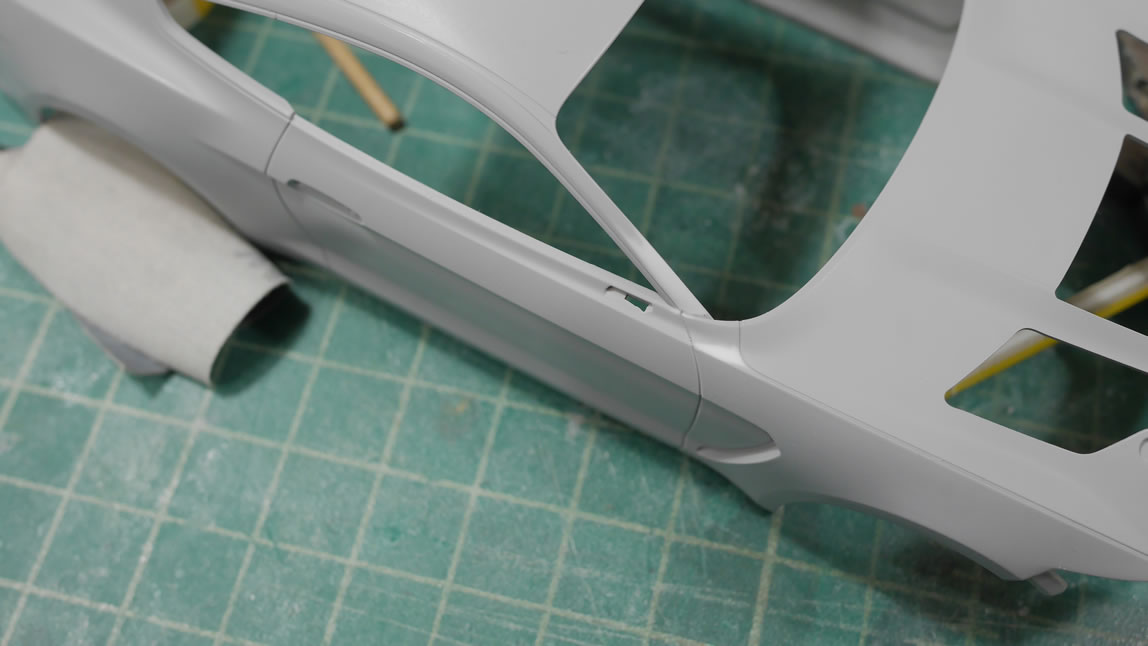
Fine grit sanding on the primed body got it ready for the main body color.
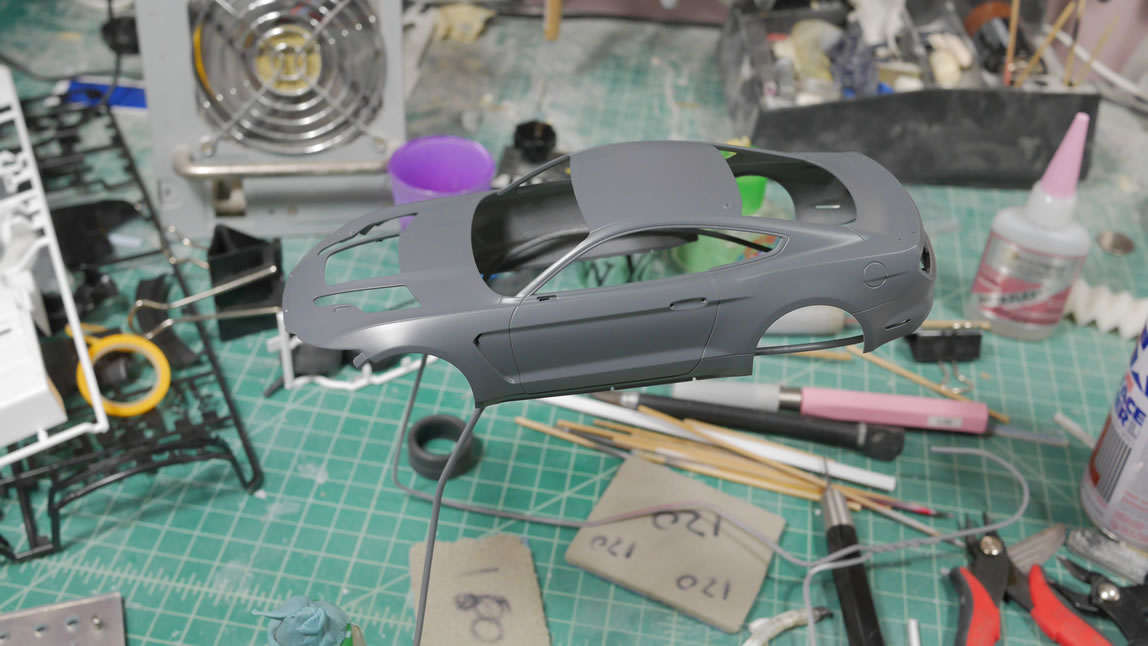
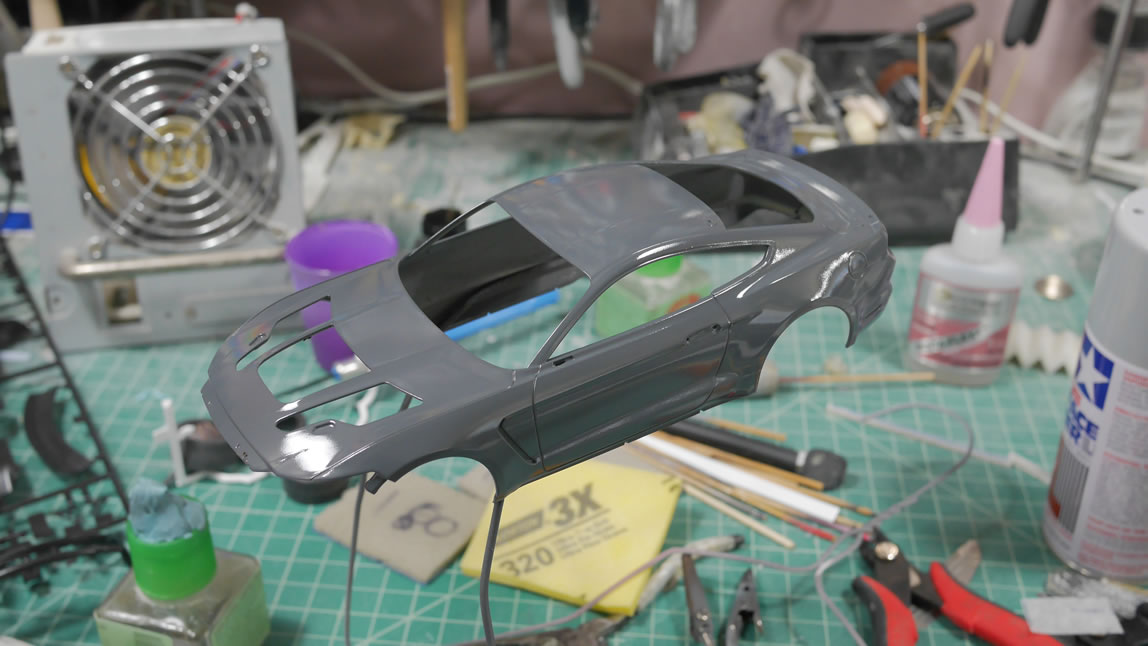
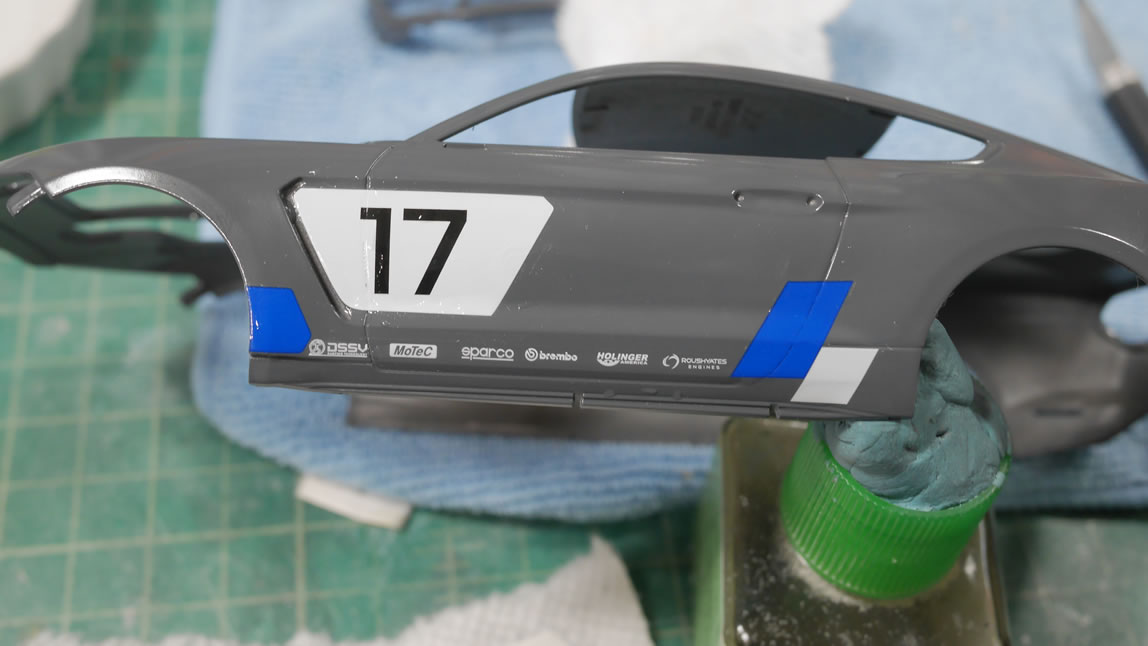
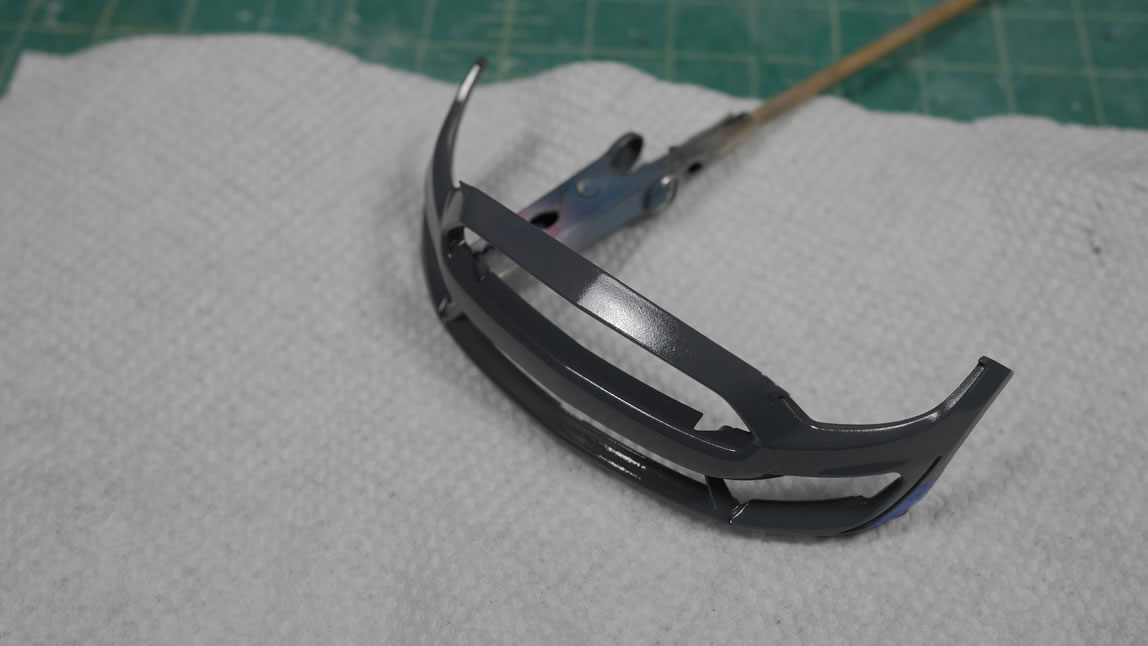
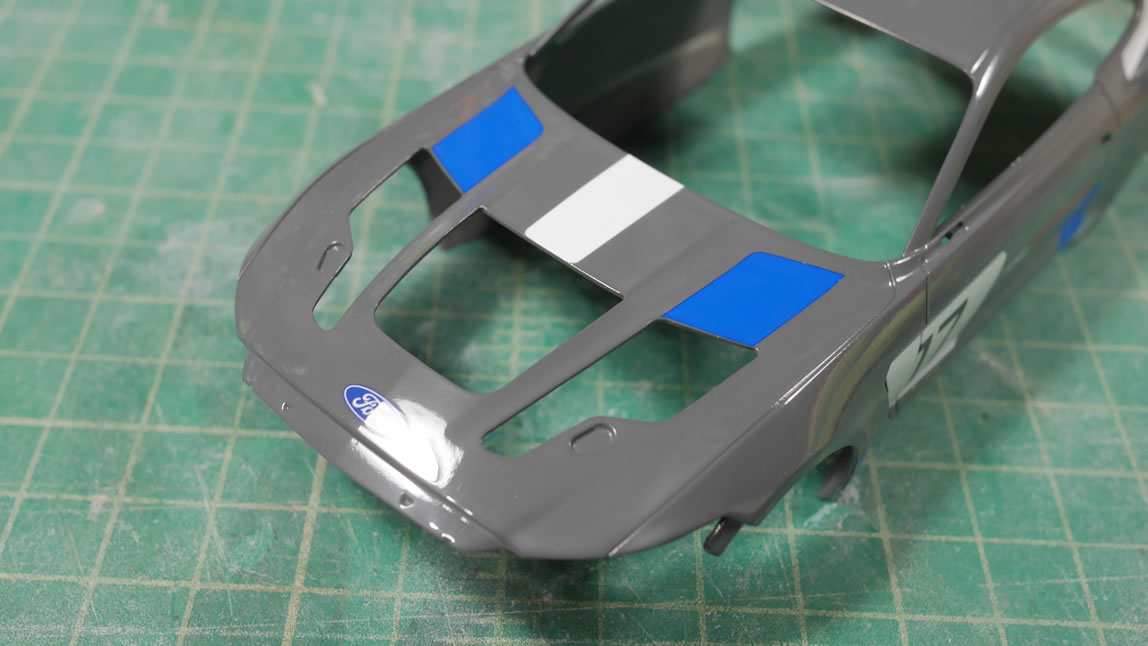
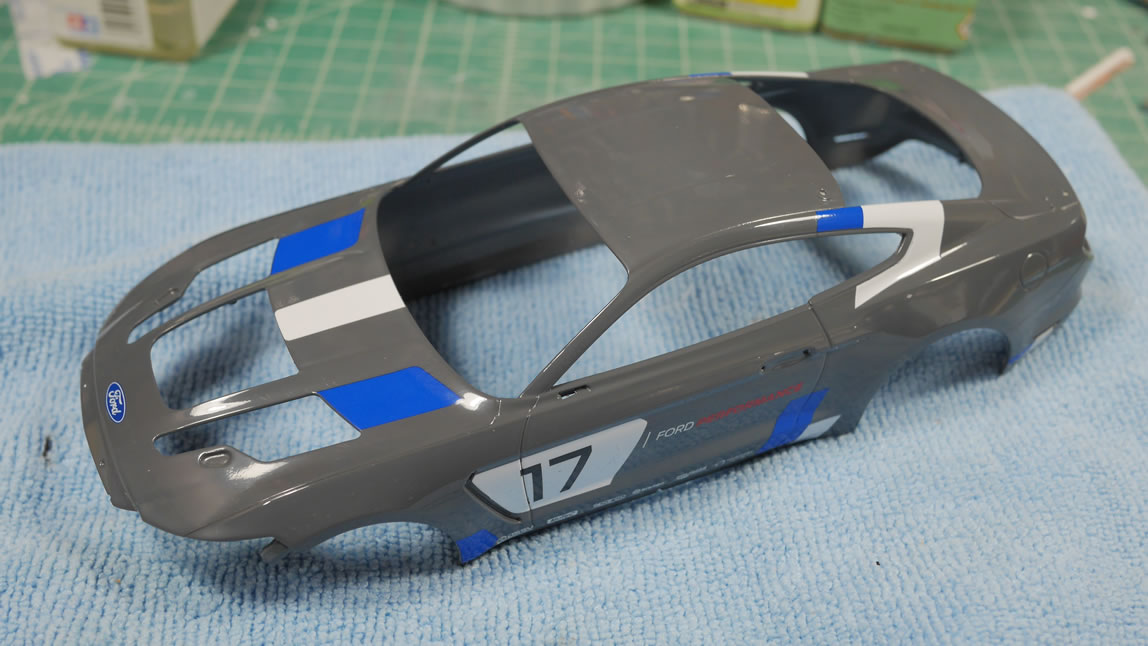
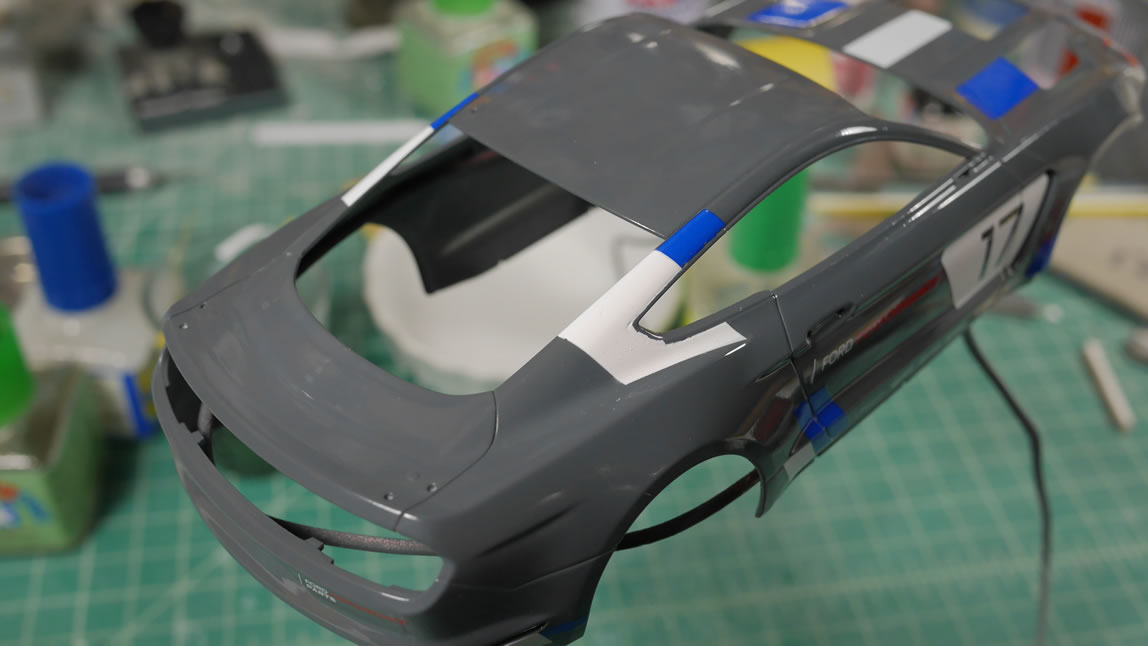
I’m following the build colors from the manual so tamiya TS-4, German Gray, is sprayed. The color is a matte finish so I will need to spray a clear gloss to get that actual finish correct. While spraying the gloss, a damn bug landed on the car. The fumes from the gloss killed it instantly. So remember kids, spray in well ventilated areas!
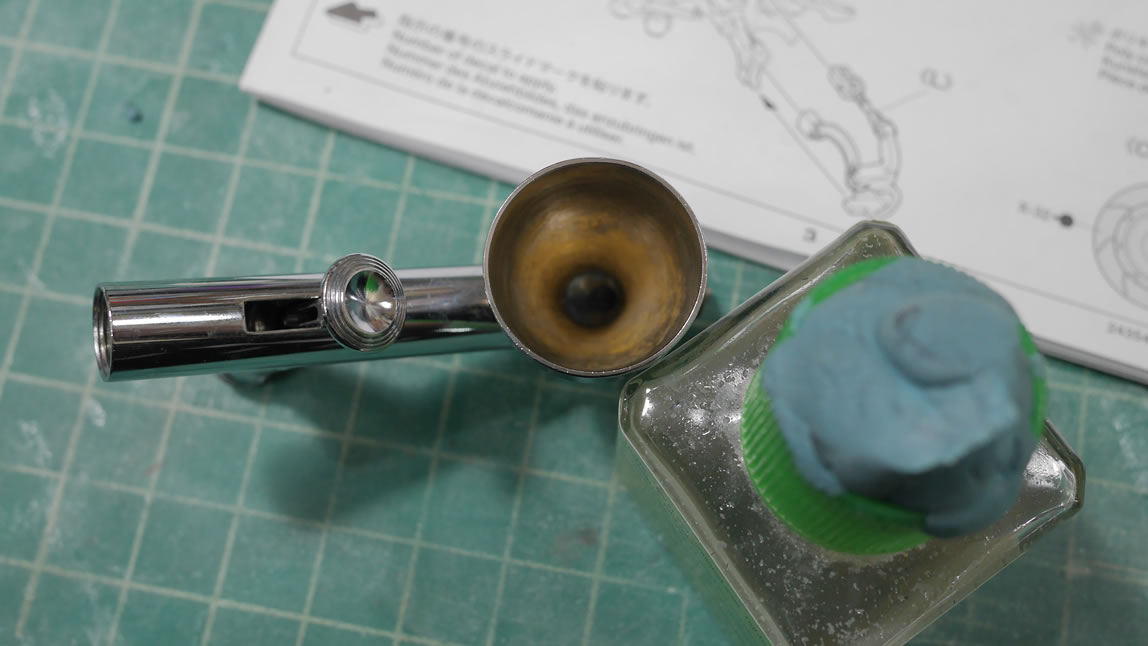
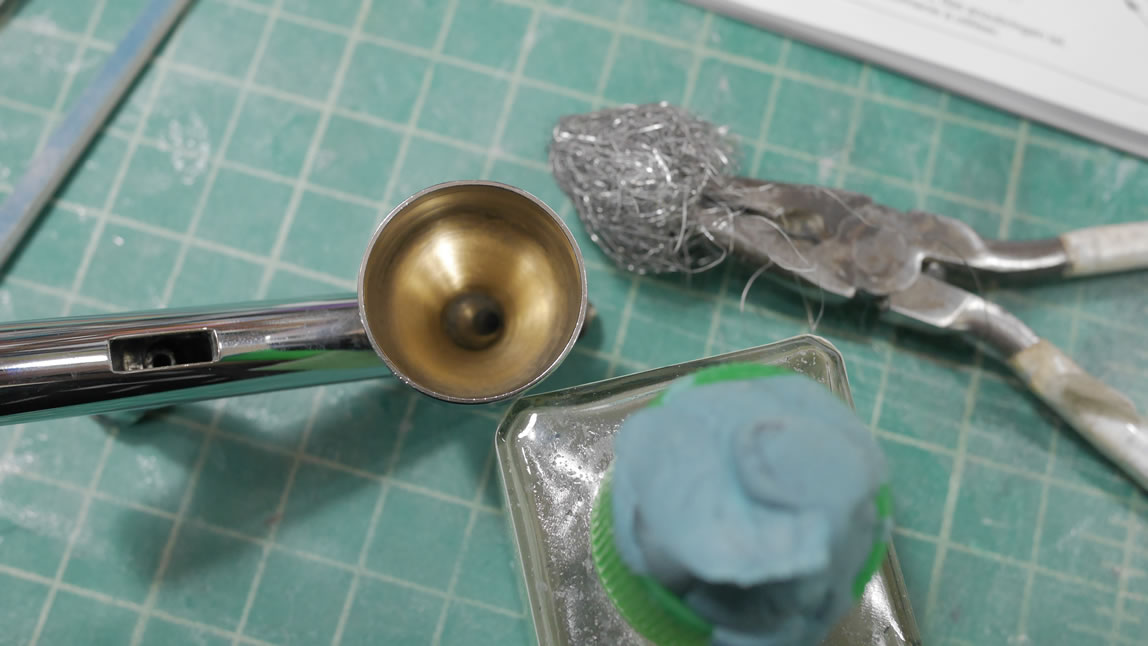
A short break for airbrush maintenance. Even after running the thing through an ultrasonic cleaner with lacquer thinner, the cup for this AB was still pretty disgusting. This is our communal AB, so it gets neglected. A quick swirl with some steel wool cleans it up nicely.
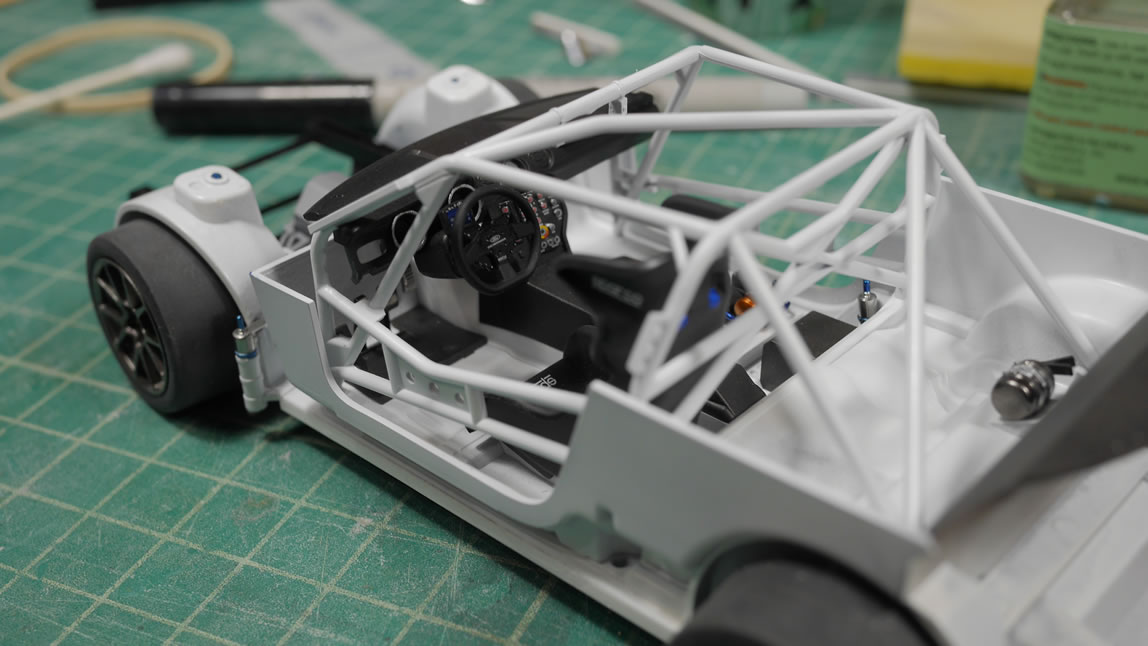
Back to work on the internals for the car. Things are cut and sanded and painted. The front CV boots have some lovely mold ejection marks that I didn’t like, so those were sanded and the folds of the CV boot are rescribed.
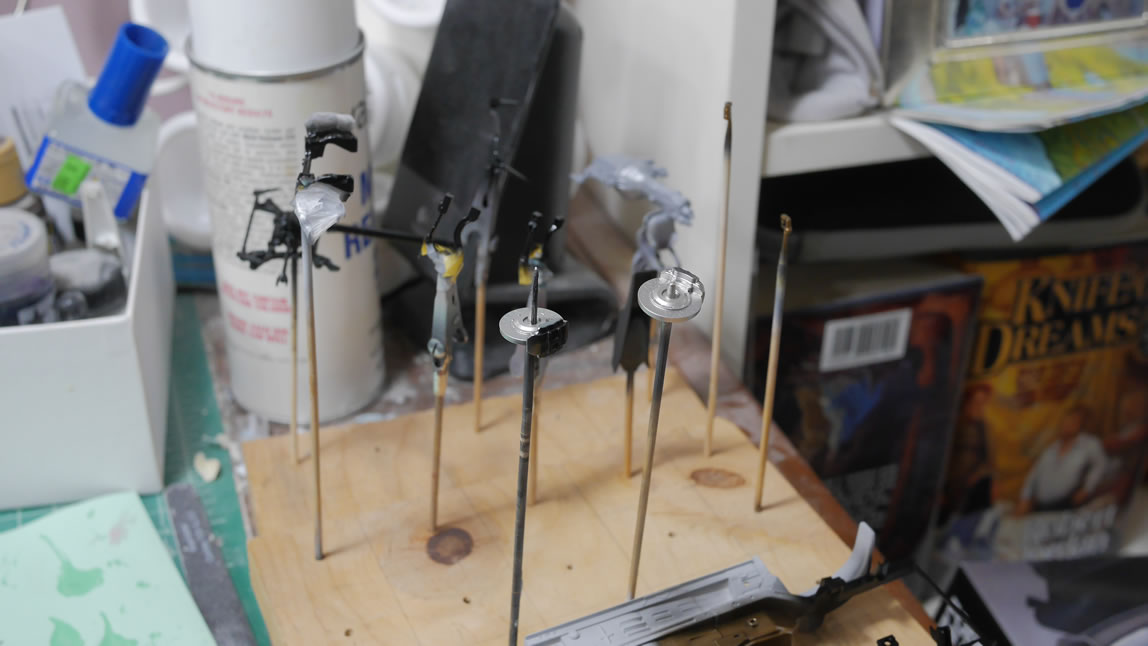
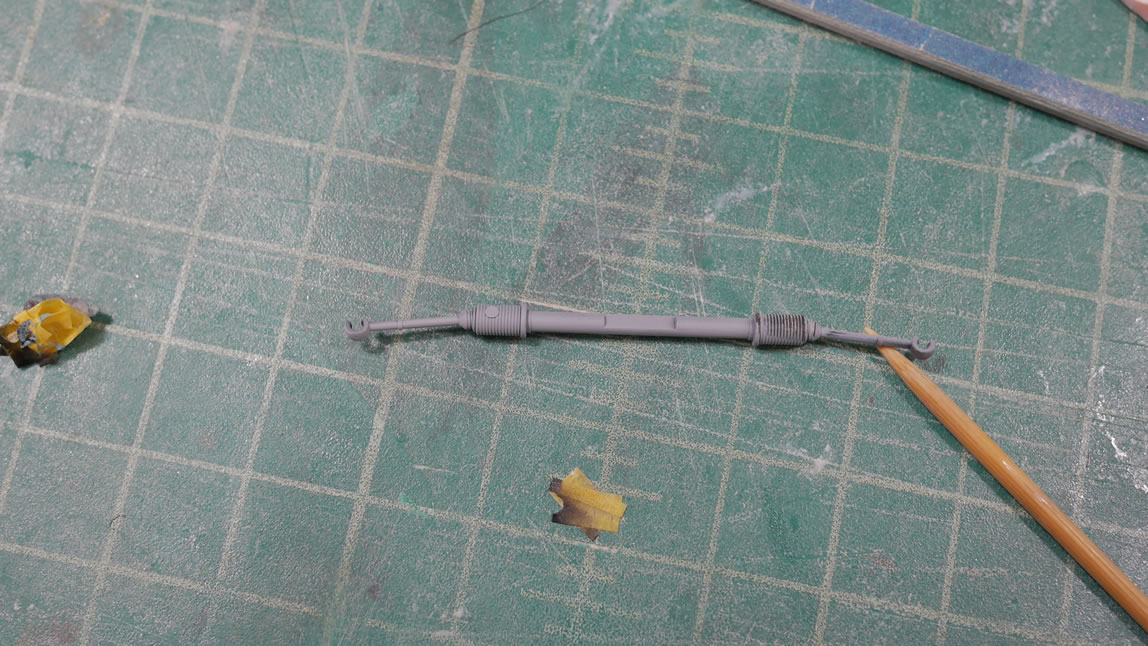
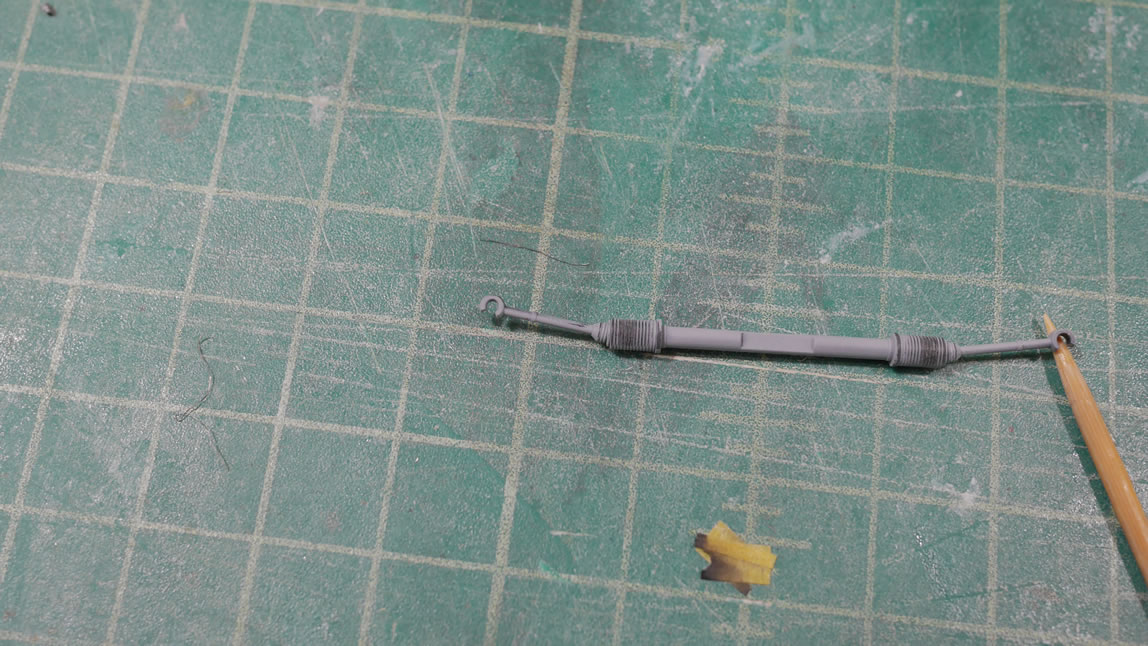
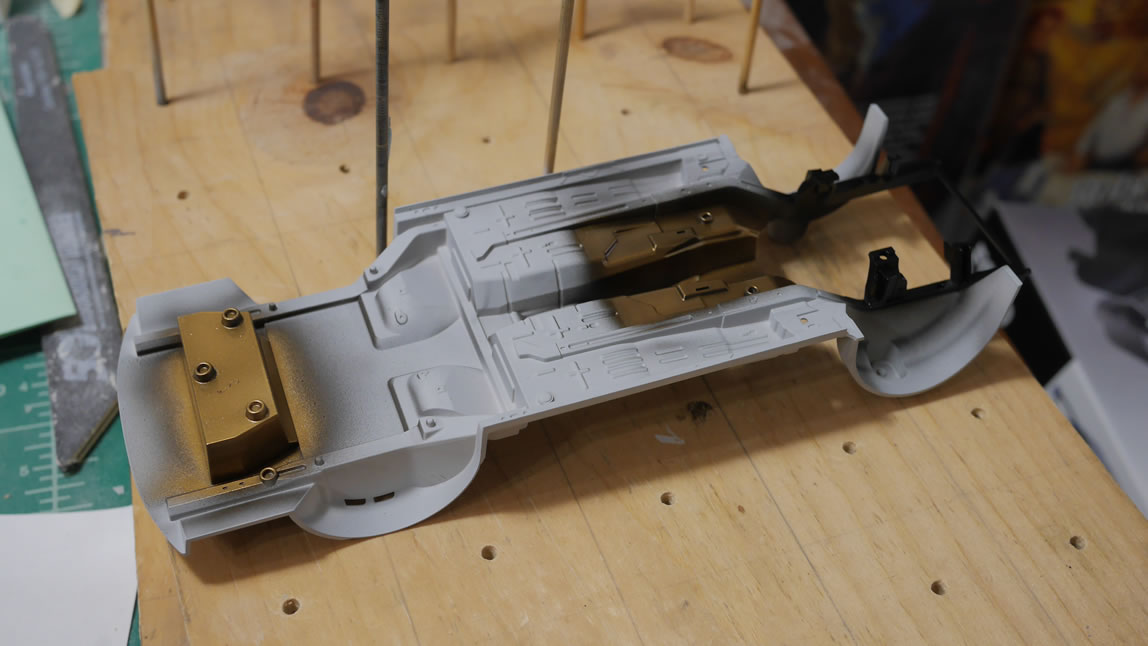
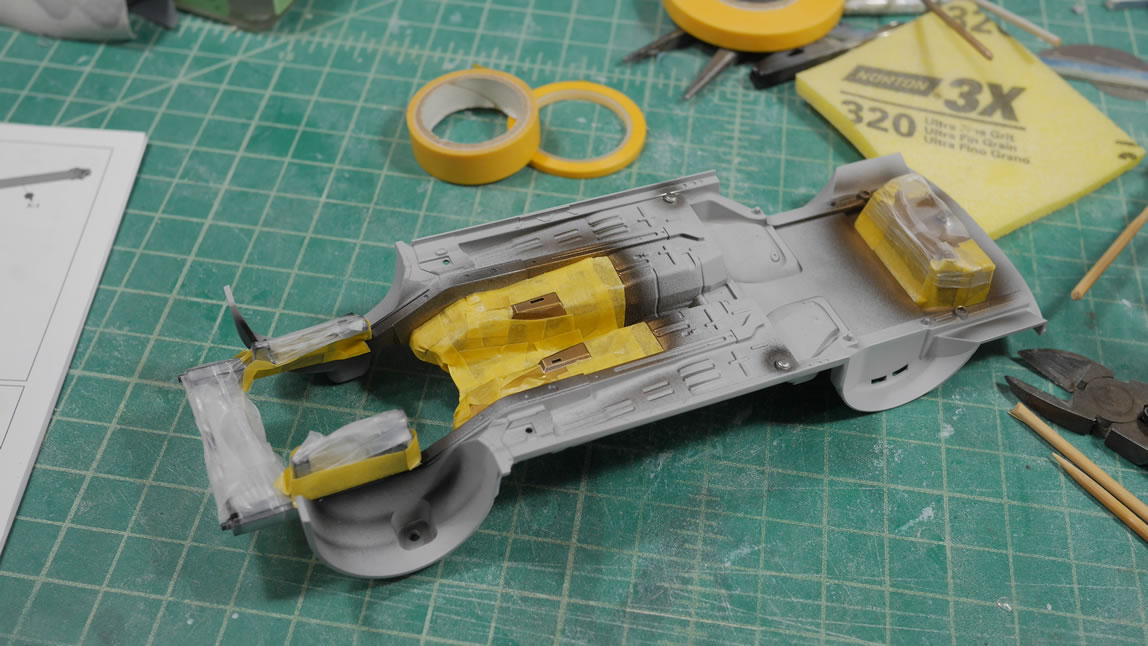
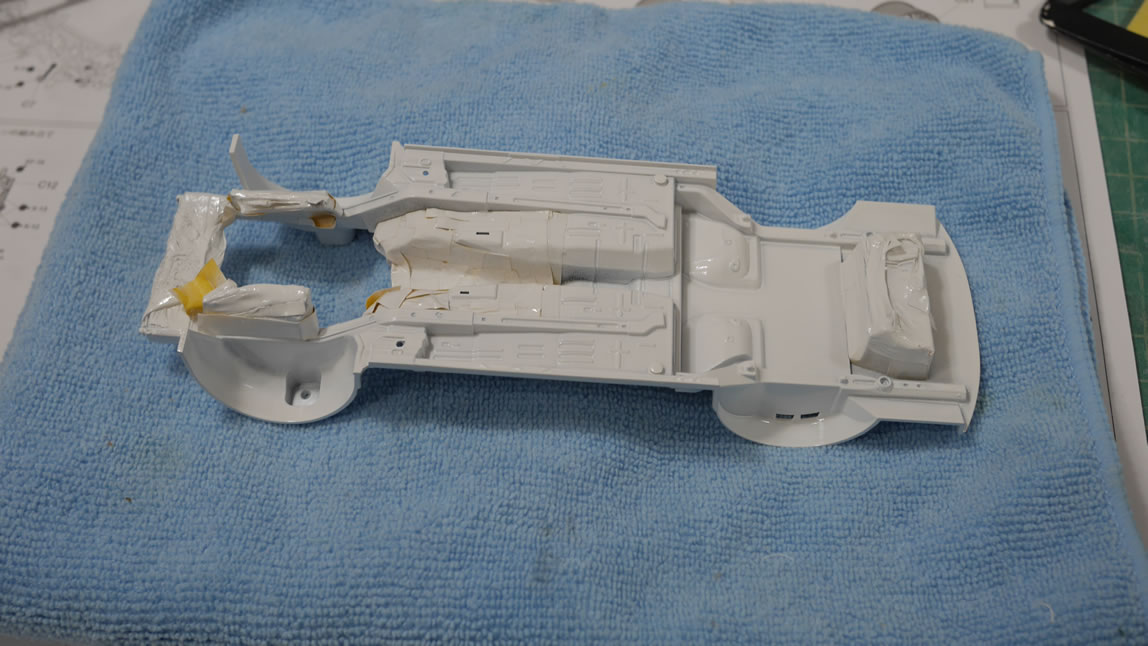
Frame and undercarriage work begins with priming, painting, masking, more painting, more masking, and more painting. Once that is done, the rear suspension assembly is glued into position.
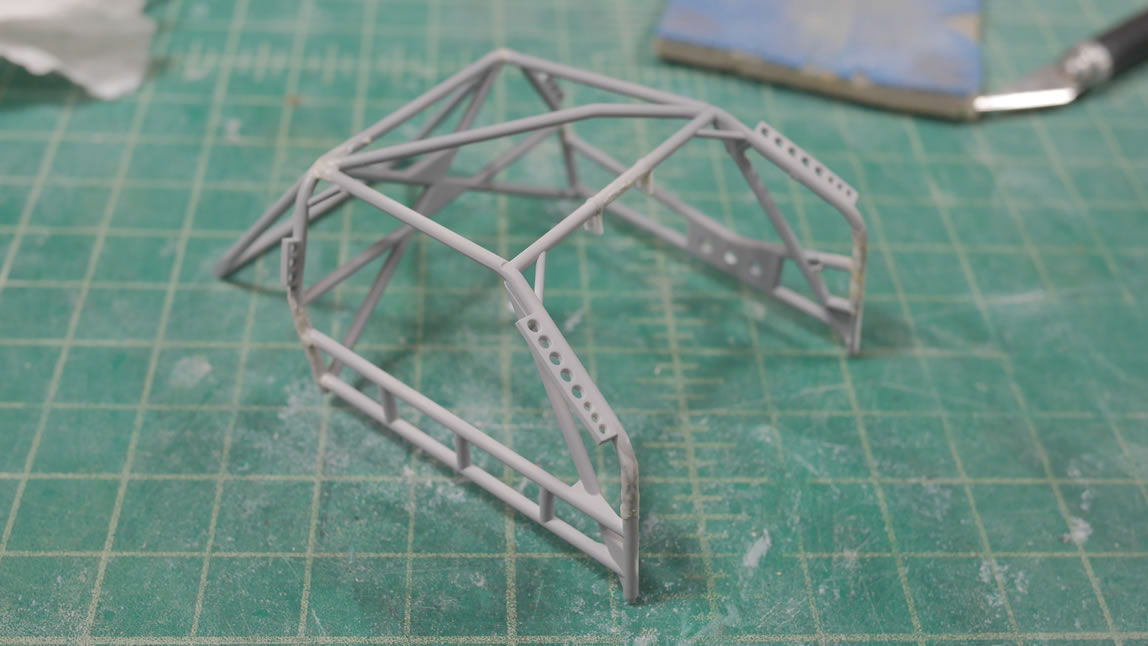
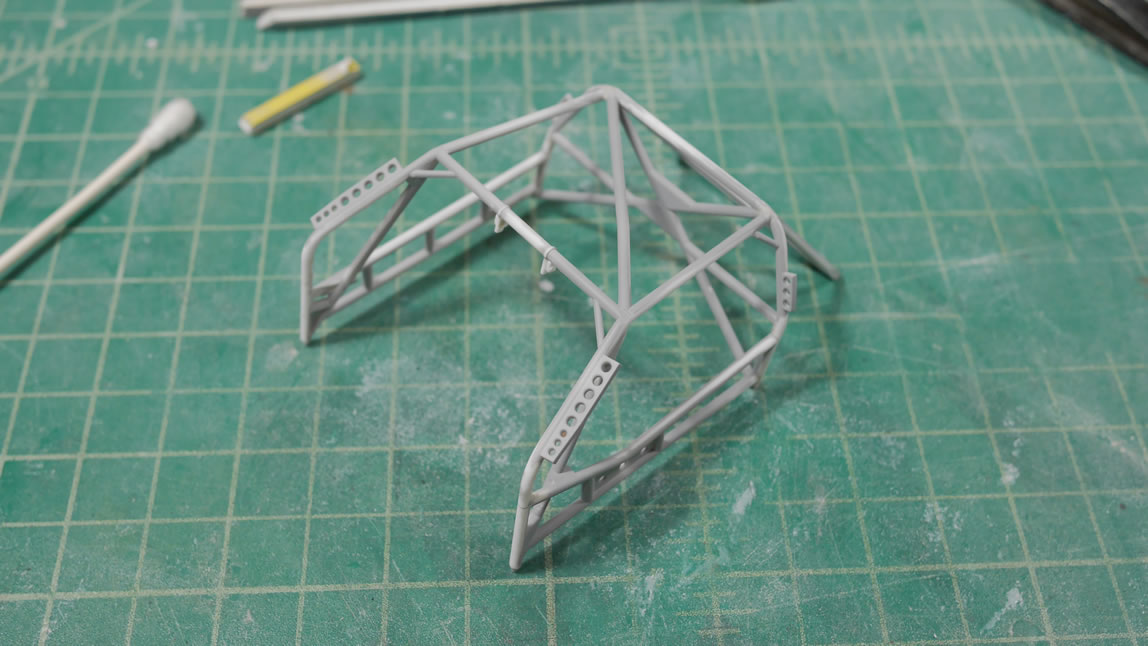
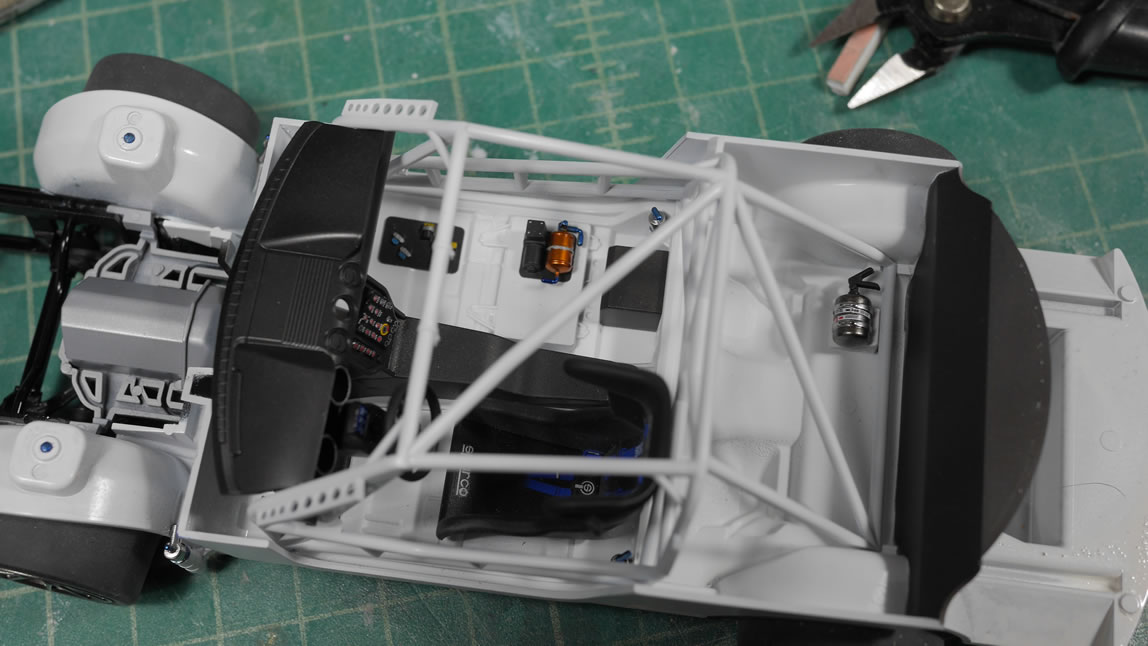
The roll cage is assembled and glued. There are ejector mold marks and the joint areas for the cage need to be puttied. Priming shows all the areas that need addressing. Once fixed, the whole cage is painted and ready for assembly.

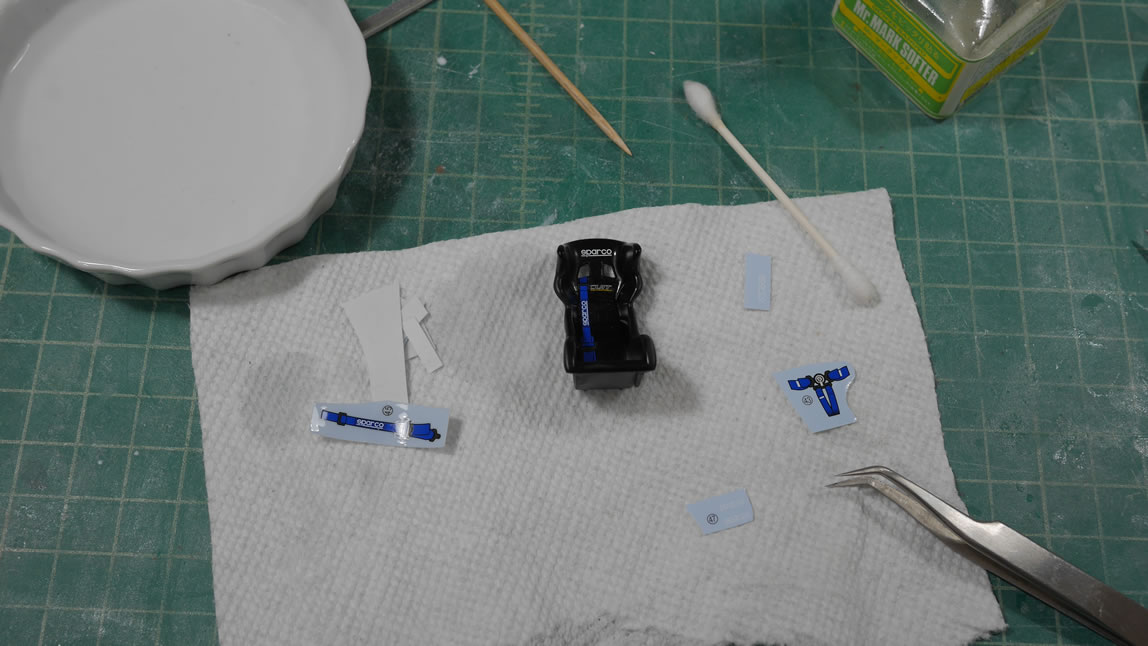
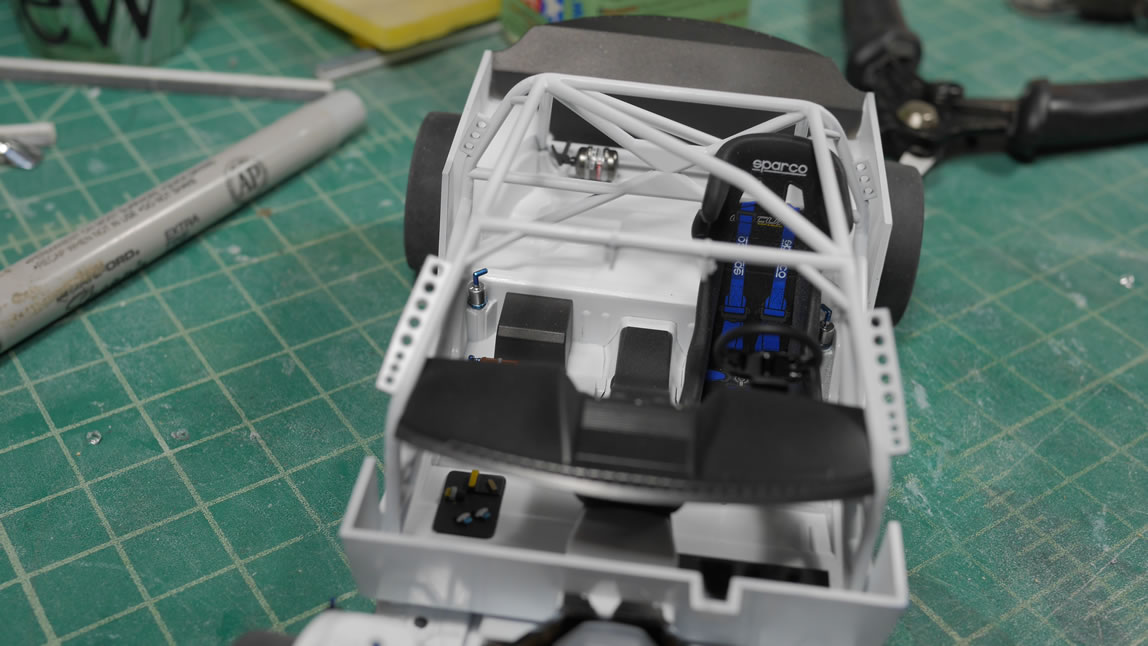
Some decal work for the seats and for the main body.
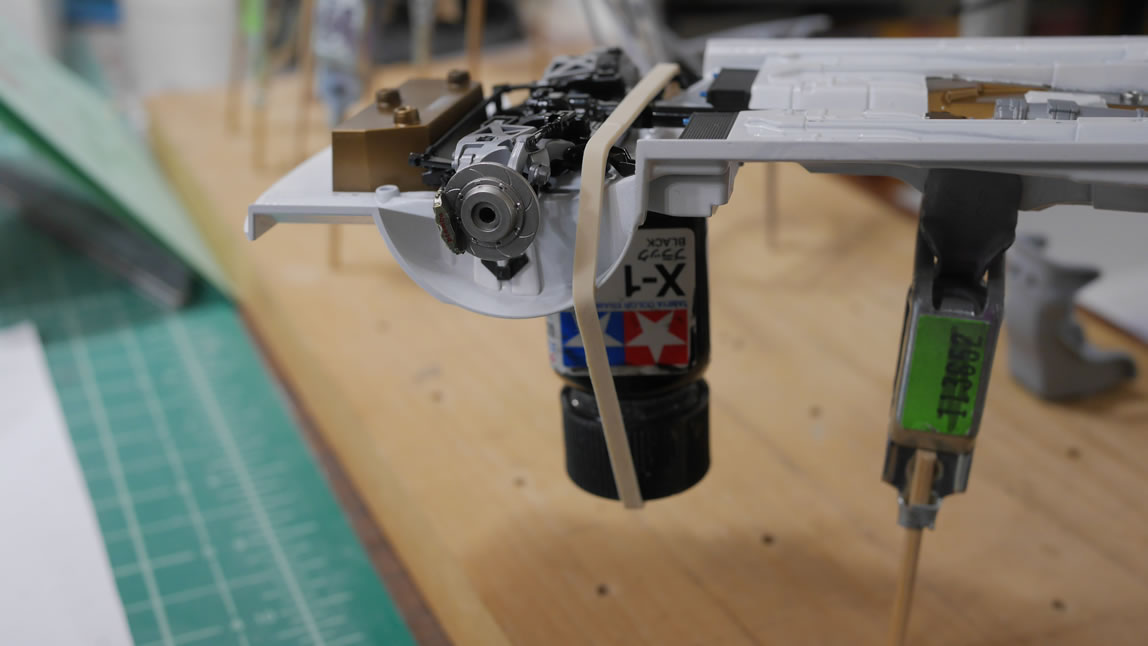
The interior and frame of the car is completely assembled including the wheels. All that is left is body work.

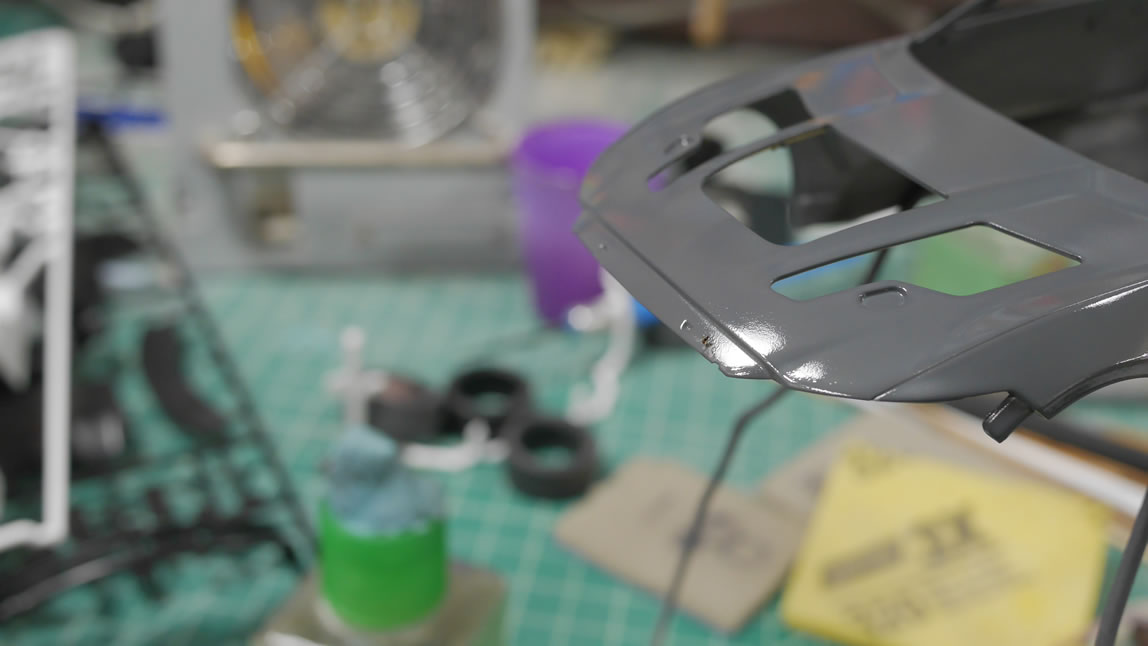
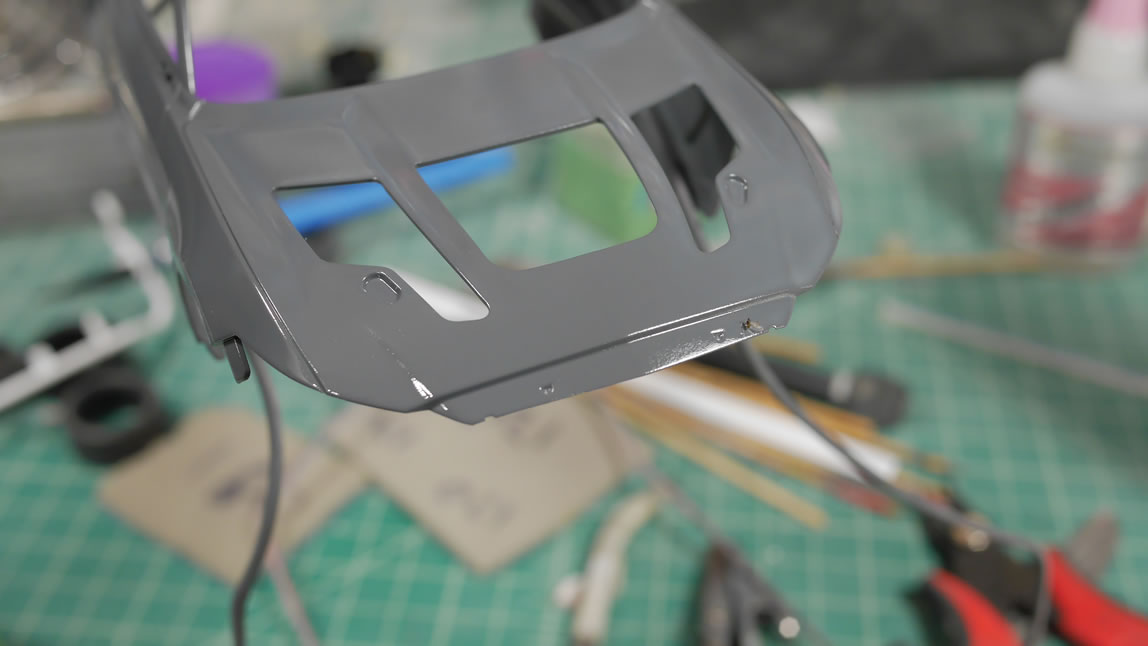
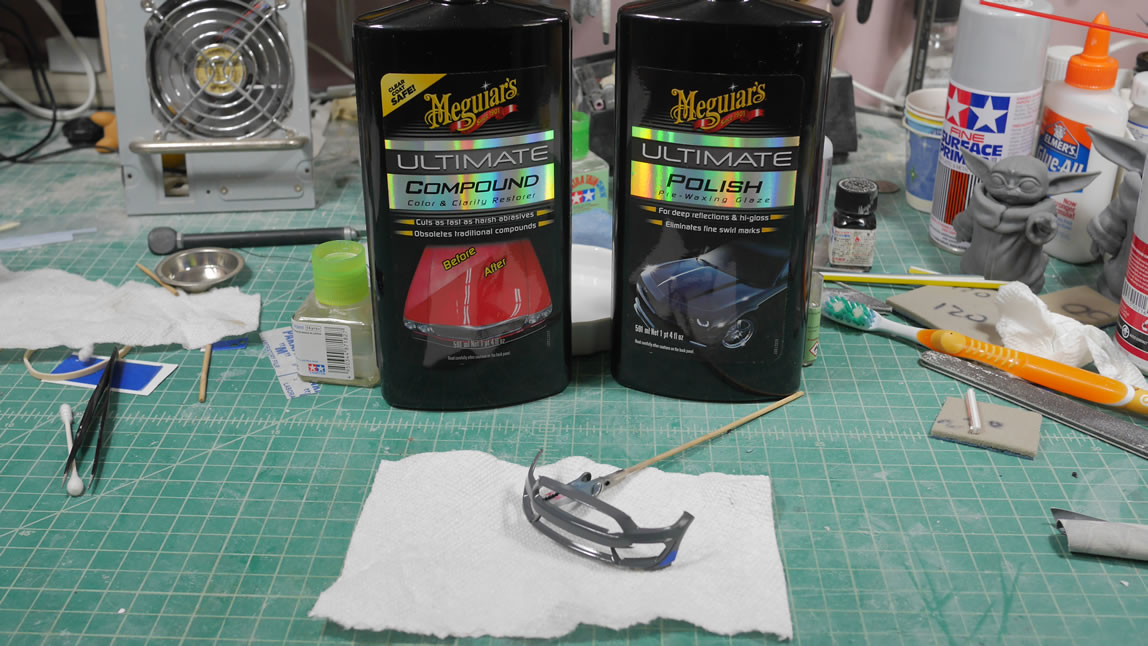
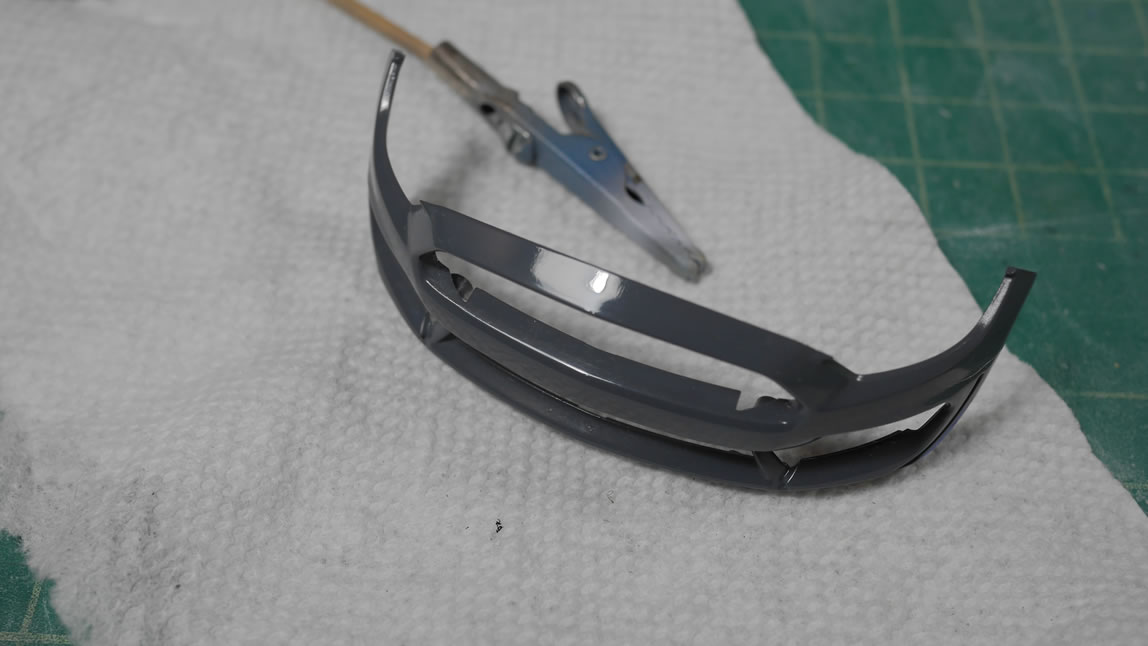
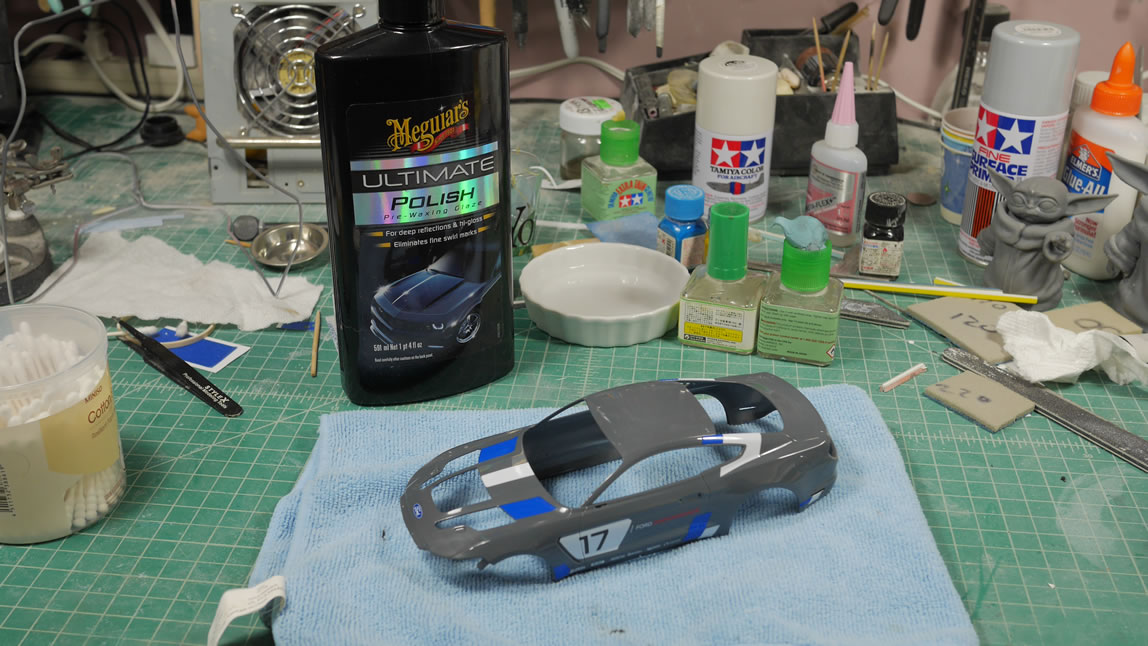
After several passes with Mr Super Clear gloss, the body is ready for polishing. I’m using a 2 part system from Meguiar’s. Here is a before and after. The polishing removes the orange peel look of the sprayed gloss and turns the surface completely smooth.
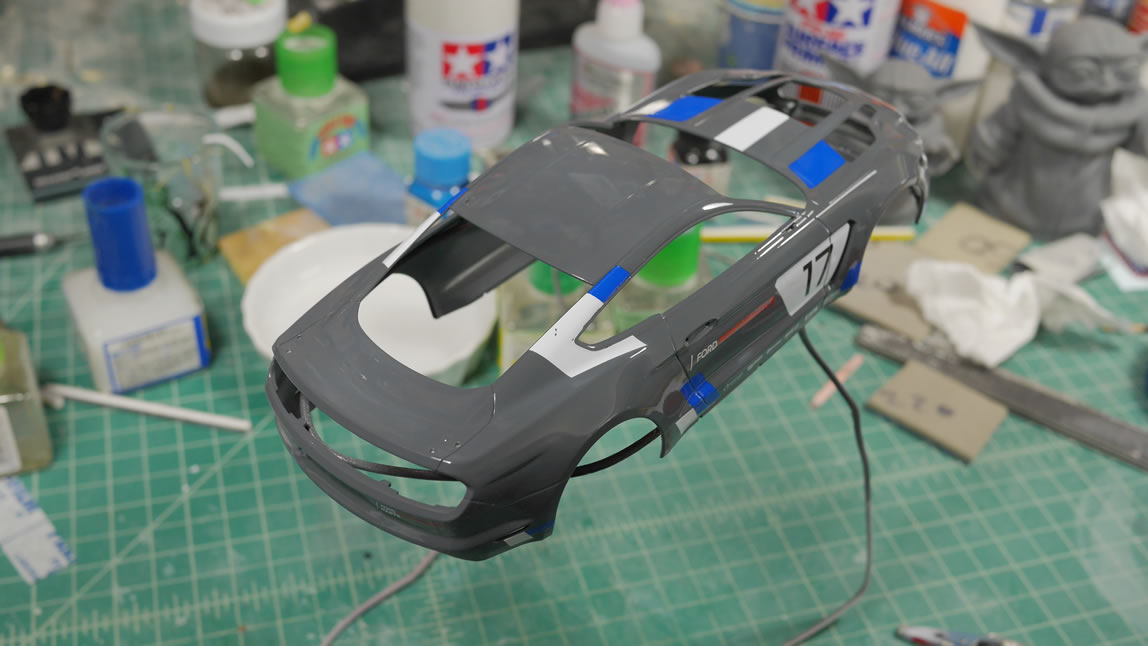
Progress is moving along smoothly and the whole body is getting really close to completion.
And then the polishing removes some of the decals. The surface under the decals wasn’t perfect, so the polishing ended up chipping some of the decals. This needed to be fixed.
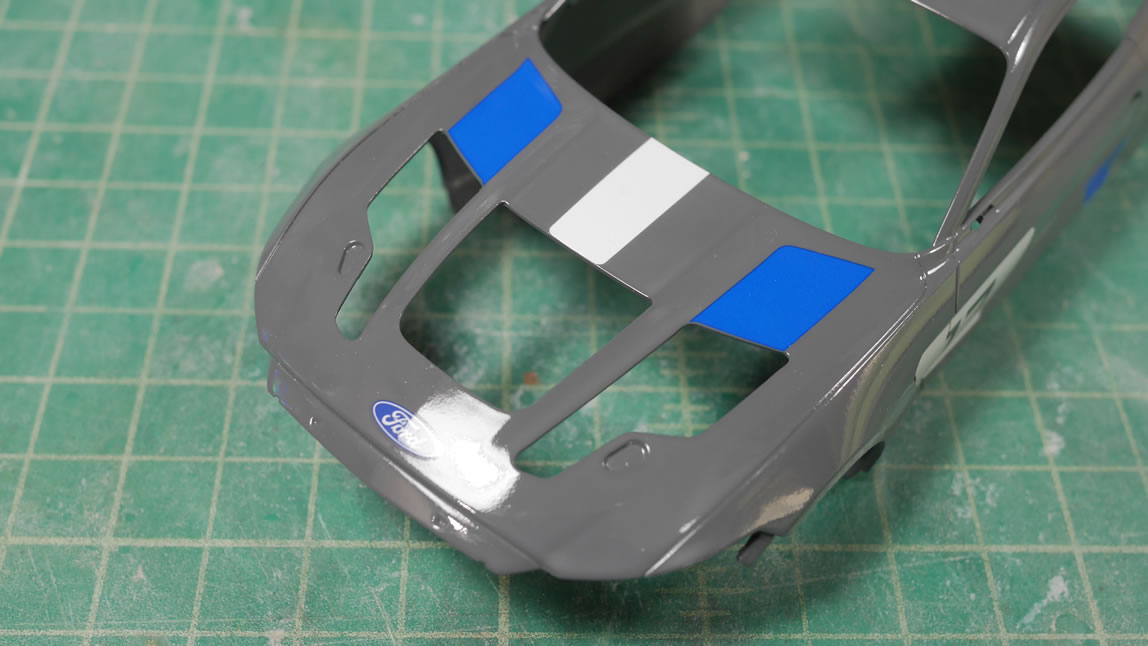
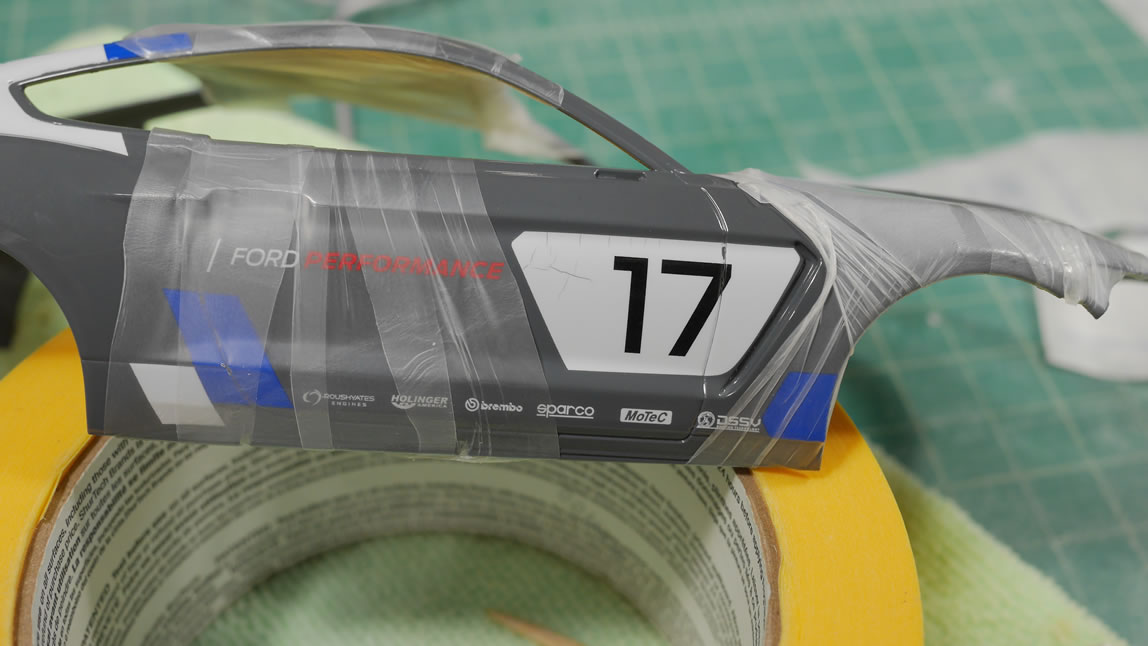
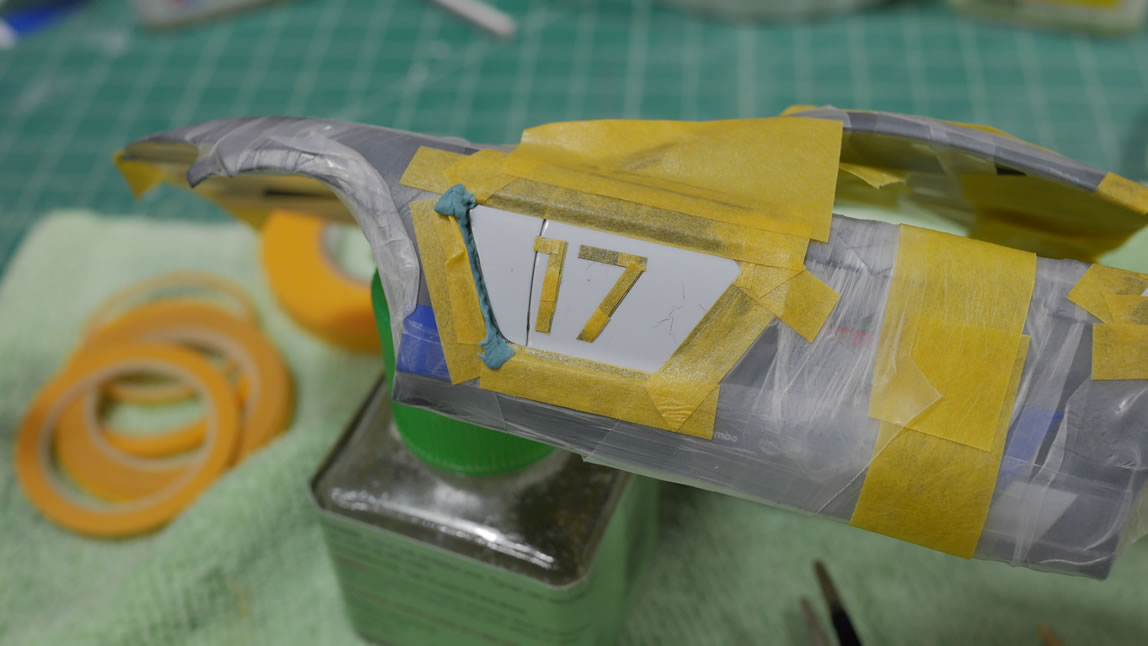
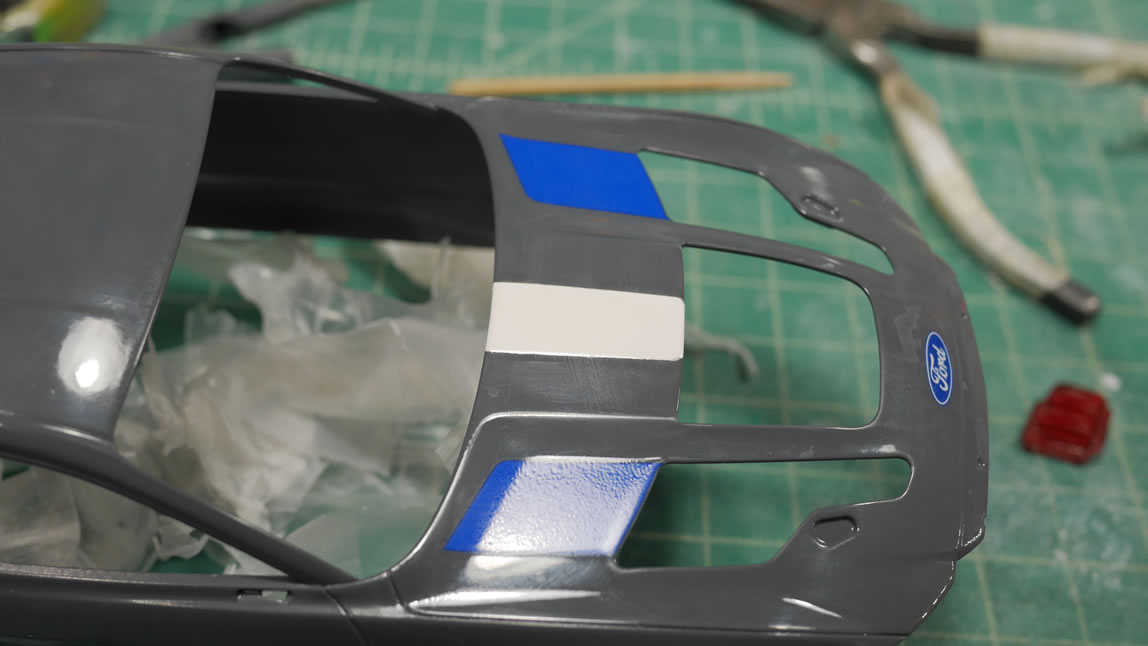
The other decal problem I ran into was a failure in the order of operations for decal application. These decals were applied to the kit then left to dry. Once dry, I applied decal softening solution, which works to stretch and melt the decal to the surface of the kit. The problem with applying this on a dried decal is exactly that. The decal has dried, so using the decal solution stressed the decal to the point that it cracked on the surface. Time to mask and paint.
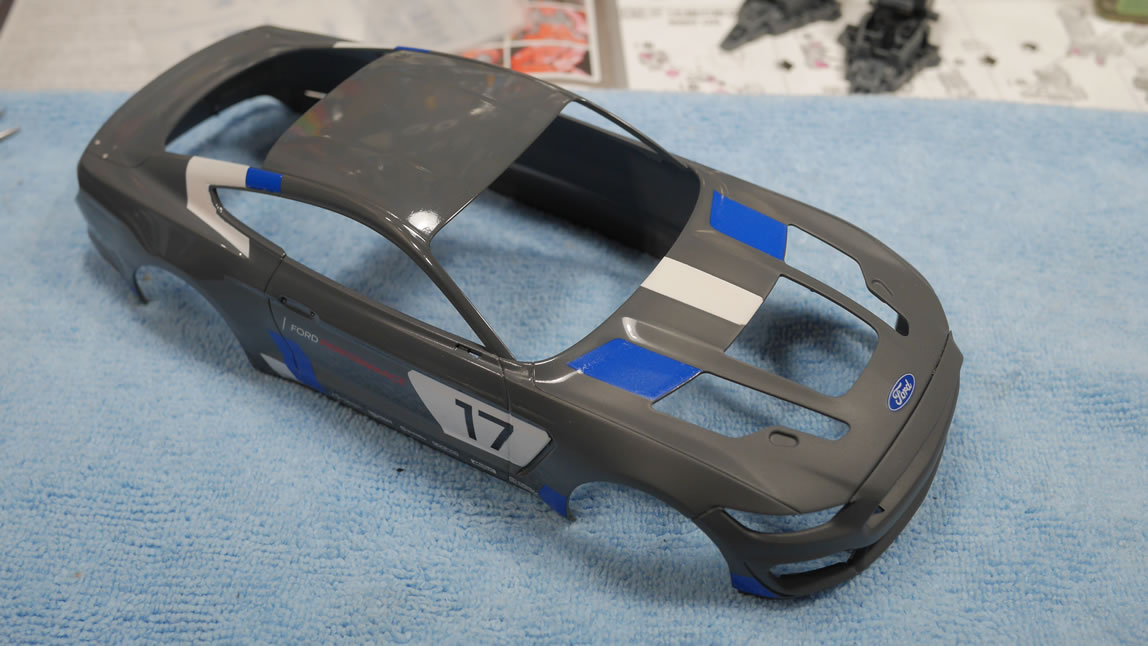
Once that was done, the decals are fixed and no more cracks or chips.
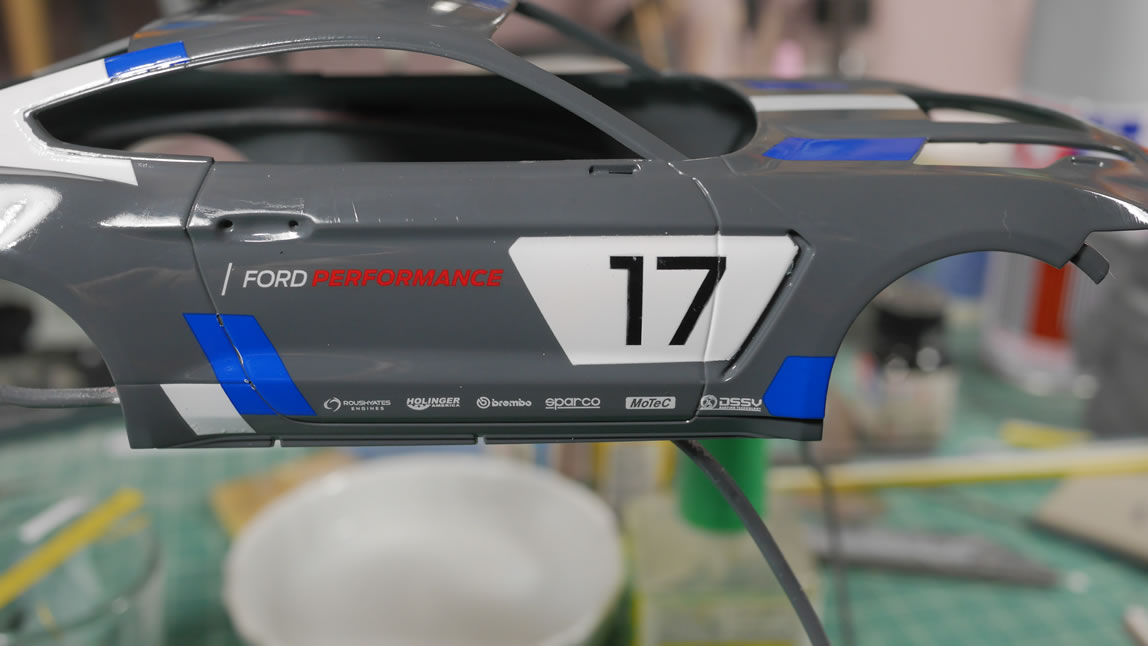
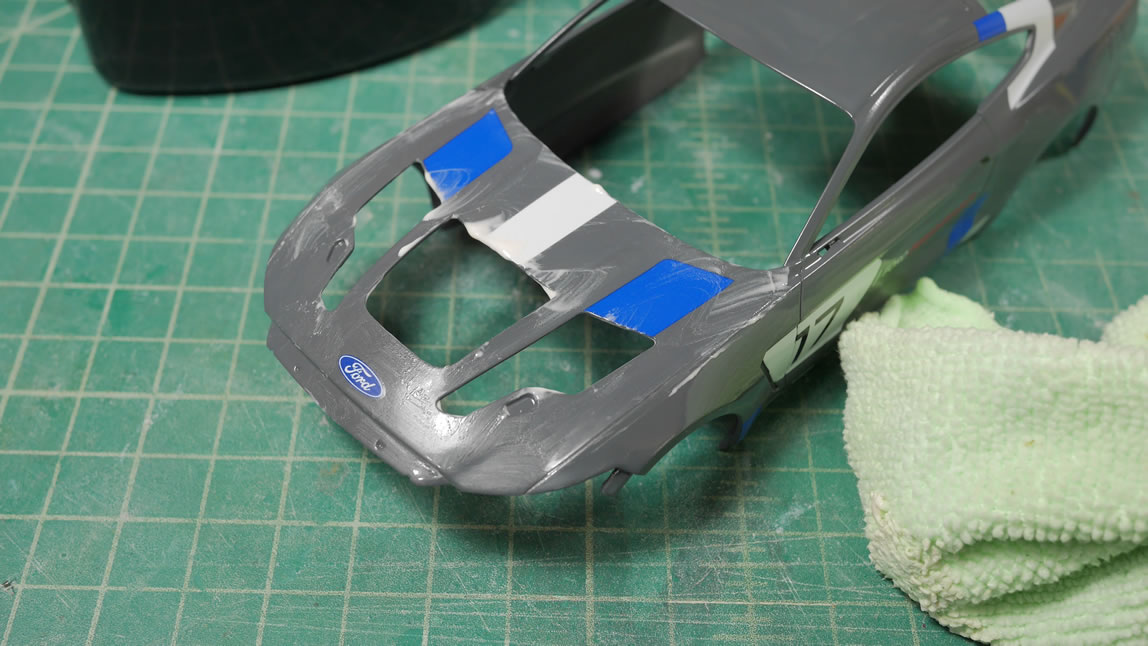
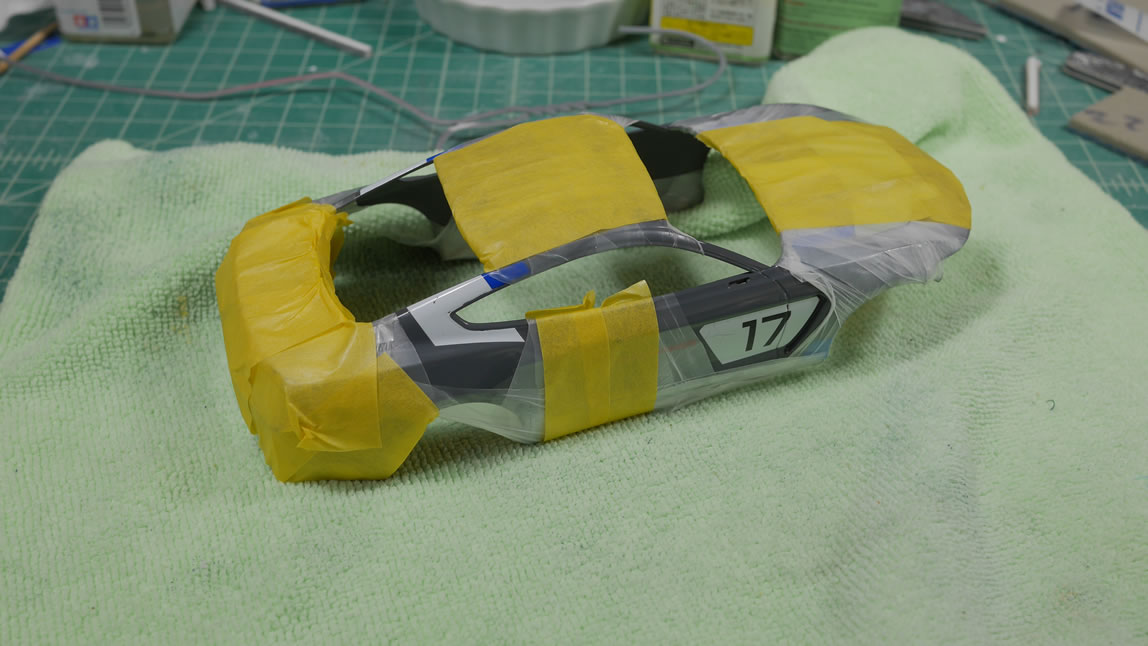
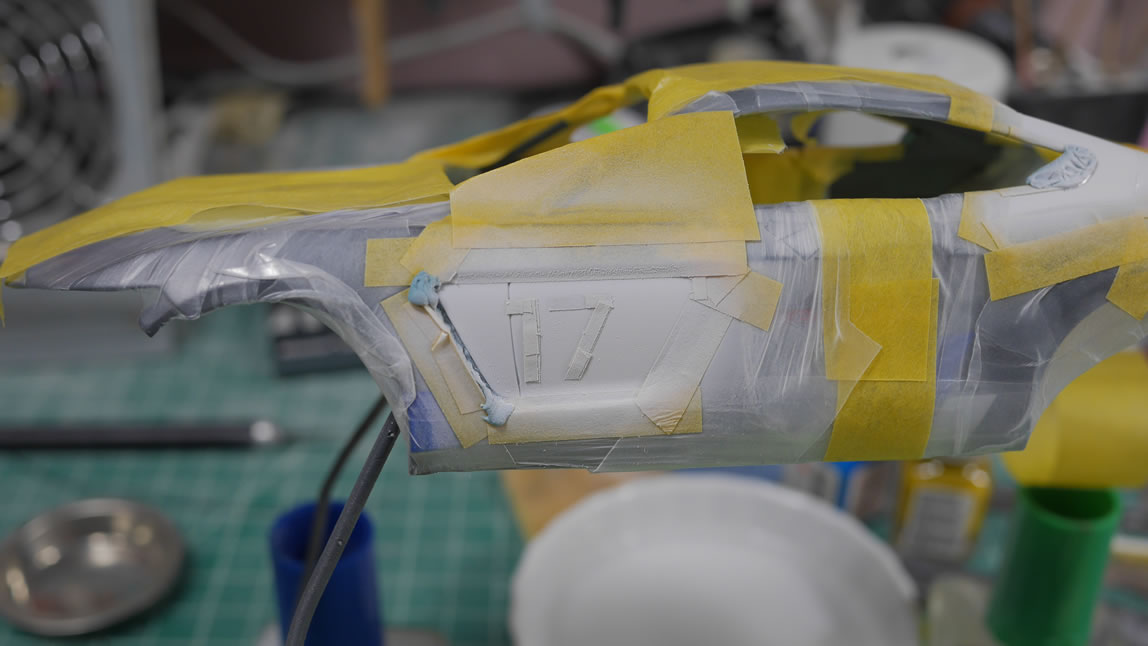
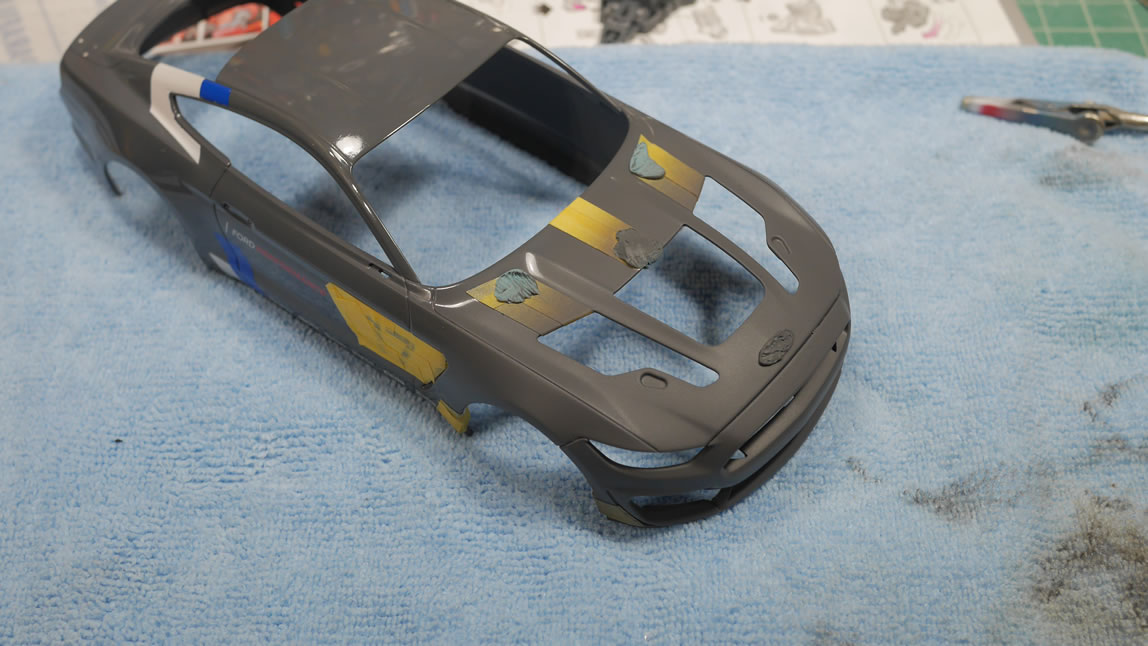
More polishing put me into another problem. I started polishing off the decal itself. So that needed to be masked and repainted.
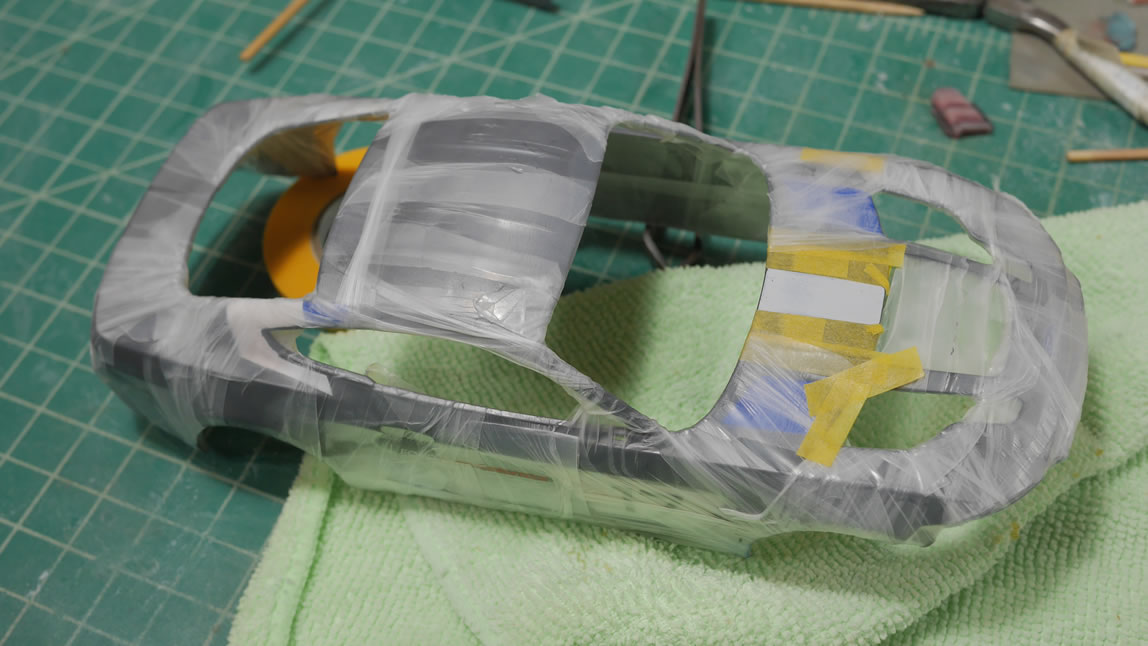
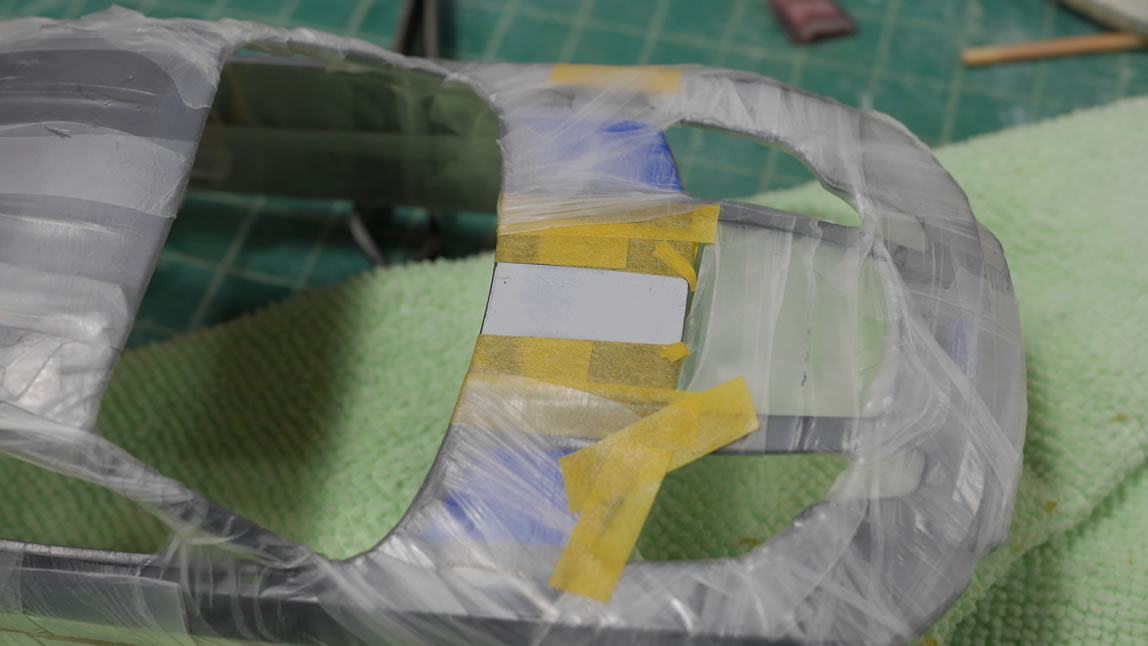
As I continue to polish, I also ended up taking off the paint too. So more masking and more touch ups.
More gloss is needed and during this process, I broke the driver’s side a-pillar as well. Around the middle of the May, I glued the a-pillar back together and just left it since. I’ve owned a few Fords in my time, a Taurus wagon that I crashed when I was 18. A 1984, 4 cylinder Mustang when I was 20 that I bought for $800 and then blew the engine, but ended up selling it for $1600 (but that included a rebuilt engine, so I think I still came out negative there). And that mustang was nicknamed “the deathtrap” by one of my friends. So my luck with Fords continues, and this build still isn’t done yet and I’ve started on 2 different projects since. I have found that frustration with a project is best dealt with by walking away from it for a while, and possibly working on other things before returning.