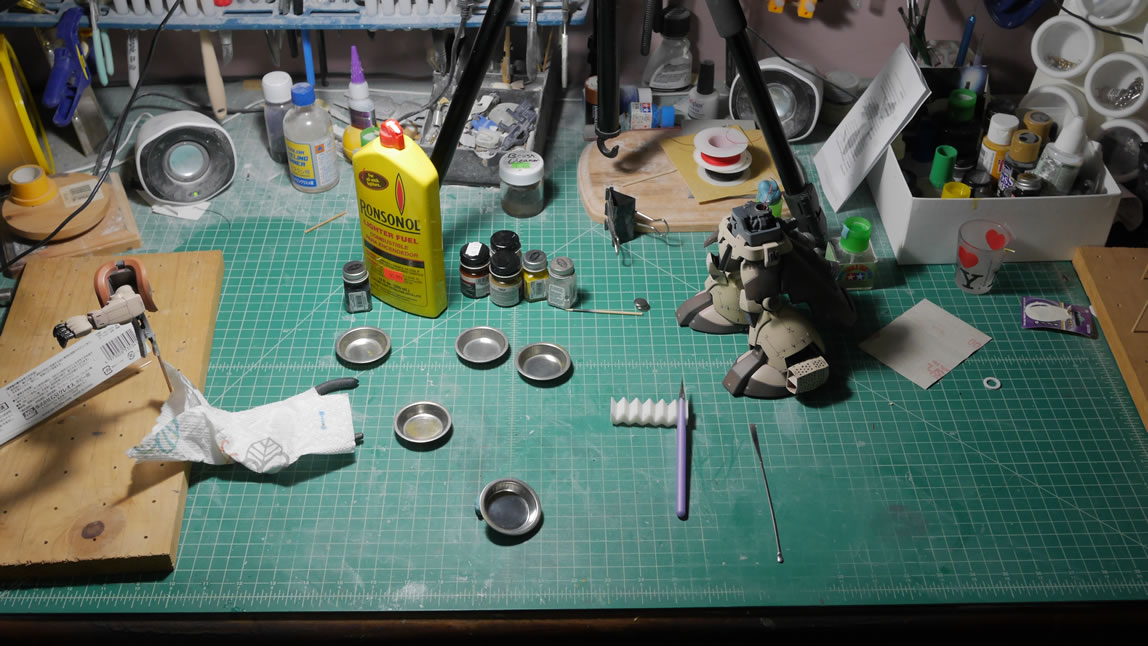
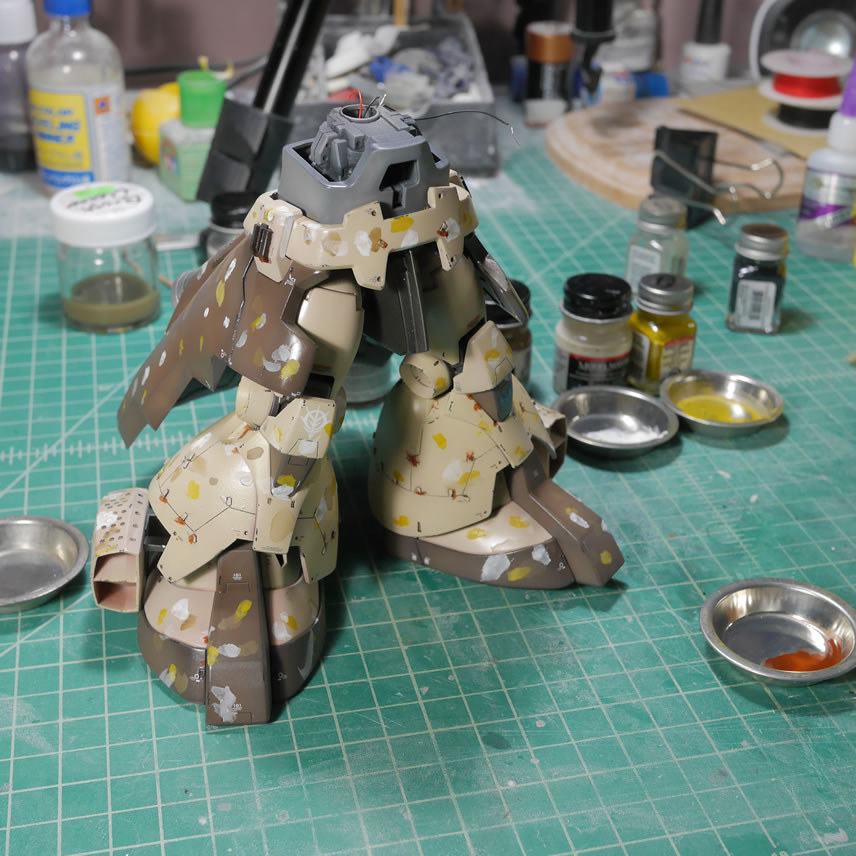
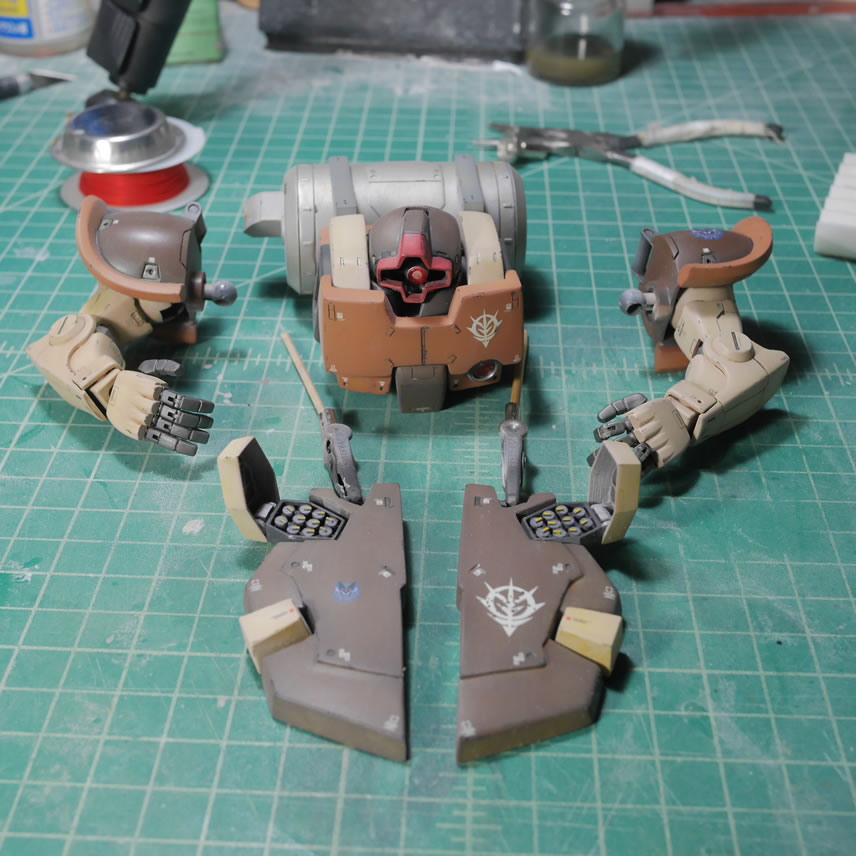
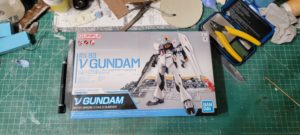
As promised, there were only a few last steps for this project. The kit has been broken down into major subsections. Some subsections bigger than others. And I start off with applying some paint chipping using an enamel based metallic grey. A very small brush is used and I just slowly and carefully apply some chips here and there. I don’t want to go overboard, I just want to see that the suit has seen “some” use.
The rest of the final weathering steps as well as the final pictures for the kit after the jump.
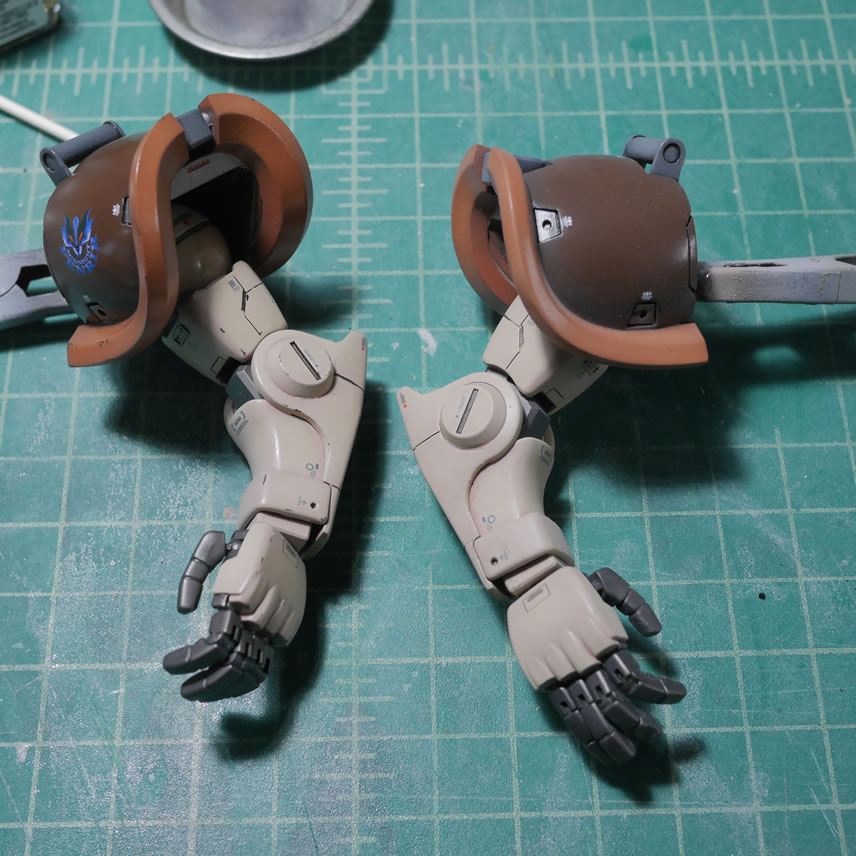
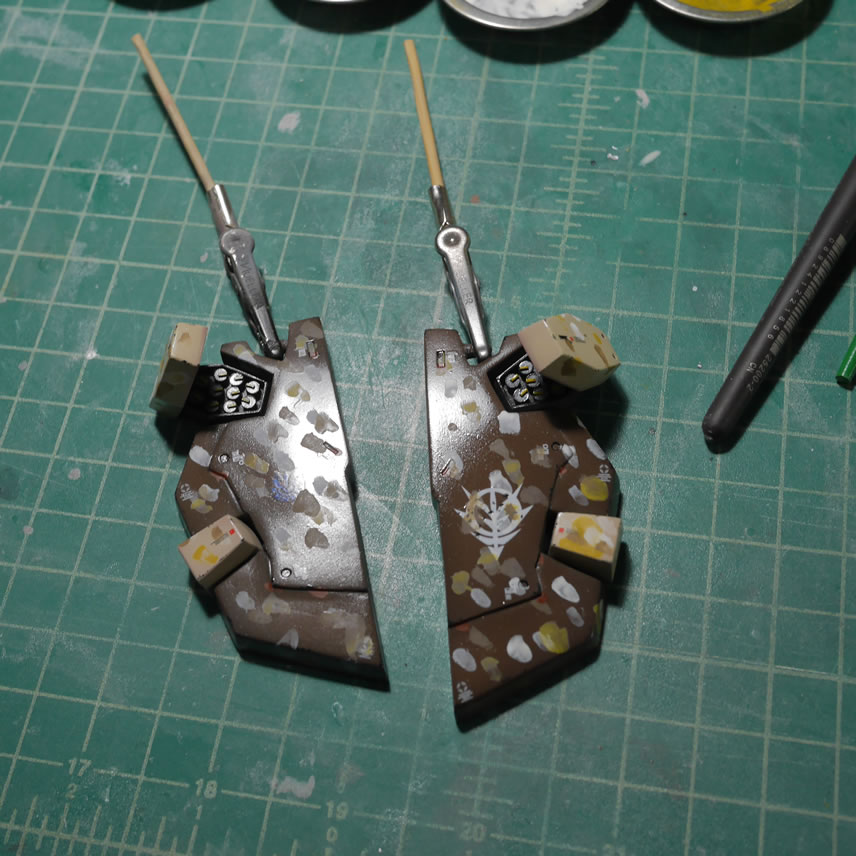
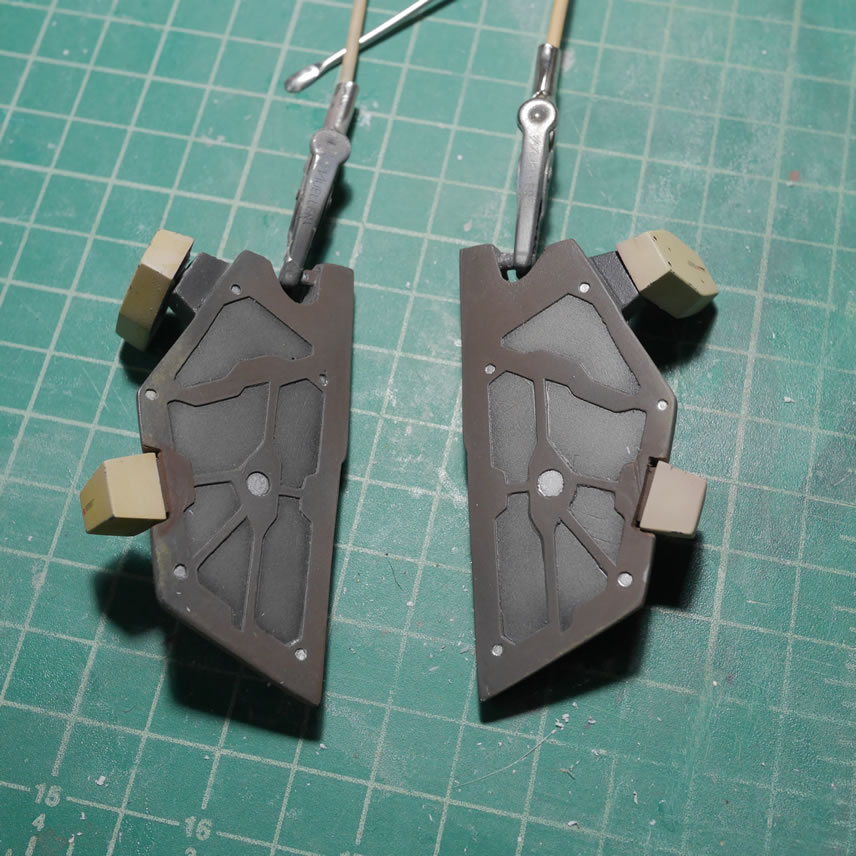
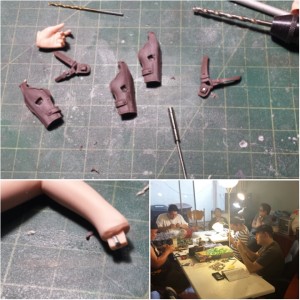
The arms are paint chipped and I have one that wasn’t touch as a comparison to one that I started weathering. It is a very slight touch of chipping. Next up I clear glossed the parts and started in on the filter.
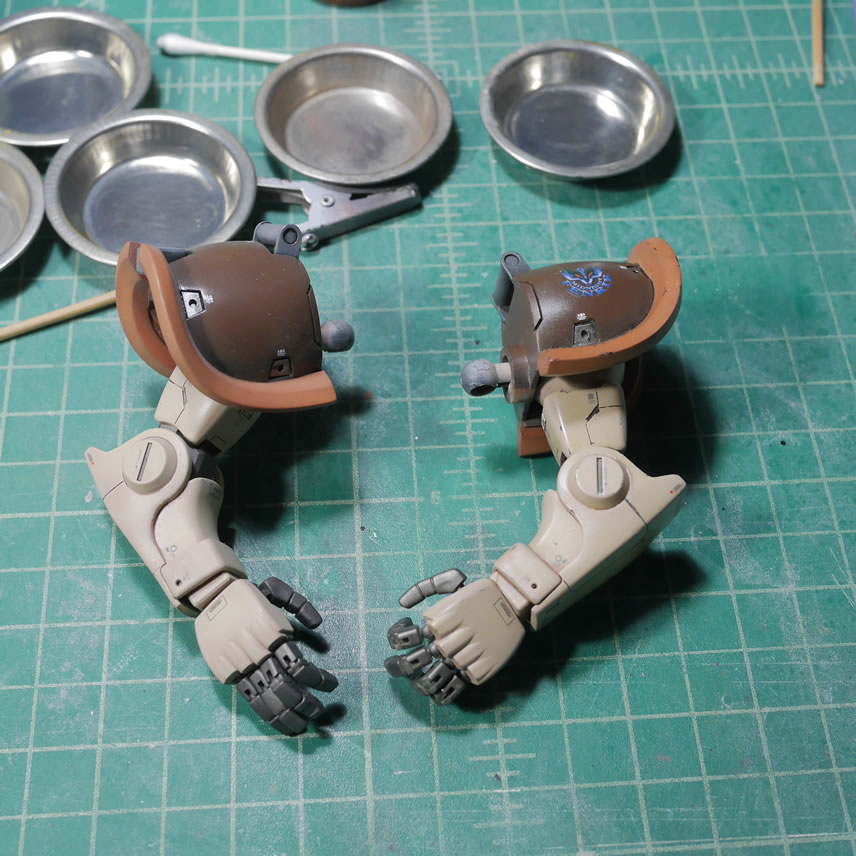
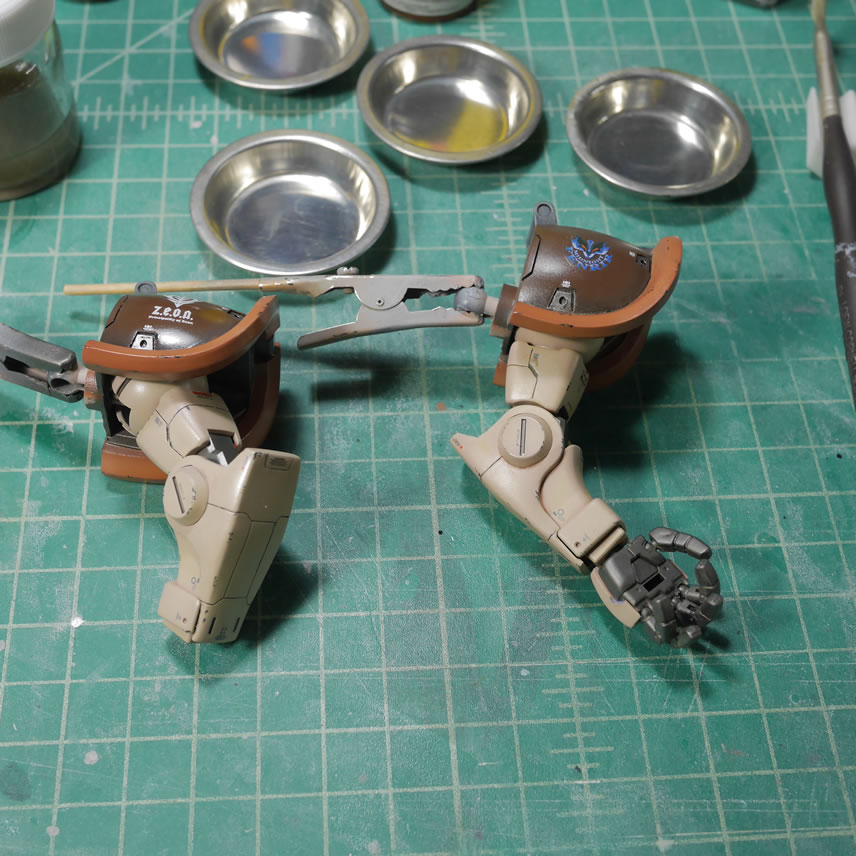
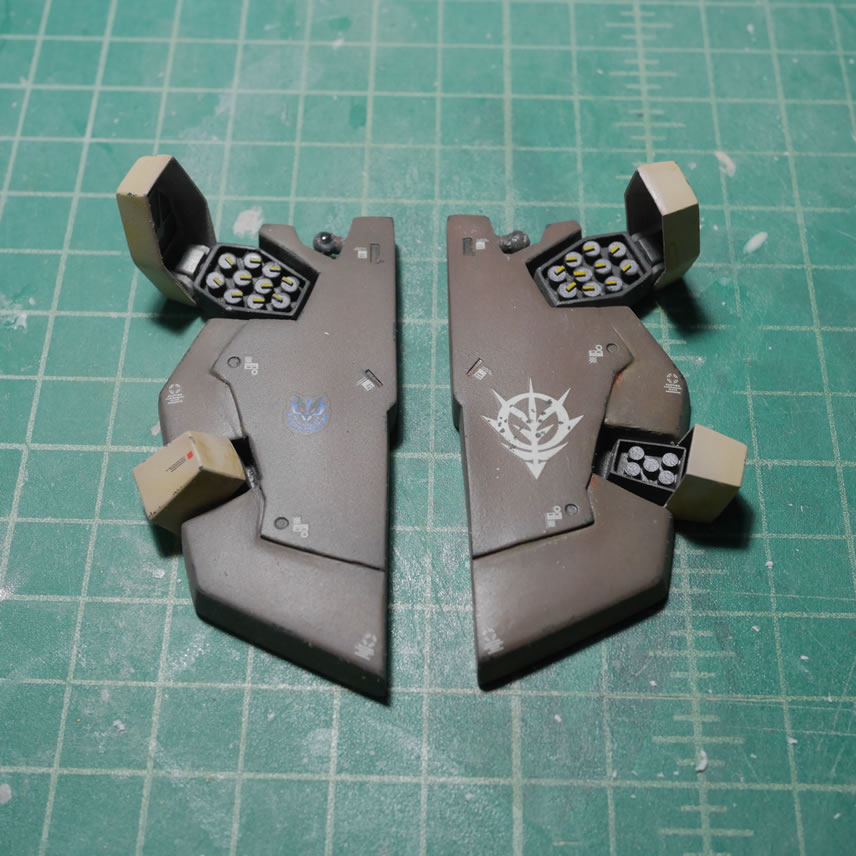
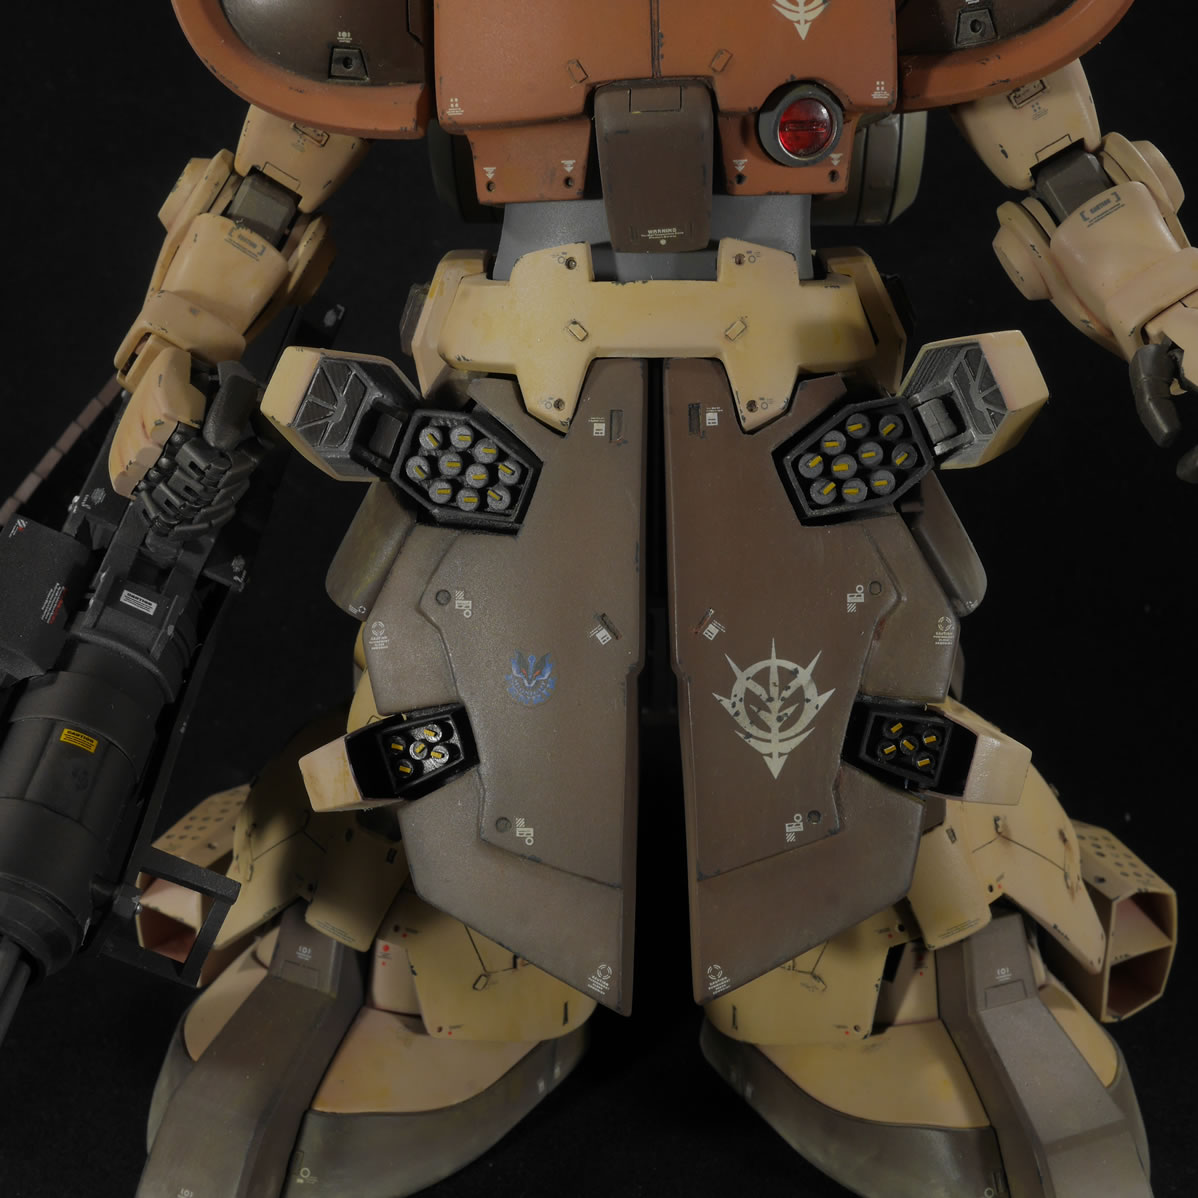
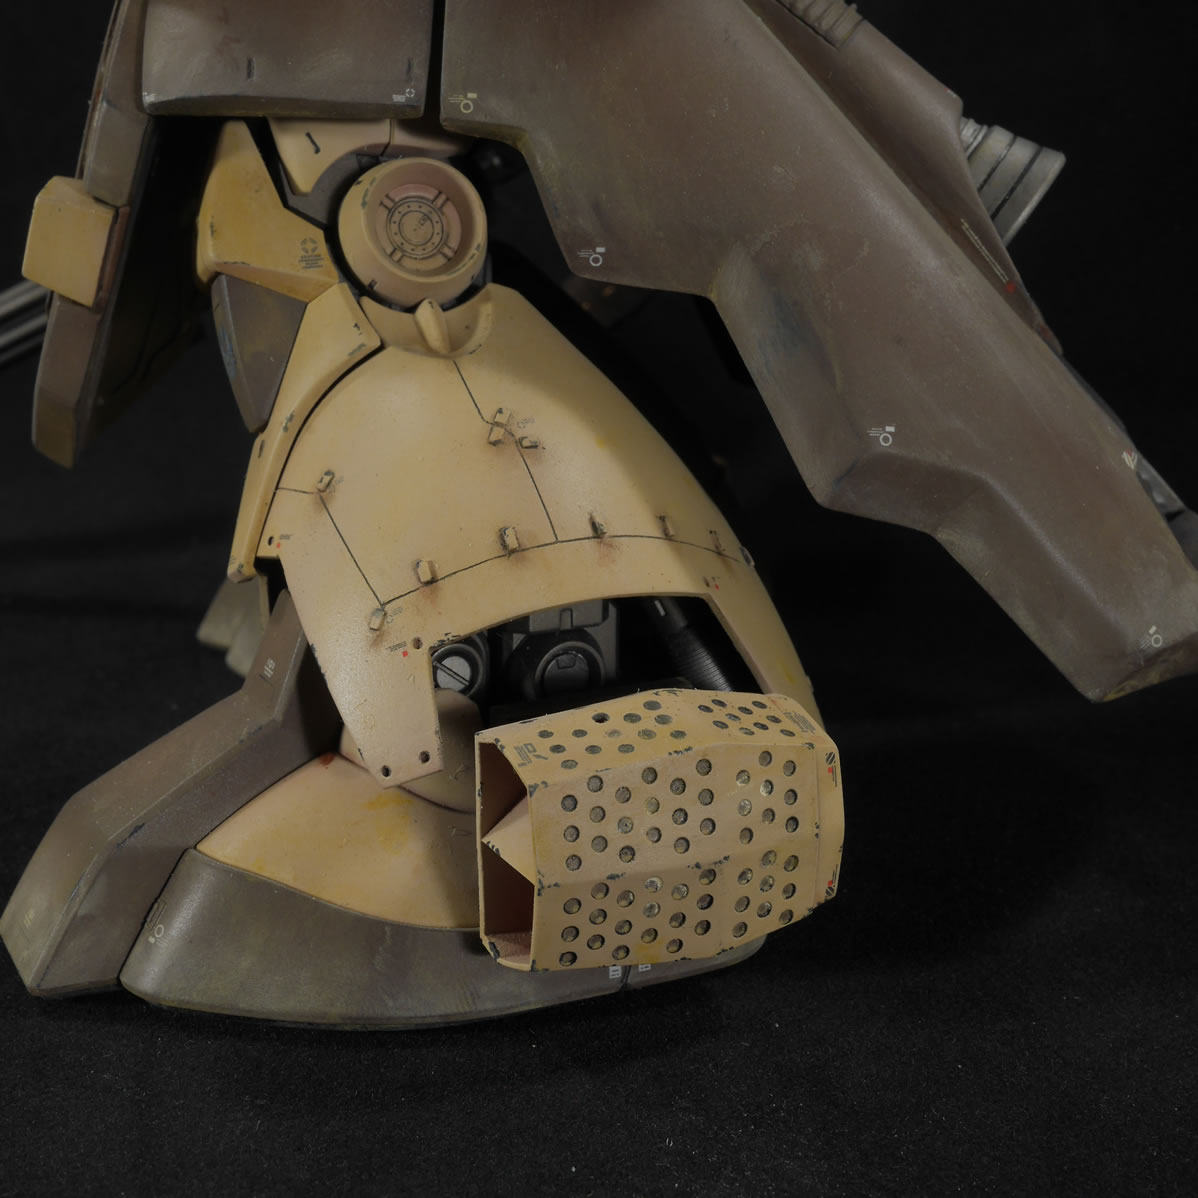
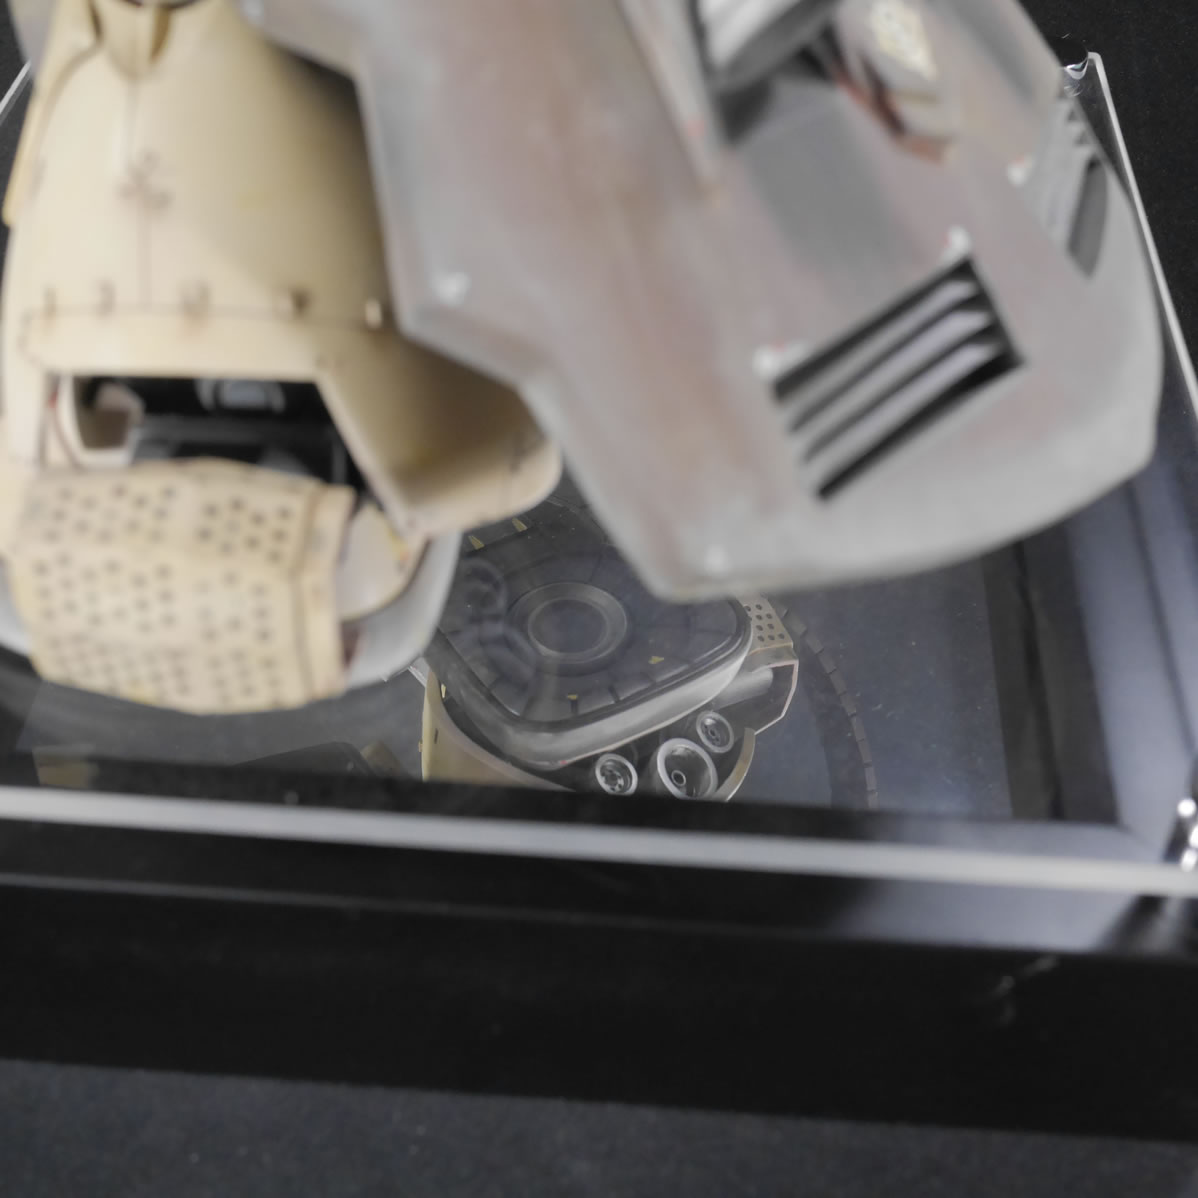
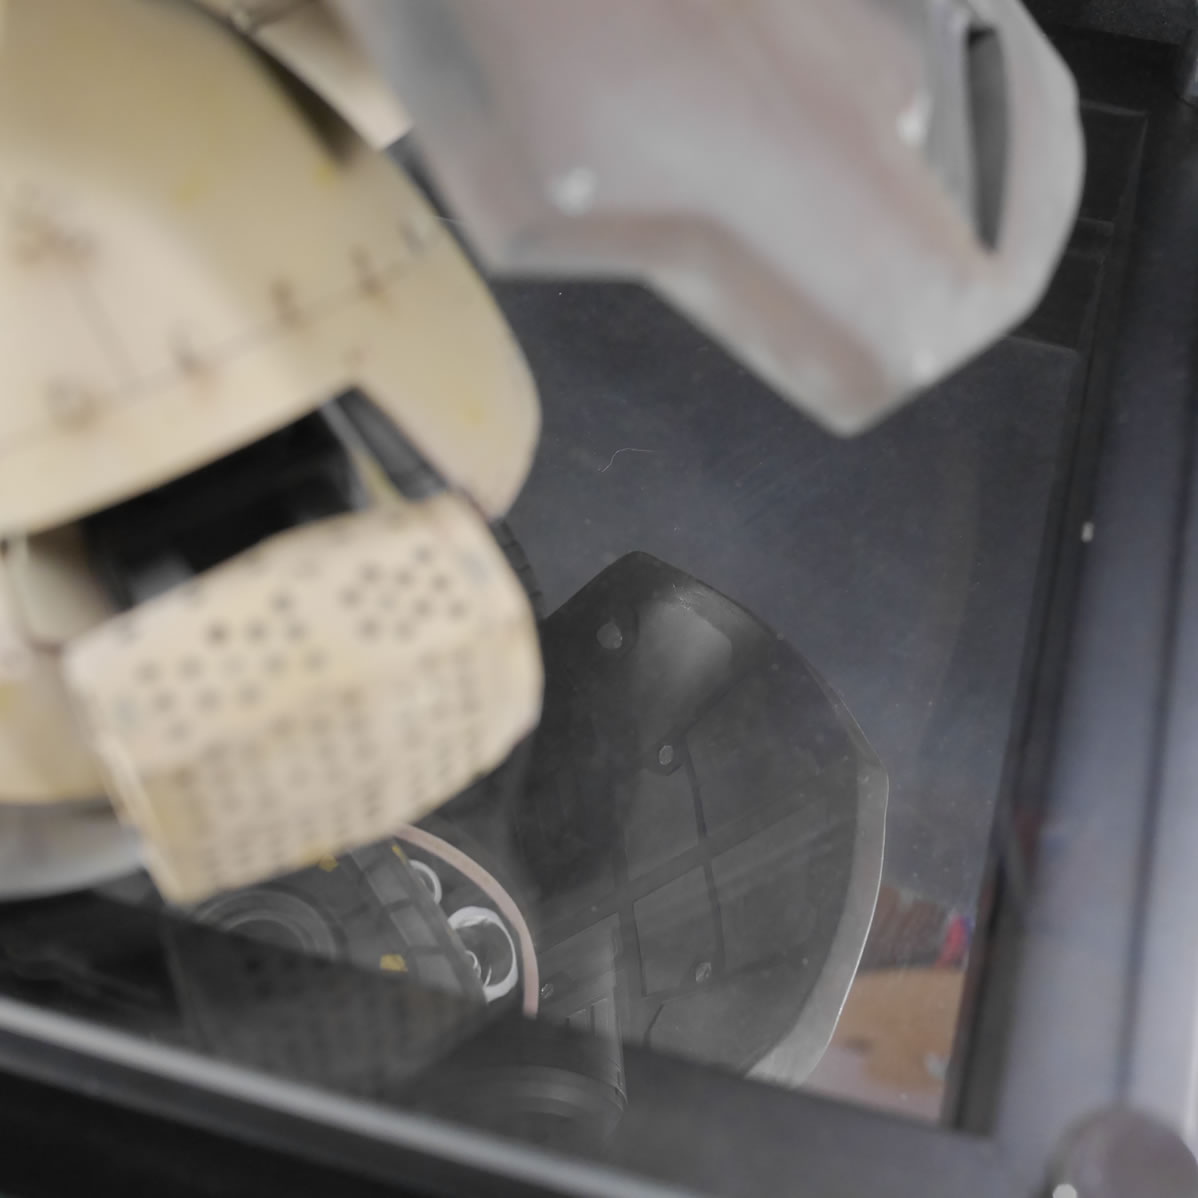
The filter is composed of 3 main paints, zinc (yellow), white, and dark earth. A 4th color of rust is added but only in small select areas. Once the parts are dotted up, I take a stiff brush and lighter fluid and proceed to wipe away the dots creating a blended faded effect that changes the tons of the parts.
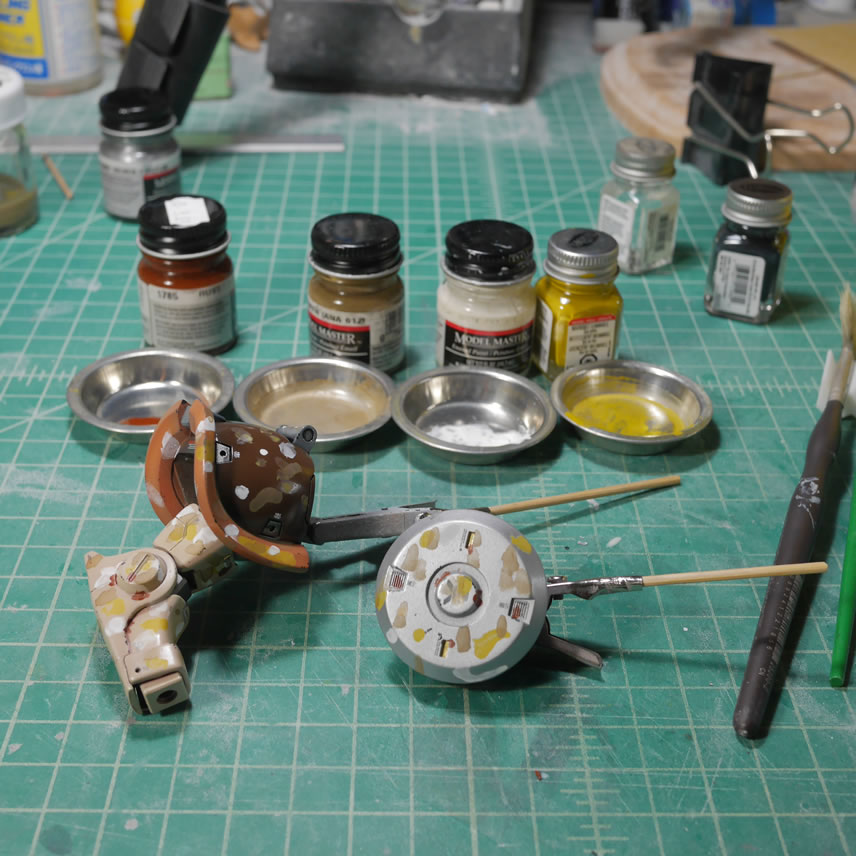
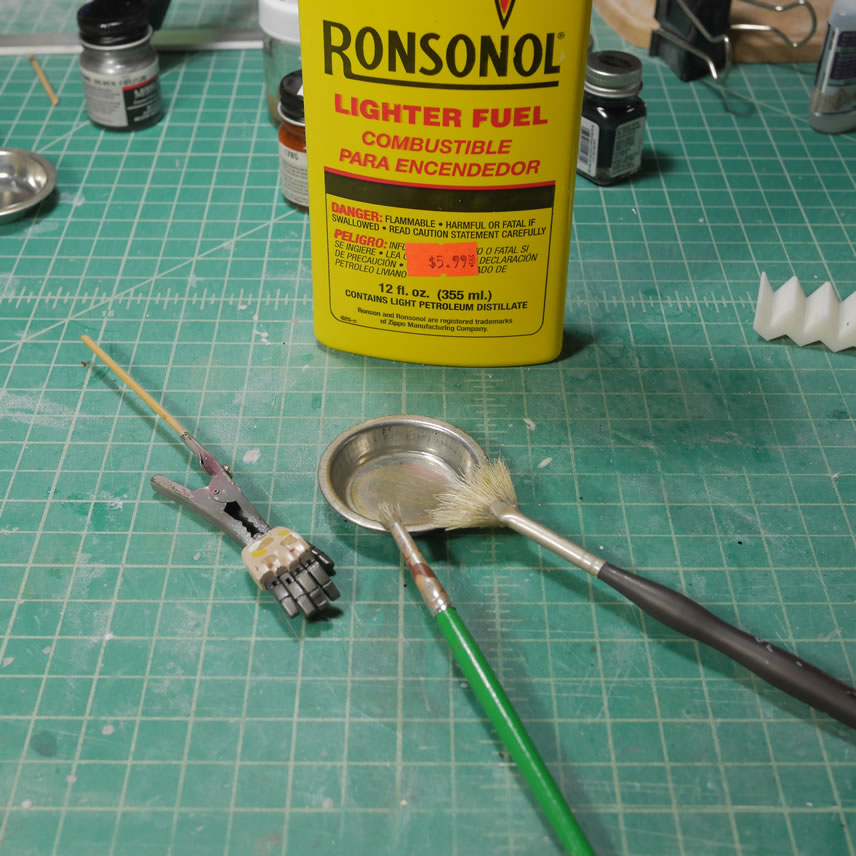

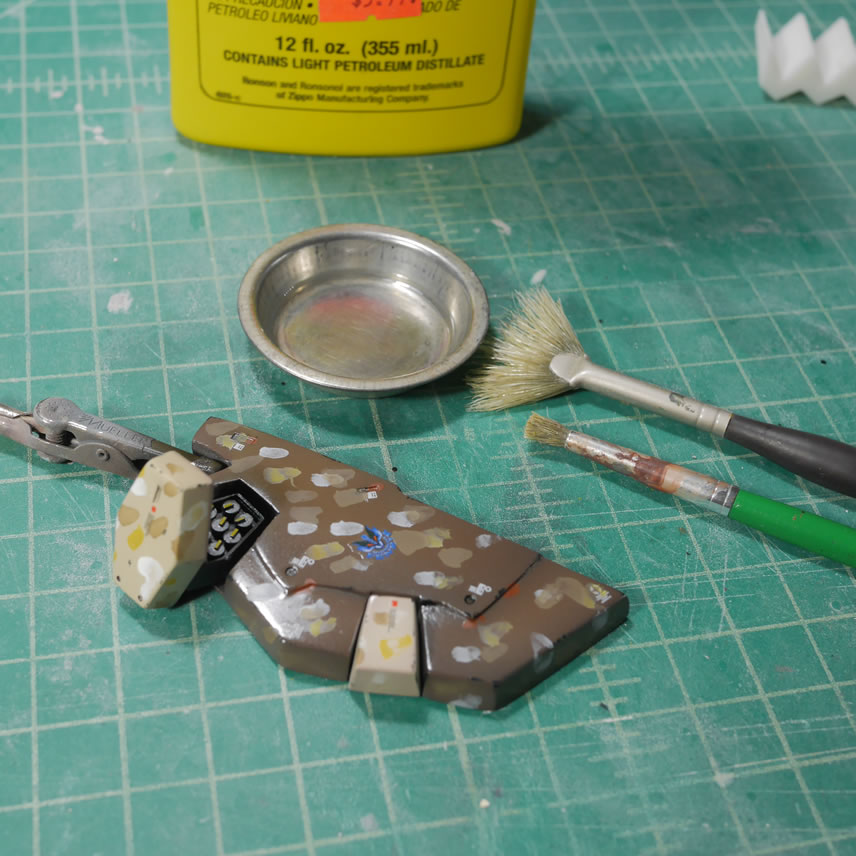
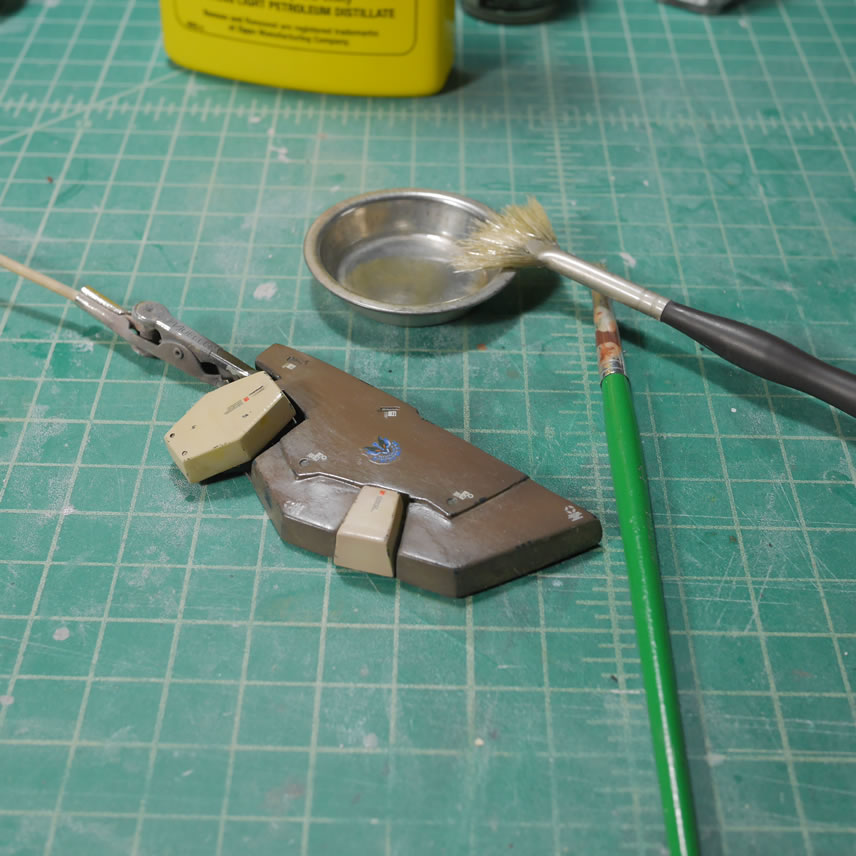
Light fluid works very well. I had some problems removing the white so I dipped my brush into some testor enamel thinner and that stuff was WAY too strong and started removing a little too many layers. I think I salvaged it a bit, but the right side of the rear skirt took the brunt of that mistake. Below is a quick picture of where I stopped with the filter on these parts.
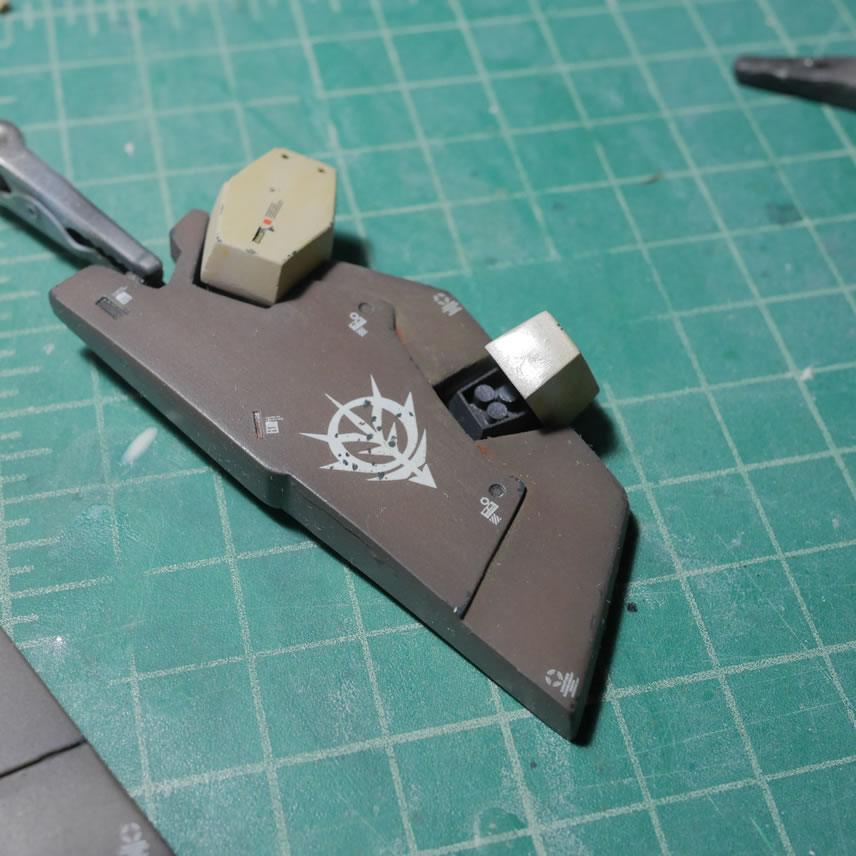
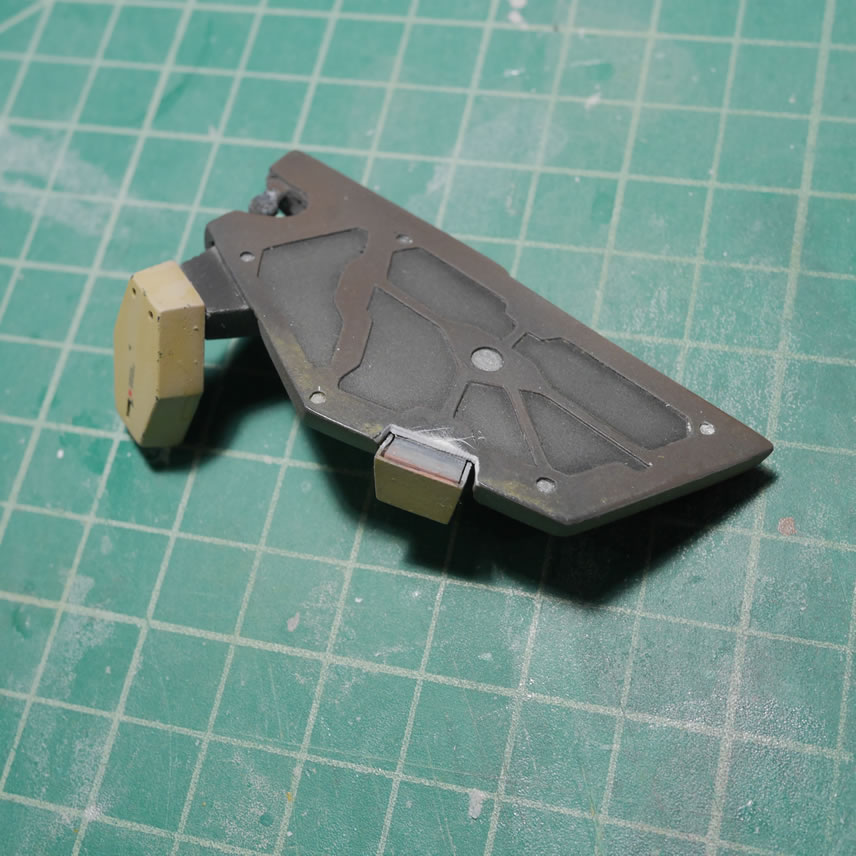
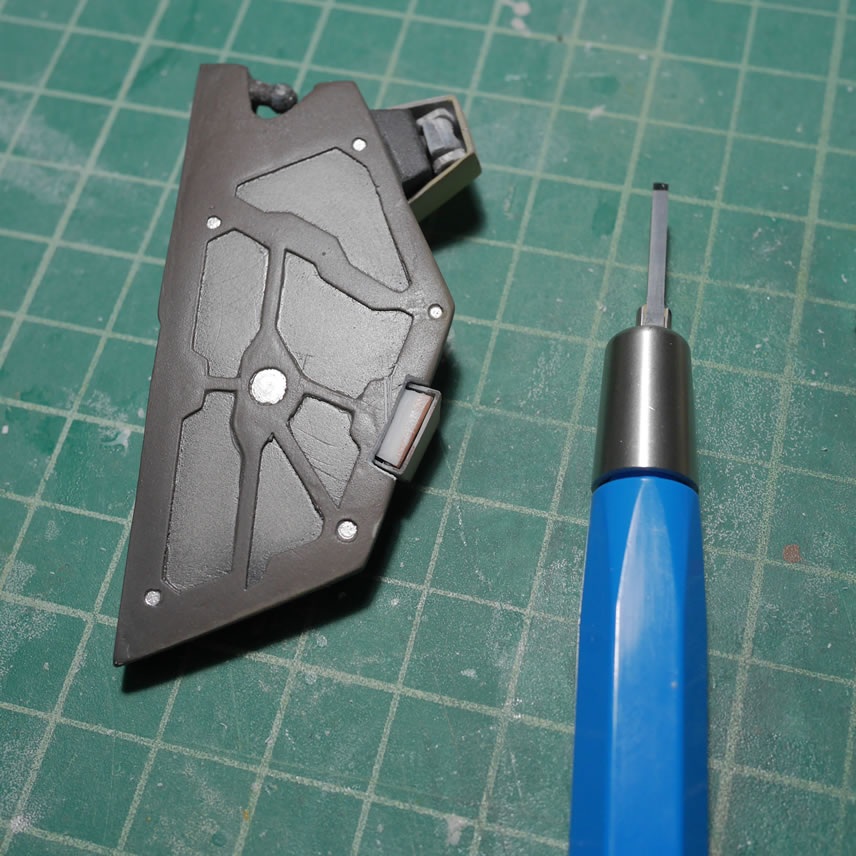
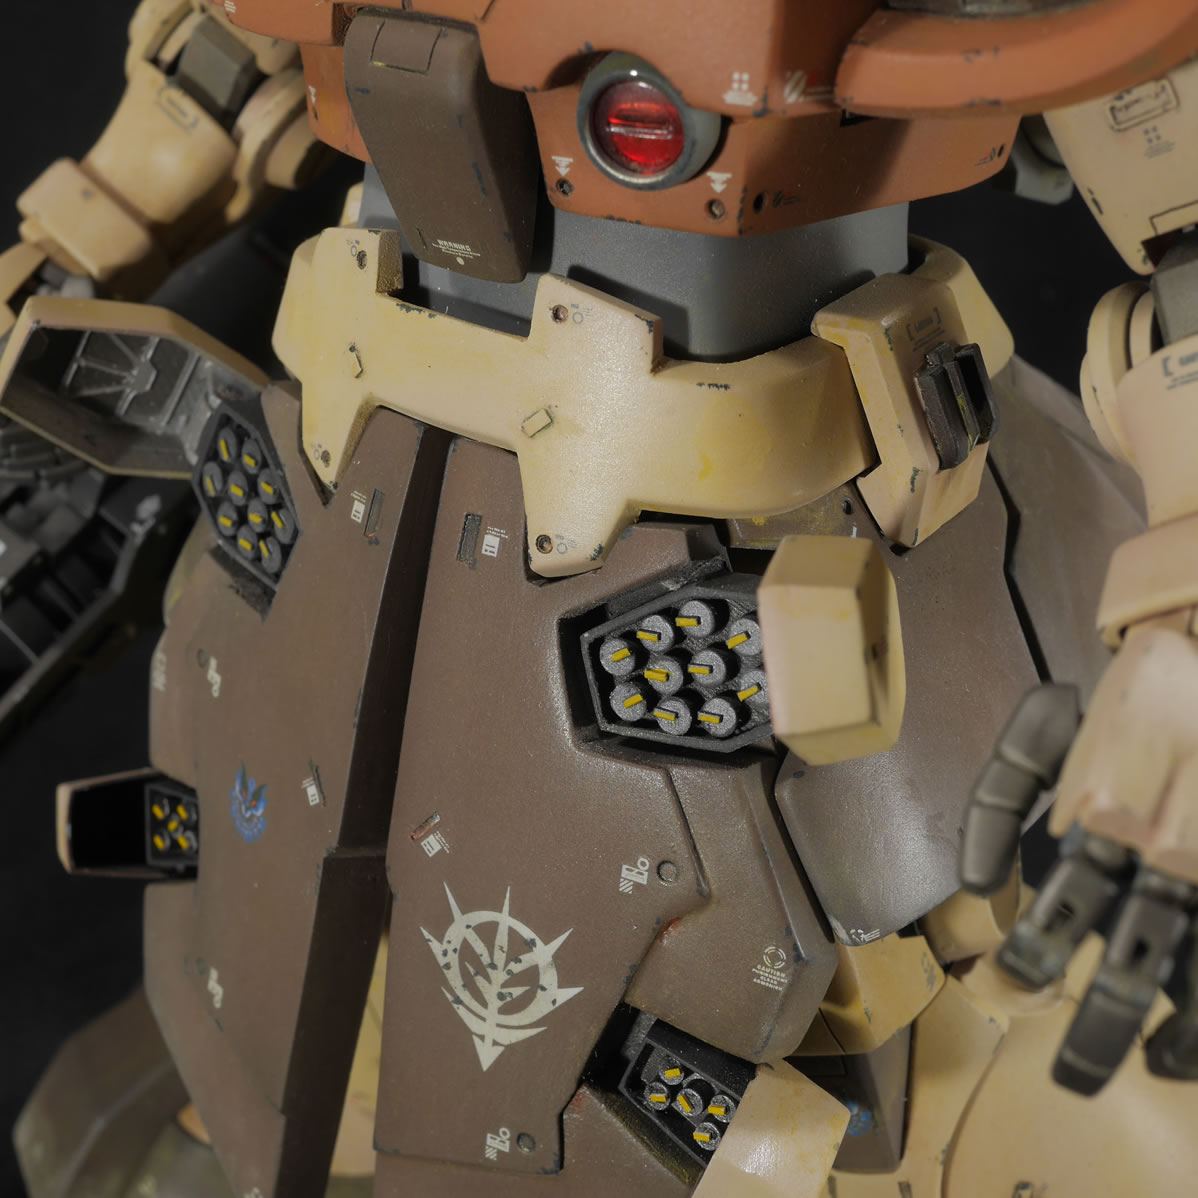
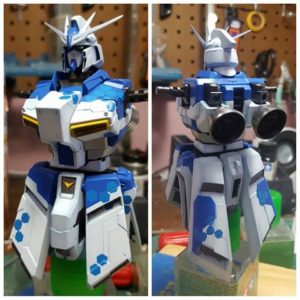
A few updates ago when I glued the smaller missile pods into position, I failed in test fitting and test functioning the opening mechanics of those pods. Had I did it correctly, I wouldn’t have had the problem I had now. Those doors did not open, or if they did, they barely opened. The back of the pods did not have enough room. I left this as is and just figured I’d only open the bigger missile pods. While doing the weathering, the fact that I spend considerable time designing and working on the smaller pod doors, it just ate at me because it seemed a complete waste if I didn’t go and just fix it. Last night, I couldn’t sleep so I got out of bed and started chiseling away the excess plastic making room for the pod doors to open. Here is a comparison with one of the doors before and after.
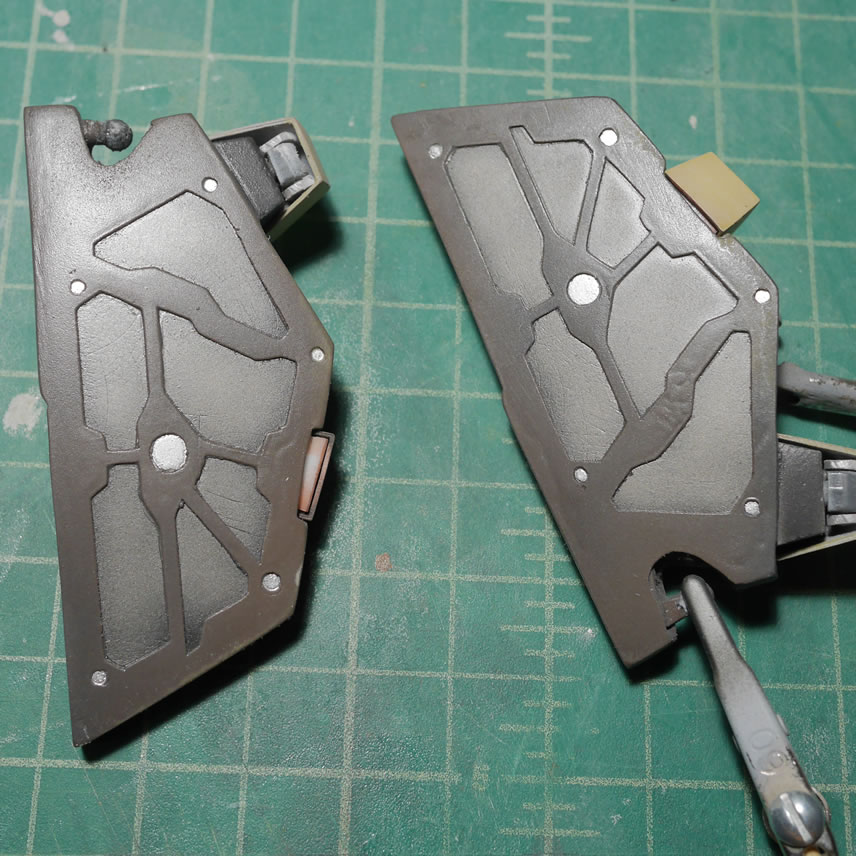
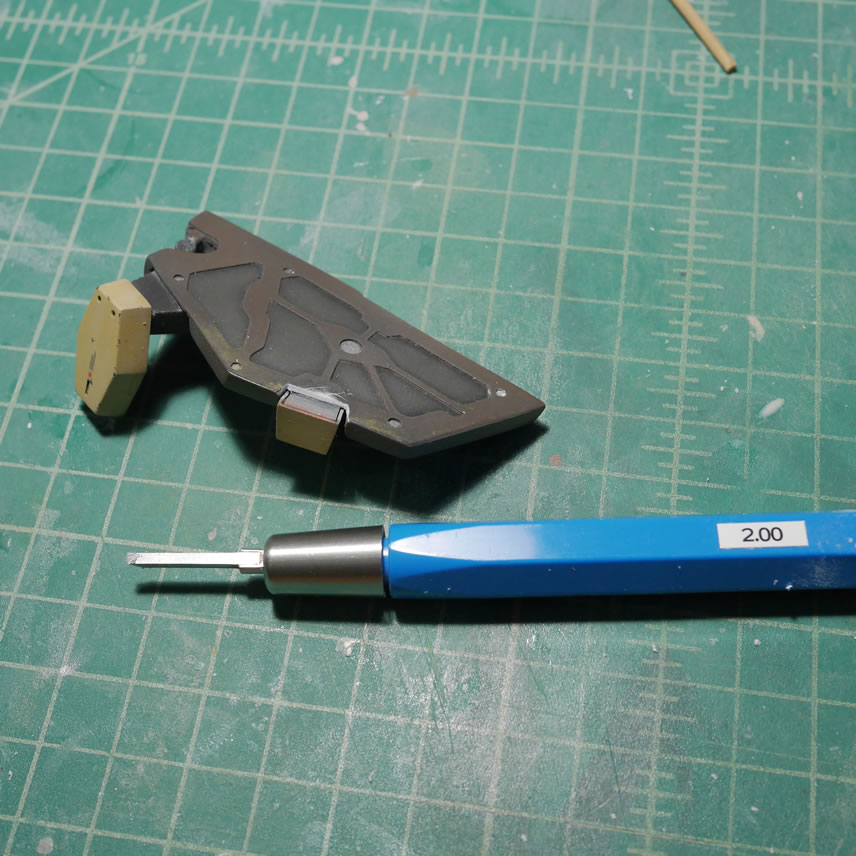
The BMC 2mm chisel is used to scrape away plastic slowly and in a fairly straight edge. Once that was done, the other side was fixed and then lightly sanded.
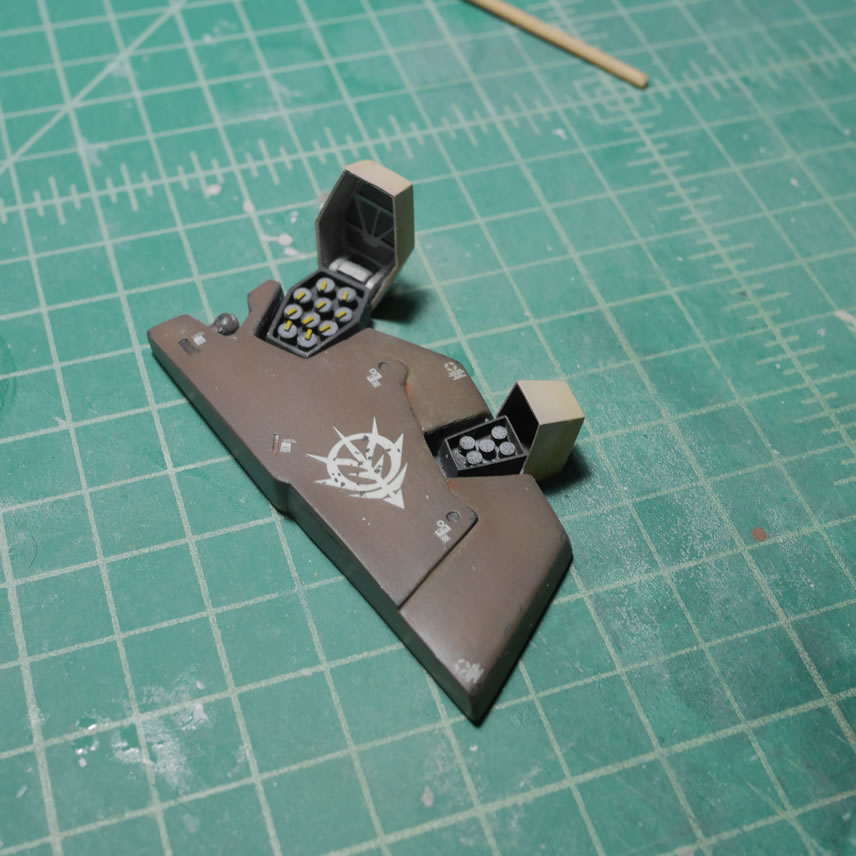
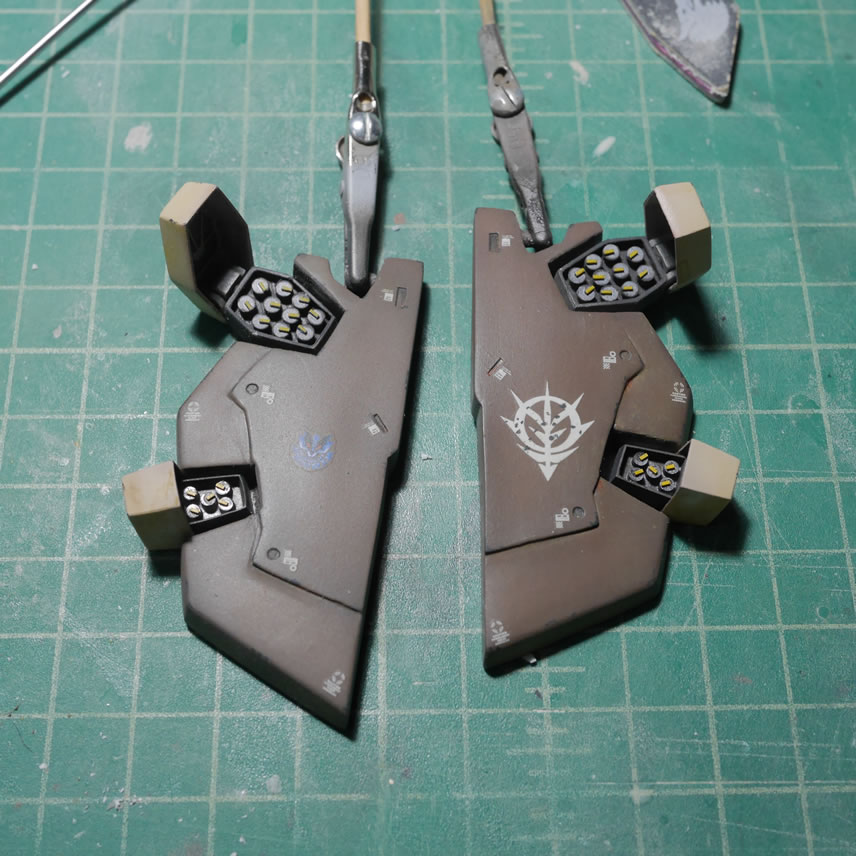
Both doors work so I added some details to the missile pods and painted the repaired area as well as the missile pod details.
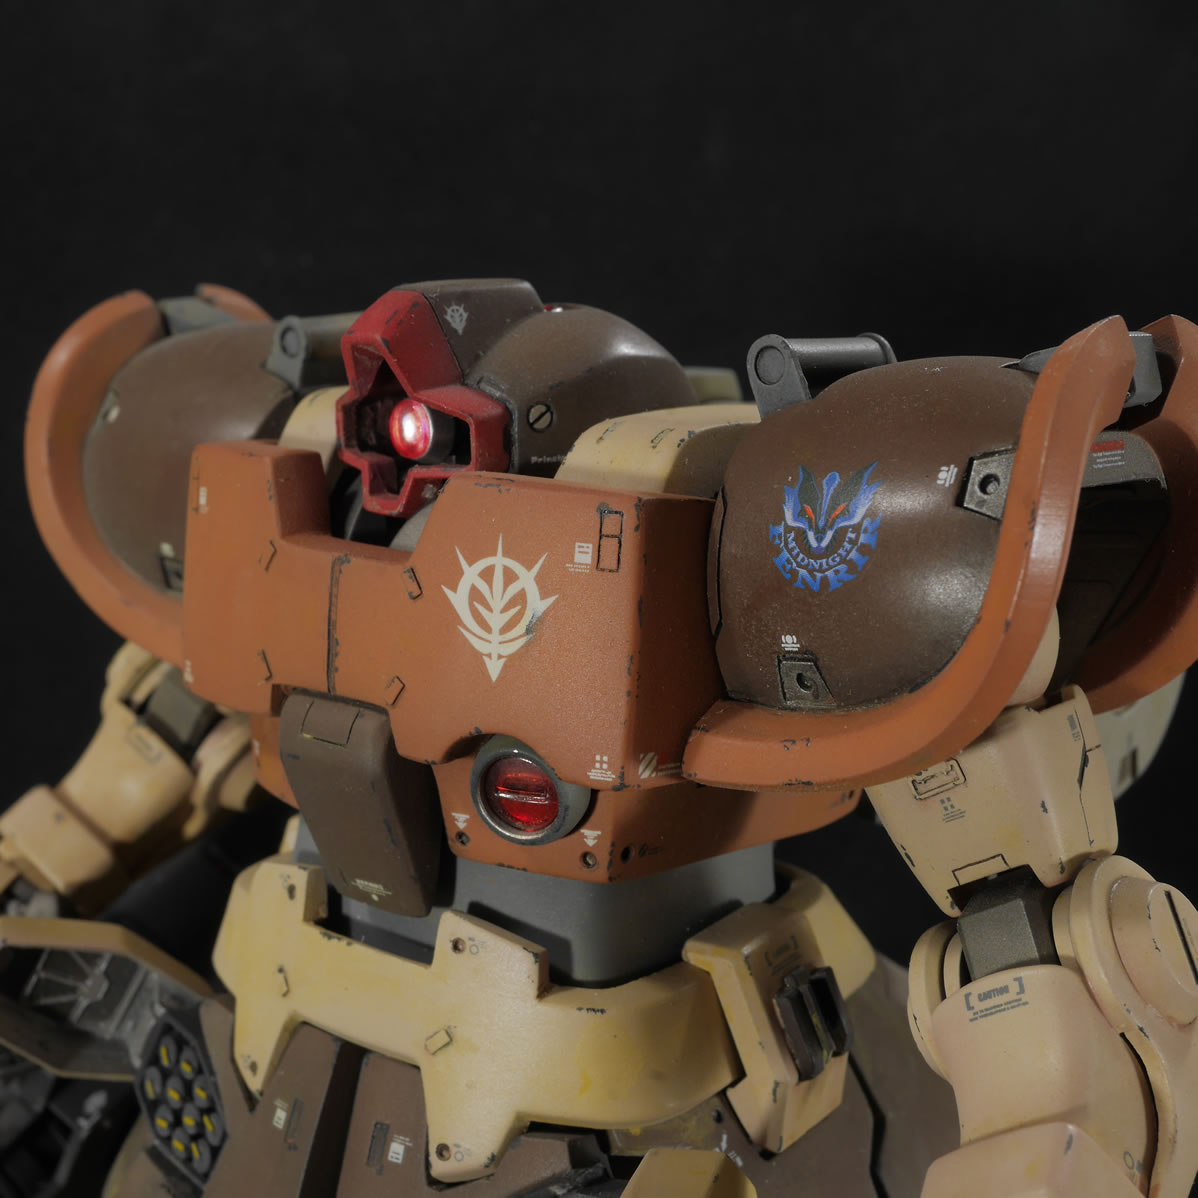
Today, after a clear flat sprayed last night over the dried filtered pieces, I applied the tamiya makeup kits and did some pigment weathering for the kit.
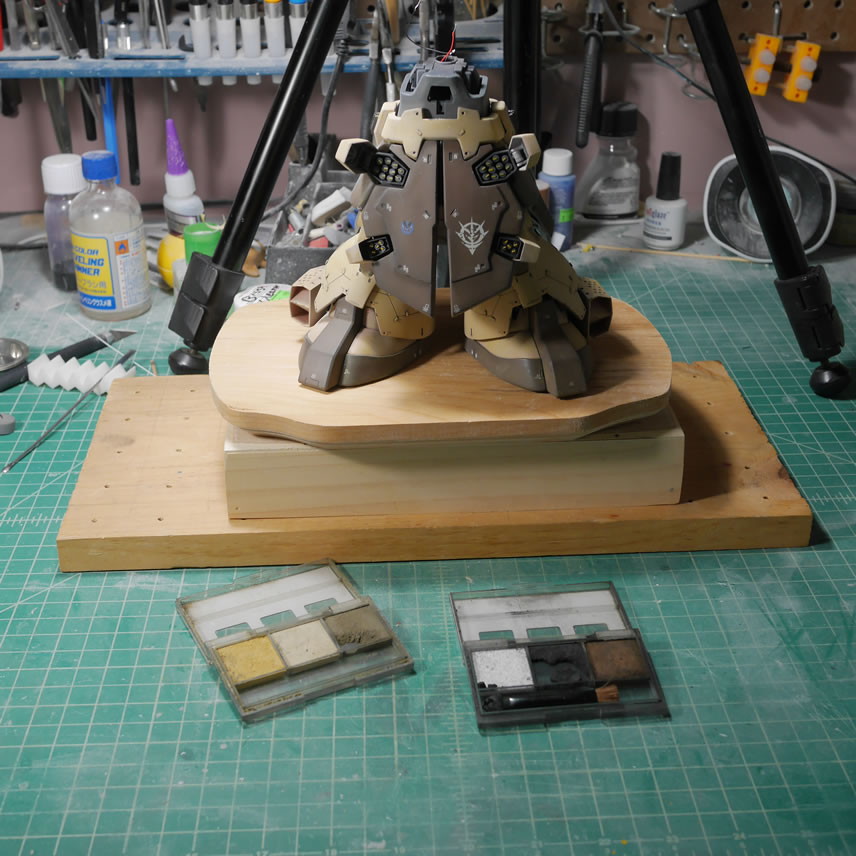
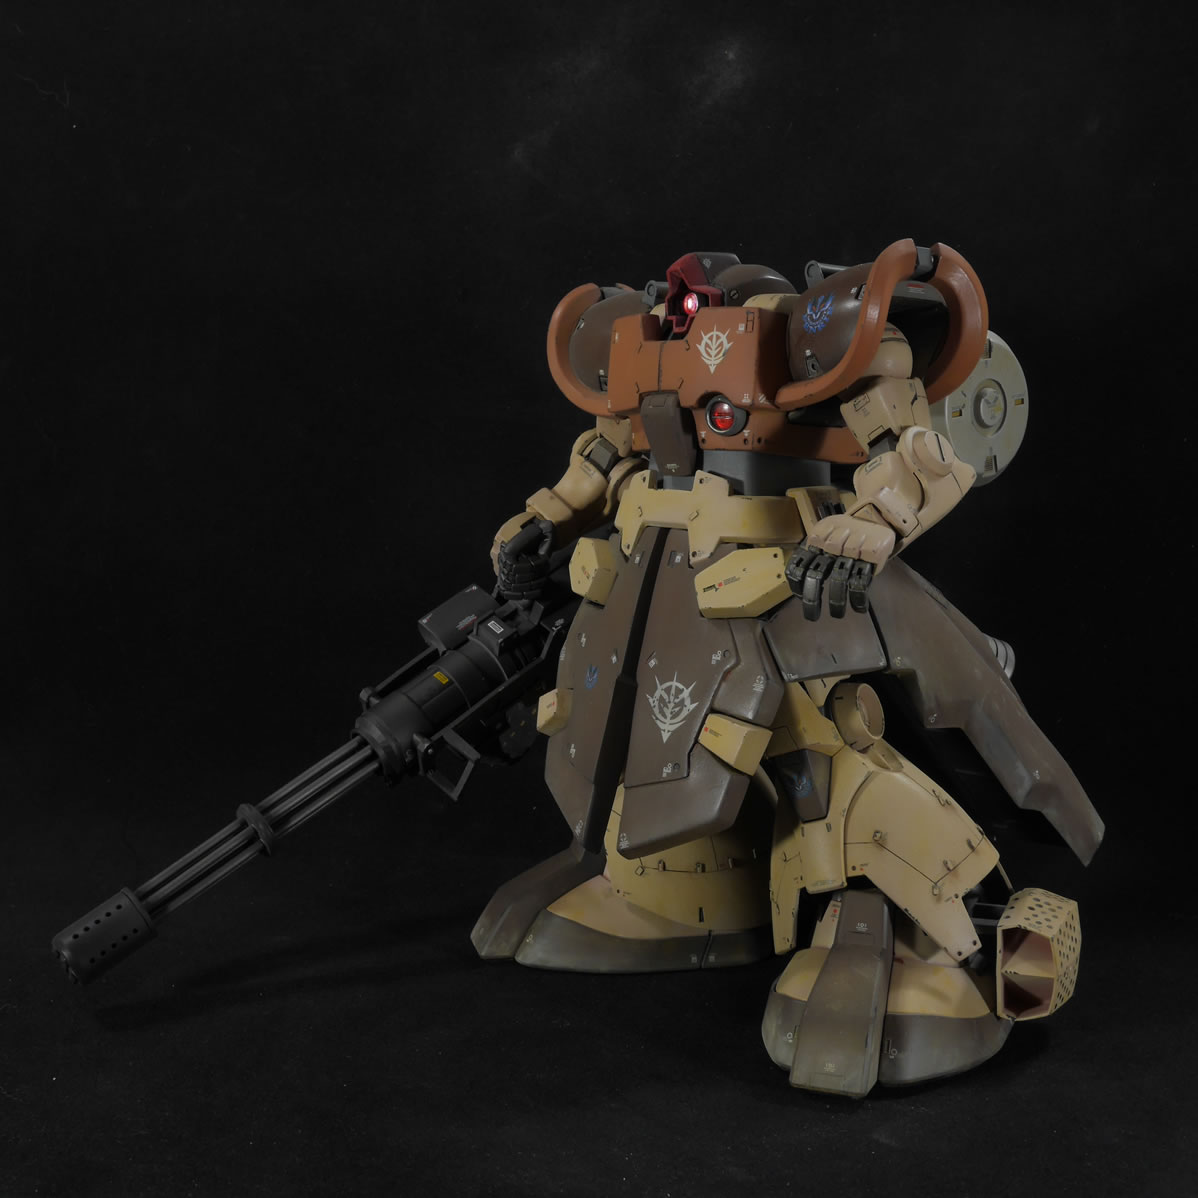
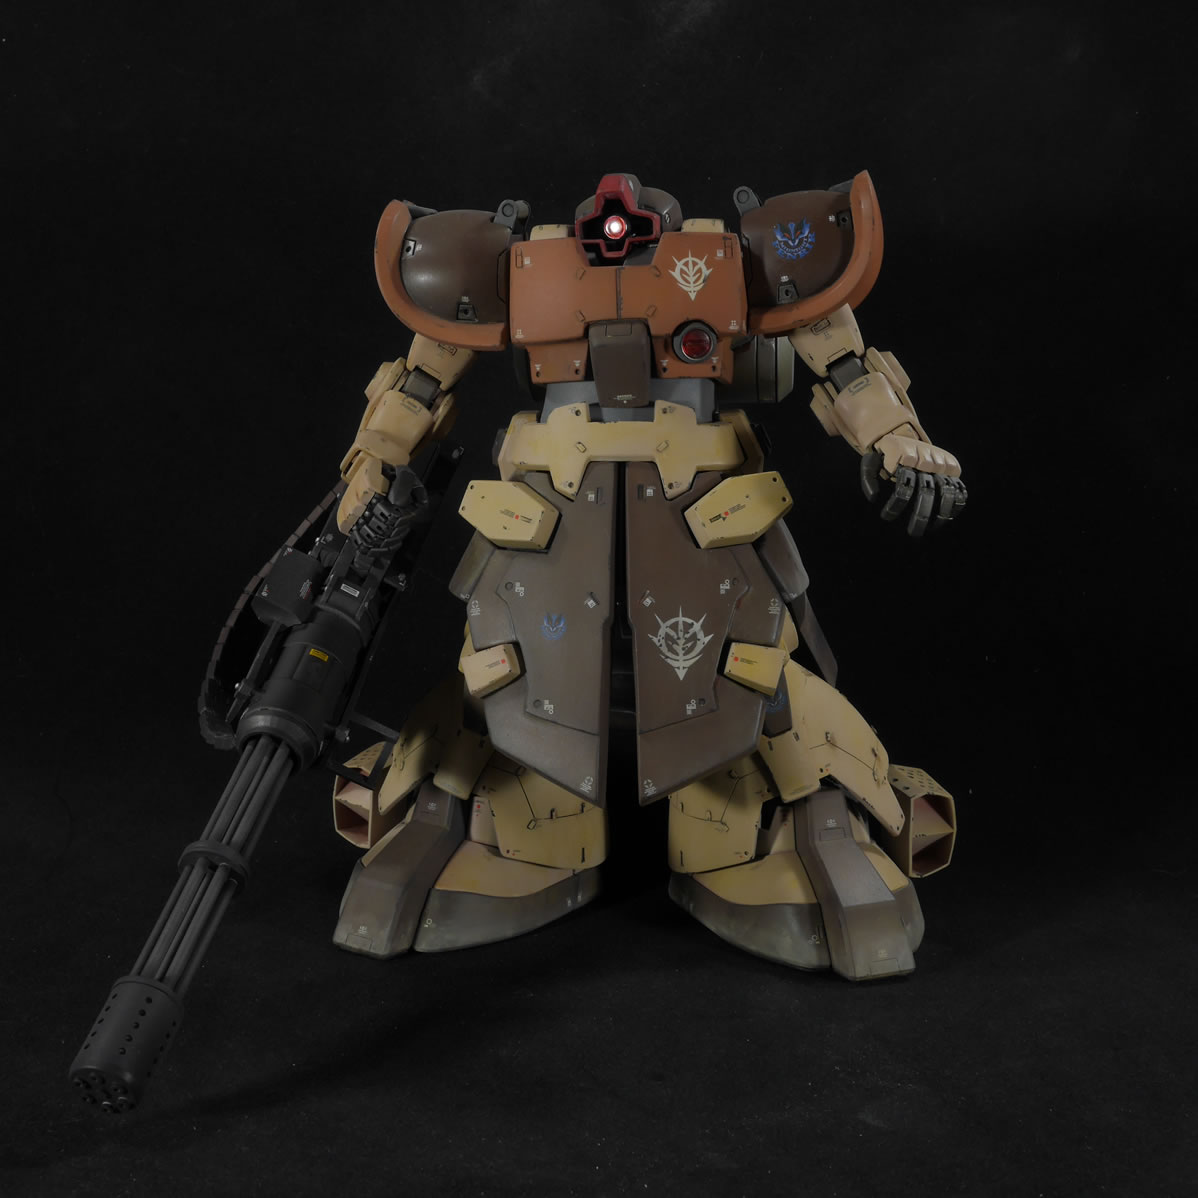
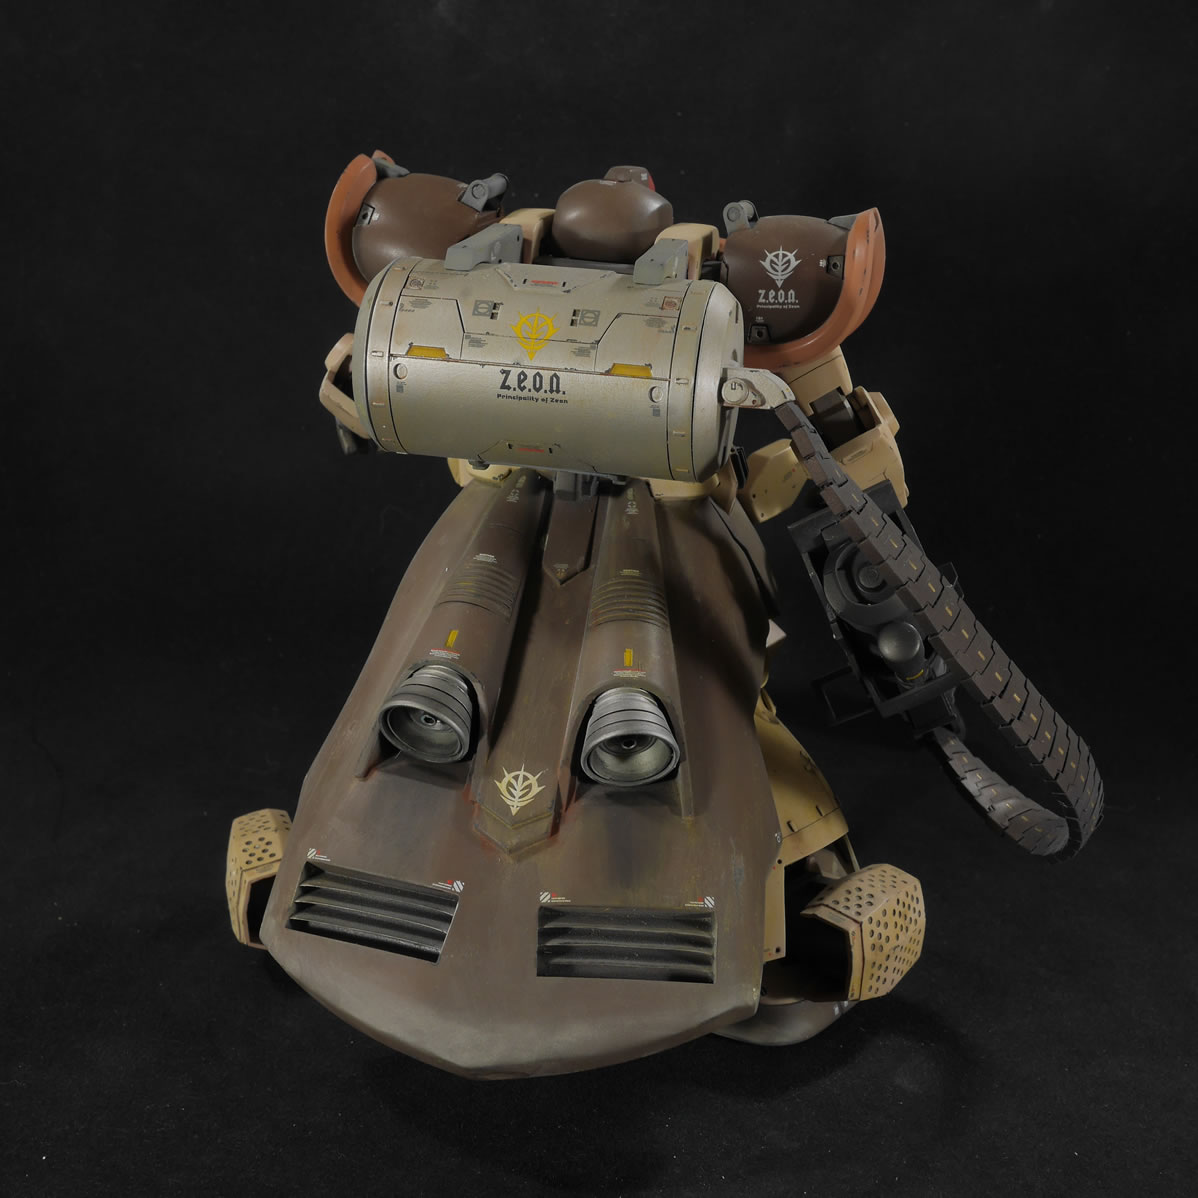
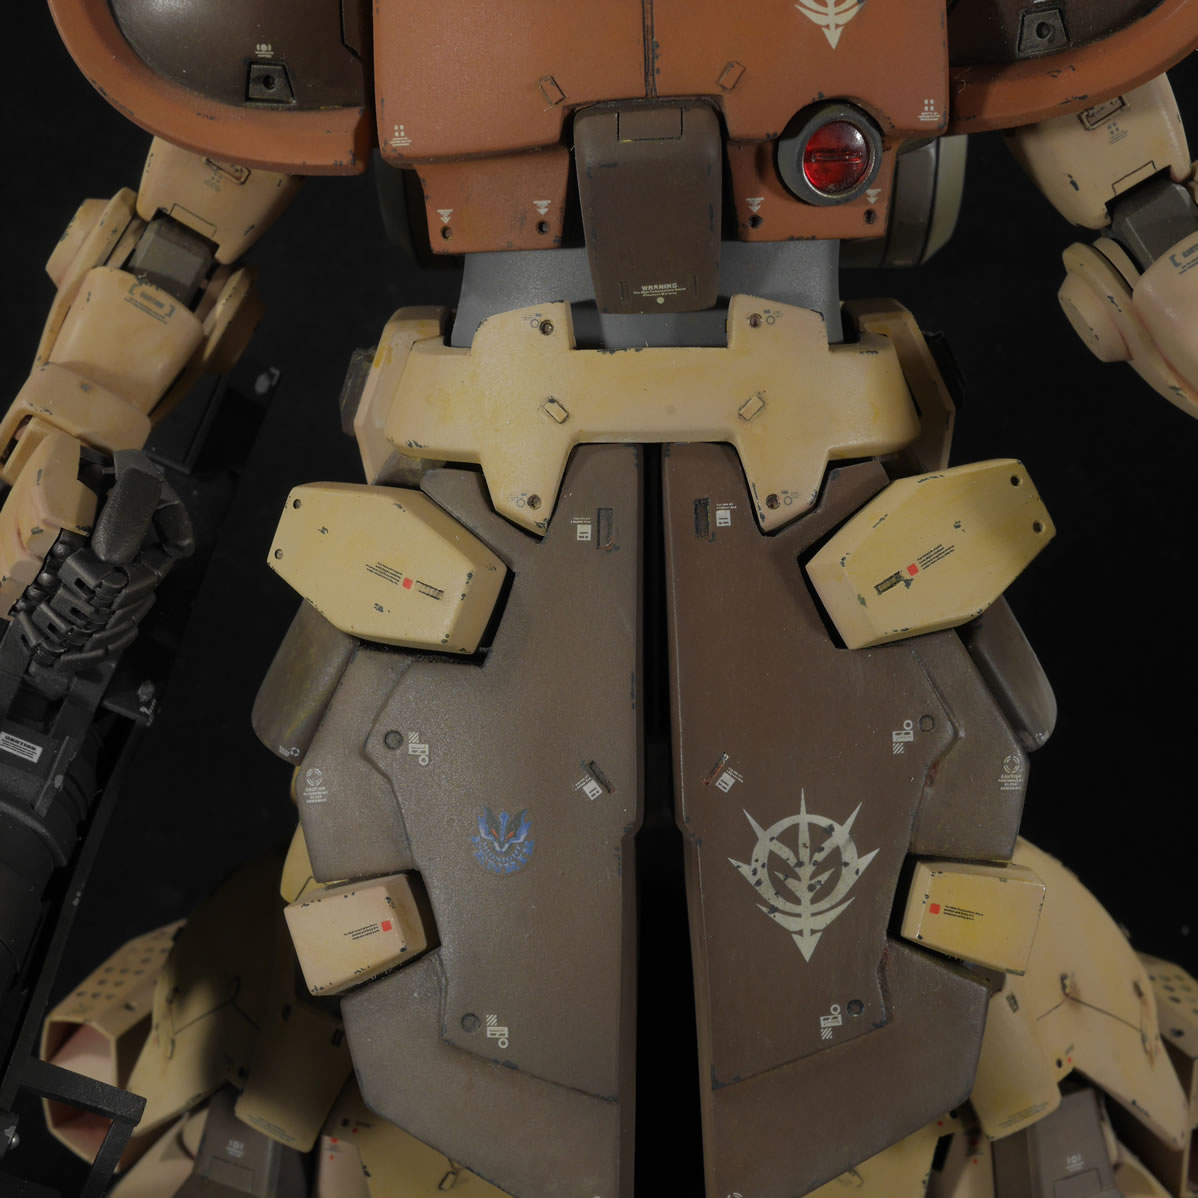
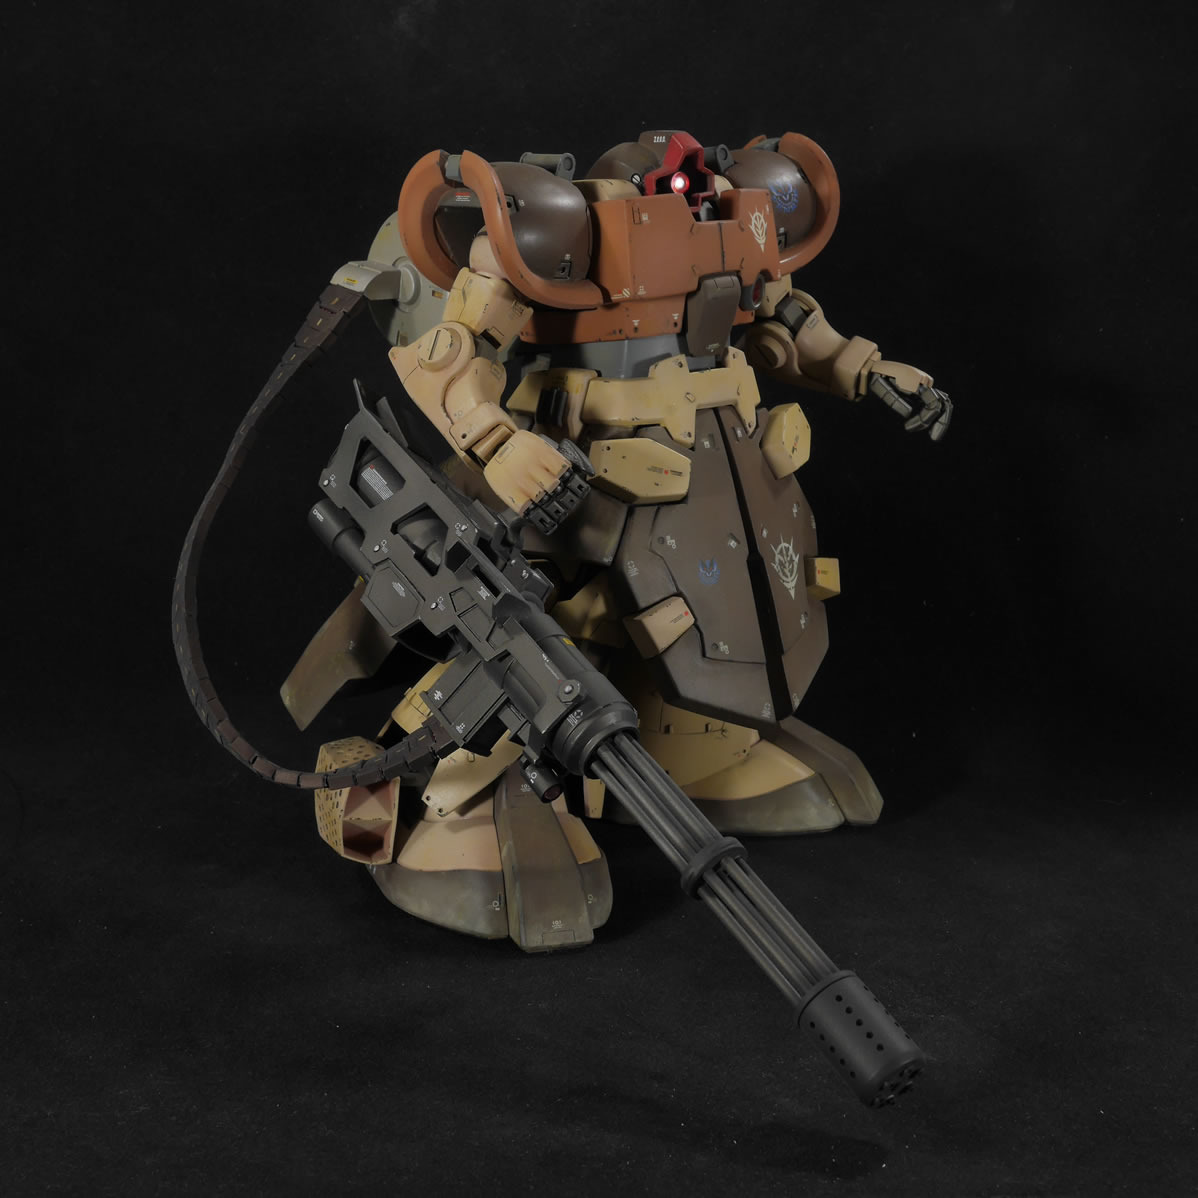
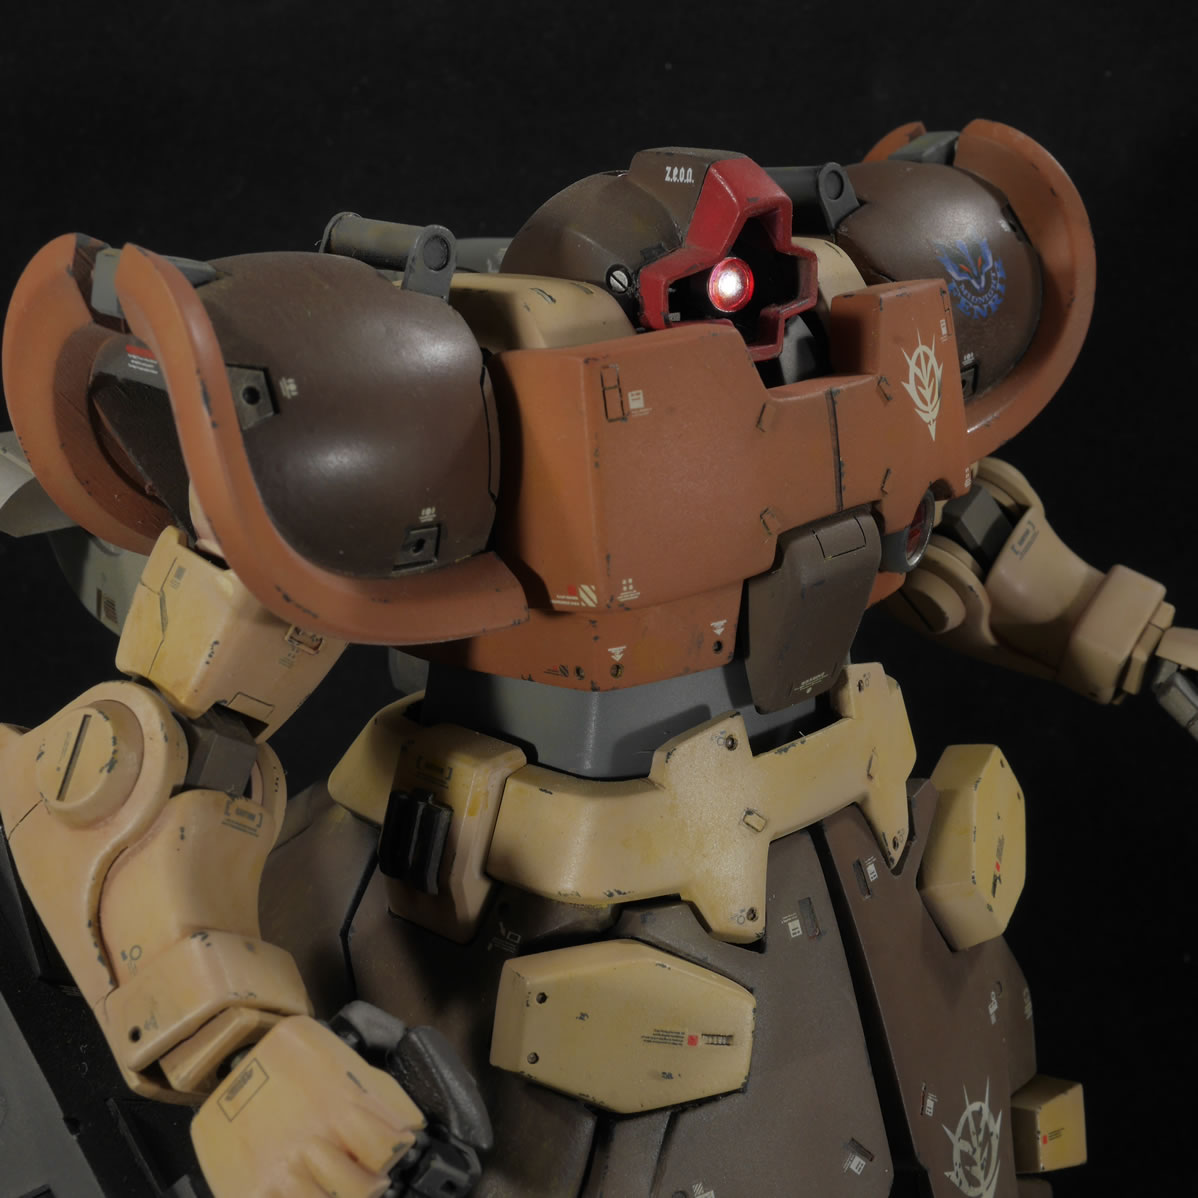
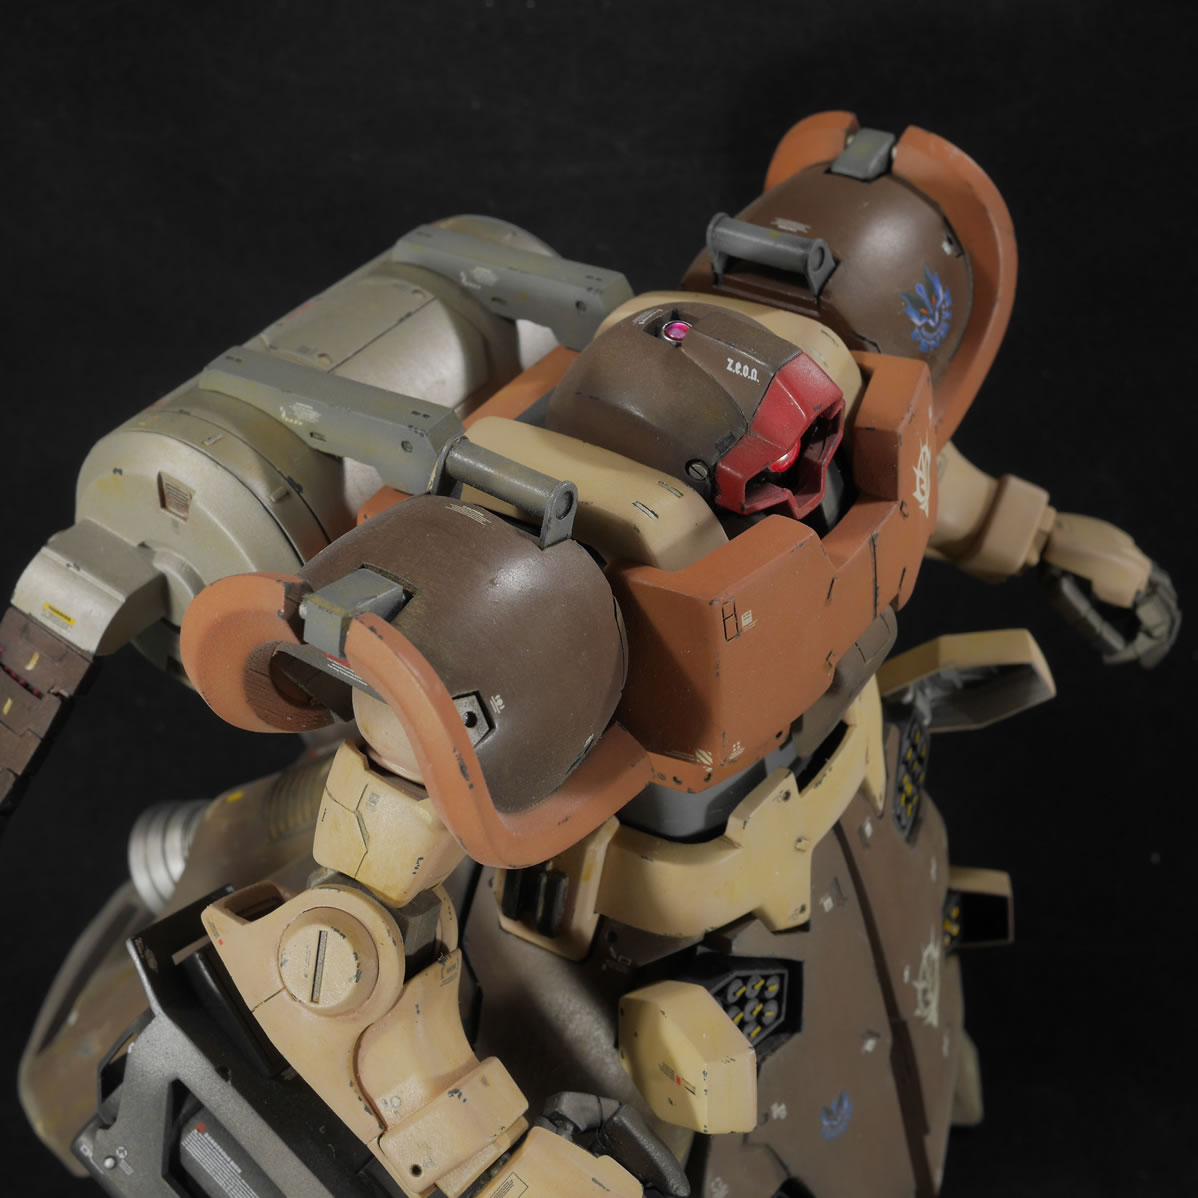
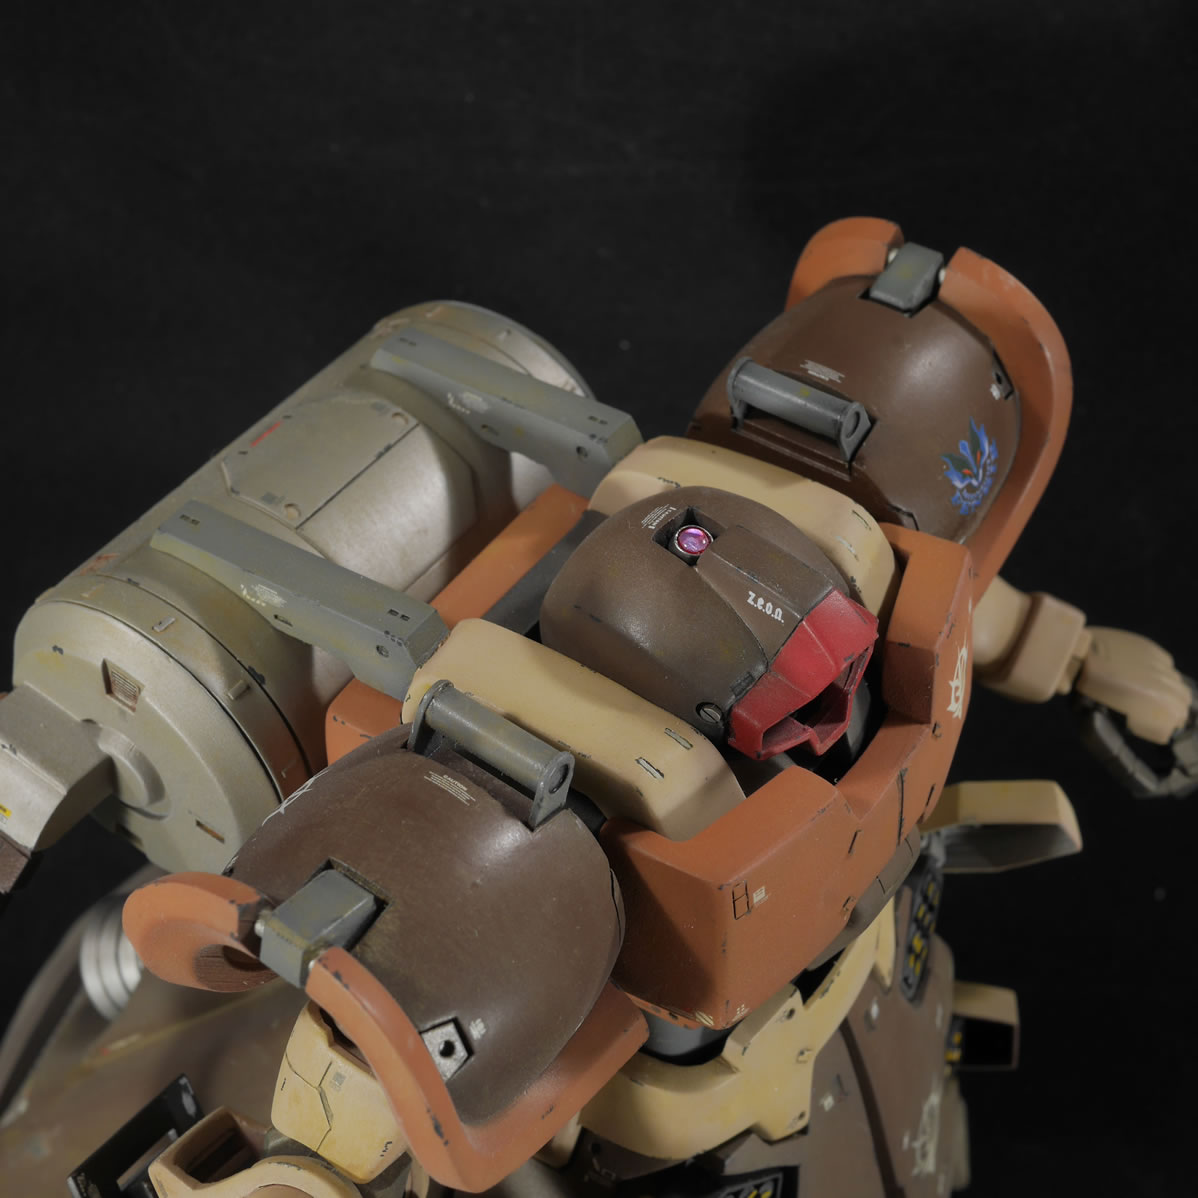
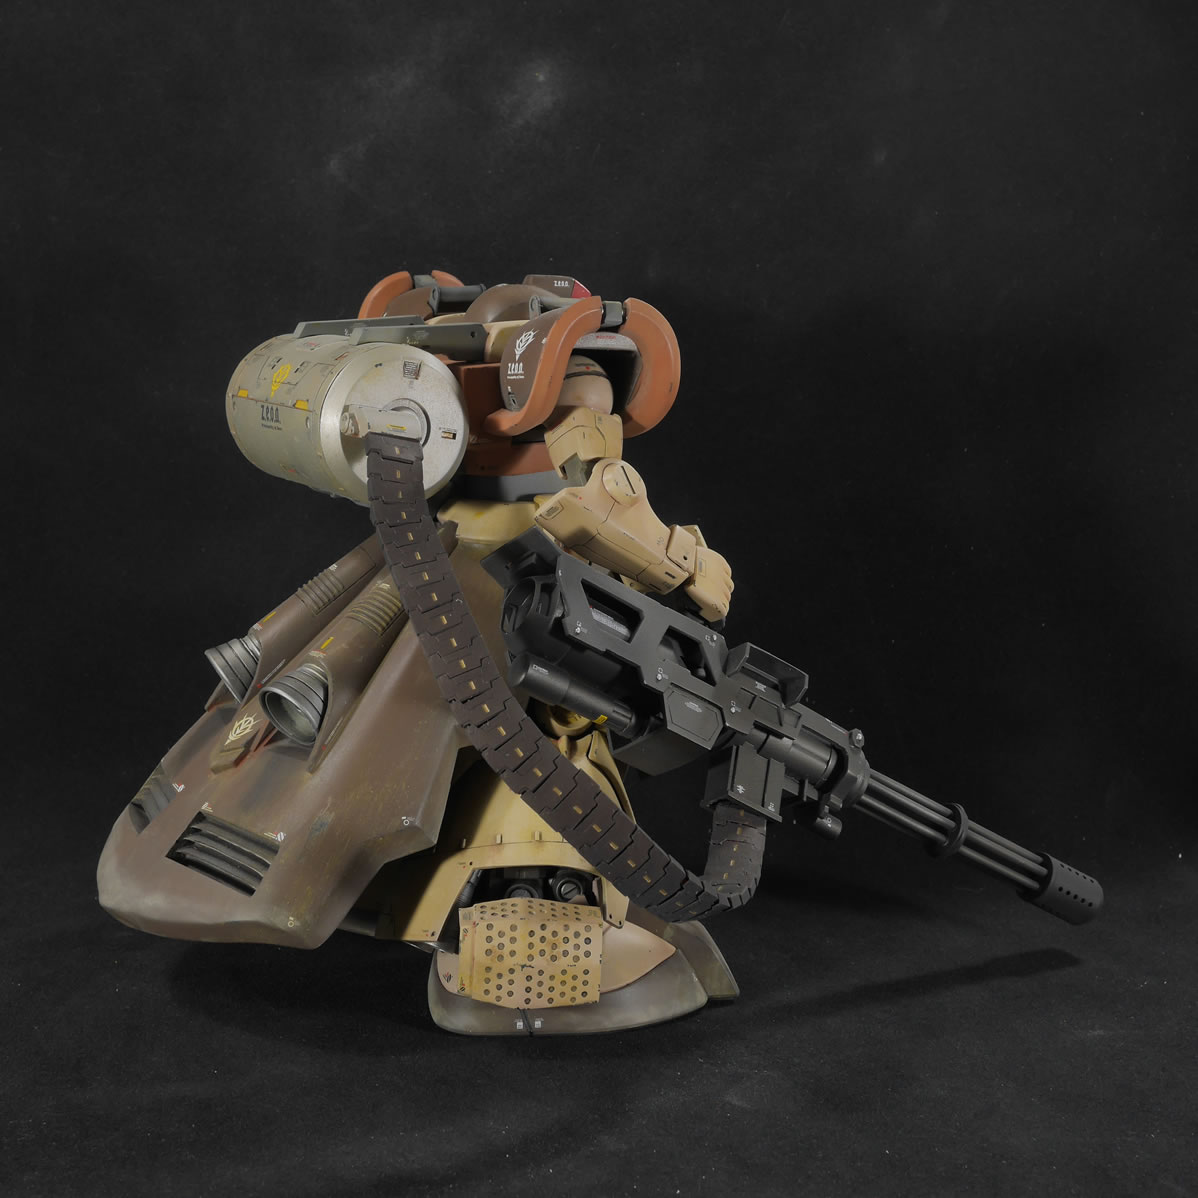
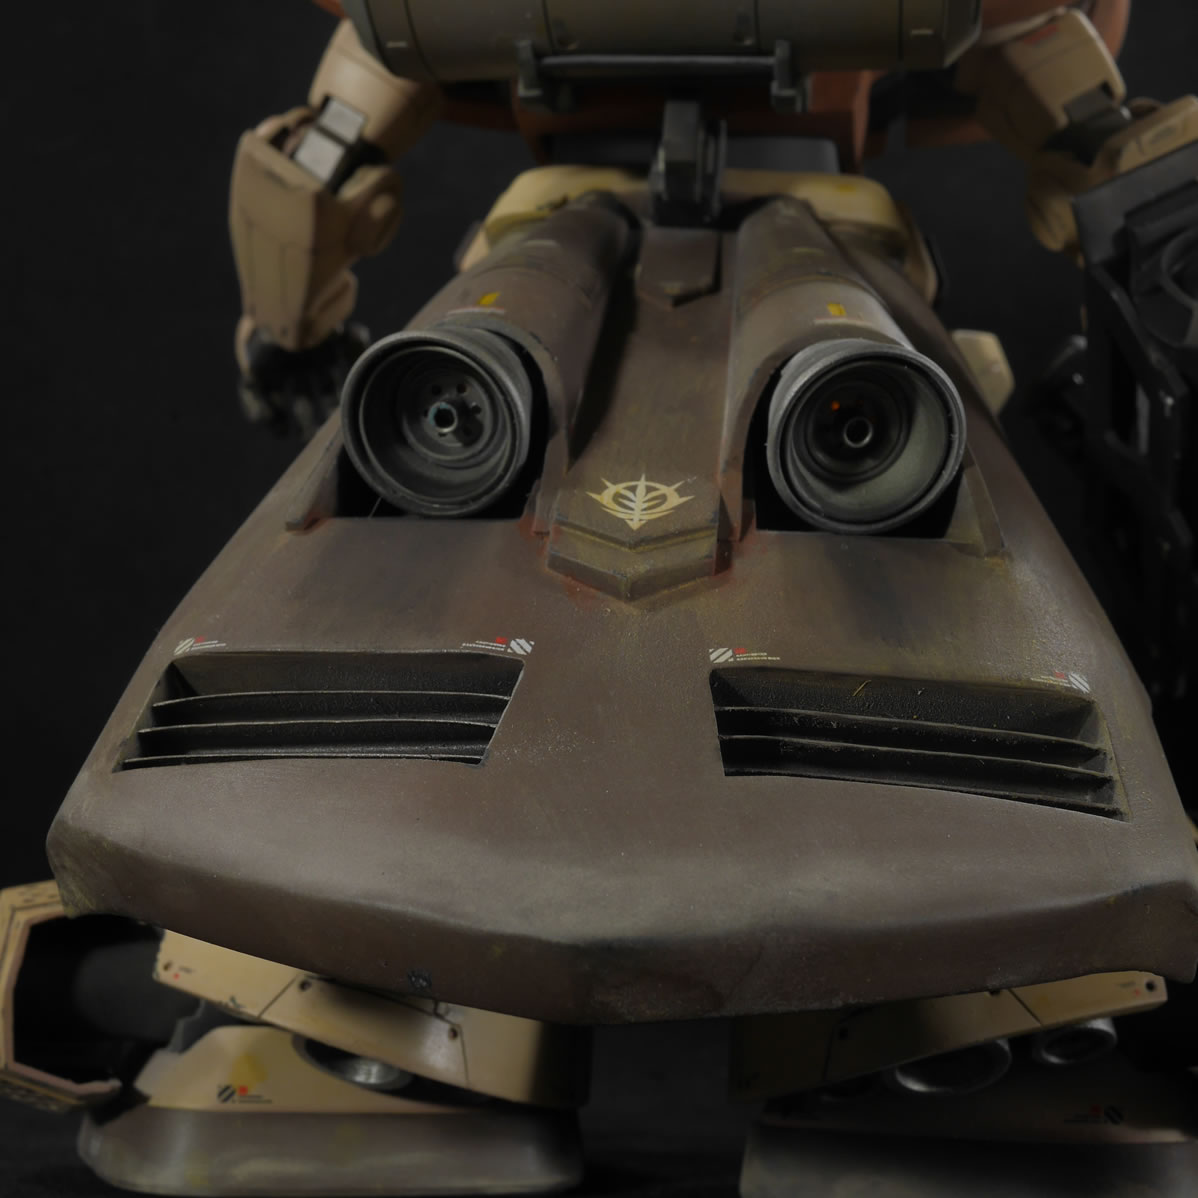
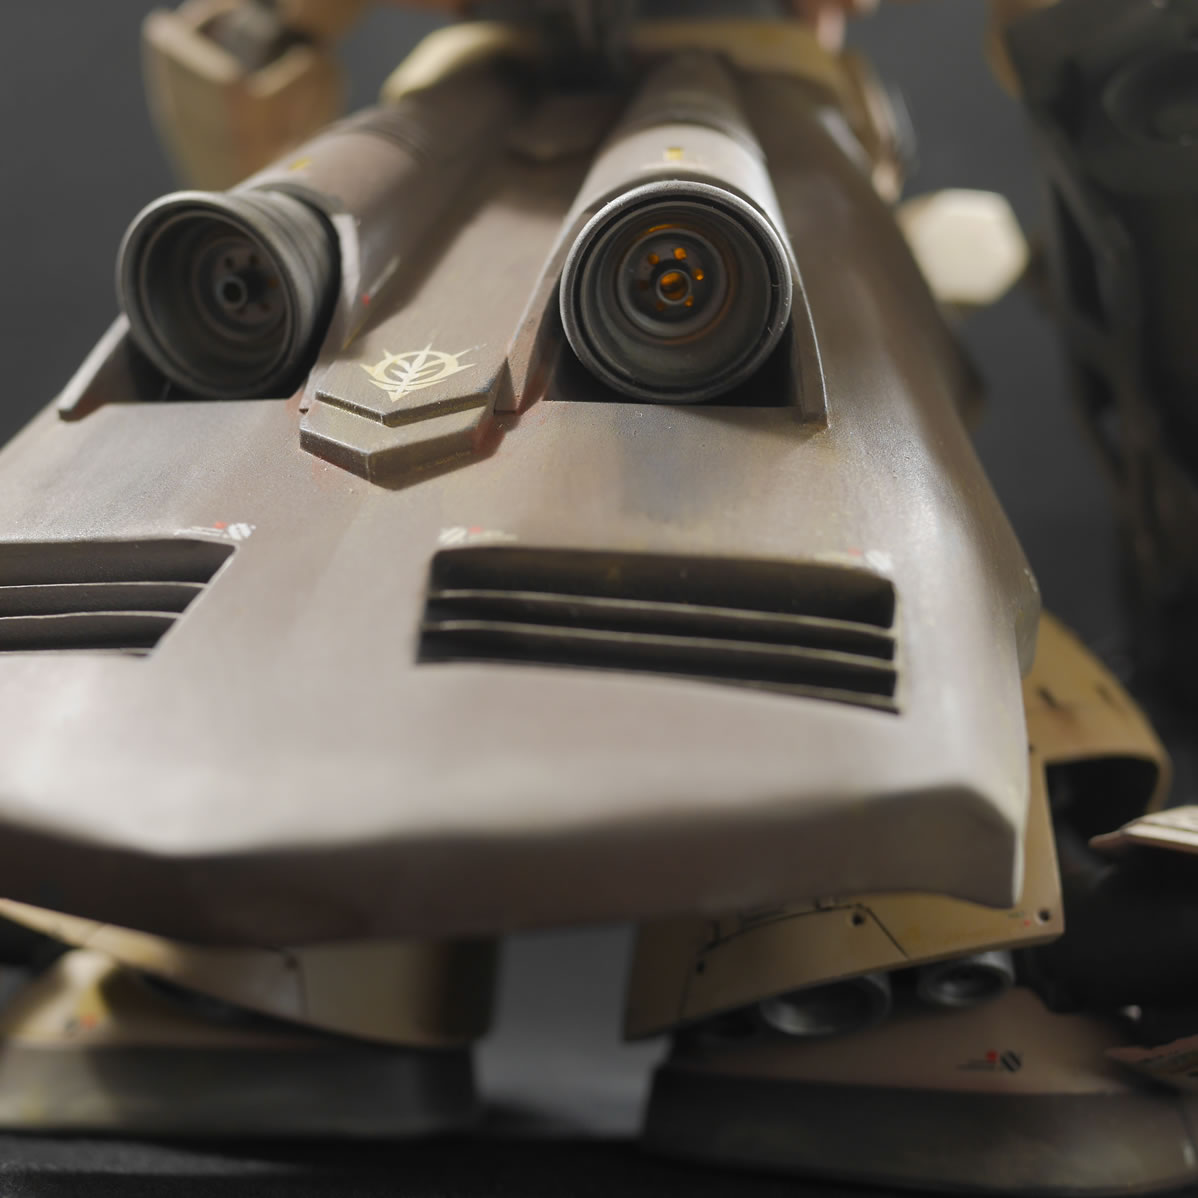
Once done with that, the work desk was transformed into a photo table and the kit was put together and final pictures were taken.
|
|
|
|
|
|
|
|
|
|
|
|

|
|

|
|
|

|
|
|
This is amazing. I’m always amazed by builders creativity and hard work to bring things from paper to an actual 3d model. Fantastic work.