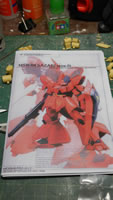
I picked up this kit about 5 years ago to date on a trip to Hong Kong with my wife and friends. I believe I actually picked this guy up from the SMS shop in Mong Kok; the place has since moved a few times and changed names; but I think it’s still around. The folks in HK in the resin gunpla scene can point you to the right direction. The kit is basically a recast of the Vicious Project 1/144 Sazabi. It’s a full resin kit, and I figured I need to catch up to the number of Kampfers I’ve built. Counting rebuilds and this one, I’ve done 3 1/144 (first one back in 1989 I think) and 4 1/100. Ok, maybe I’ve already surpassed the number of Kampfer builds. I’ve pulled the parts from the box a few times over the years but ended up shelving it. I once got as far as clipping flash and small bits of sanding; but it’s gone back onto the shelves for other projects. I finally sat down and started cranking out work on it the weekend before last.
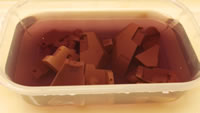
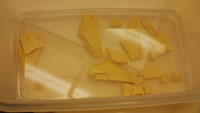
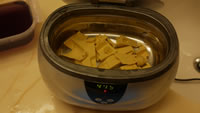
I’m approaching the build in a different manner. I started doing this for the past two projects; Hi Nu and Shiki. I’m building in sections. This is different from how I have built in the past 15 years or so; where I build in stages (all the sanding in one stage, all the priming in one stage, all the painting in one stage, etc). I started off with the head, chest, and shoulder pieces. I get the flash bits removed and some initial sanding and that’s it. Maybe a quick test fit; but nothing permanent. Not even gluing smaller parts together or filling obvious problem areas. The first thing I do after the flash removal and quick sanding is dunk the parts in an industrial strength degreaser. Zep in this case. And the parts sit over night. Next, they are pulled from the cleaning fluid and put into a box with some water to do an initial rinse. The next step is to throw the parts into an ultrasonic cleaner. For those that don’t have one, you can just use dish soap and a toothbrush to scrub the parts. I’m entirely too lazy, so I rely on the ultrasonic cleaner with just water.
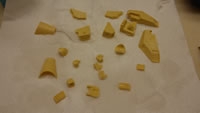
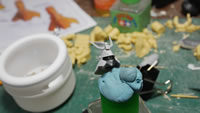
Parts are pulled and placed on a paper towel to dry. Notice that it’s not very many parts. I’m building in sections. So this cleaning session was for the skirt parts.
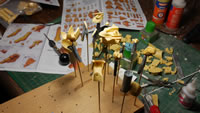
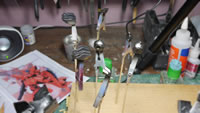
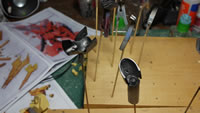
Once dry, I can start doing some finer sanding and filling for areas that I see in the bare resin. I also glue together some of the smaller pieces so I have little subsections to work with. Some folks prefer to paint everything separately and then do a final assembly at the end. But this is how I like to build. The parts are on skewers and ready for the first layer of primer.
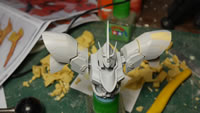
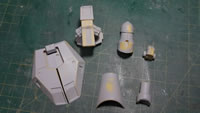
The first layer of primer is always the real starting point for actual work. All the surface imperfections that are hard to see in the bare resin is immediately visible. Pinholes, missed sanding spots, left over flash, mold lines, etc. These all need to be cleaned up. So once that is done, the primed parts look like the following. Mostly primed, with bare spots of resin here and there.
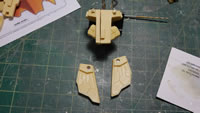
This next part has a small pin hole. These need to be filled with a putty. I use light curing putty because it works DAMN fast. I used to do all the putty work then do the cleaning, but I’ve found more often than not, that the cleaning solution will loosen the grip of the putty on the resin. So I now do all my putty work after the part has been cleaned.
Once the major sanding work is done. I can go ahead and reprime to check the parts. MOST of the parts are then ready for paint. There are always a few parts here and there that still need a little attention – sand, putty, sand, reprime. But once that’s all done, some actual colors can be thrown. In this case, the metallics first since they will need to be masked before the other colors are painted.
An alternative to pinning non-load bearing parts is to use rare earth magnets. Holes are drilled and magnets are glued into position taking note of polarity. And I have snap on front skirts. Again, this is for non-load bearing parts.
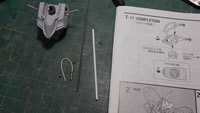
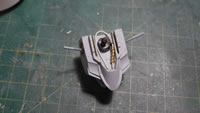
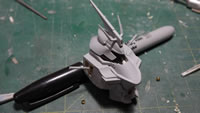
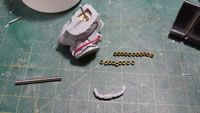
While doing some test fitting with the primed pieces, I noticed that I didn’t have neck cables. I figured I must have missed the part. Every Saz kit I’ve built has neck cables, as crappy as they can be, they have the damn part. Apparently, this kit wasn’t designed with them. I pull out the MG Ver Ka instruction manual as a reference and look in my parts bin. I have some metal collars, a spring, wires, and some plastic tubing. This is going to be easy.
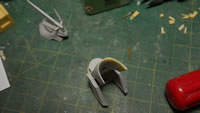
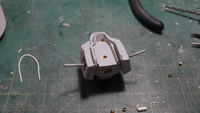
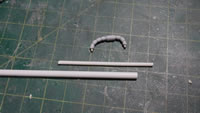
I drill out some holes in the front collar area so that I can fit some plastic tubing. The tubing is cut to size using the Ver Ka instructions as a guide for the part. The spring is inserted into the styrene tube. I needed to drill out the tube a bit to widen the inner hole for the sprint to actually fit, but it works and the walls of the tube are still structurally sound. I add in a middle tube piece that will eventually glue to the back of the collar area.
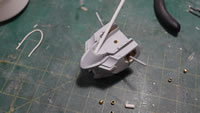
I did a quick test fit with just the spring as the neck collar. It looks decent, but I want to see what it looks like with metal collars added to the spring.
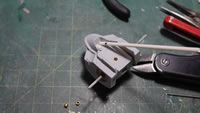
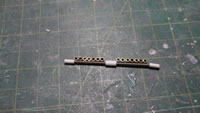
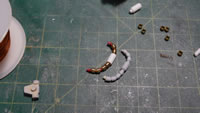
Metal collars are counted out and the spring is filled to the correct length. And the last picture in the below set is what the Saz looks like with the spring and metal collars. I think it looks much better than just the spring. Granted, the spring alone looks pretty cool too. The metal collars just make this area look a little beefier.
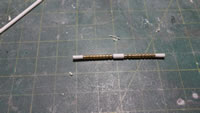
After building the neck collar, I noticed that I had already primed and sanded the waist collars. It’s odd to make the neck collar look fairly decent while keeping the rather crappy resin waist collars. So, I mind as well rebuild those too. For this, I used a thicker guide wire, some 28 gauge magnet wire and slightly larger metal collars. In the middle, I have a piece of styrene tube that completes the waist cable replication.
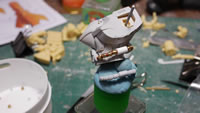
Here’s what the kit looks like with the new wasit cables. Since I’m working with metal collars, I added one to the mono eye piece. The mono eye was just a round nub of resin sticking out from the head’s inner part. I had painted the part and was going to paint the mono eye; but all the work with metal collars nudged me to try fitting a smaller collar piece over the resin nub. It worked. I pulled the collar off and then applied a small piece of aurora film, then replaced the collar and done.
With that work done, I can return to painting. The first layers of colors are sprayed.
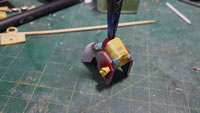
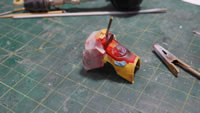
With most resin kits, there is a fair amount of masking involved. The shoulder mounts are painted with Alclad magnesium. Masked, then painted with polished aluminum and burnt iron. The center waist cable connection point is painted yellow, masked, then painted with the base Saz red, in this case, Finisher’s Lumi Red.
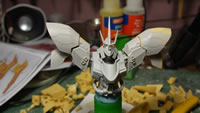
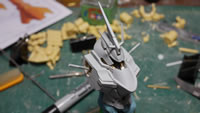
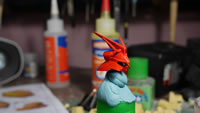
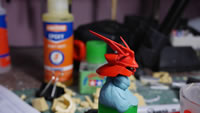
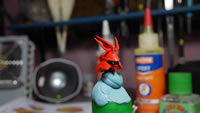
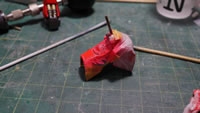
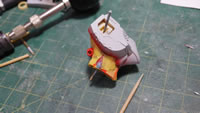
I’m following the Ver Ka’s color guide for this kit and custom mixed the lighter shade of red using Finisher’s Lumi Pink and Lumi Red. The top and face plate are painted in this lighter shade then Lumi Red for the rest of the head. And with that, the head is the first piece done – with painting at least.
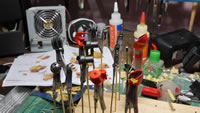
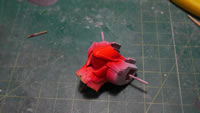
I have a block of wood with the finished painted parts and over the weekend, this started to grow considerably.
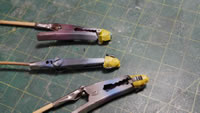
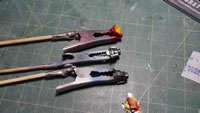
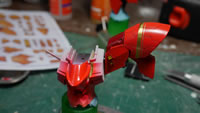
Again, with resin, there can be several levels of masking and painting. For just the shoulders. I first painted the underside details in alclad dark aluminum and the small thrusters in yellow. These areas are masked off with tamiya masking tape as well as sticky tack. The darker red is painted on the shoulder pieces as well as the areas around the small thruster using Mr Color Wine Red. This is then masked off and the Lumi red is sprayed. These areas are further masked off to spray the lighter custom mixed red.
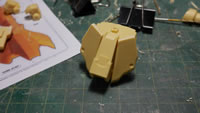
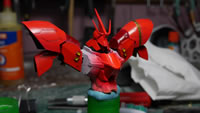
The same with the chest block. I usually paint the lowest levels first since it’s easier to mask a negative space. I painted alclad burnt iron, masked, then painted the lumi red, masked then painted the custom red. I still need to mask and paint the wine red. But the chest block is getting close to completion.
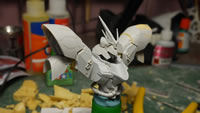
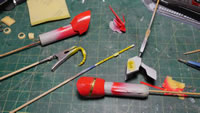
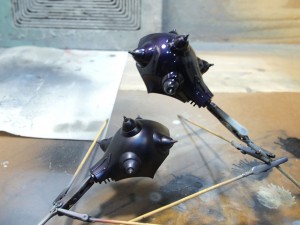
The outer shoulder is done in the same manner as the inner shoulder piece, but with the left shoulder a striping of gold just to break up things. Here’s what the sucker looks like now. In the industrial cleaner tub, I have the rest of the backpack parts; the funnels, thrusters, and fuel tanks. Still in bags are the leg pieces. So there’s still quite a bit of work, but breaking it down into sections is working to keep interest alive.
Another blog post will probably come after the legs are done and I’m into the clear coats, decals, and panel lines.
Clem what is your source for finisher’s paint? Looking on the internet it appears its not made any more and/or unable to import to the US.
http://finishers.jp/page007.html I haven’t ordered in a while, but my last couple of orders were direct from them.