So after SCGMC last year, real life became really busy immediately after SCGMC. I had already been packing up and getting ready to move to a new house the weeks leading up towards SCGMC; but once the show was done I was able to put full focus on the move. I had lived at my old house for about 10 years. Most of this blog has been written from this house and about the antics at this house. But circumstances called for a change; and I moved to the new place the week of Thanksgiving.
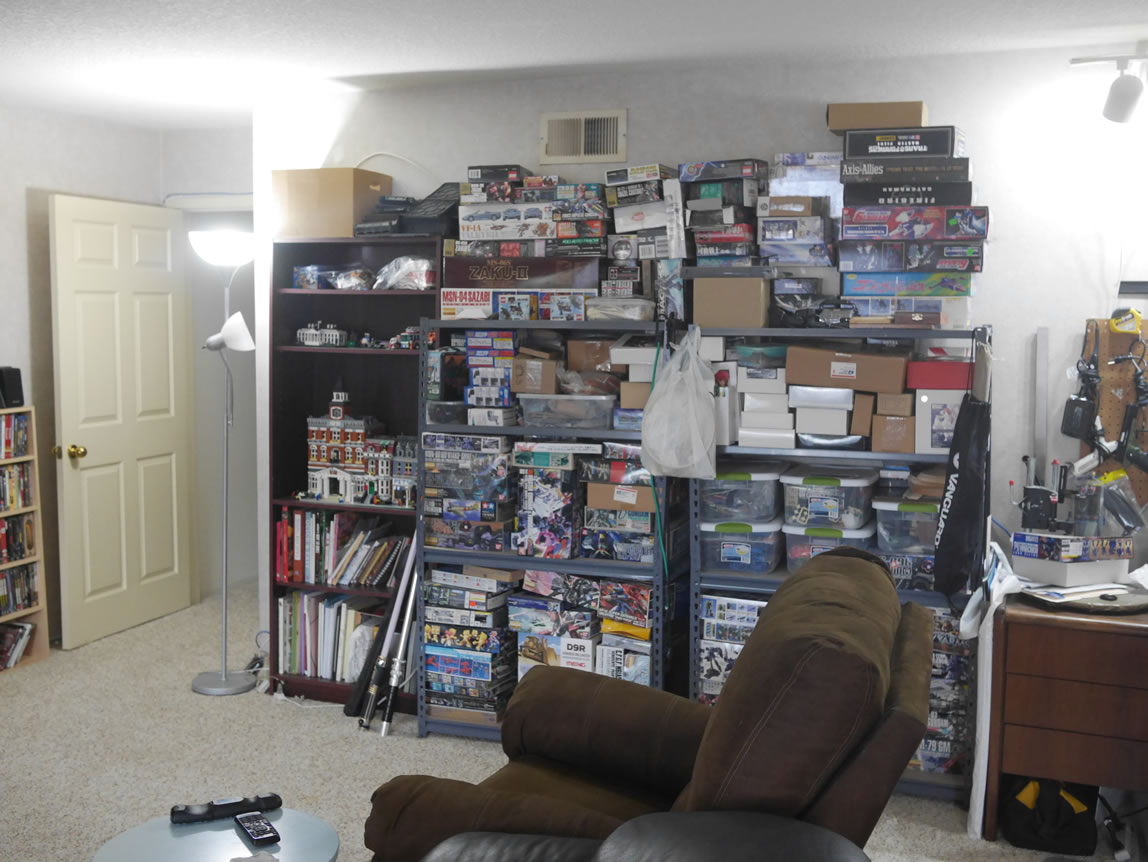
The workshop itself has gone through a few changes over the years. It started out in a very sizable 110 sq ft room for about 7 years. Then moved to a roughly 300 sq ft space for the final 3 years. My workshop at the new house is roughly 430 sq ft; which is an obscene amount of space for building little plastic robots.
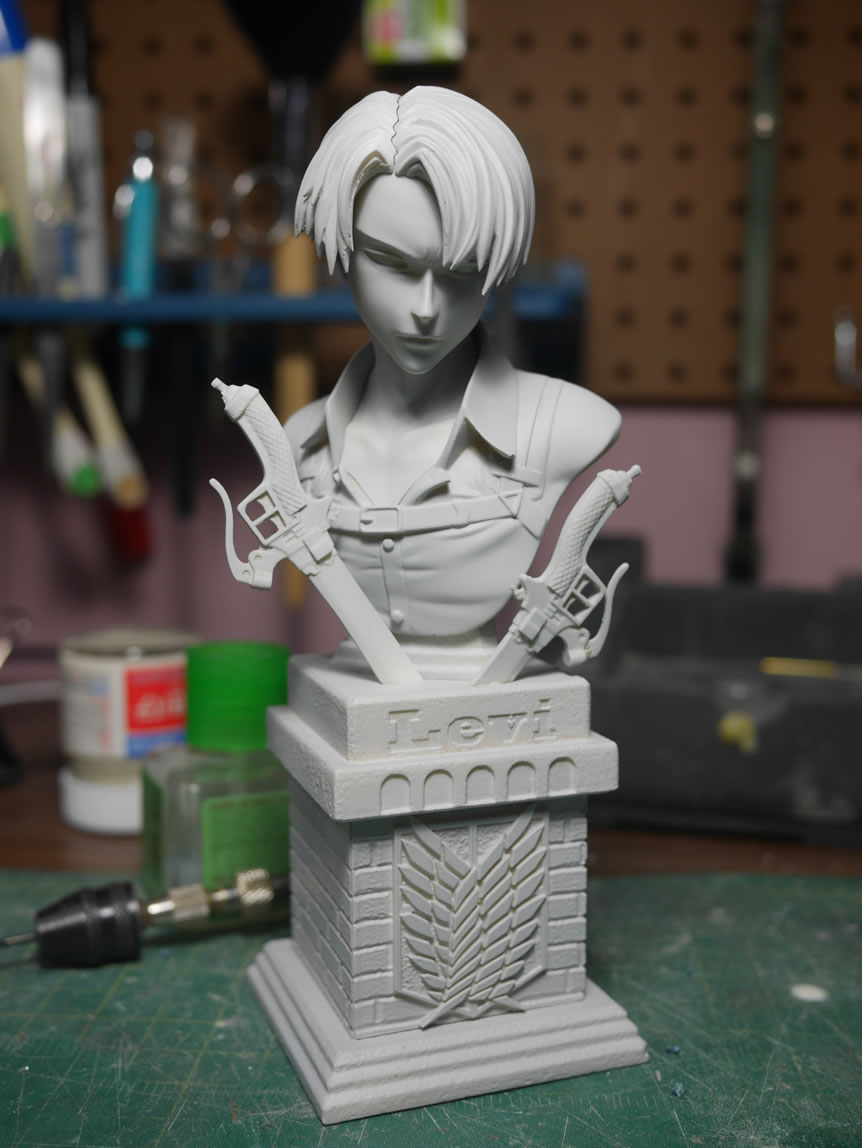
With the holiday activities and trying to settle into the new home; I’ve finally gotten some time to start actually using the workshop and buil. I started working on a Dougram kit, but the project is stalled as I seem to have misplaced my tamiya basic putty – the downside to moving is that things go missing. So for the sake of just getting something quick and dirty built and painted; I brought out a resin Levi bust kit I started on early last year.
More details on the build as well as the new workshop after the jump!
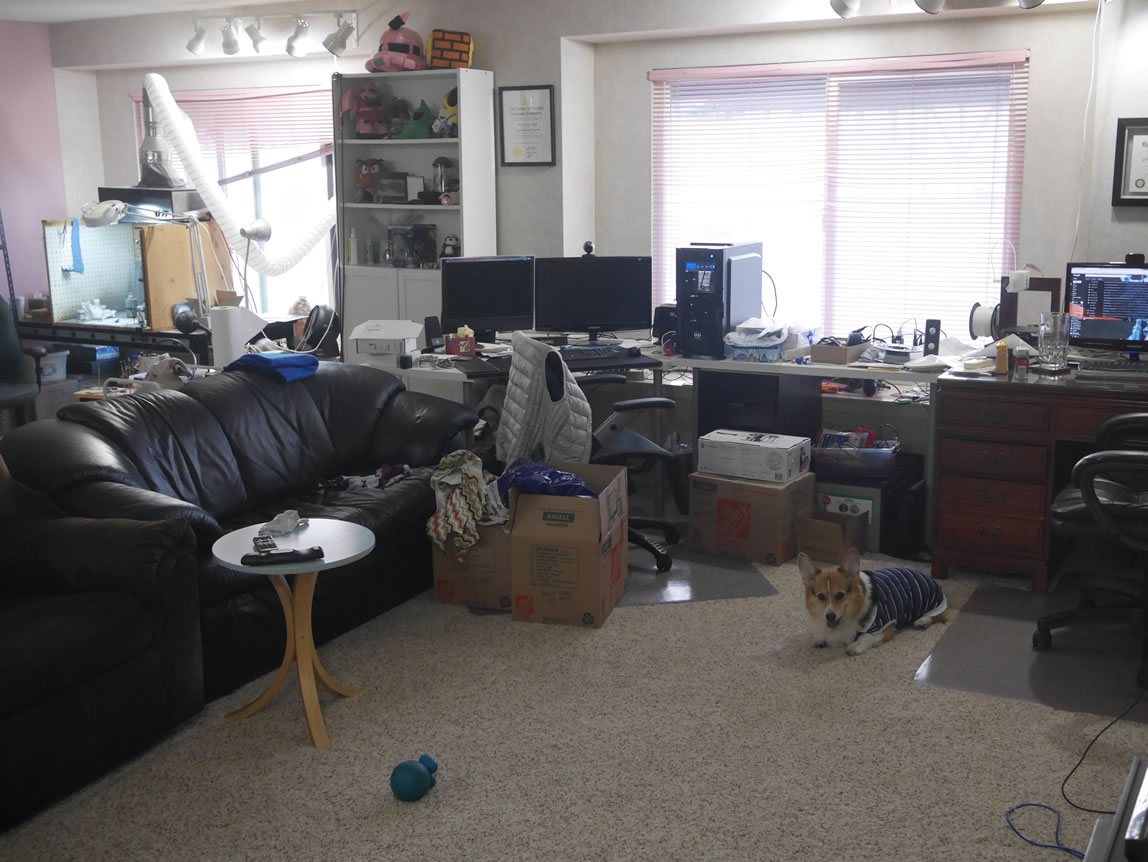
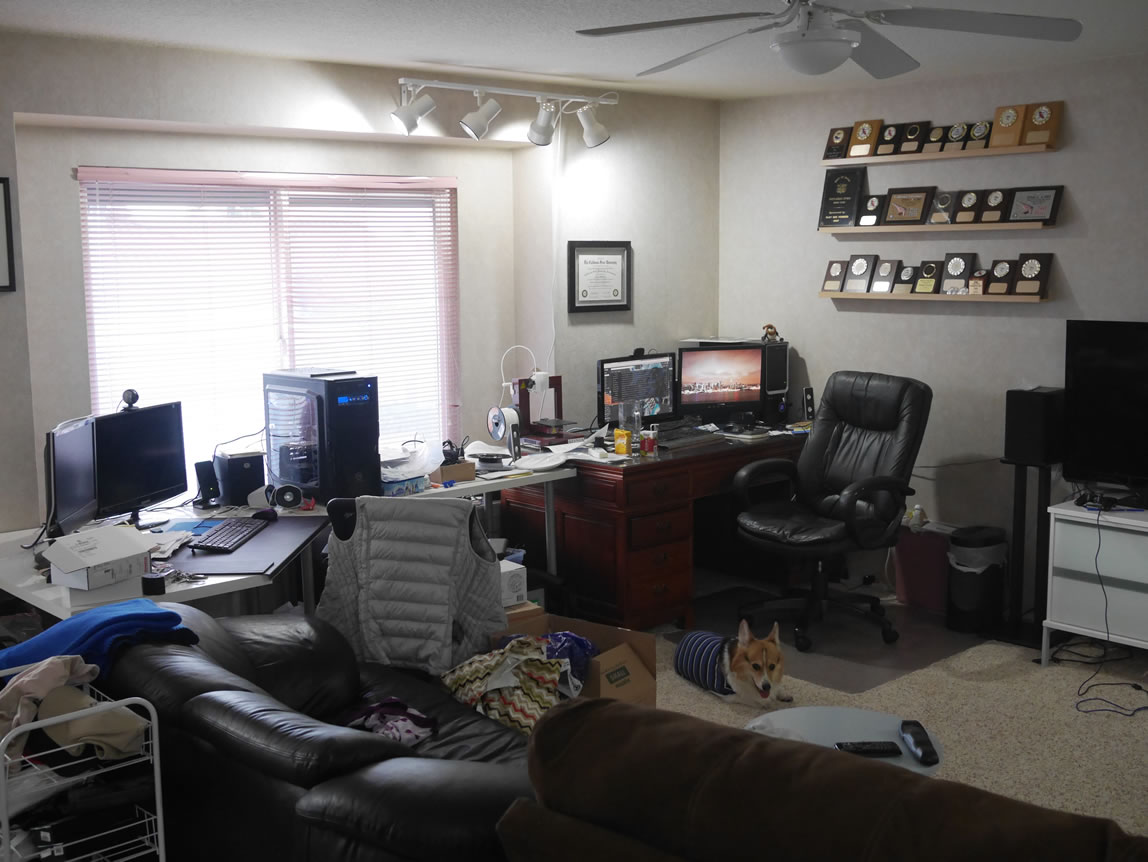
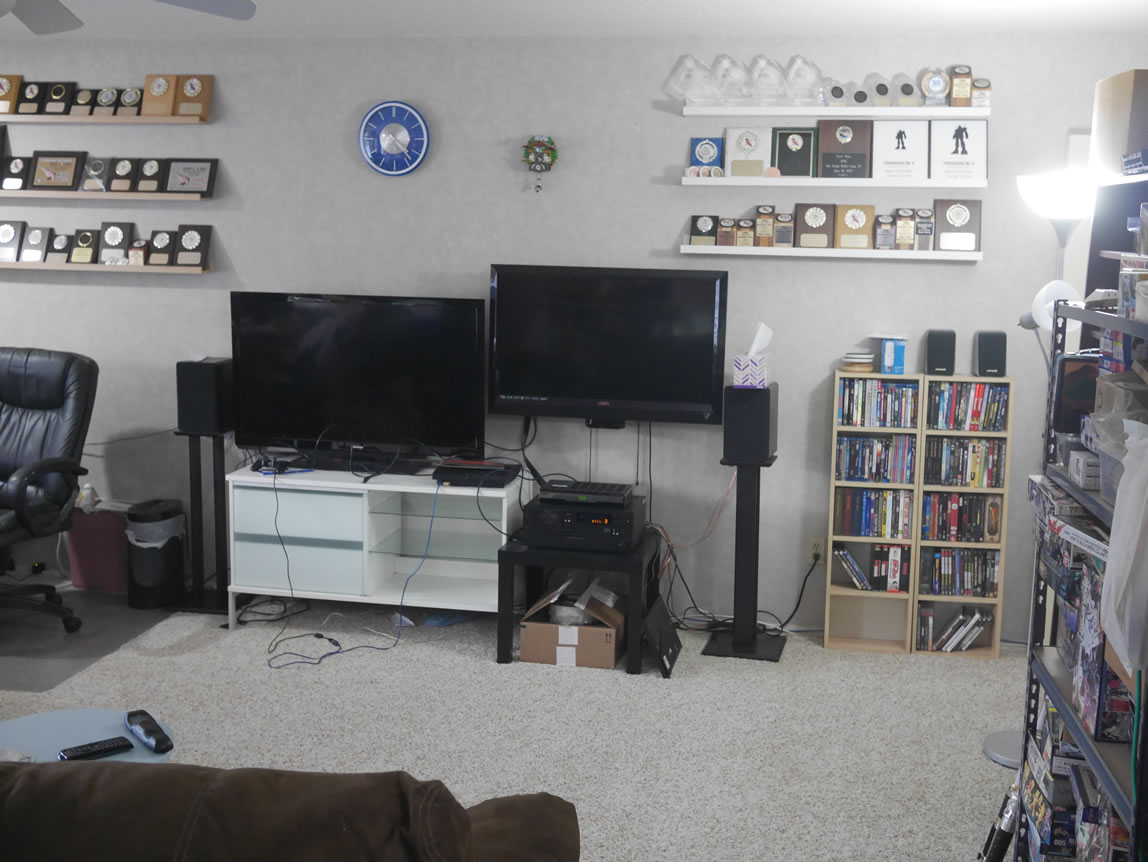
Here is a pan around the current workshop. Since this space is so very large, the wife and I incorporated our office space into this room. So we have our two computers set up here as well as bookcases and storage from the old house. We also put together two TVs from the old house so that the wife can watch tv while I game. The 3D printer was located in the office at the old place, but now also incorporated into the new workshop.
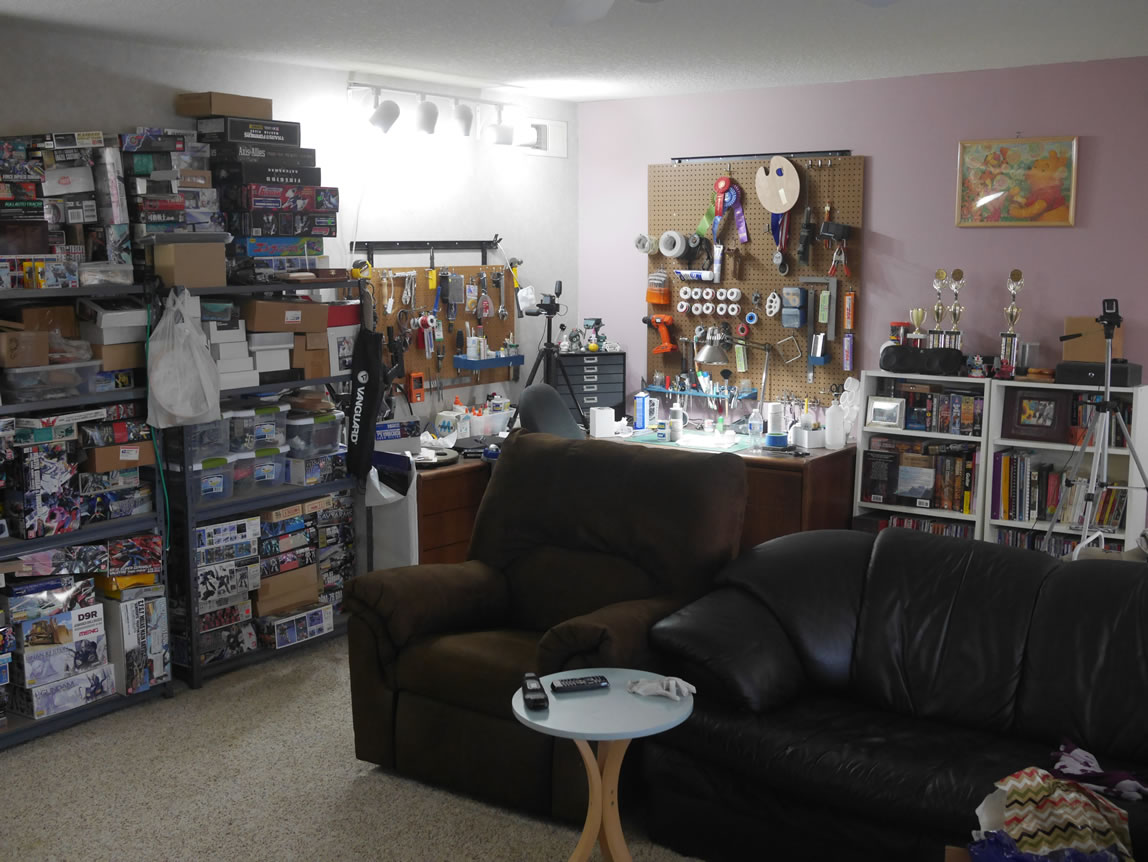
The one thing I do miss about the old place was the closet space where I could hide shelving racks and store all the unbuilt, partially built, never gonna be built kits, and build supplies such as the paints and diorama build materials. So a good amount of wall space has been allocated to the shelves and this storage.
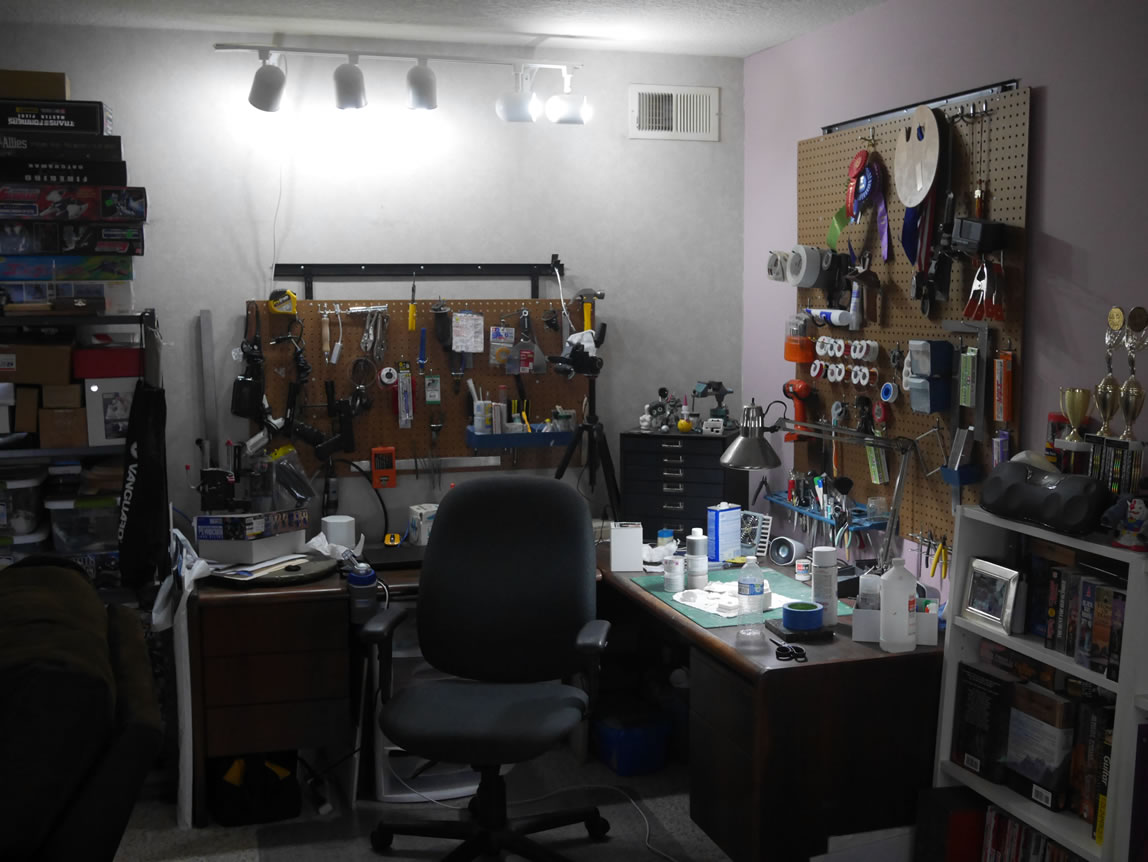
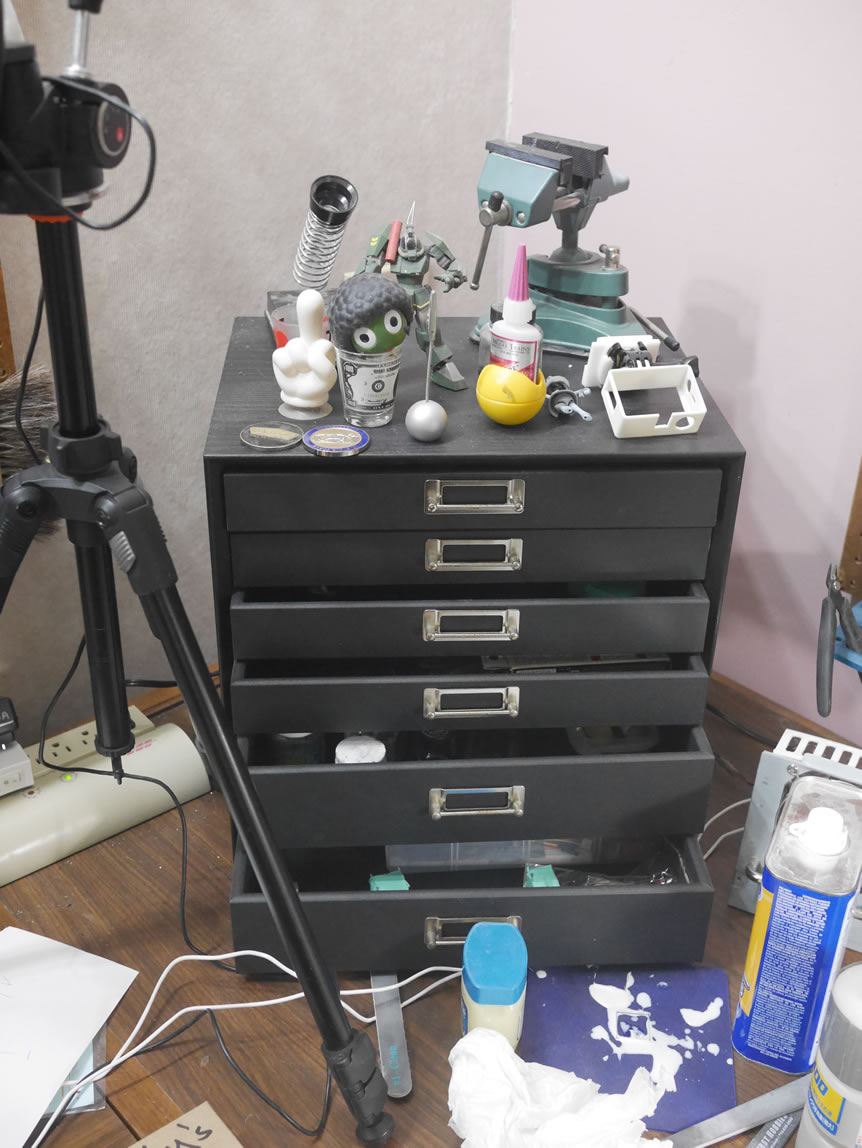
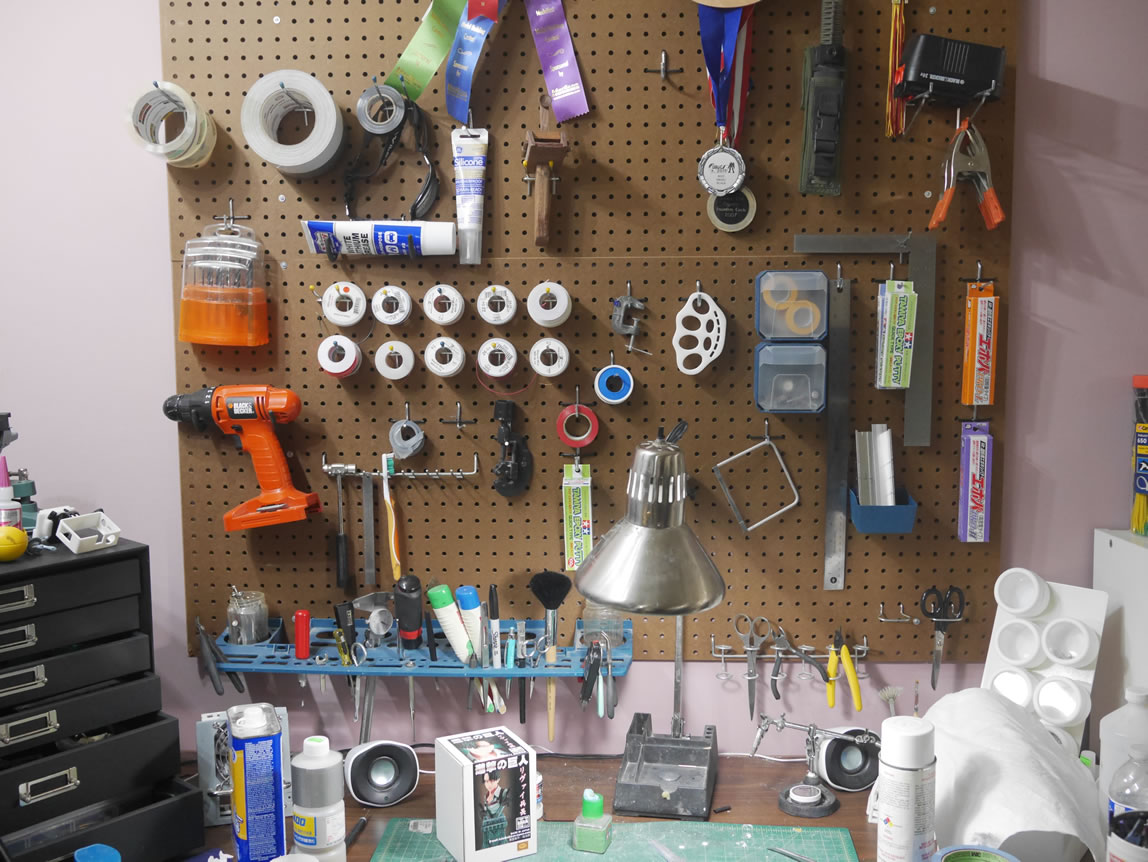
The old workbench only had one wall for hanging the pegboard for tools; with the new space, I get two walls and brought back the pegboard I had in the first iteration of the workshop. With two pegboards for tools, it is much less cluttered. The new house came with a nice little box and drawers that I can use for more tool storage. I’m still working out logistics and tool placement will definitely shift around as I get more comfortable with the new workspace and the ergonomics come into play.
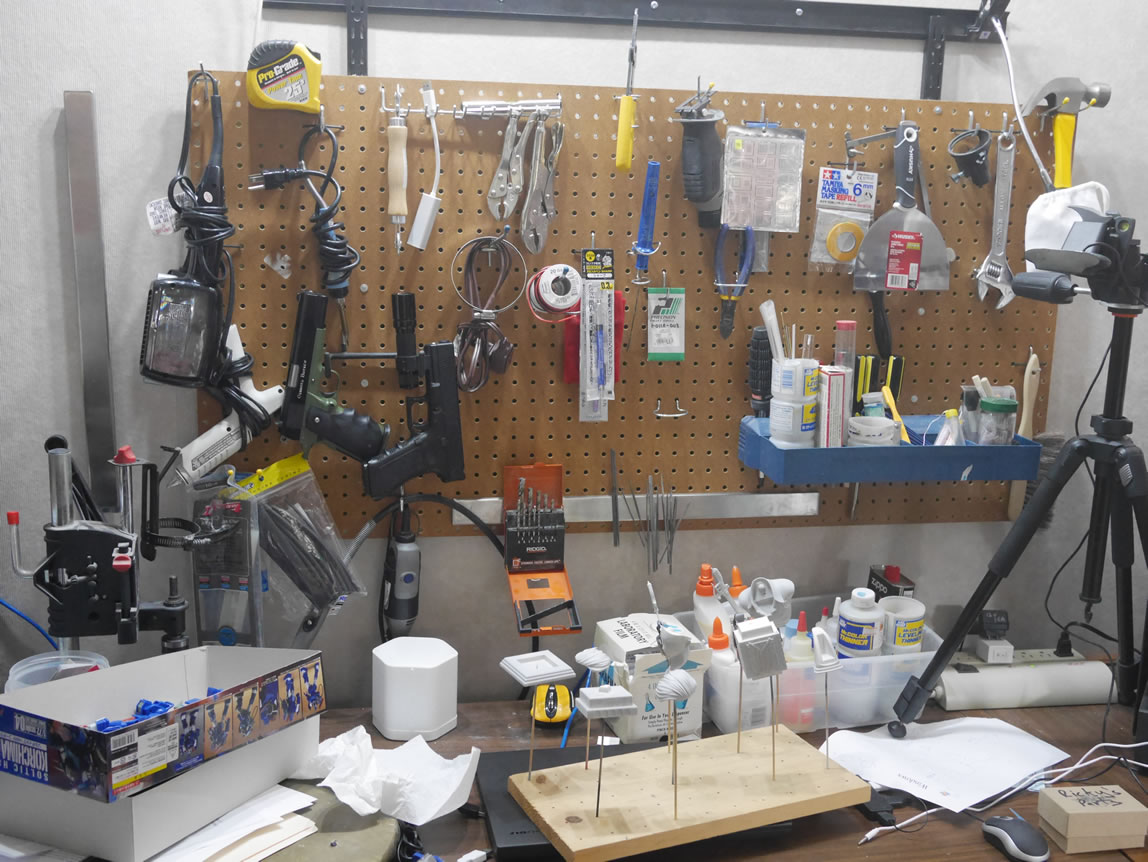
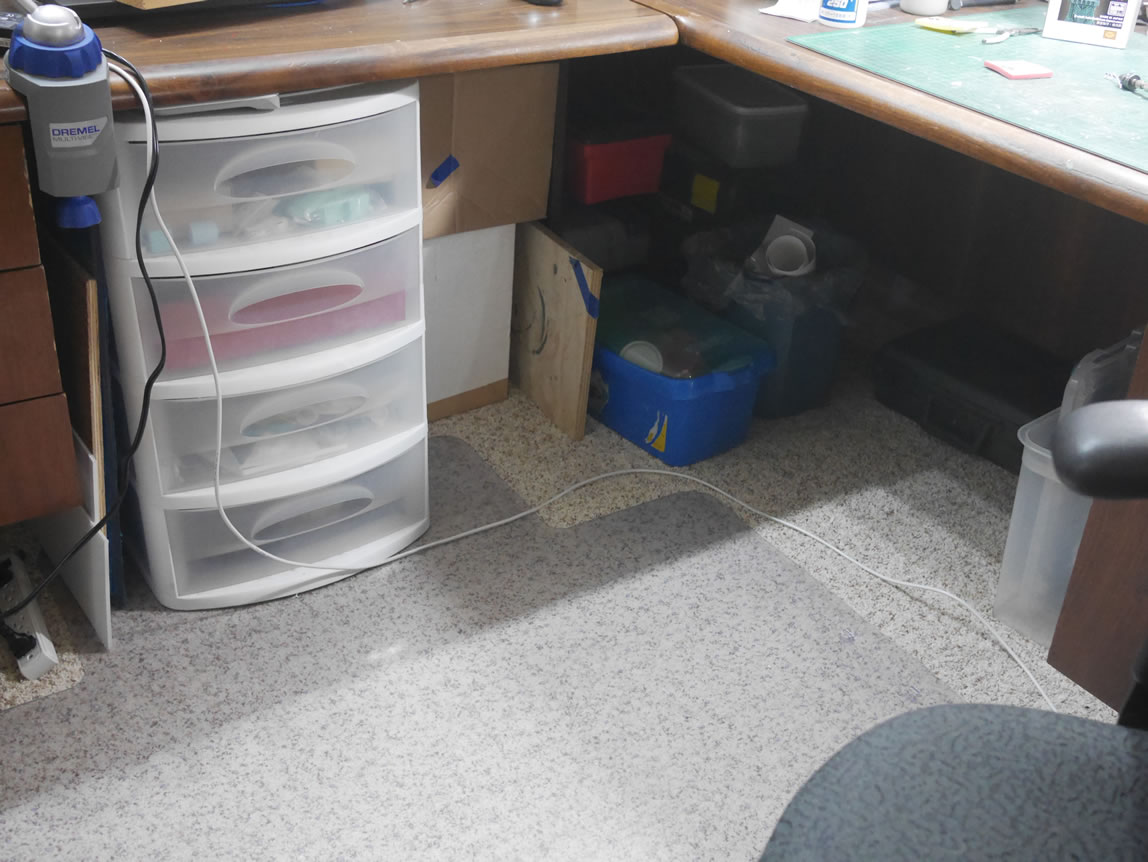
The undertable storage is still the same as it was with the last setup; but again, due to the loss of closet space to hide most of the lesser used building materials; the space below is now utilized more.
The move required taking apart the spray booth to sub assemblies for the move; so it was a perfect opportunity to make some much needed improvements to the setup. The spray booth is all set up and has actually been used by two different people before I got my shot at it. One of the shelving units is next to the spray booth for paint storage. There are also some kit storage at the bottom level. As I use the booth more, I will definitely shift things around more to better fit my needs.
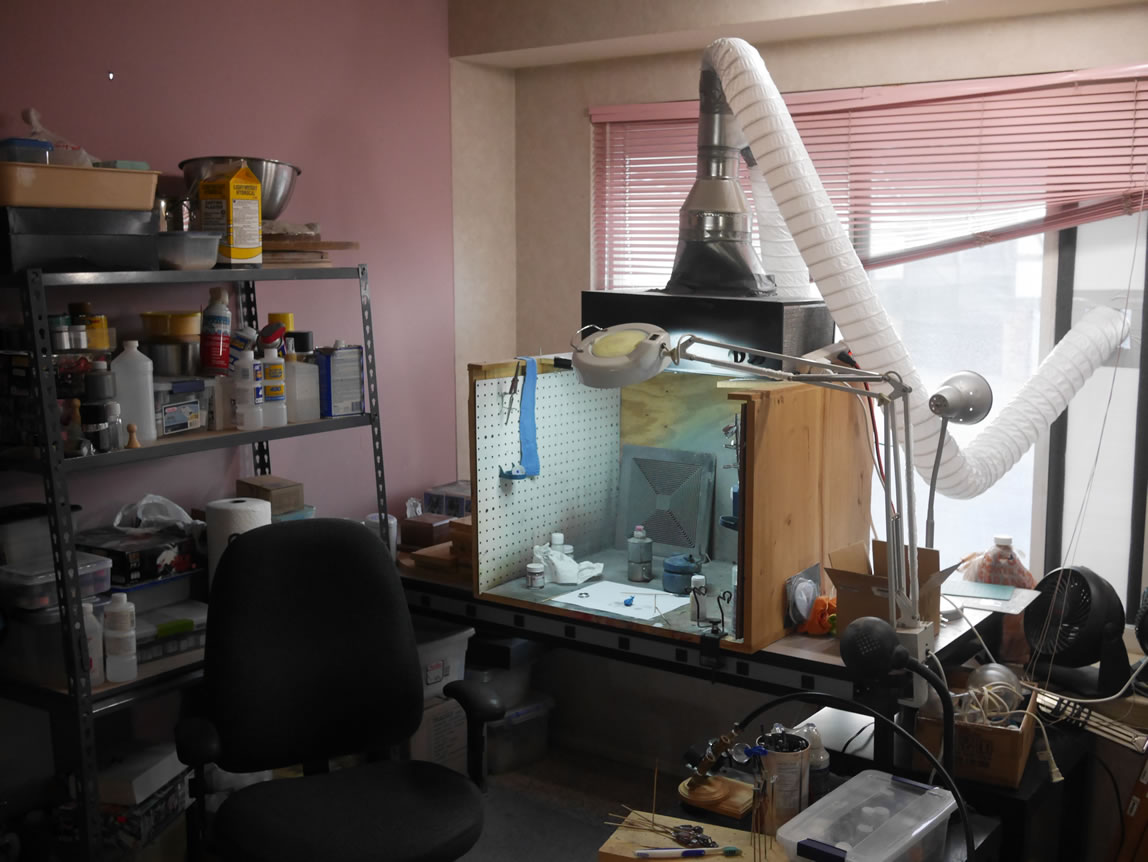
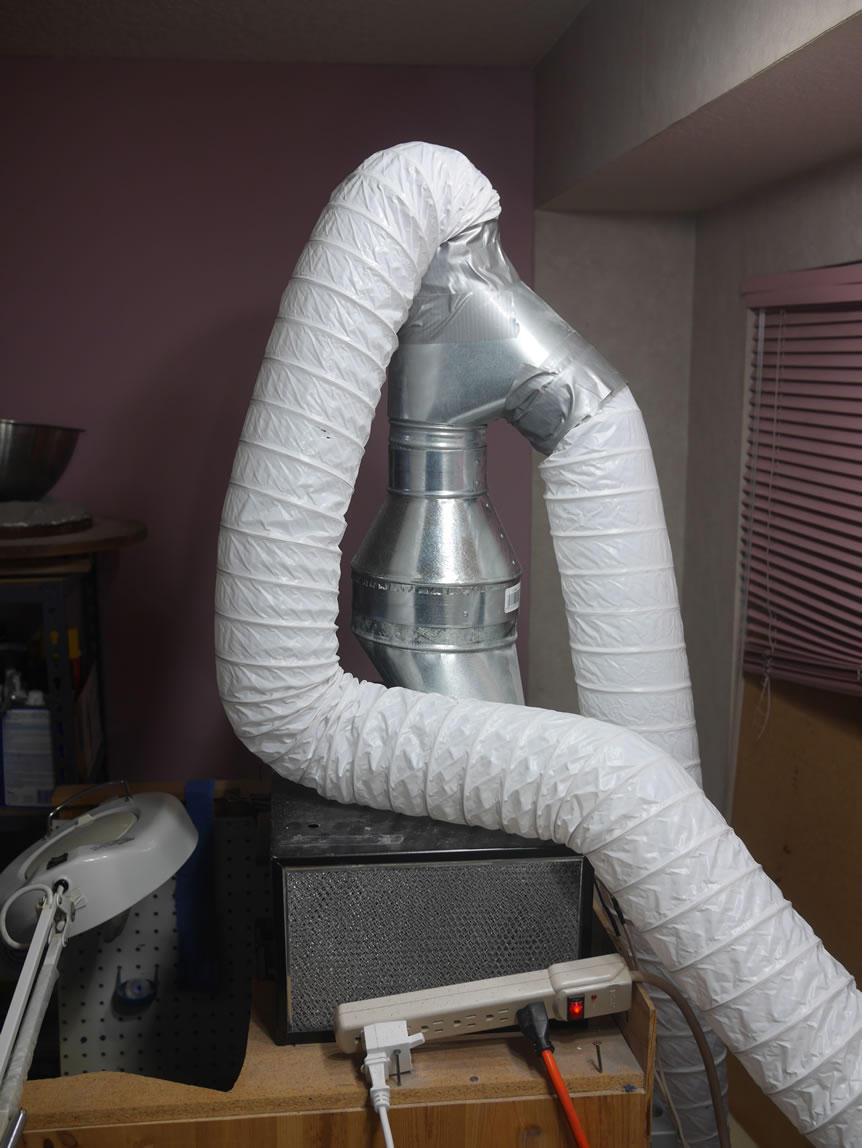
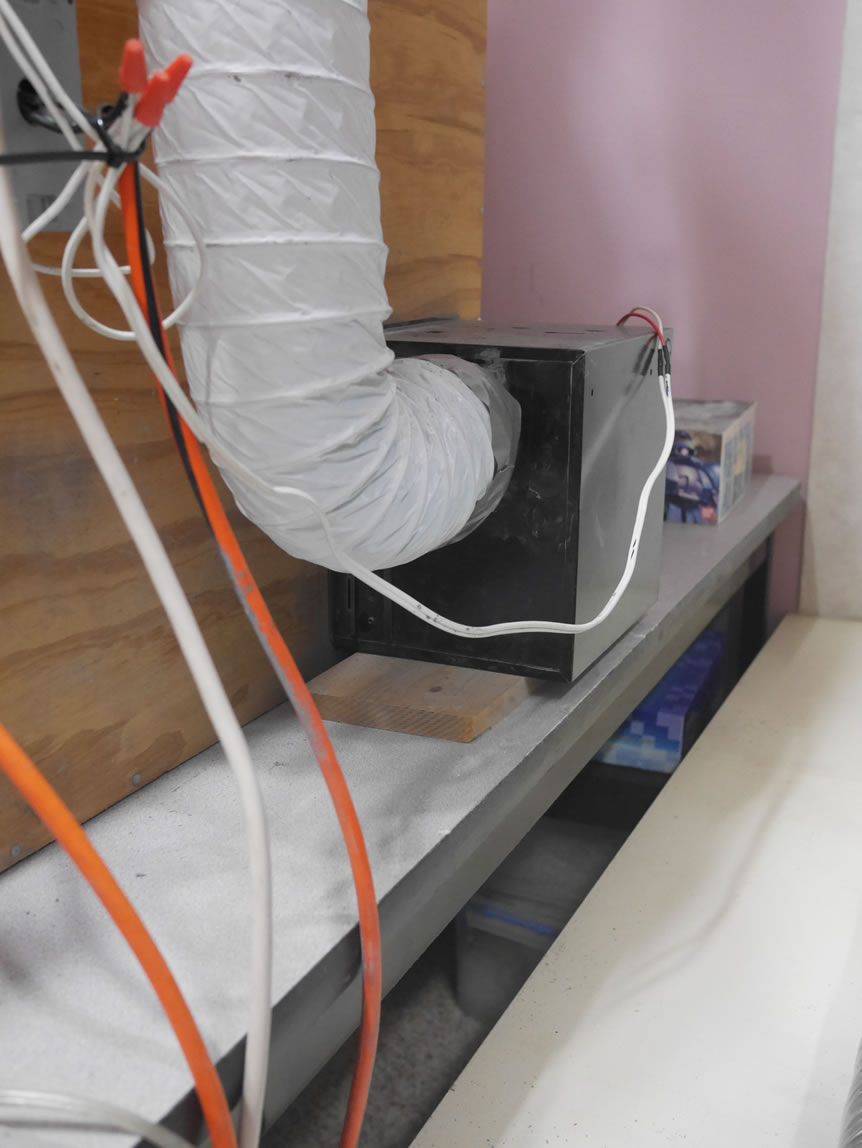
Returning to the spray booth, the very first thing done was to make everything electronically sound. The last time I moved the spray booth/revamped it; the electronics was a hack job. The two vent fans, switch assembly, and power cabling was haphazardly put together. The switch was placed upside down too. The individual fans were updated with longer wiring and cleaner wiring, and the switch assembly was reorientated. Now it is a much safer setup.
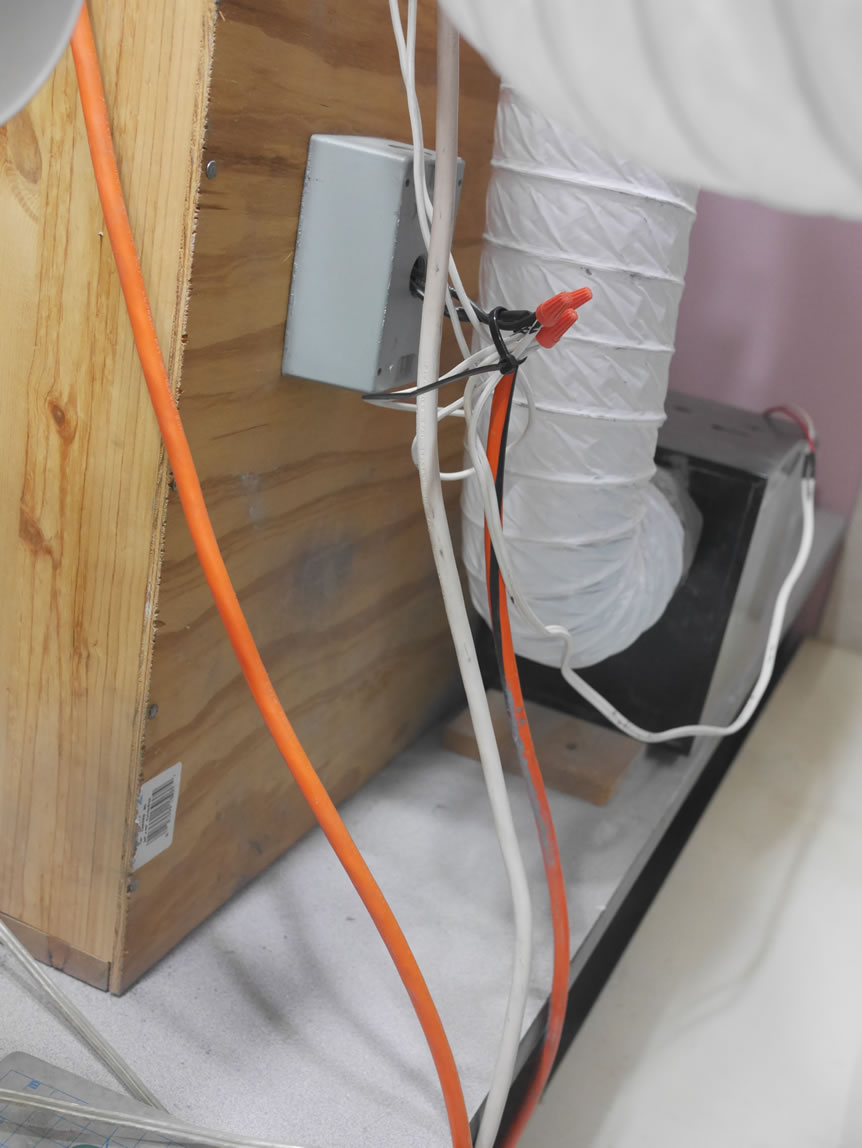
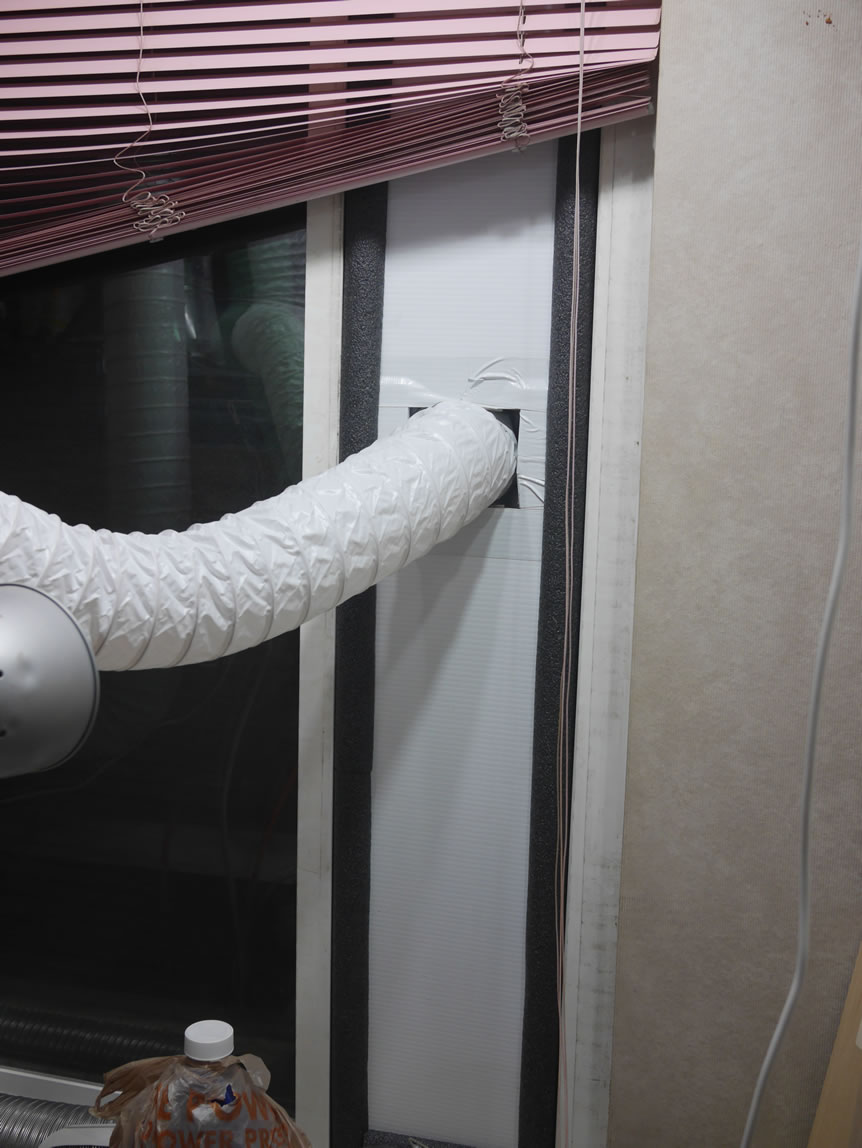
The next thing was to upgrade and simplify the ventilation. The old spray booth used aluminum dryer vents with was a bit bulky to use as well as connecting the two fans. The branching has been simplified then I used a vinyl air tube to replace the aluminum tube; this makes the tubing much lighter and easier to work with when I need to set up the ventilation. The next upgrade was to build a window attachment. I picked up some plastic sheeting, a vent attachment, and some pipe insulation foam; and built a window attachment that gets inserted inside the window slider. The old setup had a cut out in the screen mesh where I shoved the aluminum tubing outside for venting. This is a much more elegant solution and I get a full seal around the venting element.

This was set up before the last build gathering a few weeks ago; so between then and this past weekend, two folks have already used the setup successfully. Which brings me to the current project, Levi Ackerman bust from Attack on Titan. The kit was pretty much ready for the first primer session; so I got started. The kit had a brown wash when I pulled it out of the box; which makes me think it was a display model at the Wonderfest where a friend of mine went and picked up the kit for me. But I had originally soaked the stuff in purple power and it sorta removed some of the brown wash. Then the kit was put away for several months.
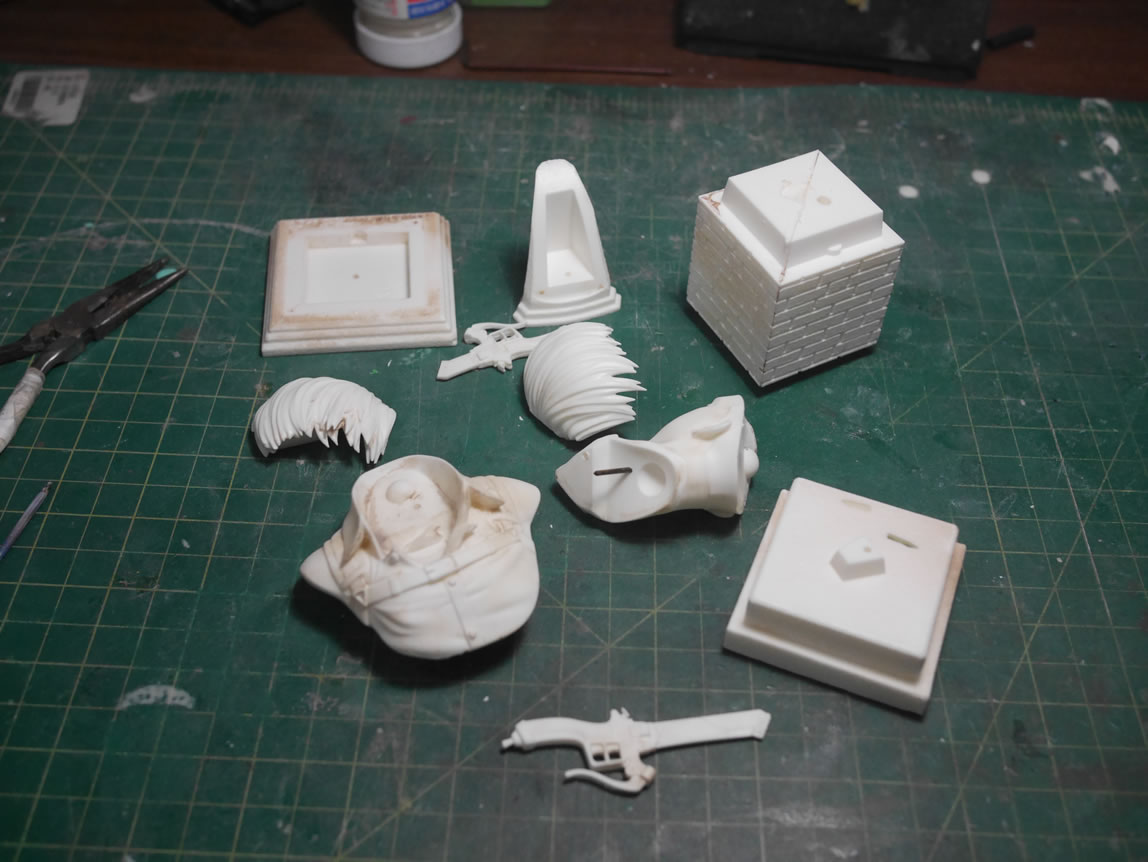
Fast forward to this weekend and I started spraying some primer since I figured the brown wasn’t coming off. But after priming one piece, I noticed the the brown wash was chipping off. So I put the parts into some lacquer thinner and ran it through the ultrasonic cleaner to clean off 95% of the brown wash. There are only 10 parts. I actually had to pry some of the pieces apart as they were also glued together. But after the cleaning, the kit was quickly assembled for a picture before priming.
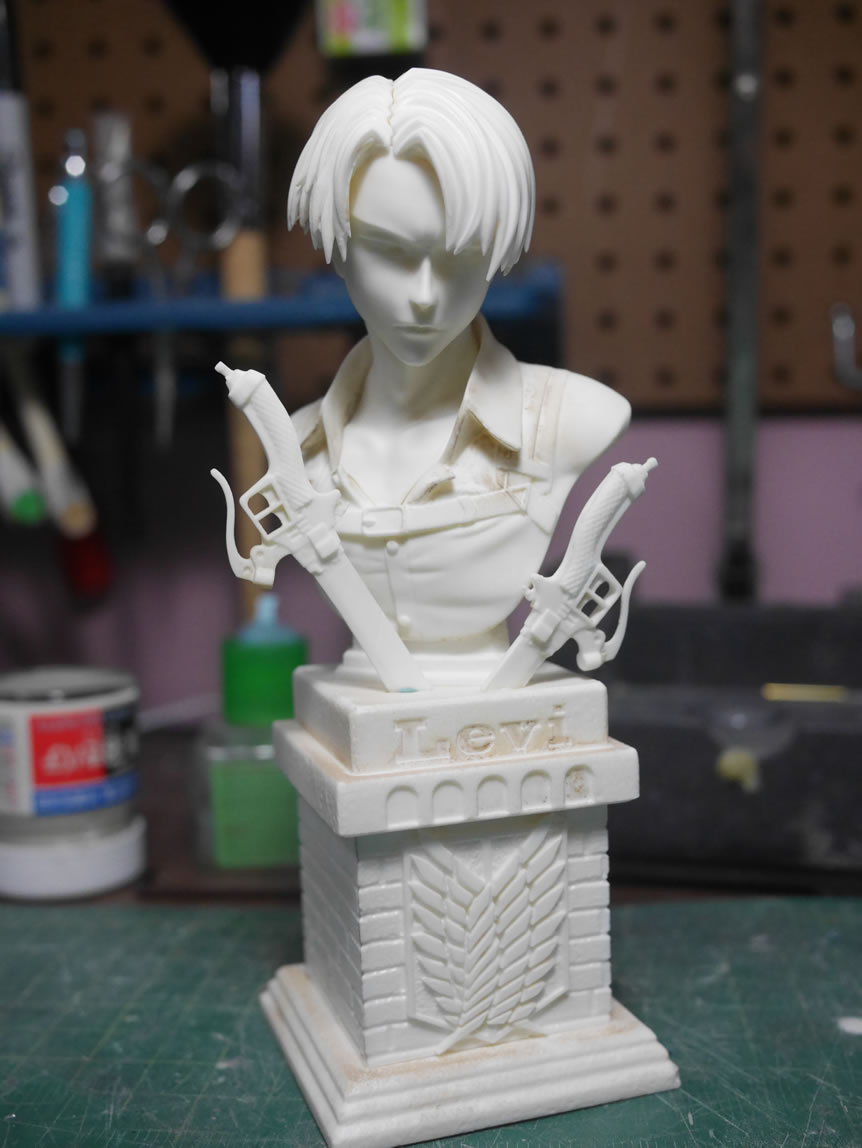
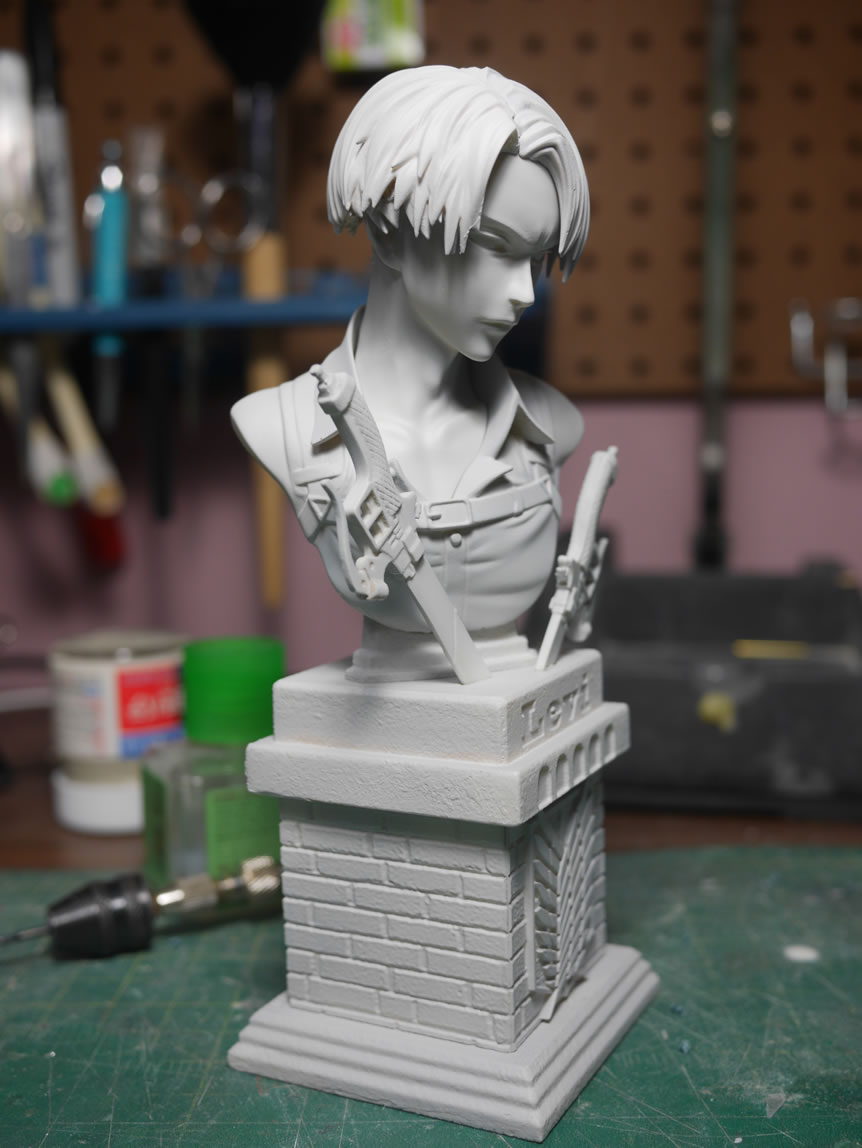
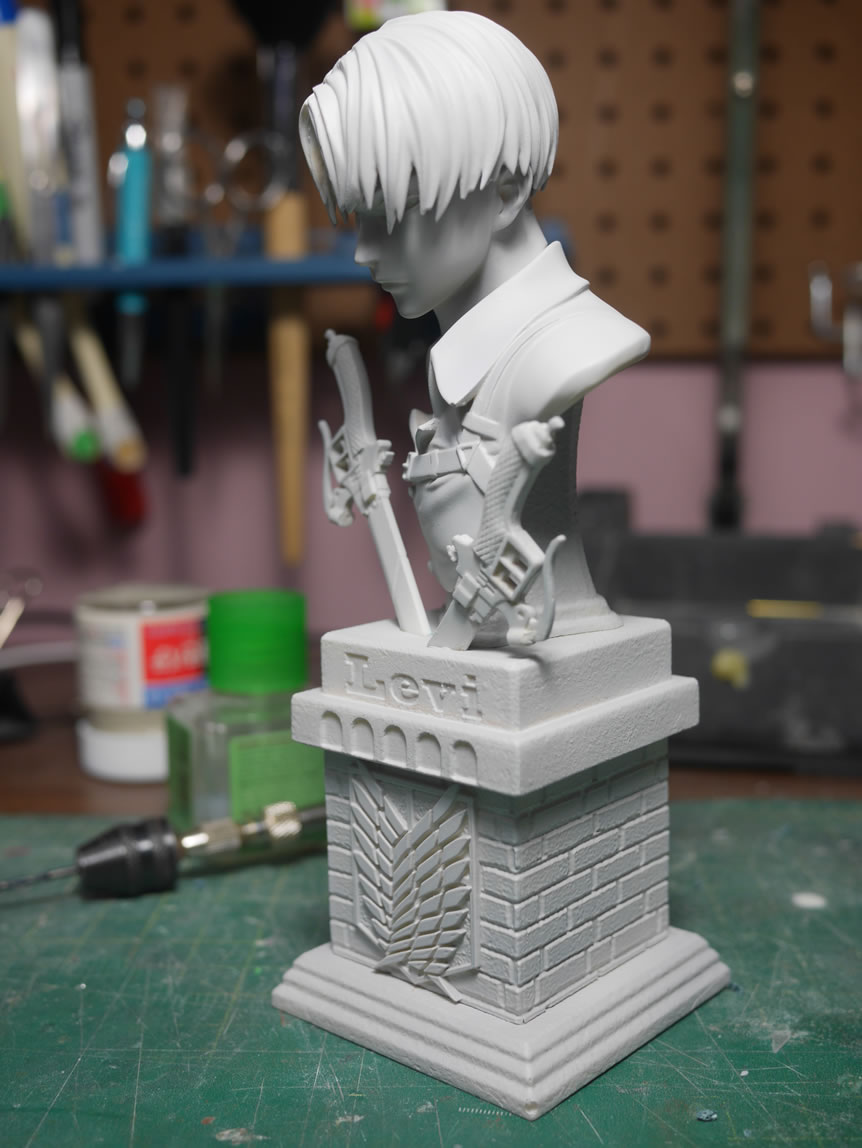
I finally get to use the spray booth, and primed Levi without any issue. Here’s what the bust kit looks like currently. There are a few areas that need to be cleaned up; but this should be a quick build.