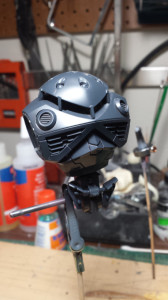
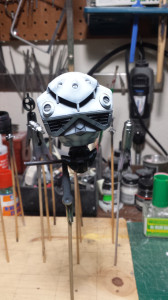
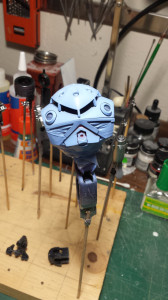
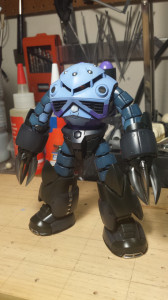
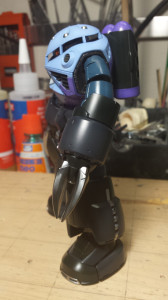
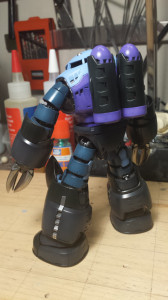
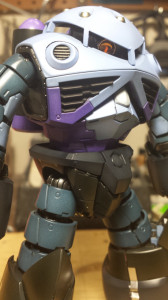
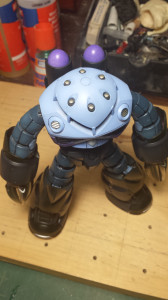
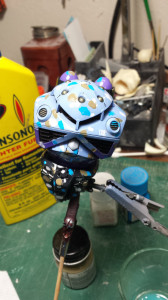
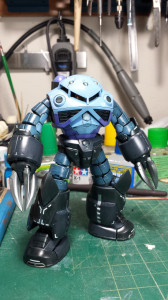
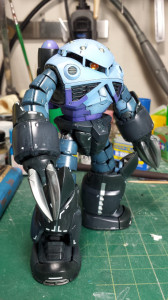
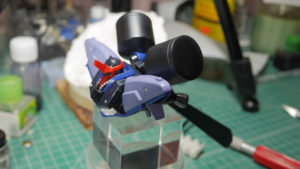
The past couple of weeks have been pretty damn shitty. But I’m recovering and getting life back to the normal; so work on this project that has stalled resumes. Getting to the Z’Gok, I sprayed a few layers of colors to get the shaded effect I wanted. I started off with a dark tone, over this I painted white keeping a fairly heavy shade. Then over the white, the main Z’Gok color is painted. This last layer worked to blend the shading together.
Since the bottom of the feet should be seen, at least in my initial planning for this diorama; I masked it off and painted some metallic detals.
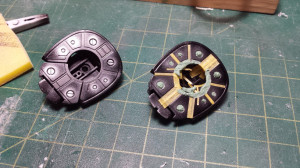
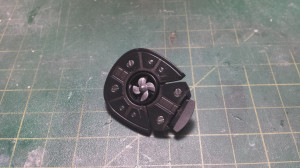
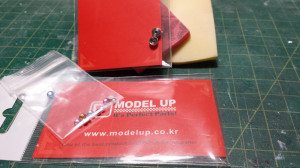
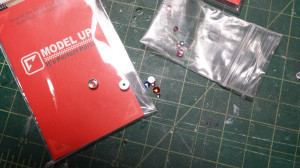
The mono eye was replaced by these parts I picked up from a shop called modelup. I believe they are located in Korea. I do not actually remember when I grabbed these, but searching through my box of add on parts, I found these and finally got a use for them. I think this little replacement adds a level of depth to the mono eye. Granted, the mono eye for these RG kits is already far above the details on your typical HGUC mono eyes which 95% of the time is just a sticker.
With the Z’Gok painted, it was ready for decals and the panel lines.
Before decal application, the Z’Gok was sprayed with a clear gloss and cured for a full day. Over the cured clear gloss, water slide decals from Samueldecal are added. The decals are applied with the help of Mr. Mark Softer to help fade the decal edges. The decals are left to dry/cure overnight, and another layer of clear gloss is sprayed protecting the decals.
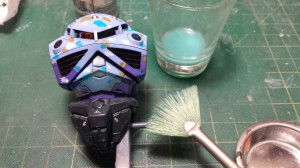
Once this layer of clear gloss has cured for a day, the panel lines are applied using an enamel wash solution and cleaned up with lighter fluid. Another layer of clear gloss is sprayed to protect the panel lines from the next step.
The filter uses enamel paints dotting the surface of the kit. Since the original paint, decals, and panel lines are protected by the layers of clear gloss; the filter layer is just another layer that adds weathering effects to the kit without destroying the previous layers. The surface of the kit is dotted up with a few different colors. Then wiped away with a rough brush dipped in lighter fluid.
Once dry, the surface will have tonal variances that help it look like it has been slightly weathered.
Focus returns to the GM. The decals and panel lines applied several week prior. Paint chips are applied to the surface using a fine brush and some light dry brushing. I did not want to over do the weathering on the GM, so I picked a few spots here and there for the paint chipping. I had to force myself to stop adding paint chips. This is probably the most difficult part of the process, is knowing when to stop.
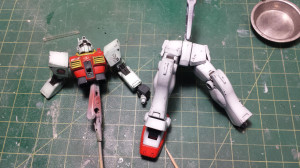
With the paint chips applied, a clear gloss is sprayed to protect the chipping and panel lines. The same process for applying a filter is used on the GM. Here is a comparison picture of the upper torso that got the filter effect applied and the legs that did not. Hopefully the slight tonal differences can be seen.
The GM is left to cure overnight and a clear flat coat is sprayed. This clear flat is used as the base for applying pastel weathering. The pastels will only stick to a flat coated surface. A glossy surface will just have the pastels slide right off. Once the rust marts, blast marks, and oil stains are applied, the kit is clear coated in a gloss to finish it off.
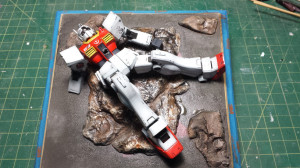
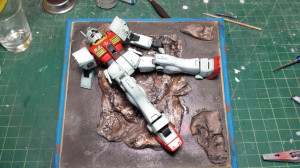
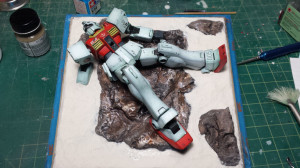
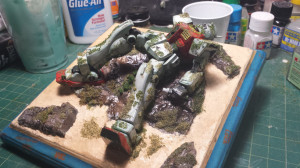
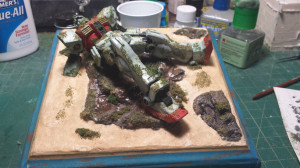
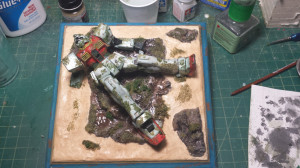
The rocks on the base have been painted using acrylics thinned with water. I have a video of this process and will post this up as soon as I get it all edited. Paper clay is applied to the flat surfaces of the base for texture and to create the look of sand terrain. Once the paper clay dried overnight, the surface is painted in the same fashion as the rocks, with an acrylic wash.
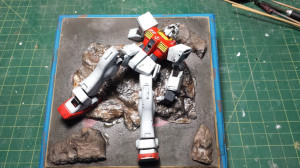
Another day later, the GM is glued to the surface of the base and then small bits of woodland scenics are glued to the GM and base to finish off this part of the diorama. A final clear gloss is sprayed over everything to seal it all.
I’m currently working on the final process for this diorama to put the GM and the Z’Gok together. Hopefully everything comes together. This next process will take a few weeks.
