Bear Guy Project: Last Update

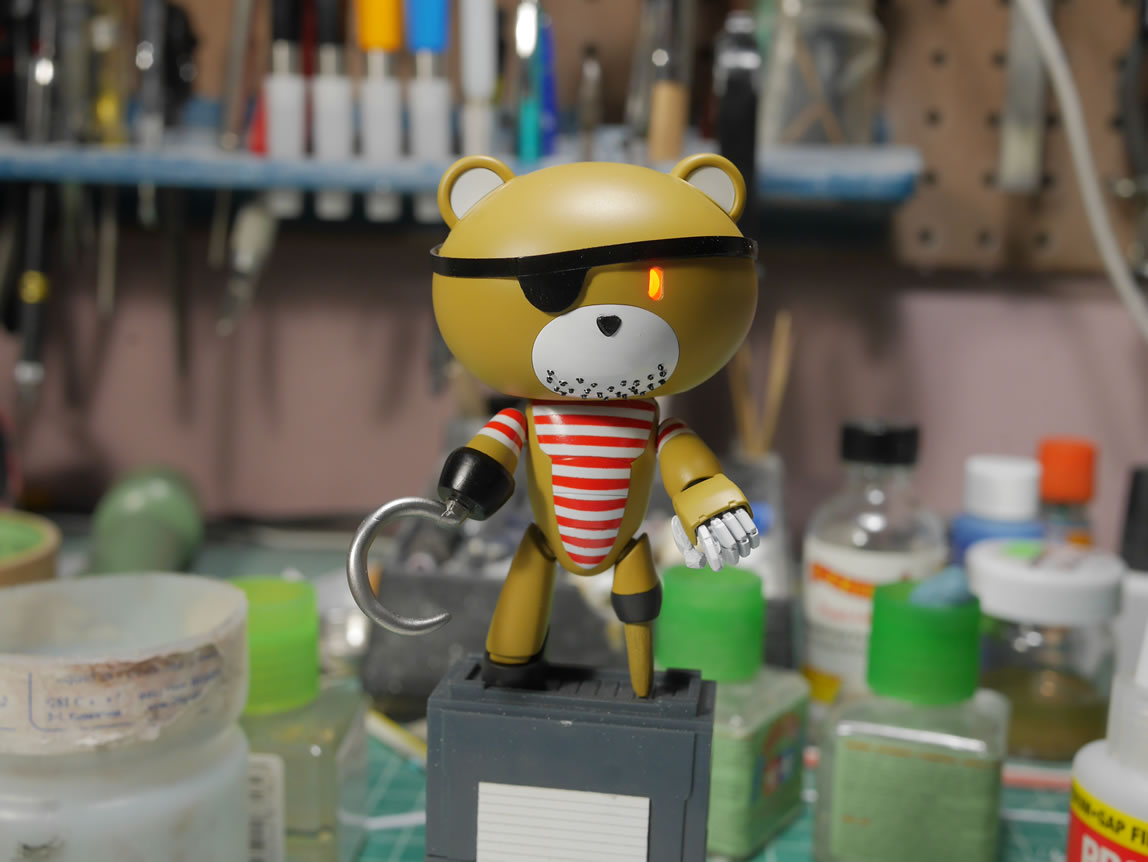
The kit has been done for a few weeks now, this update just finishes the base I had started when I needed a break from cleaning up and fixing the resin binders. I touched on a few things on the last update with the basics of the base, but other than just slapping things together, I didn’t do any focused work since I felt the best thing was to just power through and finish the monster first.

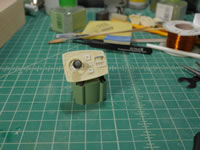
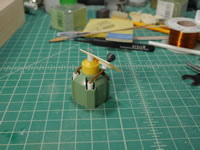
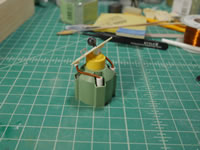
Returning to this full time since that kit was done, I finished up the detailing for the control panel. I use the cricut to make some button templates and started to glue in some detail bits. More parts from the ball kit to create the lever. I used some styrene tubes and made more magnet wire wrapped cables that I glued into position. And this part is ready for primer.

The rest of the base works after the jump. (more…)
Continue ReadingBear Guy Project: Last Update

GM Sniper 2 Update: throwing some paint and starting work on the base

It’s been awhile since I last updated on this project. We got new Kampfer shirts in, so the last update was used to promote that. Somewhere in the middle of this post there will be some shameless plugging for our new Kampfer shirts as well as our reprinted Shiki shirts. But enough of that; on with the update. Starting off, I felt that the red bit for the crotch needed a slight bit of detail so I took the scriber and cut some plastic on the sides. It’s relatively simple plastic removal but does a decent job of adding some detail.

Returning to the rear skirts; in the last update, I had just started putting together a scratch built knife and was creating a sheath for it. I trimmed down that plastic piece from the GM Spartan conversion kit and sanded it down to fit into the existing spot on the rear skirt. I also had to sand down some of the internal area for the rear skirt piece for the damn thing to fit. Once the piece fit; I drilled into the plastic and glued a magnet into place. I drilled a corresponding spot on the knife’s guard and added a magnet there. Now the knife is actually held by the power of the magnet instead of friction or just gluing it into place. I wanted the knife functional. A little priming shows areas to fix.

(more…)

Continue ReadingGM Sniper 2 Update: throwing some paint and starting work on the base

Gunpla posing and photography

Going back to school

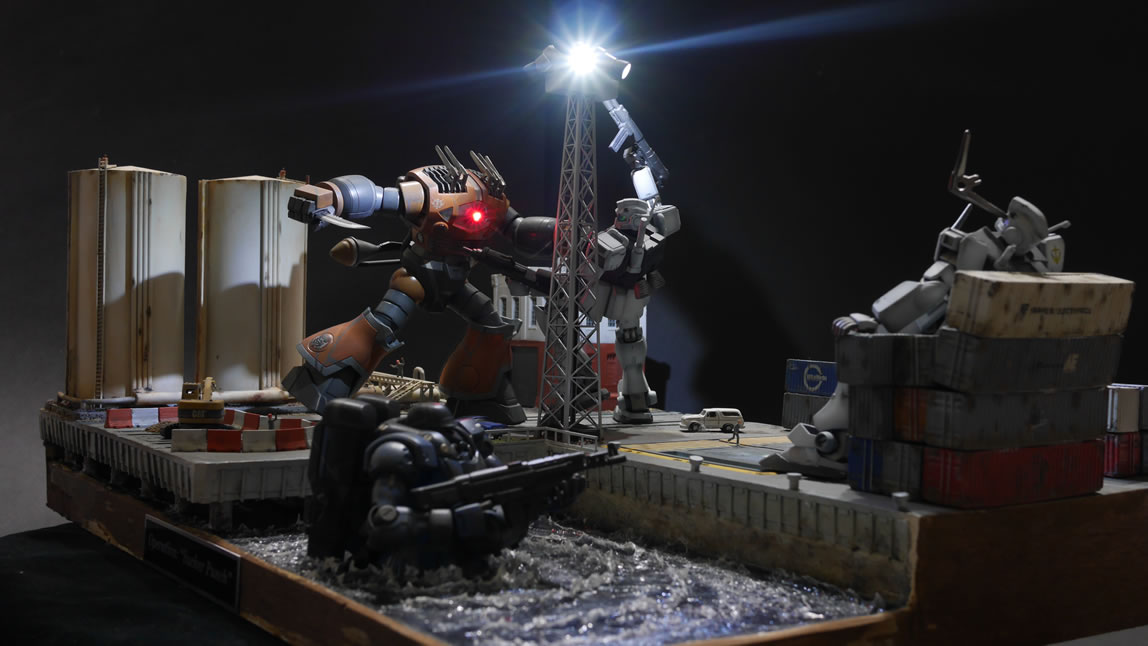
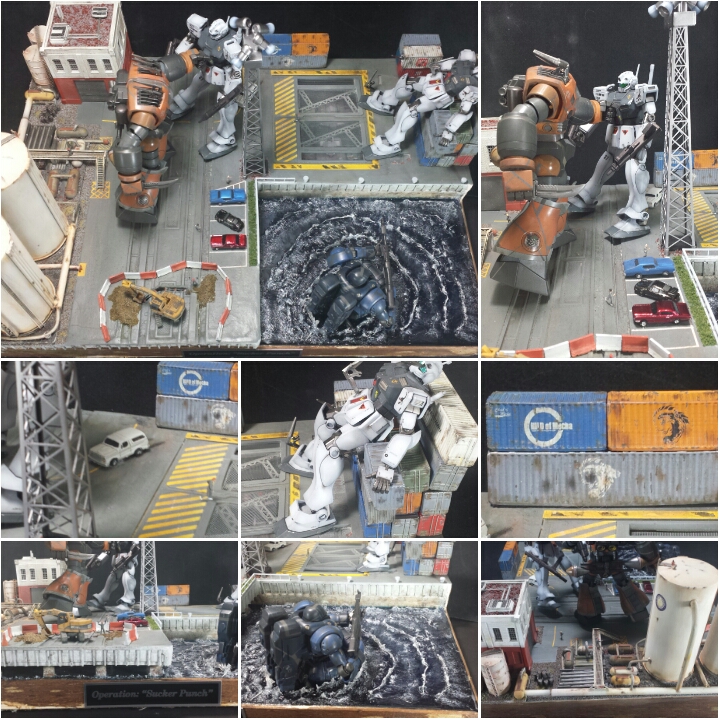
It’s been a few weeks since I finished the Sucker Punch diorama; so I’ve had some time for the thing to marinate. I asked my friend Jason, who’s an artist by profession and went to school for such what he thought about the diorama. We started building gunpla together when we were young, so there is familiarity with the material. I had gotten a few comments, some rather long and intense about the posing in the diorama. And having recently finished it; I wasn’t really in a position to defend or analyse it at that time. And I also believe that pride has a great deal to do with this as well. It is very difficult to take criticism on a piece of work one makes. We tend to go on the defensive more often than open up our minds to view things from other perspectives. This is all fine and well if you’re building for yourself and no one ever sees your work. But once you post it up publically, or enter competitions; then things change. You’re putting your work out there to be judged – regardless of if you asked for it or not. And when I first posted the work online, I completely dismissed the comments that criticized the work.

Now that a decent amount of time has passed, I believe I am ready and can objectively revisit the work. So the question I asked Jason is what he thought about the pose – Zogok punching Cold Climate GM. On a personal level, it didn’t really sit well with me either; but I was having trouble formulating what was wrong. I tried a few things suggested online but nothing clicked. I needed to go back to school. I didn’t know what was bothering me about the kit the more I looked at it.

(more…)

Continue ReadingGunpla posing and photography

Operation Sucker Punch!

Taking some time off work really paid off; as if I didn’t, I wouldn’t have been able to finish the project within the confines of the AX deadline. Well, I think I could have, but it would have really been pushing things. From the last update, I started attaching the completed pieces of the project to the base. The silos and pipe works were glued onto the base. The tower light was attached and glued into position. The one building was also glued onto the base. Once these pieces were in place, I taped off some border areas and using some elmer’s white glue thinned down slightly with water; painted the watered down glue and then carefully sprinkled some colored ballasts (model train store scenics stuff) The stuff is great for replicating gravel and comes in a variety of colors. The damaged base area was painted with the diluted white glue and more gravel was applied. Once the glue completely dries; a few hours as the stuff dries pretty quickly (I let it sit for at least 8 hours as I’m paranoid). I did an enamel wash with a few colors to give a some dimension to the gravel. I also dropped in some more diluted white glue and added some yellow turf as a weedy undergrowth.

(more…)

Continue ReadingOperation Sucker Punch!