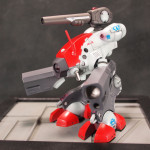
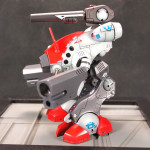
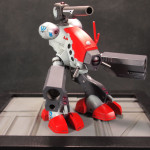
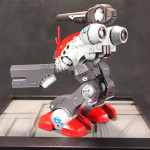
This is a first attempt at something to this scale. Not so much the SD Glaug, but more so the progress delivery. FOr this project, I created a headband mount of sorts from a file at Thingiverse that allows my GoPro camera to mount to my head. Using the GoPro mounted headband, I set out to record most of the build progression. I start off with a pseudo unboxing of the kit as I had already worked on it, and just put it into a bag and into the box for the theatrics, and progress through cleaning, putty, priming, painting, decals, panel line wash and clear flat finish. I originally wanted to put the thing together into one video and realized as I was editing the clips that it would be too damn long. It’s now cut into 5 parts that are roughly 30-35 minutes each.
Part 1 starts with the unboxing, pinning, washing, priming, pin hole filling with light curing putty, more priming, and the first black base coat.
Part 2 begins with work on a simple display base using some glued together plastic pieces and an Ikea photo frame. The video progresses to the base painting, masking and alclad painting.
Part 3 continues painting and masking and goes into the pre-shading technique.
Part 4 finishes up the painting, mask removal, and gets into the decal application.
Part 5 starts off with the panel line wash, the clean up, the clear flat, and finally a short presentation of the finished product.
I’ve learned a few things from the videos. I need to better reposition the camera angle so that the project is always in frame. I am also thinking about doing voice over to better describe the processes as opposed to trying to voice the process while I’m focused on the building. I think I may also need to take photos and add them to the videos for some of the areas that are better captured in a still picture over the head mounted video camera. Hopefully I’ll get some feed back and based from that, may do more video progress for my builds.
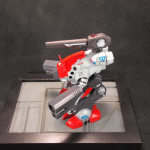
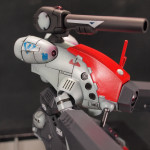
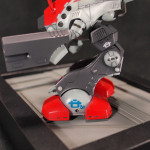
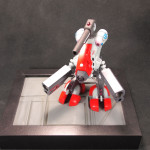
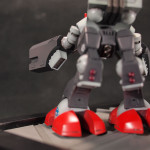
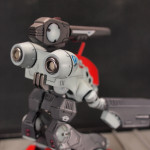
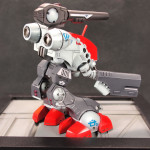
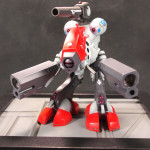
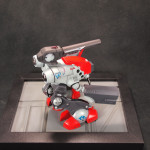
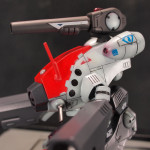
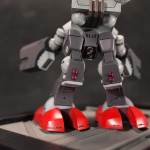
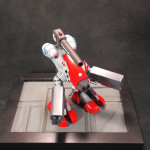
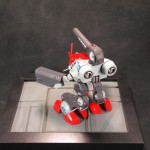
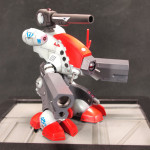
Speaking of photos, here are some completed pictures of this quick project.
The whole playlist:
