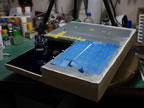
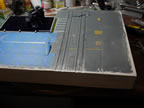
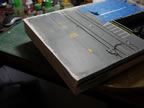
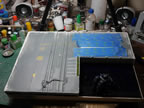
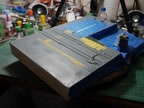
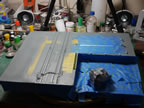
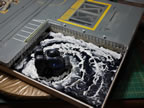
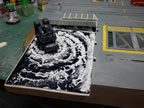
It’s getting down to crunch time. A little less than a week to go and things are slowing way down because things just need time to cure/setup. On Friday, I mixed and poured clear resin with some blue and yellow dye; but much more blue so the clear resin came out a deep blue. I should have mixed more yellow to get a greener tint, but I may just do some clear green tinting to get that effect. Or I may just leave it as it’s more “anime” effect if I keep it the current blue. I may just run out of time so that it may need to stay blue.
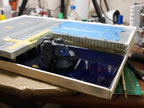
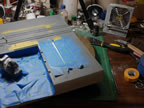
The first step was to apply a silicone sealant around the bottom, I did this last Thursday. I really did not want the resin leaking. The way the thing was put together, there is great potential for leaking; so I’m doing everything I can in precaution. Once the sealant was applied, it was left to set up over night. Friday afternoon, I mixed the clear resin and added the dyes, then poured. There was a little bit of a leveling issue, so I got some spillage from the front; but nothing too bad. I lined an empty MG Sazabi box with parchment paper too. The whole base was placed on top of two rolls of blue painters tape. Again, another precaution that if it does leak, I don’t have the entire base sitting in a pool of clear resin. Excess resin was poured into another mold that I keep around for making moon bases.
The resin I used is an enamel based resin that takes several days to cure. Since the base is too big to fit into my pressure pot, I needed a slow curing resin that will allow for bubbles to escape. The whole thing was then covered with the top of the Saz box to keep dust out while the resin cured.
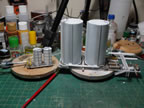
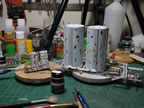
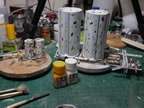
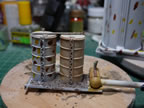
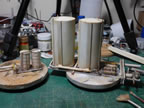
While the resin cured, I focused on weathering the silos. Using the same technique with the enamel paints dotted up then washed away with the enamel thinner. The silos got some nice weathering. I still have another layer of weathering and some washes to apply to the gravel; but these are pretty close to being completed.
Saturday afternoon, I checked on the extra pieces of resin and those parts work as a good guide for how well the base resin was curing. I removed the resin and while it is still a little malleable, it was well into the curing process. I can unbox the base as the top most part is cured. A few more days and it will harden up completely. Removing the base from the box, I noticed that one of the tape rolls was sticking to the bottom of the base. And by sticking, I needed to use a scraping tool and a hammer to loosen and finally remove the roll of blue tape from the base bottom. The back side leaked slightly. Well, slightly enough to fill at least a quarter inch or half inch of the blue painter’s tape roll. Some of the electronic wires got clear blued, so those needed to be removed and fixed. But the leak was fairly minor and not very noticeable in terms of water line drop.
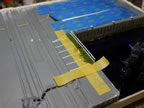
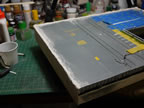
The parking lot was masked off and I painted on some thinned down white glue and added some grass.
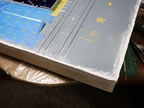
Next, the sides of the base that attach to the bottom part of the base needed to be addressed. There are gaps between the base and the balsa wood that surrounds the base. The bigger areas were filled with styrene, glued into place, then sanded down a bit. Then I used paper clay to line the edges on the three sides. This was left to dry overnight. I used paper clay for this because it works very well with the balsa wood. The adhesive is nice, and their both wood products so when it comes down to staining the wood sides, the transition will be more subtle.
The paper clay dries very quickly, and just leaving it overnight allows good sanding. The sides and tops were sanded down. I covered areas that I didn’t want to ruin and focused on sanding the edges so everything matches up well.
Done with the sanding, the area is dusted and wiped with a dampened towel. Then the rest of the detail painting is masked off and a spray can of the grey is sprayed over the edges and anywhere paint lifted during previous work sessions. Once painted, the base looks fairly seamless from the balsa wood to the top of the base.
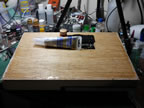
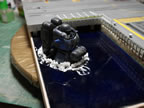
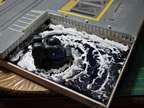
The last bit of progress was to apply the expensive woodland scenics product, water effects, to the diorama. Granted I could have gone to the art store and picked up a Clear Acrylic Medium that works much the same way for much cheaper; I had already bought the woodland scenics stuff years ago for another water project and never got around to using the stuff. AND, the woodland scenics product comes in an apply bottle… yes, that was sarcasm. Wood tongue depressor moved the water effects to create some waves and splashes on the base. The stuff goes on white, but dries clear. And the thicker the medium, the longer it will take to cure and fully clear over. Hence the slowdown in build progression.
Now I can focus on finishing the other detail bits for the project. Things are moving along decently. I hope to have this done by Wednesday night; and hopefully get it shown at Anime Expo.
