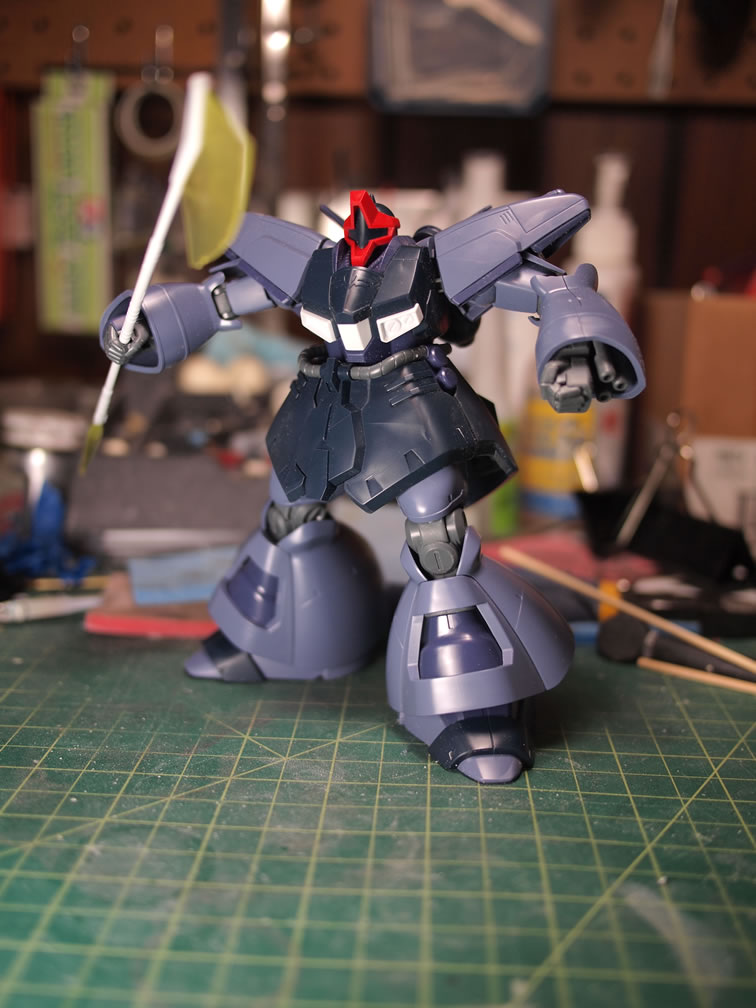
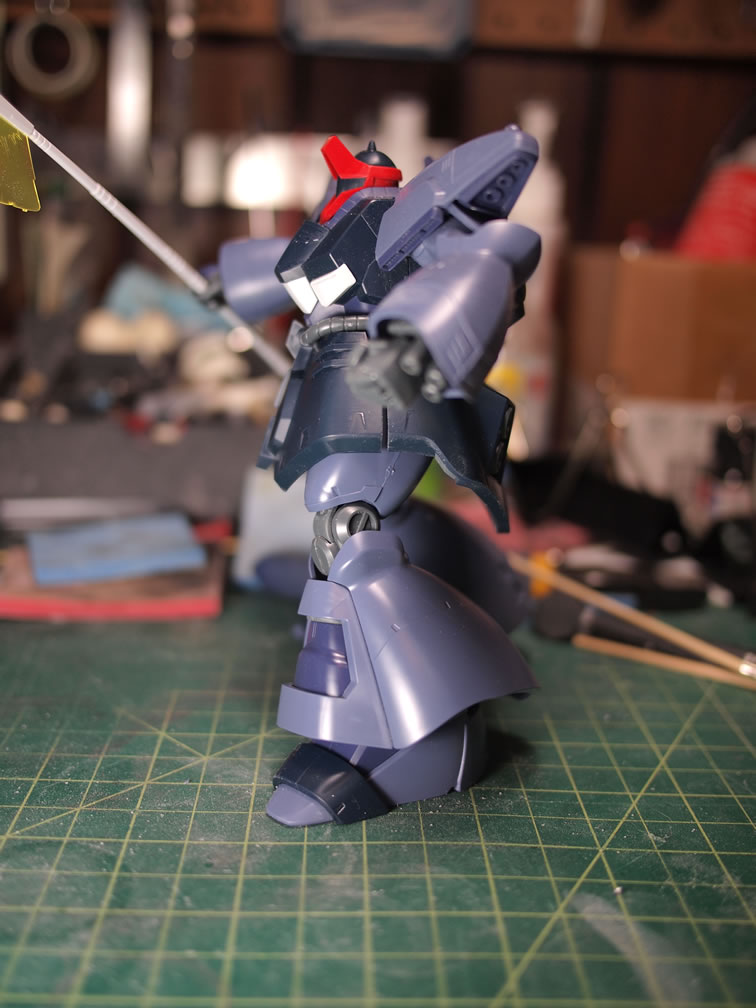
It has been a while since I worked on any gunpla, but about a week or so ago, I was hit with an some sudden inspiration and using some ideas that I’ve seen over the past year I started this project. If all things go as planned, this will be a 3 or 4 part project that will eventually come together. Dusting off a couple of boxes of HGUC kits, I start with the first kit, the HGUC Dreissen ver. Sleeves.
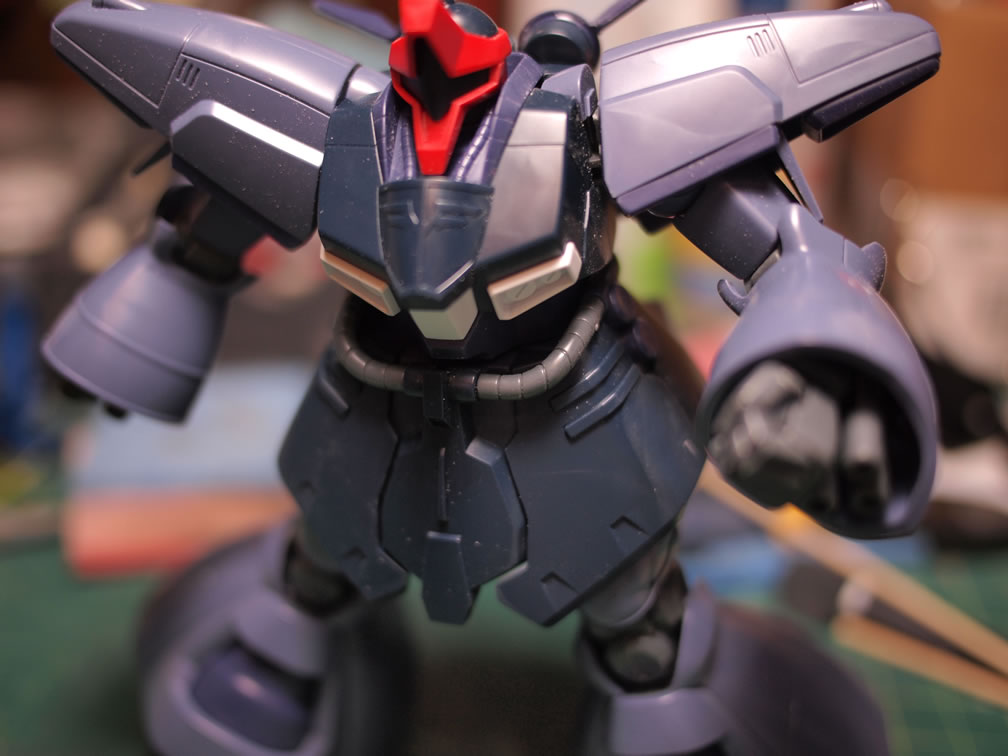
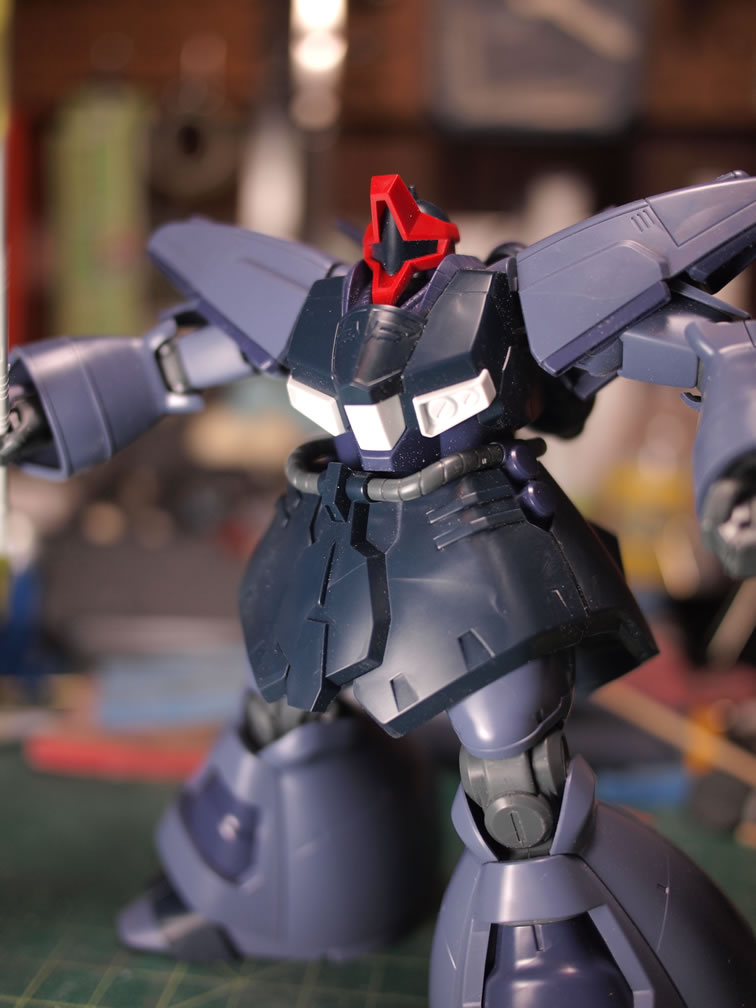
Before doing any sort of mod or anything, I just cut, sanded, and snapped the kit together to get a better idea of where I want to do modifications. Sanding and snapping takes about a day or so but with it put together, the real fun can begin.
The first mod is relatively simple. I just drilled open the gatling barrels on the arms to open them up a little and then shoved some adlers nest armor collars inside as a small detail upgrade. A very simple mod that make the barrels look much better than stock.
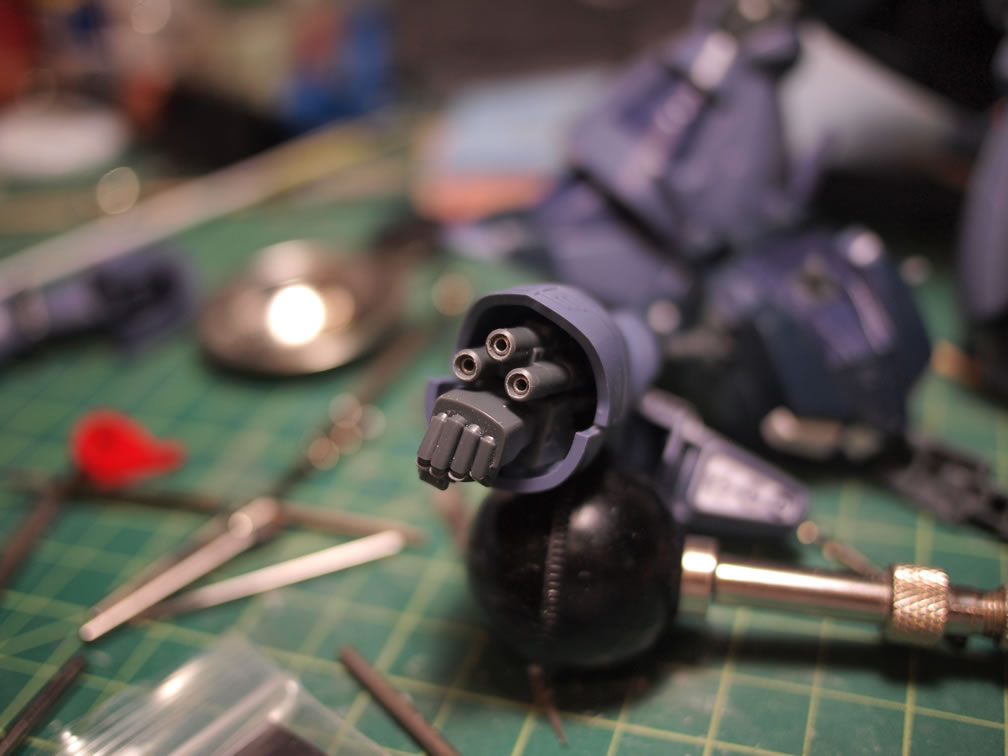
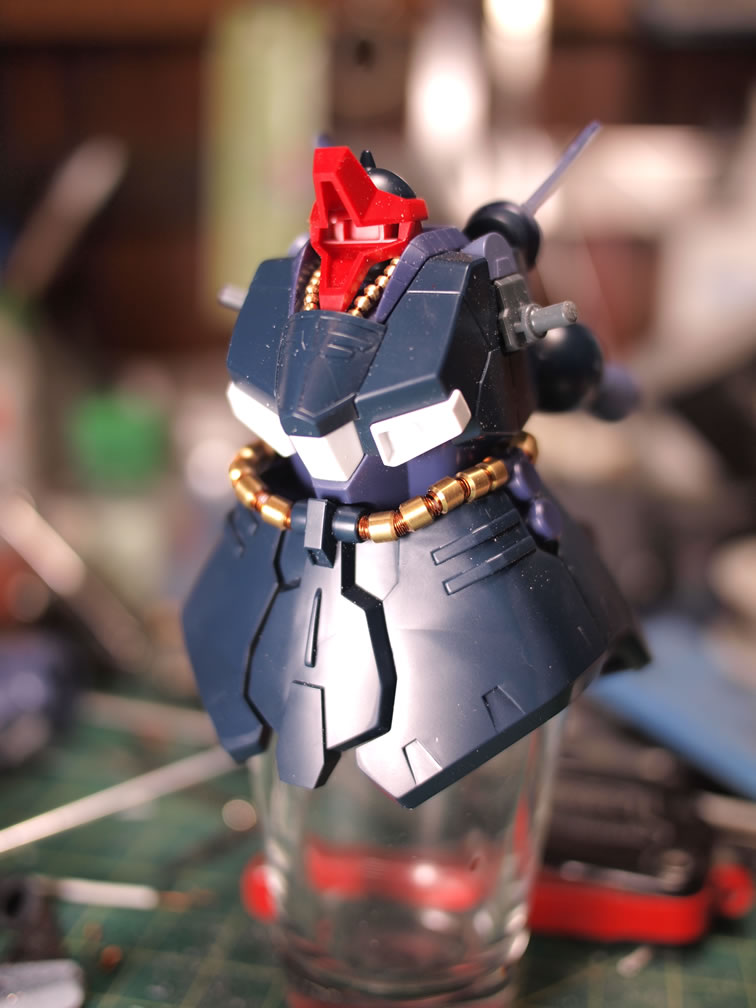
Next mods are to the waist and collar cables. The stock plastic cables are rather plain and boring.
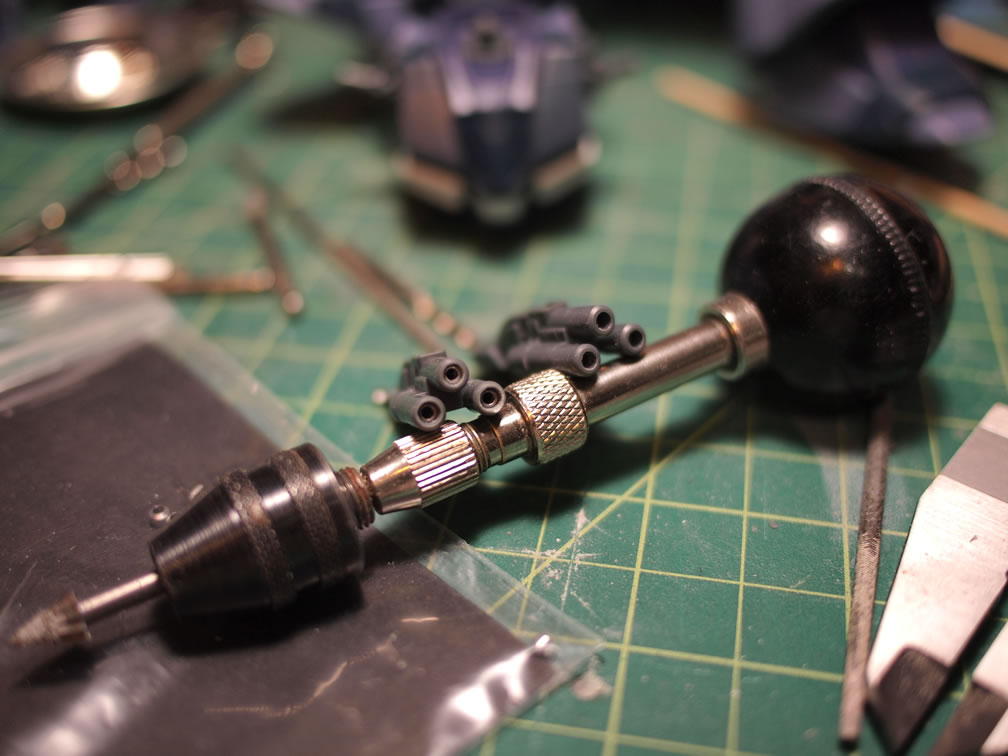
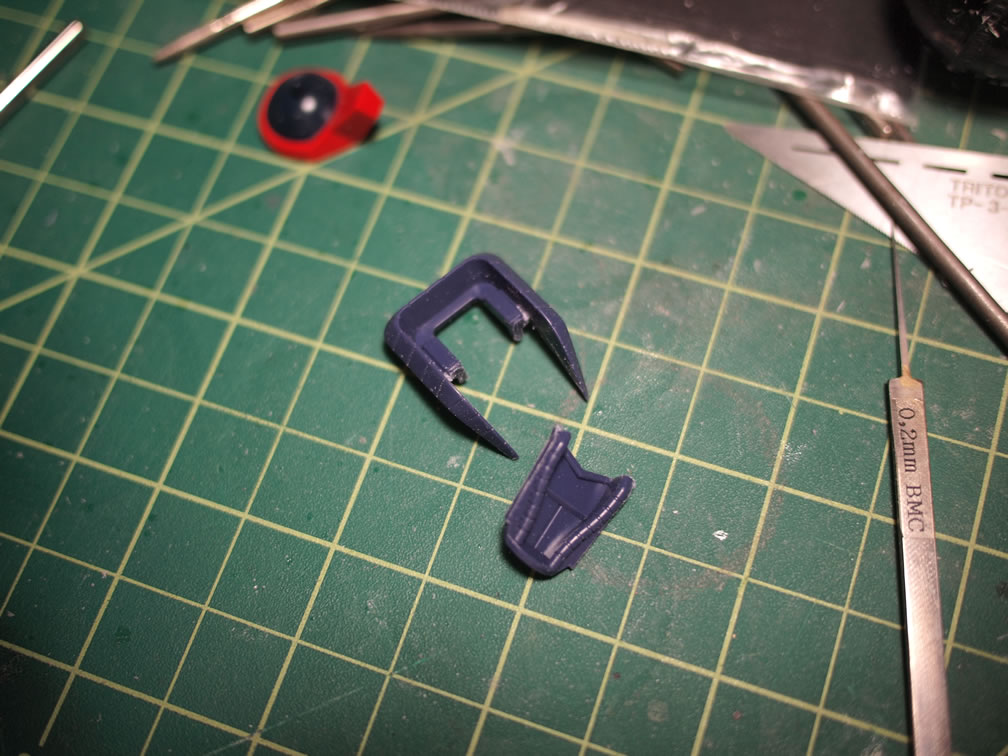
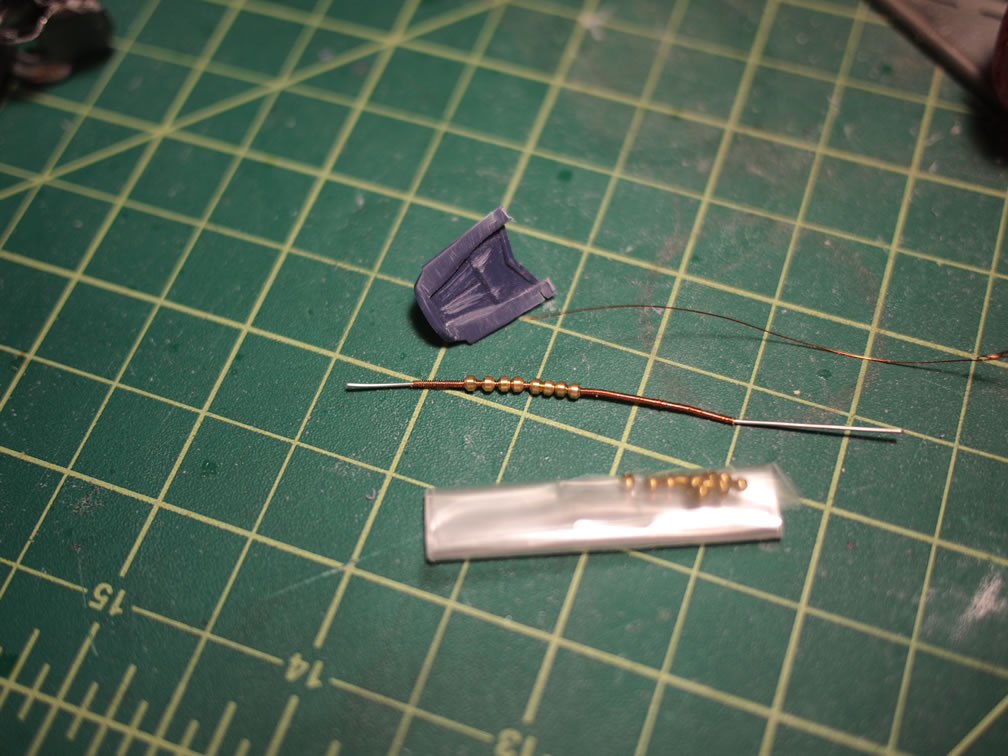
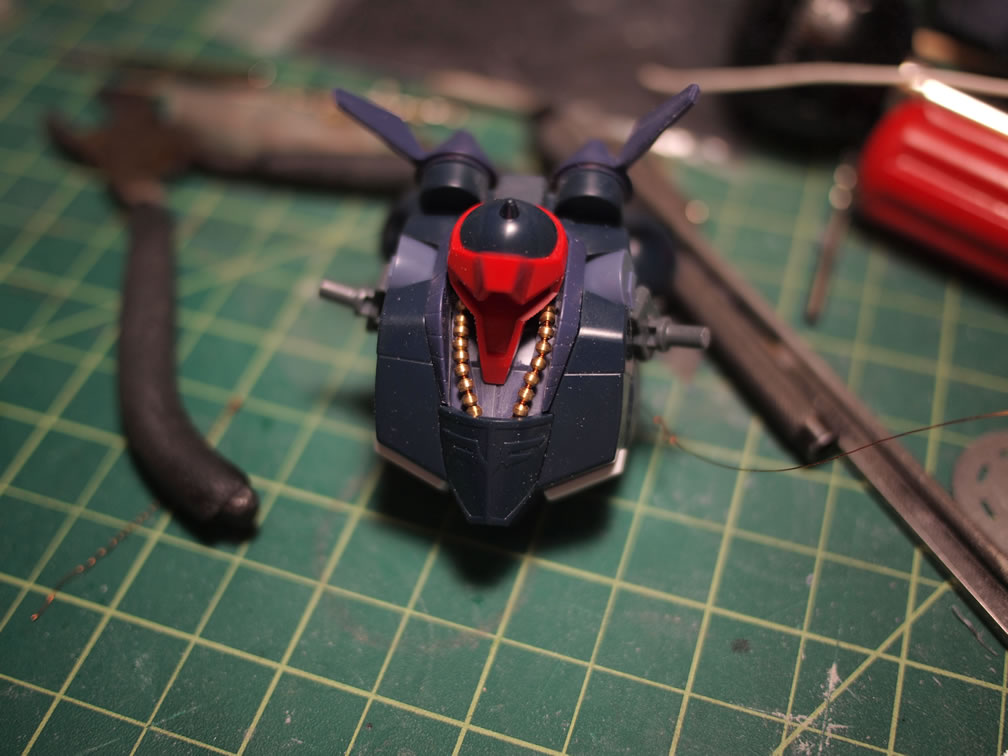
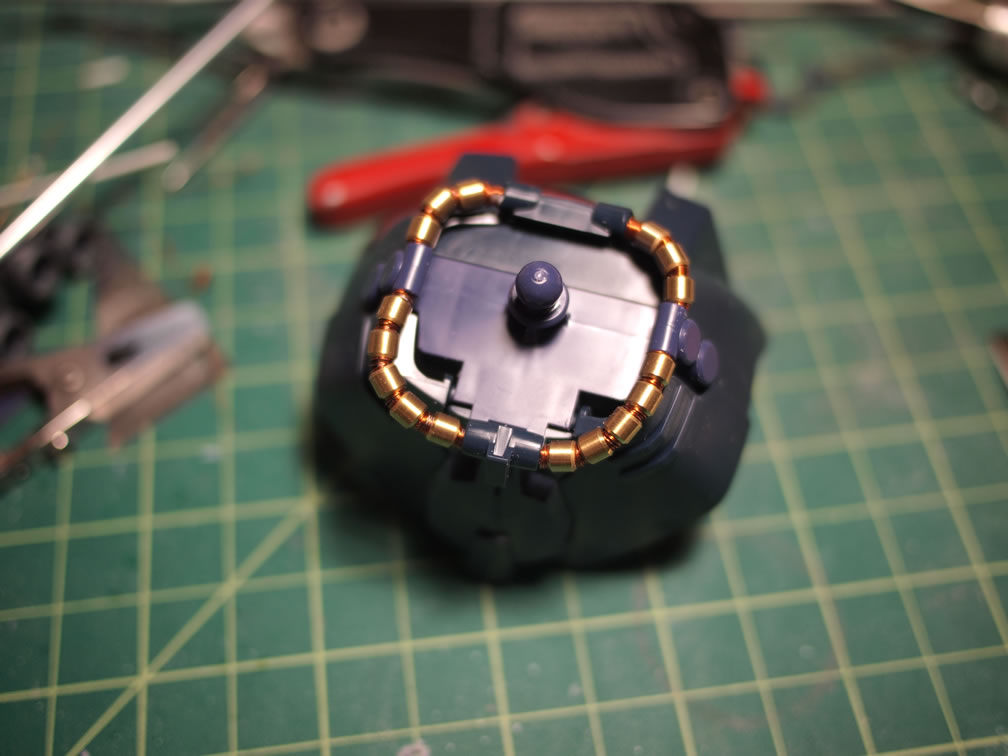
Starting with the lower neck/collar area, I cut the piece out to expose the power cables. Once the collar piece is in two, the existing cables are just sanded away. The replacement cables are done with adlers nest 2mm diameter cables and a spring made from 32 awg magnet wires wrapped around a sleeved 24 awg solid piece of wire. The metal collar pieces are glued into place. Holes are drilled into the front and back ends of where the plastic cables existed. With the holes drilled out the new cables are put into place.
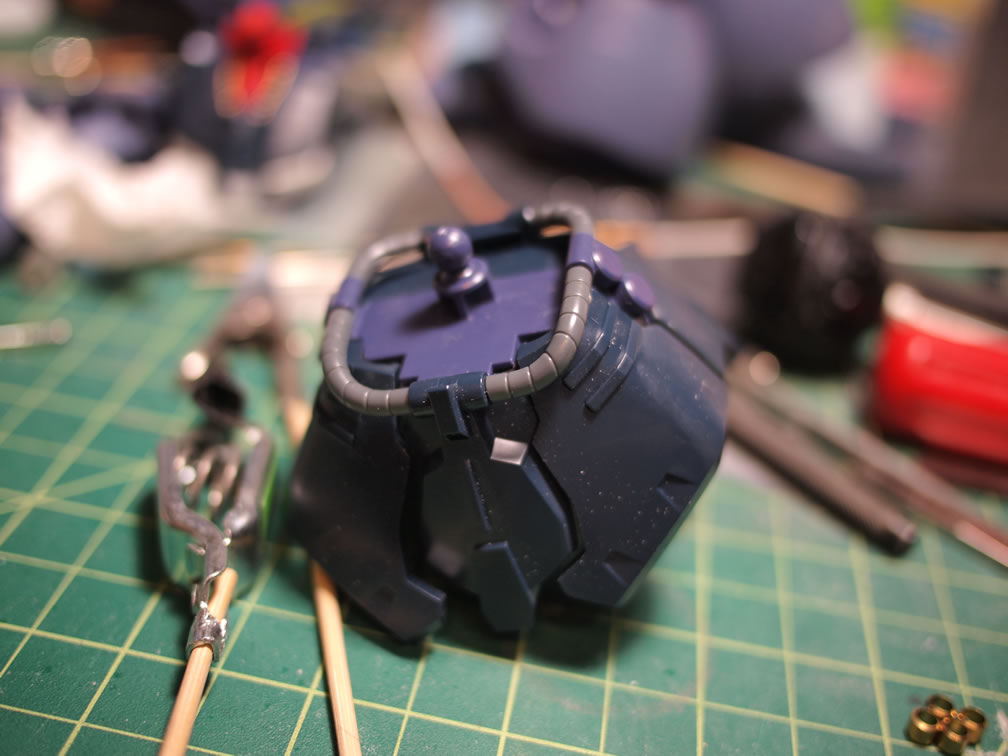
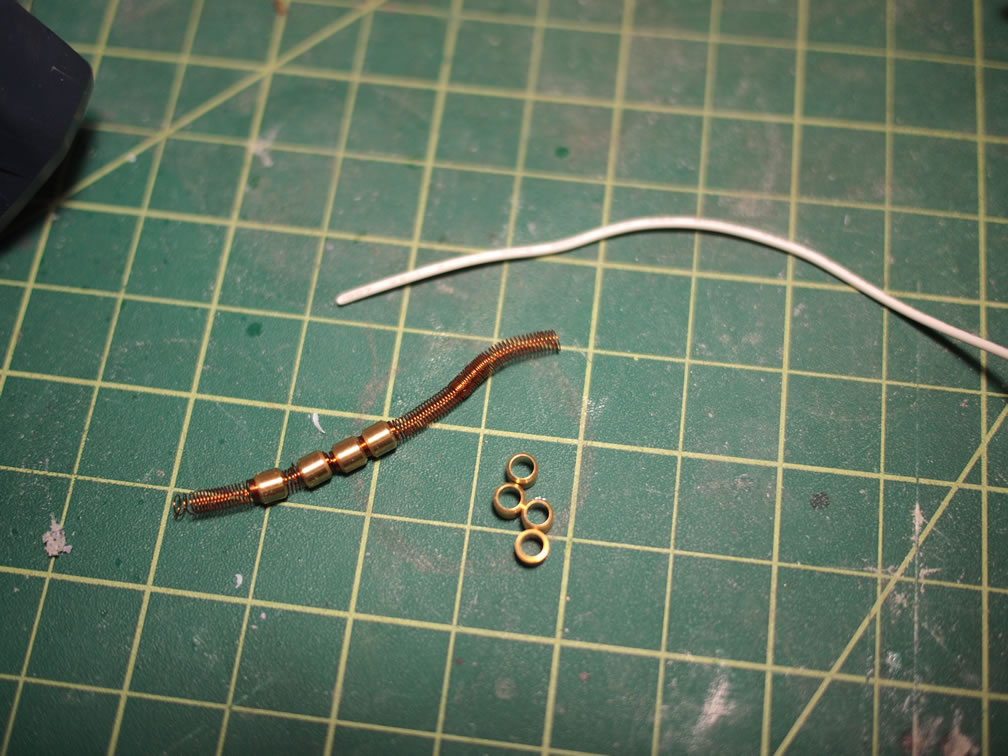
The waist cables are done much the same way as the collar cables. Adlers nest 4mm diameter metal collars are used use, and the same 32 awg magnet wire is wrapped around a 2.5mm tube to create the spring sleeve. The replaced metal cables are a simple and easy modification.
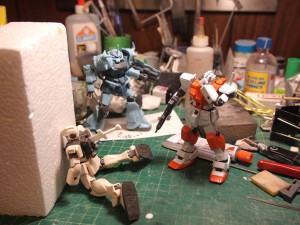
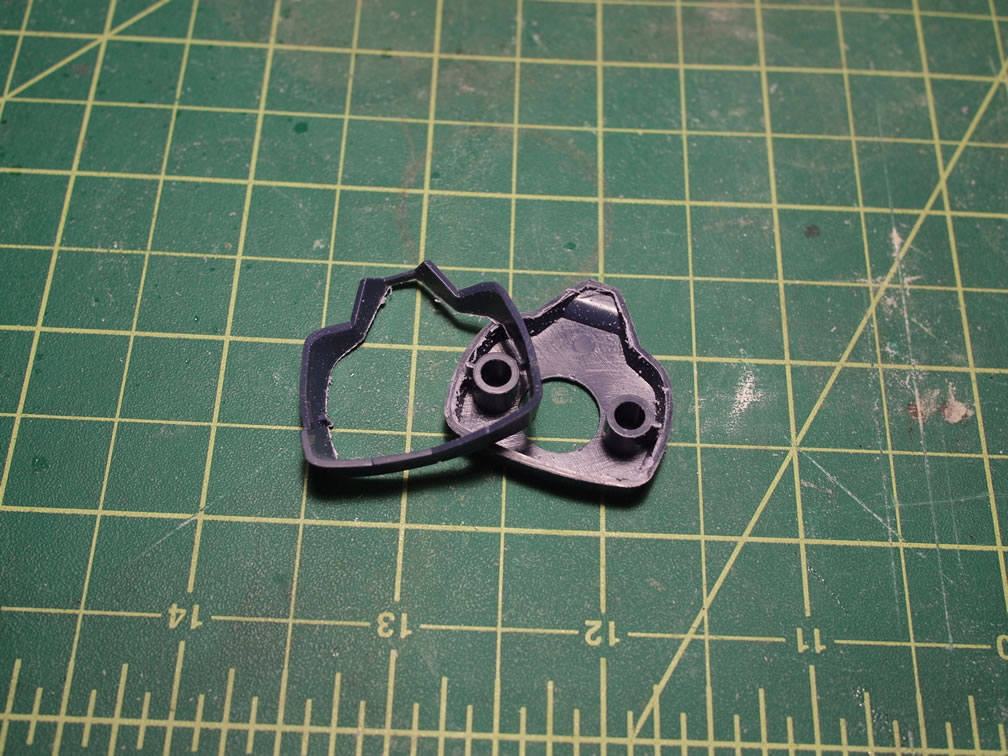
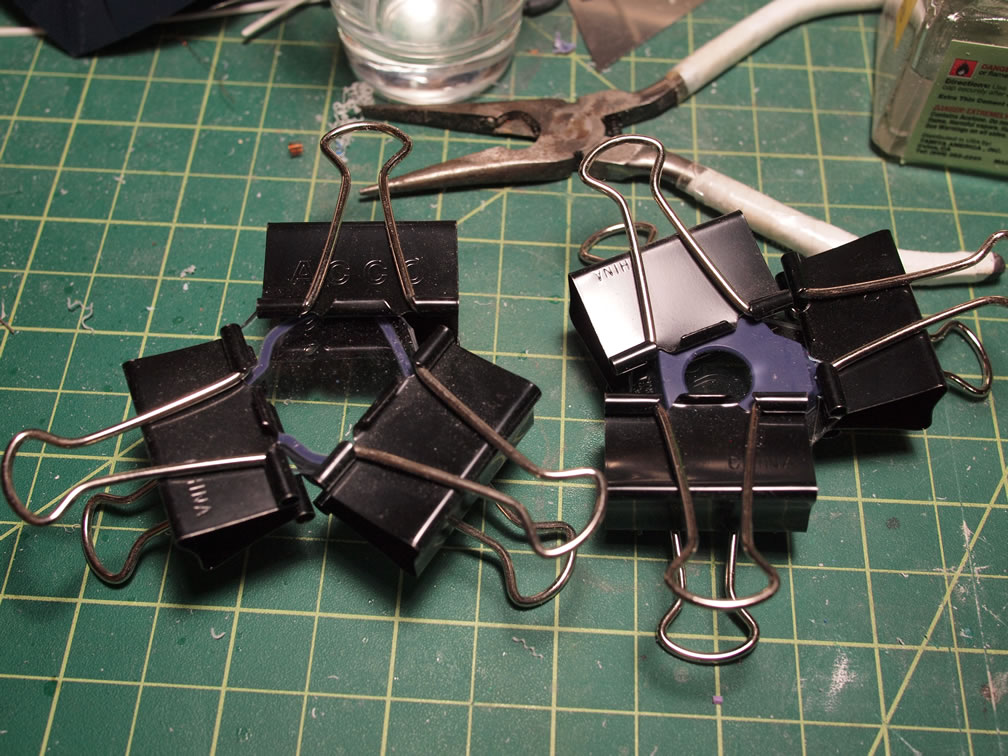
Next up is to butcher the lower torso. Using the idea from a Korean modeler, I’m going to try doing the same idea the modeler did for their Z’Gok vs Gundam diorama. So the first step is to cut apart the lower torso. Using the cut outs, I had some quick templates for cutting out small pieces of clear acrylic. The acrylic pieces are glued with tamiya extra thin cement and clamped together to cure.
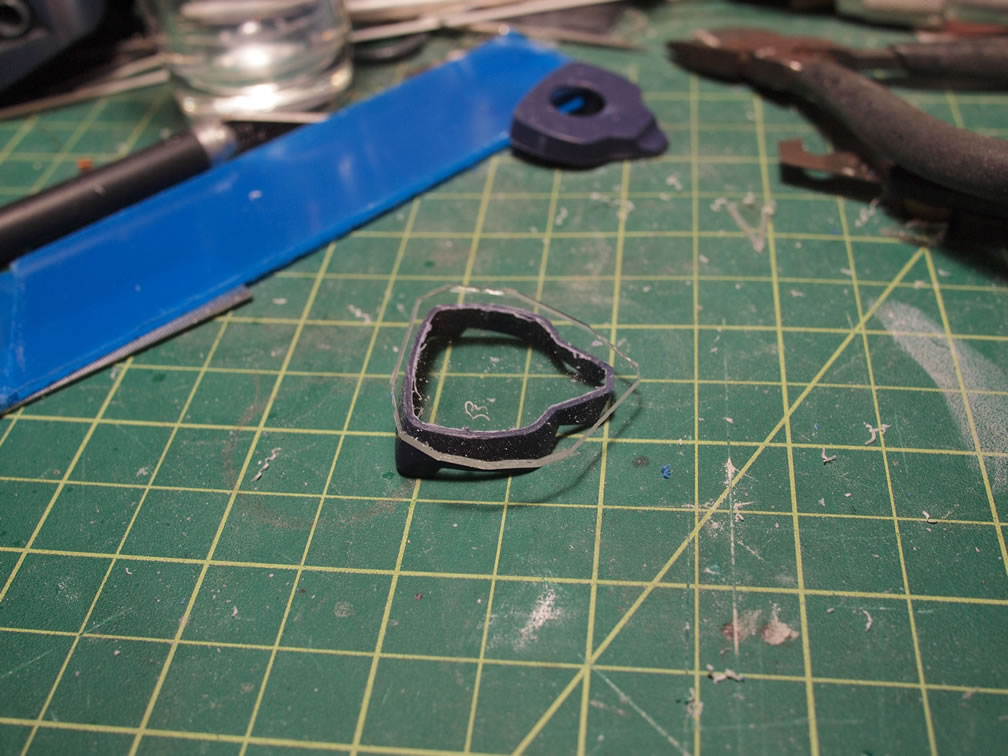
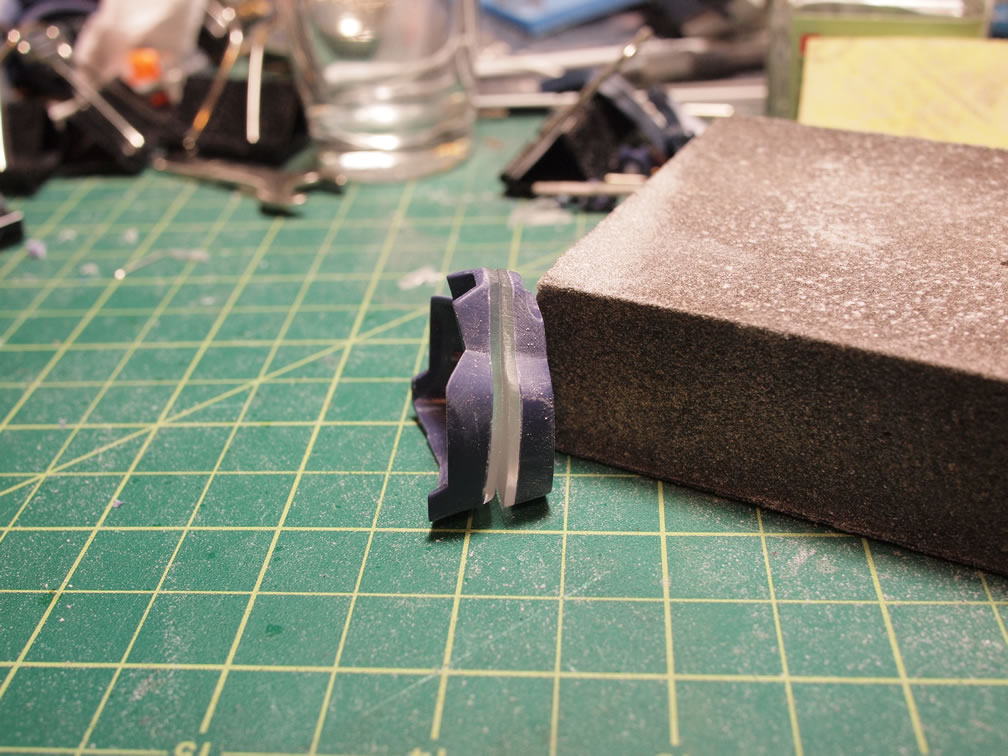
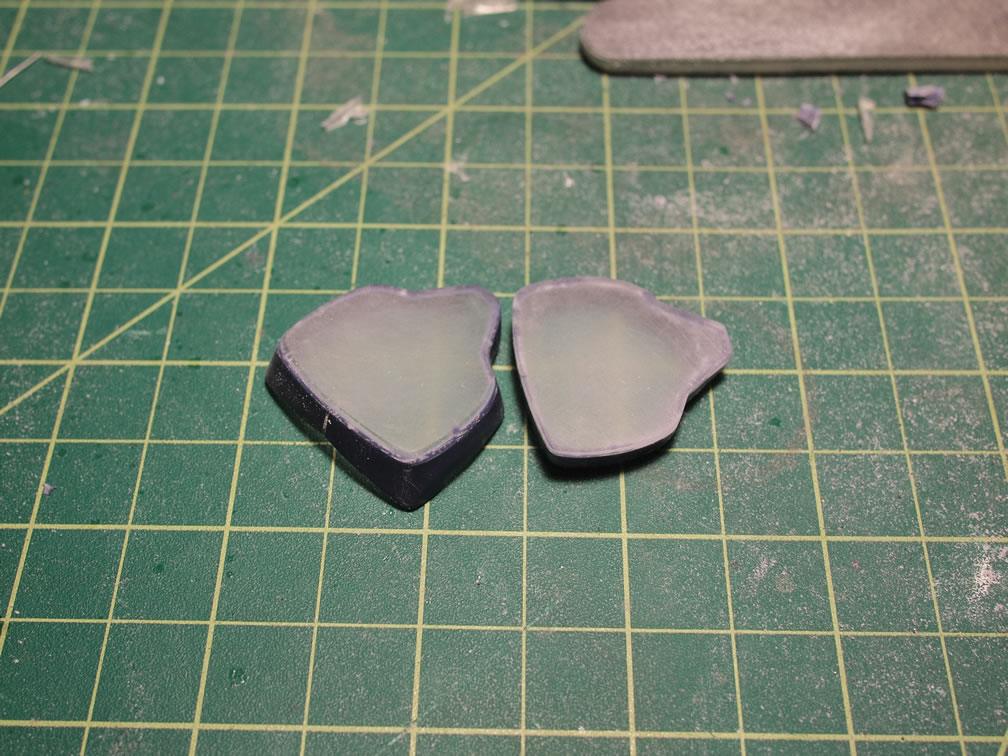
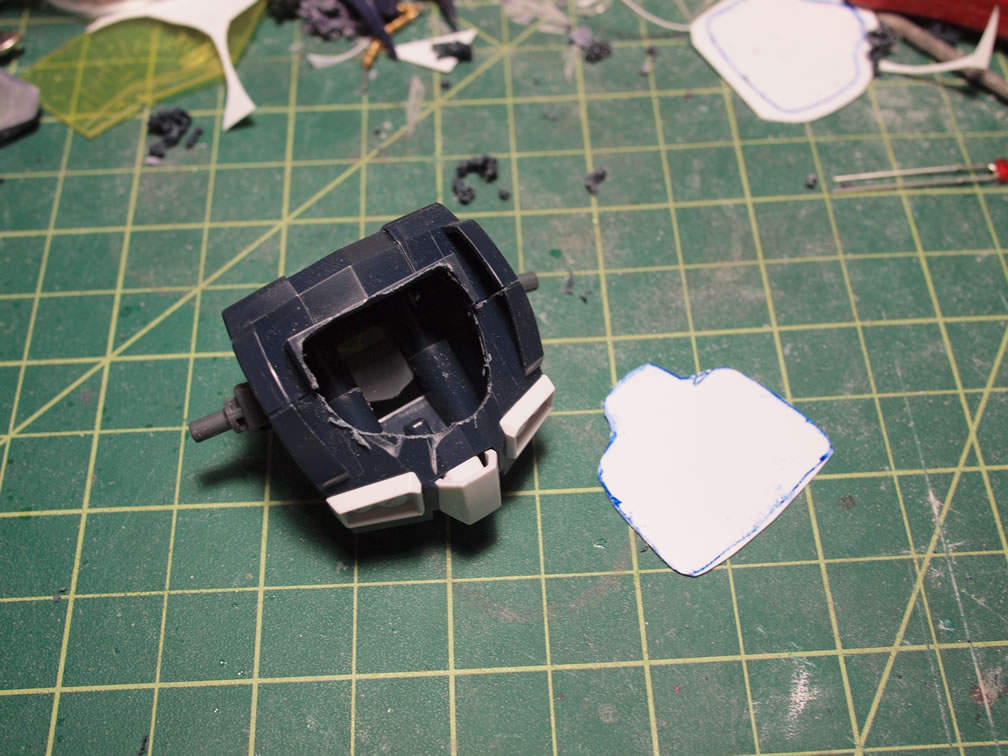
After curing for several hours, the excess pieces of acrylic is clipped and then is sanded down. With the parts sanded, I sanded the surface of the acrylic to frost it. With the two corresponding areas sanded and frosted, work focused on the main body. The bottom of the upper torso is cut out for eventual lighting. Using the lower torso pieces as templates, plastic inserts are traced and cut out. These inserts will be used to hold the LEDs from inside the torso piece. I have some orange LEDs on order so work on this section is paused until I get the LEDs.
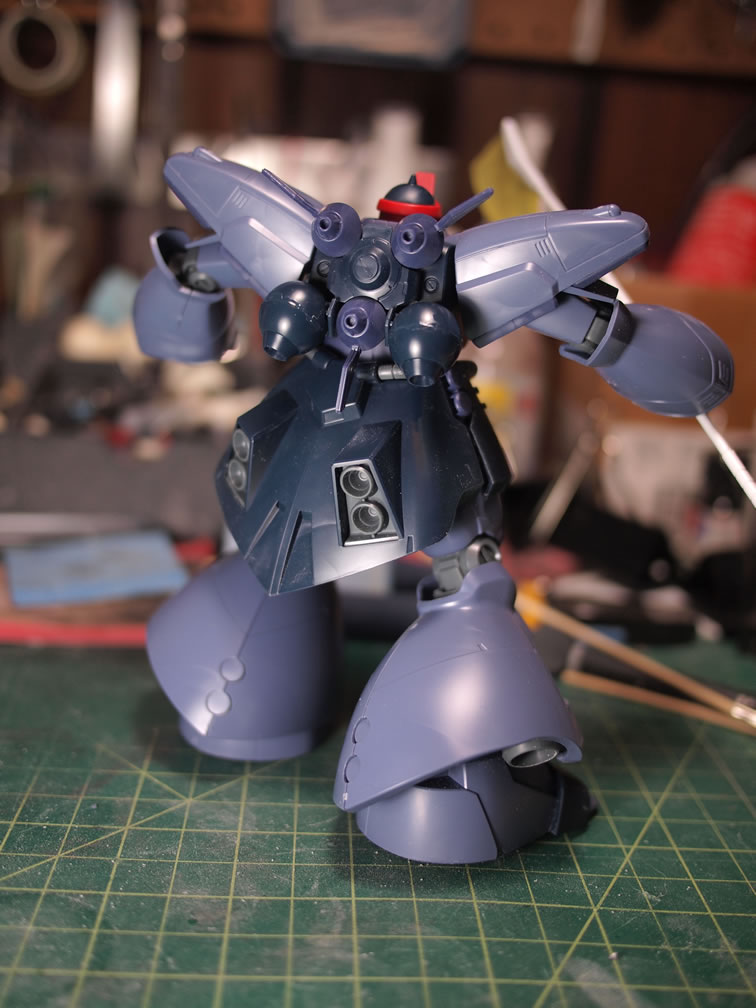
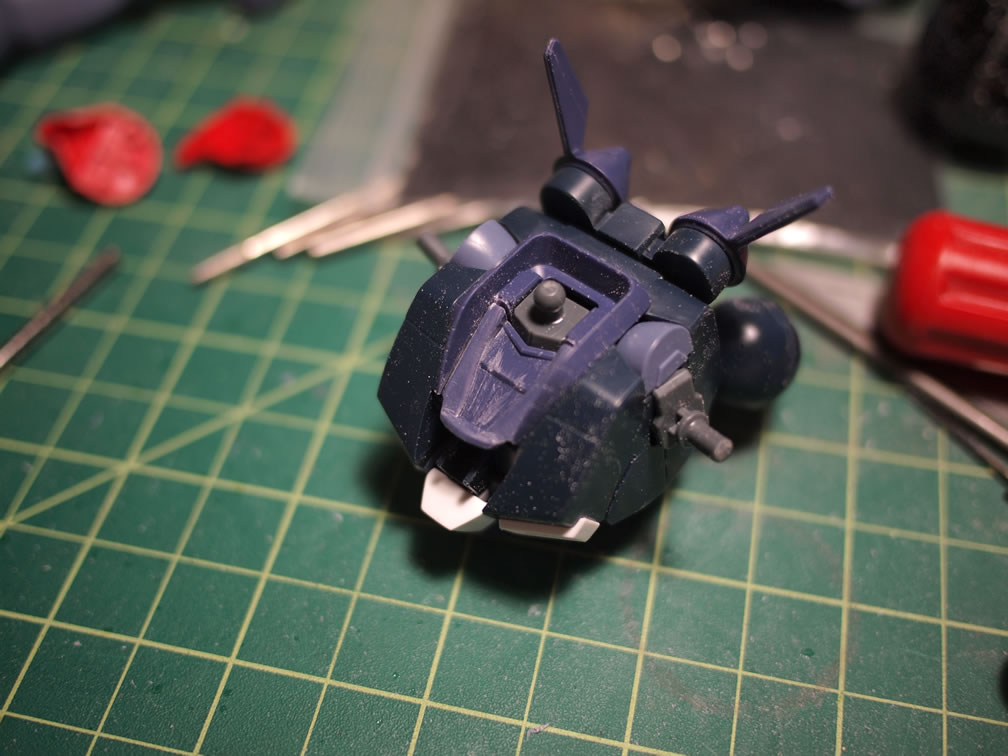
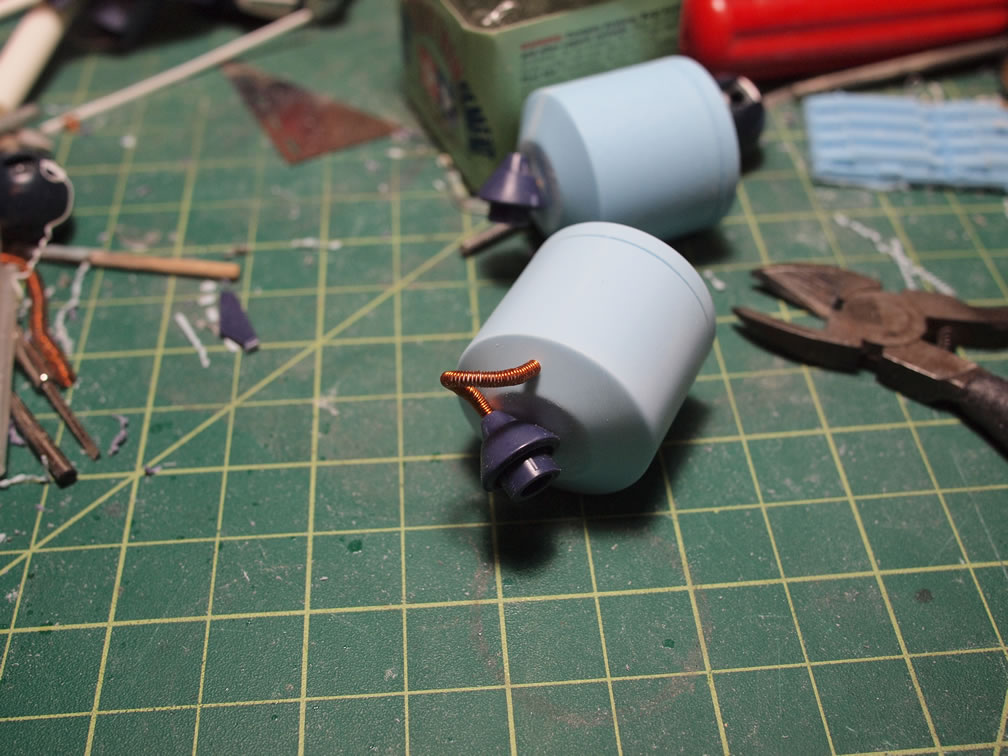
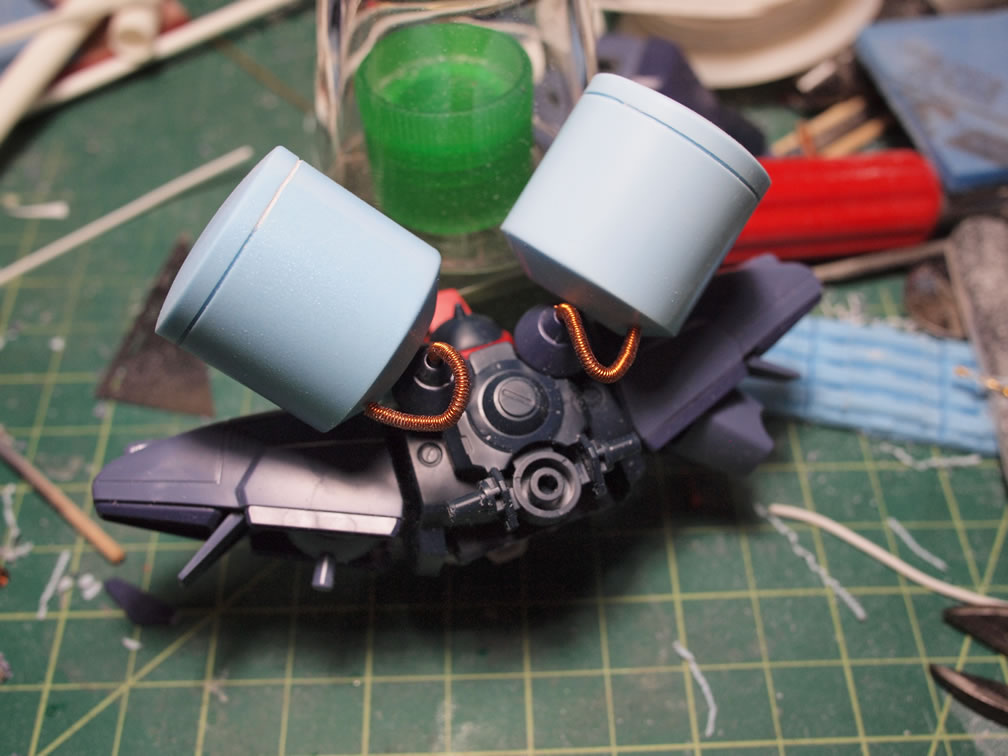
Next up is the backpack. The Dreissen has three backpack mounted tri-blade weapons that I didn’t really care about. The mount points also doubled for weapon hard points. Using the tri-blade weapons are mount points, I mounted a long resin fuel tank on the bottom center. Cylinder fuel tanks were mounted on the upper two points. I had a few sizes of cylinder tanks and decided on the larger set. The ball thrusters were extended with some thrusters left over from an MG Kampfer kit.
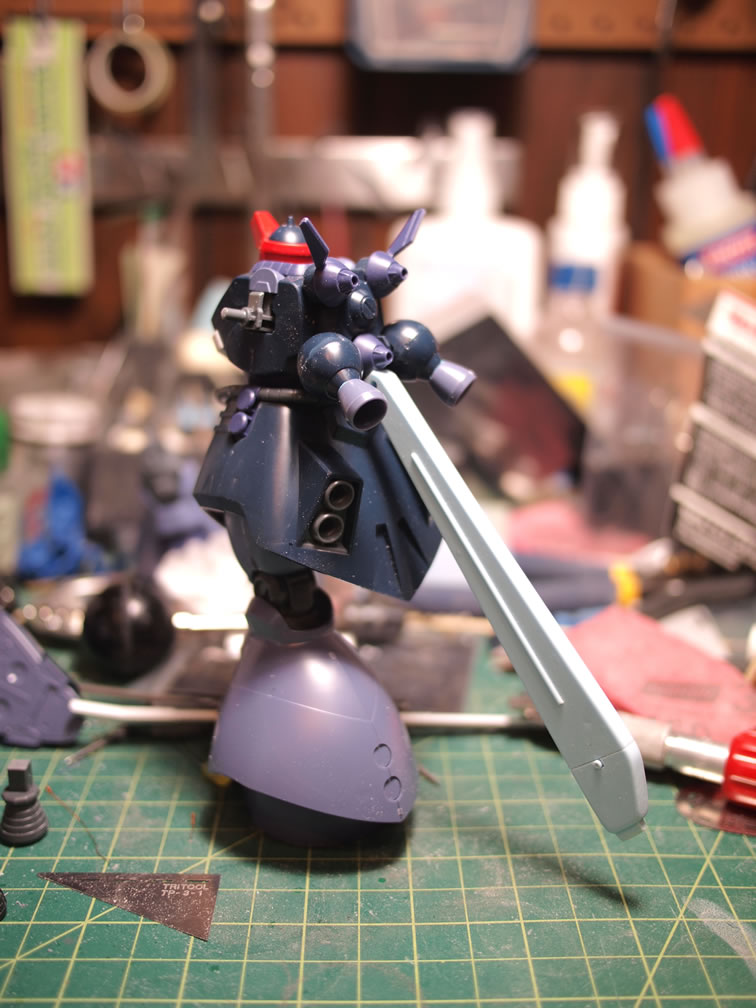
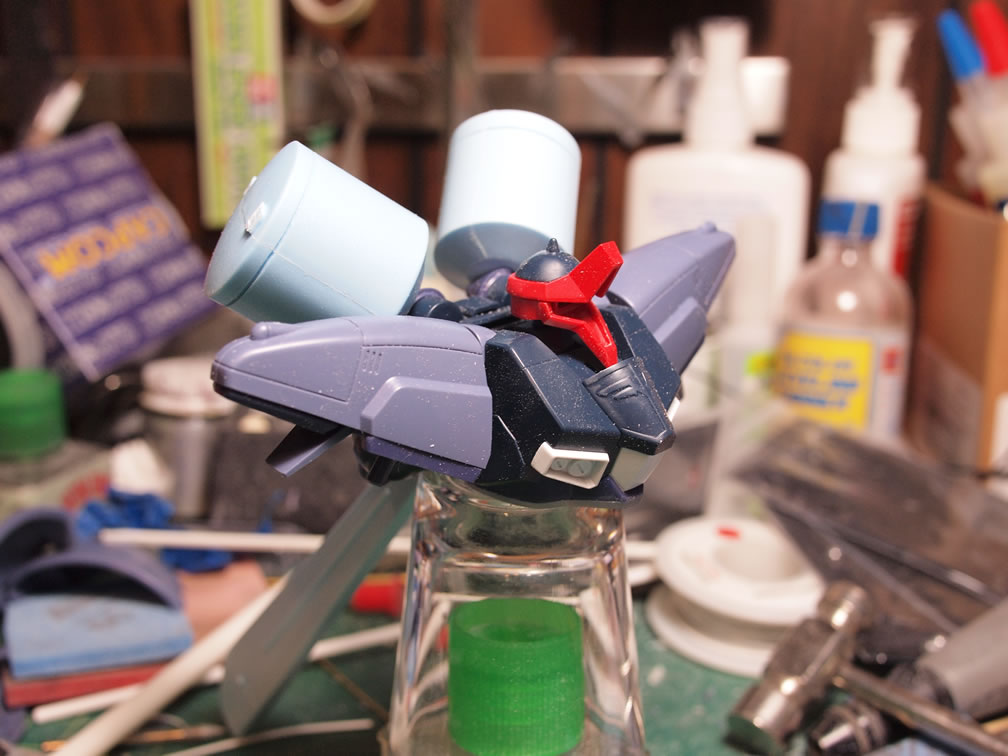
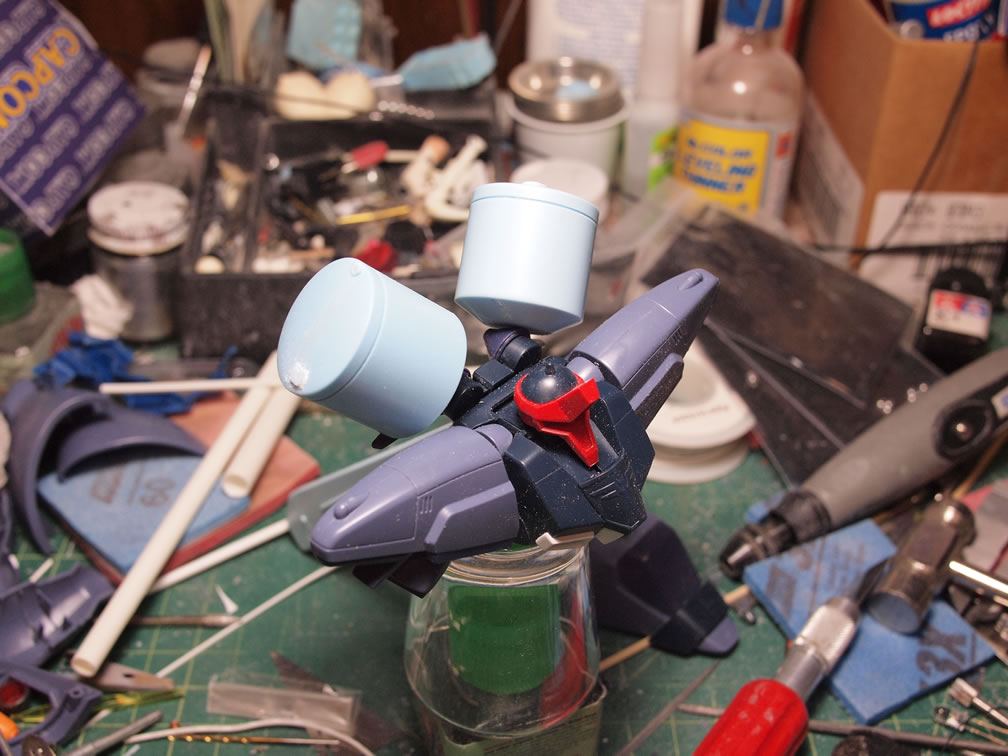

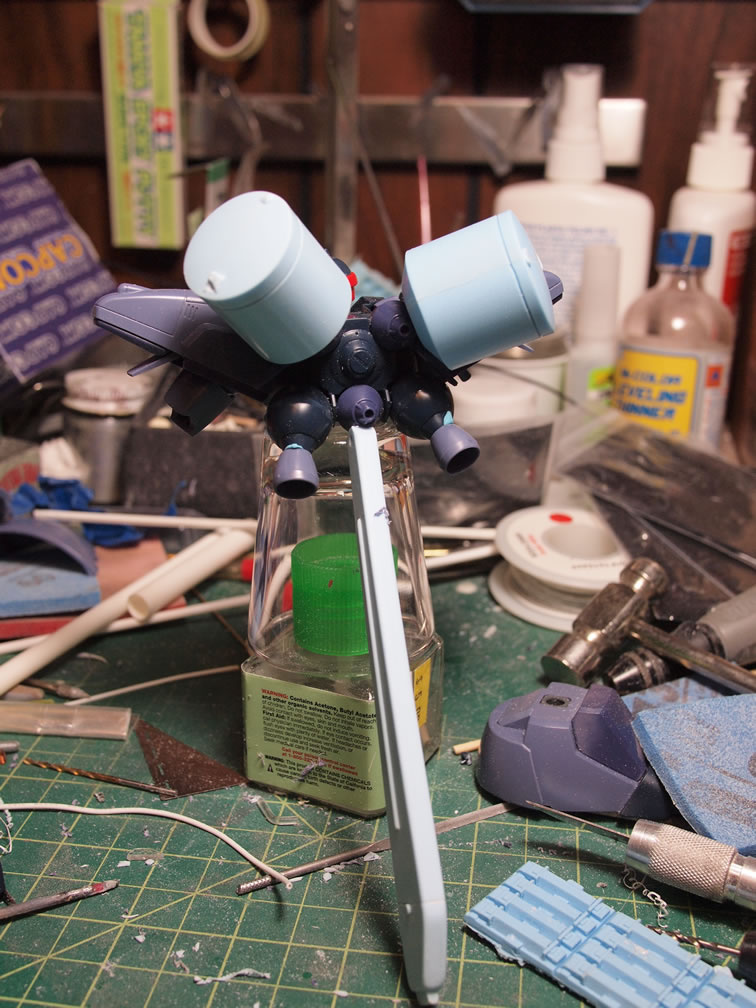
Since I decided on the cylinders as upper fuel tanks, I drilled holes into the tri-blade center as well as the cylinders to add in a fuel hose. For the spring wrapping, I used 28 awg magnet wire over the 24 awg sleeved solid wire.

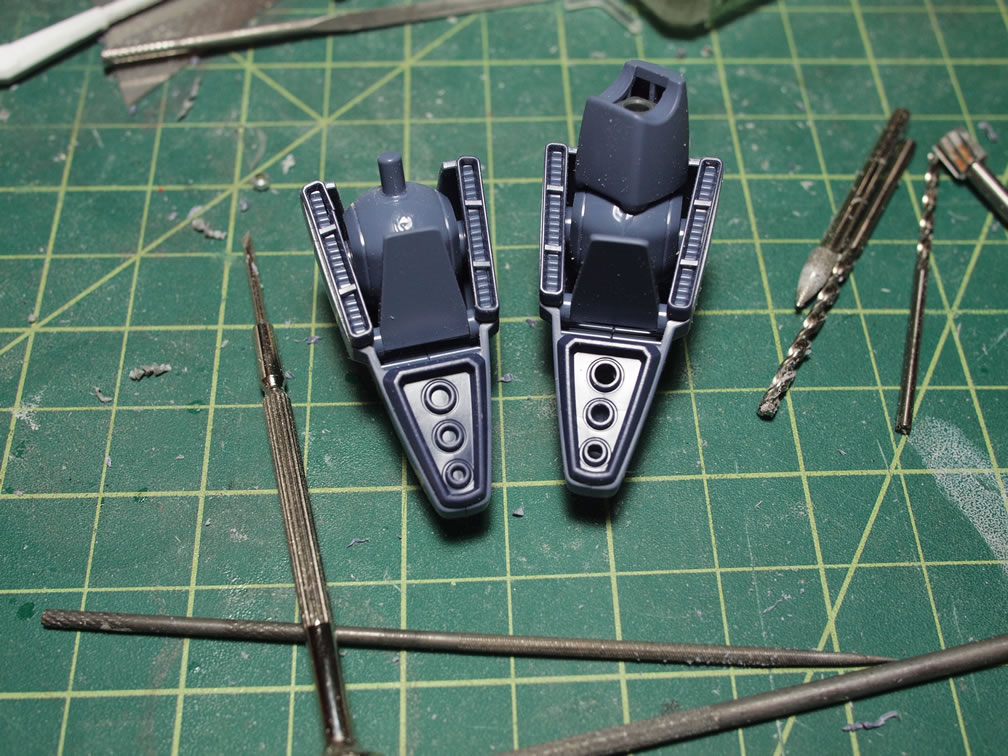
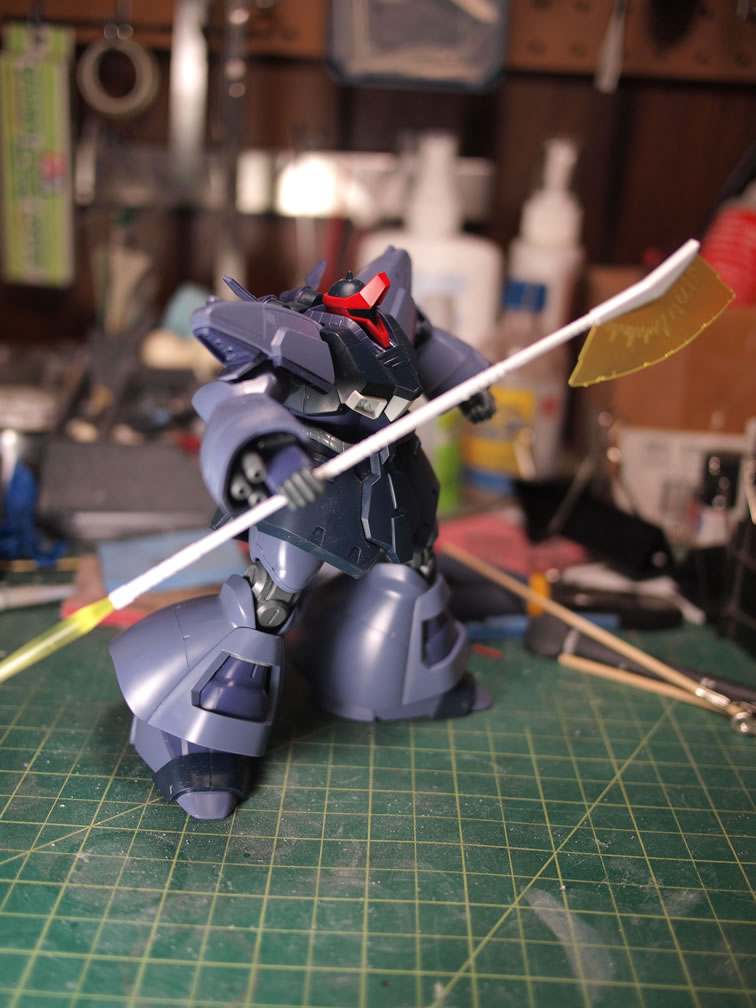
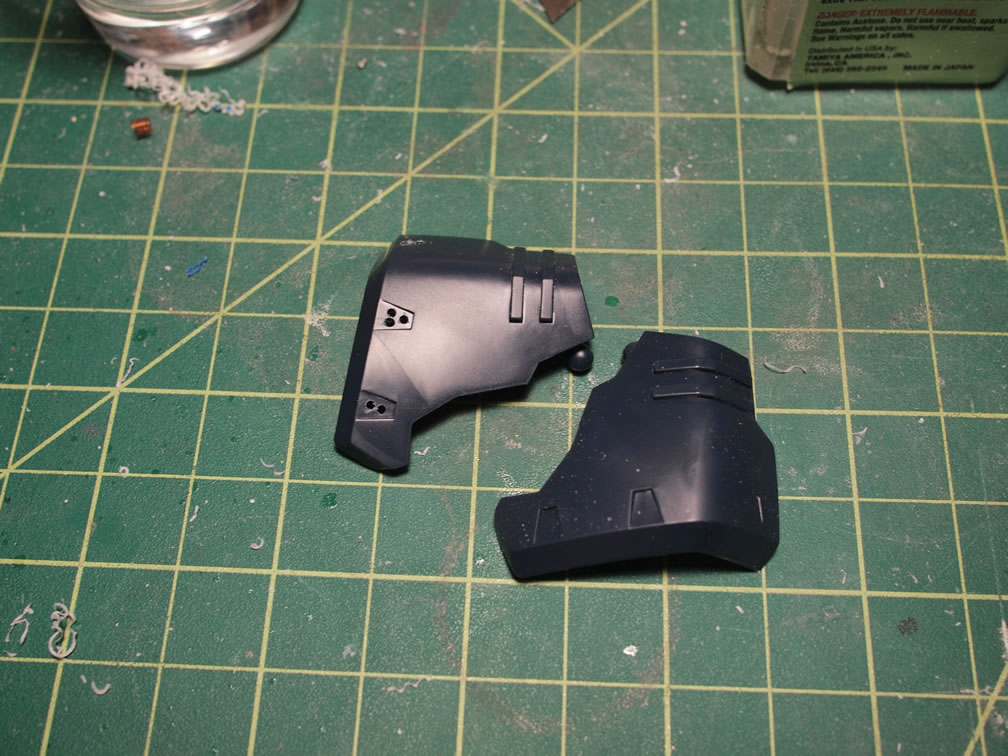
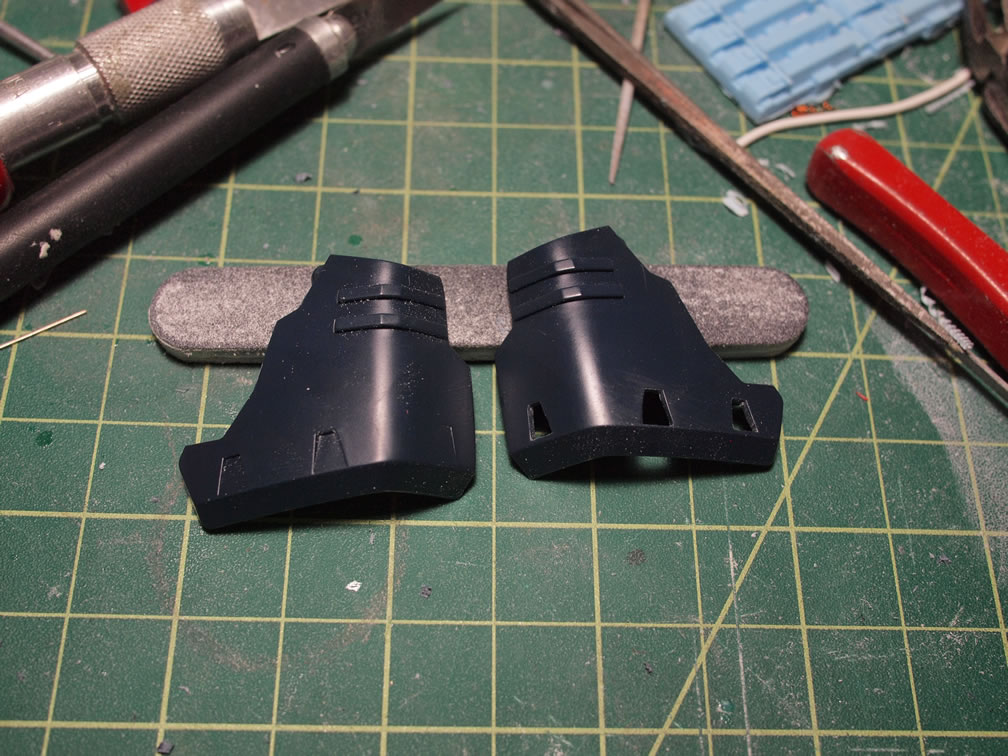
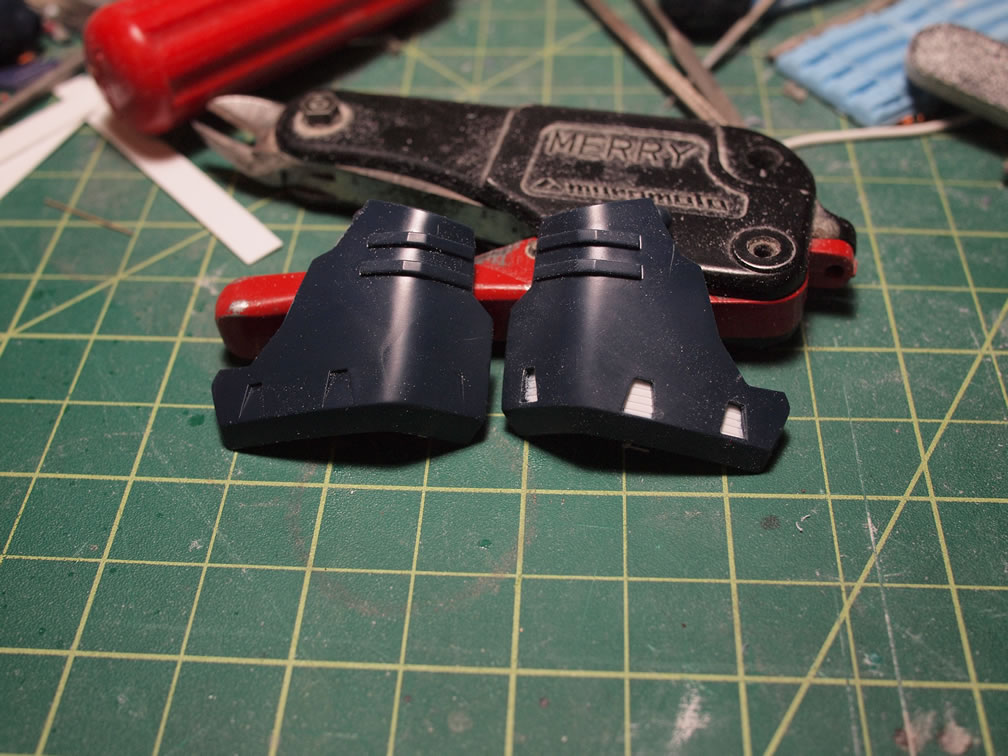
The first small modification to the skirts is to drill out the indented details. With pilot holes drilled, excess plastic is cut and filed to remove all the plastic in the indented areas. Once the indented detail plastic has been removed, a slip of detailed styrene is glued to the back for a quick detail modification.
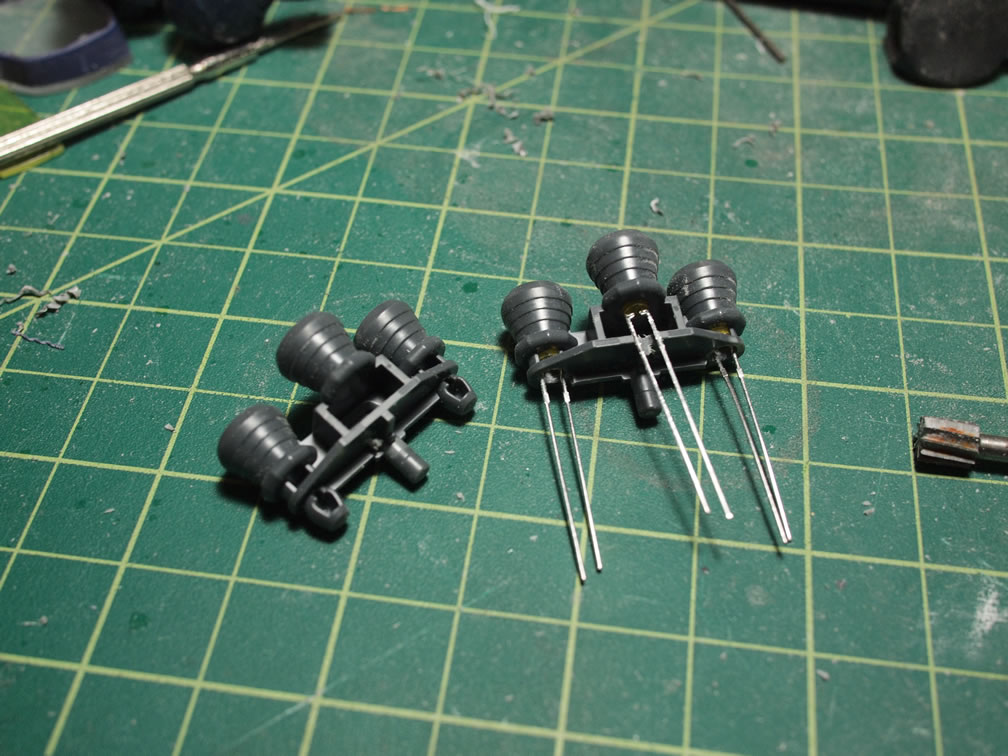
From the lessons learned in from the HGUC Sazabi project, and since I’m lighting the waist; I may as well just light the whole damn thing. So the shoulder thrusters are drilled out using bits of varying sizes. The leg thruster pieces are drilled out to accommodate 3mm LLEDs.