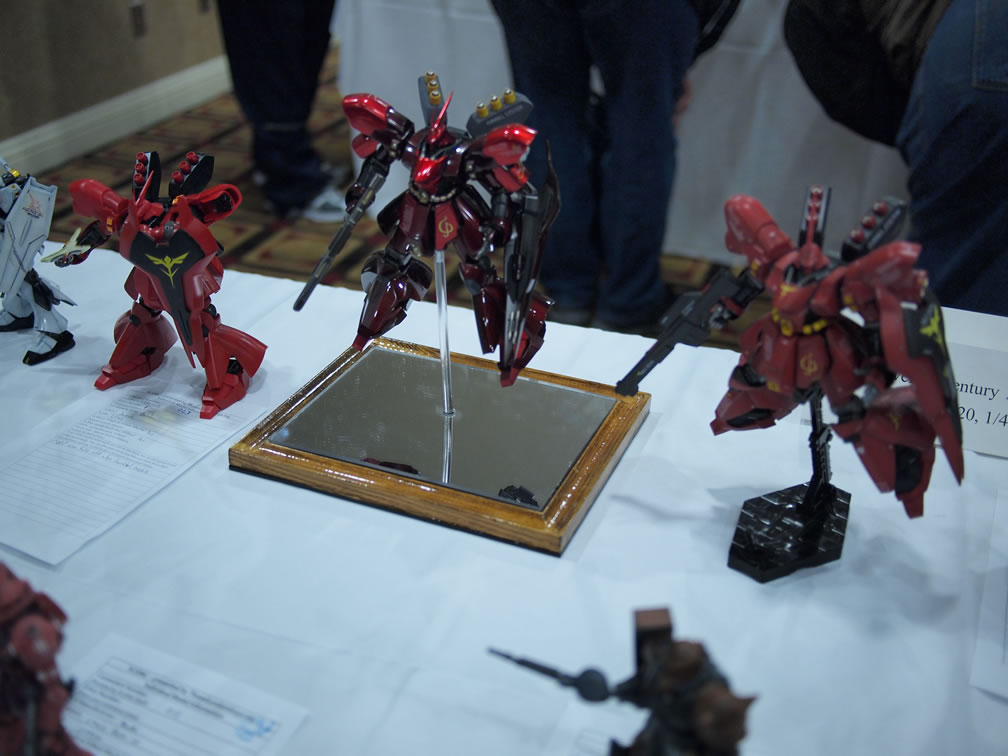
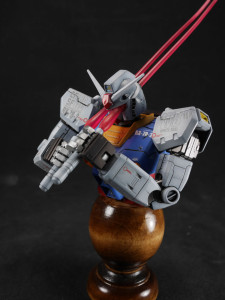
Revisiting the HGUC Saz, sort of. Back when I first starting on the Saz project, I had a very elaborate base planned for it. However, just building the Saz burnt me out and any interest in creating an appropriate base to accompany the kit completely waned. This resulted in the simple mirrored base that shows off the leg thrusters and other bits. I got complaints from some peers that it was a bit on the simple side.
Fast forward to SCGMC a few weeks ago, I had the kit displayed with two other HGUC Sazabii. The local distributor came to the event to check it out and also let me know that I had won the semi-final for Bandai’s international Gunpla Builders World Cup 2011; so the Sazabi will be representing North America in the international competition in Hong Kong, December 25, 2011. The SCGMC event was going great and then I was informed that I would be going to Hong Kong to compete; it was icing to an already amazing day.
The following morning, I got an email from the distributor officially confirming that I won the slot, giving me the dates for the event, and also suggesting that I make some improvements on the existing base – suggesting that the mirrored base was a bit on the simple side. Something already agreed upon by several folks. So later on that day, I started planning out the new base which is basically a downsized variant of what I had originally planned for the base when I first started the project.
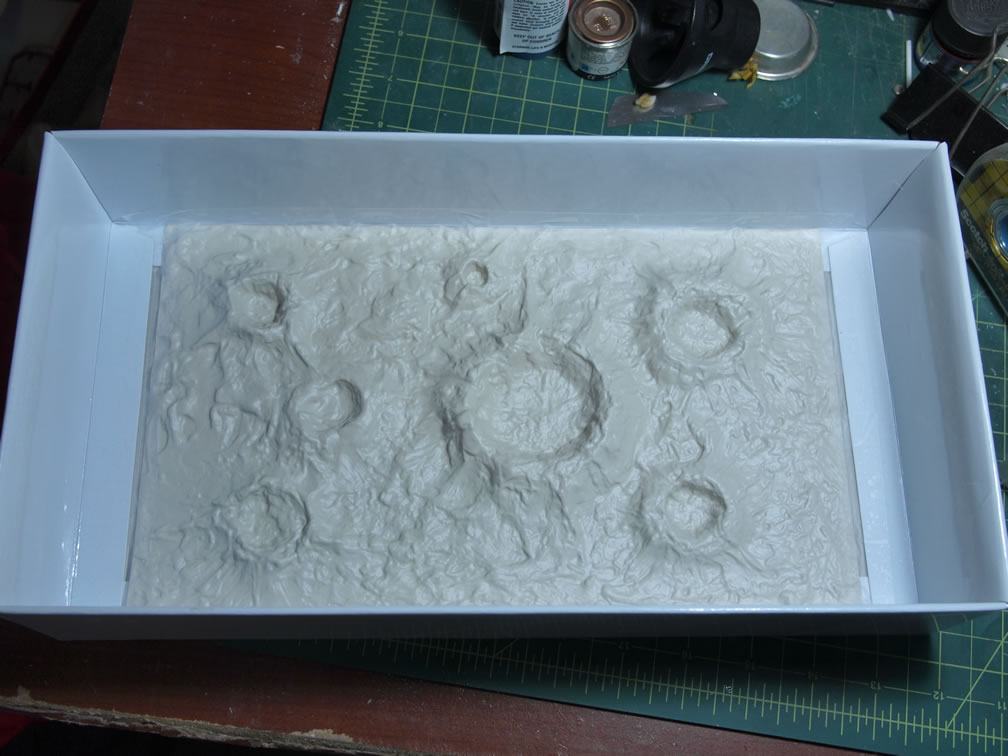
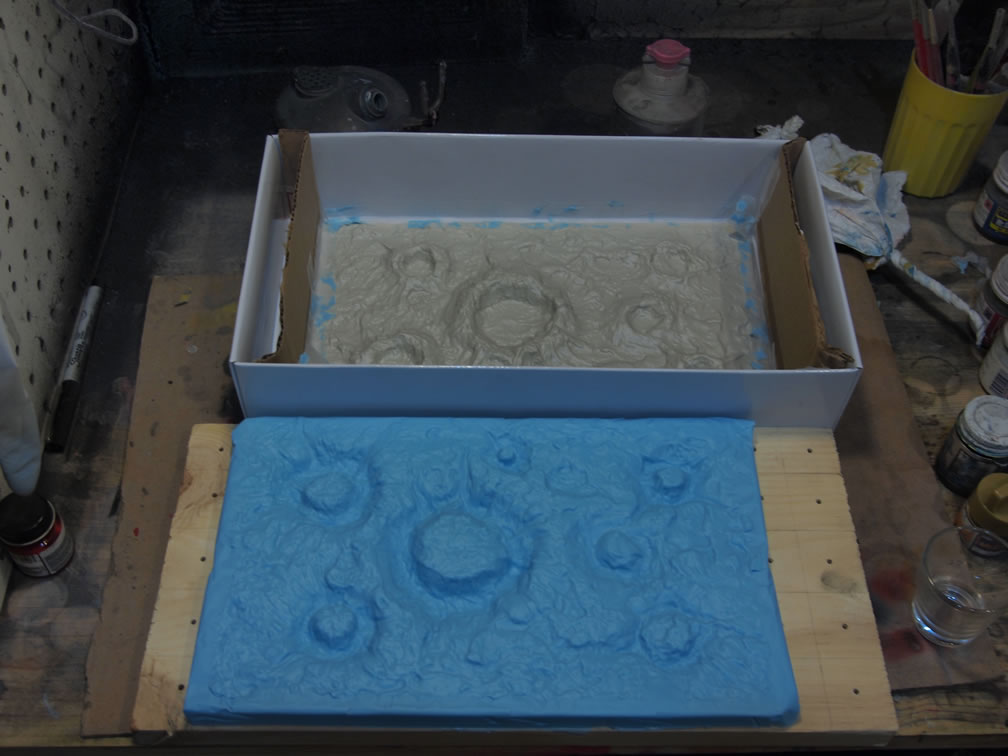
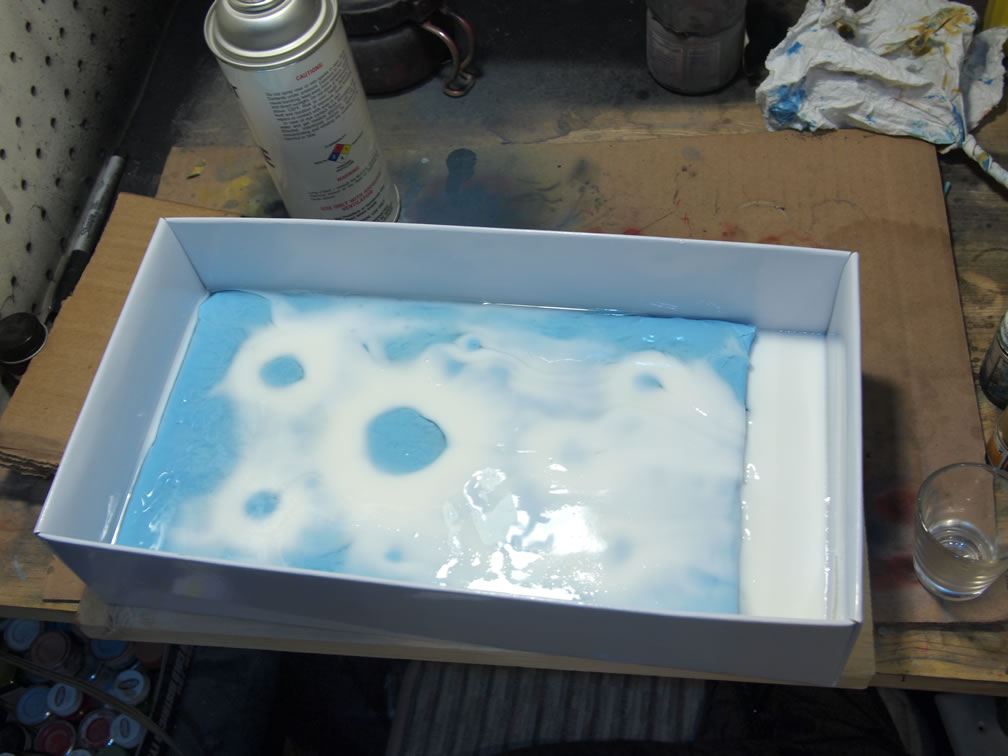
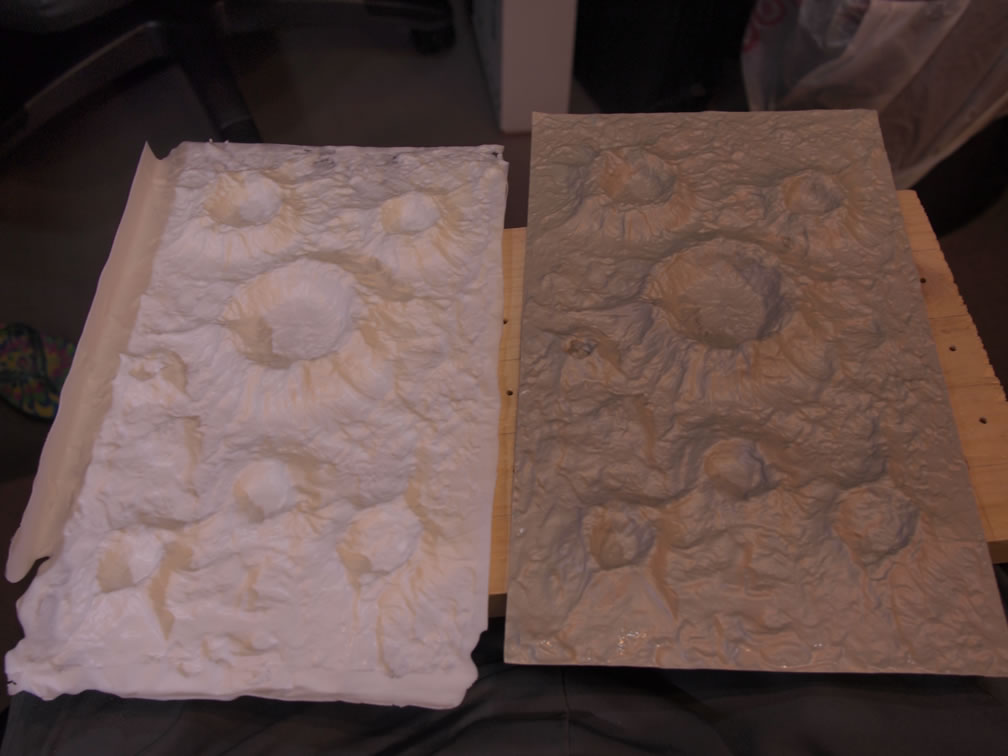
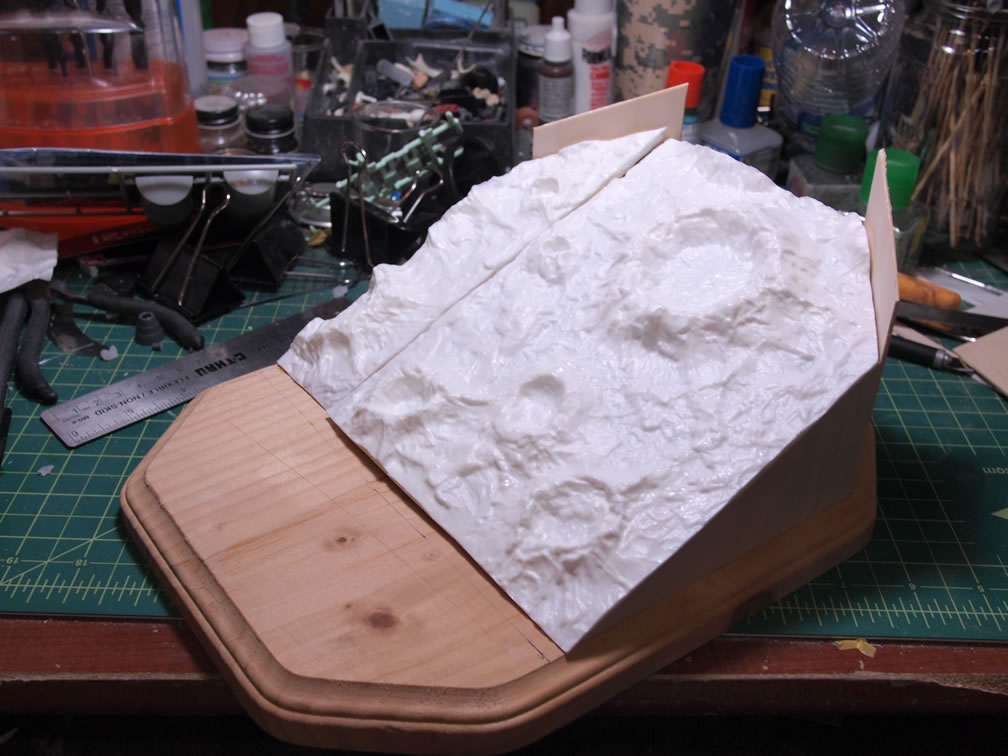
One of the things I bought back in October when we were in Hong Kong was a plastic asteroid sheet. When I saw it, I noted that I needed to grab one of those sheet and then I can make a mold and have endless copies for space like dioramas. The first step in the base build was to mold and cast this plastic sheet. Once the mold was made, I cast two copies.
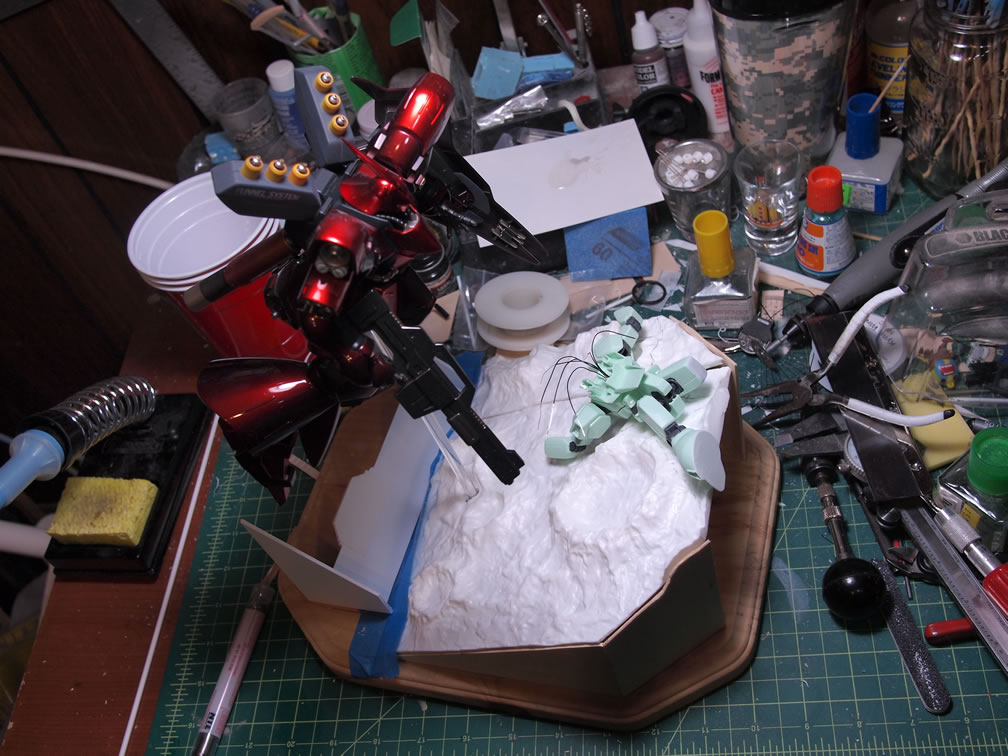
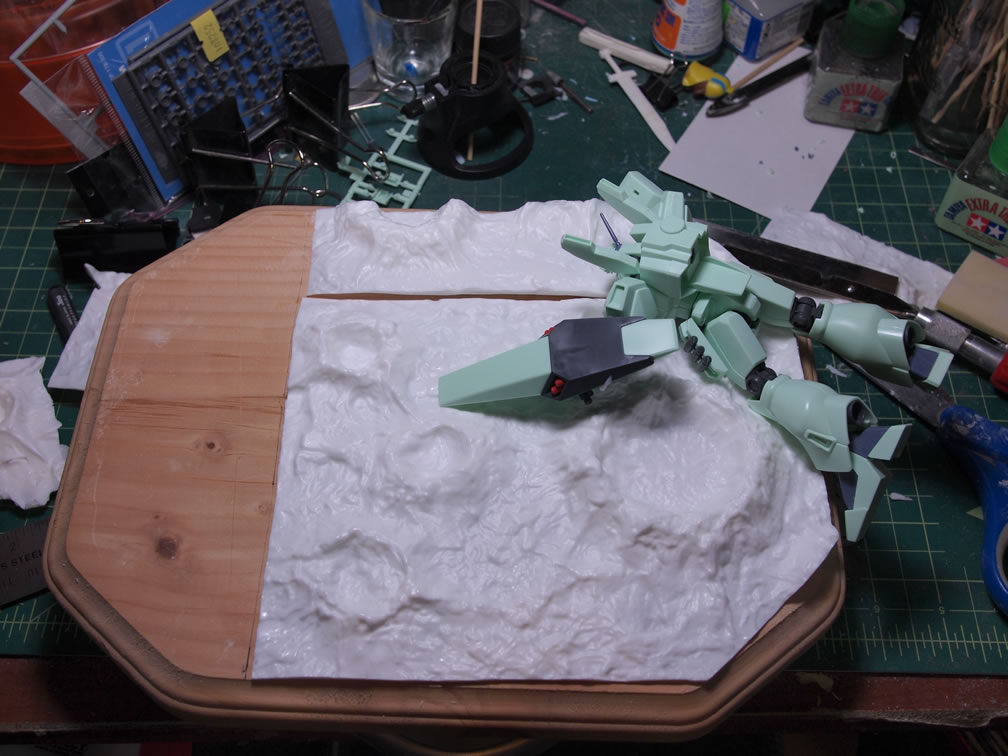
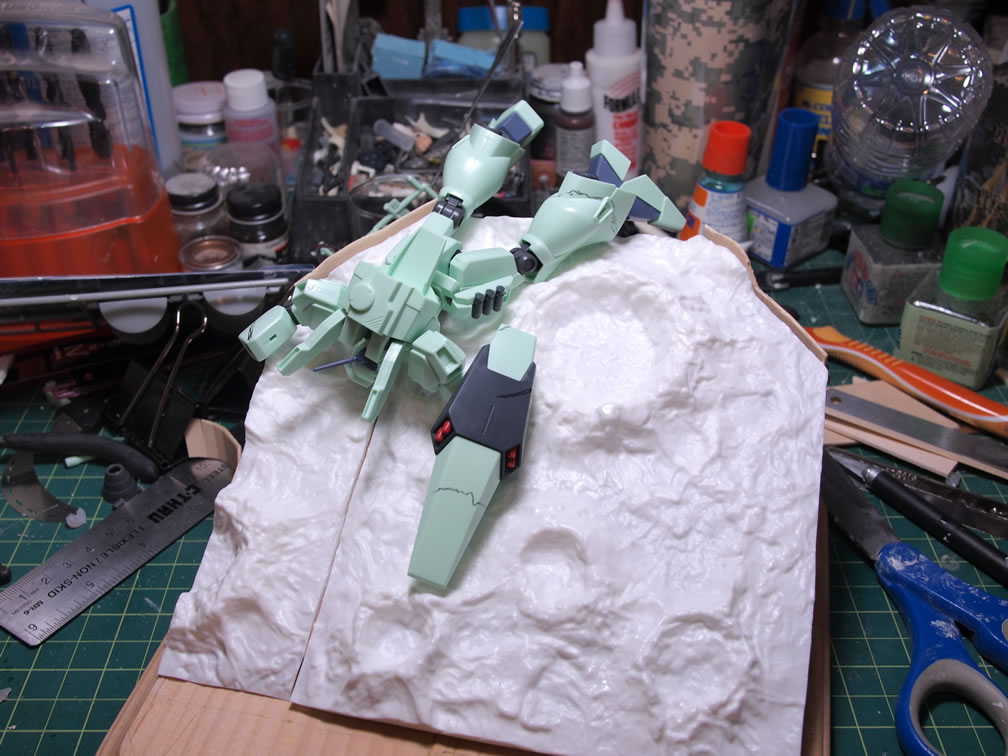
Since this is a down sized version of the original plan, I picked out a wooden plaque and started cutting the cast asteroid base pieces to size. A HGUC Jegan kit that I picked up earlier this year specifically for the purpose of the base was dusted off and snapped together. Keeping with the original idea, the Jegan will be a recently downed suit crashed onto the surface of Axis right outside one of the base gate doors. With the resin base pieces cut and the Jegan snapped, the beginnings of the base layout is formed.
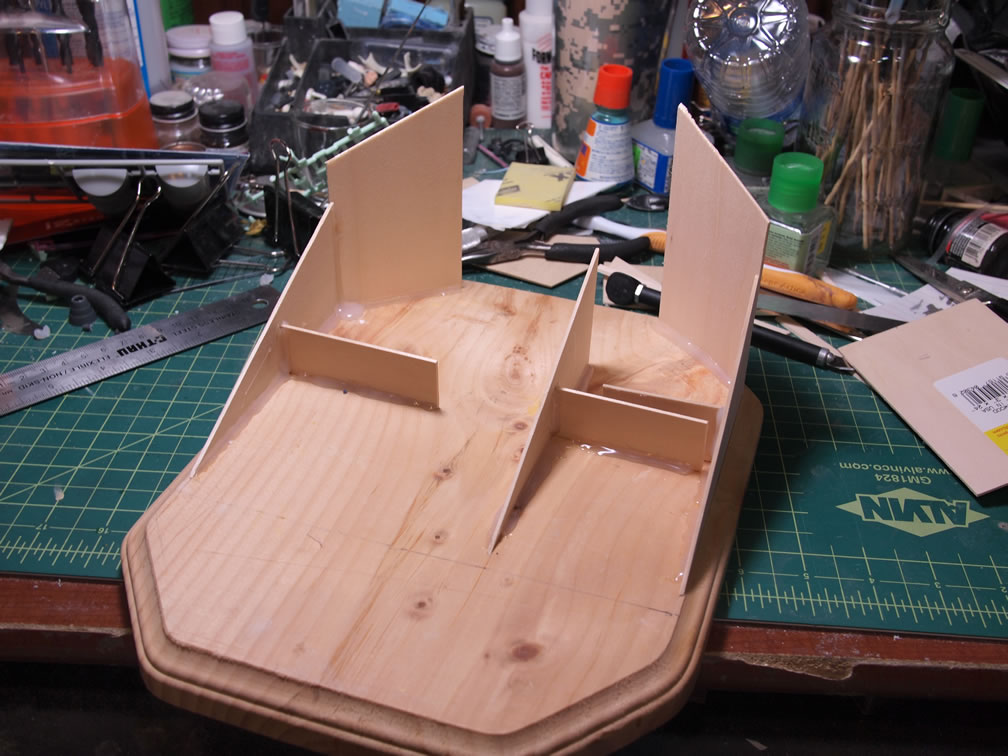
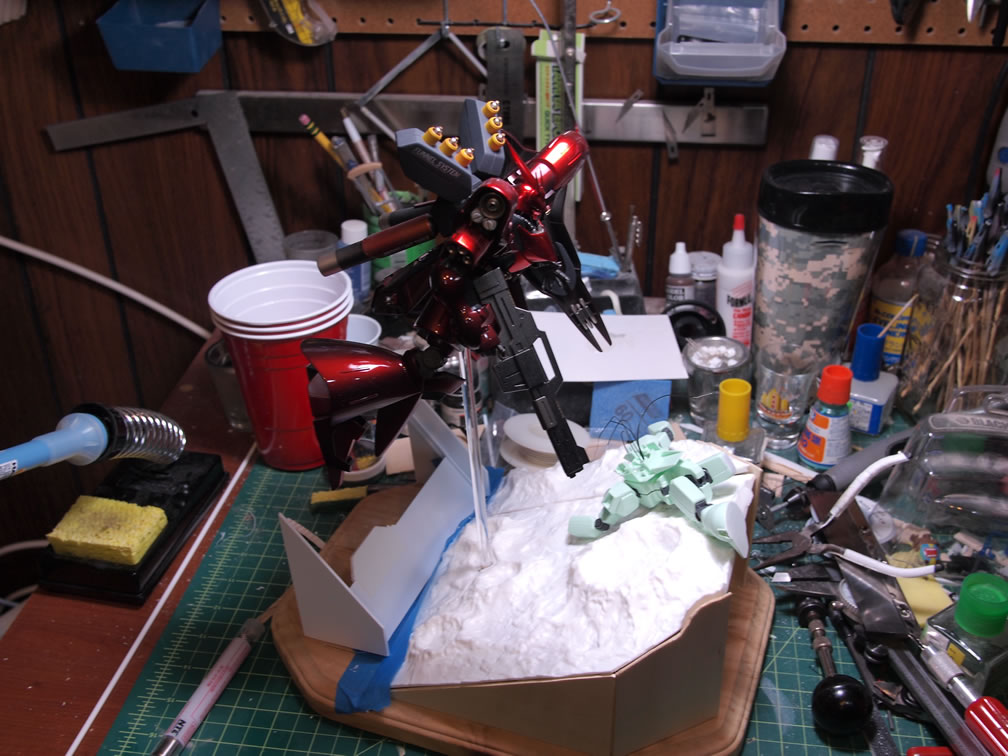
I didn’t like the idea of the flat single dimension surface, so I built up some structural pieces in balsa wood to angle up the main resin base pieces. The idea now is to create an angled view that will have a corresponding angled view on the base doors. The Saz will then be sticking out of the base with the support of an acrylic rod and with everything angled, the base will be more dynamic and have some sense of movement.
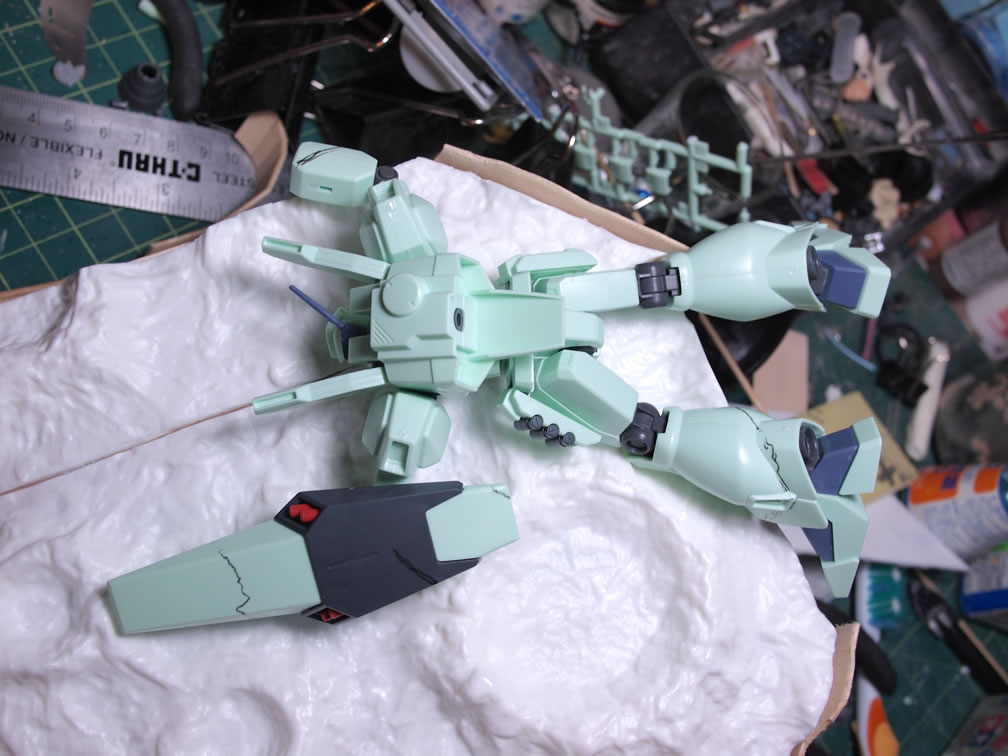
Returning to the Jegan, keeping with the size limits on the base, the extra bits on the Jegan are marked off then cut. The shield and various other areas were also marked off for damage areas. Armed with the hobby knife and cutters, the Jegan was butchered all the while placed on the base to keep testing out the position and boundaries. I want the Jegan to be a compliment to the Saz and be more of a part of the over all landscape of the base as opposed to being a large focus point.
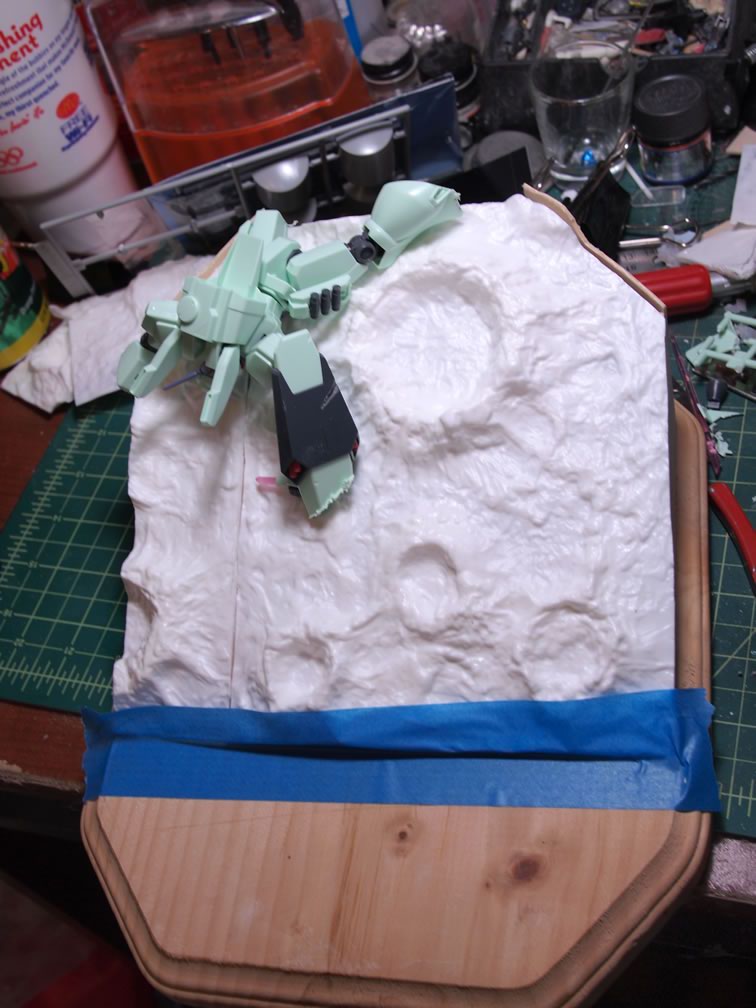
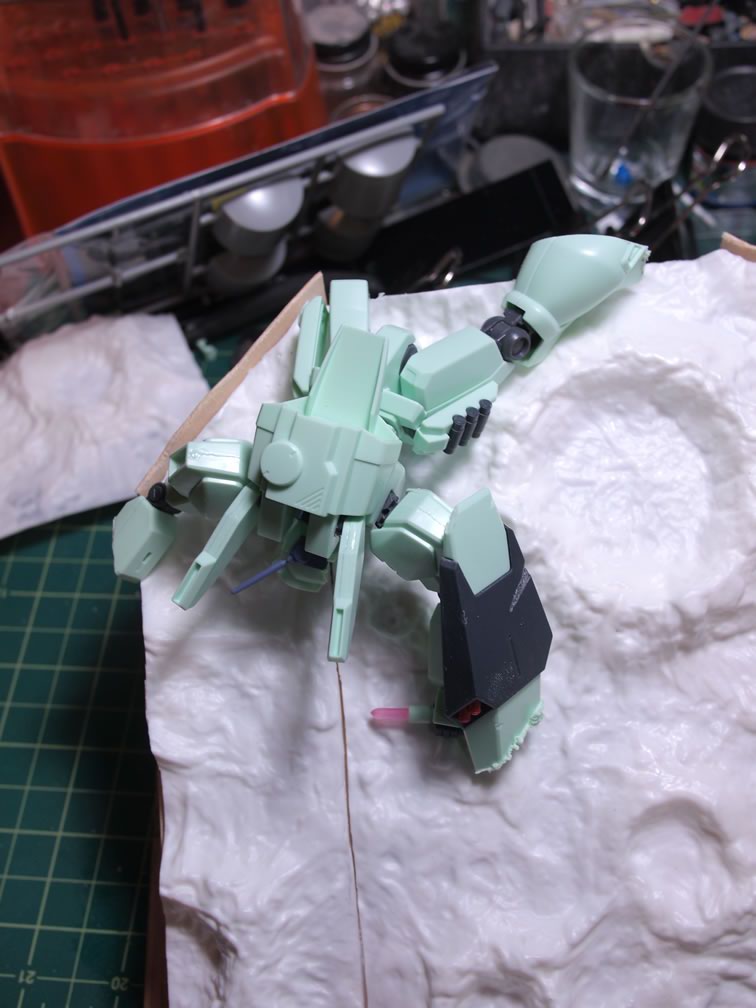
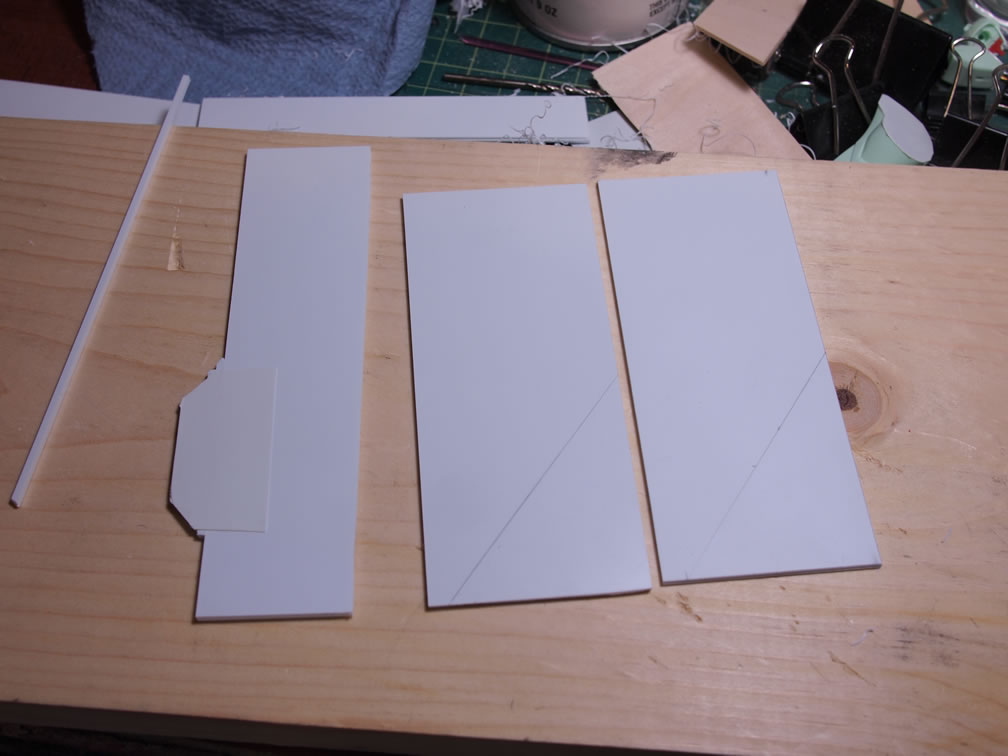
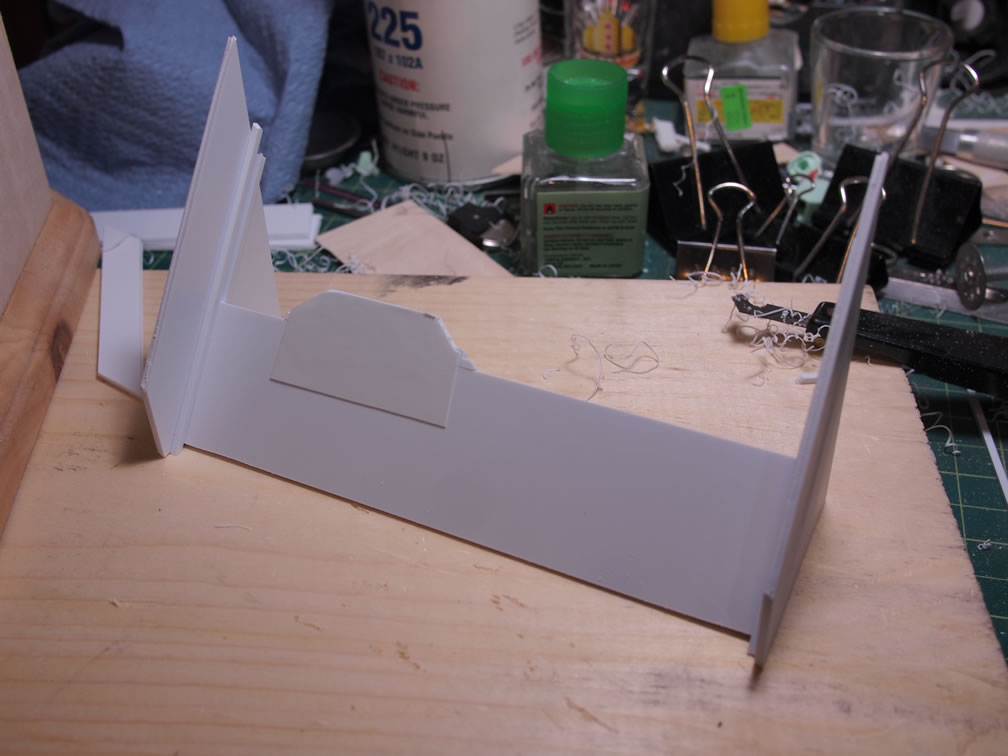
Plastic sheets were cut to create the base gate and entrance to the base that will correspond to where the resin base piece end on the wood plaque. The door is opened and sliding down and the scene would depict the Saz as having just emerged from the base to join the on going battle.
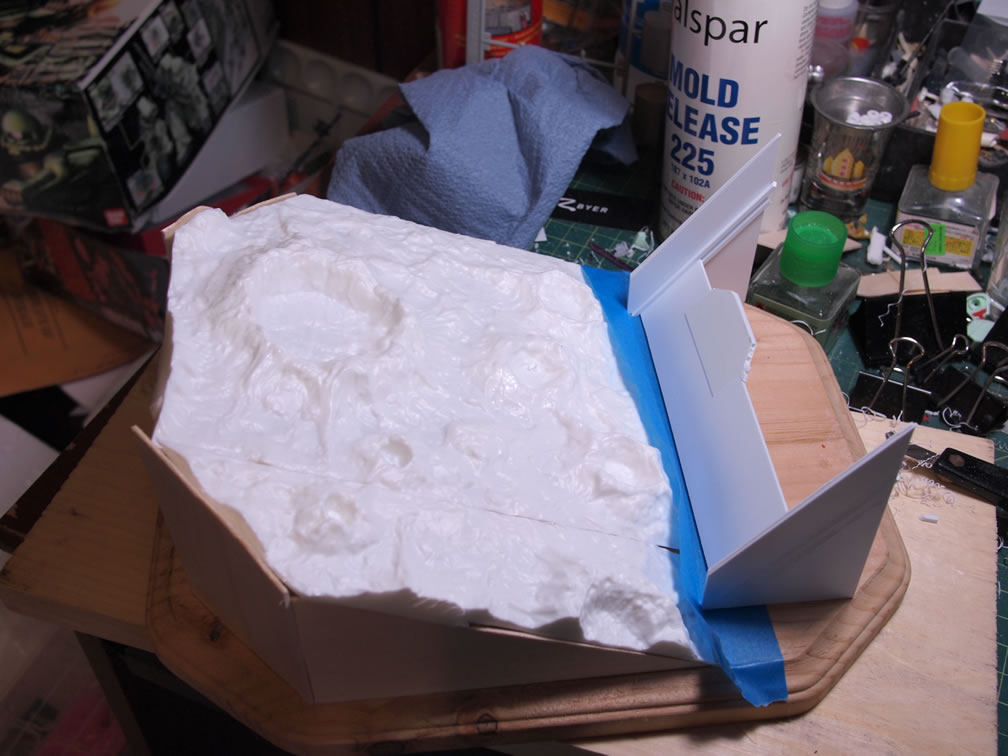
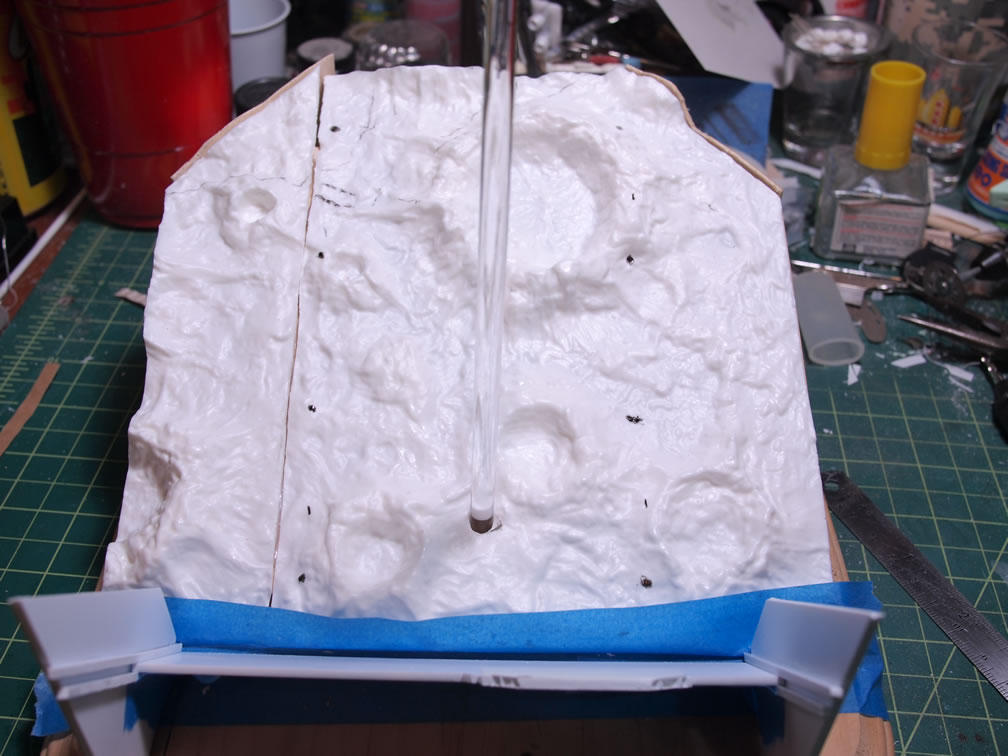
With the major components on the base figured out and positioned, a hole was drilled into the resin base and into the wood plaque for the acrylic rod that will support the Saz. The Saz in brought into the picture for a quick mockup and to check the balance of everything. Granted the gate is a bit small, but with the downsized idea, it will just have to do.
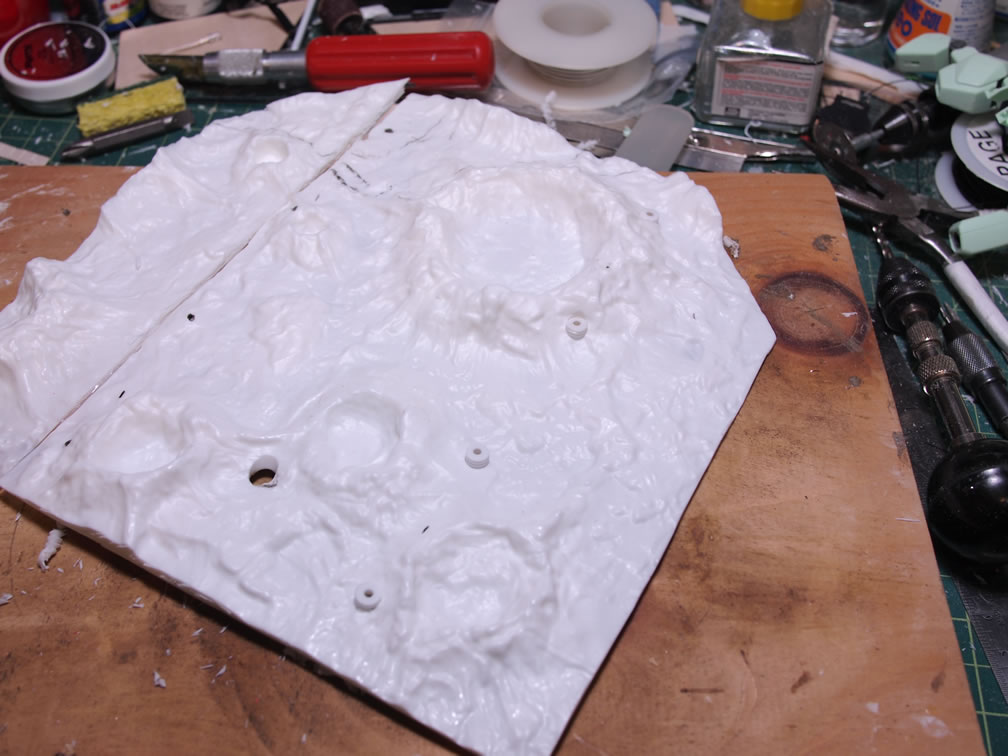
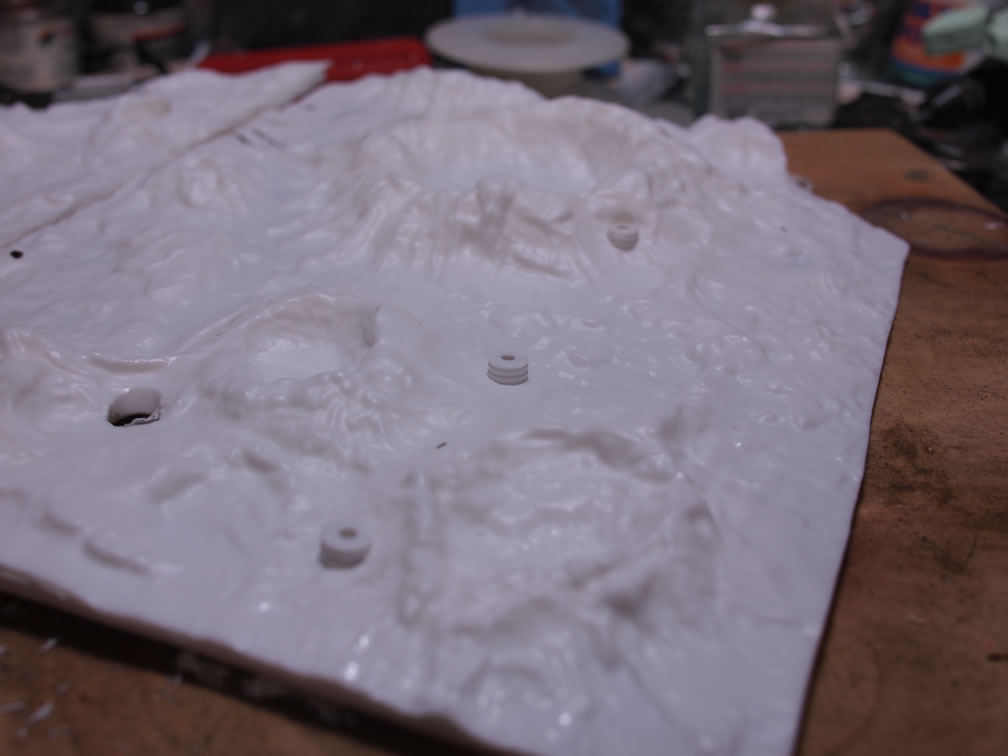
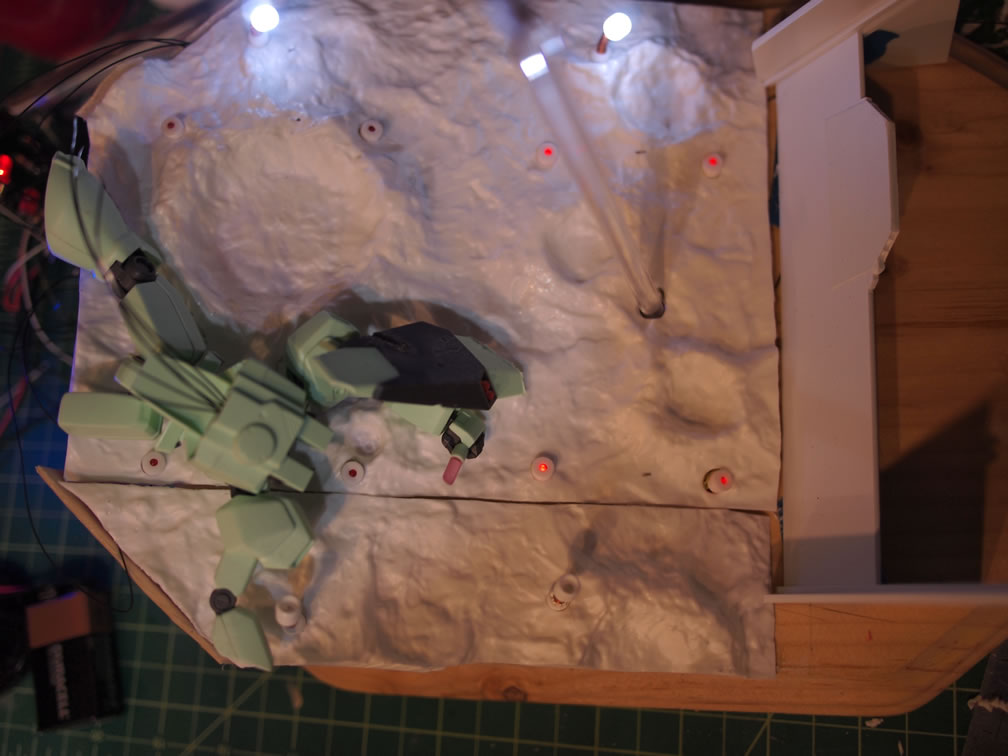
Electronic components are now introduce. I’m adding launch/landing lights to the base, some spotlights that will be targeted on the Saz as it’s making it’s dramatic entrance to the scene, and also some lighting effects to the recently downed Jegan that is in the process of powering down. Some flashing circuits are assembled and the lights are tested out. Back to the base, I poured and pulled several resin copies of the soup can metal thrusters to use as light housings. Holes are drilled into the surface of the resin base and the housings are inserted.

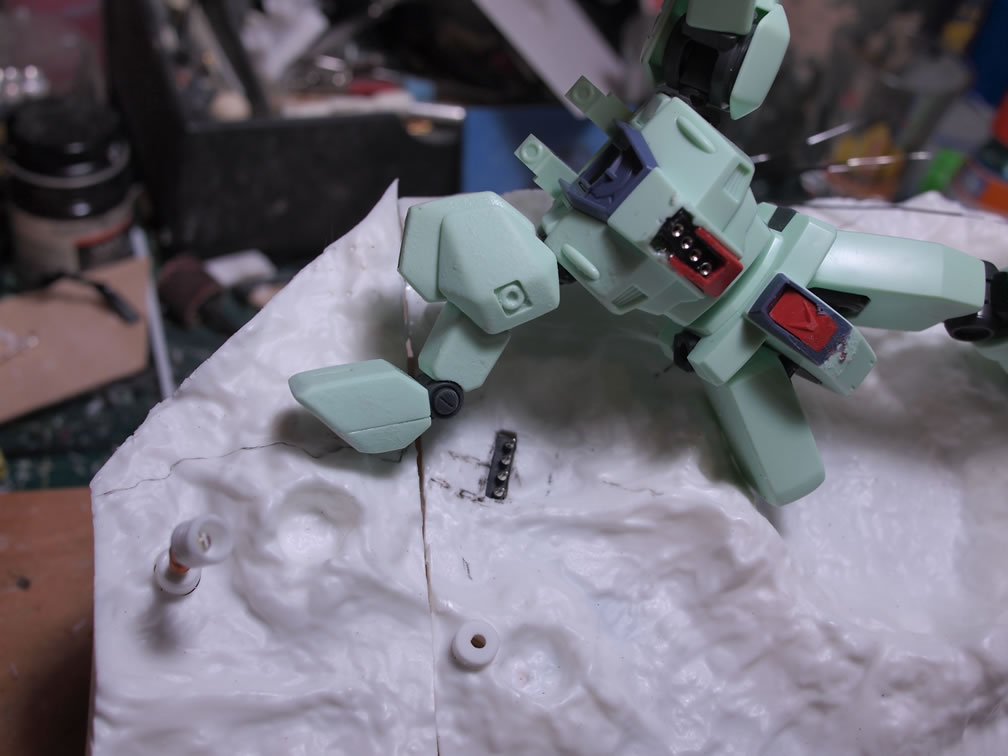
Since I plan to light up the Jegan’s backpack thrusters, the Jegan’s chest was cut up and a simple 4 pronged socket is glued into place. A corresponding spot on the base is cut for the male end of the socket. This will save trouble of trying to wire from the Jegan through the base and to the circuitry. The landing/launching lights are tested as well as a row of the spot lights.
With everything working, the components were taken apart for the cleaning sessions and to prep the parts for painting.
Lookin’ sweet dude!