This kit arrived a few weeks ago while i was finishing up my “RX-78 GP03” Mobile Student entry for SCGMC 2017. So there was a little bit of an overlap on the projects while I waited for things to cure on “Osaka”; I got to clipping and sanding the P-Bandai Hazel. The Hazel variation is the Custom, so we get one gun, 1 booster shield, and 1 normal shield. Fifteen or so years ago, an online acquaintance scratch built a resin conversion using the MG GM Quel and made about 100 copies of it and sold it to the online community. Here’s my build of that kit. The 12 year old conversion kit came with 3 booster shields as well as parts for a Full Armored version of the Hazel. So, I guess I was a little disappointed that the p-Bandai version didn’t come with more booster shields at the very least. But that’s a problem I can easily solve later. For now, I got to snapping and sanding the kit.
More progress after the jump.
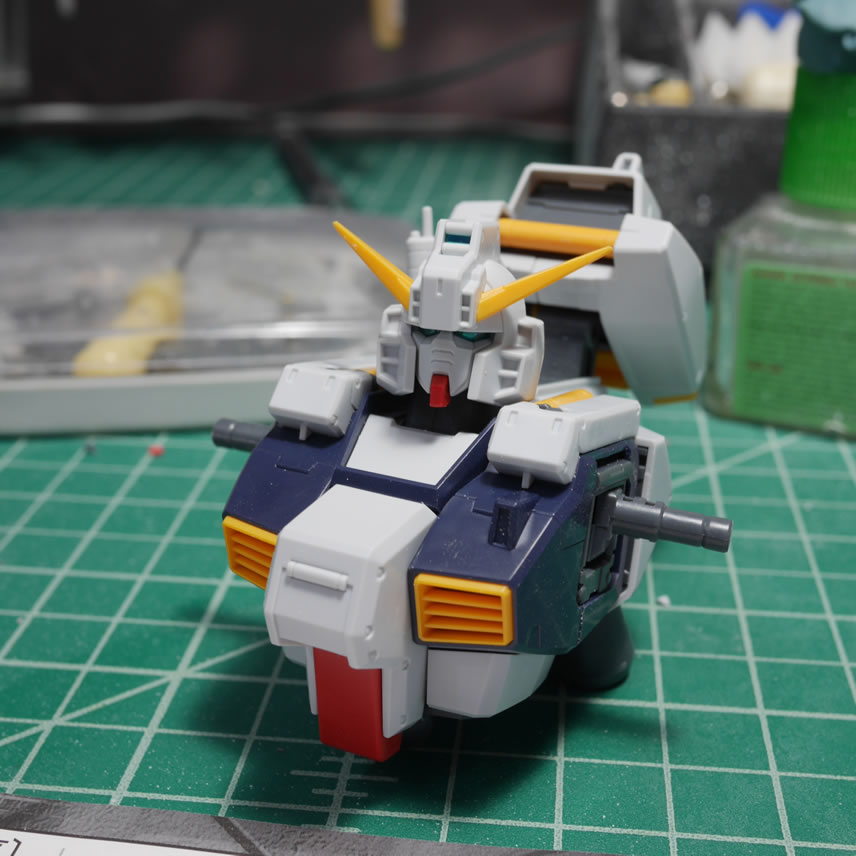
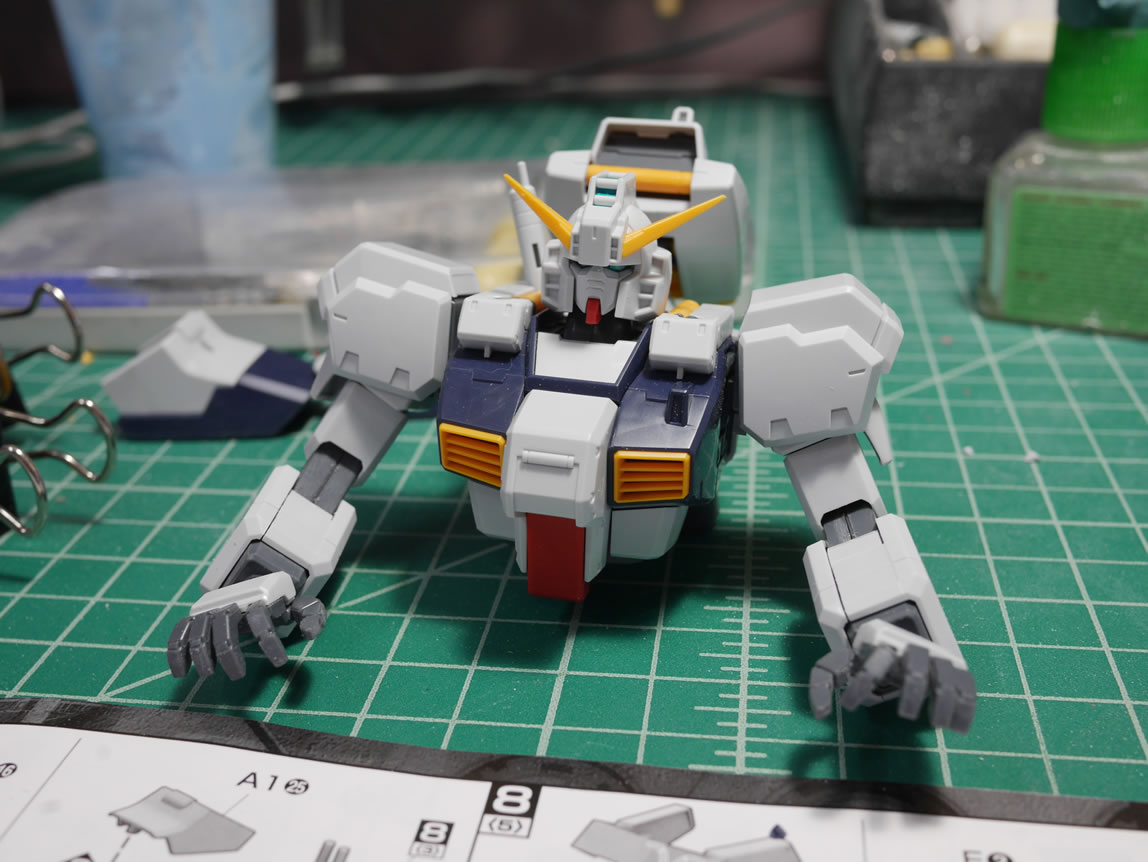
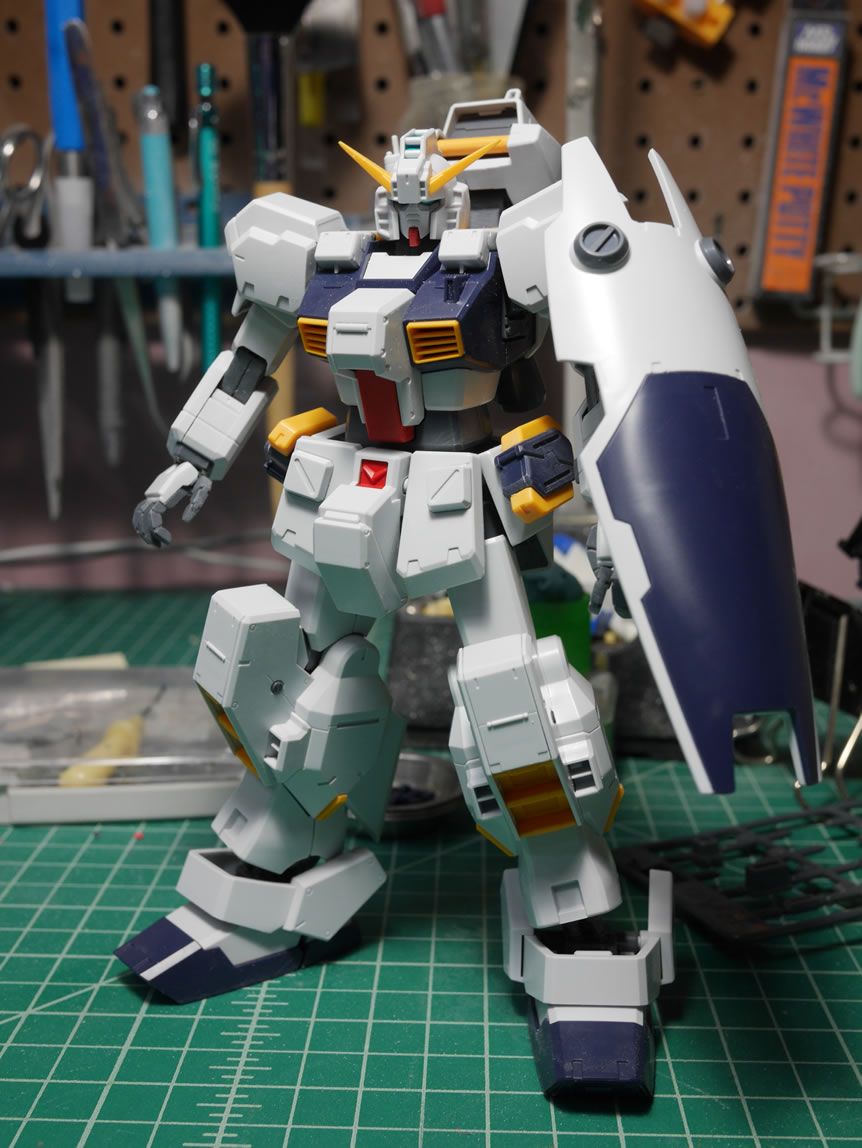
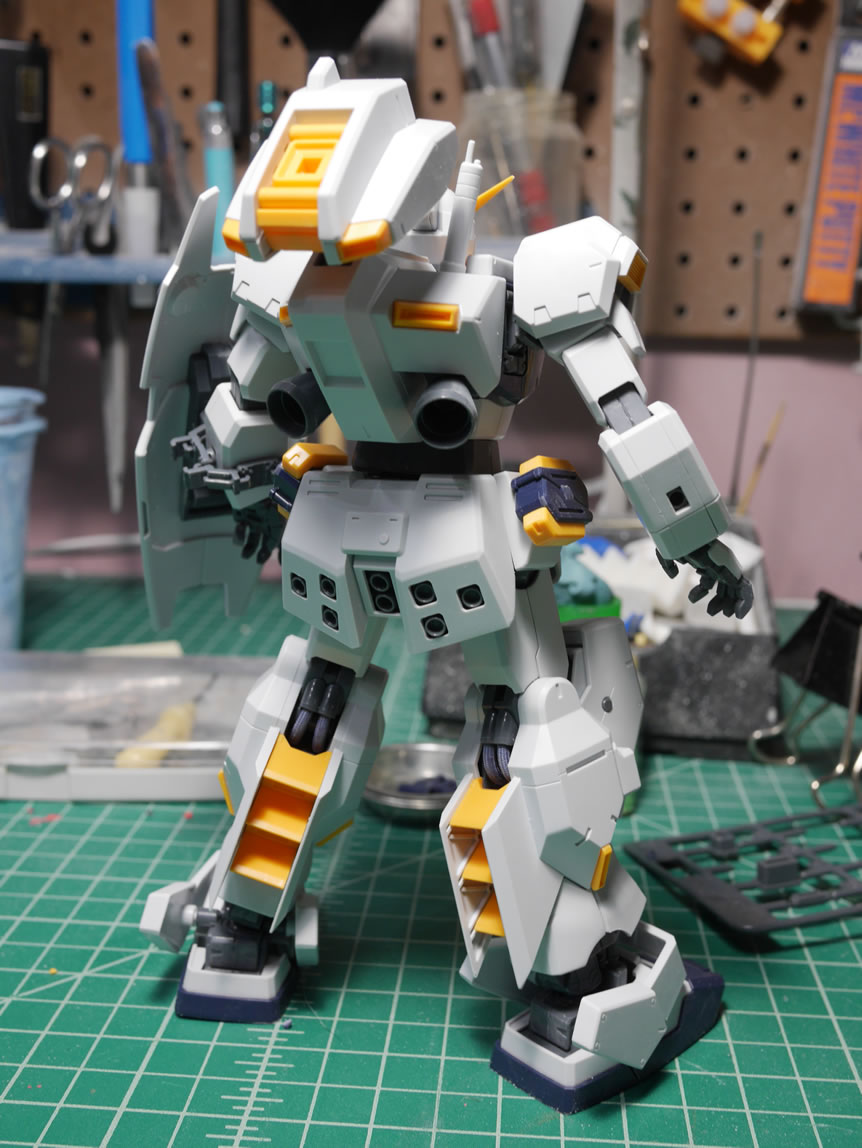
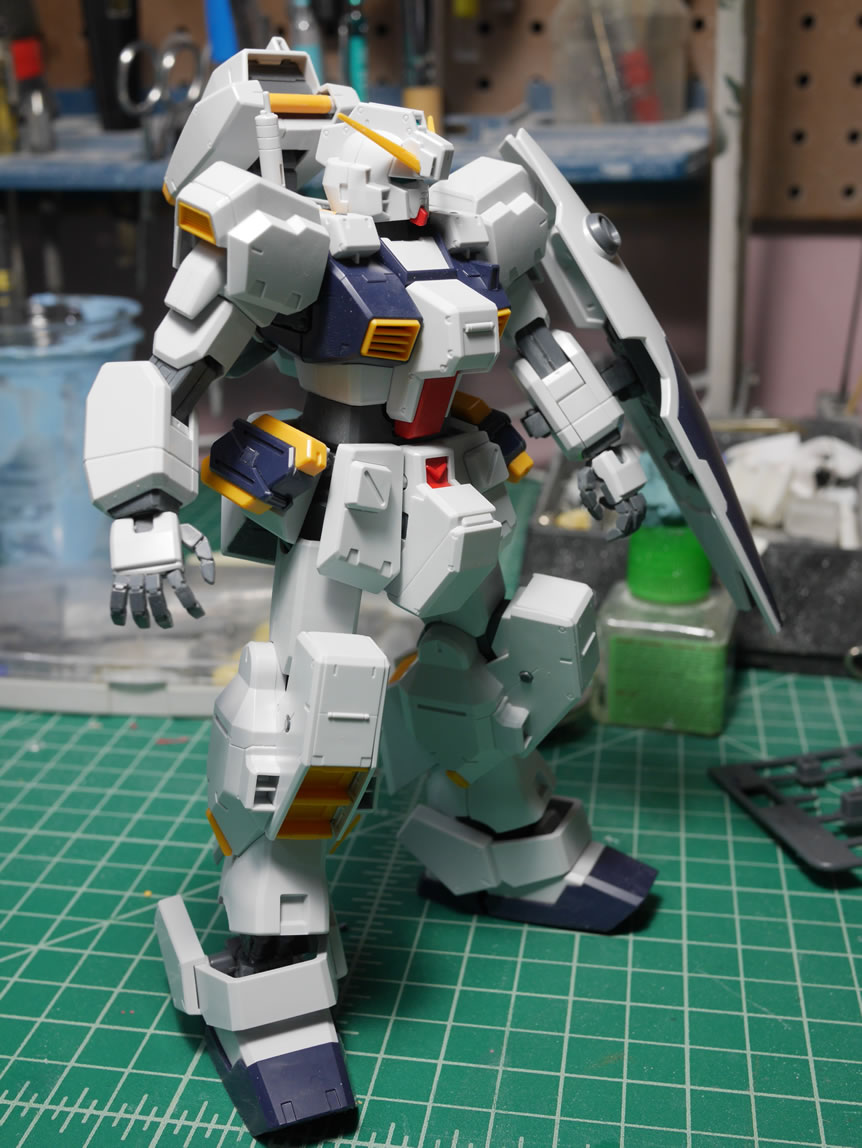
Every once in awhile, it feels great to just OOB (out of box) a kit. For the most part, I am going to OOB this sucker. There are plenty of improvement areas for details and such; but there is also the appreciation for Bandai’s engineering. And the feeling of accomplishment in finishing a kit rather quickly. Here’s what the kit looks like completely snapped together and sanded.
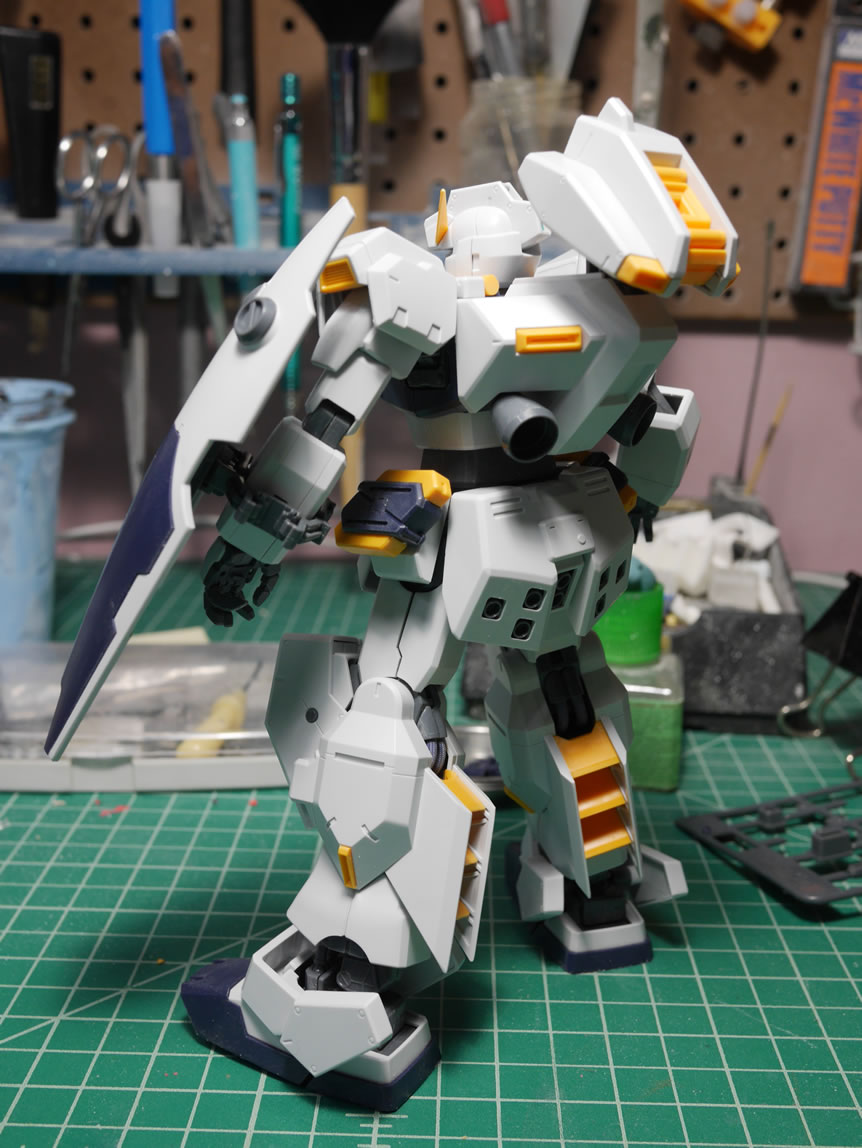
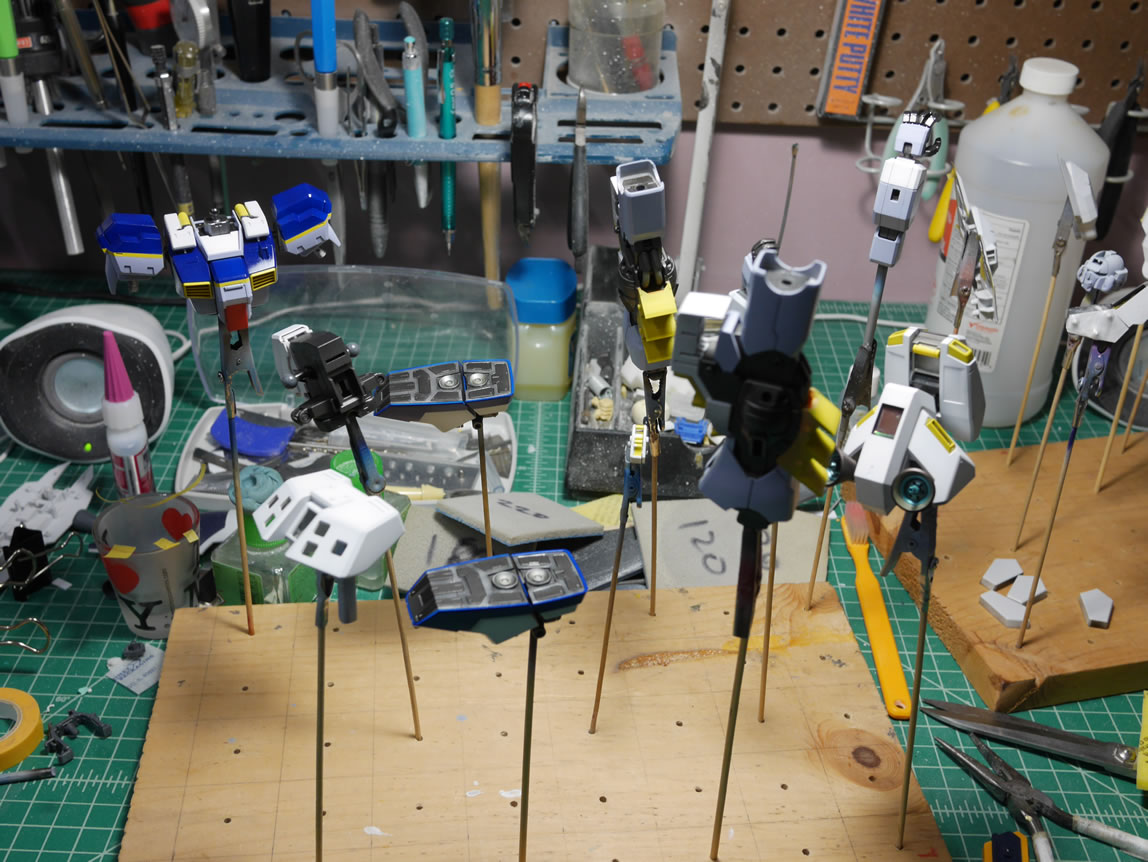
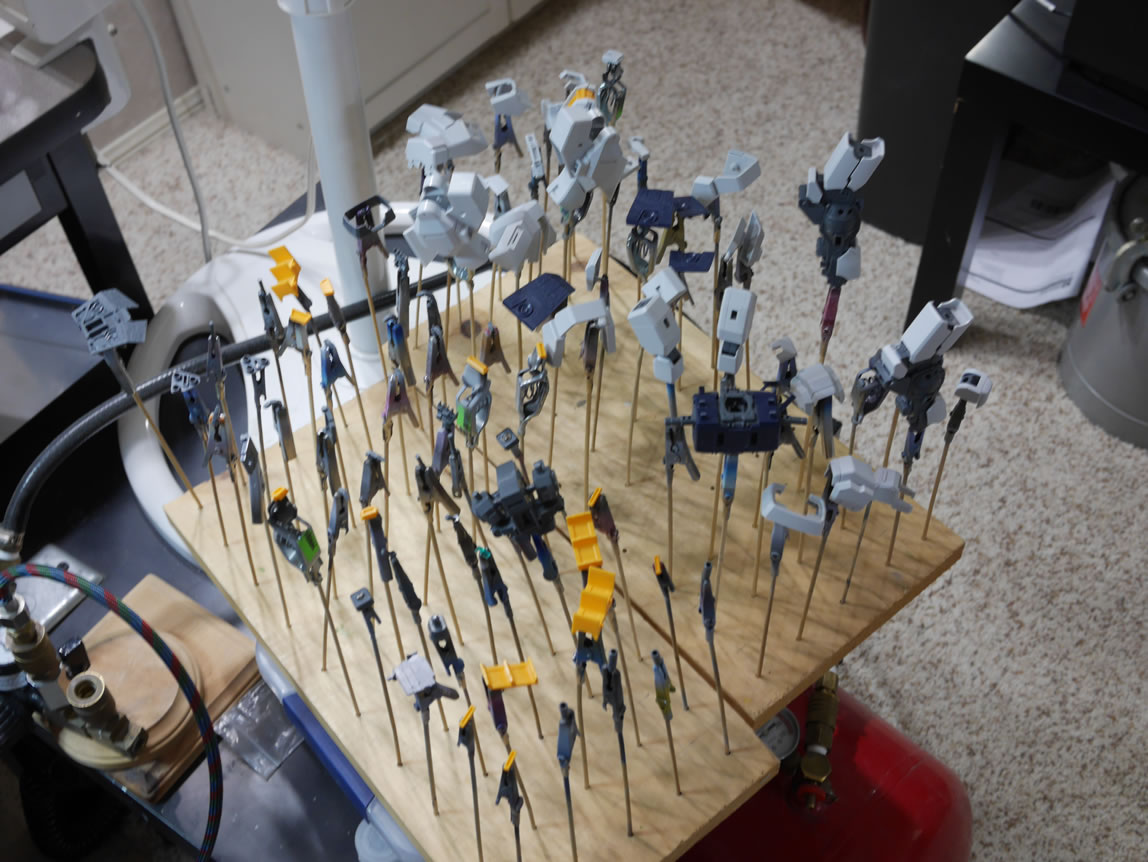
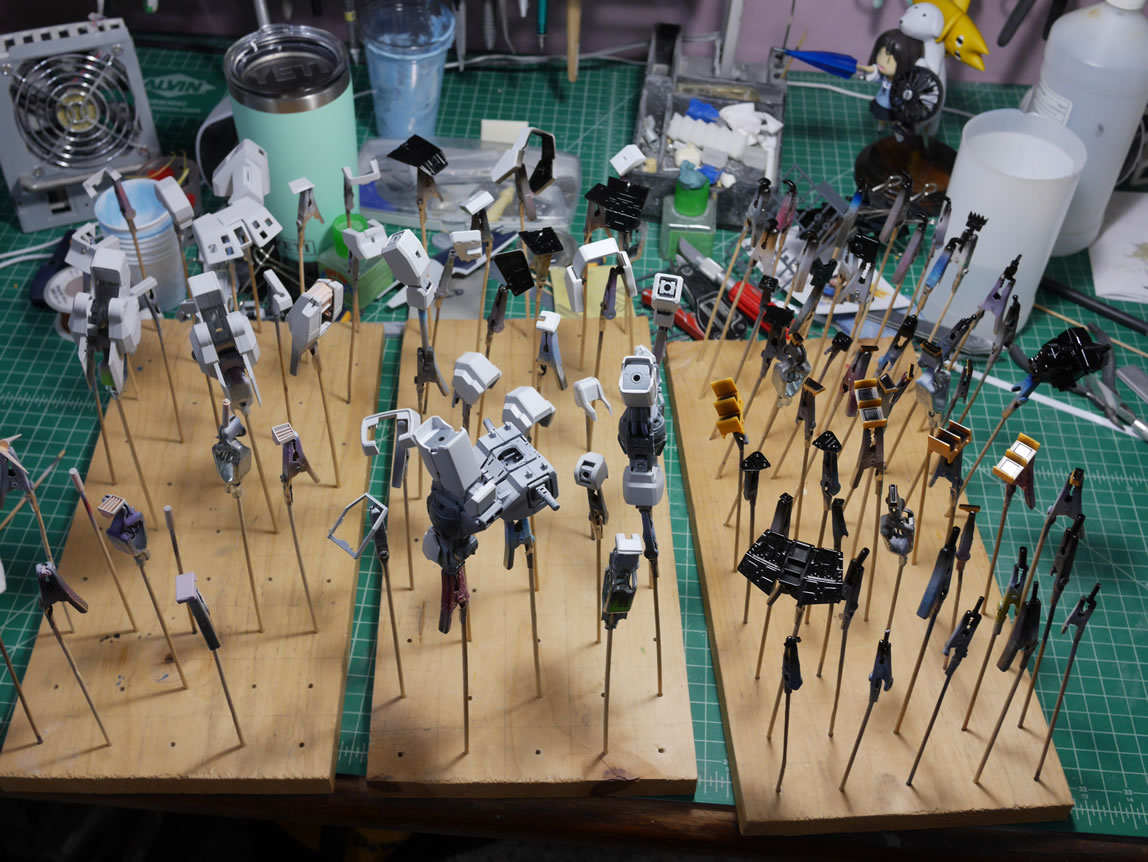
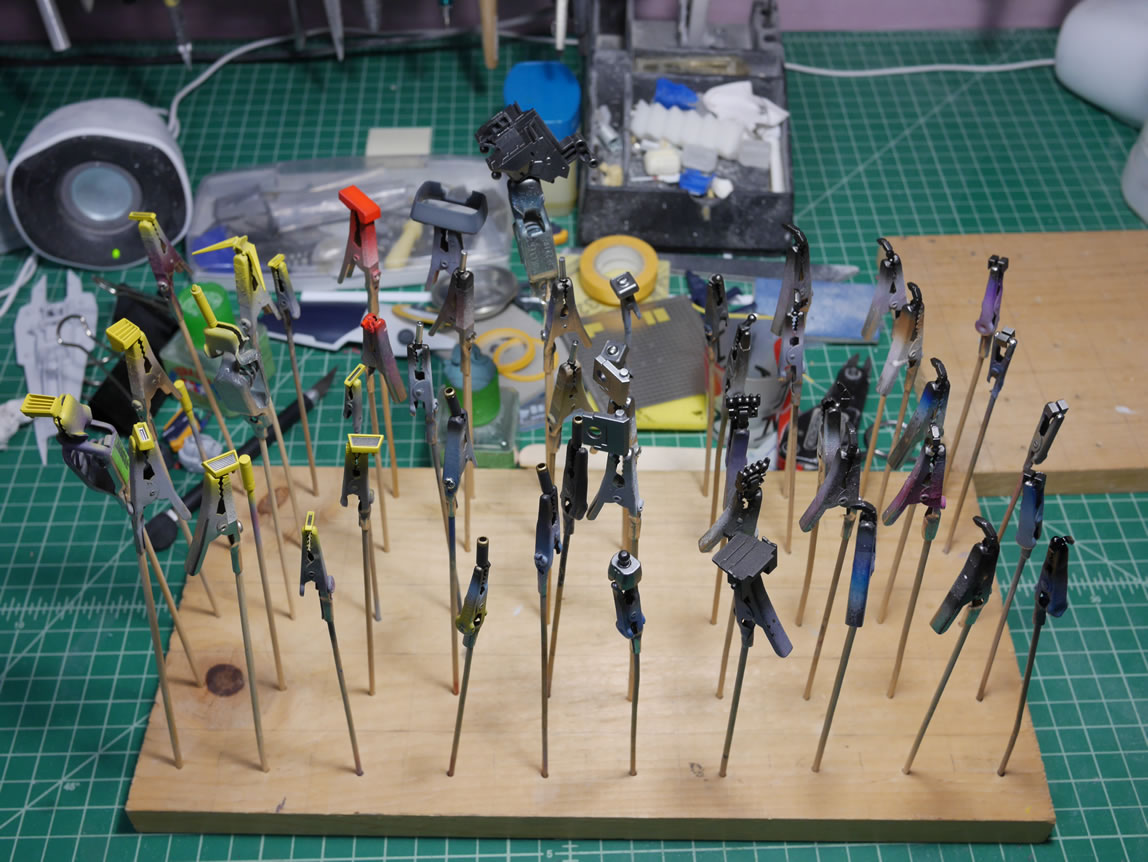
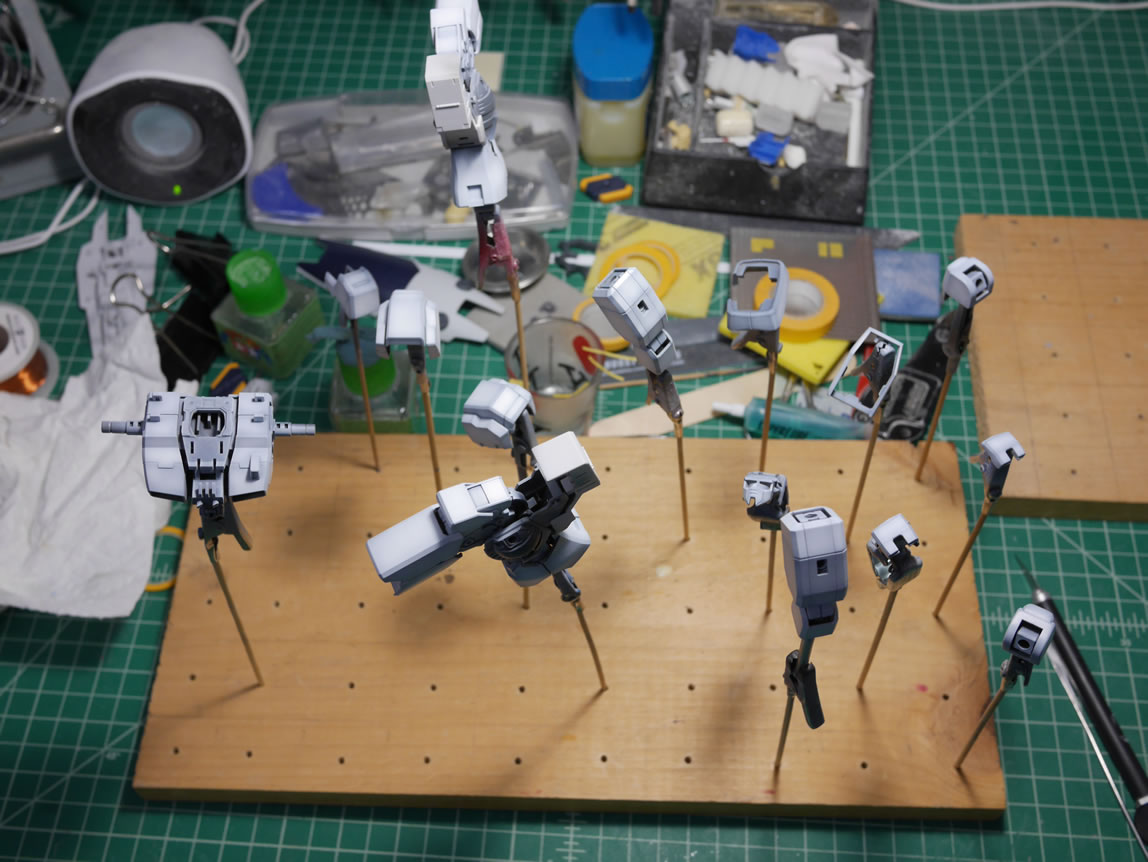
With the above pictures taken and a quick look to marvel at the built kit; it is disassembled and skewered and placed on wood blocks for painting. I almost run out of skewers which is always the case at the start of the painting process.
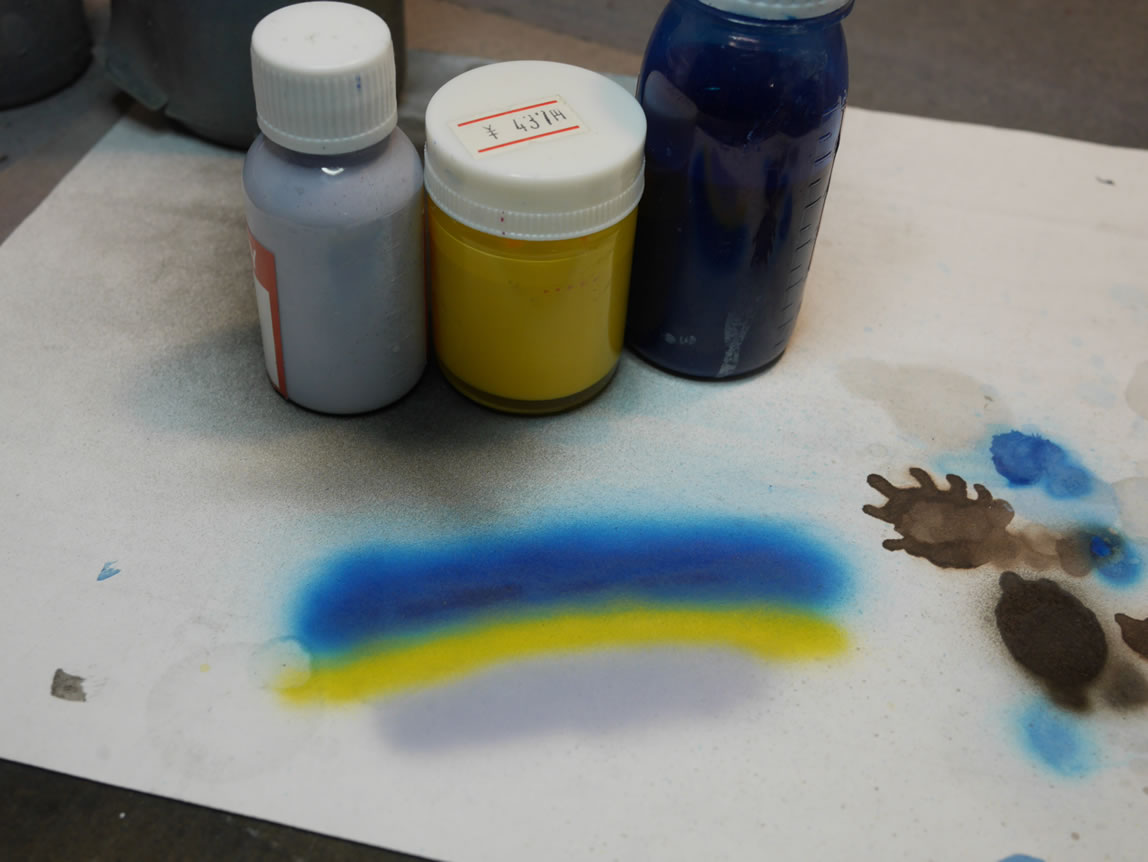
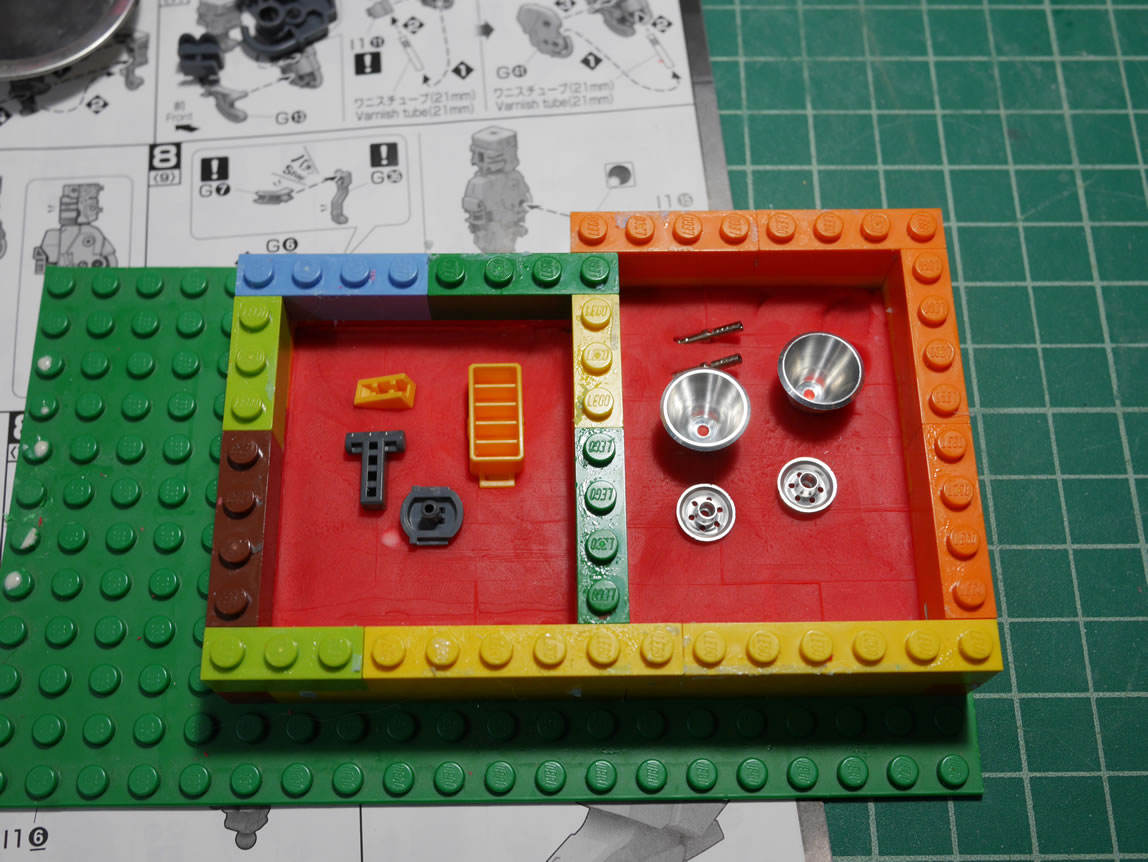
I also spend some time mixing paints for the color scheme. I want to use the standard Hazel, or first Hazel color scheme, so I mixed up a batch of light blue with a tint of grey using Finisher’s super fine cobalt, pure white, a touch of red and a touch of black. The yellow is done with 60% deep yellow and 40% pure white. The darker blue is just Finisher’s Wulf’s blue. I spray a quick swatch of the color combination on my scratch piece of paint paper and I’m ready to start slinging the lacquers.
The main body parts are primed. Granted I did no additional detail work other than sanding, I still need the primer to check for poorly sanded areas, missed nub marks, and just to prep the surface for paint. Since there will be a decent amount of masking involved, I want to make sure the paint doesn’t lift off the bare plastic. “Metal” areas are base coated in black and a mix of alclad metallics are brought out for those areas.
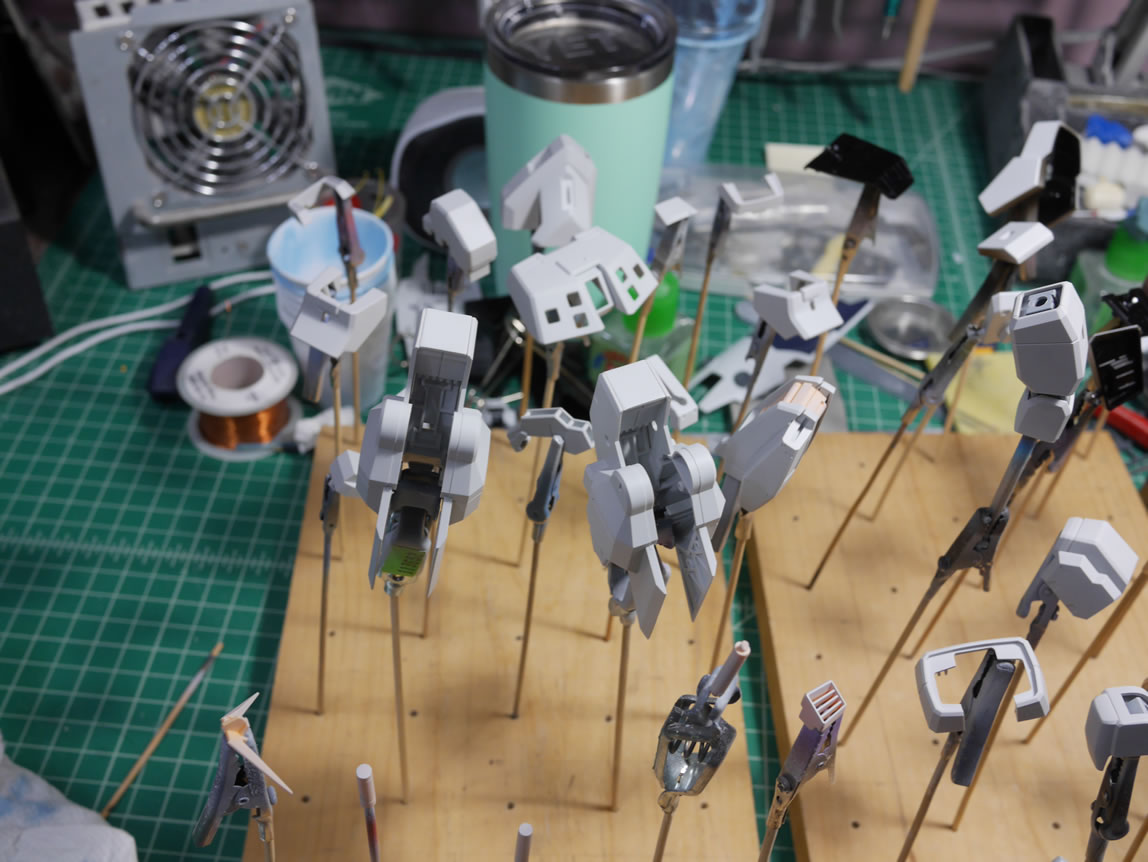
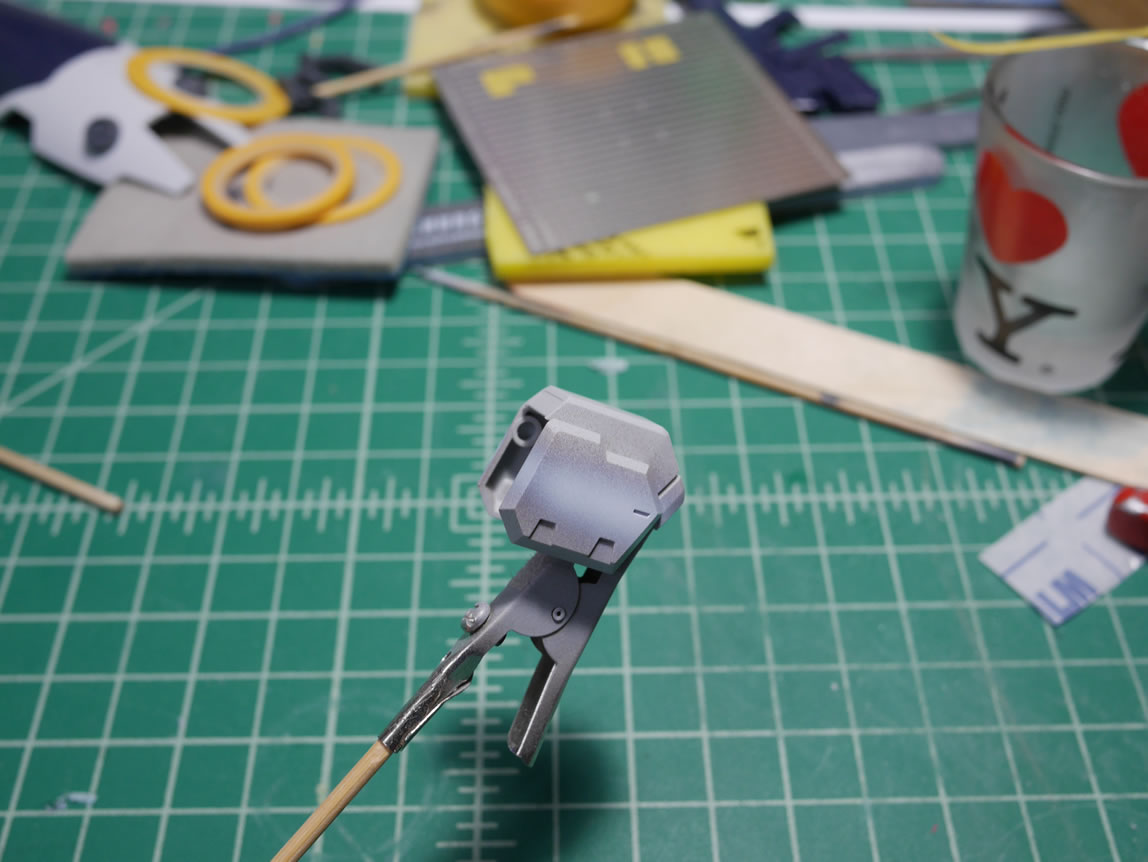
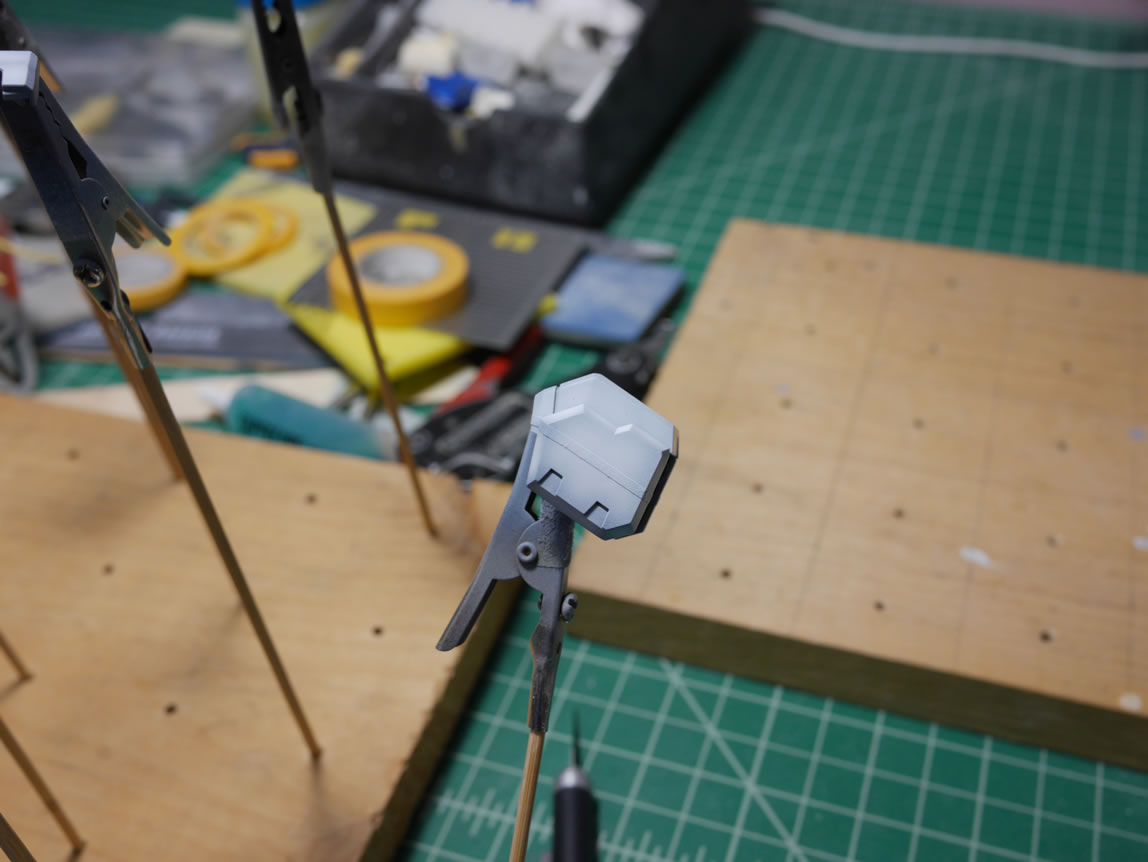
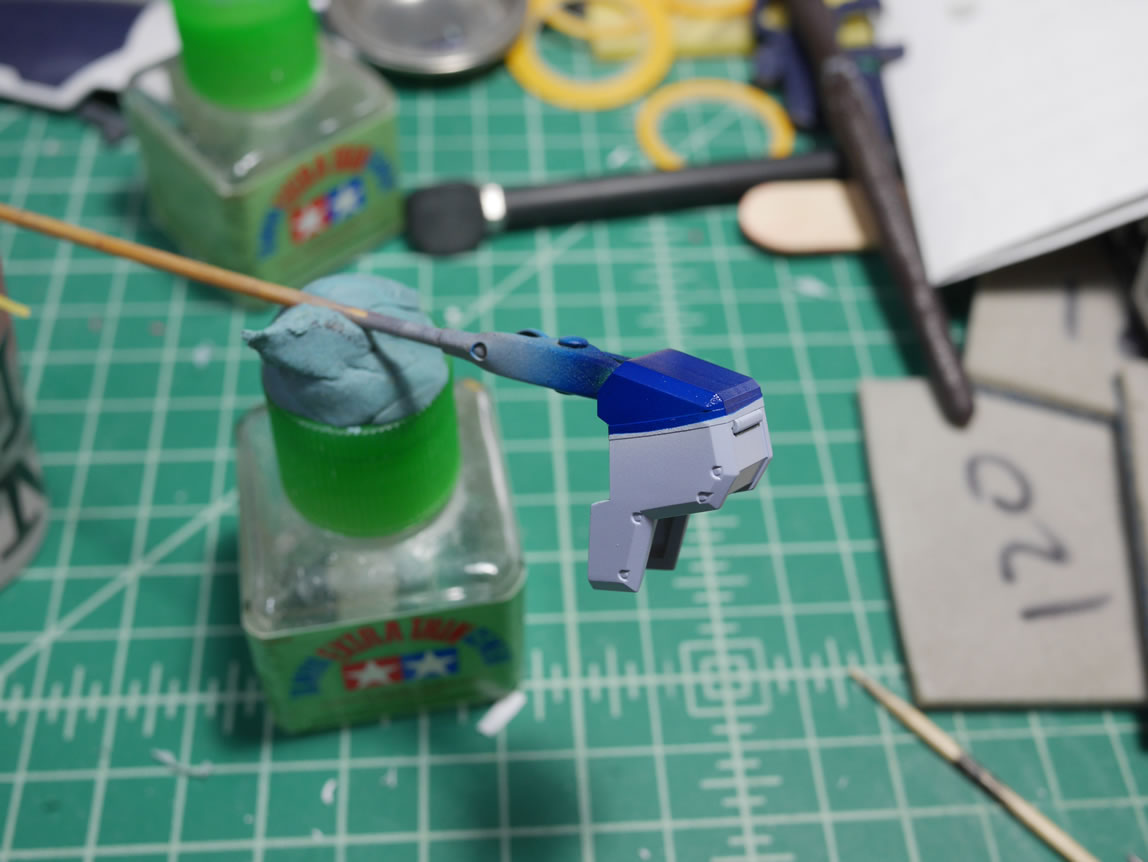
The primer check went well and I can spray the base colors. For the armor pieces, I started with midnight blue as the base color.
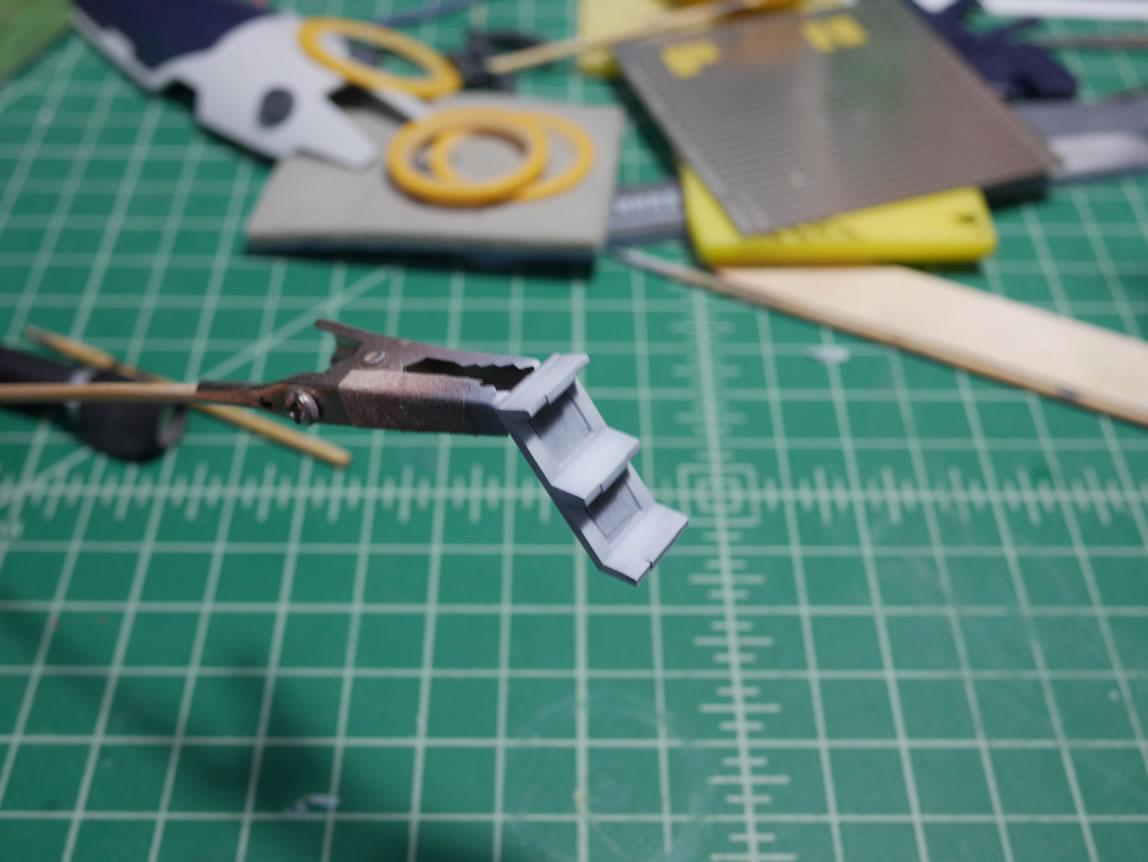
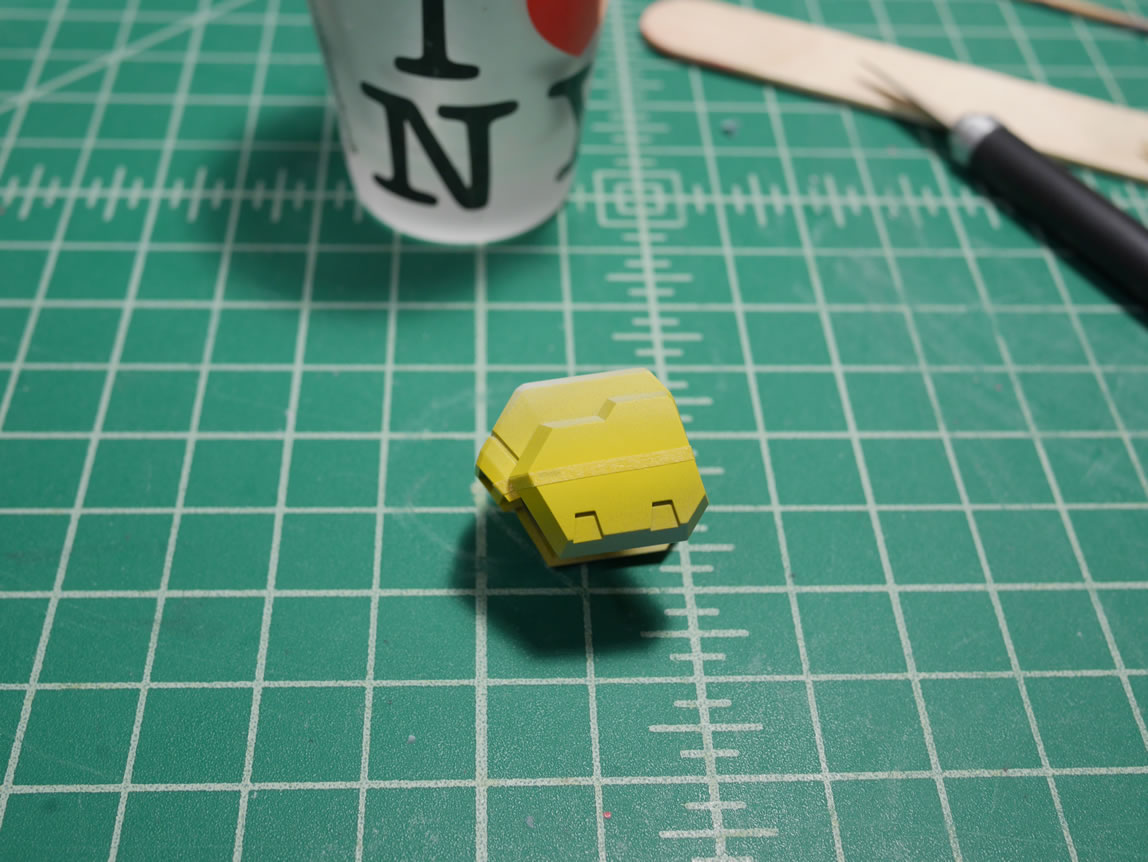
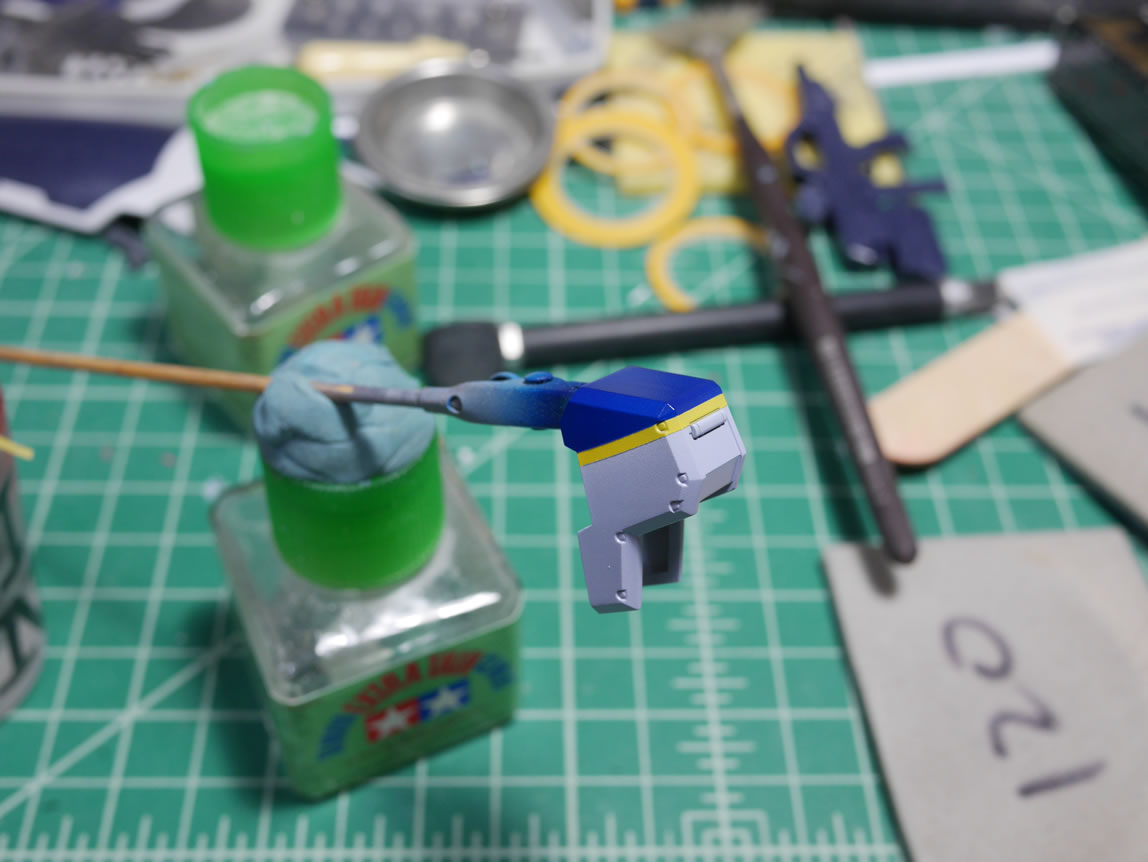
Moving on to the shoulder. a strip of midnight blue is sprayed over the primed shoulder. Over this midnight blue, I spray a strip of pure white and use the darker blue for shading. Over the shaded white, I spray the yellow. Since the yellow is just a stripe, I spray that first. The other yellow parts are done in the same color lift technique. The yellow will pick up the shading from the previous white over midnight blue to create a fairly subtle shading effect.
The red pieces are also treated this way. I do not want to spray the red over a dark color because it will really darken the tone of the red. I used finisher’s lumi red over the white and midnight blue combo to get a red that is pretty bright and has subtle shading.
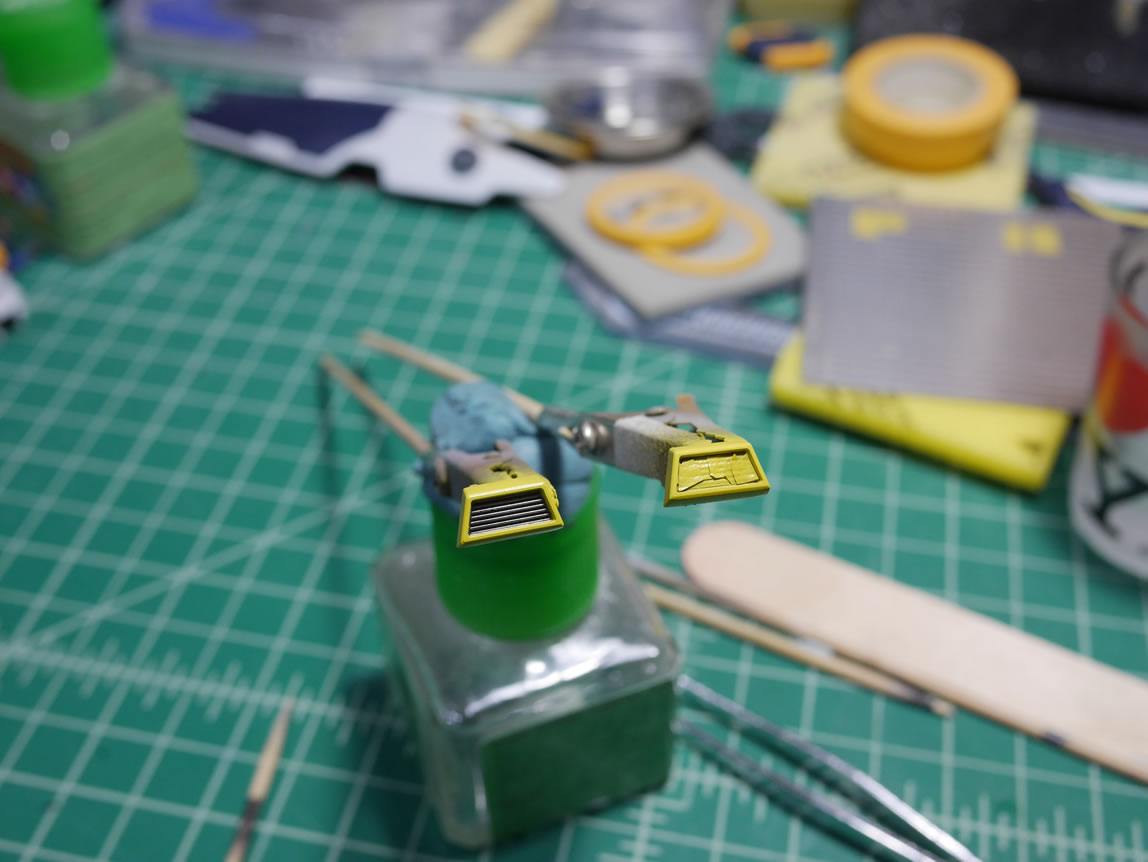
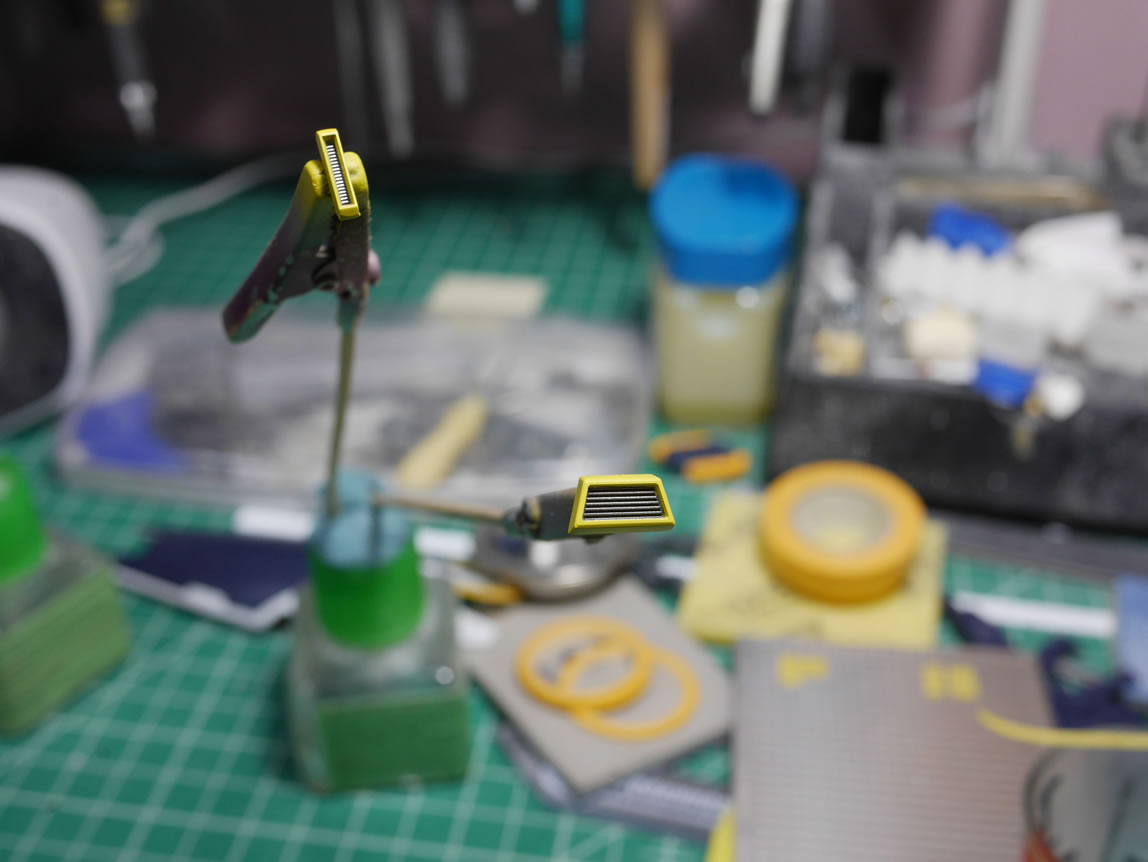
Earlier, I had sprayed the “metal” areas. The little thruster bits are masked off after getting metalized. Then the same process to paint the yellow parts is applied to these bits. There are several layers at work and a level of patience needed, but I believe the results are worth the effort.

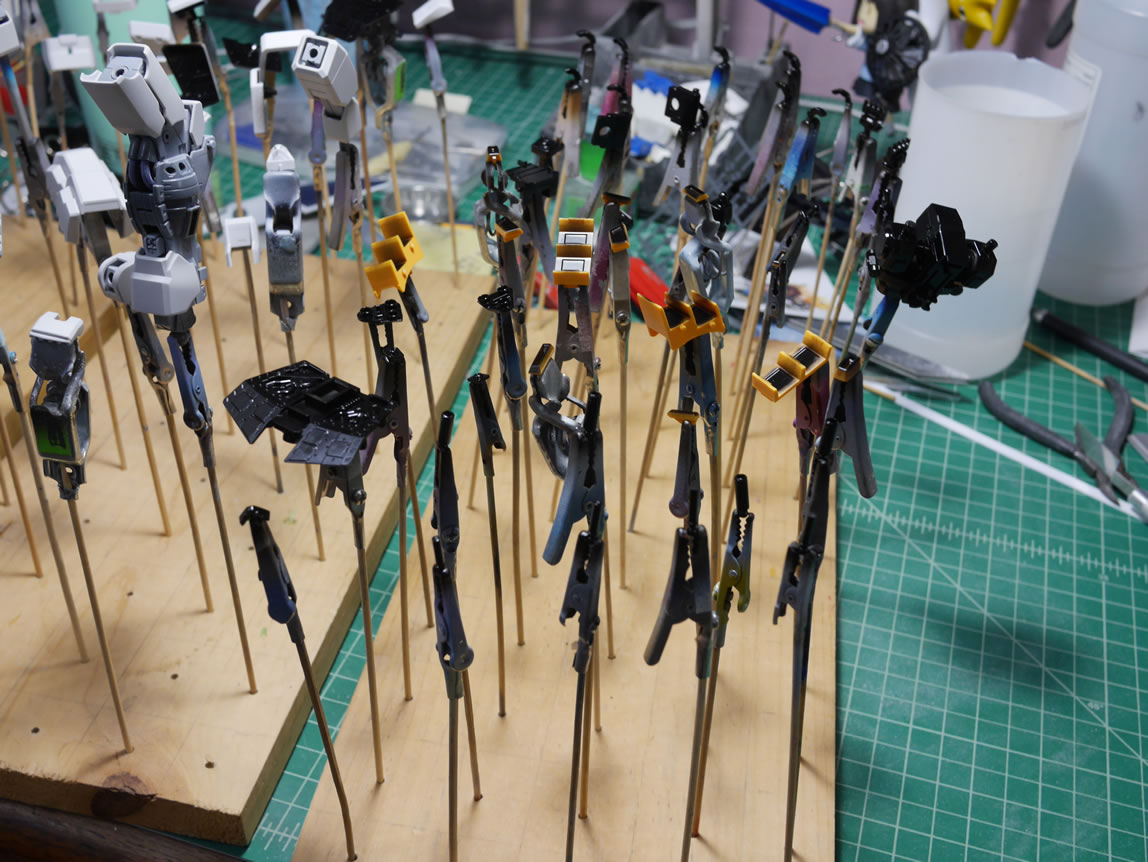
As I progress, parts that were individually painted start to combine with other parts and the skewers start refilling the can I keep them in and I start to have more open spaces on the wood boards.
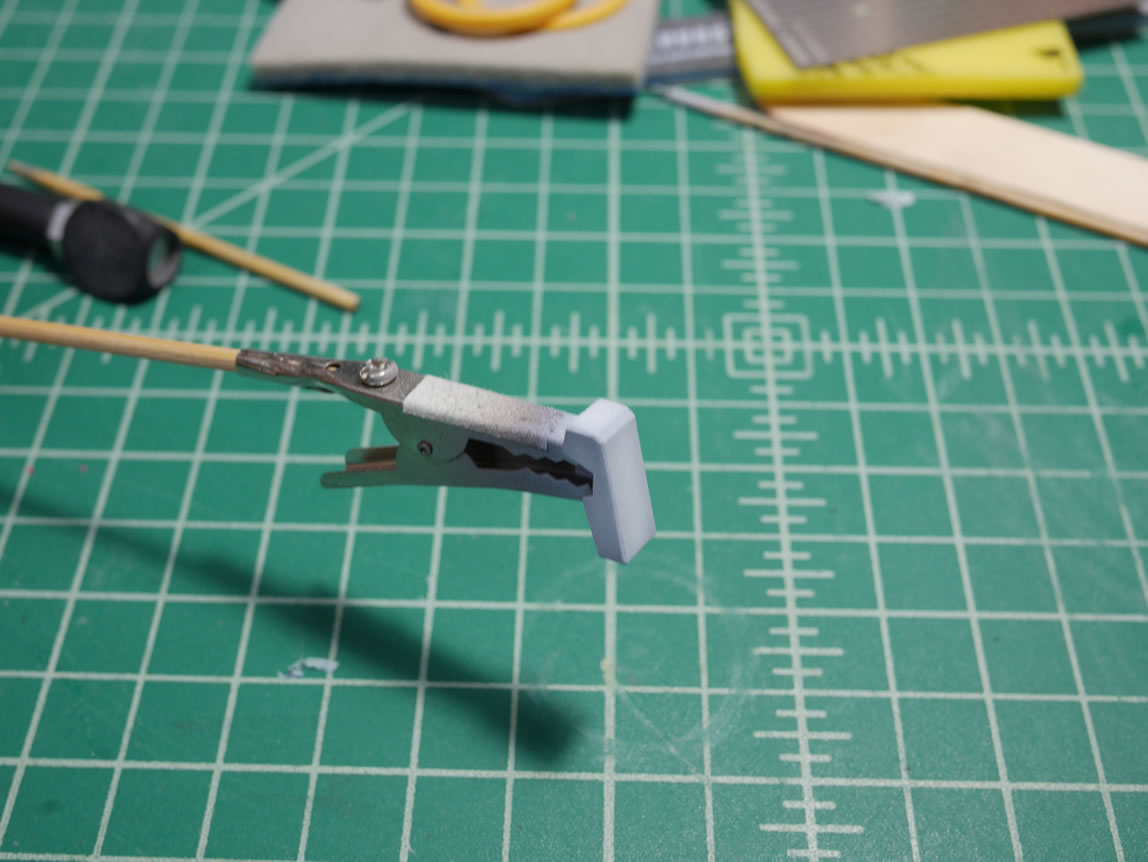
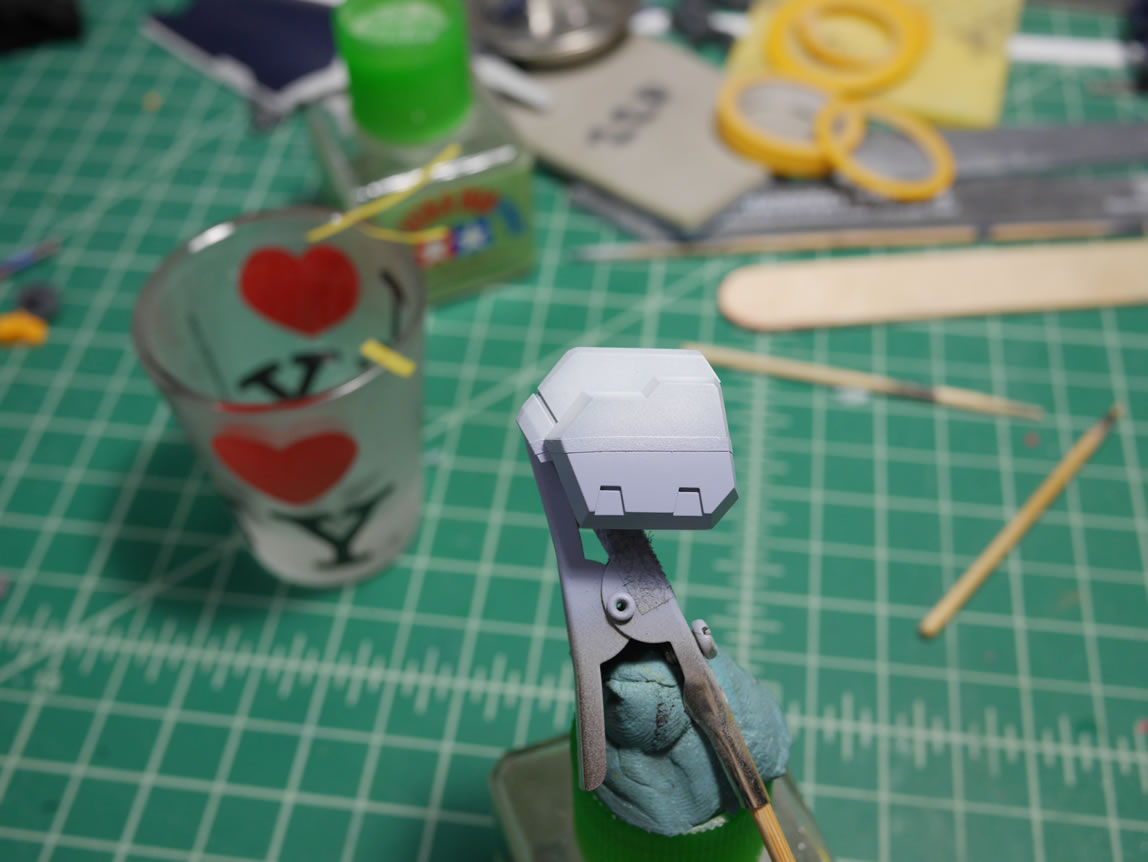
Back to the shoulder. Once the yellow has cured over night, a strip of masking tape is laid across. The the part is repainted in the midnight blue and shaded with pure white. Then the bottom area is painted with the lighter blue. I usually spray lighter colors first before moving on to the darker final colors.
All the parts that get the lighter blues are separated and painted.
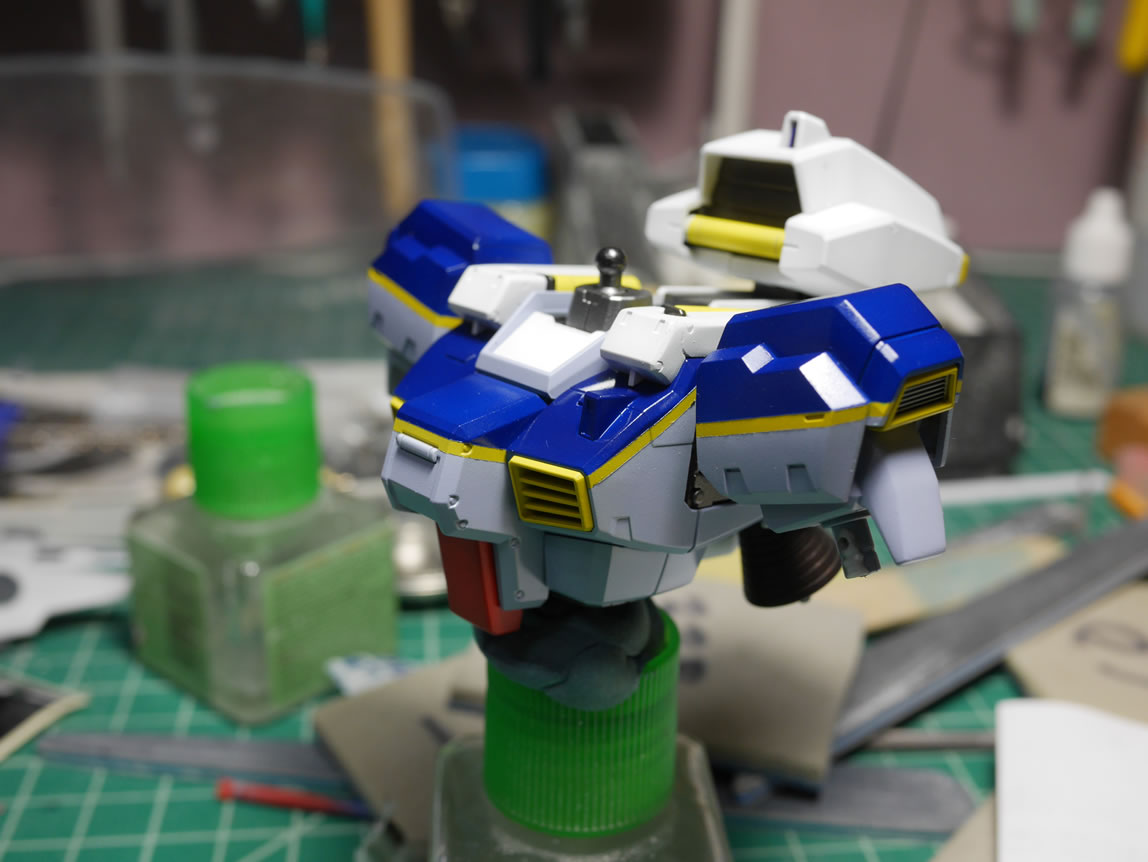
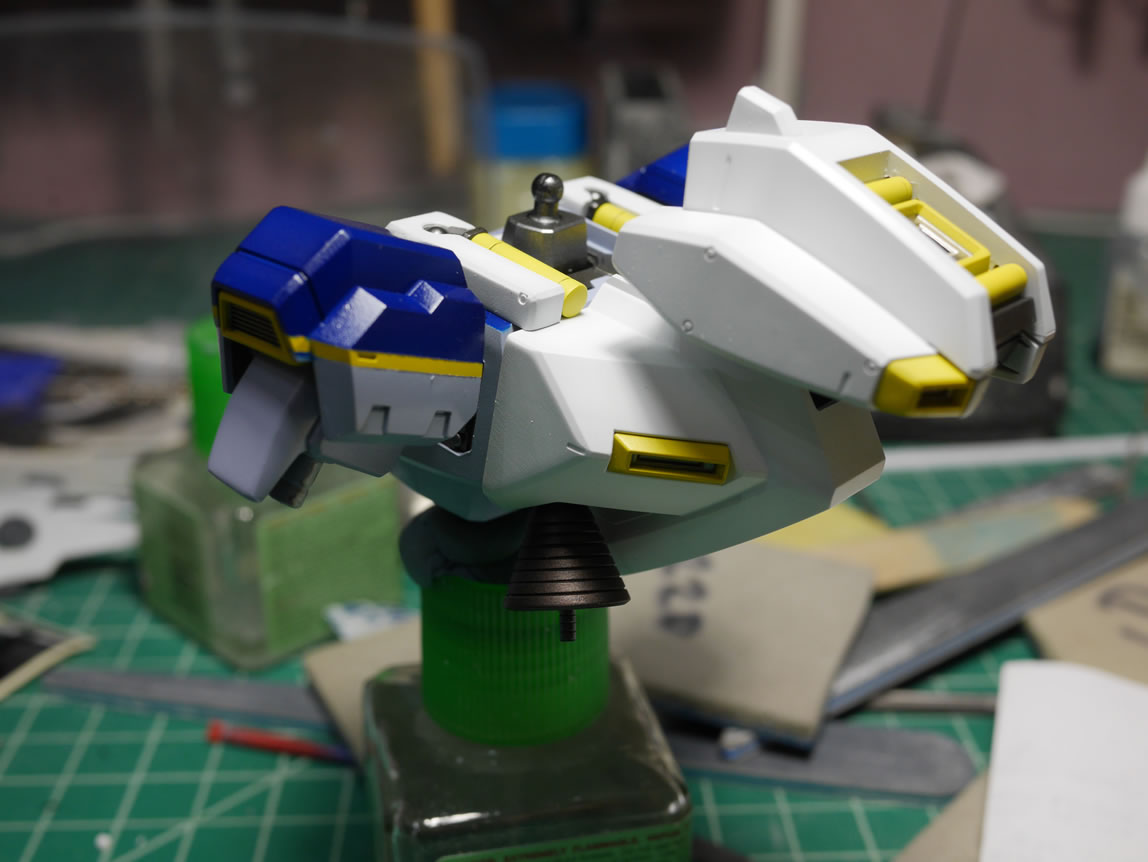
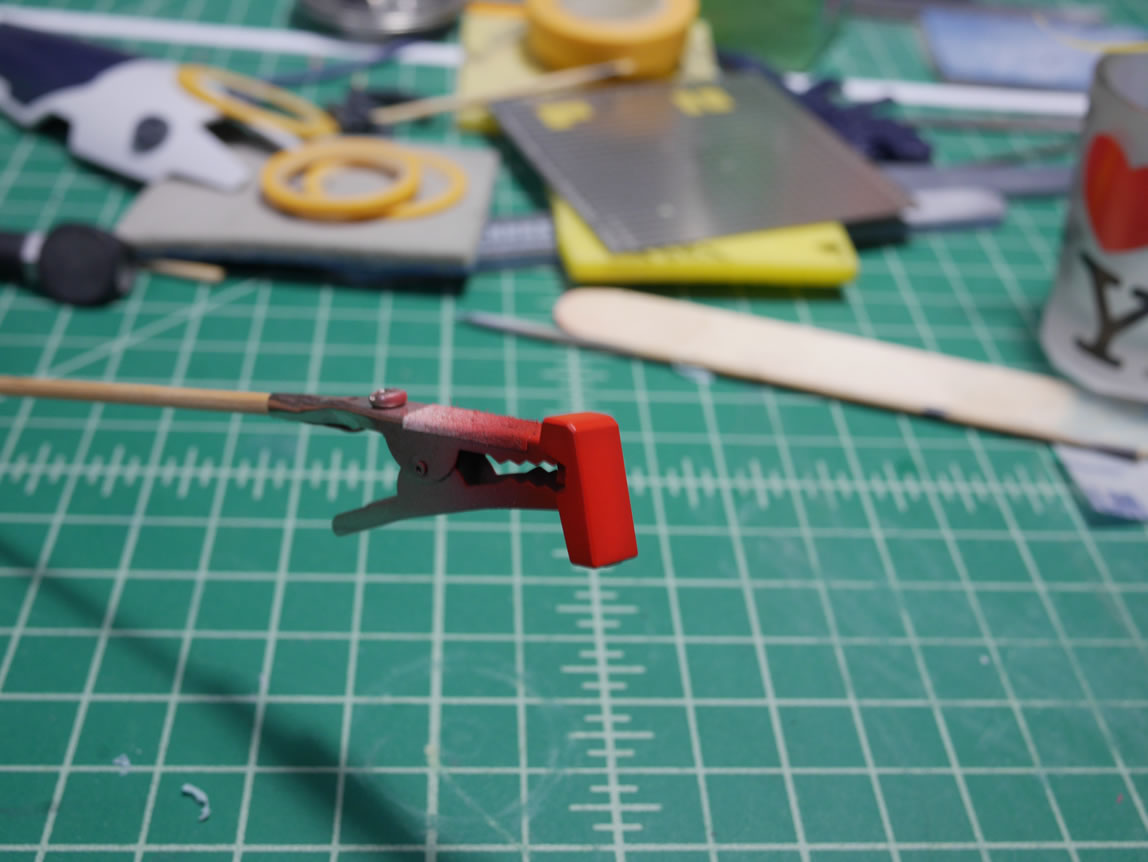
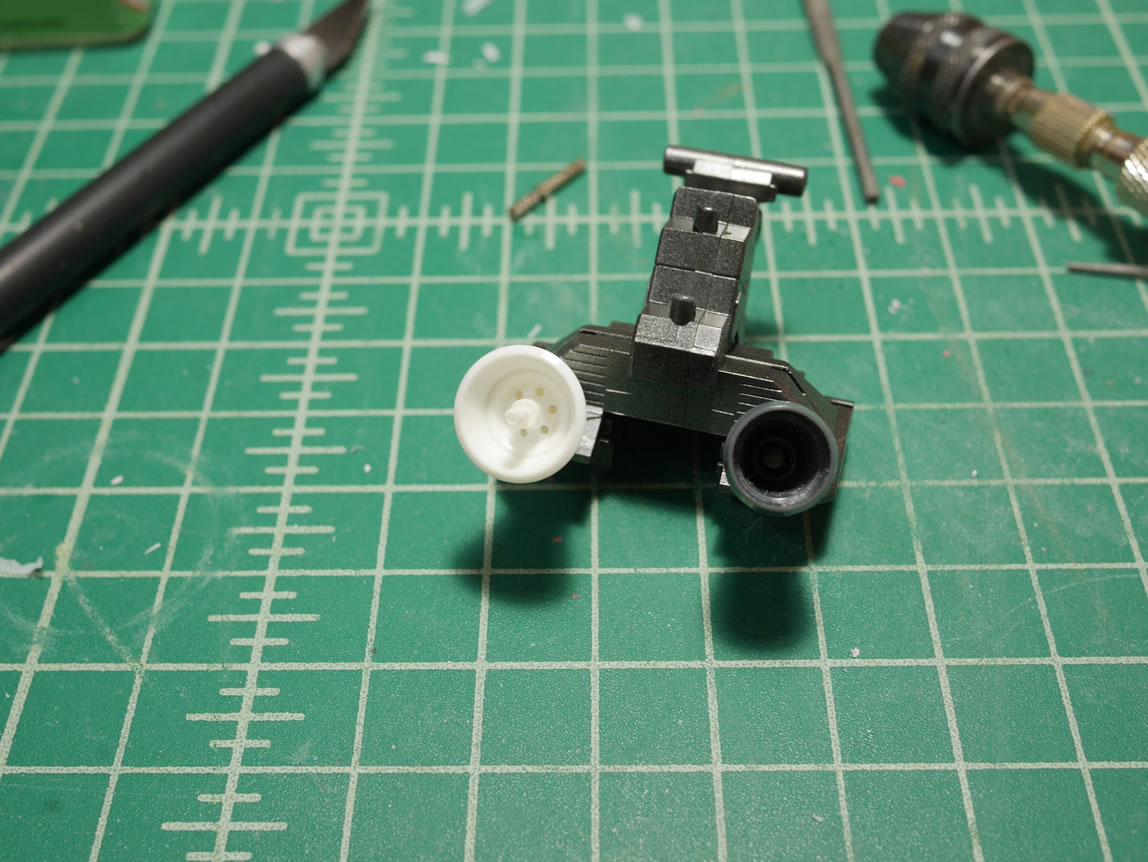
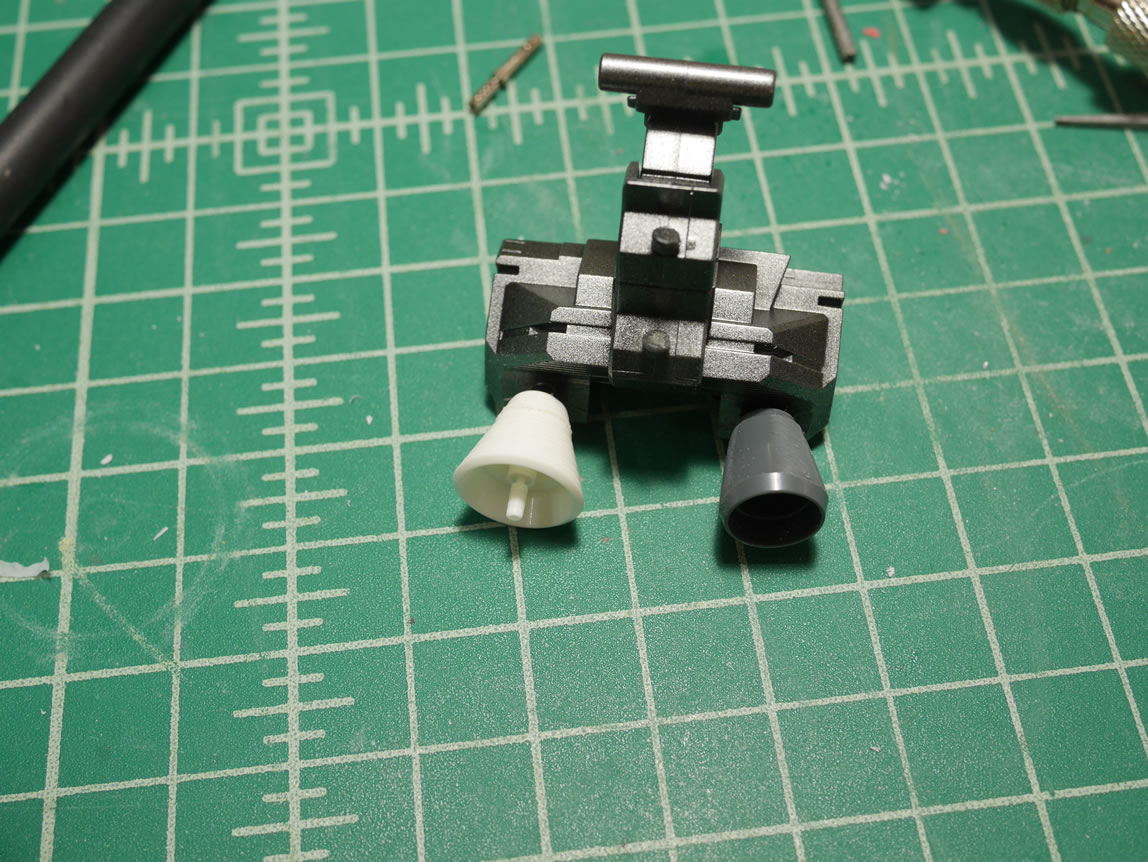
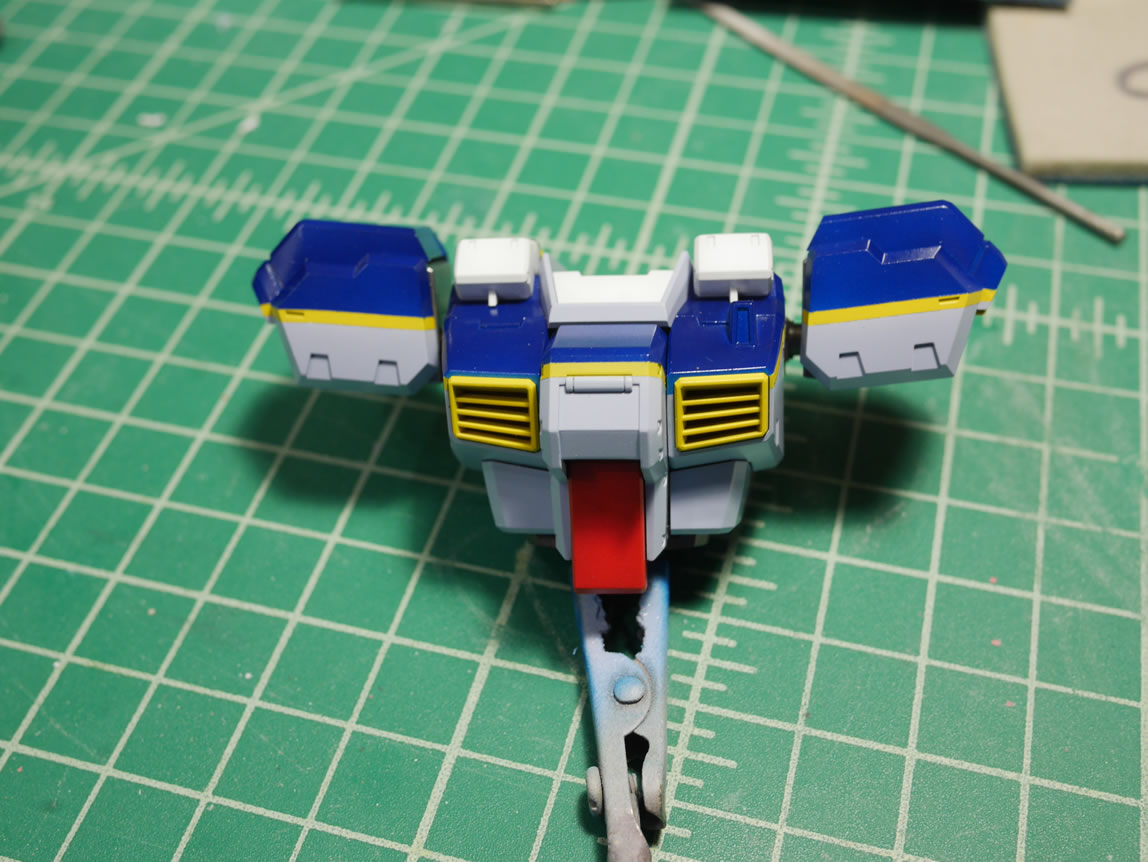
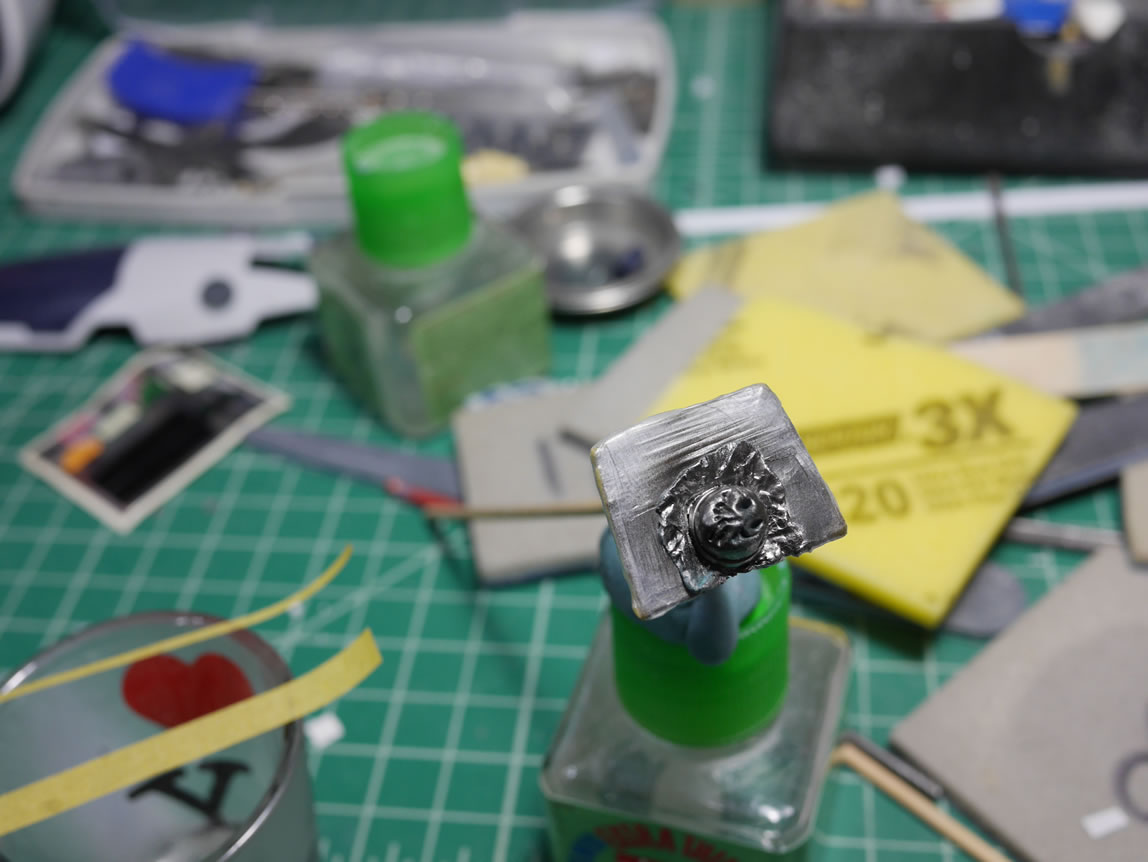
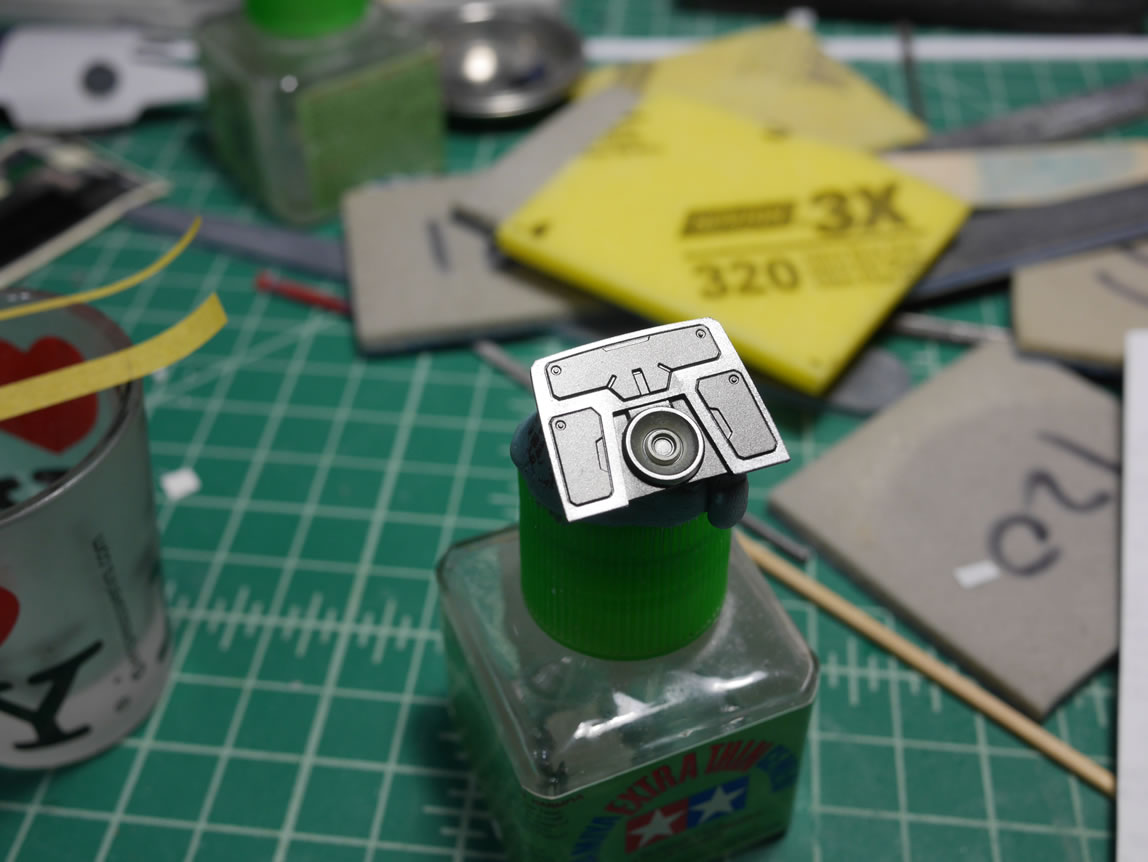
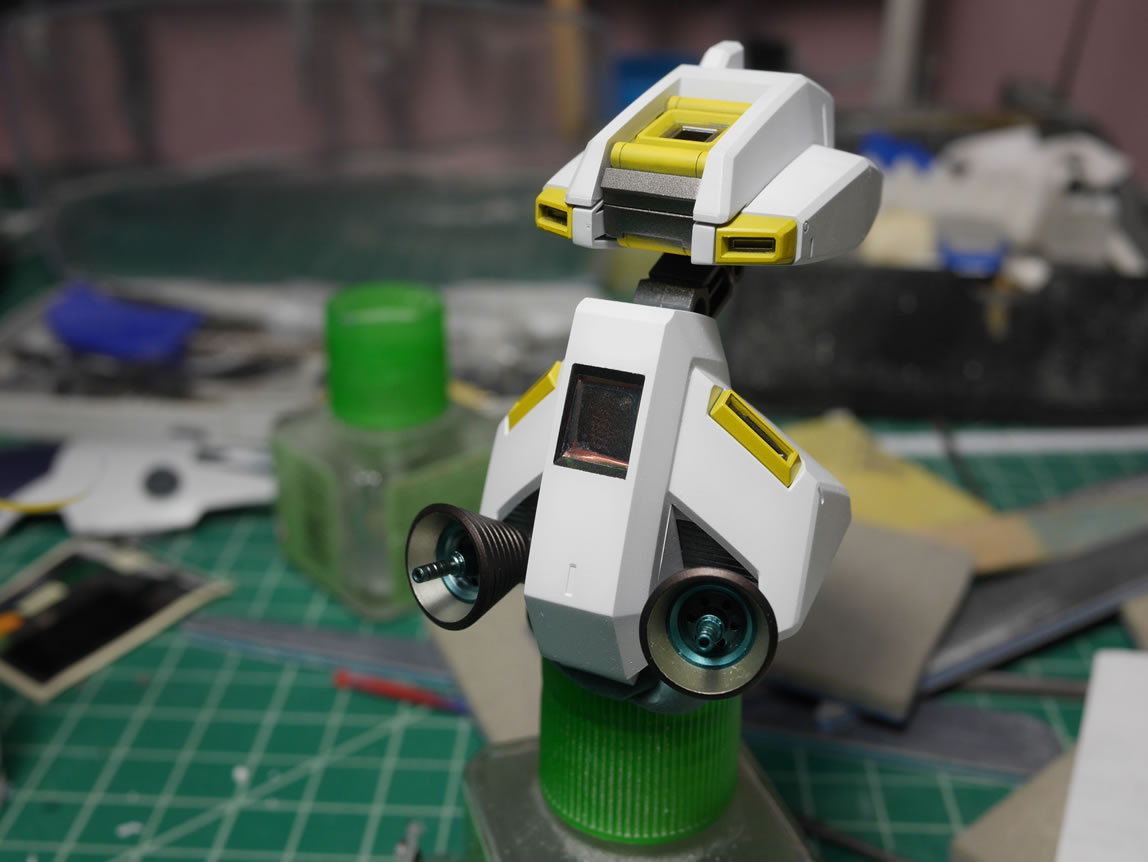
Next up, replacement thrusters. In the earlier pictures of the snapped kit, I used the original backpack thrusters for the kit. They were pretty bland and lacking in details. The internal for the thruster was just the ball joint where the thruster connects to the backpack. Yeah, this will not do. As much as I try to OOB, there is a few things that can be quickly modified or swapped out. Enter the metal thruster packs. I didn’t have a specific metal thruster that I liked, so I combined bits from two different metal thruster sets. Since I did not want to waste two sets for one kit, I made a mold and casted the bits I needed to create a custom thruster bell from the two metal sets. Here’s a comparison shot of the original thruster next to the resin cast thruster. Just having some internal details for the damn things make it look so much better. Having some exterior details also help improve things.
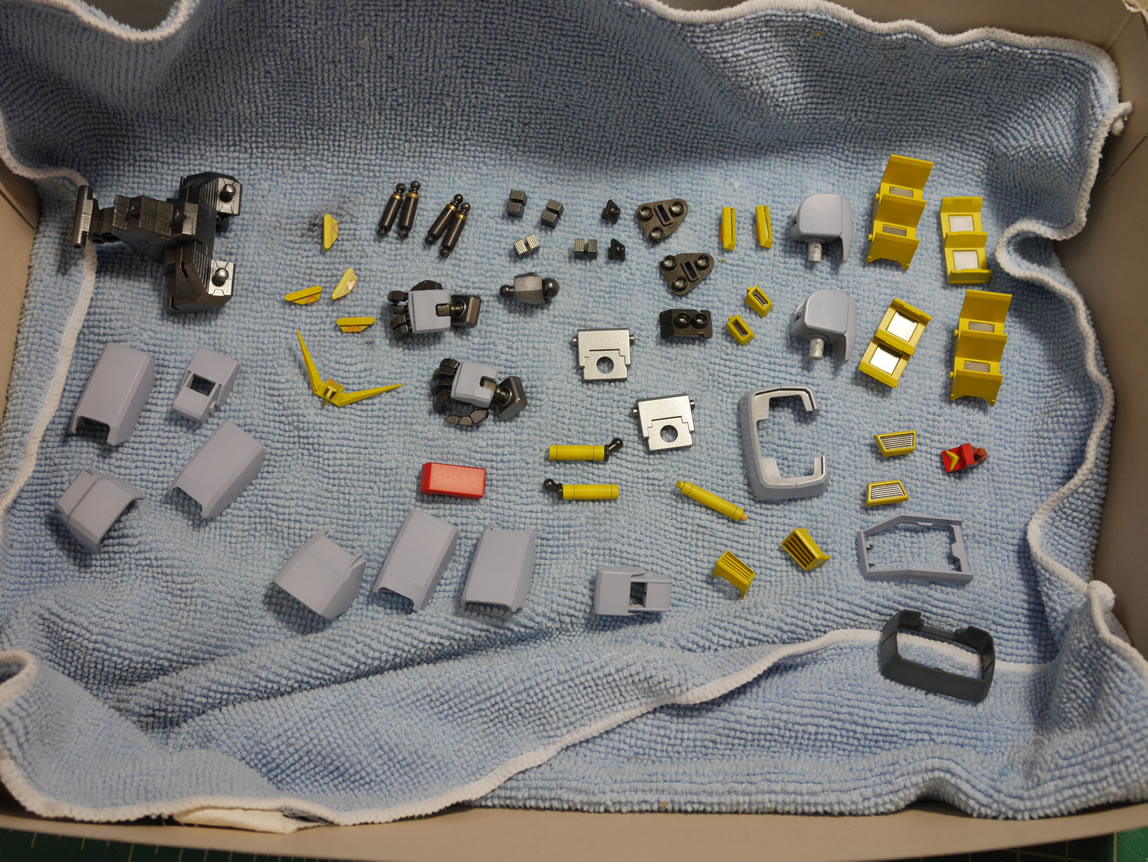
Once parts have cured for a few days, they don’t need to take up wood board and skewer space, so they’re taken down and placed in a box on a bed of microfiber towels and then set aside while work continues on the rest of the kit.
The chest block has the yellow strip masked, then the light blue painted then the dark blue. Removing the mask results in a fairly clear finish. The chest piece is temporarily held together while it cures as well as while I get to work on painting the internal chest frame.
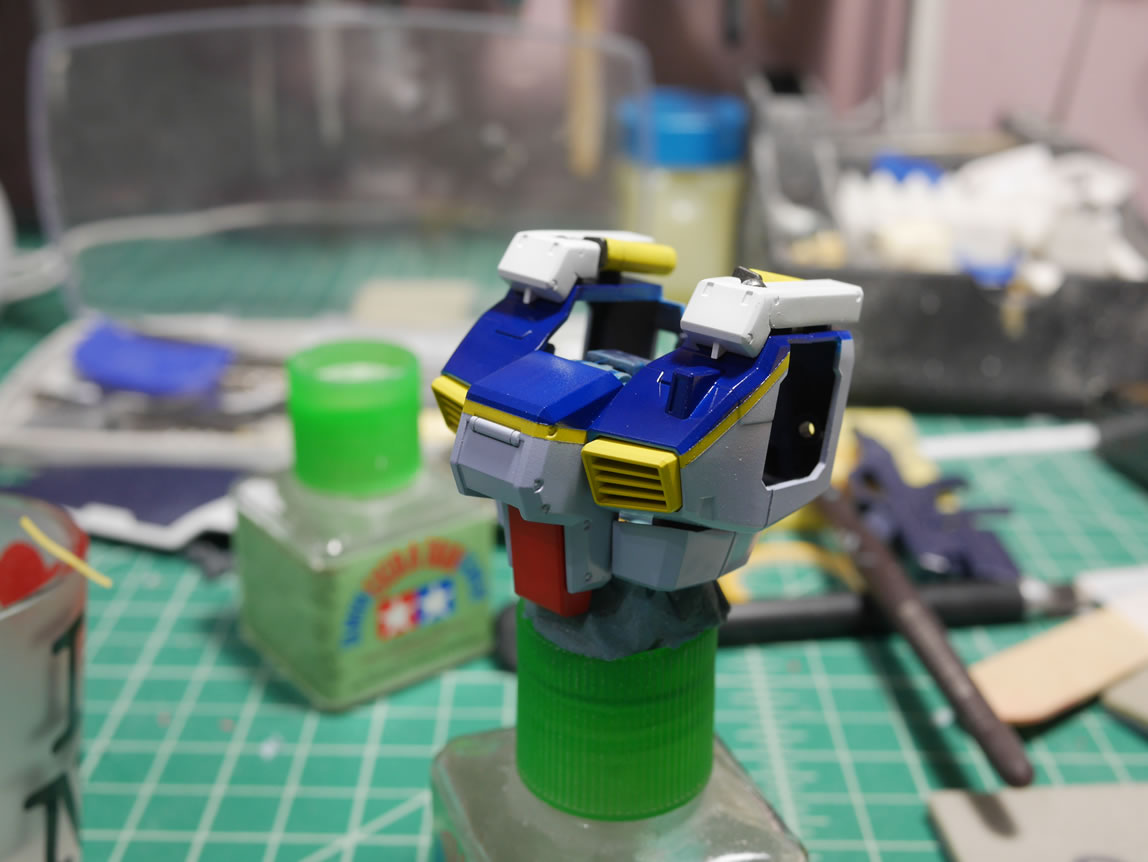
Once the internal chest frame is painted and cured, the upper torso comes together as well as the shoulders.
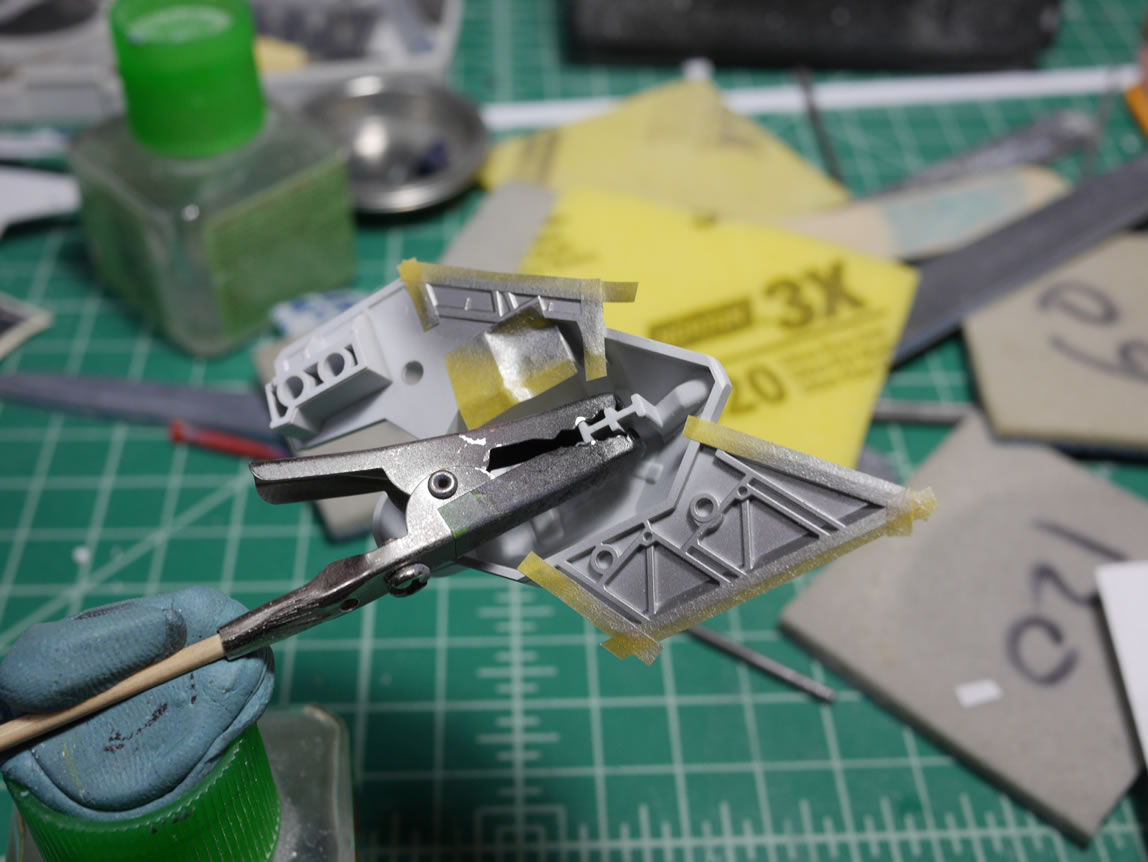
Footwork. The bottom of the feet are painted in several layers. Finisher’s pure black is laid down first. The a dark aluminum is sprayed. Burnt metal is sprayed for the thruster internal. The inset areas are masked off as well as the thruster bell and a darker metallic, magnesium is sprayed. This is all masked off with parafilm and sticky tack around the exterior of the thruster bell to paint that area in stainless steel. Once that is cured, the layers of sticky tack/parafilm/masking tape are removed leaving a detailed bottom of the foot that no one will see when the kit is standing.
The middle leg armor has been painted. There are some detail bits along the insides of these parts, so I masked off the edges of the armor and sprayed Mr super metallic iron. As with the above, there will be a second layer of masking to add some dual metallic tones.
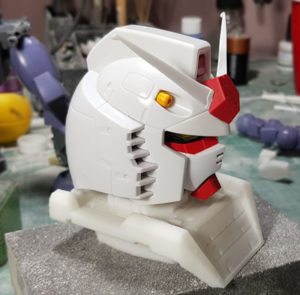
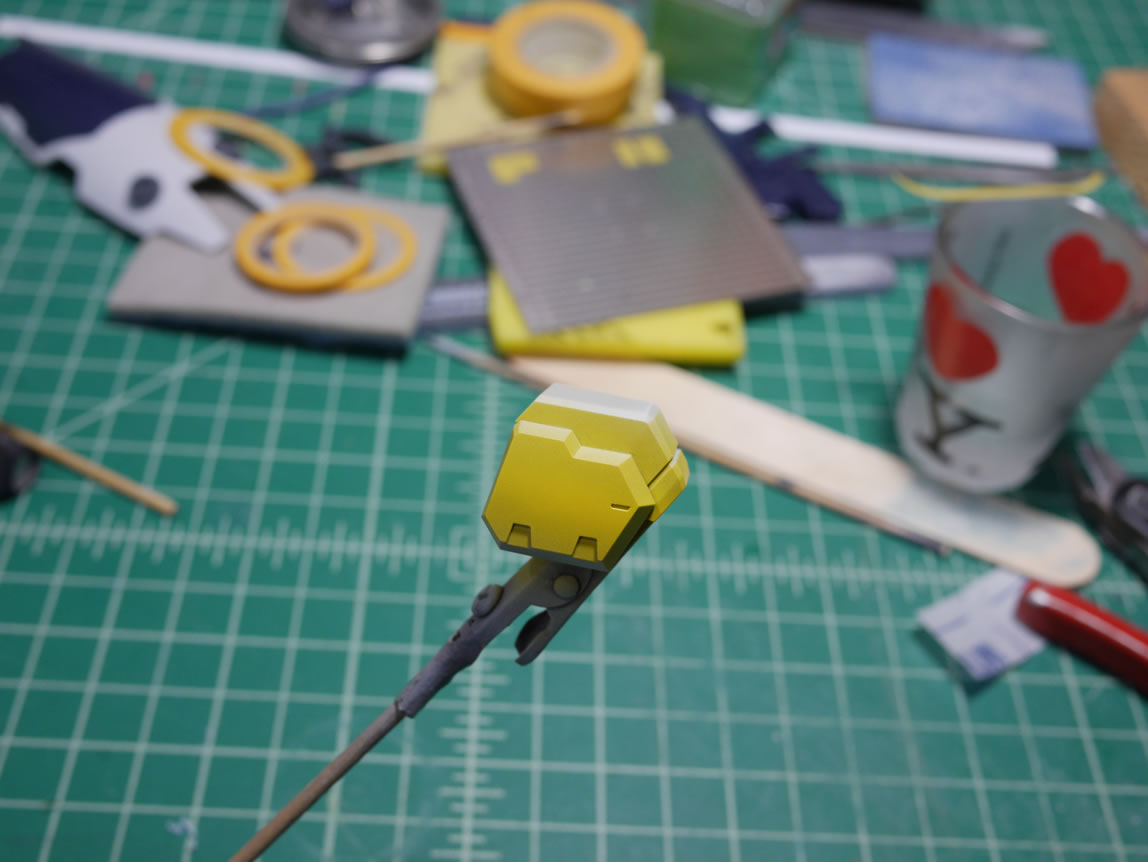
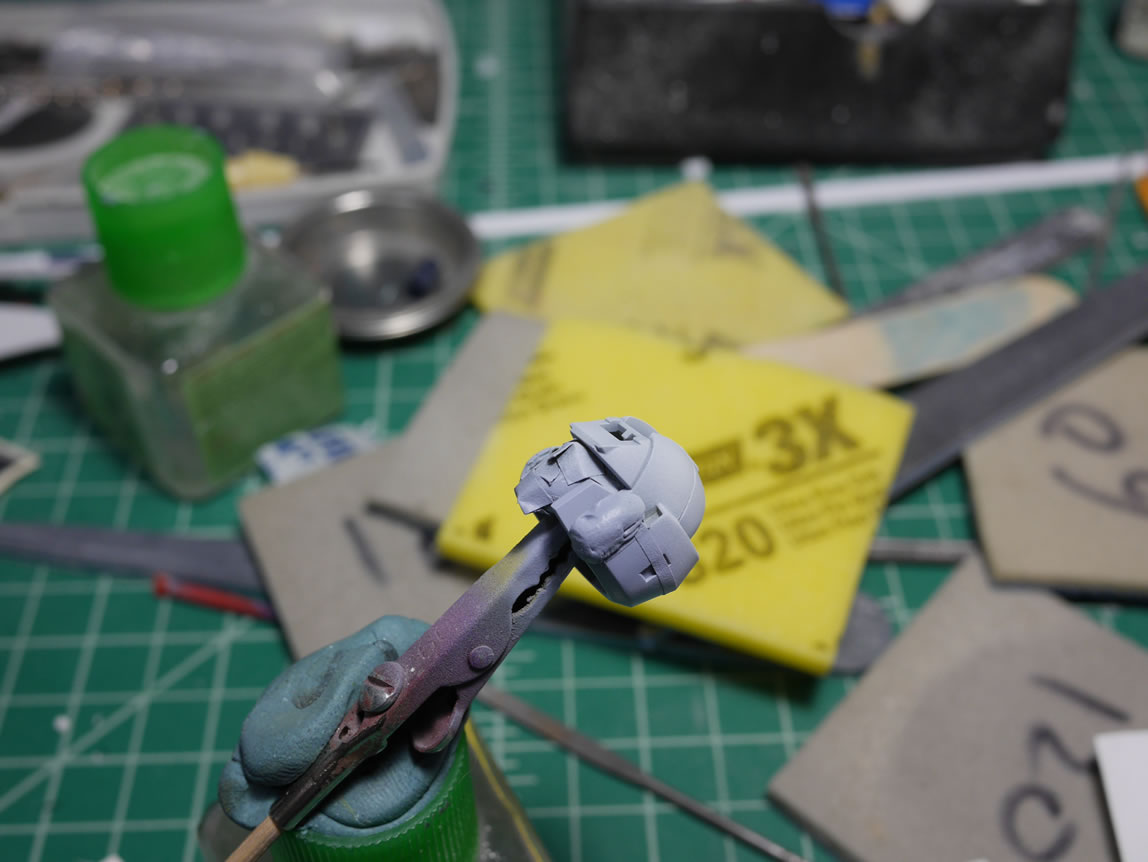
The head is worked on in several phases. The face plate was painted and detailed before the rest of the head because I wanted fill in some seams on the head. There is a panel line on the head, but the engineering of the kit created a panel line where the two halves of the head come together. I only wanted to keep the top half of the panel line. Since this requires gluing the two halves of the head together, I finished up the face plate first then masked it off before gluing the two head halves together. Once glued, I puttied the panel lines I didn’t want. The yellow strip has been painted and last night, I sprayed the bottom half of the head with the lighter blue.
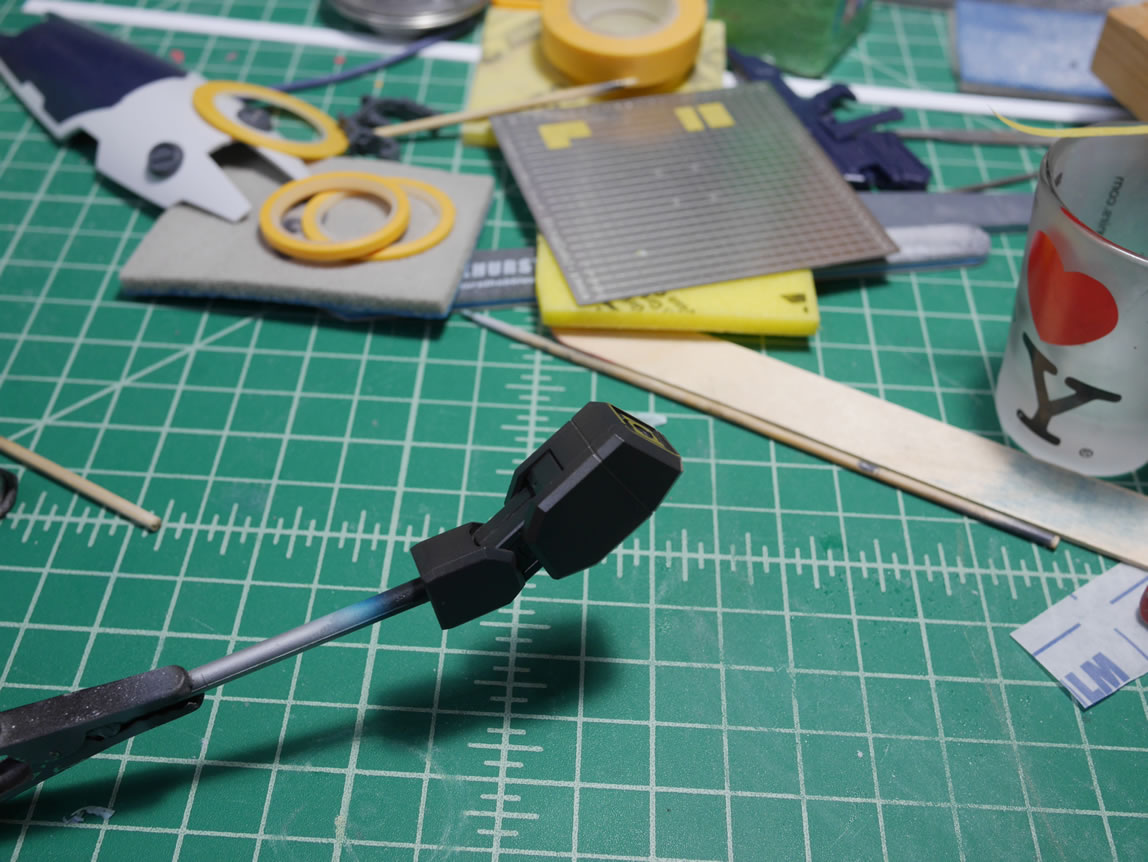
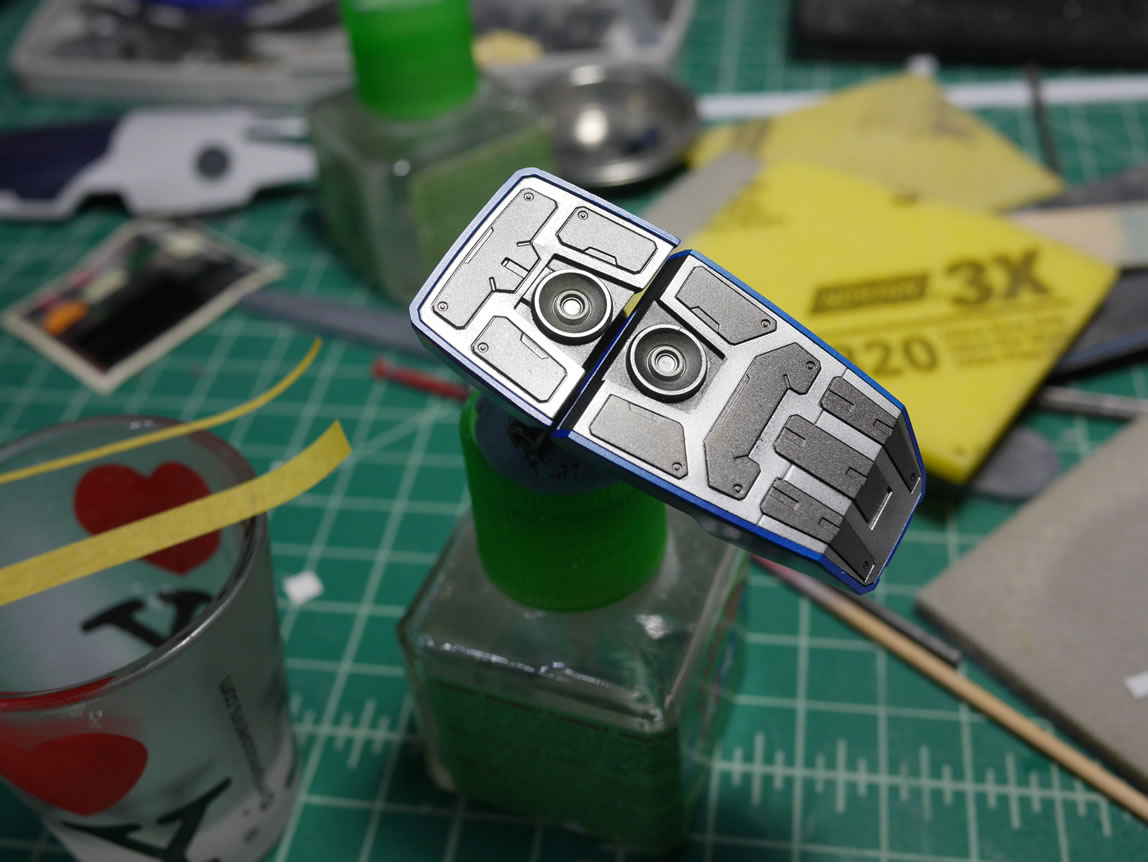
Here’s the completed backpack with the new resin thrusters. I think this looks fairly good.
I have one wood block with completely subassemblies curing while I work on the rest of the kit. The upper torso is pretty much done and I’m fairly happy with the results so far. This is becoming a very quick build. Again, it’s nice to OOB. The hard part is resisting the temptation to keep adding modifications in the middle of the build.