The past few weeks saw a great number of hours on building. Earlier last week, the construction processes have slowed down as most things are “built” and ready for paint. This past Thanksgiving week/weekend saw the completion of the Jegan. The amount of hours spent drops drastically because I now have to wait for things to dry and cure before continuing on to the next steps. Work on the base pieces continued in separate processes to maximize the limited amount of time.
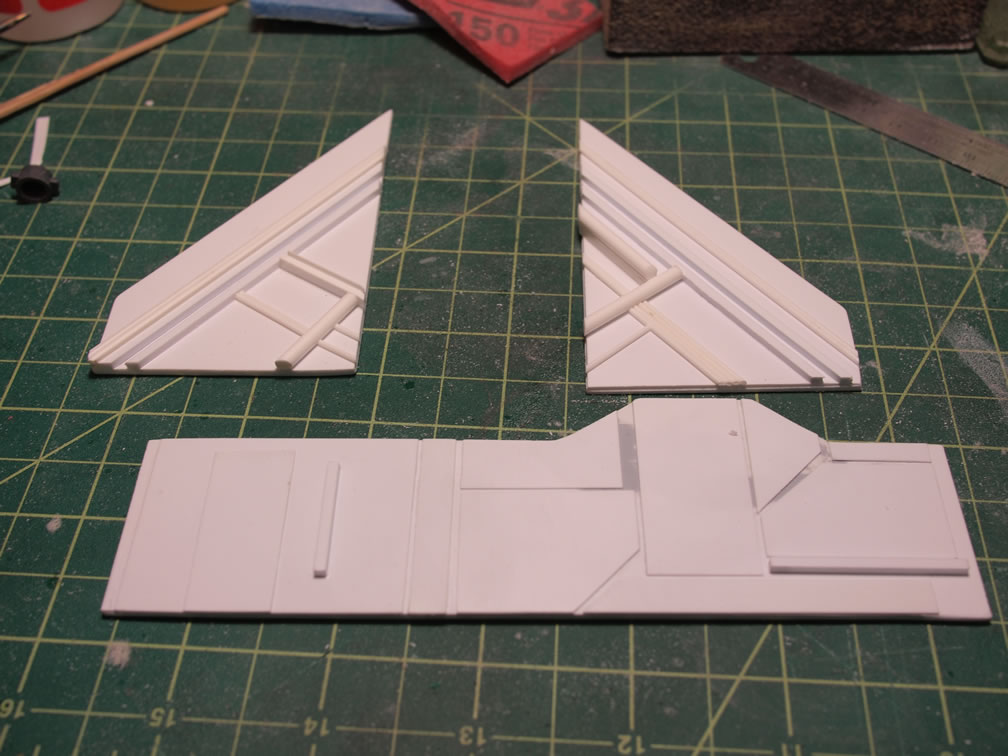
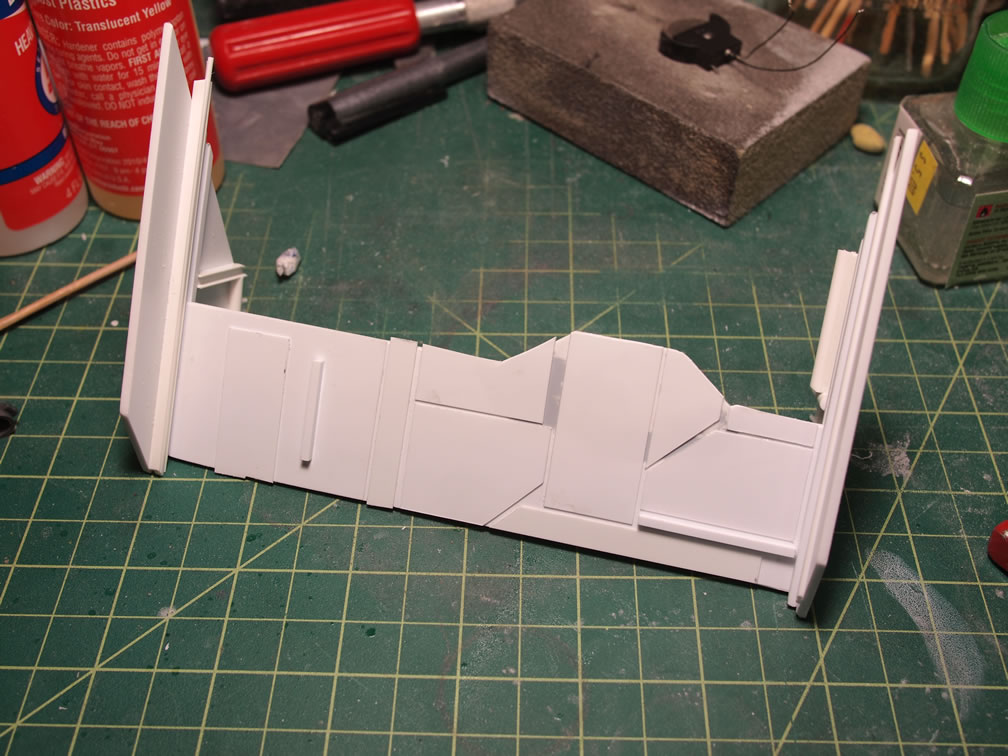
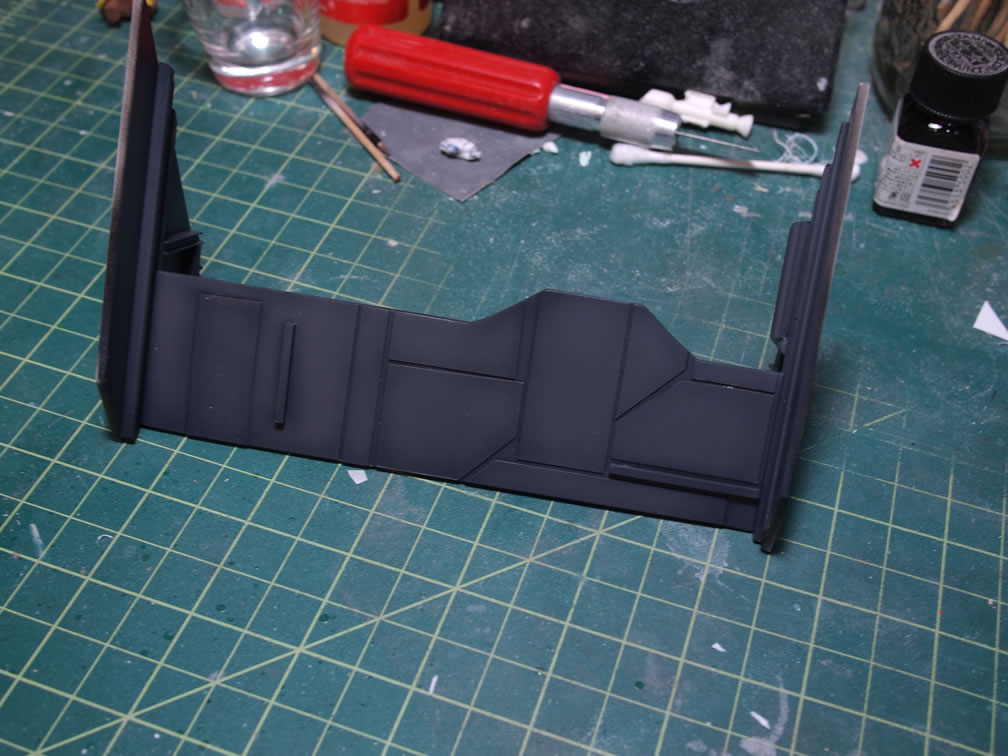
The last parts of the base built is the gate piece. Using styrene sheets, rods, and strips, the opened gate piece and side parts are put together. After sanding down excess plastic, the three parts are glued. In a three day process, the glued gate cures, primed in gloss black, and then painted in a dark gray.

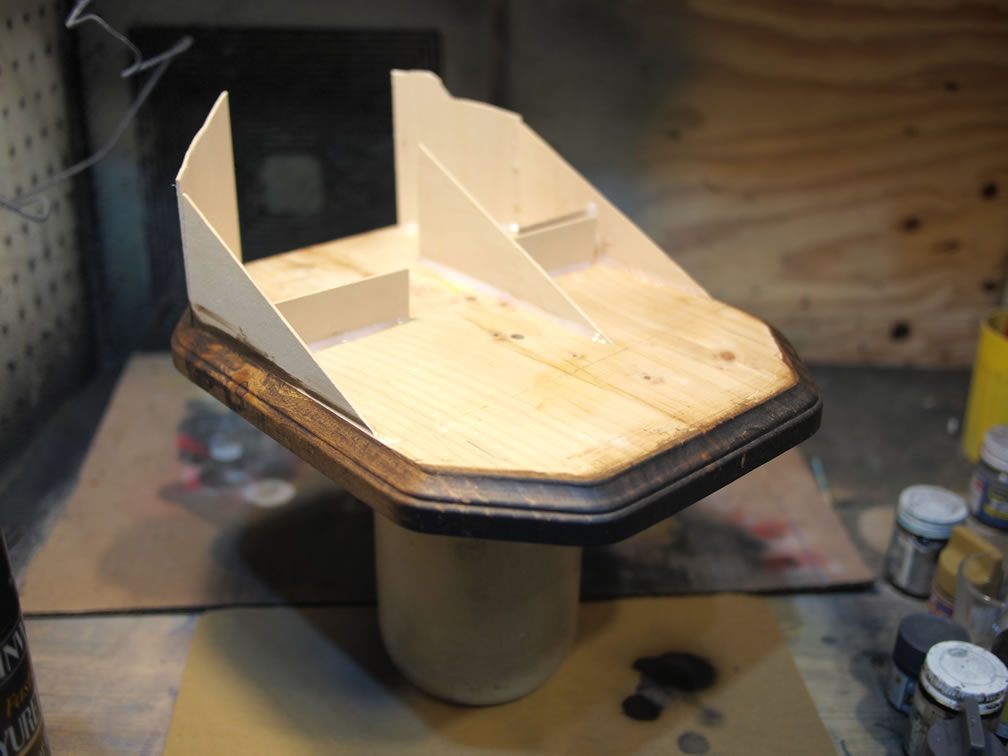
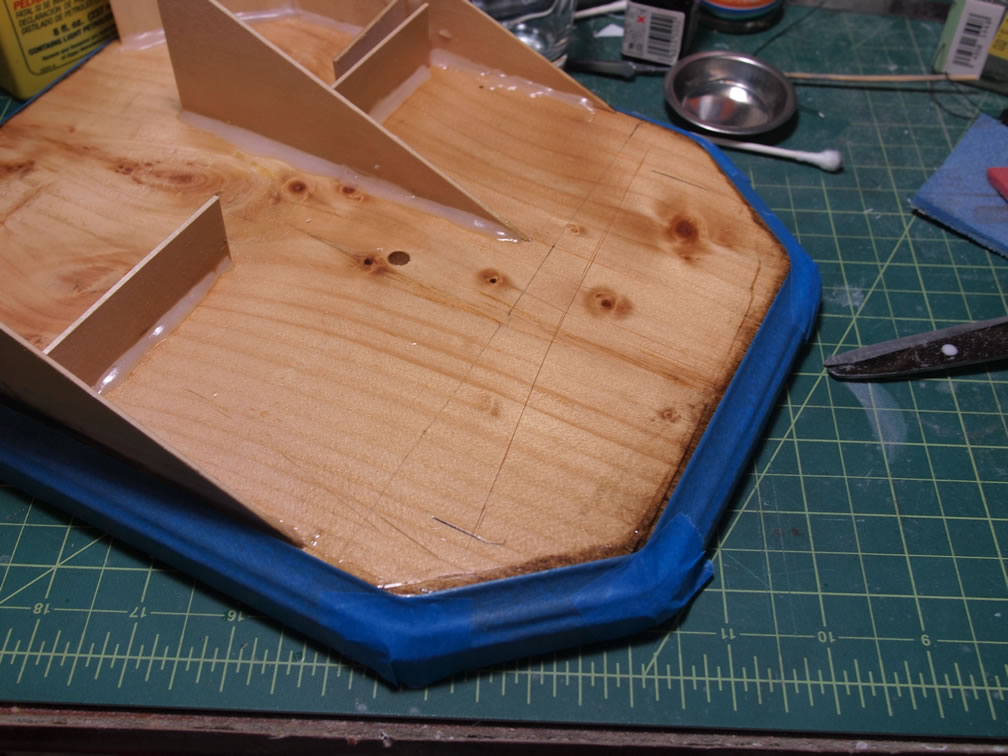
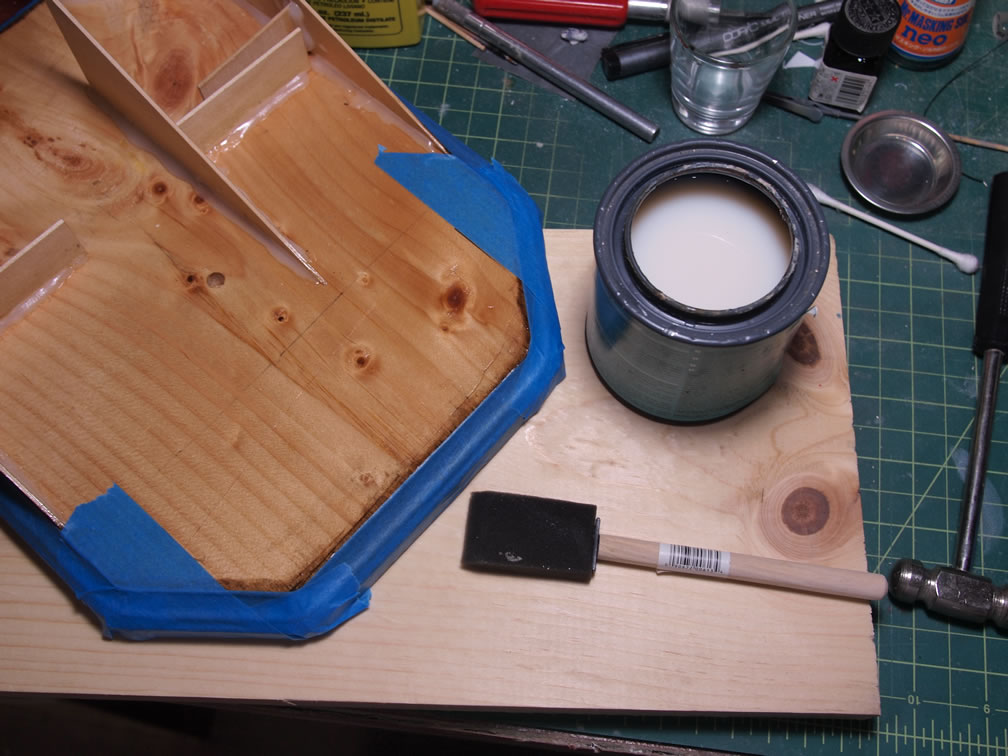
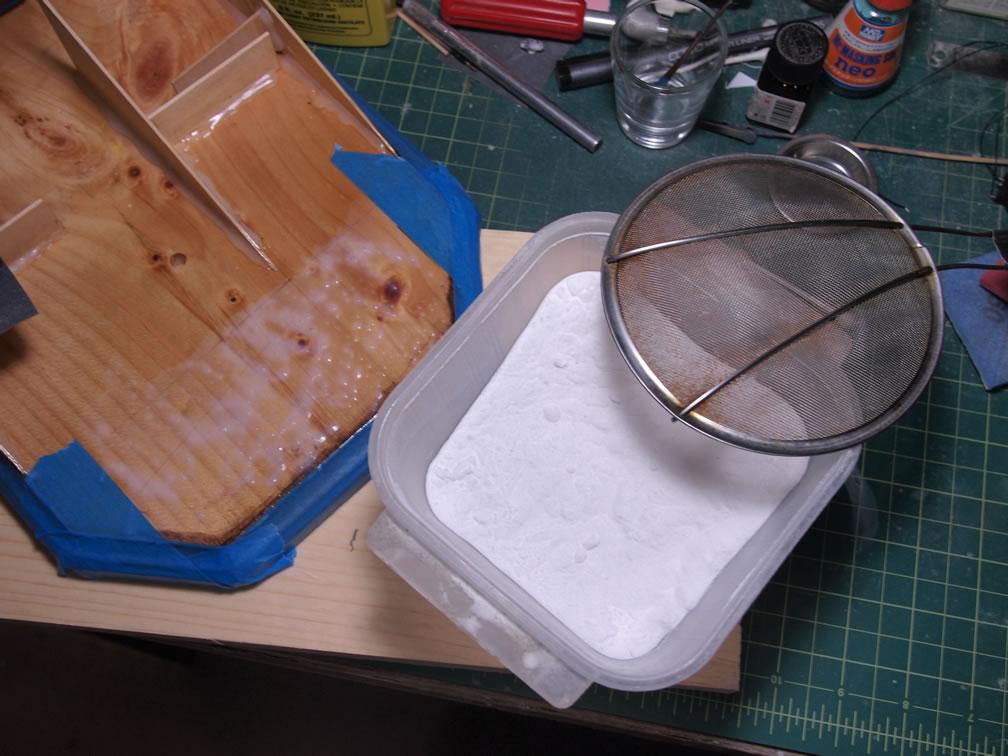
Concurrently, the wood base was stained. A gloss coat over the stained areas took several days to apply with several coats each day. After curing for a few days, the stained and glossed areas are masked off for work on the other areas.
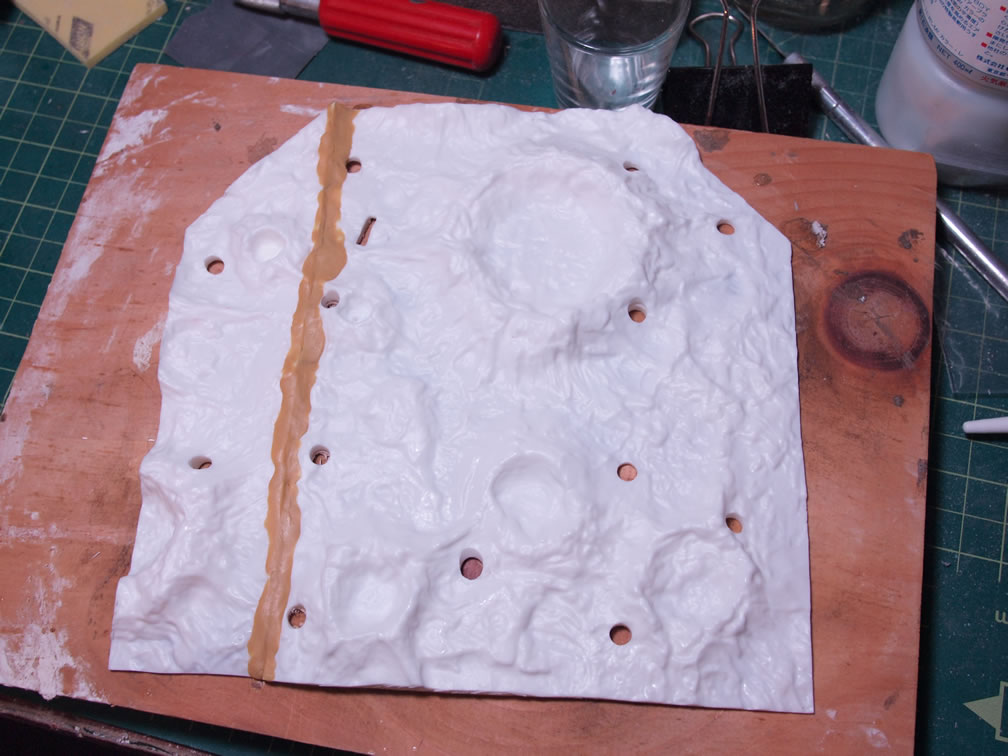
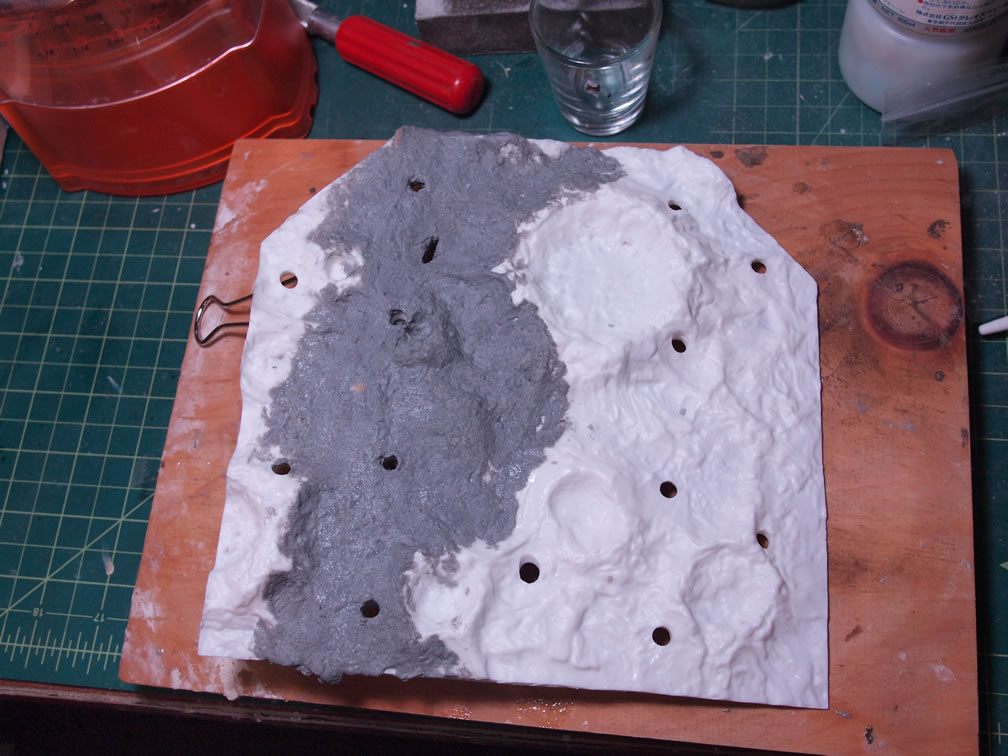
Also concurrently happening was work on the main resin piece. The two pieces that were glued together the week prior is filled with some epoxy putty. After the epoxy putty cured, excess is sanded off and a layer of celluclay is applied. The celluclay has taken at least 5 days to dry, and as of last night, was about 95% dry. Cold weather and high humidity greatly affect the dry time for the stuff.
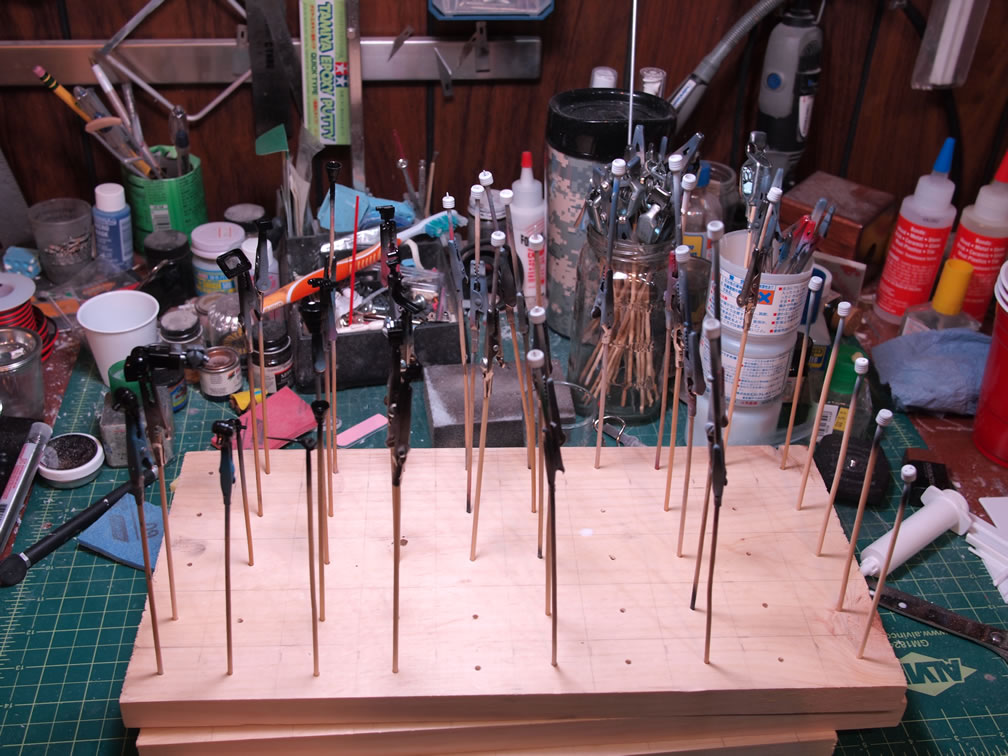
Along with the above two steps the Jegan was washed and prepped for painting. The armor pieces and the base light pieces were primed while the internal frame pieces and other metallic parts are base coated with gloss black.
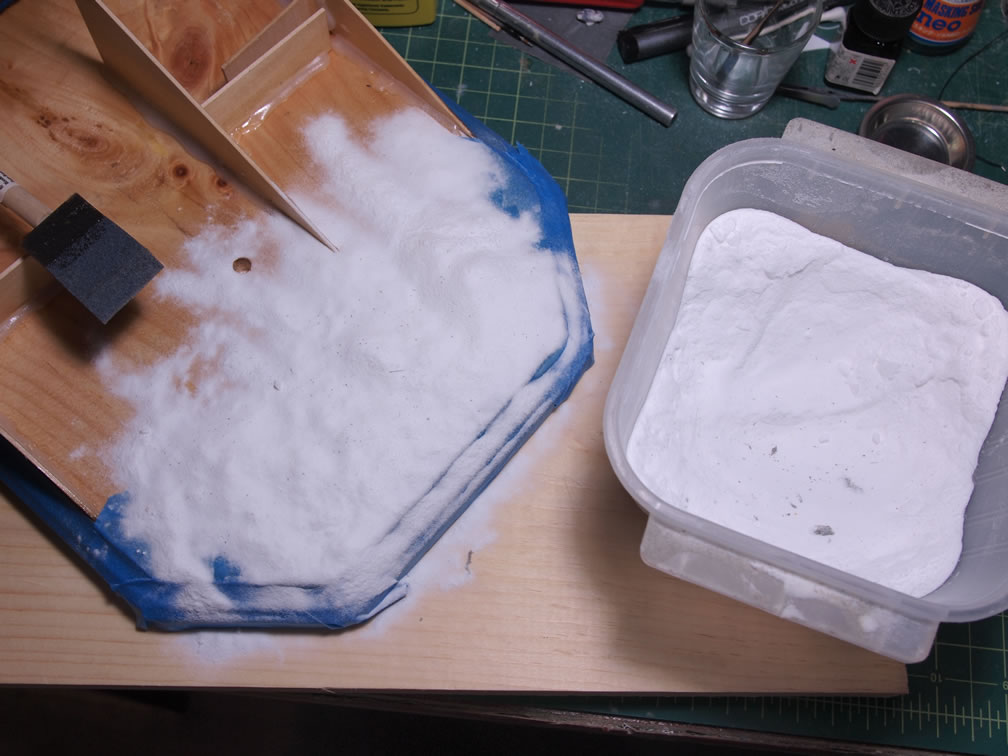
Cycling back to the masked off wood base piece; a clear acrylic medium is applied to the back section of the base where the gate will sit. Over the acrylic medium, baking soda is shifted onto the area. This is the first few steps in creating a tarmac like surface.
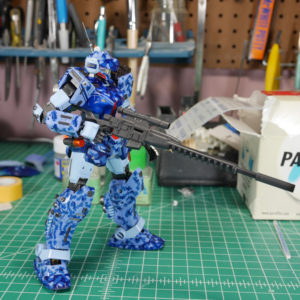
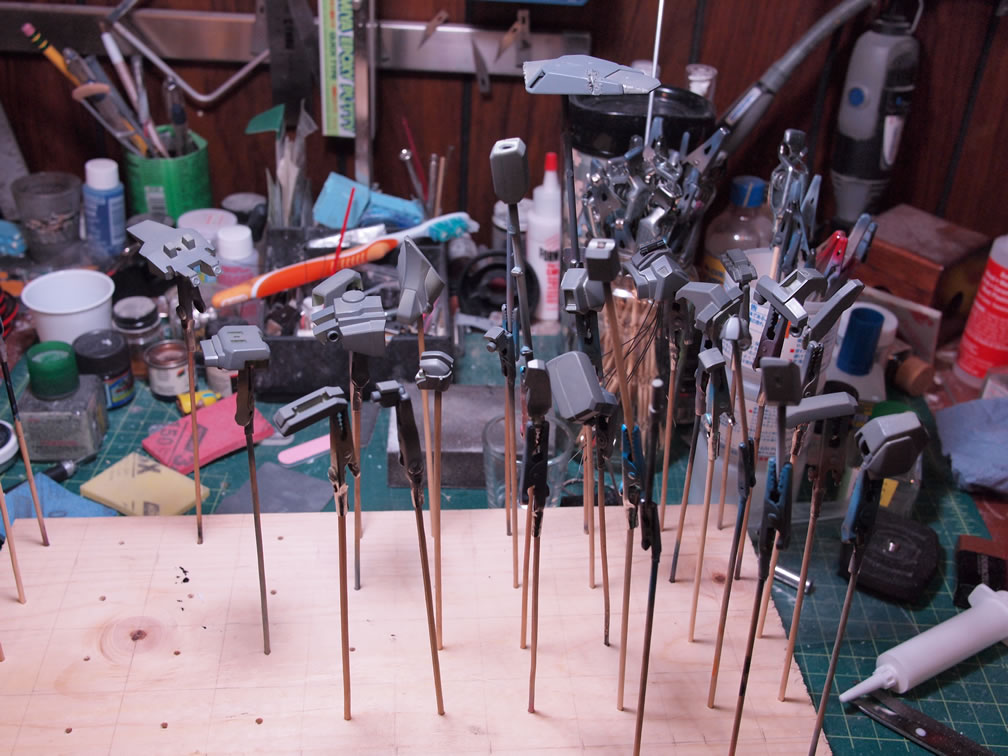
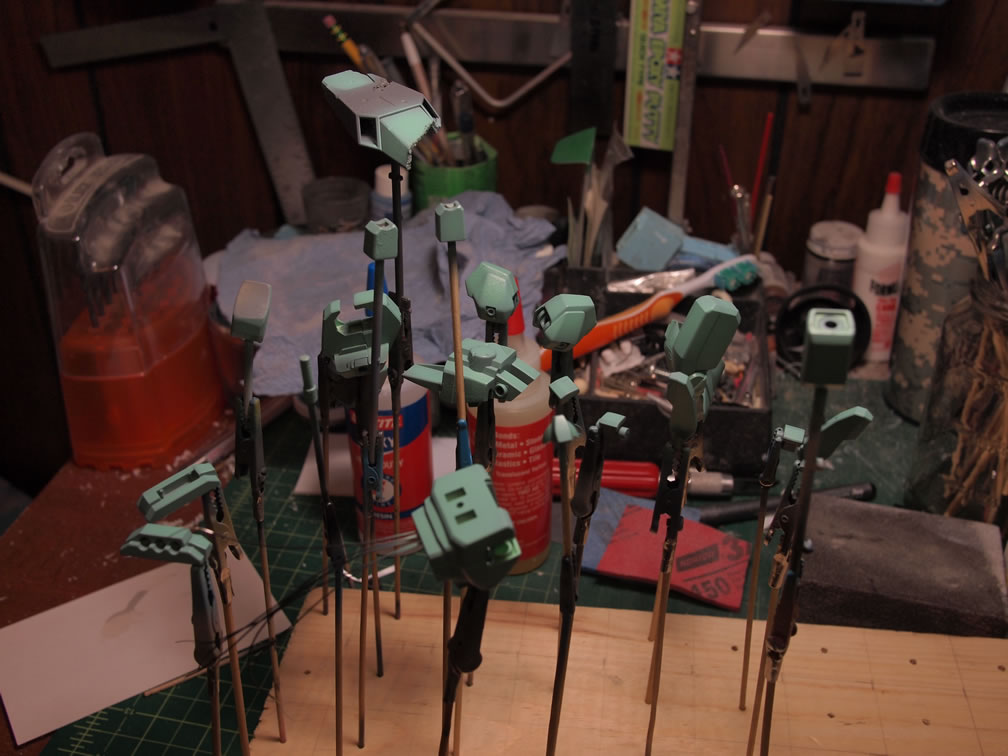
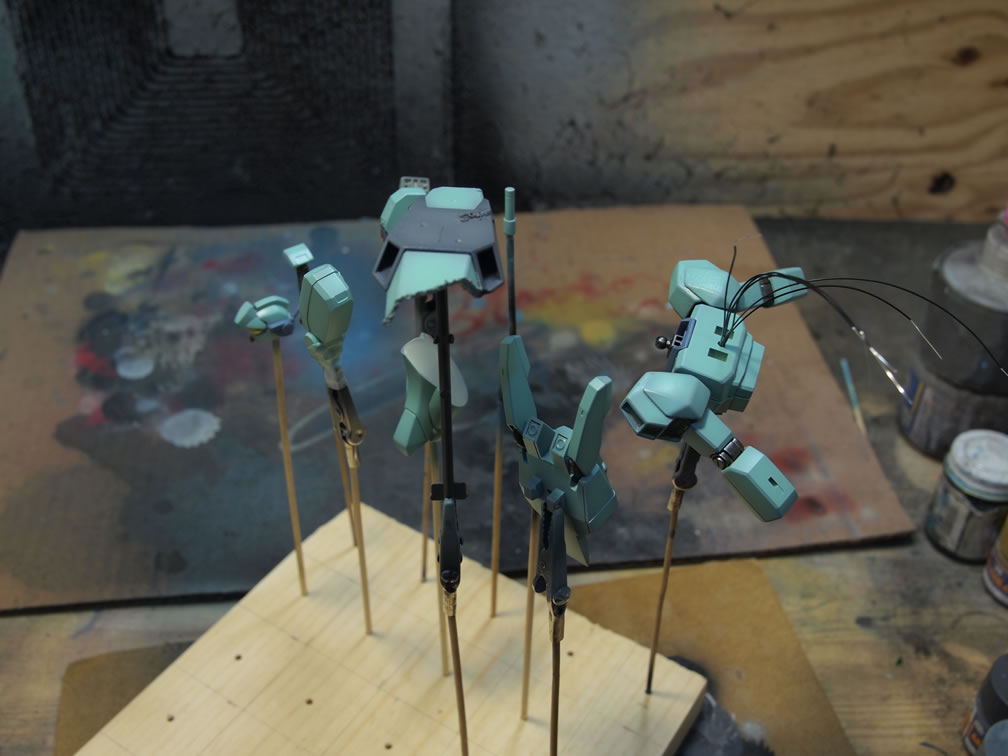
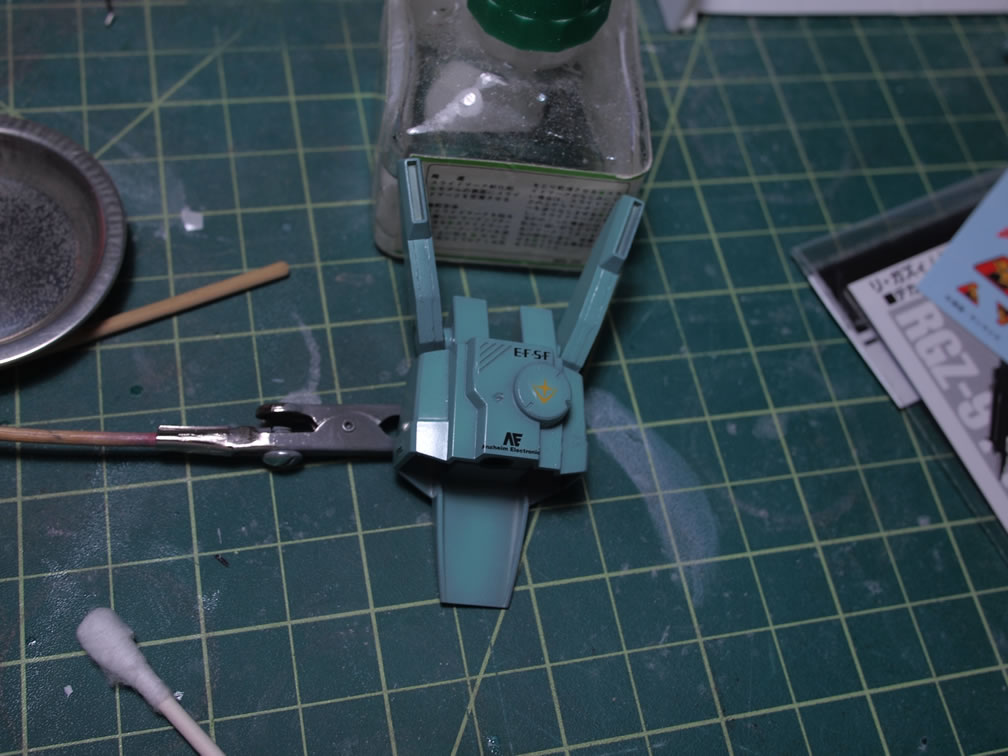
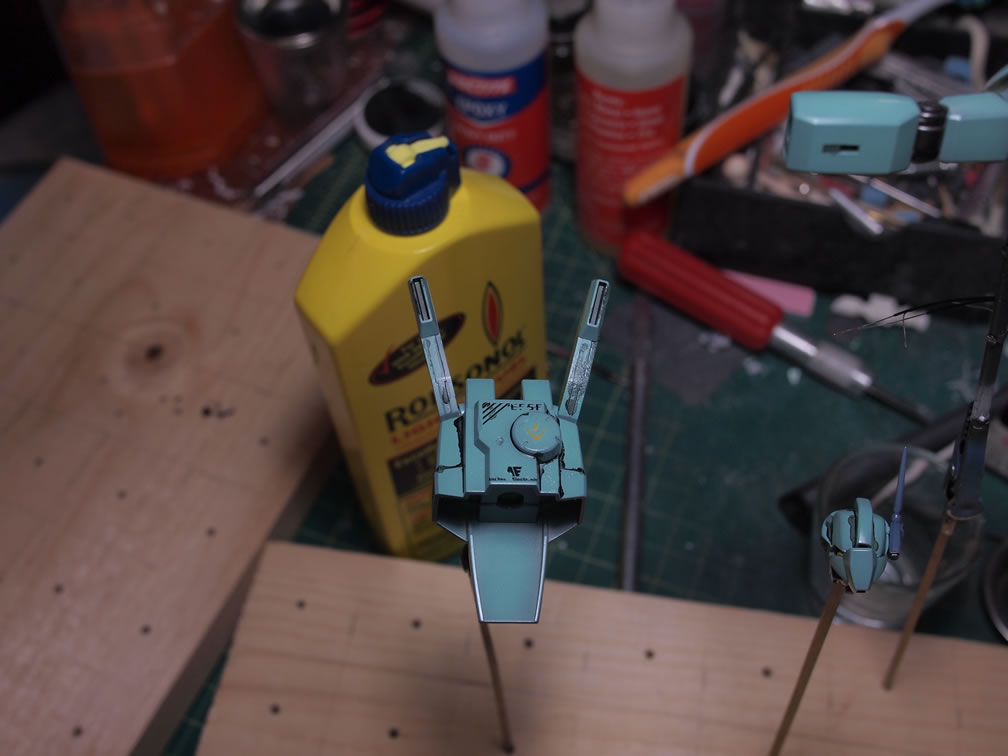
With the resin base curing and the other base pieces in various stages of work; the main focus for the past few days was the Jegan itself. The armor pieces were base coated in a gray then preshaded with a batch of paint mixed with close approximation according to the manual’s paint guide. I think I got close enough to the Jegan’s puke green color. A small amount of masking was done after the shaded green coat to paint the rest of he kit.
Allowing the paint to cure for a day, the next step was to clear coat it in a gloss for the decal and wash steps. The clear coat is sprayed and the parts are again allowed to sit for a day to cure up.

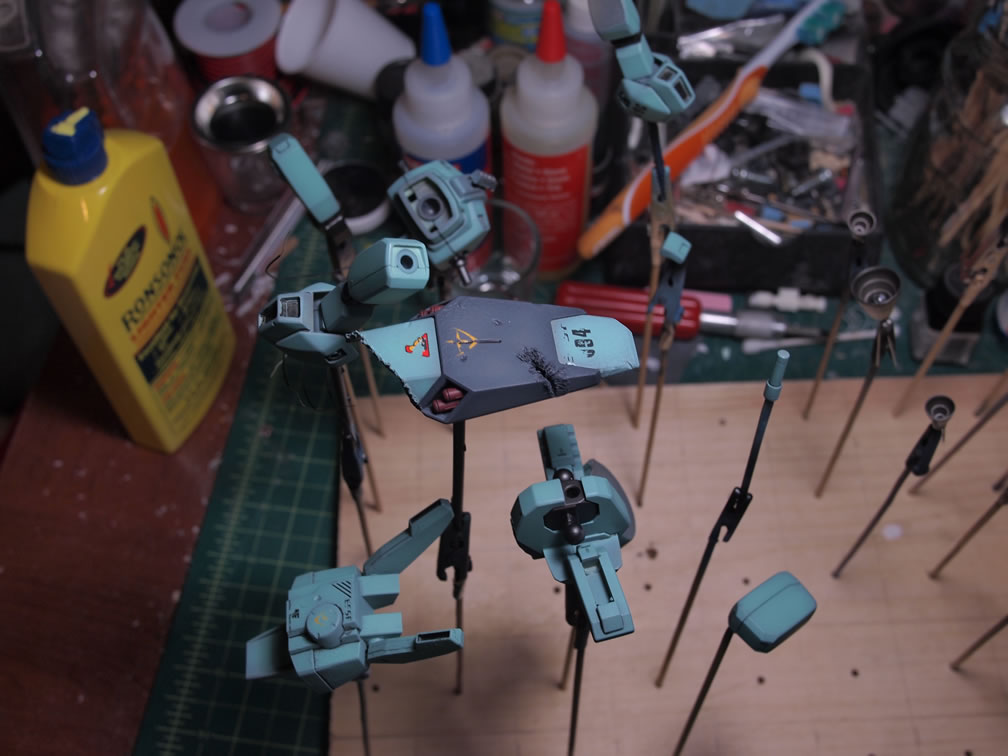
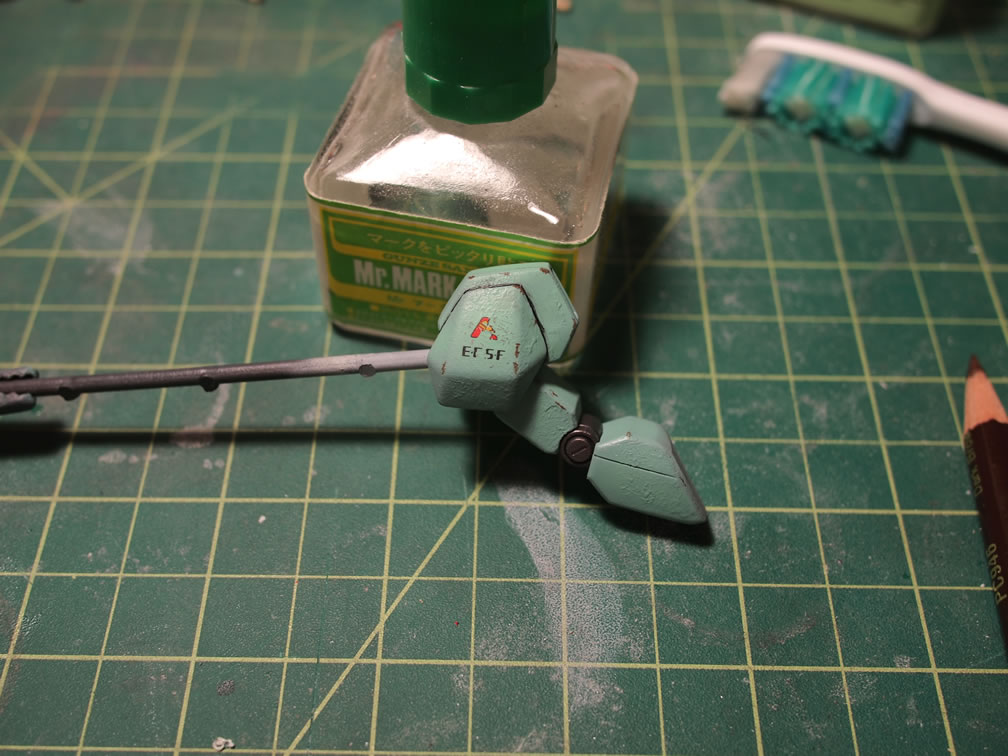
Then came the decals. I dropped by Robot4Less to see if I could find some Bandai waterslide decals for the Jegan. I really just wanted some Londo Bell decals in 1/144 scale. I found a Char’s Counterattack sheet for the Feddy suits in 1/144 and grabbed that sheet. The decals were applied and set with Mr Mark Softer and left to dry/cure for a day.
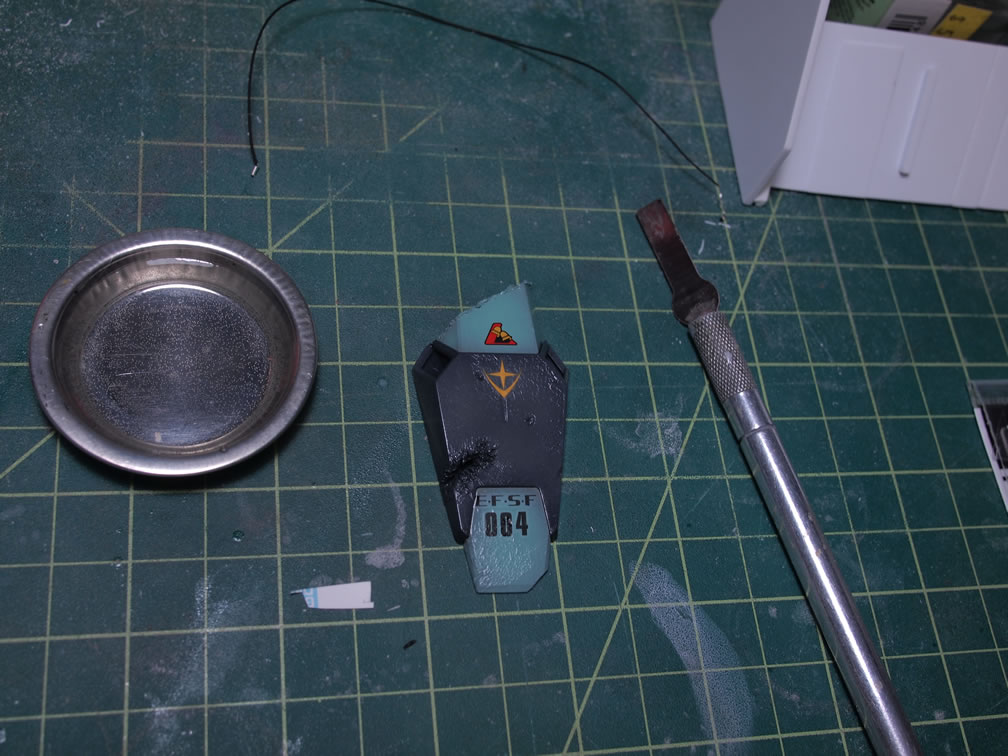
With the decals set and cured, a hobby knife and some sanding pads are employed to weather the decals ever so slightly. Once the decals were weathered, the decal areas are sandwiched with another layer of clear gloss.
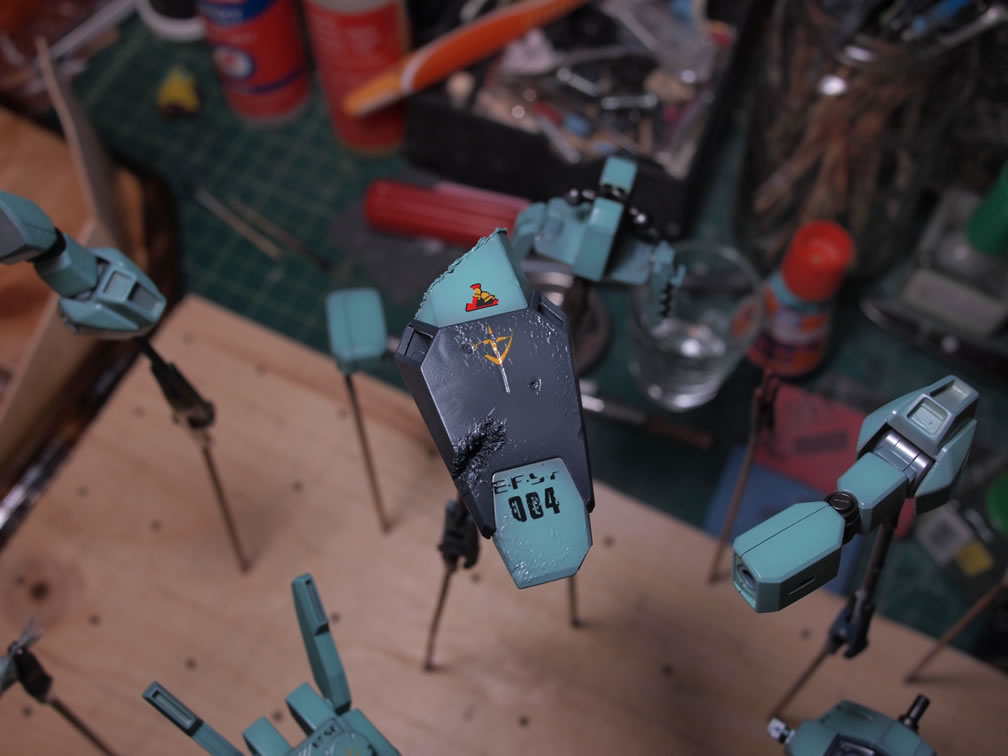
A day after the clear gloss cures, an enamel wash with black paint is applied to the panel lines for the kit. The wash solution is left on the parts for several hours so that most of the wash can dry. After a few hours of drying, the excess wash is removed with a paper towel moistened with lighter fluid.
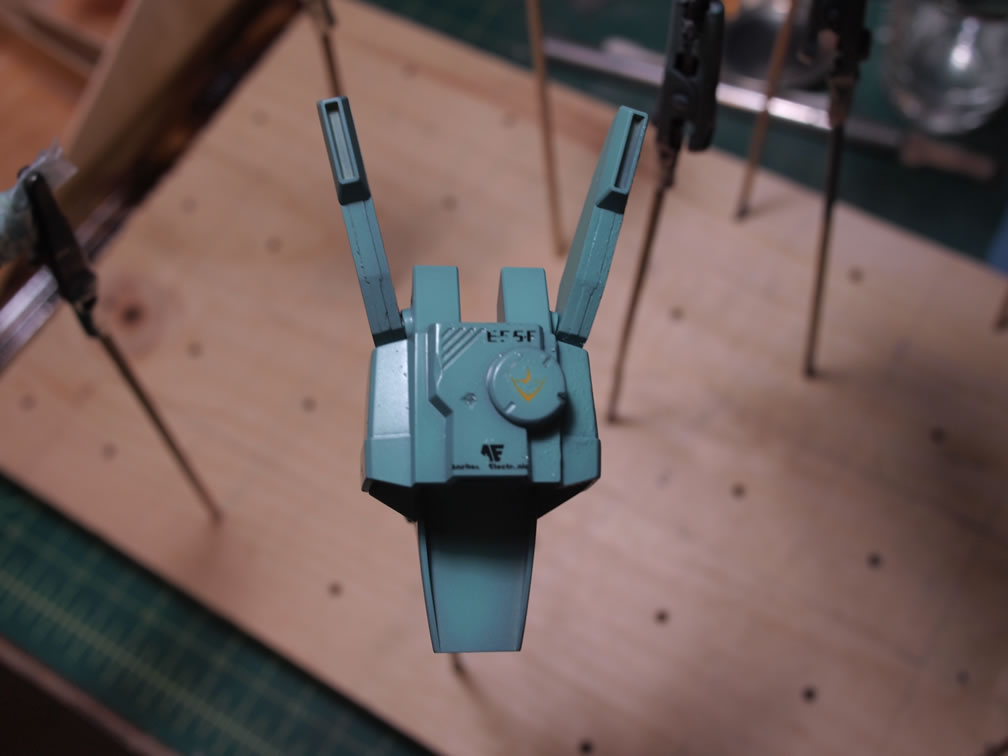
The cleaned off parts are then left to sit for another day so that the wash can finish drying. Once dry, a clear flat is sprayed over all the parts. The tone of the green lightens a little.
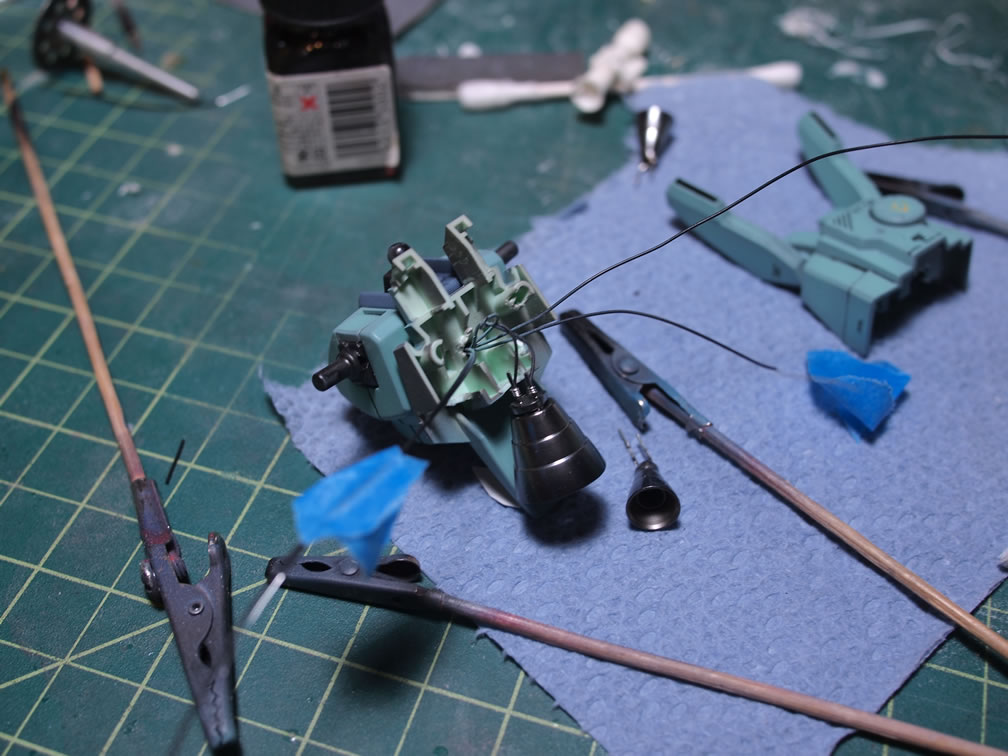
The flat cures for a full day and the next step is to assemble the electronic component of the kit. The backpack of the Jegan is going to be lit. The plug in the chest was wired earlier before any painting began. The wires are cut and attached to the correct leads on the LED thruster bells. Then the thrusters were glued into place and the assembly completed.


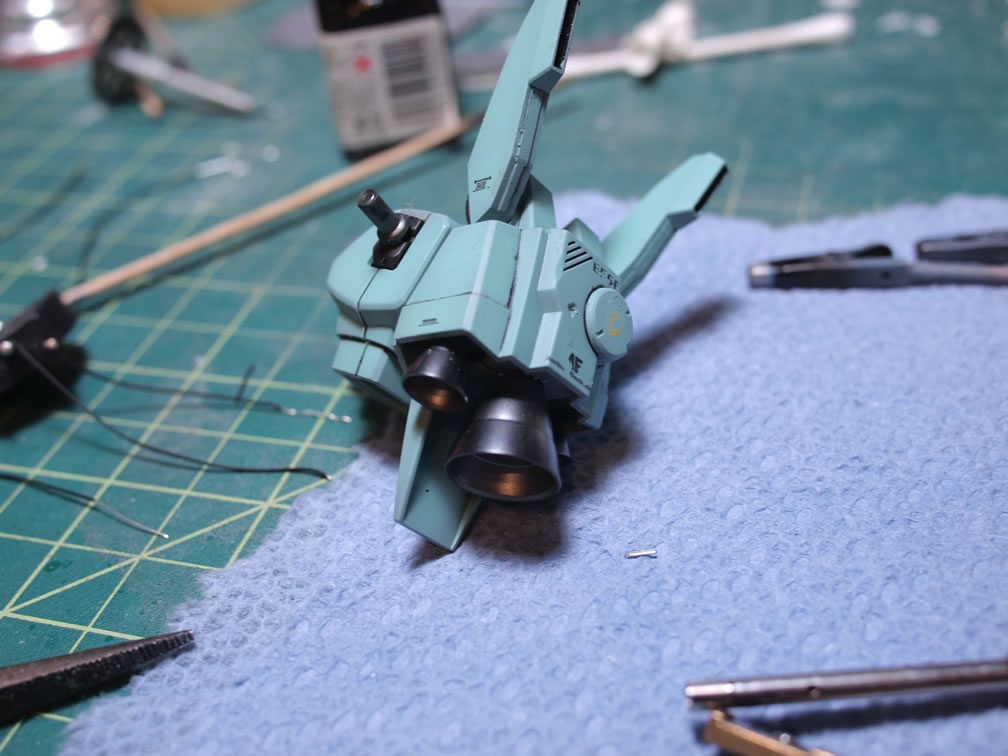
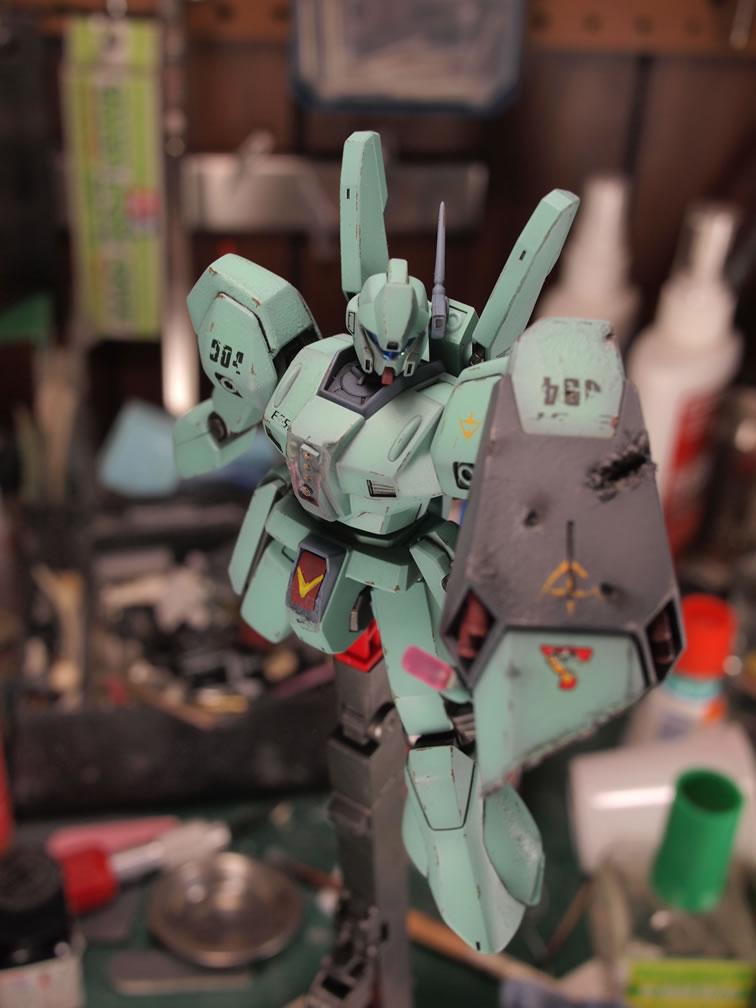
The Jegan is fully assembled for a quick look and to test the lighting element. The one thing missing is a bit of weathering.
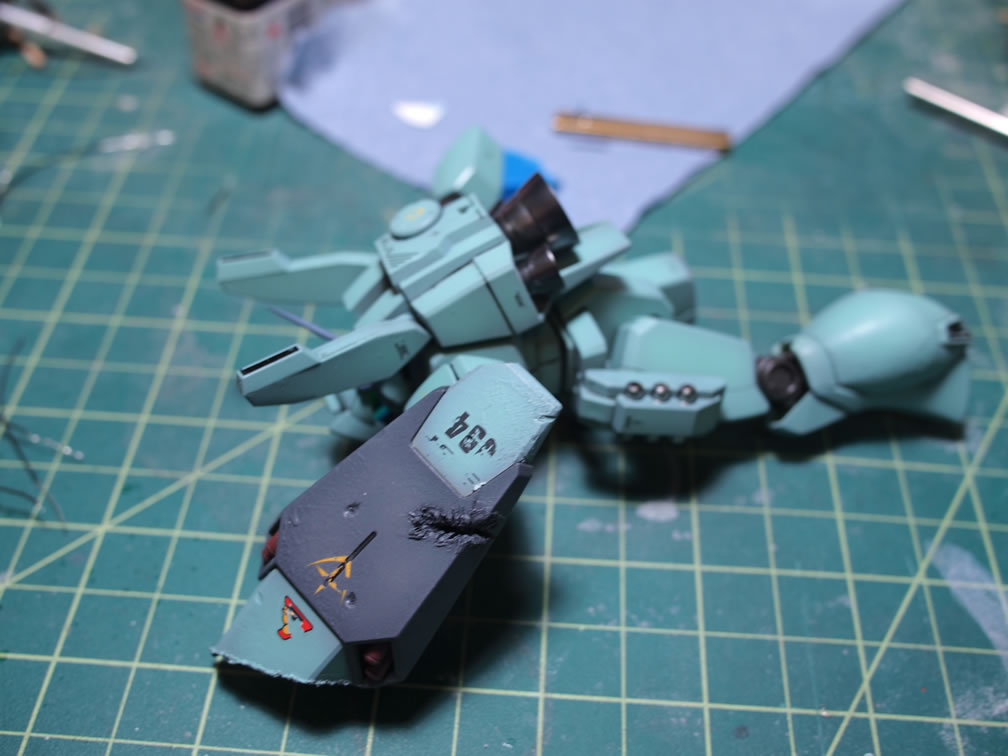
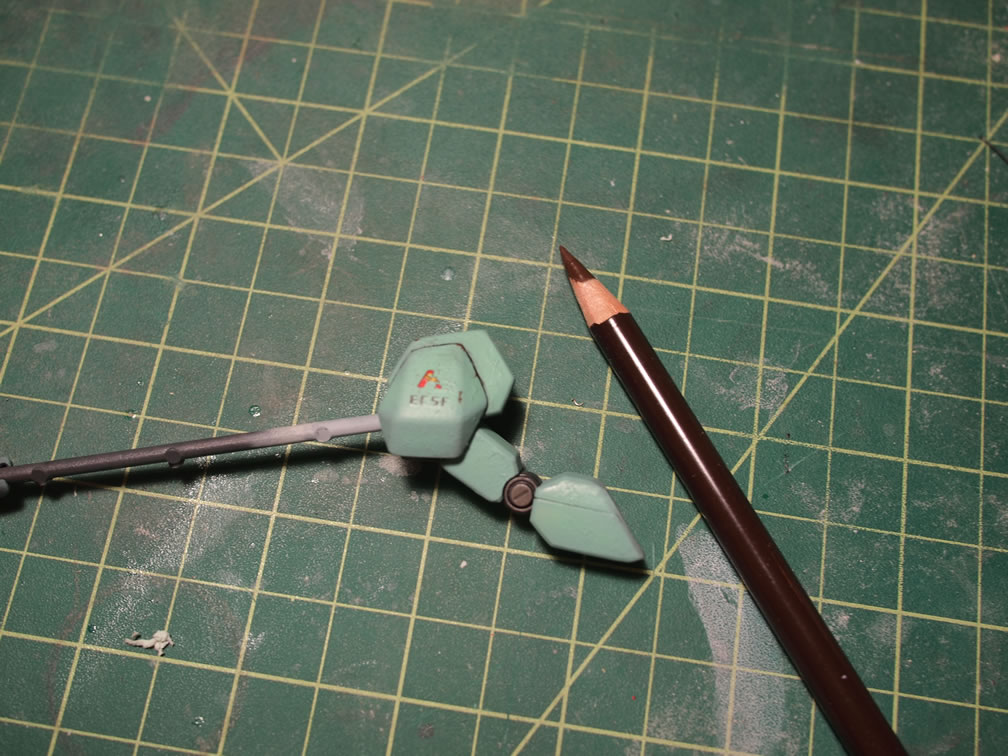
I only want a small amount of weathering. Granted the suit sustained a bit of damagem mostly on the shield, but a few bullet hits here and there. But the Jegan hasn’t been exposed to atmospheric elements or has been used extensively in long battles; so I did not plan to apply any sort of filter or fade to the kit. Pastels are going to be limited to only blast marks around the bullet hit areas and the damaged ares. The most I will do is some paint chipping; and Dan (Funaka) showed me a really cool way to do some quick paint chipping that he learned from aircraft modelers – the colored pencil. Instead of using a fine brush and paint, the process just uses a colored pencil to draw in the paint chips. Very quick and easy.
And in the early hours of yesterday morning, The Jegan was sprayed with a final clear flat to seal in some of the pastels used and then finally assembled. The Jegan is done, now to focus on completing the base which is quite a time consuming process not so much in the build and work, but in waiting for things to dry and cure before each progressive step. If all goes well, the coming weekend may see the completed base.