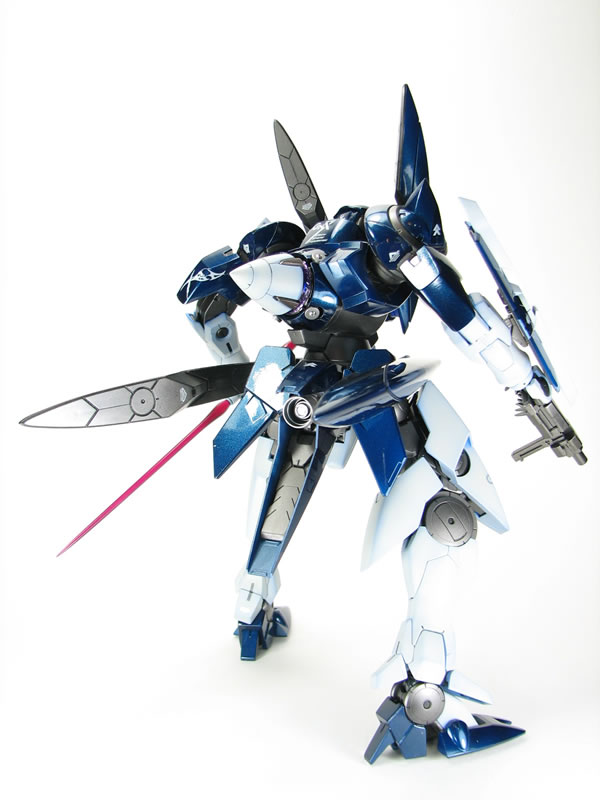
And she’s done. Most folks following my blog may or may not have known that I was working on this for the past few weeks in my spare time. I kept most of the update on the forums. But nothing too fancy, a quick OOB build. The only modifications I did were to the GN Drive’s LEDs for which I took from an MG Exia kit. The Exia’s LEDs were green, so the original LEDs were clipped and I soldered on some blue LEDs I had lying around. The piston ends of the drive also had some metal beads glued into place to accent the rather bland detailing there. The beam sabers were cut and glued together to create a Darth Maul-esq weapon and the sabers themselves were trimmed and reshaped – then following the Star Wars theme, they were painted with a clear purple ala Mace Windu.

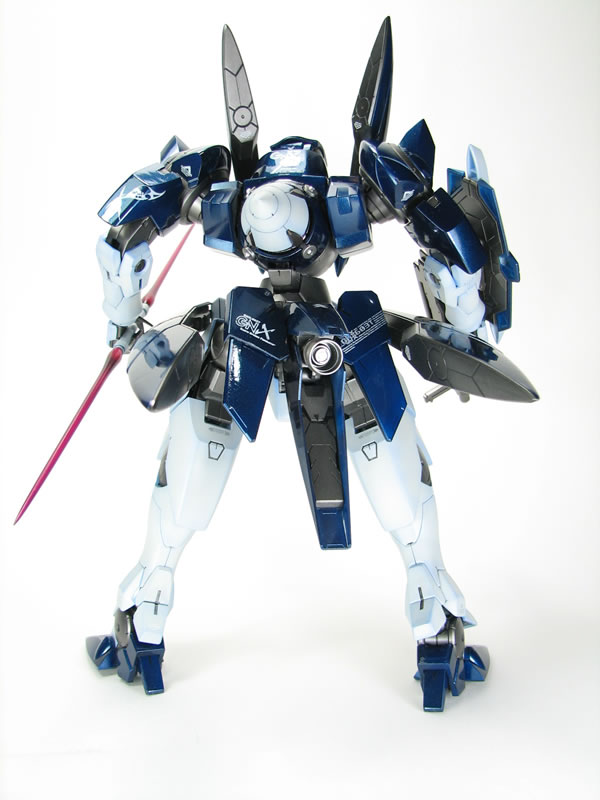
Originally, I was going to let the kit sit for another day for the last bits of the clear gloss to breath and cure. I wanted to use some polishing compound and auto wax to future shine the thing up. But tonight I tested it out on one of the cured pieces, first with tamiya polishing compound, then used some ultra gloss turtle wax over the part. And after polishing it a couple of times, I didn’t notice any difference in added gloss. So I’ll just leave it up for folks to tell me if it’s glossy enough, or I should just go and wax it anyways; which isn’t too big a deal to do as I can just pop the major sub assemblies apart and get that done, but I don’t see it getting any glossier than it is now. Here are some additional full profile pictures of the kit.
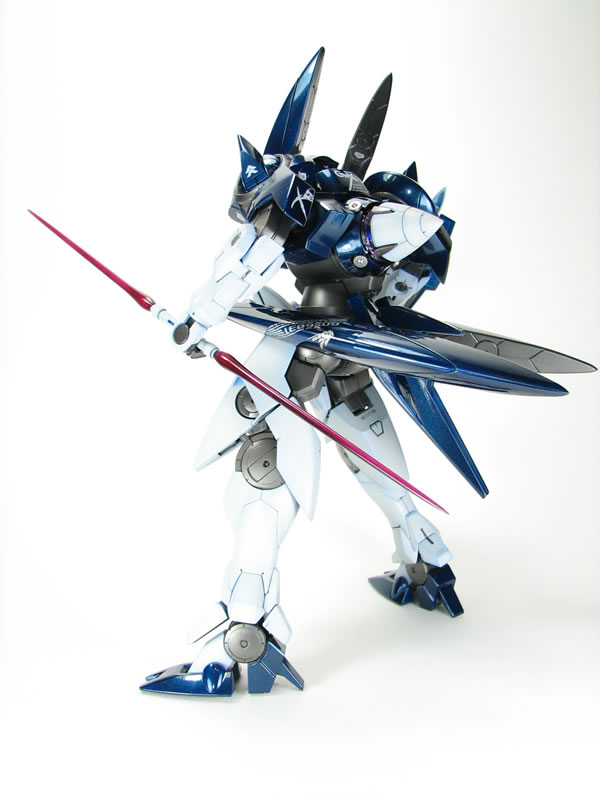
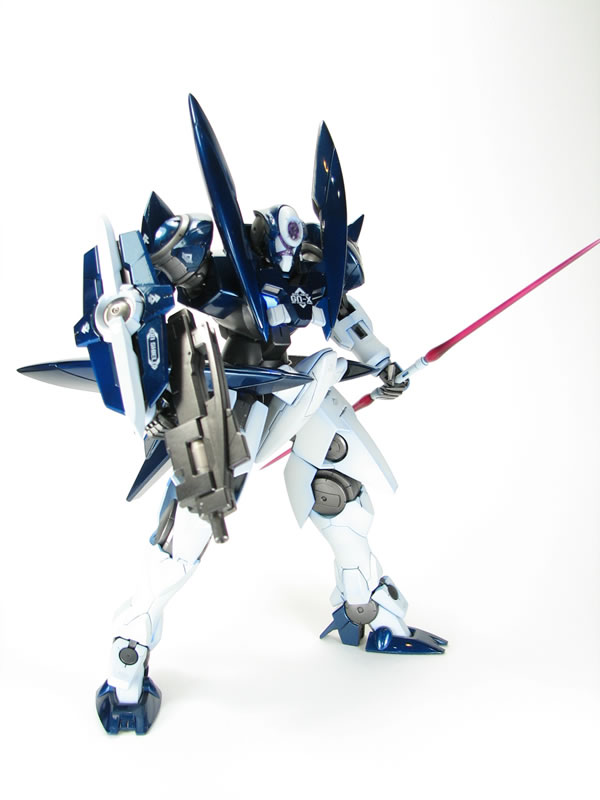
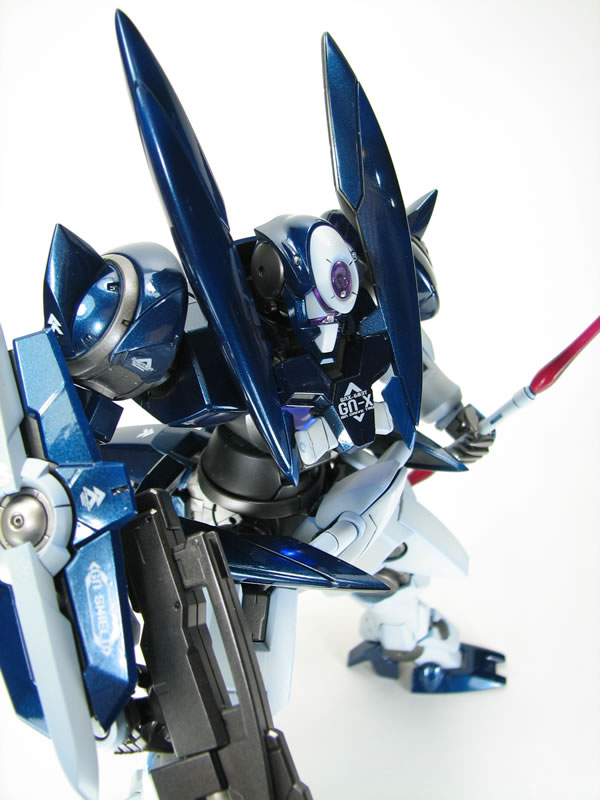
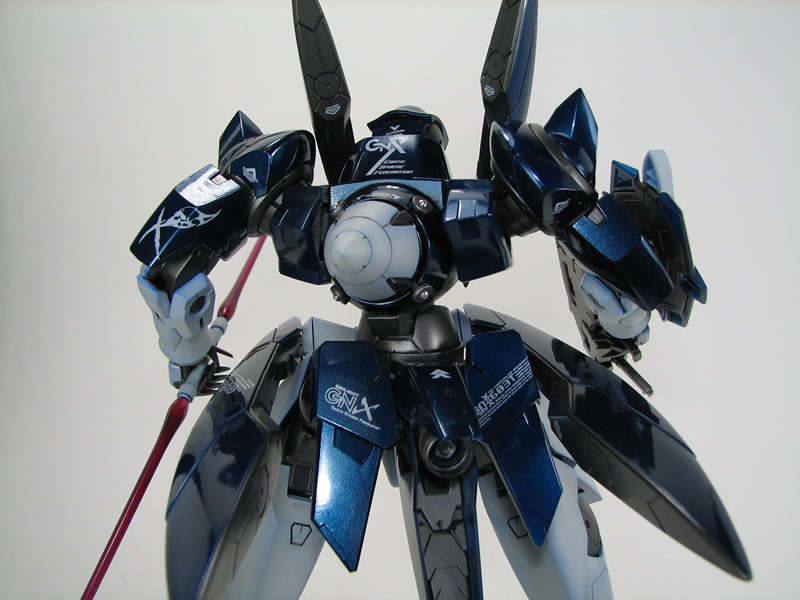
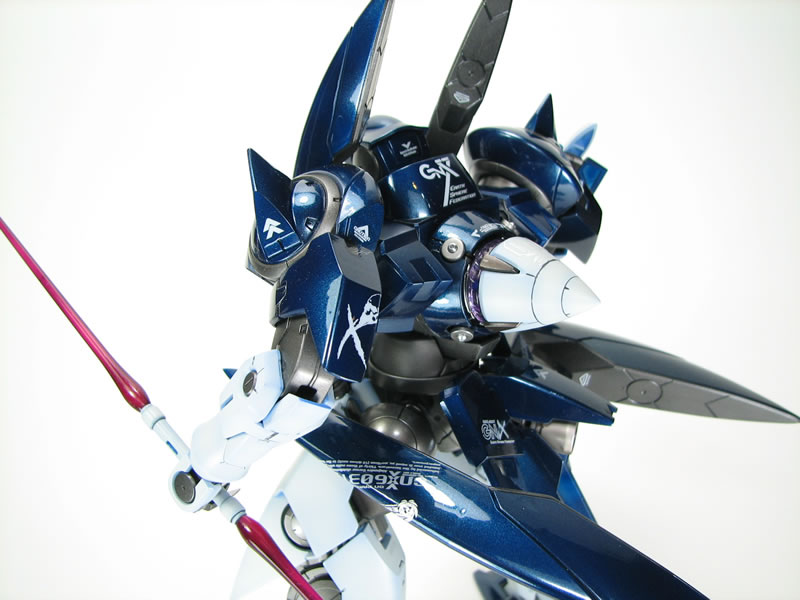
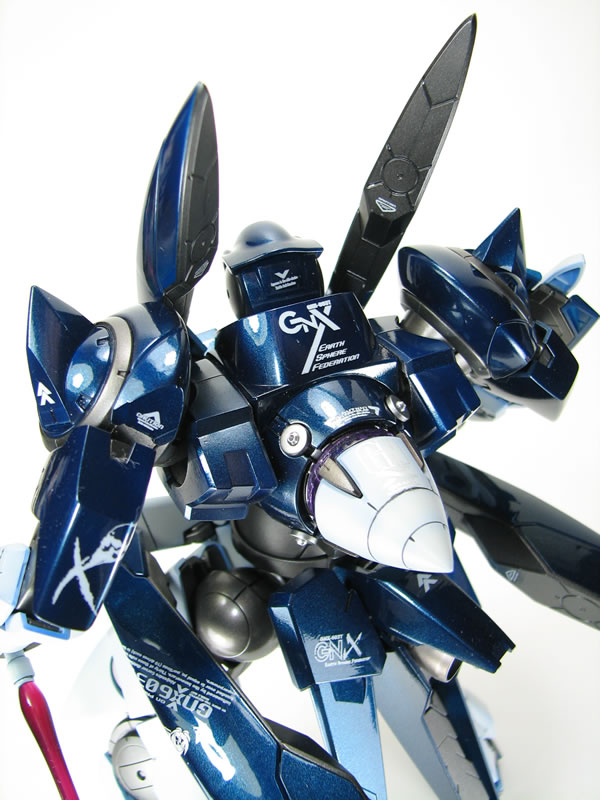
Here are a few close up shots. Glossy kits are a bit of a pain in the ass to photograph because they reflect EVERYTHING. And over exposing things flushes out some of the other colors while I try to show off some of the metallic indigo that I used for the originally gray pieces. So I have some pictures with varying tones as I changed exposure times and lighting targets. I spent a decent amount of time spraying layers of gloss over the kit to hide the decal lines as best as I can. In certain light they can still be seen, but I’m pretty satisfied with the final outcome.
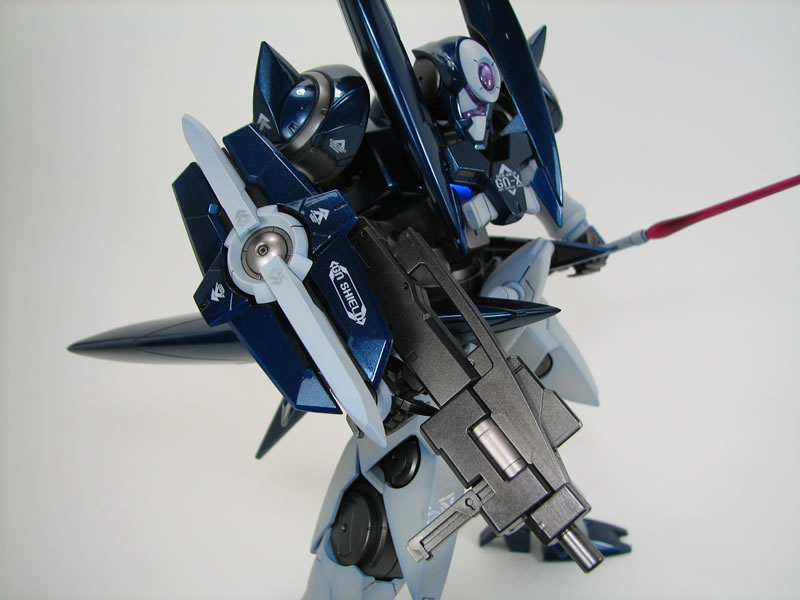
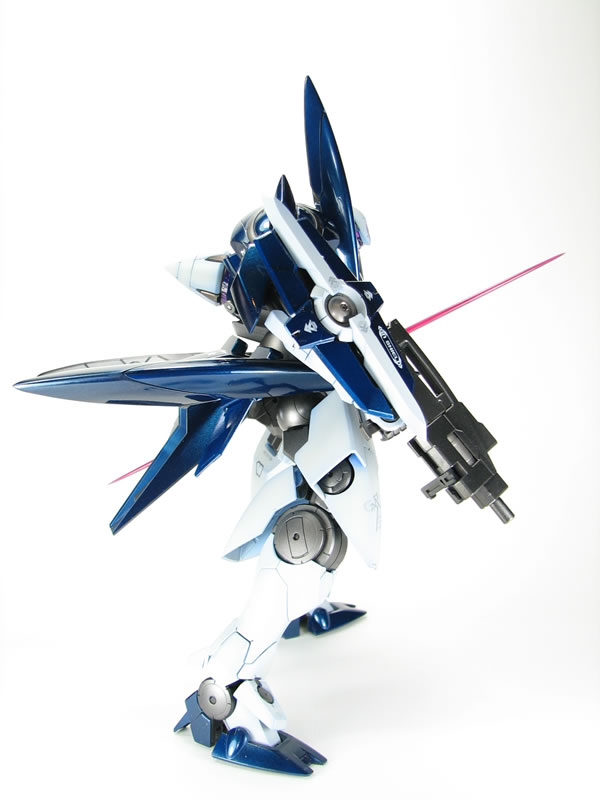
Here are some pictures of the back of the kit mostly focused on the drive. The rear part of the drive is also lit up, but with the photographs and the general design of the back of the drive, it’s difficult to see that it’s actually lit up. In hindsight, I guess I should have taken a picture of the kit with the drive turned off.
Click here for the full build progress page that details the steps in this project
Holy shit Baenre, I’ve been following your website for a long time, but I think this time you’ve really done it! The modifications are adequate, the paint application is superb(as always), and the colour scheme just captured the GN-X’s nimbleness and sense of speed in a very refreshing way!
The only thing is, does the paint scratch easily with this kind of pain application?
Good job and keep on chuggin’ old chum!
Hey thanks! The paint I used is lacquer based products. The only stuff that is any stronger is enamels. But they’re strong enough once cured for a good full week. It’s already kinda fallen a few times (the thing isn’t very sturdy on those little chicken legs and “bound feet” style shoes it’s got) But no scratches. I’ve had tamiya acrylic paint jobs that have scratched if I looked at them incorrectly…
” I’ve had tamiya acrylic paint jobs that have scratched if I looked at them incorrectly…”
I think I just found the source of my troubles. I once painted a HG Asshimar with Tamiya mat black and grey and I’ll be damned if that thing didn’t scratch like hell every time I transformed it or even posed it. Now the inner hip area is a huge mess of scratch lines… I’ll have to repaint it sooner or later, so any tips or recommendations? I’m stuck with spray cans or hand painting for now, though.
As for falling, GN-X always was a delicate flower I guess. The thing isn’t even meant to touch the ground unless it’s for replenishing purposes.
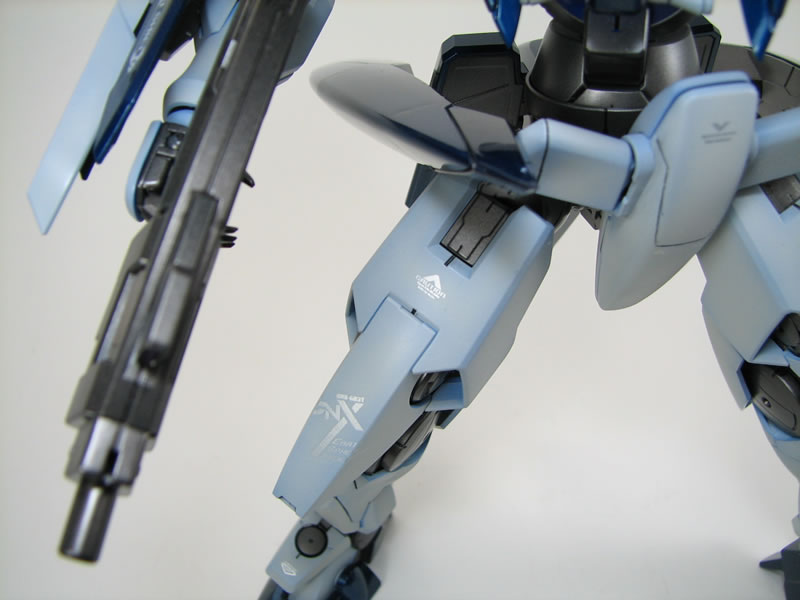
Very nice glossy/metallic finish! I especially like the shading on the legs – subtle, yet it nicely complements the metallic parts.