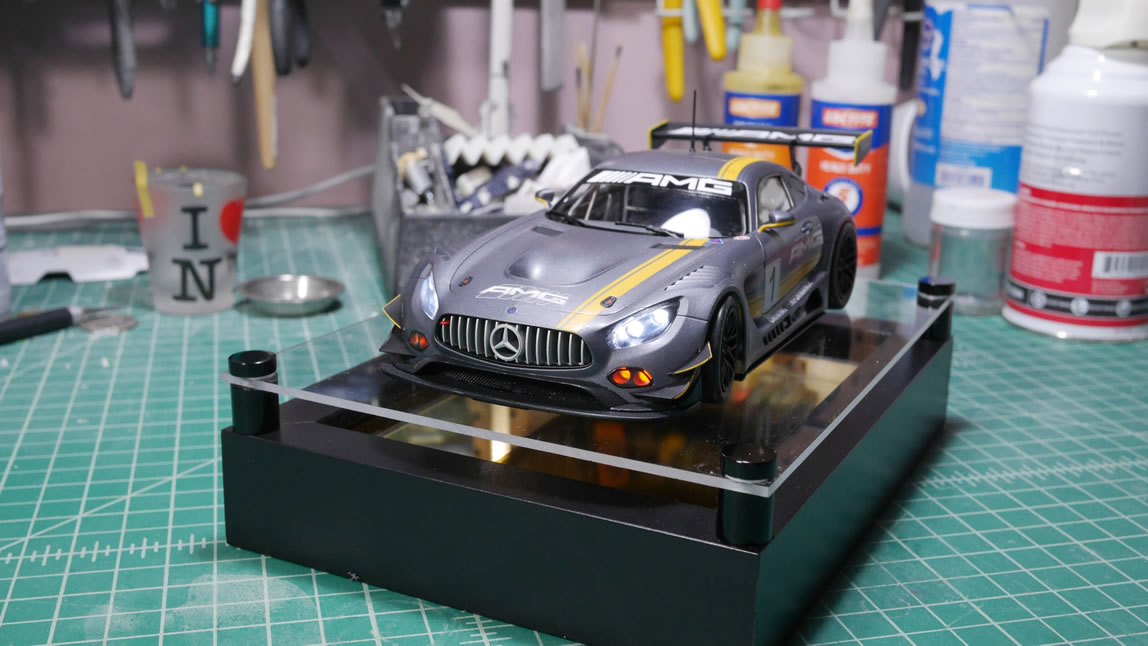
Last progress update for the Mercedes
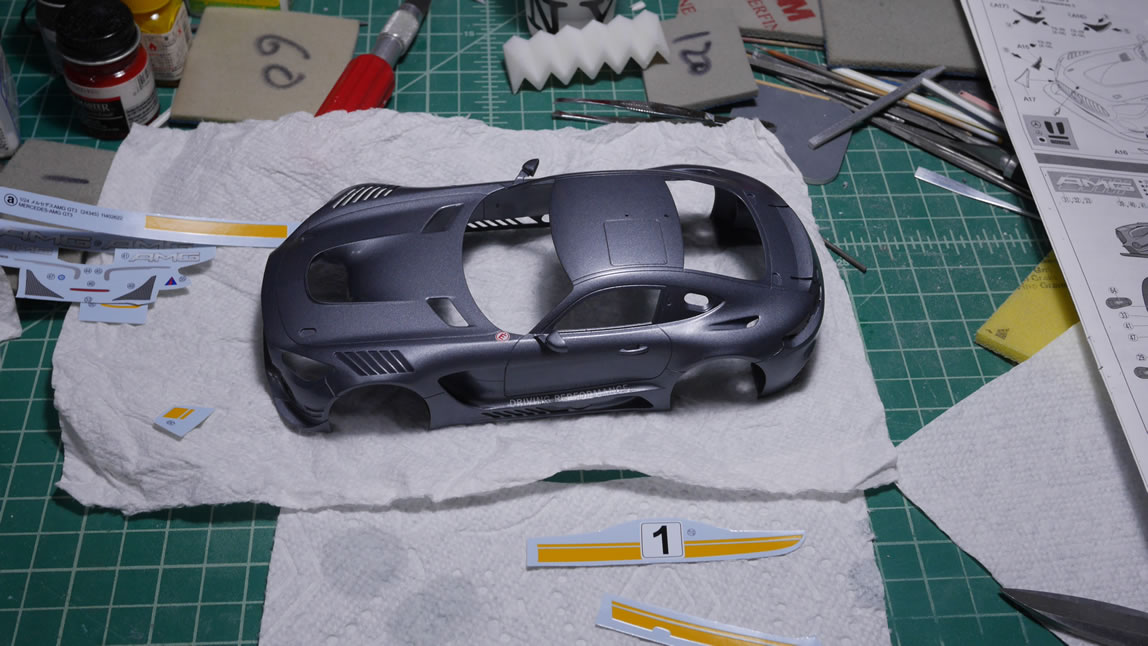
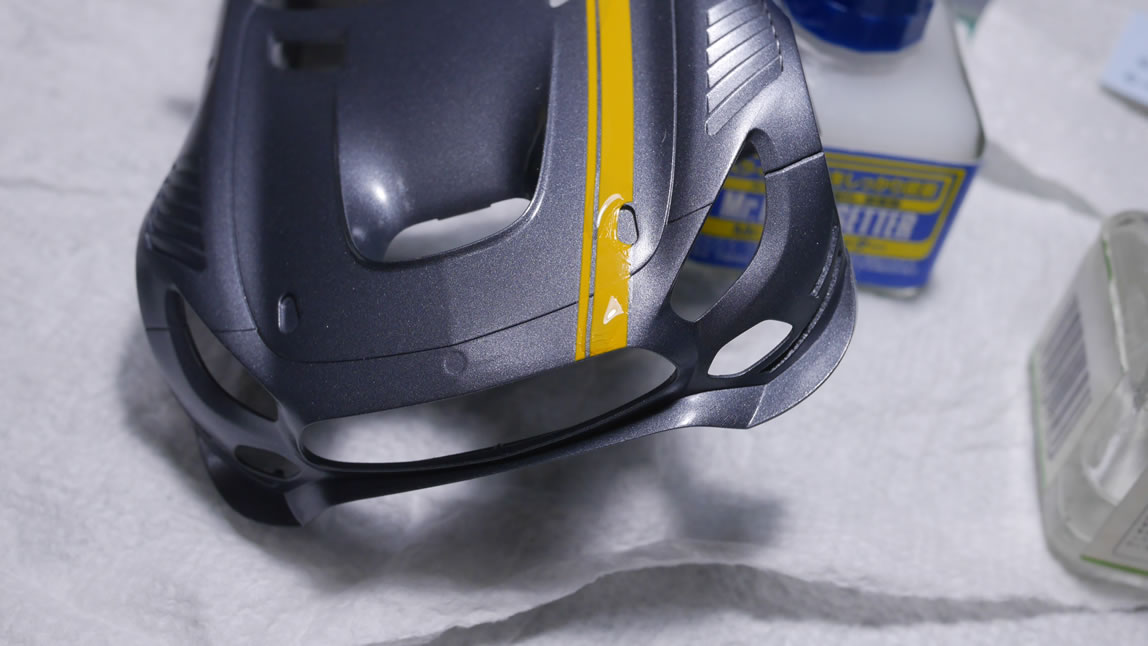
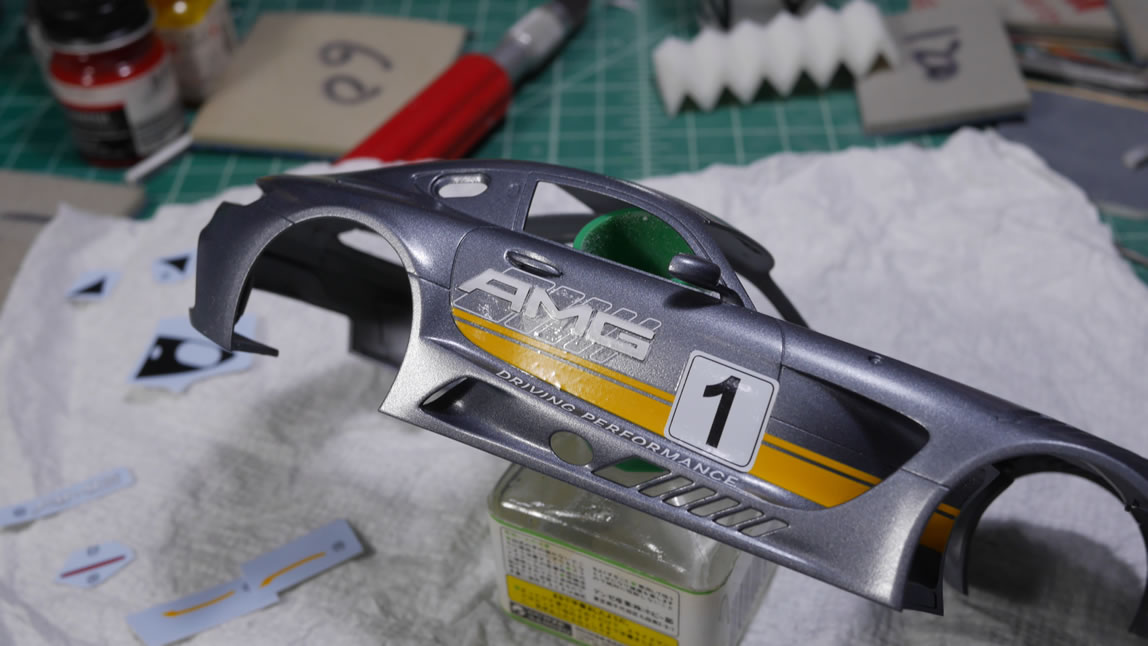
The body paint is done, or so I had thought.. so on to the fun decal work. The paint for the body is tamiya bright gun metal which is a semi gloss finish. That means I need to clear coat the crap out of the body before getting to the decal stage. I did the gloss coat in the last update so on to decals. This car isn’t too bad for decals, it’s not one of those itasha style cars, but it is a GT car. Luckily, it still isn’t as decal intensive as most race cars. The process is slow, and with how I worked, it should have been even slower.
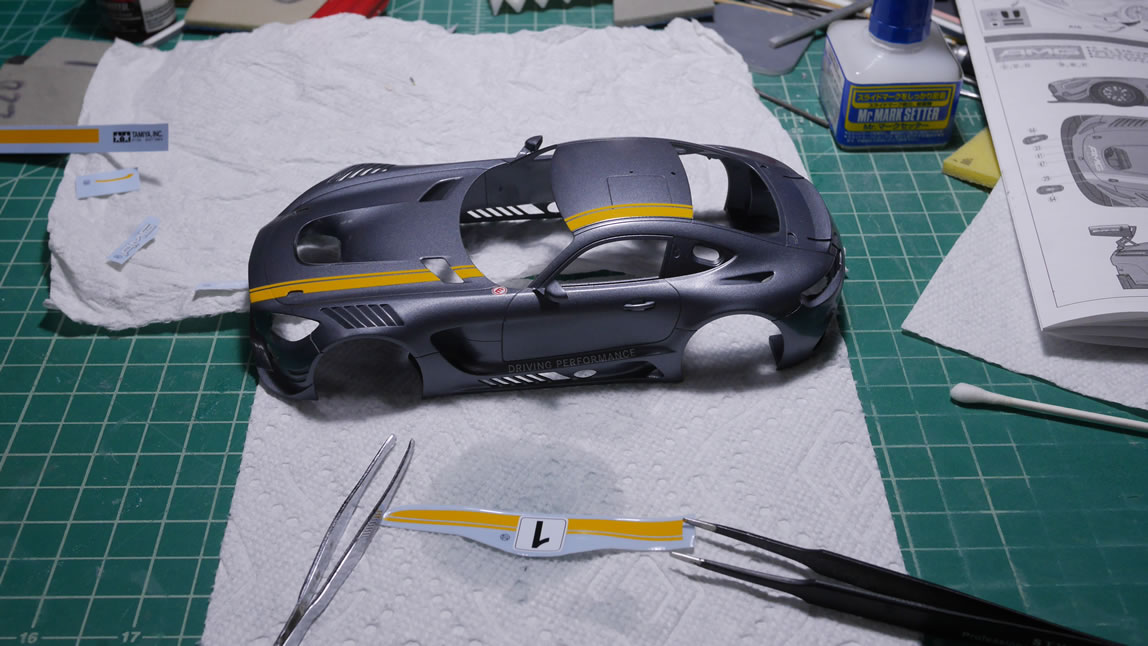
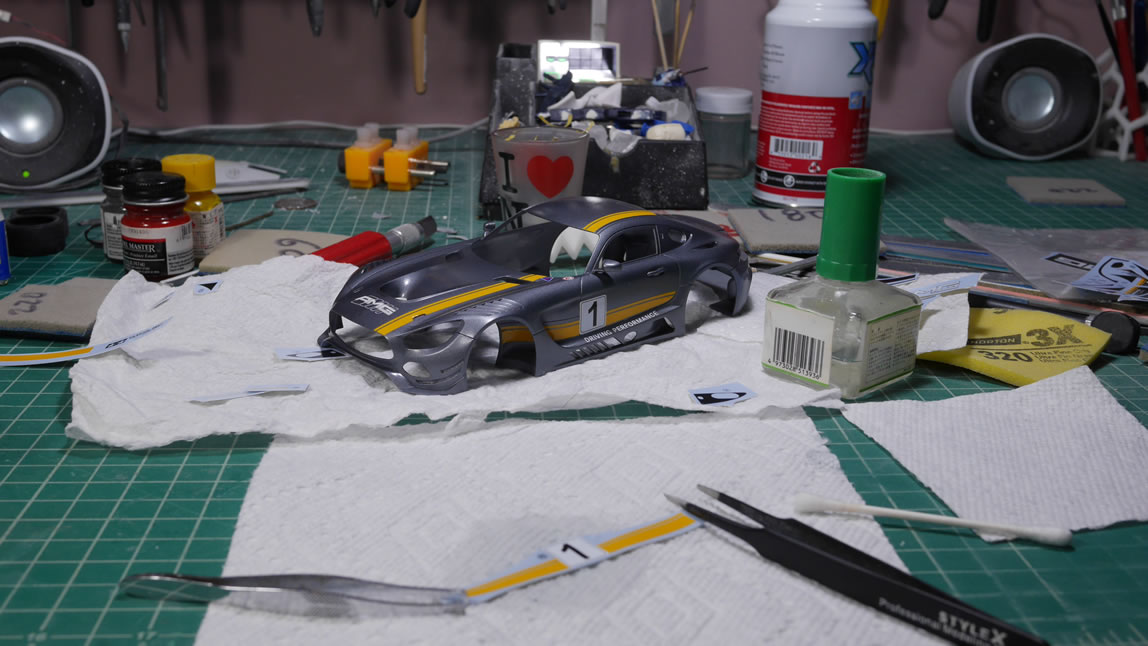
Once the decals are on the surface, I need to let them dry out completely. Then on goes the decal softening solution. This stuff will help melt the decals into the panel lines and get the decals to curve along the surface as if they were painted. The decal softening solution will wrinkle the decal in the process. It is very important to acknowledge this and leave it the hell alone to dry on its own. It will flatten out. Caveat, it will flatten out if the surface is flat and upright so that the decal and the softening solution don’t pool in any specific direction but flat onto the surface. The spoiler has 3 decals on three sides, and doing the softening solution process really should have taken 3 days – one for each side. But in my haste, I rushed it and did it at the same time. This pooled and shifted the decal so when it wrinkled, it stayed wrinkled. Huge lesson learned here. Paint and surface prep you can mess up on all day long. Those are easy fixes; decals unless you have a bunch of spare copies, is a one shot deal.
More after the jump. (more…)