Productive weekend: Levi Bust completed!

This has been a very productive weekend. Granted I was working on both kits for a while and I did start this kit a while ago and worked on it on and off over the past year, but nothing significant until I moved to the new house. Last week’s post showed some decent progress and during the downtime from the Gusion work, I focused on this, and vice versa. The box art shows the base as done in a single grey color. Almost like a tombstone. I didn’t care for it and thought it would look nicer with the Survey Corps logo painted up. As usual, I always start with the lowest surface level, which was the brick. It was also the largest surface area, so that was painted with a dark red that looked as close to your standard red brick as my colorblind eyes could see. Once that dried, it was masked off and gloss black painted for the emblem proper. Once the black cured, the emblem’s borders were painted with alclad steel.

(more…)

Continue ReadingProductive weekend: Levi Bust completed!

New Figure Build: 1/7 Revy by Volks

A few days of rest after AX is always healthy; but I’m still fairly gunplaed out after pushing pretty hard to finish the sucker punch diorama. I’ve still not taken a quick video showing the kit with all it’s lights and morse conversation between the two zeonic suits; but I’ll get around to it soon.

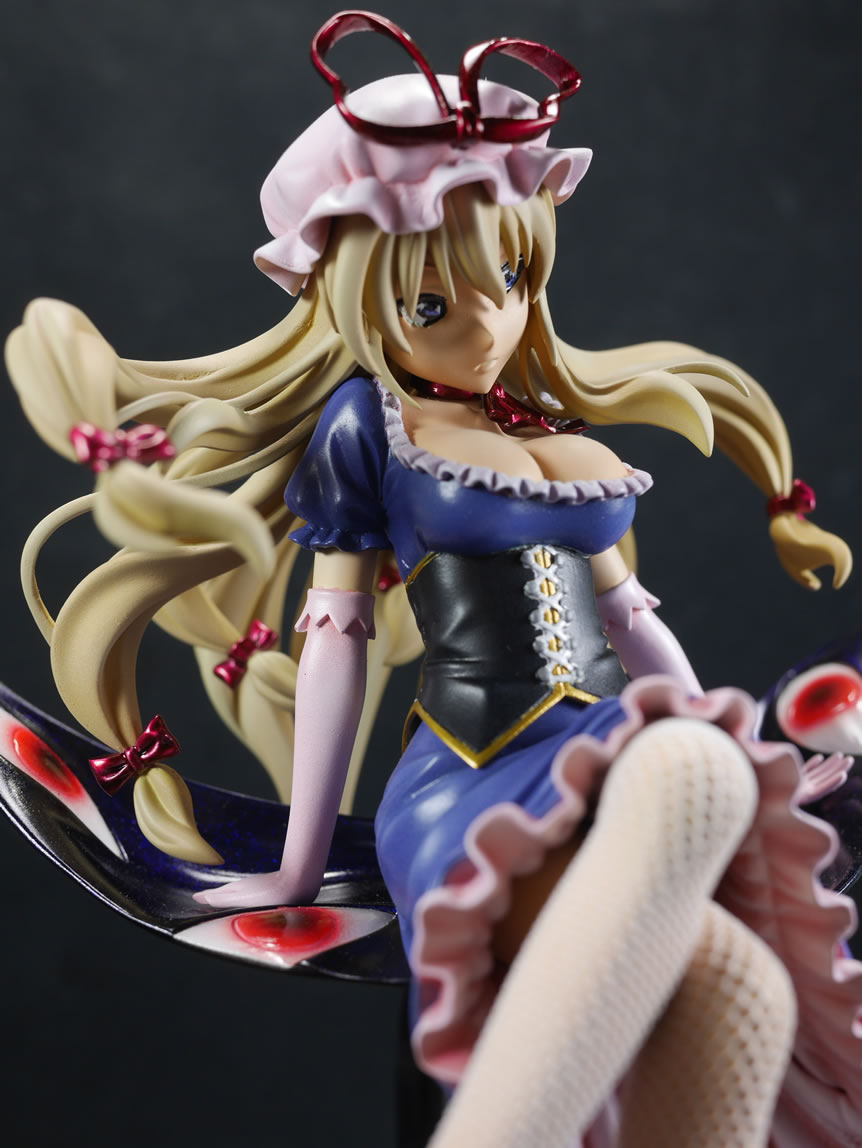
From AX, Volks was in the exhibit hall and while I didn’t really put much faith in seeing resin kits. The booth was fairly simple with some display pieces; and historically, most booths with these figures were not selling kits. I did notice some FSS kits they were selling, all plastic and no resin. But I asked about resin figures and they pointed to a sign right in front of me with their whole line of charagumi kits. Picking up my jaw off the floor, I immediately asked if they had the Revy kit. I’ve been interested in this kit for a while as well as the Saber kit; but I was immediately suckered into picking up the Revy kit. I am usually pretty good at walking away from AX without picking up a single kit; but damn, I could not pass up getting at least one kit from Volks. I hope they did well enough that they come back next year.

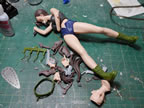
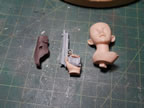
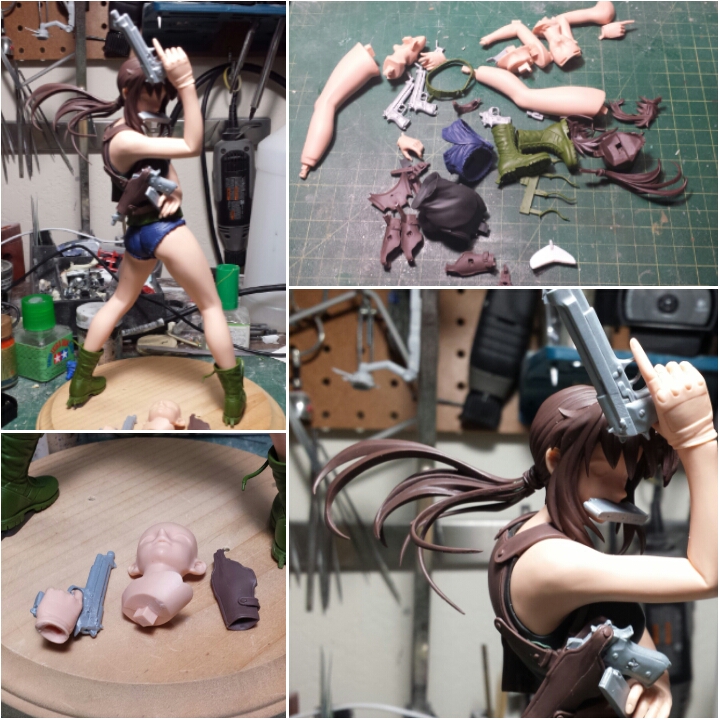
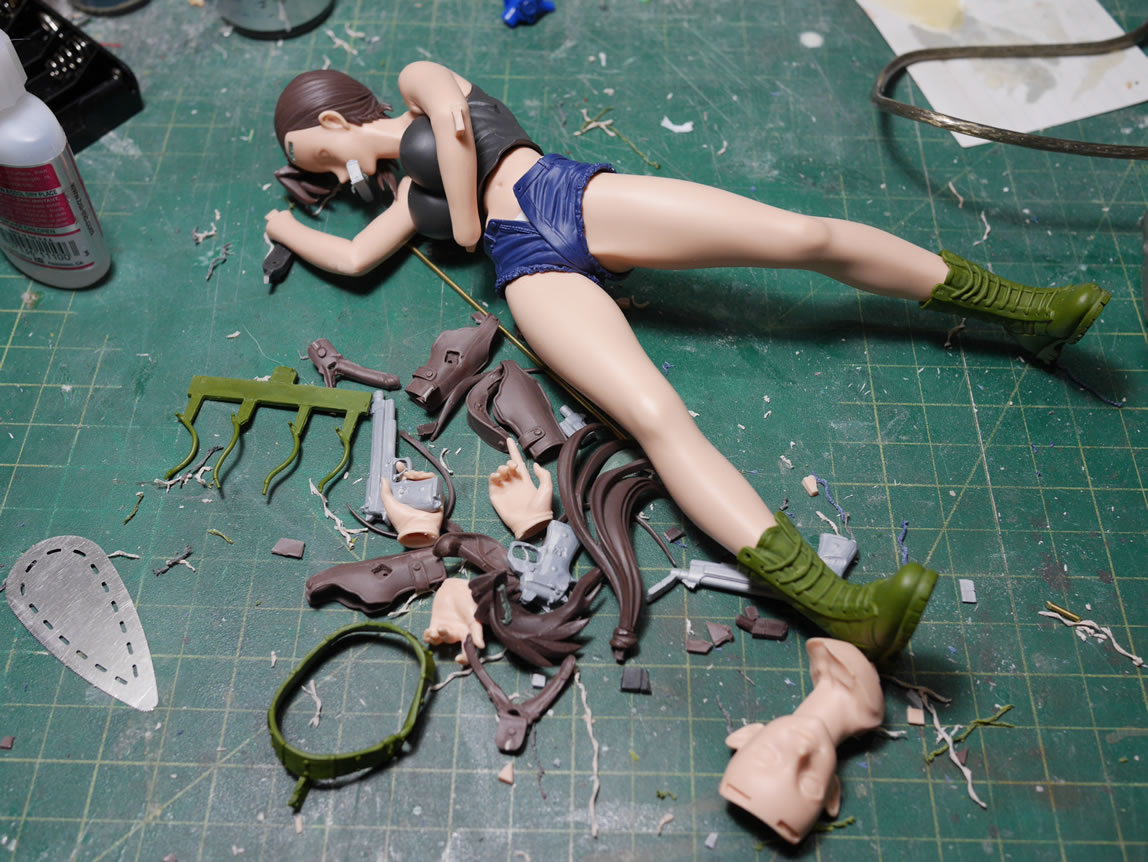
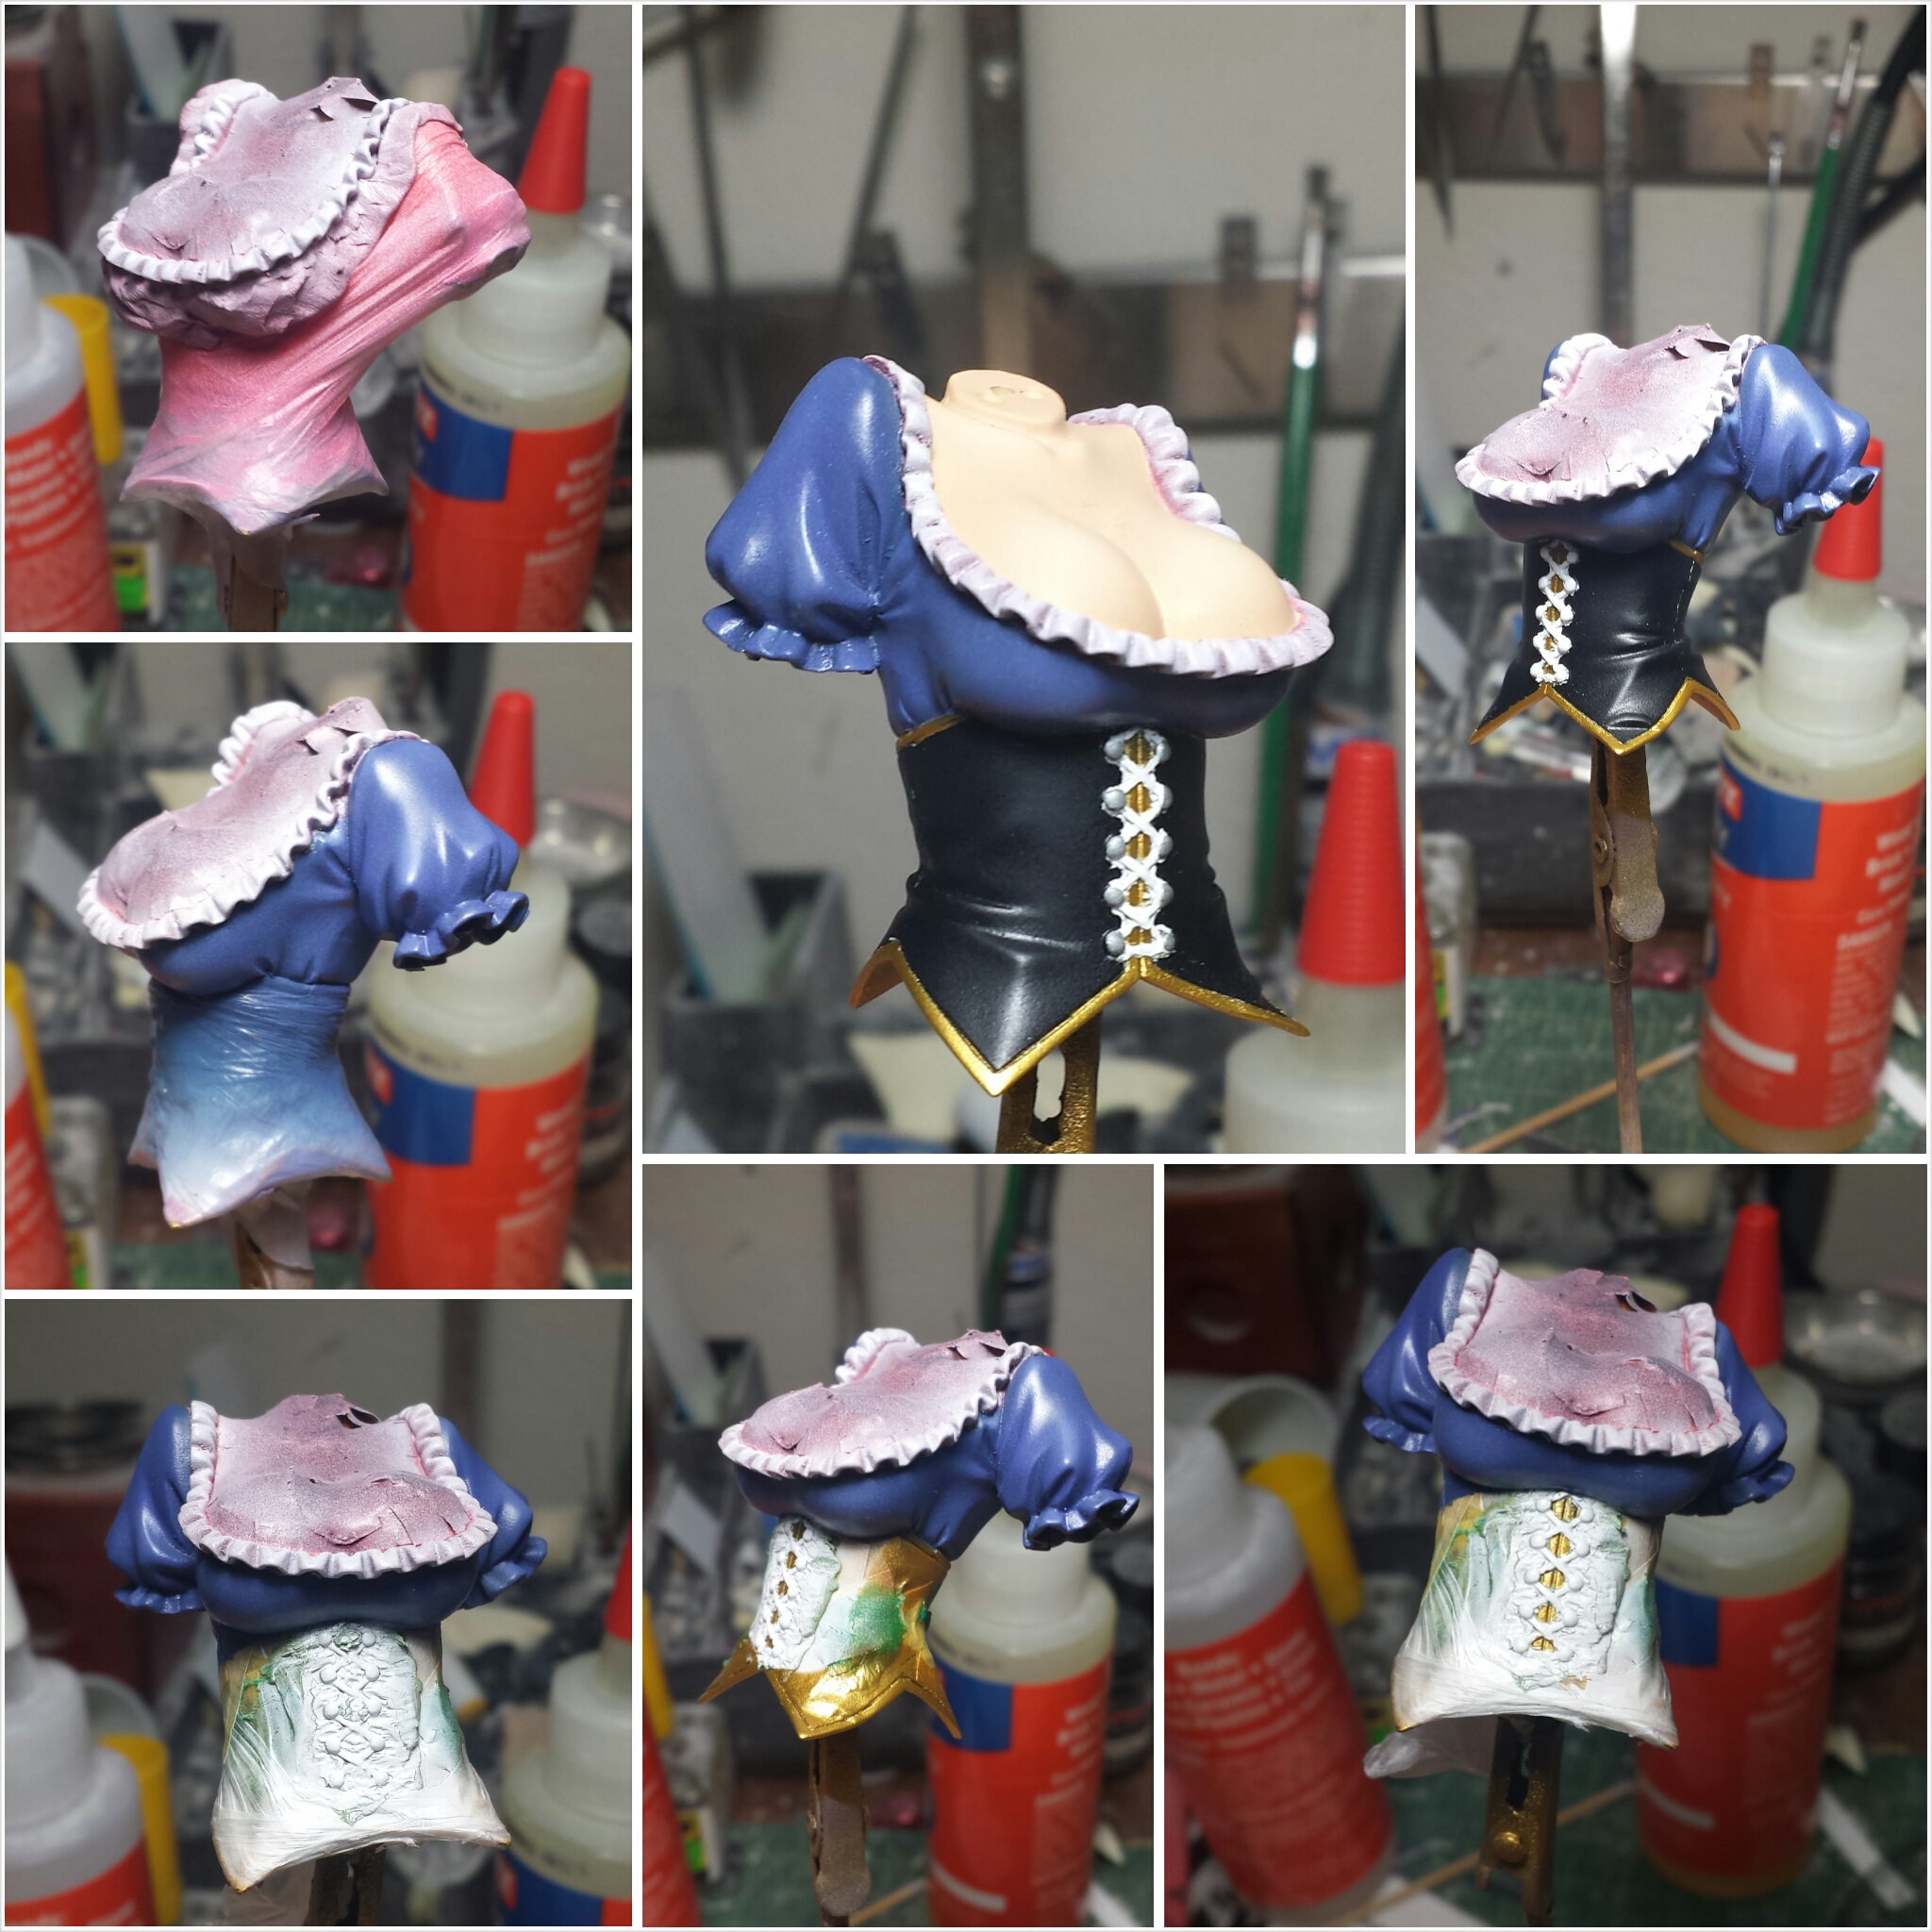
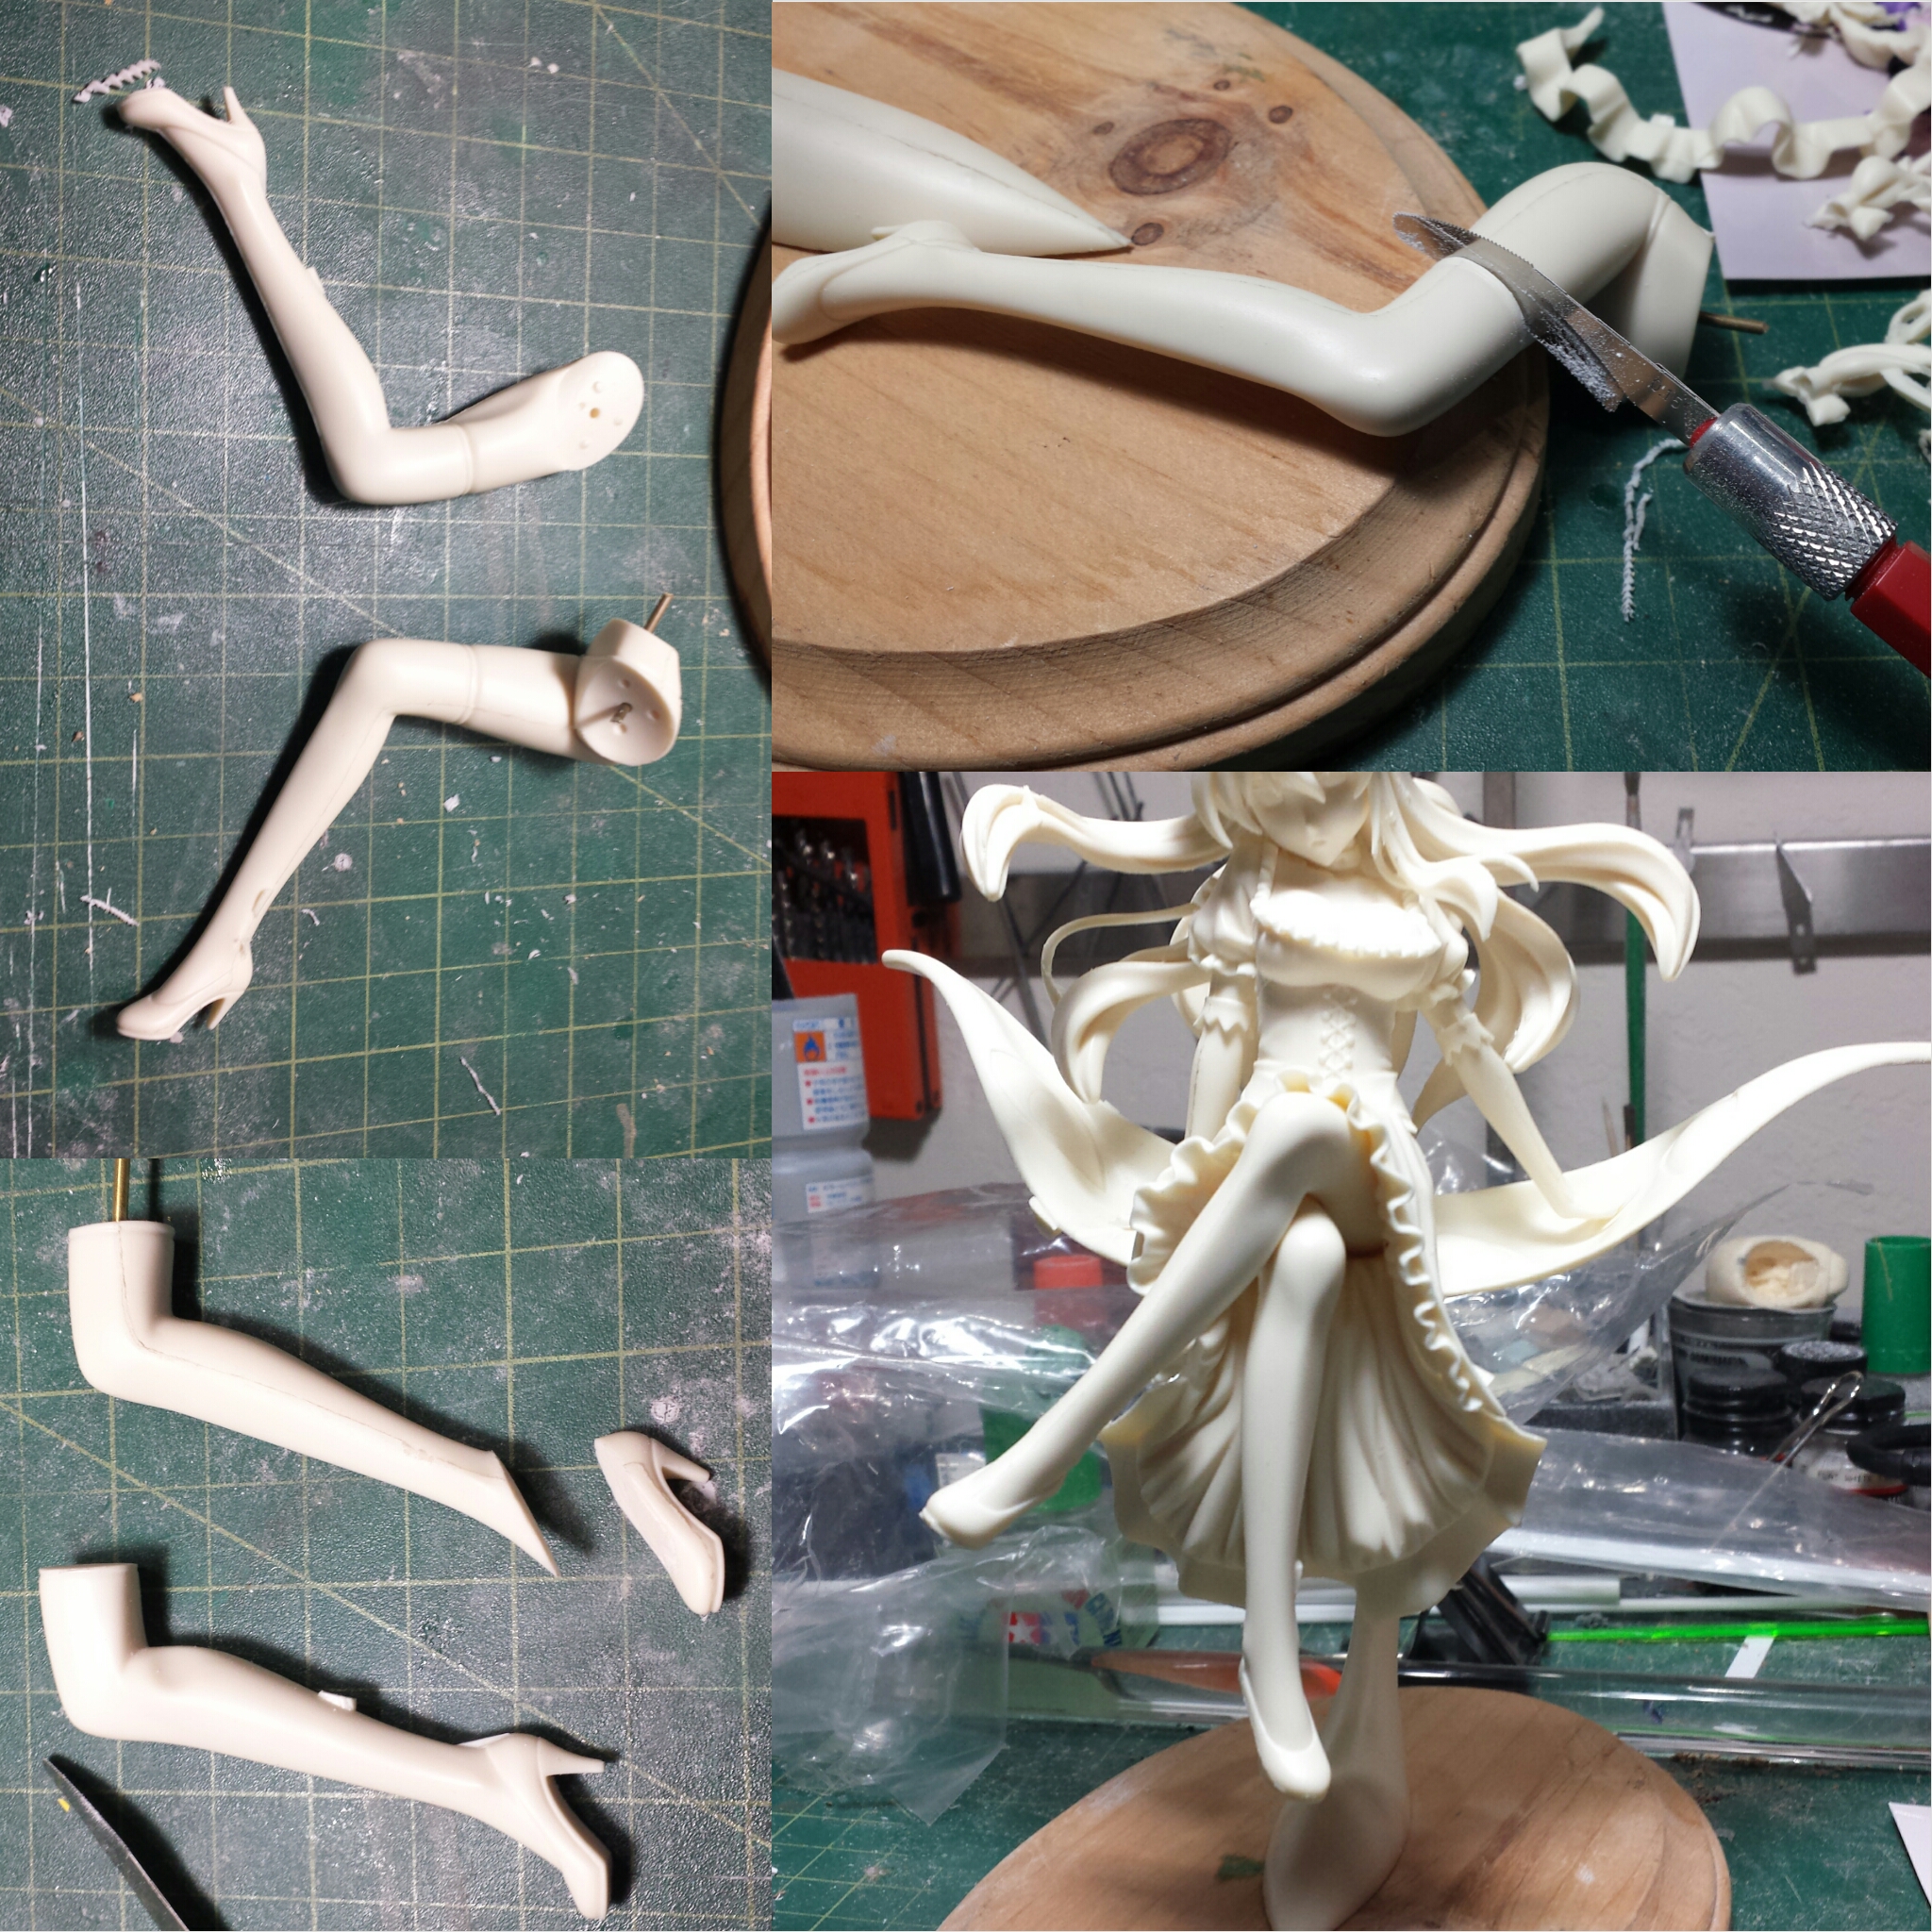
Cracking open the kit, the parts separation is amazing. They are using colored resin. There are still gates that need to be removed and mold lines that need sanding. But baring any pinholes, it would be as simple as just clear coating the thing, gluing everything together, and adding the decals. But like the colored bandai kits, I will be priming and painting this kit. It will definitely be an easier resin figure kit; but the same work for any resin kit is needed.

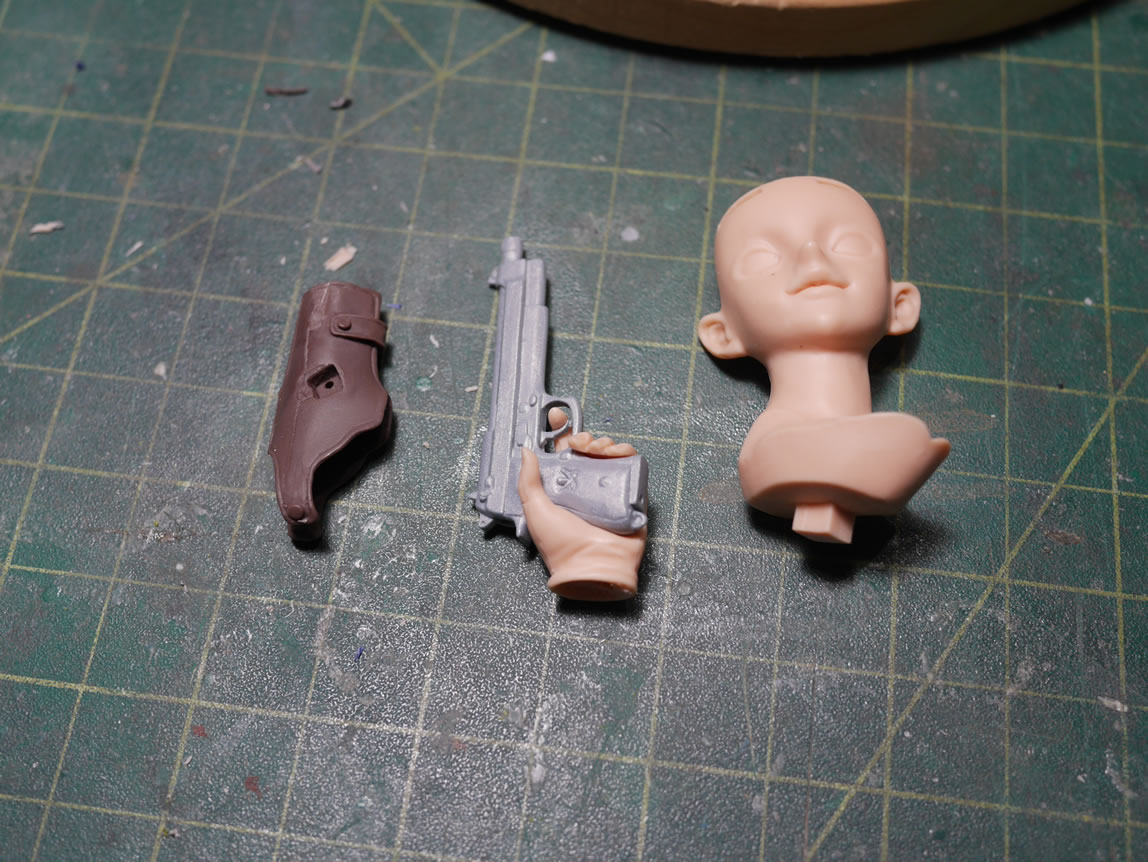
Another note about this kit is the extra parts. The kit comes with two heads, one with her mouth open biting down on a gun mag; then another with her mouth closed. There are also options on her left hand, either holding another gun mag, or holding the second gun. This leads to options for the holsters; an extra empty holster and one that has a gun holstered. Pretty damn cool to include all these extra parts; and effectively, all the parts can be painted and then interchanged.

(more…)

Continue ReadingNew Figure Build: 1/7 Revy by Volks

Yukari Yakumo Completed

I finished this kit late last month, but just hadn’t gotten around to taking pictures. I also picked up a new camera so this is the first subject to have completed pictures taken with the new camera, a Lumix GX7. It uses the same lenses as my old Olympus EP2. It is a nice upgrade from that camera, so I will have fun learning to use it.

The kit was fairly simple, I did have to do some modifications to the legs to make the white fishnet stocking addition easier to do. Other than this, there was the usual multi tiered masking involved. I hope to get more figures completed this year, so hopefully not a end of the year project like this one.

Full gallery after the jump.

(more…)

Continue ReadingYukari Yakumo Completed

Finishing up Yukari

Work continued on Yukari with a sewing machine.

Returning shorly to the previous post, the leg parts were cut to remove the shoes as well as the upper thigh. Instead of painting on the leggings, I decided to sew some nylon mesh material together and effectively have real stockings on the kit. The mesh materials is measured against the painted legs and cut into strips. The mesh is then held together by some pins and sewn together using an elastic stitch. The excess material next to the open end of the stitch is cut away. This end of the stitch needs to be hidden, so the mesh tube is flipped inside out so the excess is on the inside. Once flipped, the mesh tube is slipped over the legs. Cutting away the upper thigh and the shoes makes it easier to put the stockings together, since the upper and lower areas do not need to be carefully cut and glued.

yukari_feet_mod yukari_leggings

Once the legging are in place, the shoes and upper thigh pieces are glued together and the lower torso and legs are done.

(more…)

Continue ReadingFinishing up Yukari