Shading for Asagi (井河アサギ)

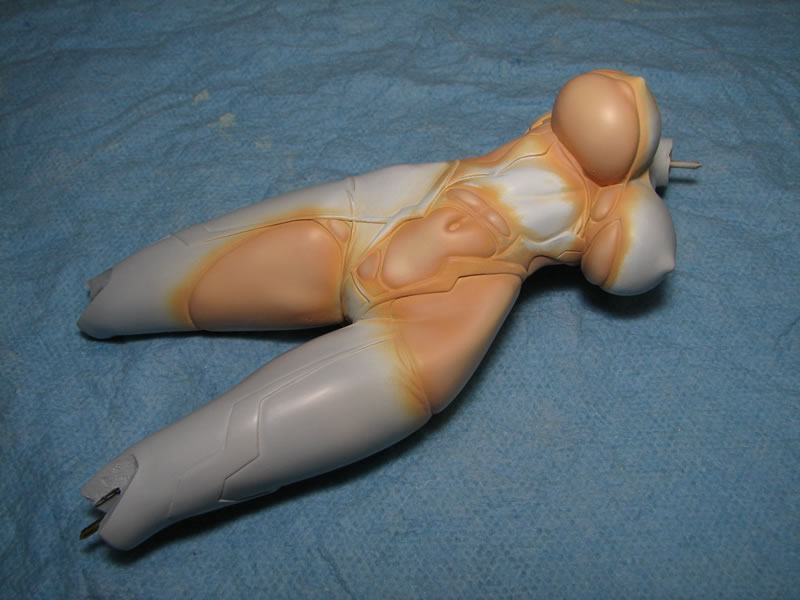
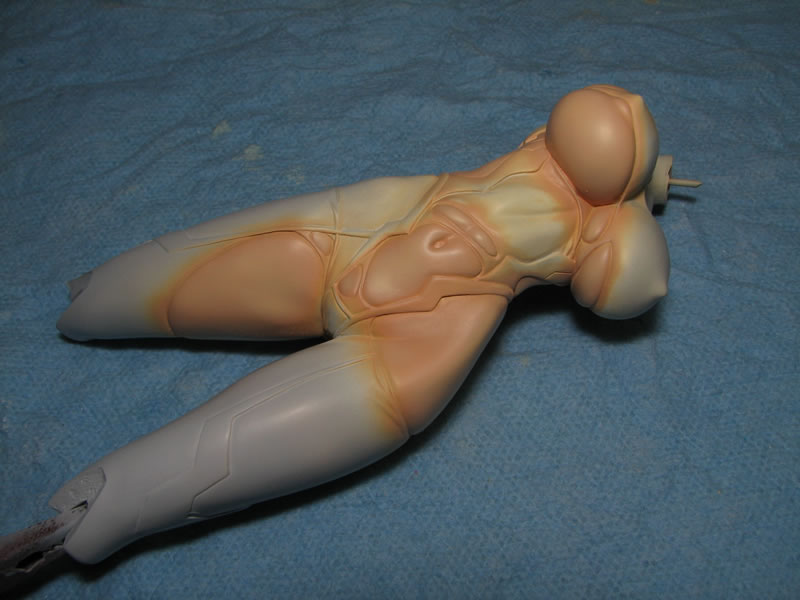
Last night’s work on Asagi consisted of the second layers of paint. The main body and skin pieces were treated to the lighter shade of skin tone. Coming from my mecha building techniques, I use a pre-shading method with a darker base color followed by a lighter color to create shading effects. In the below pictures, the first picture is shows the lighter skin tones on highlight areas. Once I have all the areas highlighted, I pull the airbrush back from the parts, raise the air pressure, and mist on the lighter color to blend everything and soften some of the more contrasting areas.

asagi_prog 080_jpg.jpg asagi_prog 083_jpg.jpg

(more…)

Continue ReadingShading for Asagi (井河アサギ)

Tattoo for Kanu

With the clear gloss cured for a full day, I can now apply the decal. The first picture shows the planning stage. Once I have a good idea on where I want the tattoo (decal) placed, I can now dip the decal in some water for a few seconds then take the decal out of the water and let it sit on a napkin for a minute or so. This loosens up the decal from the paper backing and doesn’t completely dissolve the glue that’s on the decal film. When I went to slide the decal onto the skin, the decal fell apart, several decals fell apart… so I took my gloss clear and sprayed the decal sheet and let that set up for a couple of minutes. Once that completely dried, I tried the attempt again, and the clear gloss added some strength to the rather thin decal film. The bad part about this is that the clear gloss added a little thickness to the decal film.

kanu1_6_prog 180_jpg.jpg kanu1_6_prog 186_jpg.jpg

(more…)

Continue ReadingTattoo for Kanu