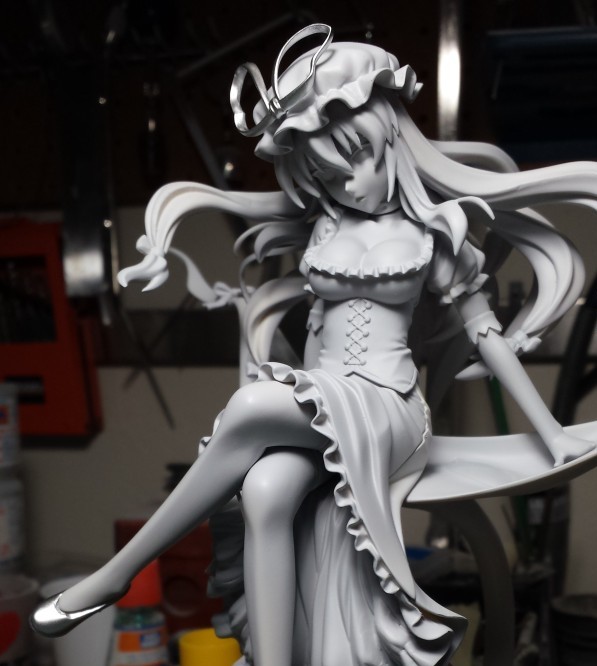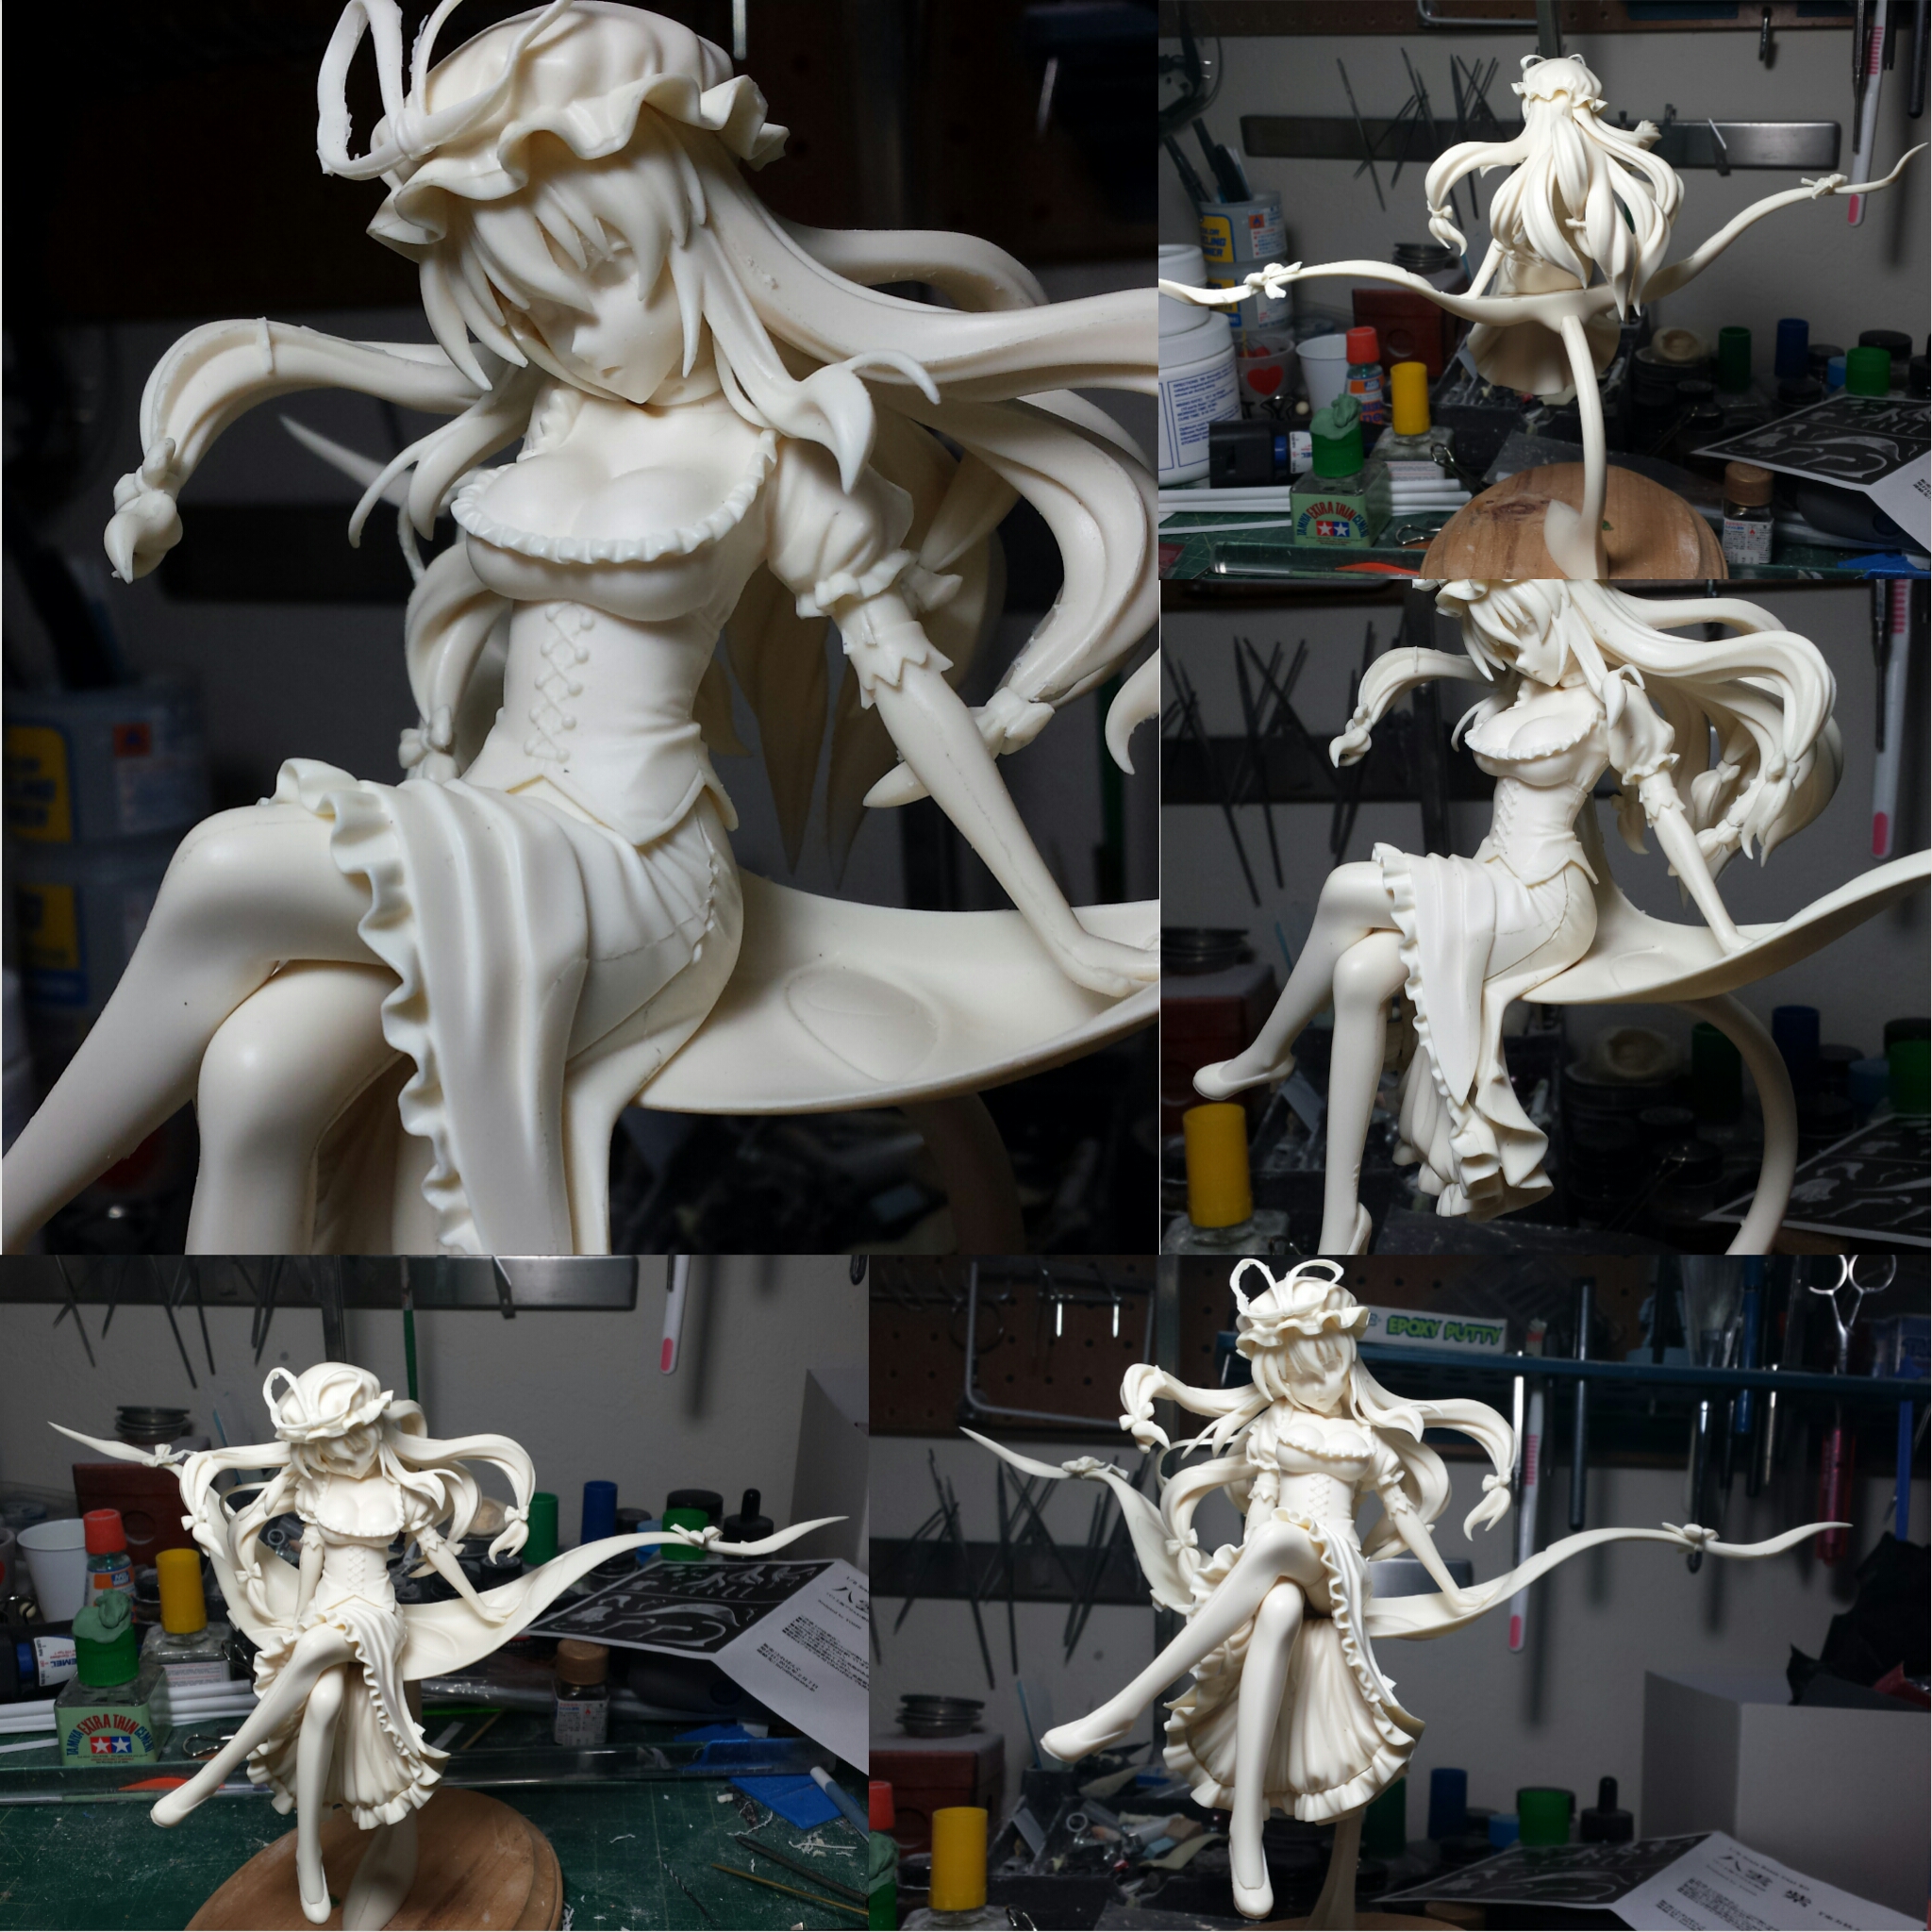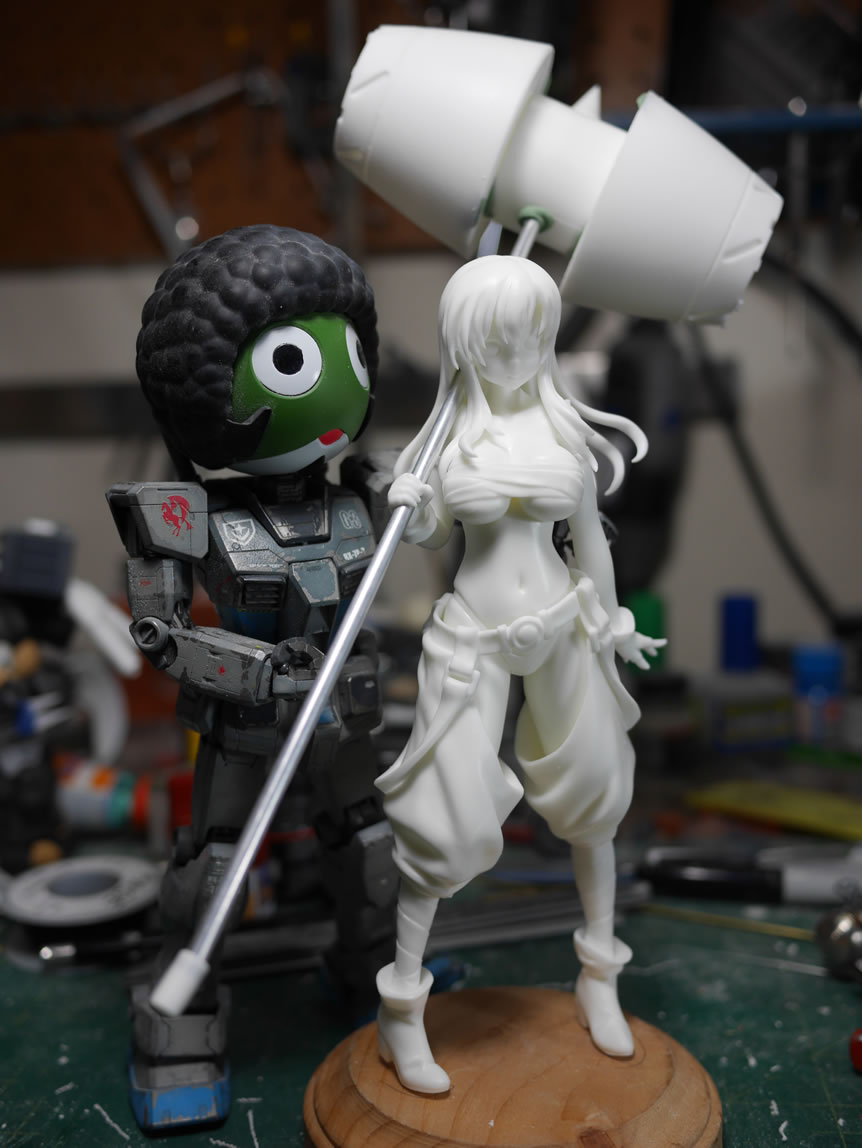
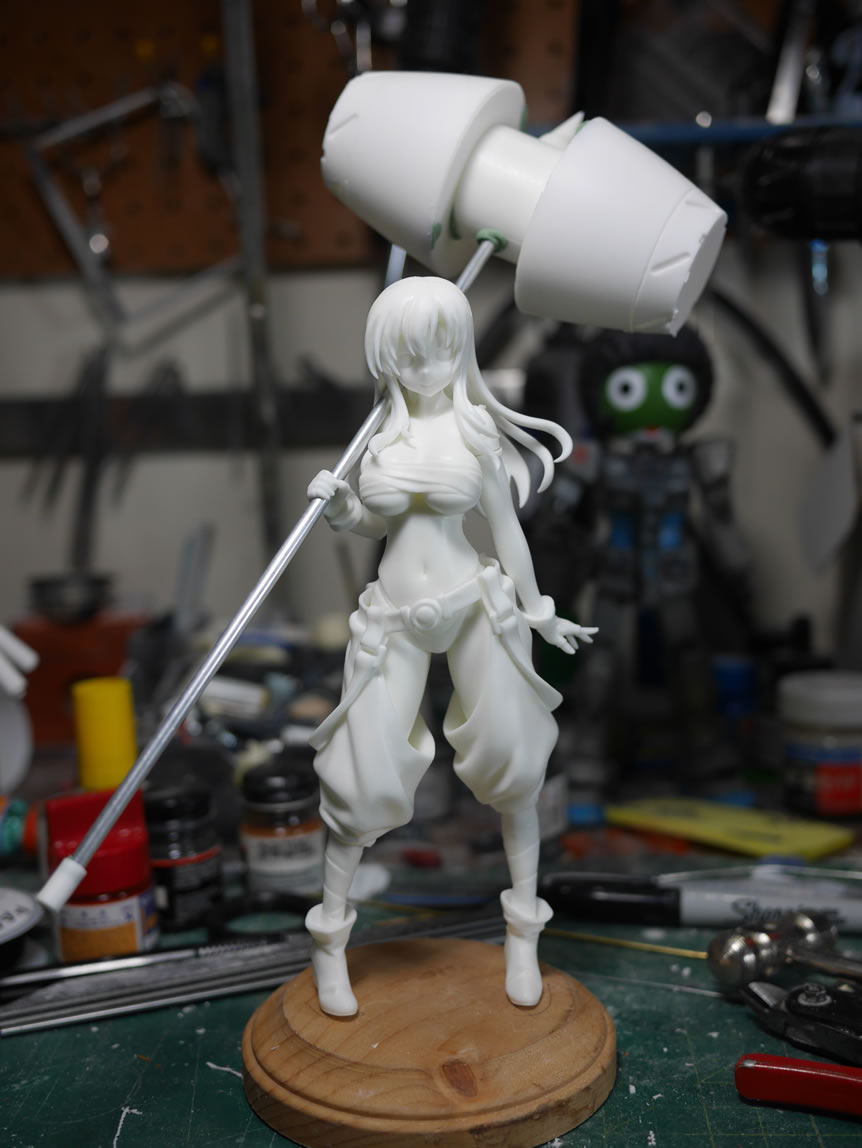
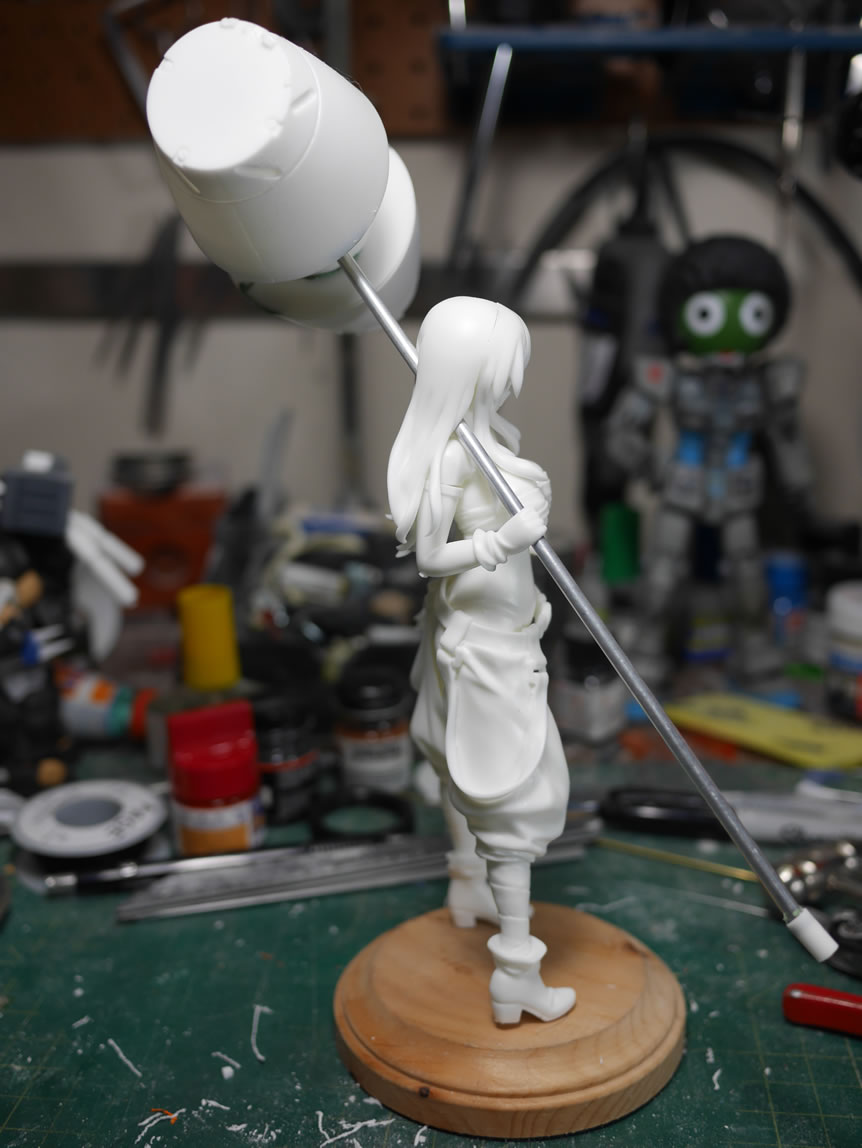
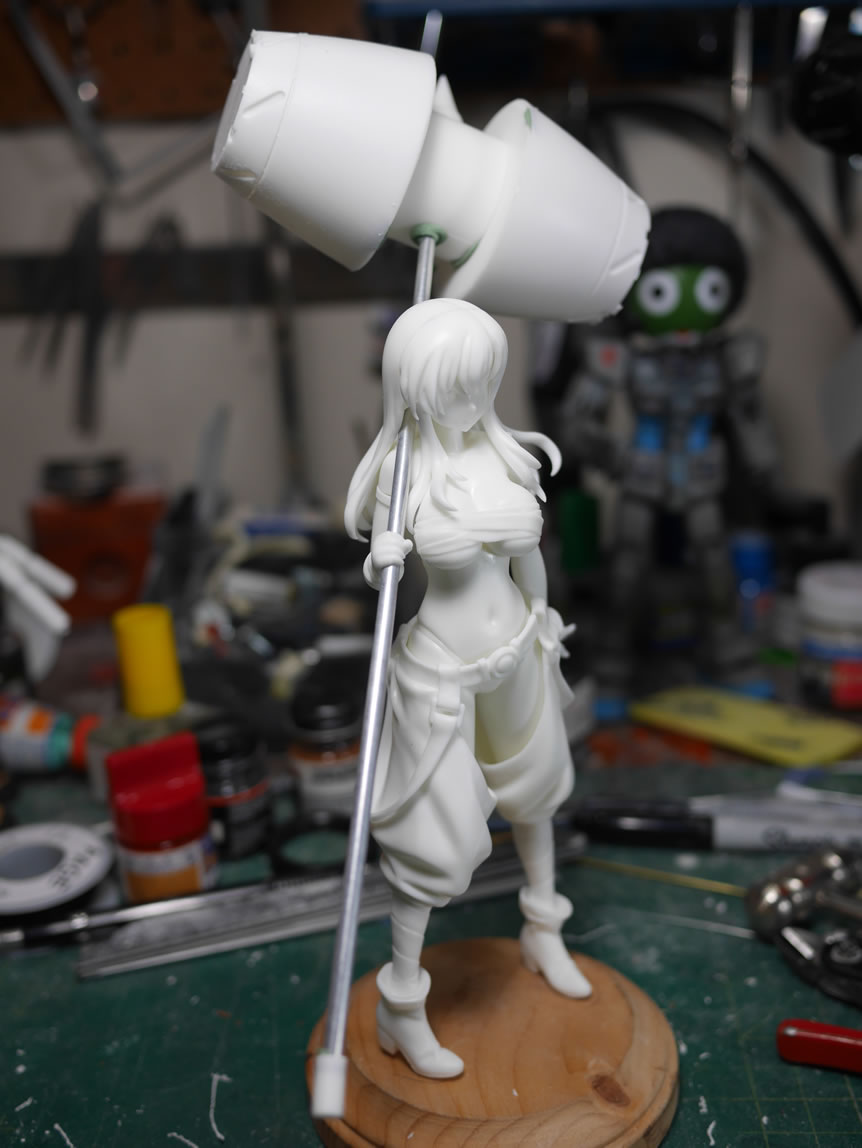
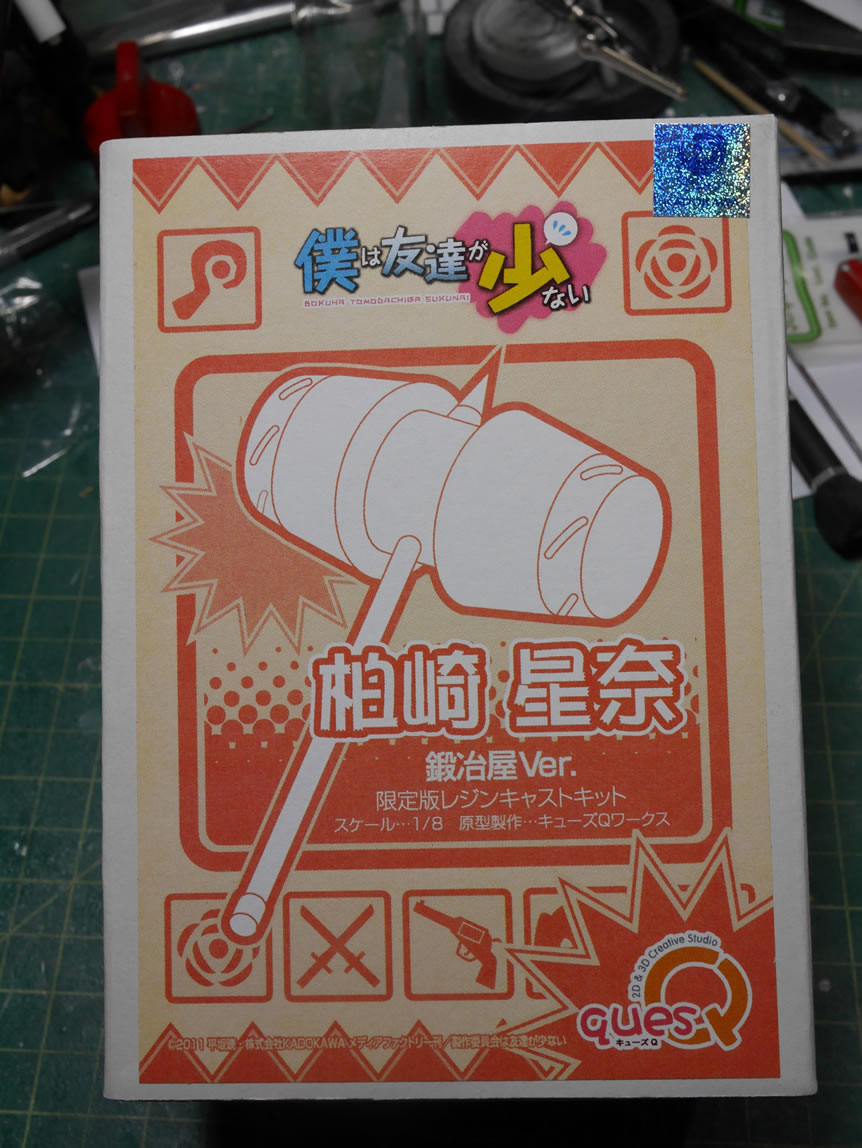
Sena Kashiwazaki cosplaying as a Blacksmith
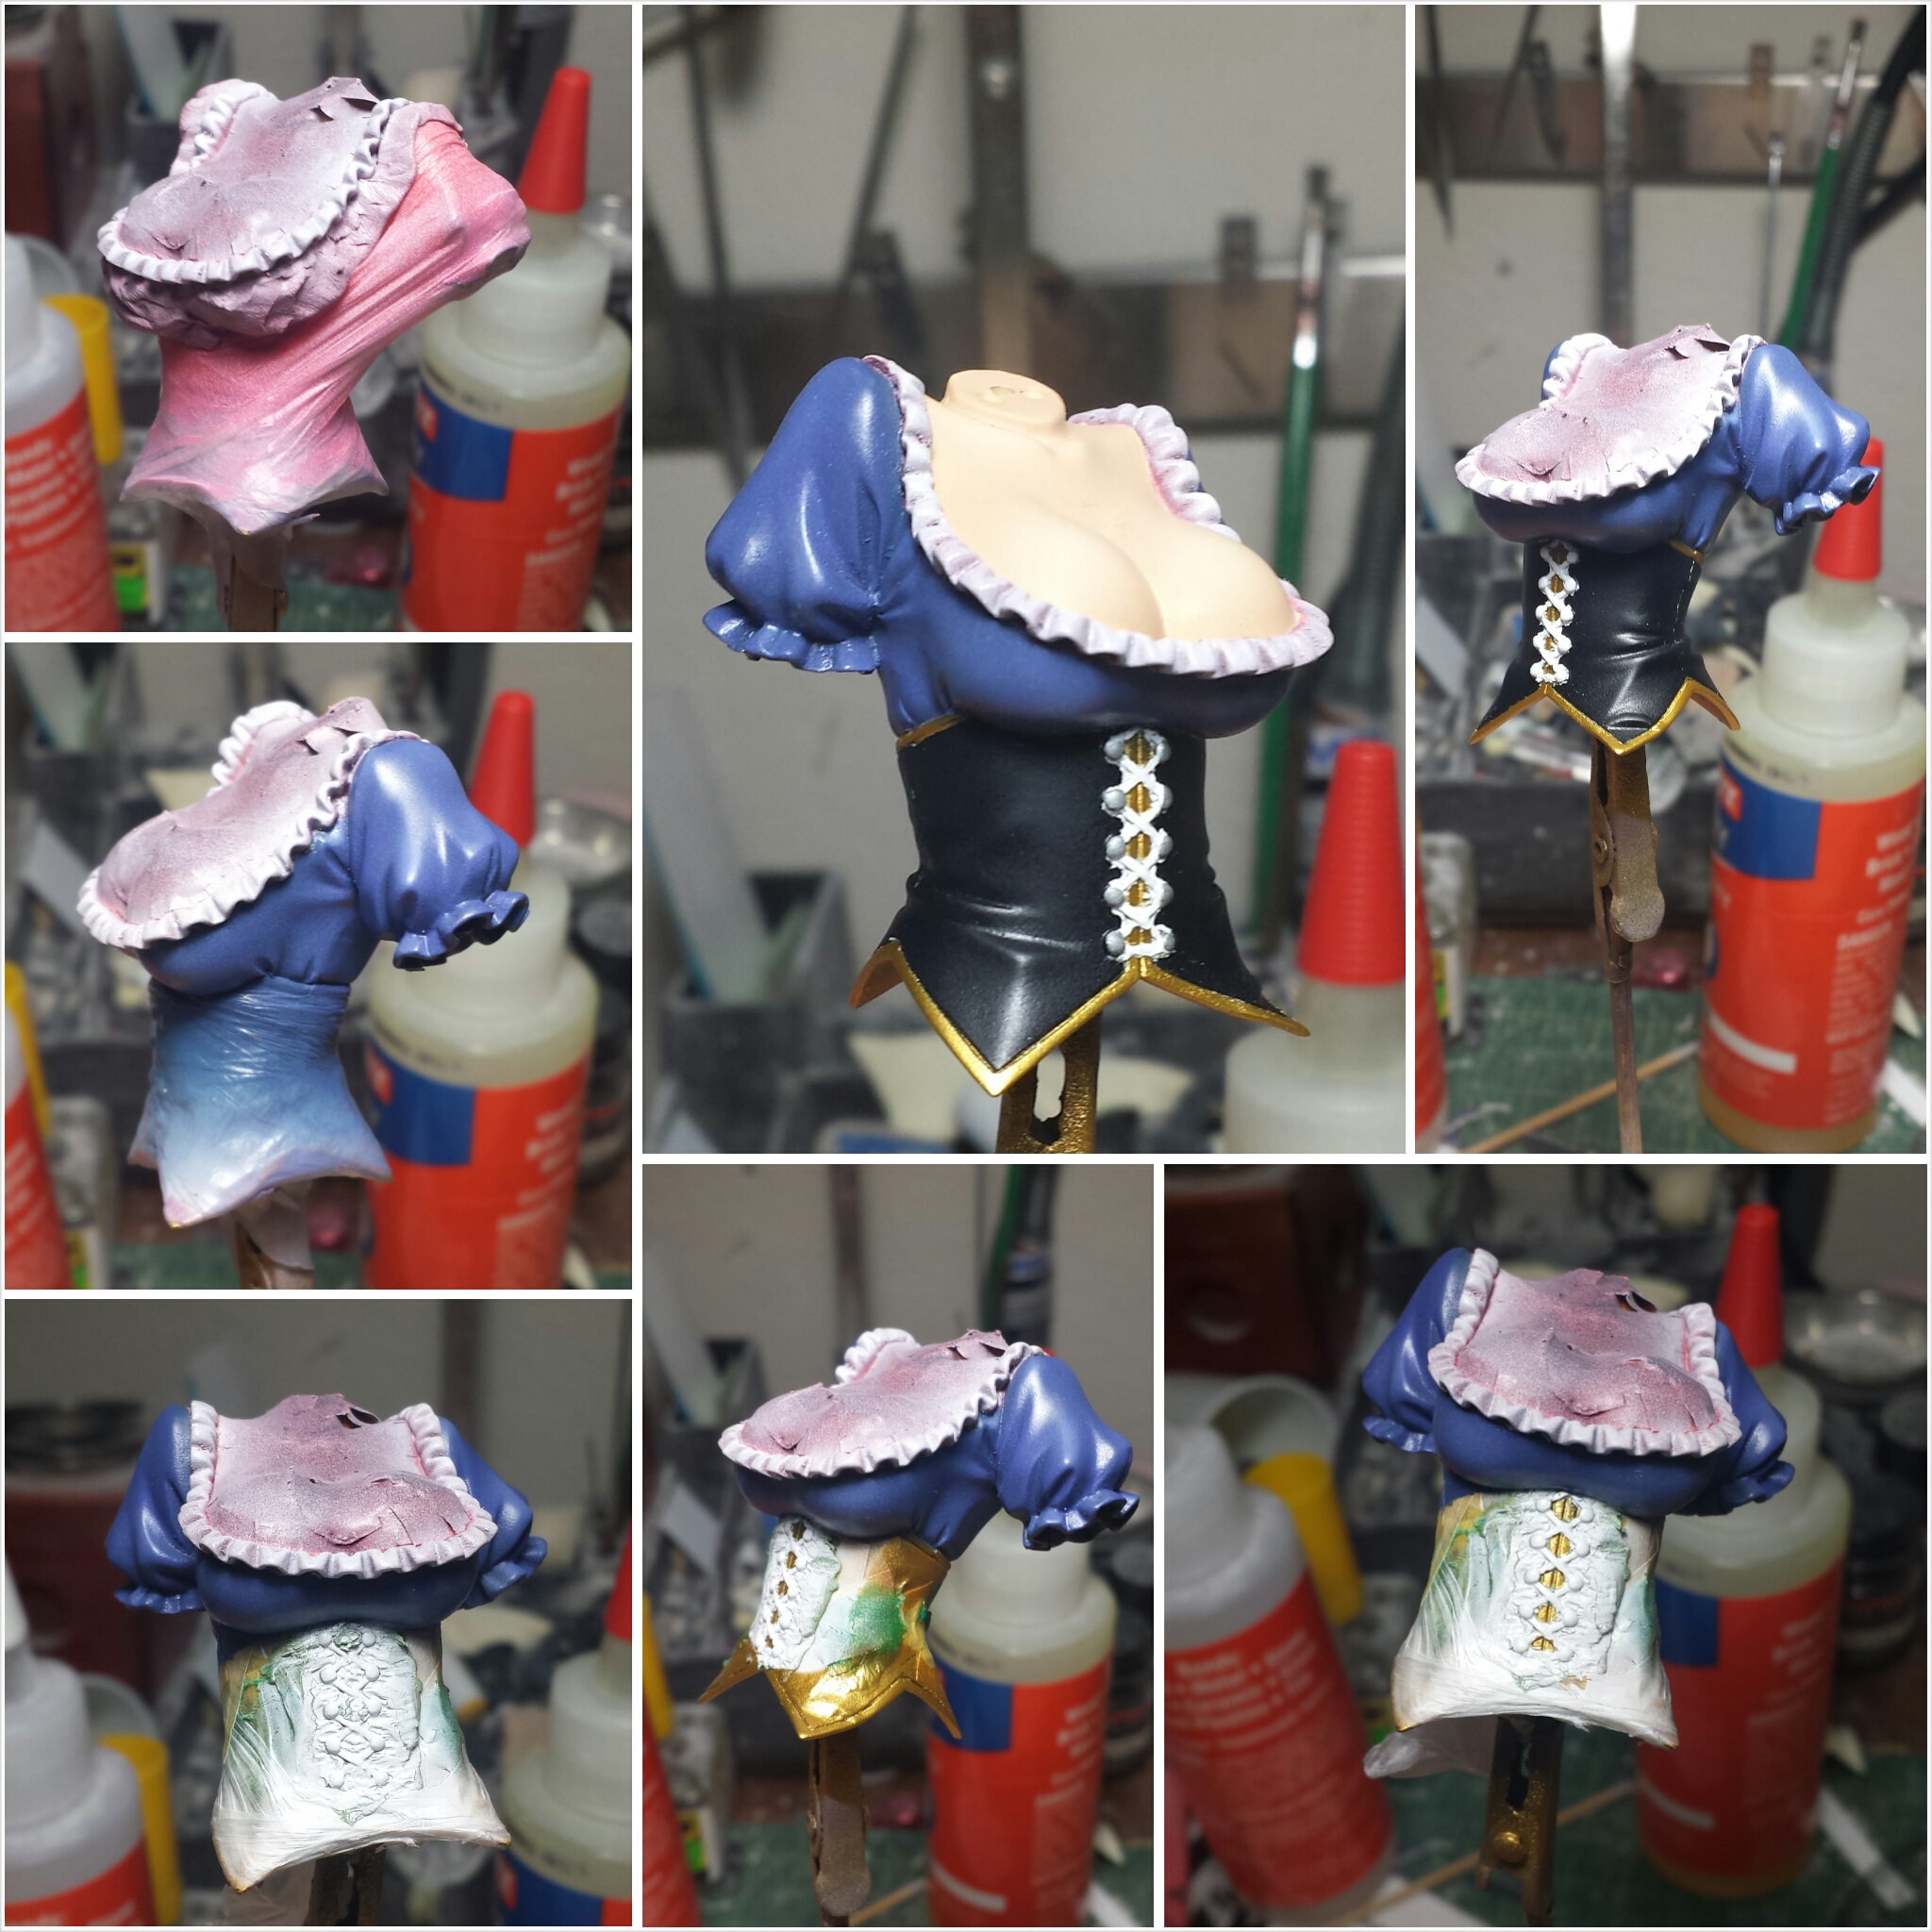
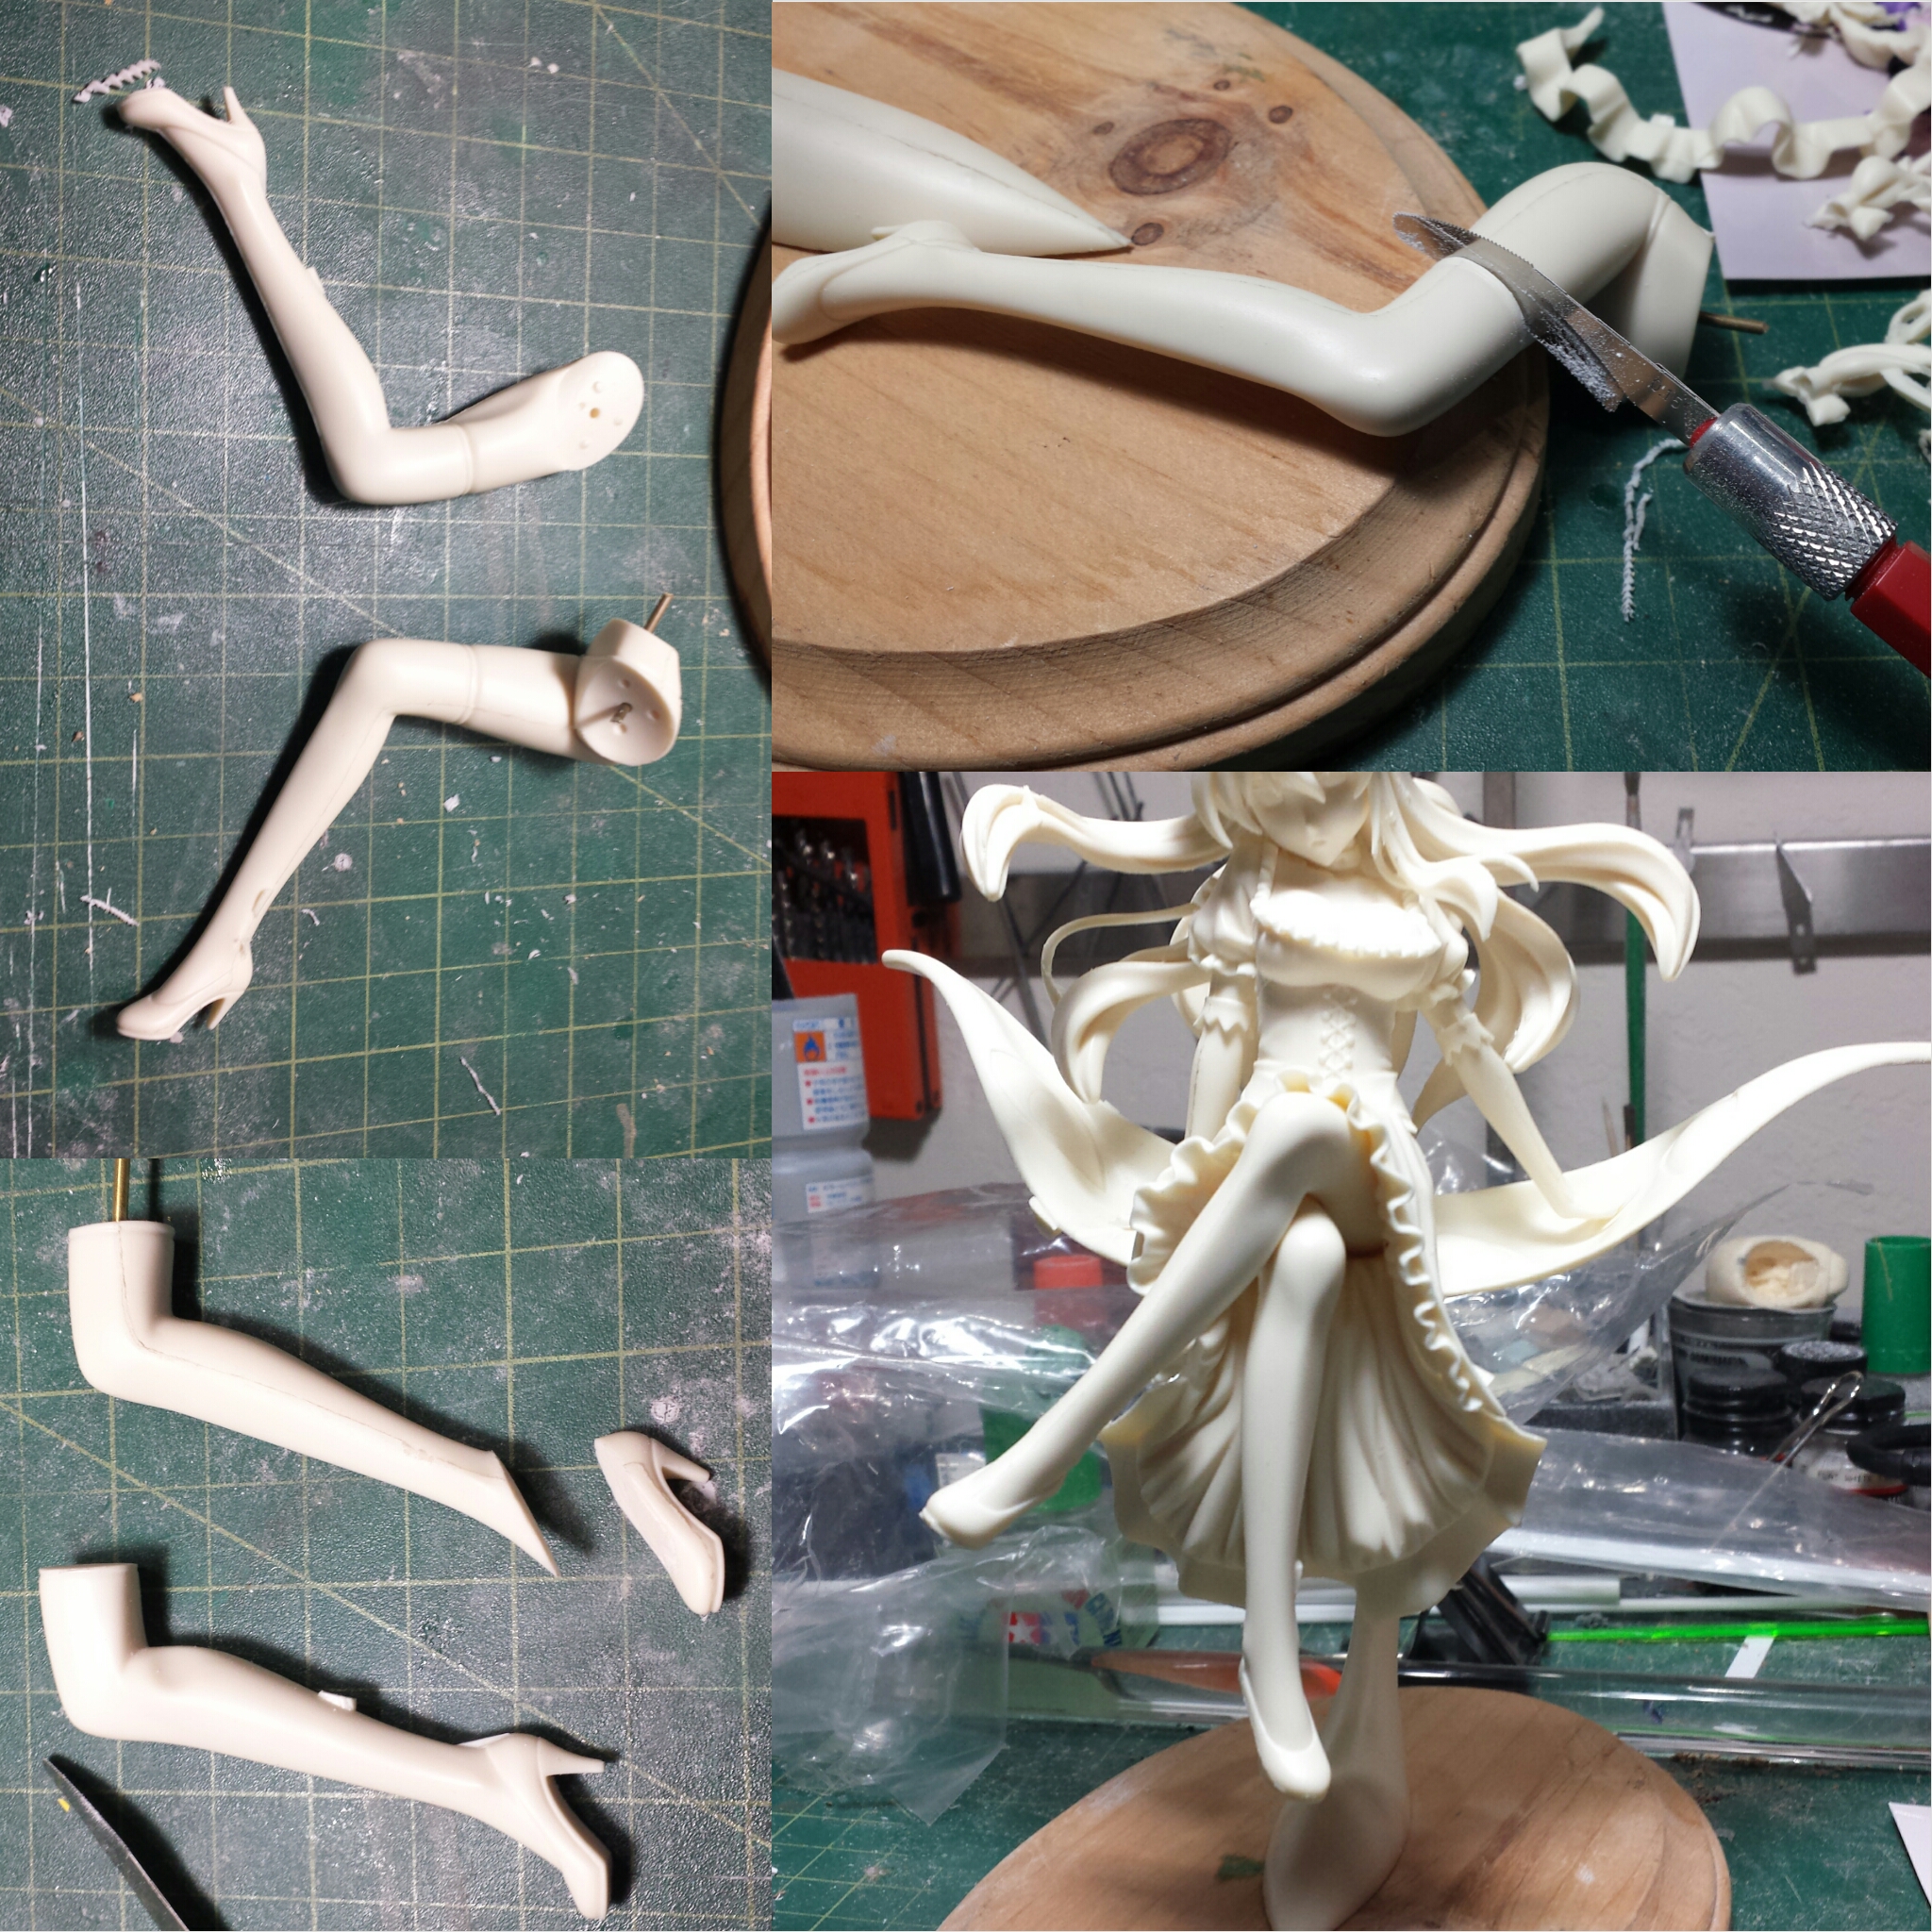
I started work on this kit this past weekend. For this project, I’m going to try documenting the entire process with video as I did with the SD Glaug kit. Over the past few days, I’ve created four videos covering the kit unpacking and pinning; initial sanding; cleaning; and initial priming session. The figure is Sena Kashiwazaki (æŸå´Žæ˜Ÿå¥ˆ) from Haganai (僕ã¯å‹é”ãŒå°‘ãªã„), and is cosplaying a character within a game she played in the manga/anime. The kit was made available from ã‚ューズQ (QuesQ) at Wonfes 2015 then a few weeks later from their online shop.


The videos are after the jump.