Some light wiring work

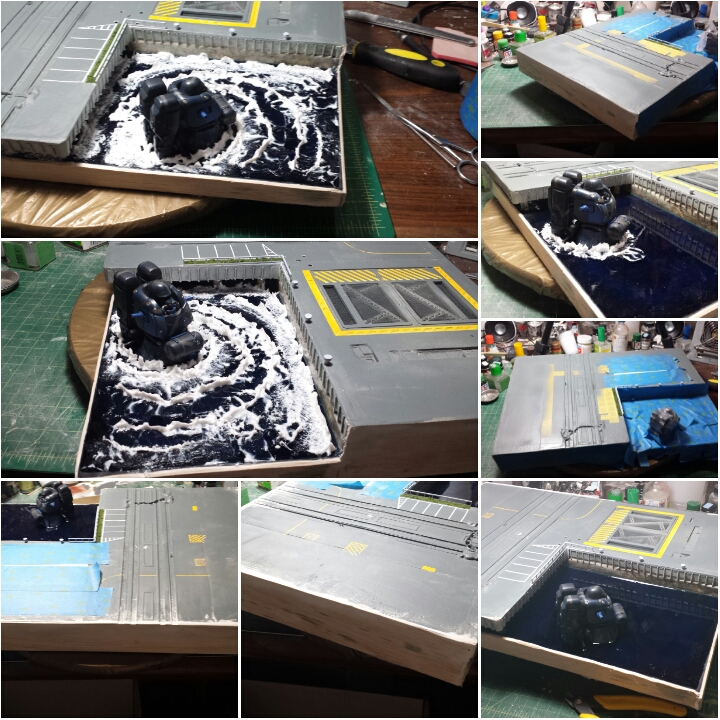
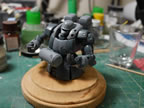
Work on the diorama continues. Some areas slow down a bit as a good deal of work is not overly visual, at least from a progressive standpoint. Getting tired of just the white base coated base, I masked off a small parking spot, then painted on some yellow. Then masked that off and sprayed a light grey over everything. I failed to snap pictures of the masked off base and the results after I painted. With a project this size, I end up juggling things so that while one area sits and cures, I can focus on another area; but also keep from working on too many separate pieces so that it becomes overwhelming. I learned this lesson last year around this time when I really wanted to push this sucker out. I simply got overwhelmed and the interest to even work on it died. I currently have an outline written out for this project. This is the first time I actually wrote something out; the help with organization is amazing, and I can see that certain things should be done before other things. And with areas of the project are completed, I can cross those off as being done and keep the focus. Currently, I’ve finished the containers, the GM’s, and recently, the base light that I had trouble figuring out the last time around. That’s at least 40% of the players for the diorama completed.

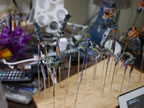
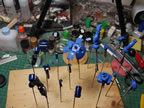
As the title says, I had to do some wiring work. I previously wired the base up; but as the build progressed, things changed and the wiring scheme must also evolve. I have a video of the re-wiring process after the jump!

(more…)

Continue ReadingSome light wiring work

Tools of the Trade

I often overlook the importance of the tools I have in my workbench. We’re often asked, “what do you recommend for tools?” That is a bit of a loaded question. There is a missing quantifier there. I’ve built my current set of tools over a period of 16 years, and it’s still in the process of building. But I’ll do some quick breakdowns for the tools I have for basic building, to some more specialized tools and their uses.

(more…)

Continue ReadingTools of the Trade

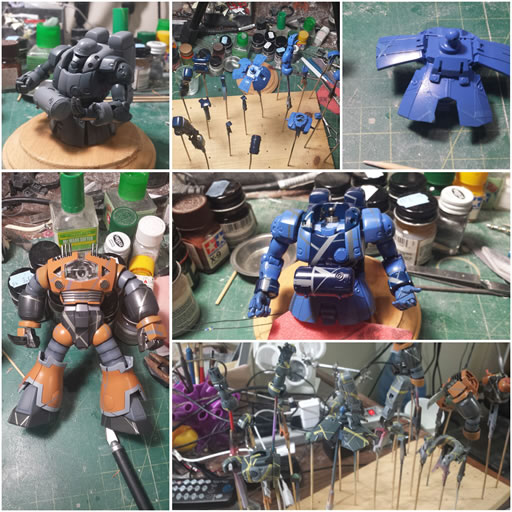
Weathering takes time….

The weathering process takes time. Granted we’re not putting the object outside so that it can sit for a few years to naturally achieve sun/rain/wind damage and get all rusty and dirty. But the process isn’t instant and done in a single model session. For your typical object, the paint can chip and crack; it can get weather damages such as sun, wind, and rain; and it can also get dirty and rusty – just here, there are three layers of weathering that can happen. Applying the different techniques one on top of another can create some very dynamic weathered look to your object.

(more…)

Continue ReadingWeathering takes time….

After a year long break, returning to the Water Front

Motivation, inspiration and other ation-esque terms sometime fades away as a project progresses for a host of reasons. This project was chugging along last year and just stopped cold. It sat on my workbench and just occupied the space for a good while before I came to the realization that I did not want to work on it. I boxed it up and shelved this for a little over a year. I recently revisited a 7 year shelved kit that has since been shelved to get some quicker little projects completed. This happens. Interests wanes and sometimes, it is best to just put something away in hopes that someday, the interest returns and the project gets completed.

The first set of pictures was where I last left off. I had started getting the main base piece together. I had cut a hole out, glued some mesh in place. The idea here is to use a picture of some GMs I had previsouly built, and place the picture under the base to create an illusion that there is an underground element to the base. The wood base is built up with some balsa wood sides. This was about where I stopped last year; I had some work on various pieces and there was no mental execution plan for the project.

(more…)

Continue ReadingAfter a year long break, returning to the Water Front