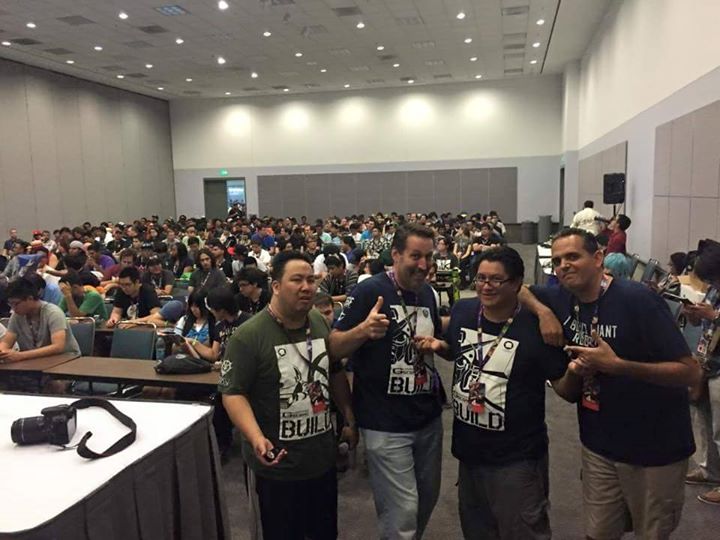
A group of us representing Those Gundam Guys went to Anime Expo, as we have been doing for the past several years to participate in the Gunpla Builders World Cup preliminary competition held by Bluefin. Dan, Angel, Mike, and I brought up our kits and put them into the display case on Thursday. We chatted with some folks spending most of our time trying to promote our show, the Southern California Gundam Model Competition since the audience at AX is just huge. There are thousands of people buying gunpla over this holiday weekend; the perfect opportunity for advertisement.

Done chatting a bit, we start to wander the hall. We hit up the Hobbylink Japan booth, and I chatted with Jim, whom I’ve known over the years as we talked about figure models. He’s a very talented resin figure modeler, so we usually exchanged pictures of our recent builds and such. A few days later, I told him that Volks was in the hall, and he was surprised. He’s a big fan of Volk’s figure kits and was unaware of their presence this year. I also got to meet Syd from the Hobbylink.tv web shows. I invited him to the gunpla panels we host, and left him my card with my website/contact info. I got a nice chuckle when he looked at my card and said he had heard about my site. He told me he’d email me if he could make on of the panels.
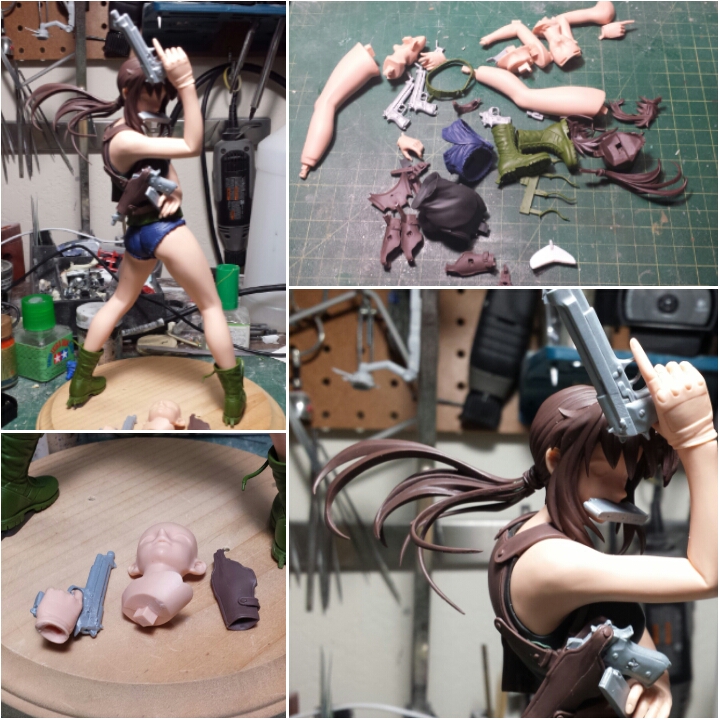
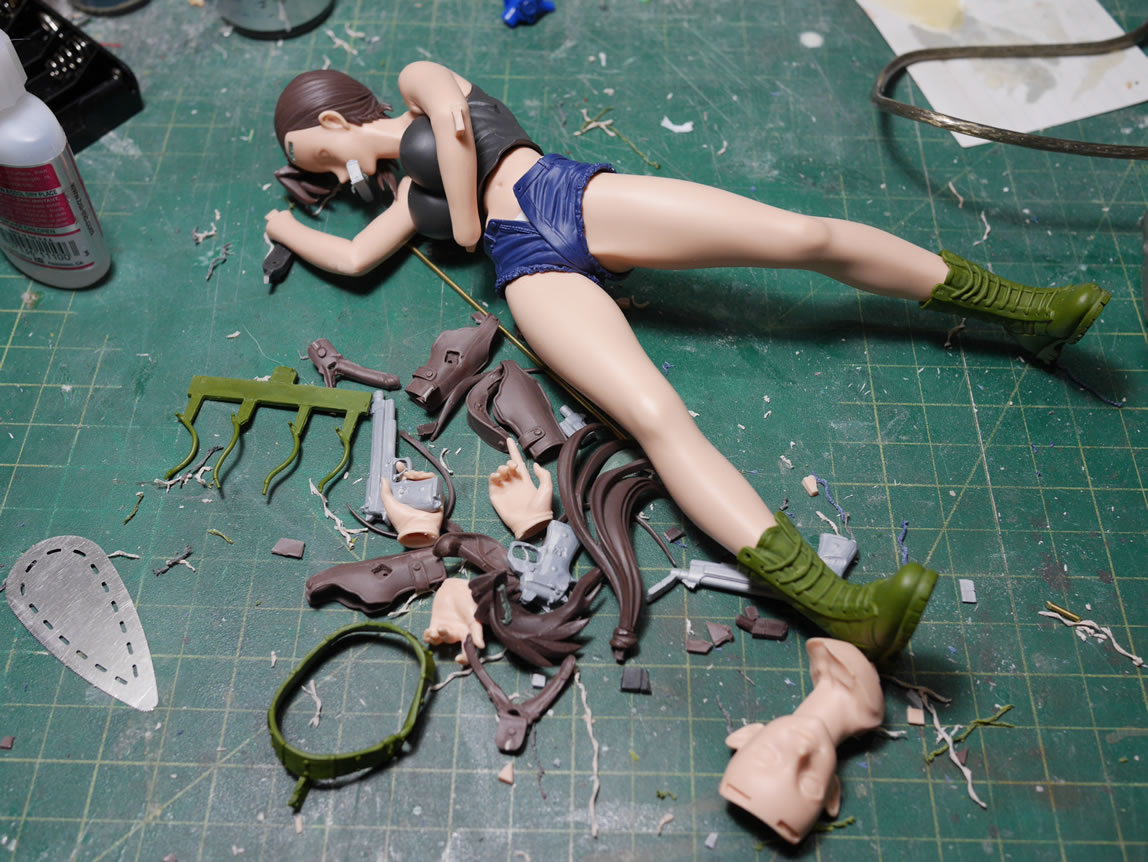
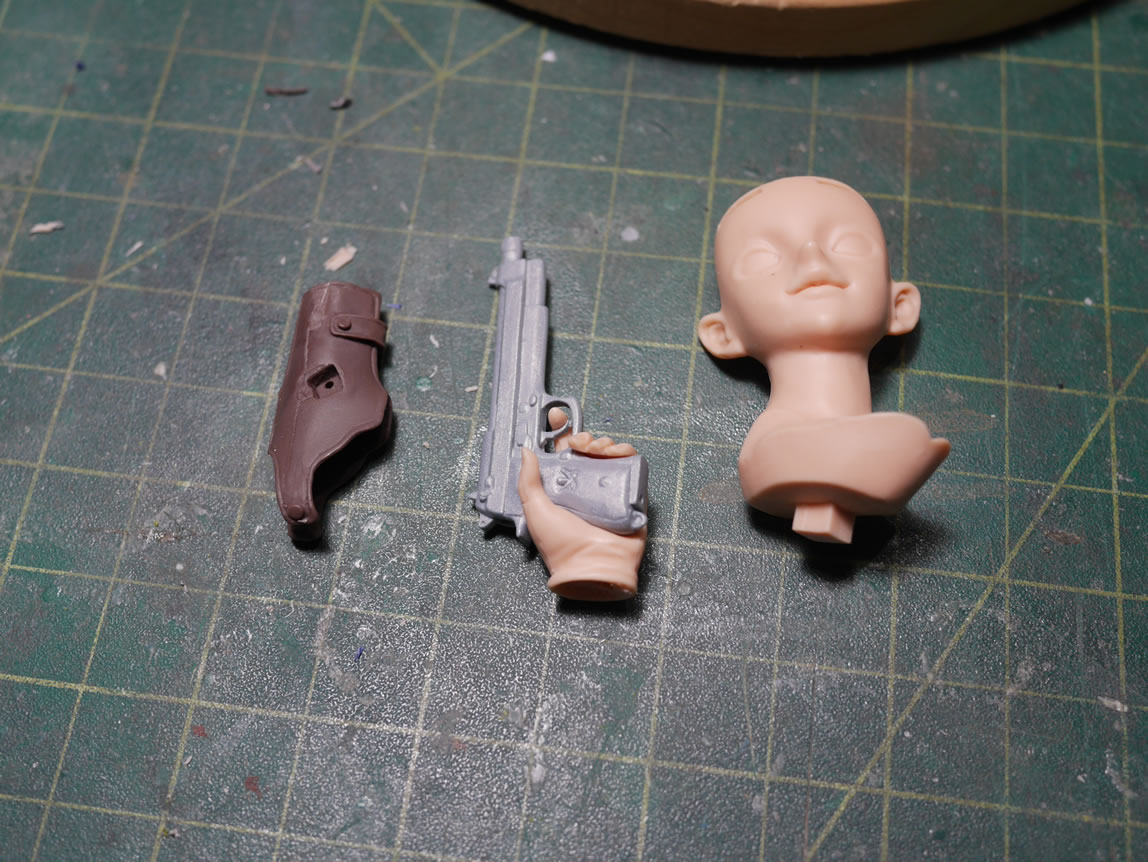
The group decided to start at one end of the hall and try to get all the booths. That didn’t work out very well. By about 3PM, we were beat the hell up, and only got half of the exhibit hall. They’ve added hall G to the convention and massively expanded things. We visited the Volks booth and I immediately grabbed a Revy kit I had been eyeing for a while at the Volks booth. I was pretty surprised they brought so many resin figure kits. Actually, this is prolly the first time in well over 10 years that I have found resin kits at AX. The other guys in the group eyed the products at the Volks booth, and eventually, over the next few days, Angel and Mike ended up buying Bang Dolls and Dan picked up a Mari resin figure kit from Evangelion. HAHAHA, slowly I’ll get all these guys building a resin figure.
The original plan was to get through the entire hall, then leave; we got through half and gave up. We had 3 more days, well, for a few of us, we had 2 more days.
(more…)