Sazabi Painting and 3D Printing!
Since this is the actual body paint posting, I’m including a few pictures from the previous post so there is some better continuity. Weeks ago, I grabbed some plastic spoons to do paint tests. I used different base metallic paints and different clear reds from various brands before settling in on the three colors I have below. The process arduous, and I went through 10 different combinations before settling down. Below are the three colors to match up with the color scheme on the instructions. The lighter tone uses a mixture of clear pink, a small amount of clear orange, and clear red for tonal changes, sprayed over alclad super bright silver. The red is just Finisher’s clear red over alclad super bright silver. The deep red areas are finisher’s clear red over alclad polished brass.
Also in this post, 3D printing!
Ver Ka Saz Lighting
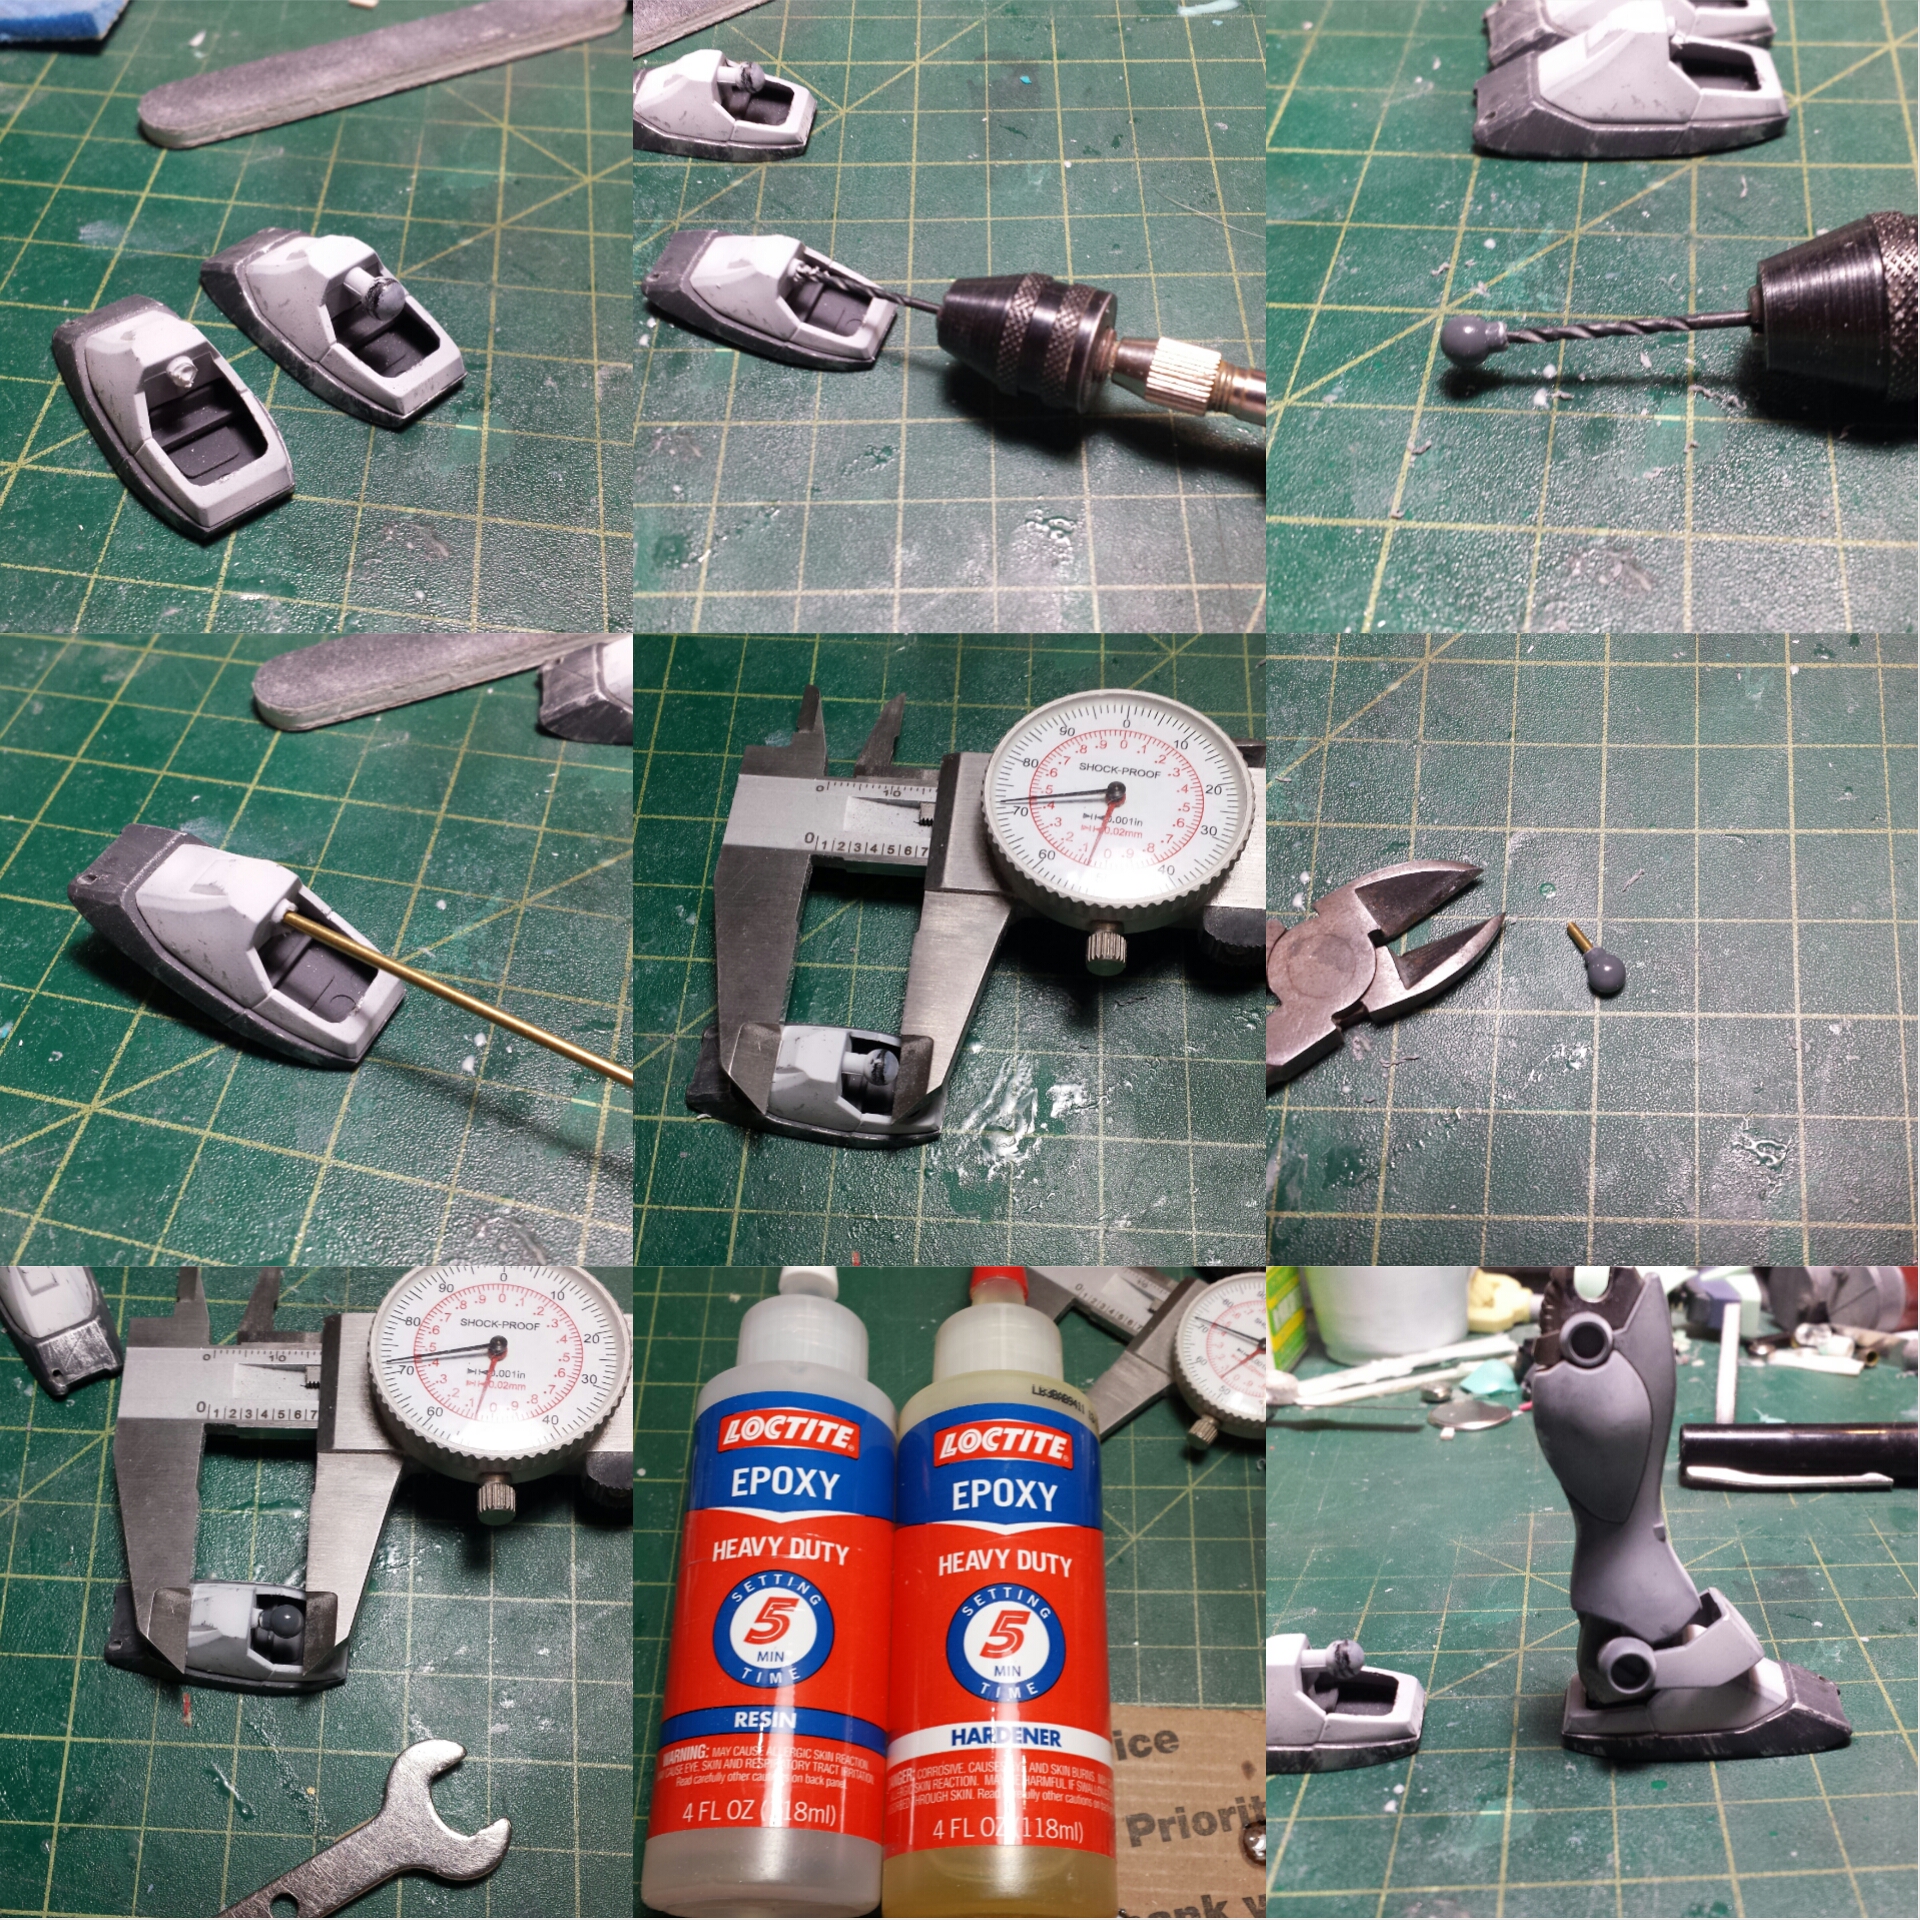
Time for another Ver Ka Sazabi update. Today’s update will cover the process of making LED embedded resin thruster parts. The why of it all, well, we’ll get into that later. Going back to when the kit was sanded and dismantled; the thruster pieces were singled out and I started to plan out the process for adding some lighting mods. I had lit the HGUC Sazabi, so I figured this much larger scale shouldn’t be much of an issue. My experience from working with lighting the 1/144 scaled Sazabi helped make my decision on the direction.
Seven thruster parts are identified. Granted, I’m ignoring the square thruster pieces all over the body, as well as the round one at the back skirt – there’s something to be said about going overboard with lights. And these seven, effectively 14 thruster pieces should be enough for the effect.
With these seven thruster parts picked out, the LED count for just the bells is 32. Lets do this!
Happy Saz Year!
Ok, so the title would have worked better with the Nu, but the joke’s there. Happy new year all! I’ve finally gotten off my ass and away from that bloody Gundam Battle Operation. Been stuck in a vortex of that game for a while and finally quelling the addiction with something else just as addictive, but much more productive as I actually have a tangible end result. And it has been a while since I posted anything. Again, blaming the GBO addition. But on to the purpose of this post, that new Ver. Ka Sazabi. The original design for this suit was penned by Yukata Izubuchi, the same guy also designed the Dogas, Nu, Hygogg, etc. Most of my favorite mecha designs were originally done by him. I favor a more simplistic design in comparison to most of Katoki’s style; but I do appreciate the application of Katoki themes to the original Izubuchi designs. There are several resin variants for the Nu and Saz that just go way beyond anything I enjoy with levels of panel lines, greeblies, tubes and wiring. I can appreciate it, but my personal taste leans towards a more simplicity. There’s a balance between the two extremes and I fall somewhere slightly short of the middle – so, I’m not a complete fence sitter.
I’ve built the original MG Saz, a kit that even Izubuchi didn’t admit to liking very much. I’ve rebuilt that same kit twice over, the final version a Core-Works conversion. That said, I’m fairly familiar with the kit’s design. So I picked up this kit from the local distributor a couple of days prior to the official release. Friends with benefits I guess. I’m never in a rush, but the novelty of having this before the majority of the world was kinda cool, granted I wasn’t allowed to post up pictures – but as part of the TGG gang, we actually got real hands on look at the entire kit a full week before it’s release at our monthly build gathering. So the novelty of actually snapping pictures of my own kit when I got it was gone.