My first post about this kit was September 16, 2007 when I unboxed and started with a test fit. Fast forward another 7 years to April 2015 for another attempt, this time changing from a straight aircraft build to the Gerwalk. And here we are today, a few months shy of 10 years later. IT IS DONE GODDAMNIT! I actually finished this kit. And I thought my 8 year VP Hi Nu project was long in the tooth. Motivation is actually mostly because of this year’s SCGMC theme (year 2025) which is “Macrotech/Robocross” most of you get the joke. For others, look up Robotech in all it’s storied history.
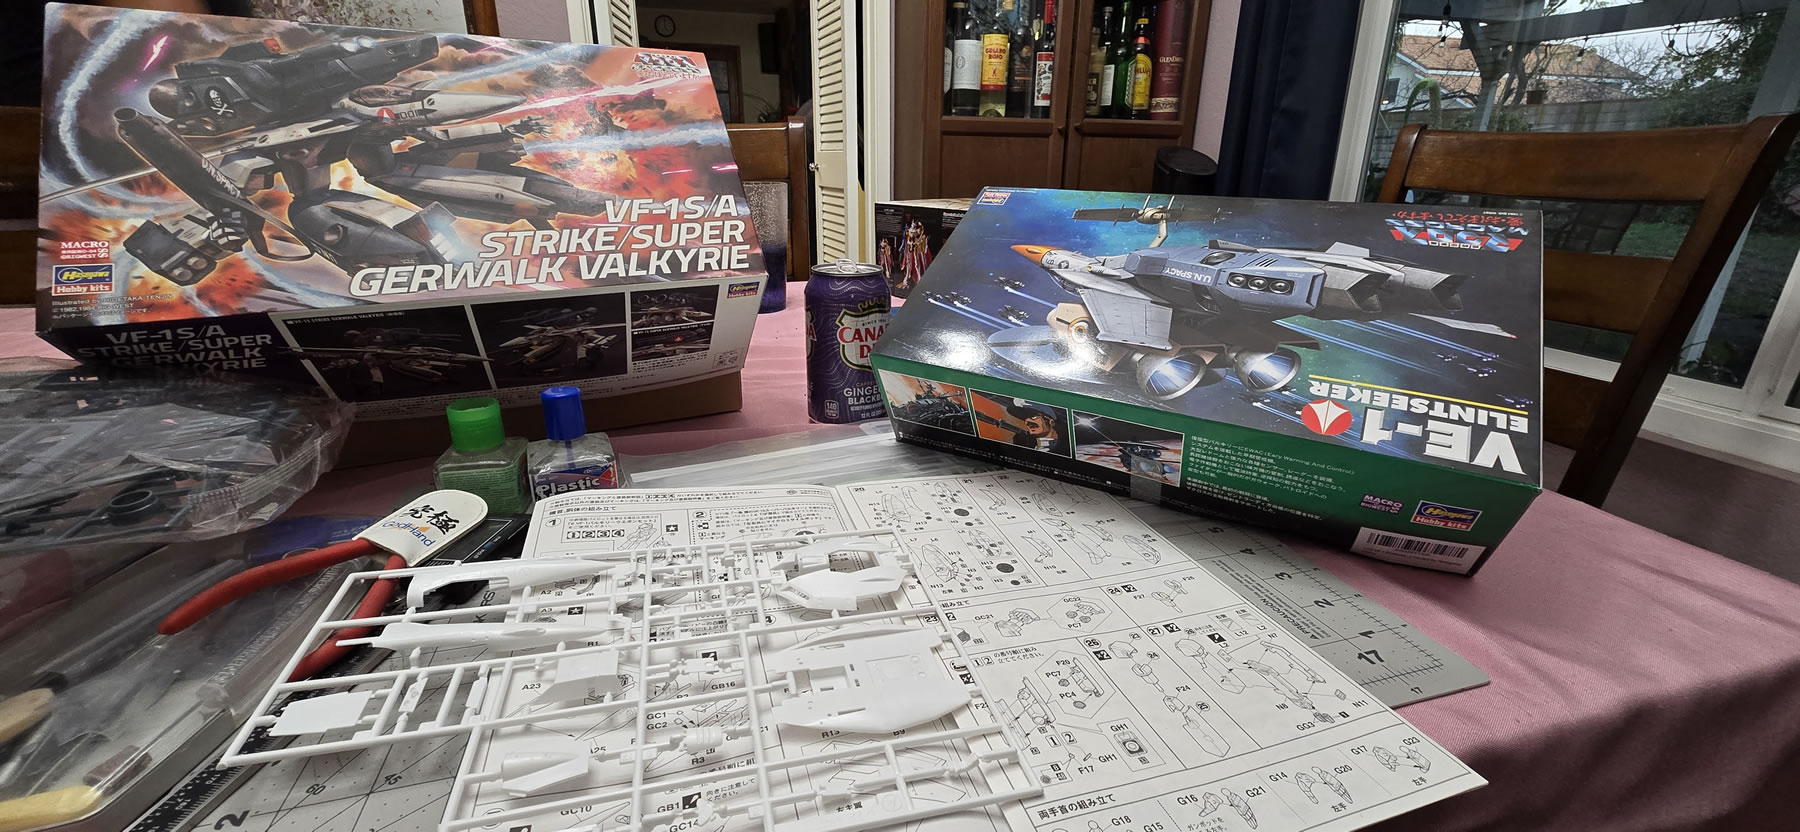
The old kit was moved several times with workshop upgrades and several location changes. I opened it up every now and again to work on it, mostly the first time and 7 years later, but I wasn’t sure if I still had all the parts. The kit was available, so sometime late last year, I just ordered a new one and started this up at a local build gathering. What is also new is that I now have the Super Valkyrie Gerwalk kits that I can use instead of just the skinny Valkyrie Gerwalk. All that work done 10 years ago is now garbage for the most part.
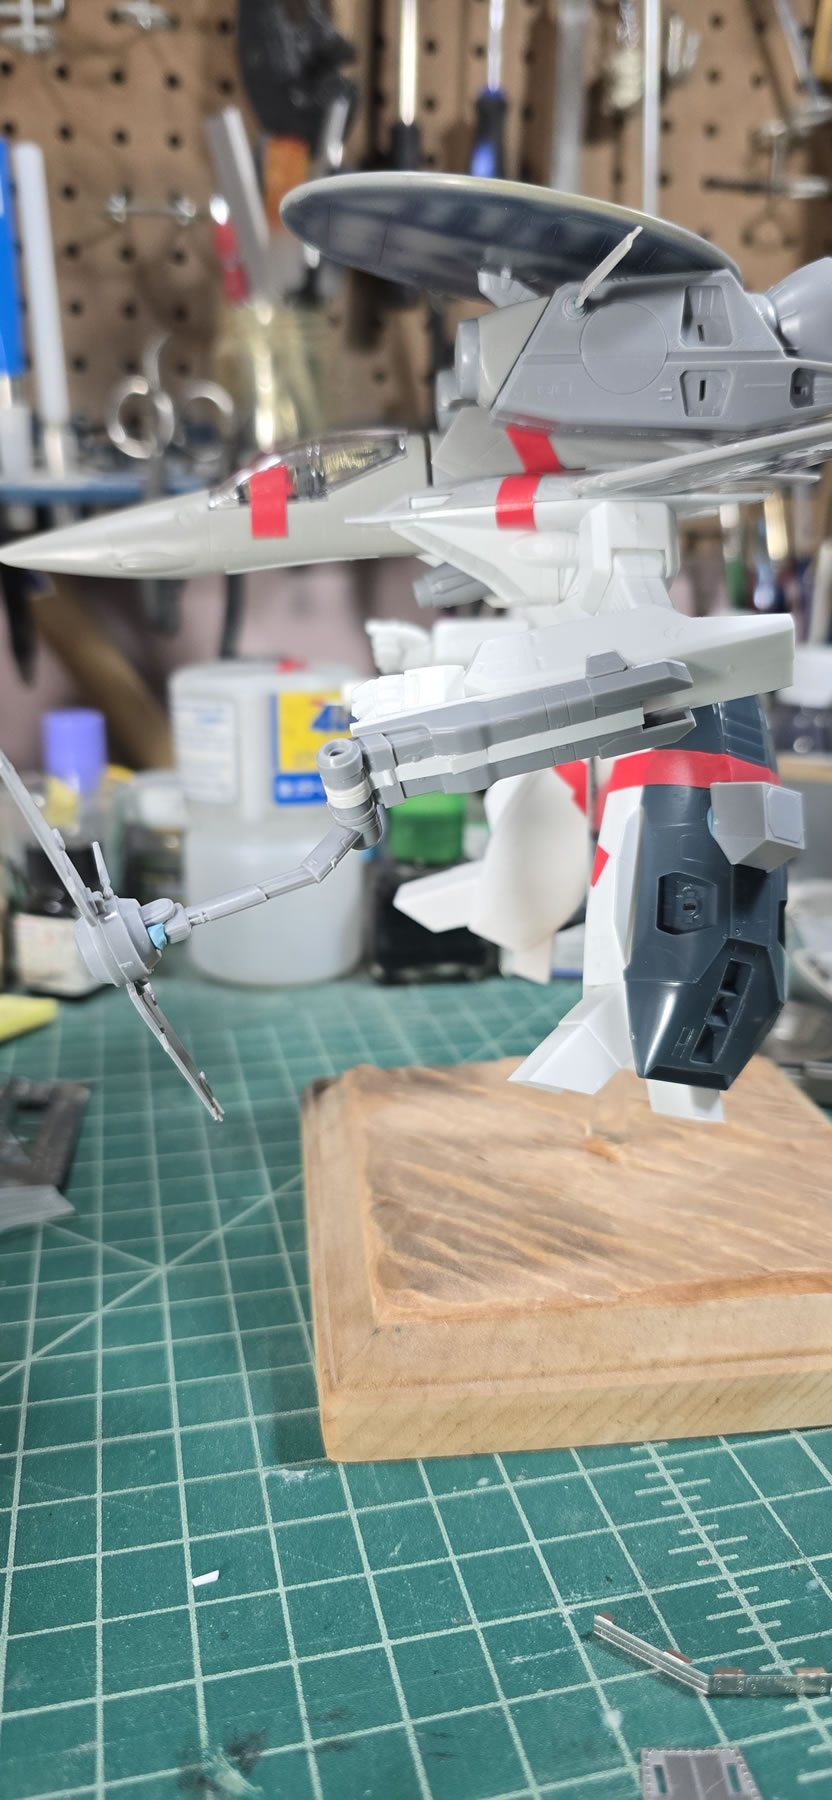
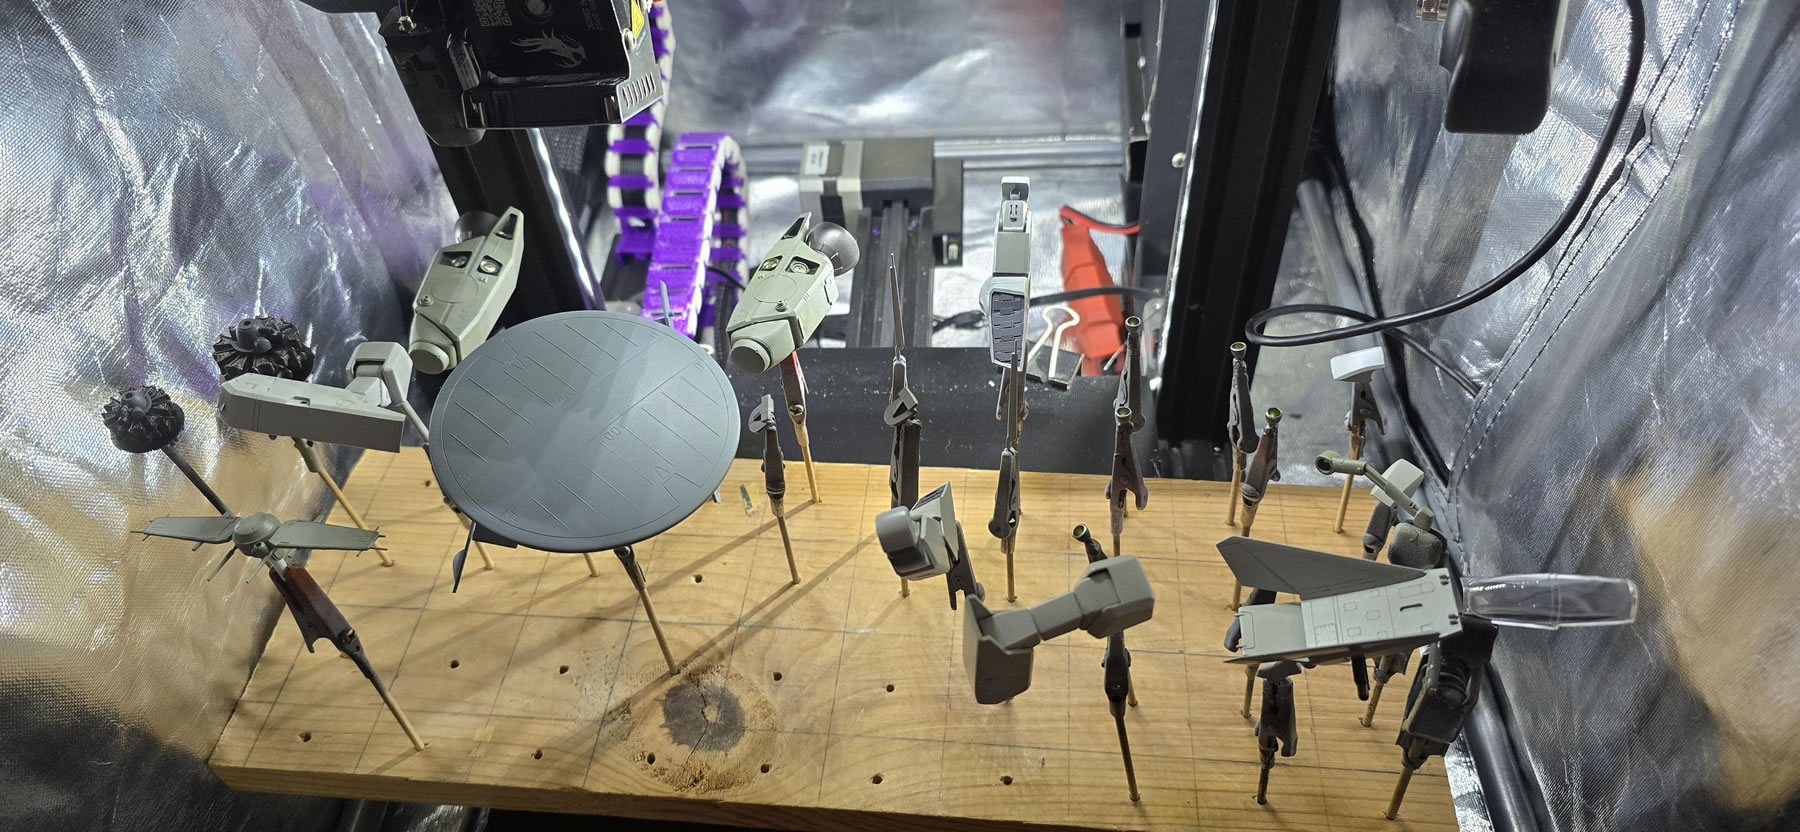
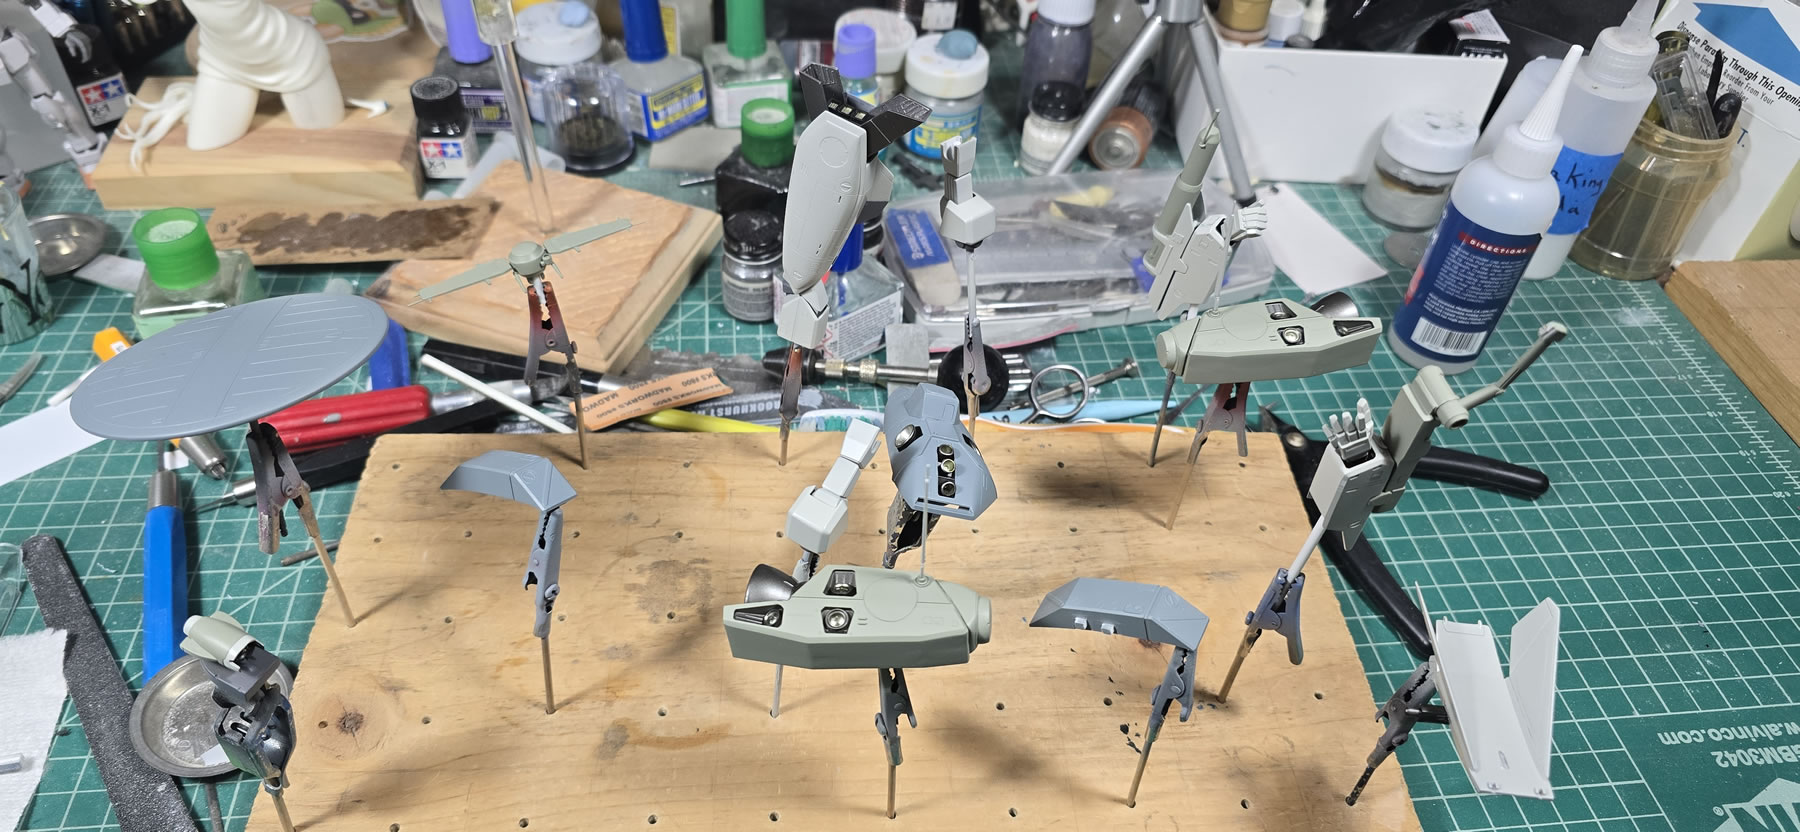
The build gathering’s work was mostly mocking up a completely new attempt at the project. Things were temporarily taped together to get a good look at what fit. Surprisingly, actually, no, not surprisingly – everything fit. An old hasegawa kit undoubtly fit just perfect because why spend the money to retool a part when you can just reuse the old 20+ year old molds.
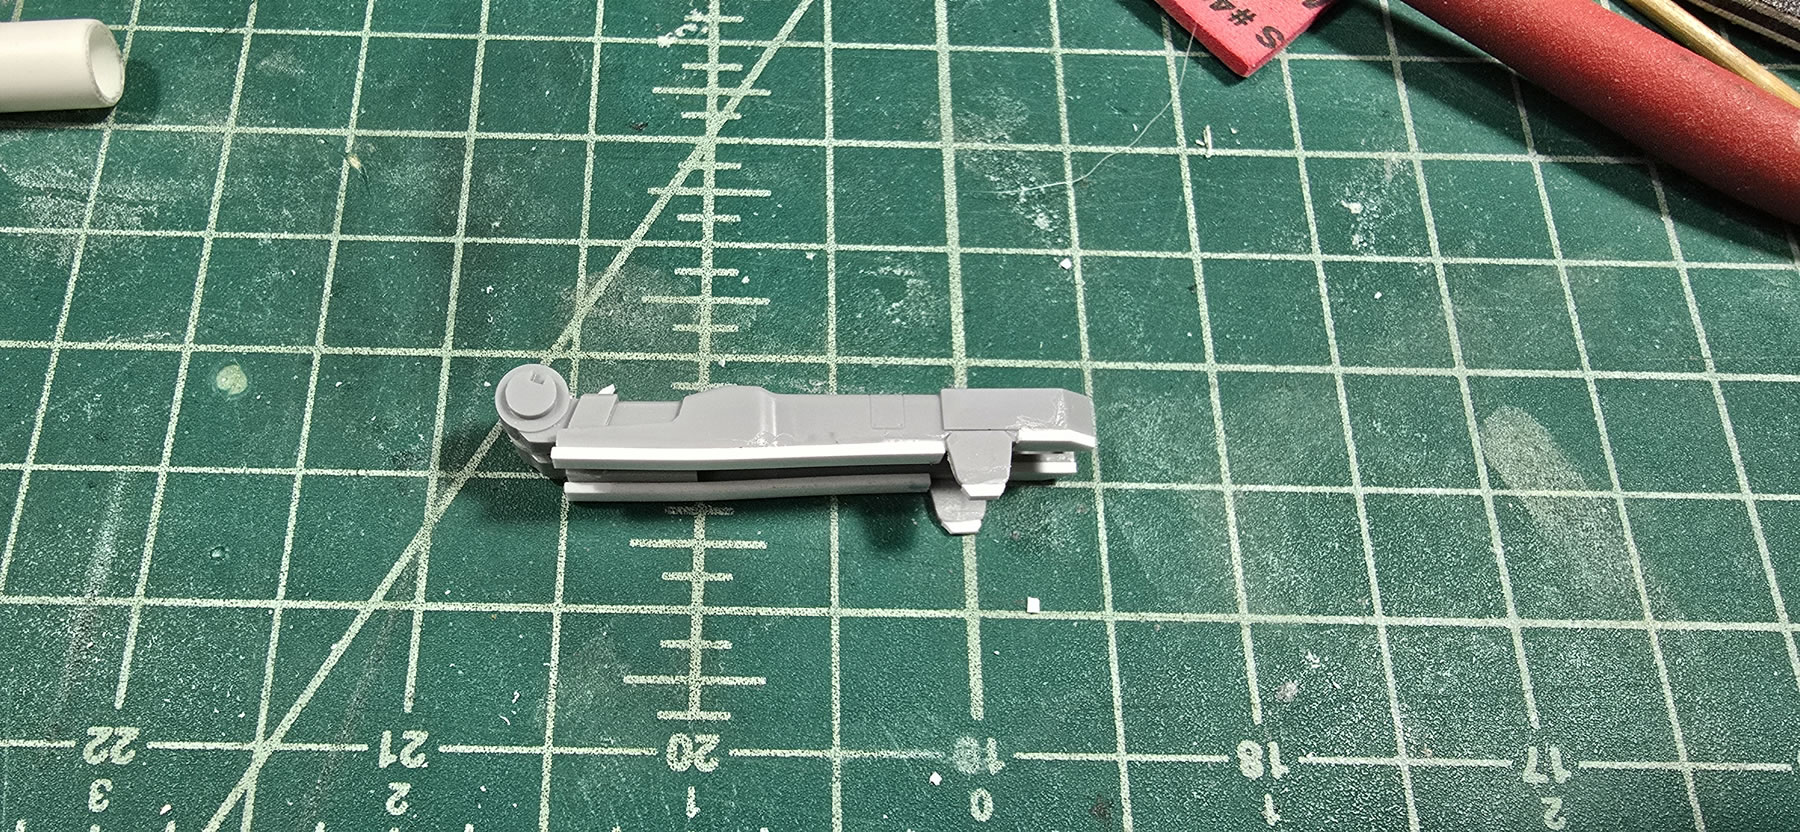
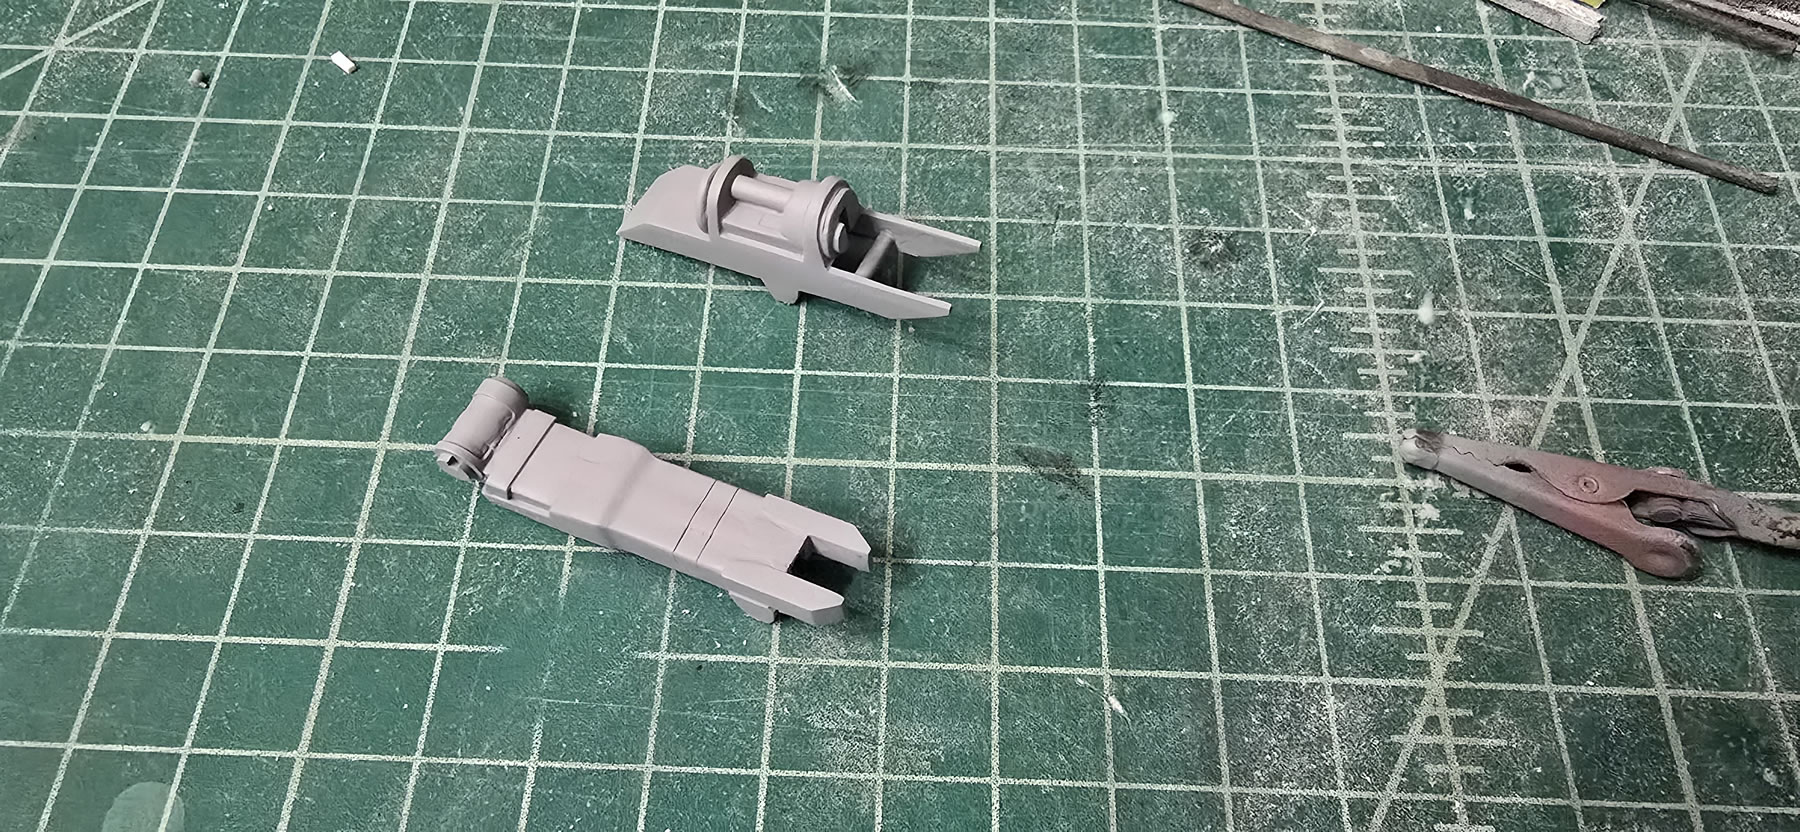
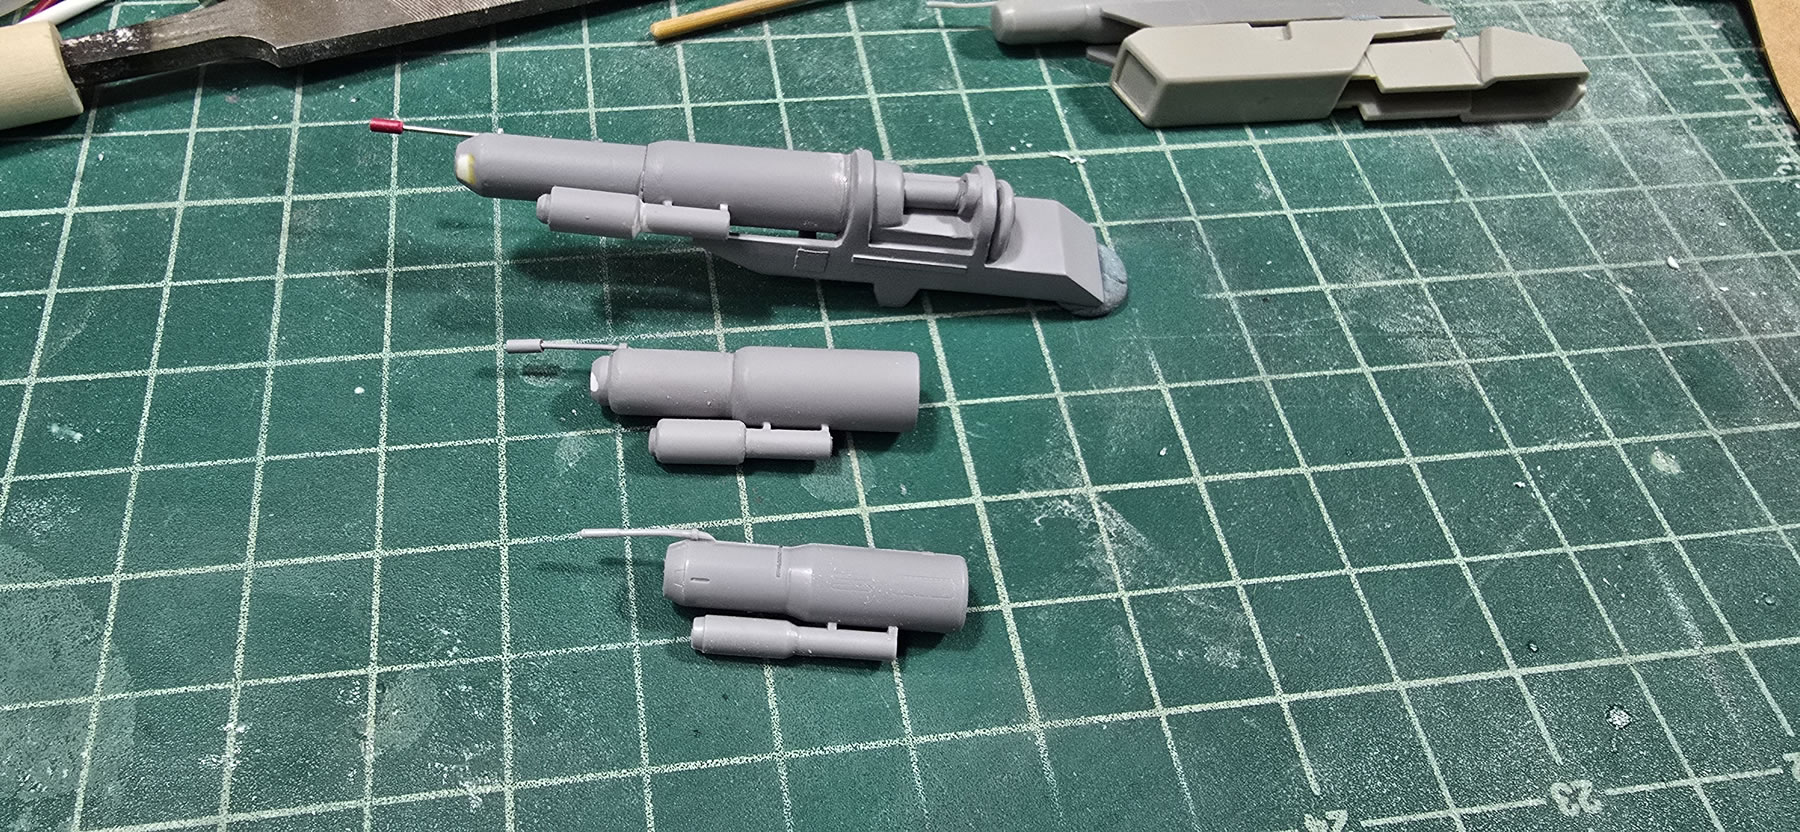
Getting home and with refreshed vigor to tackle this project, I get to work on the arms and the fastpacks and immediately found the first hurdle. The original “Elint” fastpack arm parts as well as the original elint arms were scaled to fit under the aircraft. New Gerwalk/Battroid parts are slightly bigger, ok probably 30% bigger. This means the Elint kit parts are out of scale and won’t fit the new arms. We’ll worry about this later, I need to continue the mockup work.
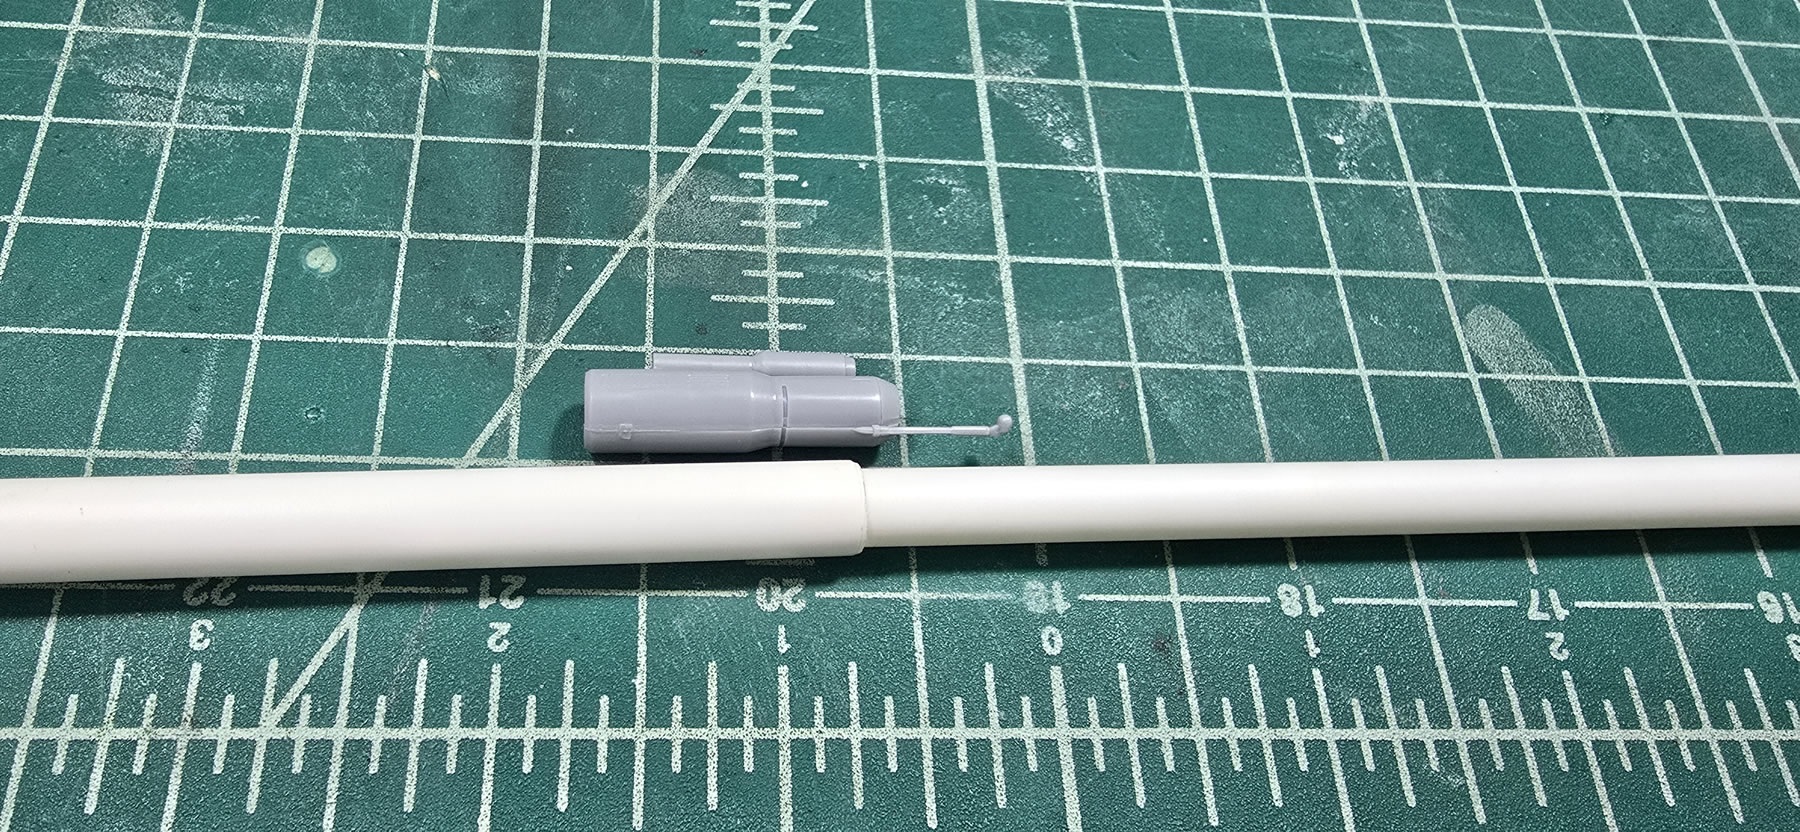
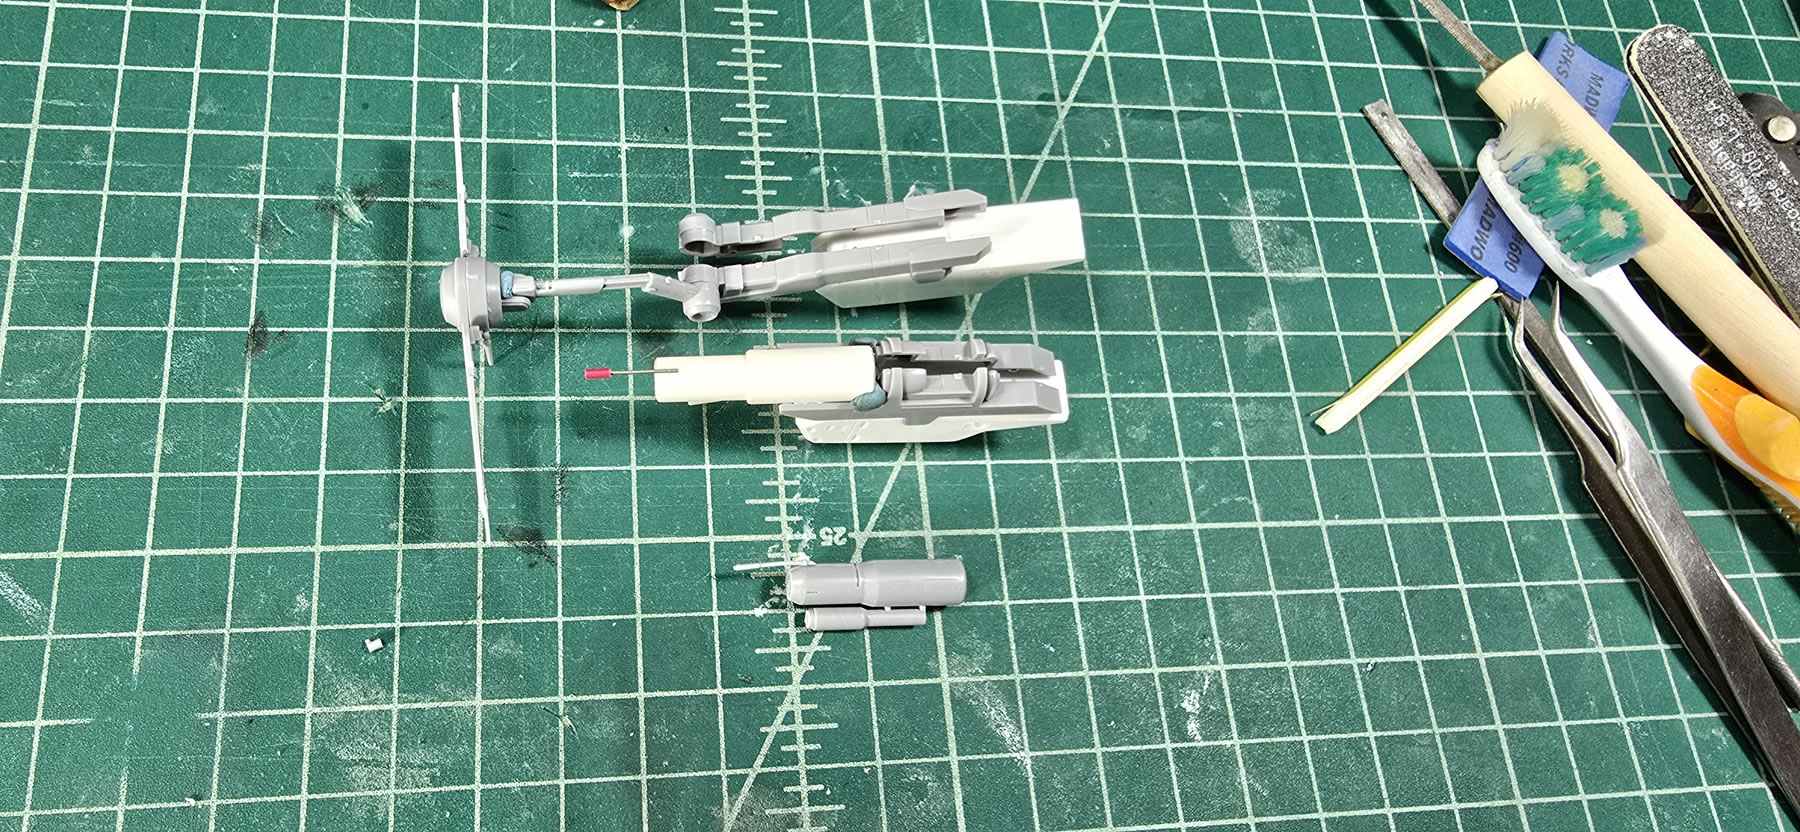
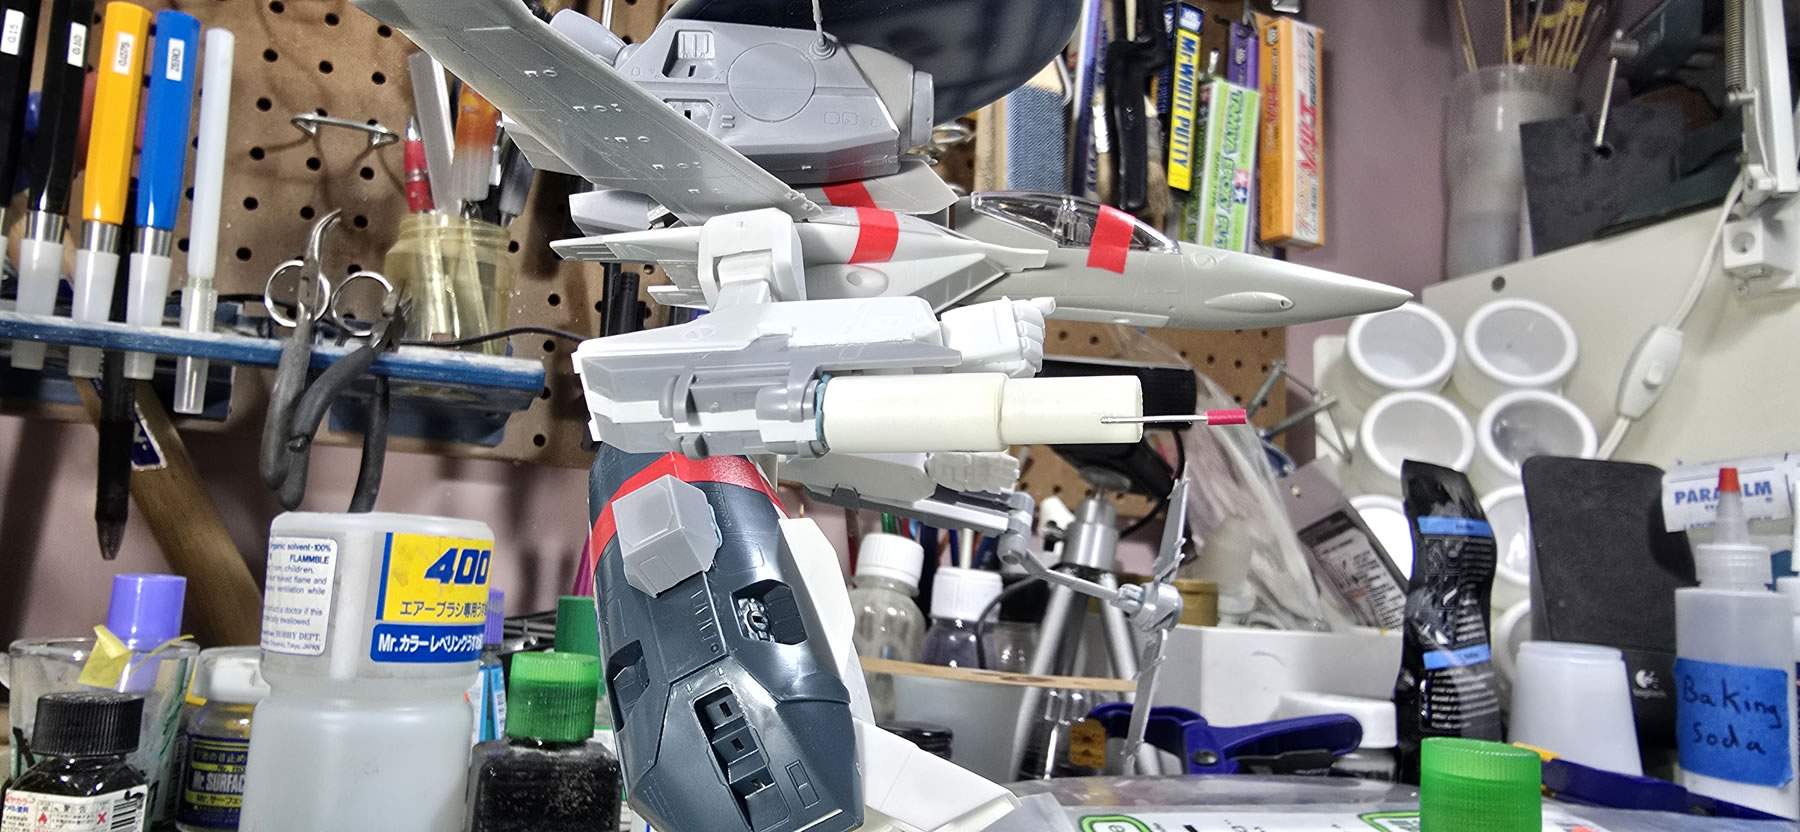
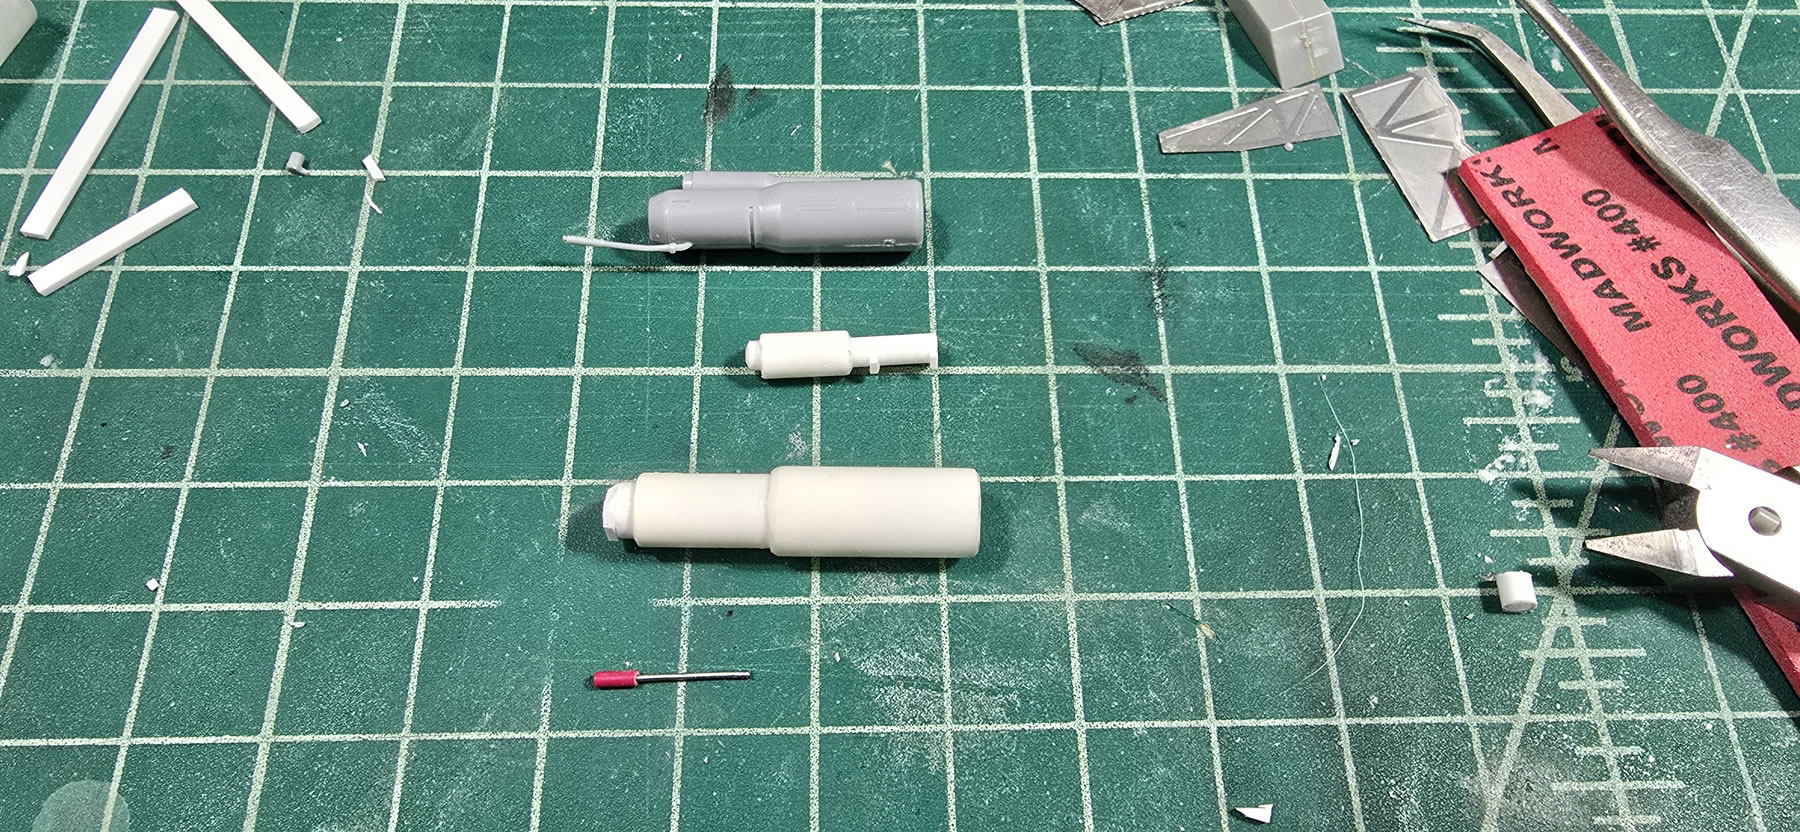
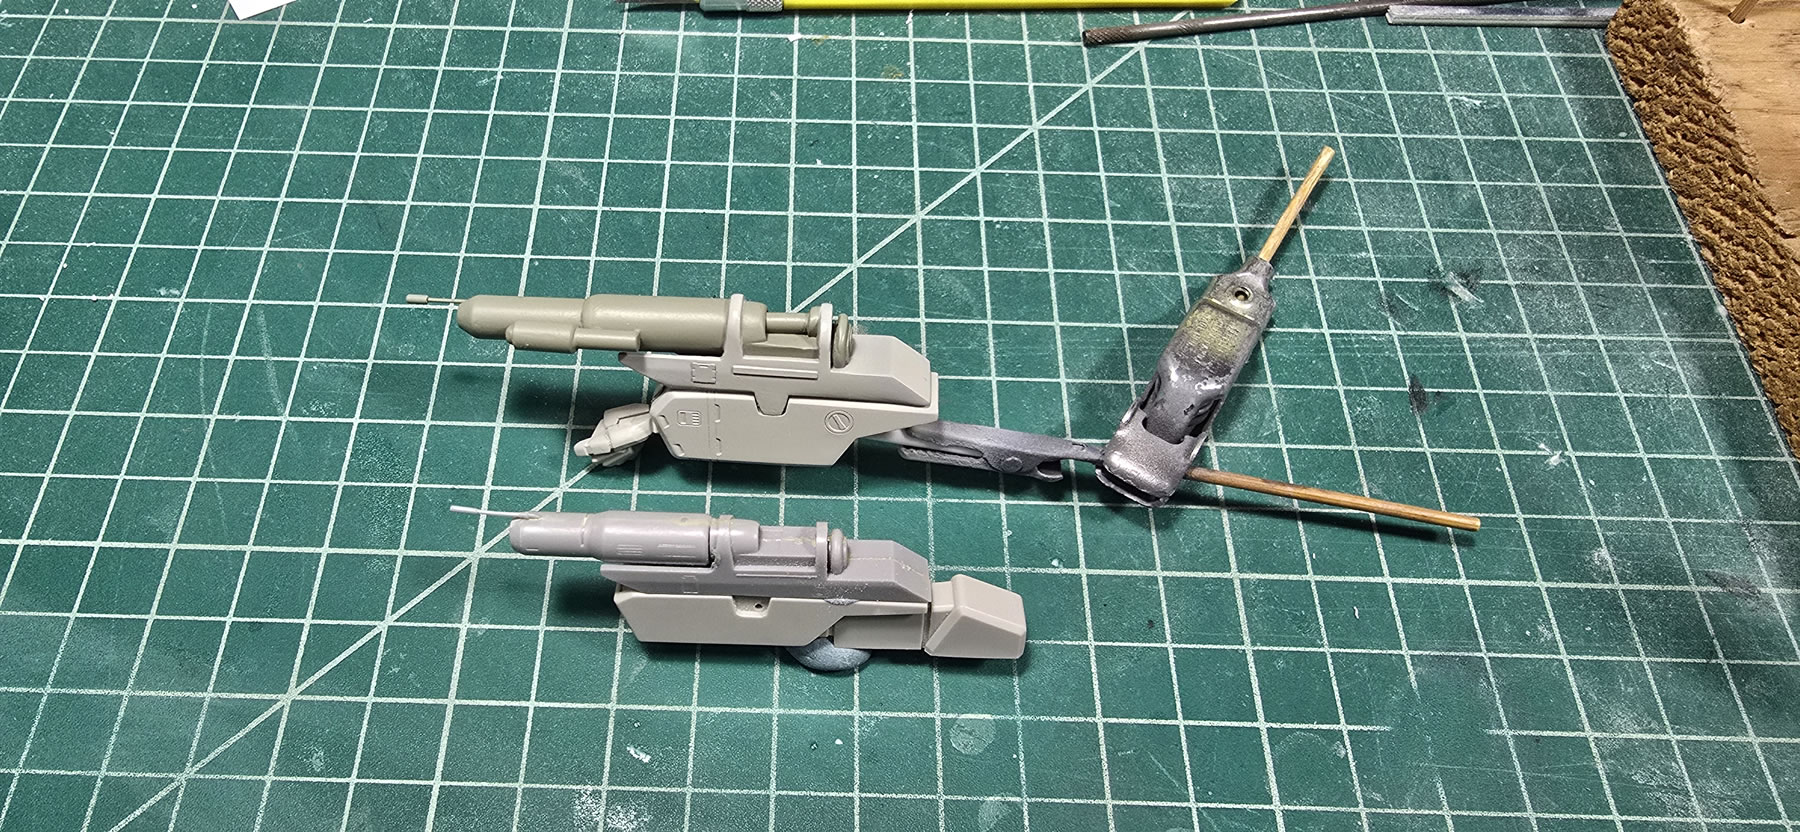
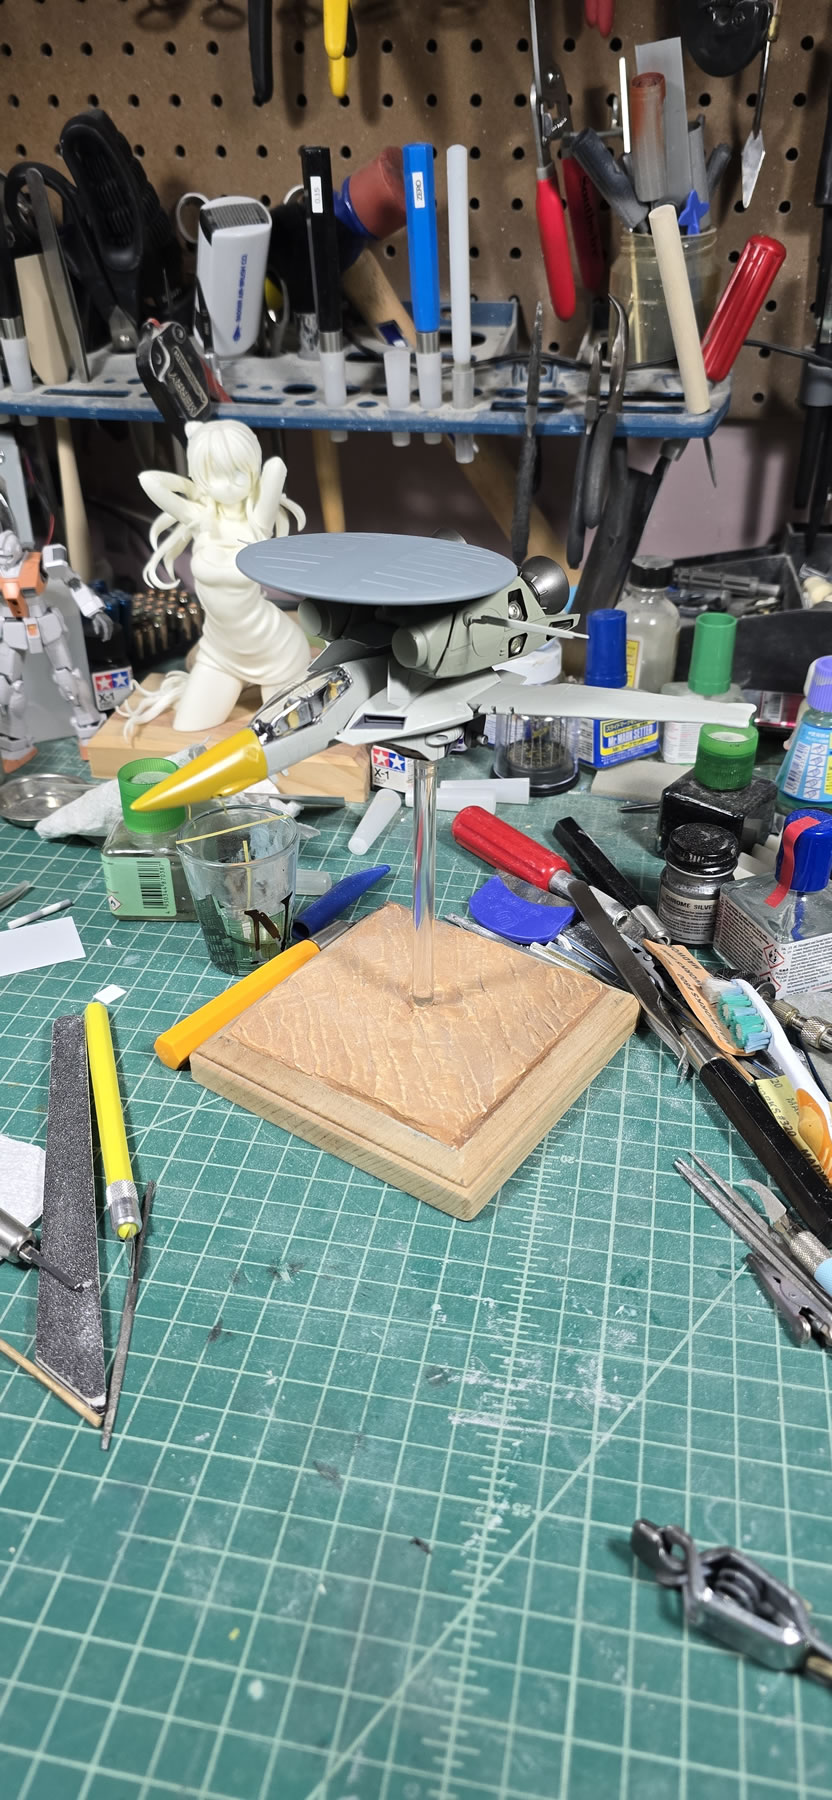
Ok, I lied, I started worrying about it a bit; but this is still technically part of the mockup. The radar attachment on the left arm needs scaling adjustments too. While it’s simple enough to design in Blender and 3D print it out, lets go old school and straight up styrene tubes. A couple of quick cuts, some glue, a piece of wiring and sleeve – pretty close.

That done, I can get a more complete mockup of what the kit should look like. A quick 2 days of work and I’m already way past I ever got in the last 17 years of this project.

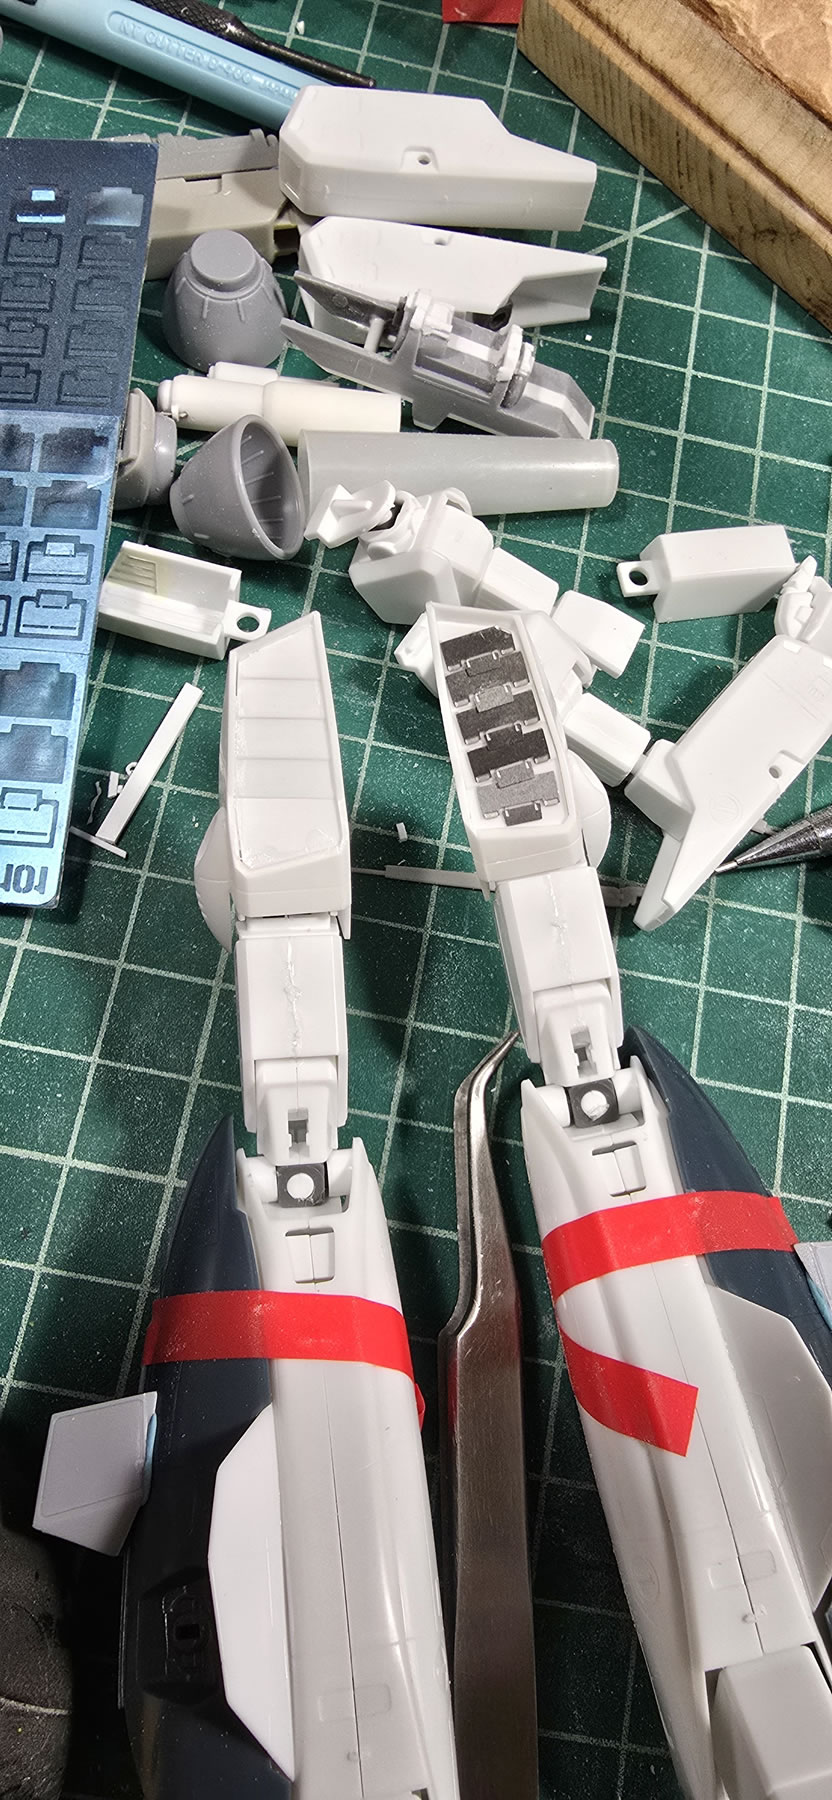
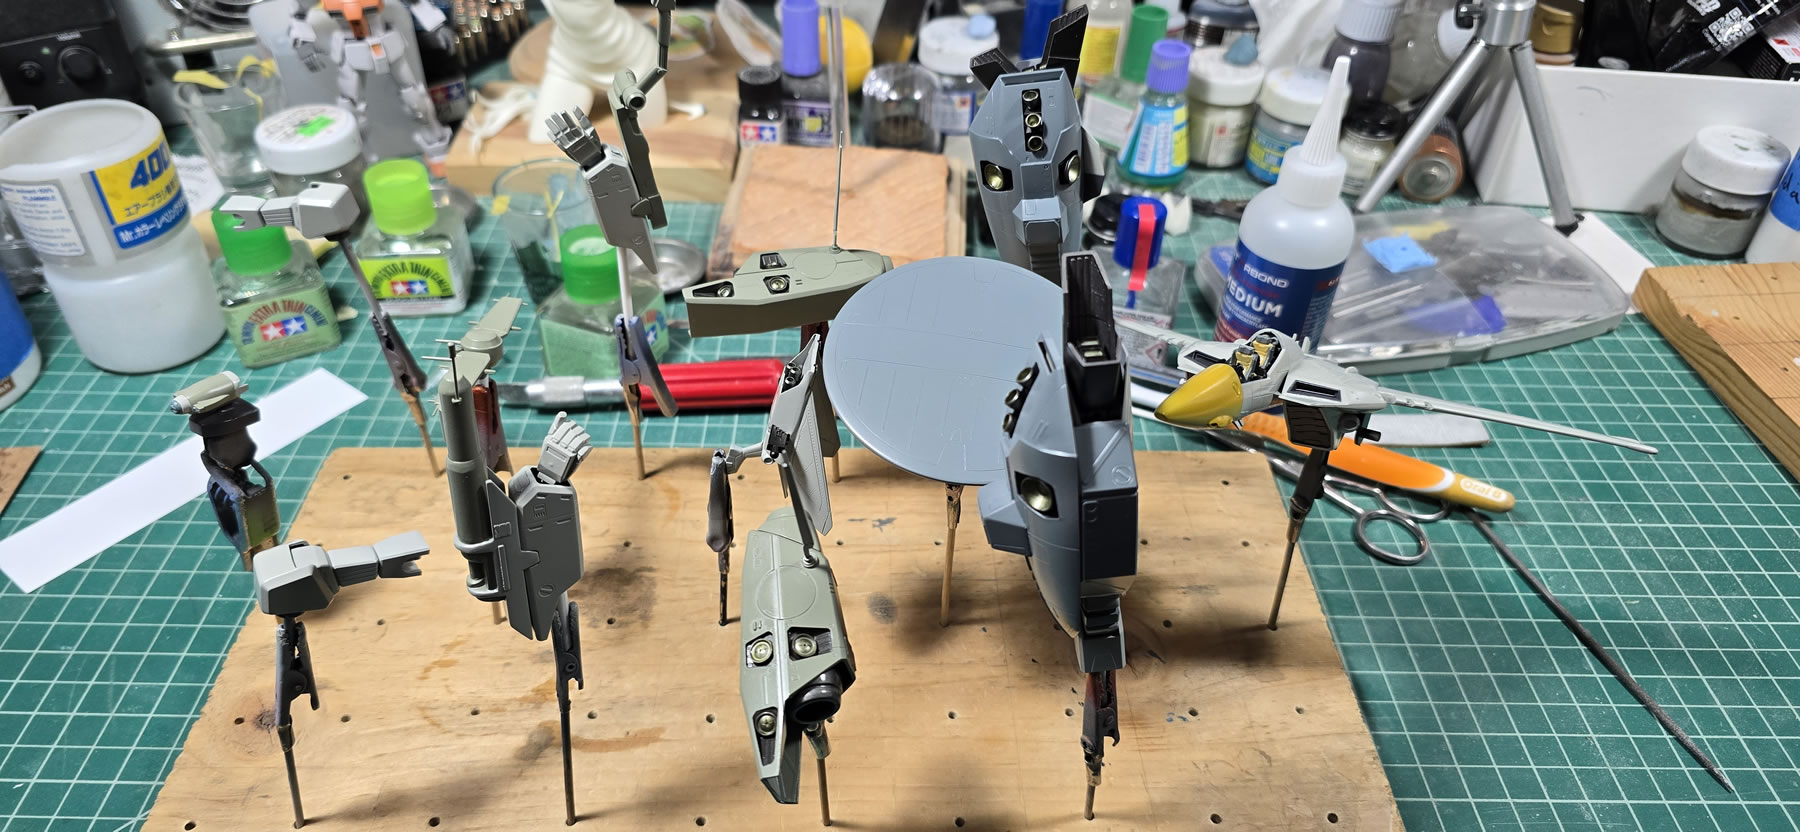
Time to take apart things to focus on sections at a time to keep from getting overwhelmed and shelving it once again, SCGMC 2025 MacroTech theme be damned.
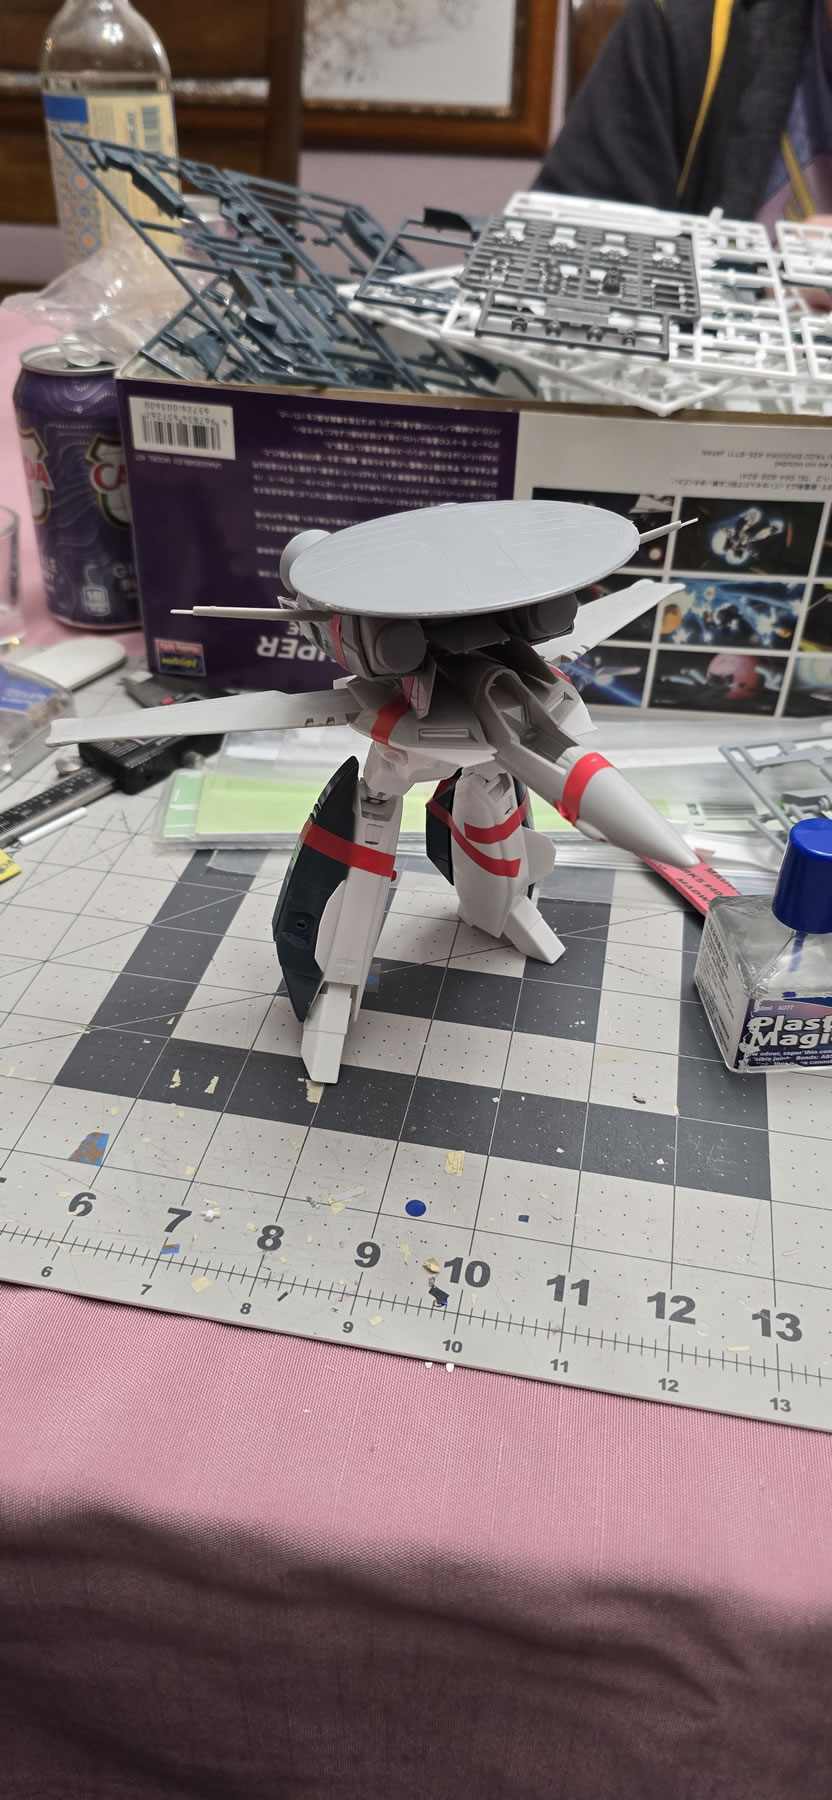
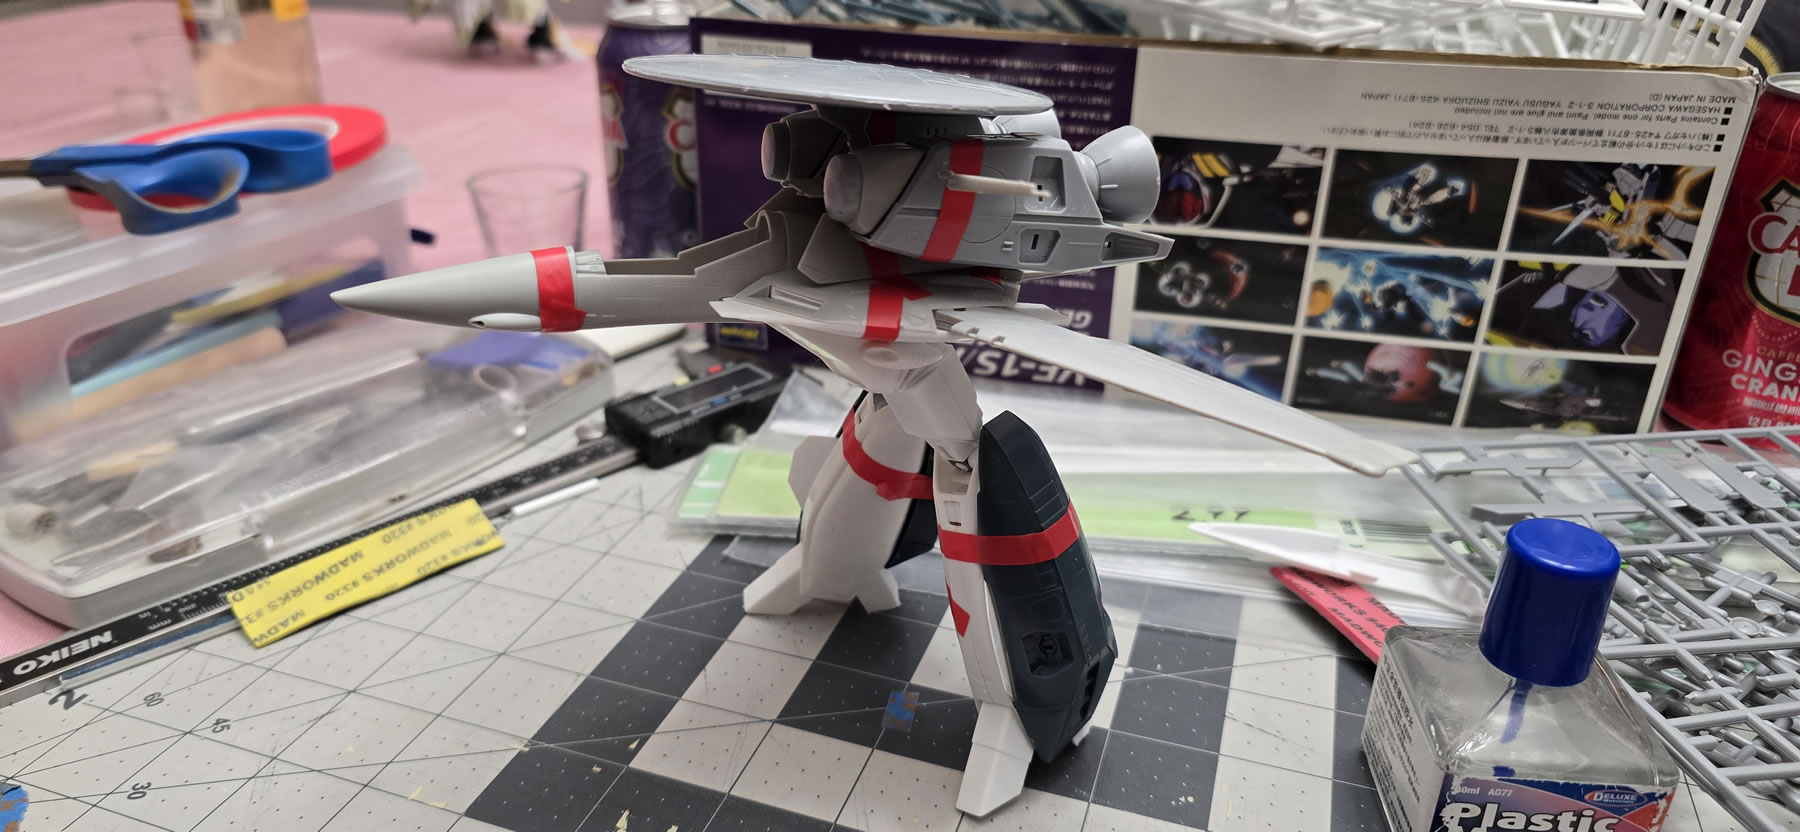
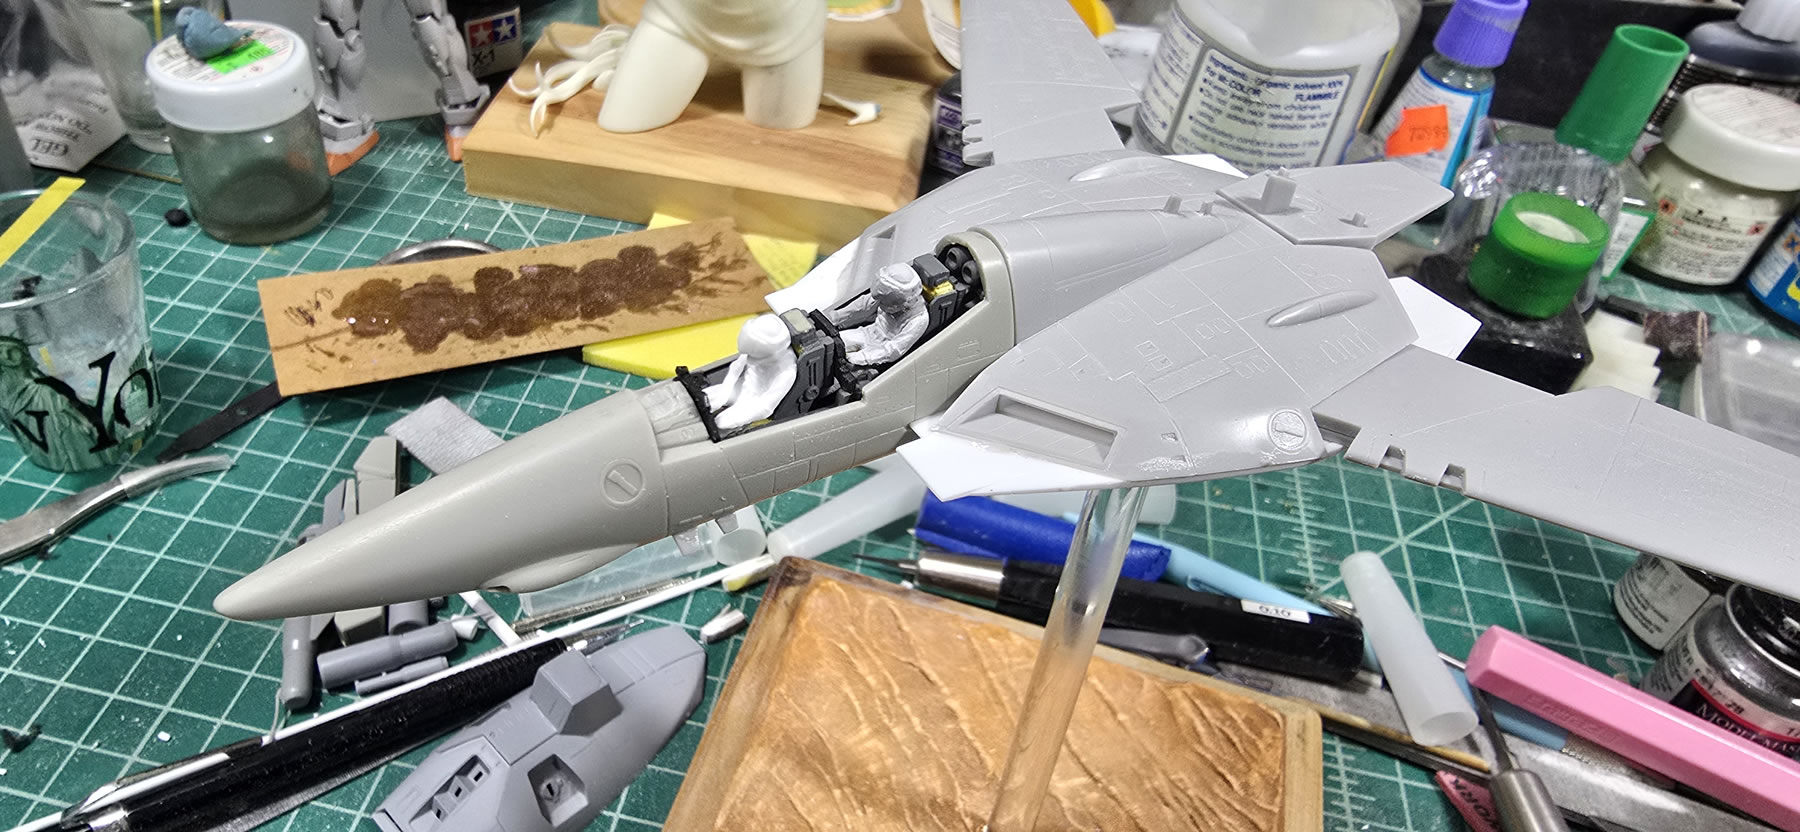
A few changes here. I grabbed the old kit and since I actually have the cockpit built, painted, and the two halves of the front fuselage is glued and sanded. The radar dome is also done, so why do more work? And I get to reuse 17 year old work.

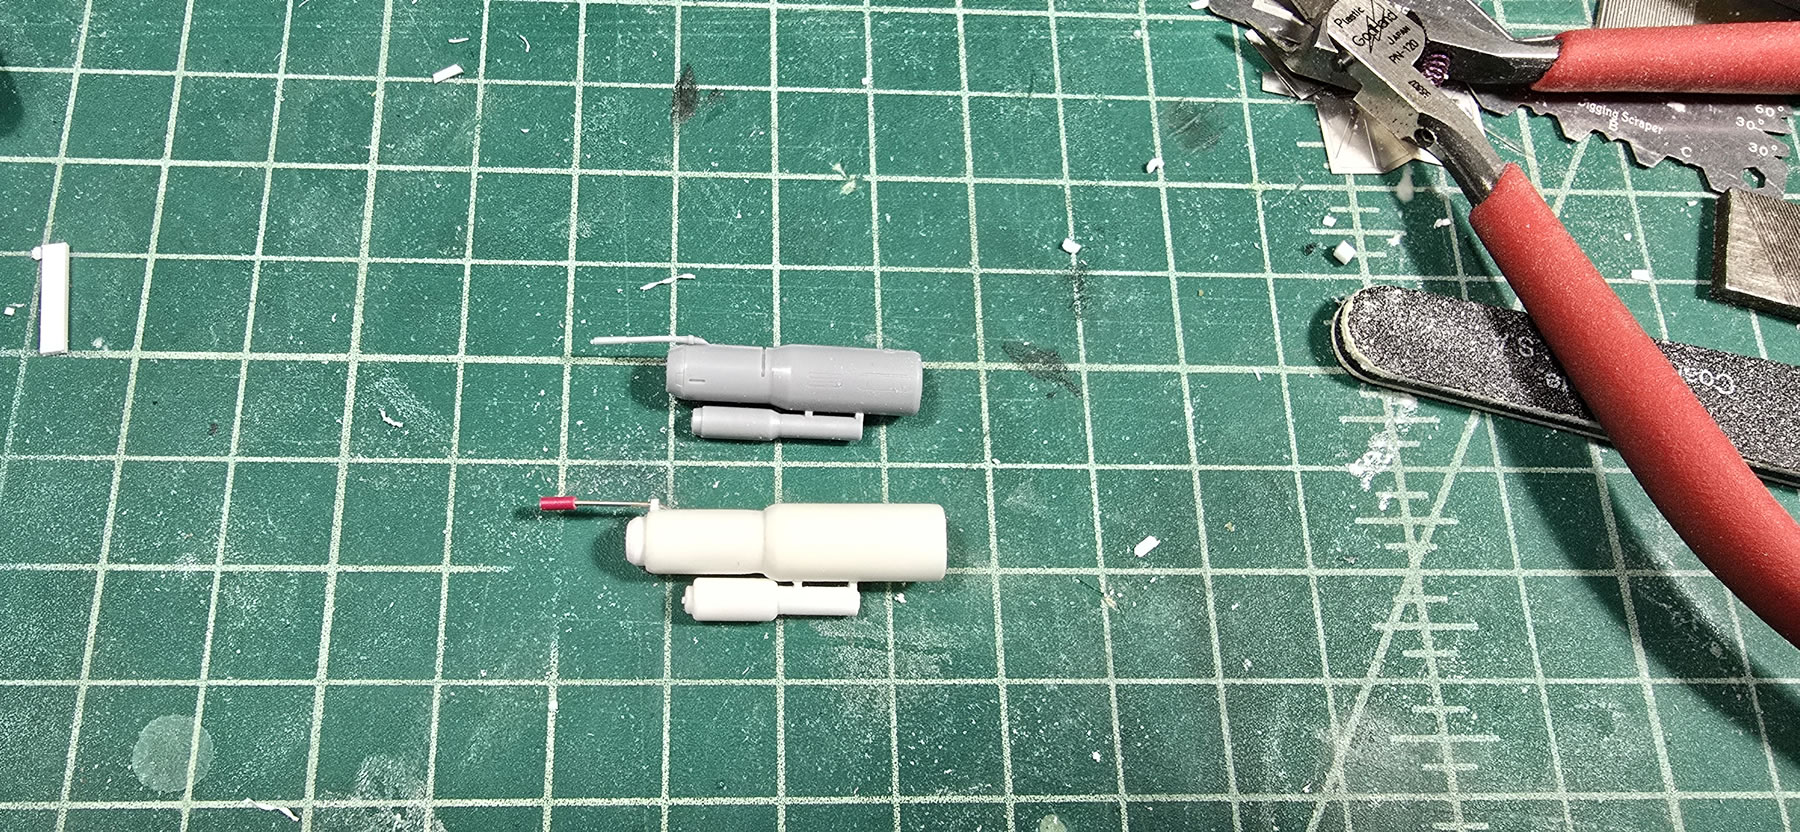
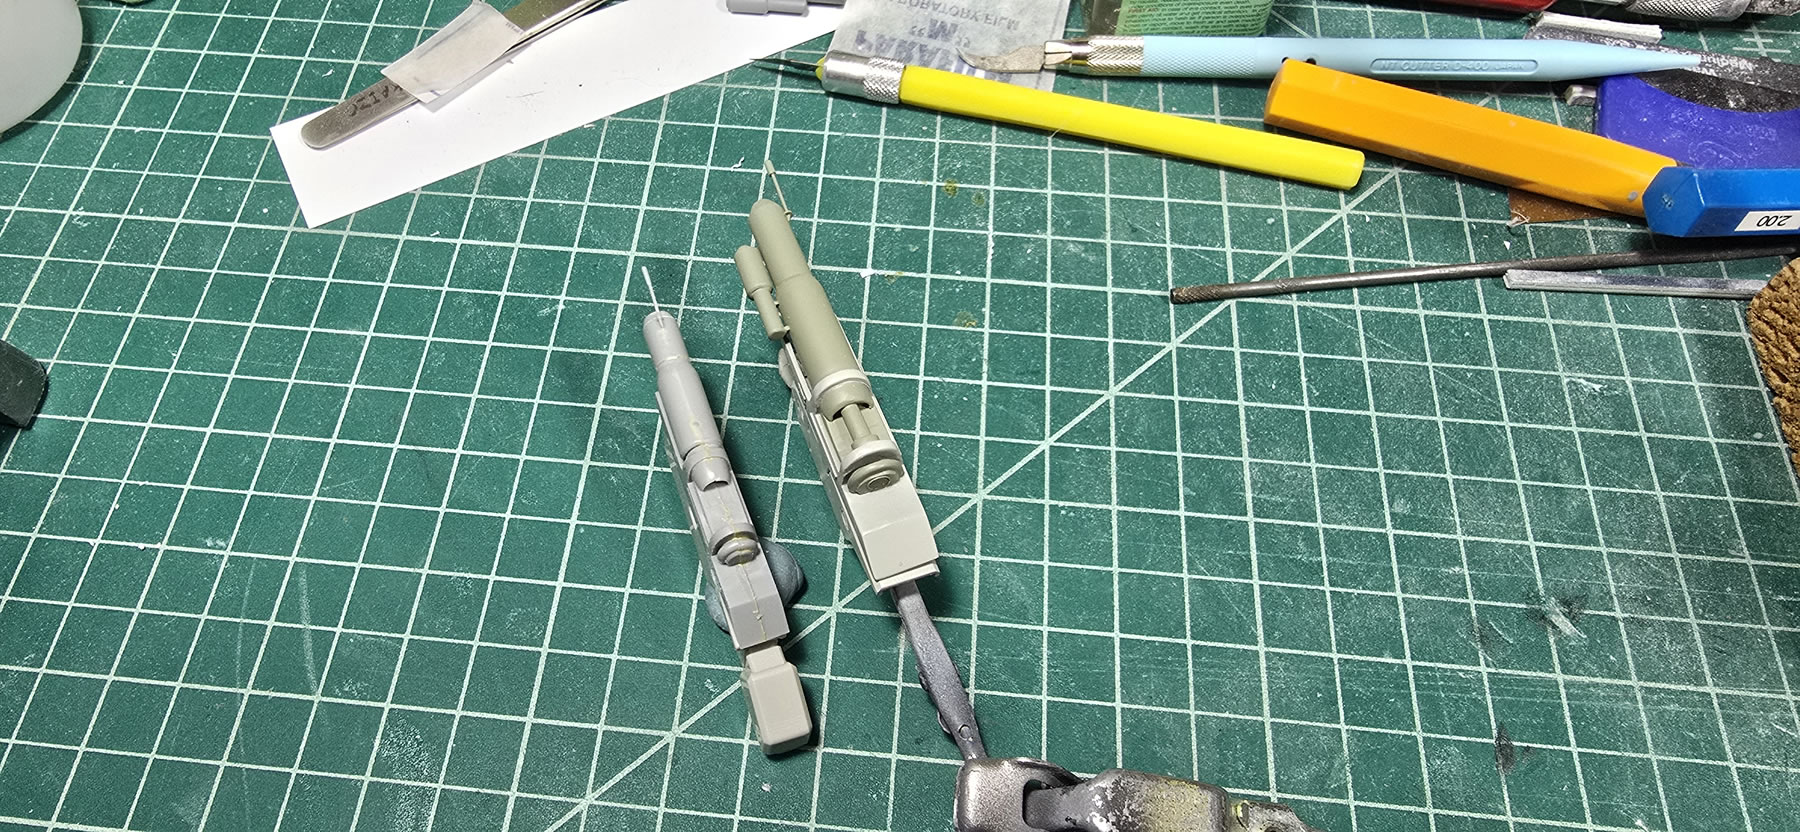
A little bit of styrene and the original Elint fastpack arm pieces start to fit.
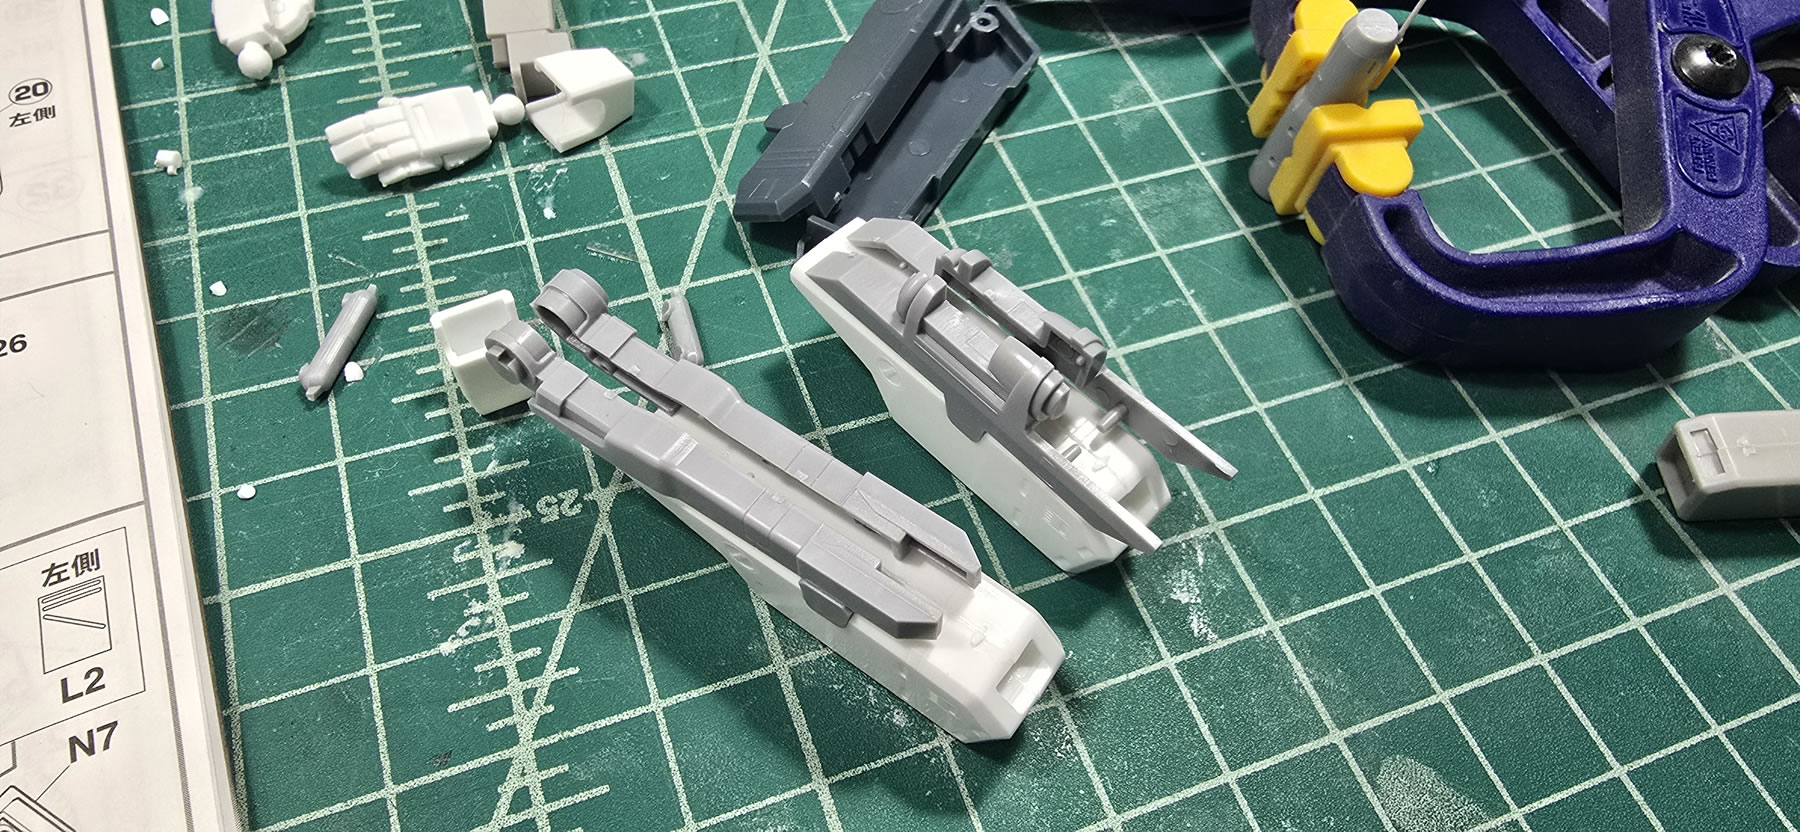
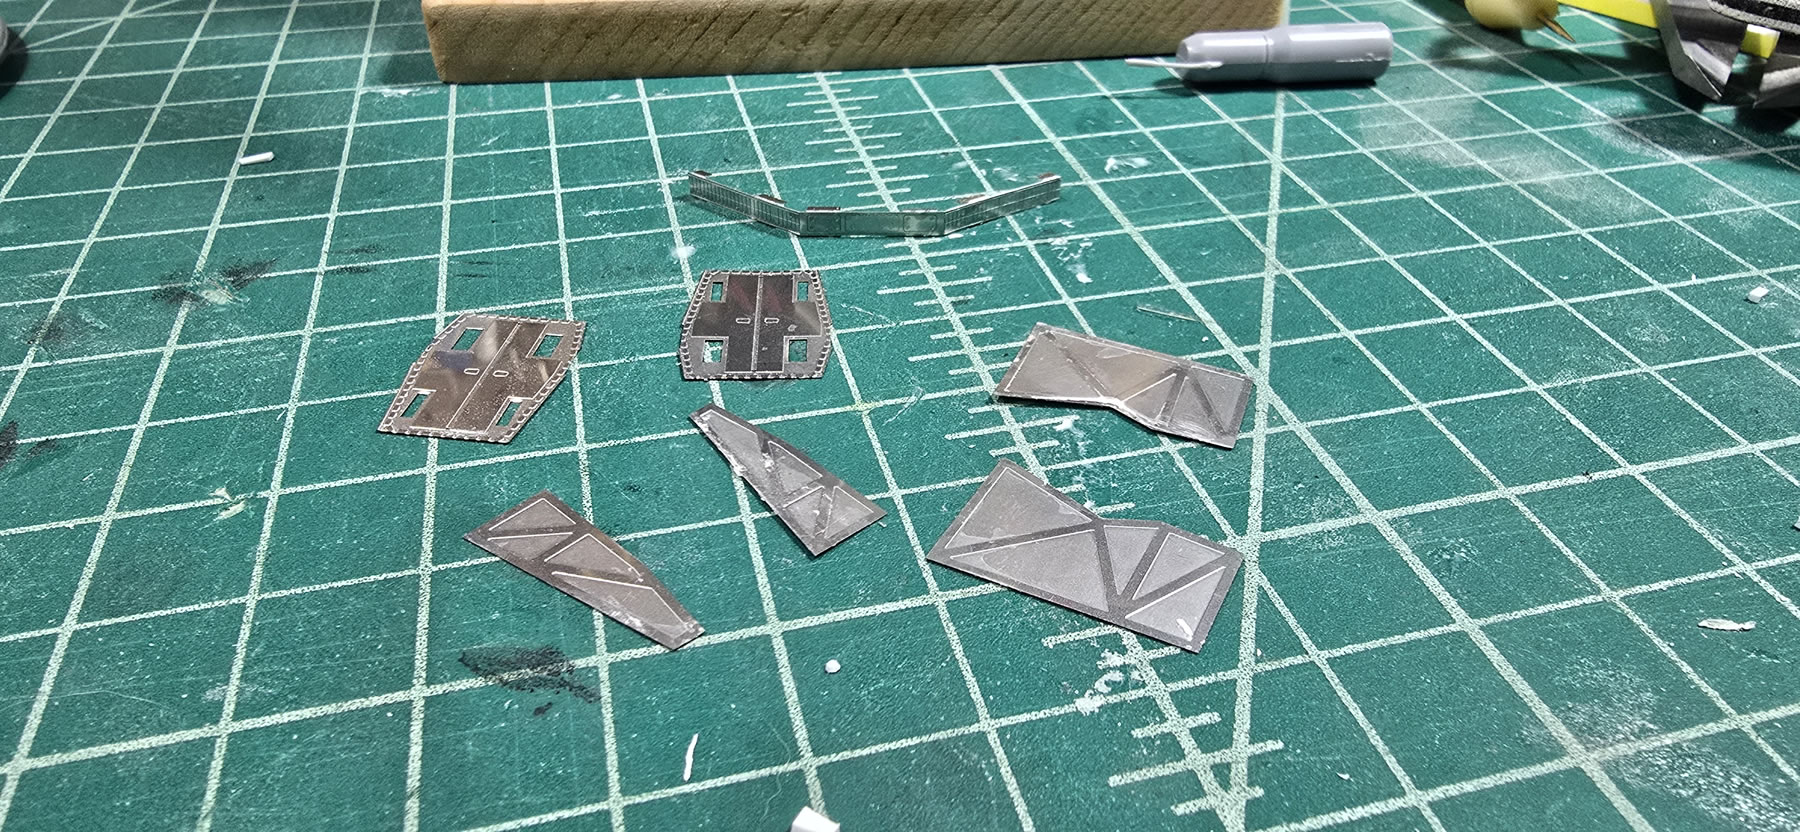
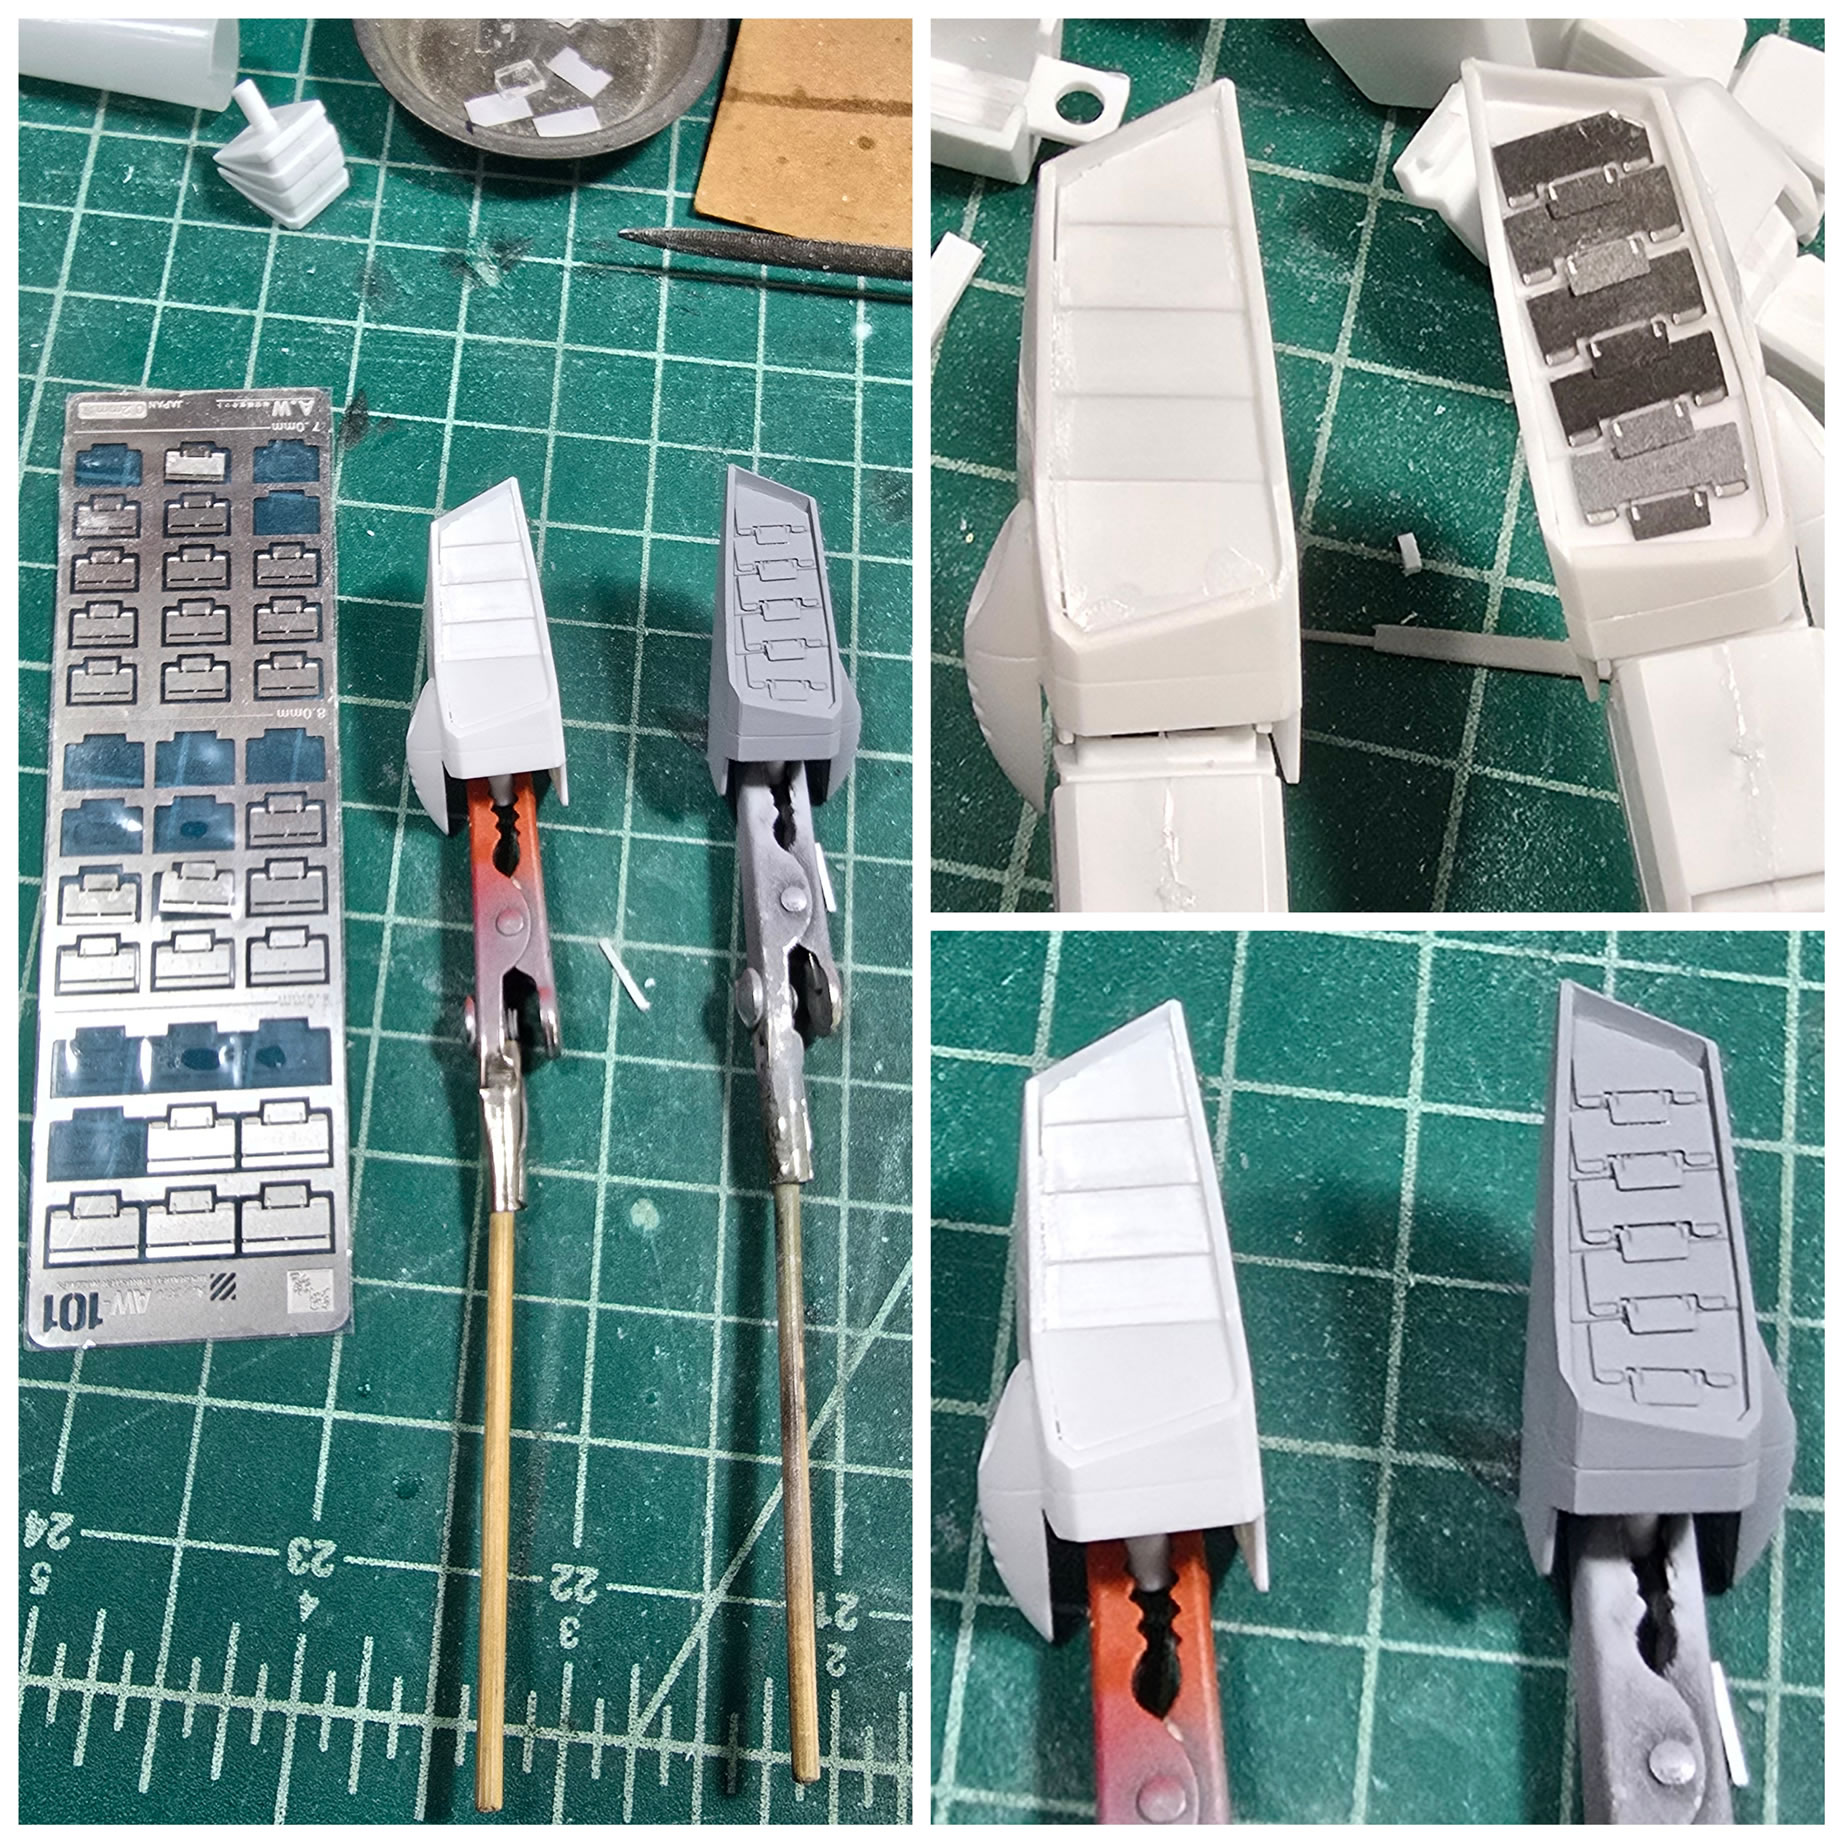
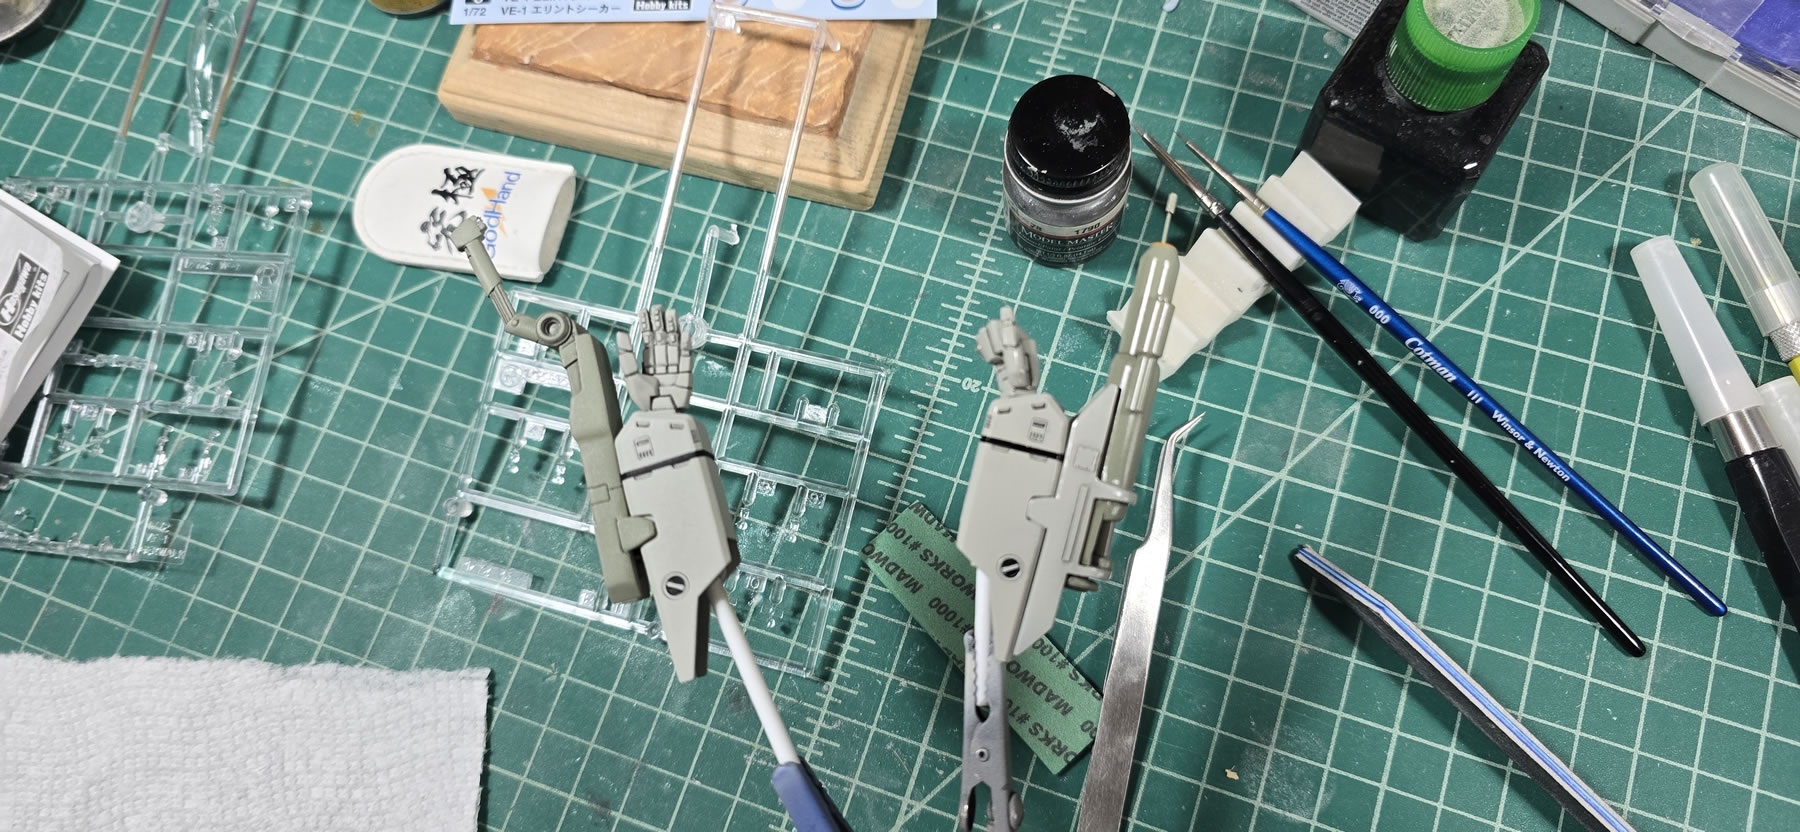
Returning to the old VE-1, I pulled off the photoetch, cleaned them up and I can now use them on the new areas of the kit. The left arm sensor pieces are starting to look close albeit a bit on the rough side. But the blocking is working out.
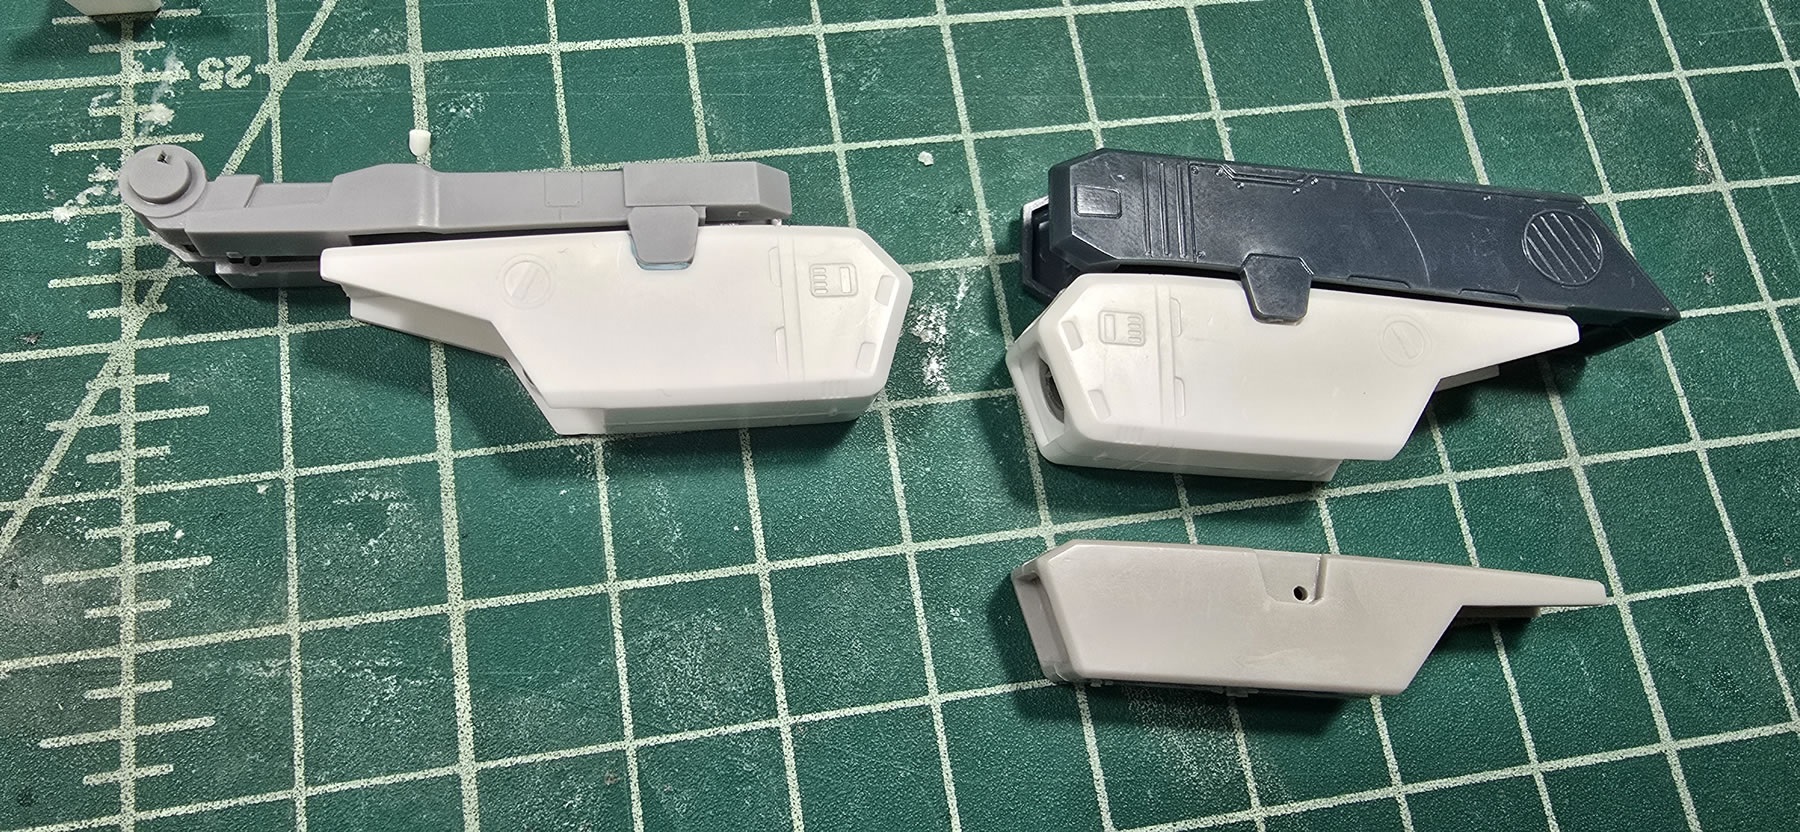
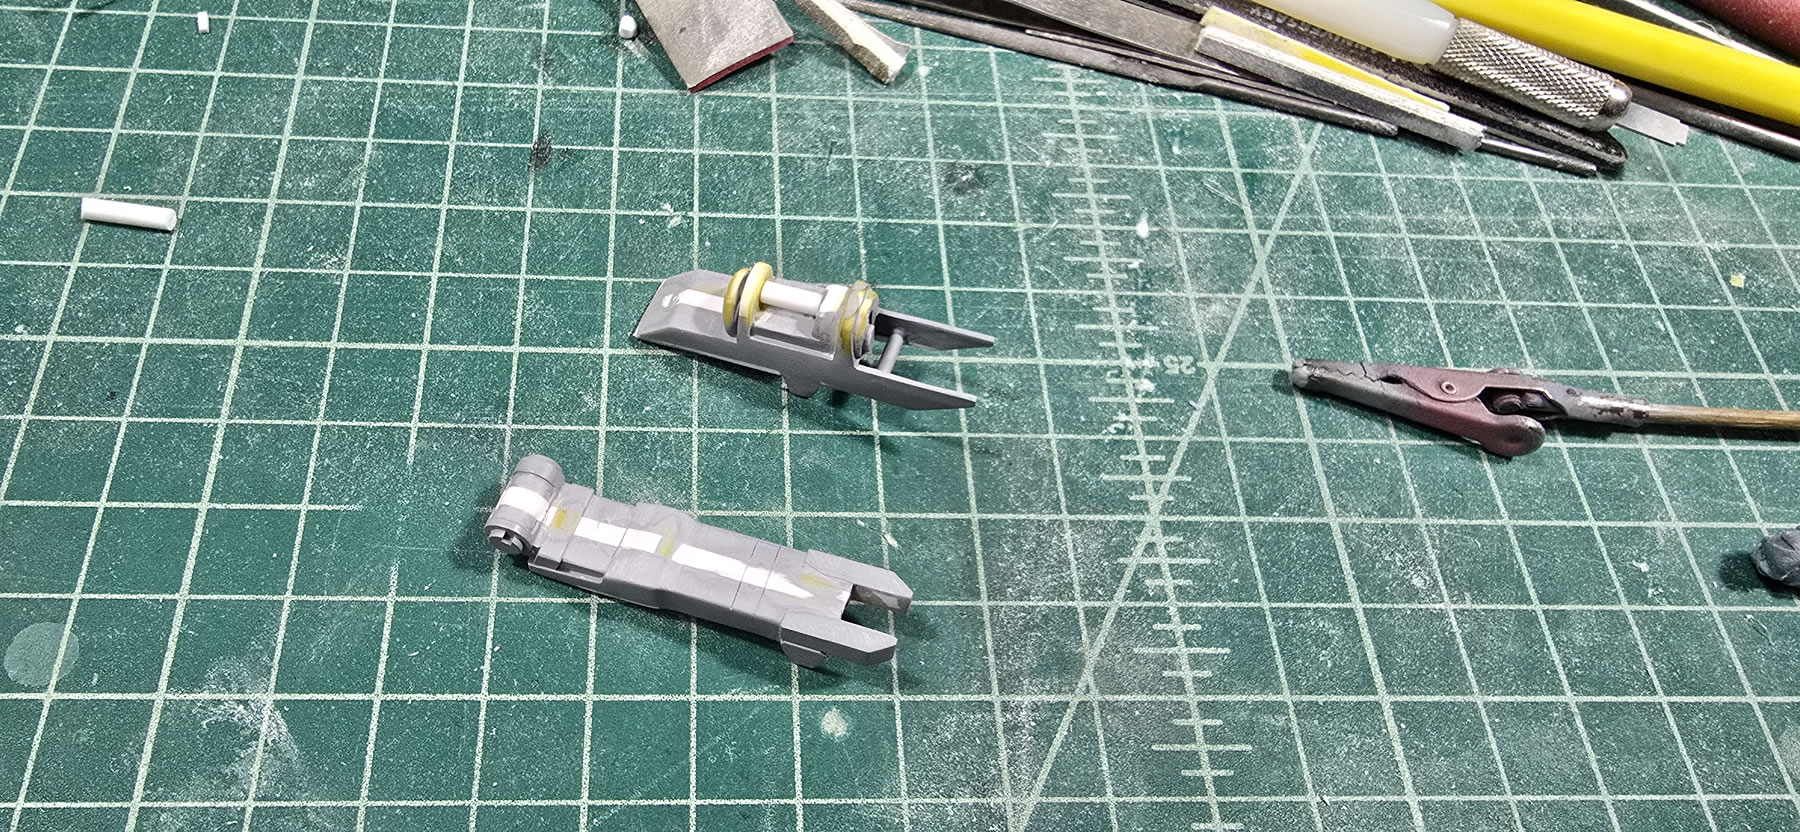
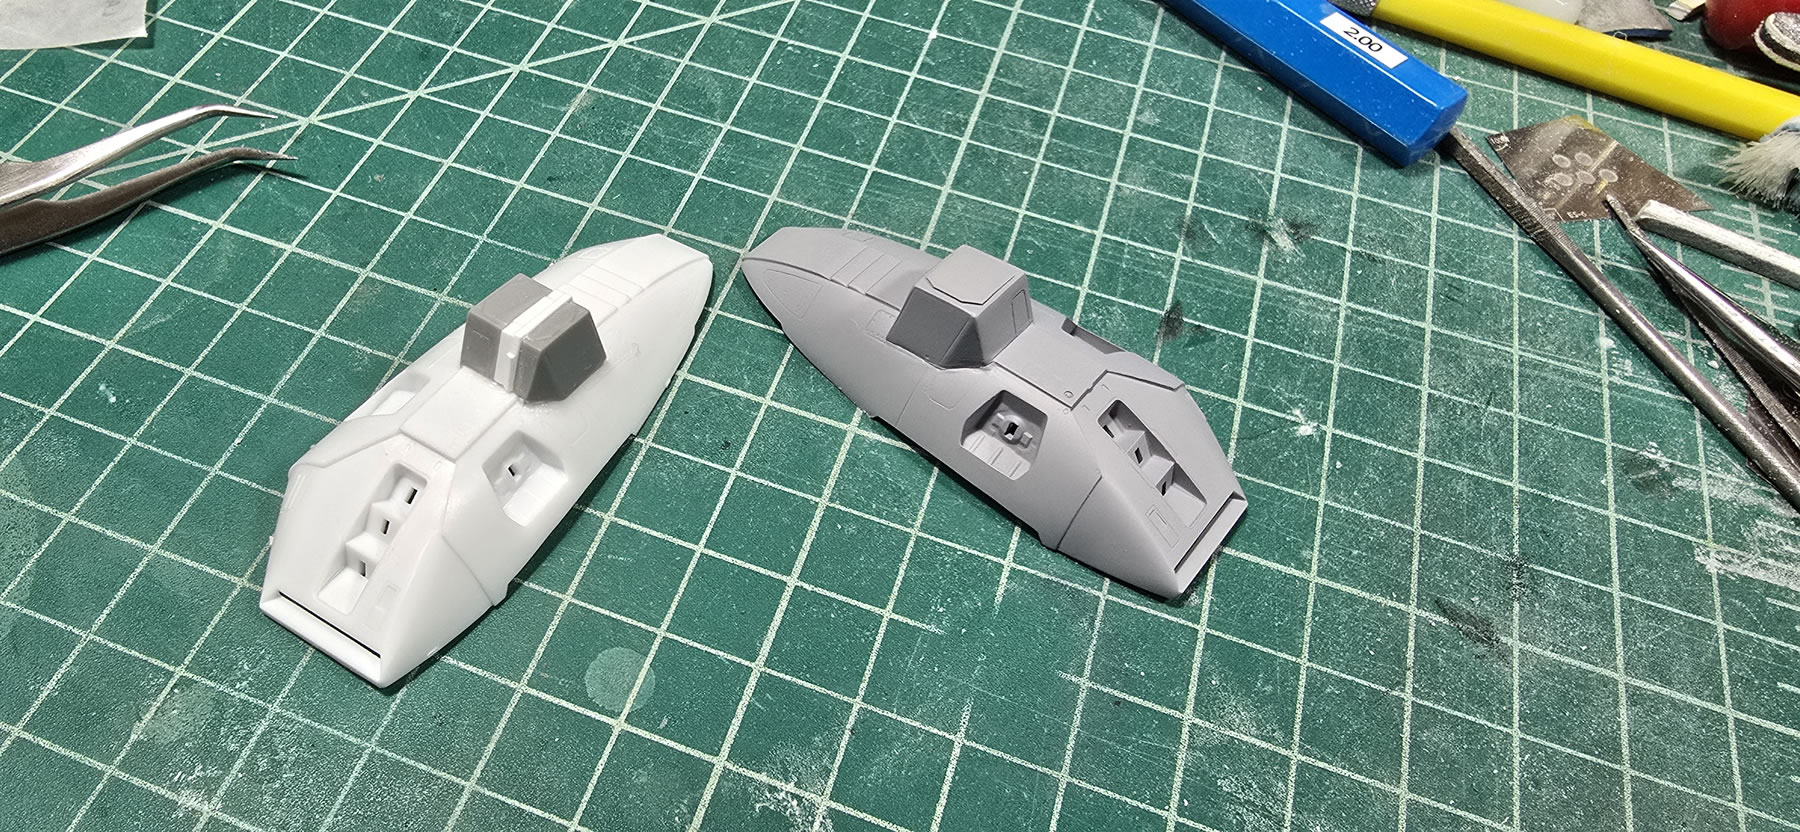
Comparison of the new arm fastpack to the original fastpack. Having the original kit parts is quite useful. Instead of modifying the original, I have the original as a good touch and feel three dimensional model to work from; much easier than trying to find photos and make fun guesses.
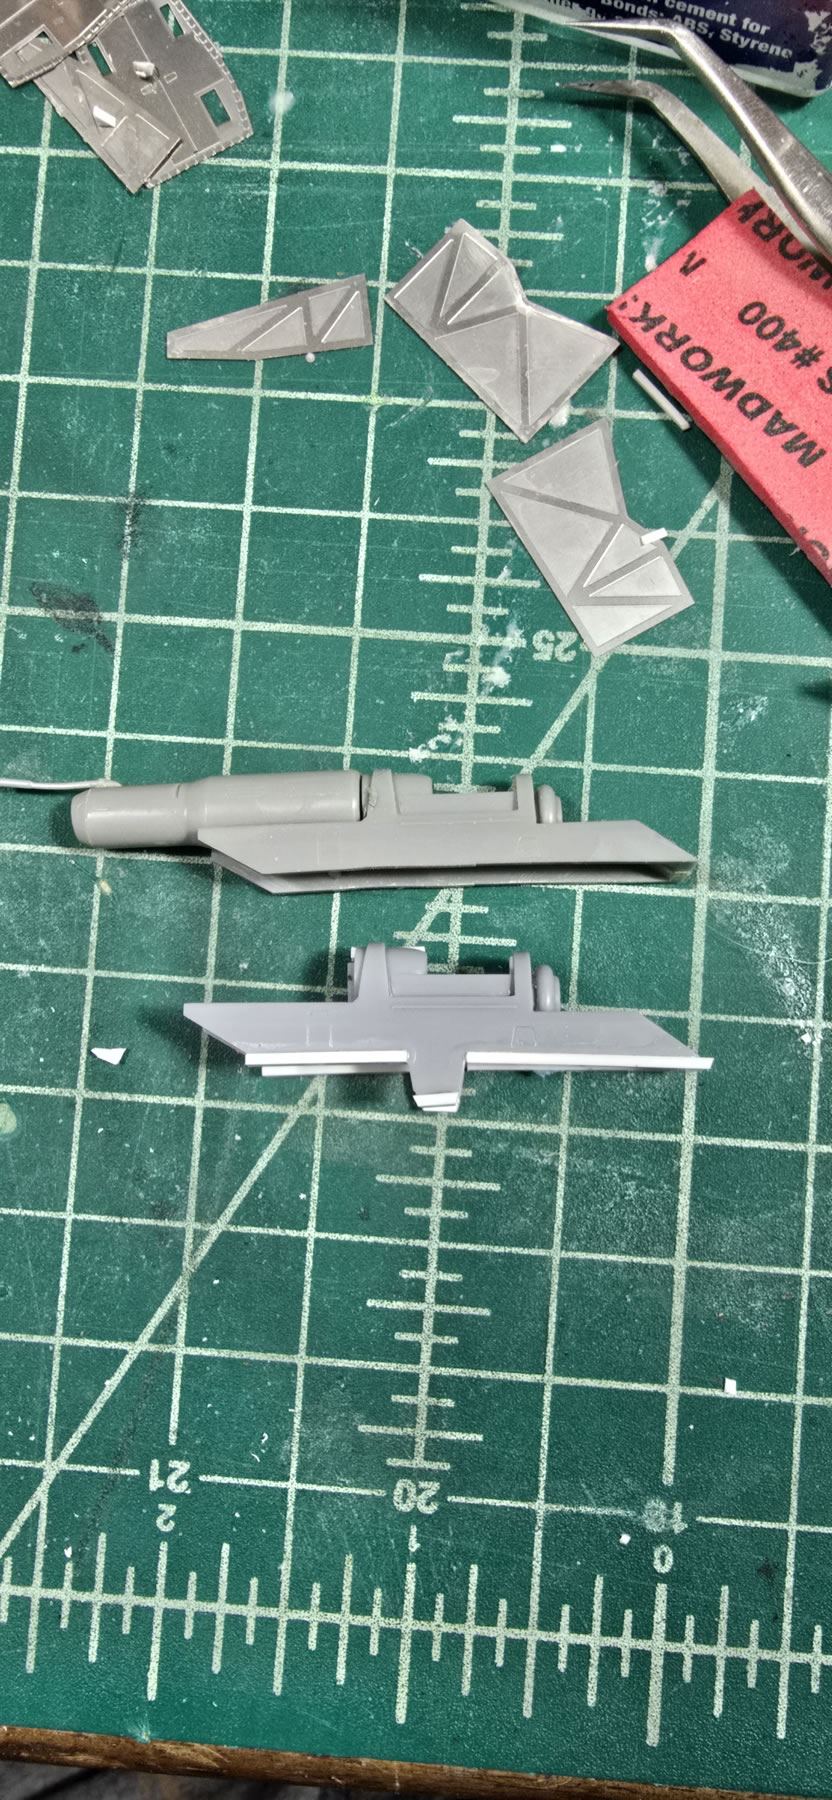
The right arm sensor array is staying the same, I don’t think it will be overly noticeable on scaling. The fastpack part however, needs the same styrene buffing up treatment. I continue to refine the scratch build left arm sensor. Not too bad looking; for now.
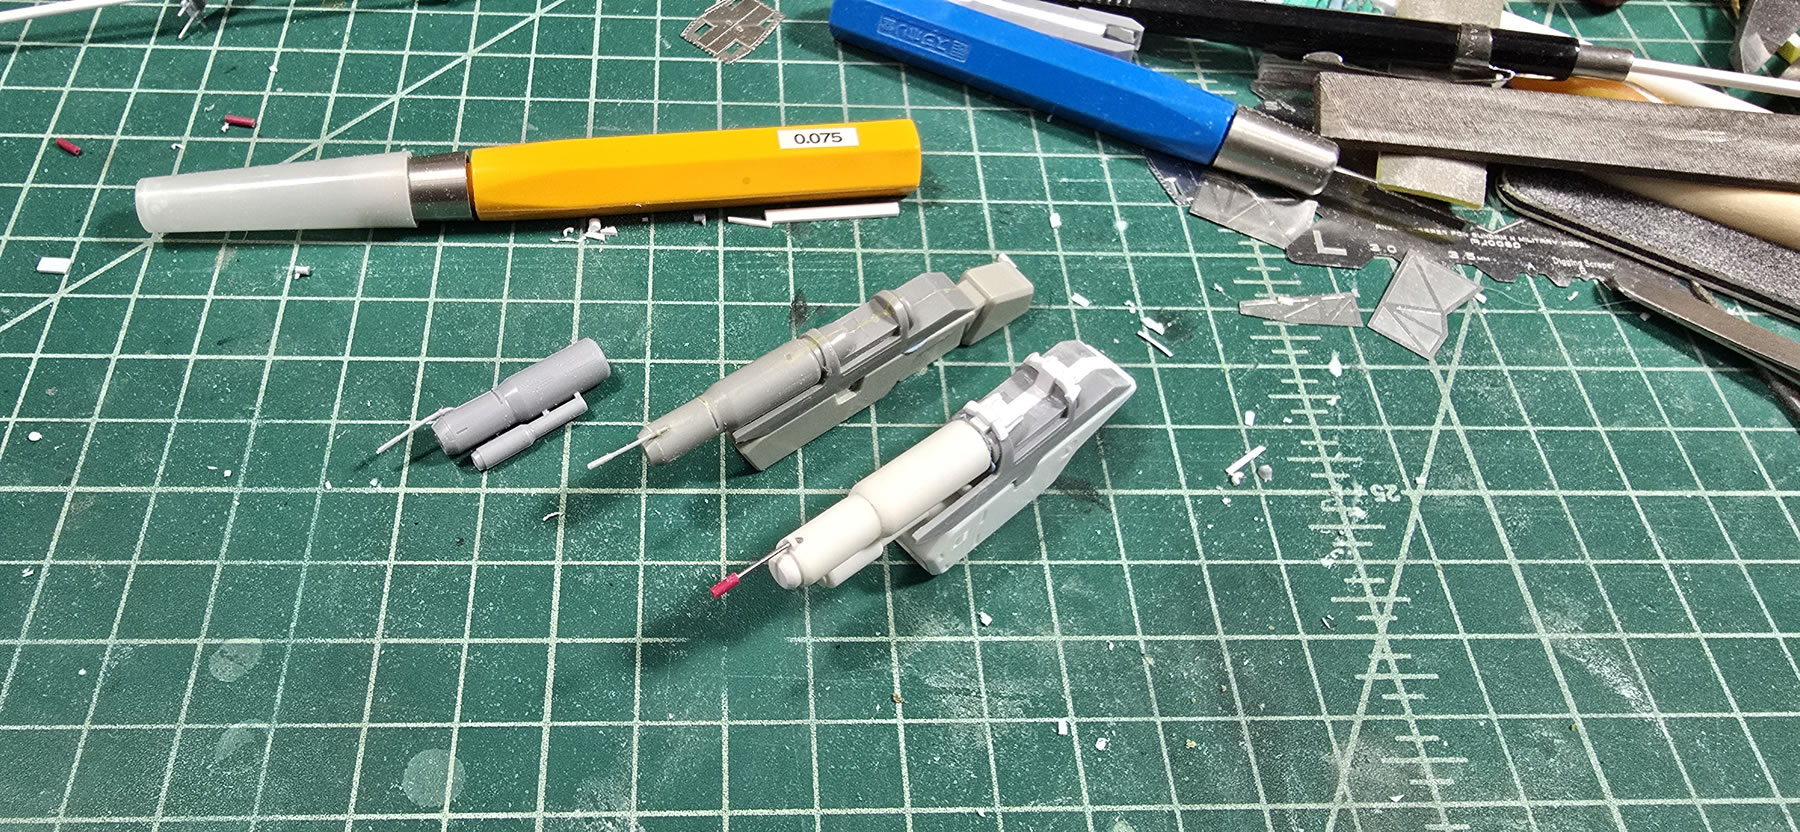
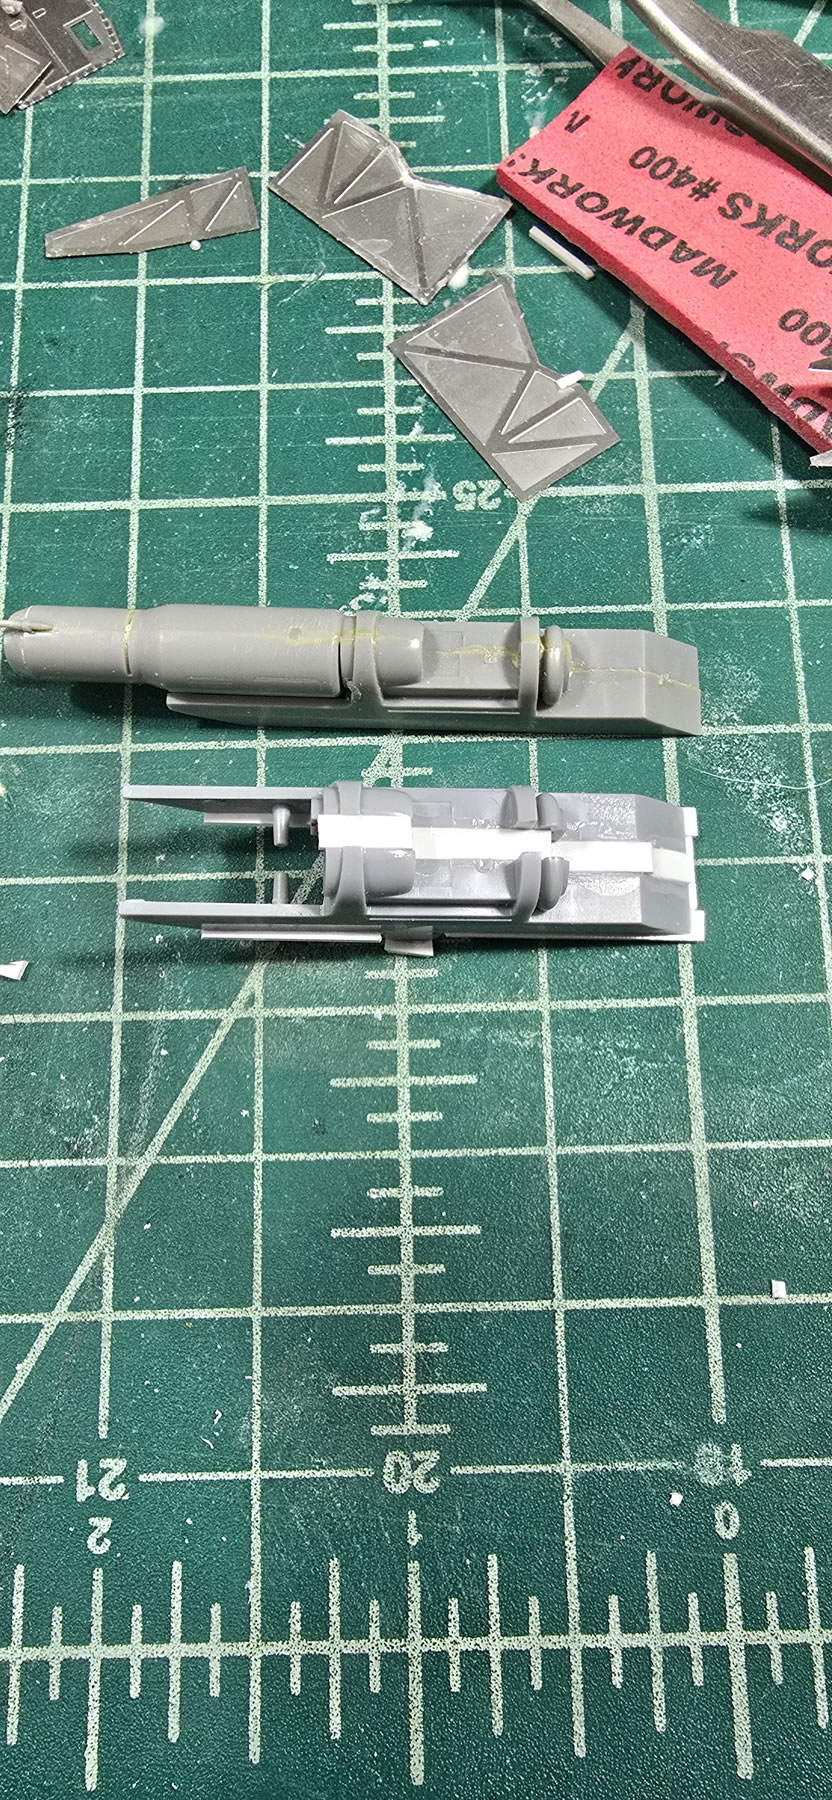
A quick arm mockup comparison to the original.
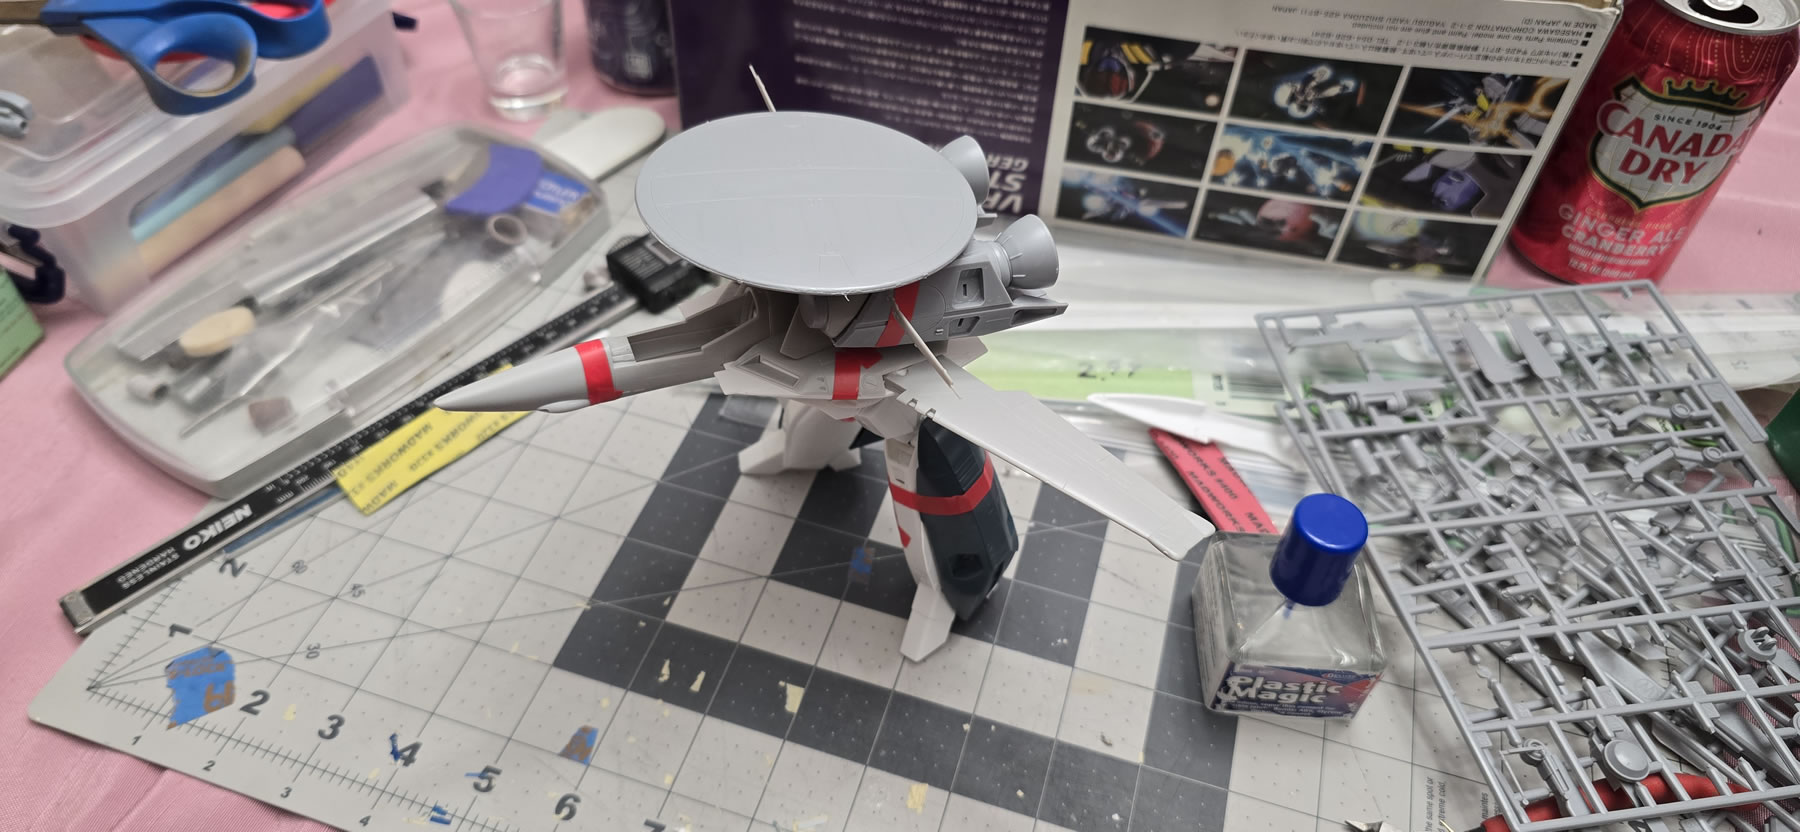
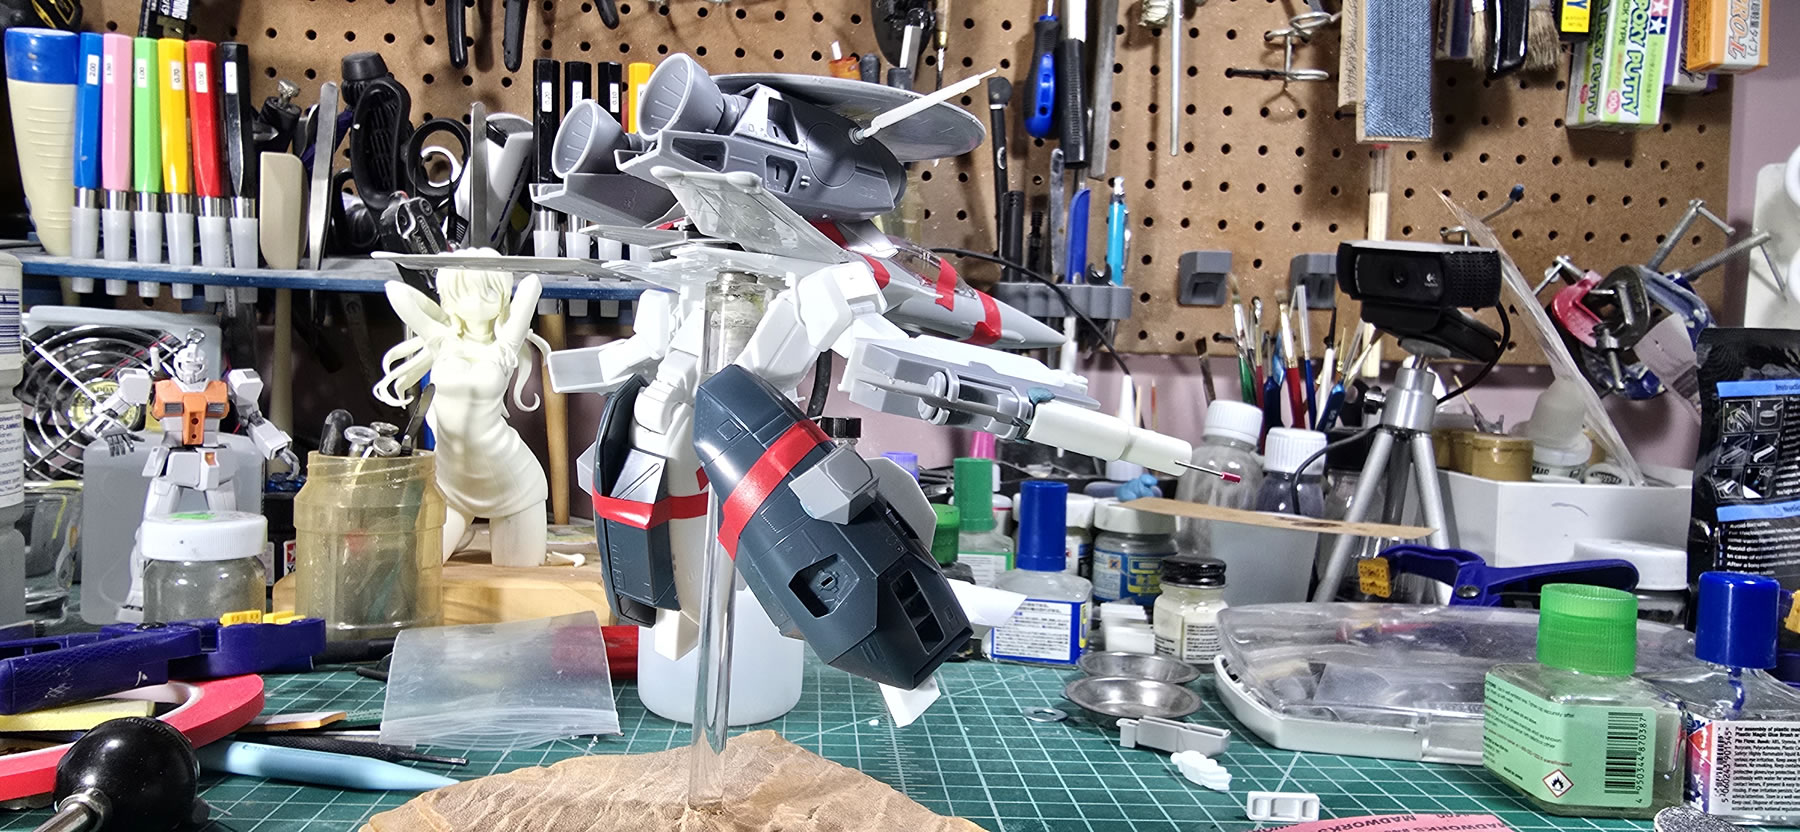
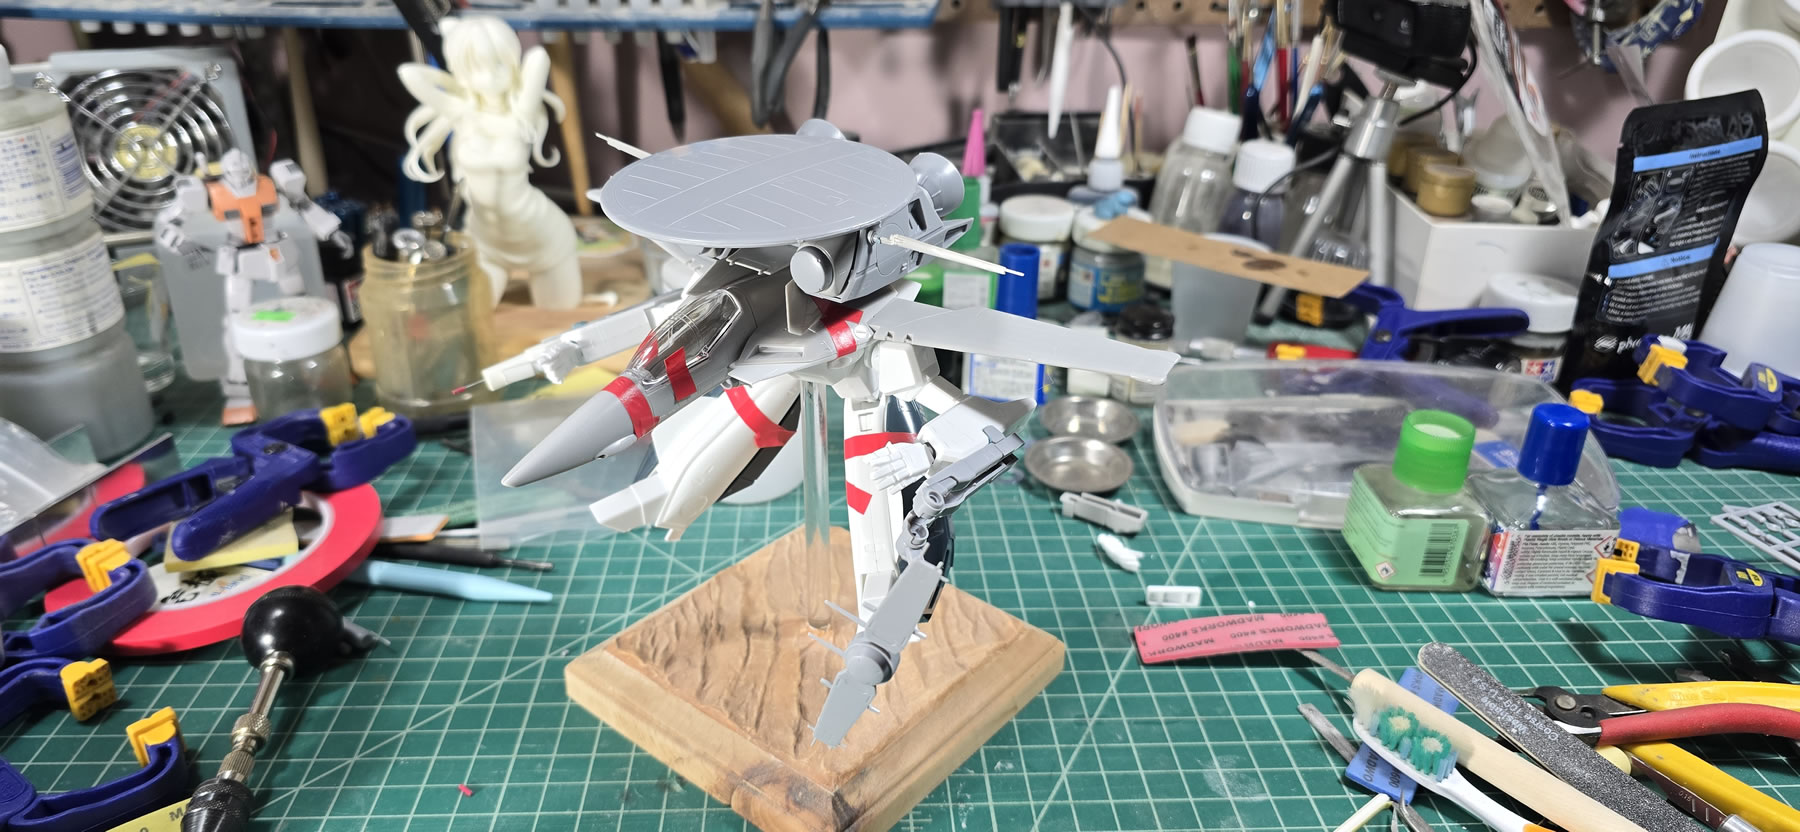
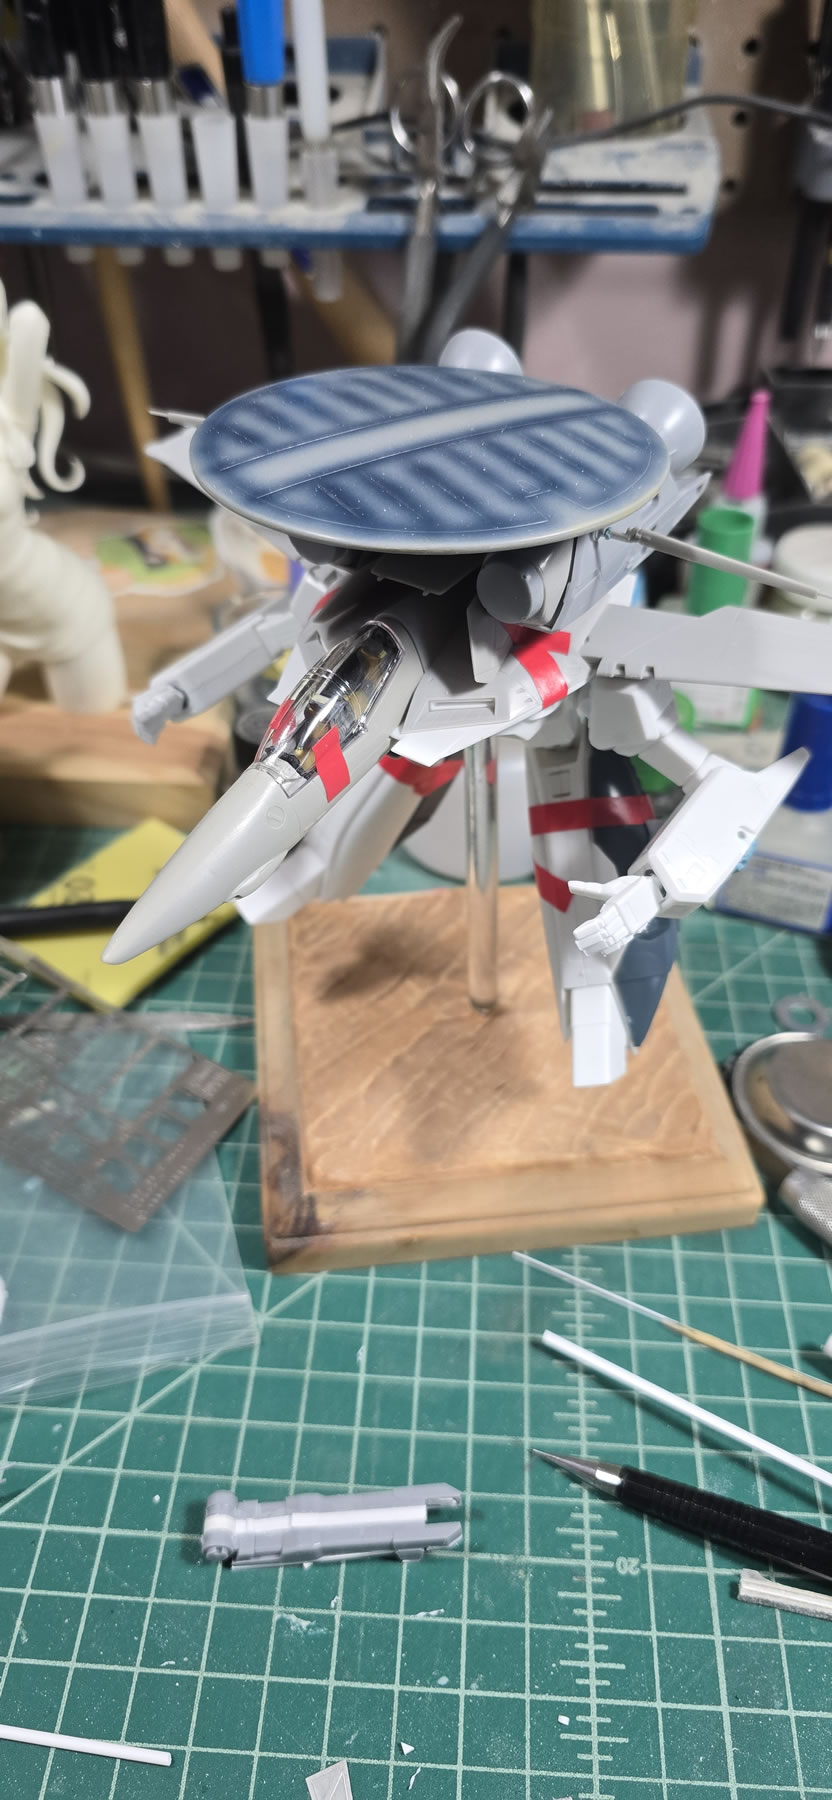
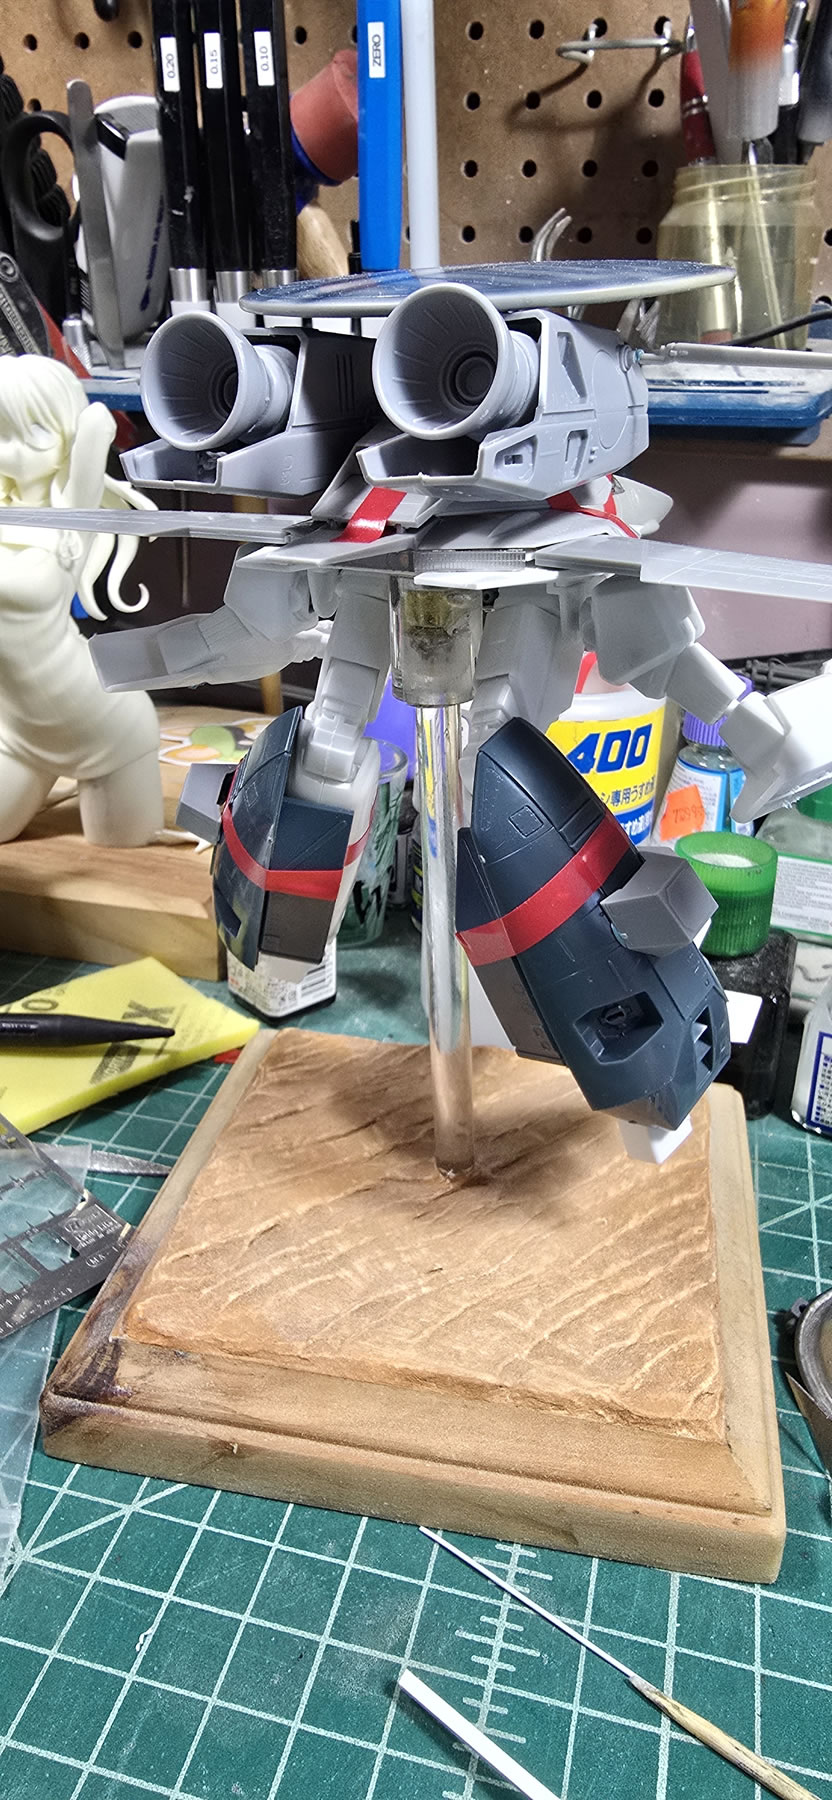
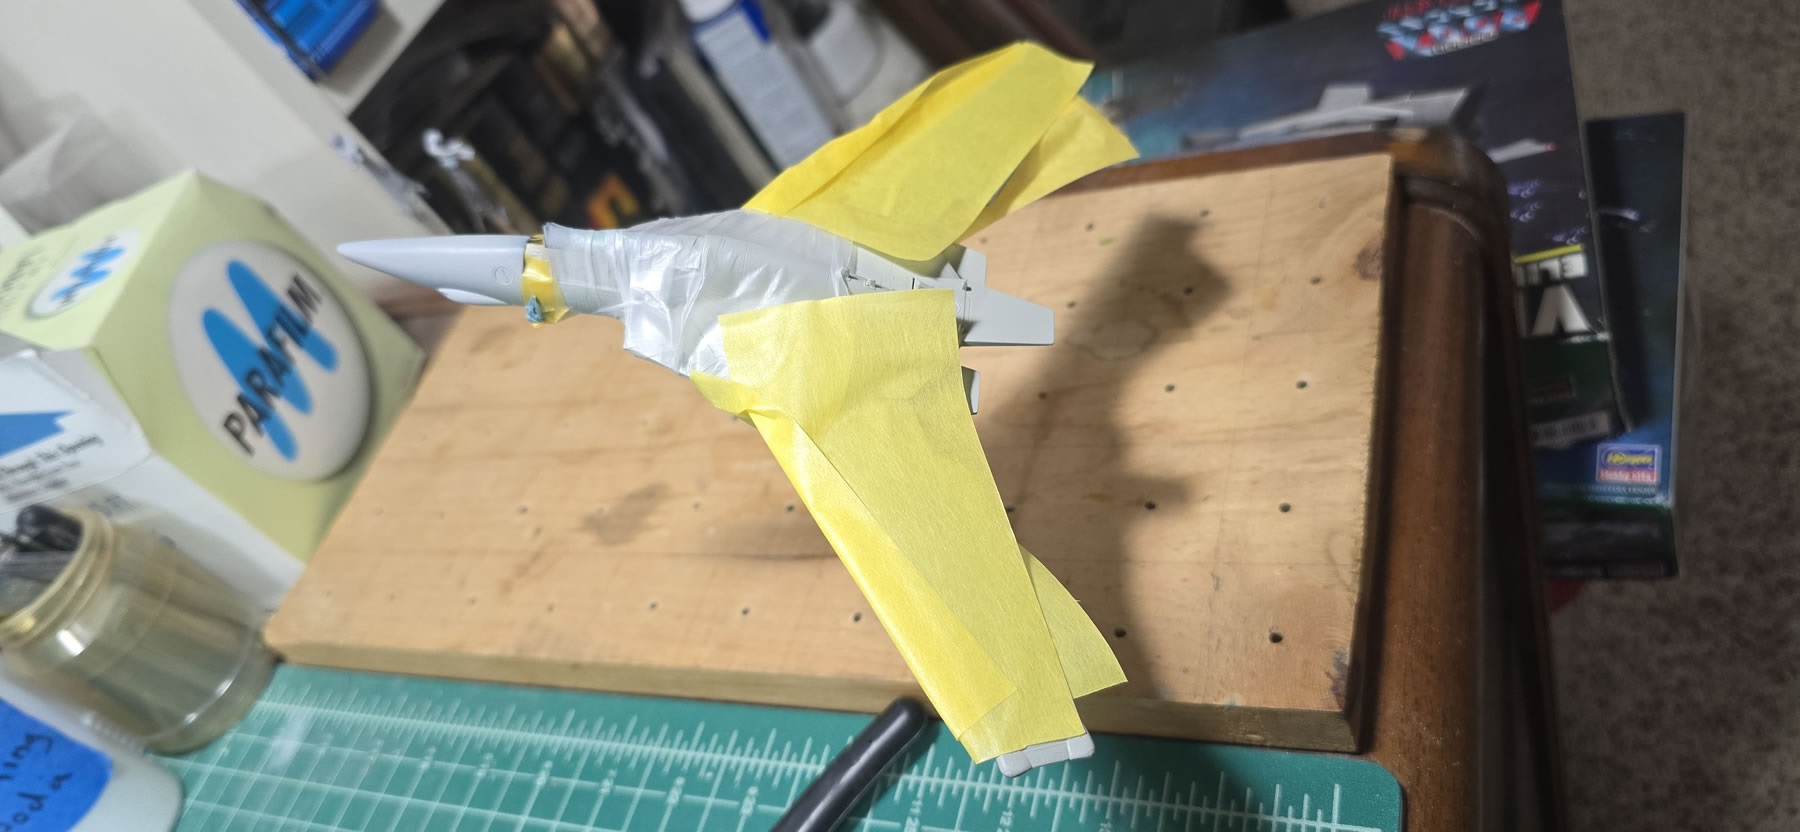
A better look at the radar dish as sometime ago, I actually started painting the damn thing. The space at the back of the wings is filled with a photoetch detail piece. Wings are fixed and glued so there is no need for that gap.
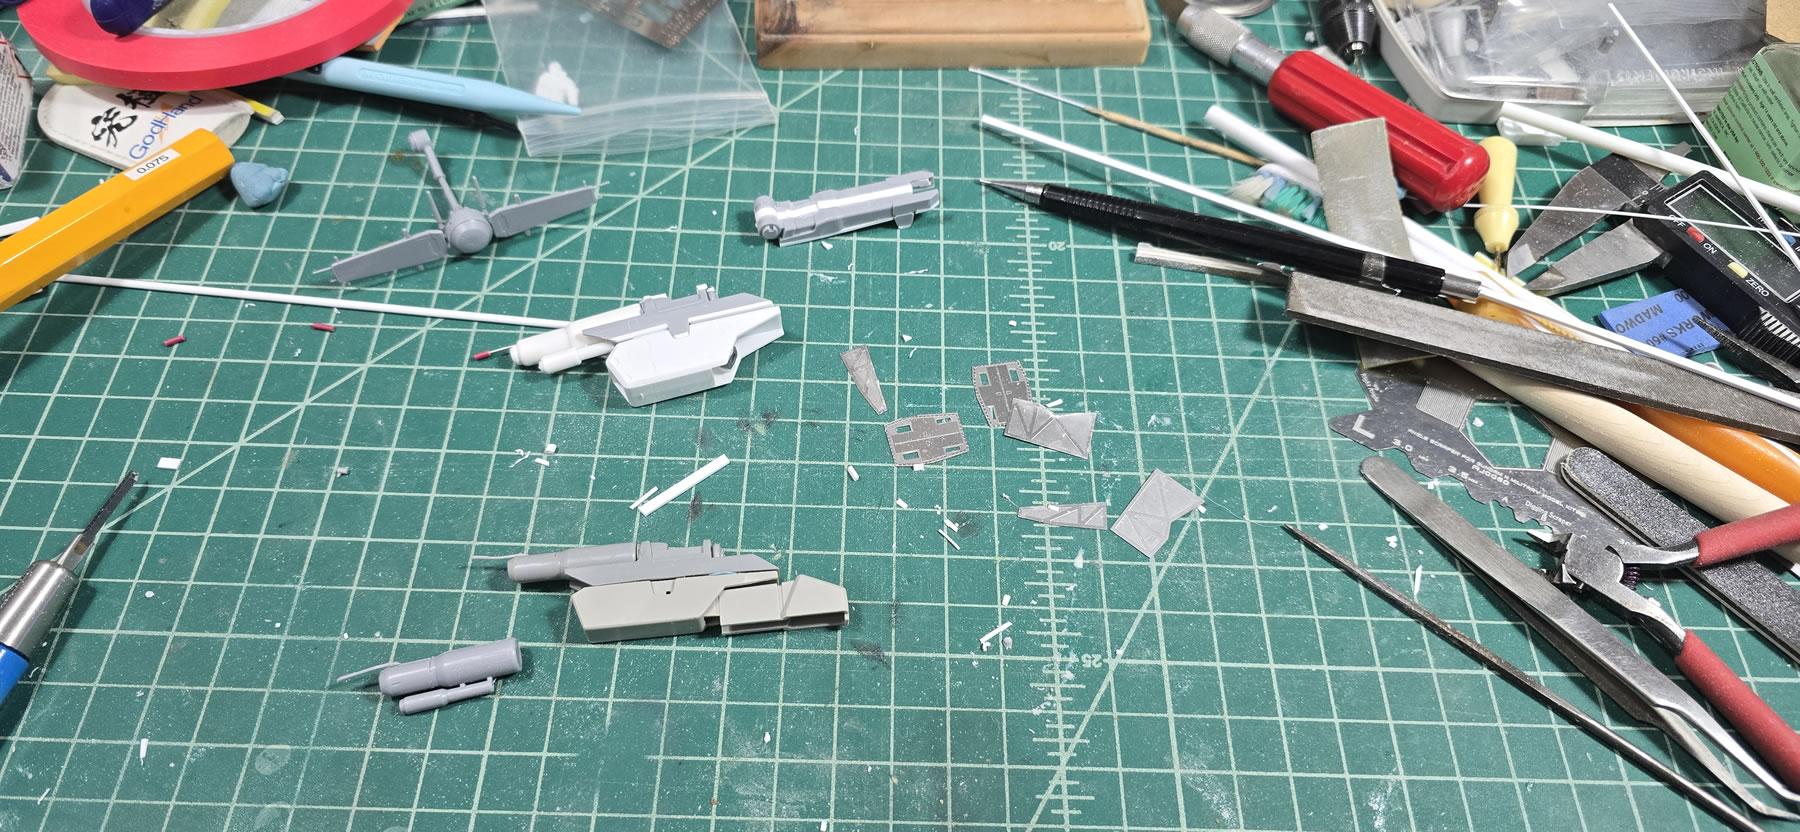
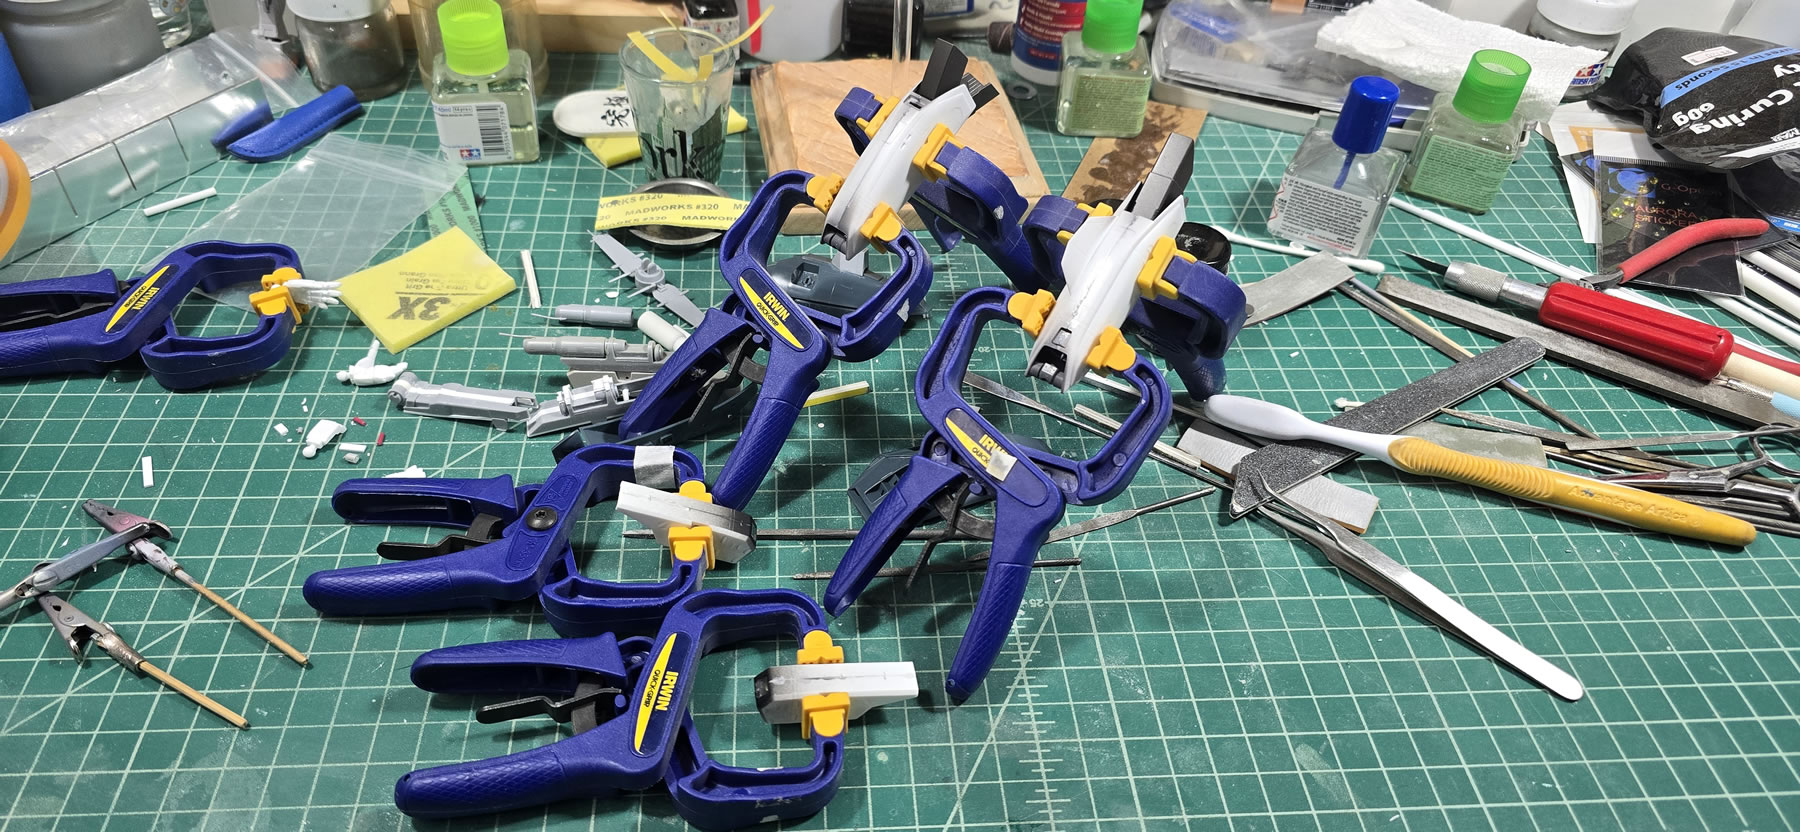
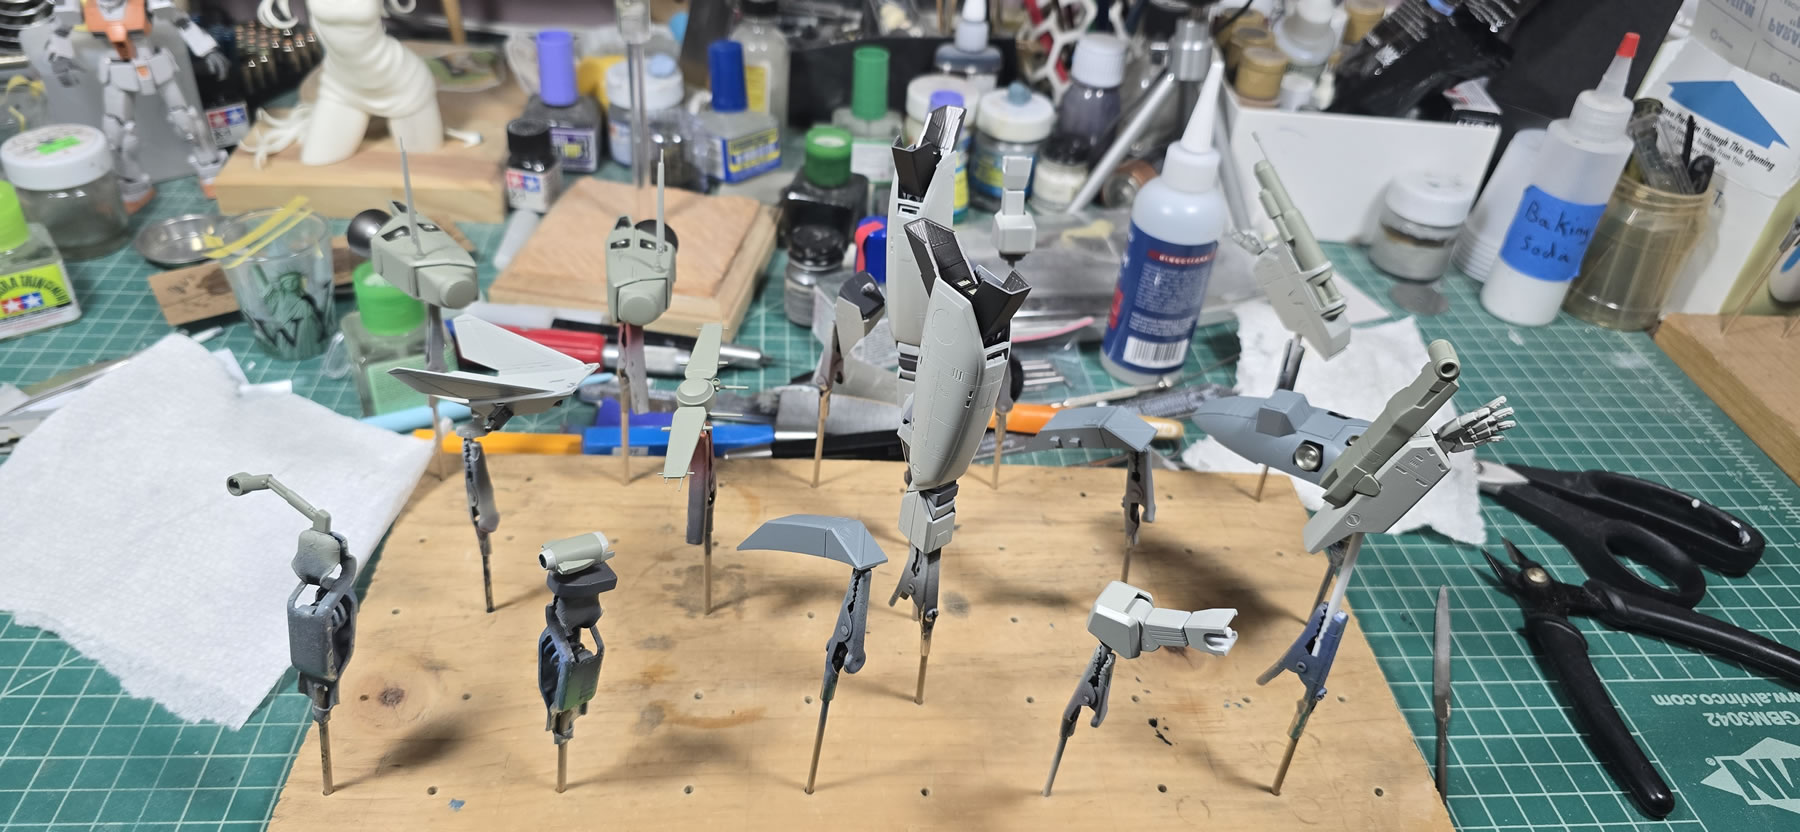
Cleaned up ohtoetch pieces ready to glue along with bits and pieces of styrene strewn all over the workbench as the build progresses. And we start work on gluing some seams. These kits have seams EVERYWHERE. Worse, is that there are mold lines and mold pot marks everywhere. Bandai truly spoils us rotten.
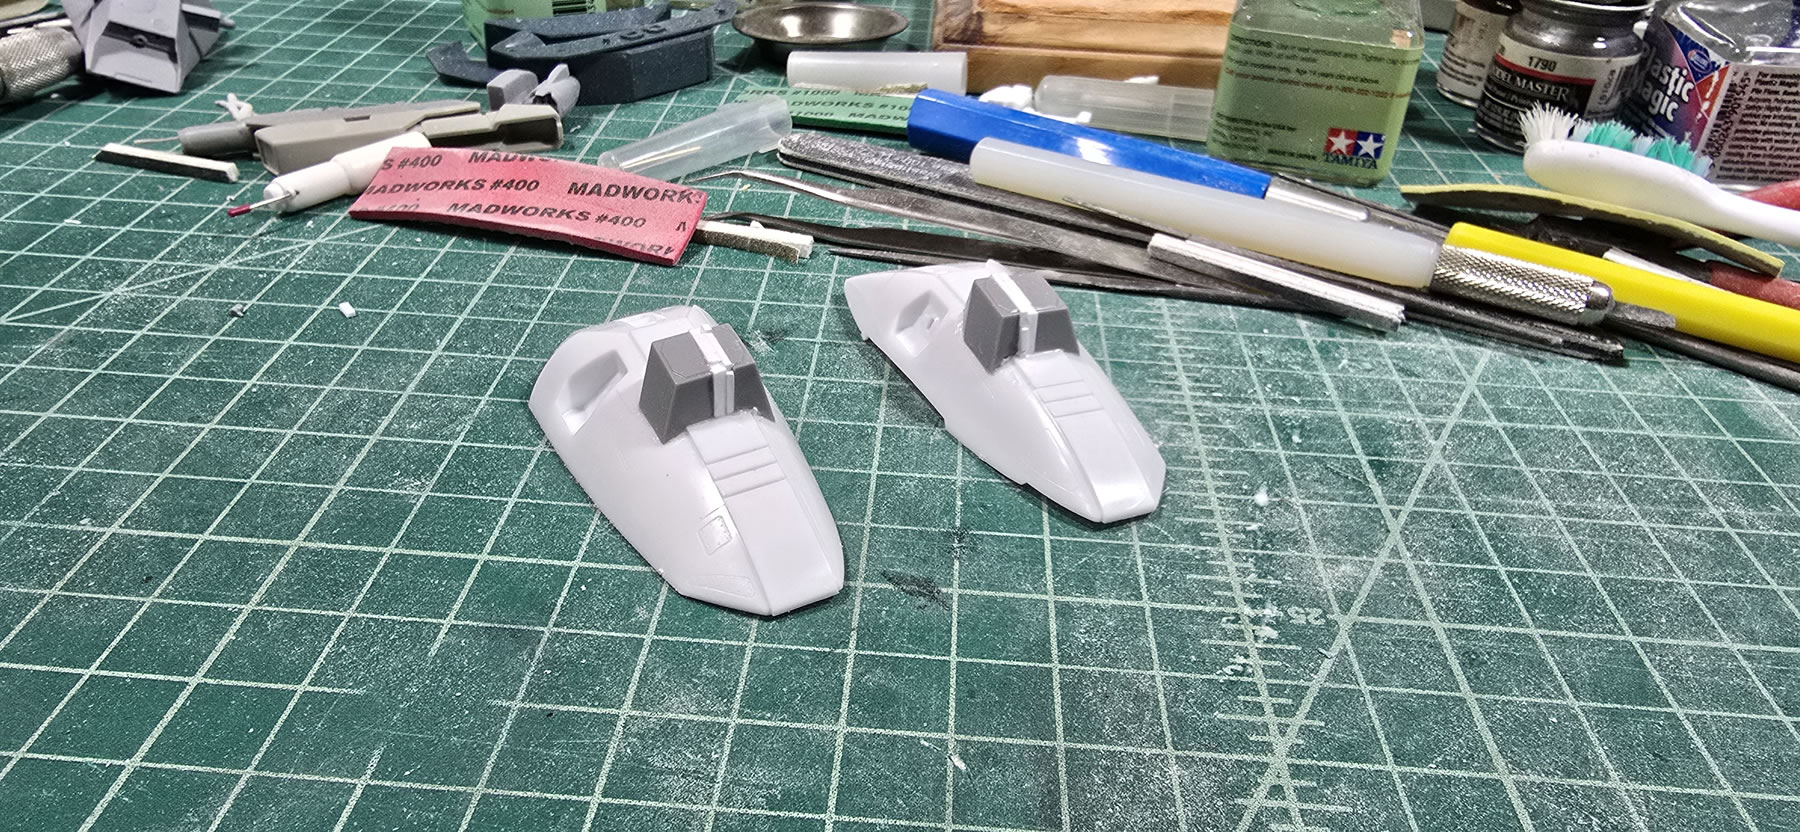
Never forget leg day. While styrene and glue is curing, I move onto the legs. The original Valkyrie intake parts had photoetch that fit perfectly. That photoetch doesn’t fit with the slightly differently designed intake and leg parts. So I just grab some other photoetch detail parts and start gluing. It is a nice visual improvement to the rather plain intake vents.

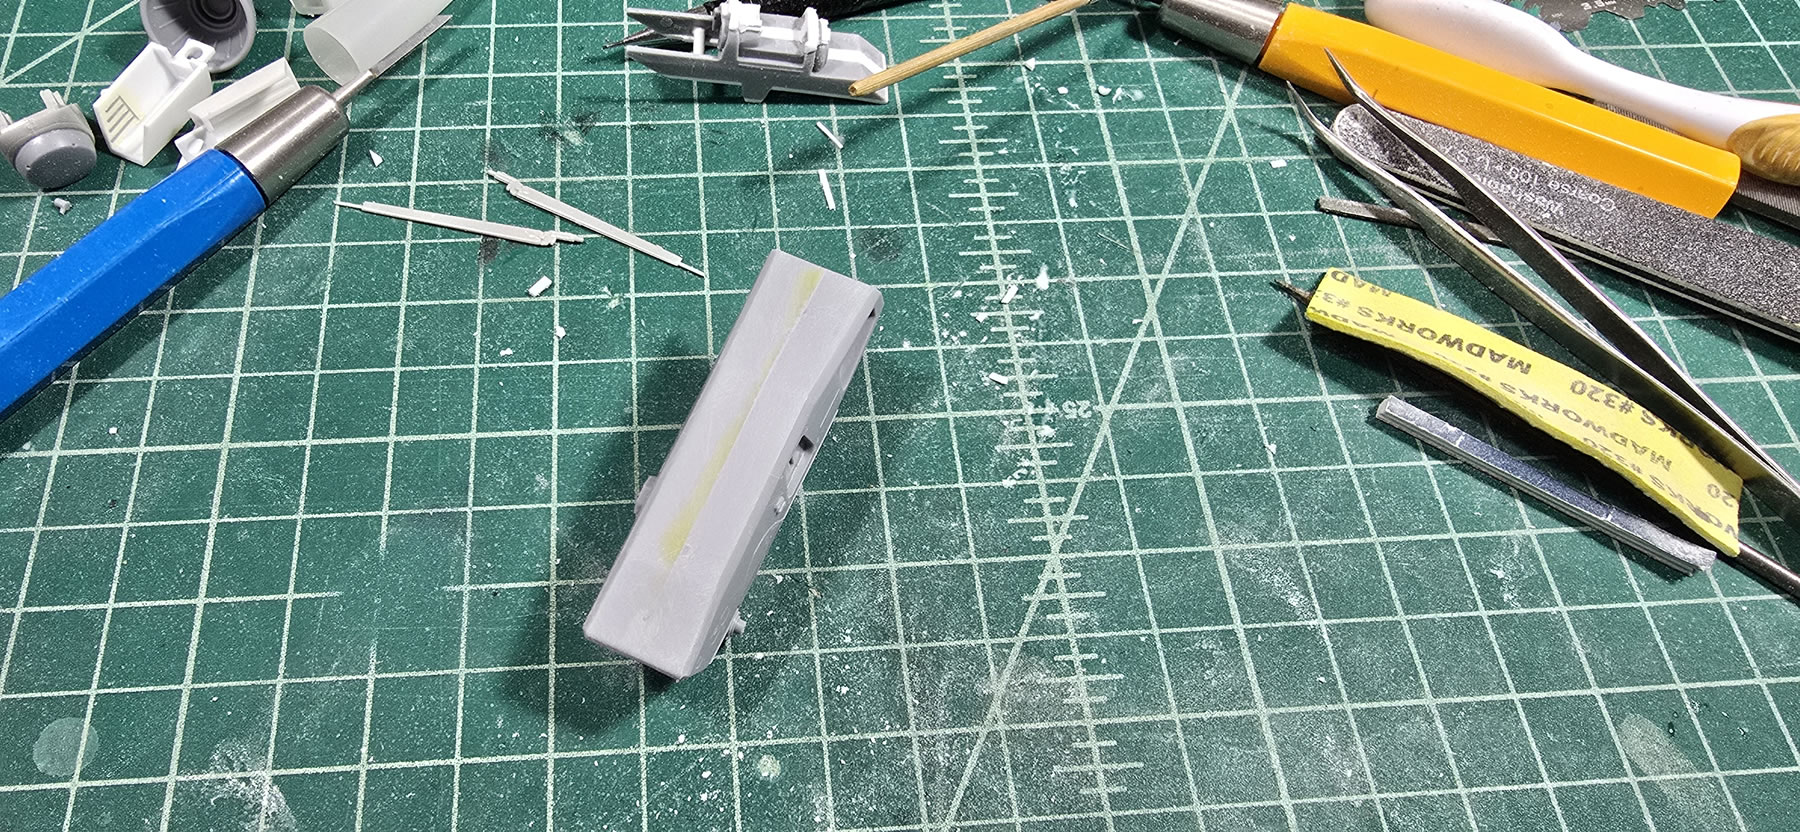
Not sure why I bothered filling these mold pot marks with photoetch. Once put together with the legs, there’s no way to see these. At least I haven’t tried to look; but they’re there.
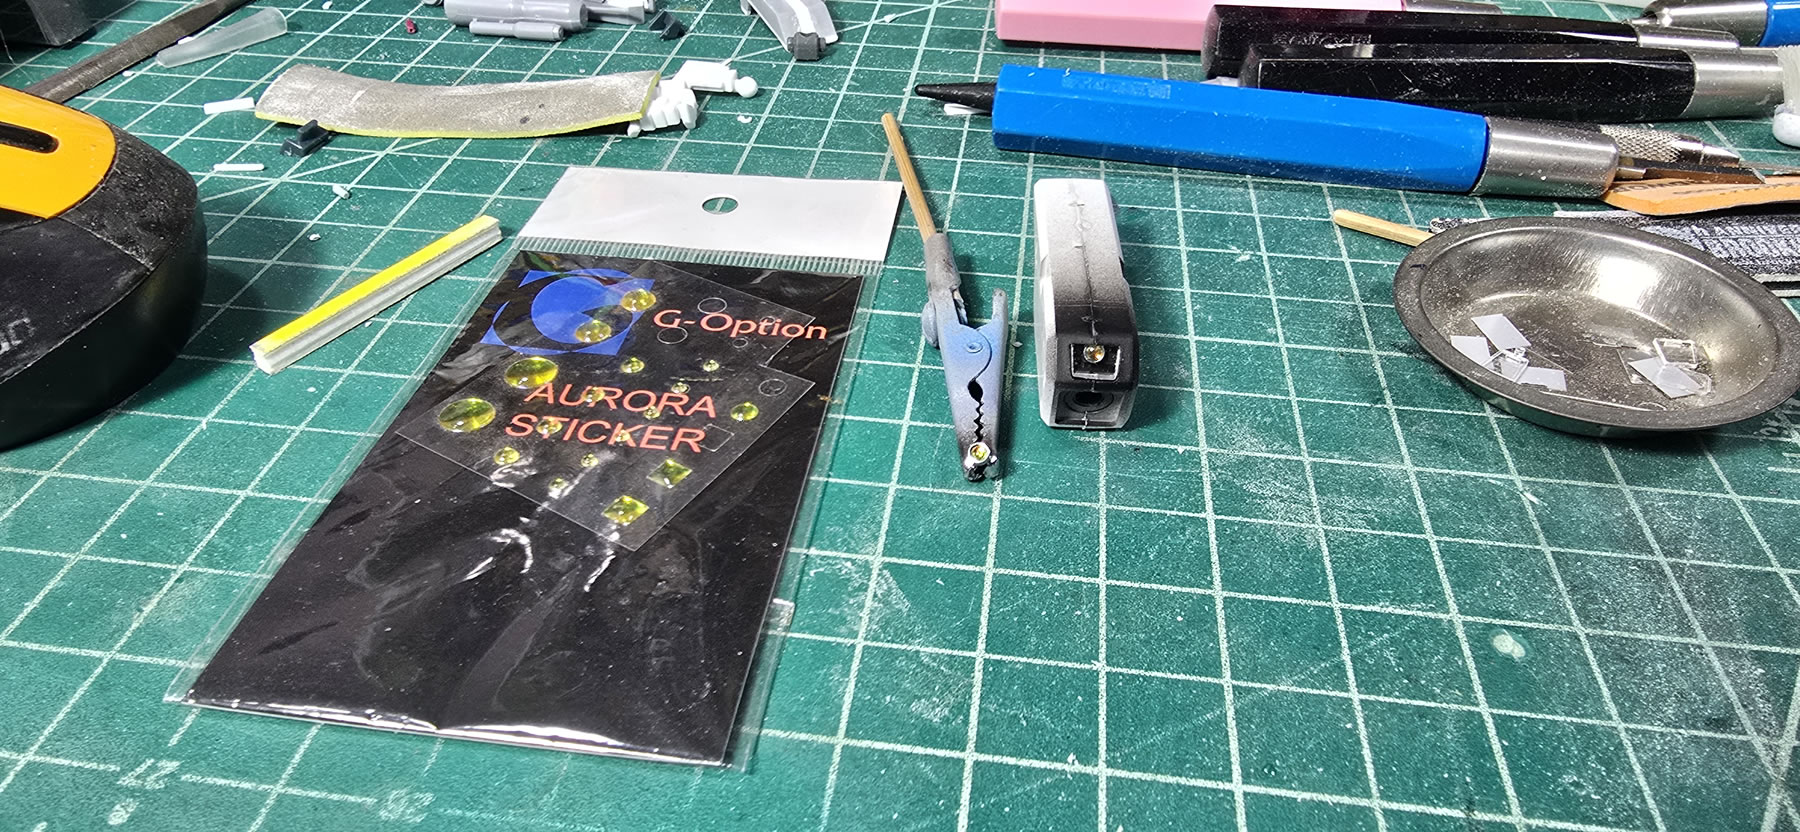
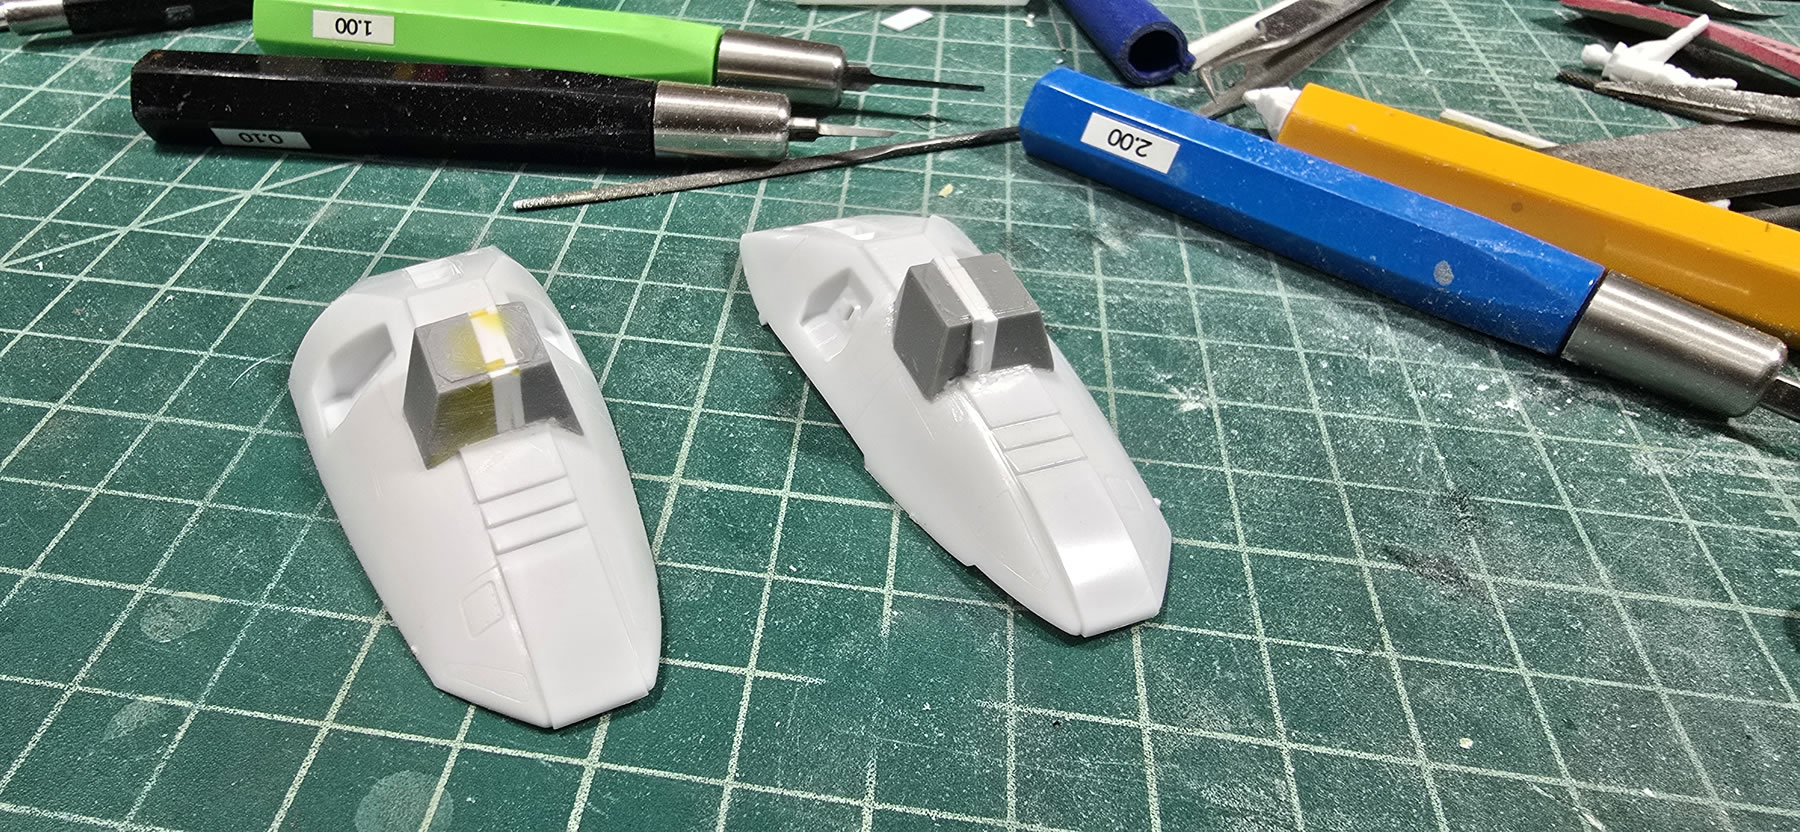
Internal arm detail requires these to be build. Some aurora small dome stickers work great as a small bit of detail. Once this is all sealed up, it will be masked off while I work on the arm seams.
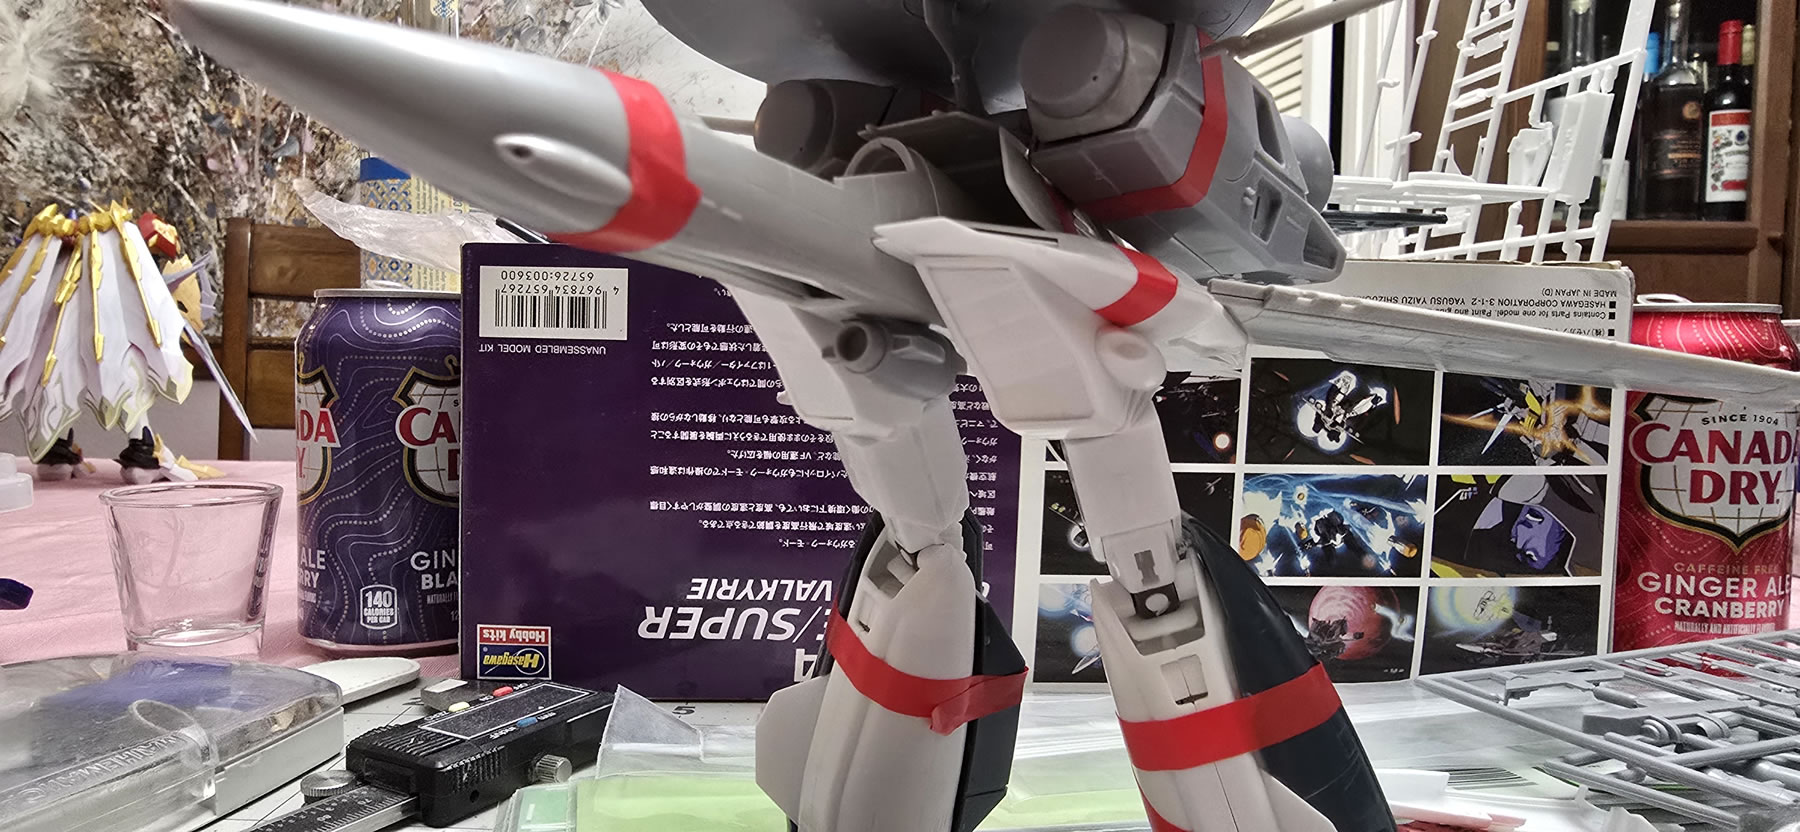
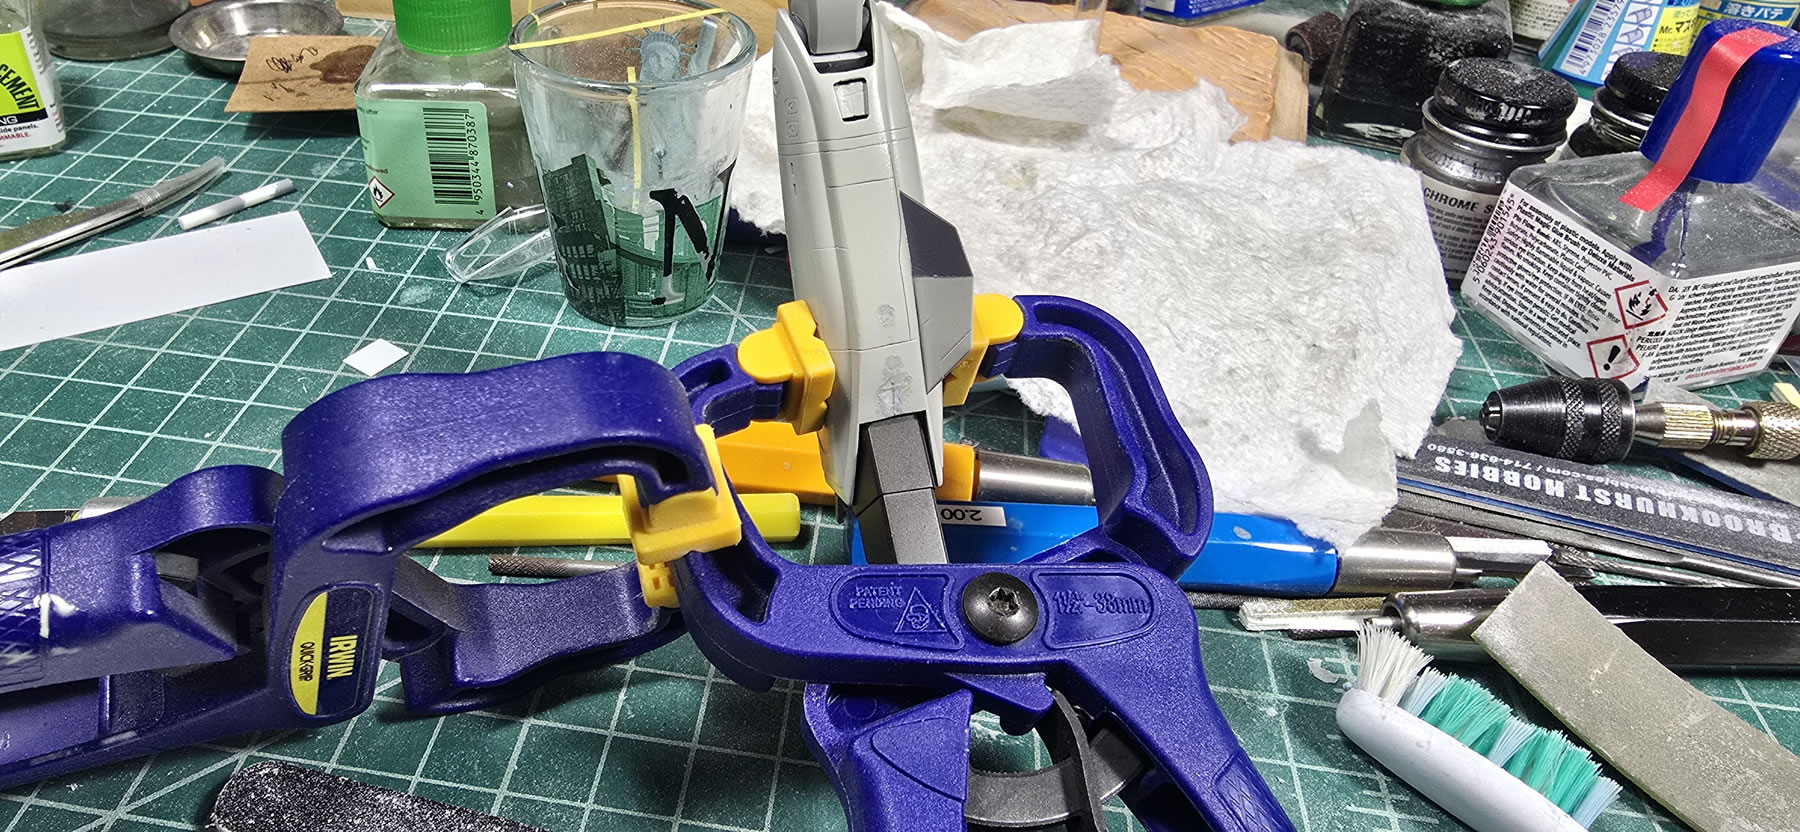
Arm seams, leg seams. What’s great is that these seams run right over very shallow panel line details. I’ll worry about that after I get the seams fixed.
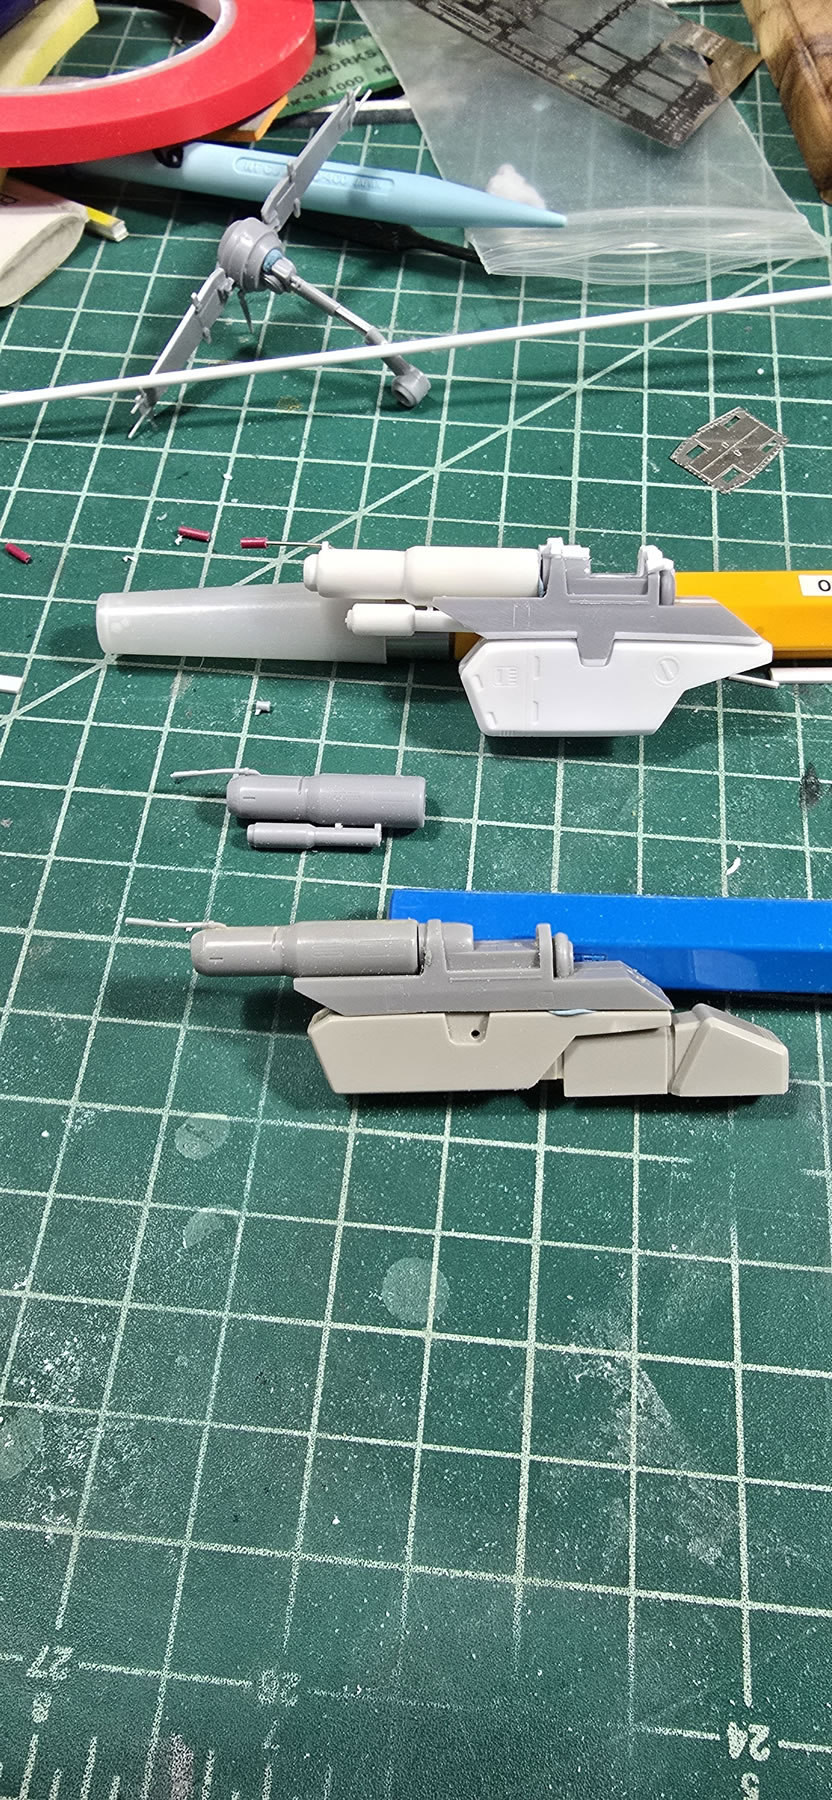
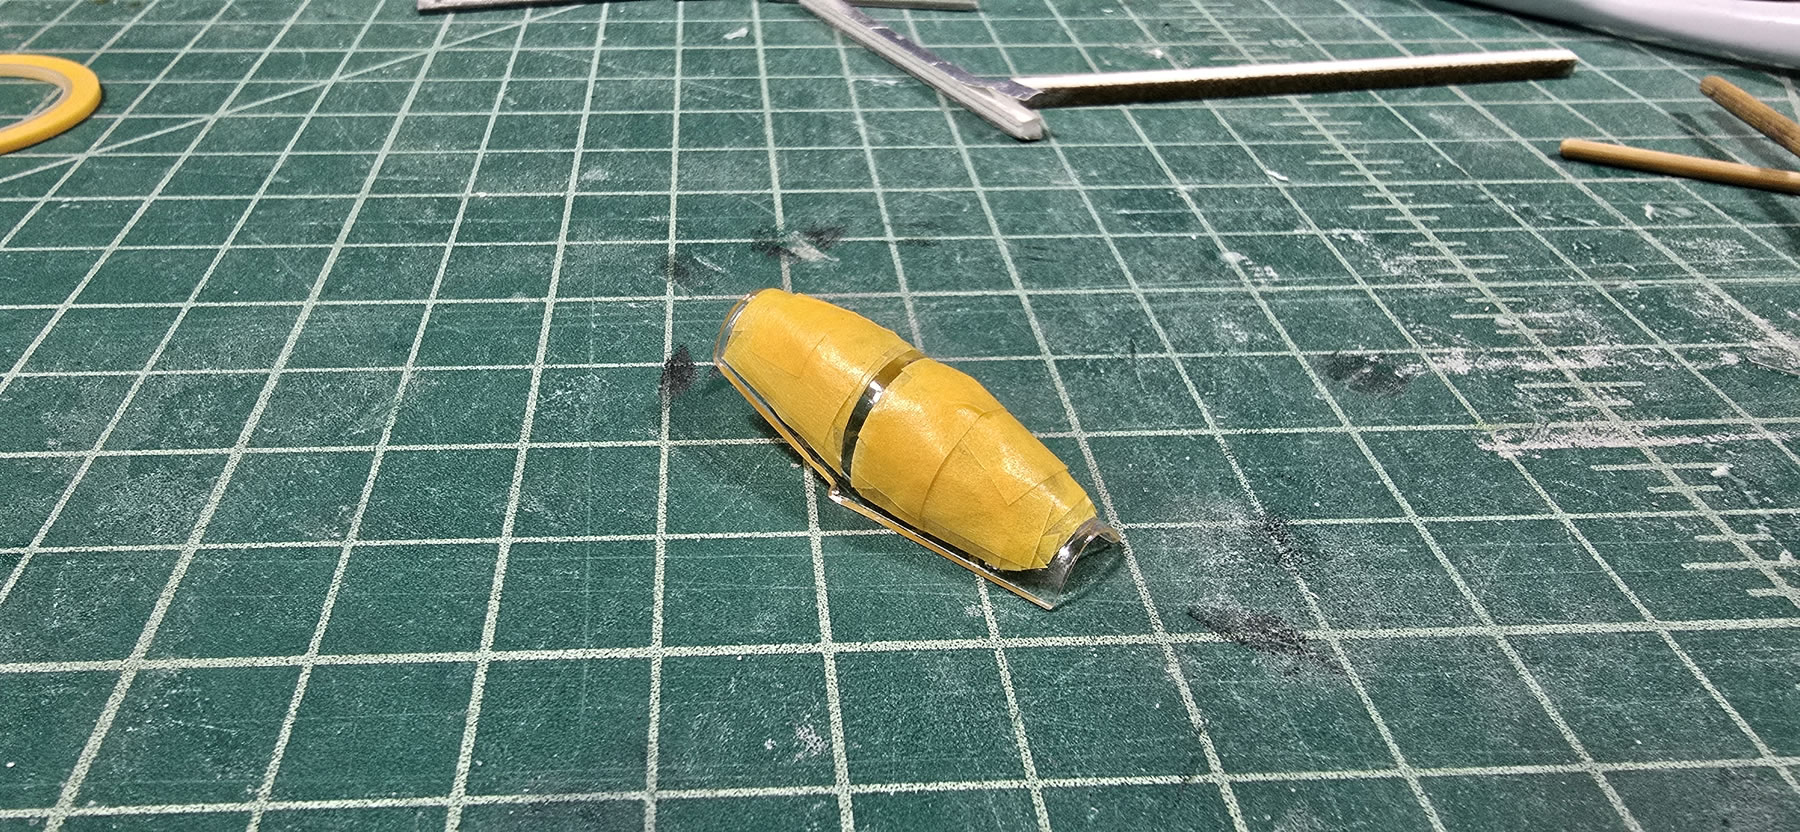
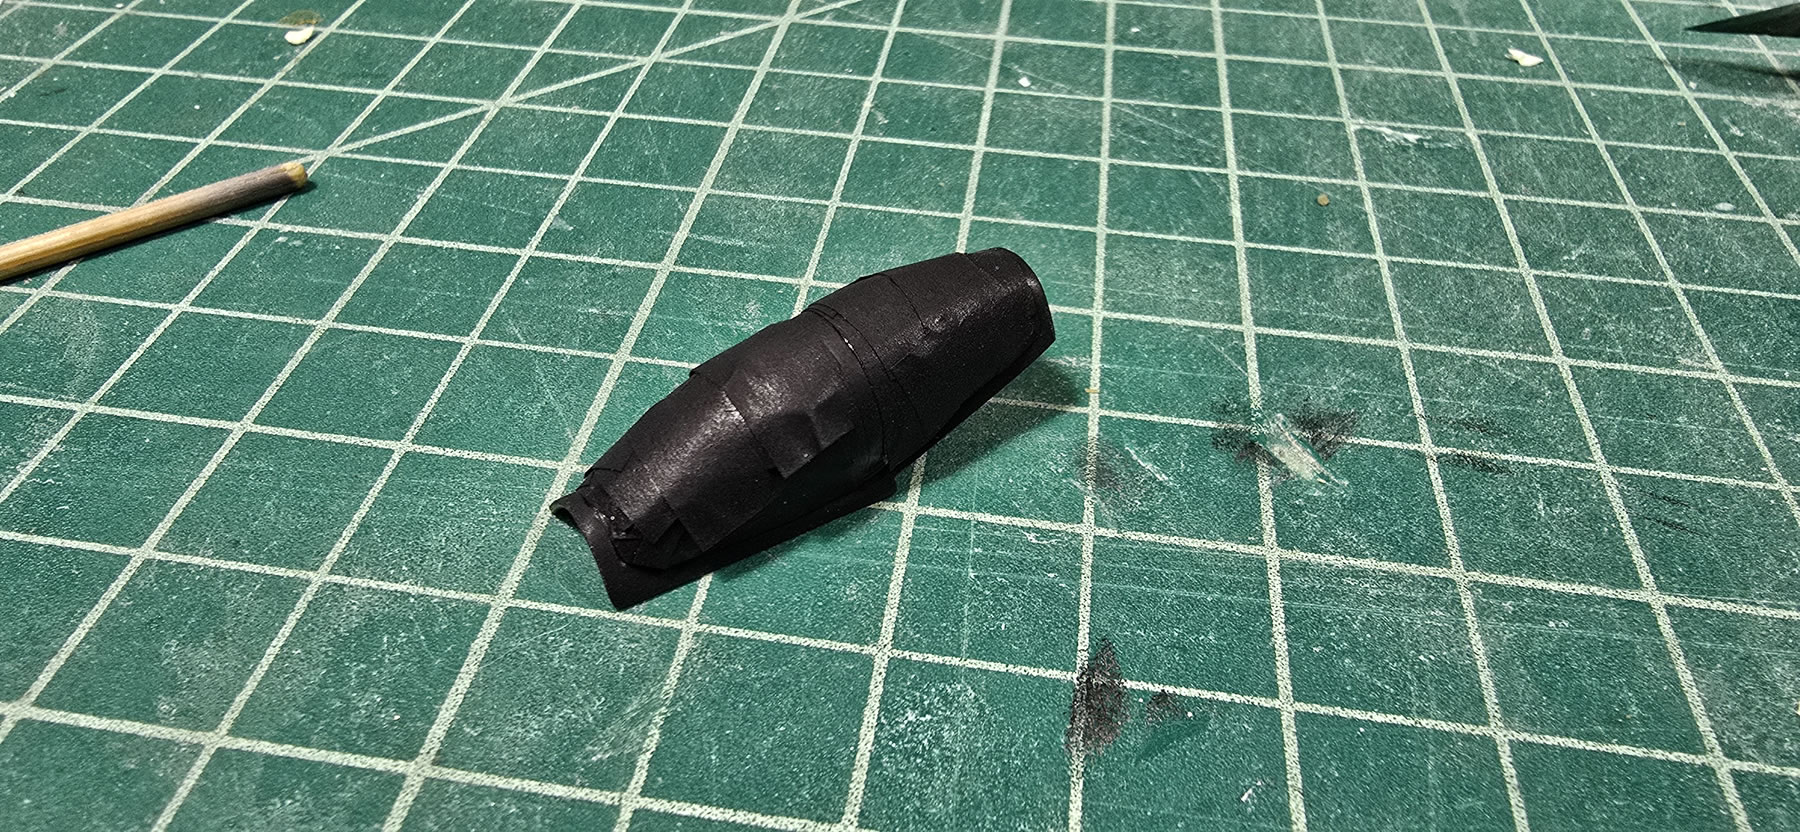
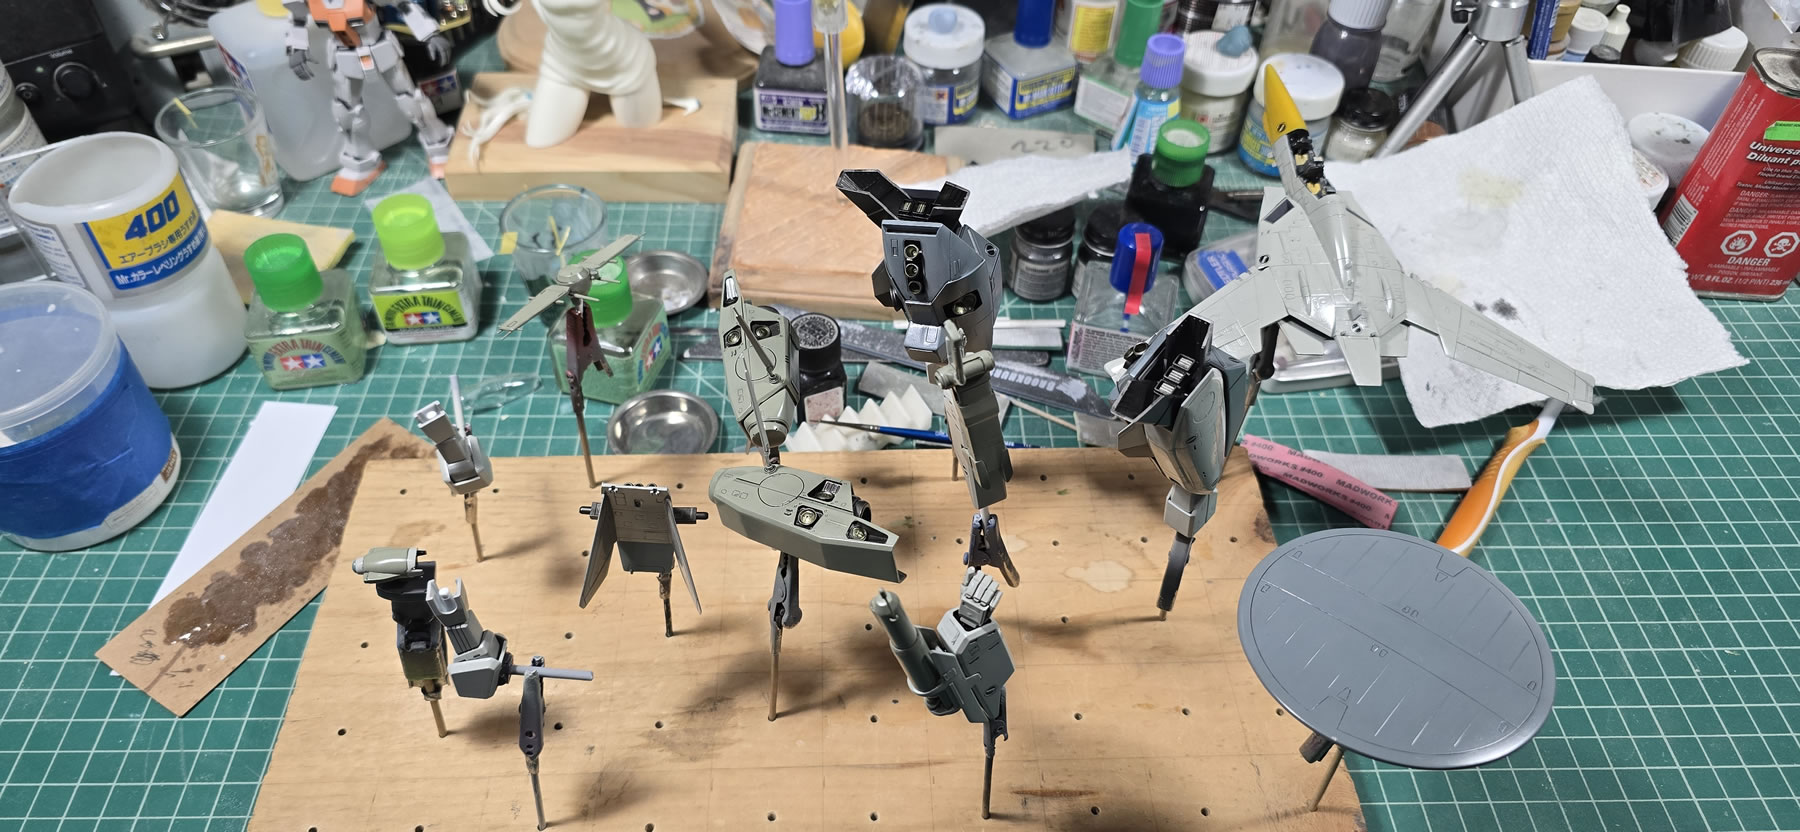
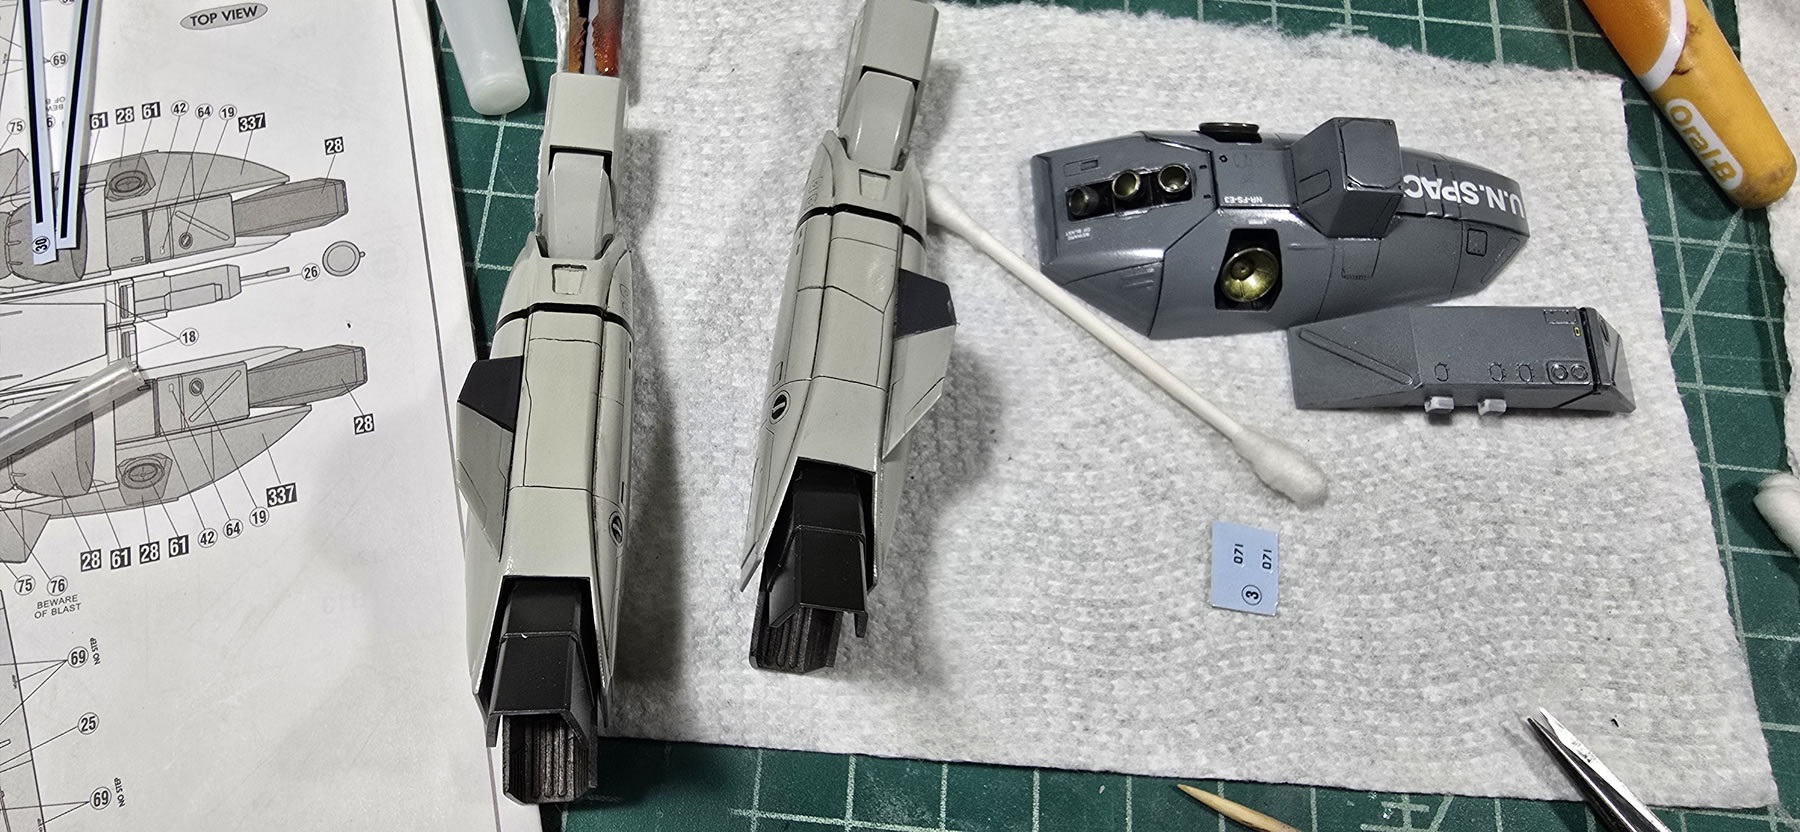
Fastpack putty and sanding to start getting everything in shape. Primer shows areas that need attention, but also gives a pretty good comparison to the original. It’s getting closer.
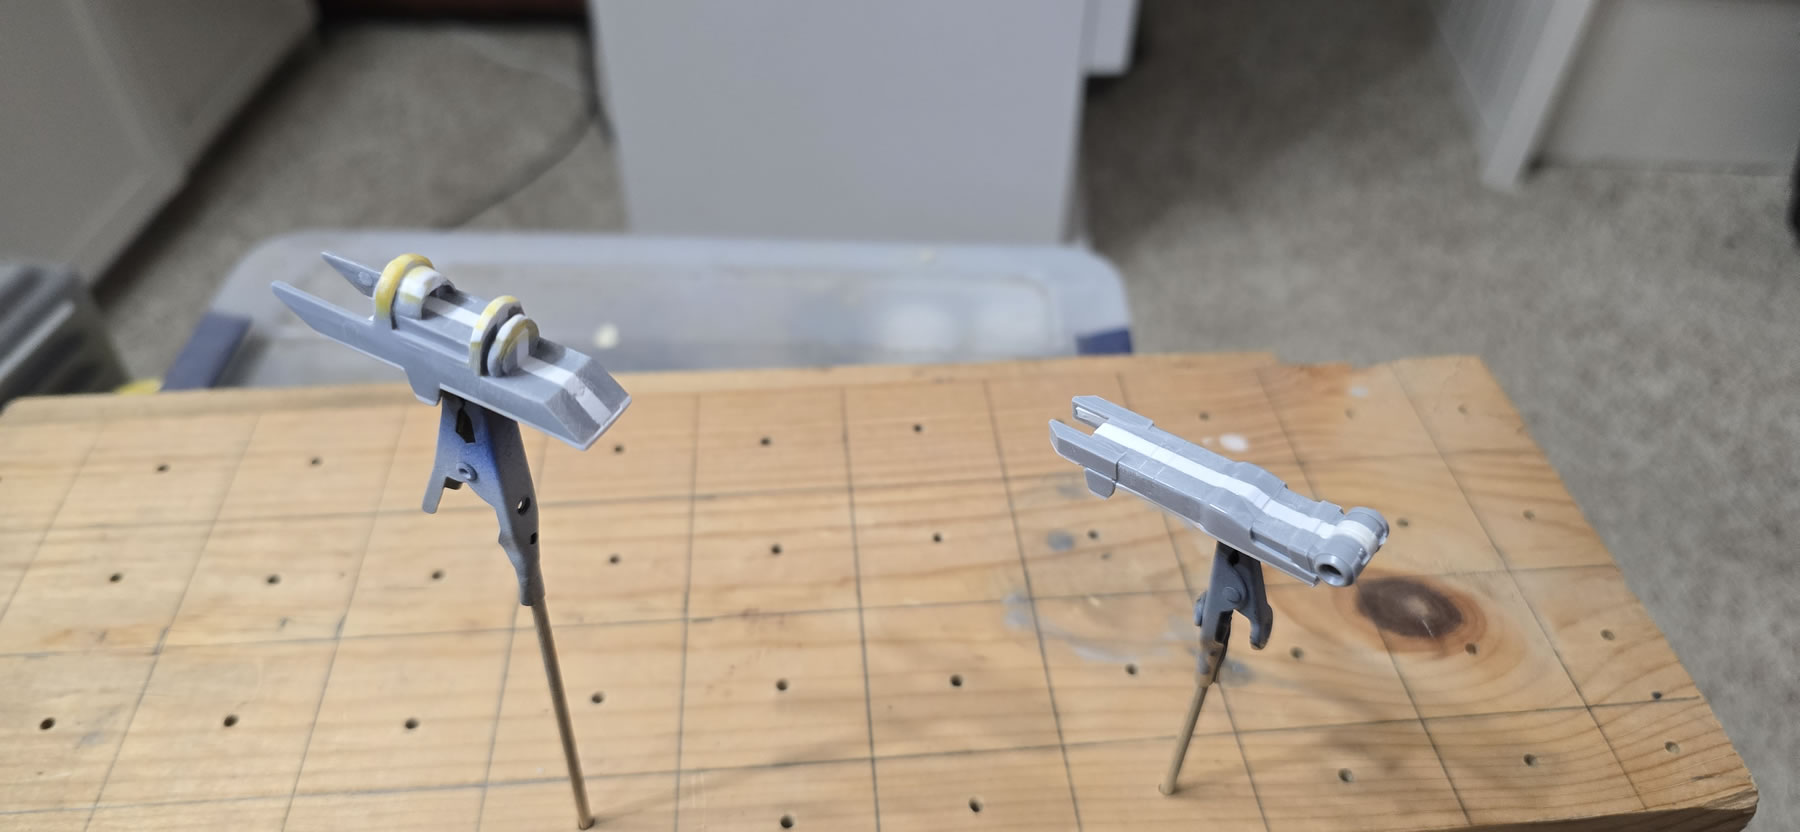
The original leg fastpack have a sensor block glued into position. Notice that these fastpacks parts are white and not the dark grey from the mockups above. Well, I screwed up when I glued the sensor packs. Like the arm fastpacks, these leg fastpacks are also slightly bigger than the original VE-1’s; so I needed to crack open another super valk gerwalk kit that I have, throw the not so great dark grey ones into that box in trade for fresh white ones. I’ll worry about that if I ever get to working on that Valk kit. We’re up to 5 individual hasegawa Valk kits now. 2 Super Valks, 1 reg skinny Valk, and 2 Elint kits. Anyways, I start to work on one so I can have a comparison while I get it sanded and looking correct. I screw up here too, but we’ll talk about this later when I get to decals.

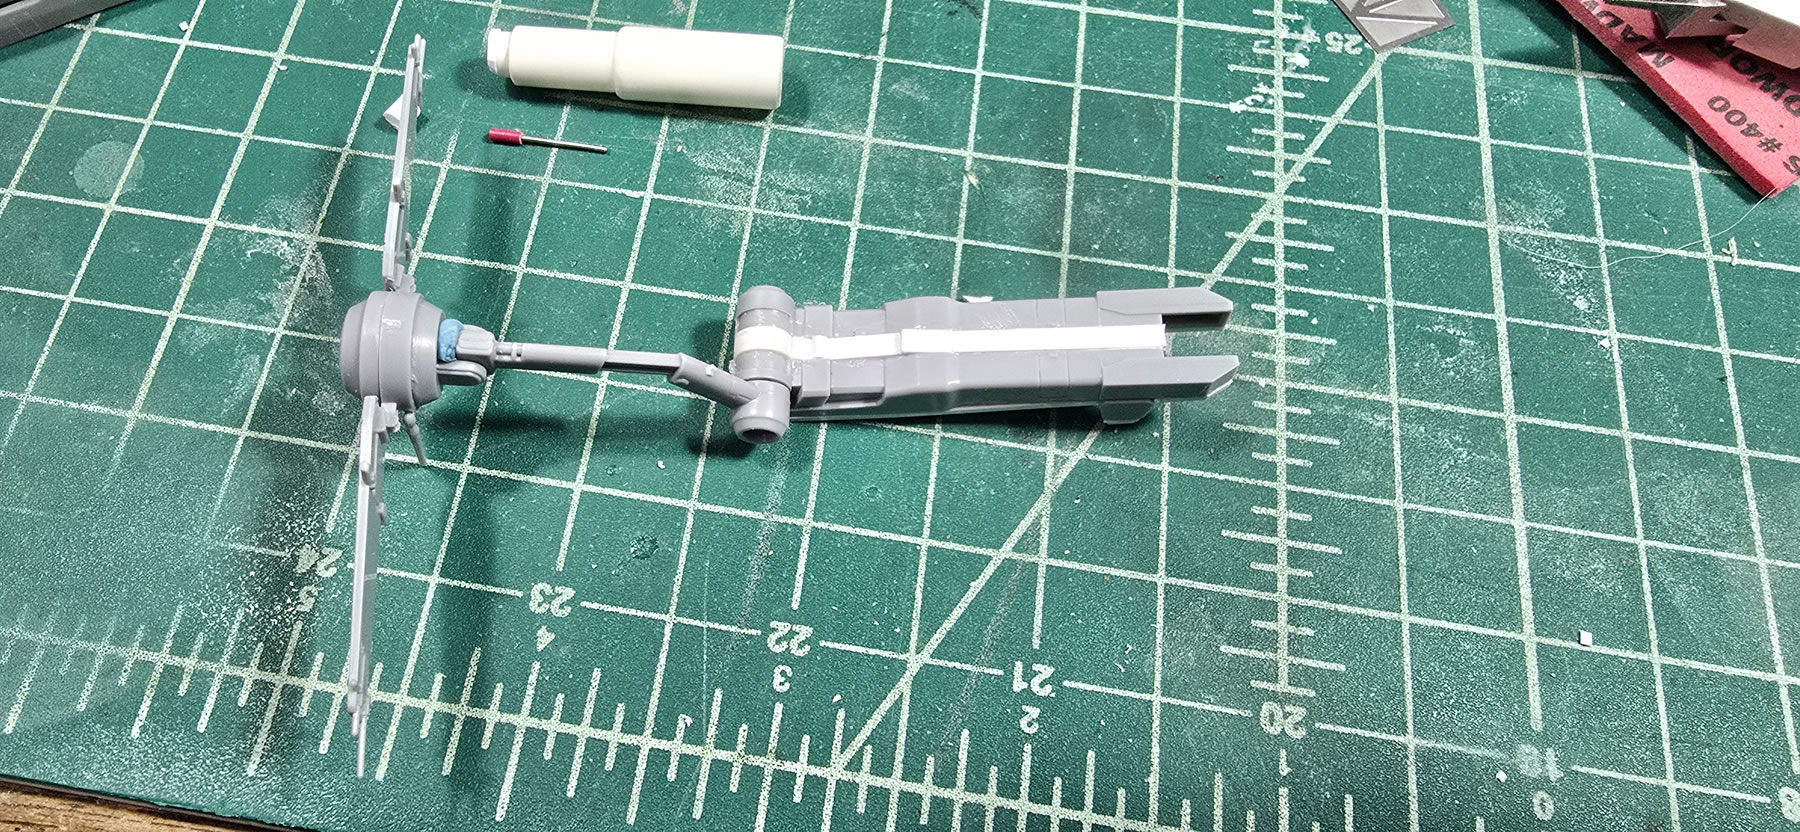
Back to the arm pieces. Work continues and things are starting to look decent. I actually rebuilt the left arm sensor because I wasn’t happy with the free hand sculpting. I set up a sanding jig and got things a little more uniform looking. See comparison photo in this last set.

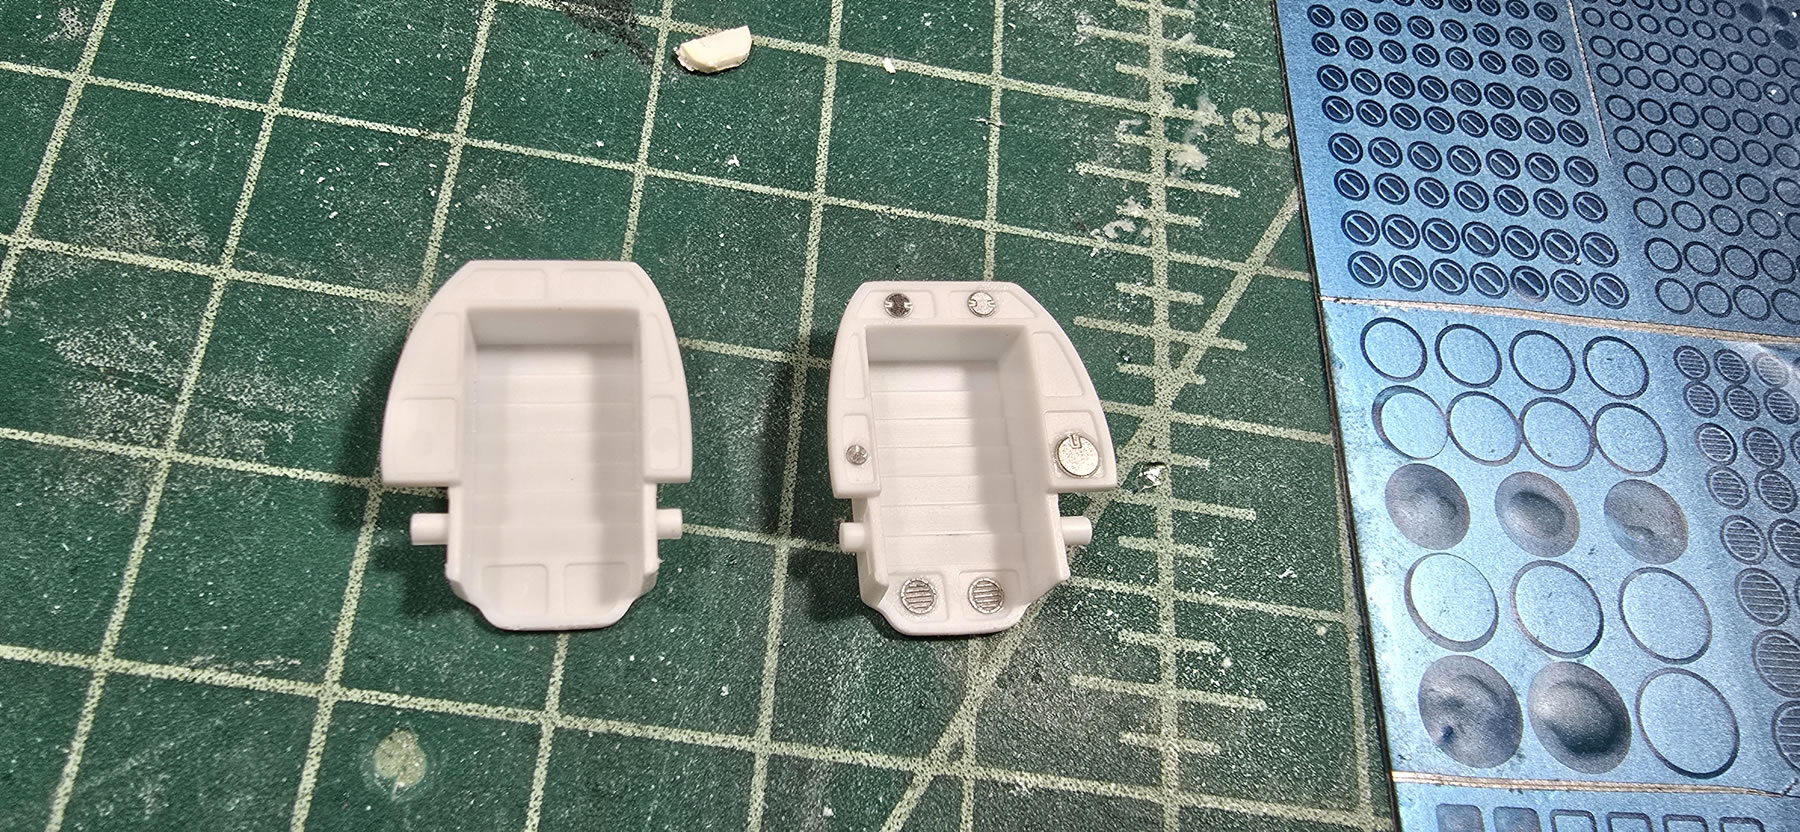
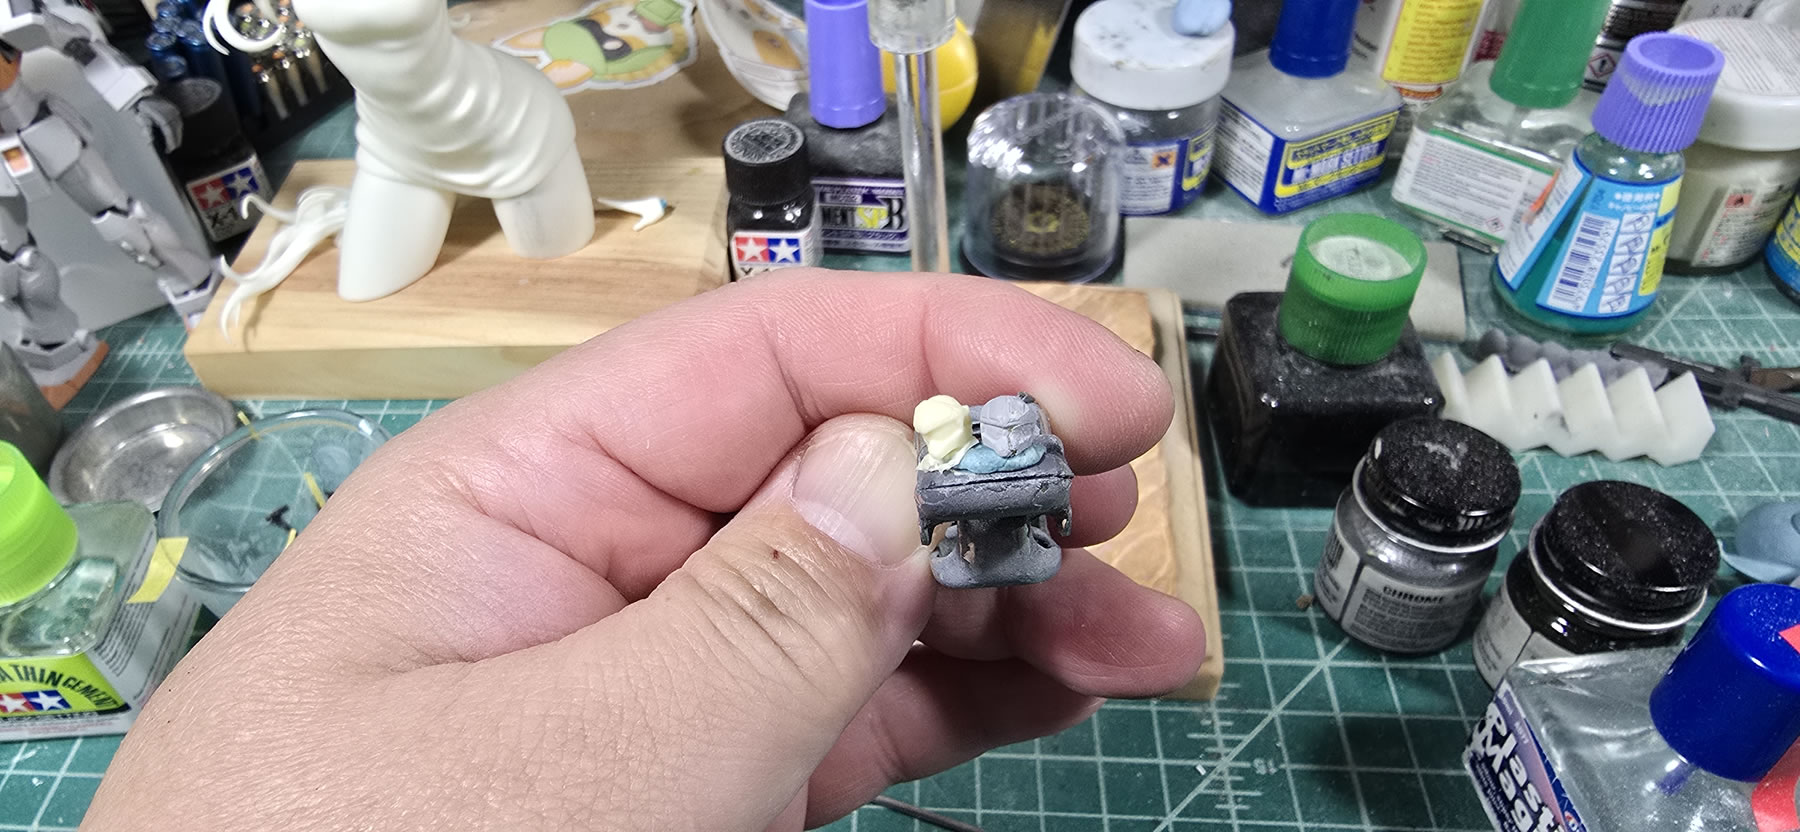
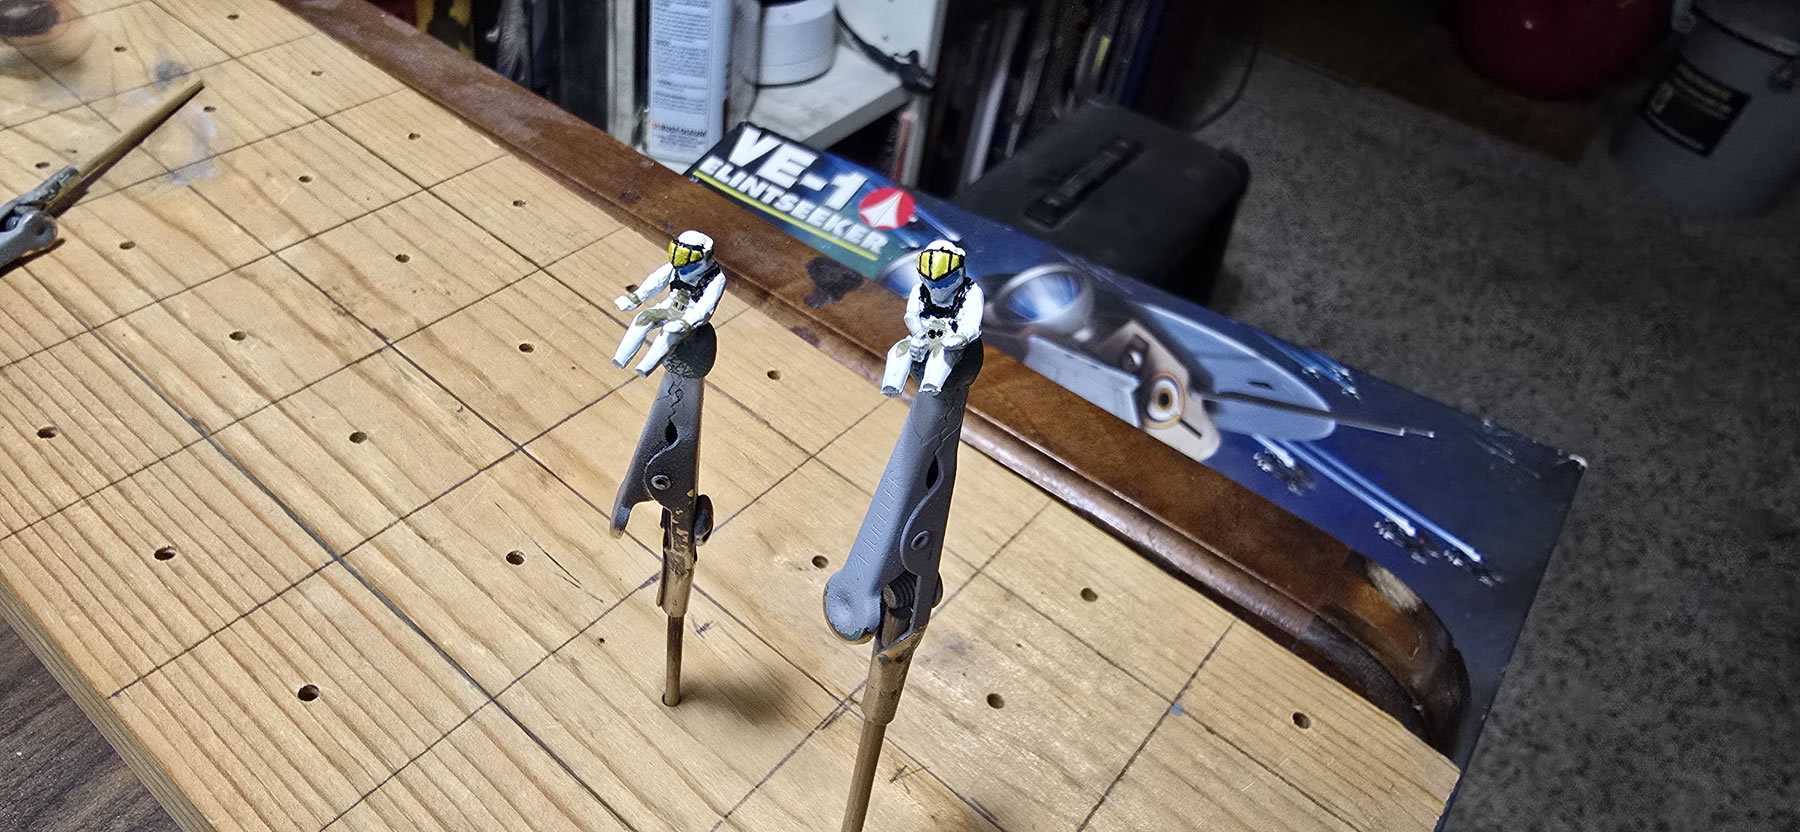
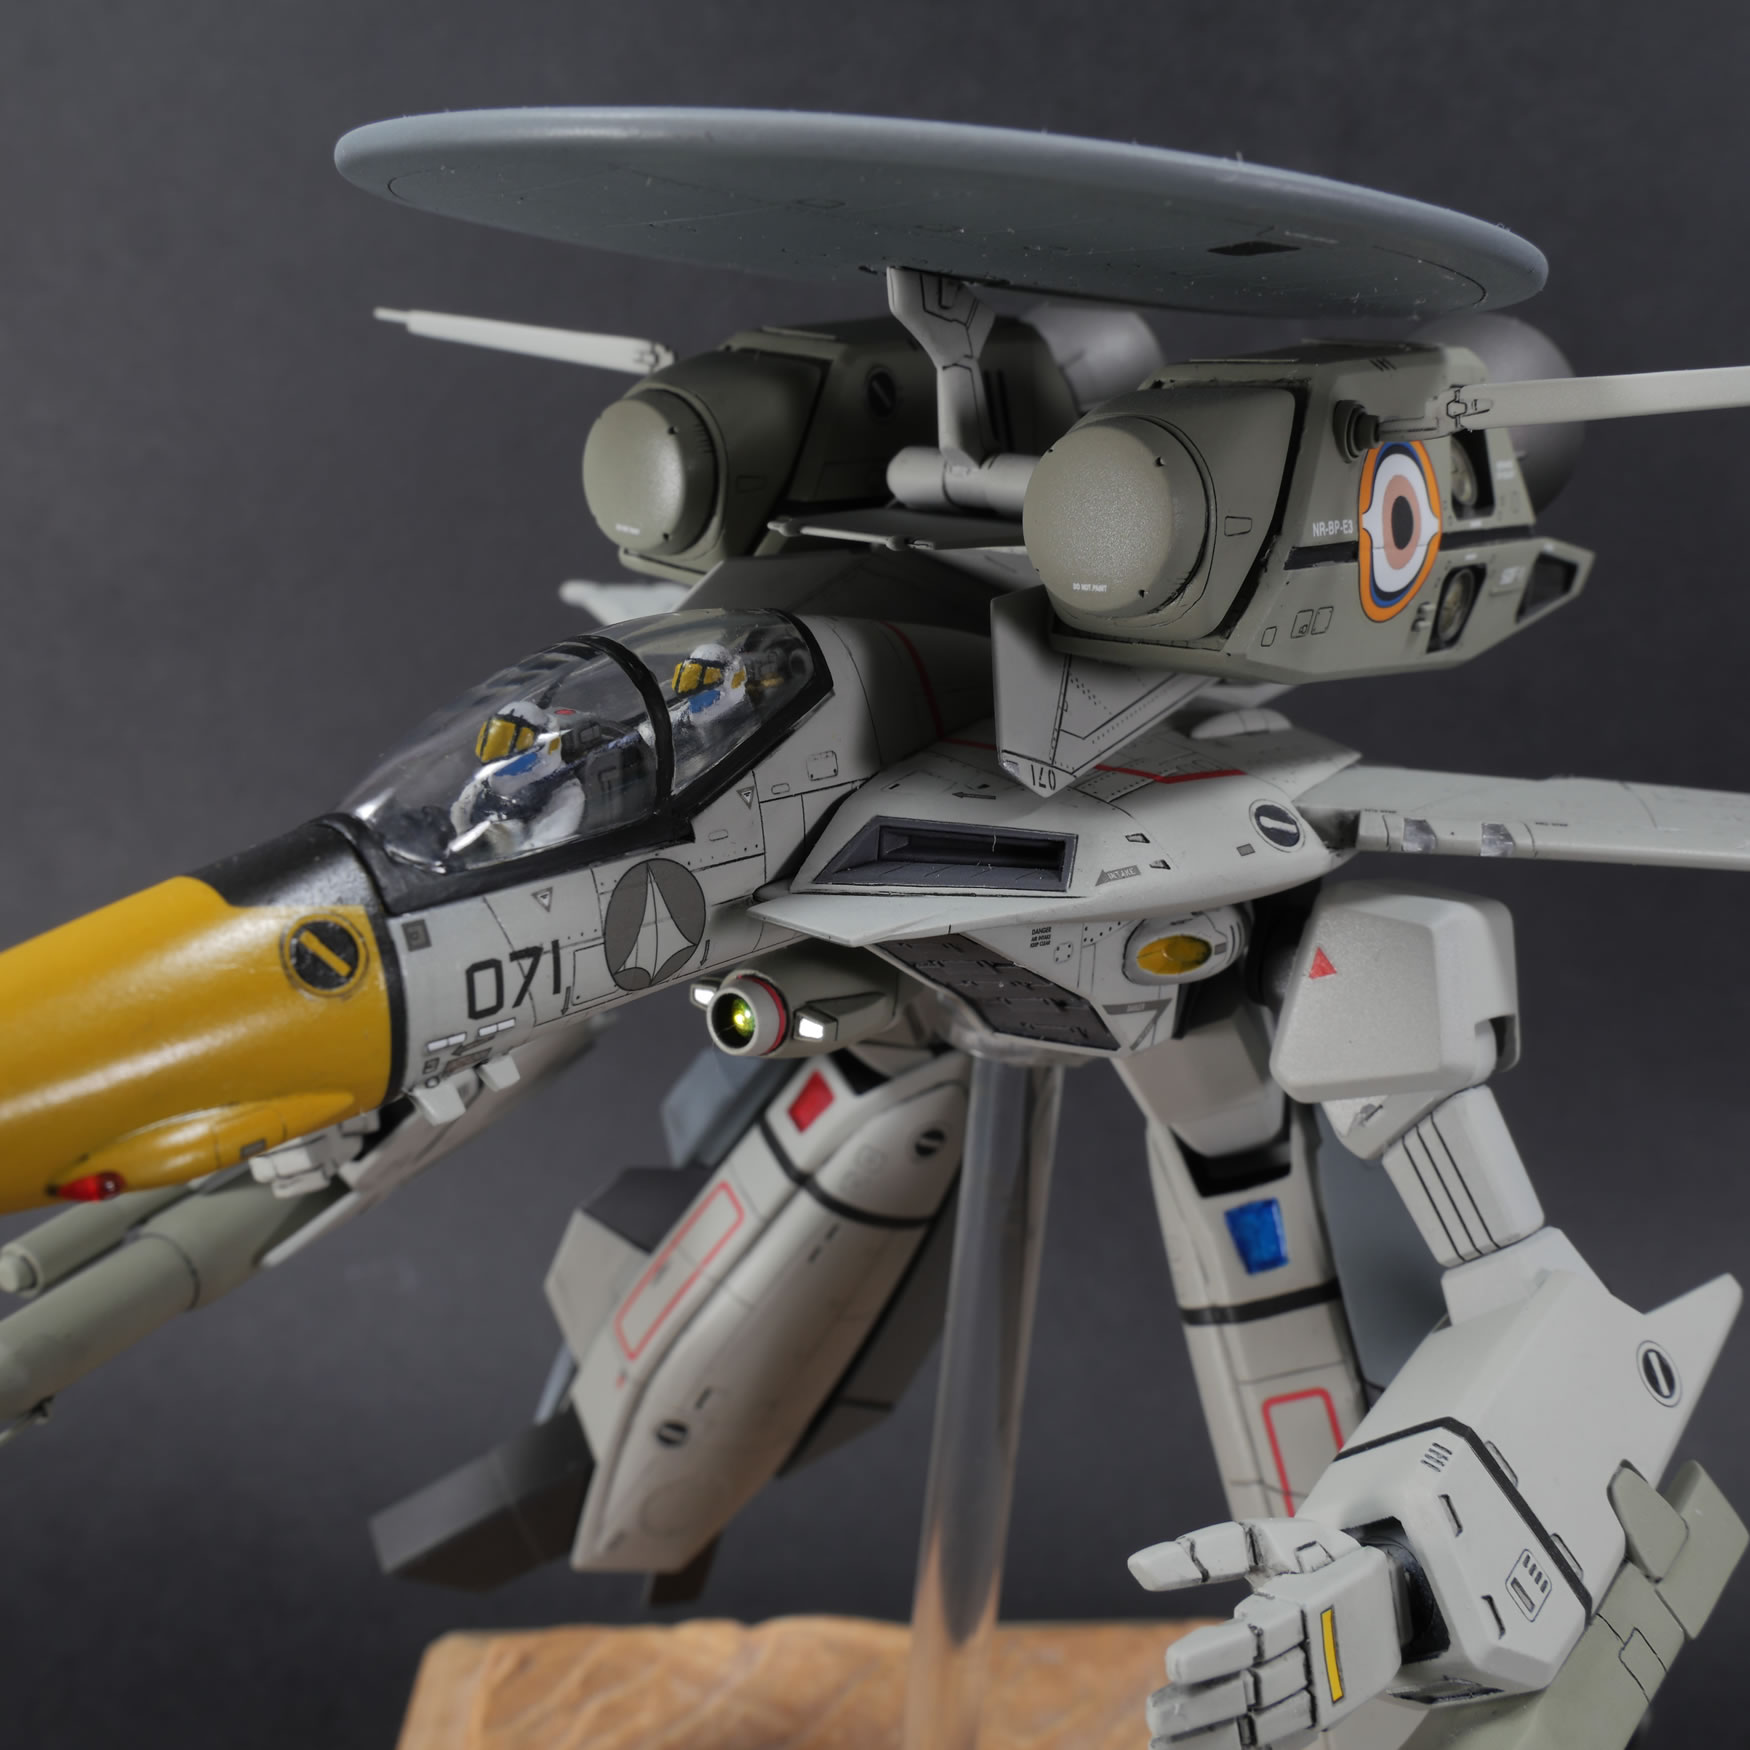
The original VE-1 kit did not come with any pilots. The Gerwalk Valk kits each comes with one. So I grab 2 pilots and mod them so that they fit into the cockpit. The feet of the pilots need to be removed so they can actually sit in the seats.
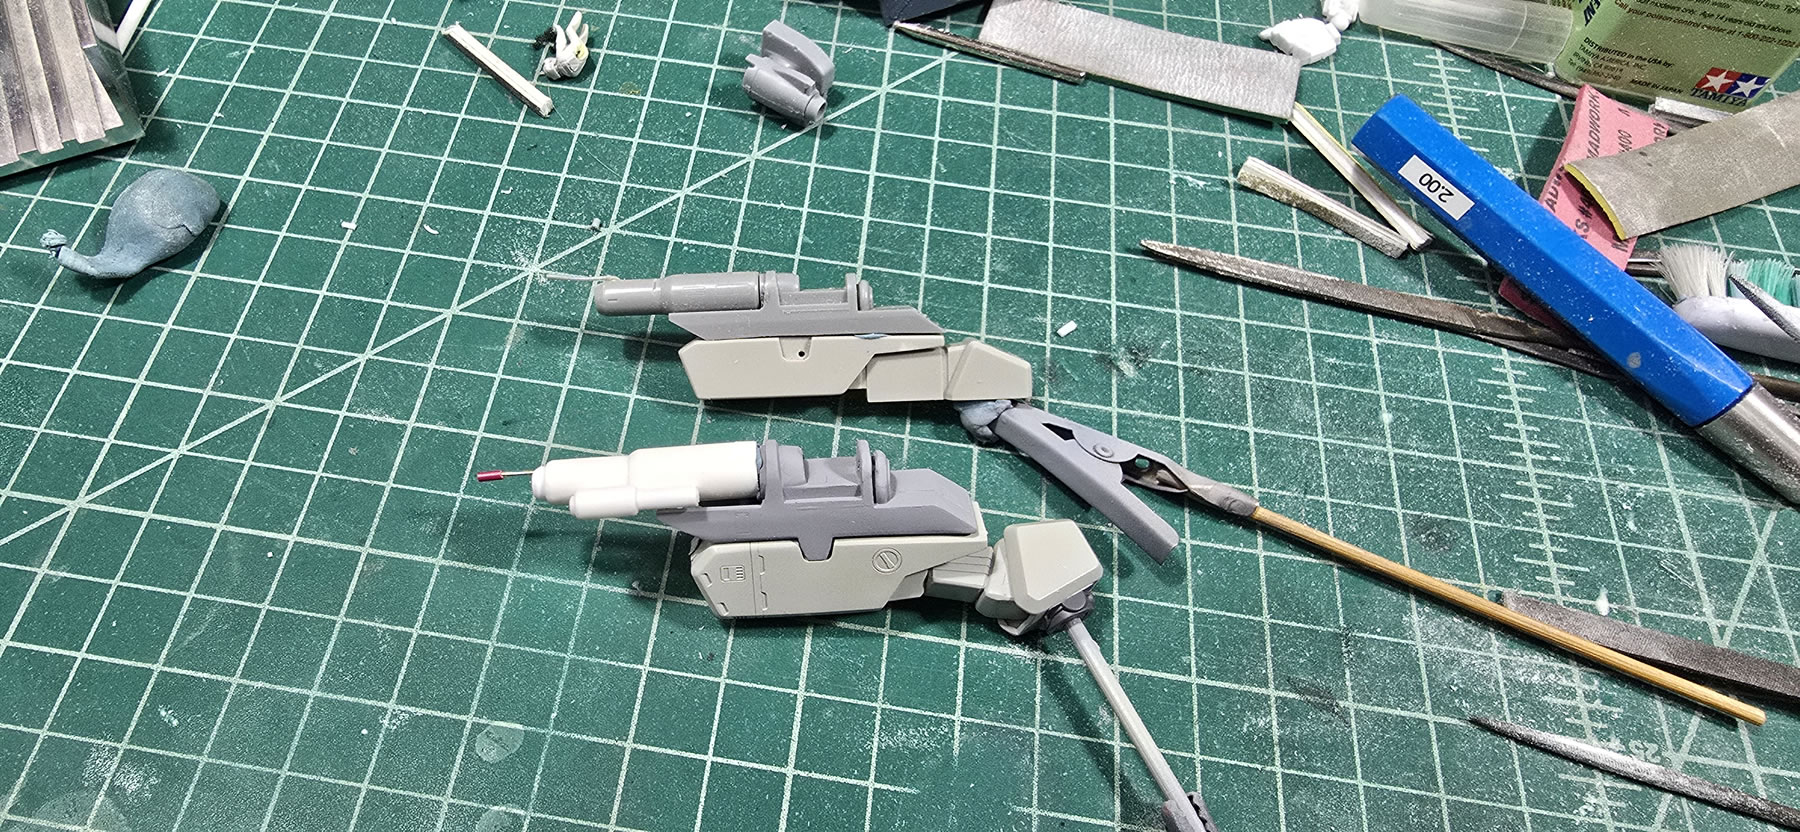
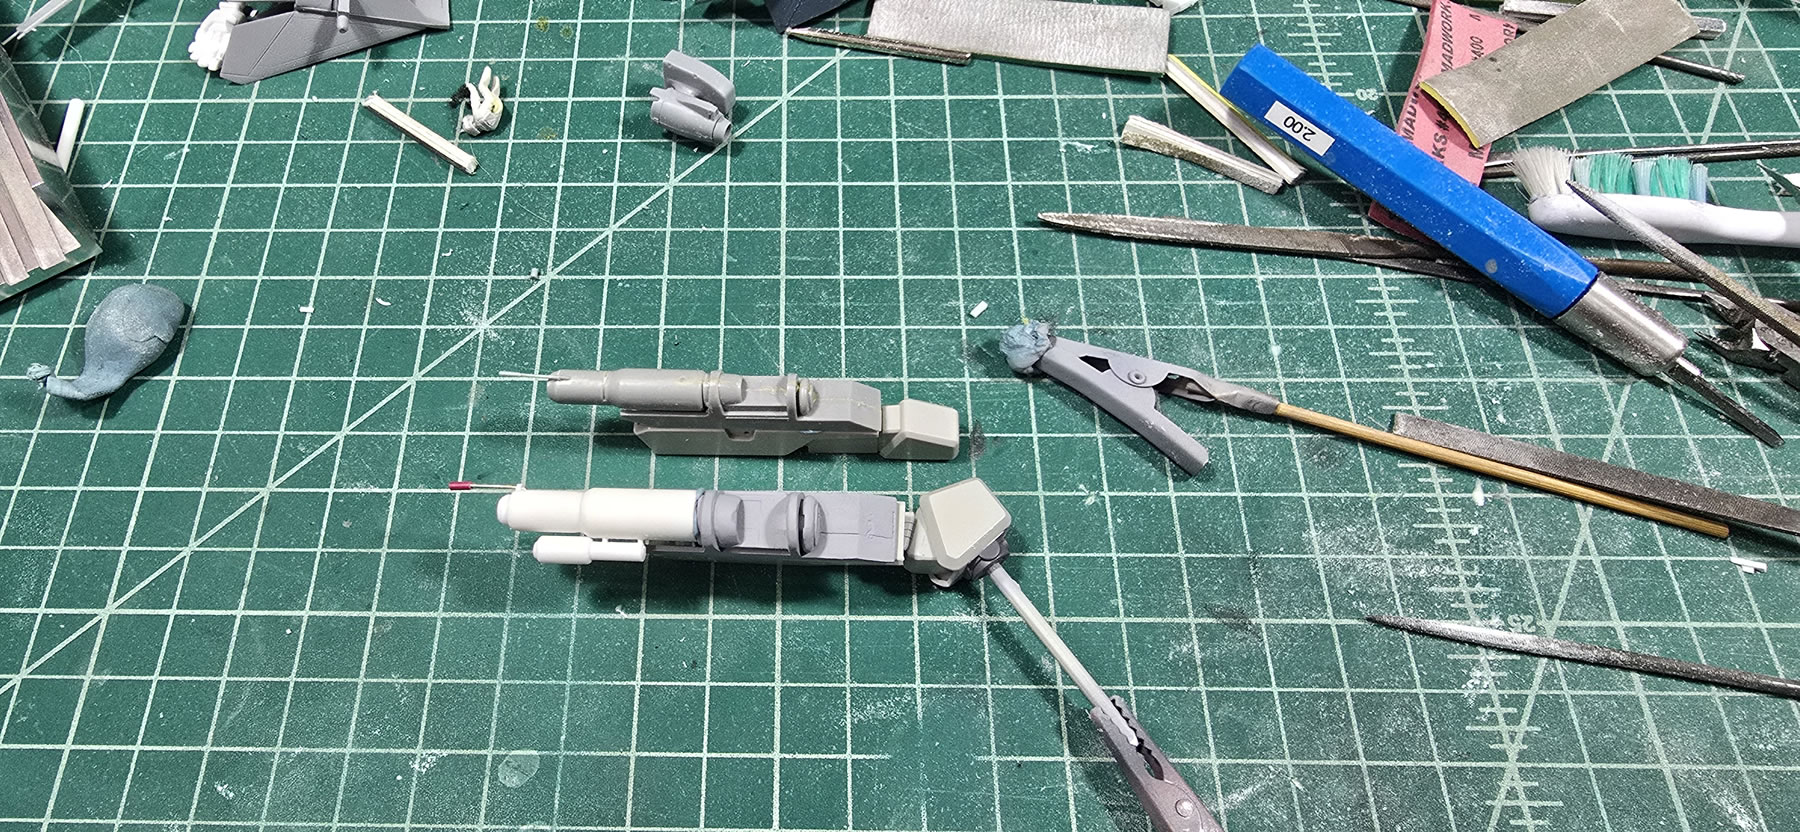
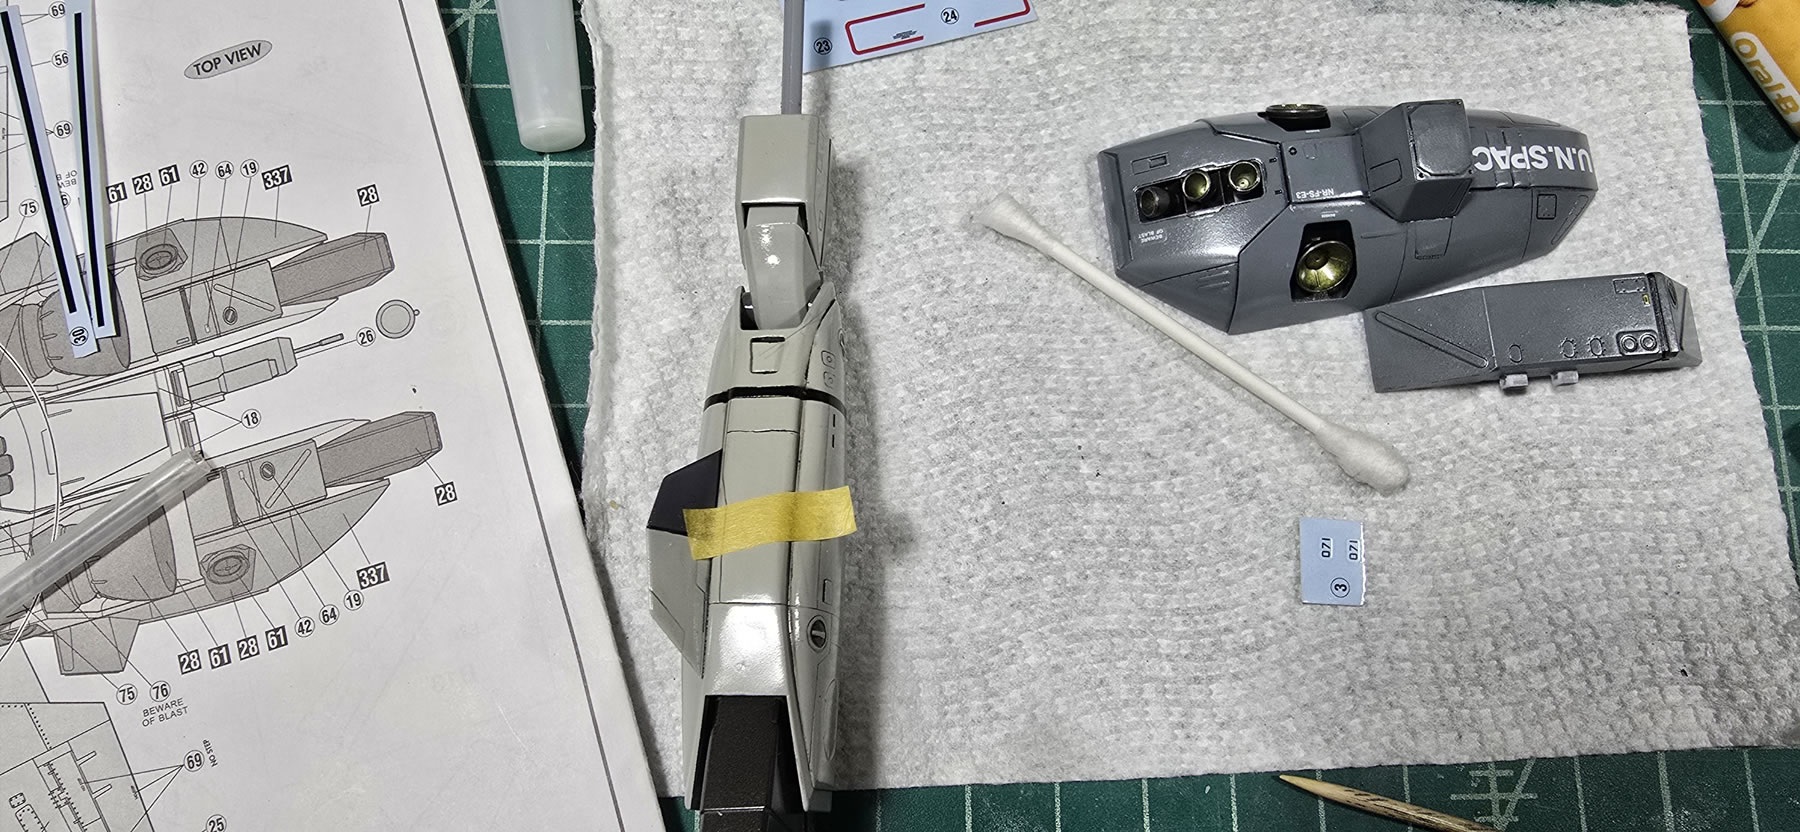
Parts are getting primer and paint while I still work on building the modified pieces. One leg fastpack is completed and a quick comparison shot with the other.
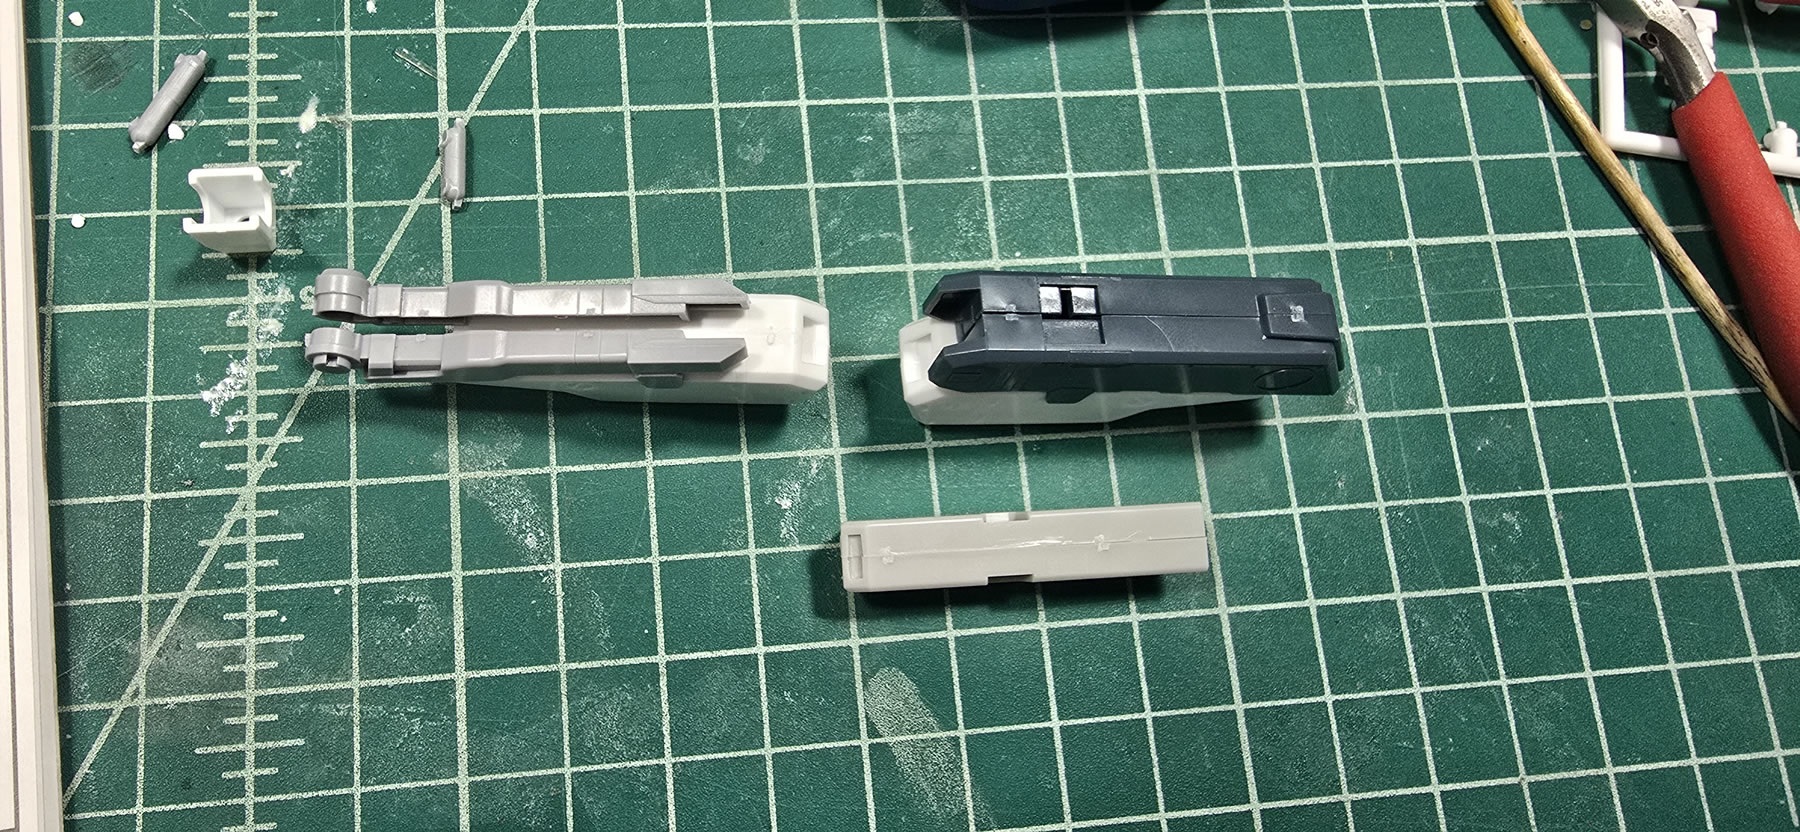
Arm fastpacks are done and painted.
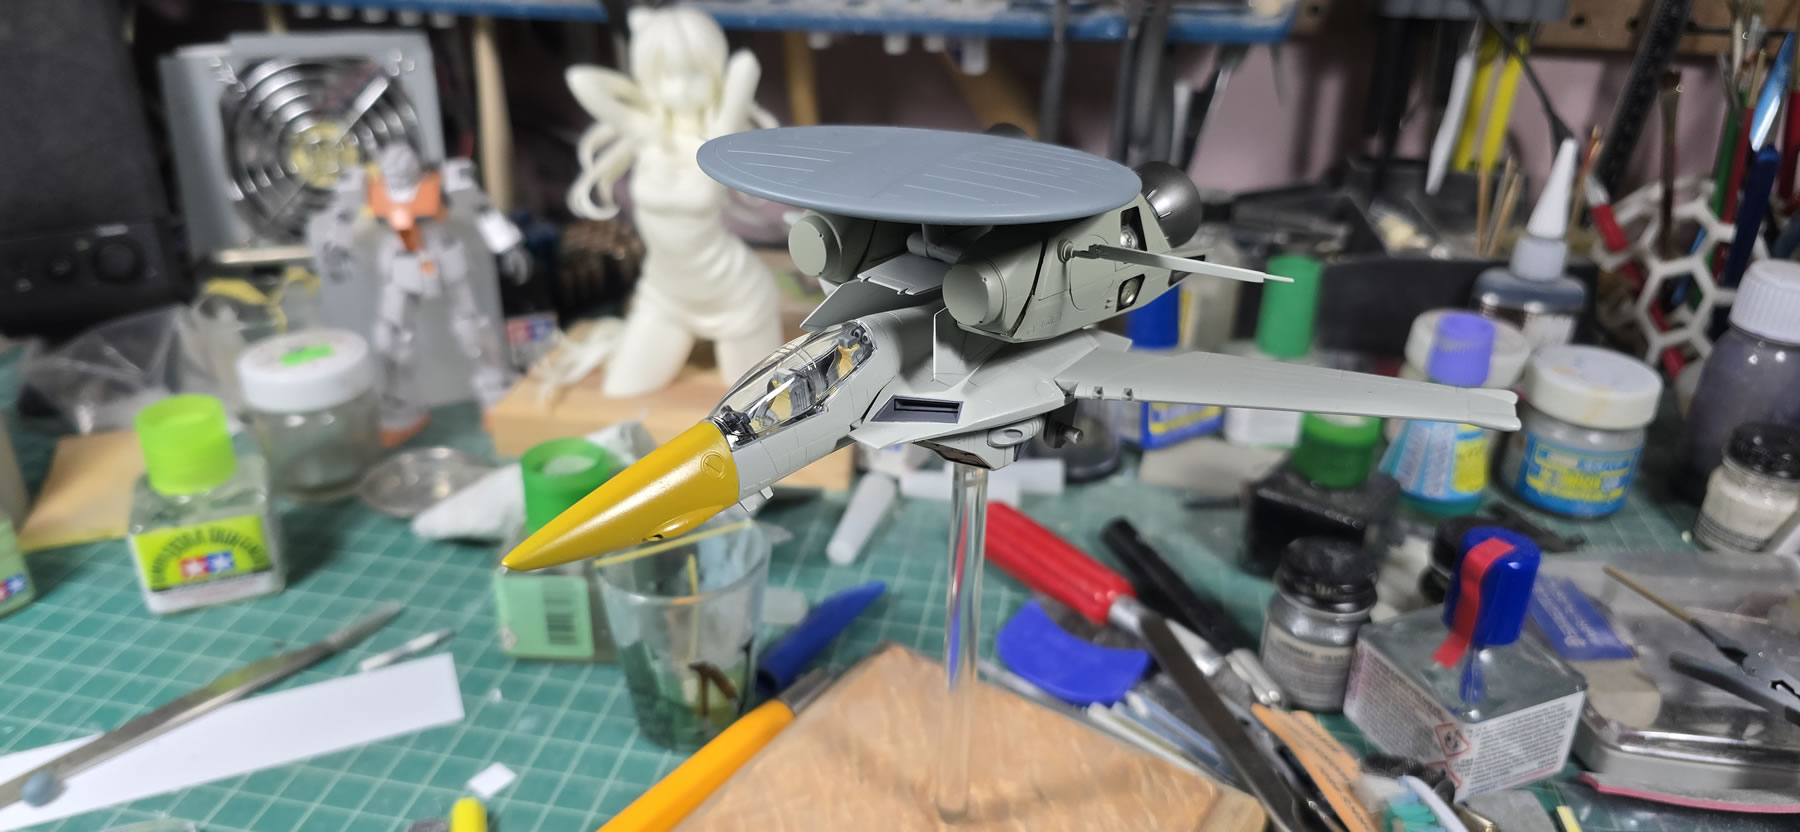
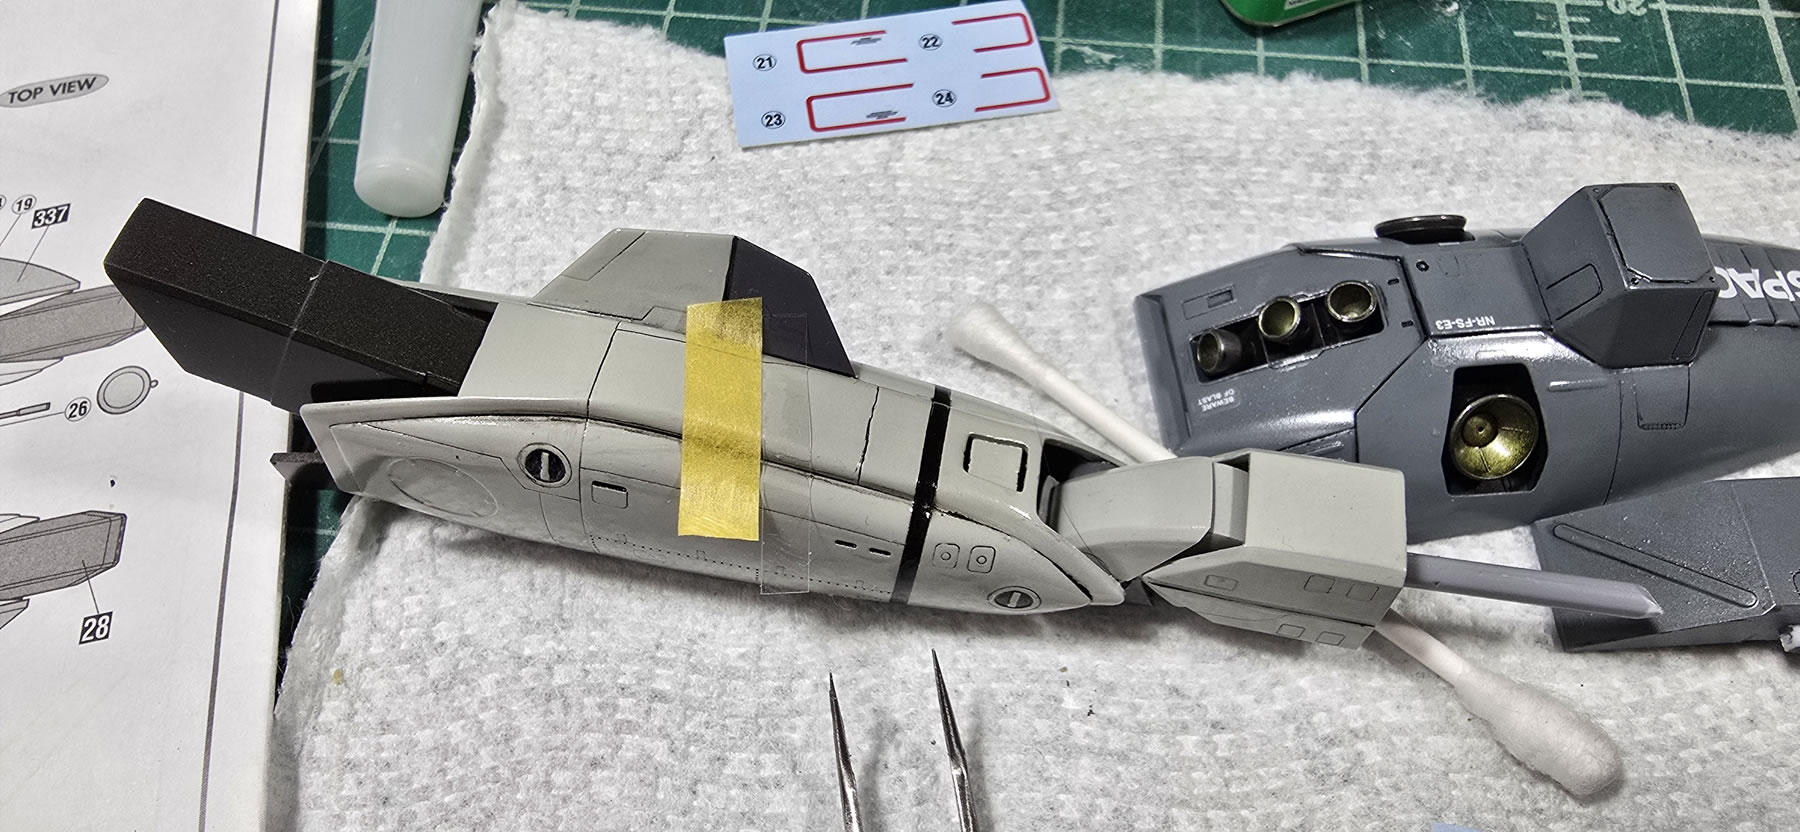
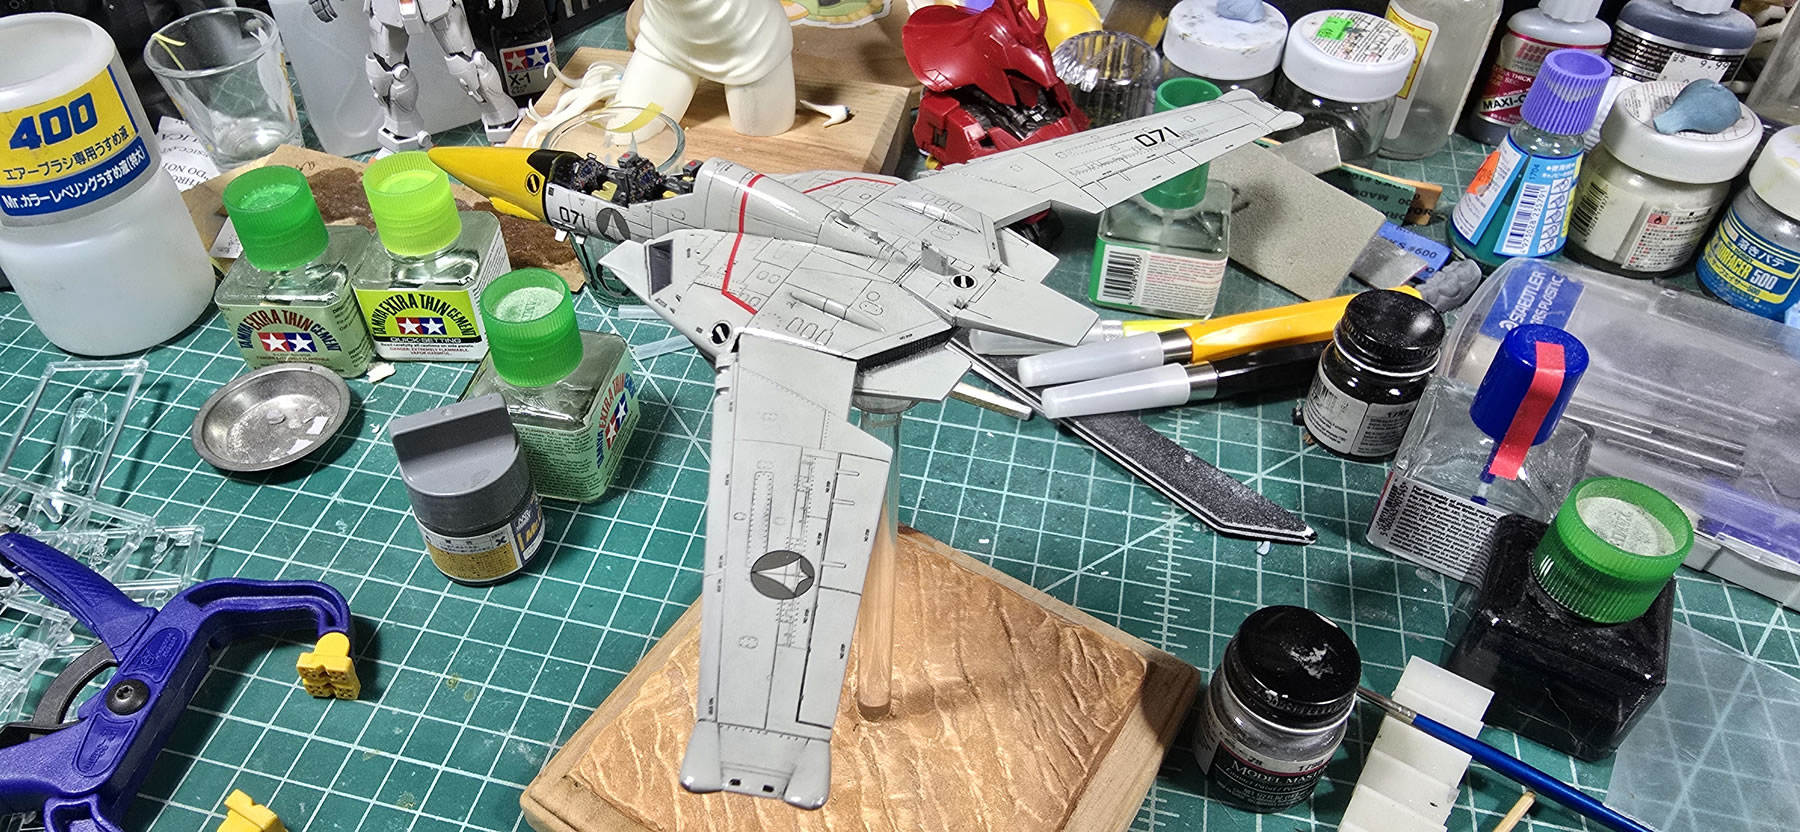
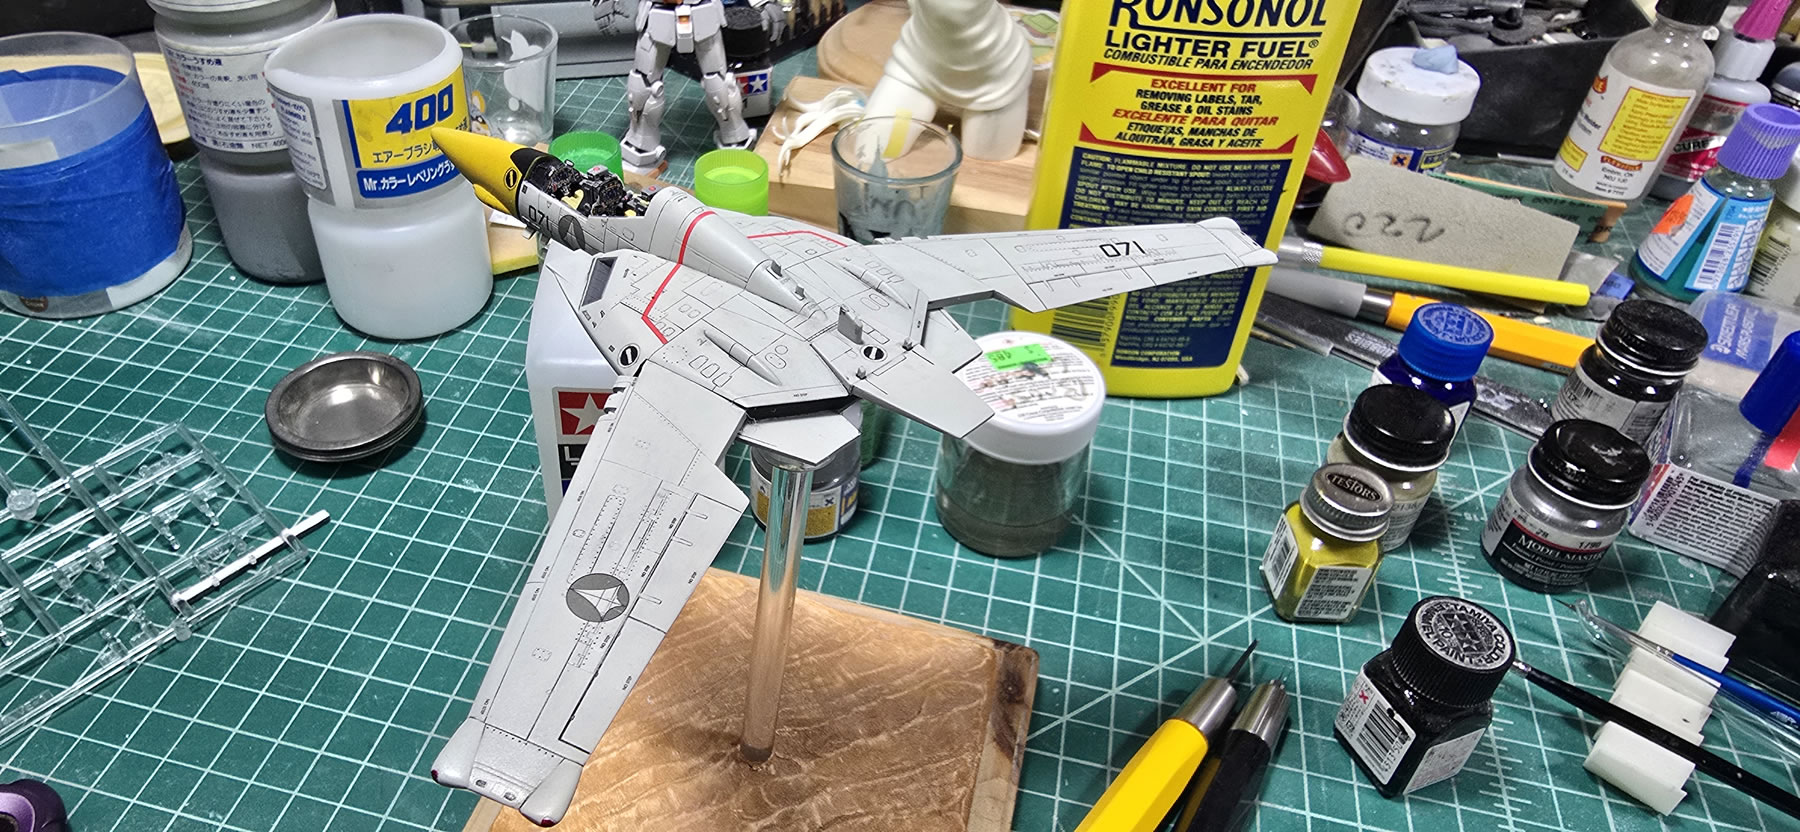
Main aircraft body is painted and masked to paint the nose.
While assembling the leg parts, I hear a crack and one of the seams broke open. Two steps forward, one step back.
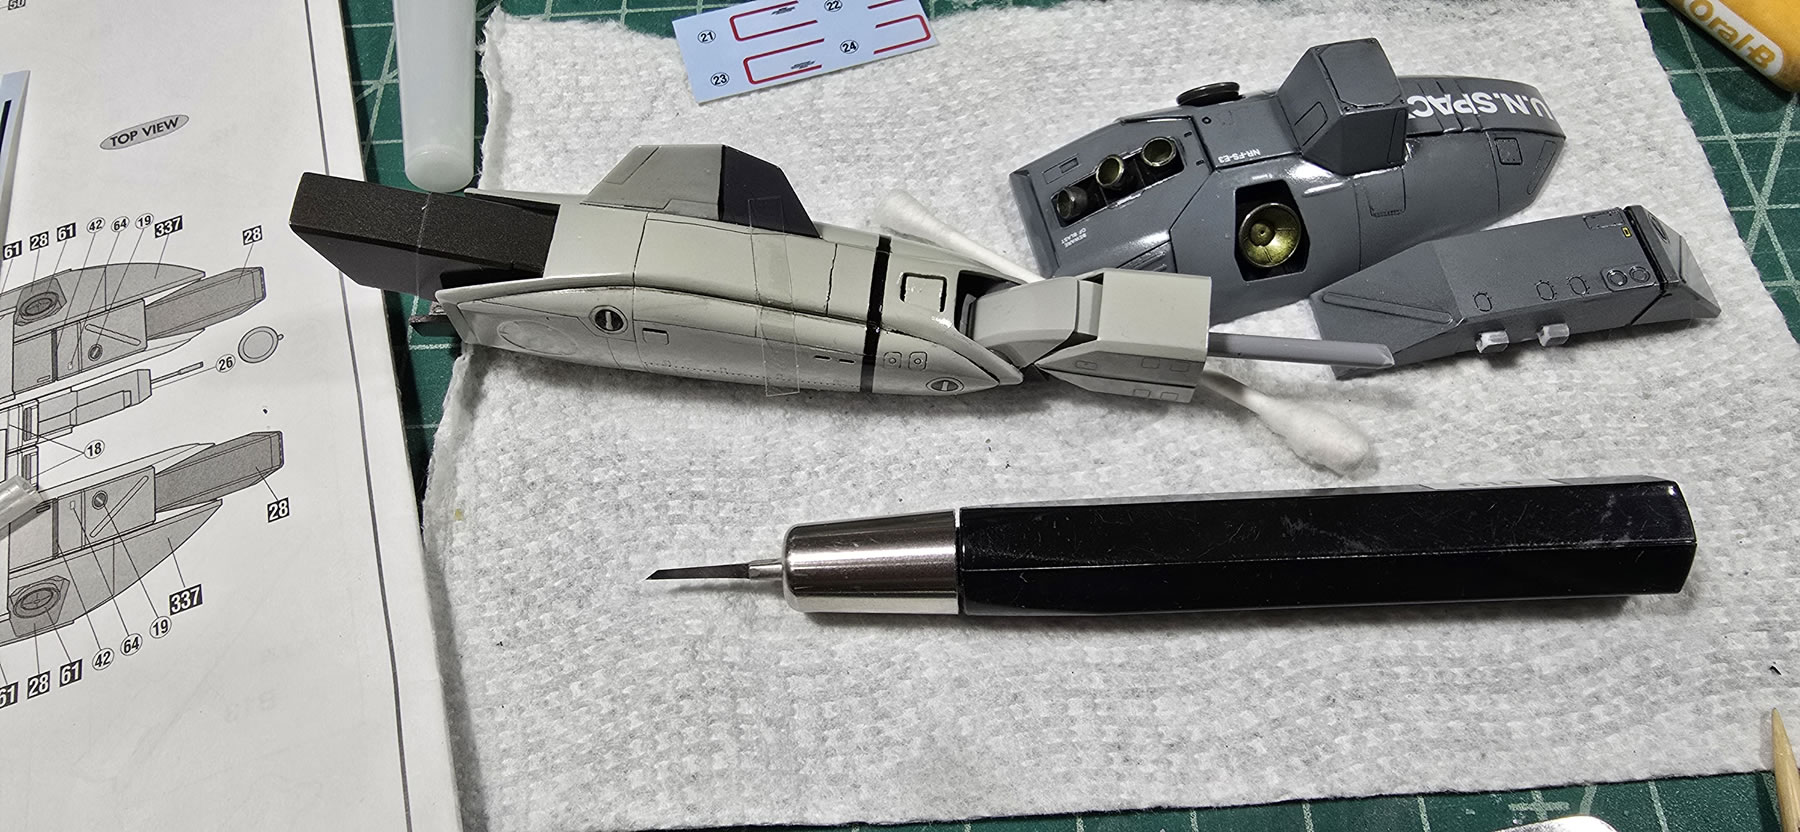
I did a quick mock up assembly of the painted parts as a sanity check that things still fit and are looking as they should. Then back apart for the first layers of clear gloss.
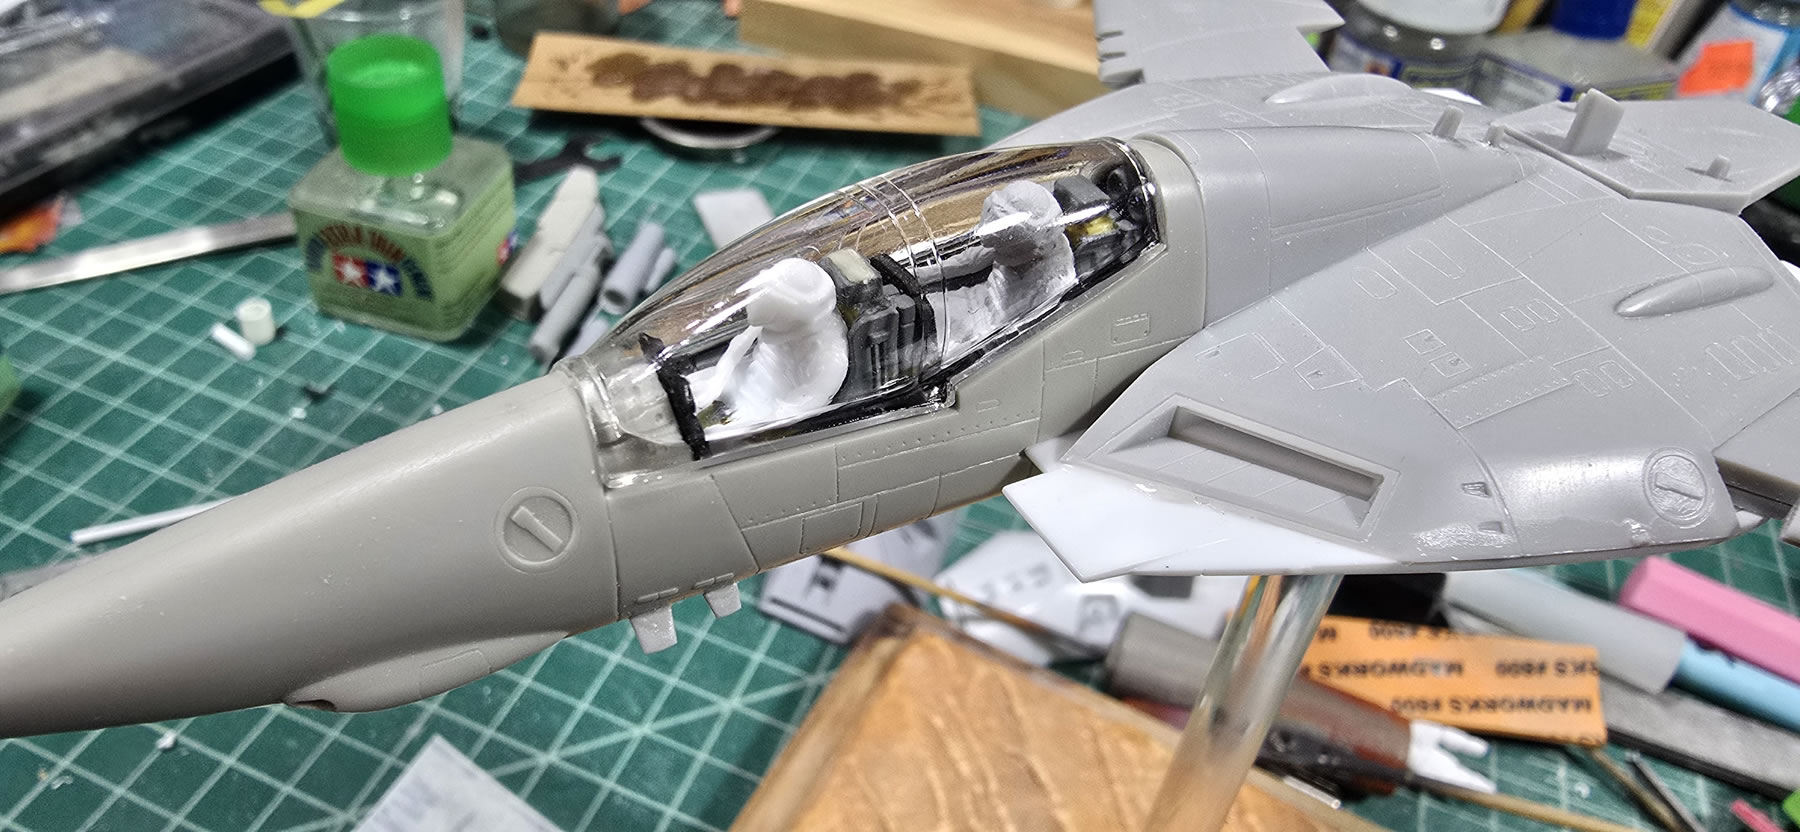
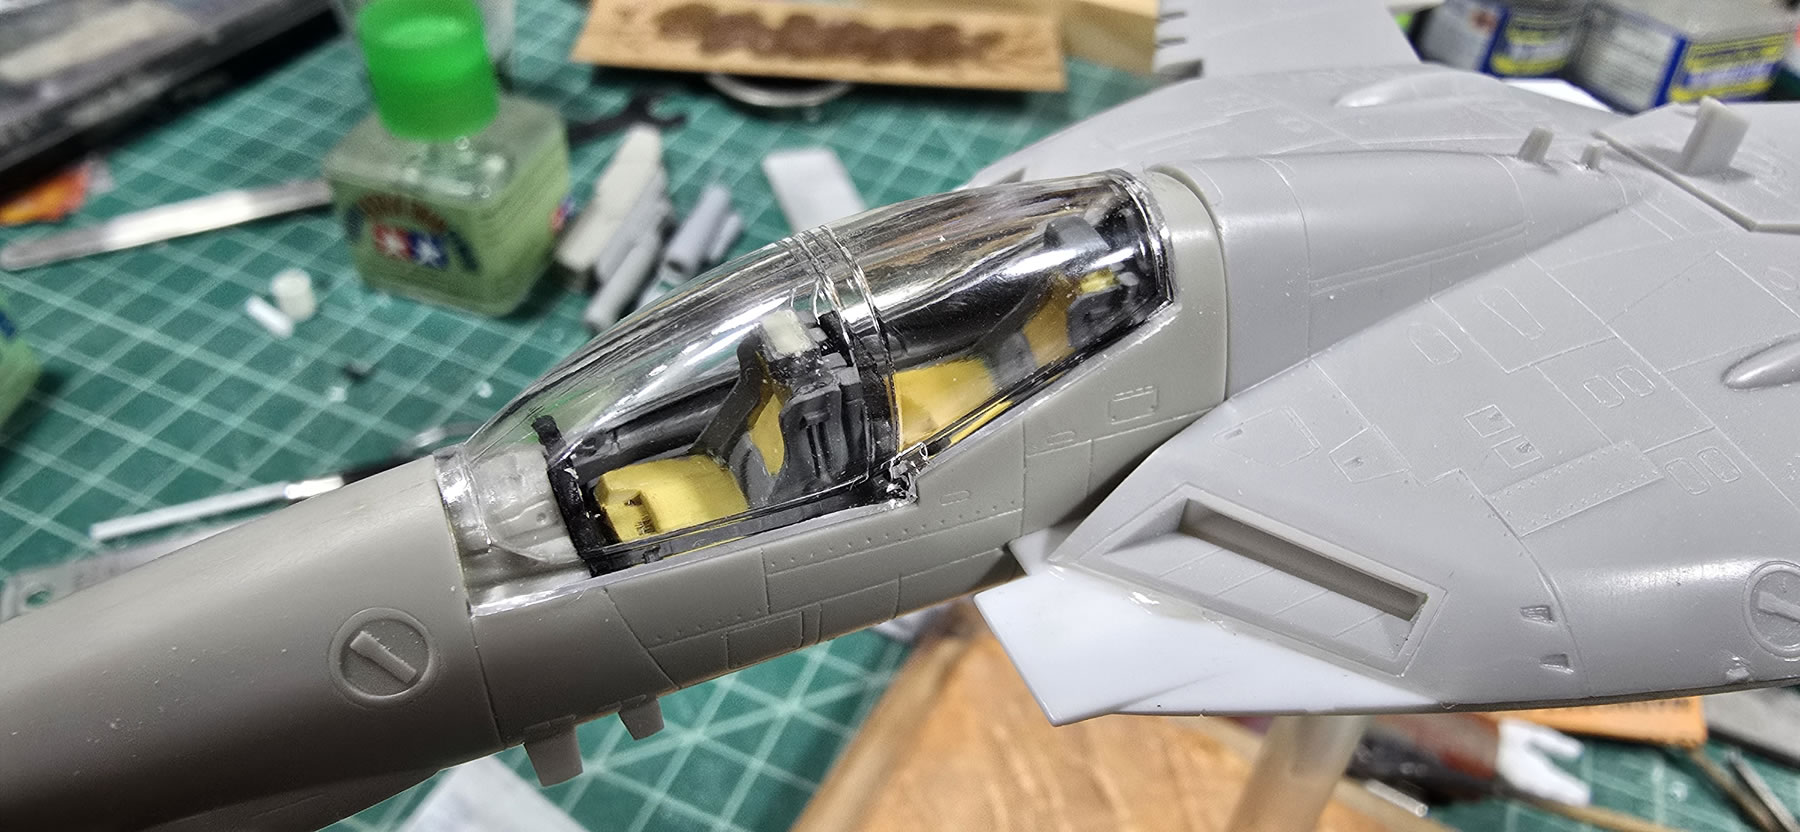
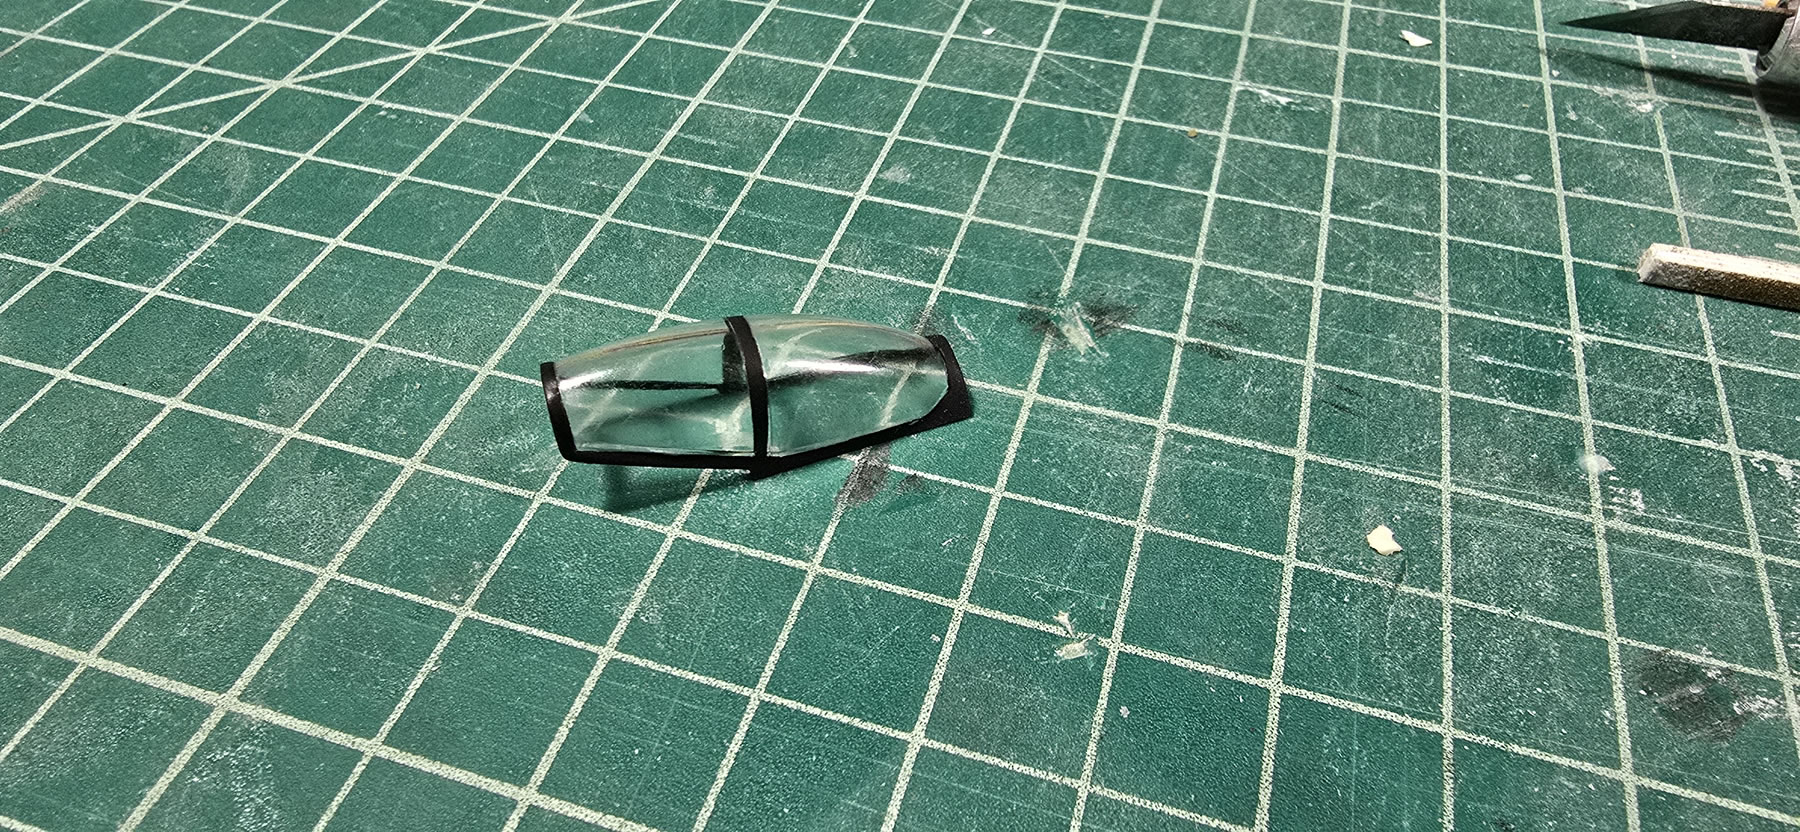
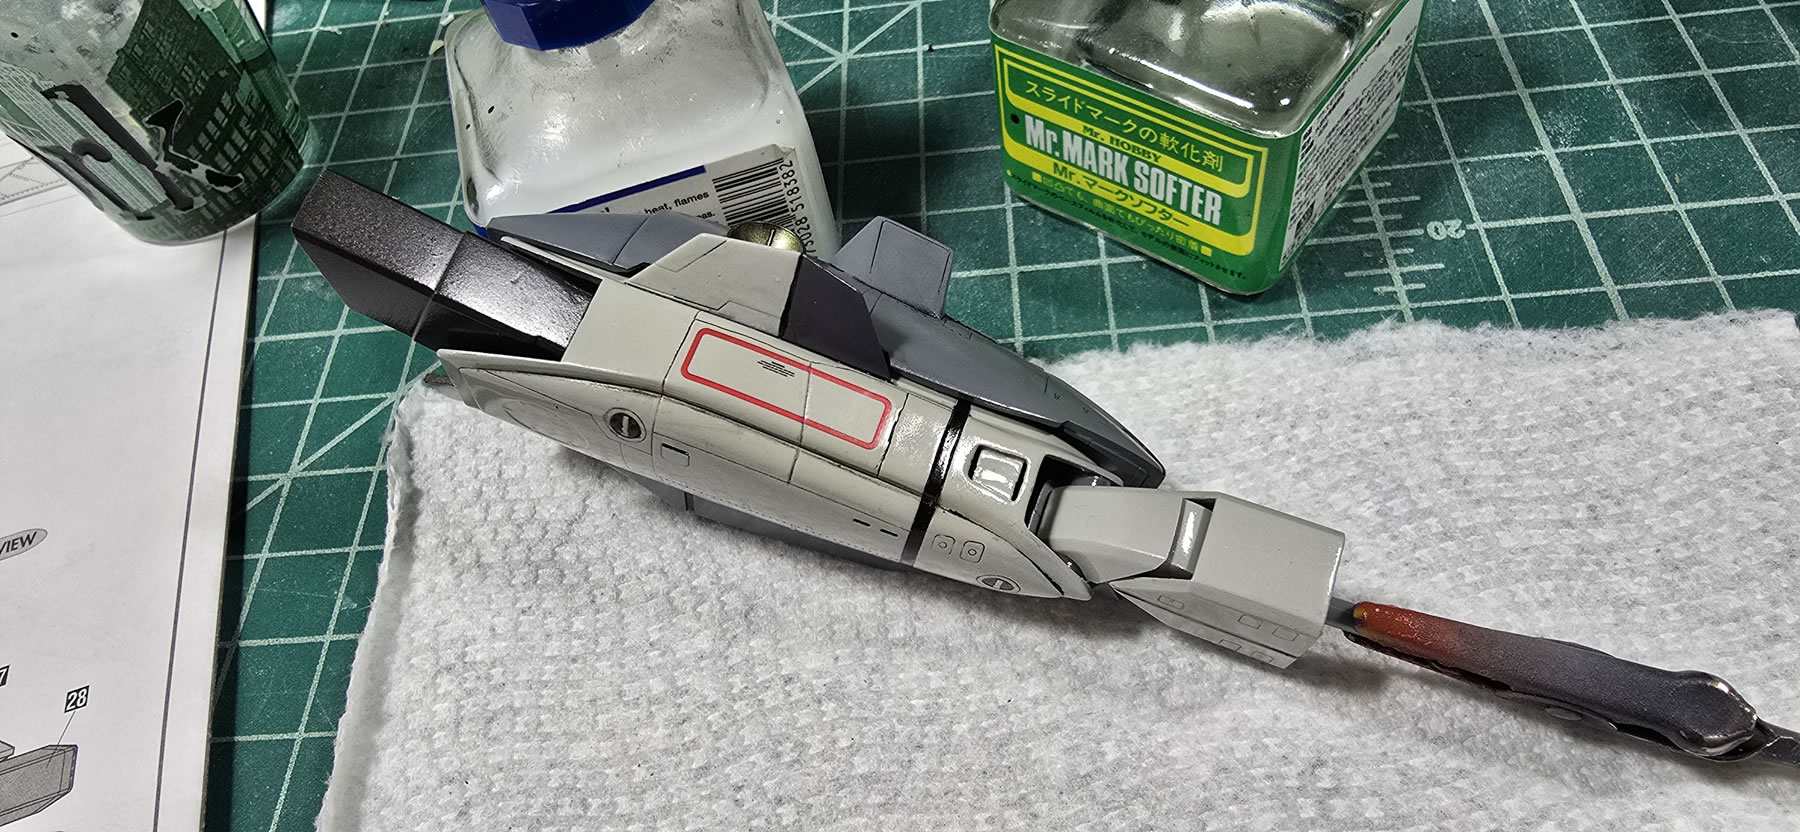
Canopy work. Clear, mask, paint. I completely ignored that there were decals for these details, but decals here don’t look great. There are a few areas where I painted over doing decals.
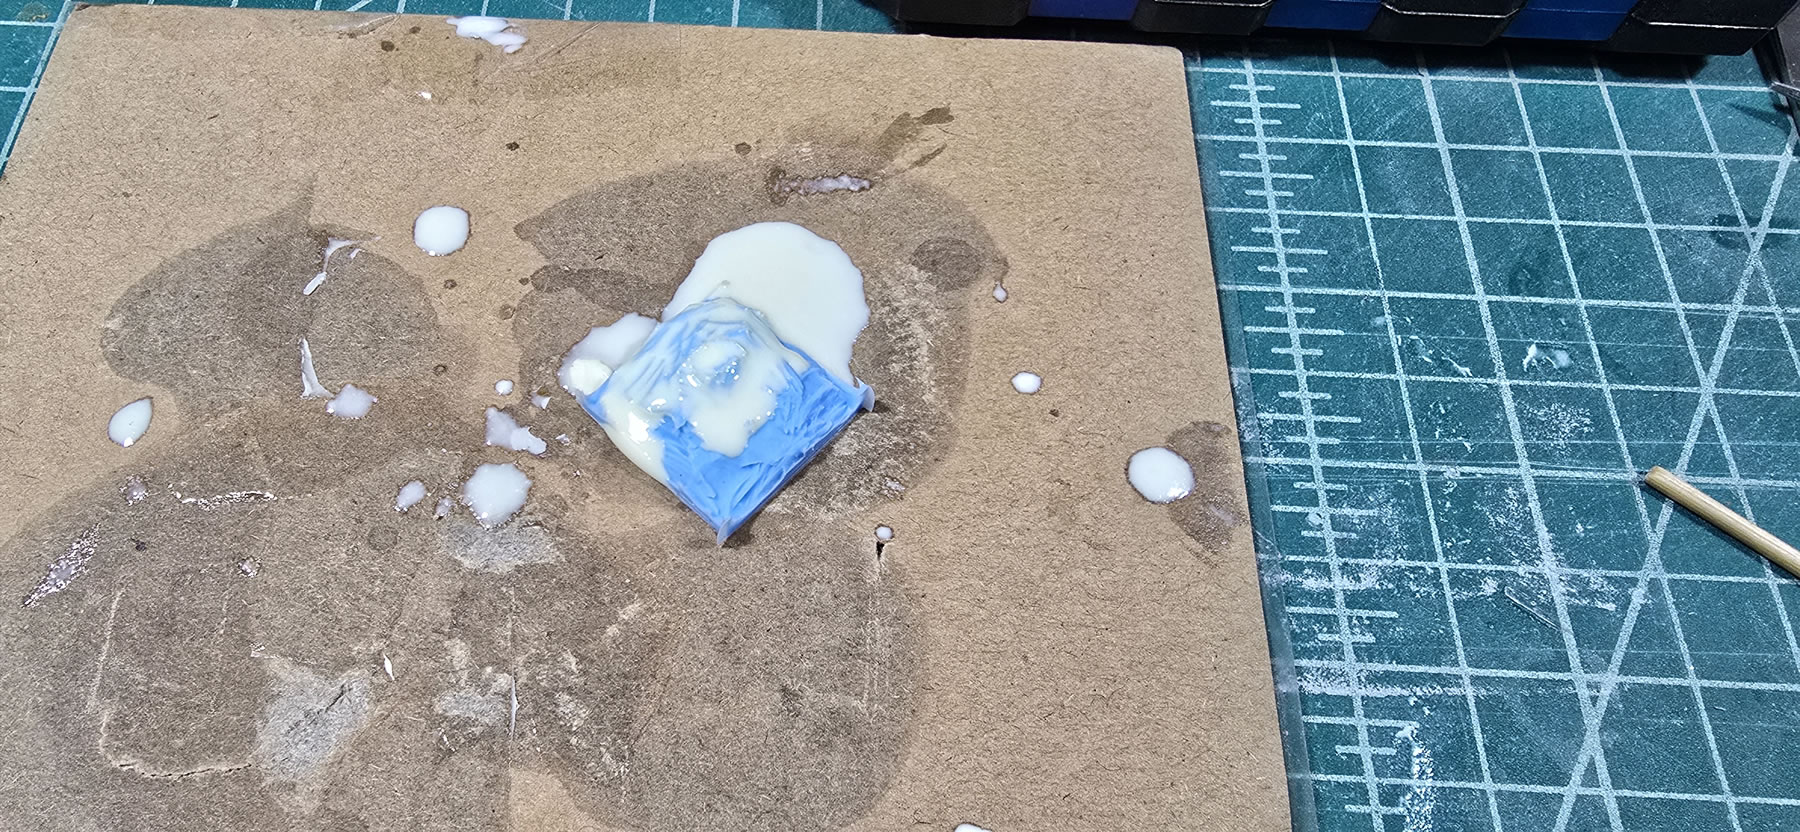
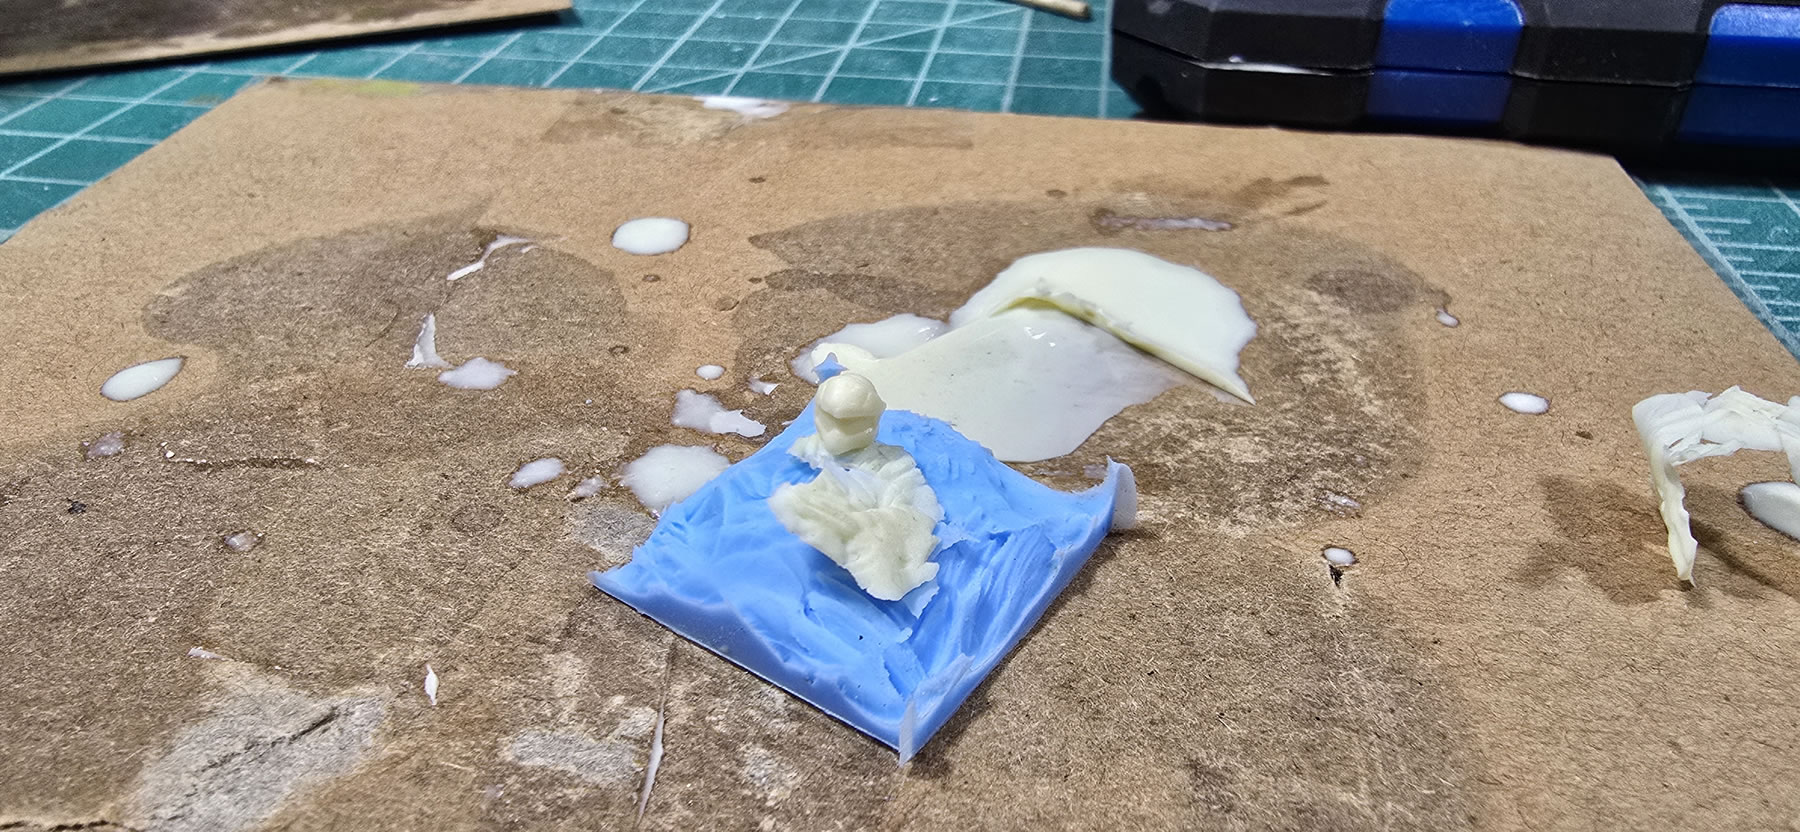
Getting around to working on the pilots, I found that one of them had a horribly disfigured head. A quick mold and casting session got a new head.
Glossed and then panel lines to bring out all the little details. Then another layer of gloss to get the decals started.
Decal work. The decals for the kit are very thin and delicate. But since I have the 17 year old kit’s decals, I sort of have a back up. Only for the smallest of decals. The 17 year old decals are so brittle, looking at them causes them to crumble.
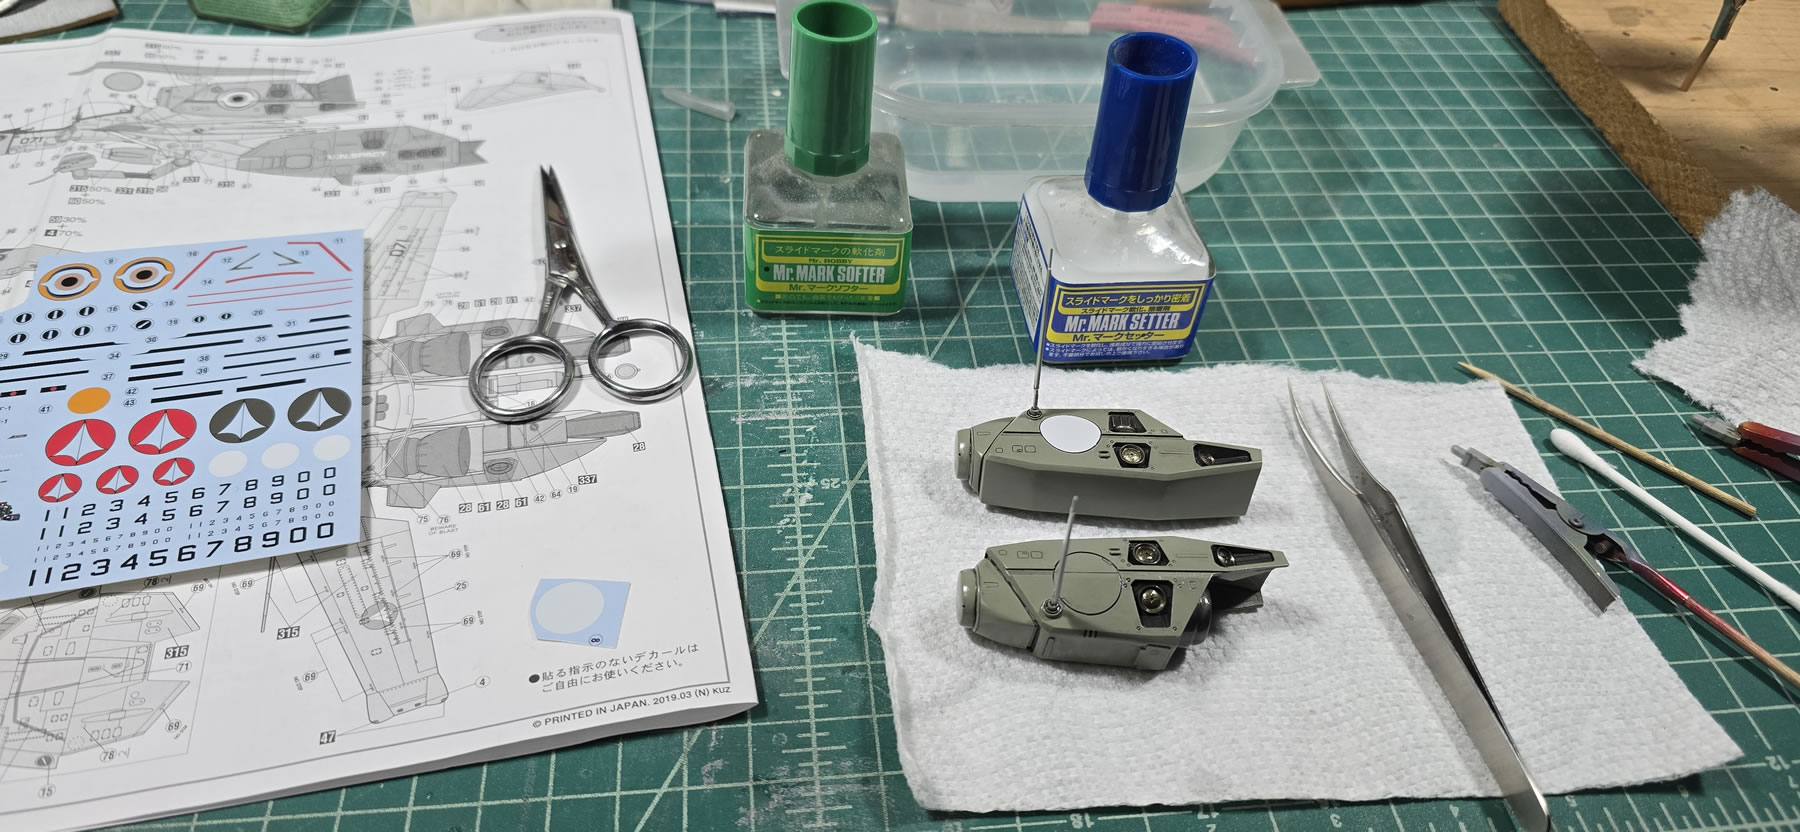
Getting around to doing the decals on the legs, I noticed that the instructions show a panel line where my kit did not have one. I had forgotten to redo a panel line here for both legs. The first picture is the before and after. Masking tape is used to draw out the new line. The carving tape is applied, and I start with a very thin .075mm scribing tool, then once the line is in place, use the .1mm scriber to finish. No paint chips, so a quick panel line ink and the decal work continues.
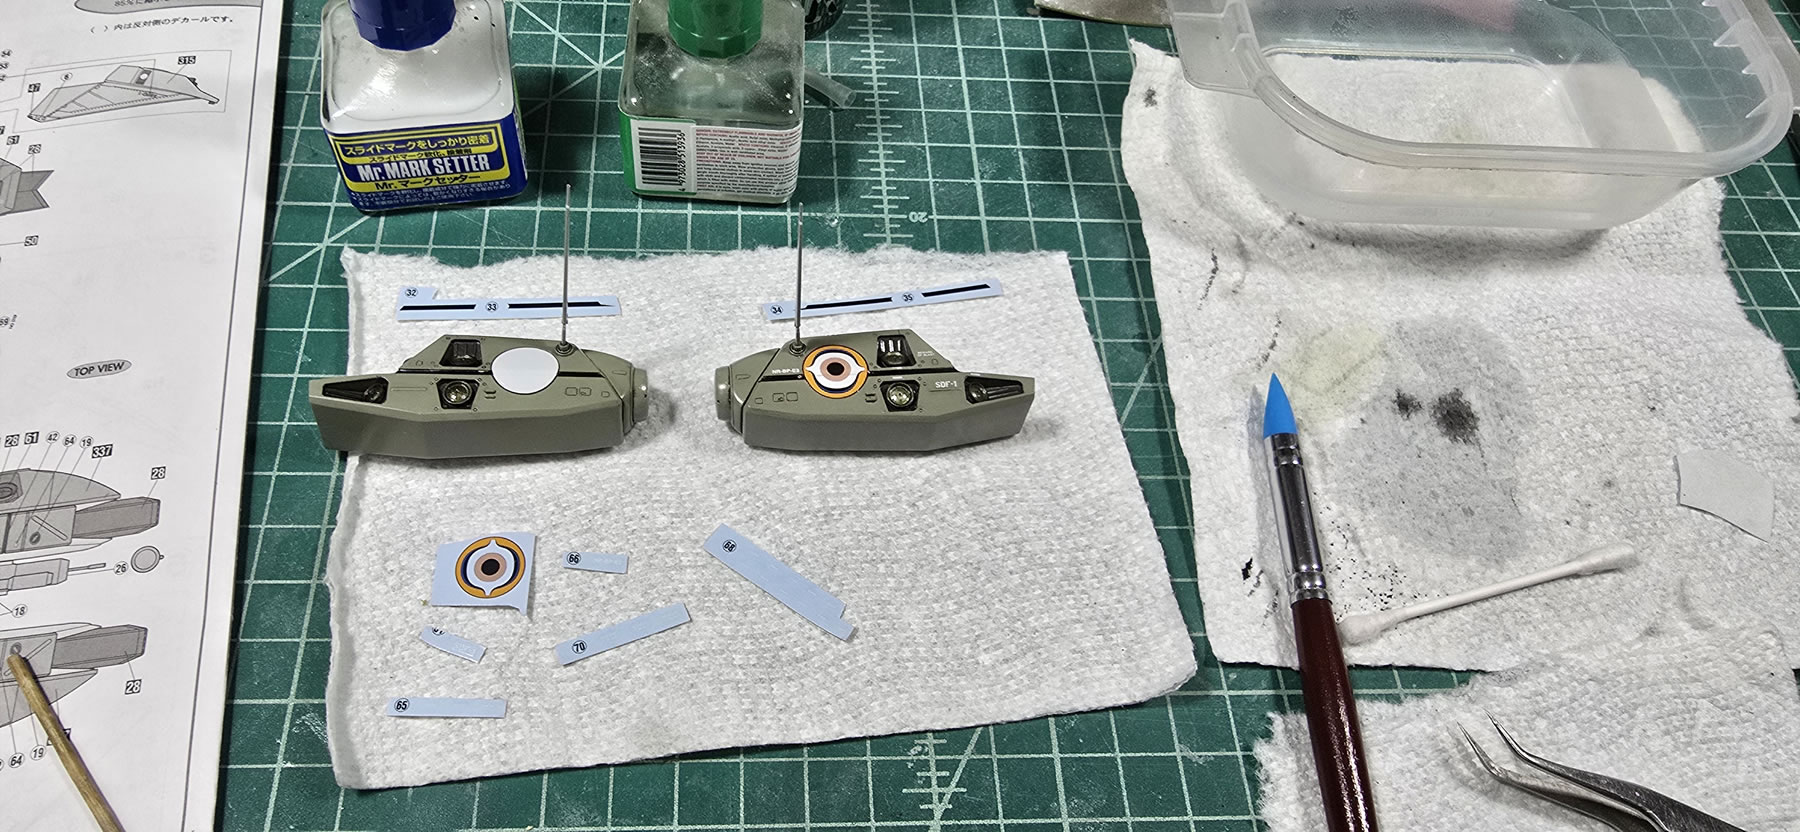
The other screw up I hinted at is for the leg’s fastpacks. The placement of the leg sensor boxes is a bit too far back, they should have been placed further forward. The UN Spacy decals should be placed behind these boxes but since I completely screwed this up, they’re placed forward. Oh well, only the true DRYL nerds will take issue. The same folks that will take issue of calling this a Veritech in guardian mode HAH!

Clear gloss then clear flat to finish things.
Pilots are primed and the visor painted blue then masked and painted white. The rest if hand painted using enamels.
Final stretch and most of the parts are coming together. Just need to finish the pilots and canopy. I screwed up on the canopy that I did earlier, so there were a few rework sessions.
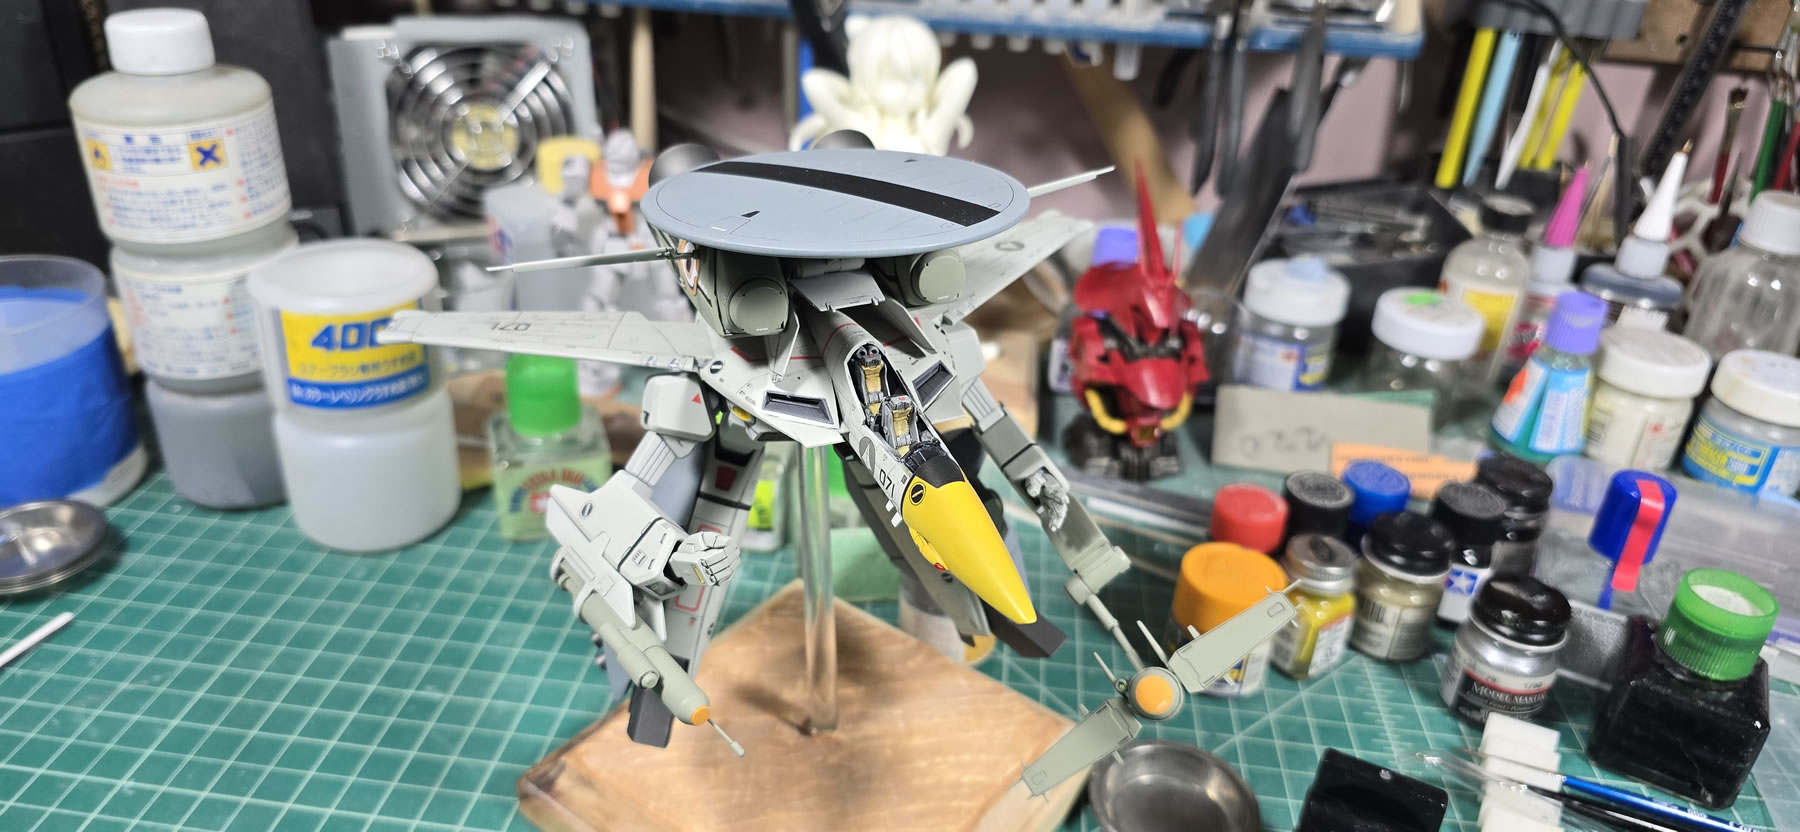
And the final light sheen on the pilots, they’re glued into their seats and the canopy is glued into place and we’re done.
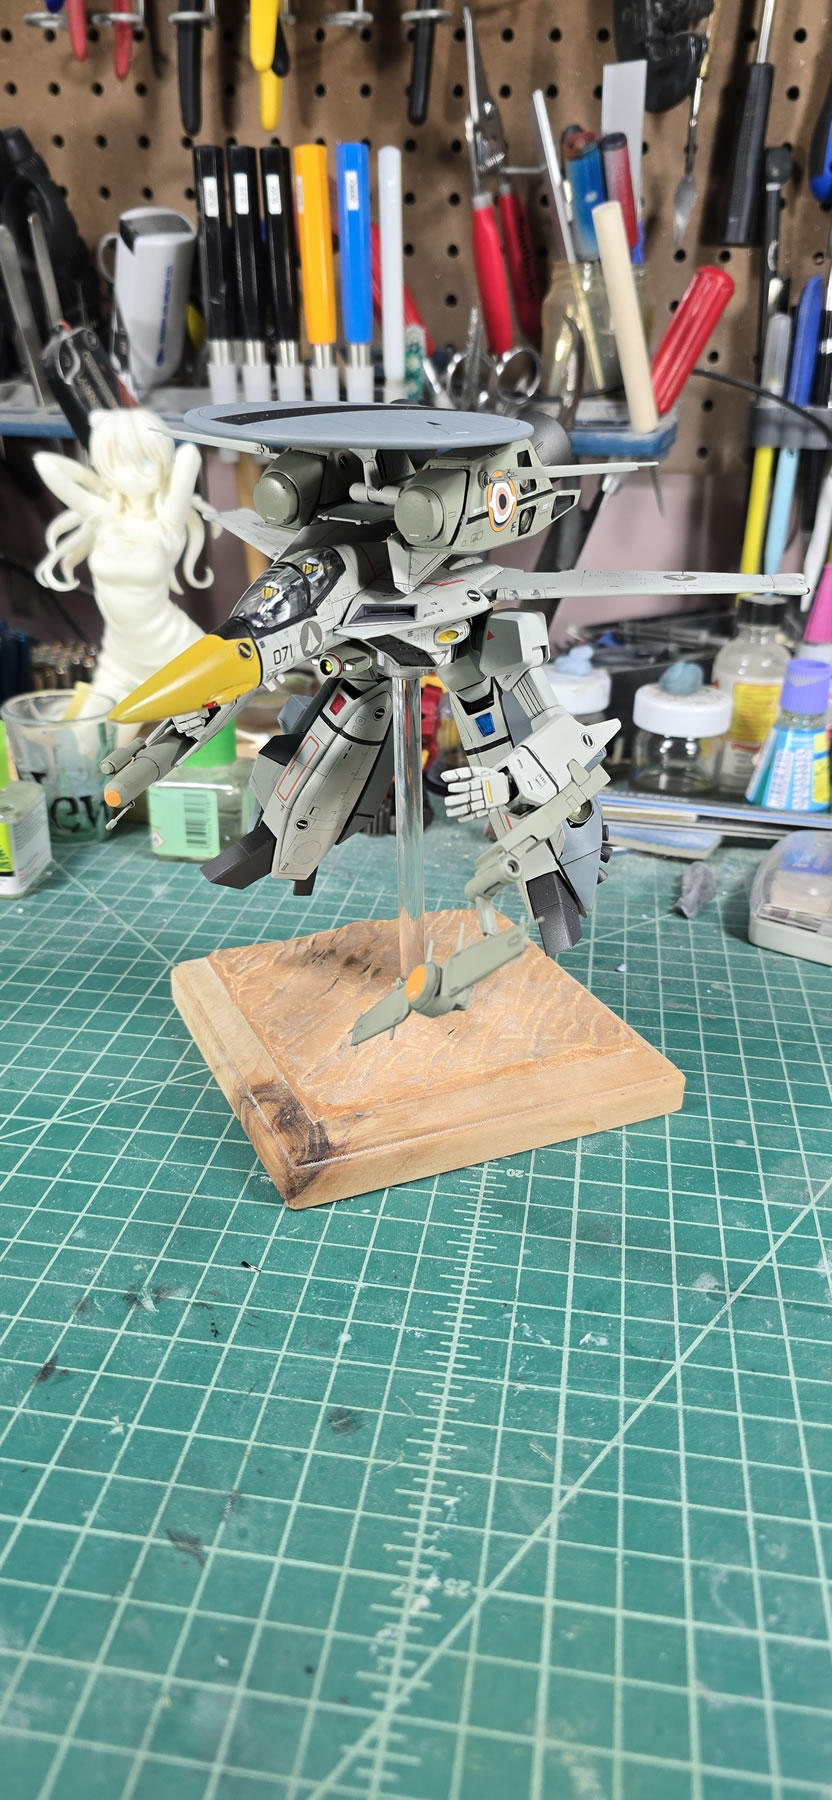

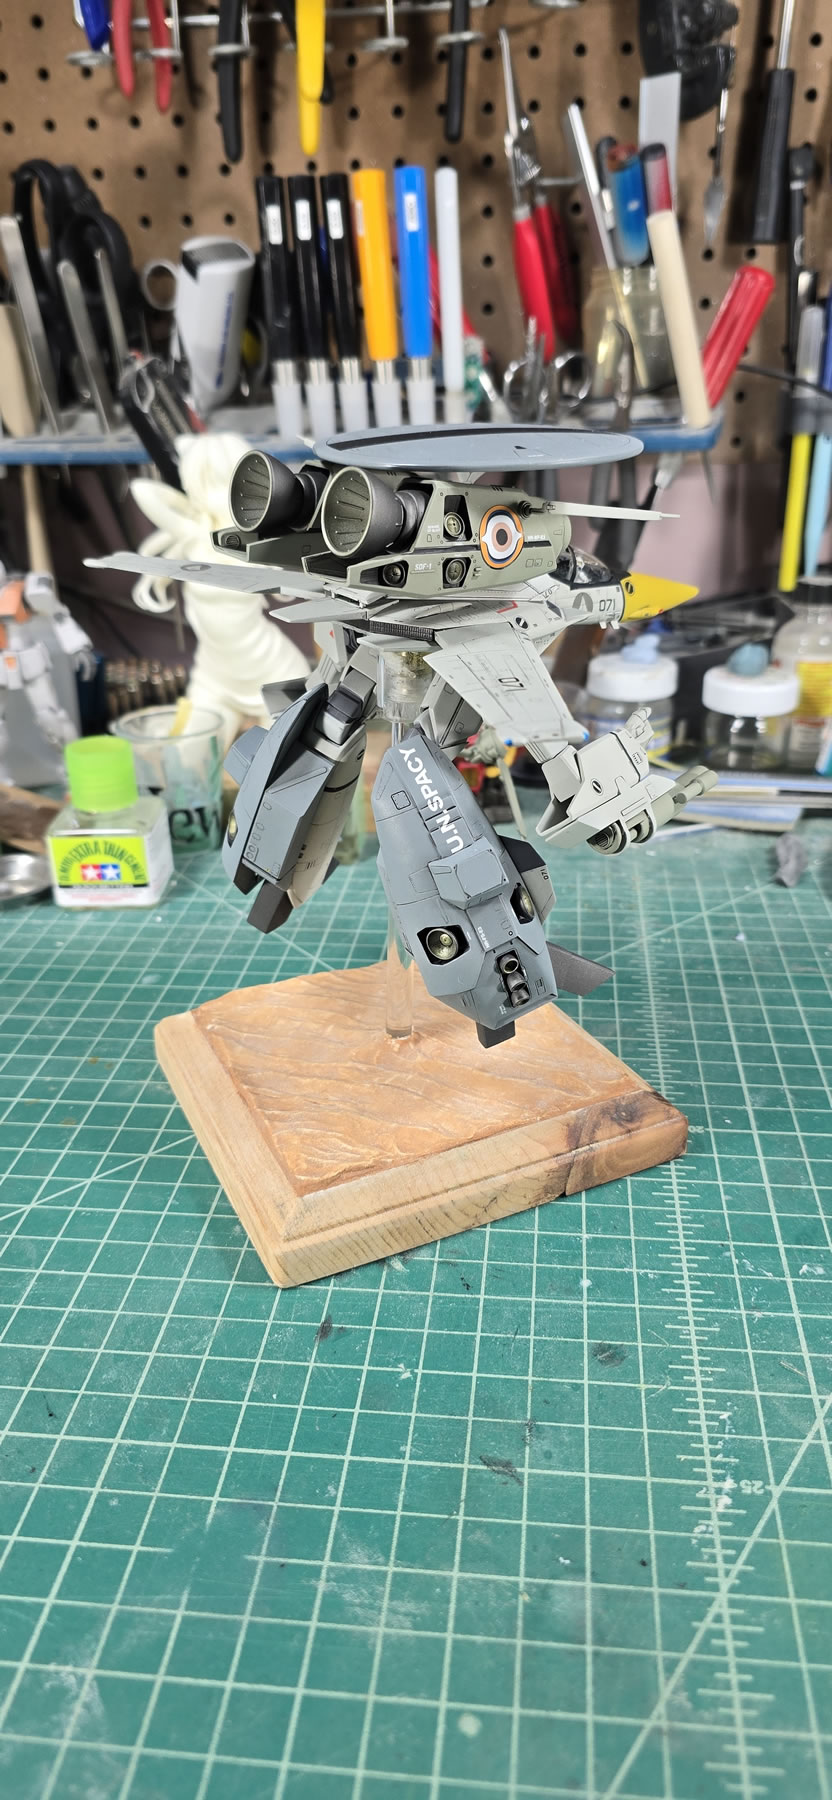
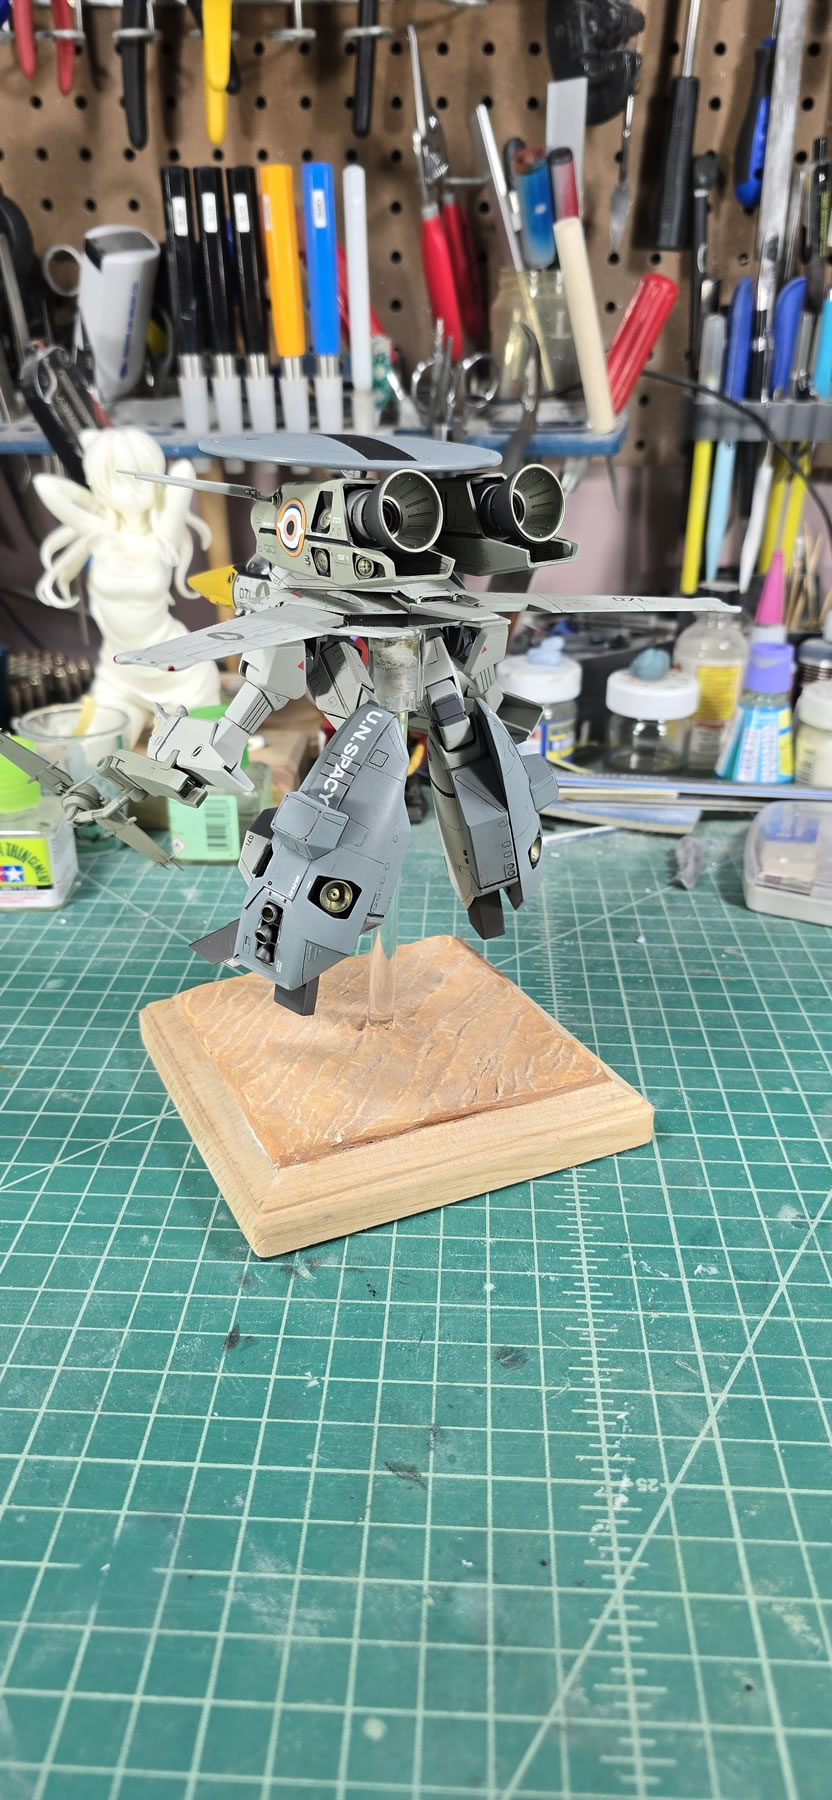
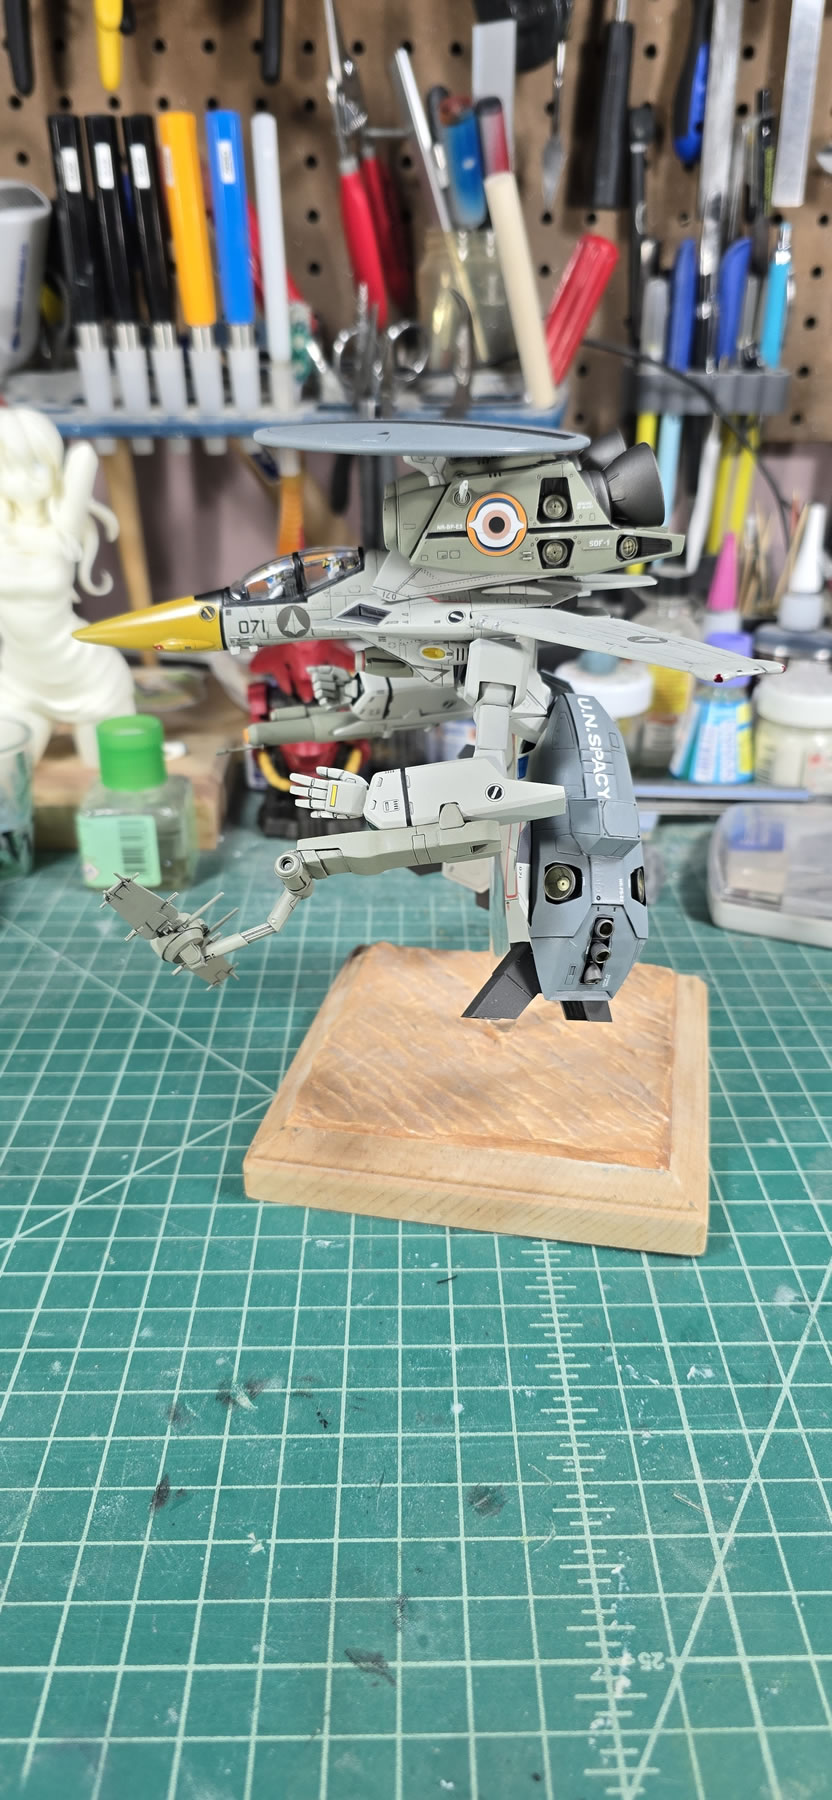
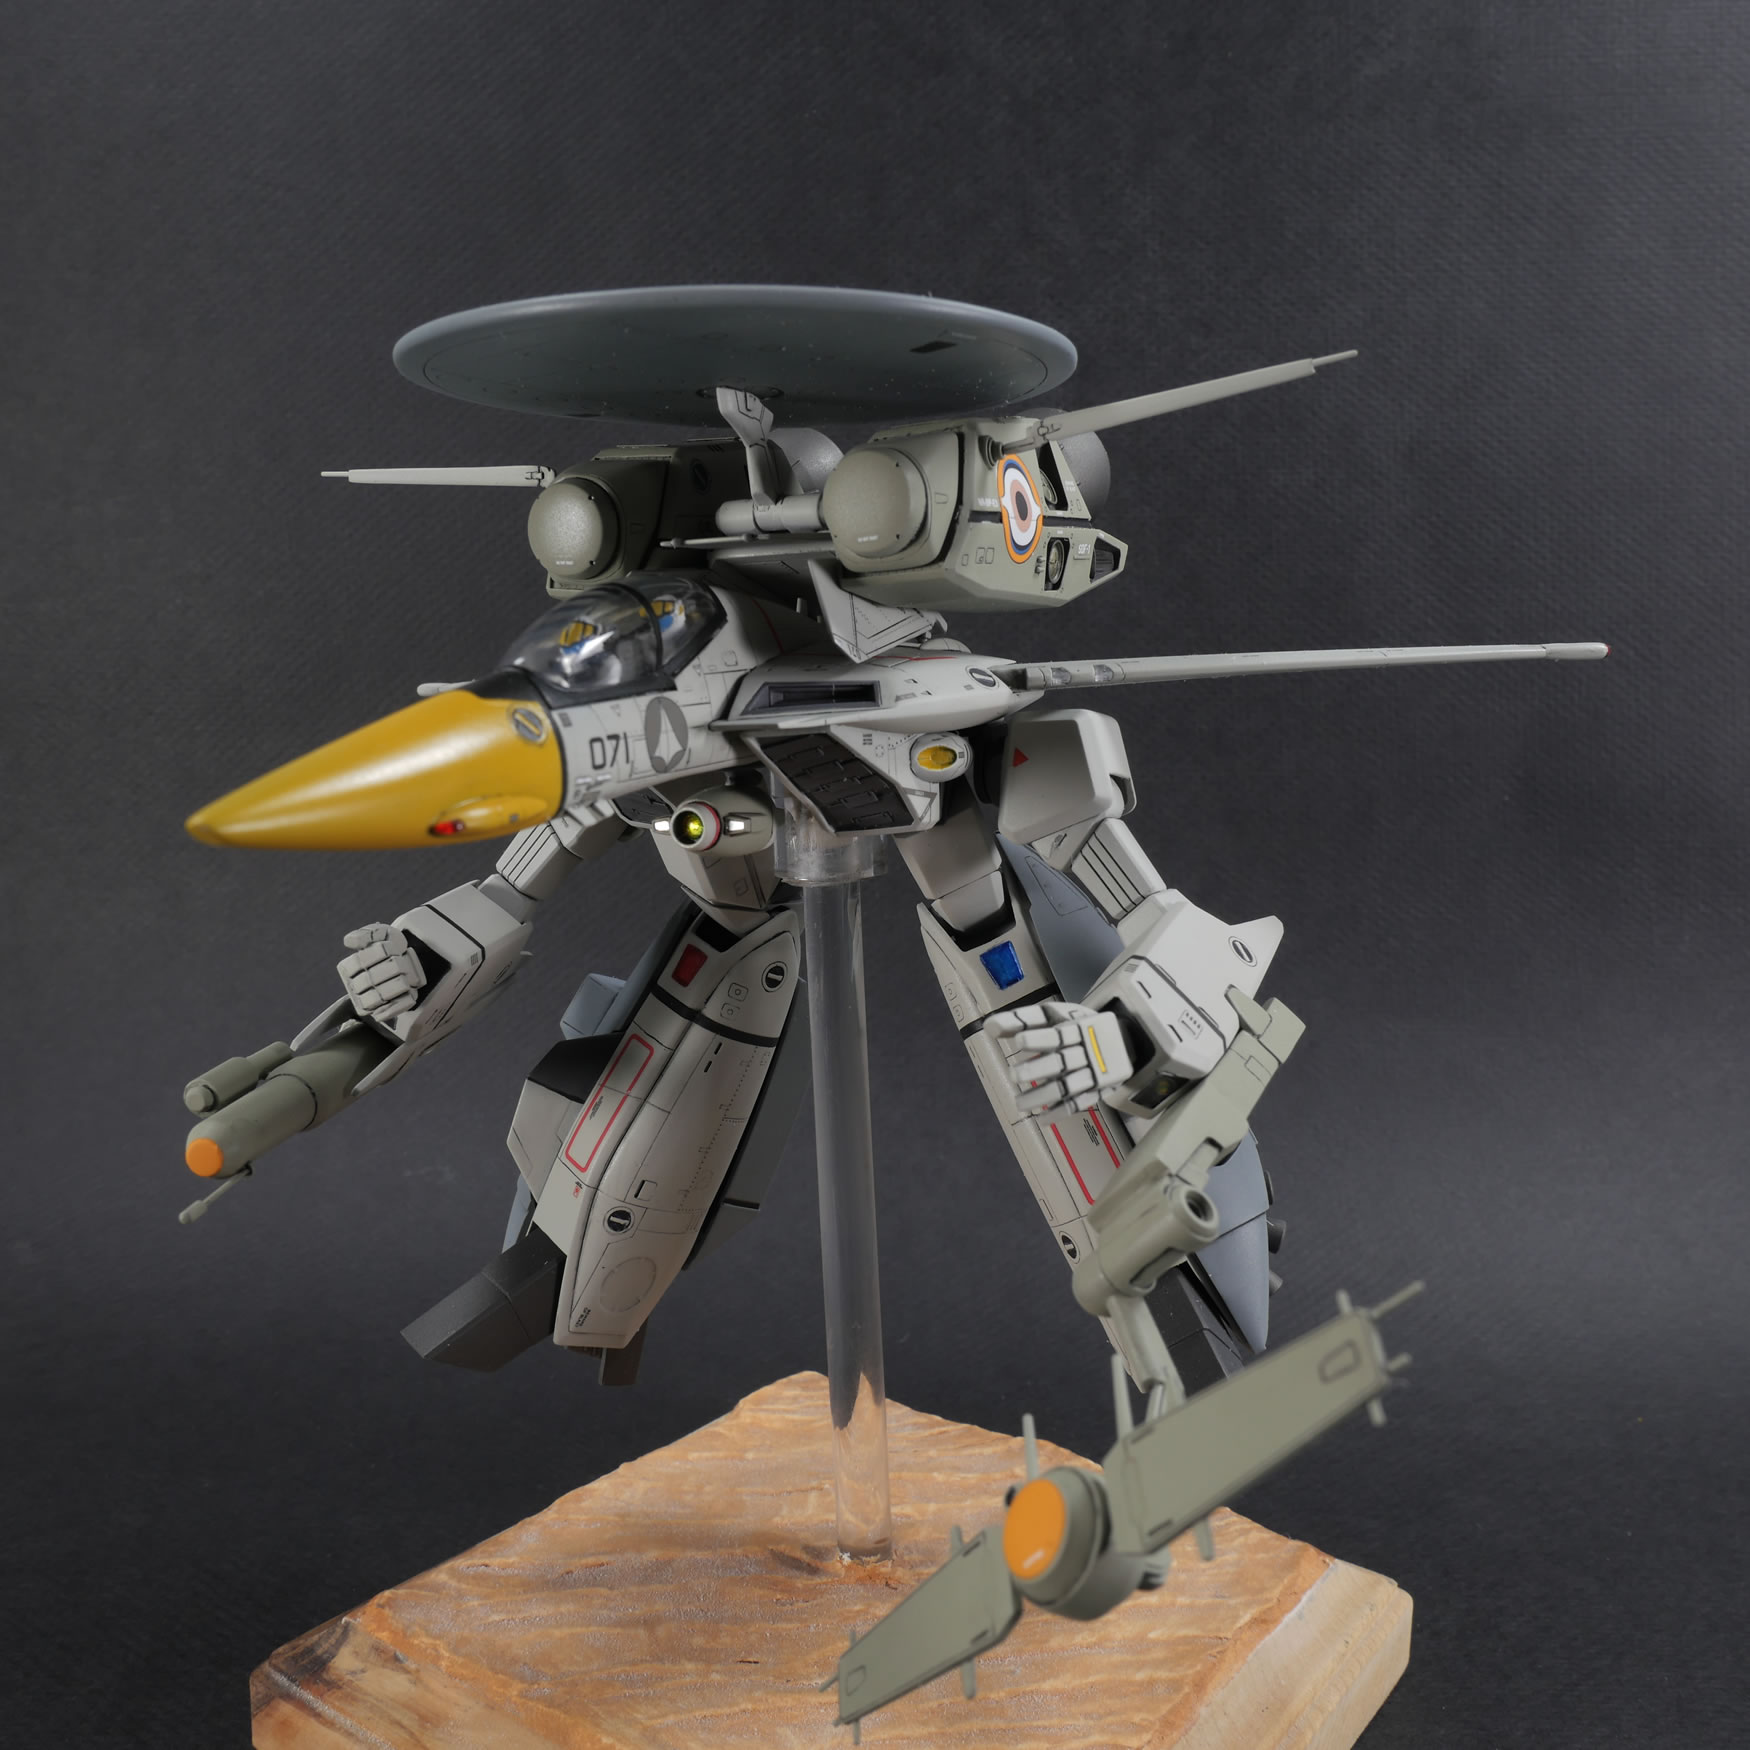
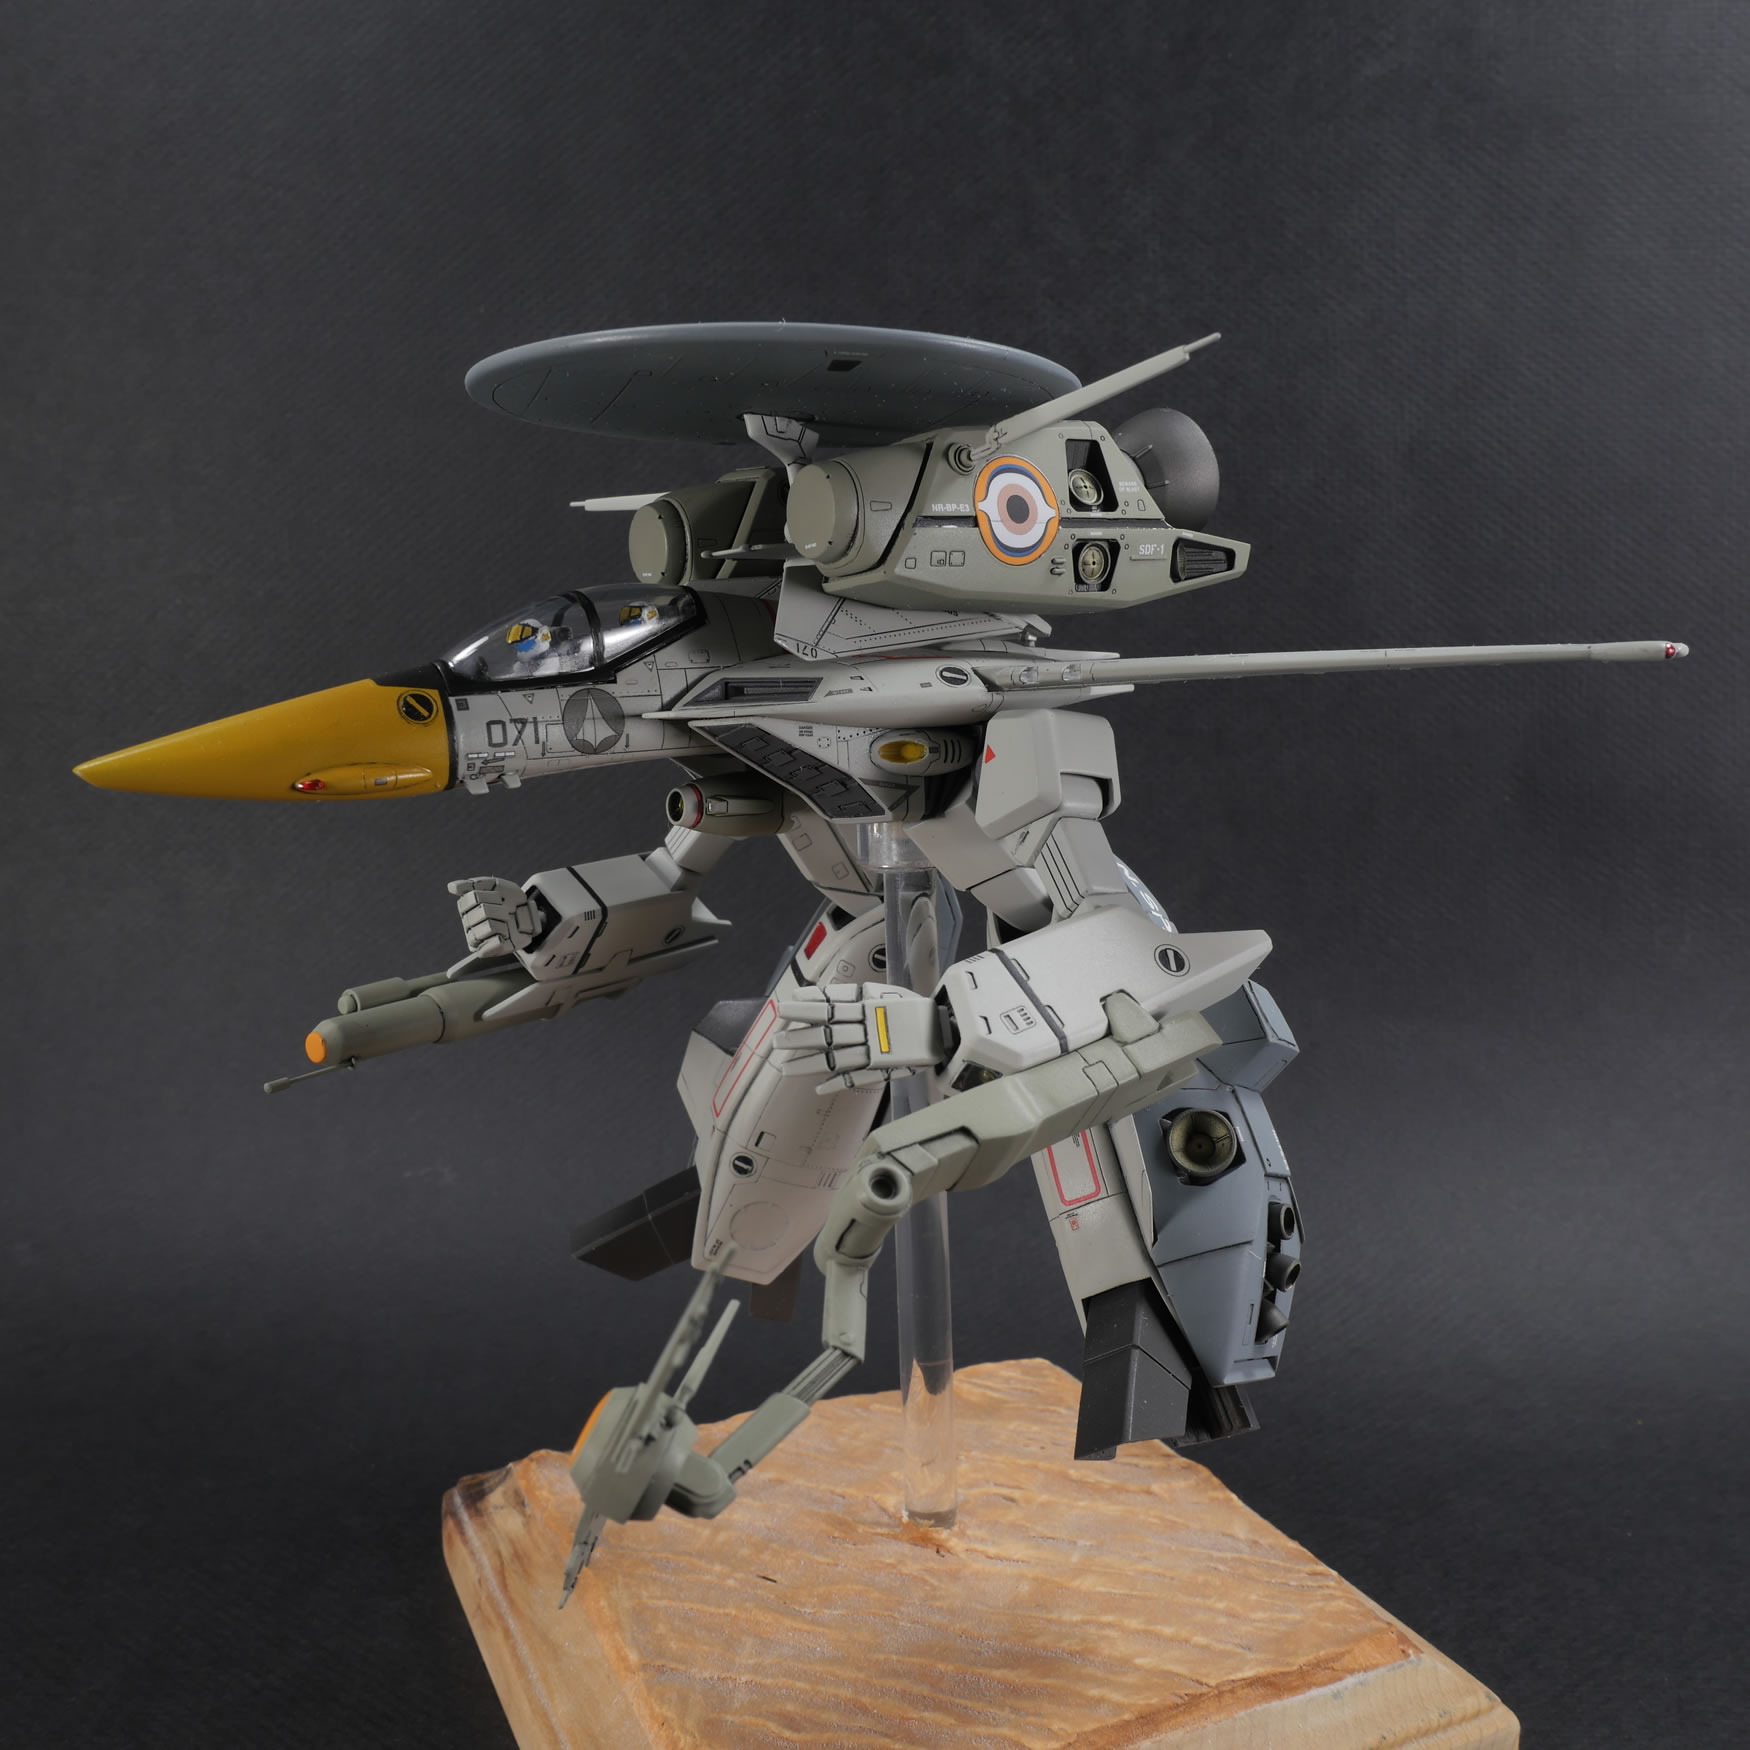
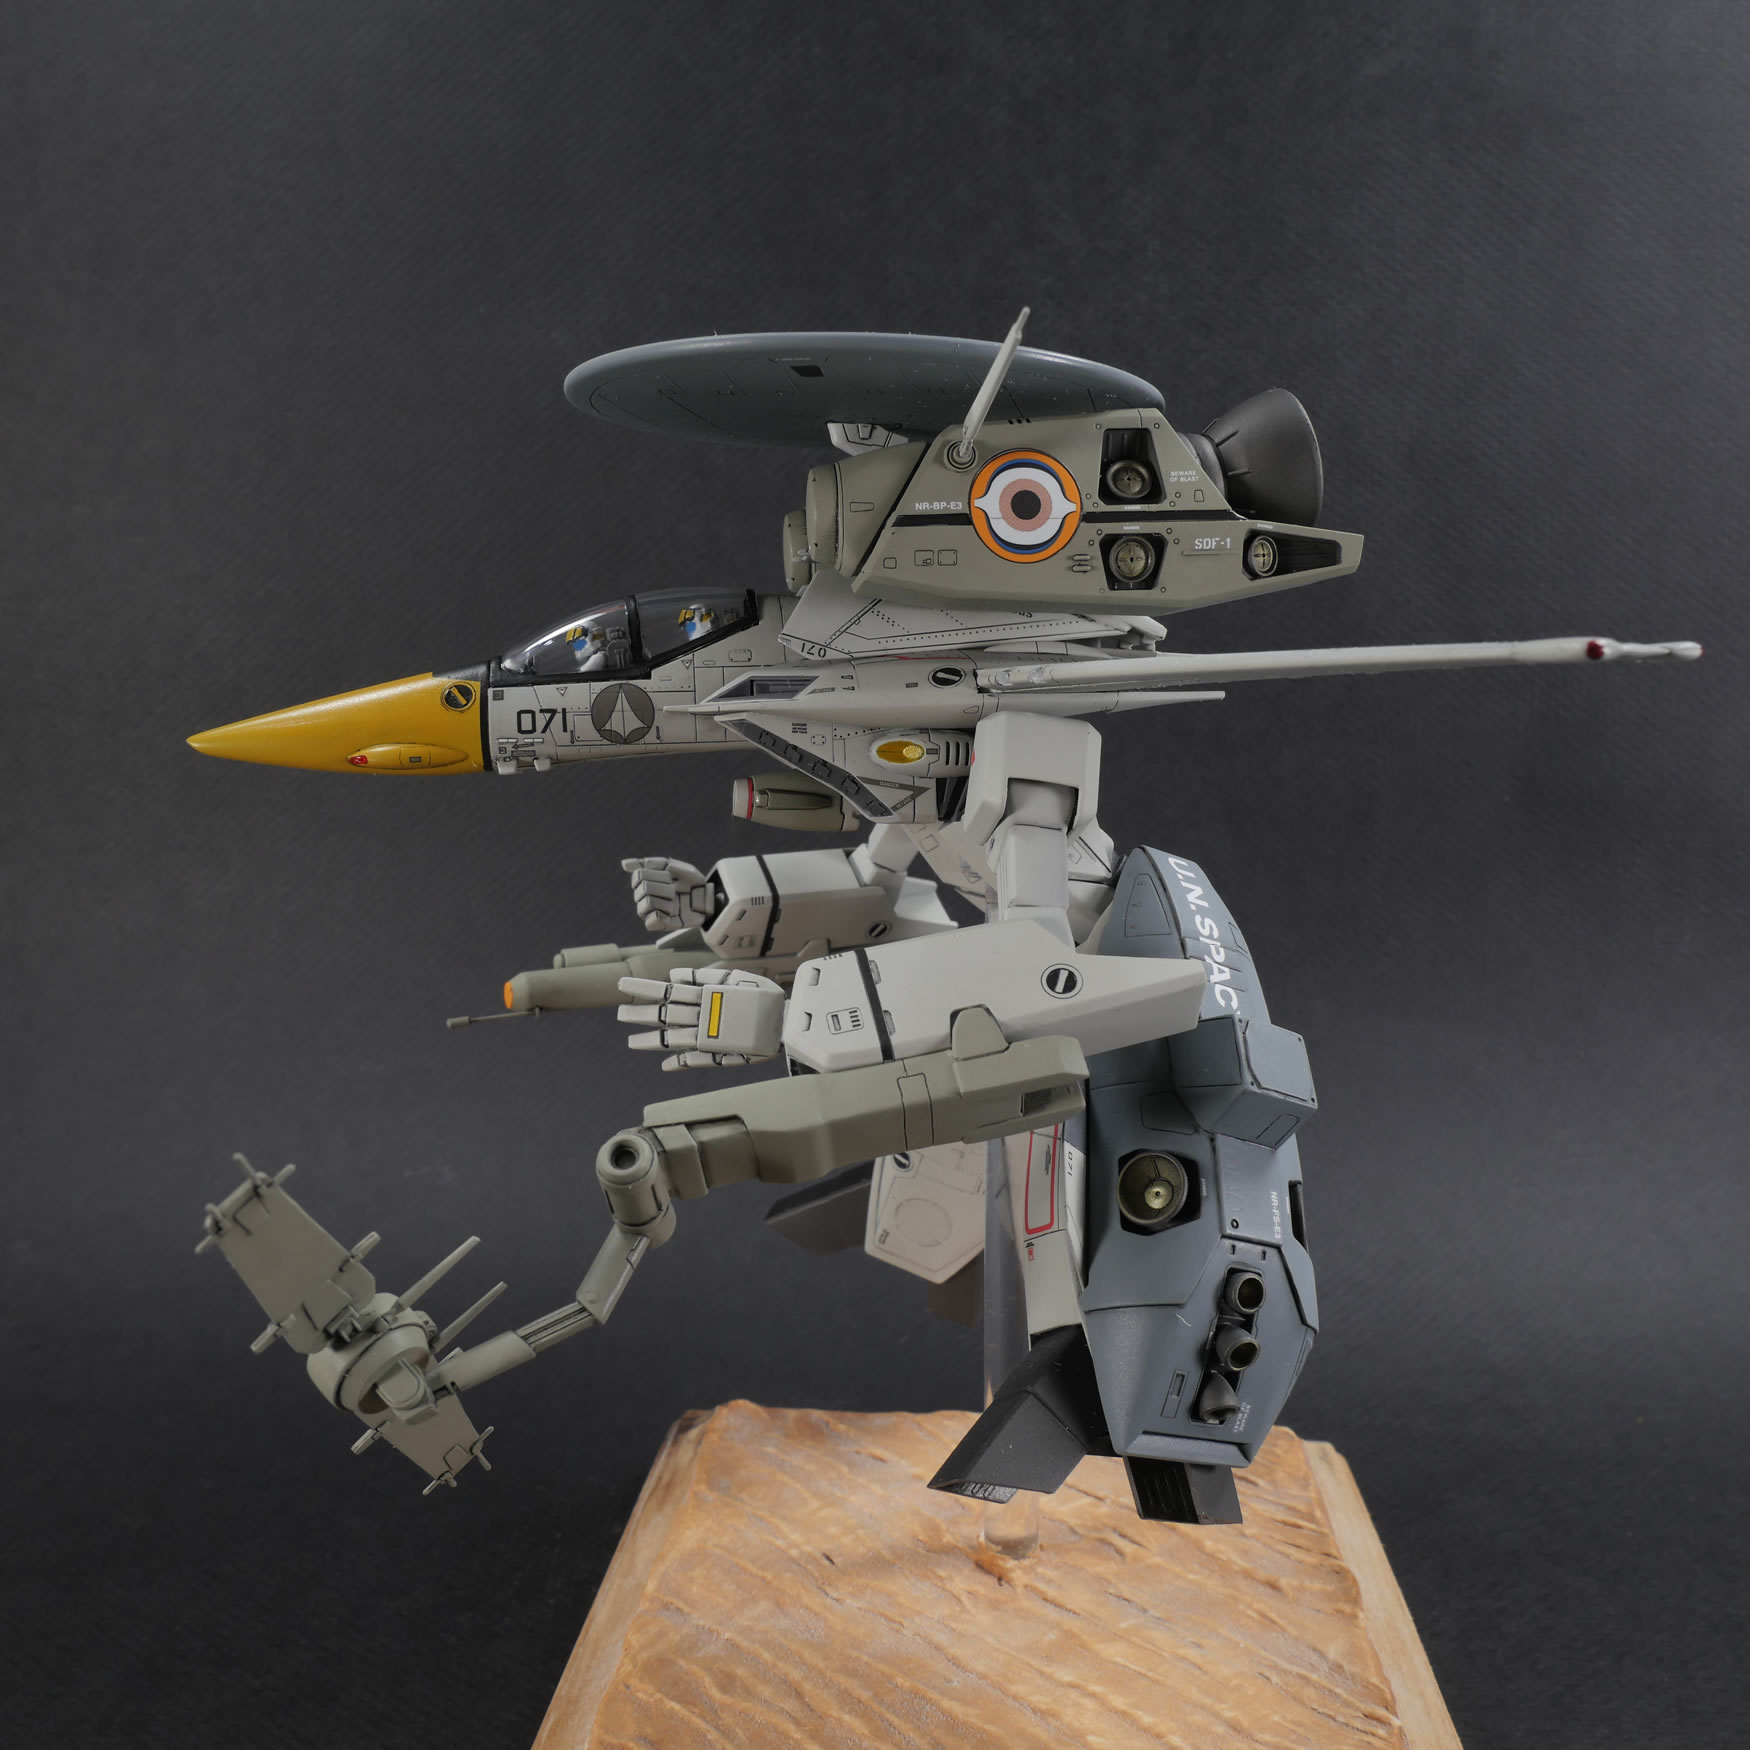
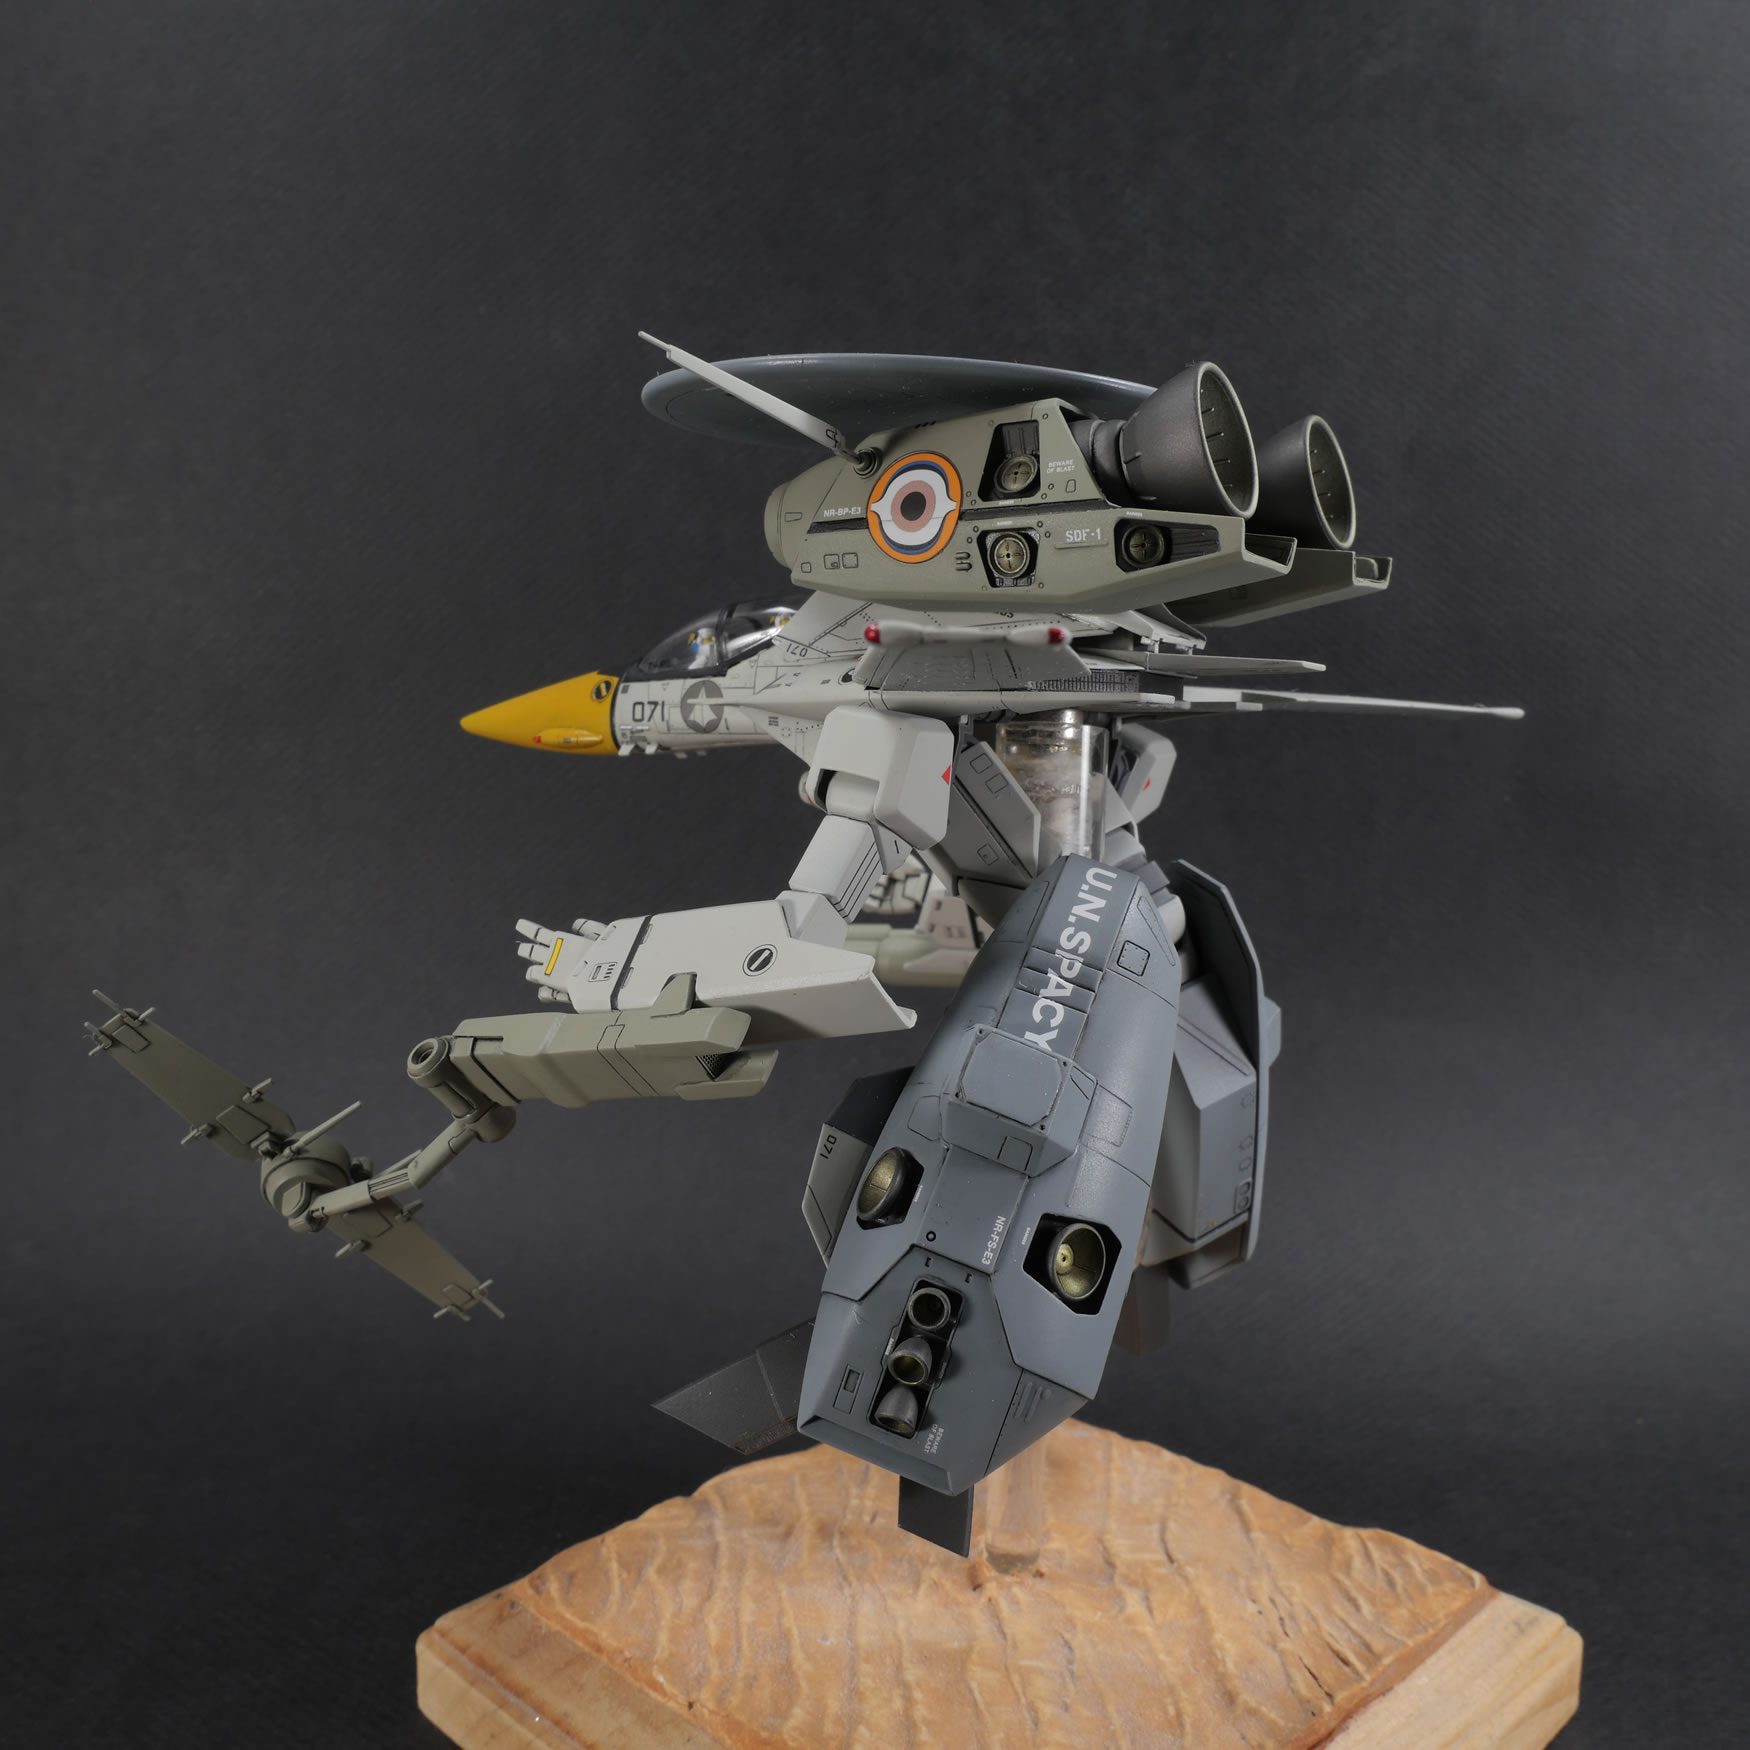
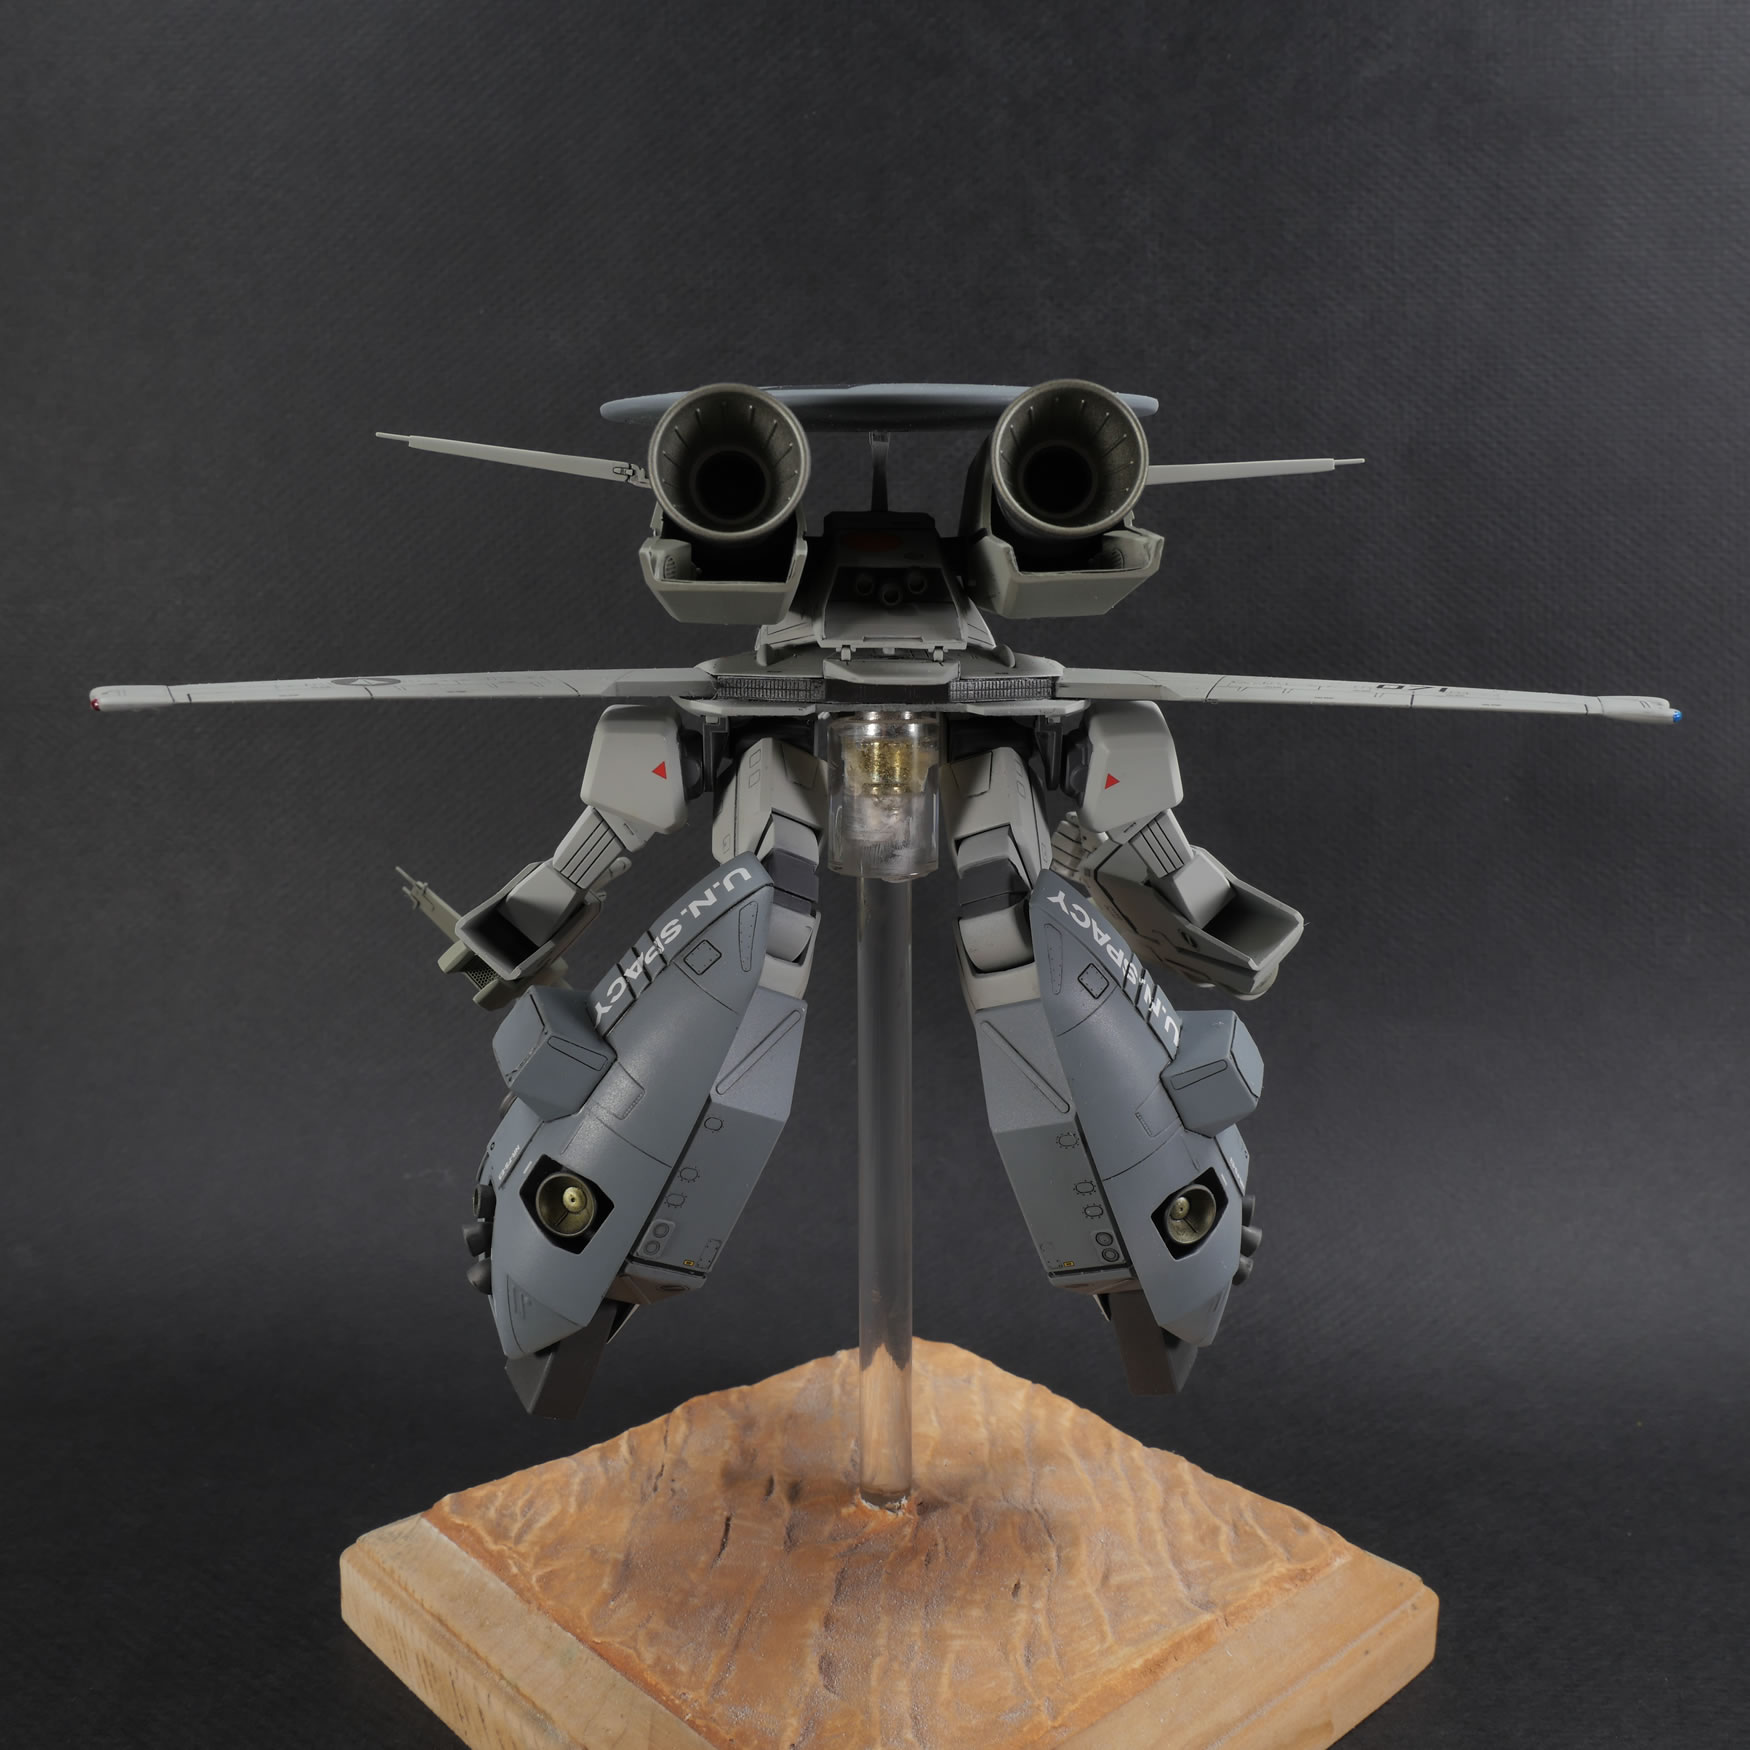
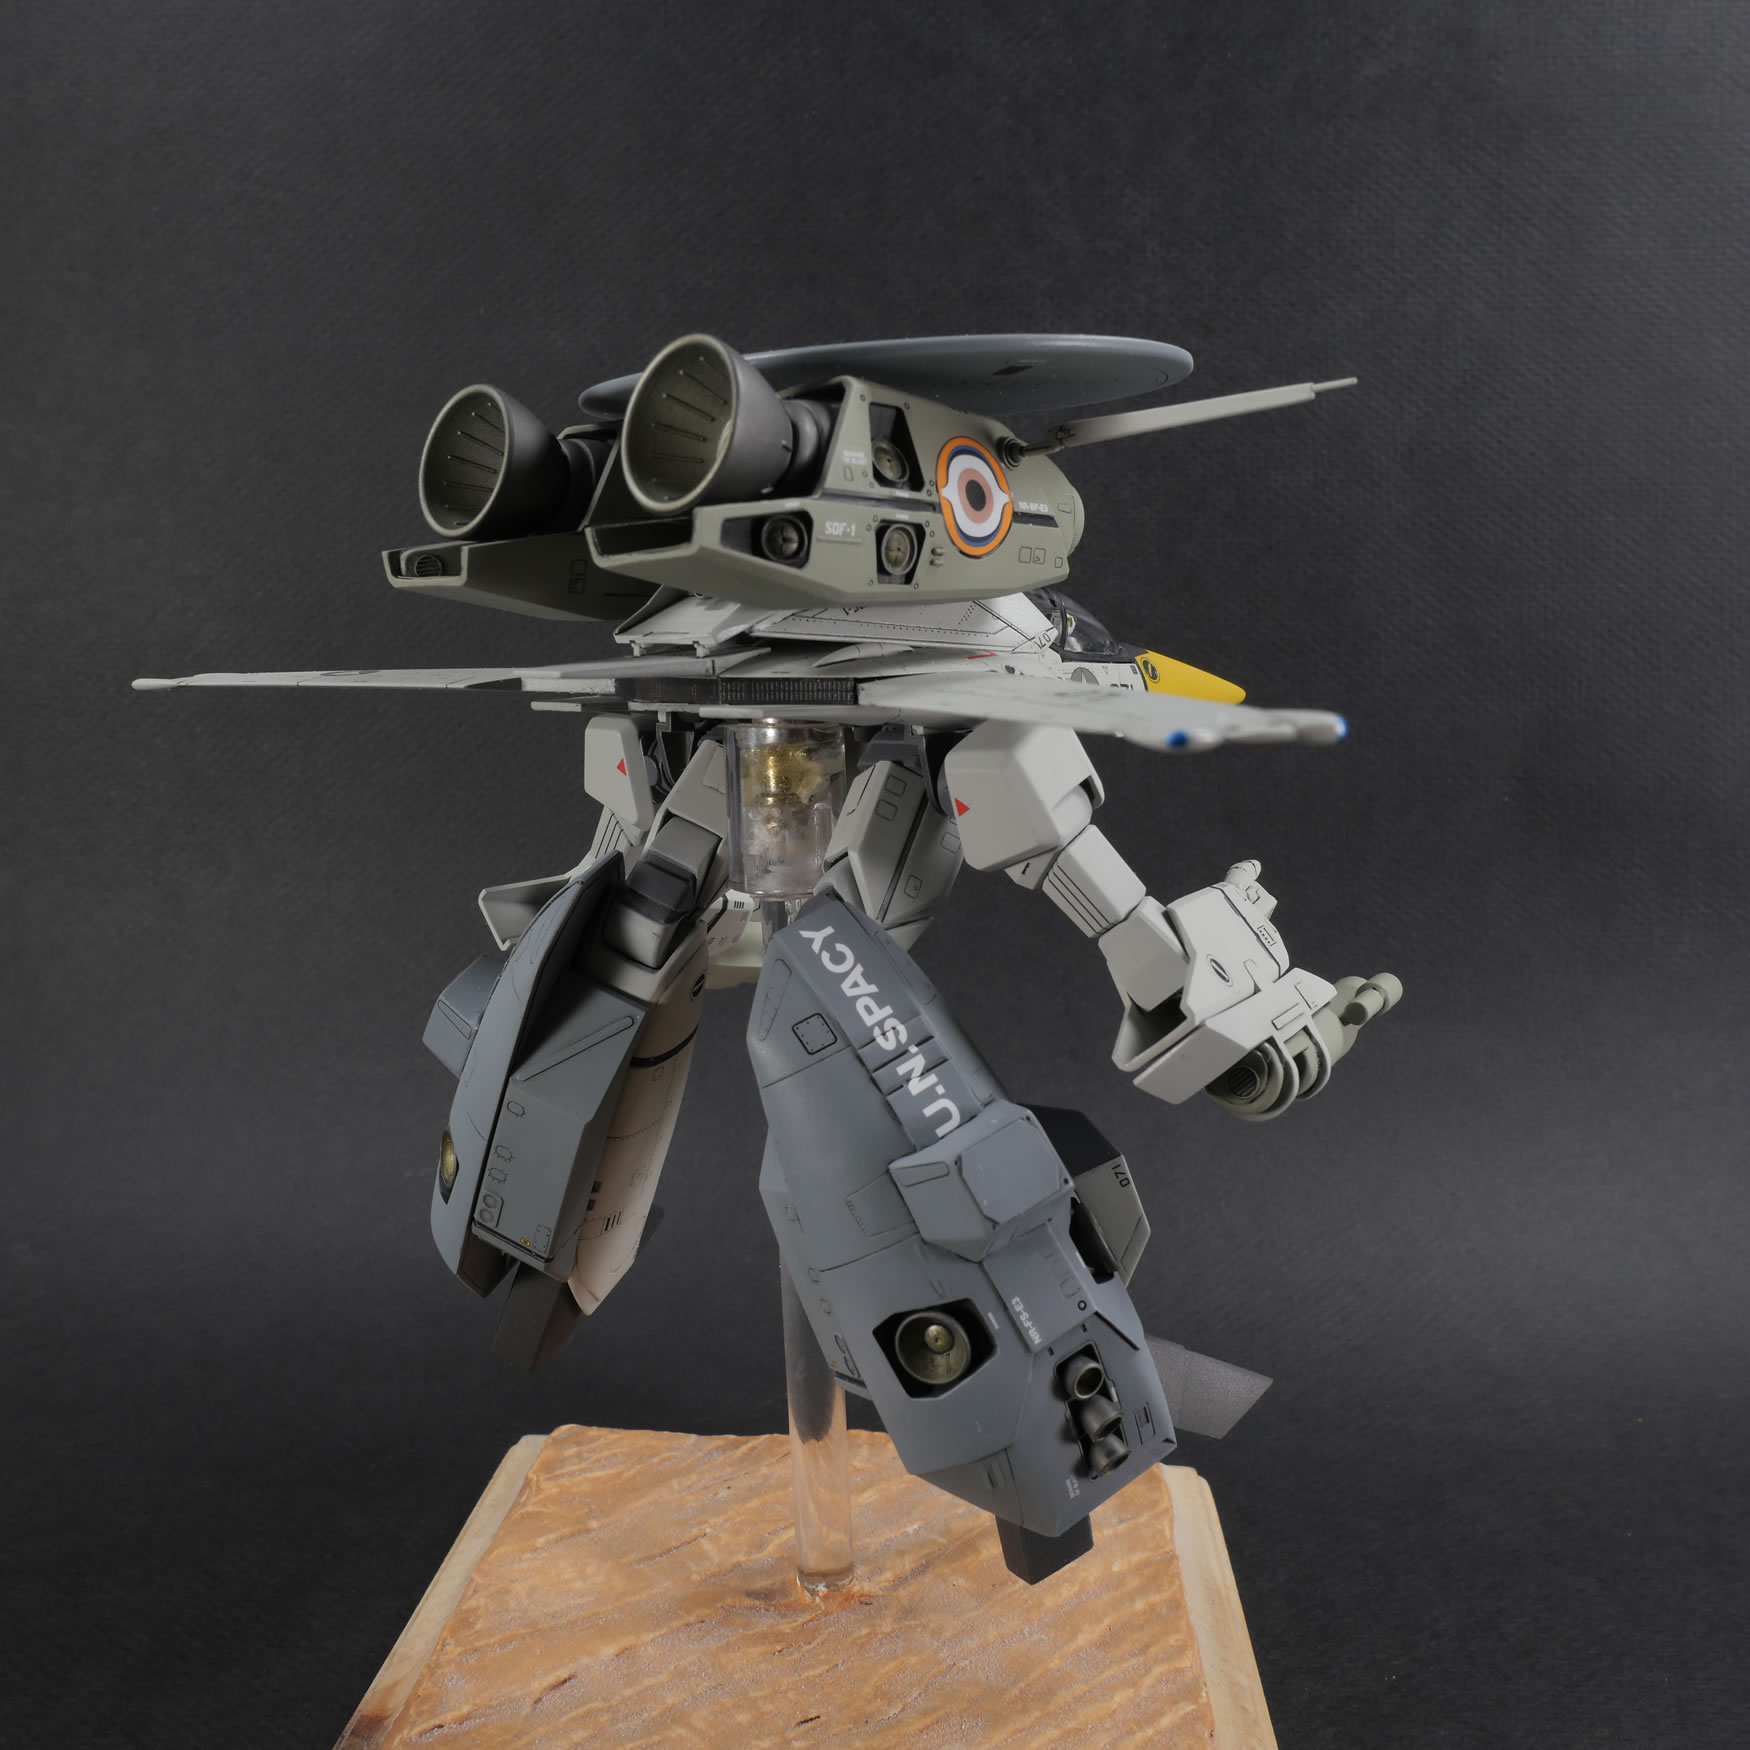
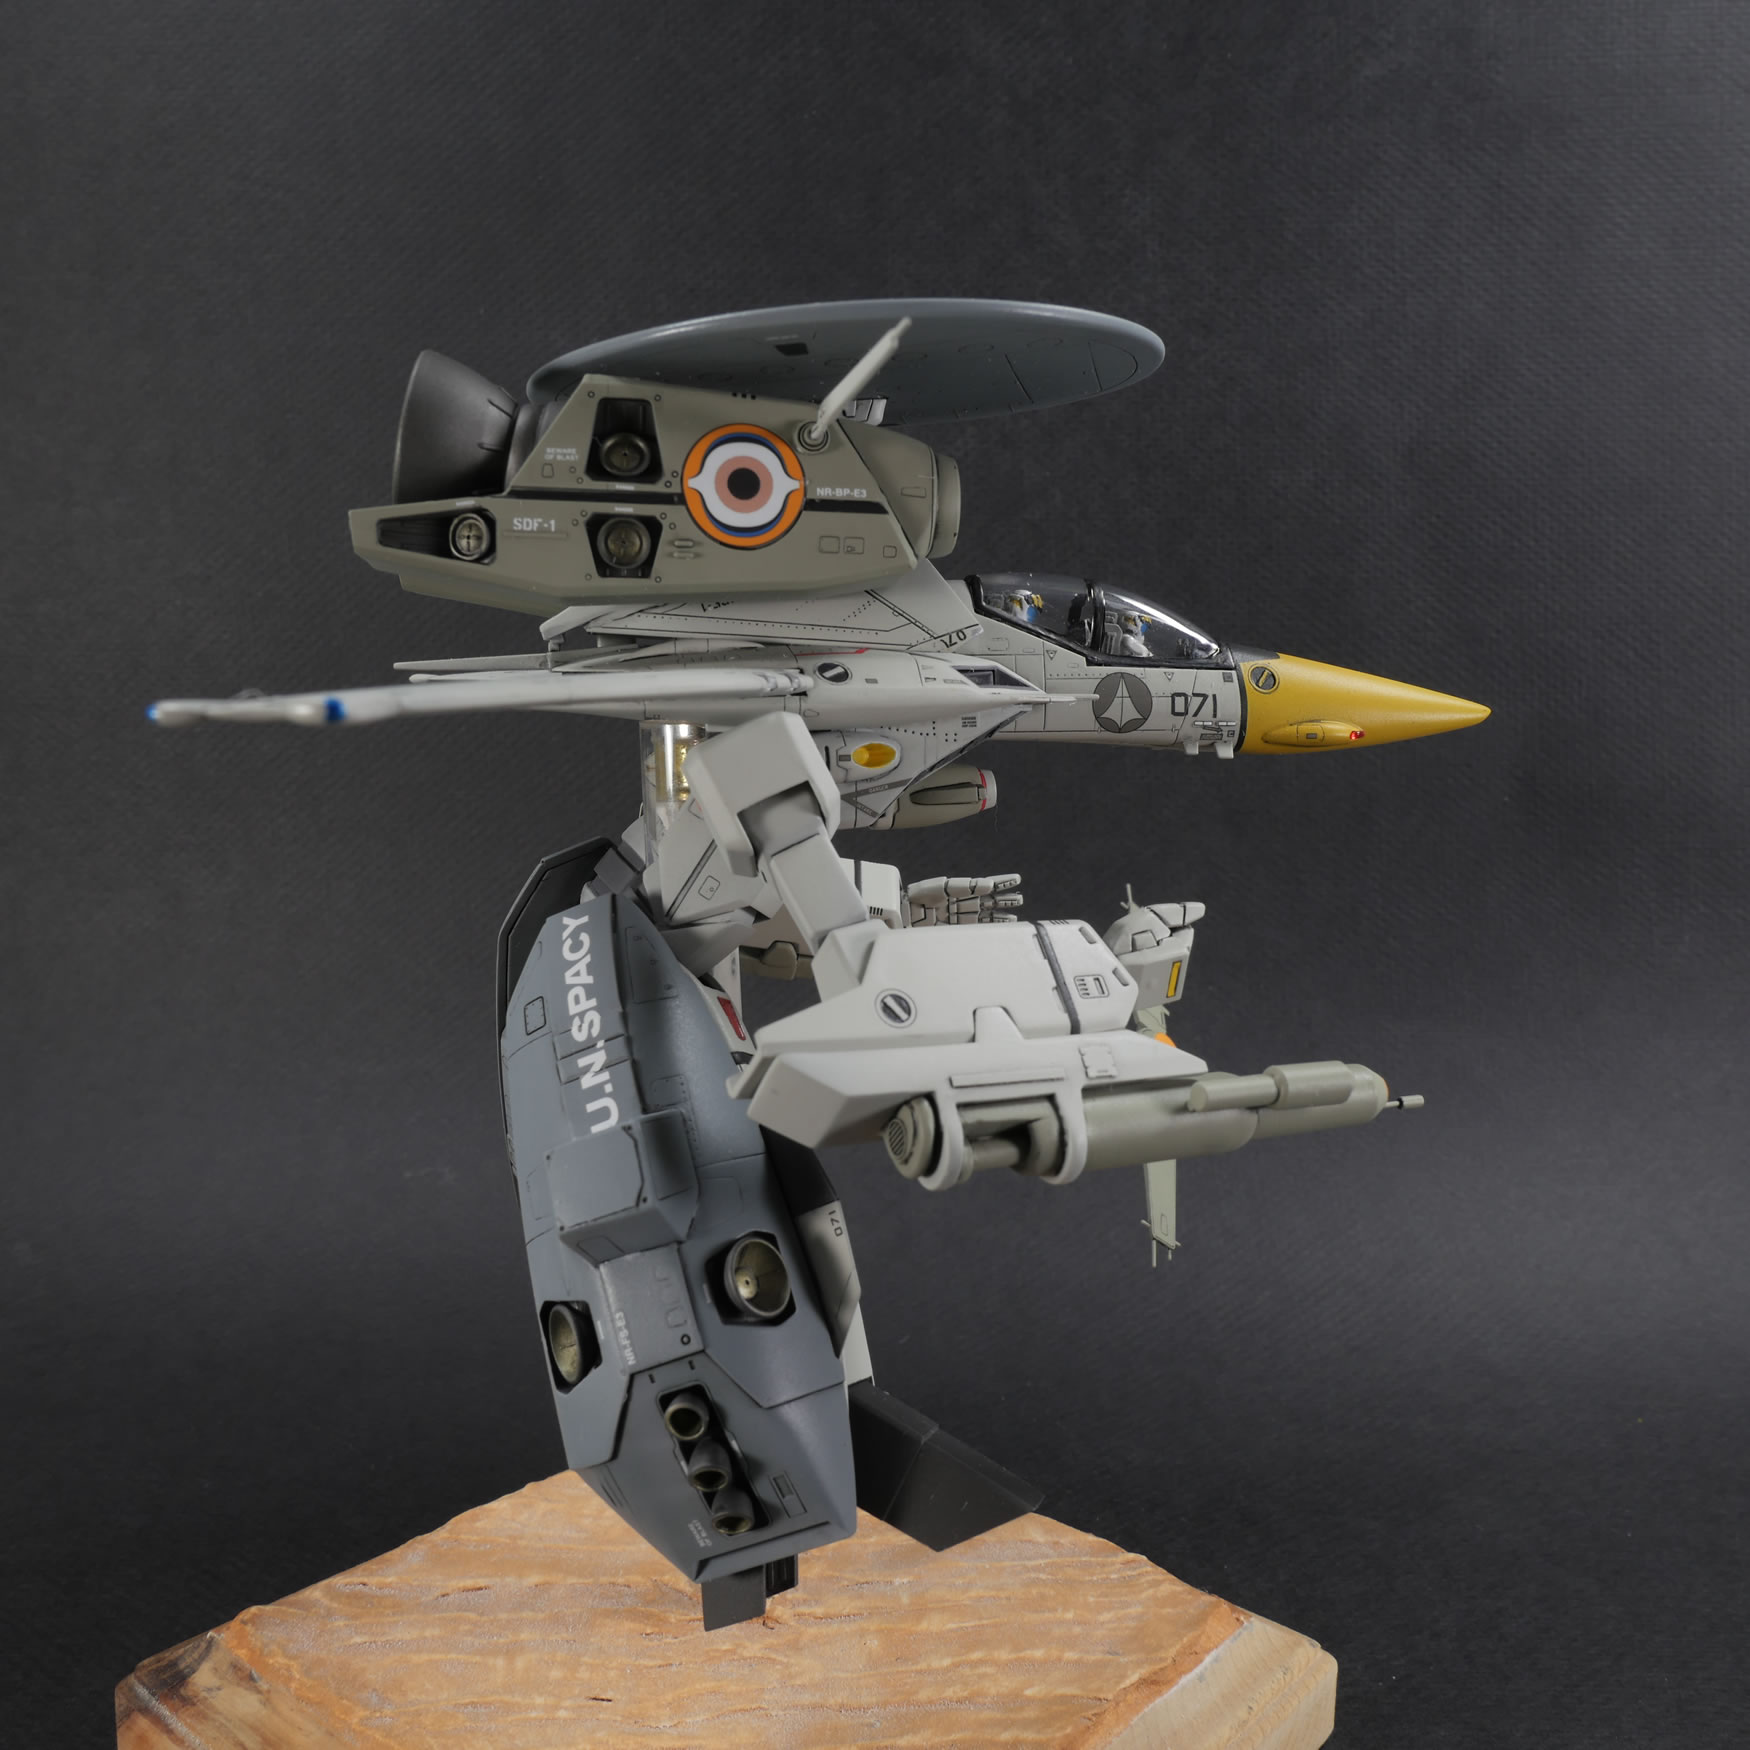
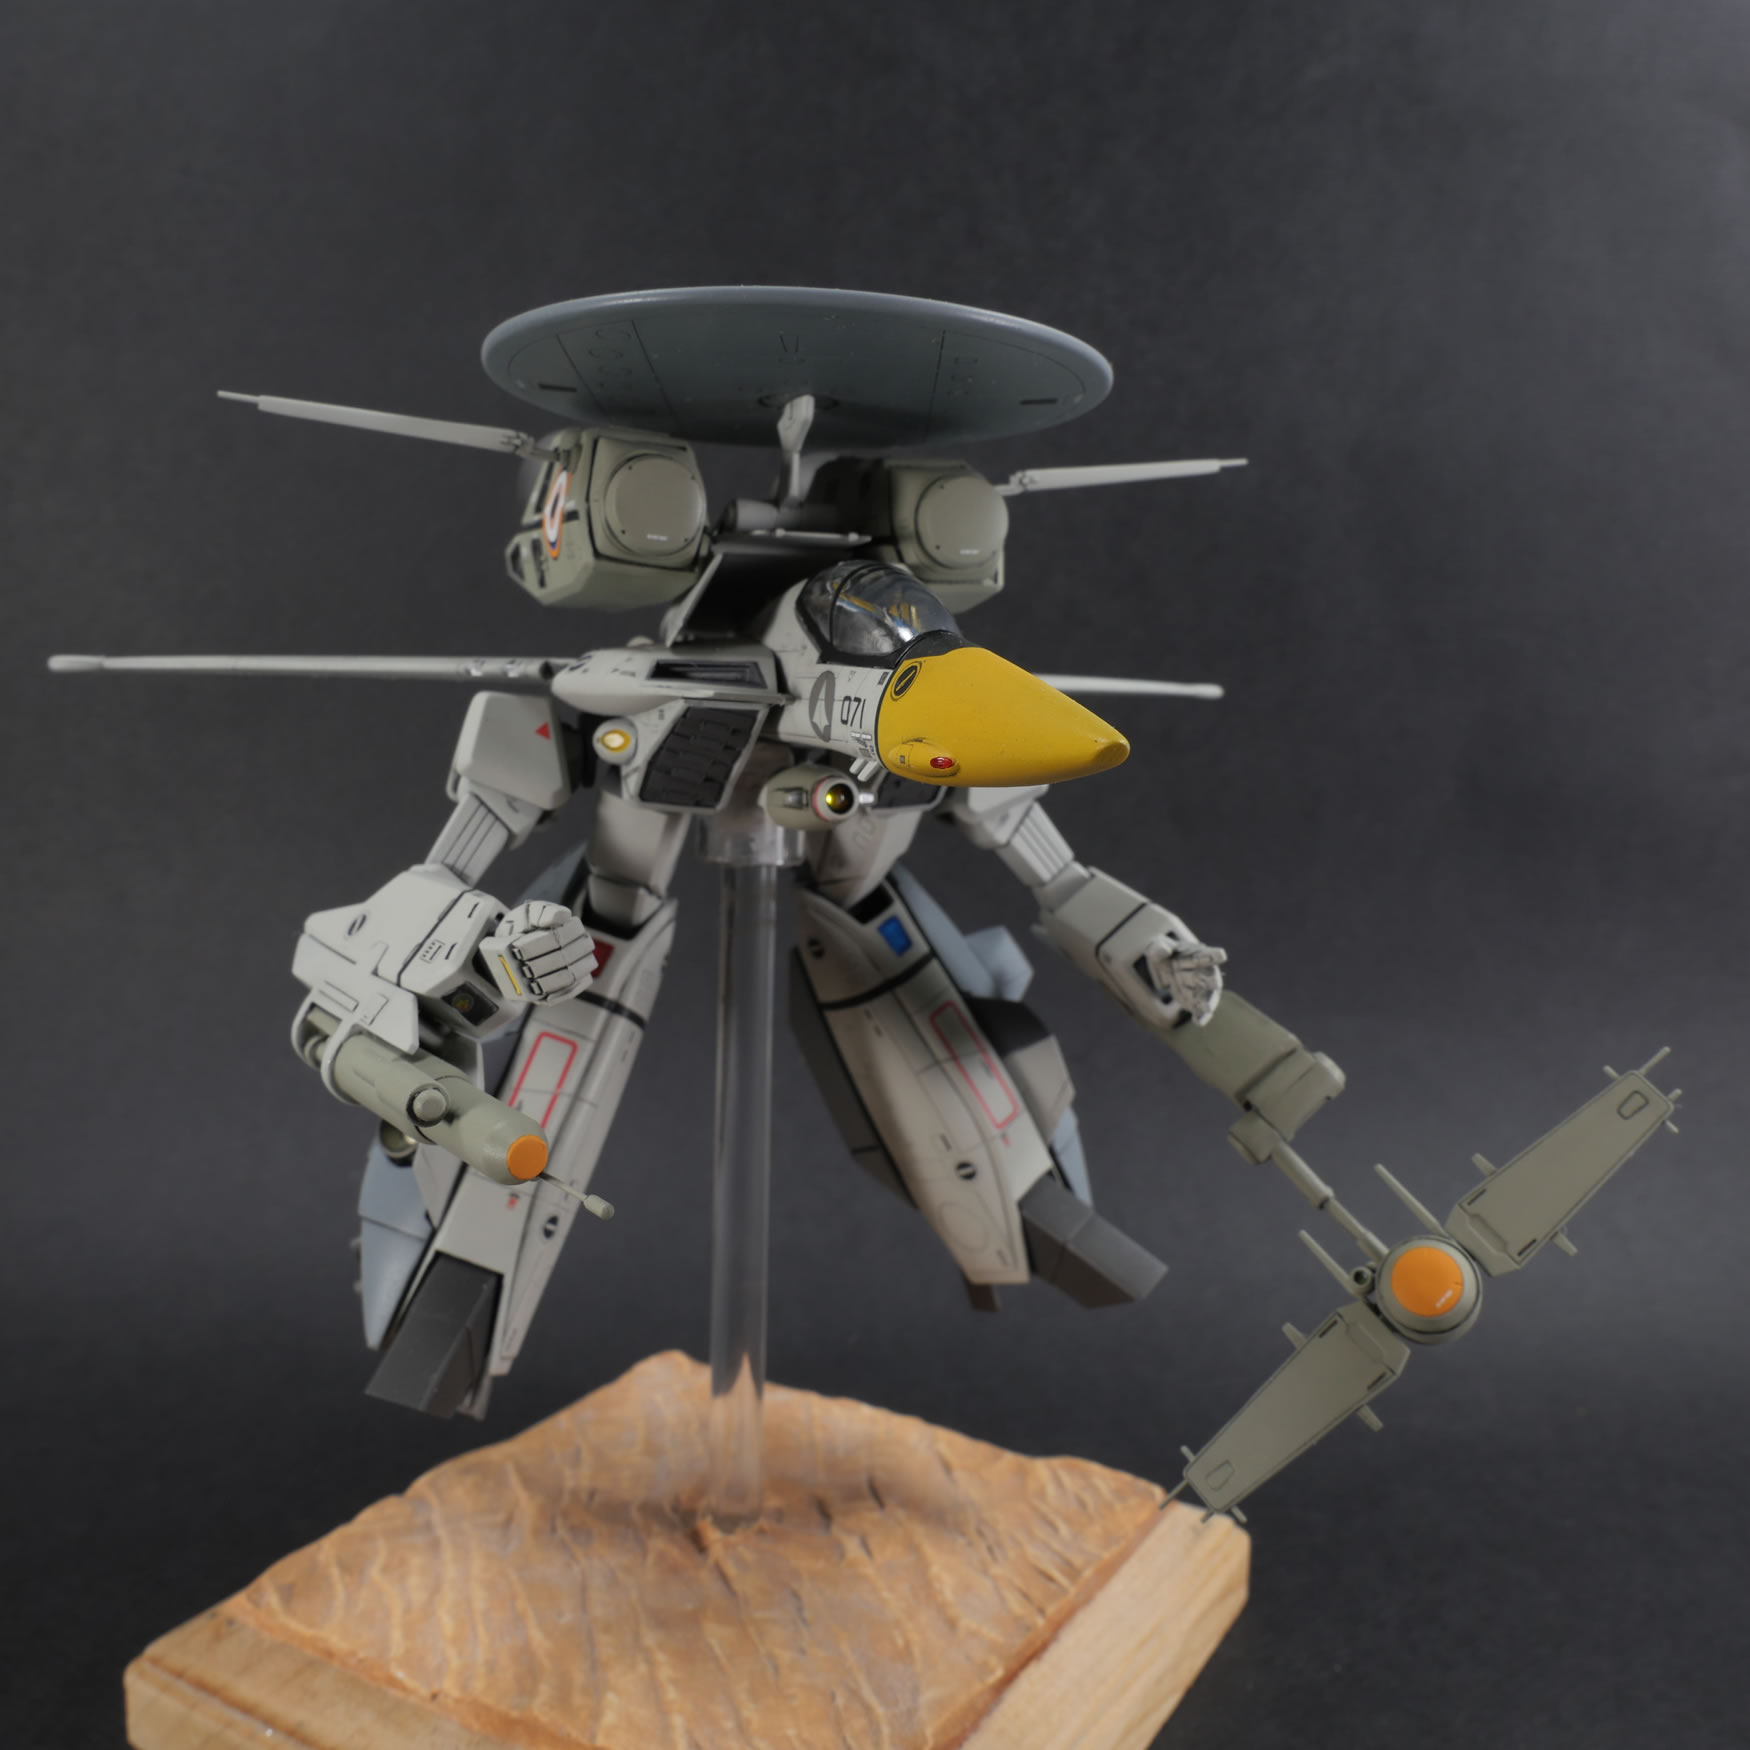
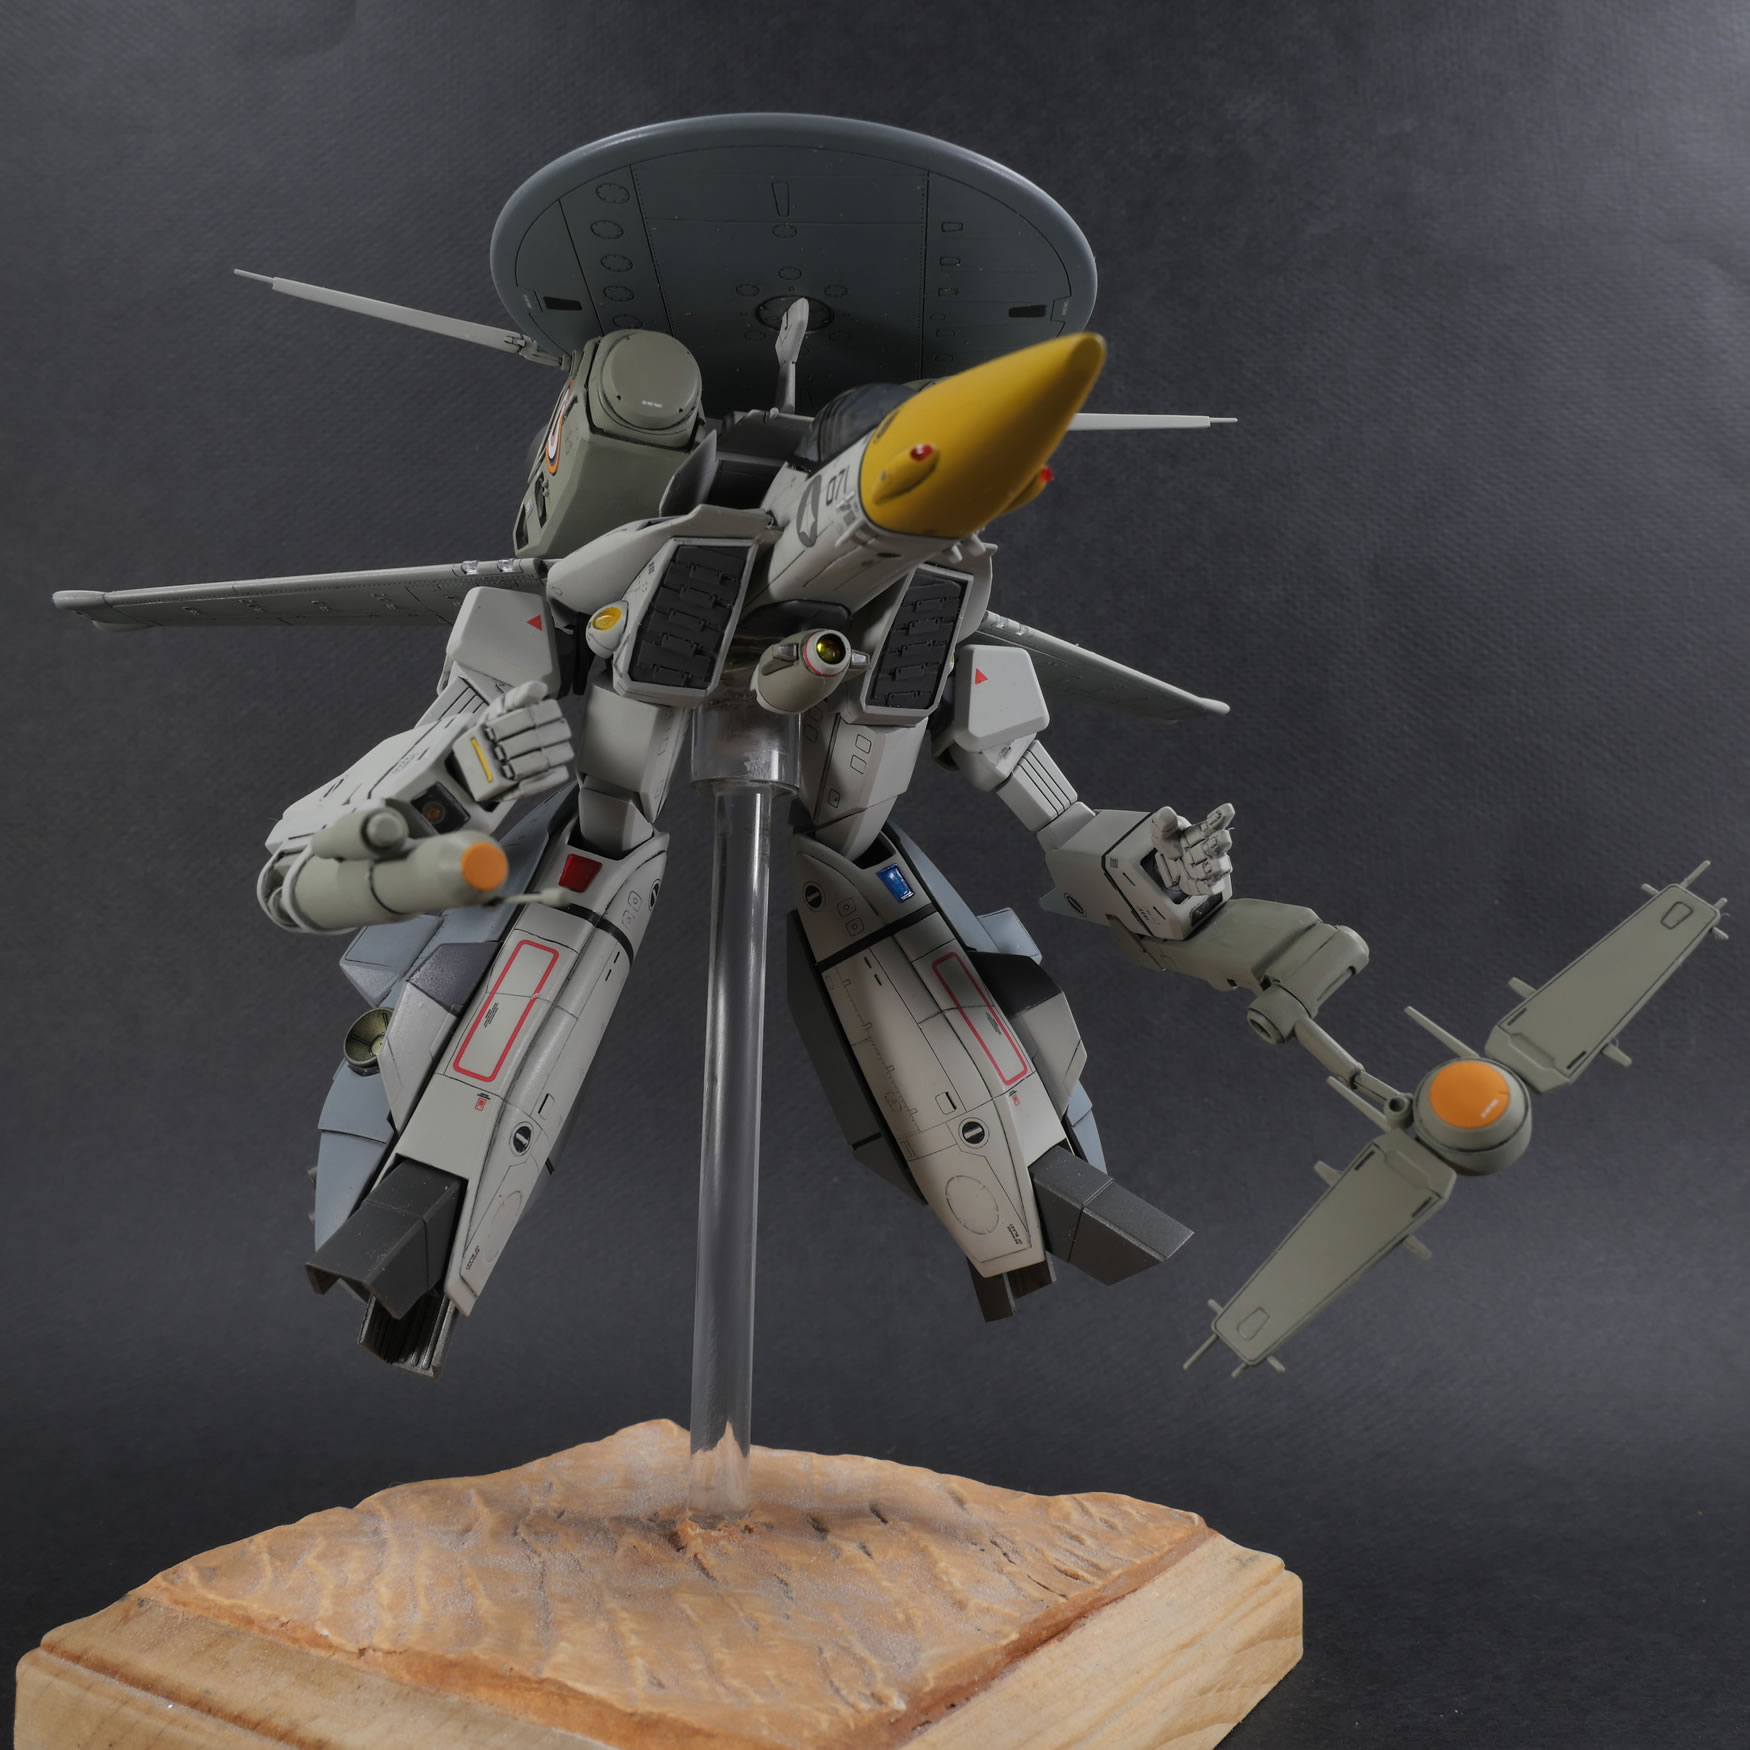
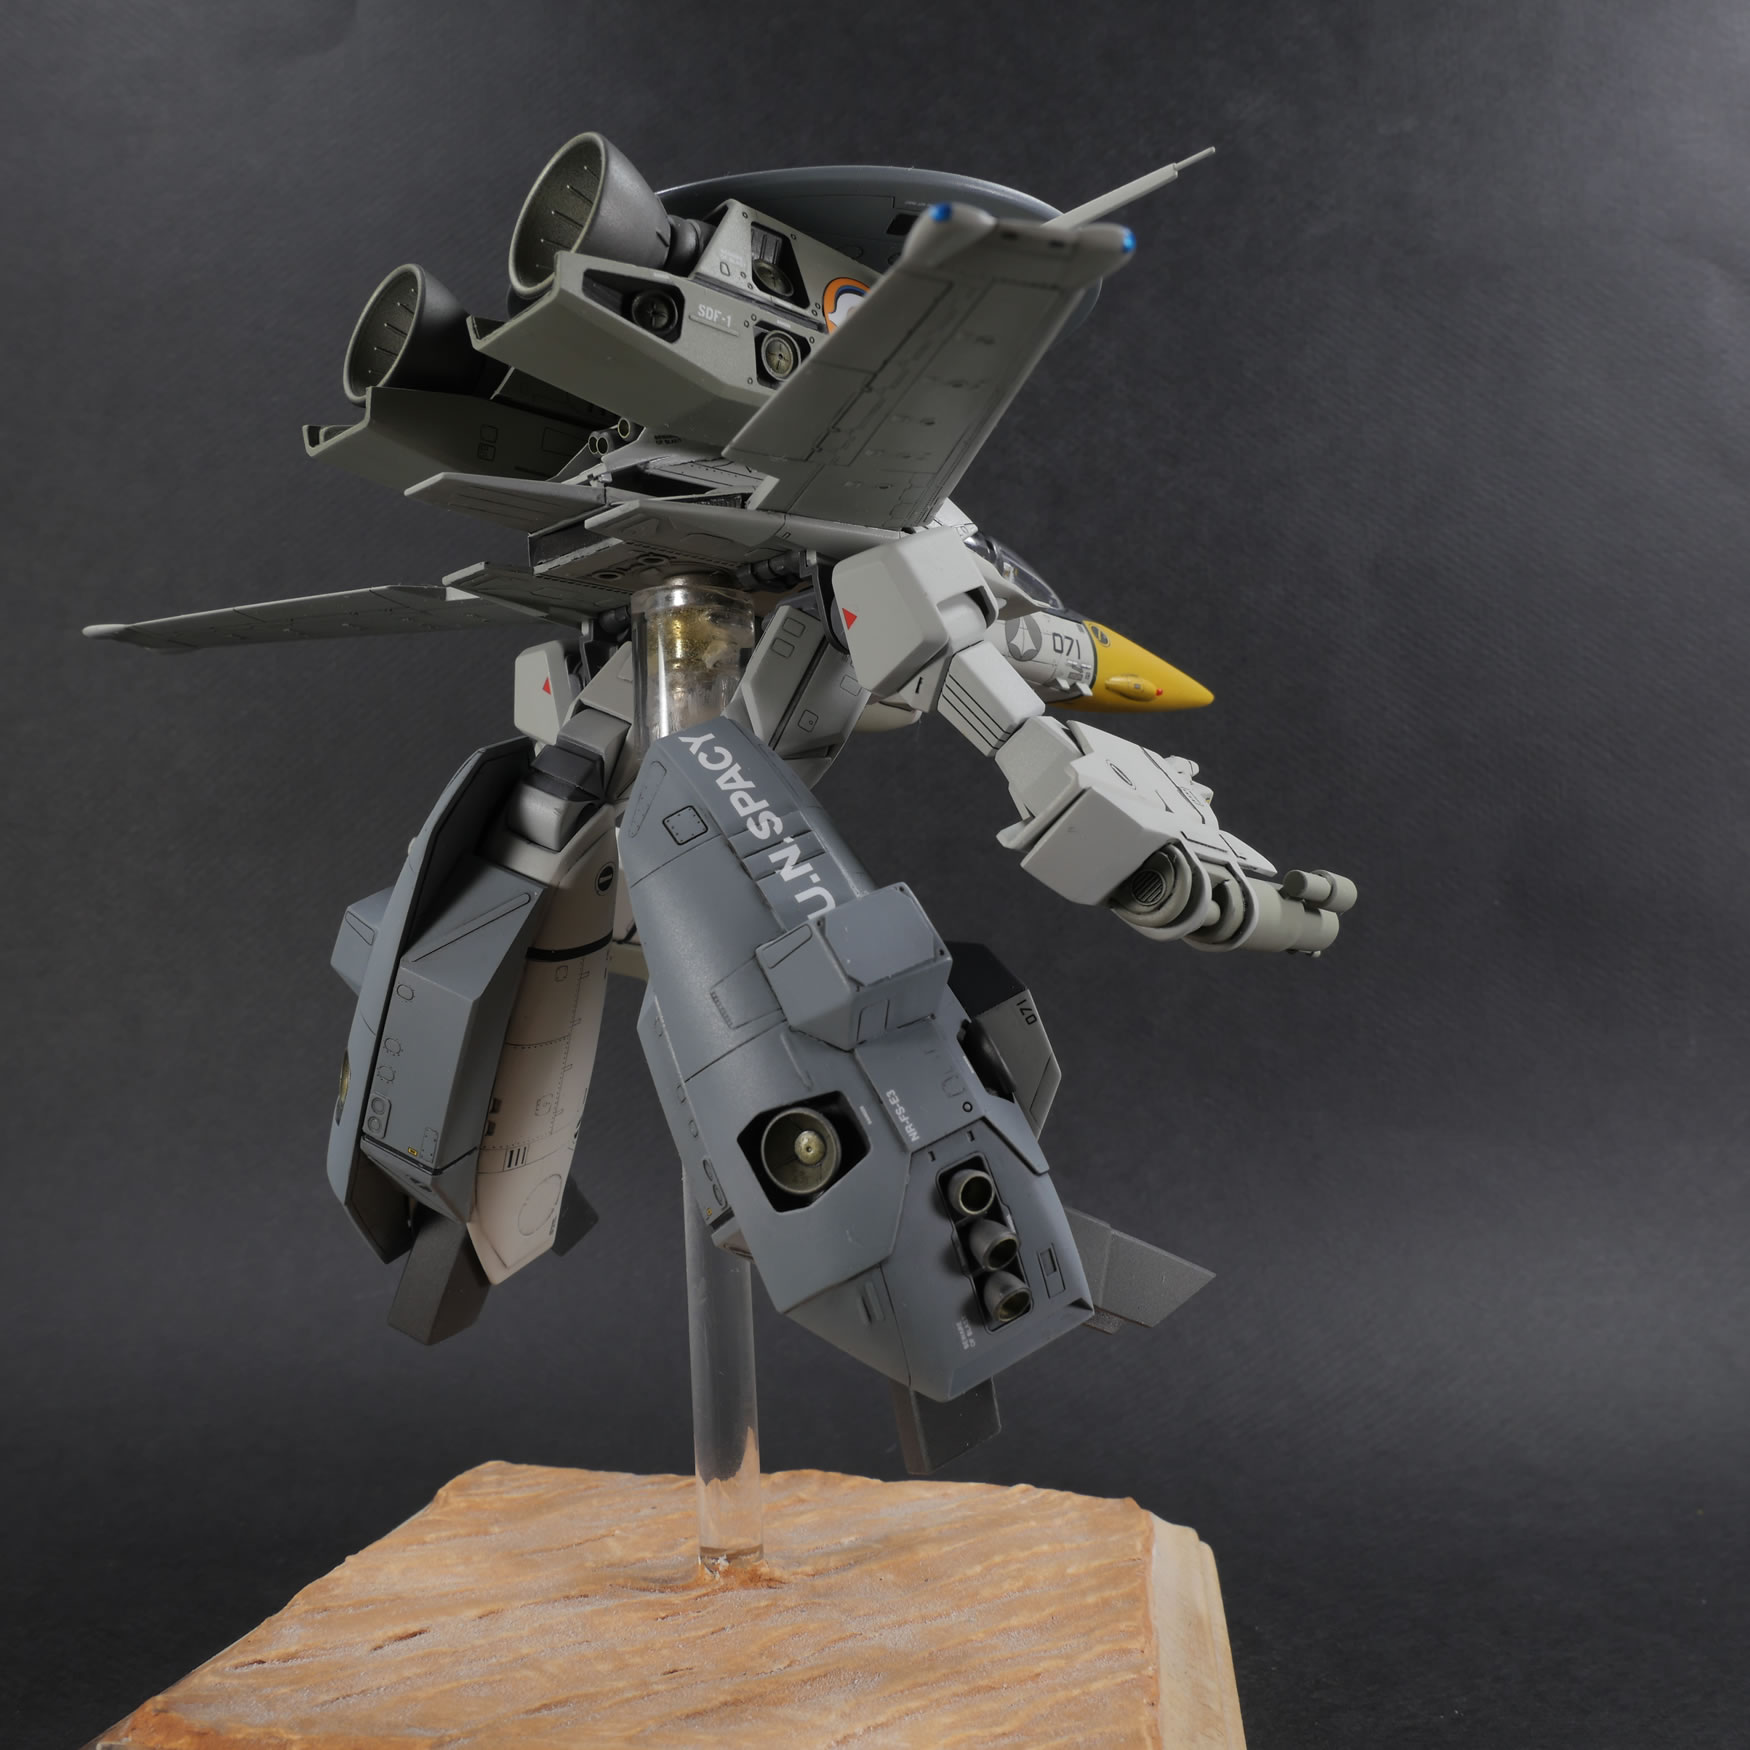
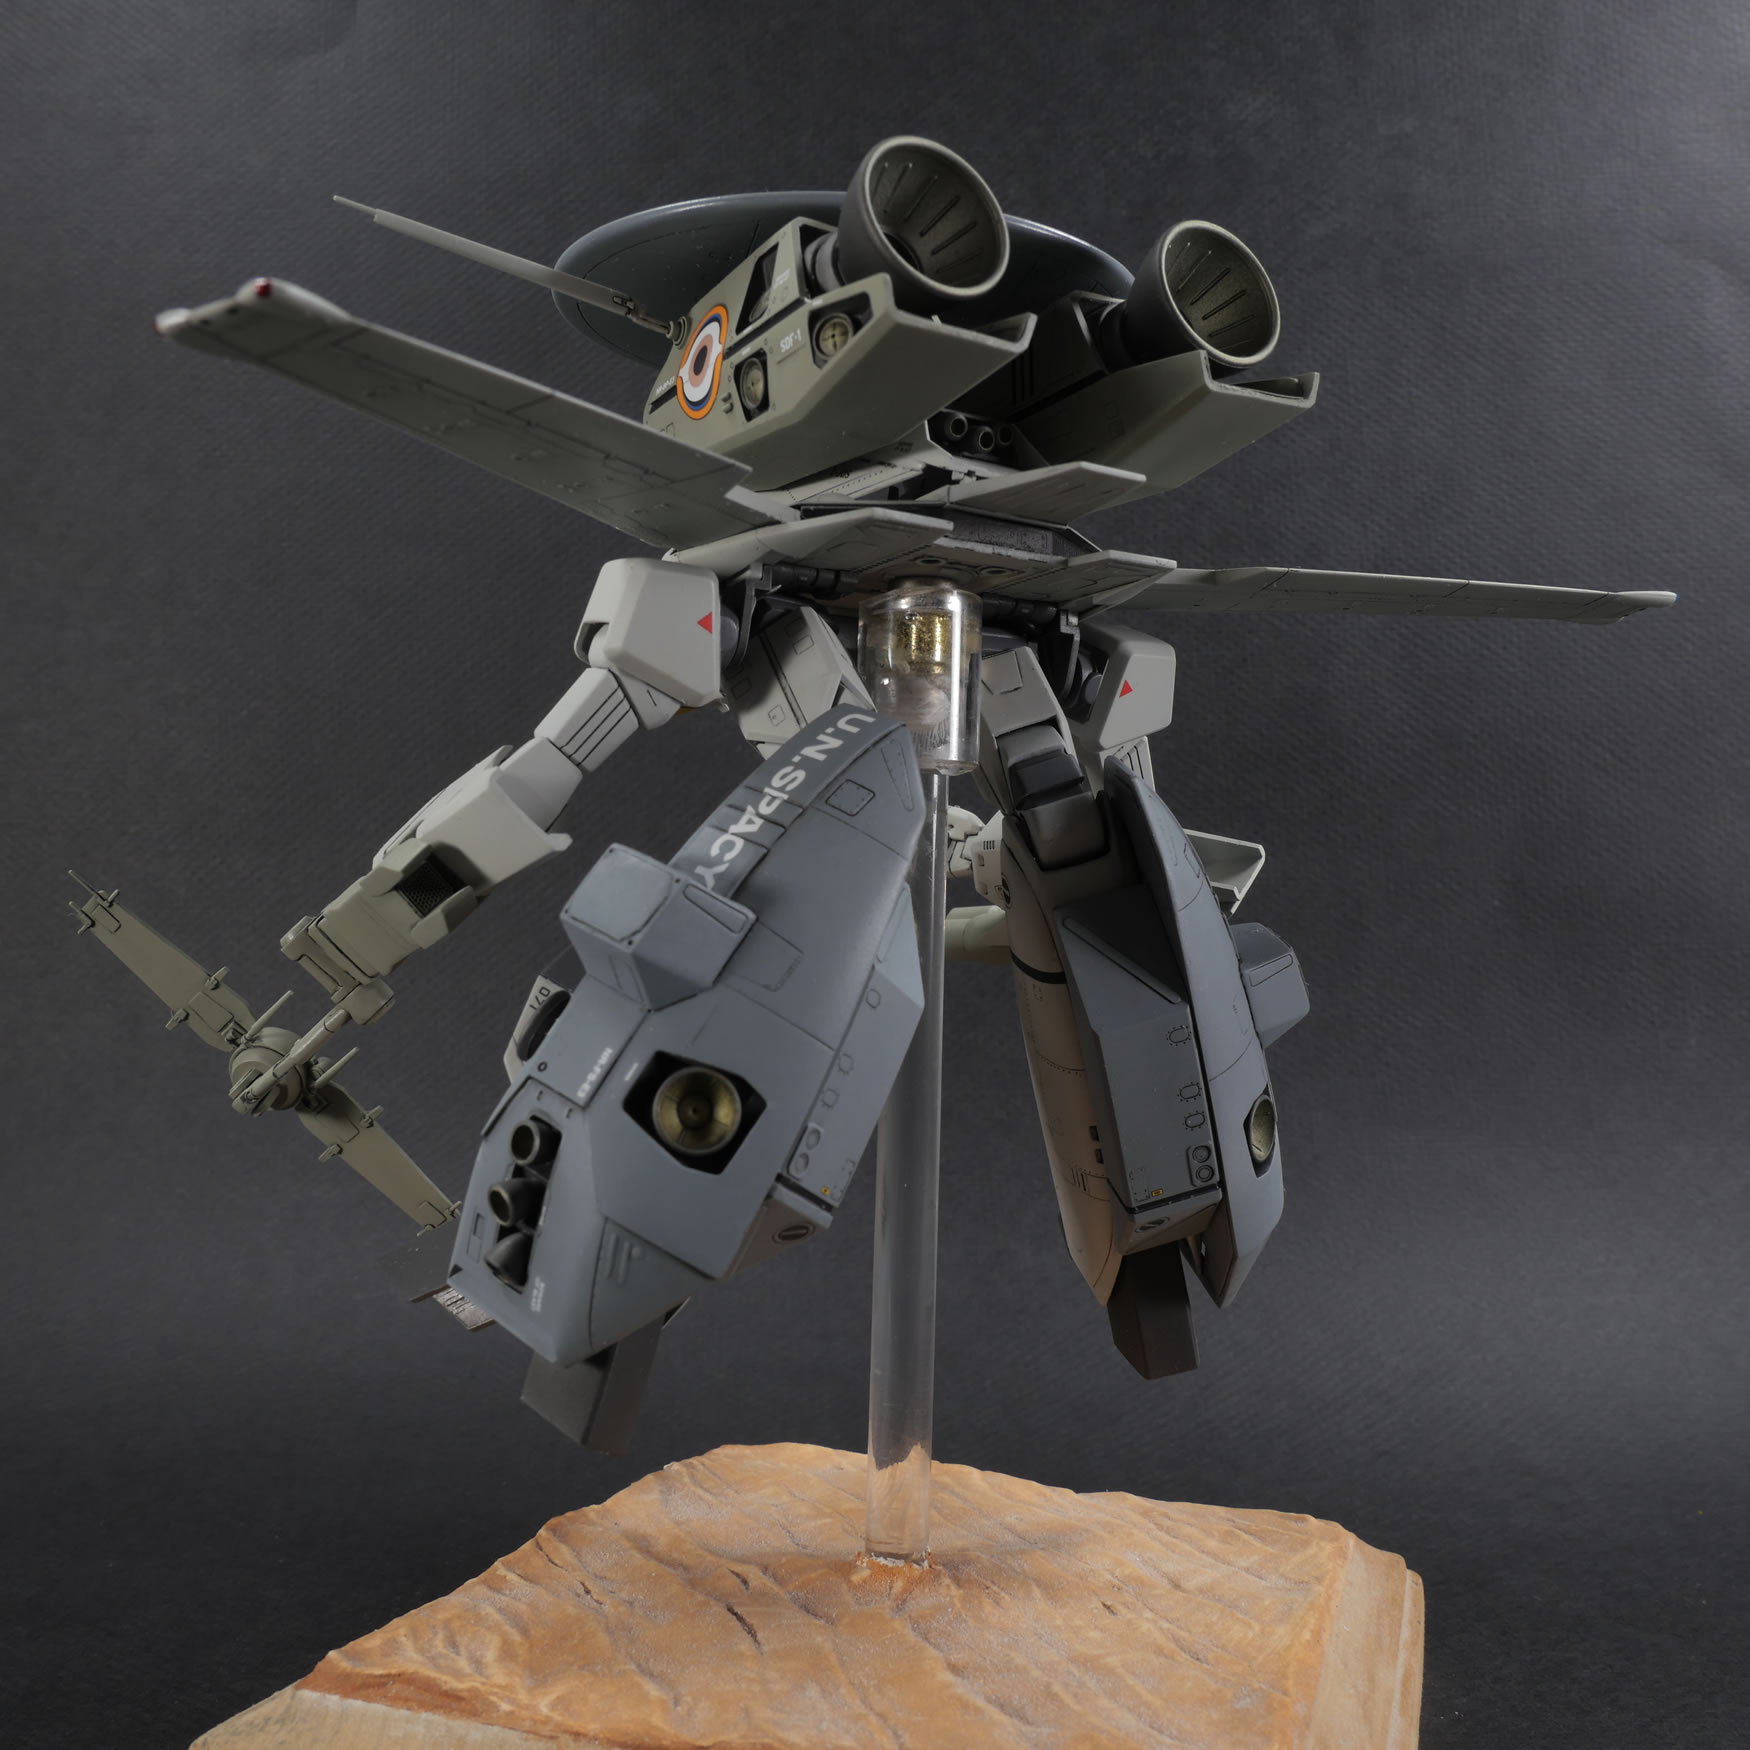
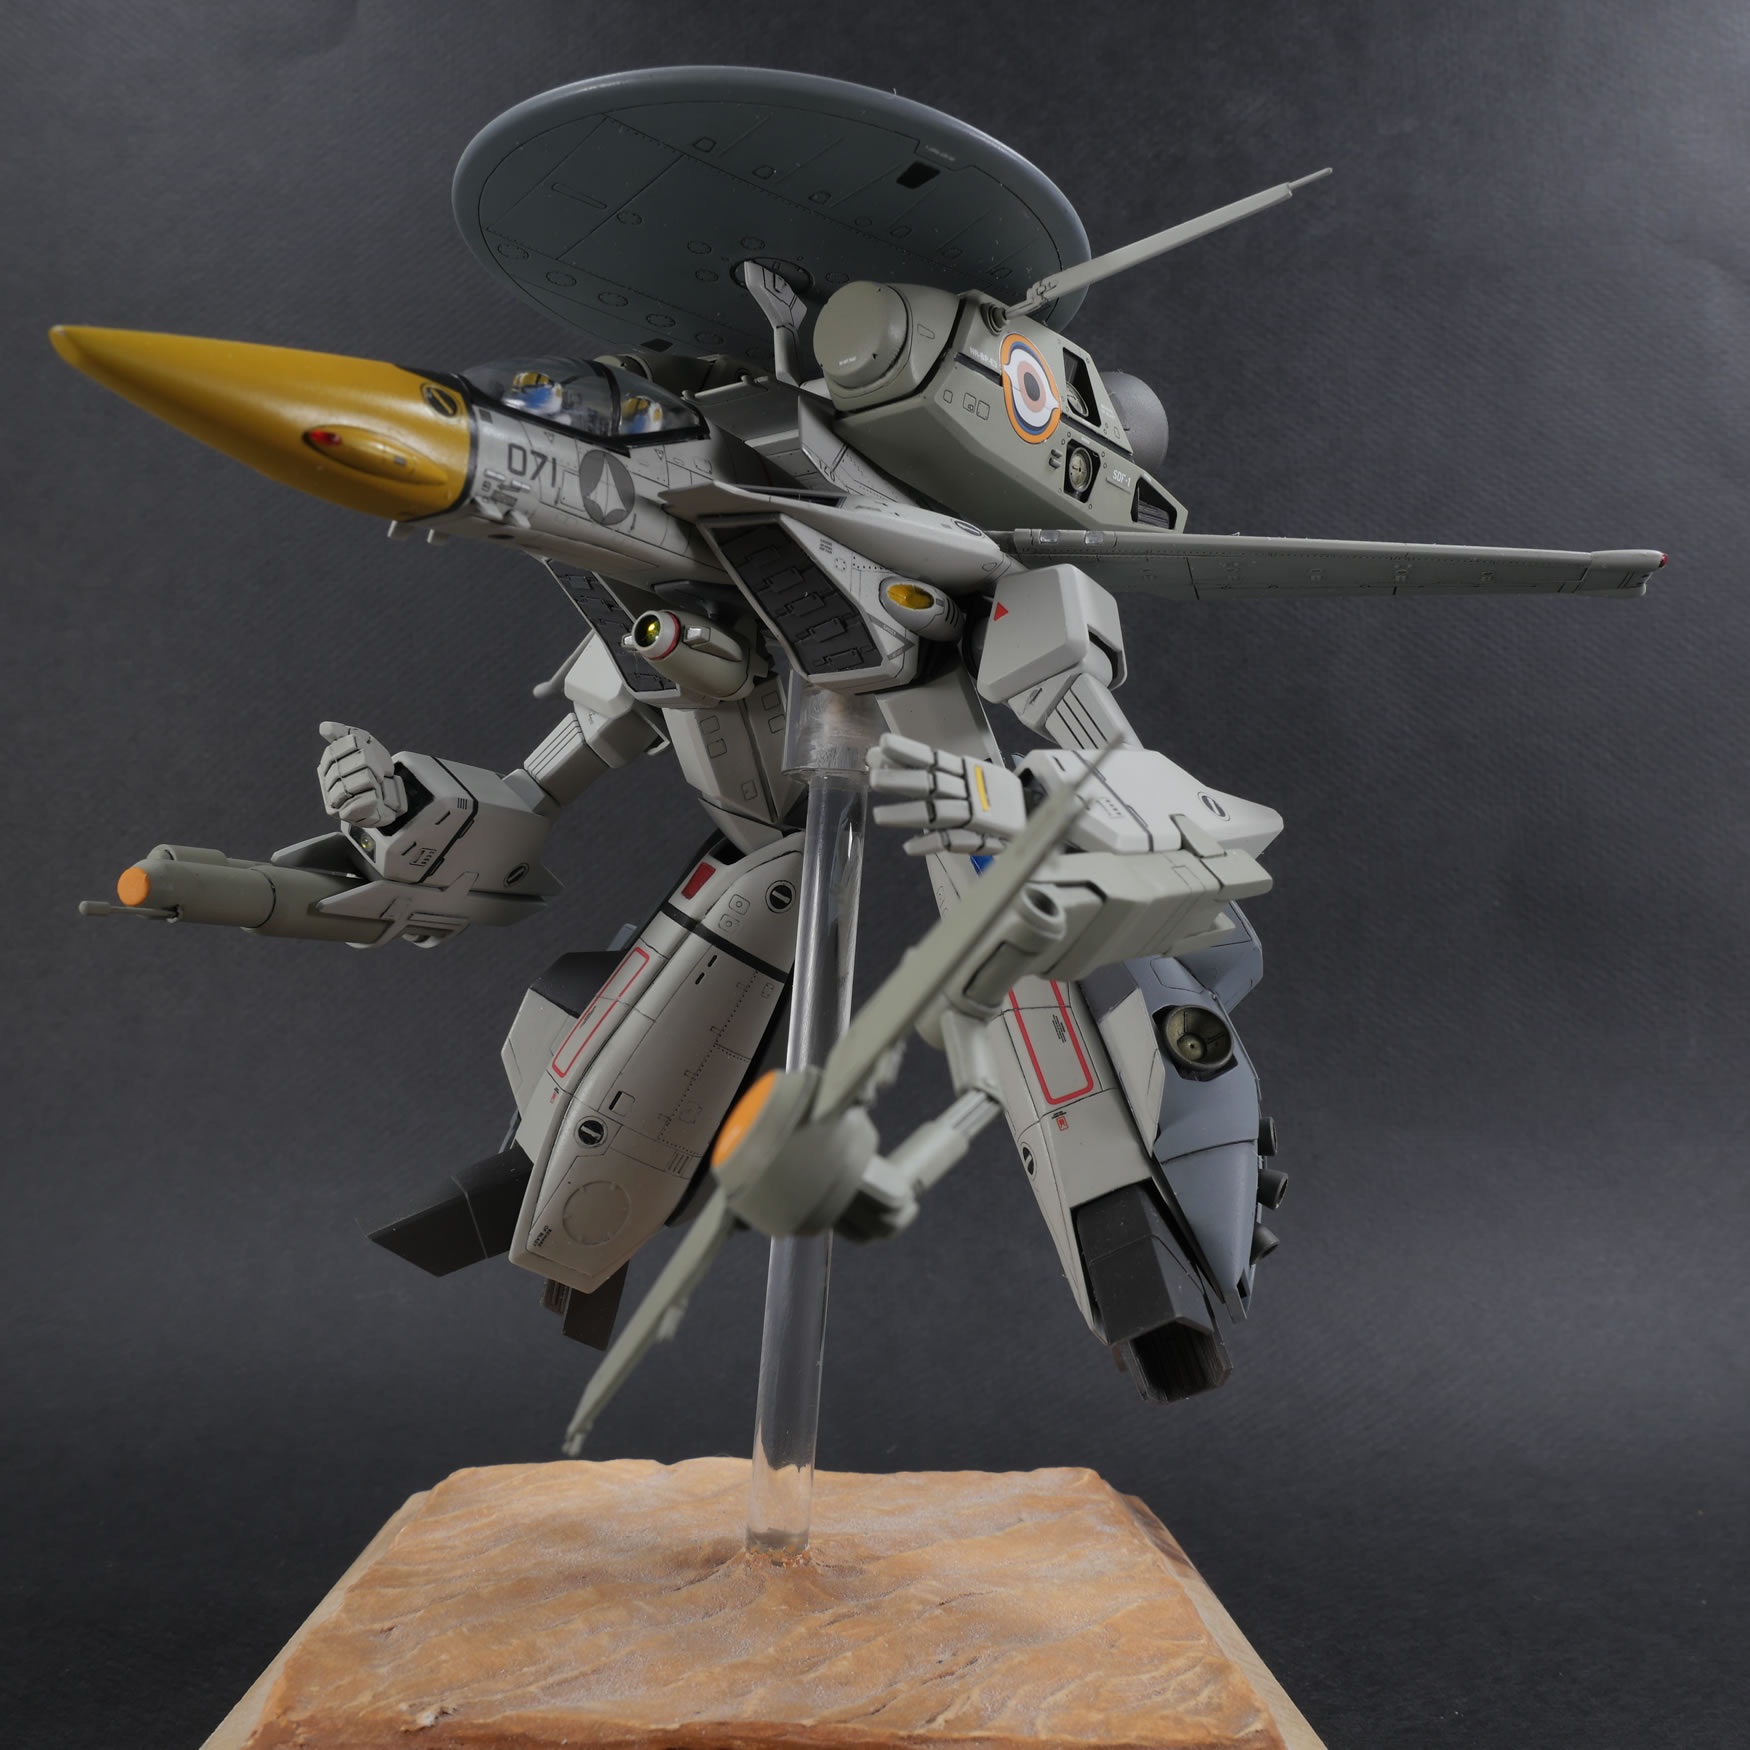
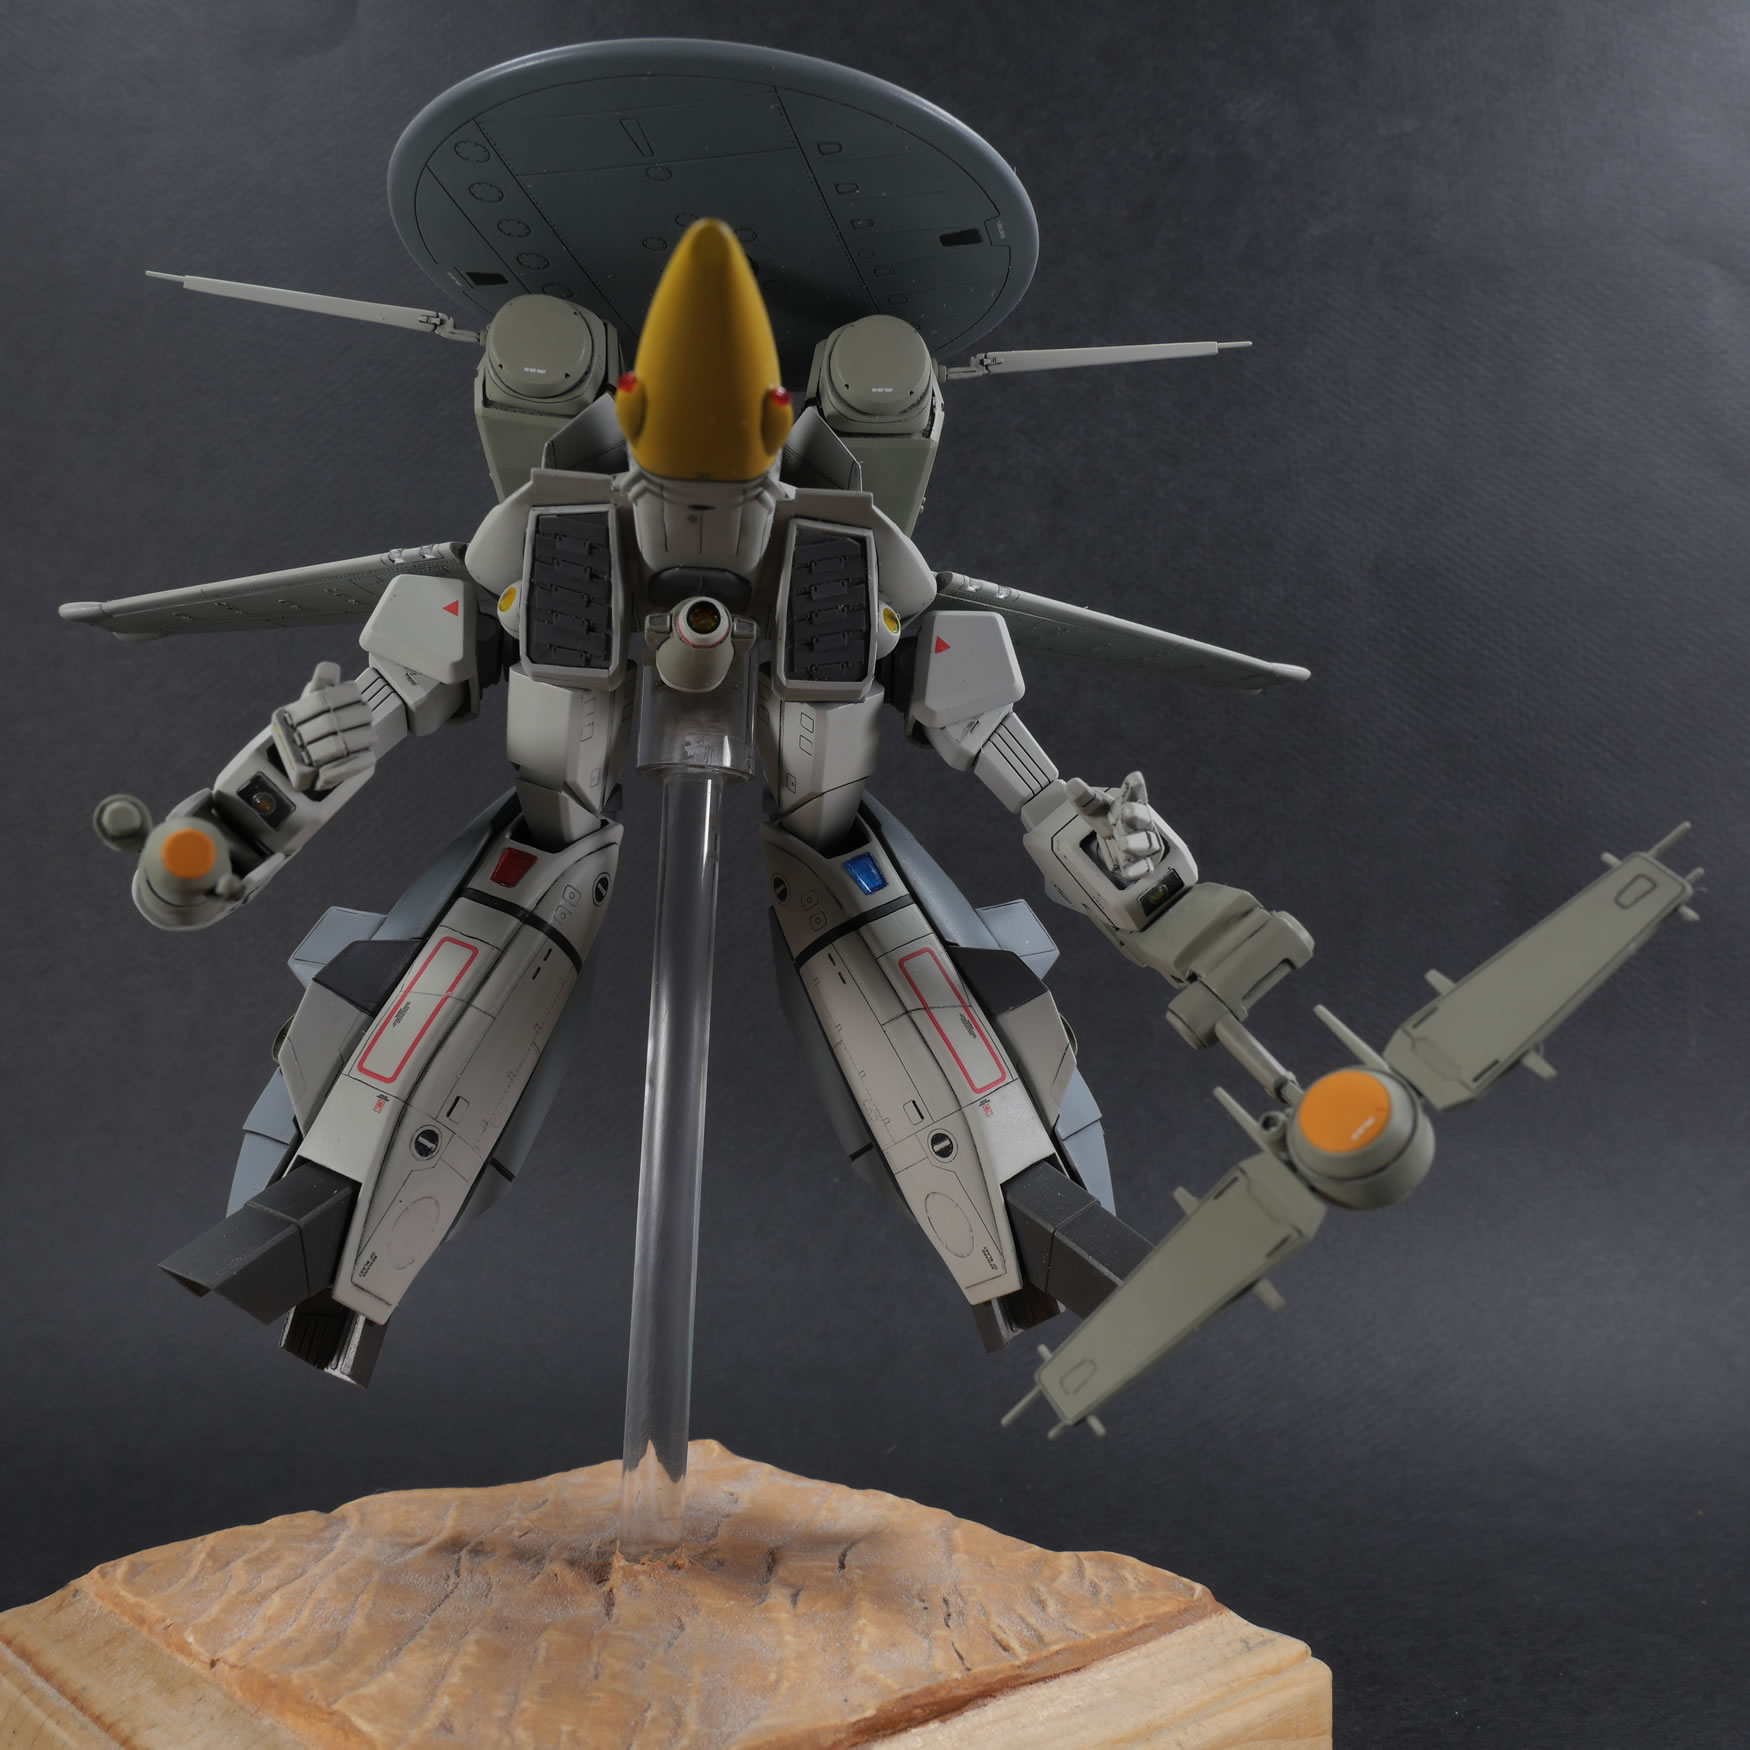
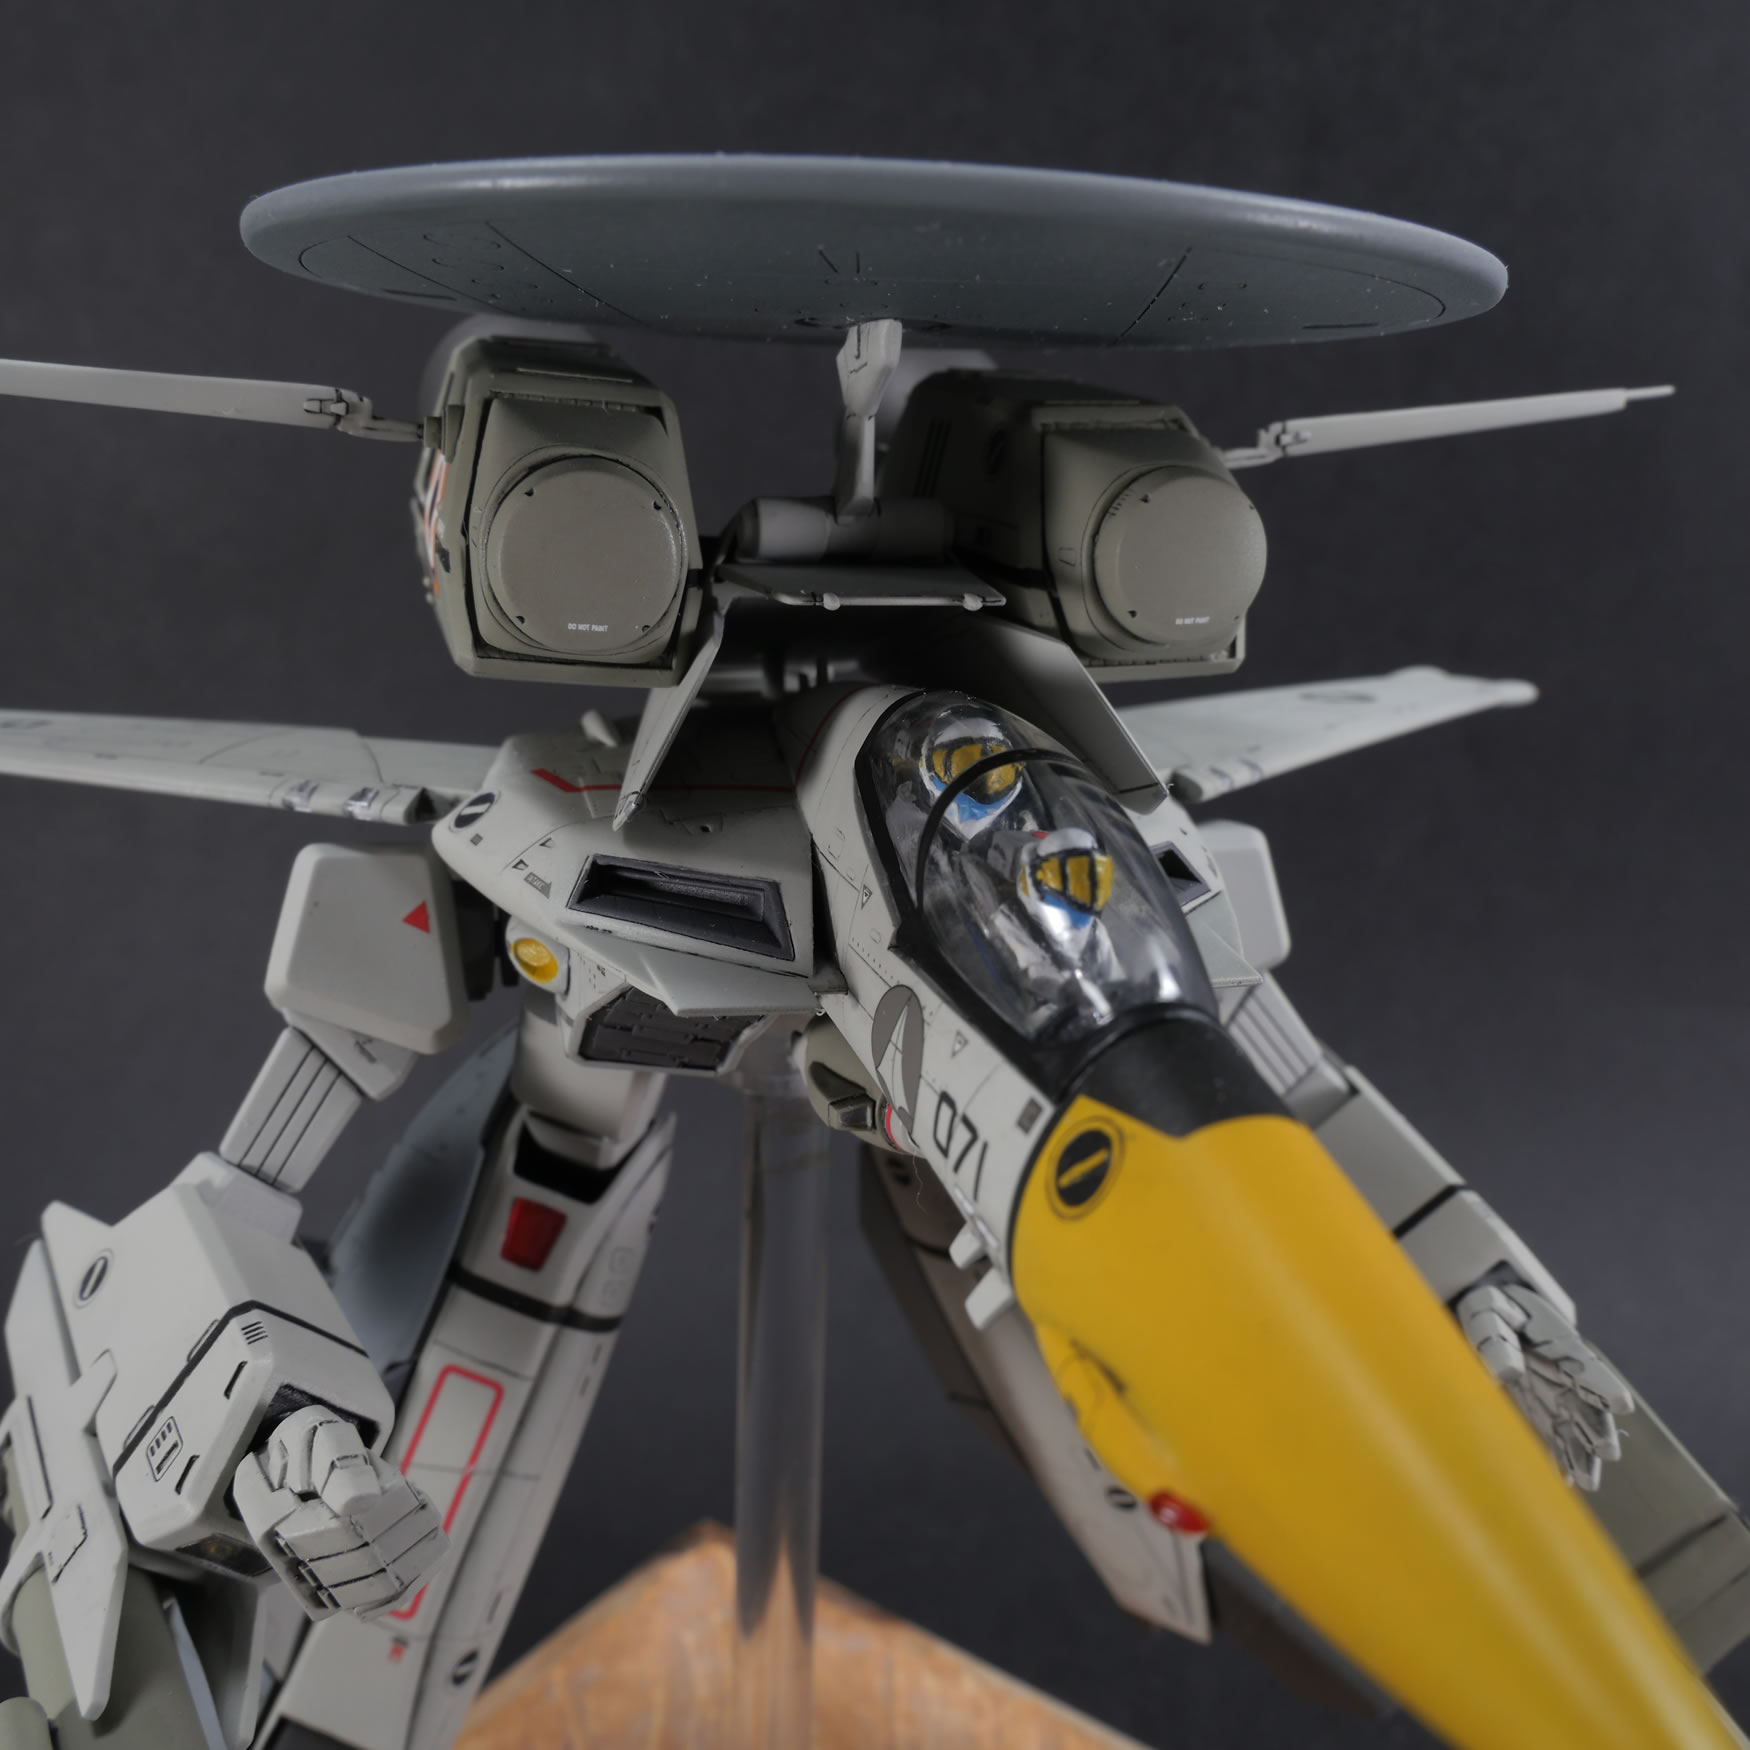
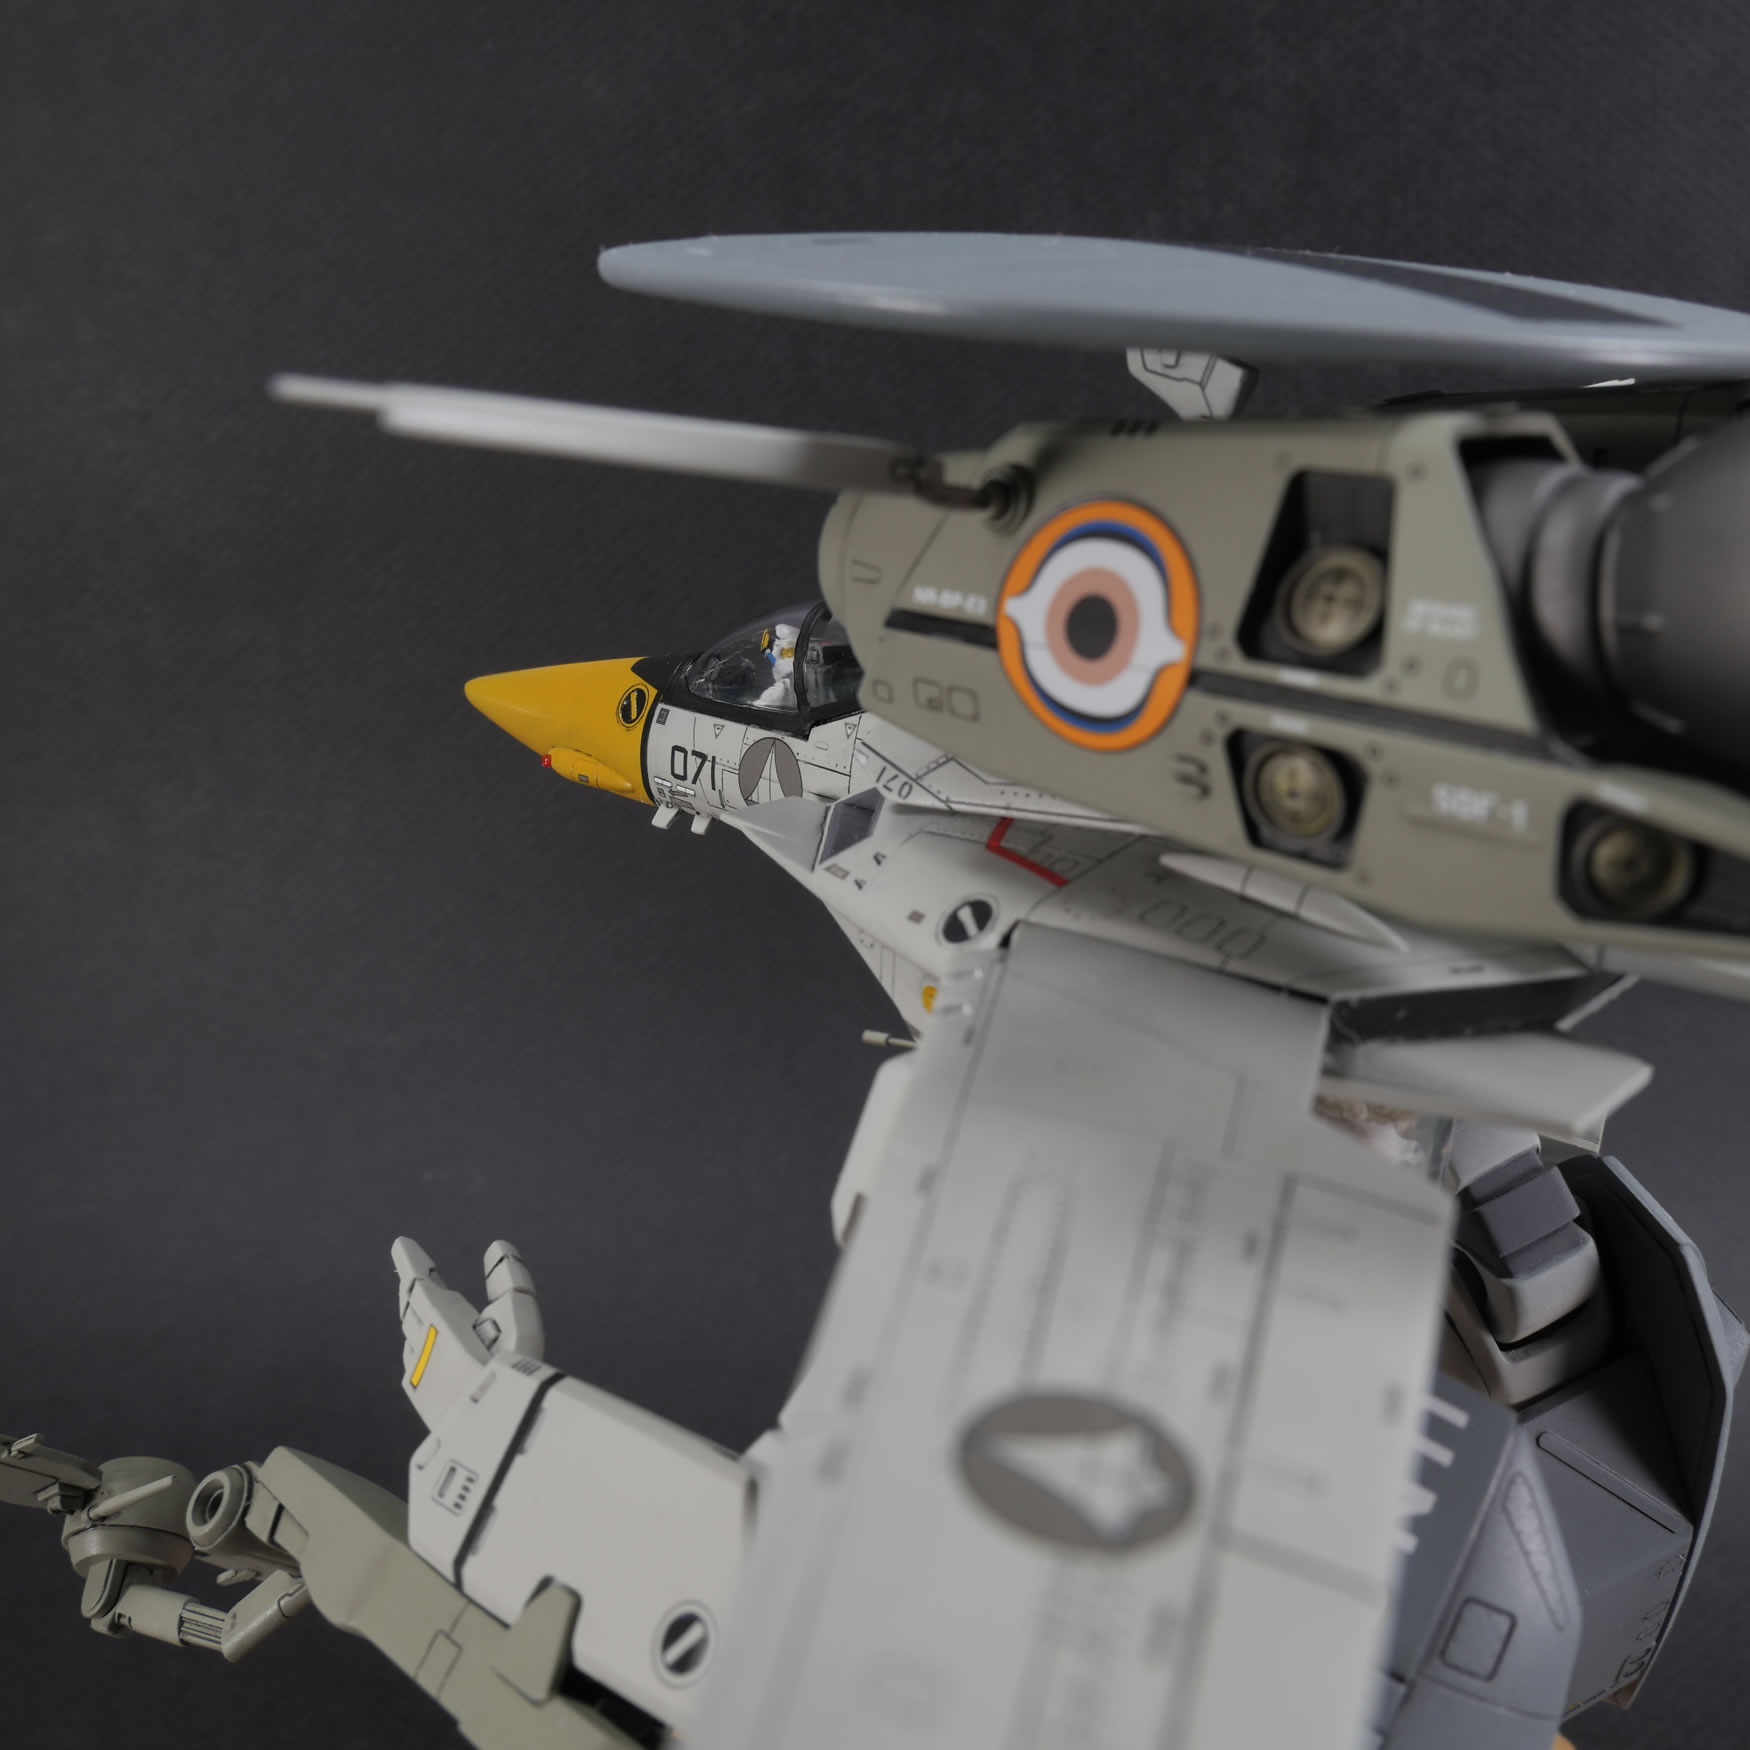
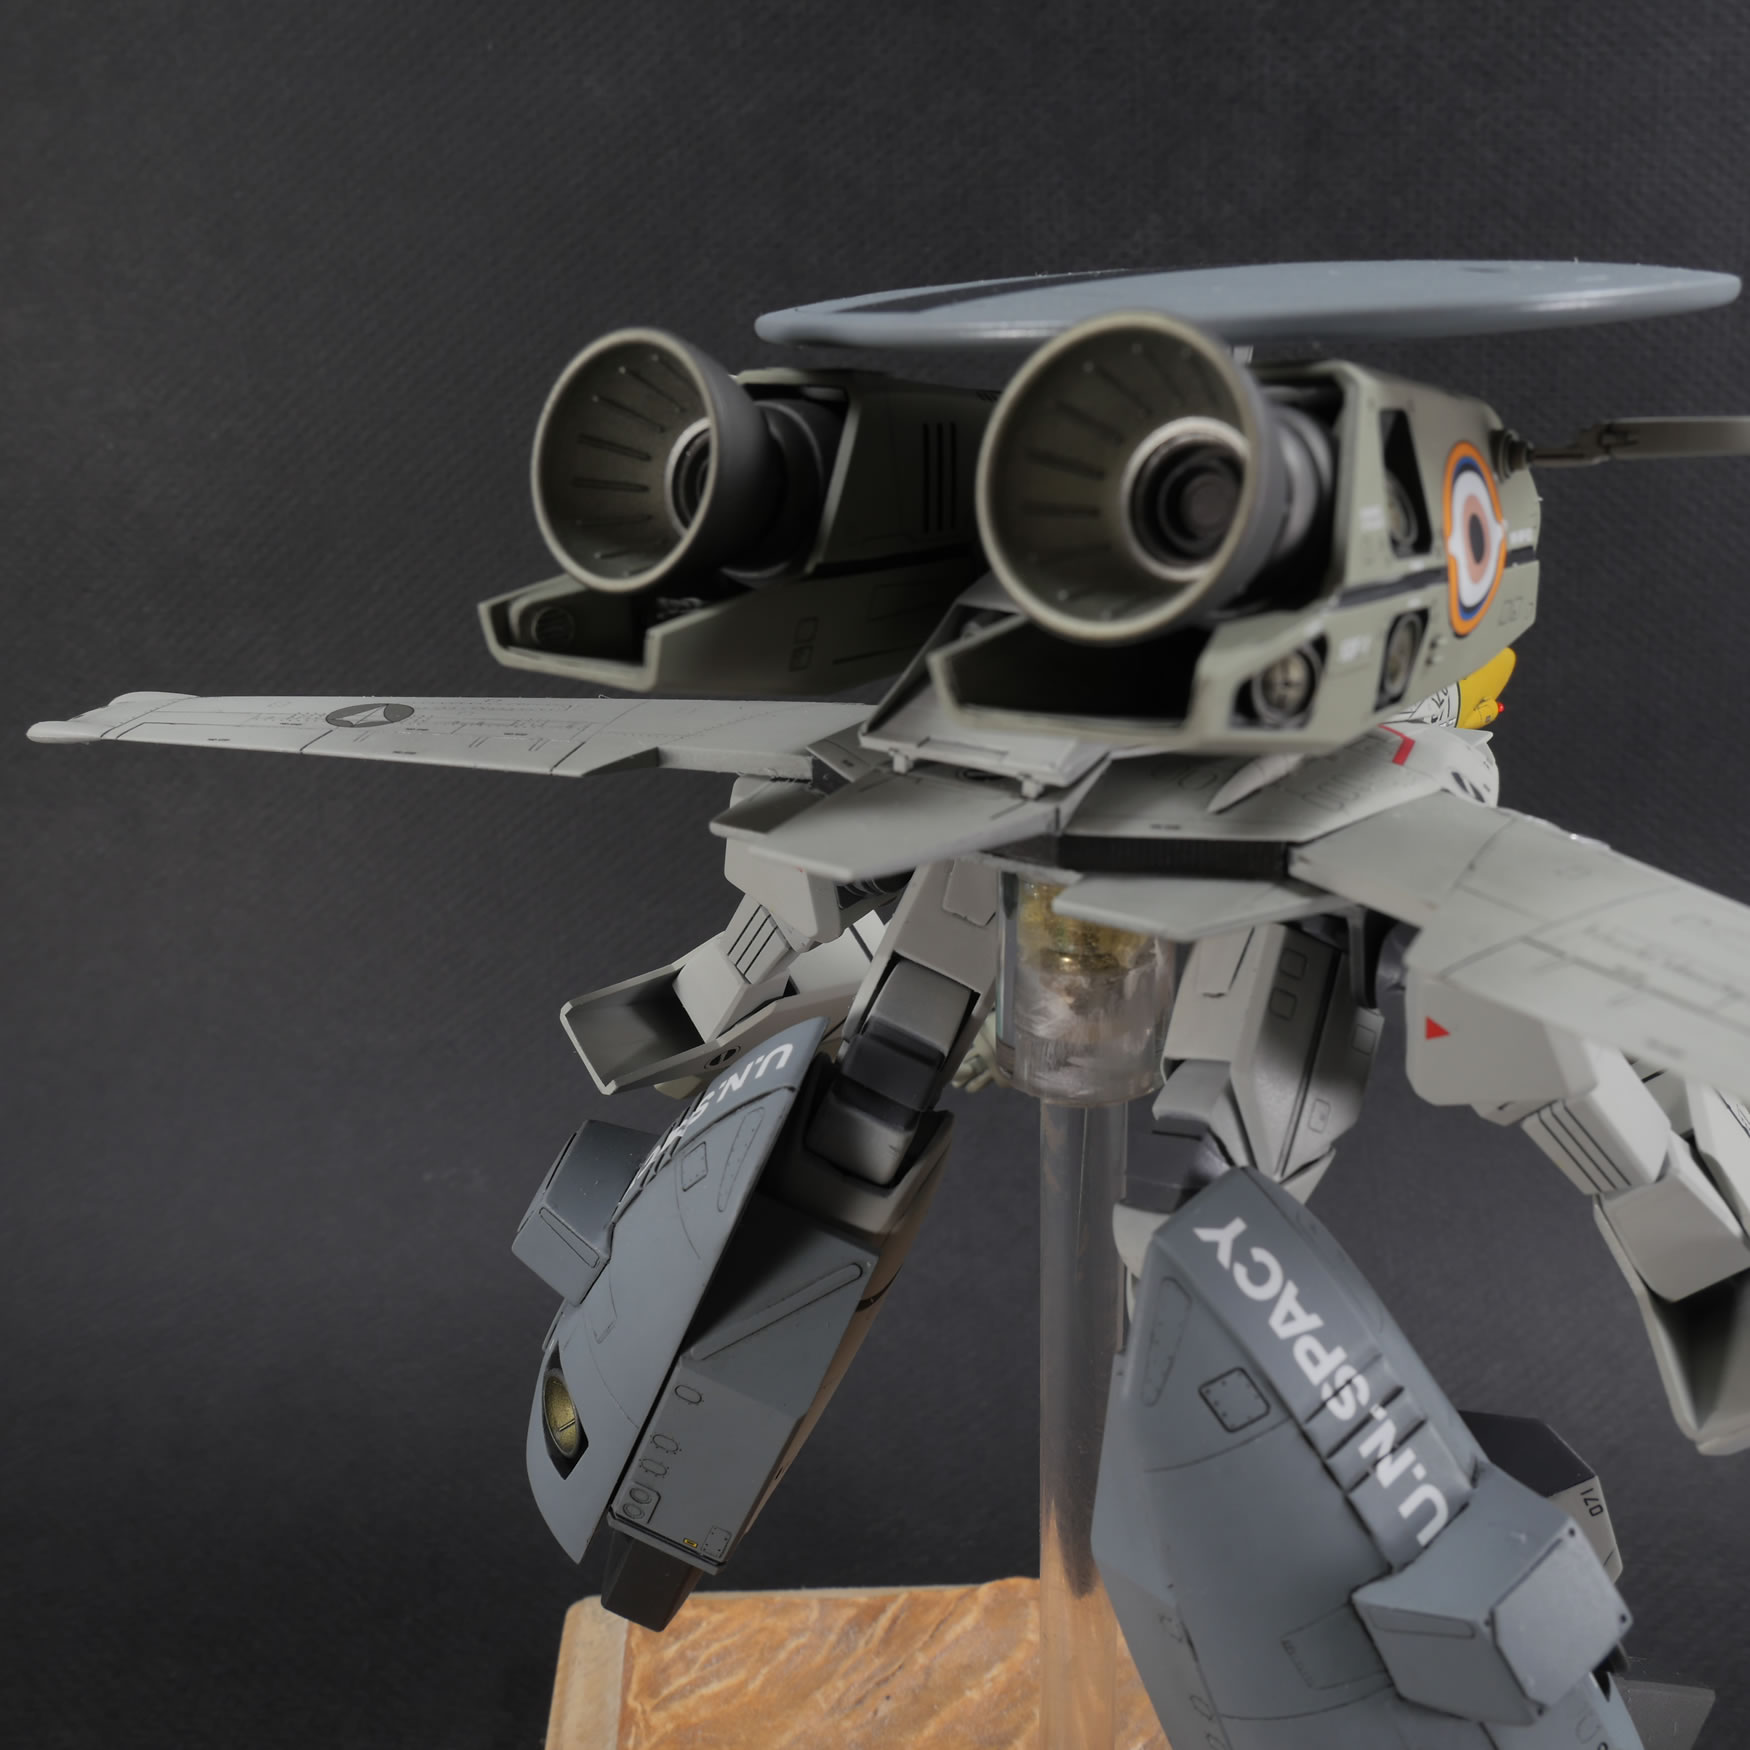
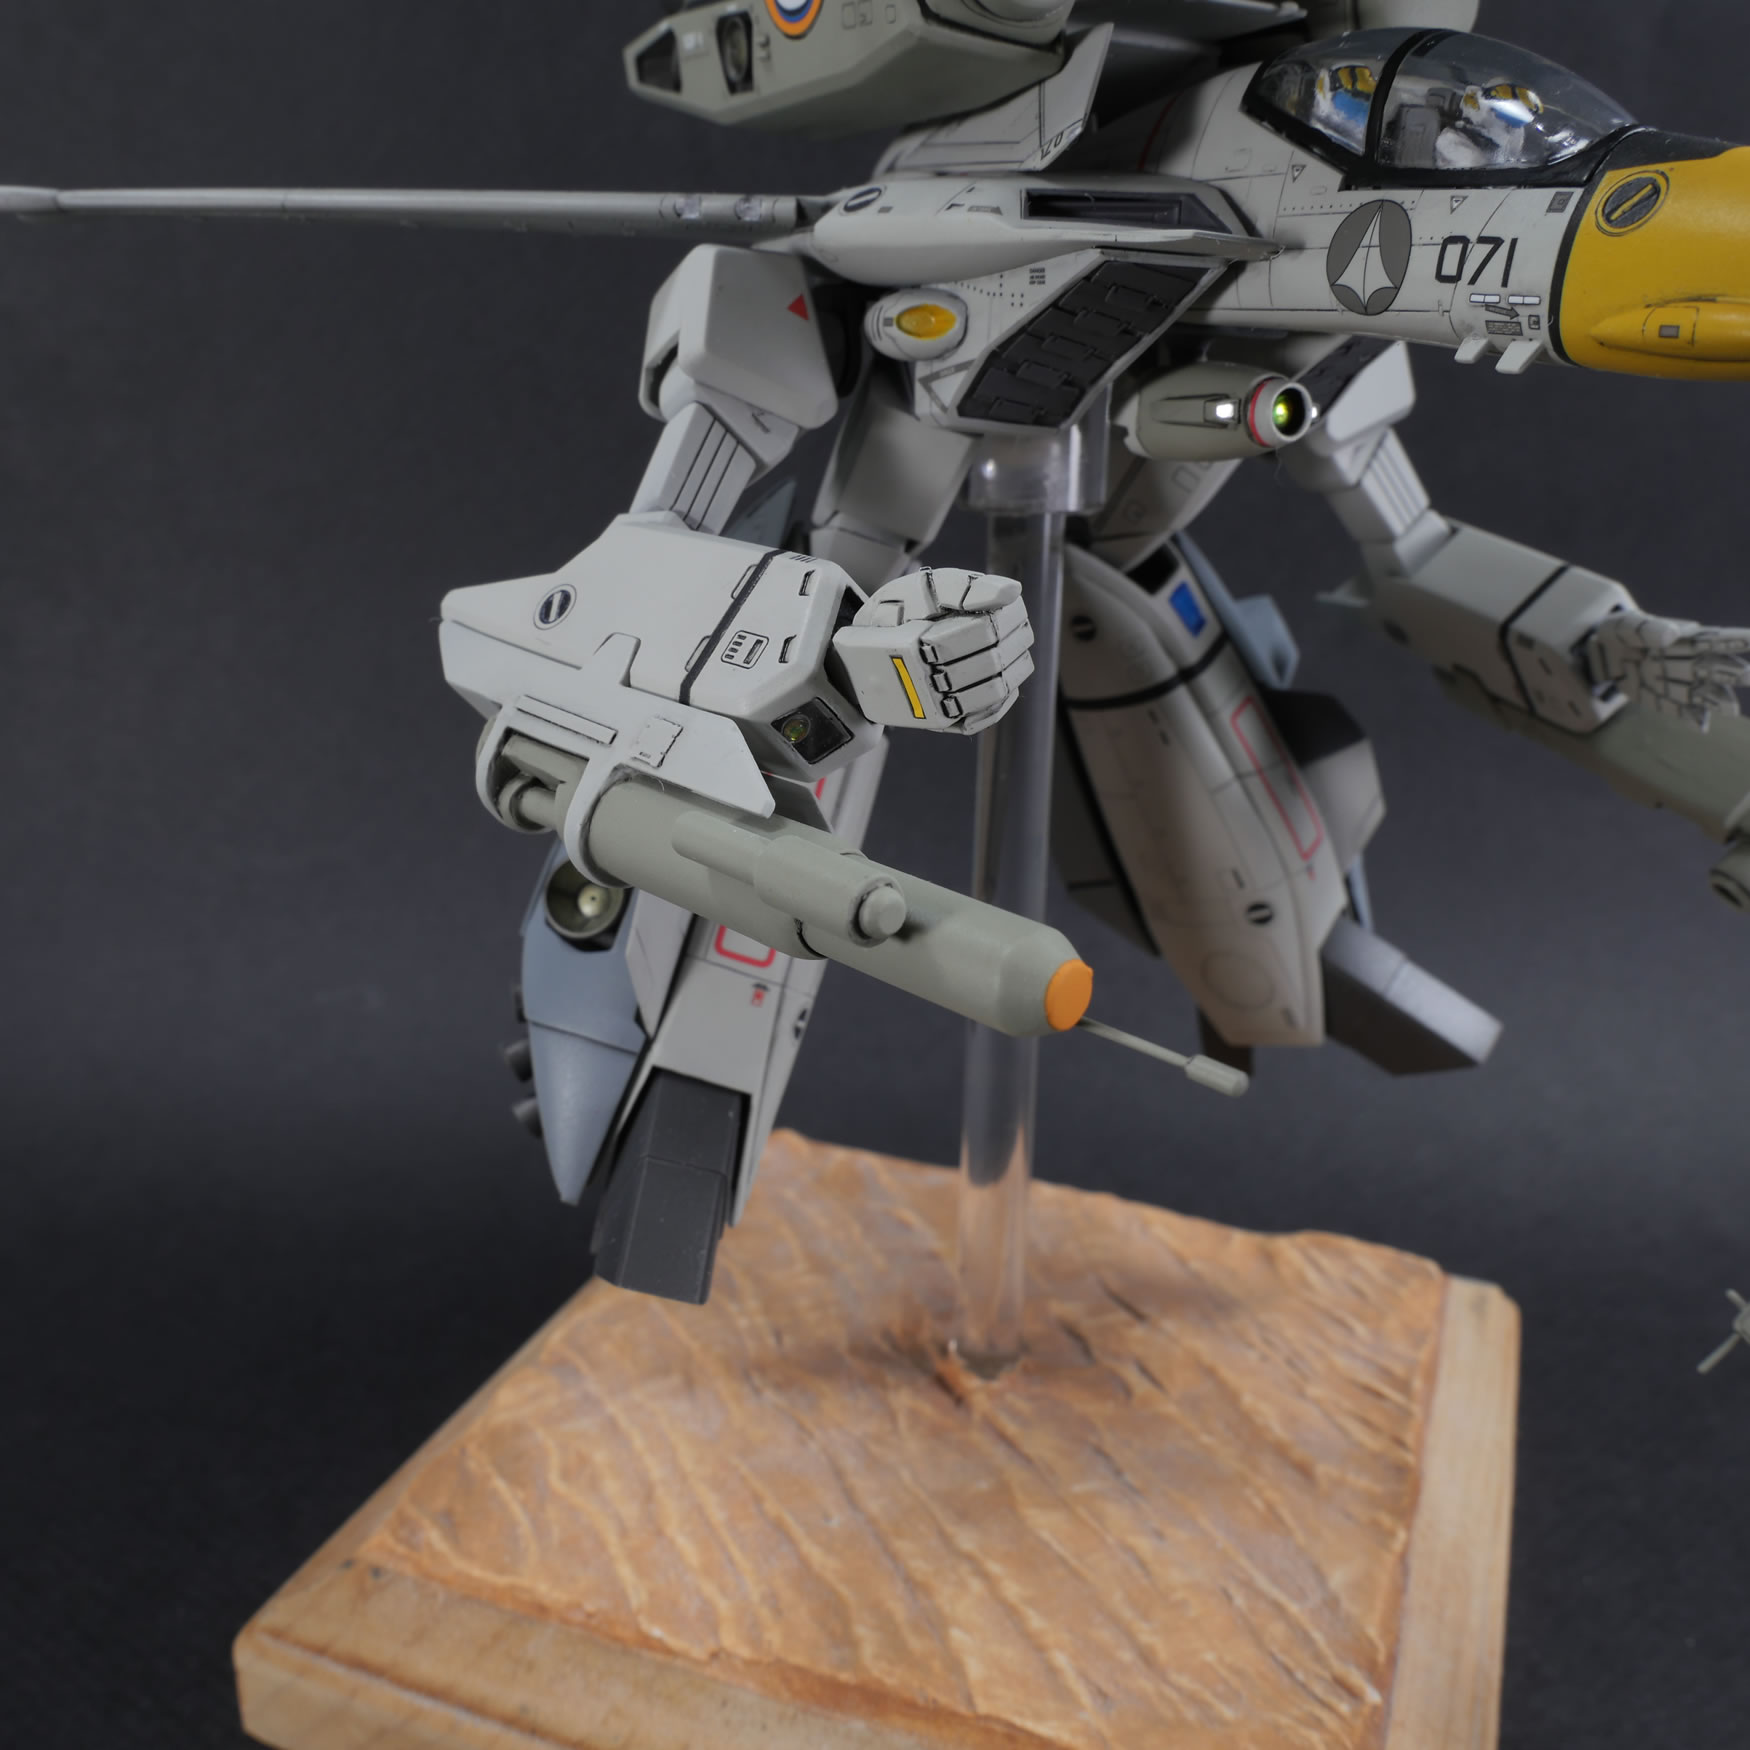
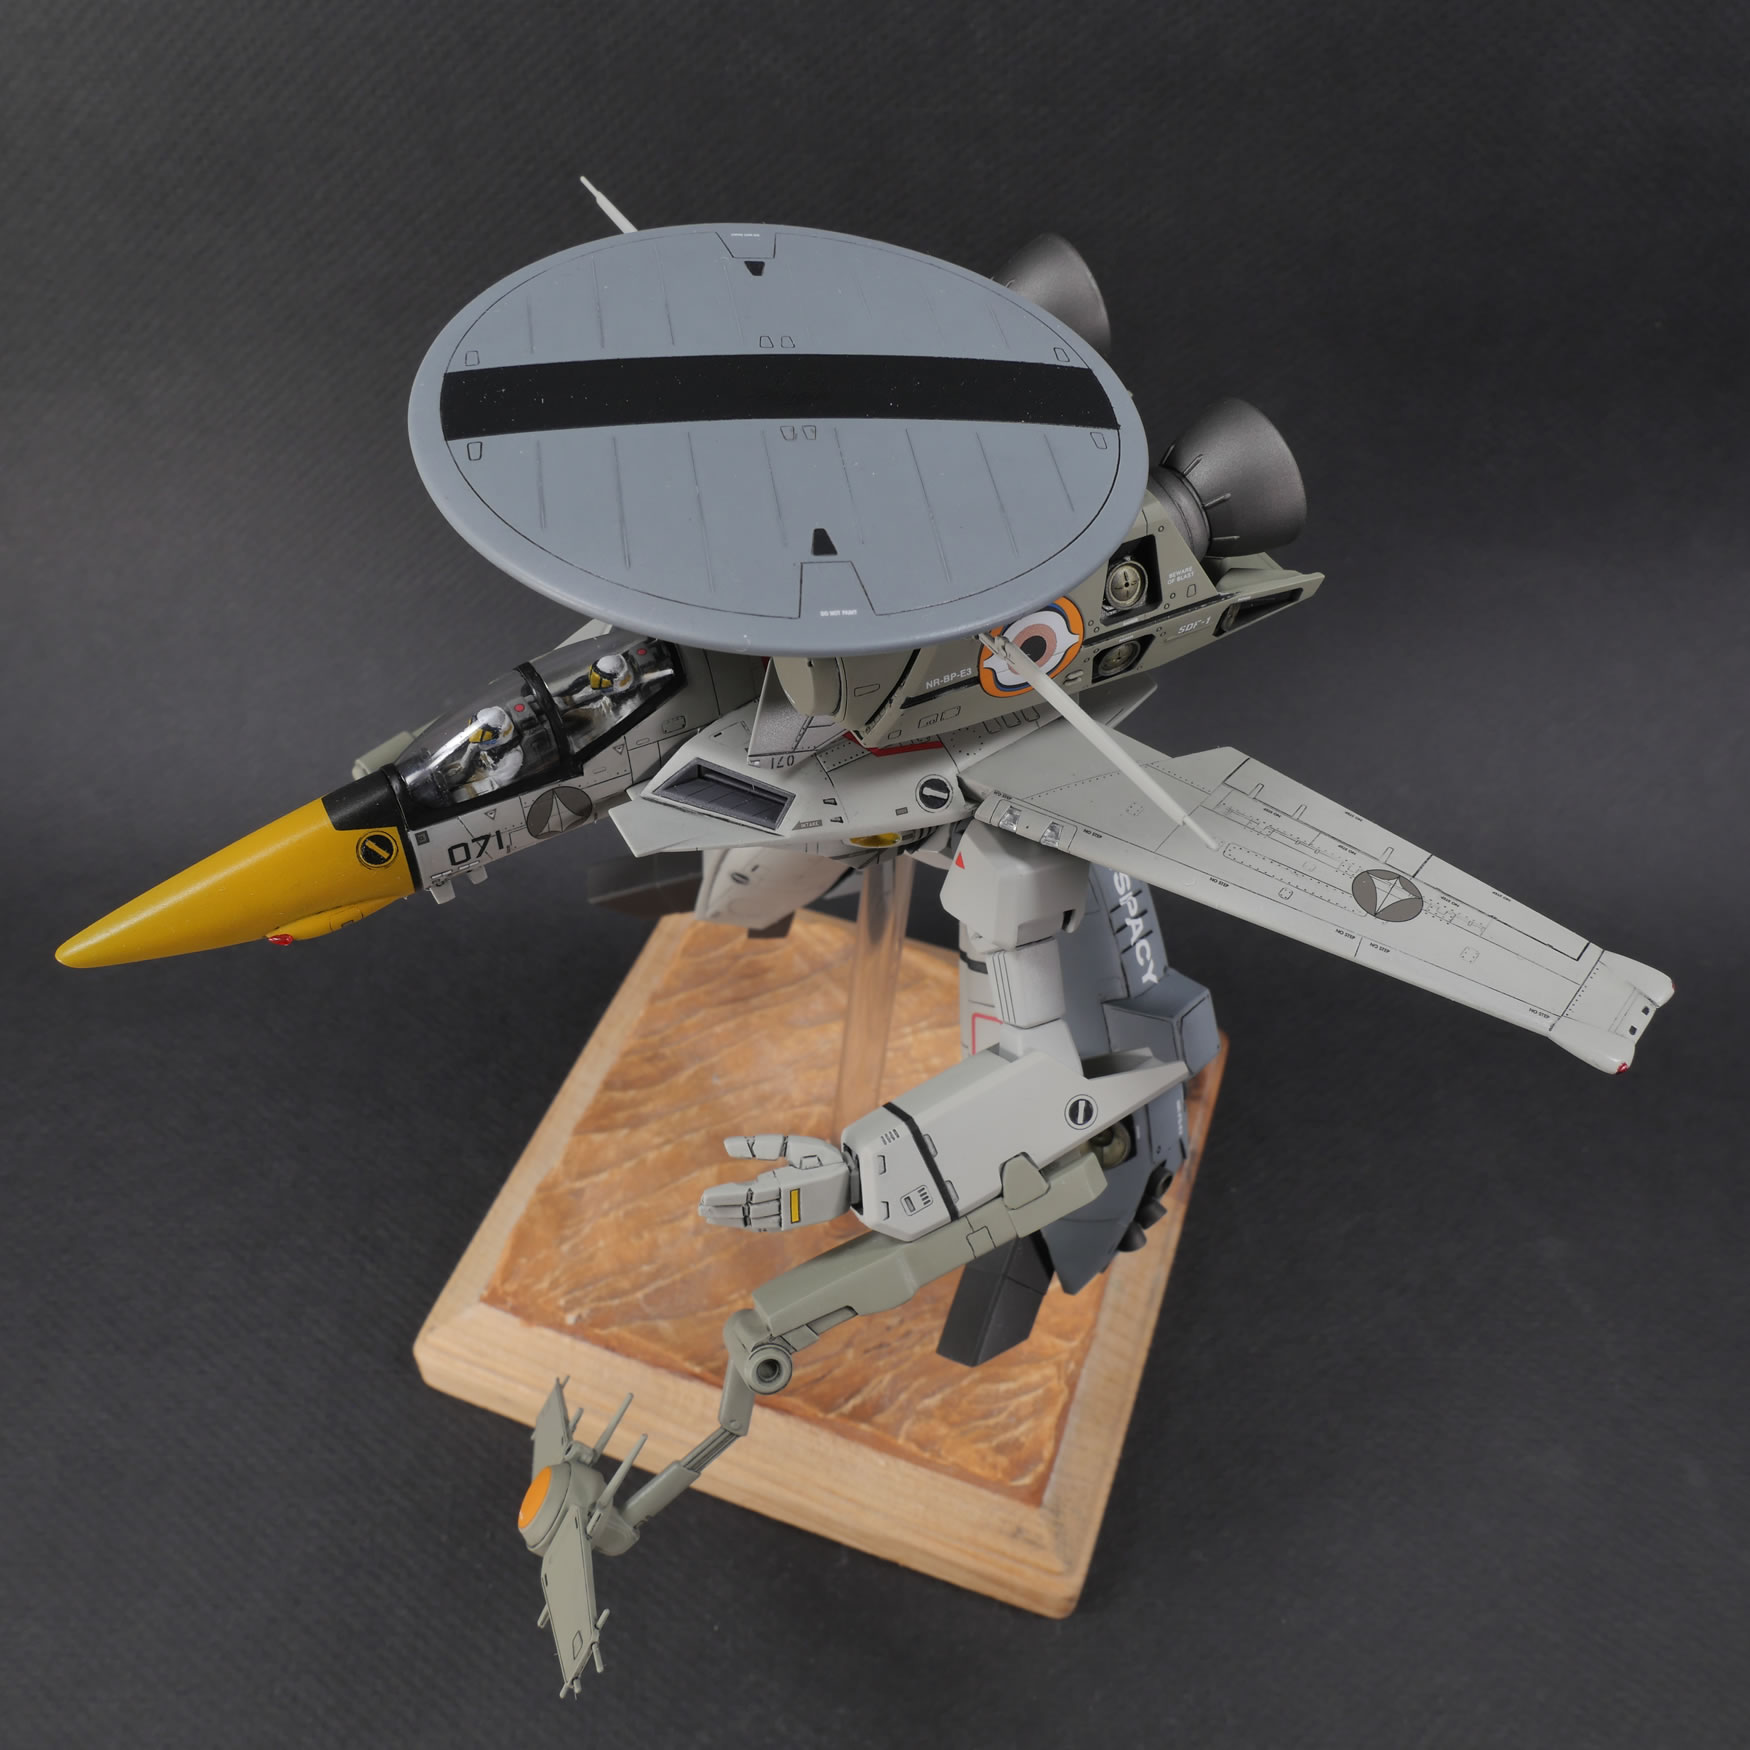
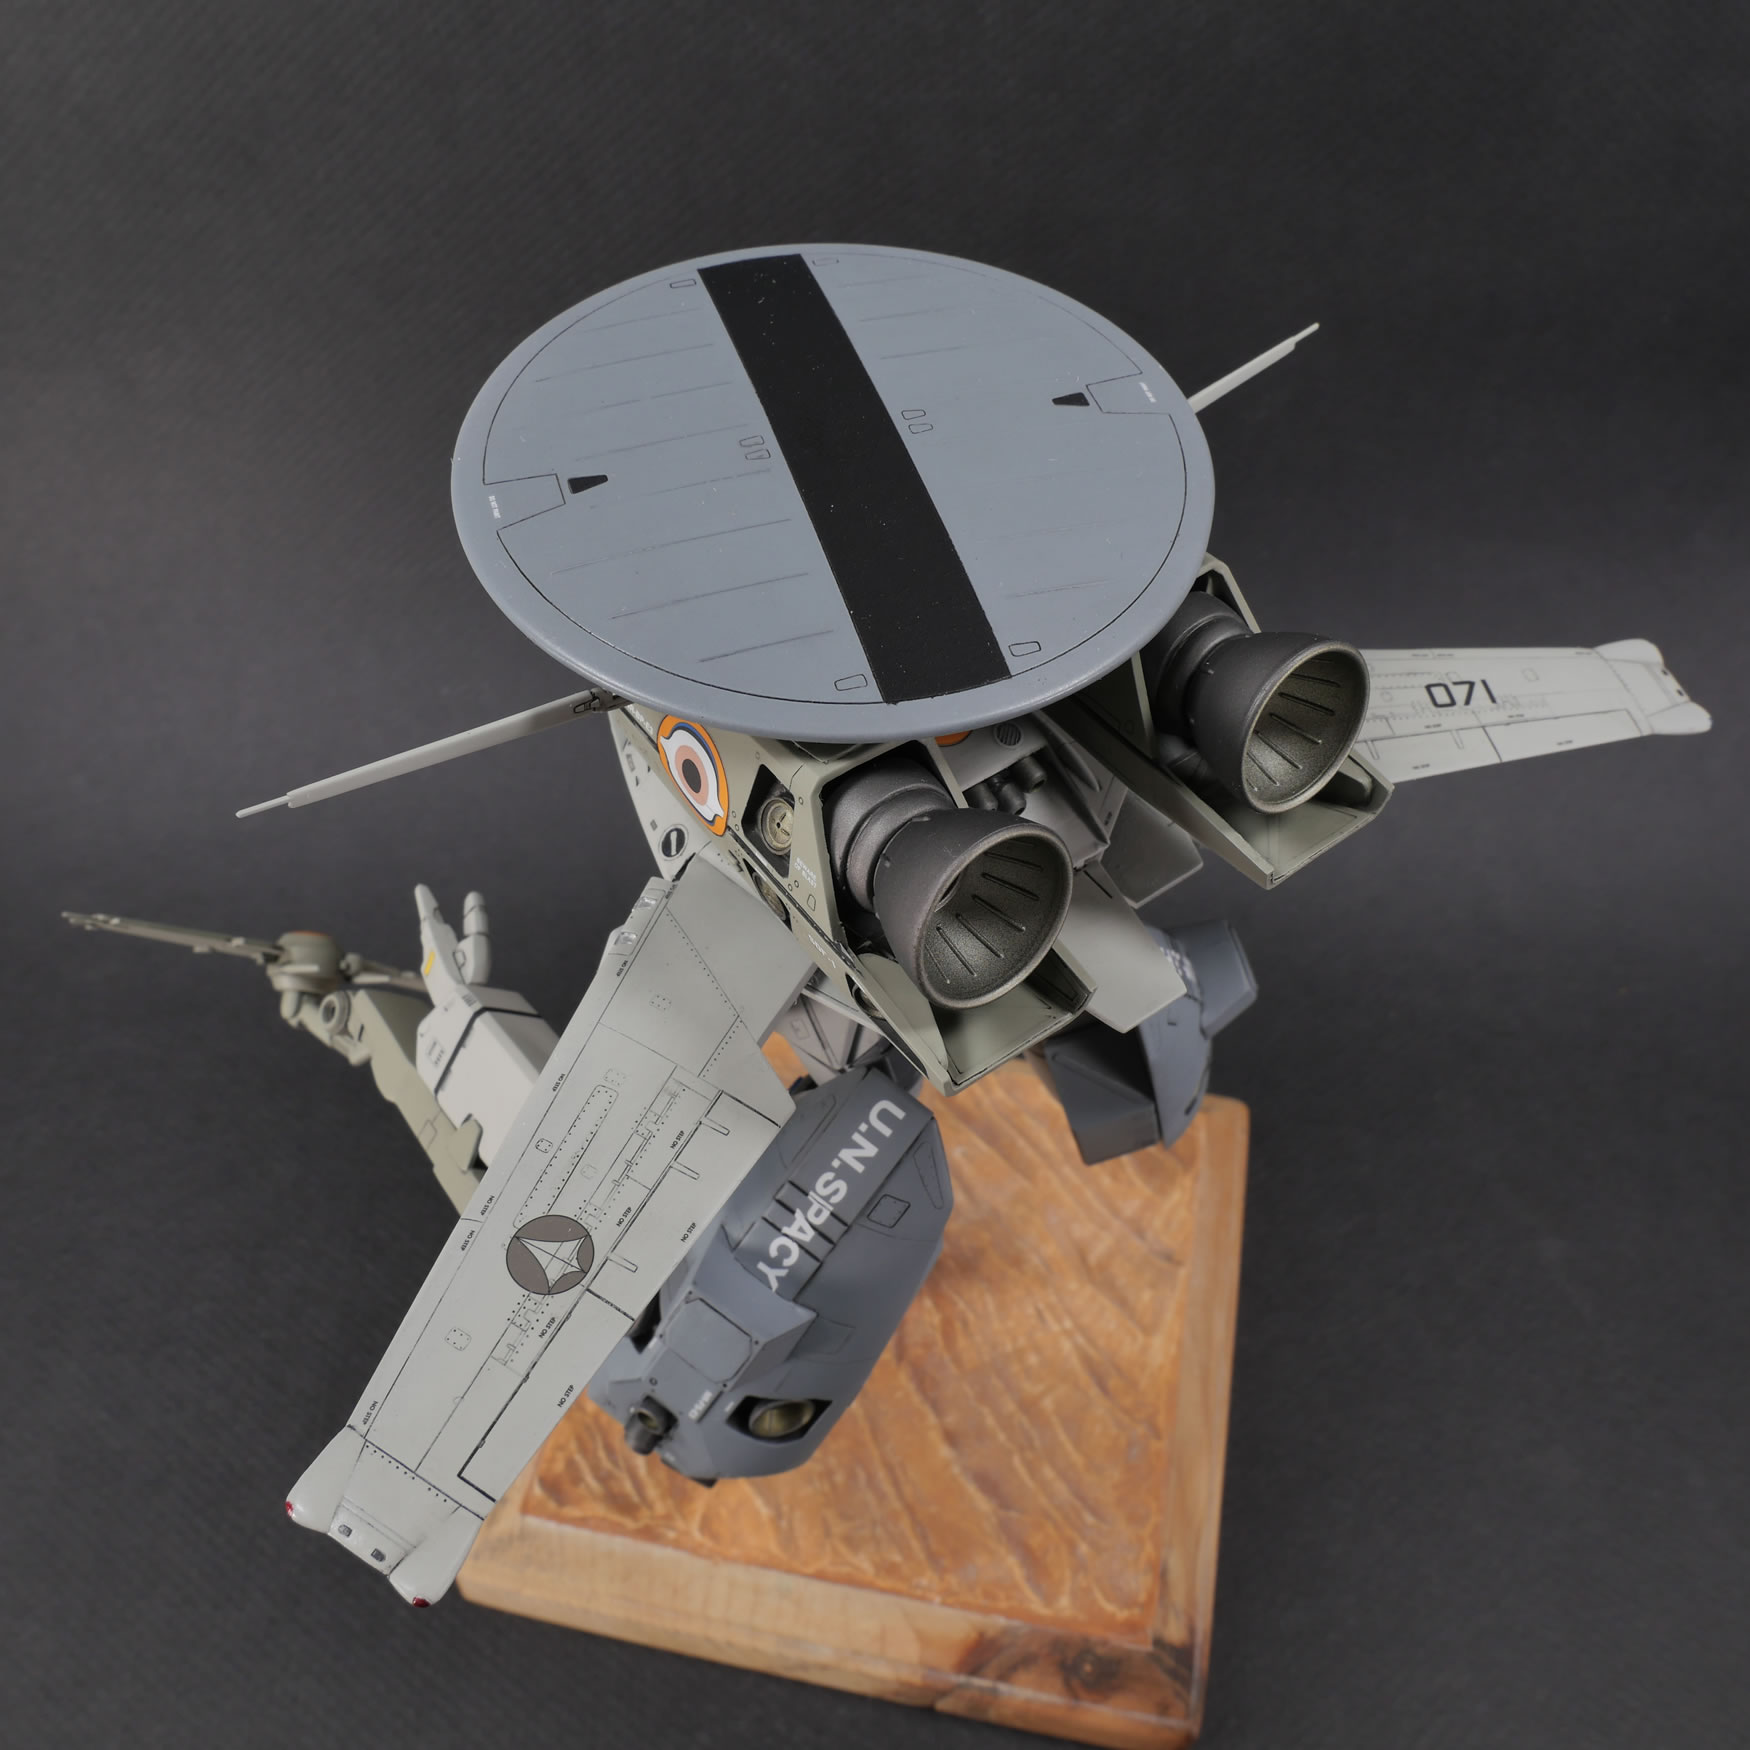
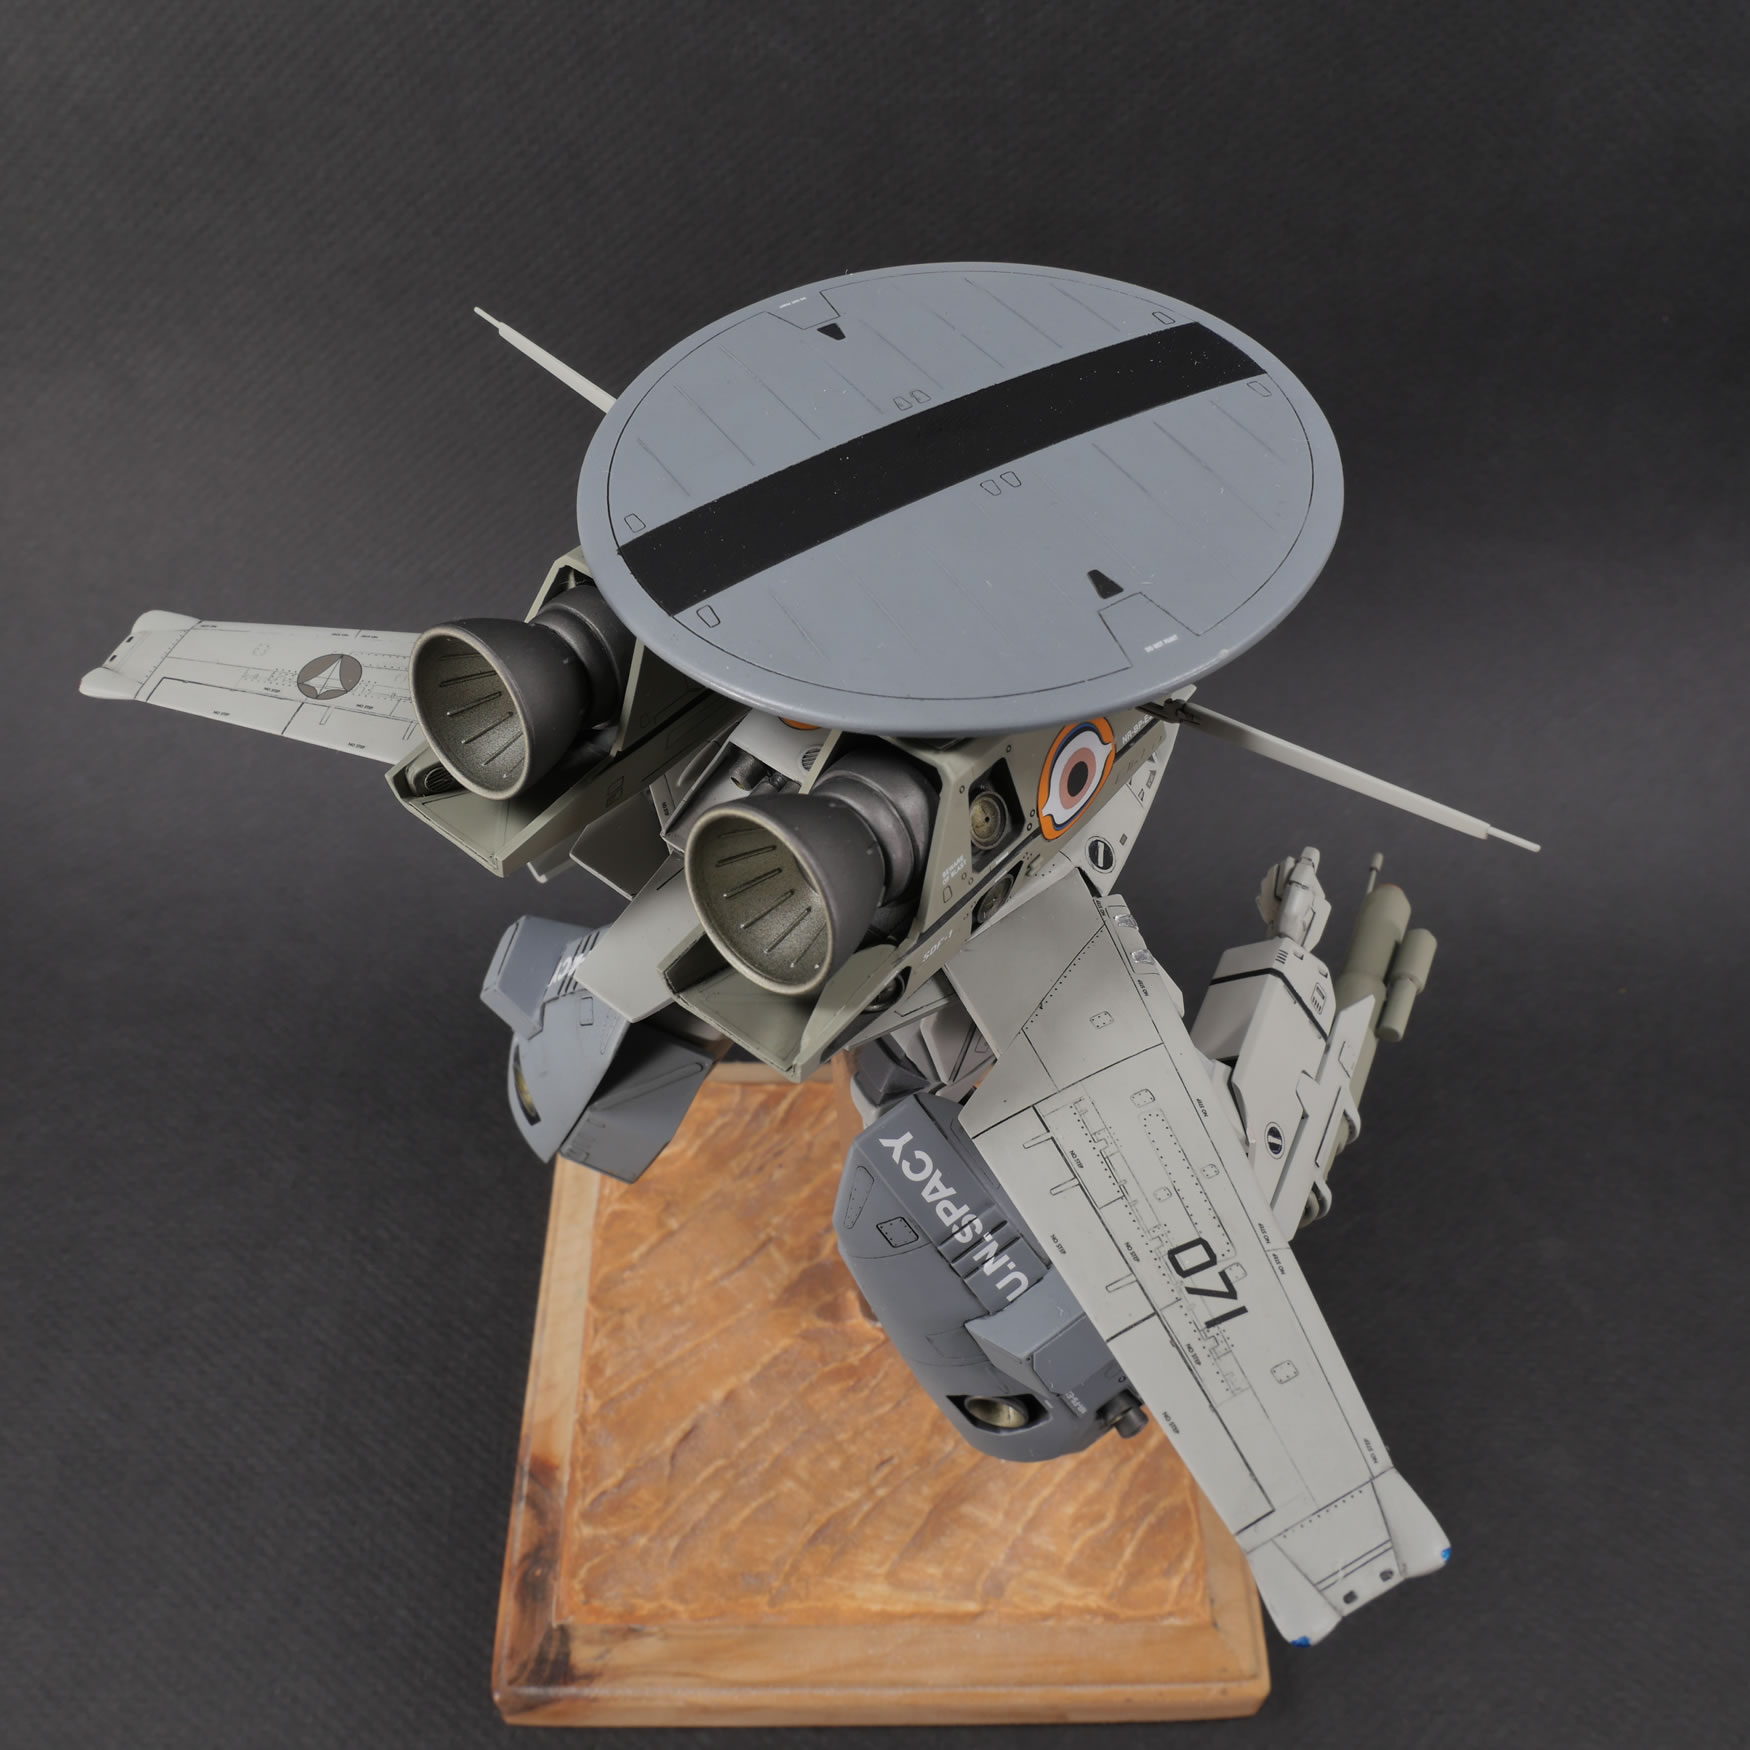
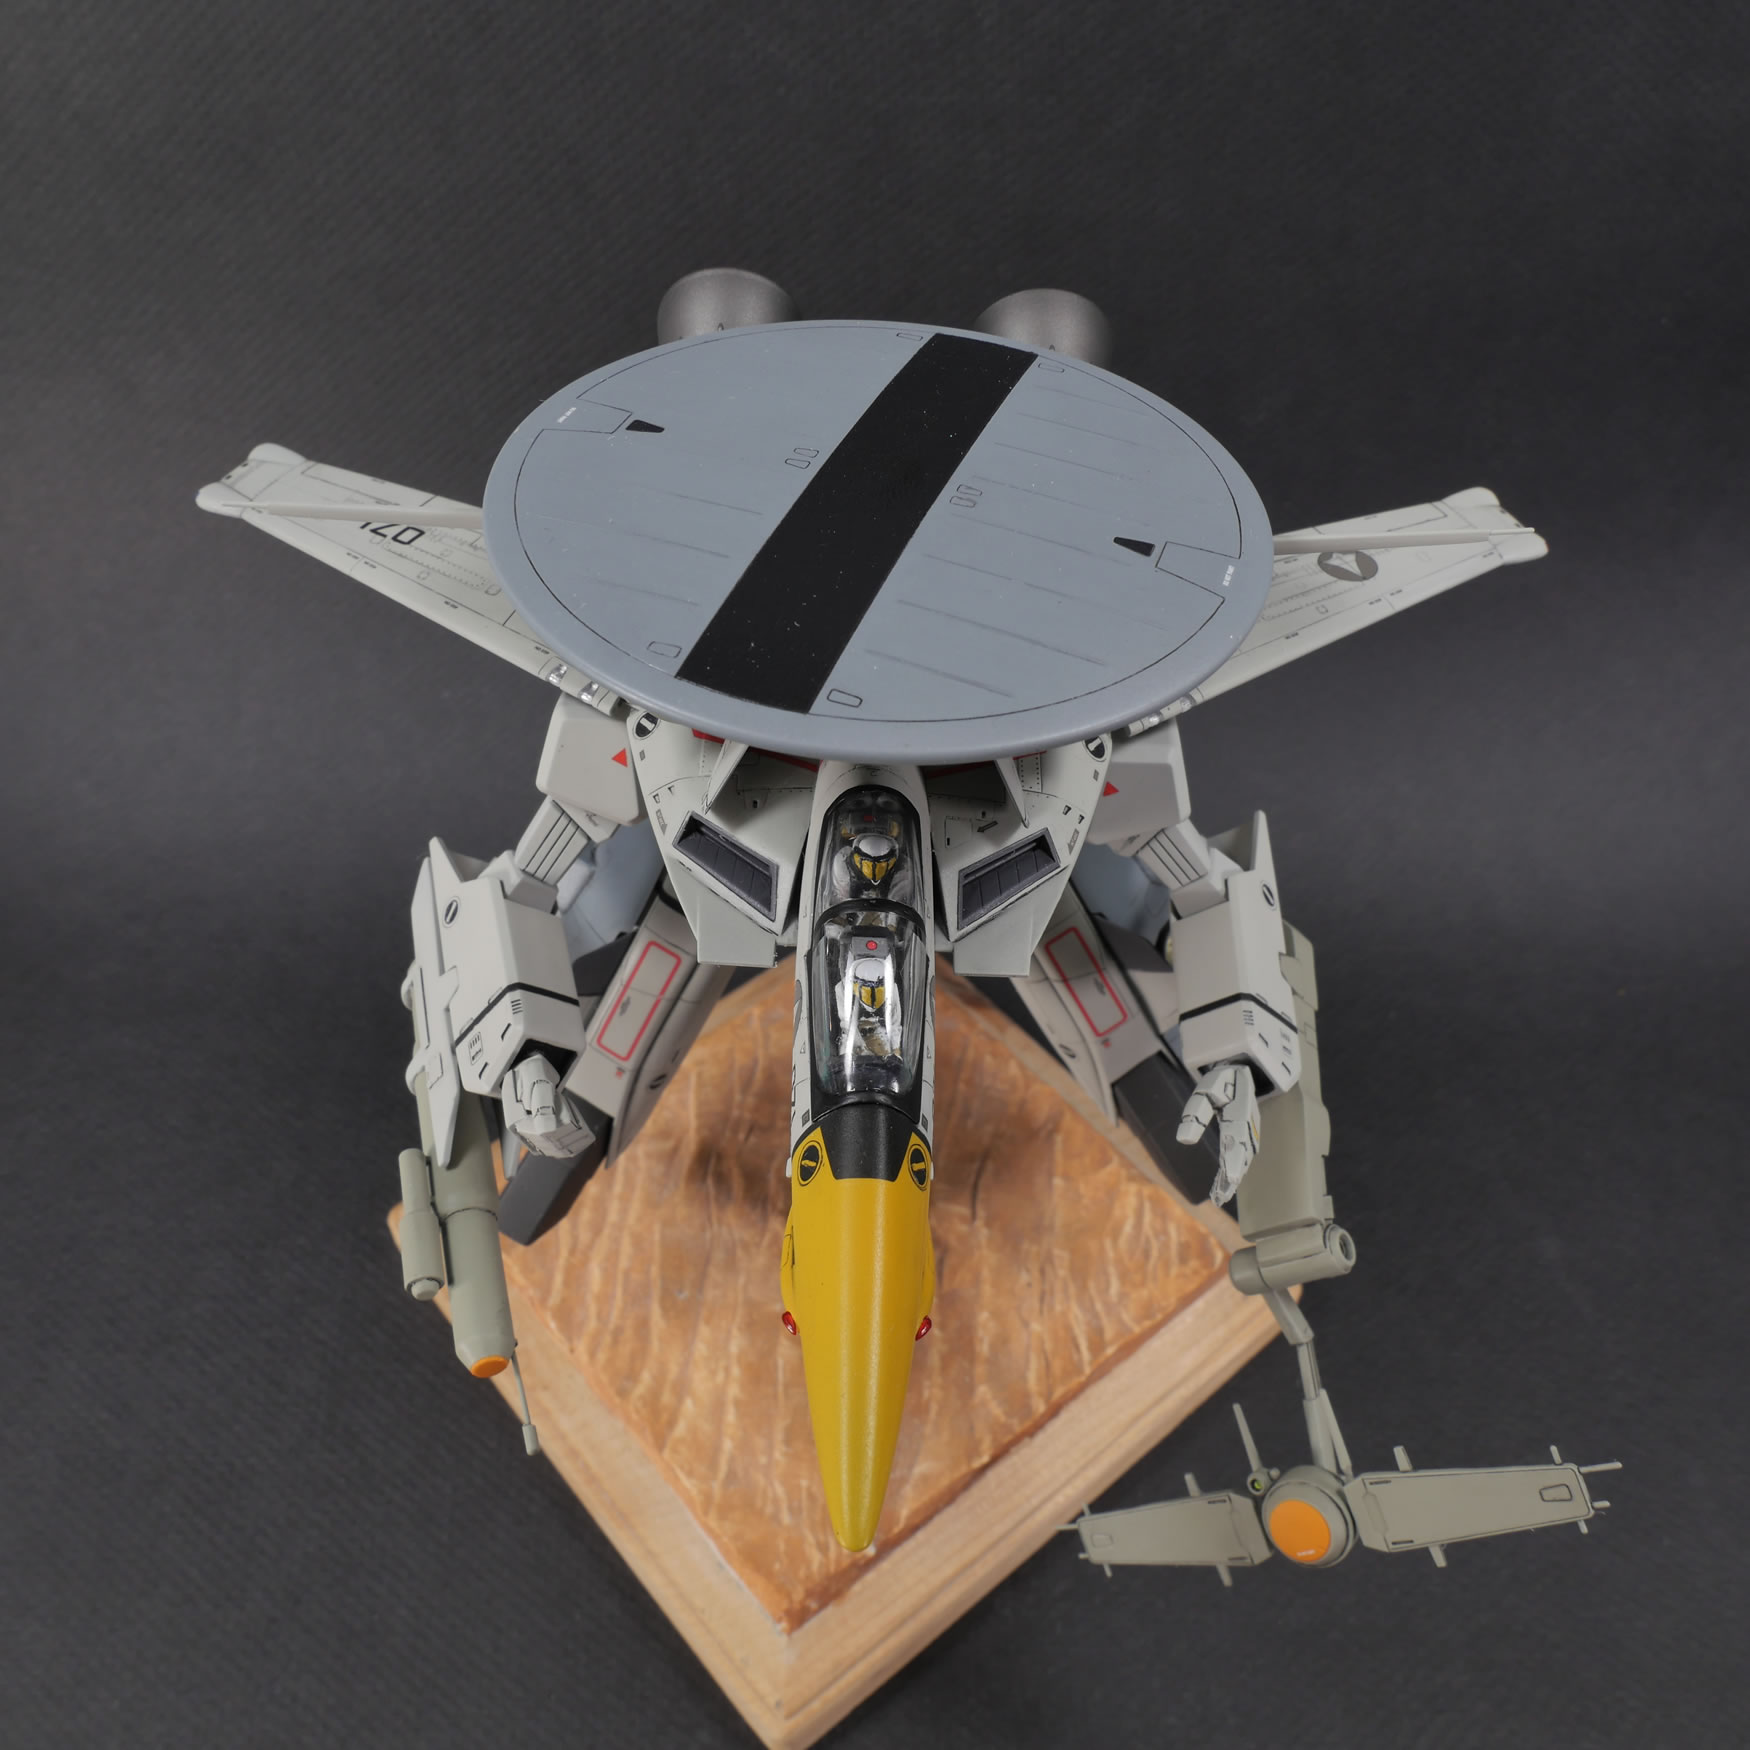
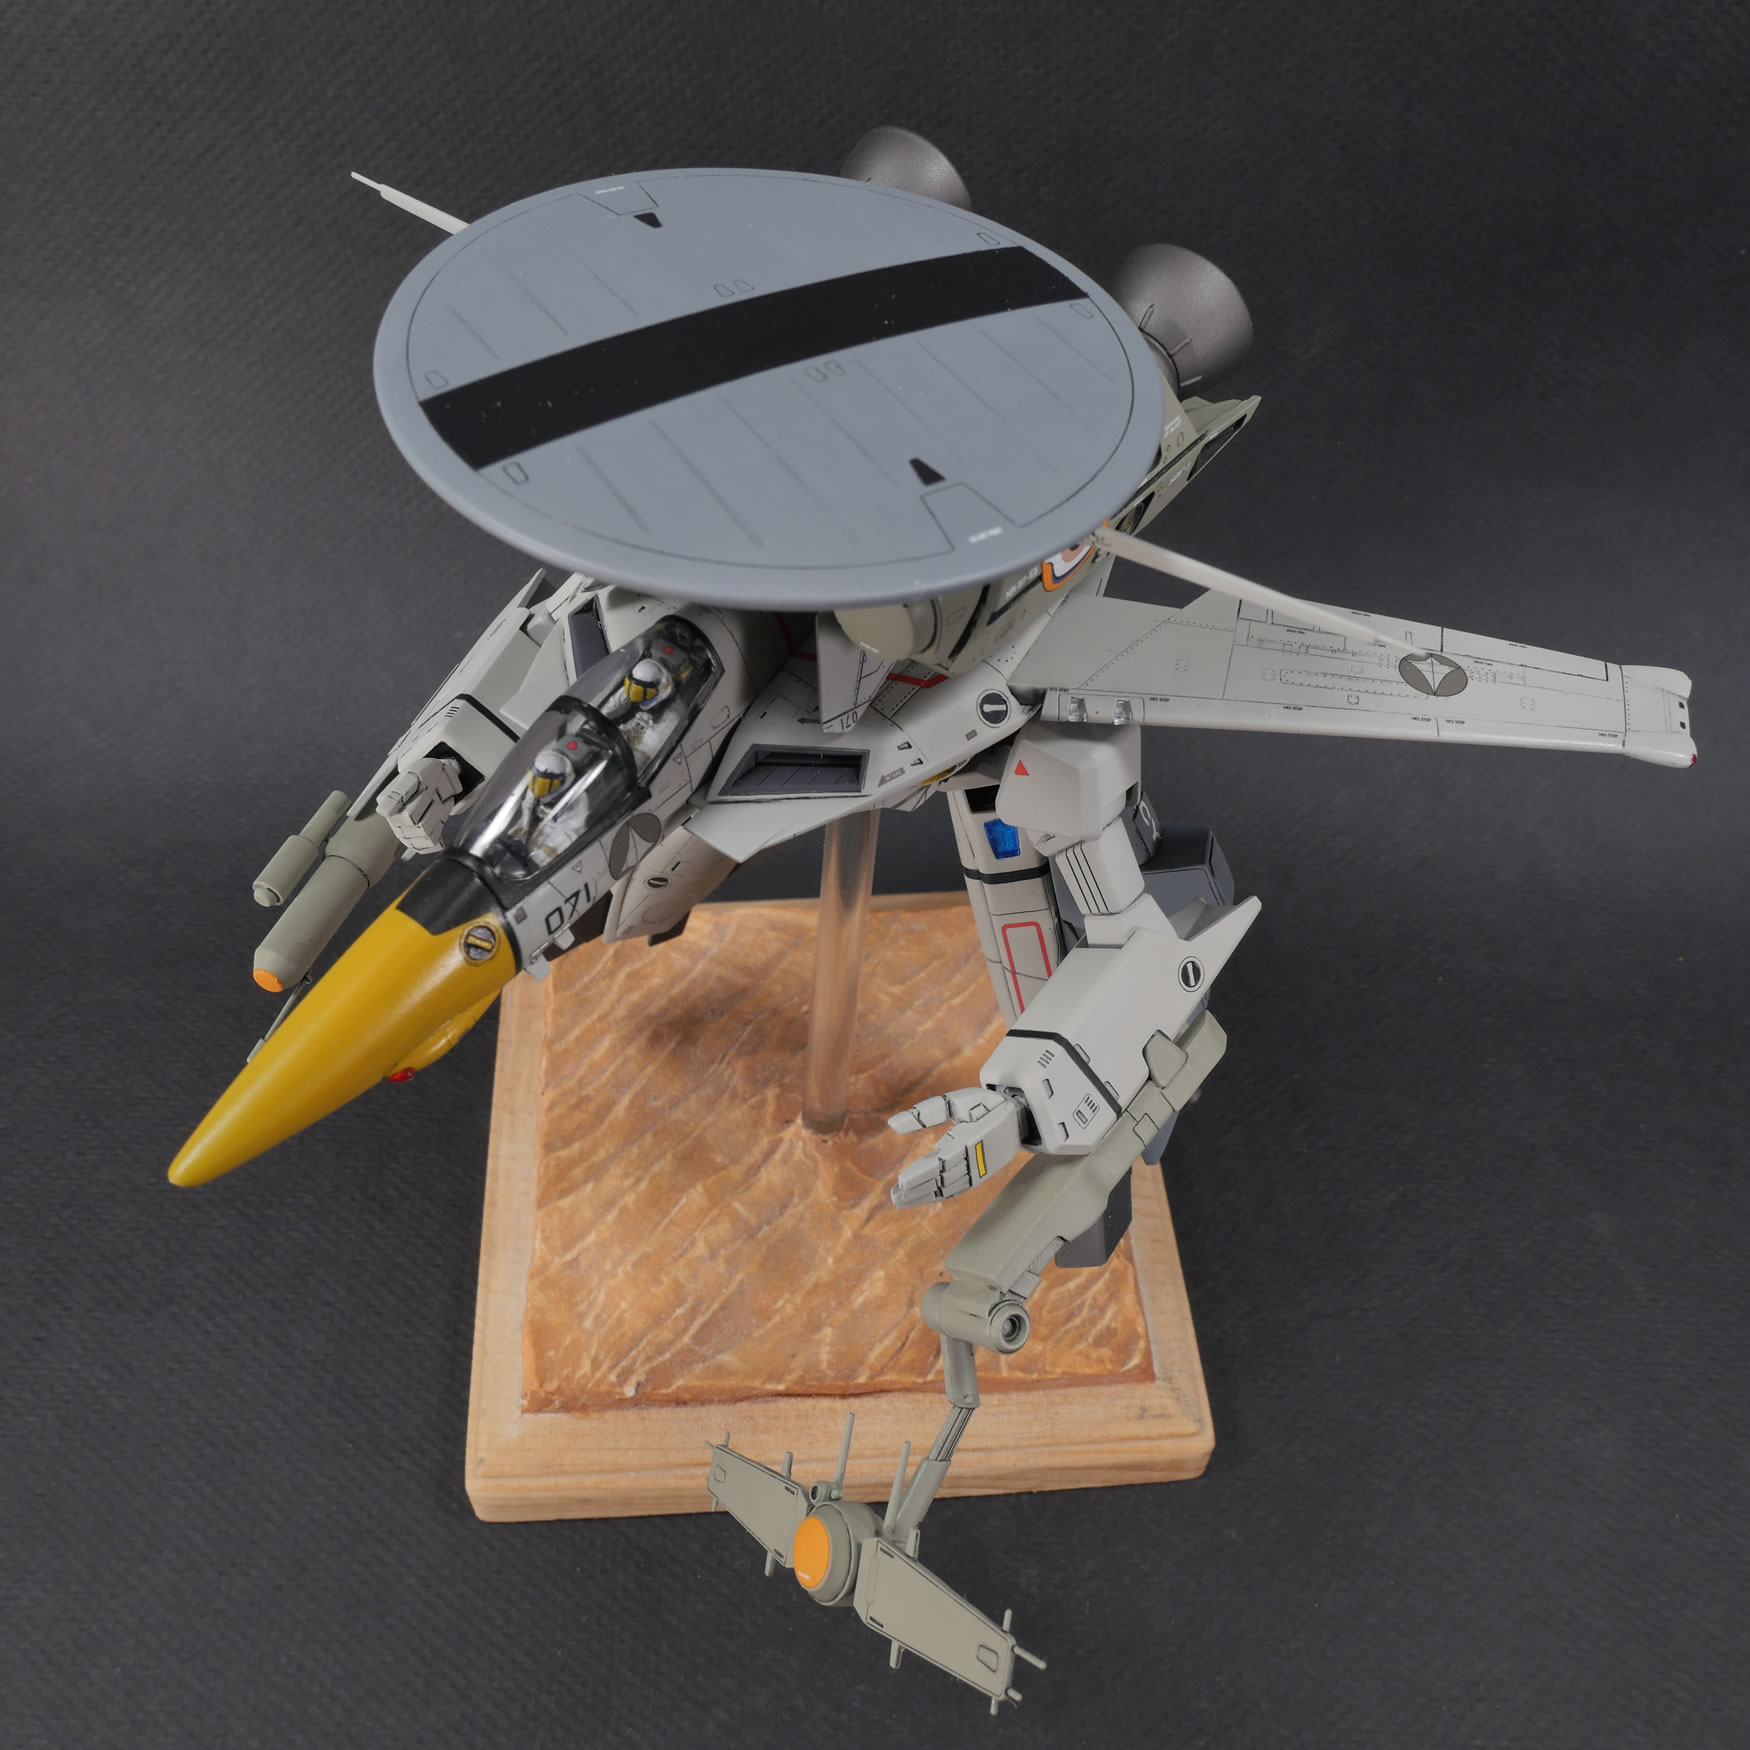
Studio pictures below:
|
|
|
|
|
|
|
|

|
|
|

|
|
|

|
|
|
|
|
|
|

|

|

|
|
|
|

|
|
|
|
Hi Master,
Love your workflow guides! I’d like to ask if you’d mind me uploading photos of your Gundam-style resin garage kits (GK) to acg.78dm.net. This could help the community better share info and learn about these GK models. If you’re okay with this, it would be a huge help!
I’m happy to add your ID watermark or any credits you prefer. After uploading, just let me know if anything needs adjusting — I’ll fix it right away.