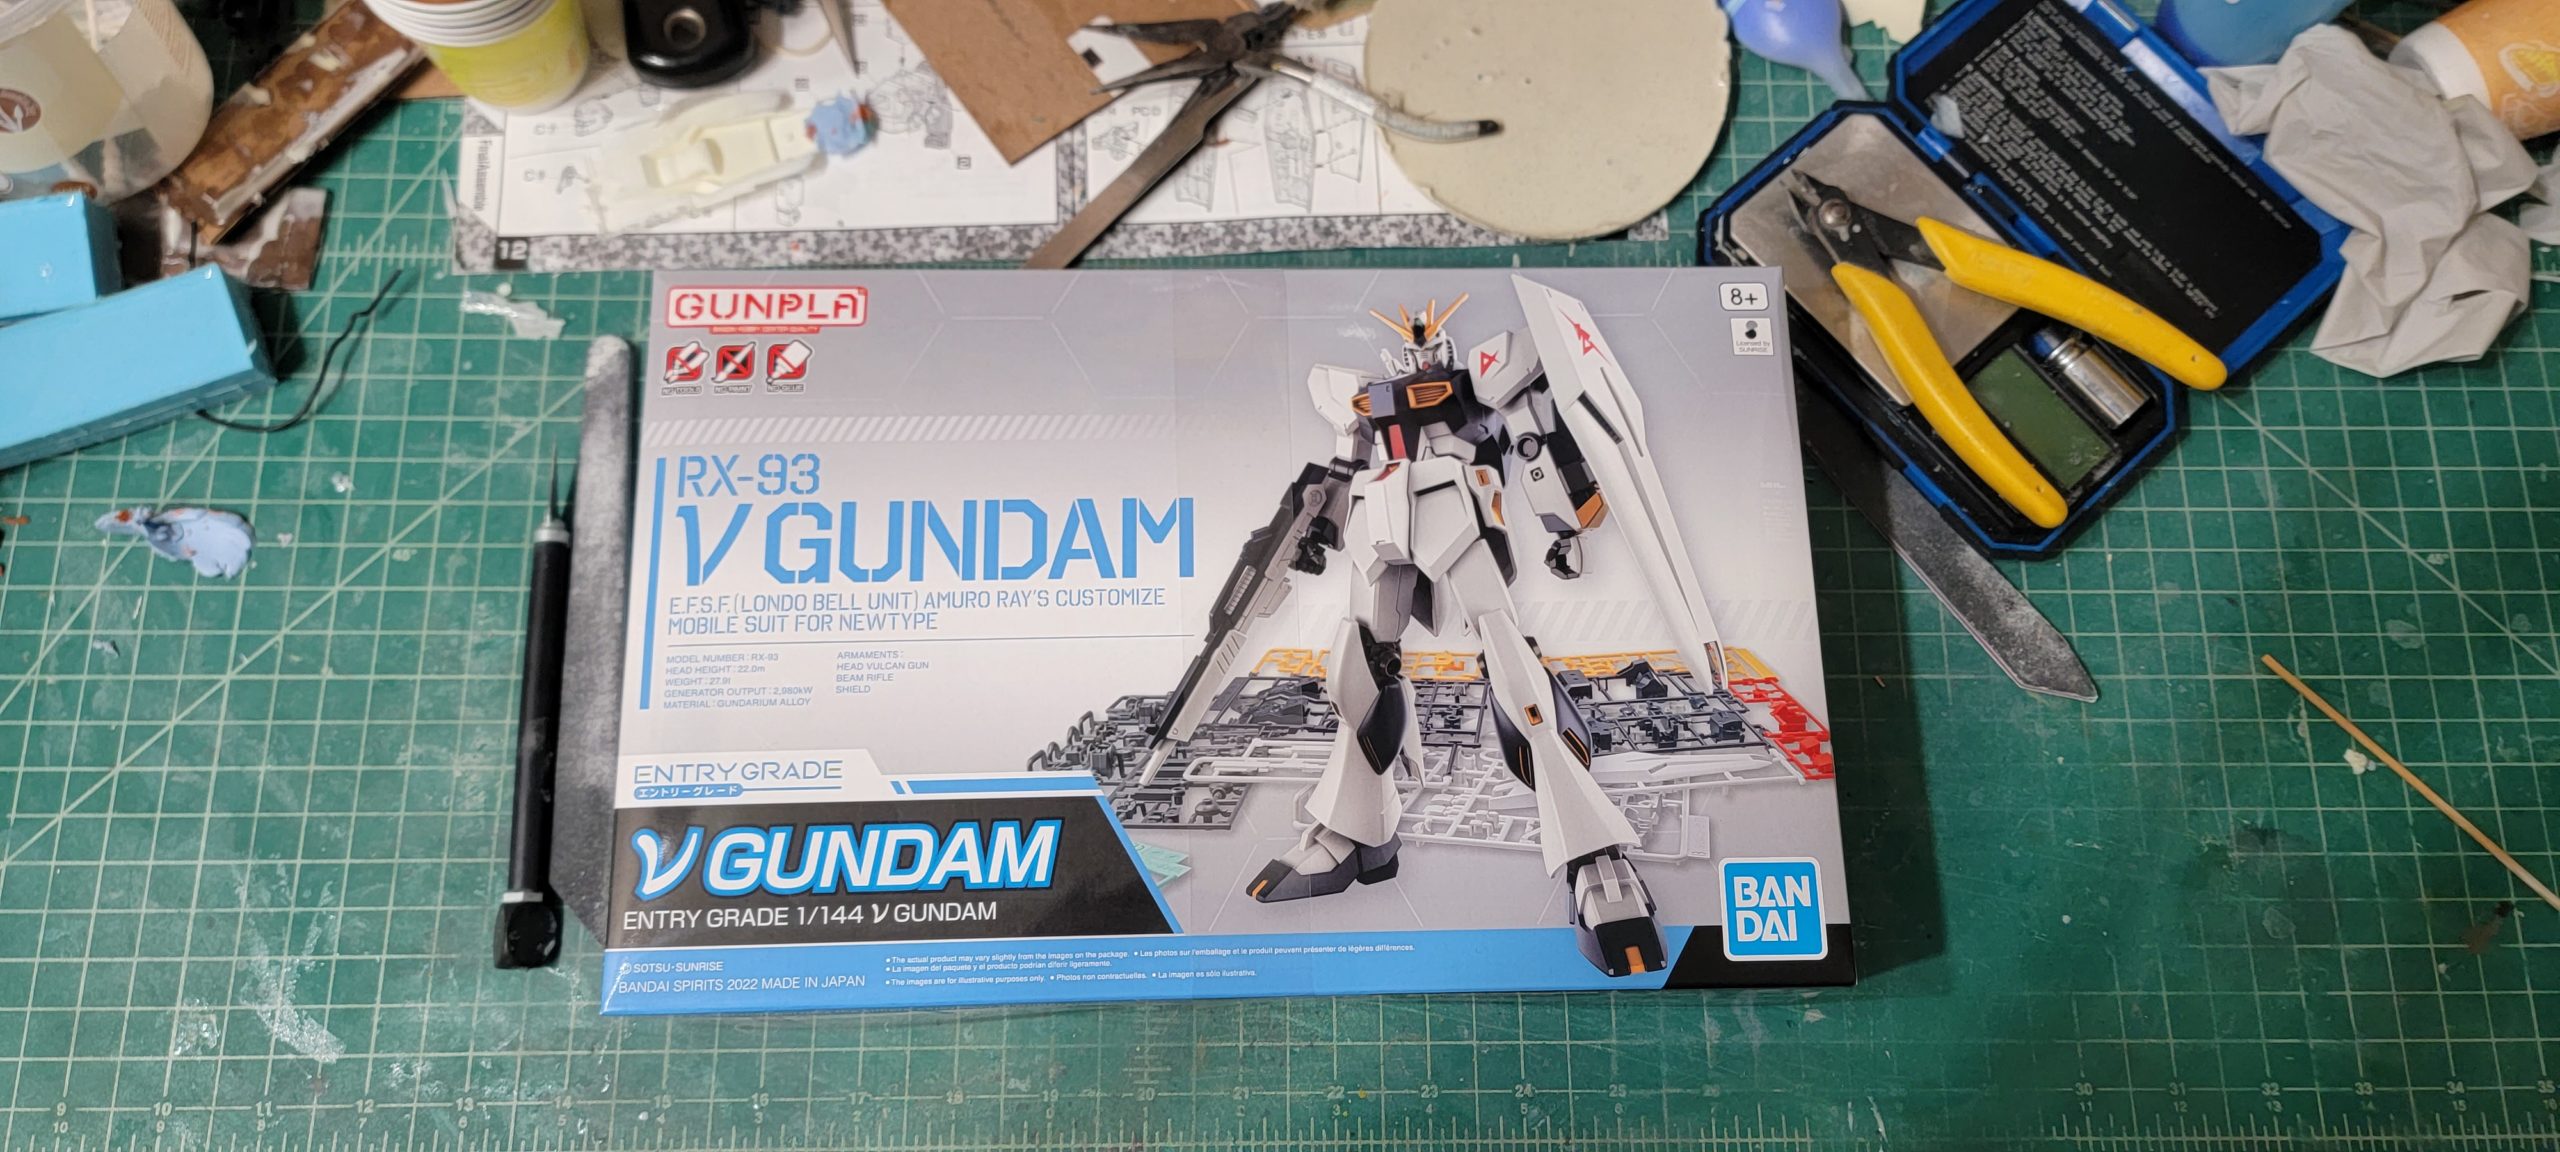
Kicking off at midnight August 1st, I cracked open the box and clipped a few parts off the tree and called it a night as I had an early morning.
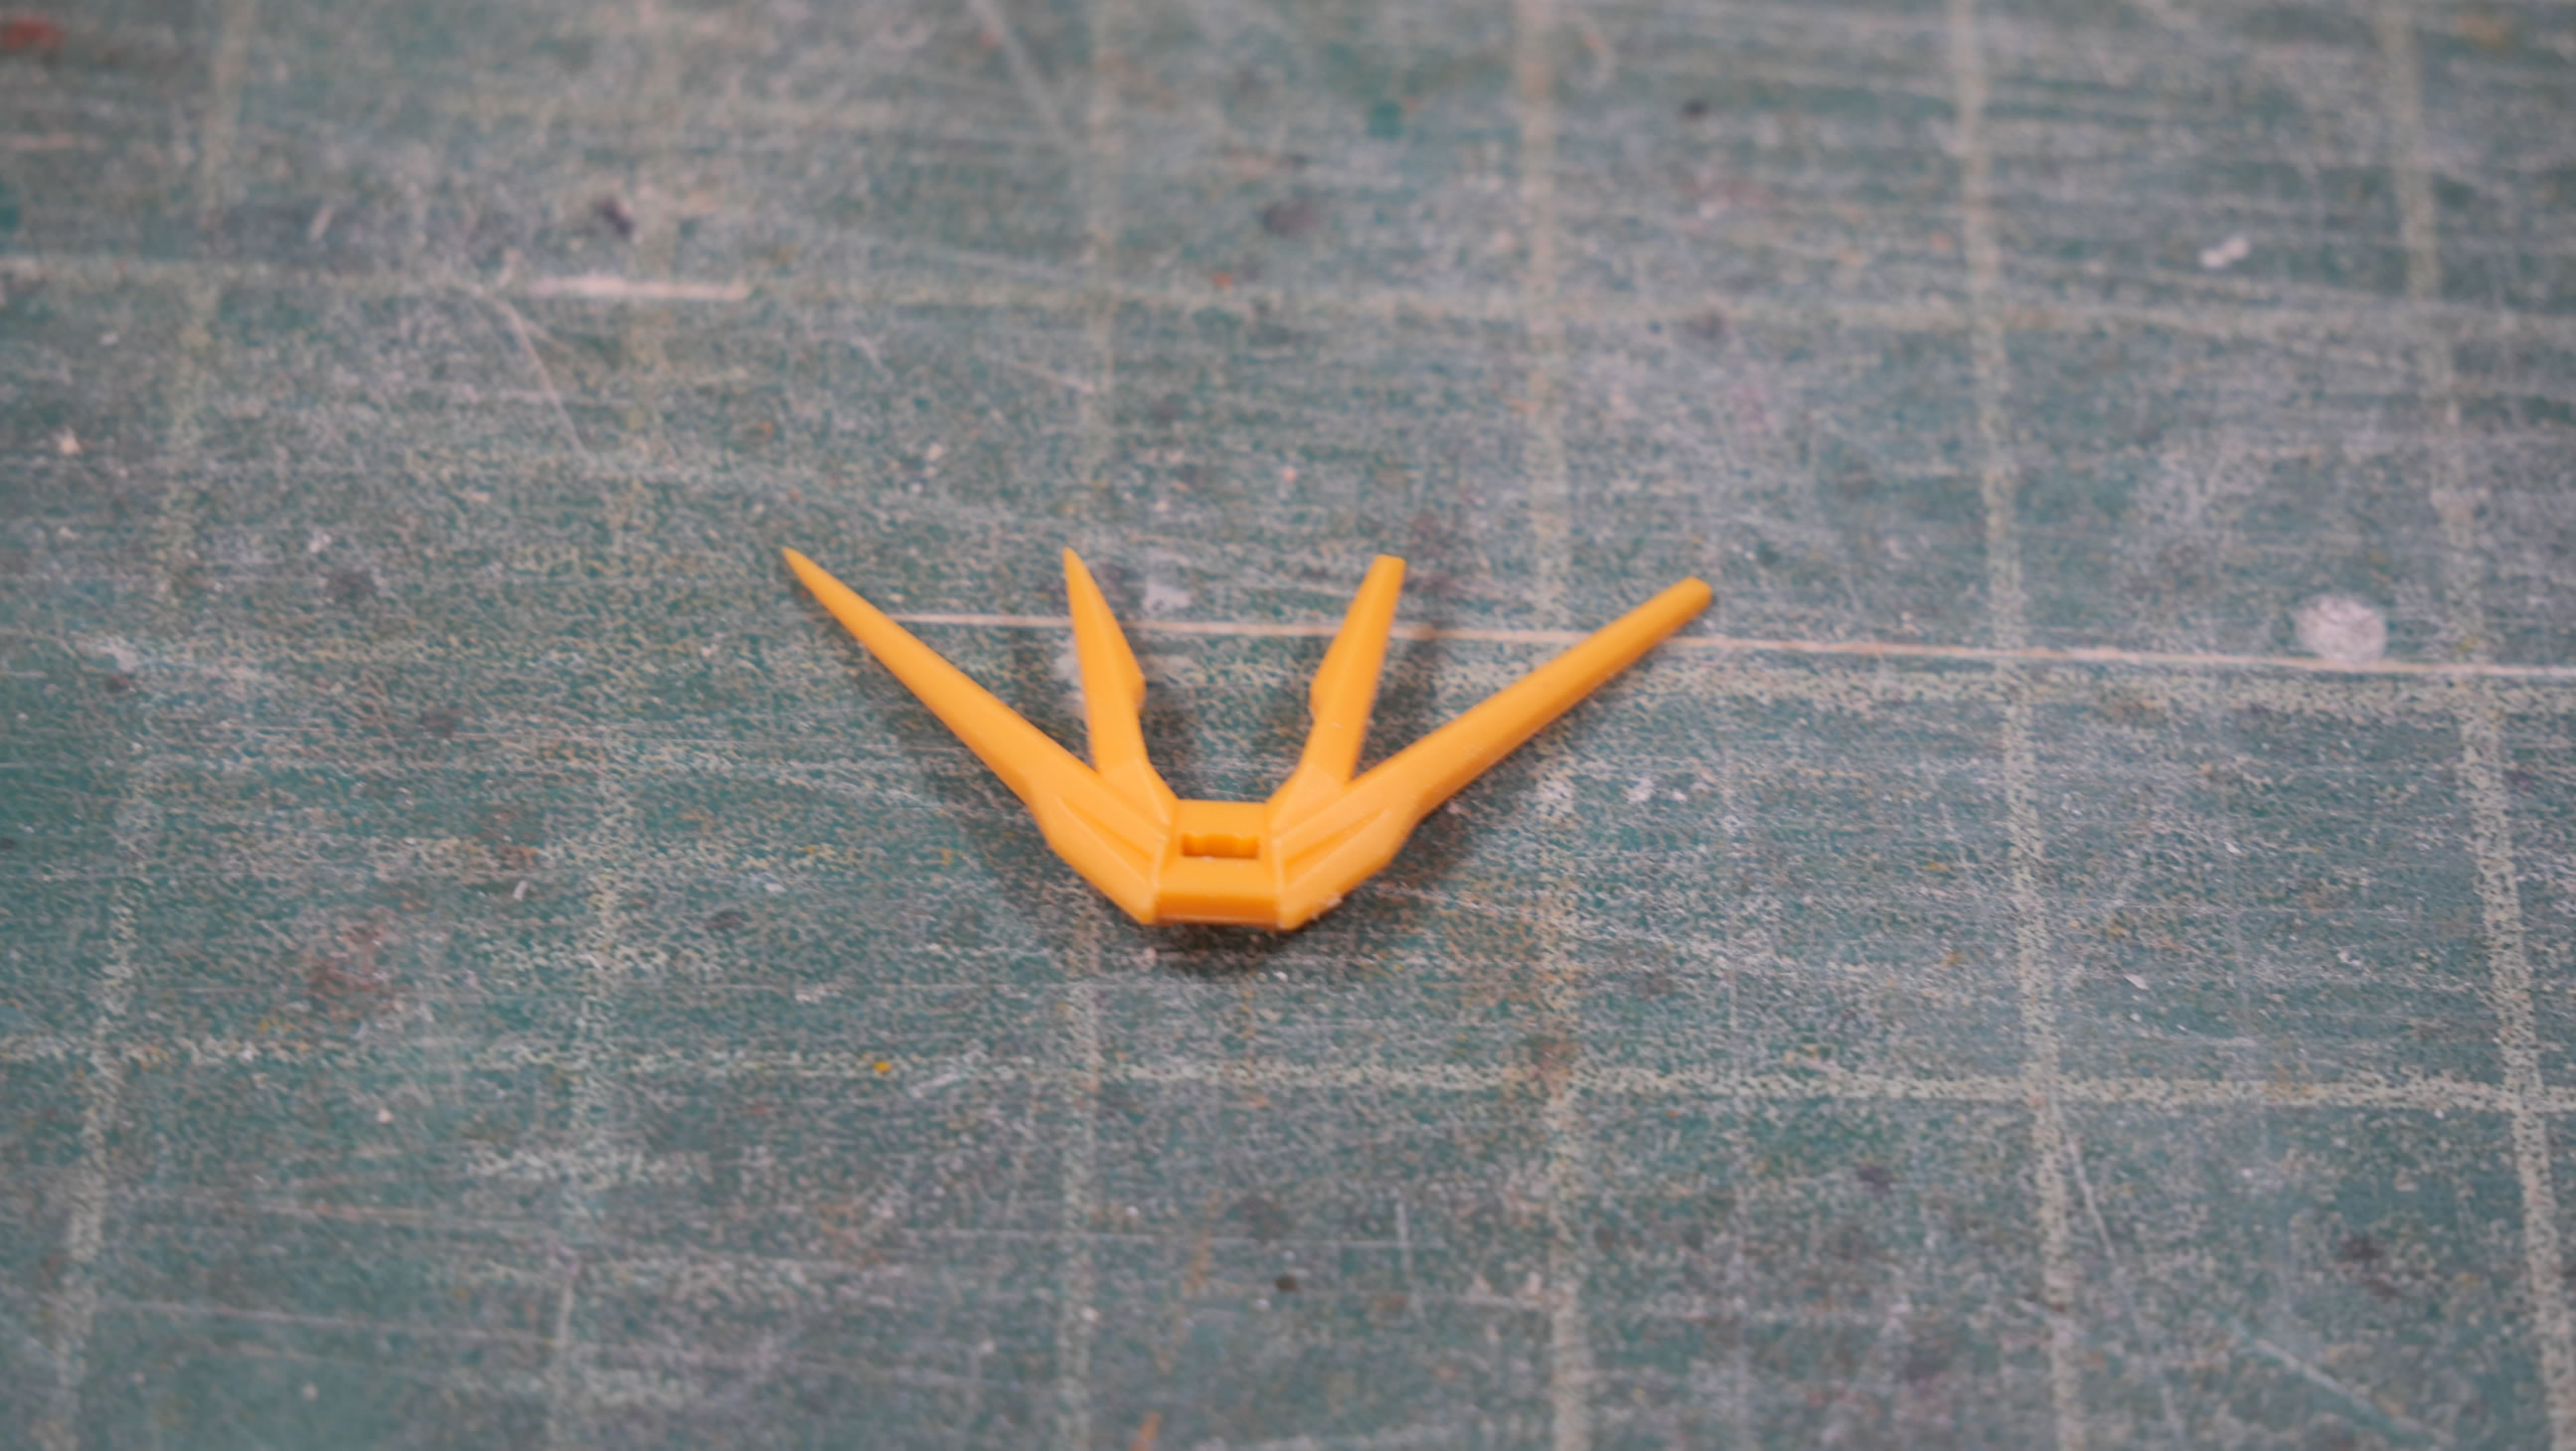
But a day or so later, I started getting into the clean up work for the kit. The V-fins always need shaping to sharpen them up and remove the kid friendly non pointy bits. There were only 2 seams, well, two seams *I* dealt with, the chest and the gun. I guess the shoulders could have a seam, but I was too lazy to deal with that. There were however, a shit ton of mold lines. They were everywhere. I even missed a few and needed to go back to sand those down even after I had gotten the part painted. Second layer of paint too.

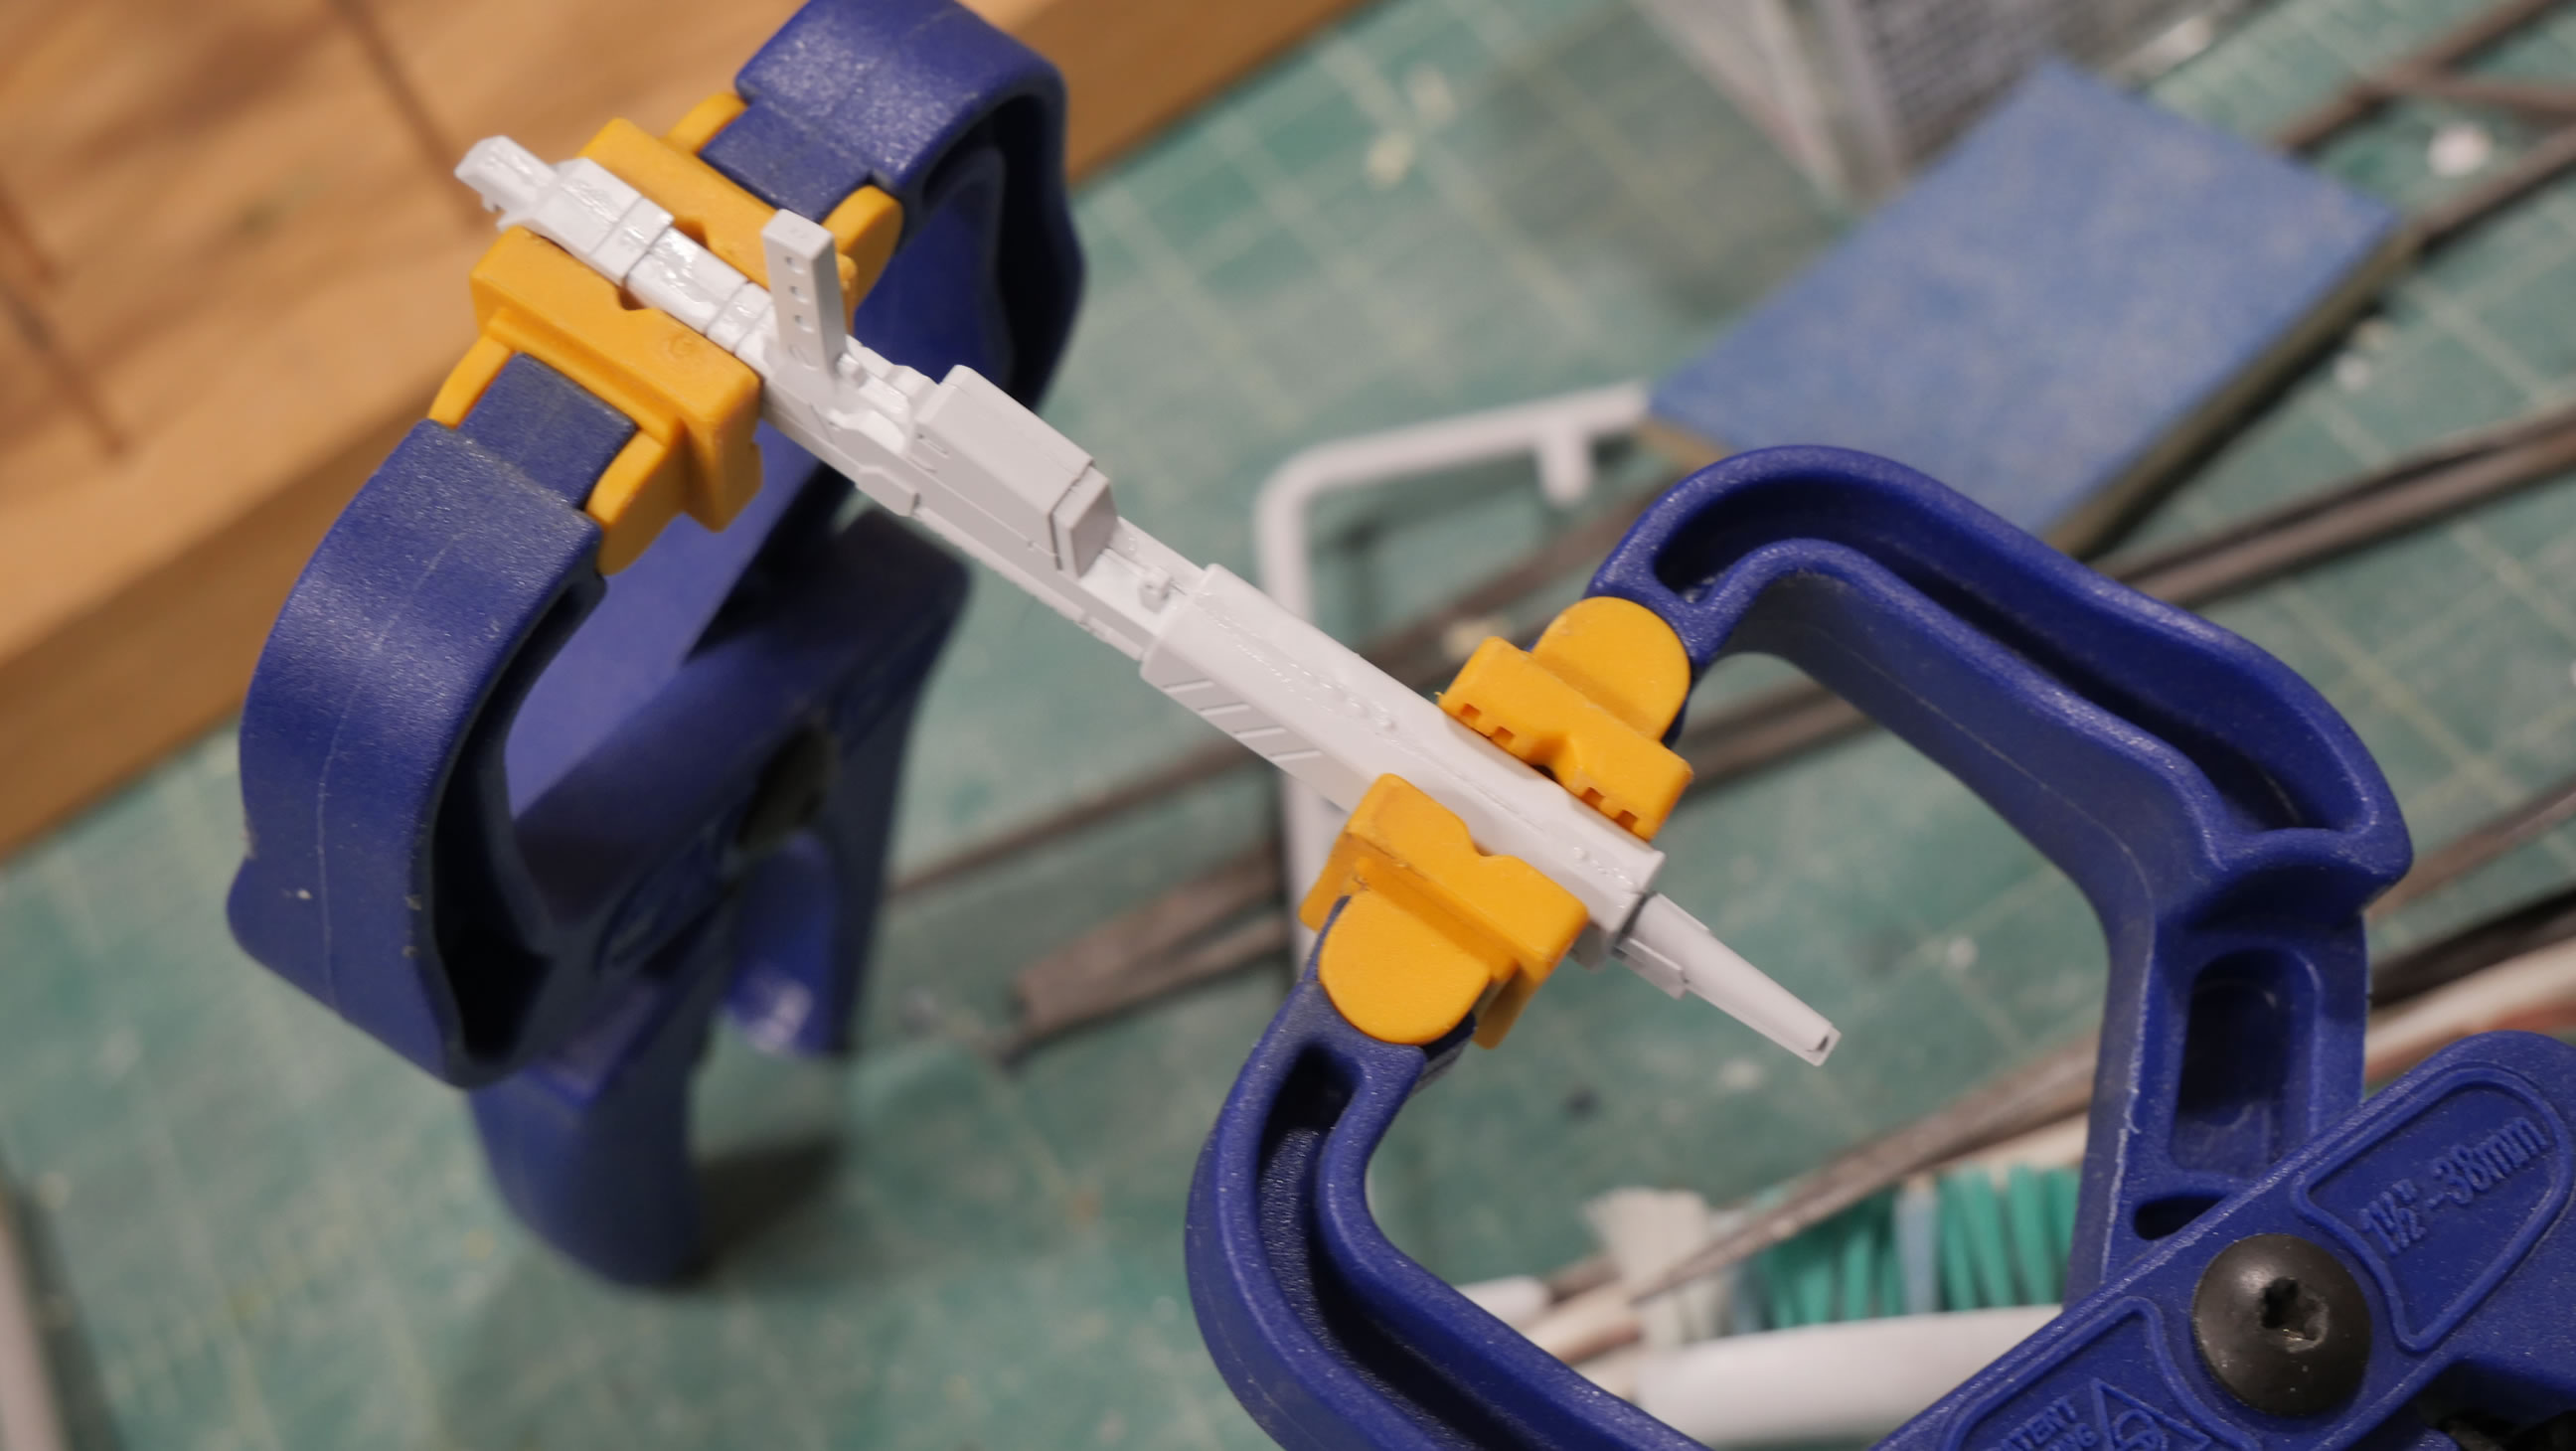
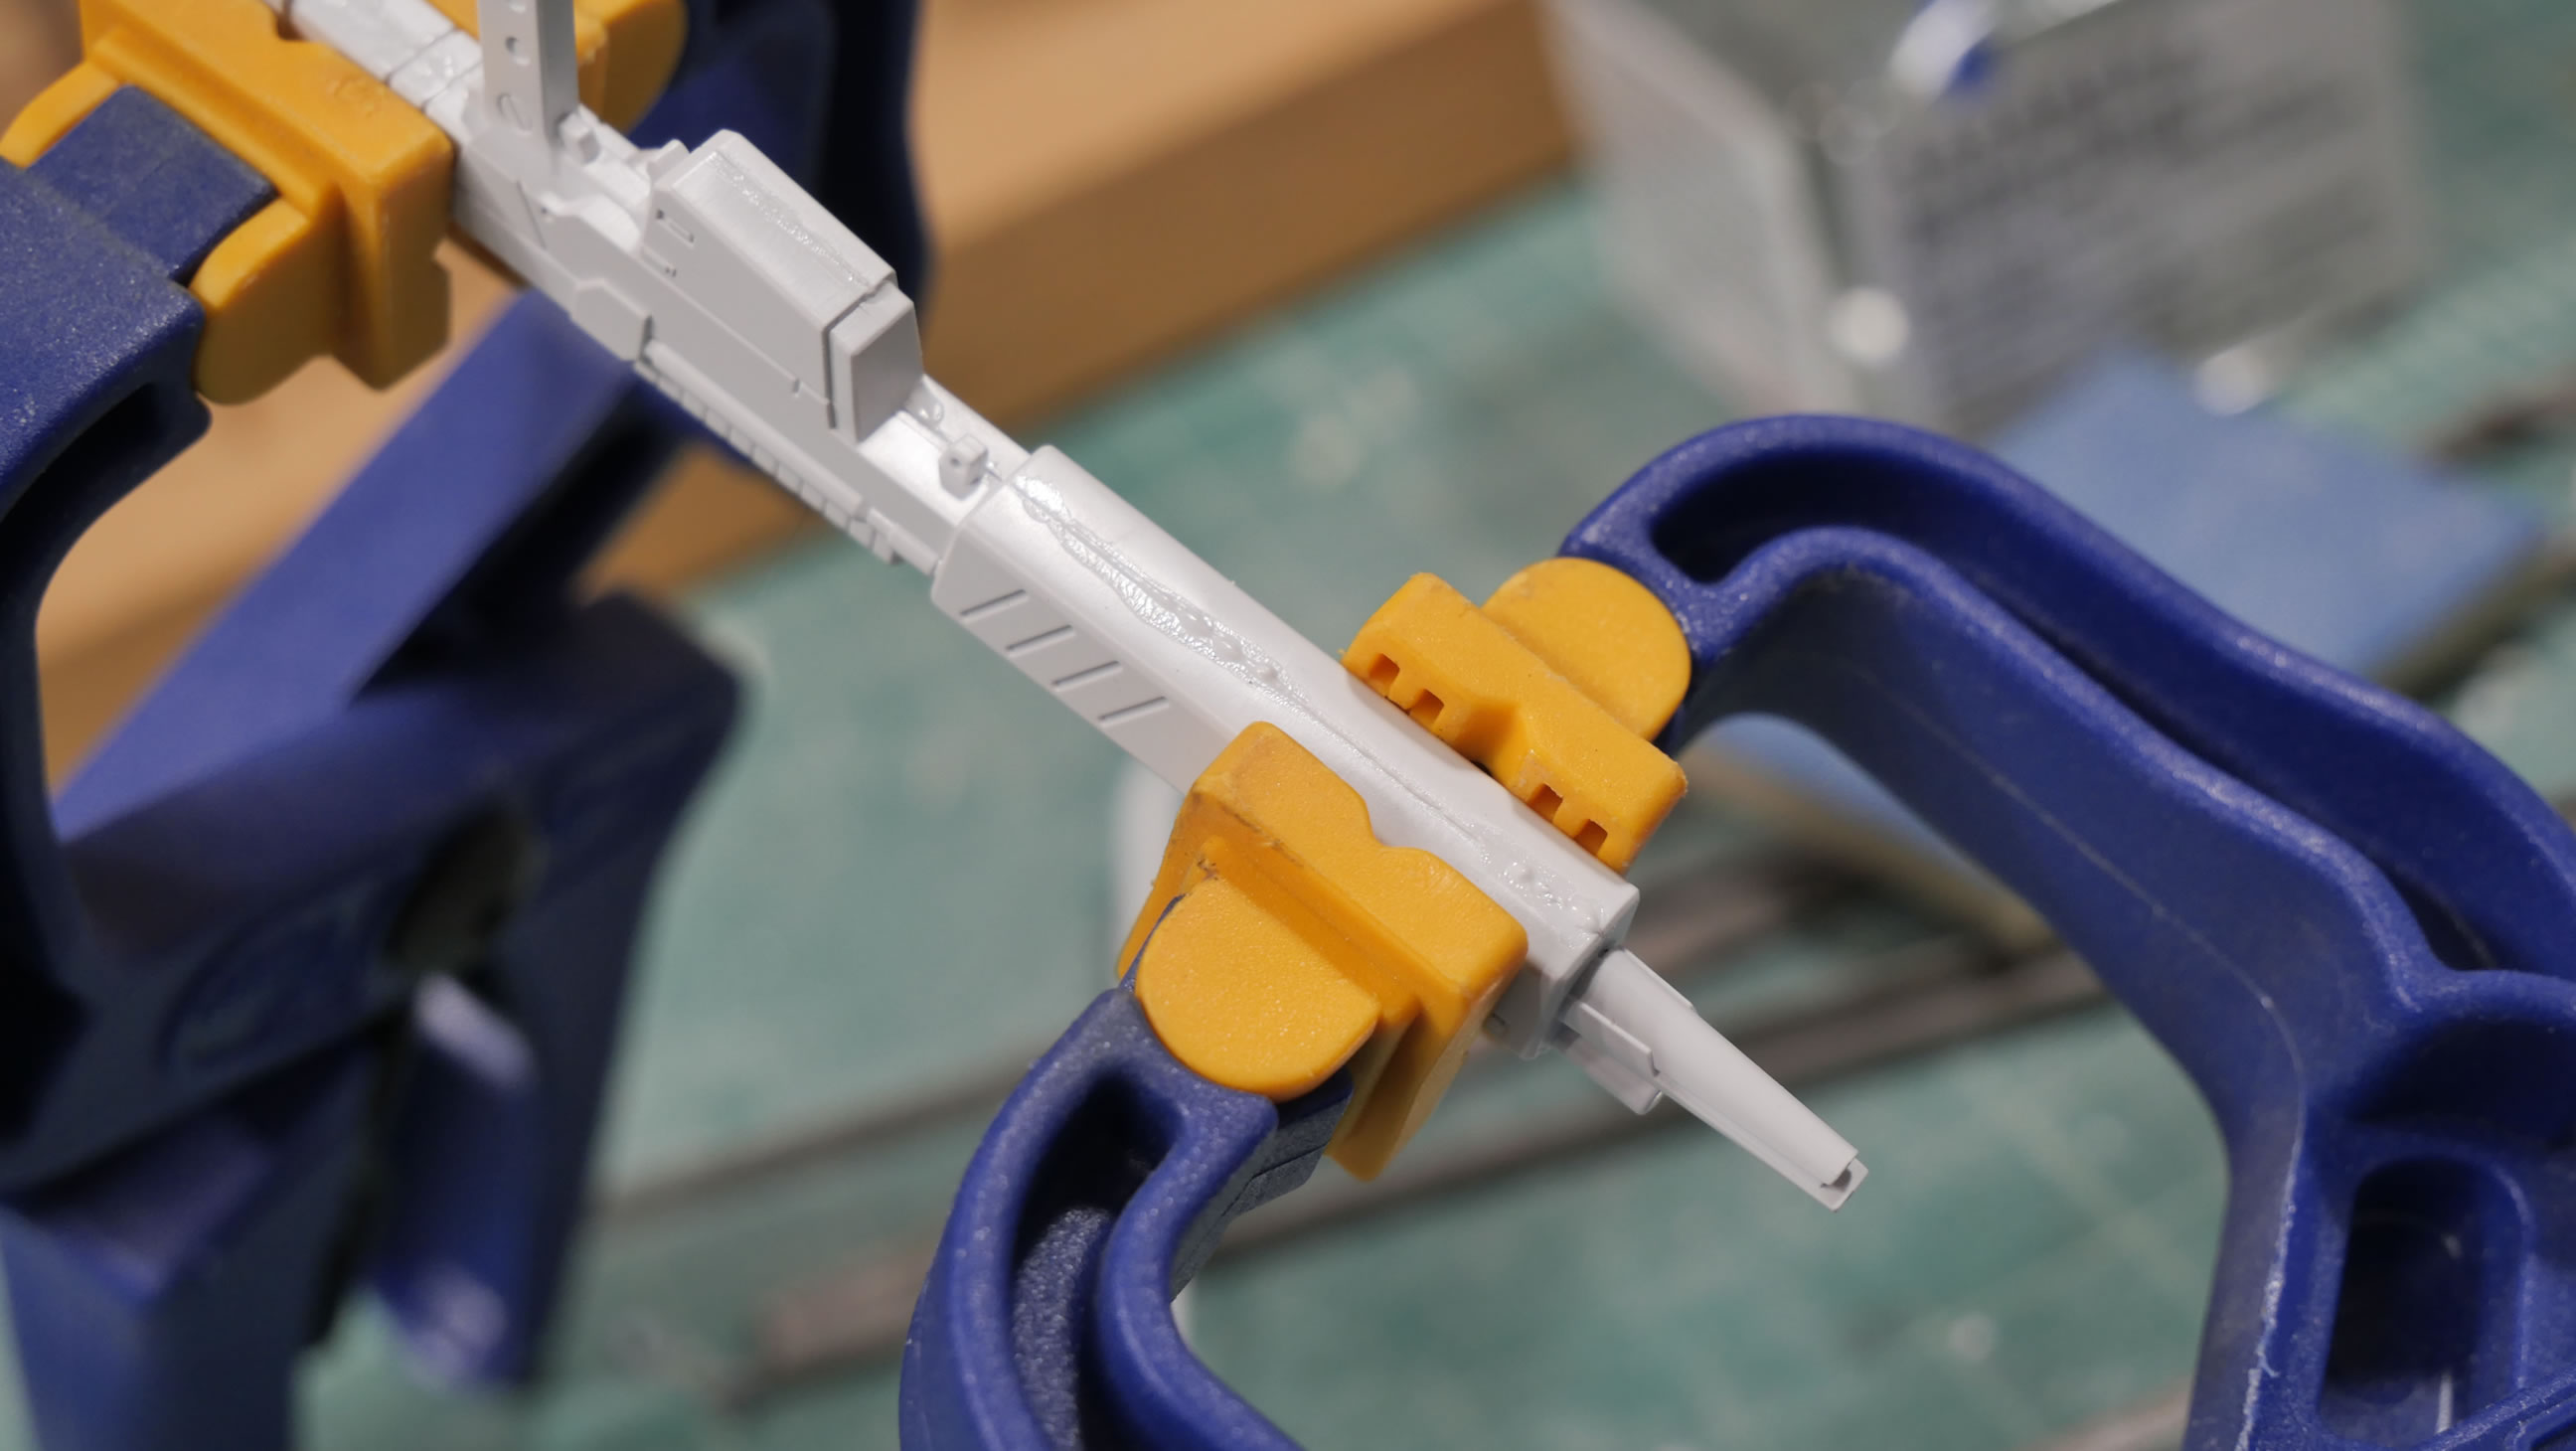
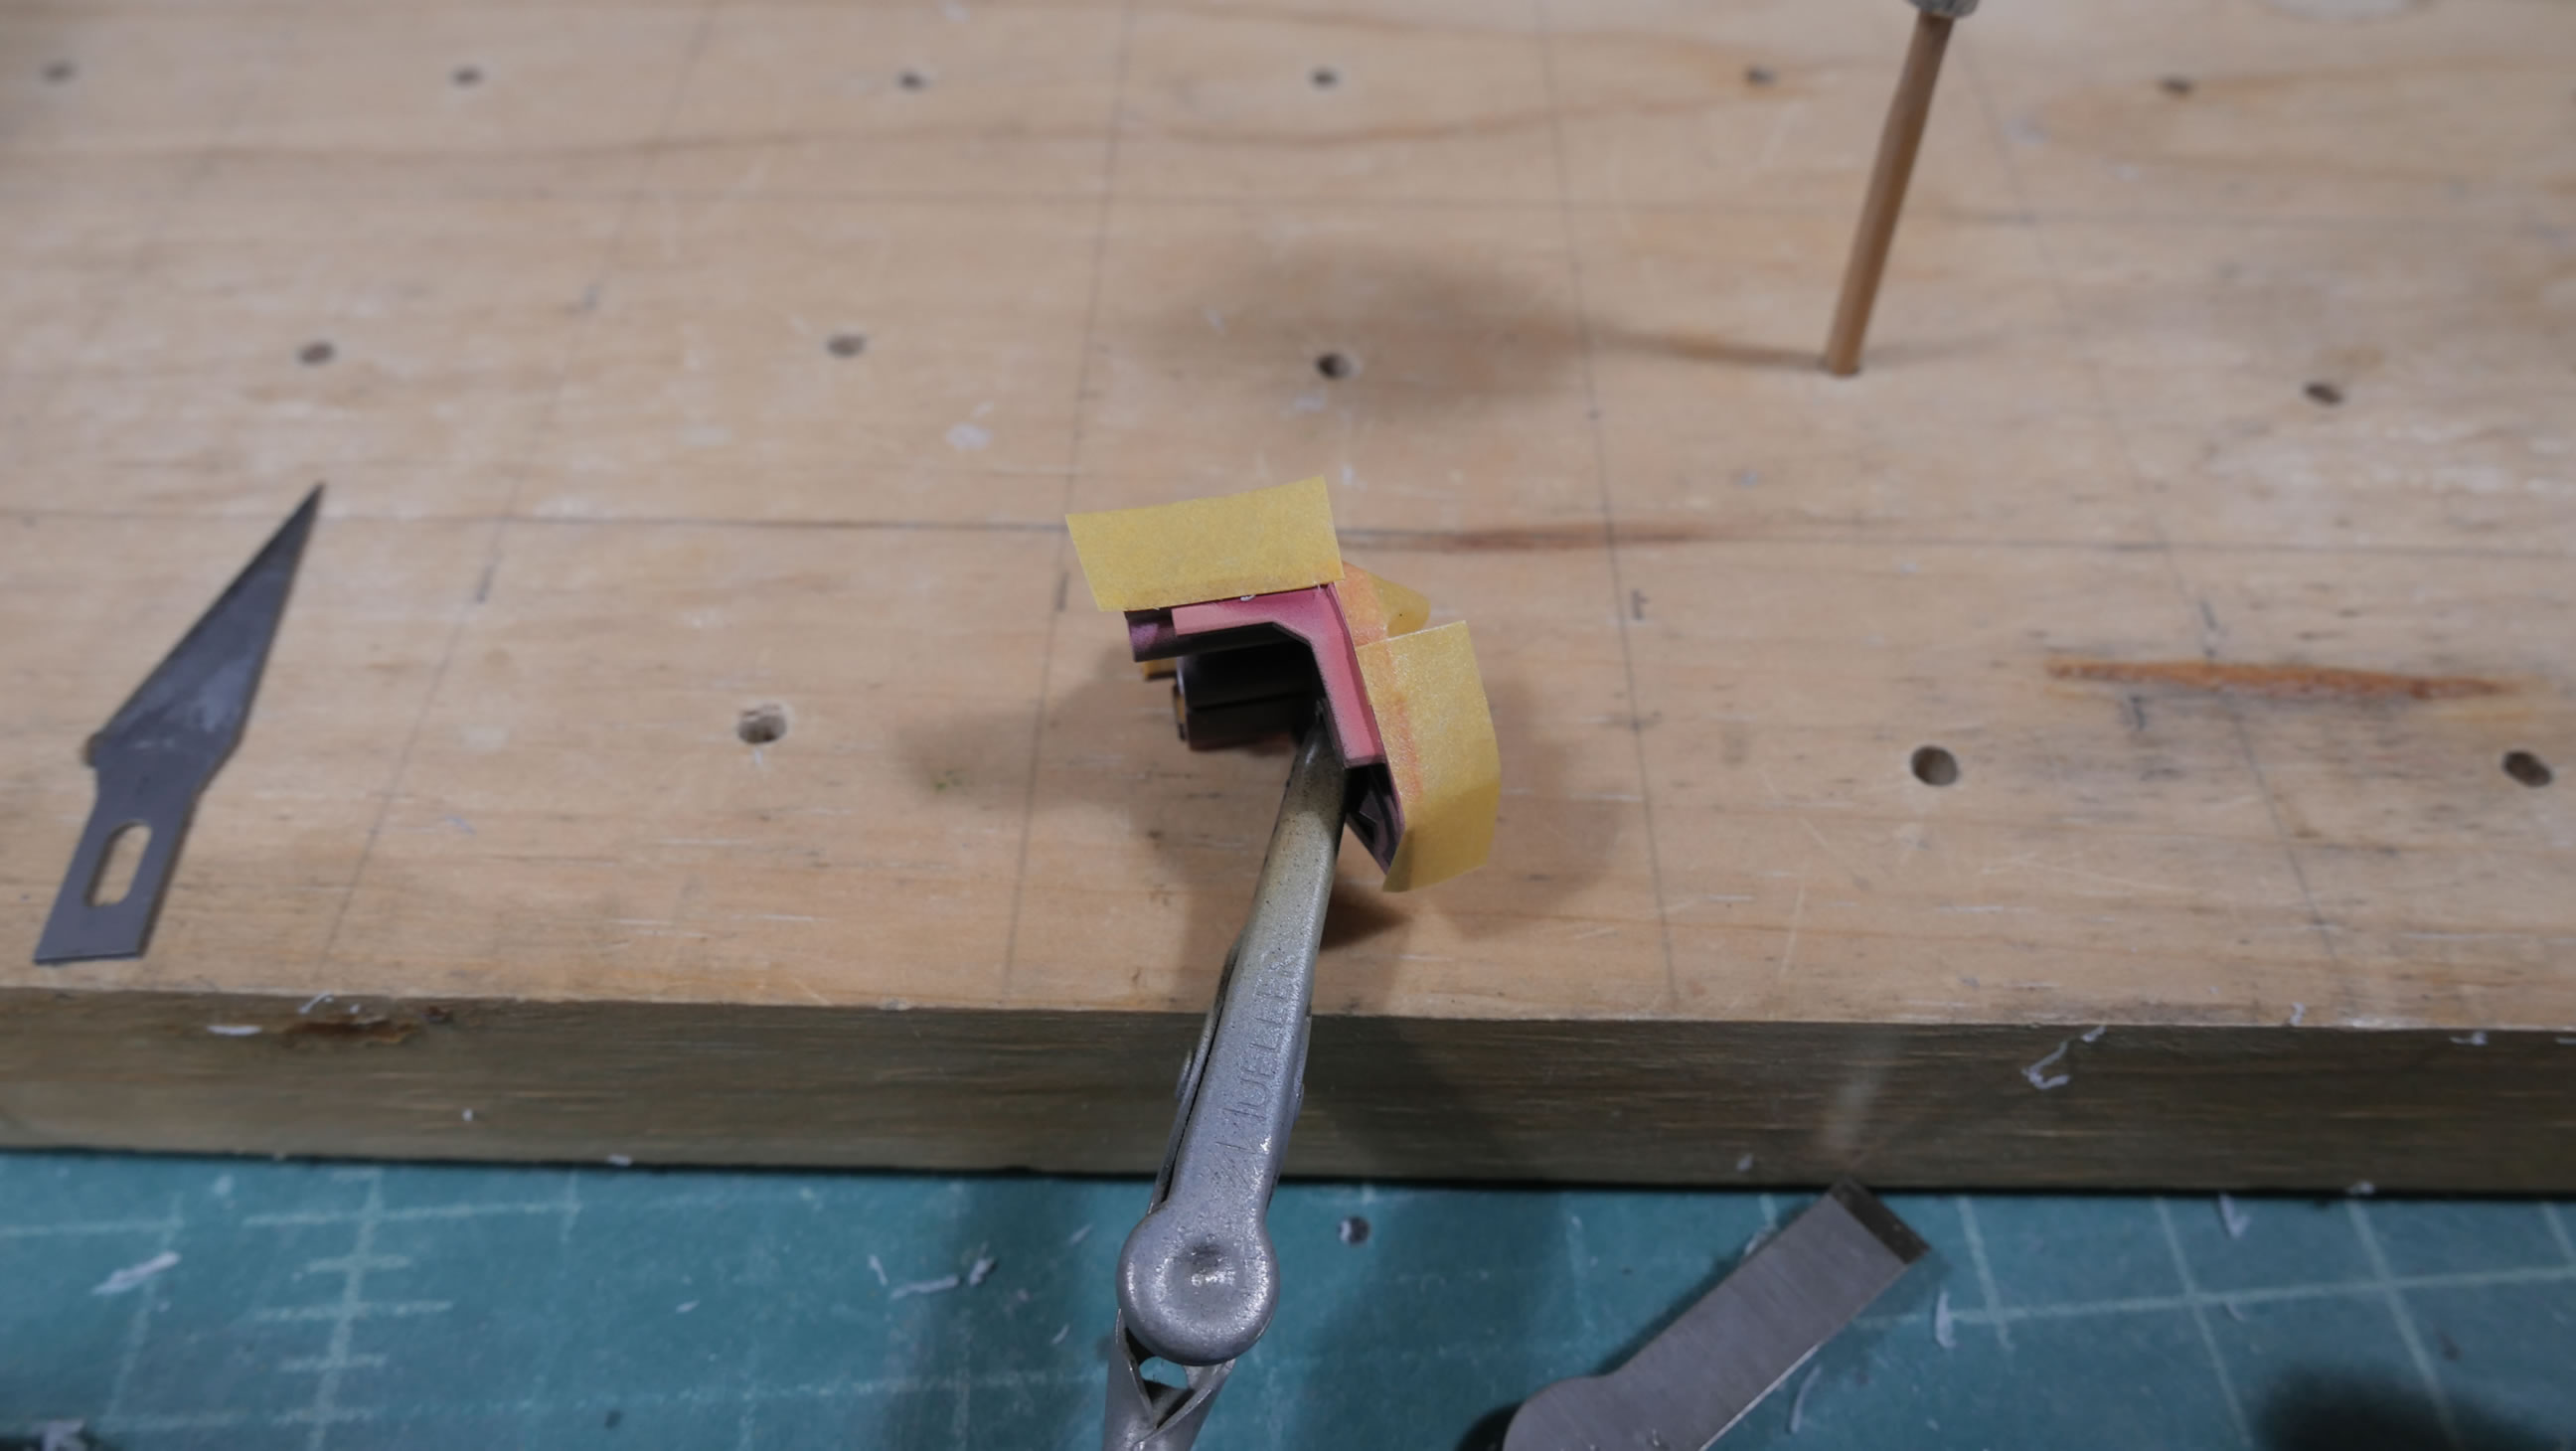
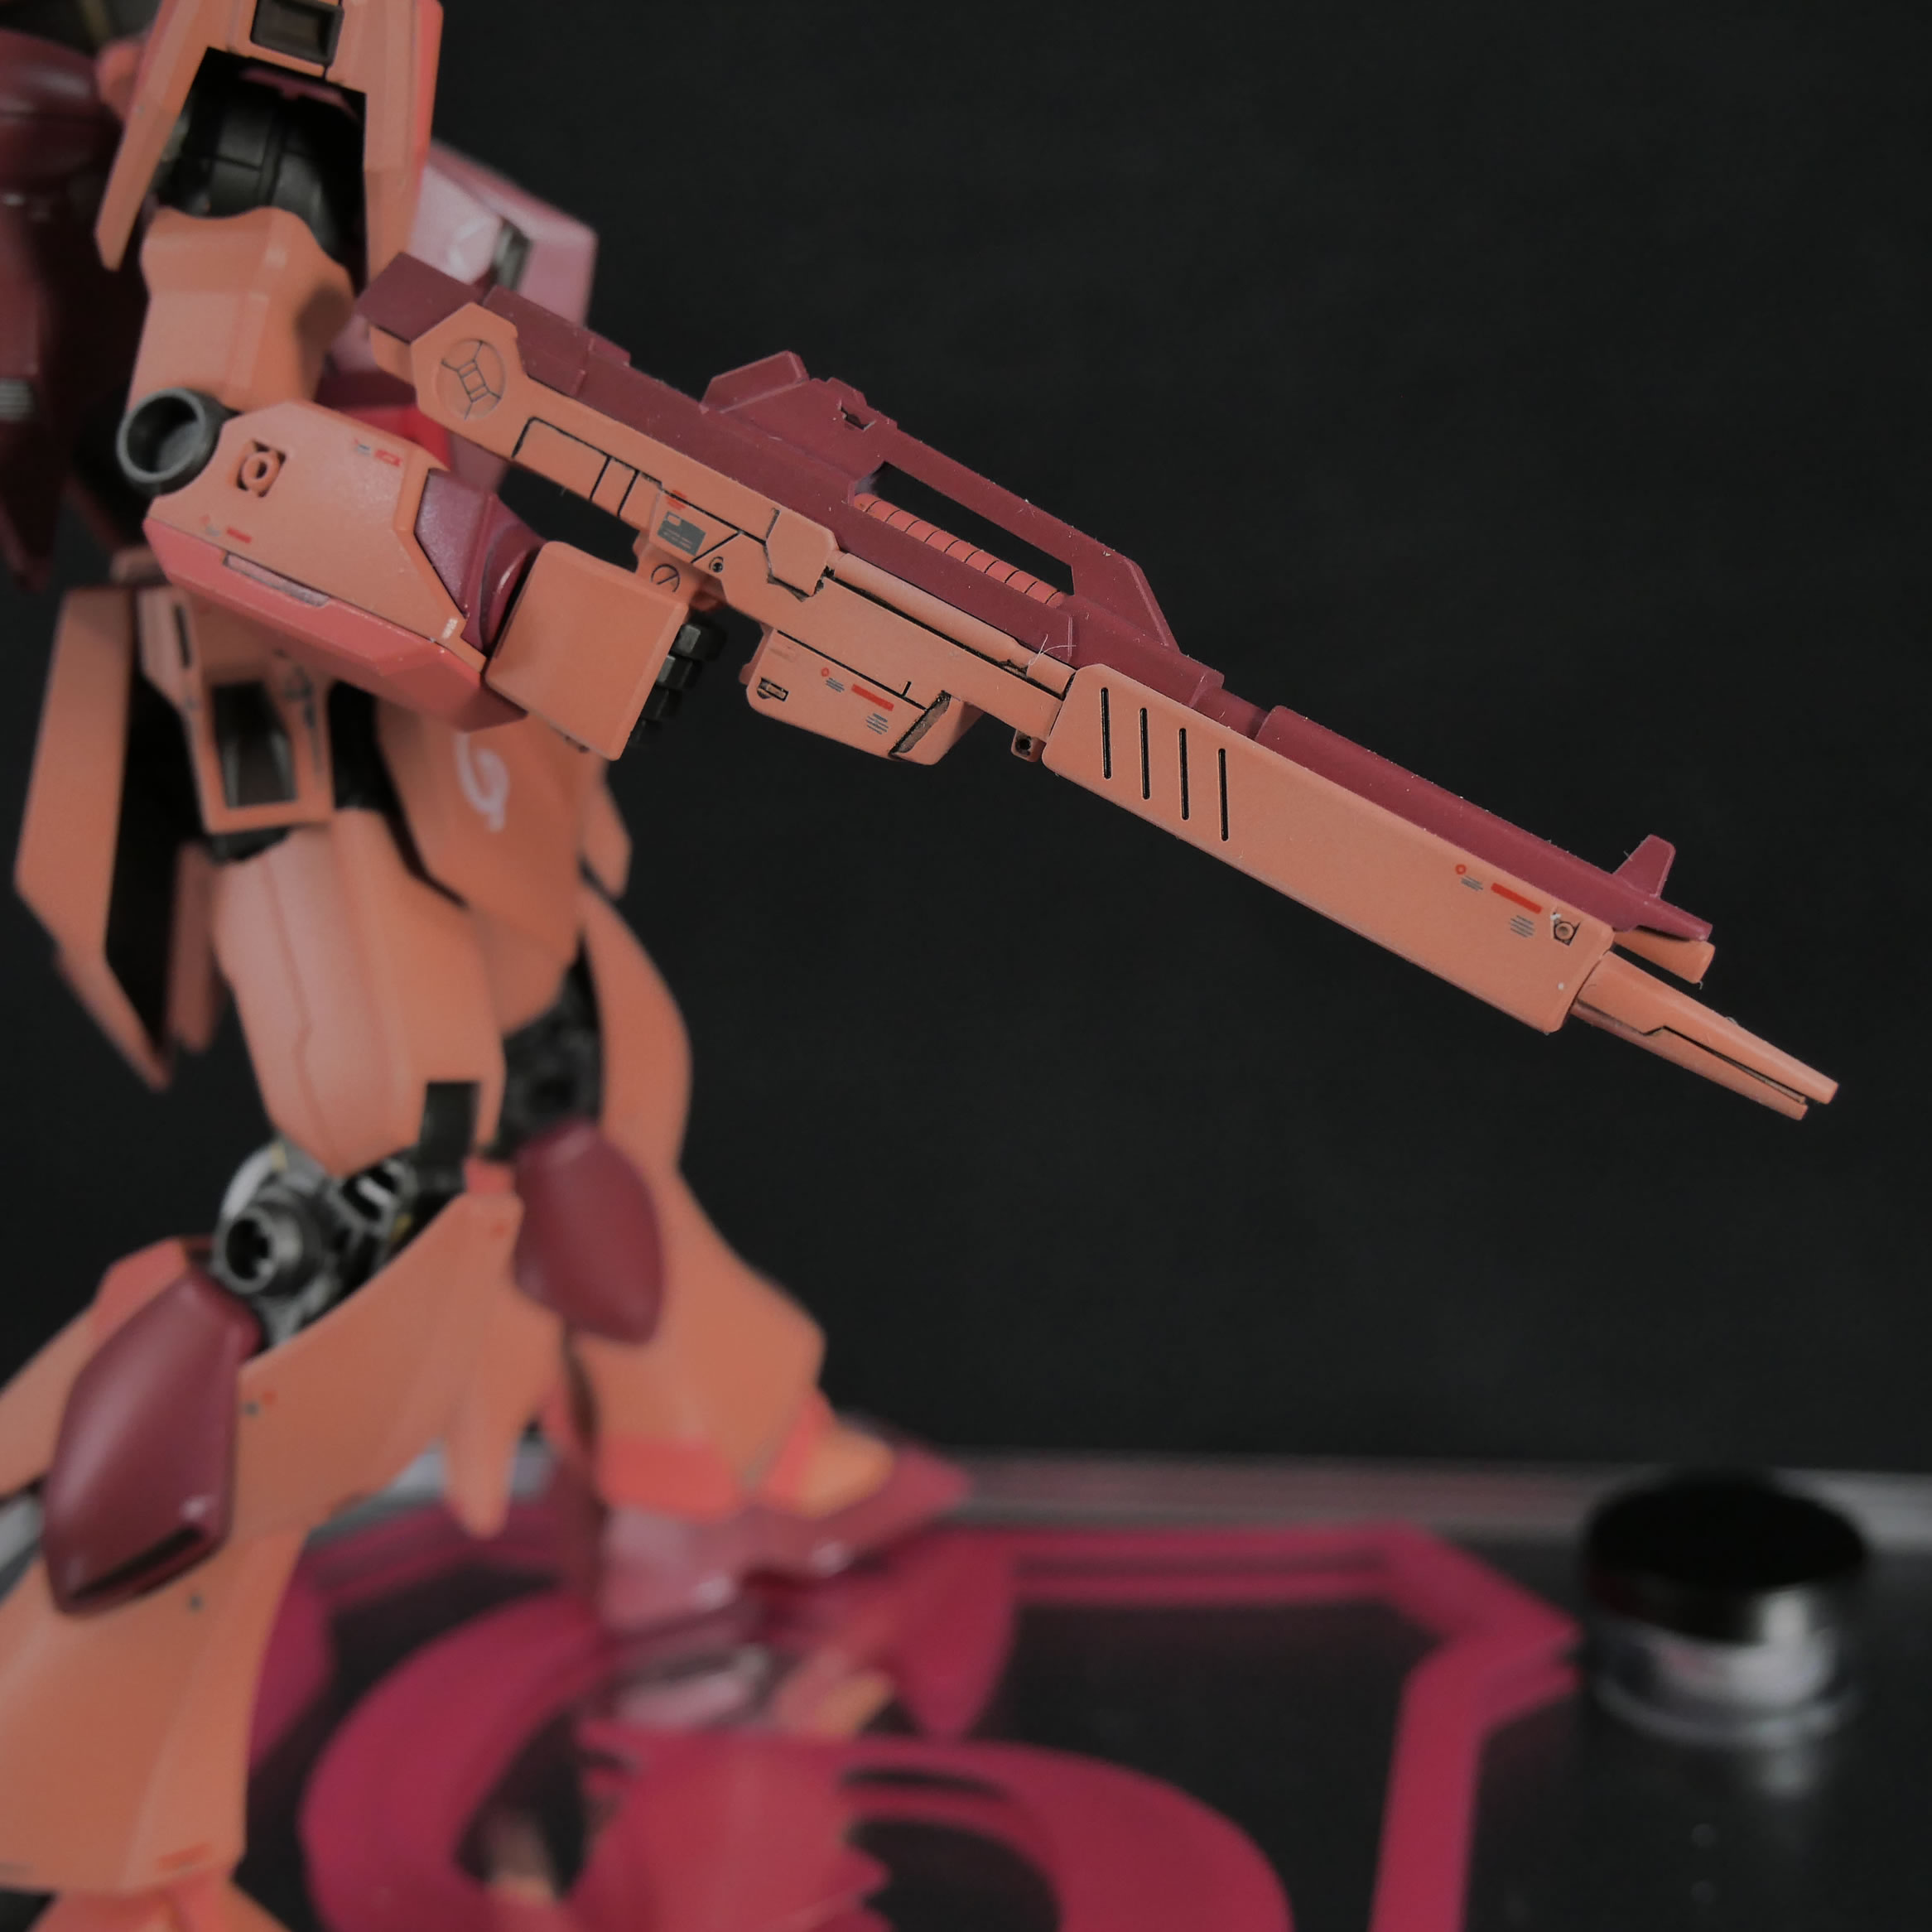
The gun has a nice seam and these are just going to be hard for bandai to engineer out. So a little plastic cement to melt the plastic and weld the pieces together. A quick sand and the seam is gone a few hours after the glue cures.
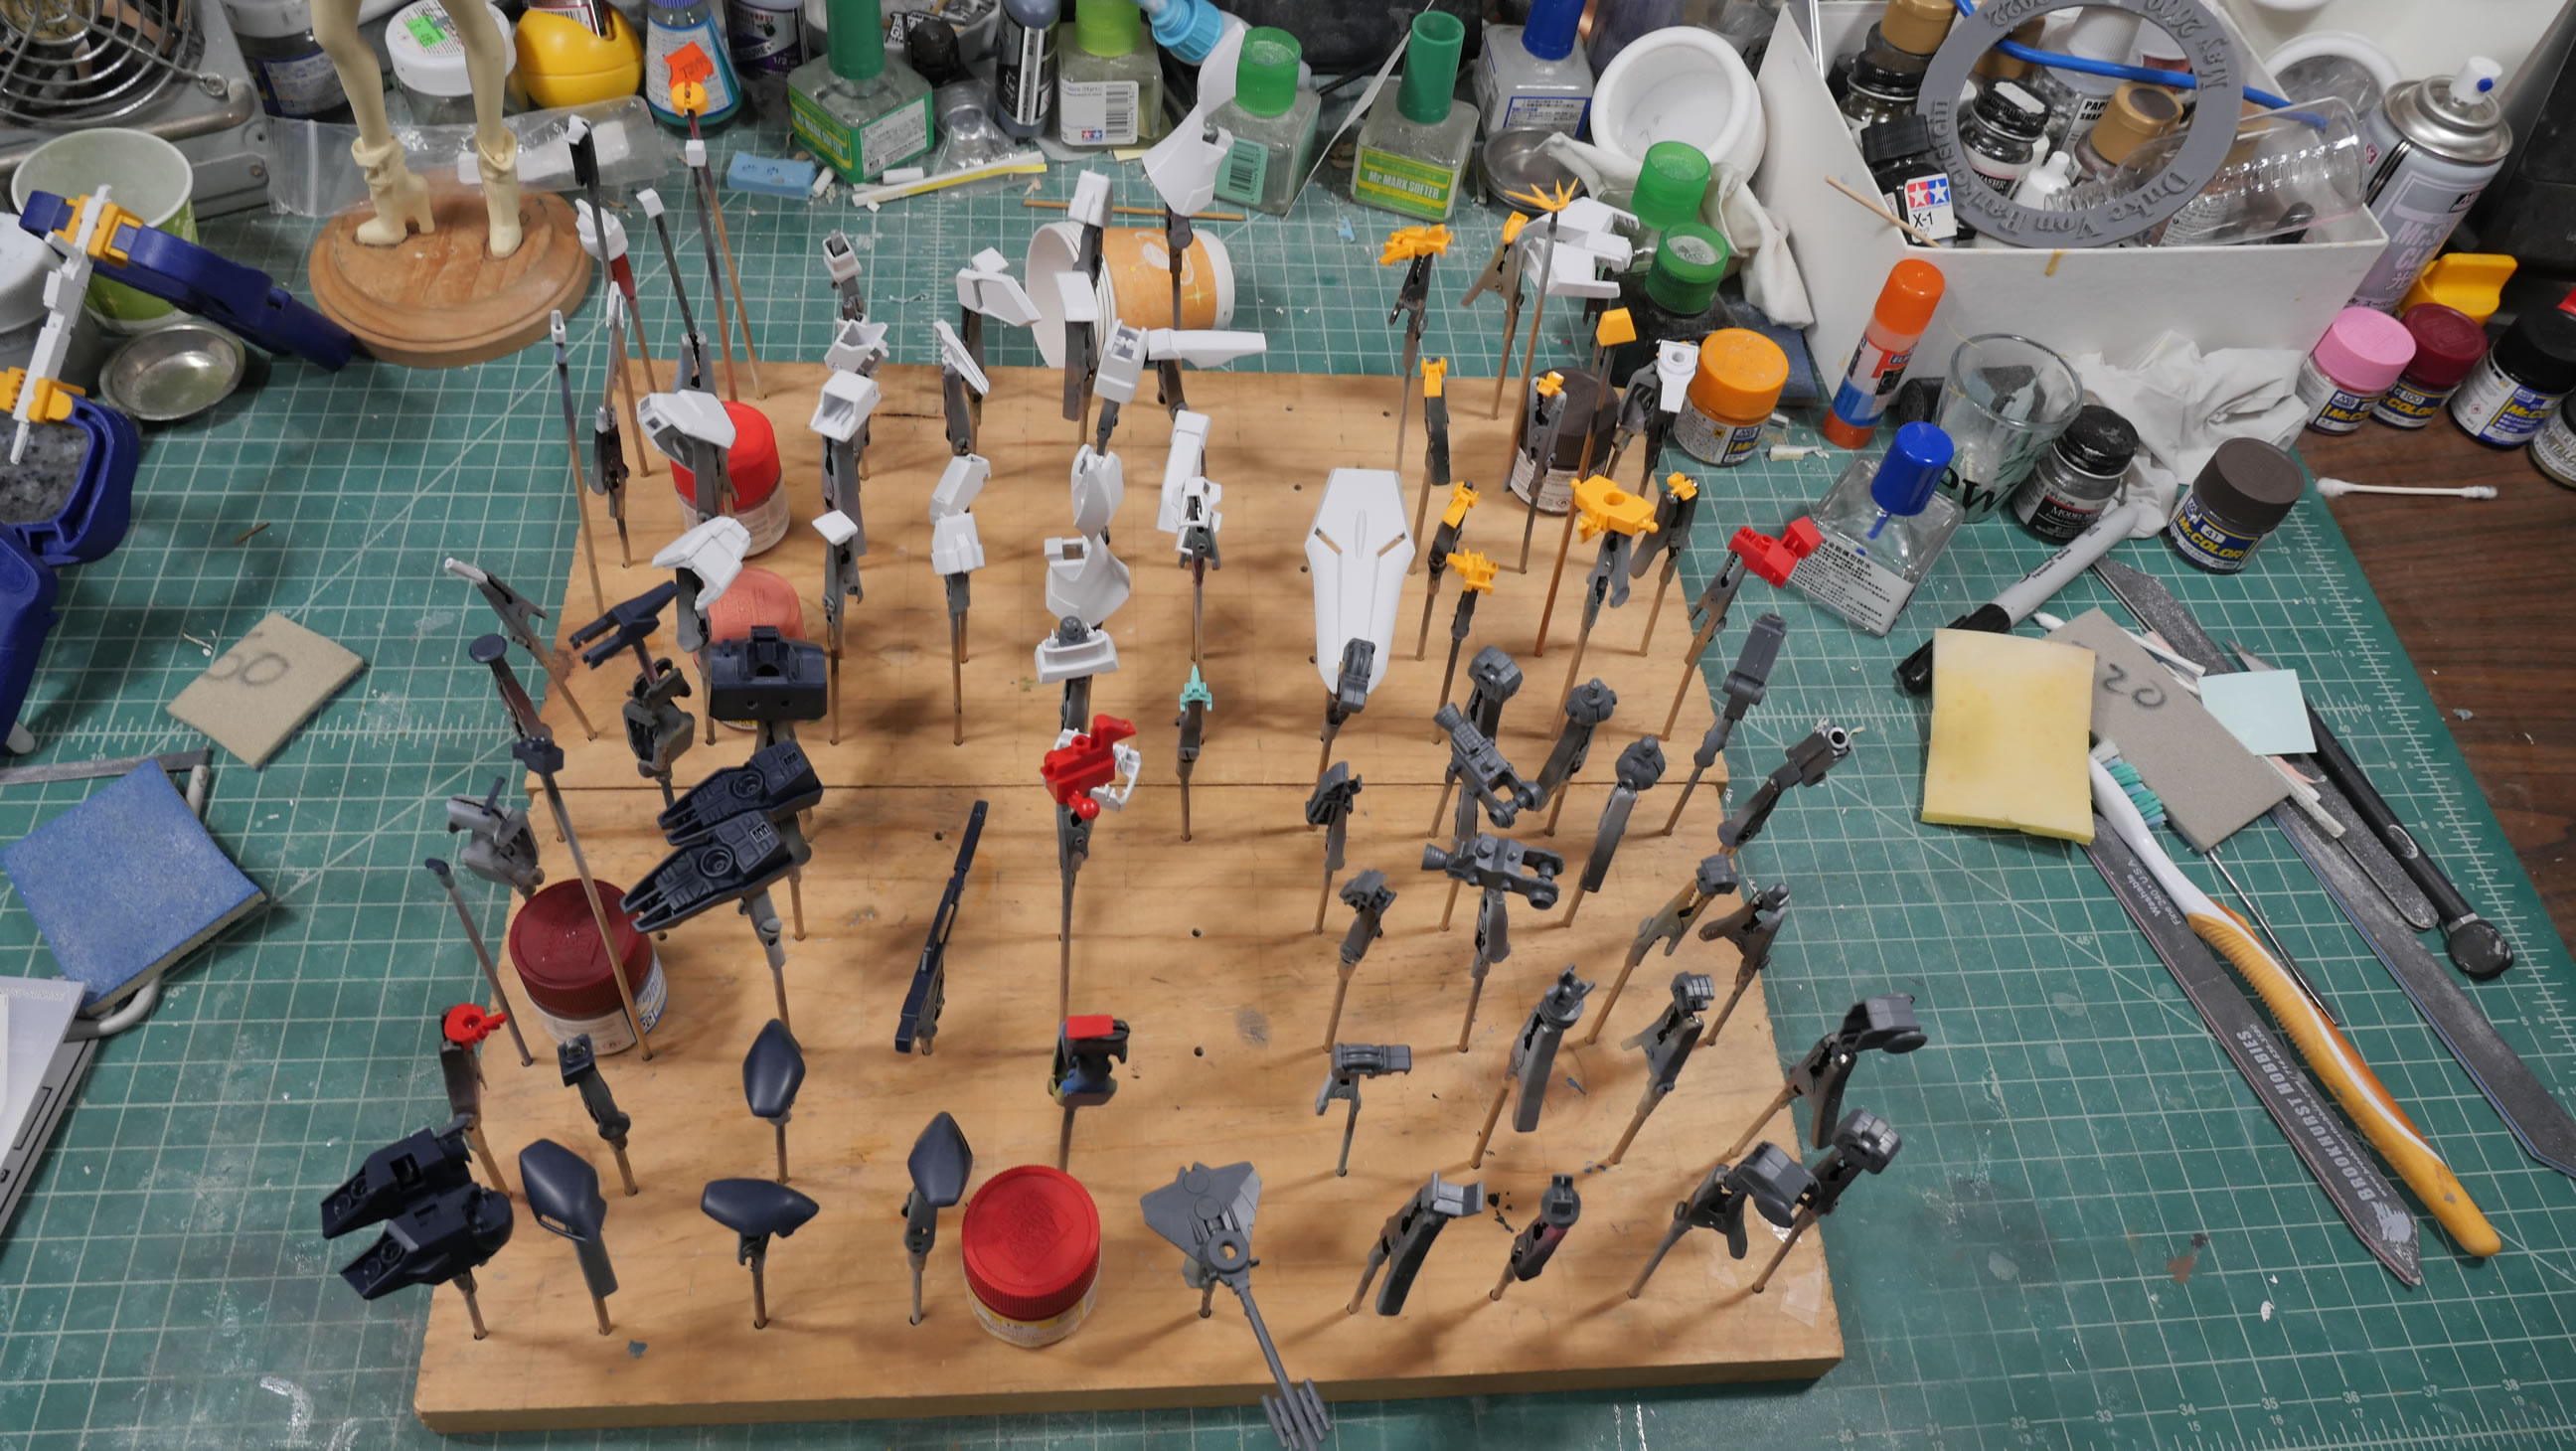
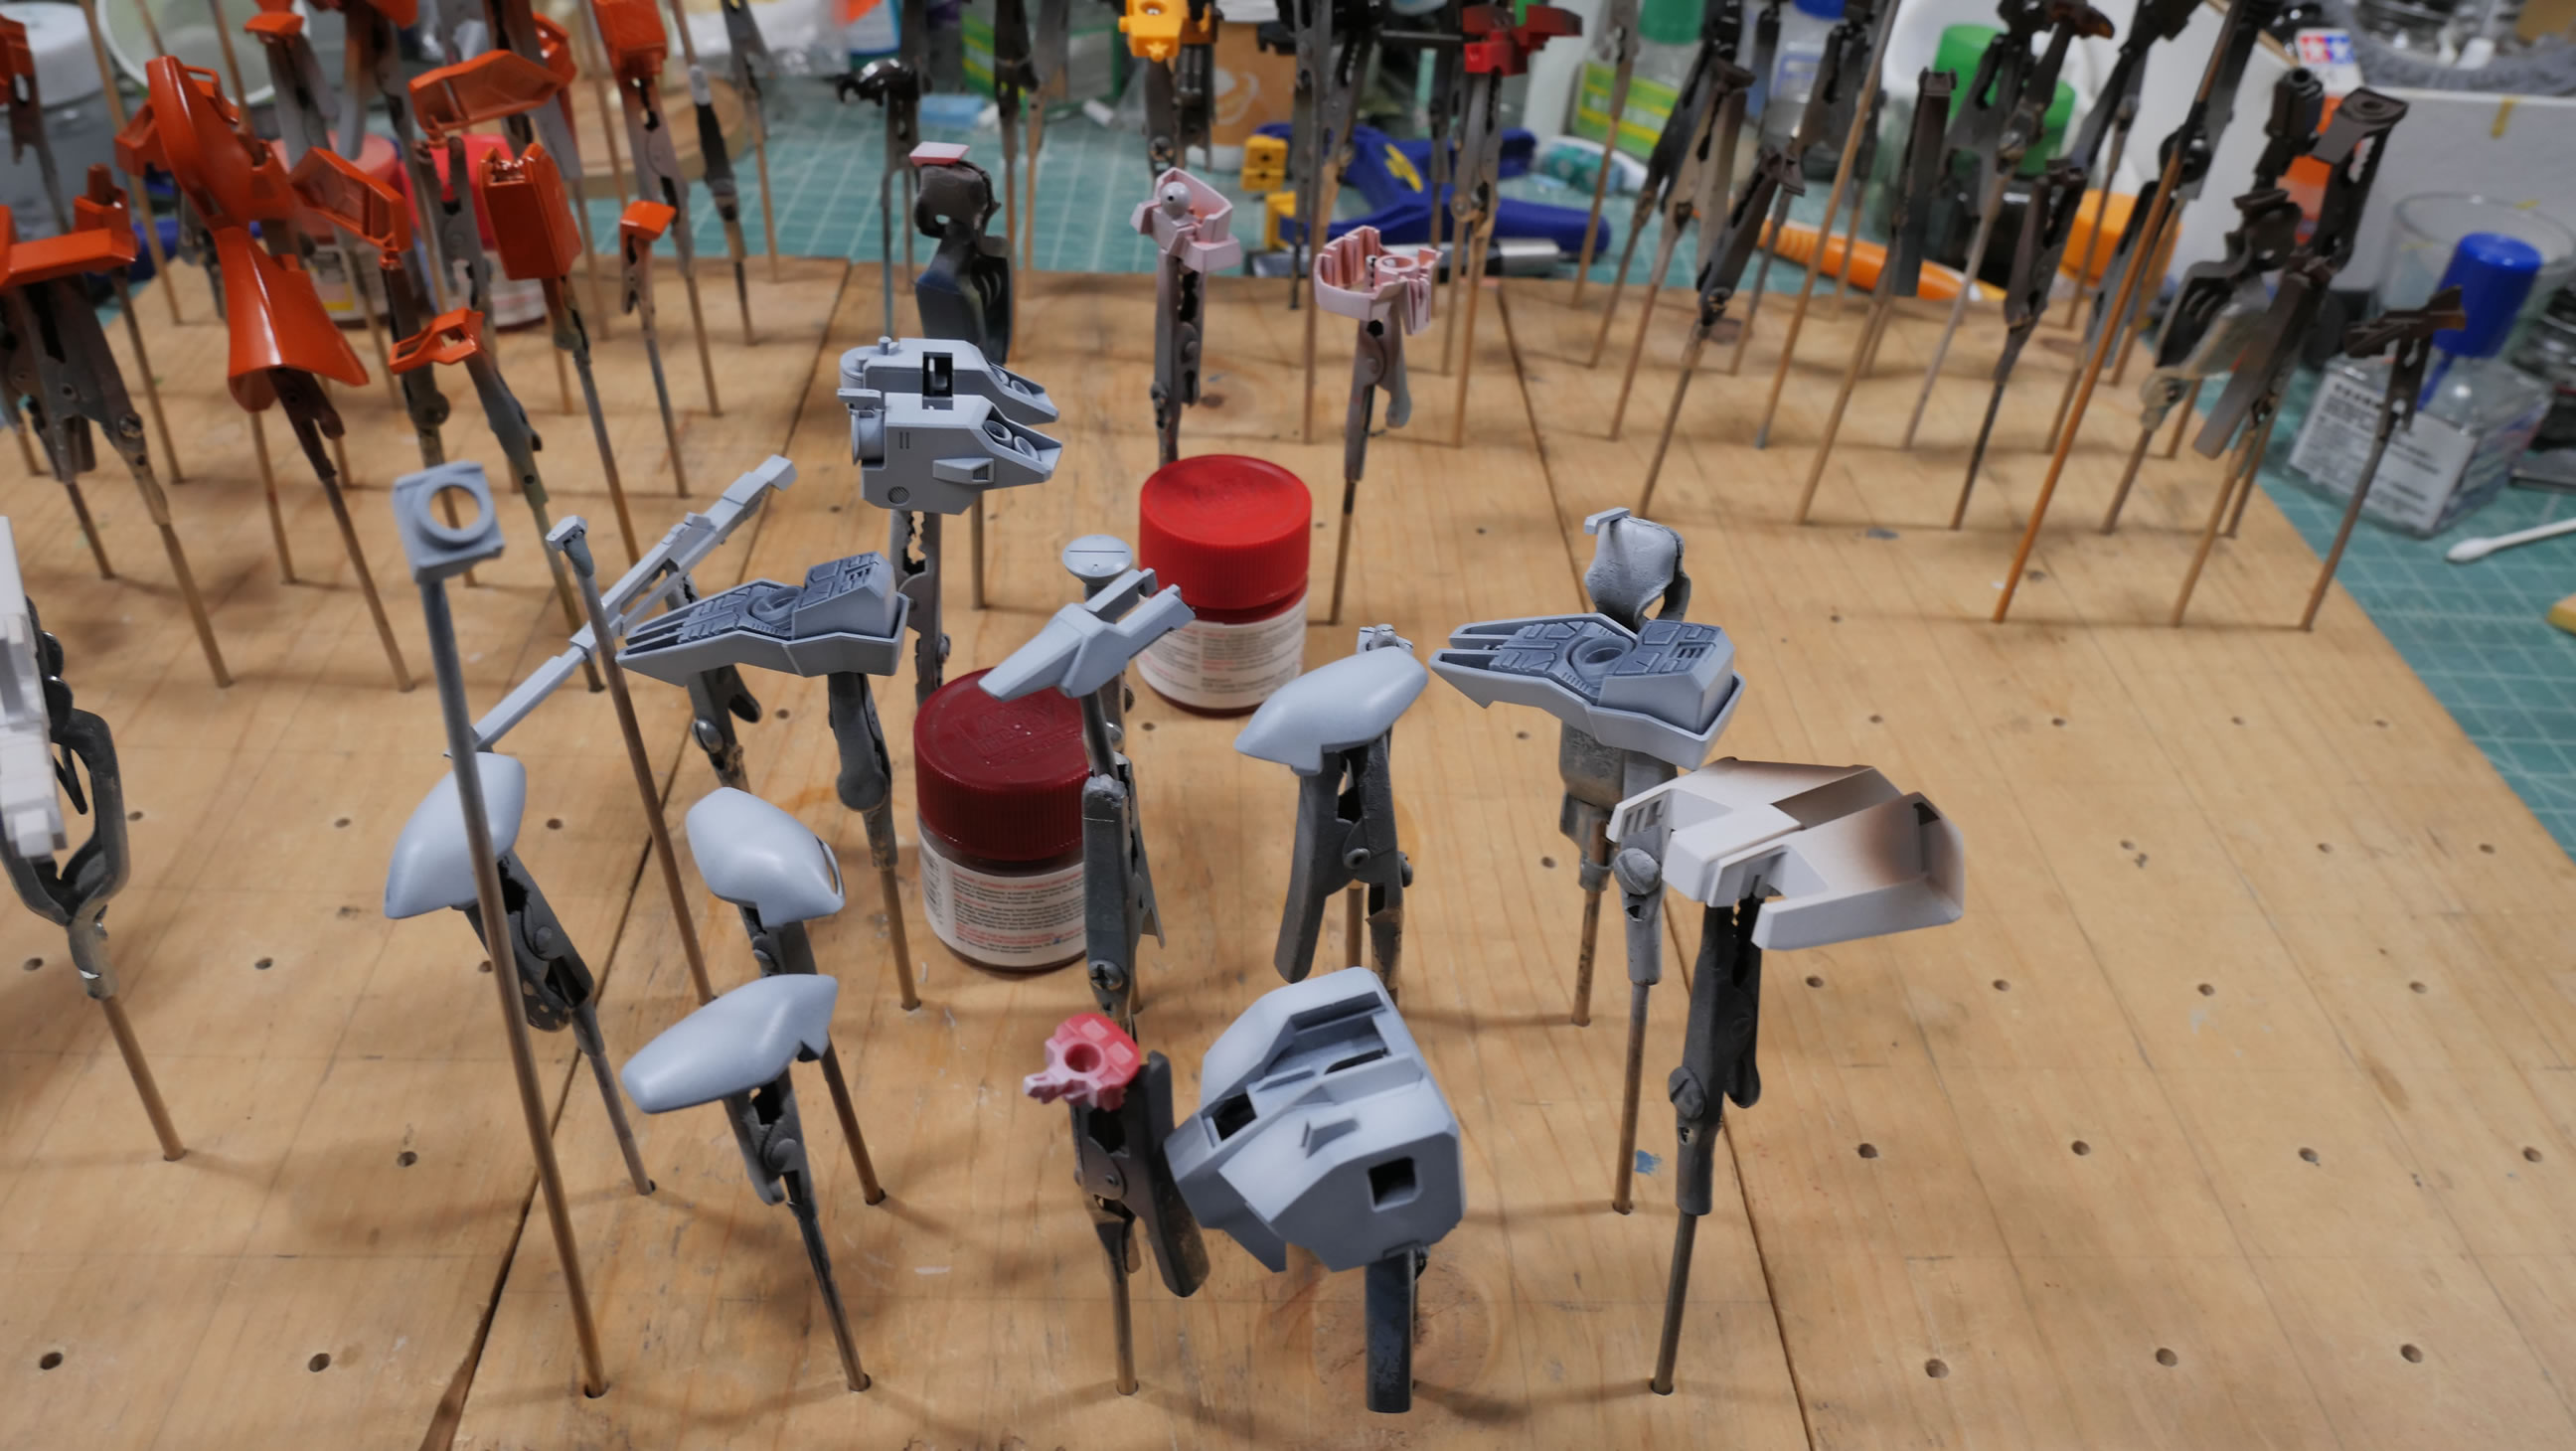
All the parts are cleaned up and ready for paint. Stated rules say that no primer is to be used.
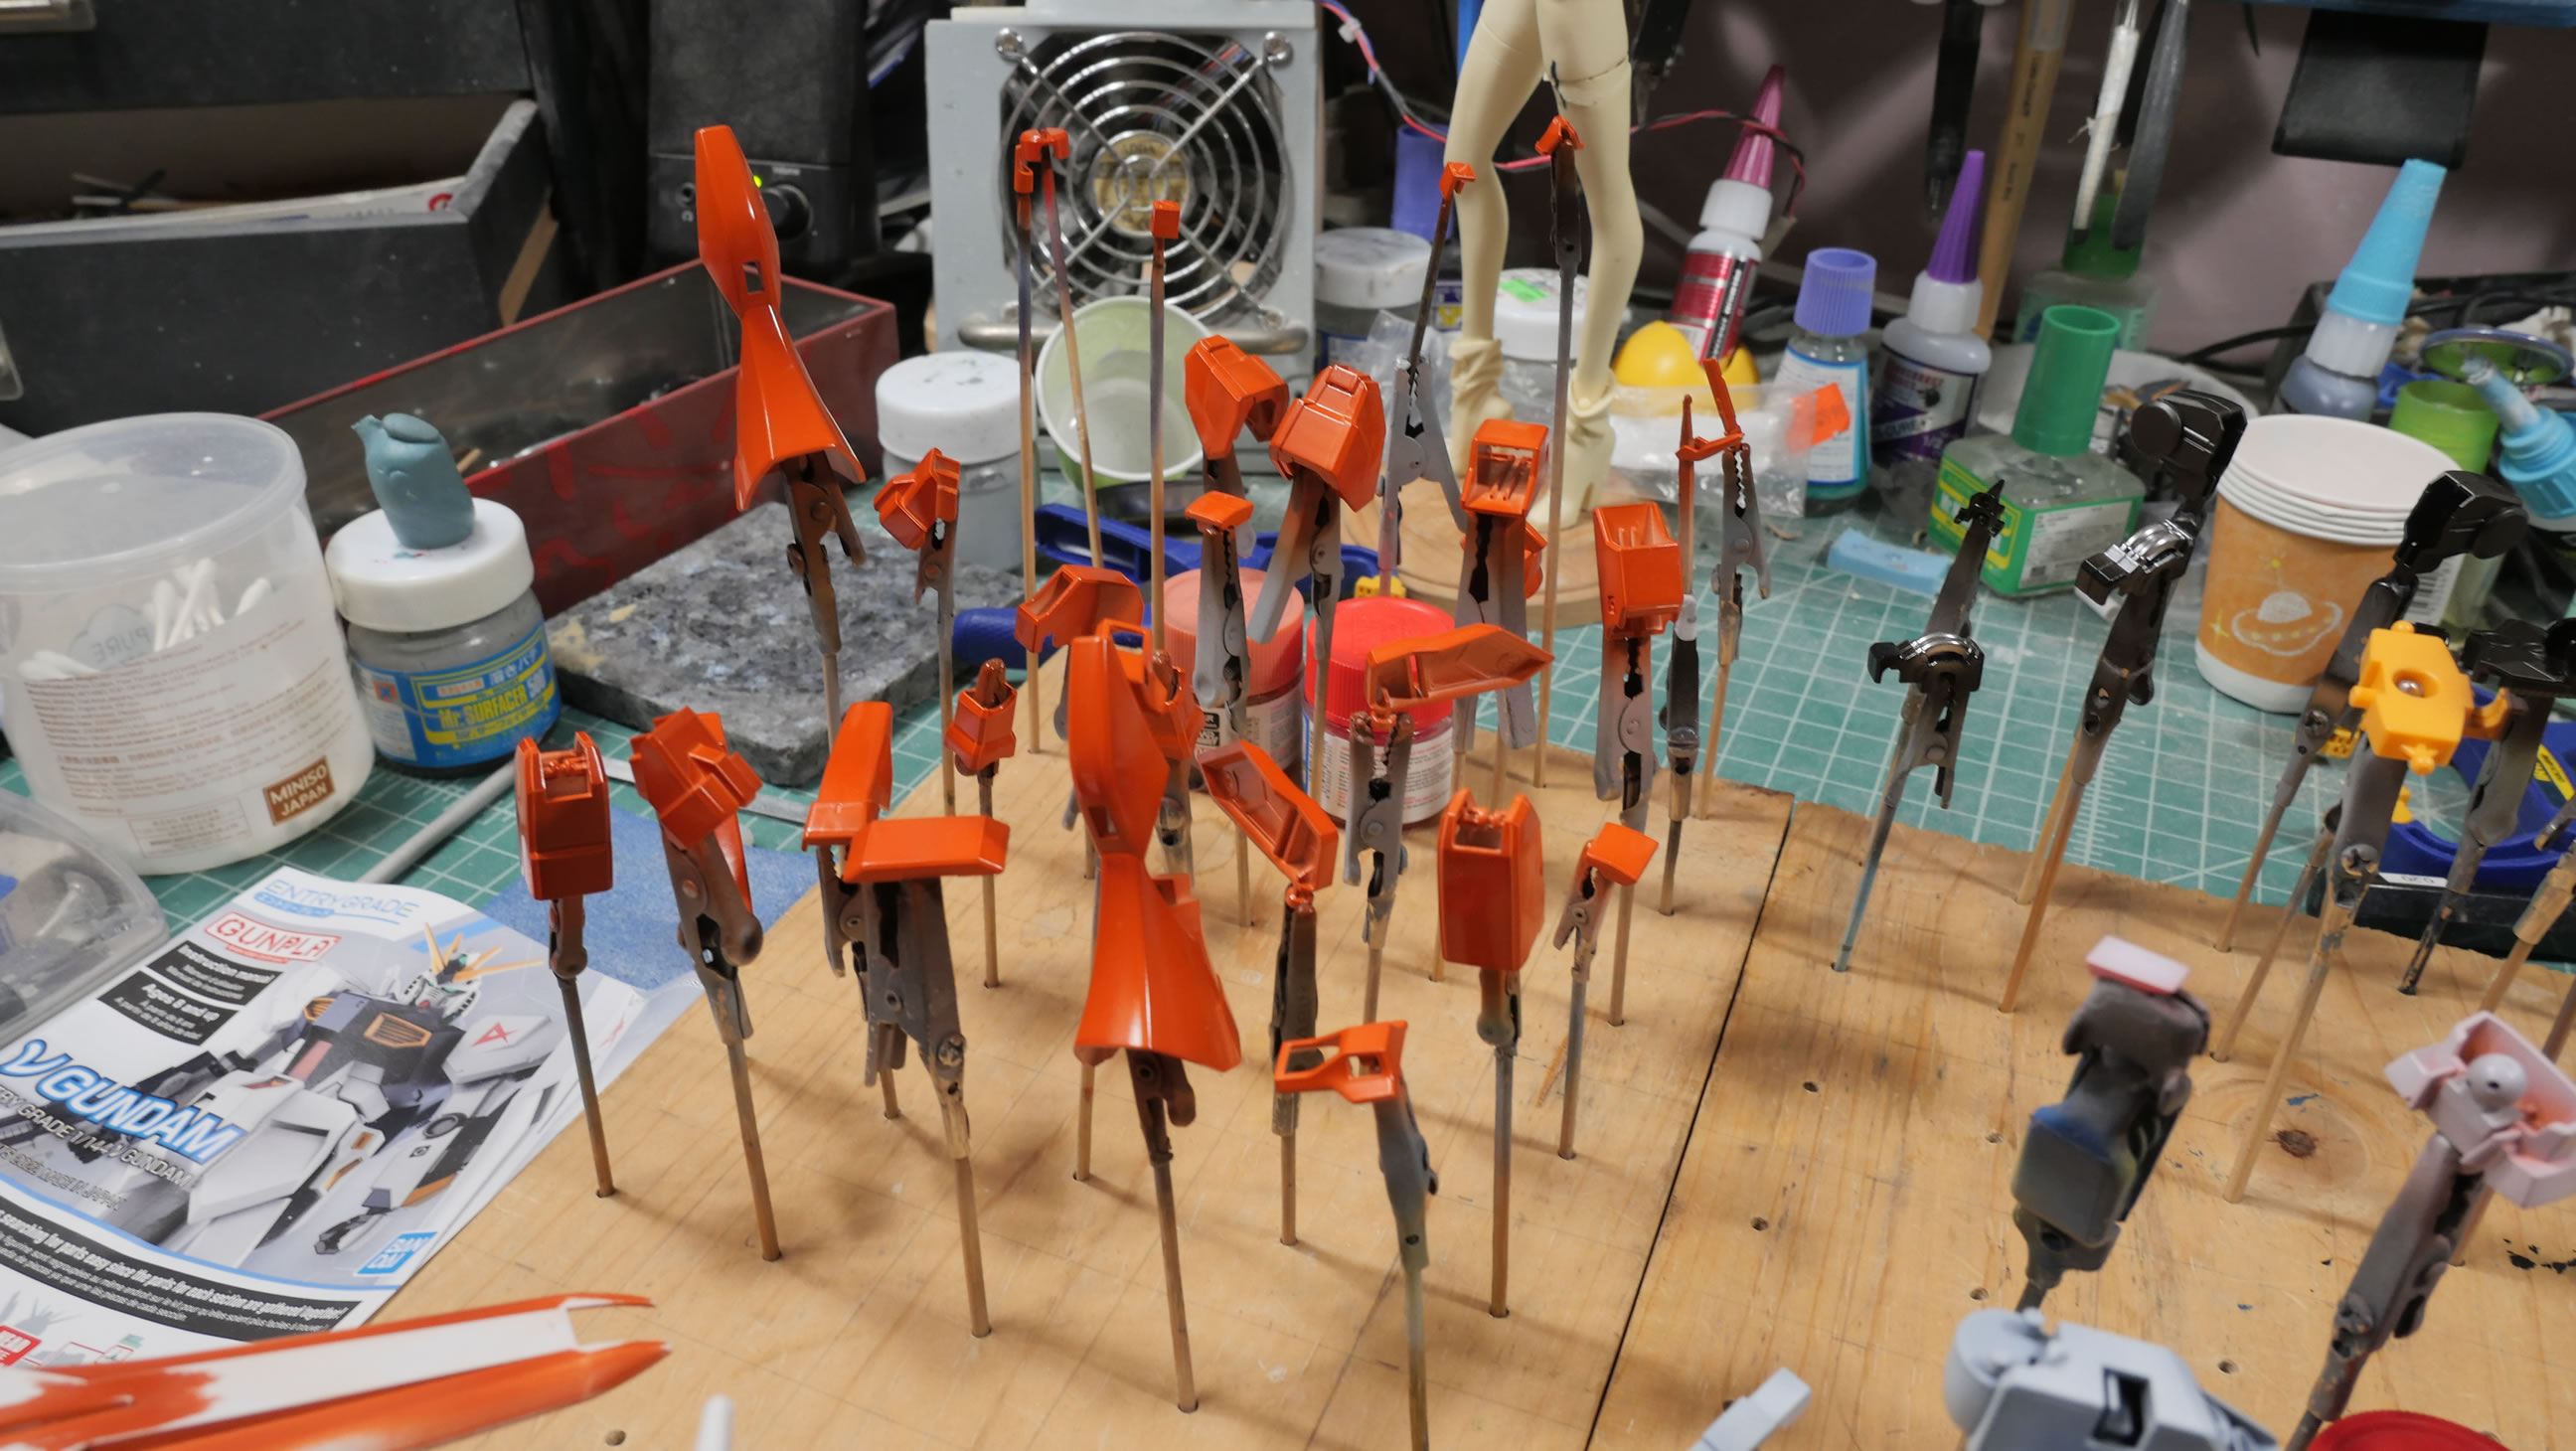
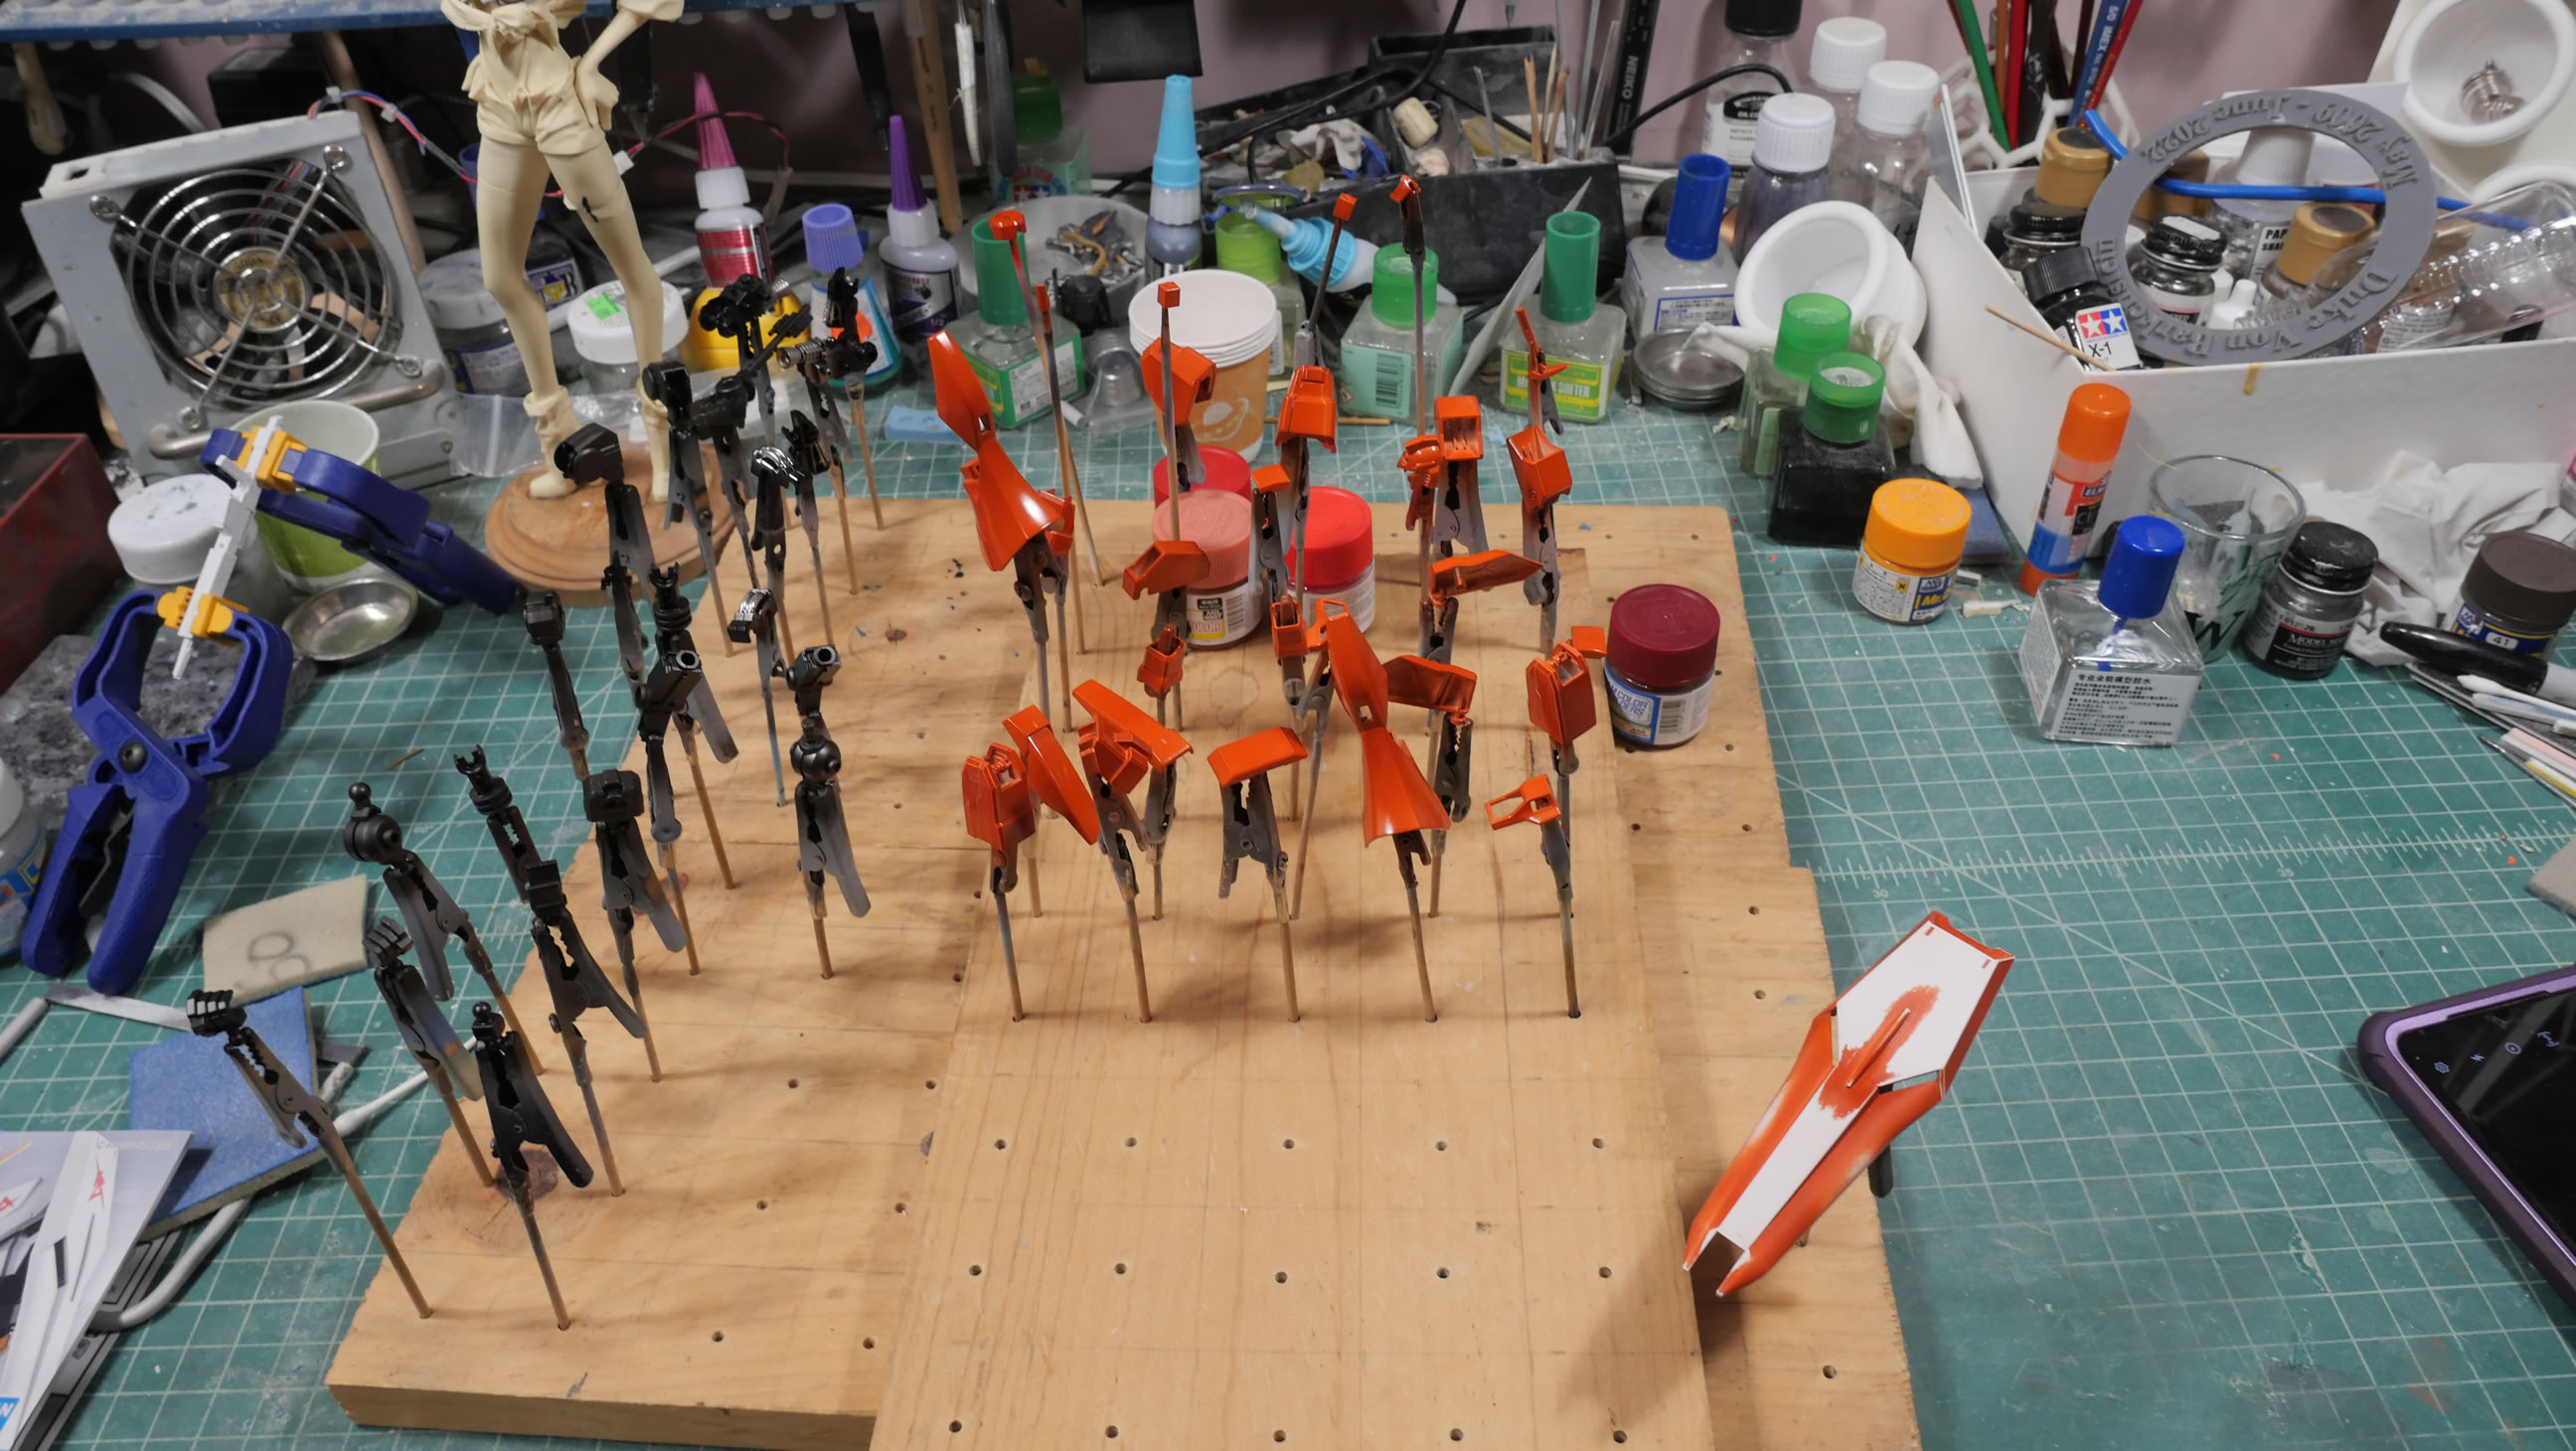
The first layers of paint start going down. I spray the white areas with finisher’s brown. The rear skirt gets Mr Color Mahogany as is the colors for the rest of the thrusters.
Primer would have helped covered these stress marks in the plastic, but since they came through on the paint, I just sanded the shield a little more before repainting. I miss using primer…
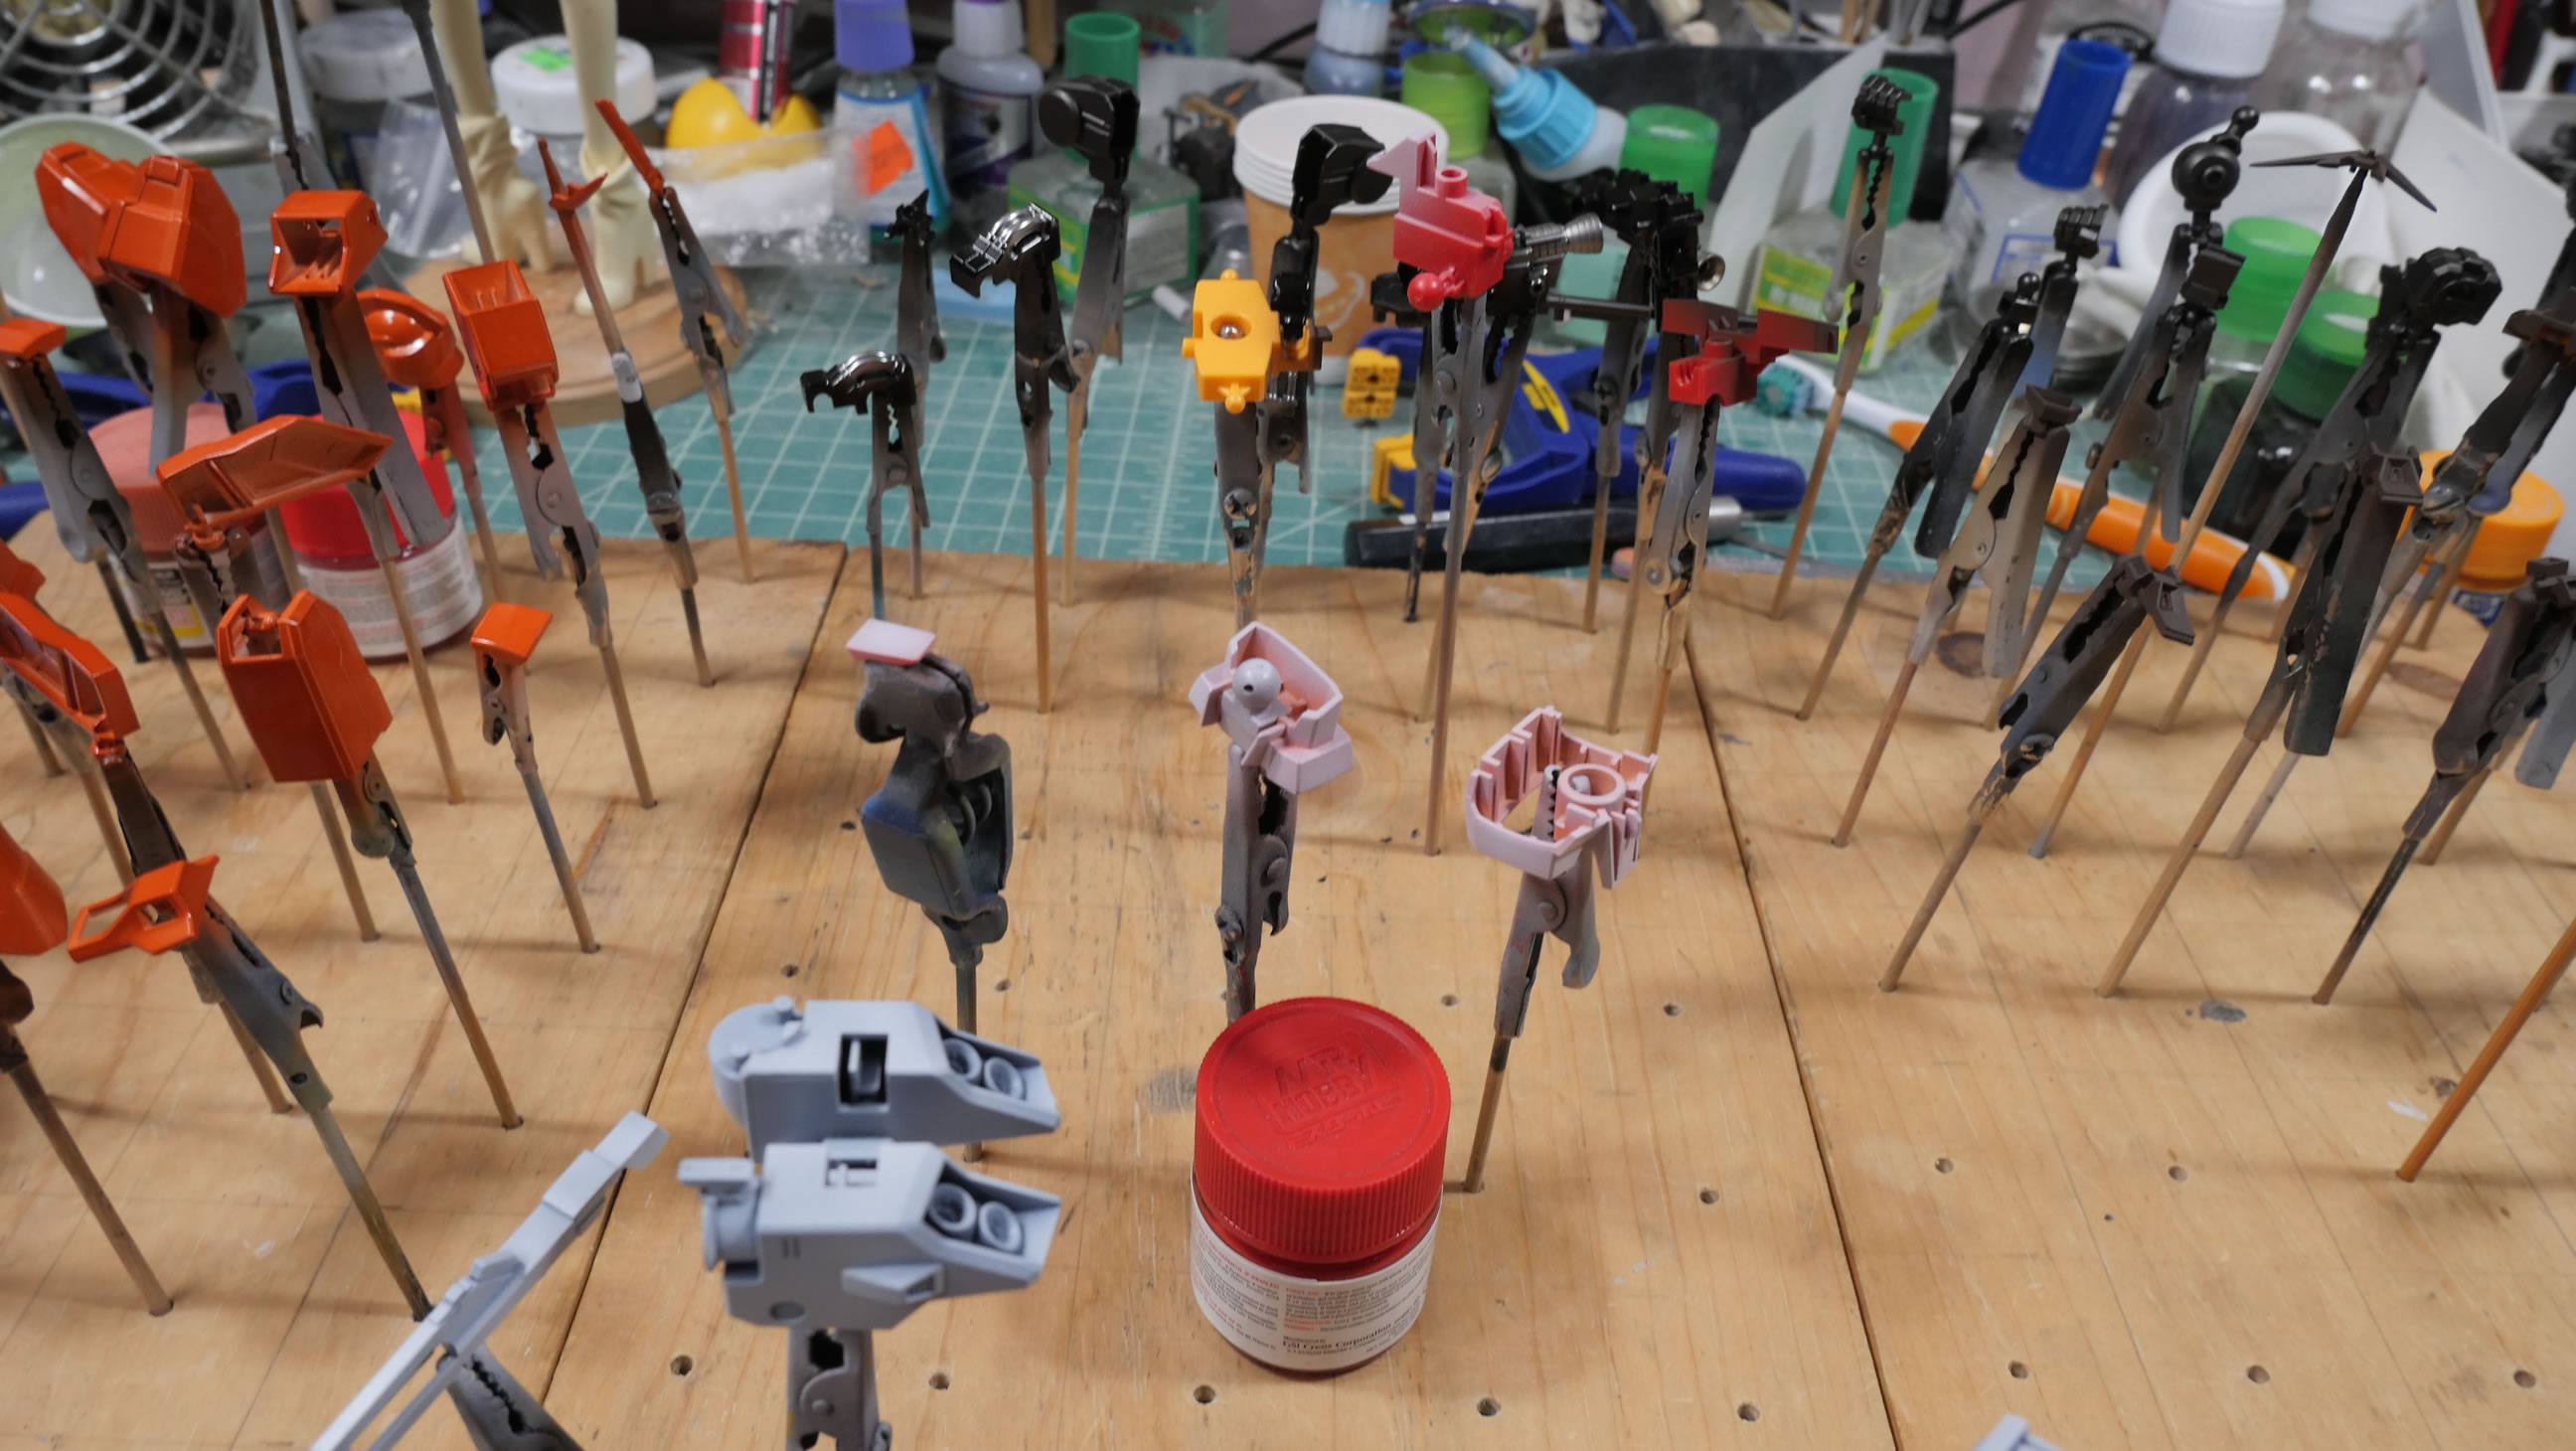
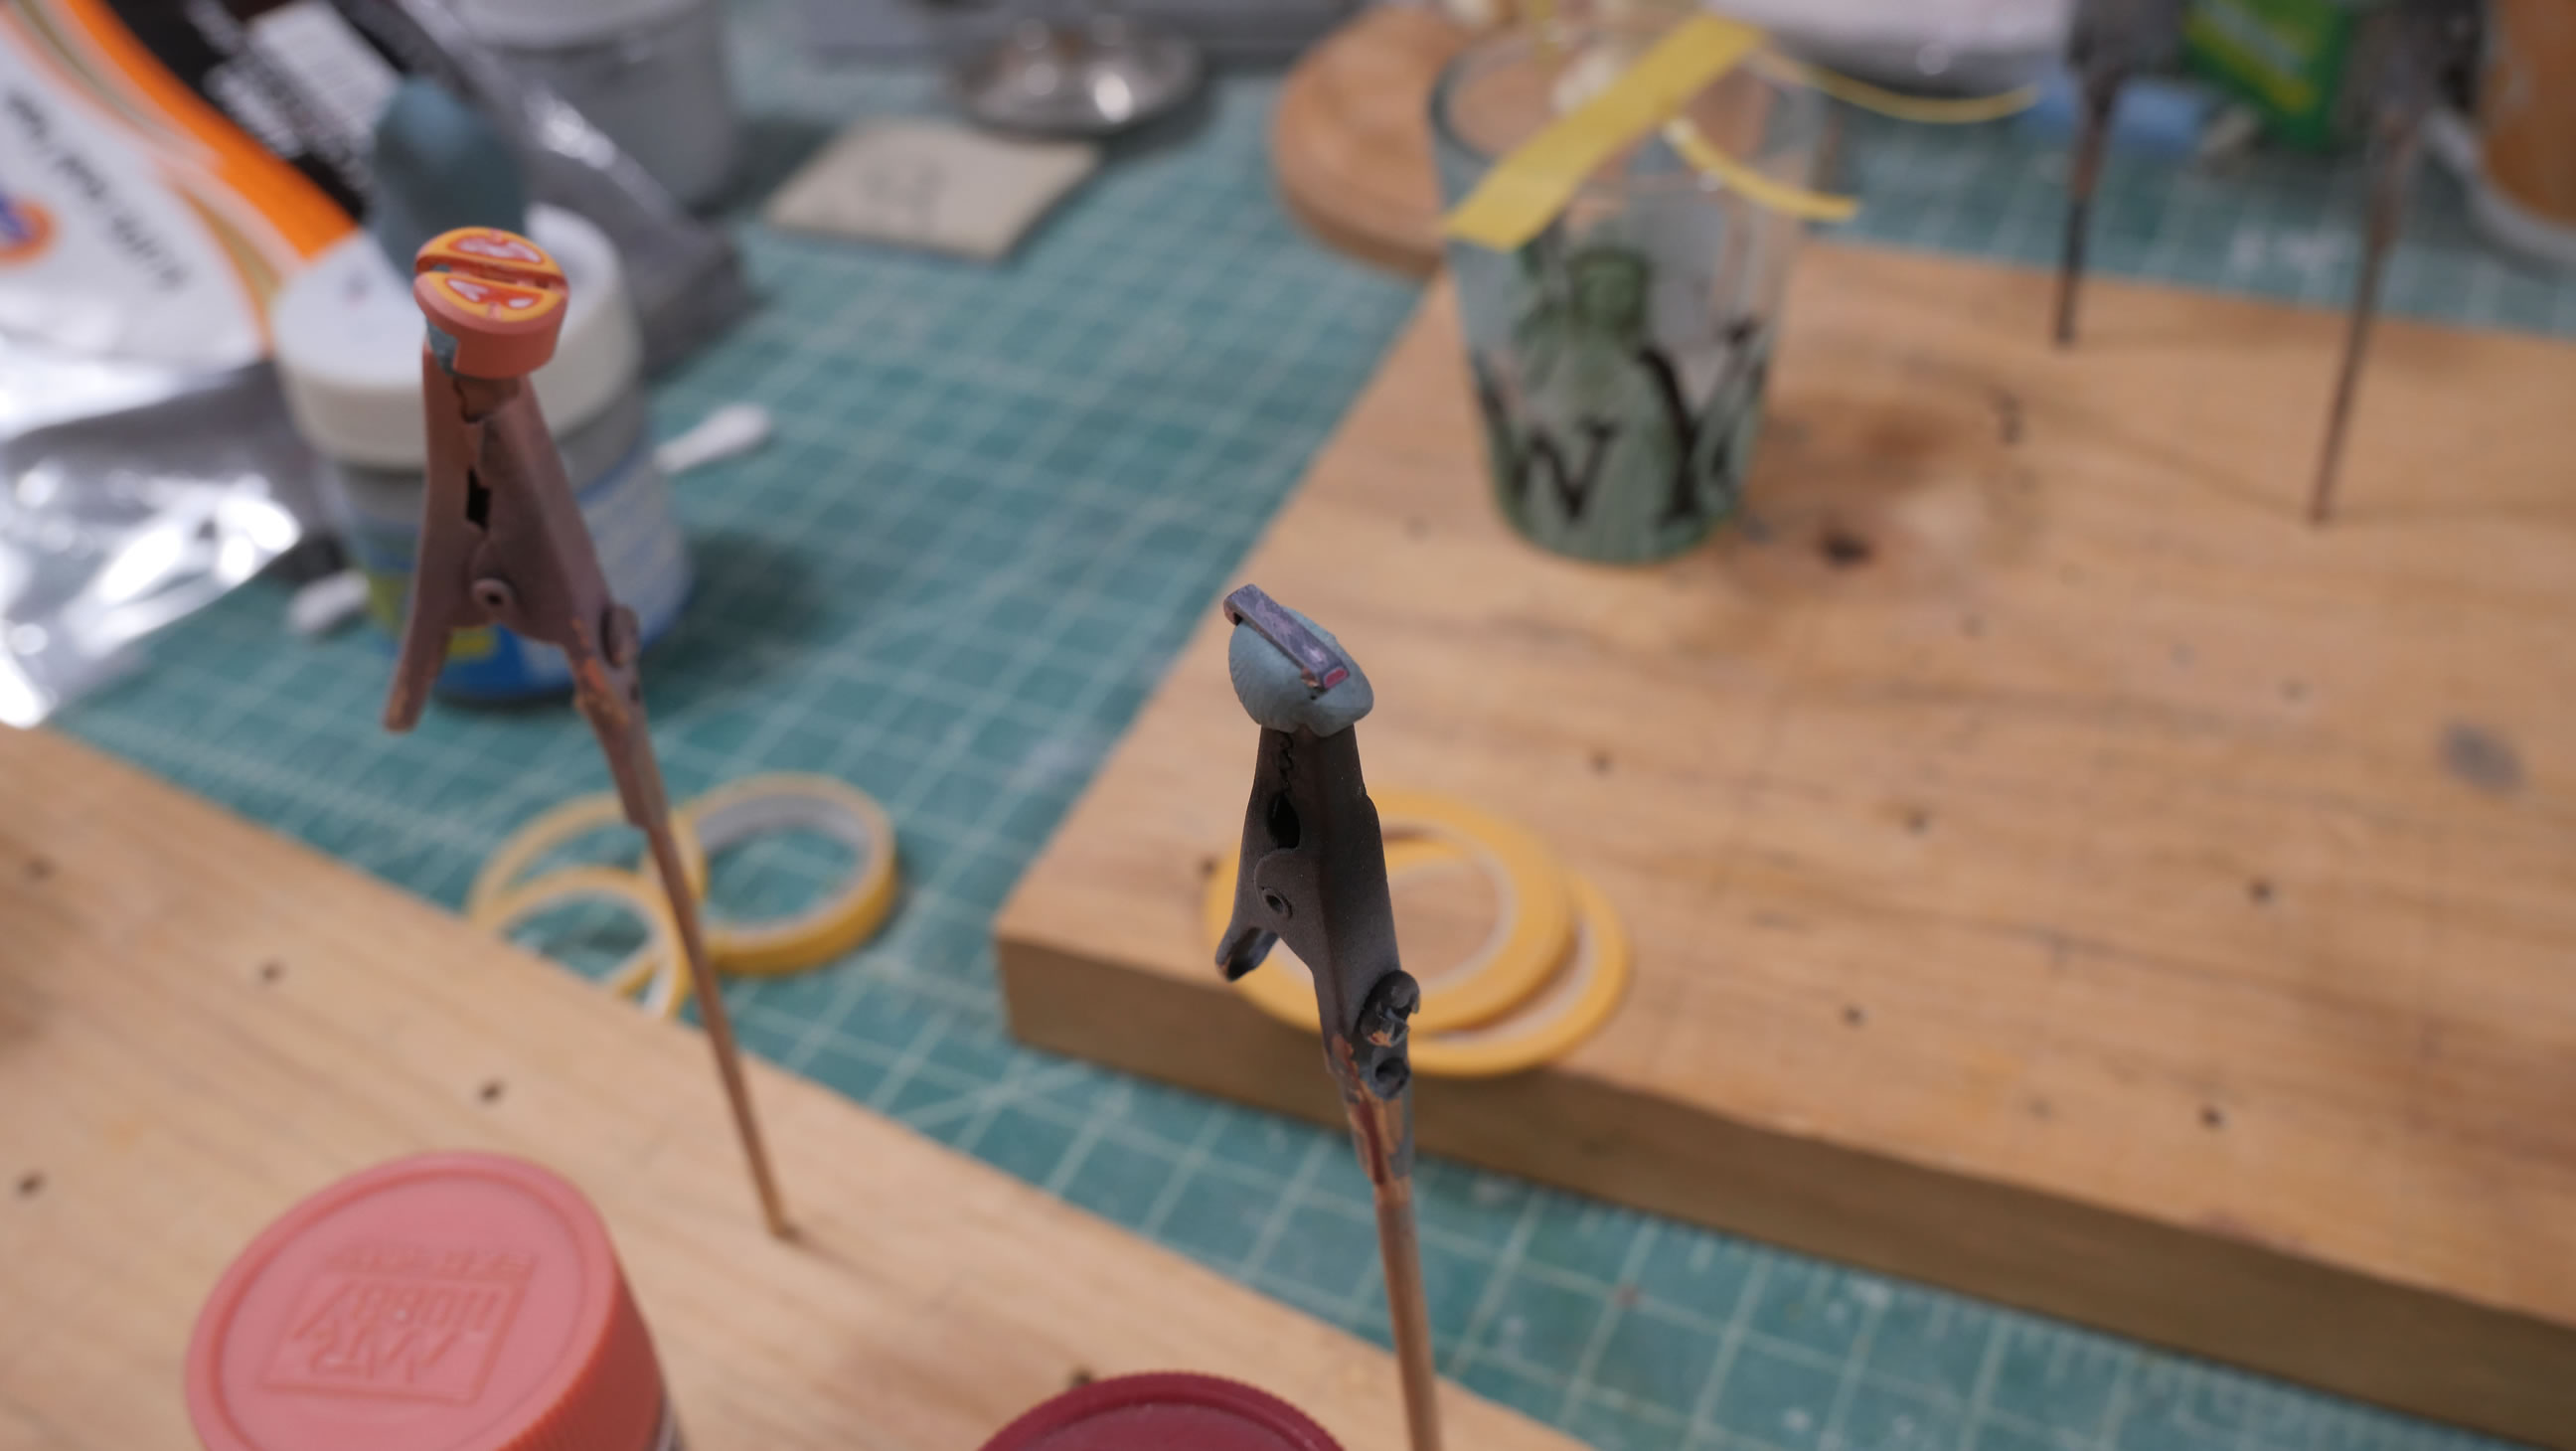
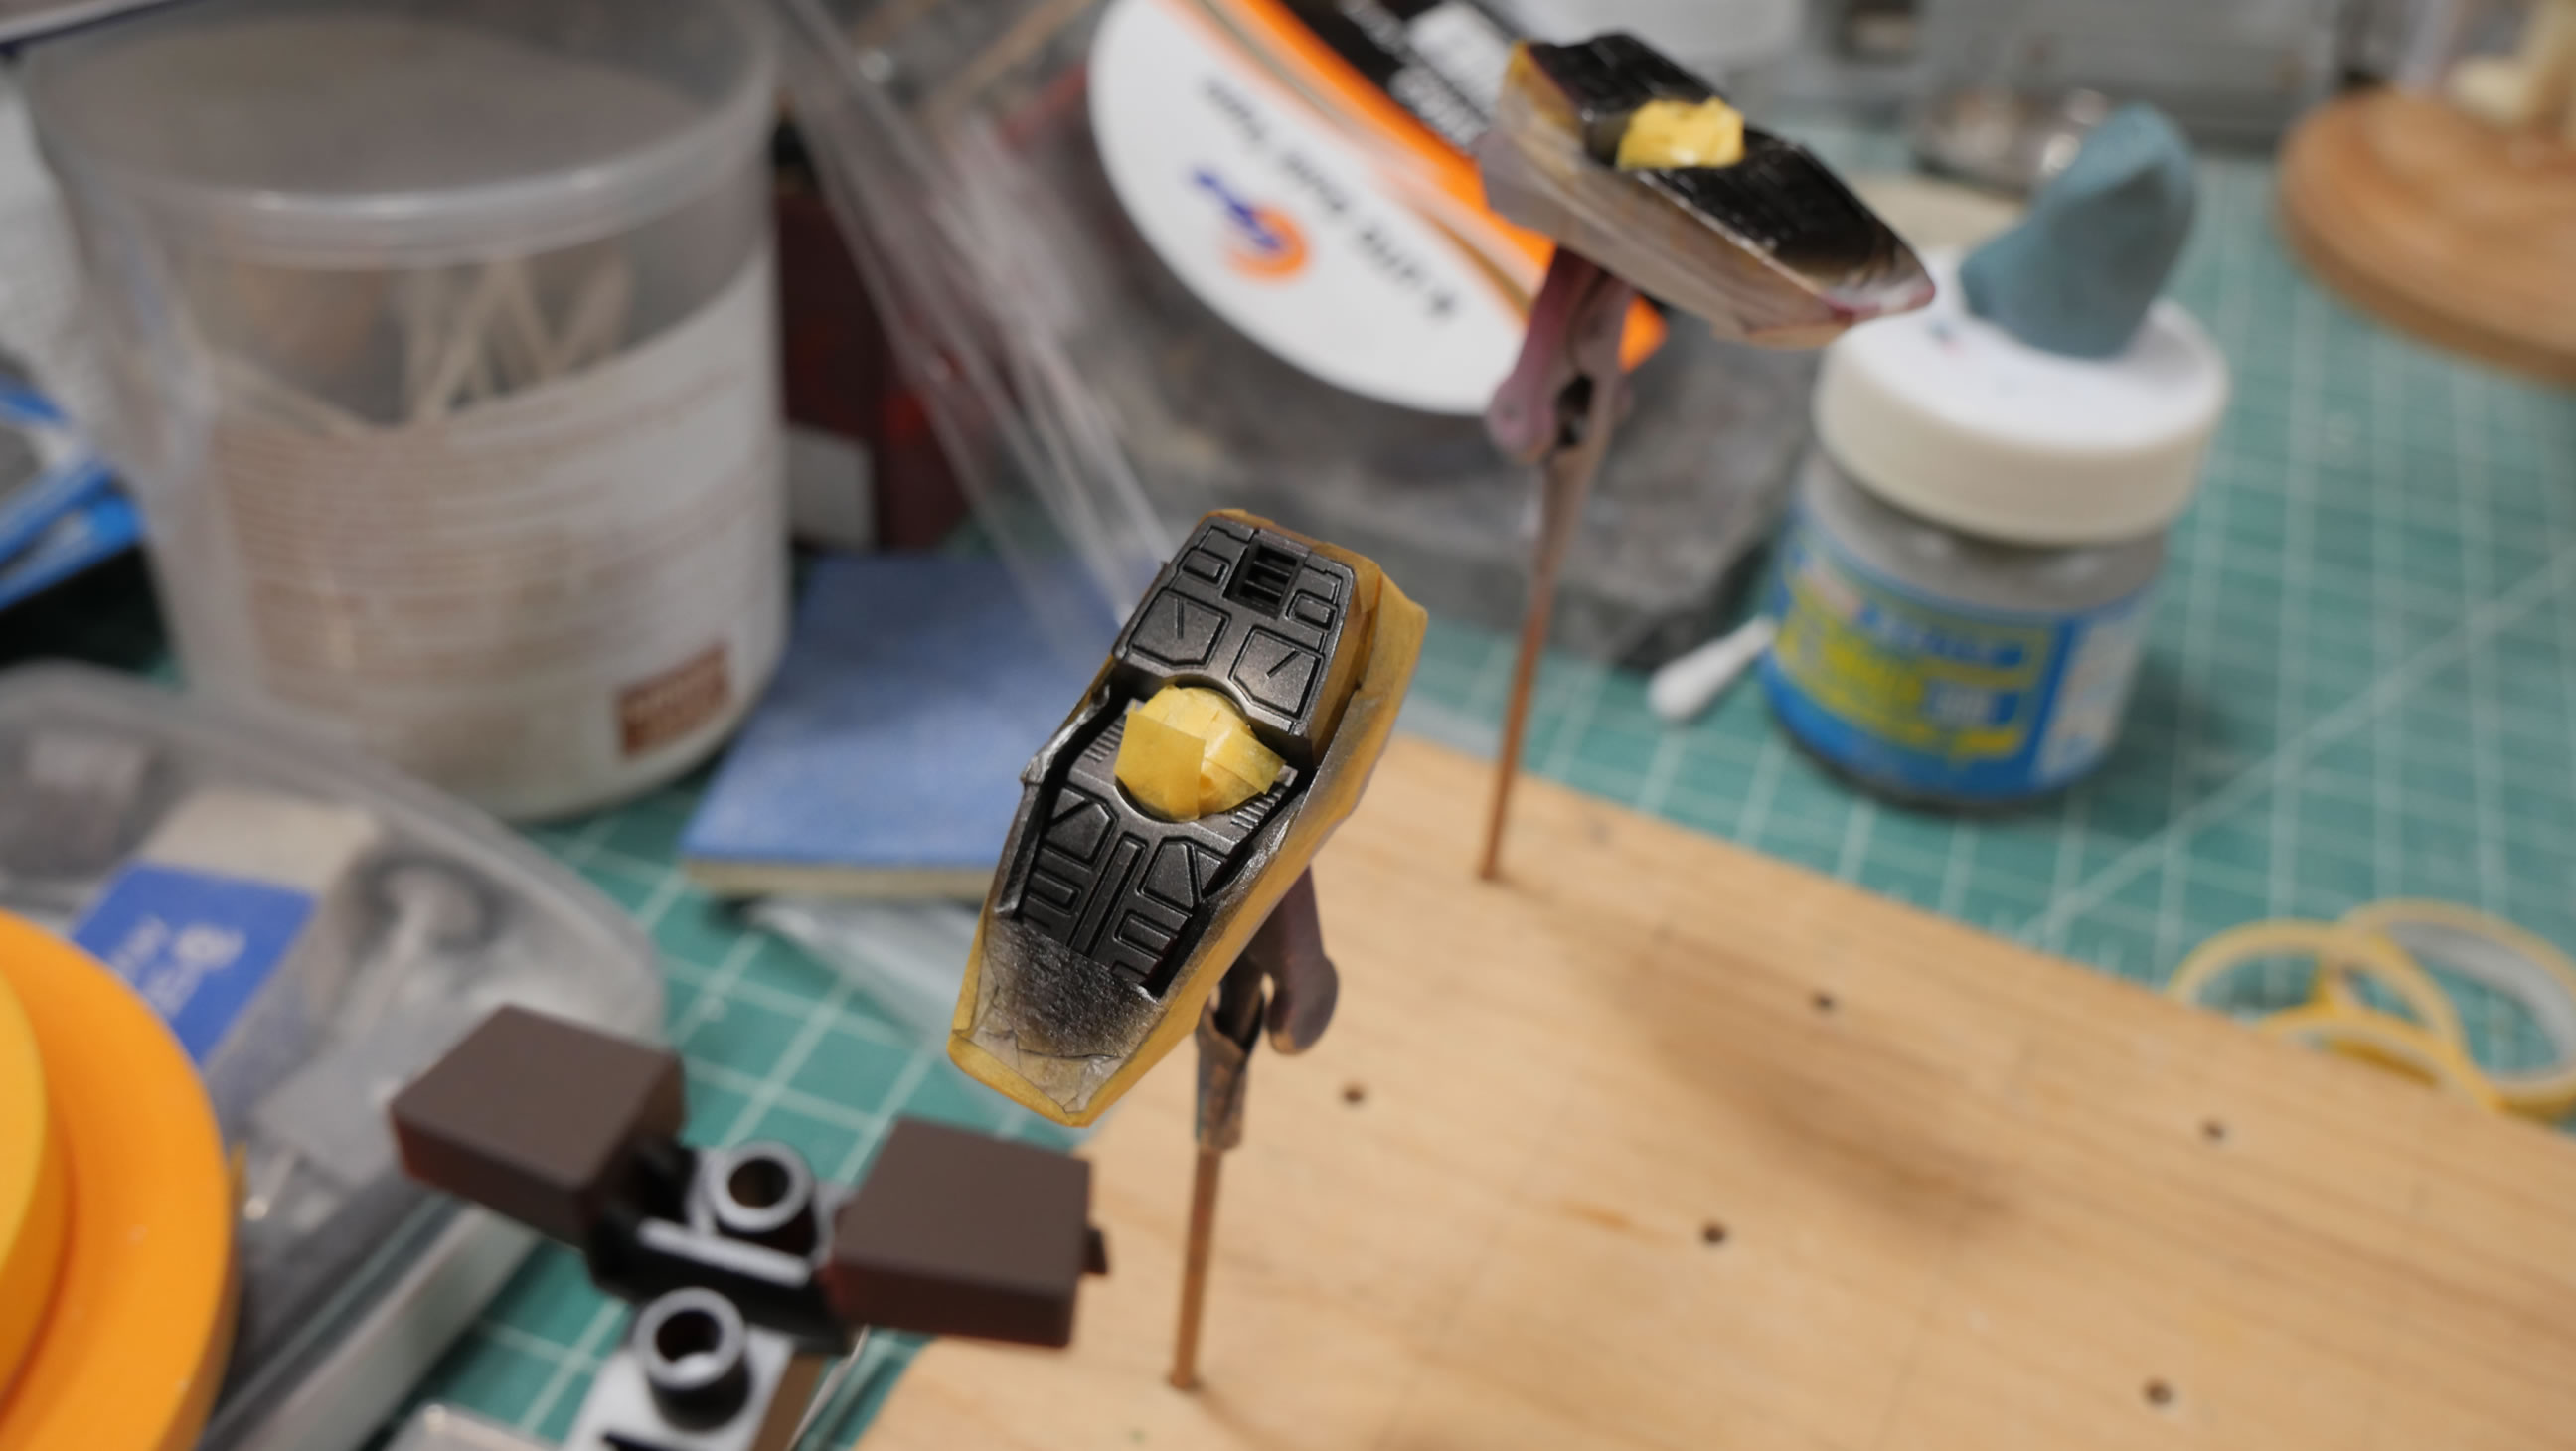
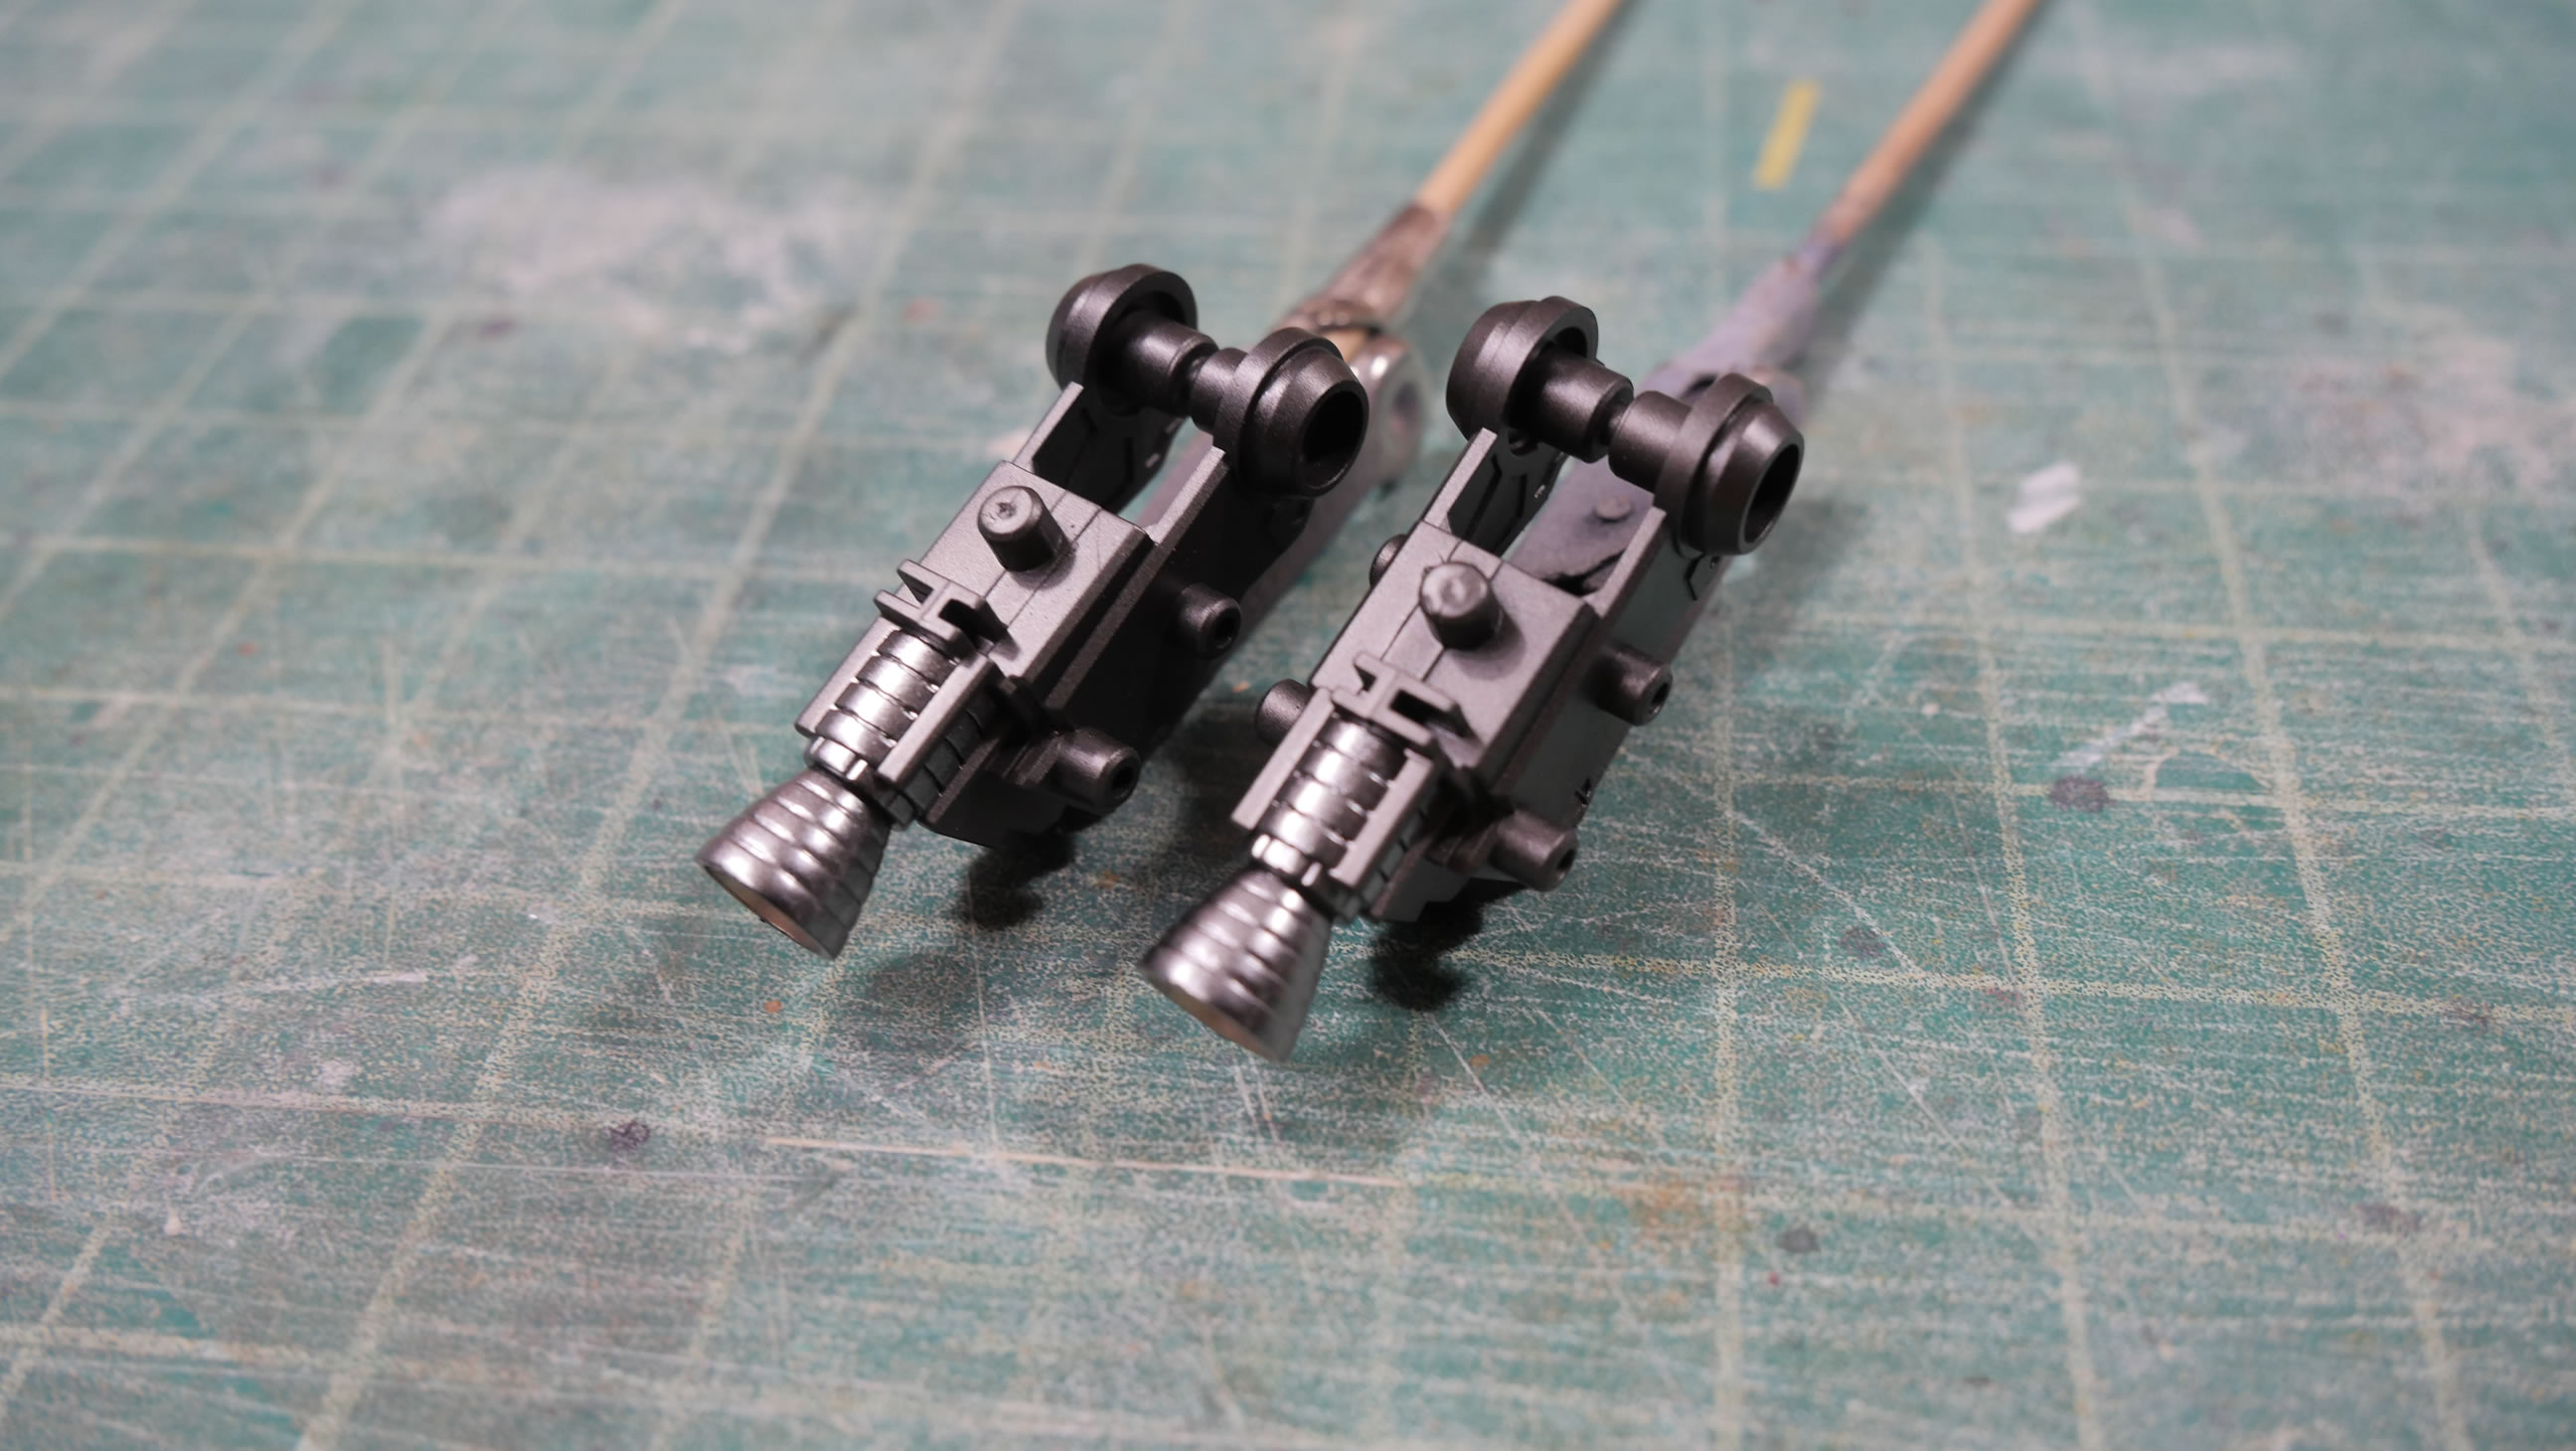
Internal frame pieces are painted black then sprayed with alclad magnesium.
The dark blue are sprayed with white using the dark blue as a shading tone.
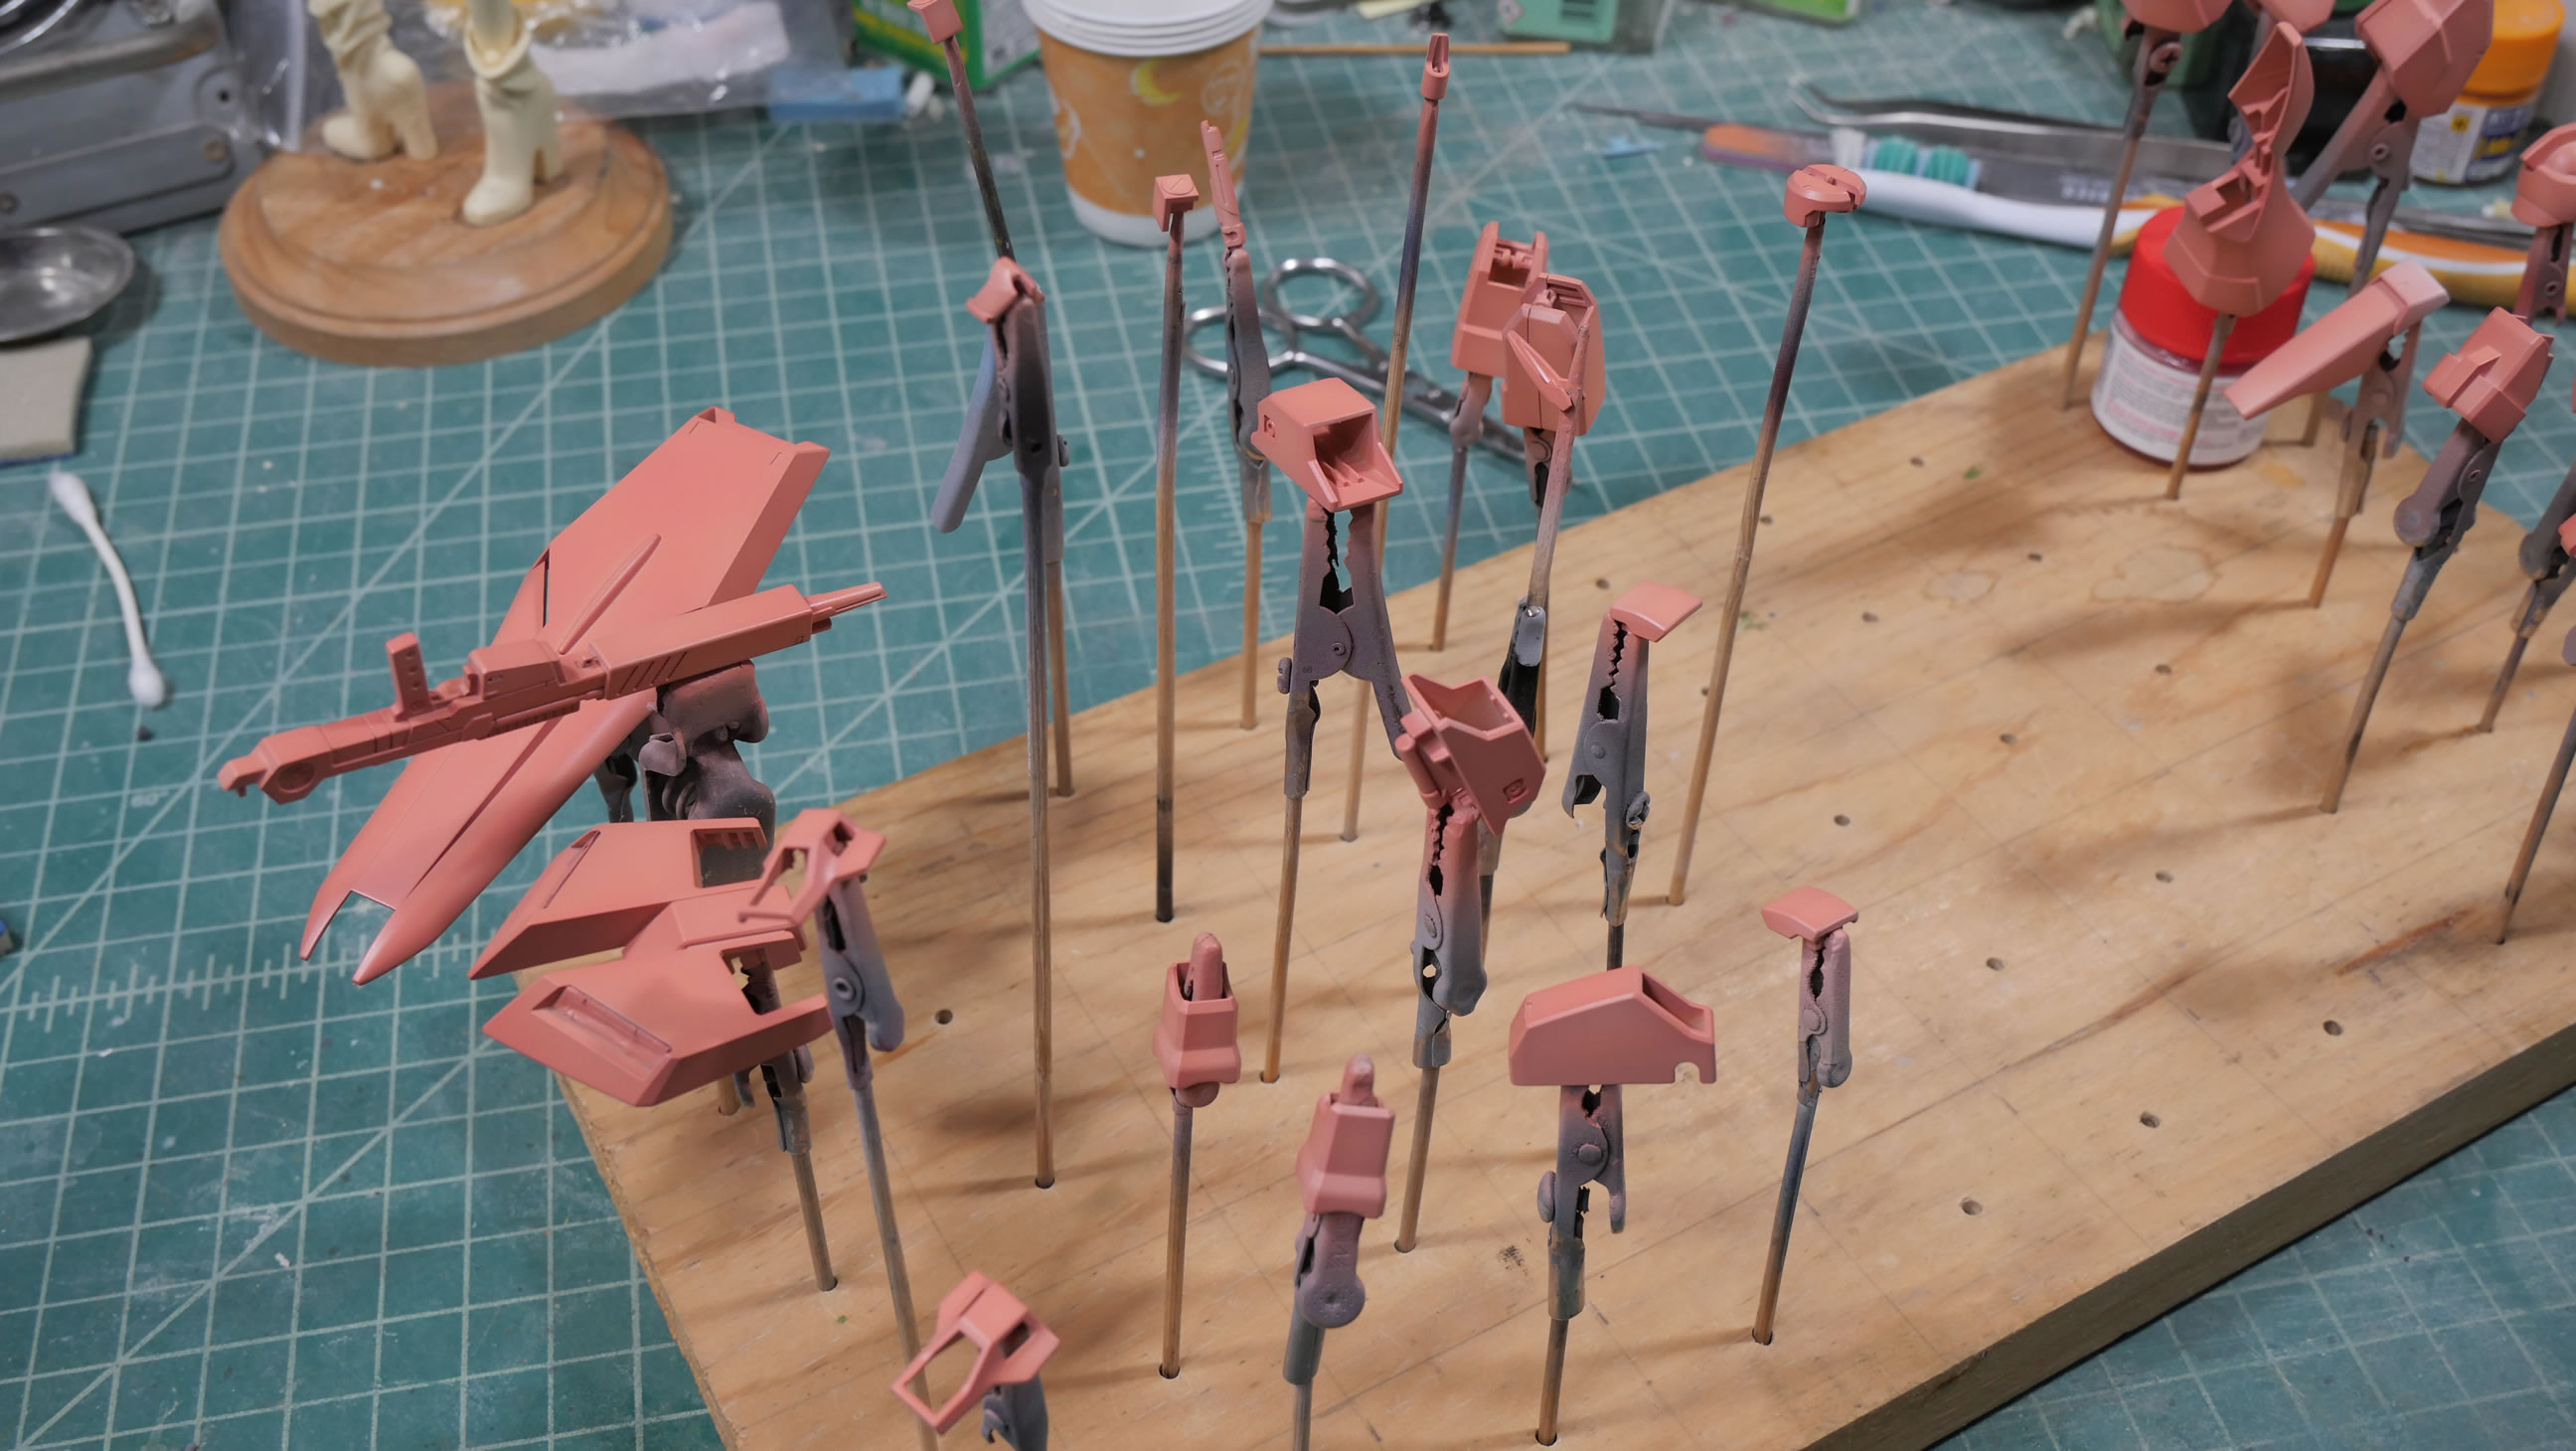
Mahogny is sprayed for the rest of the thruster pieces – basically the yellow parts from the kit.
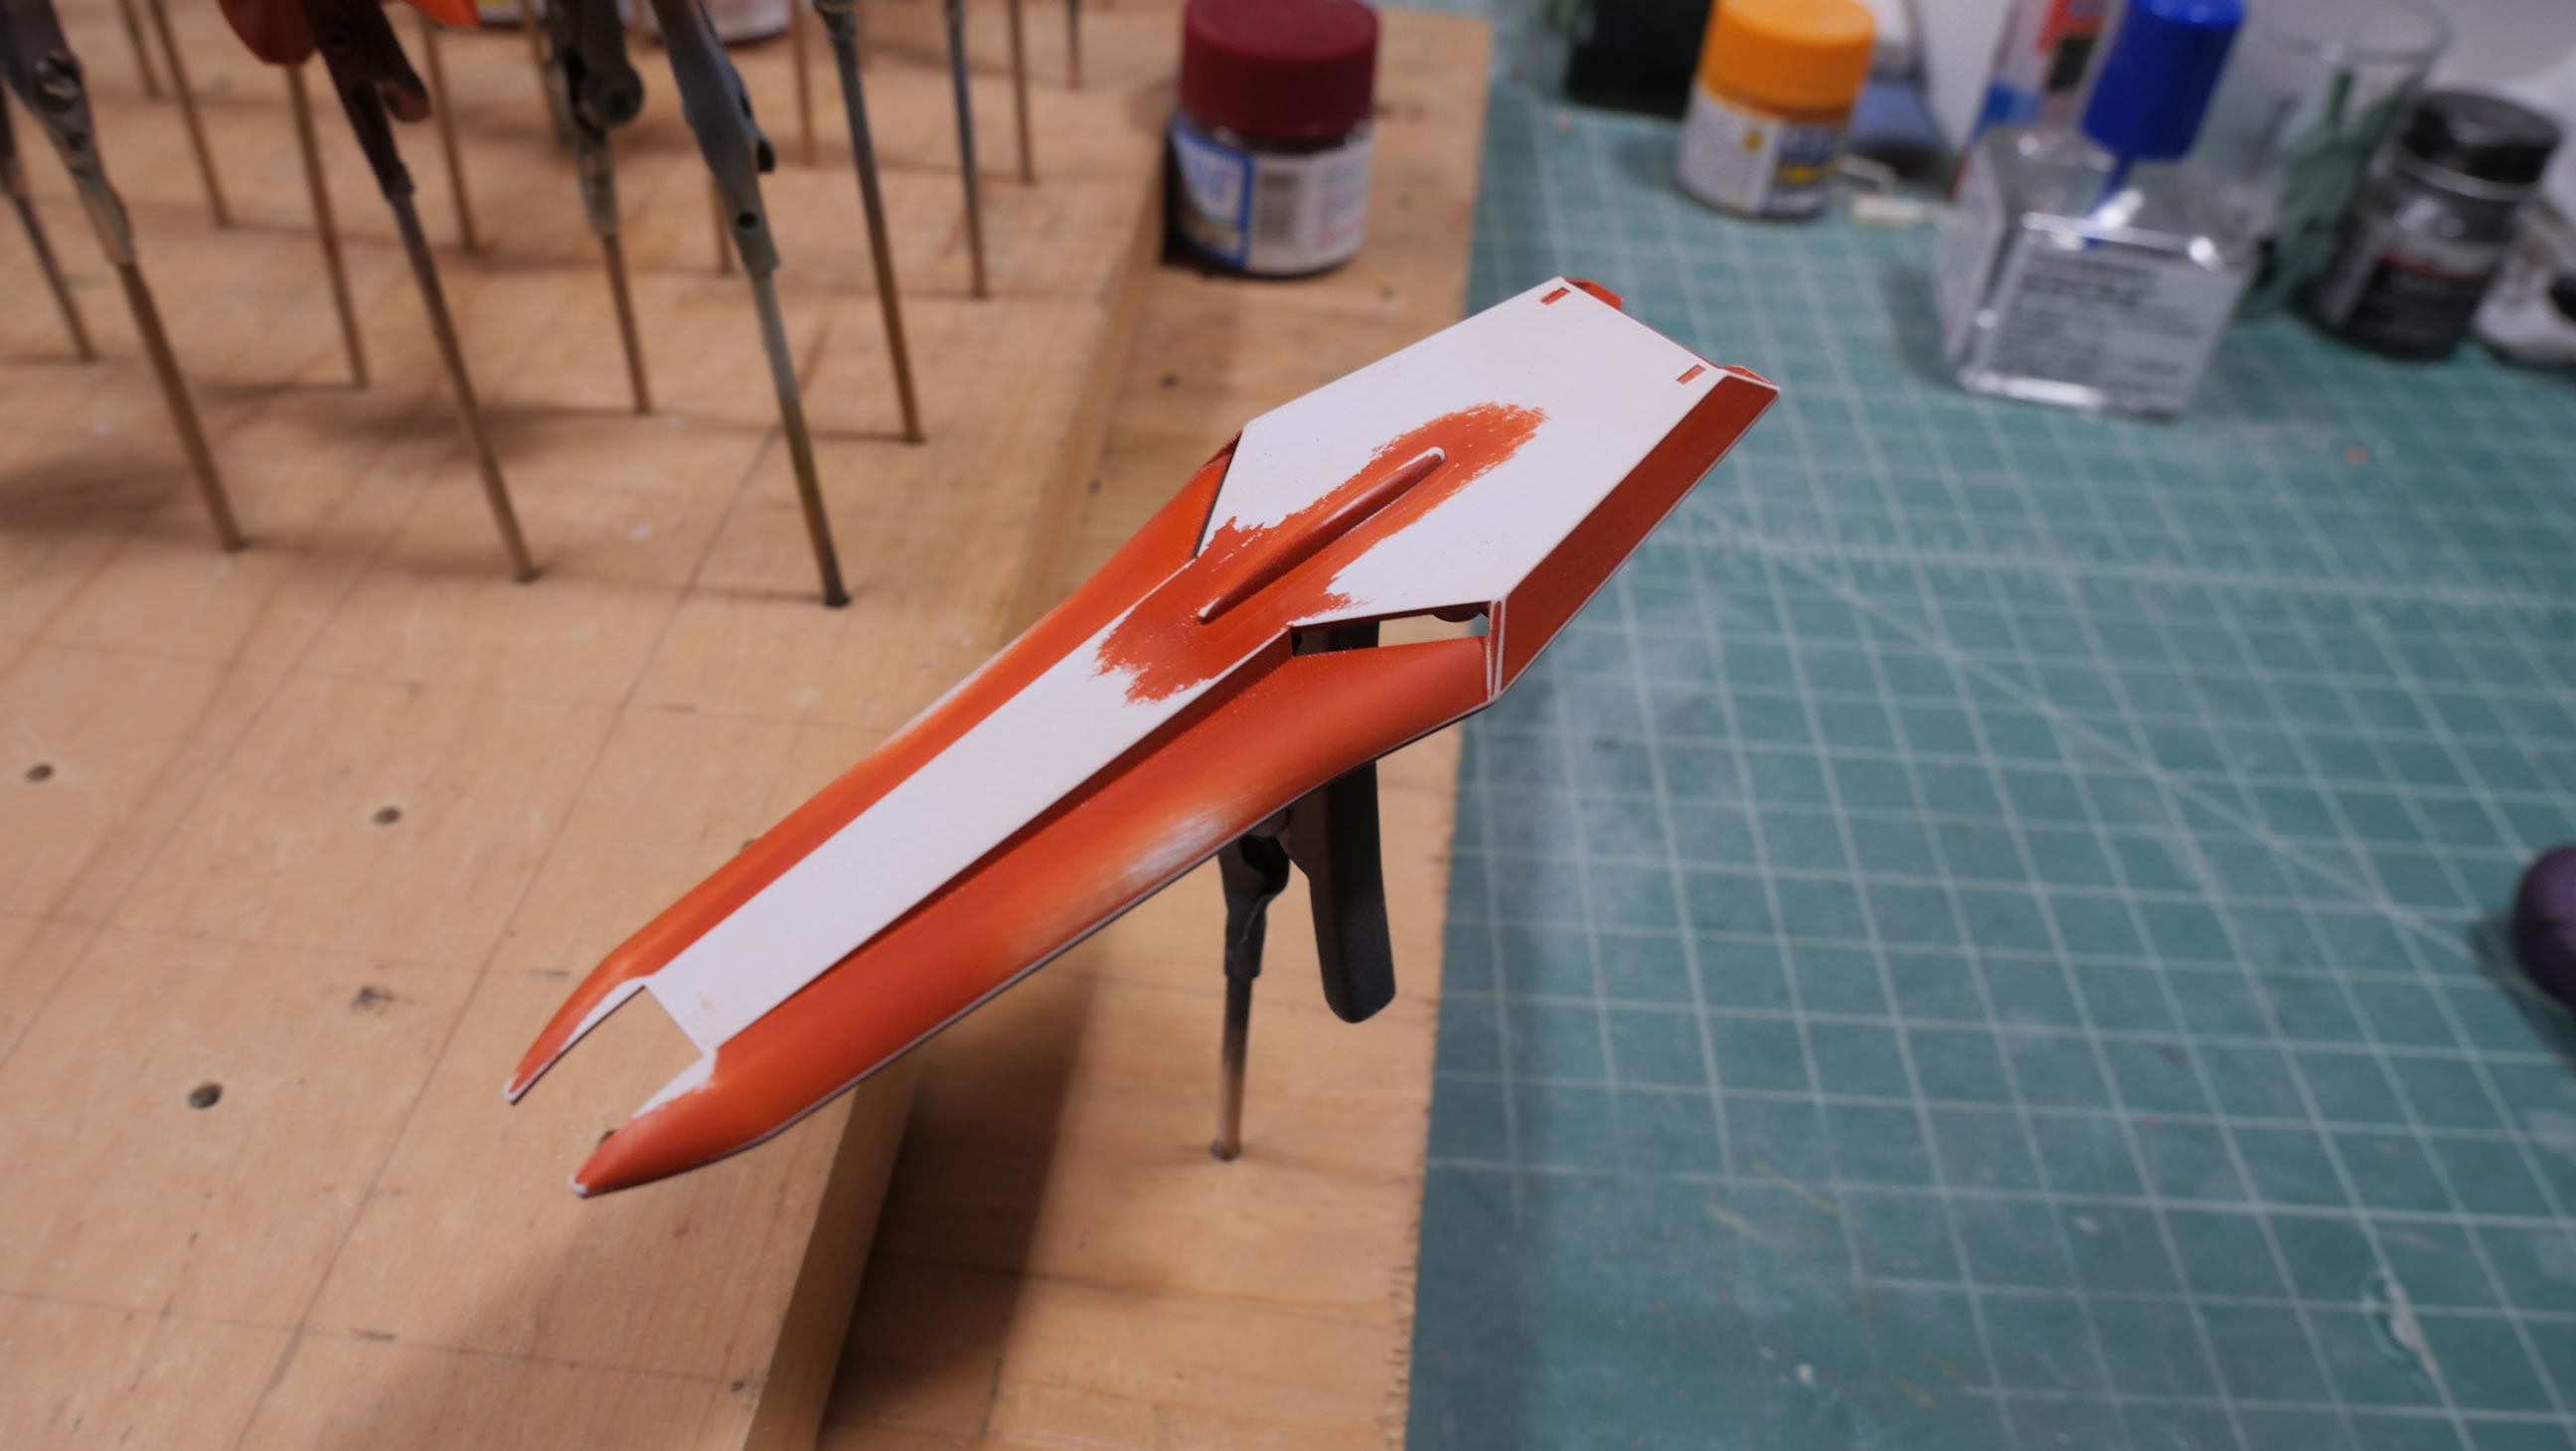
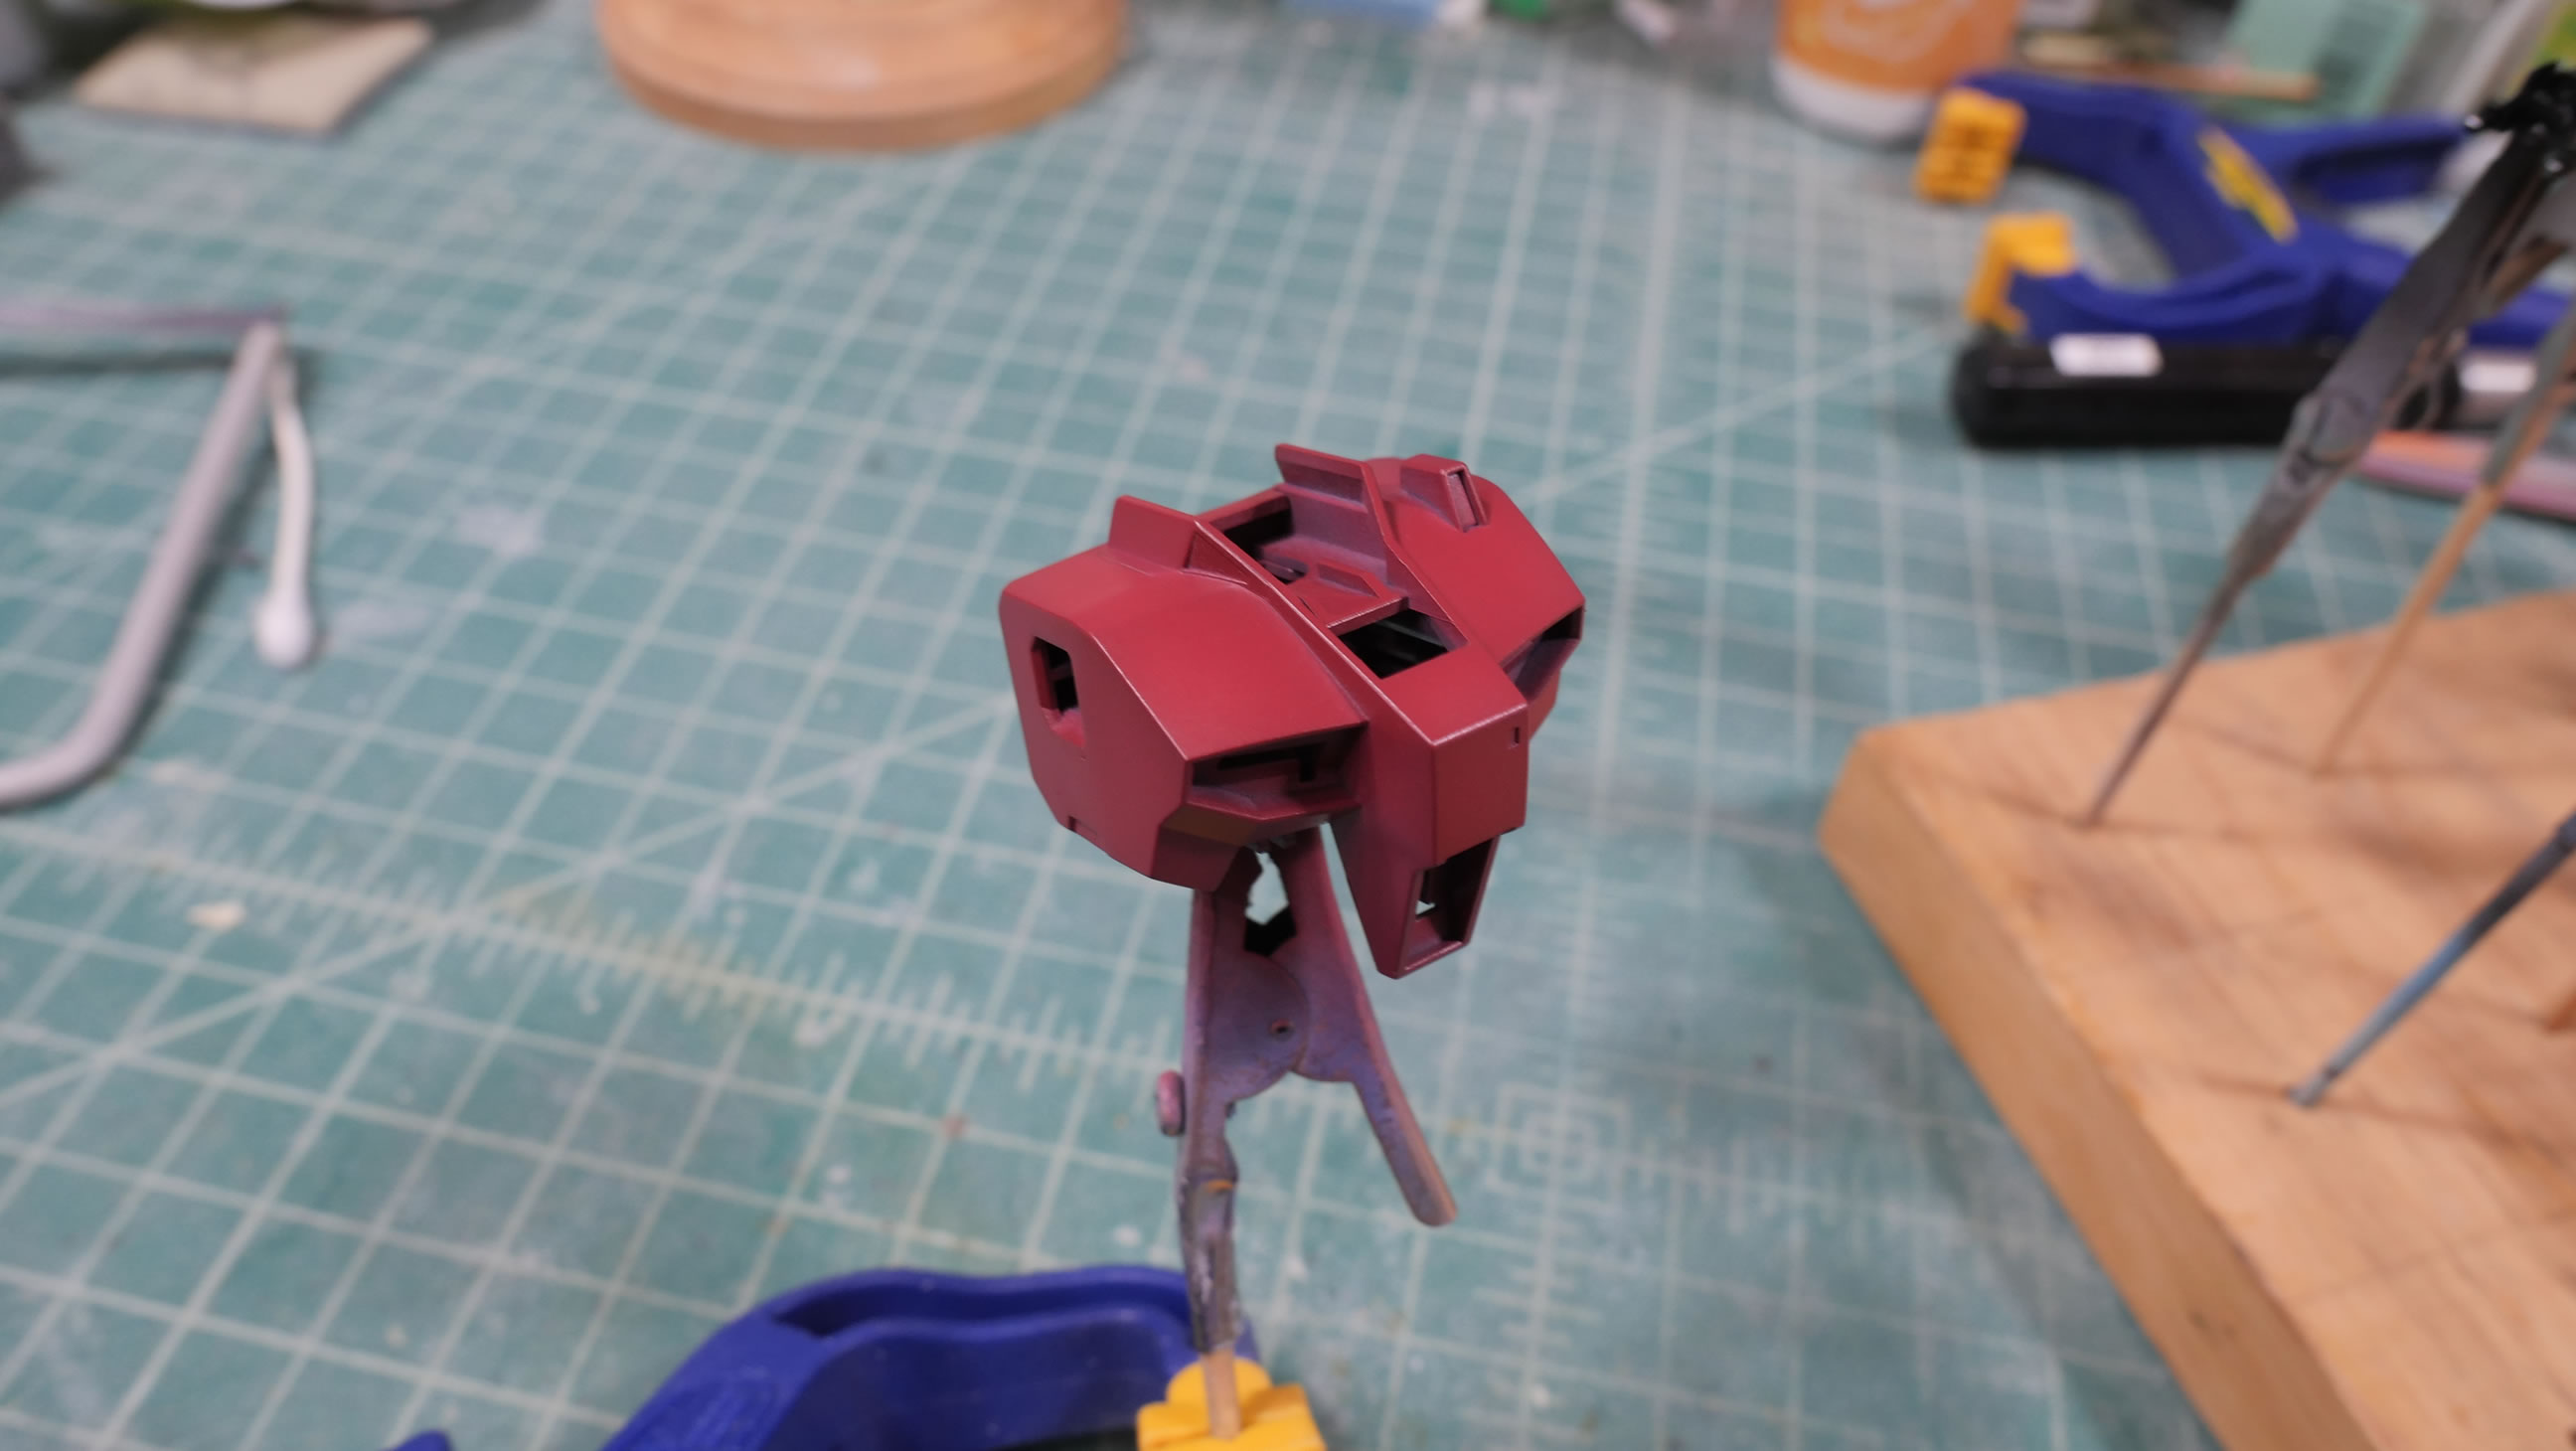
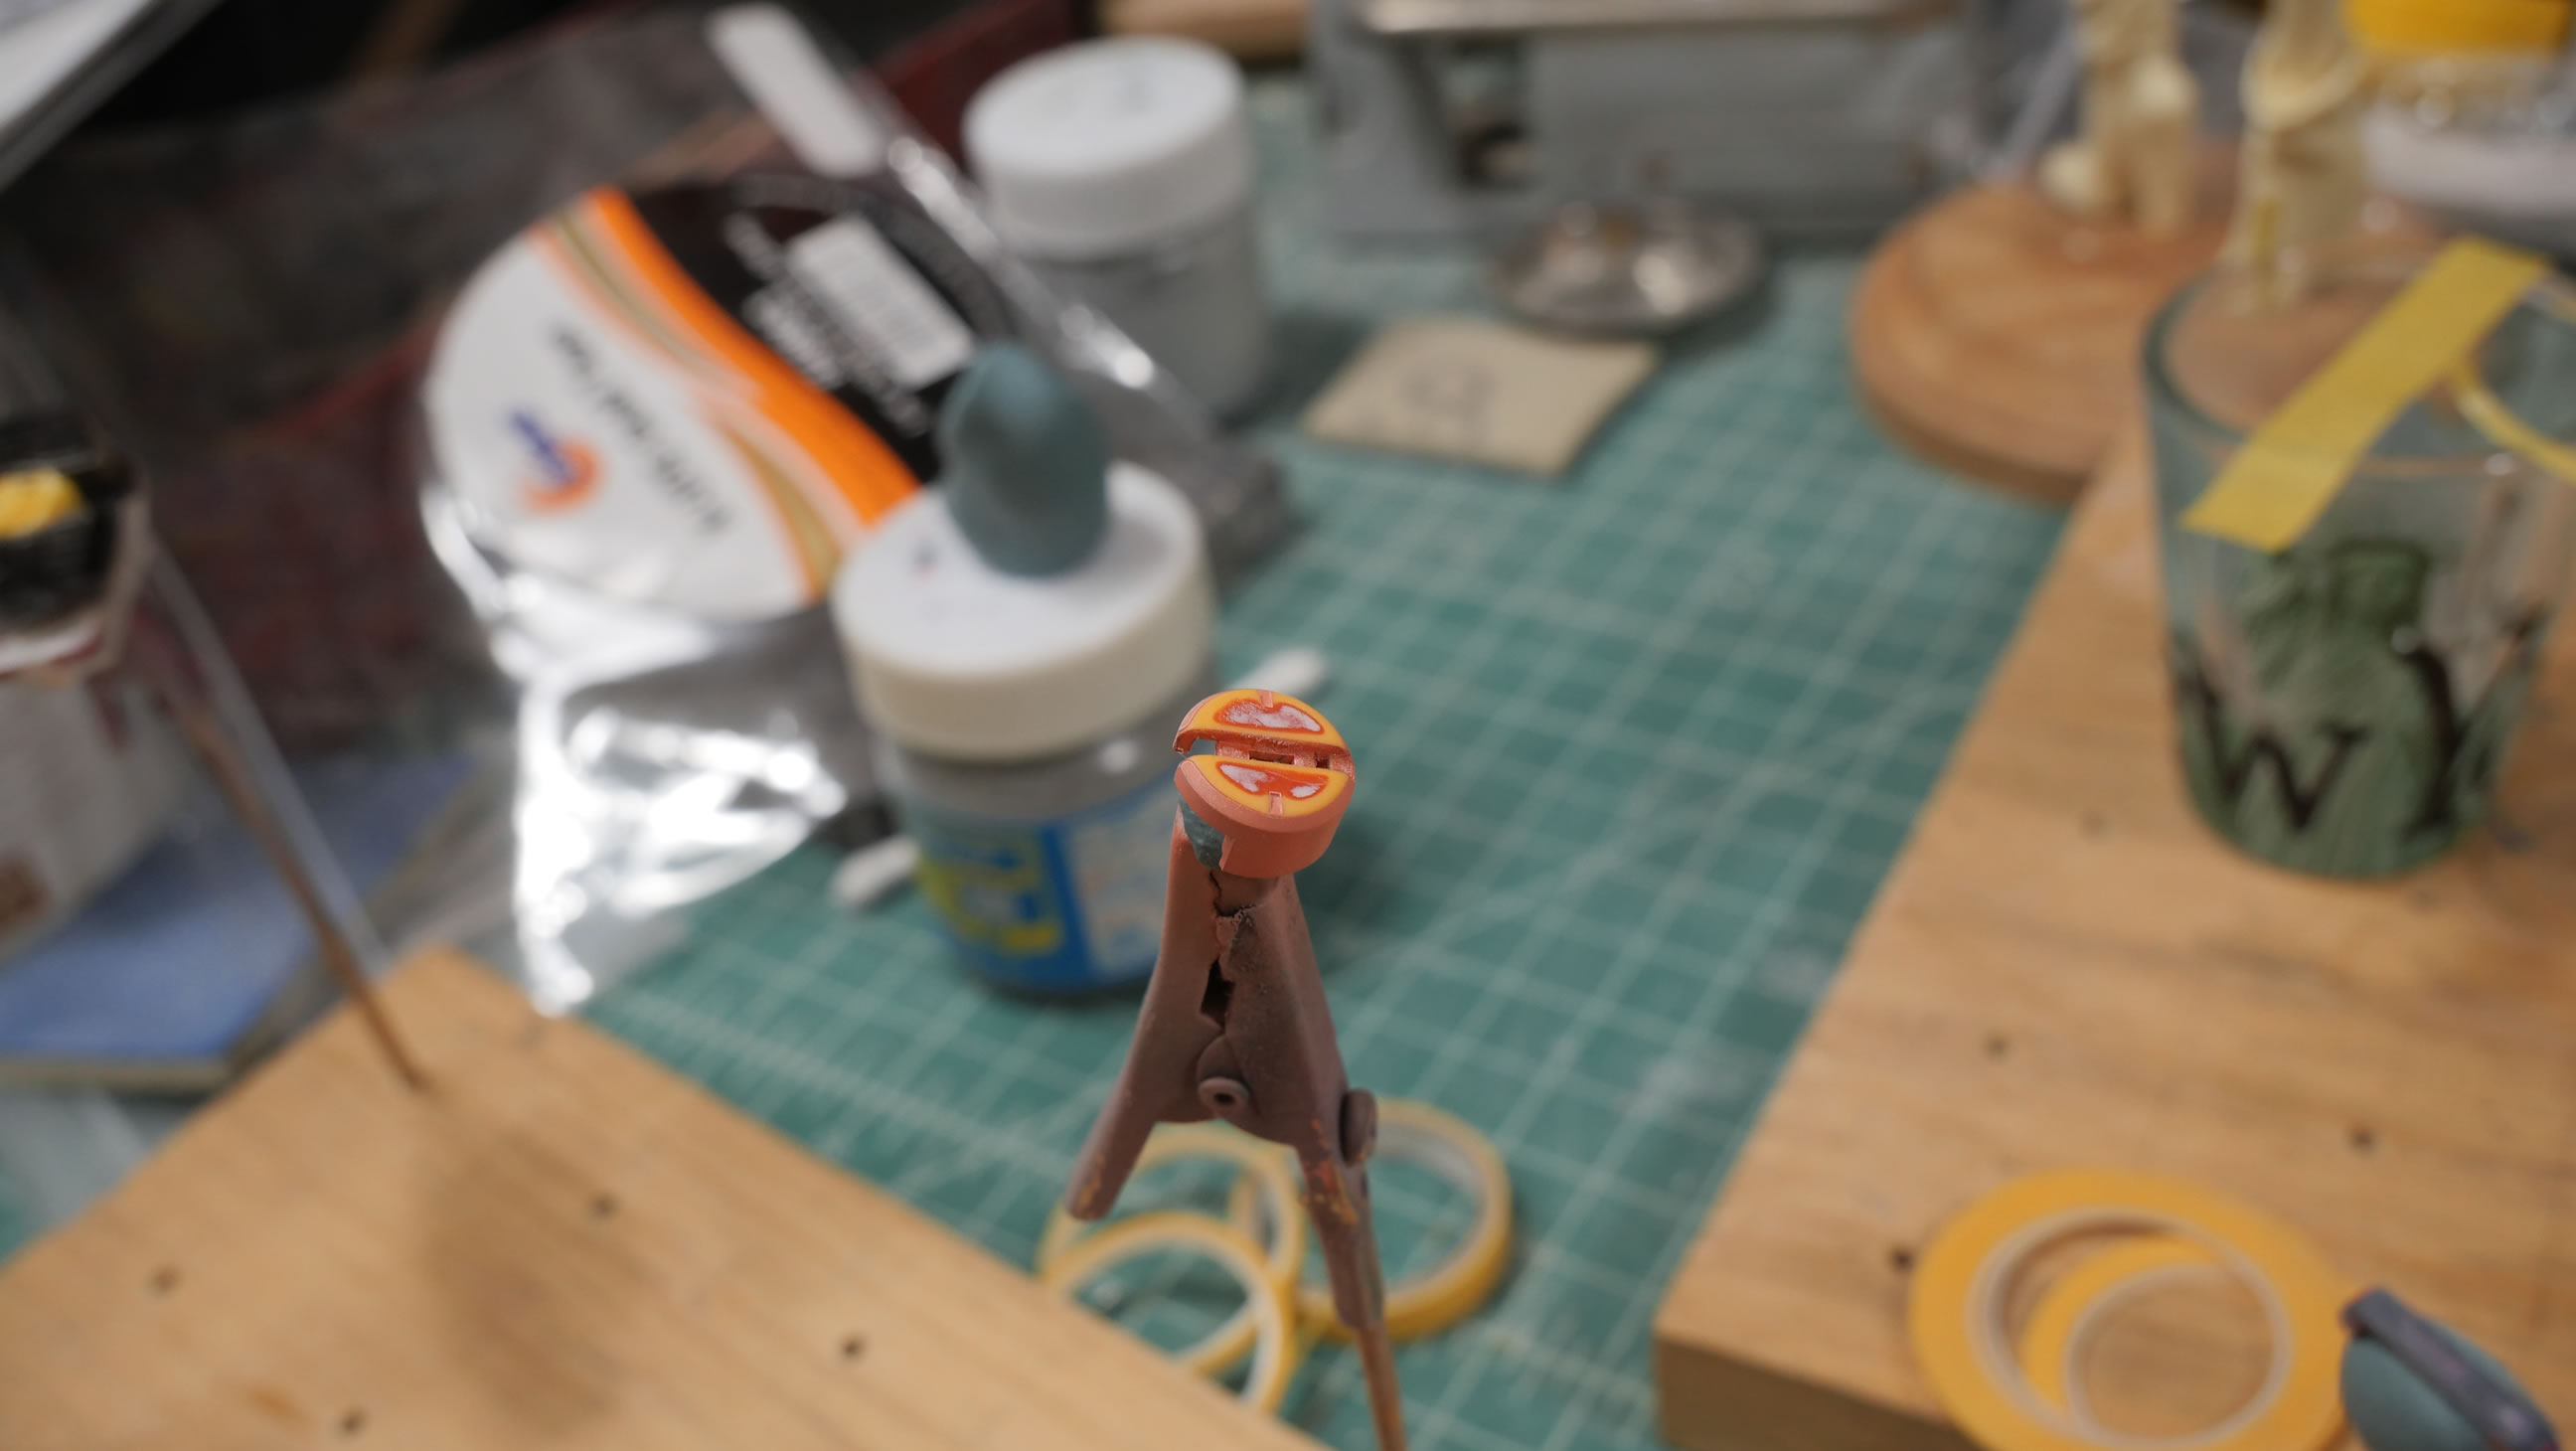
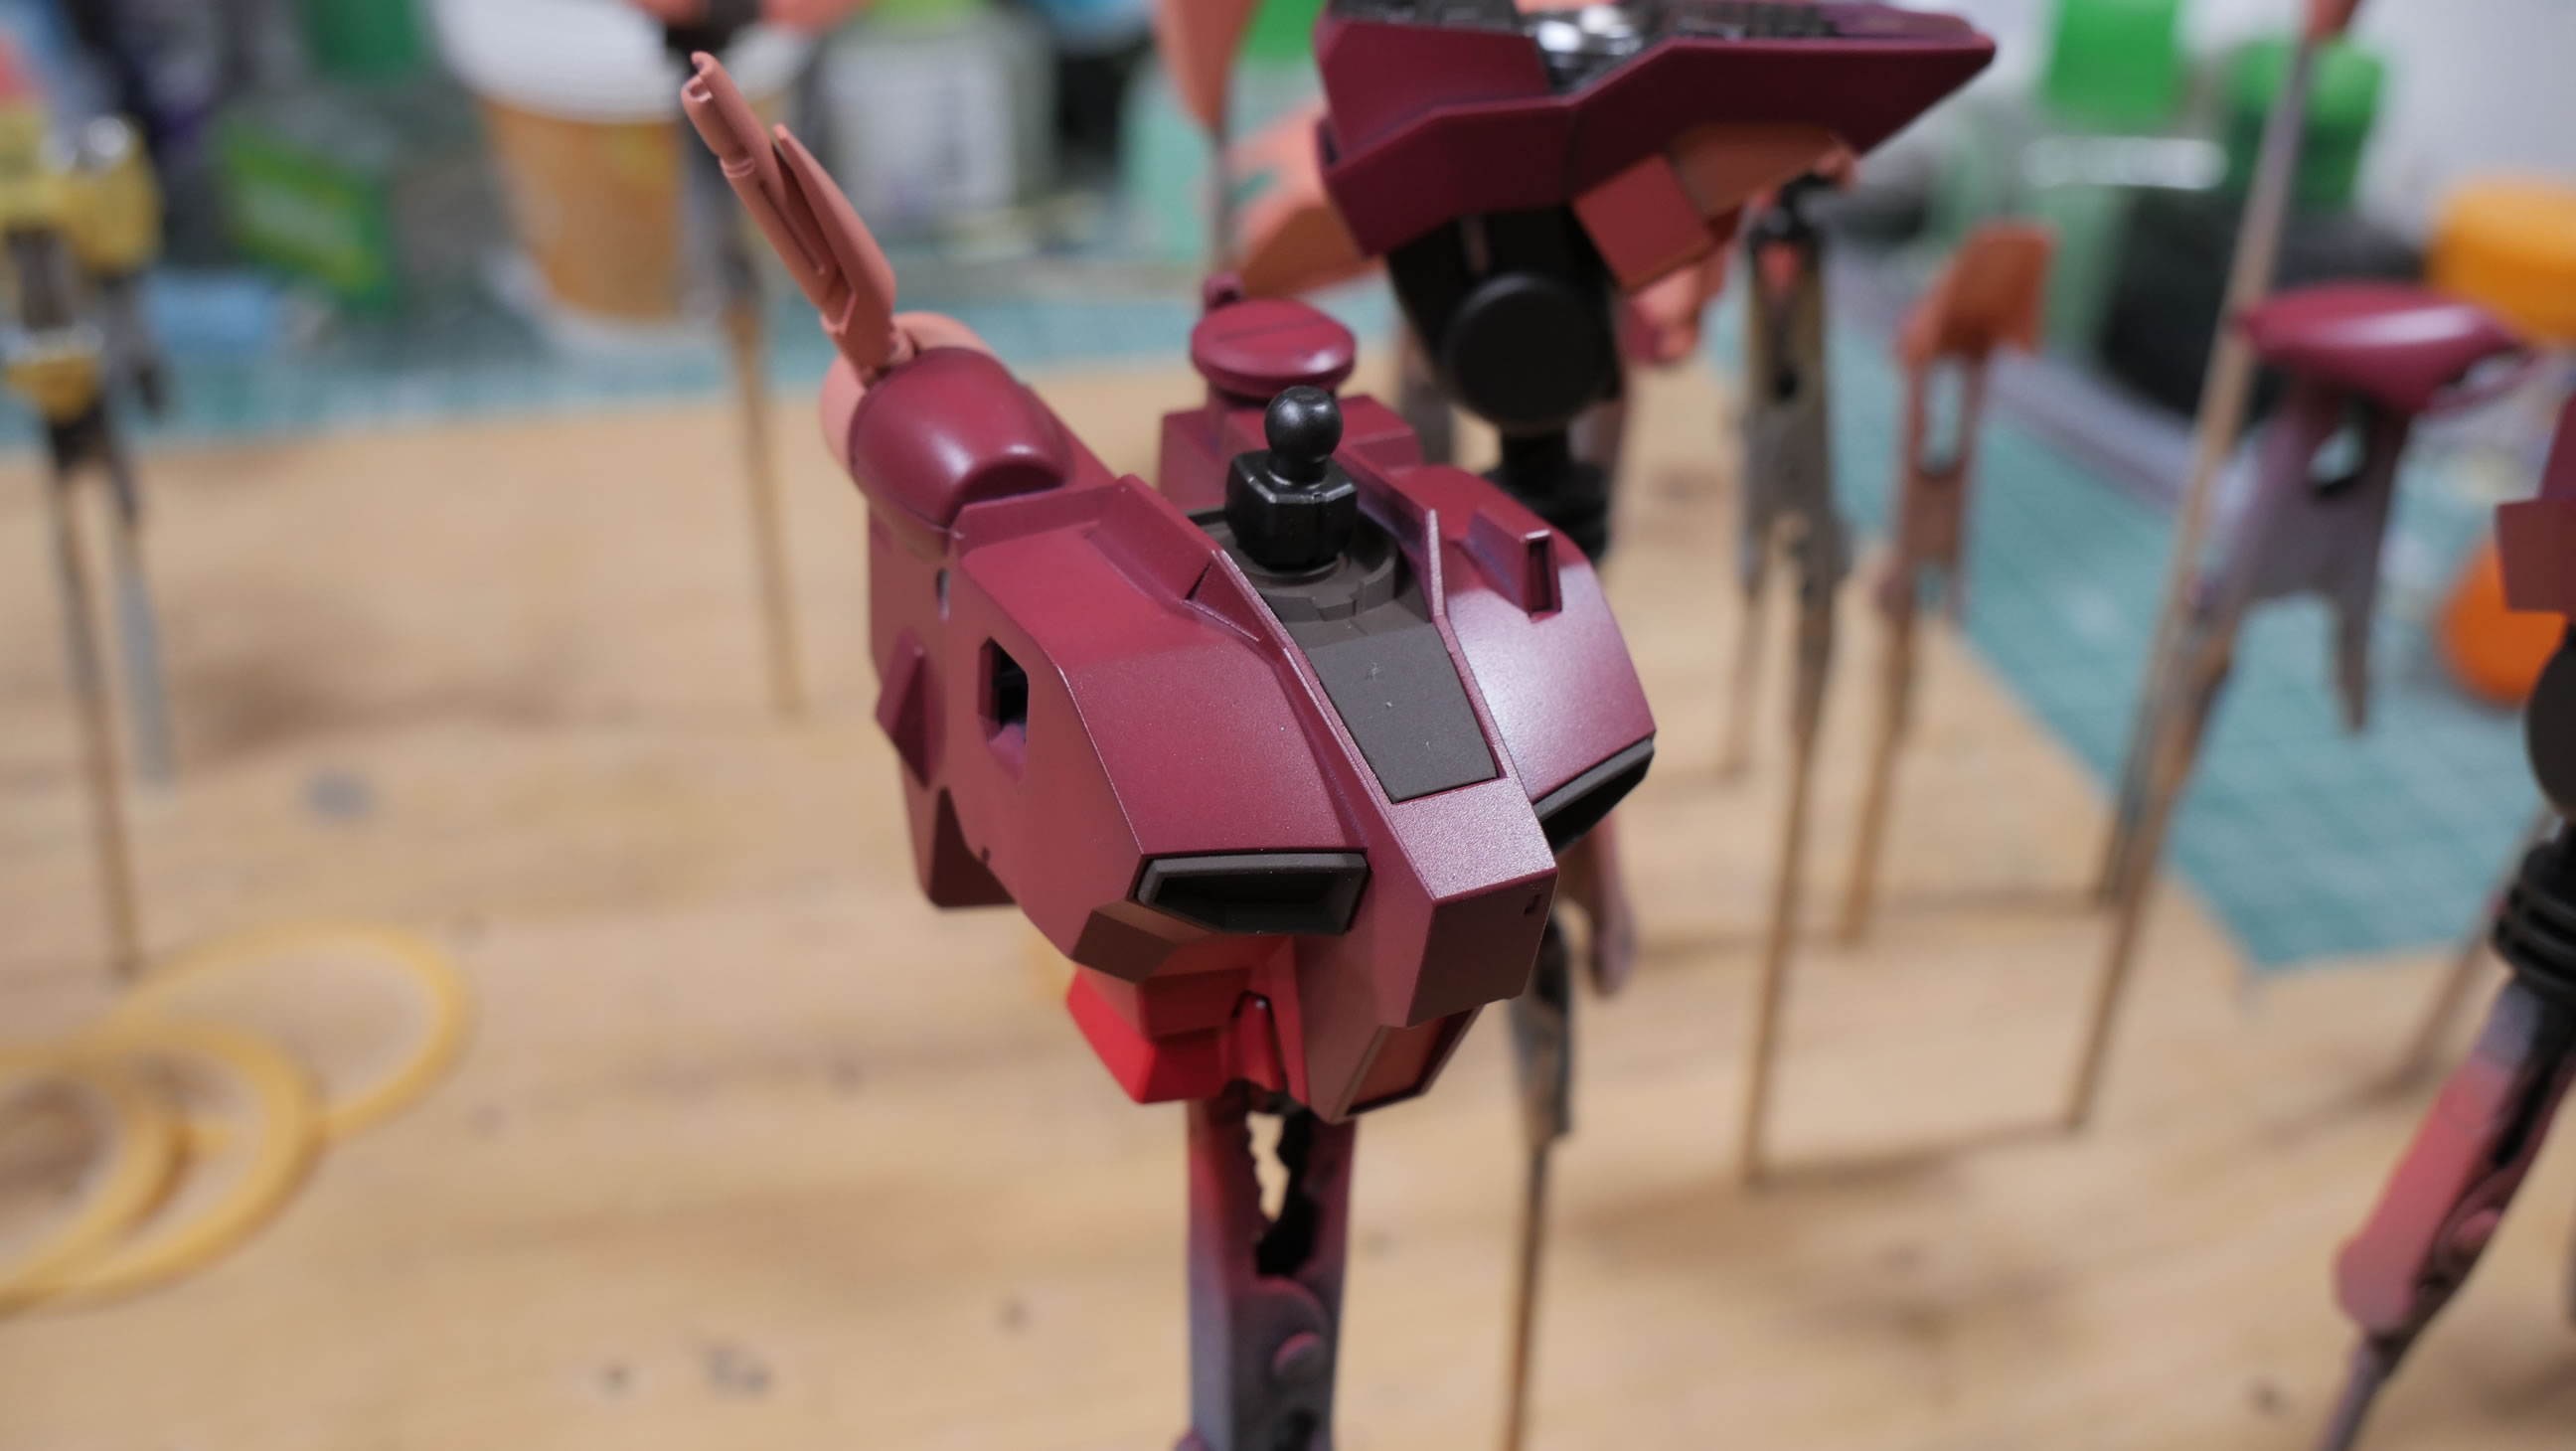
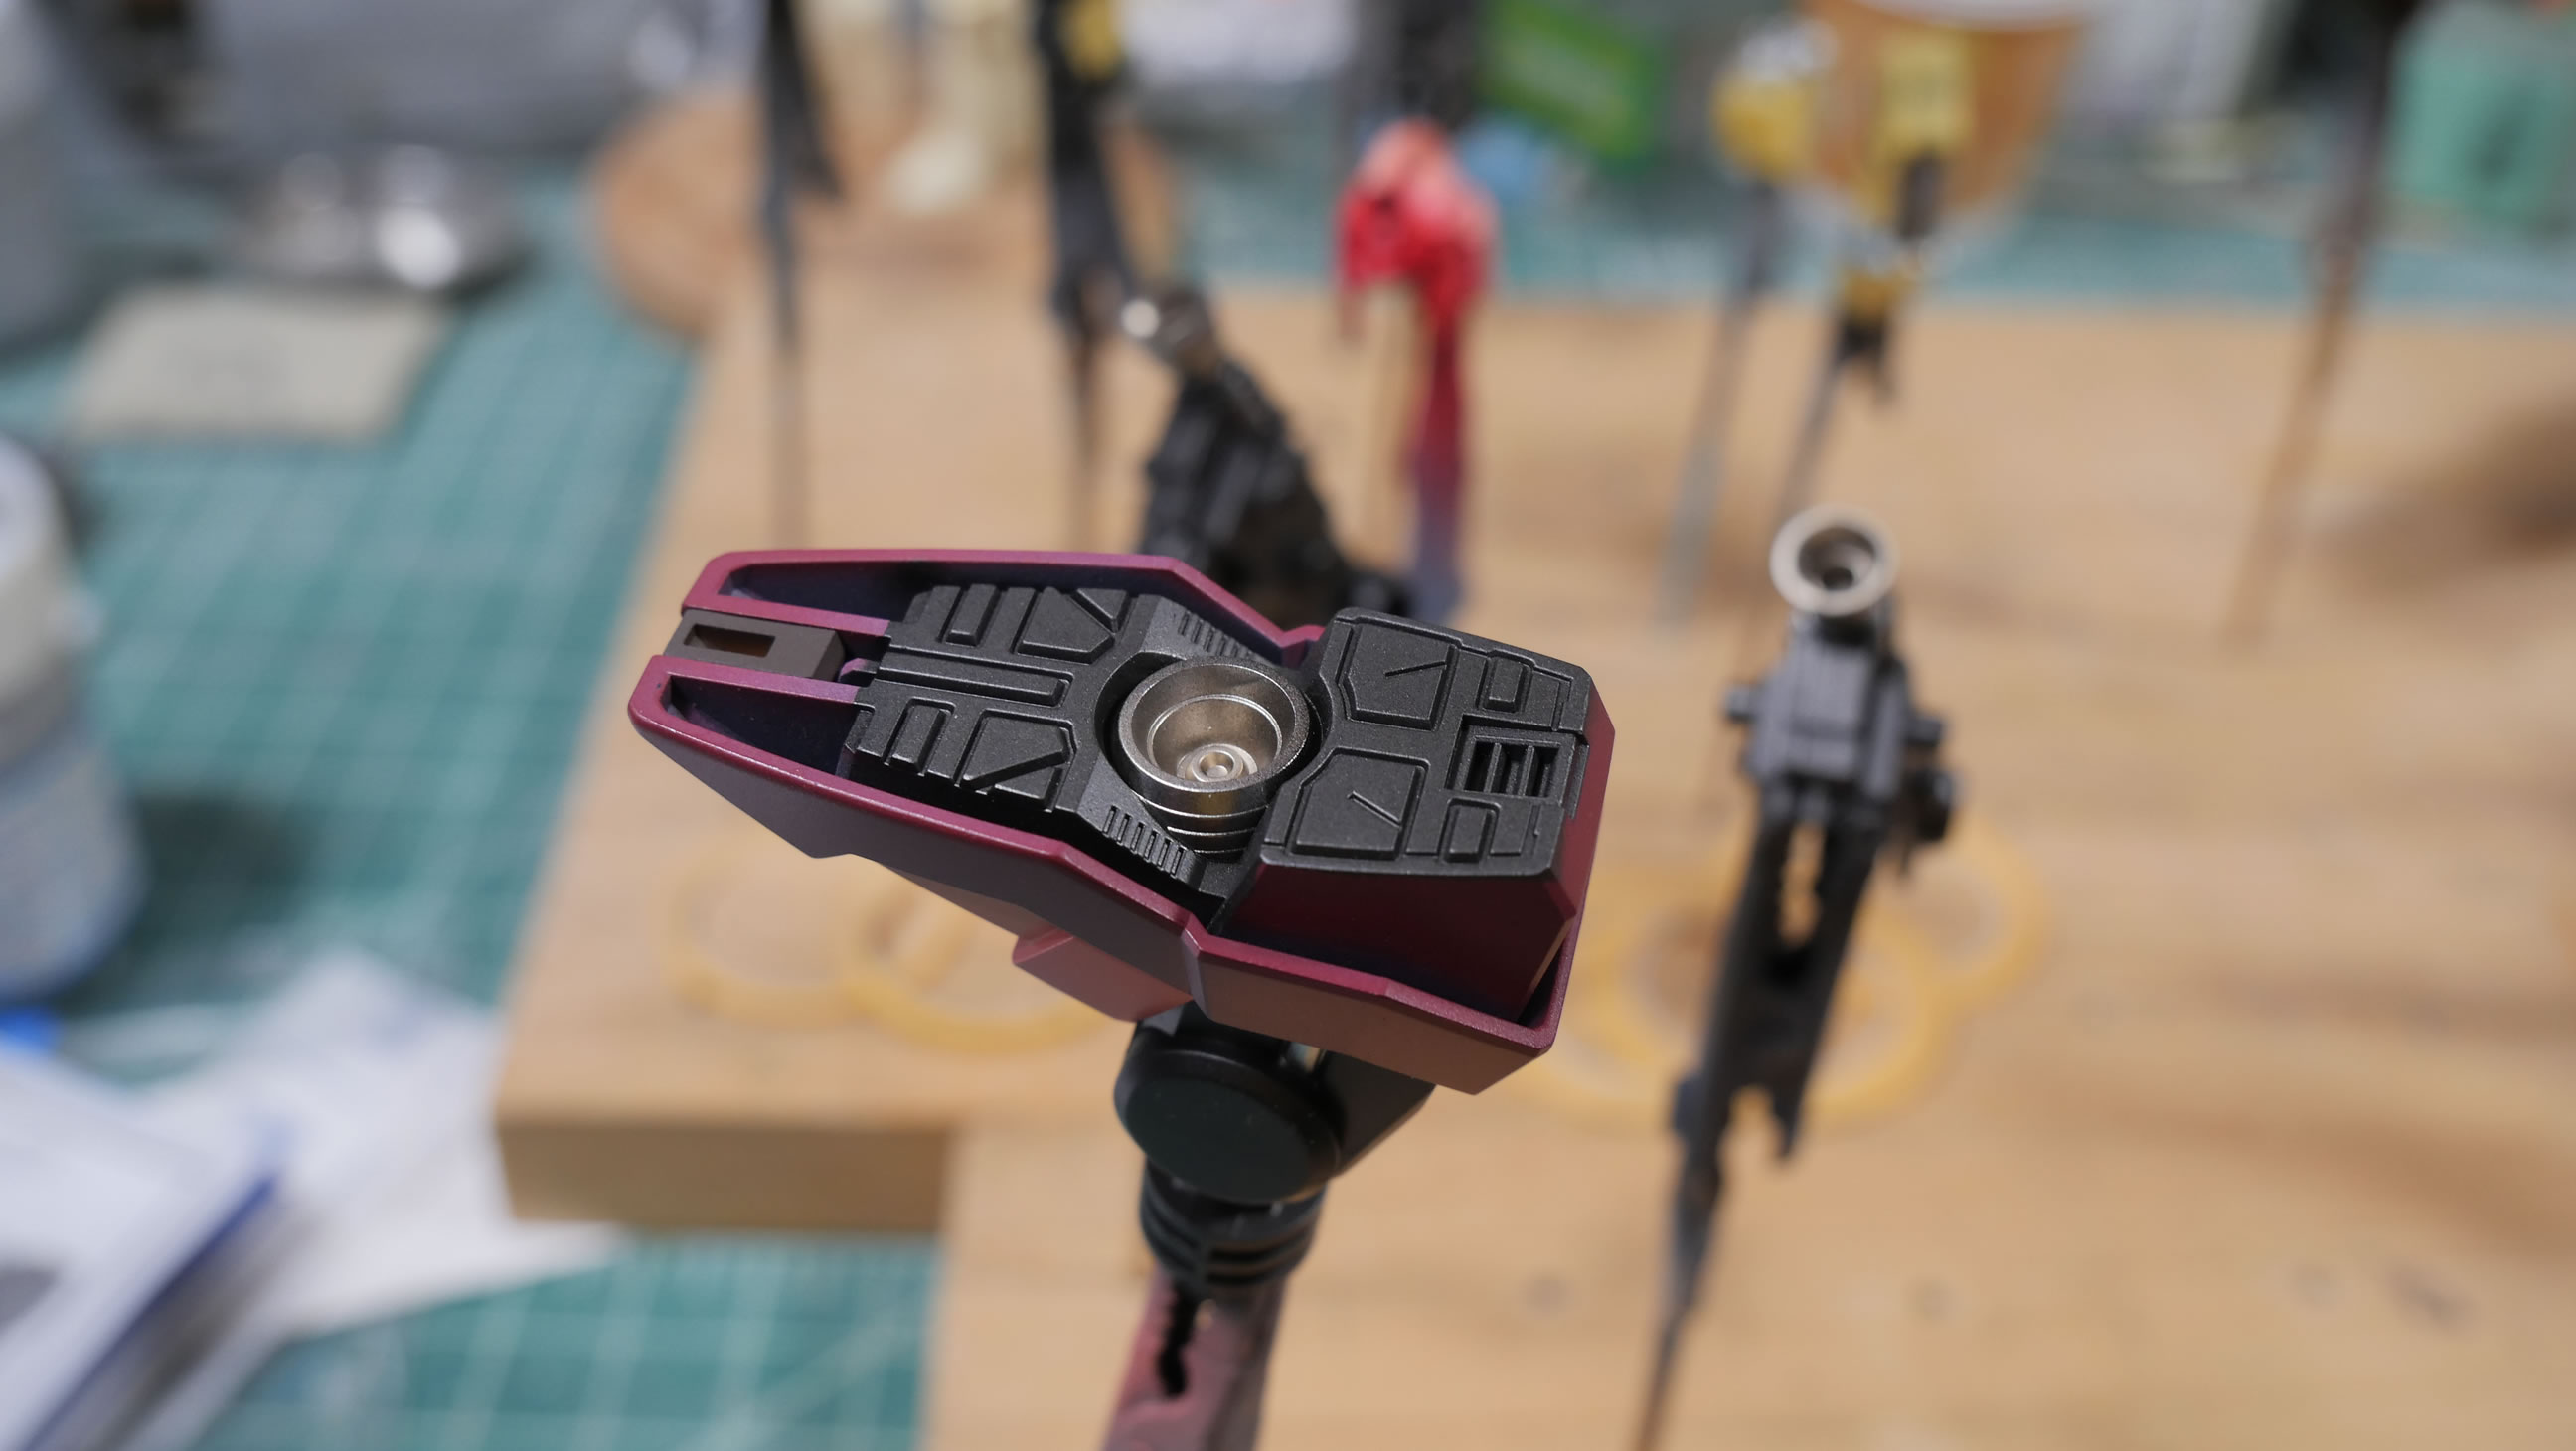
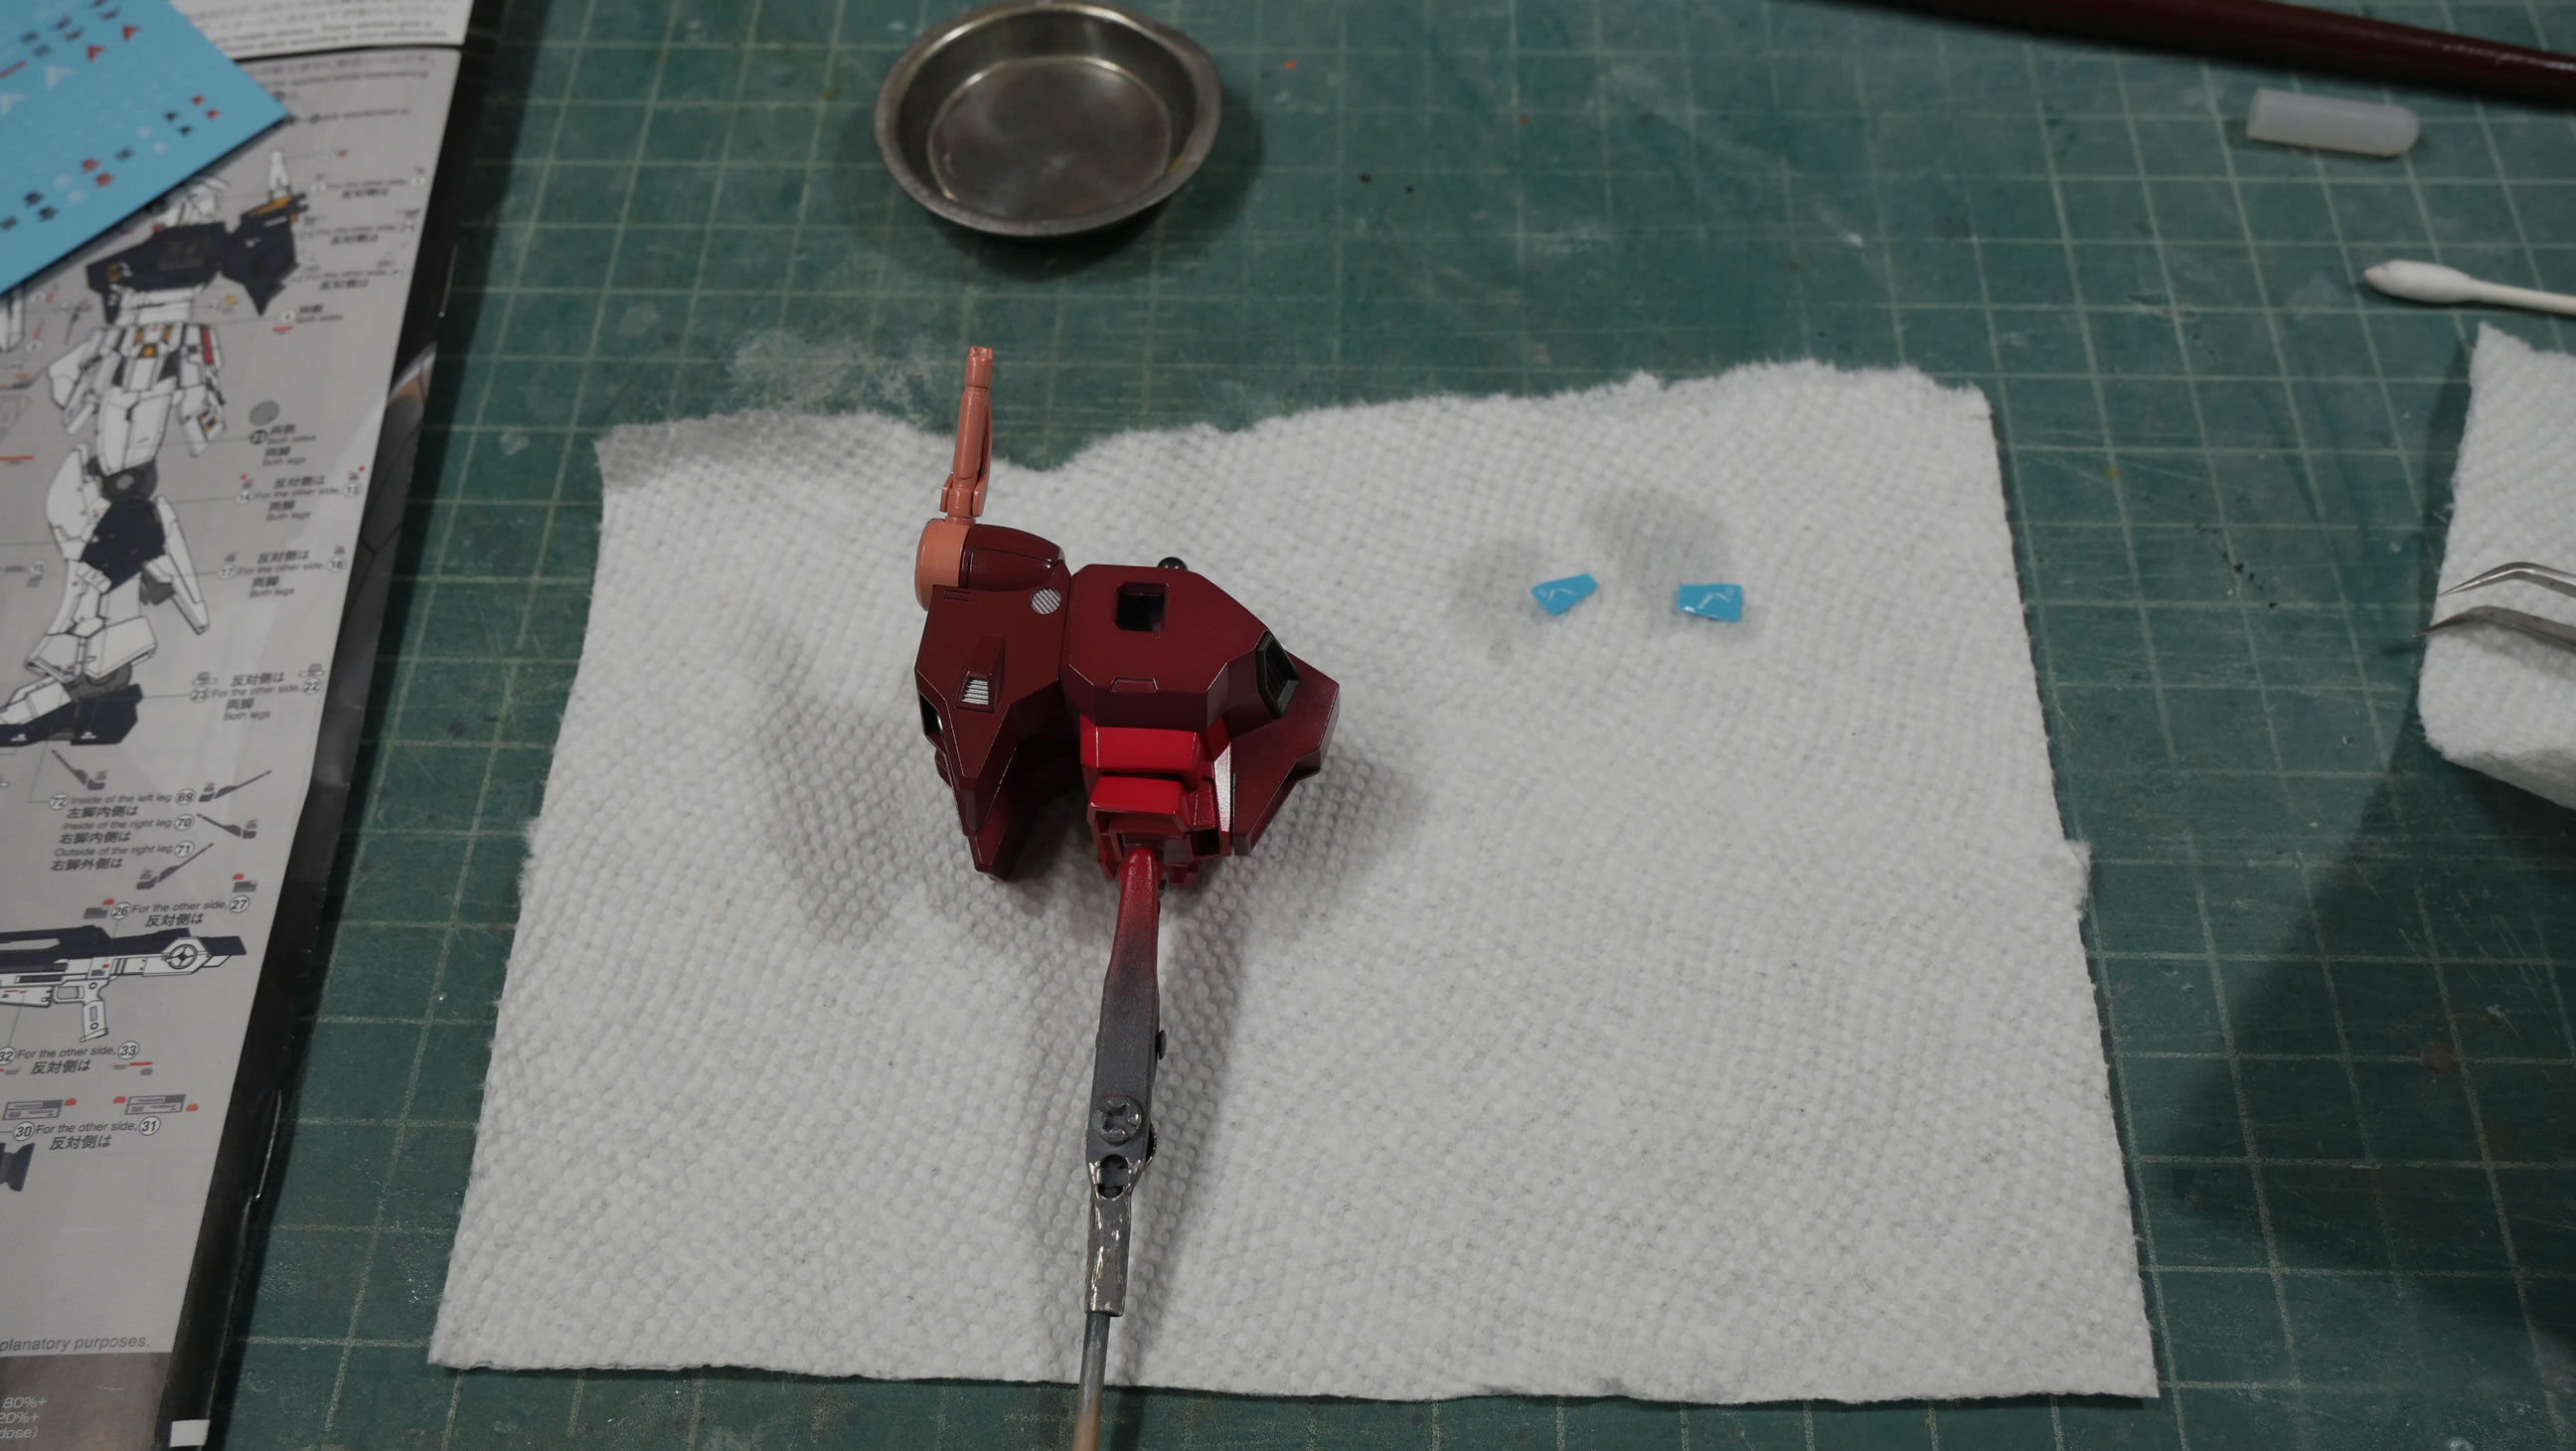
The main chest gets a spry of a dark red.
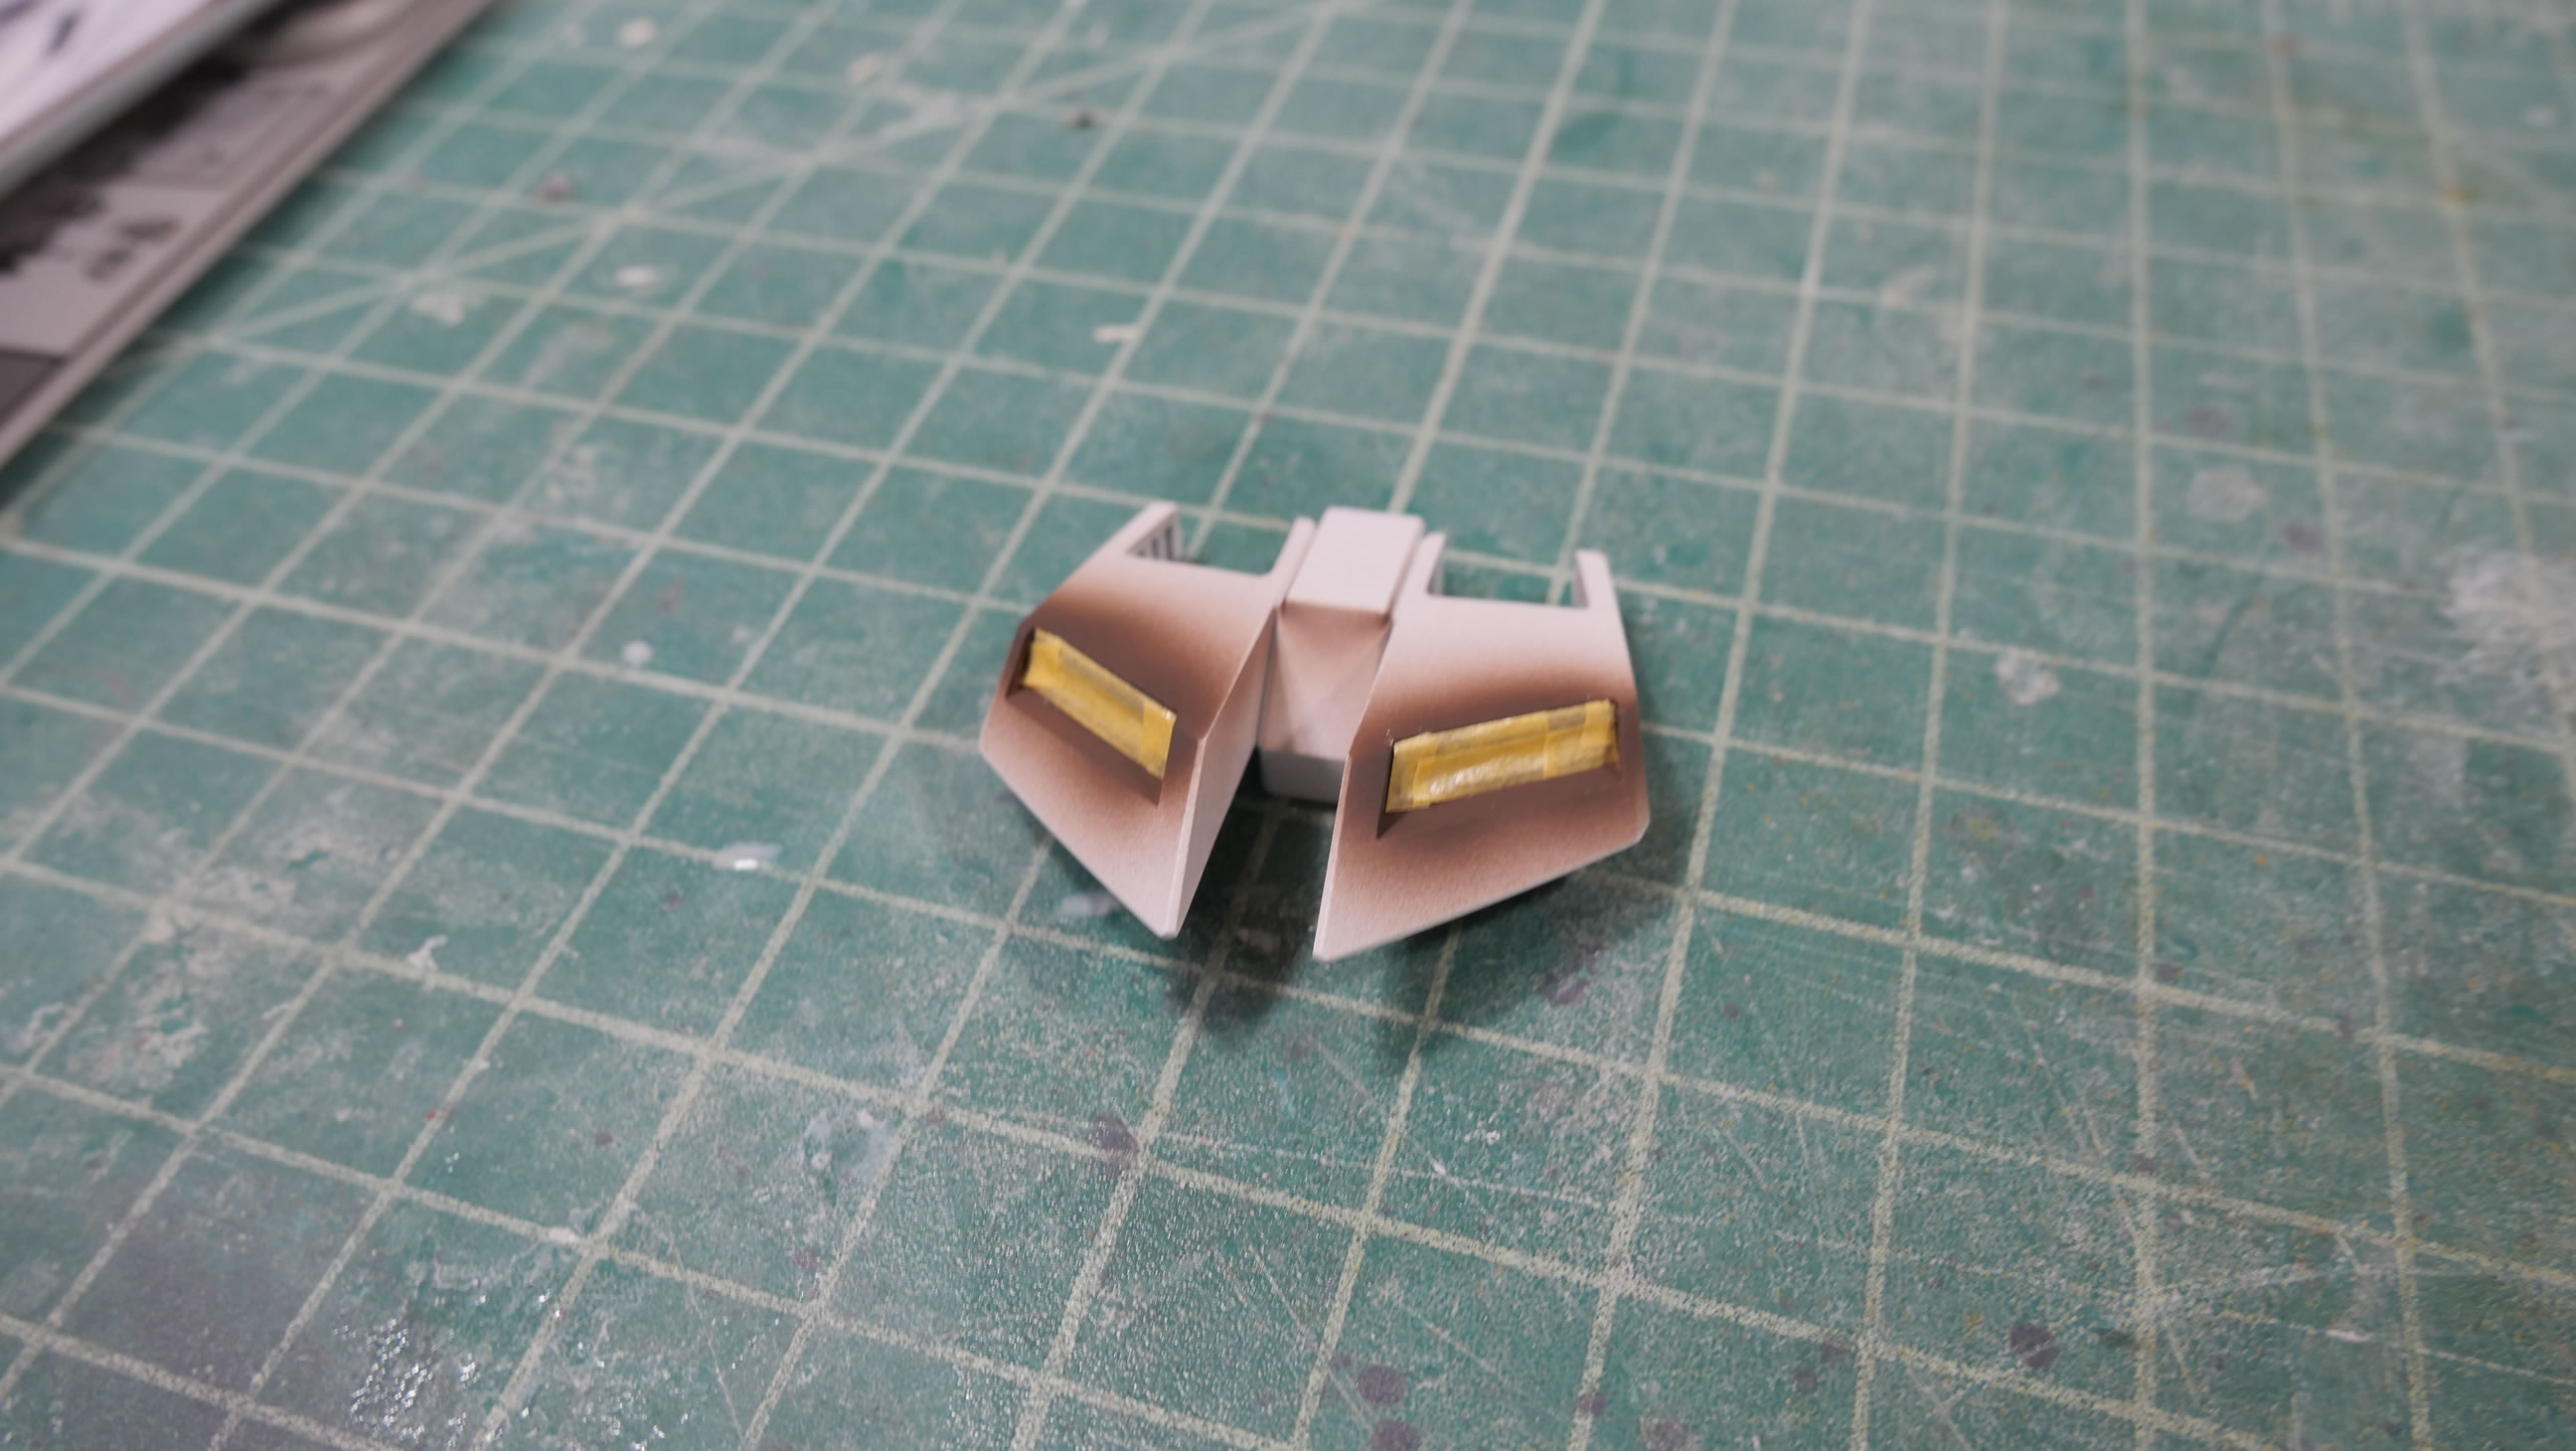
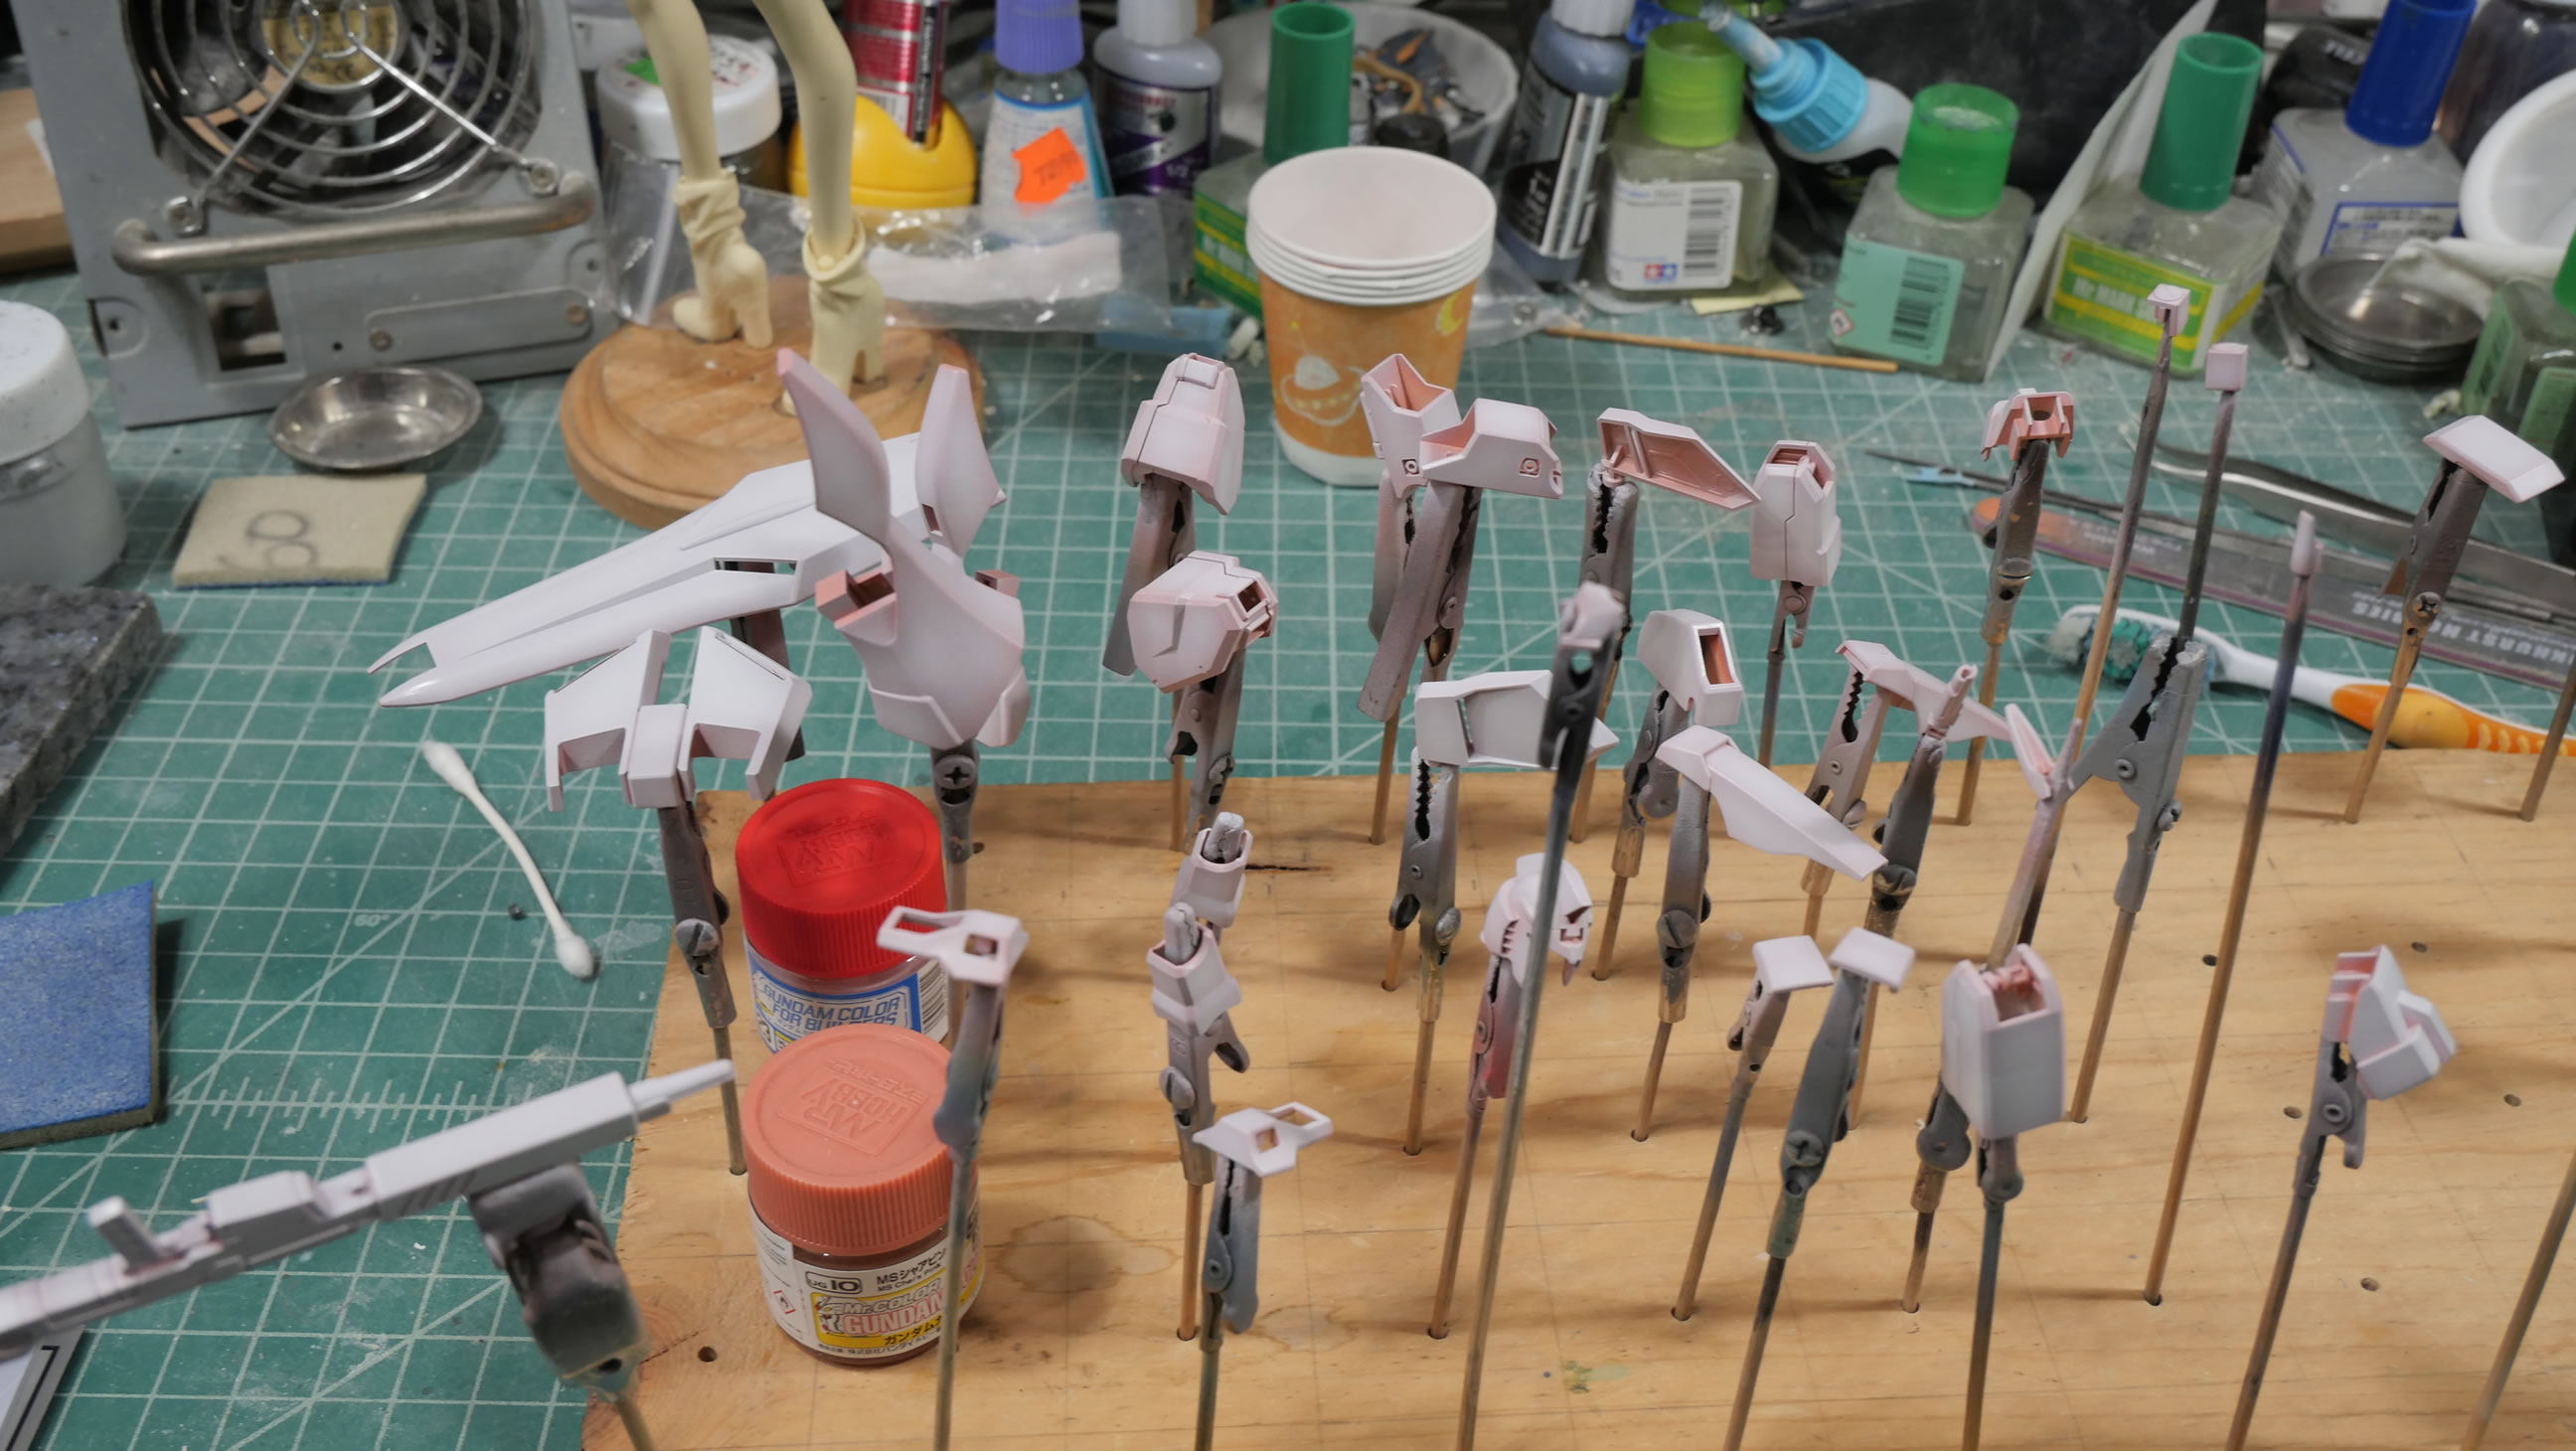
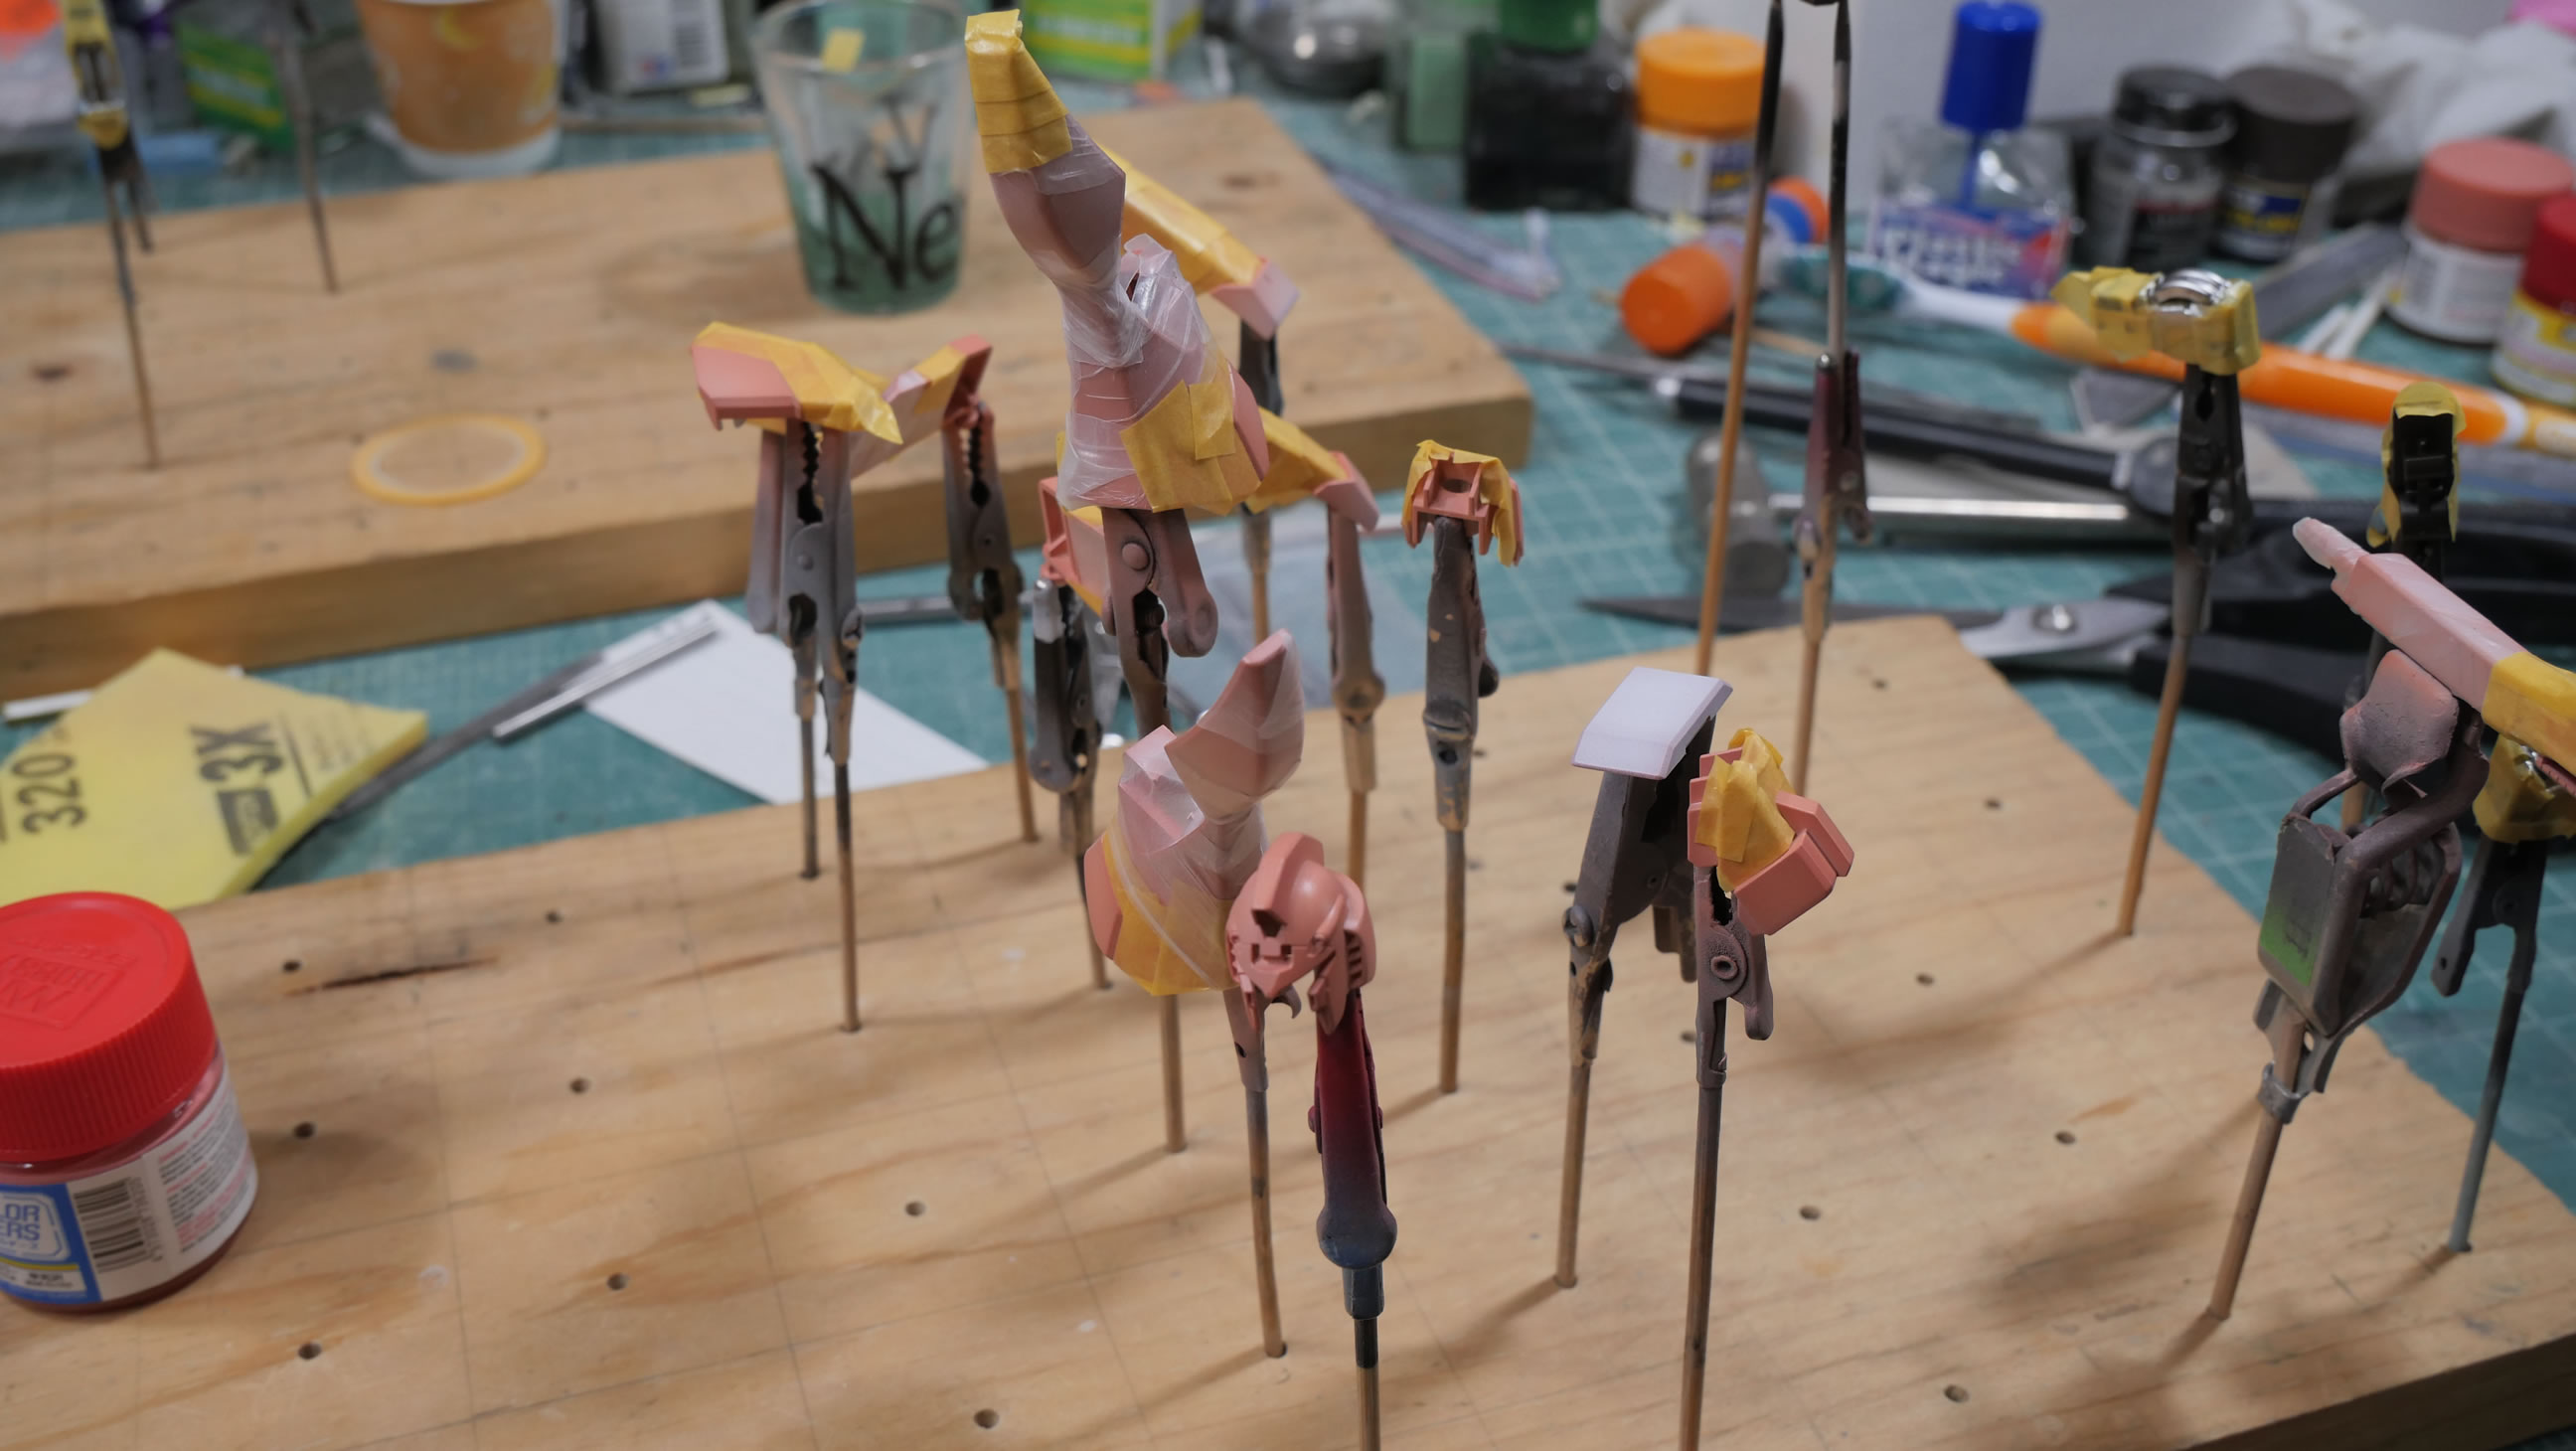
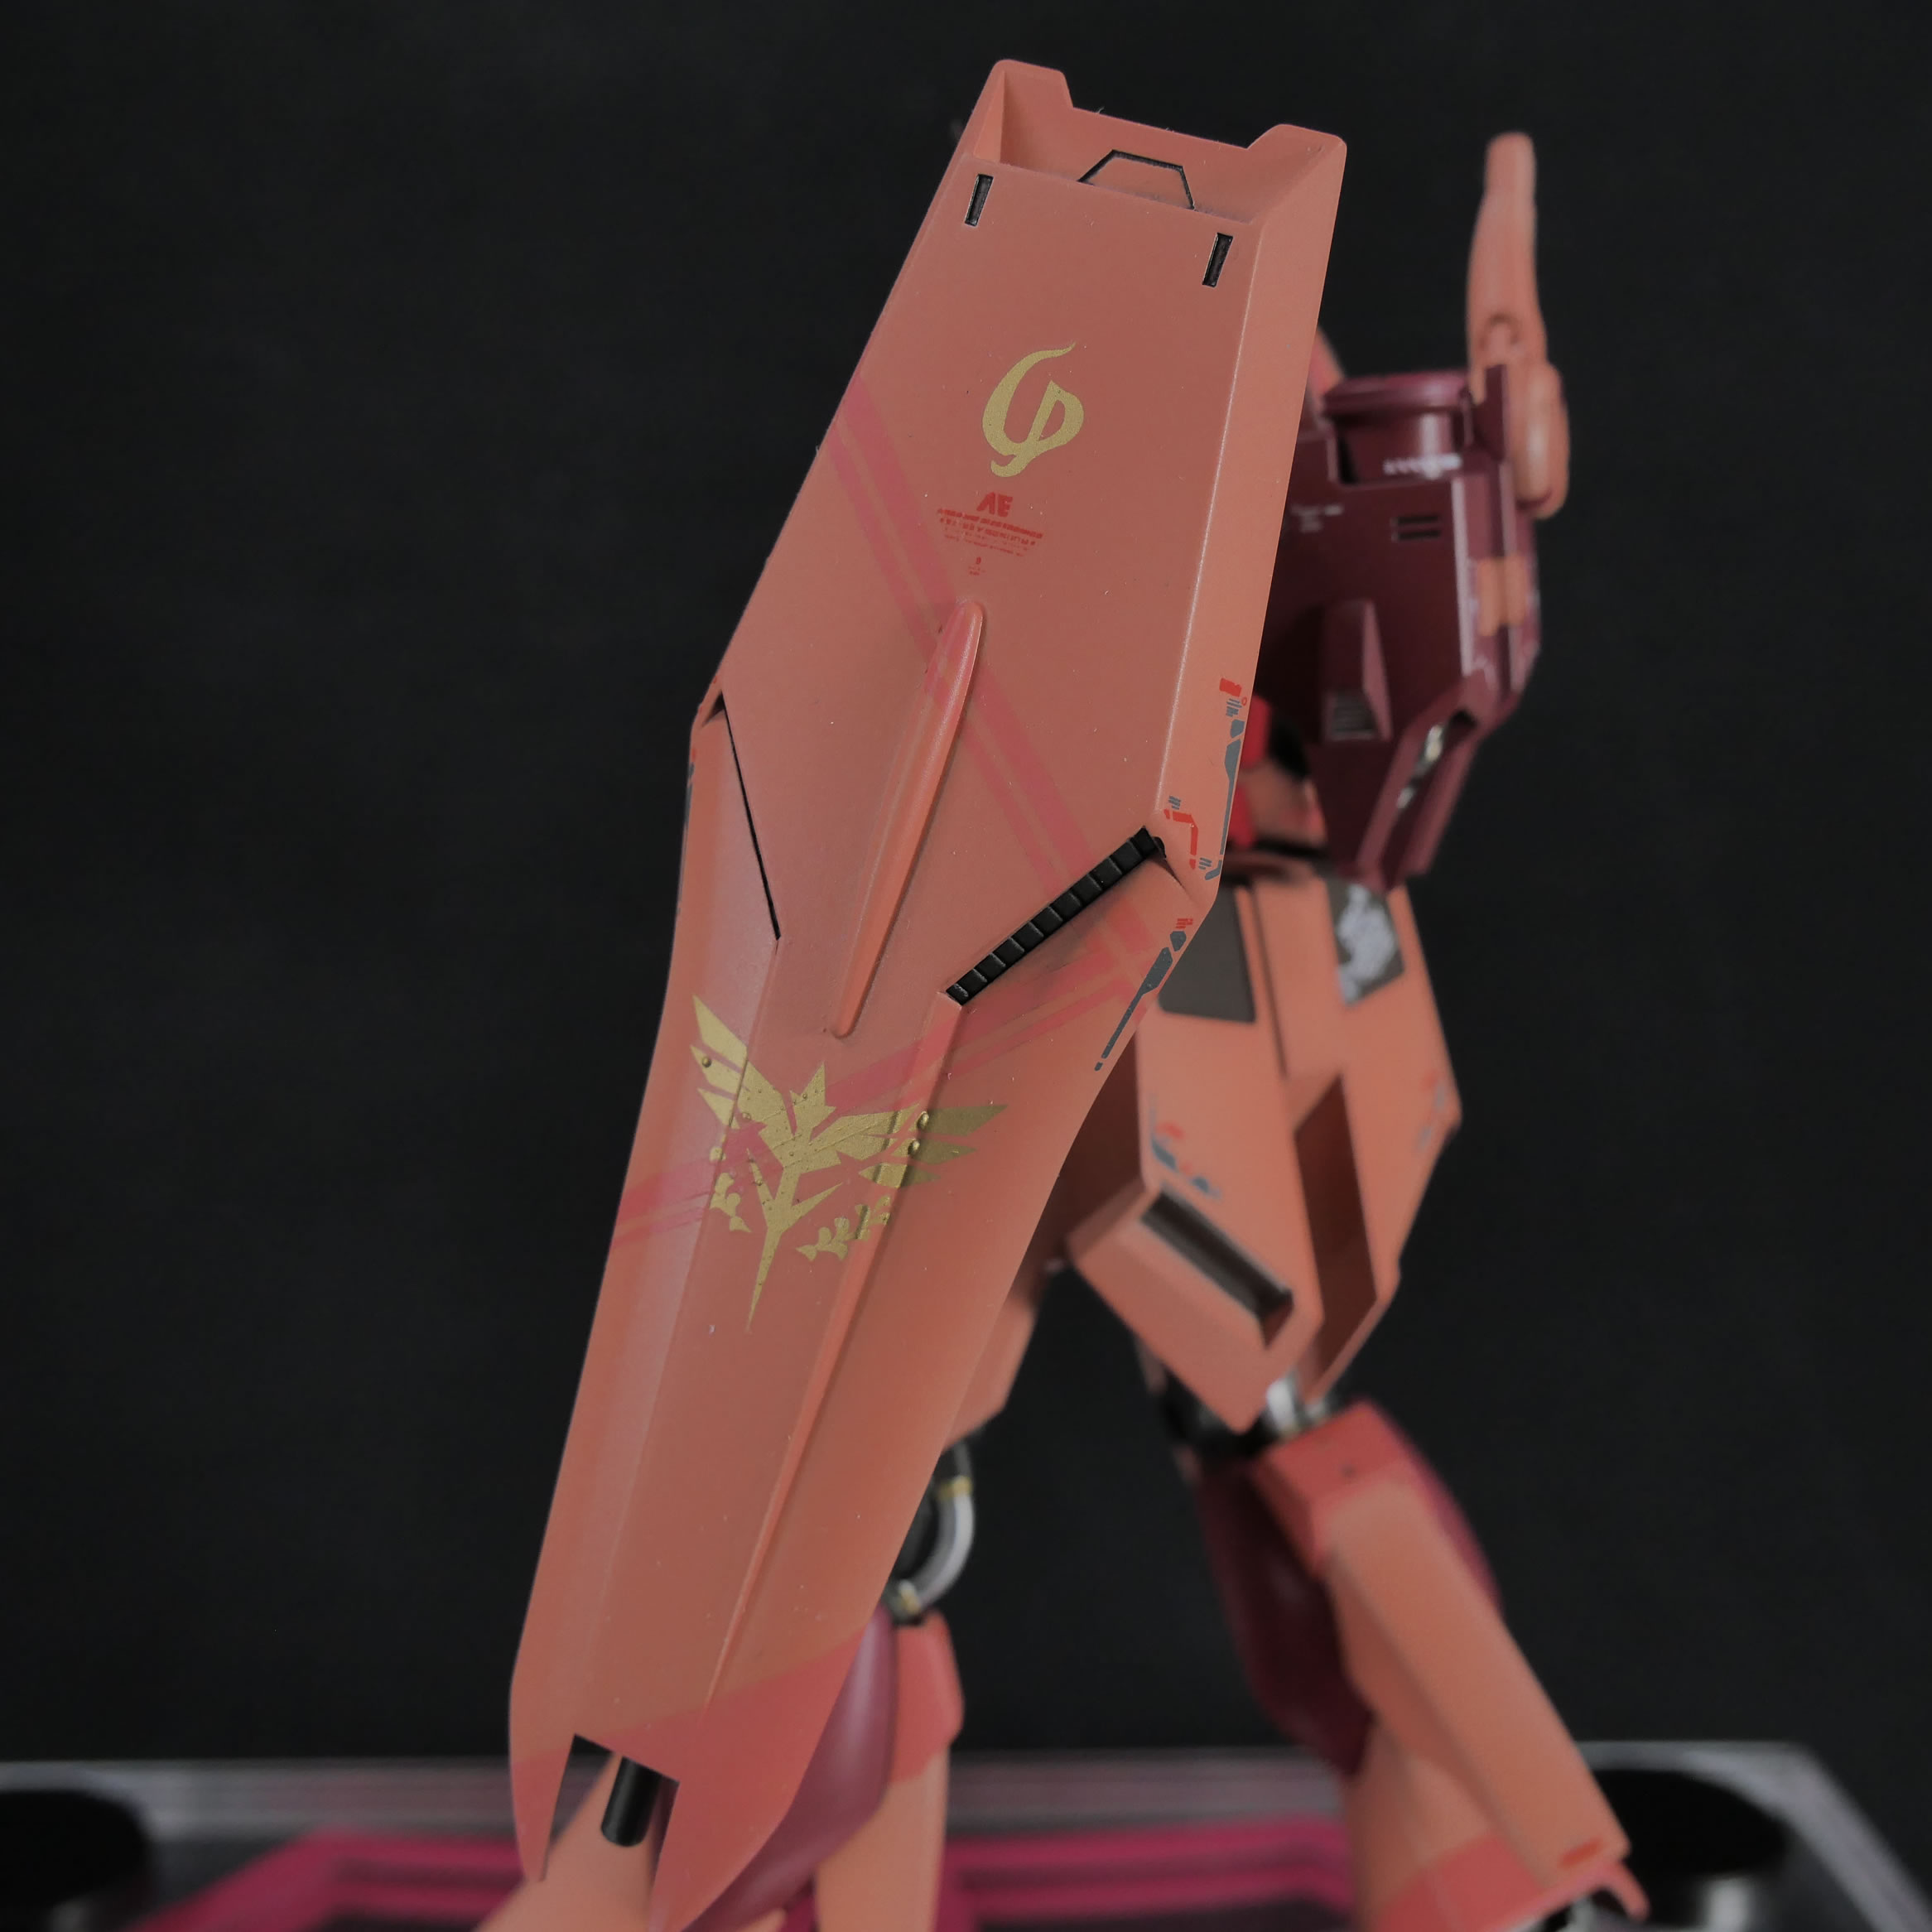
The main white color parts that were earlier sprayed with a brown is sprayed with white to shade it using the brown. Once that dried, a layer of Char’s pink(salmon for some of you folks) is then sprayed over the white. This technique is called color lift and uses the white and brown to first get some shading and the main pink color inherits the shading with little effort. Just evenly spraying over the part and there is a very subtle shading effect.
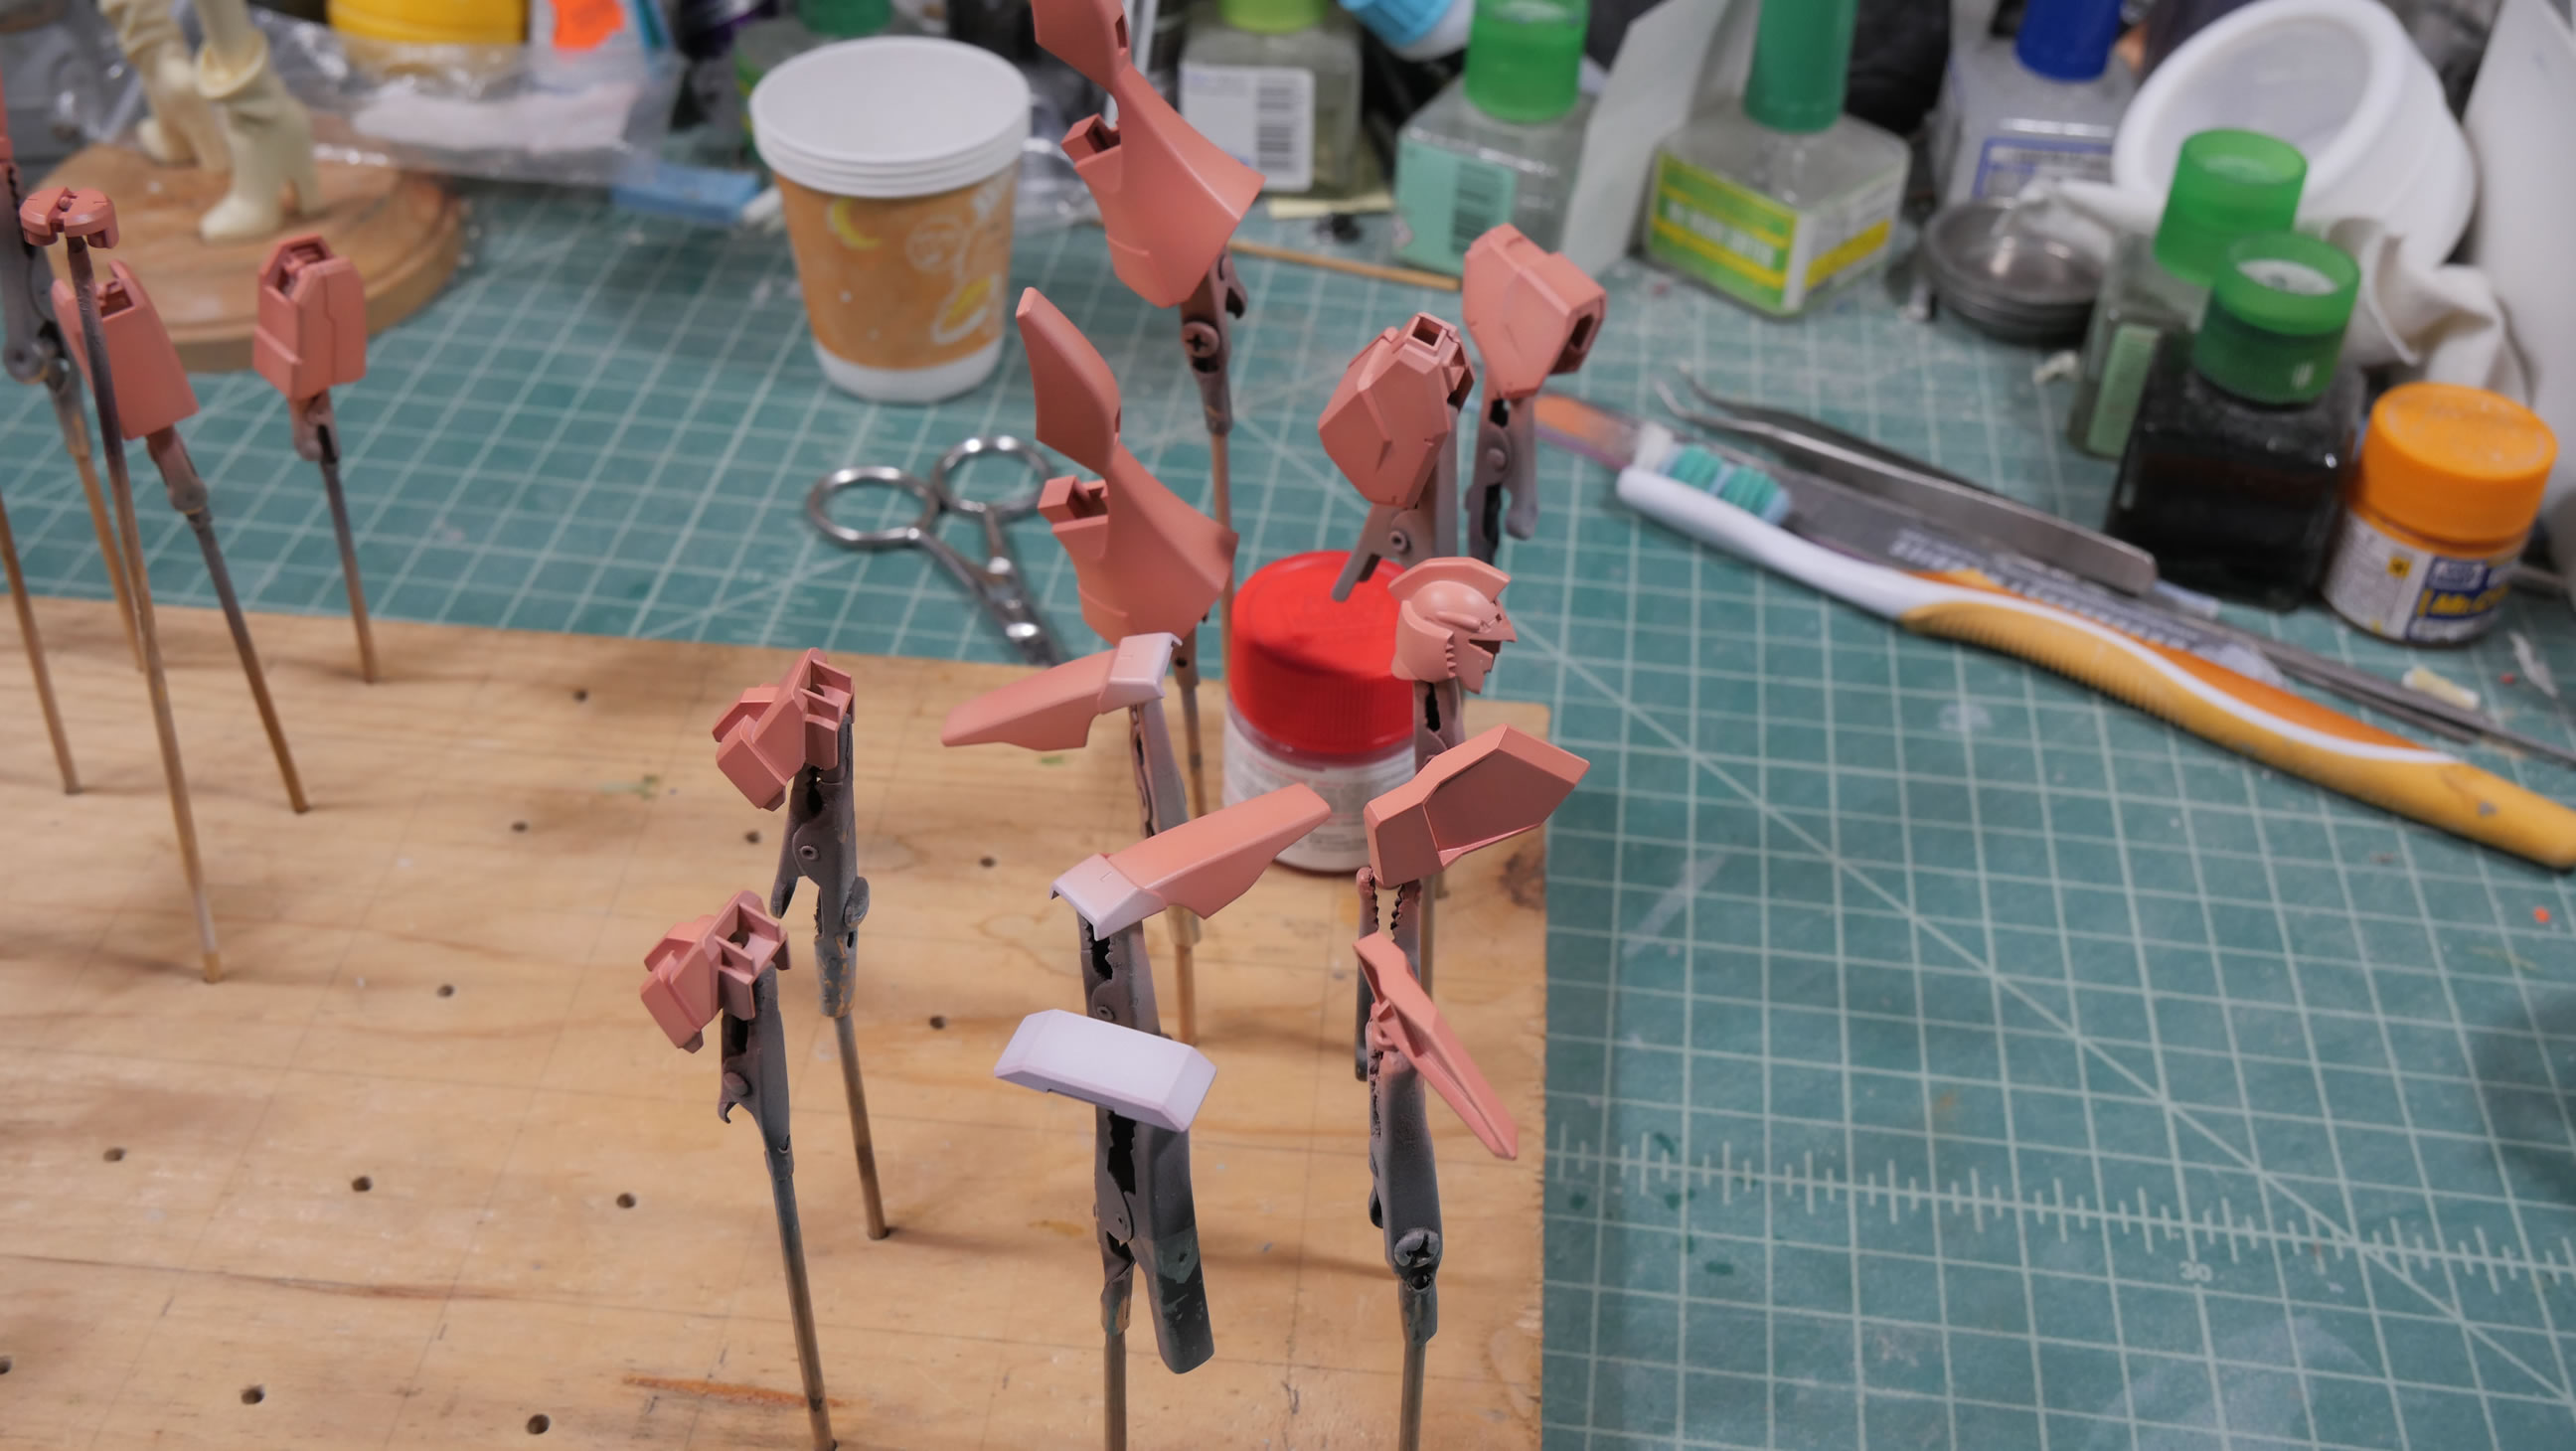
Mistakes are made. This is very standard of model building. I put the two backpack pieces together and glued them. It was working, until I decided I needed more glue and it seeped out and ruined the paint. So a little sanding and repainting. This won’t be the last of the mistakes made.
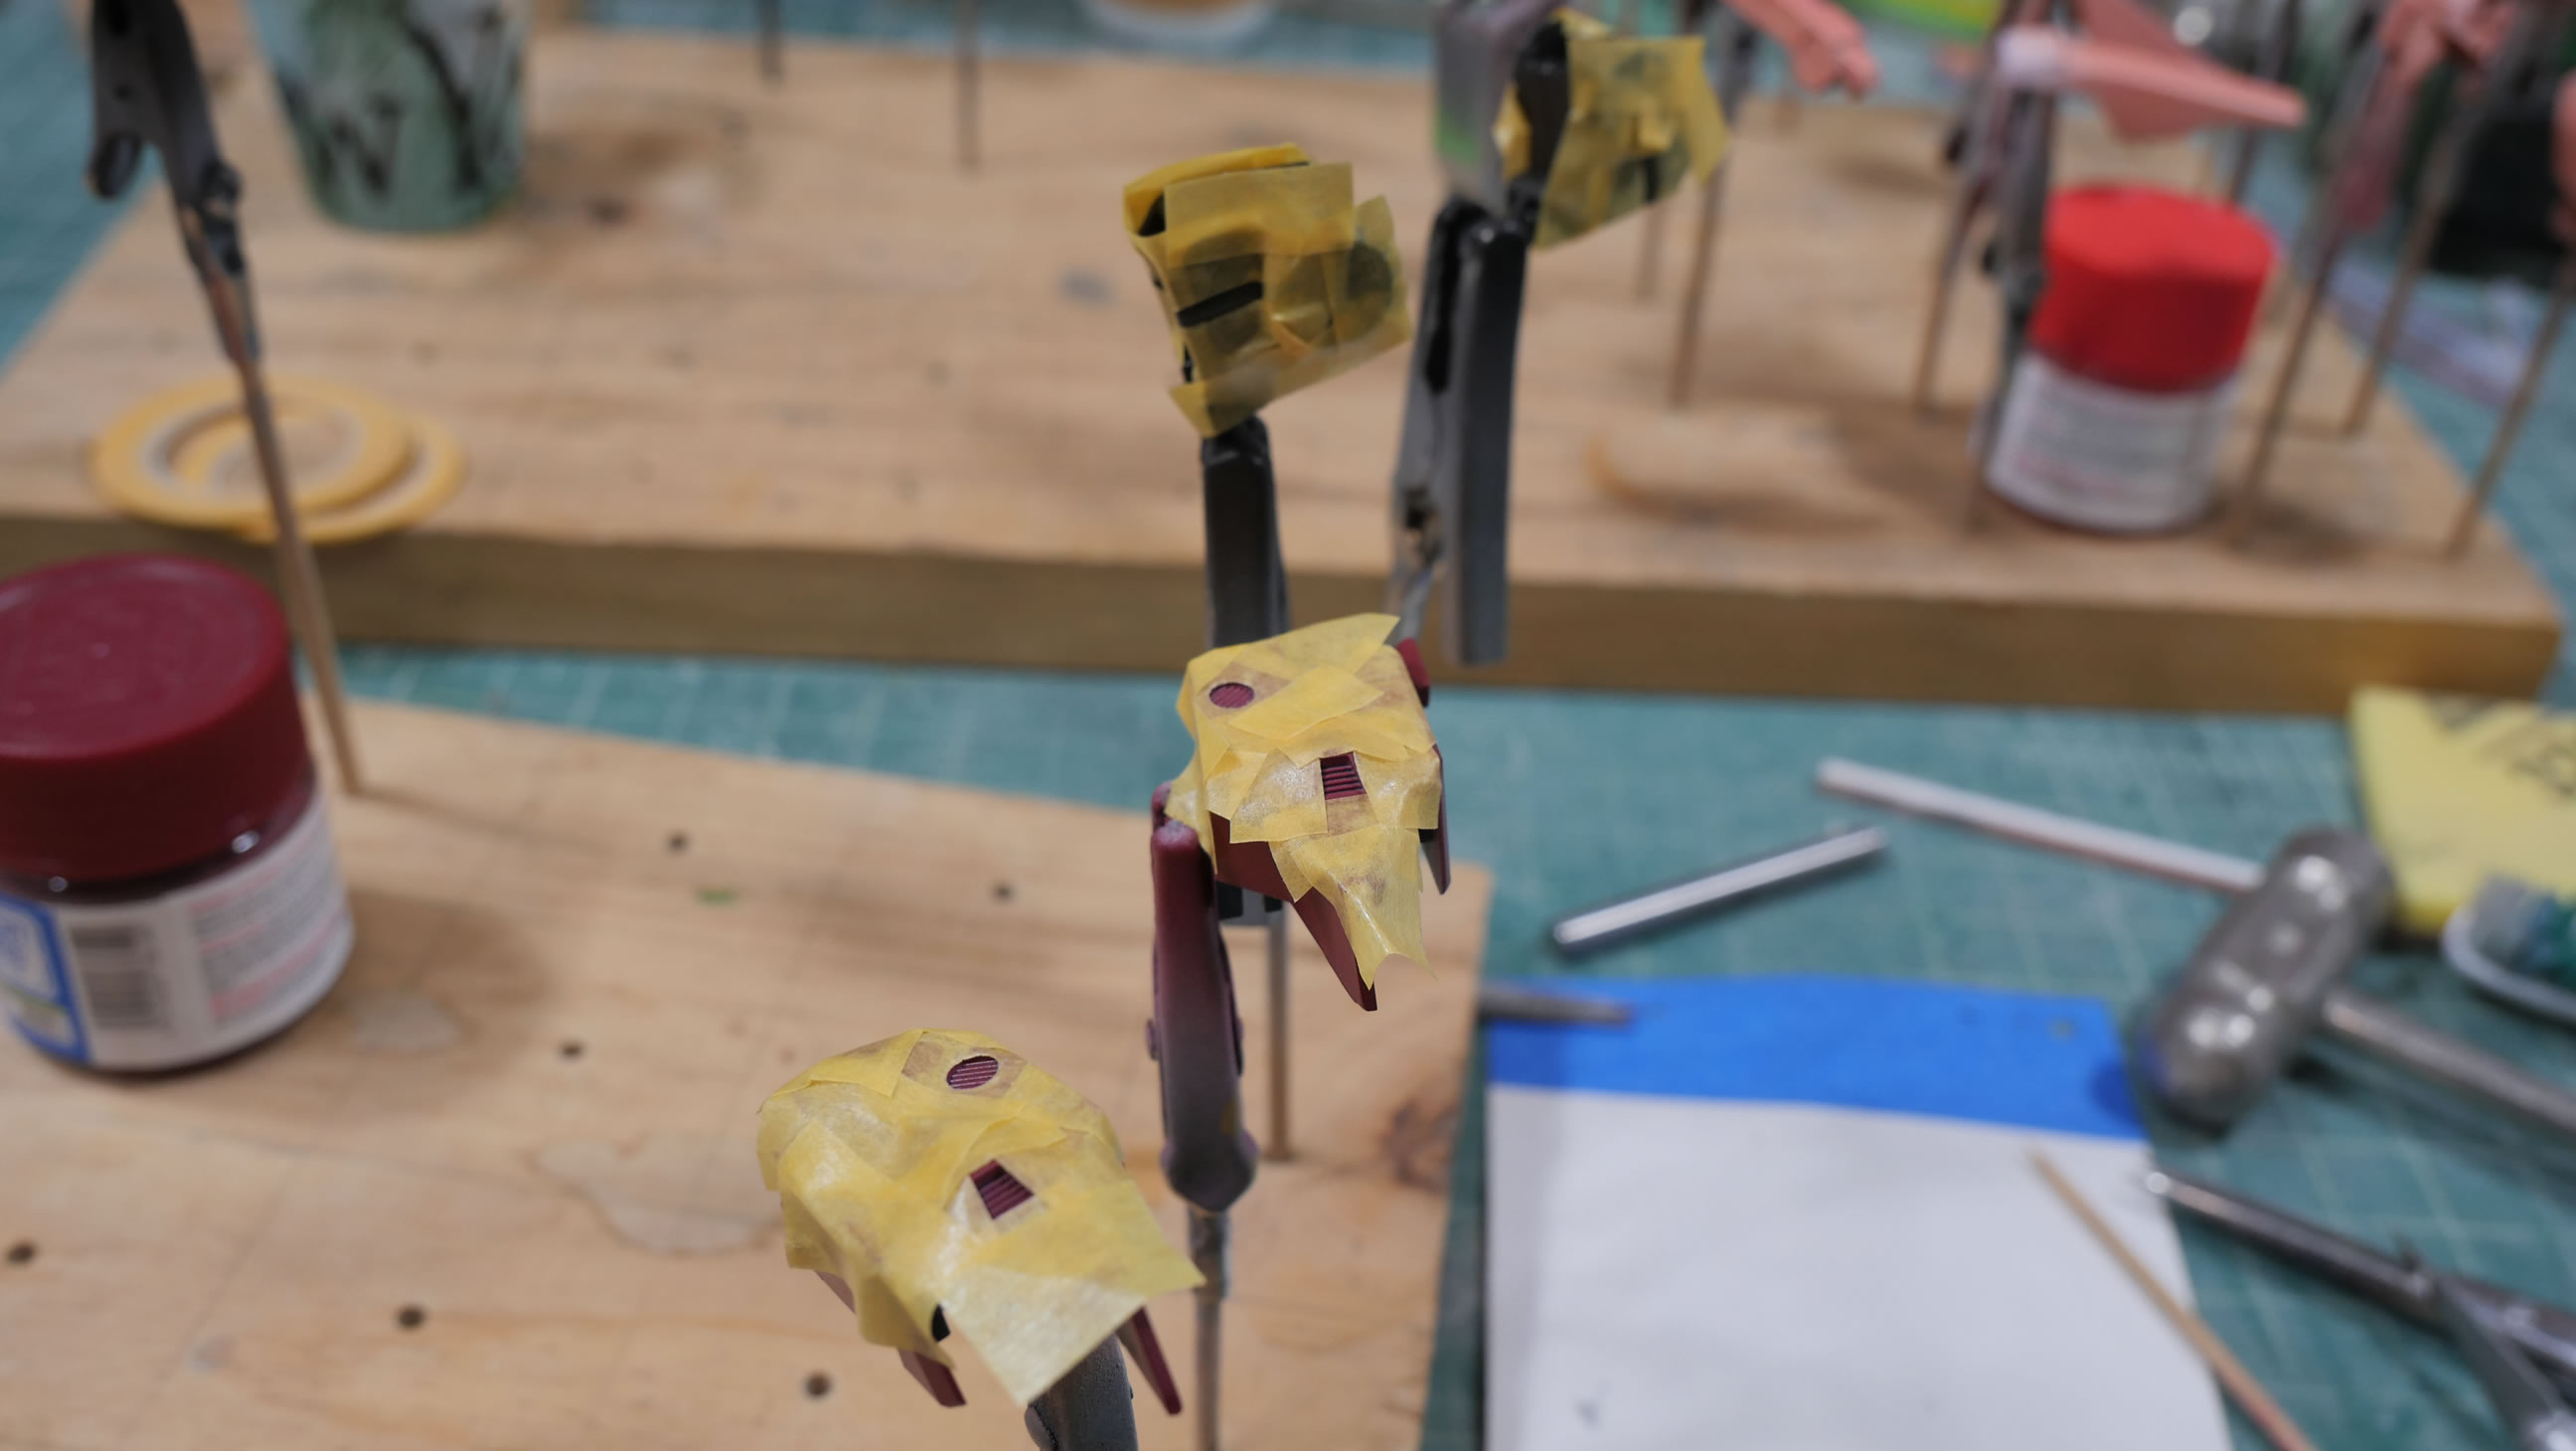
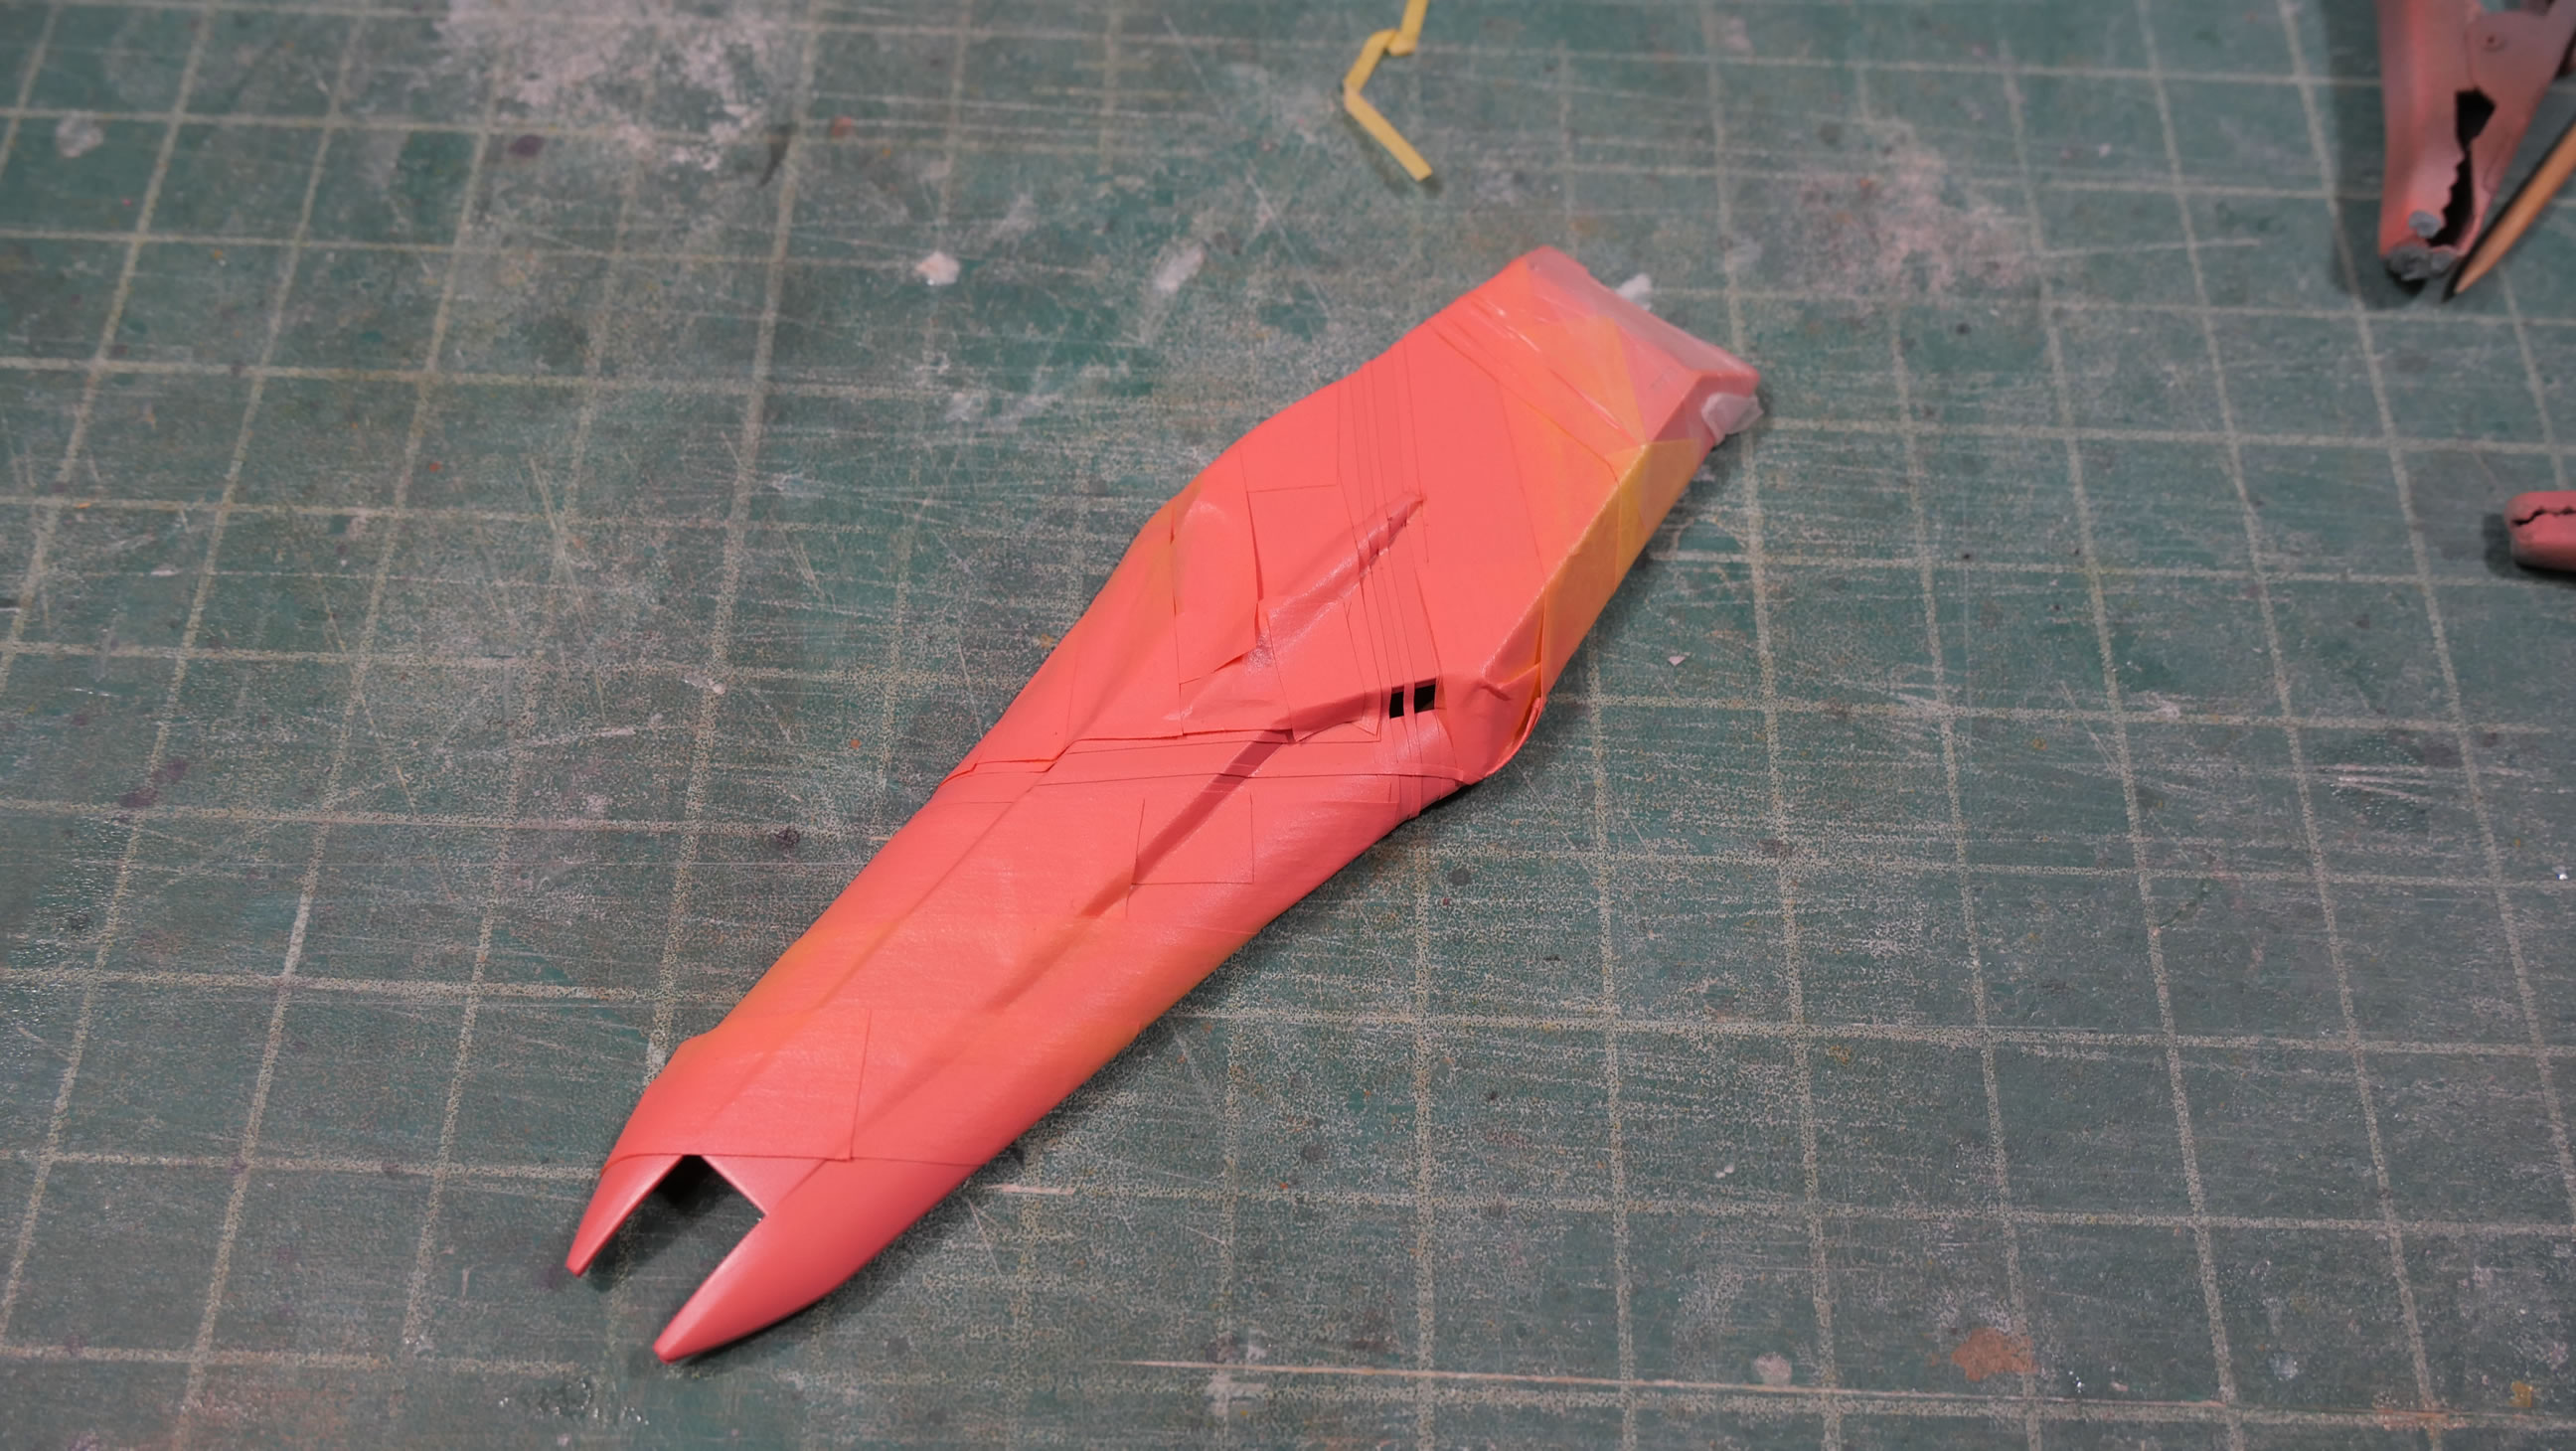
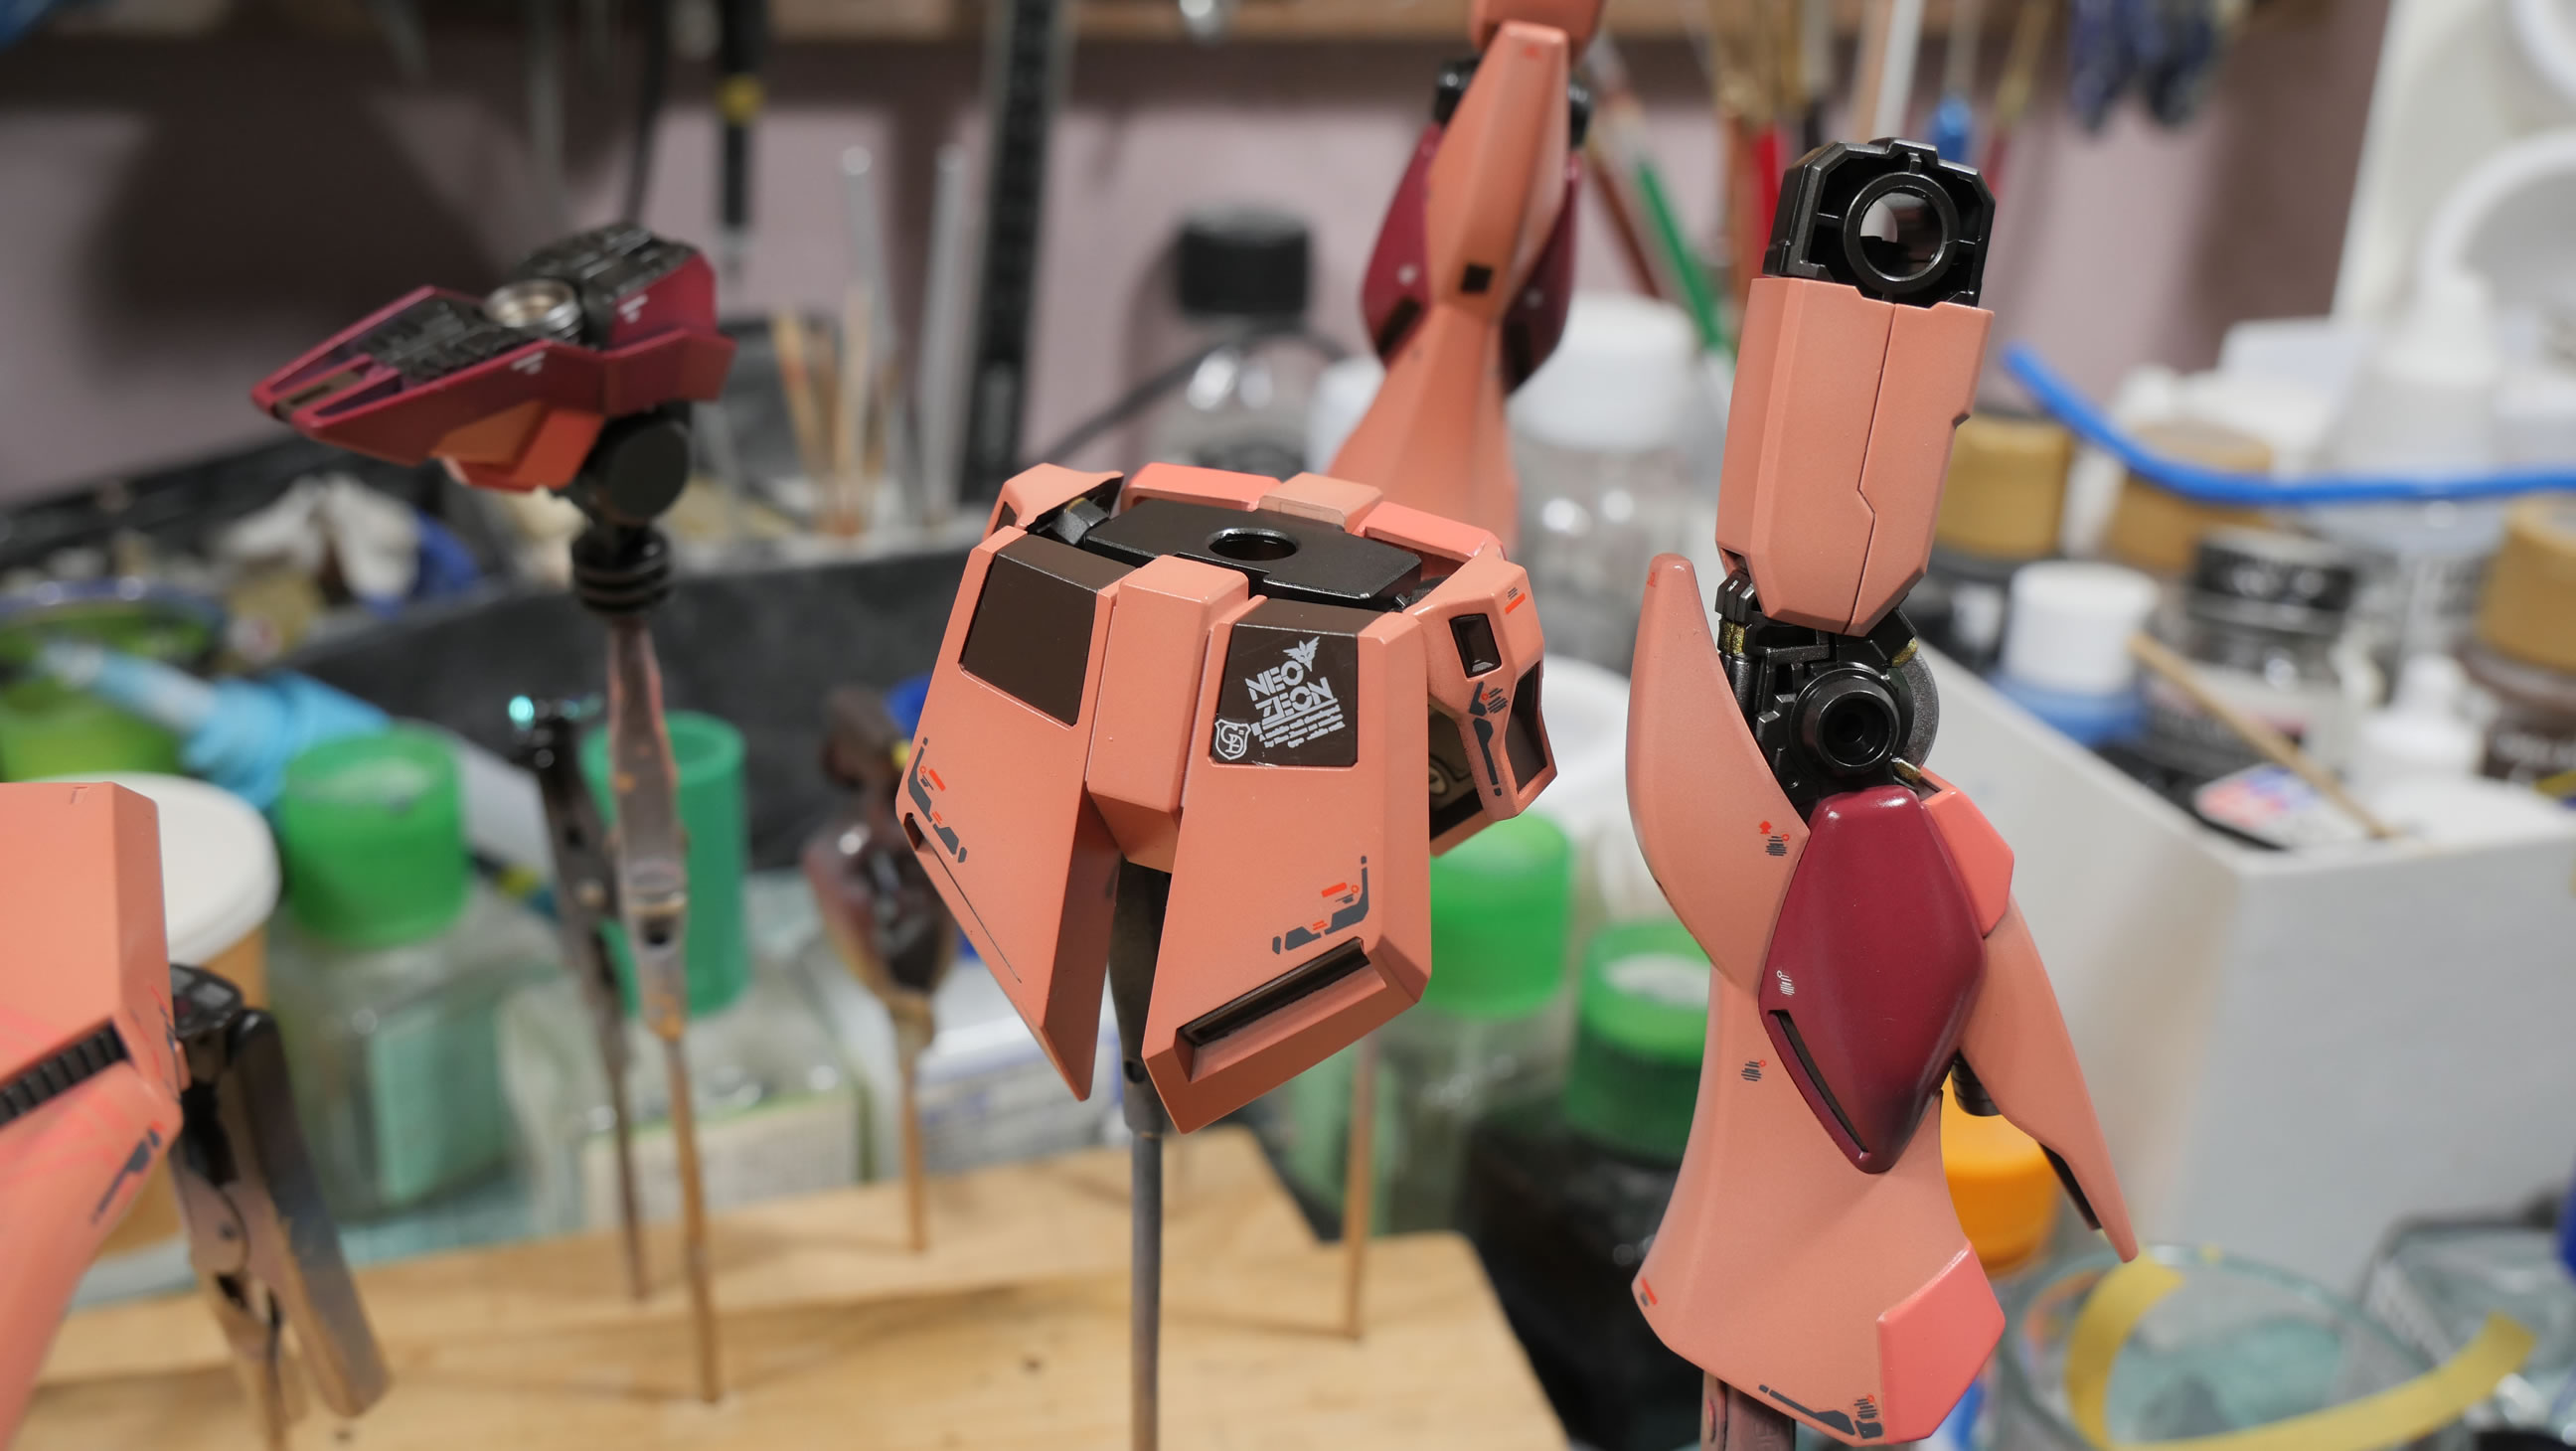
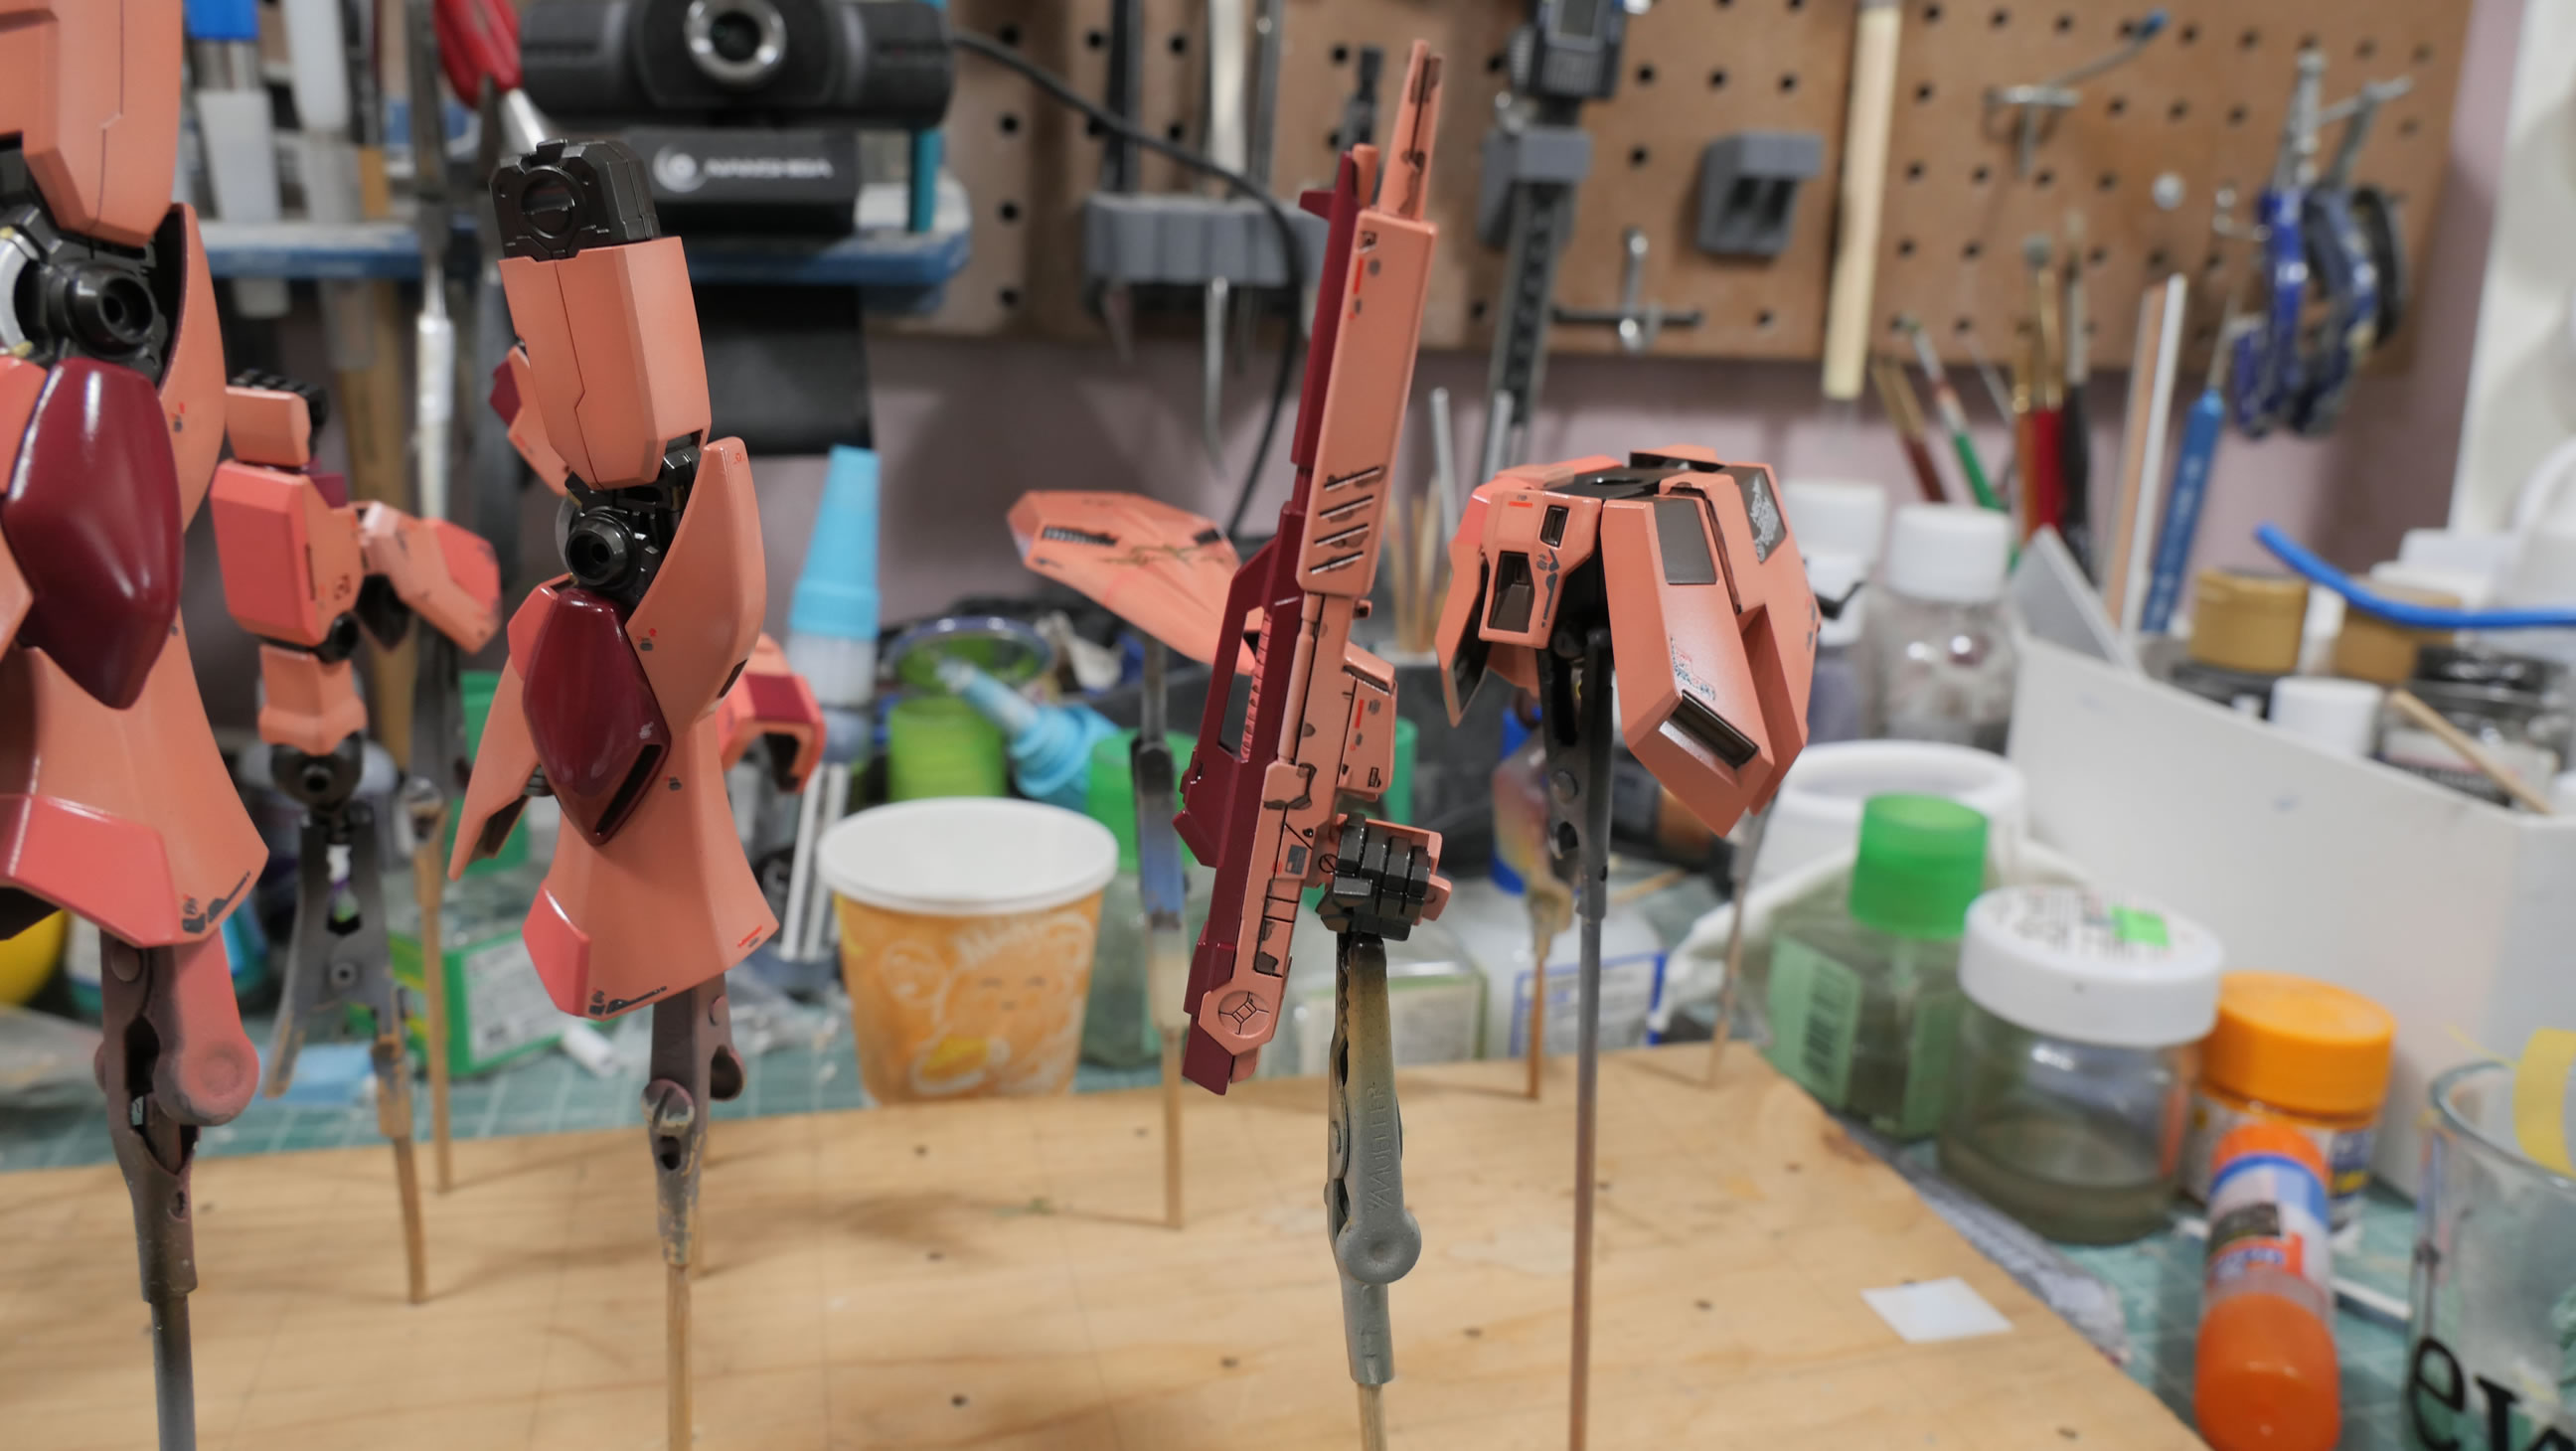
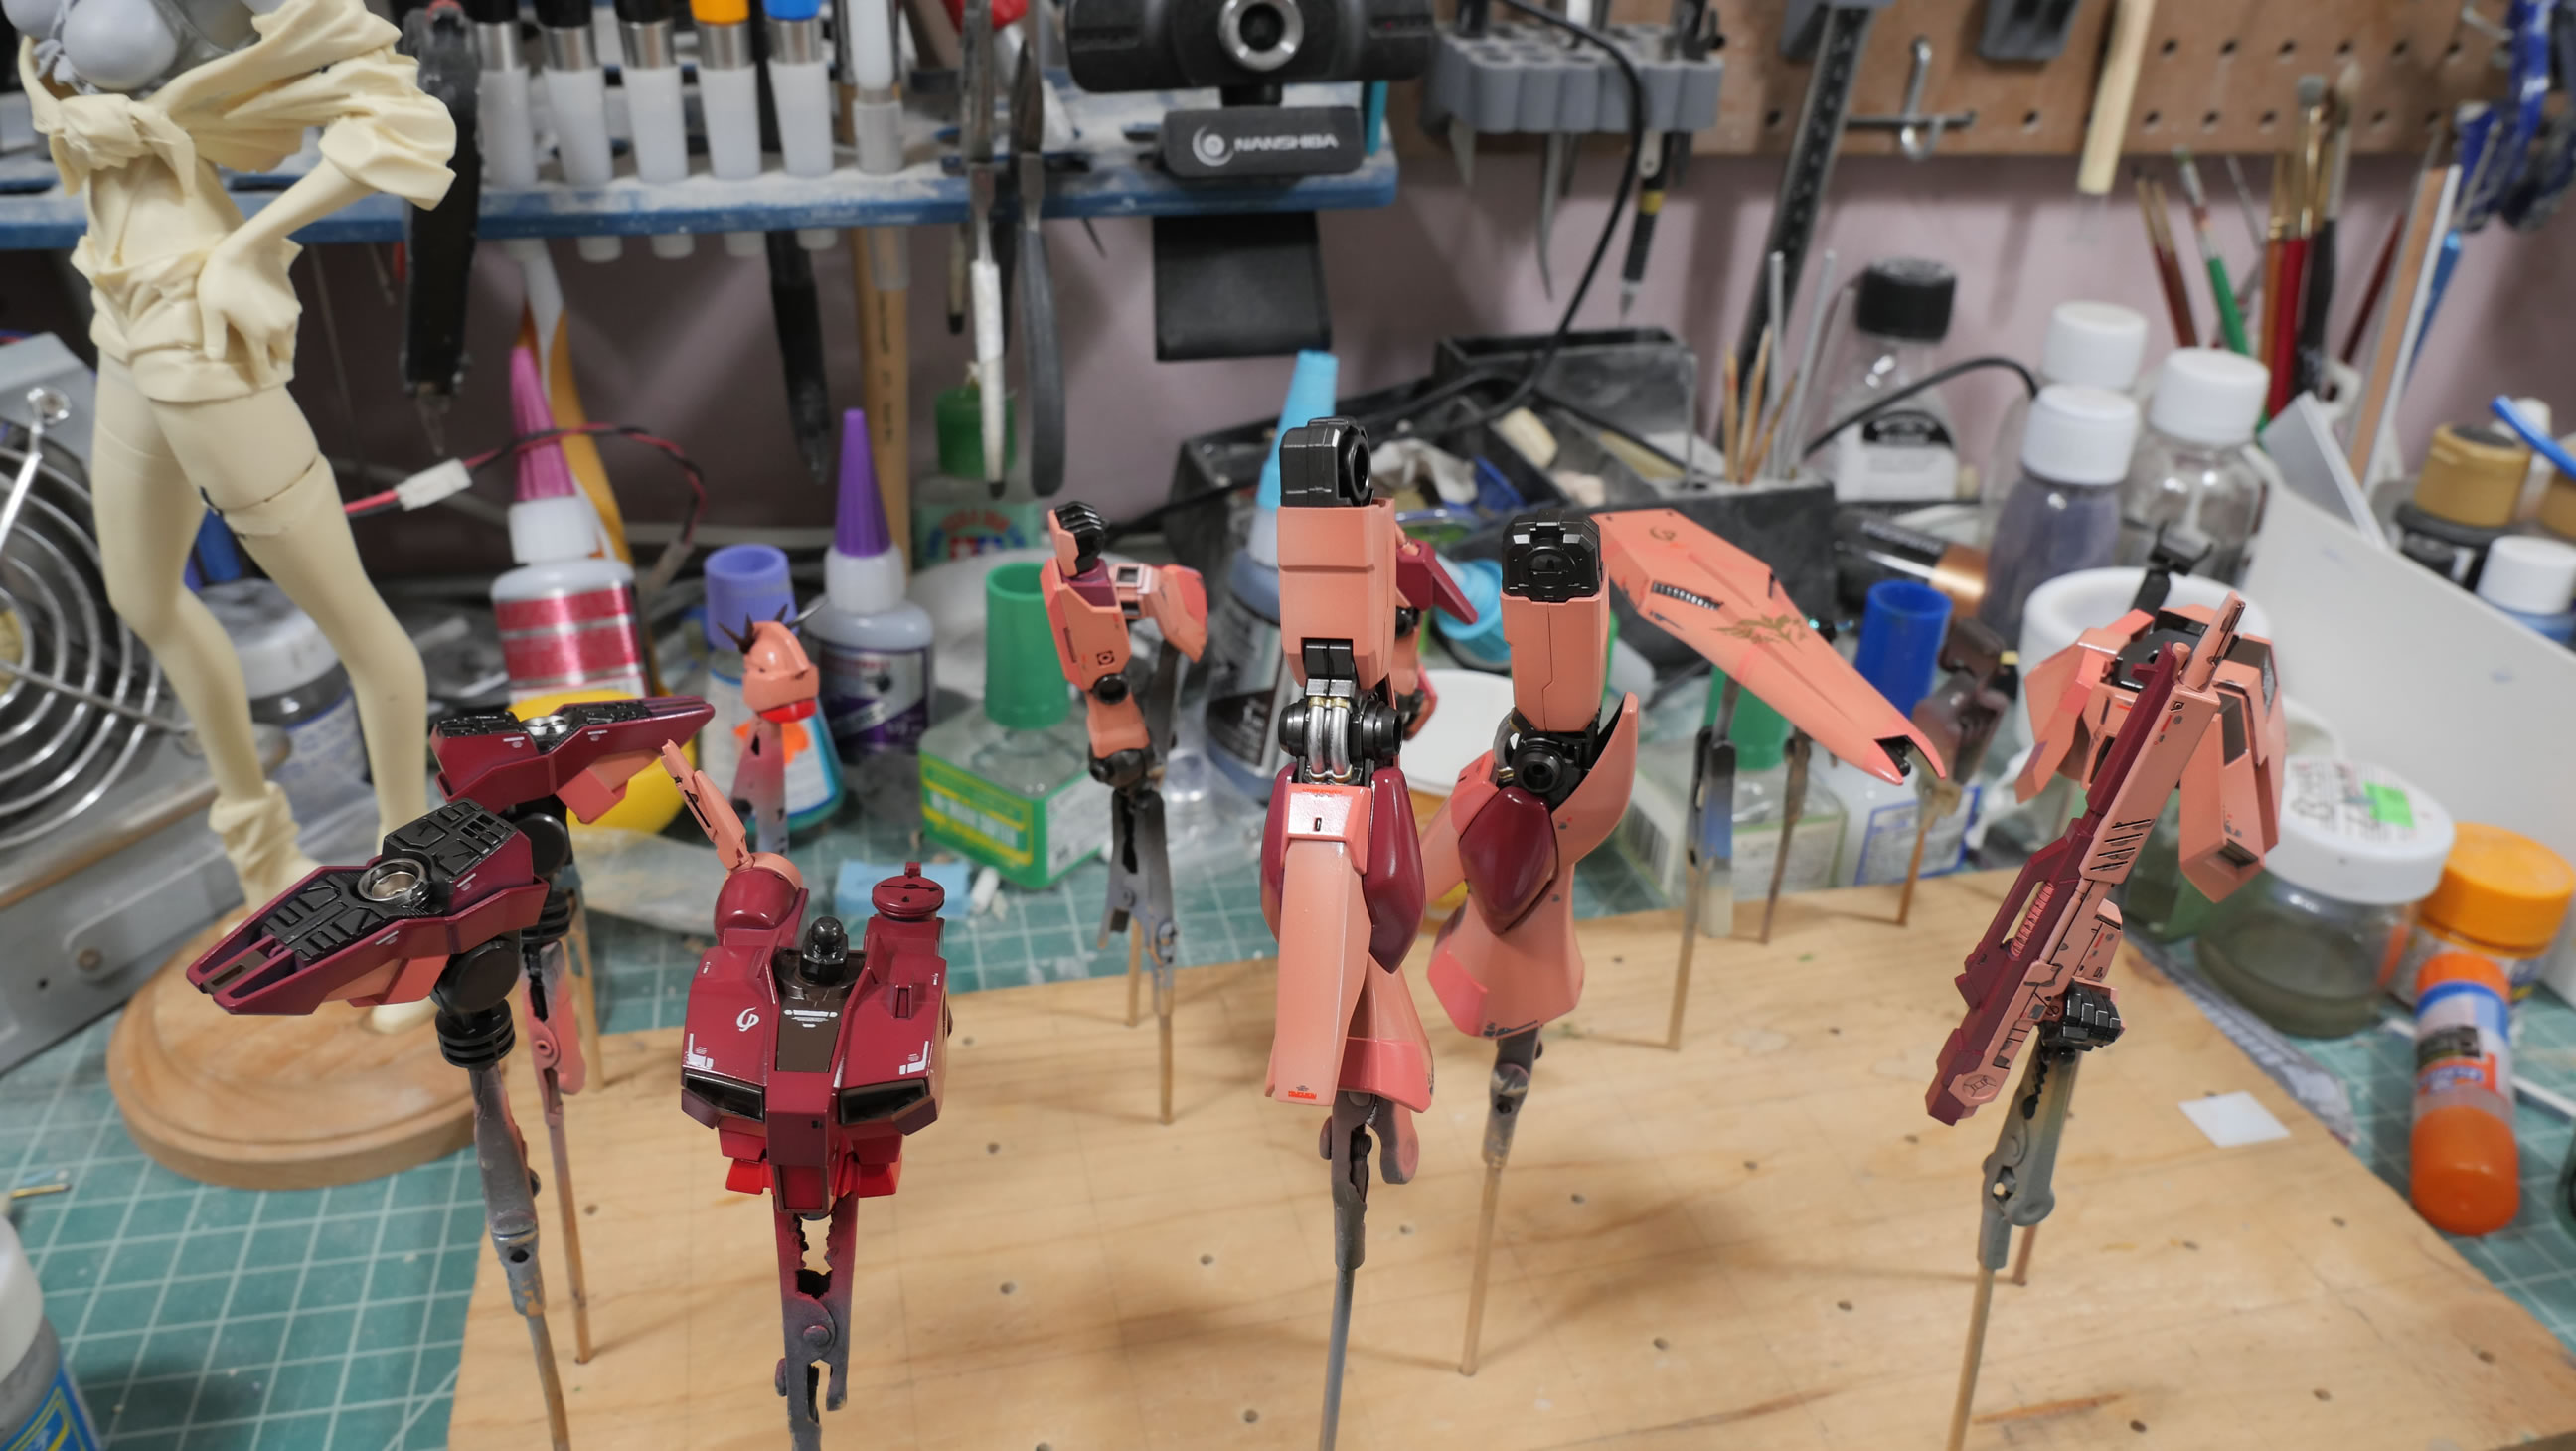
Principal painting is done. Time to mask and paint up details. Backpack sides and the feet areas are painted and masked. The pink parts get some masking to spray a slightly different tone of pink. The color scheme should be apparent now.
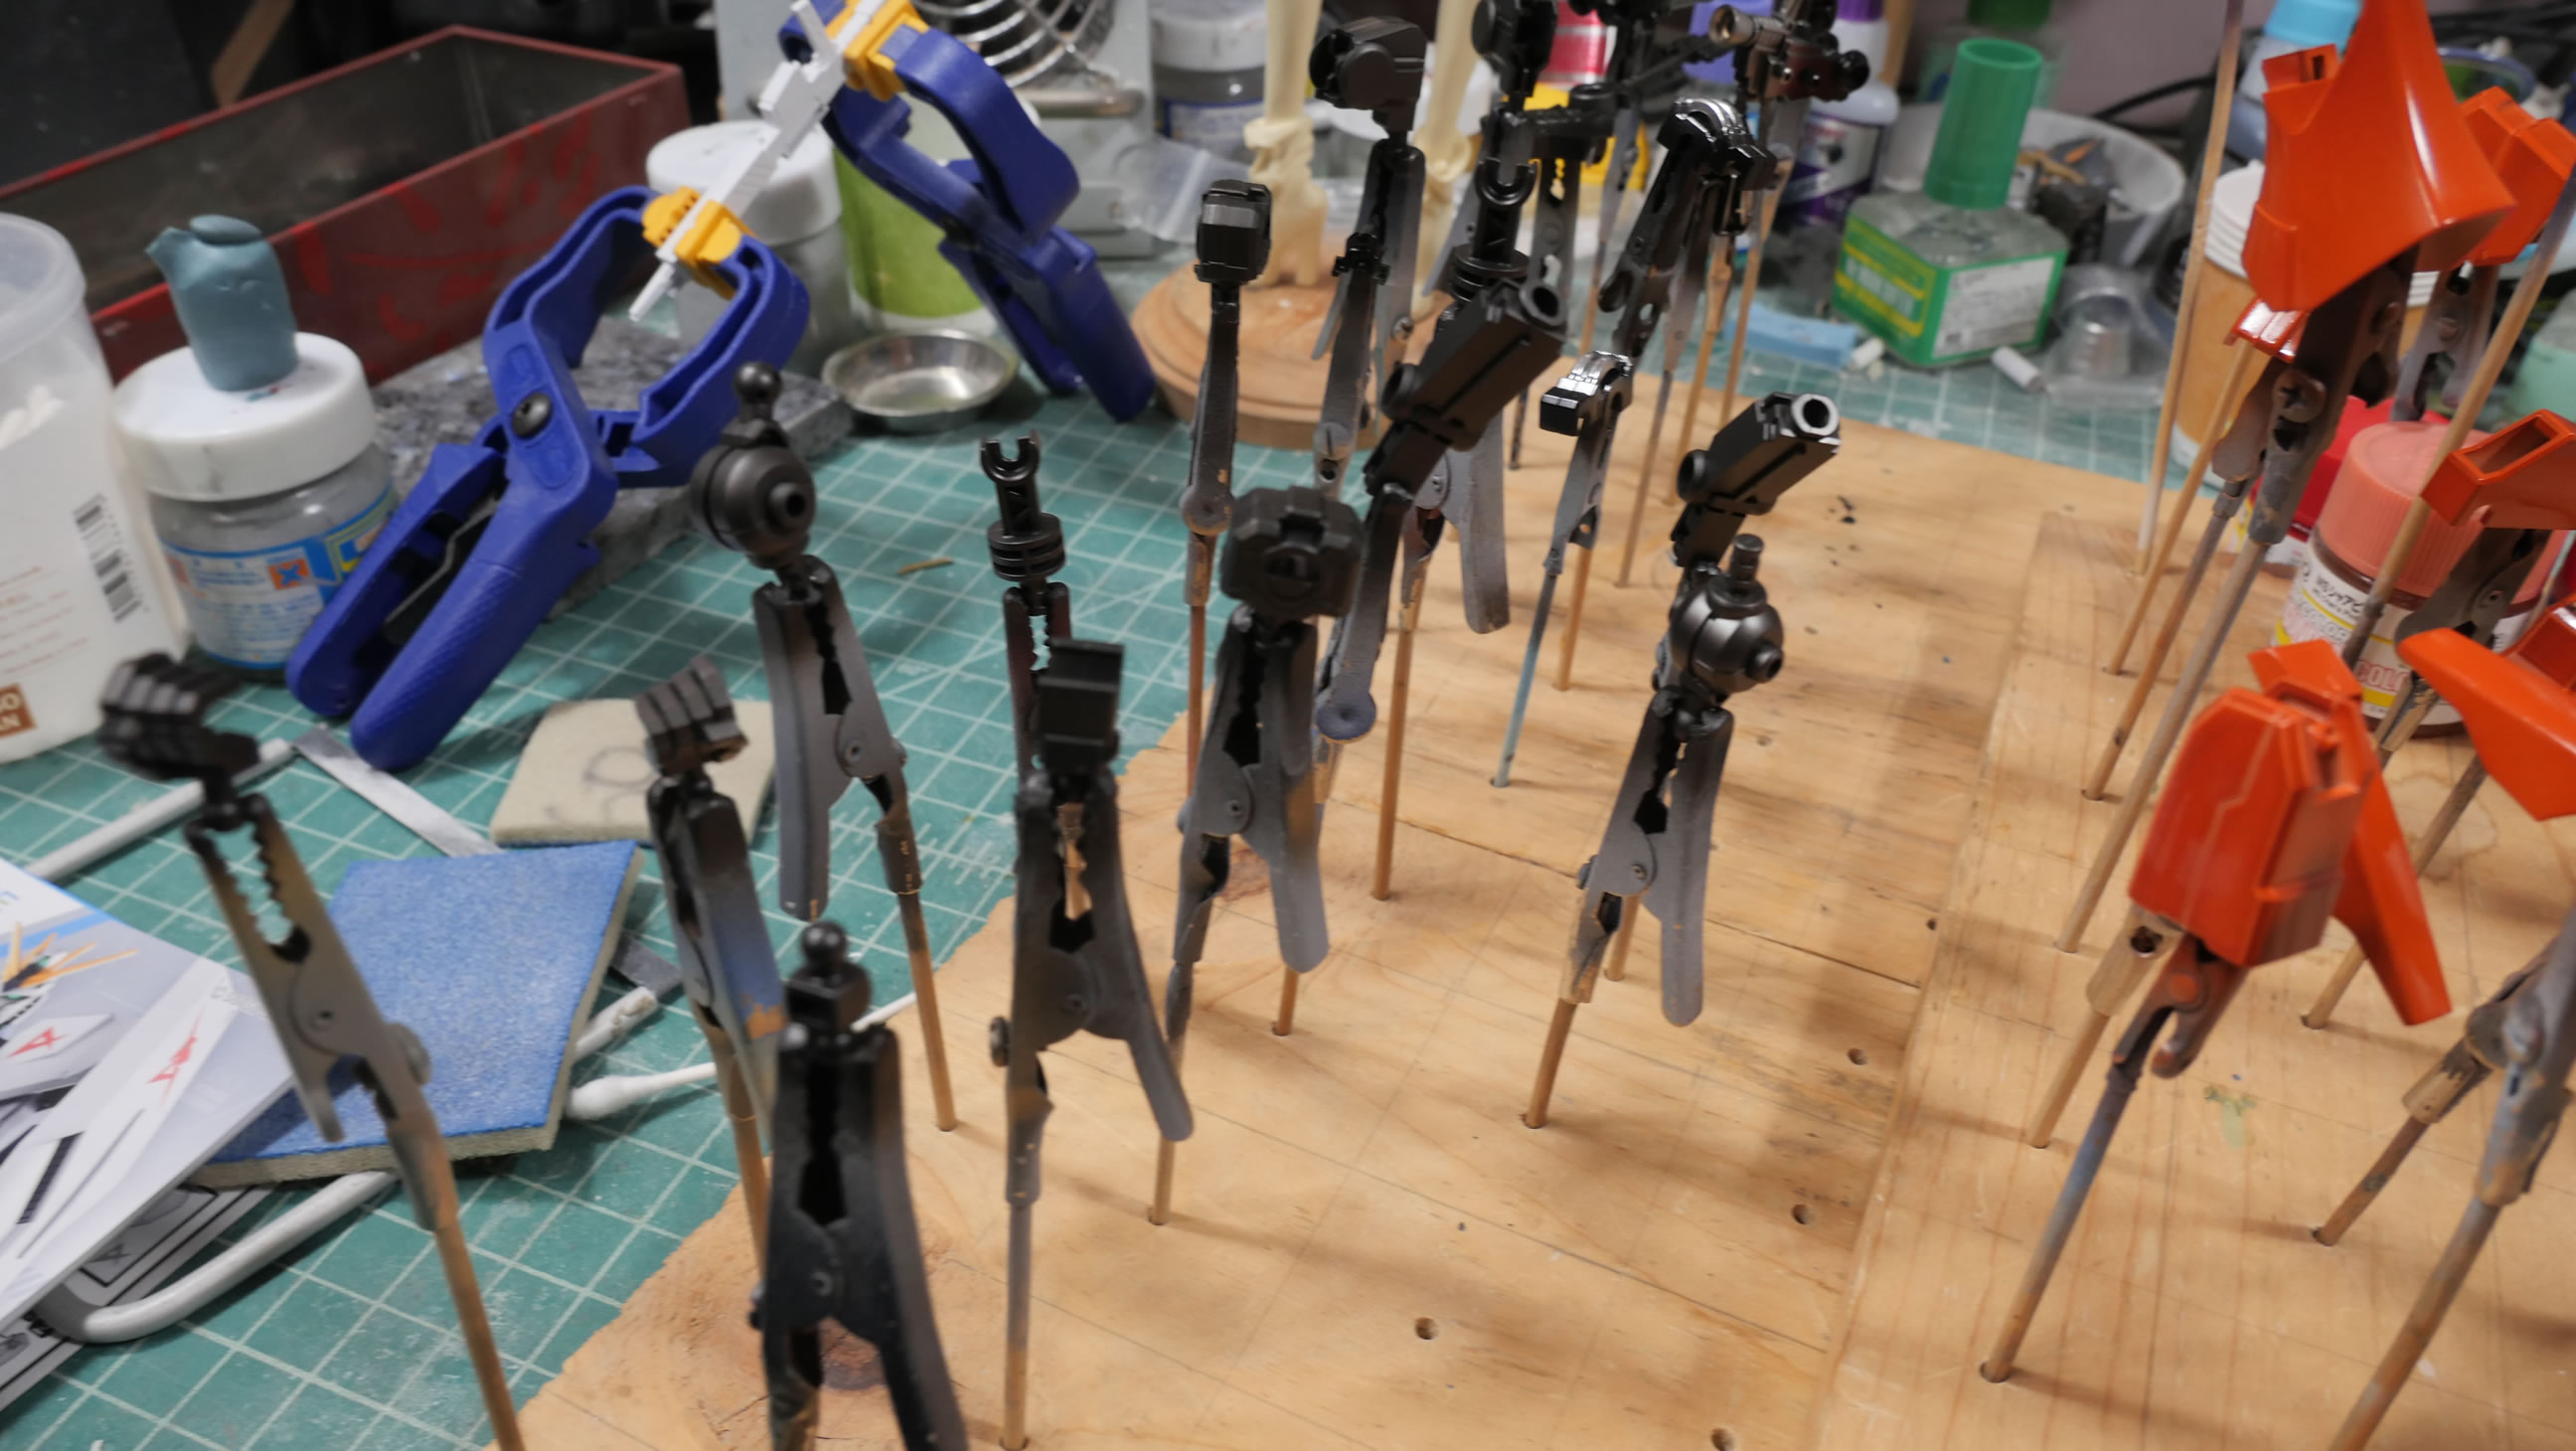
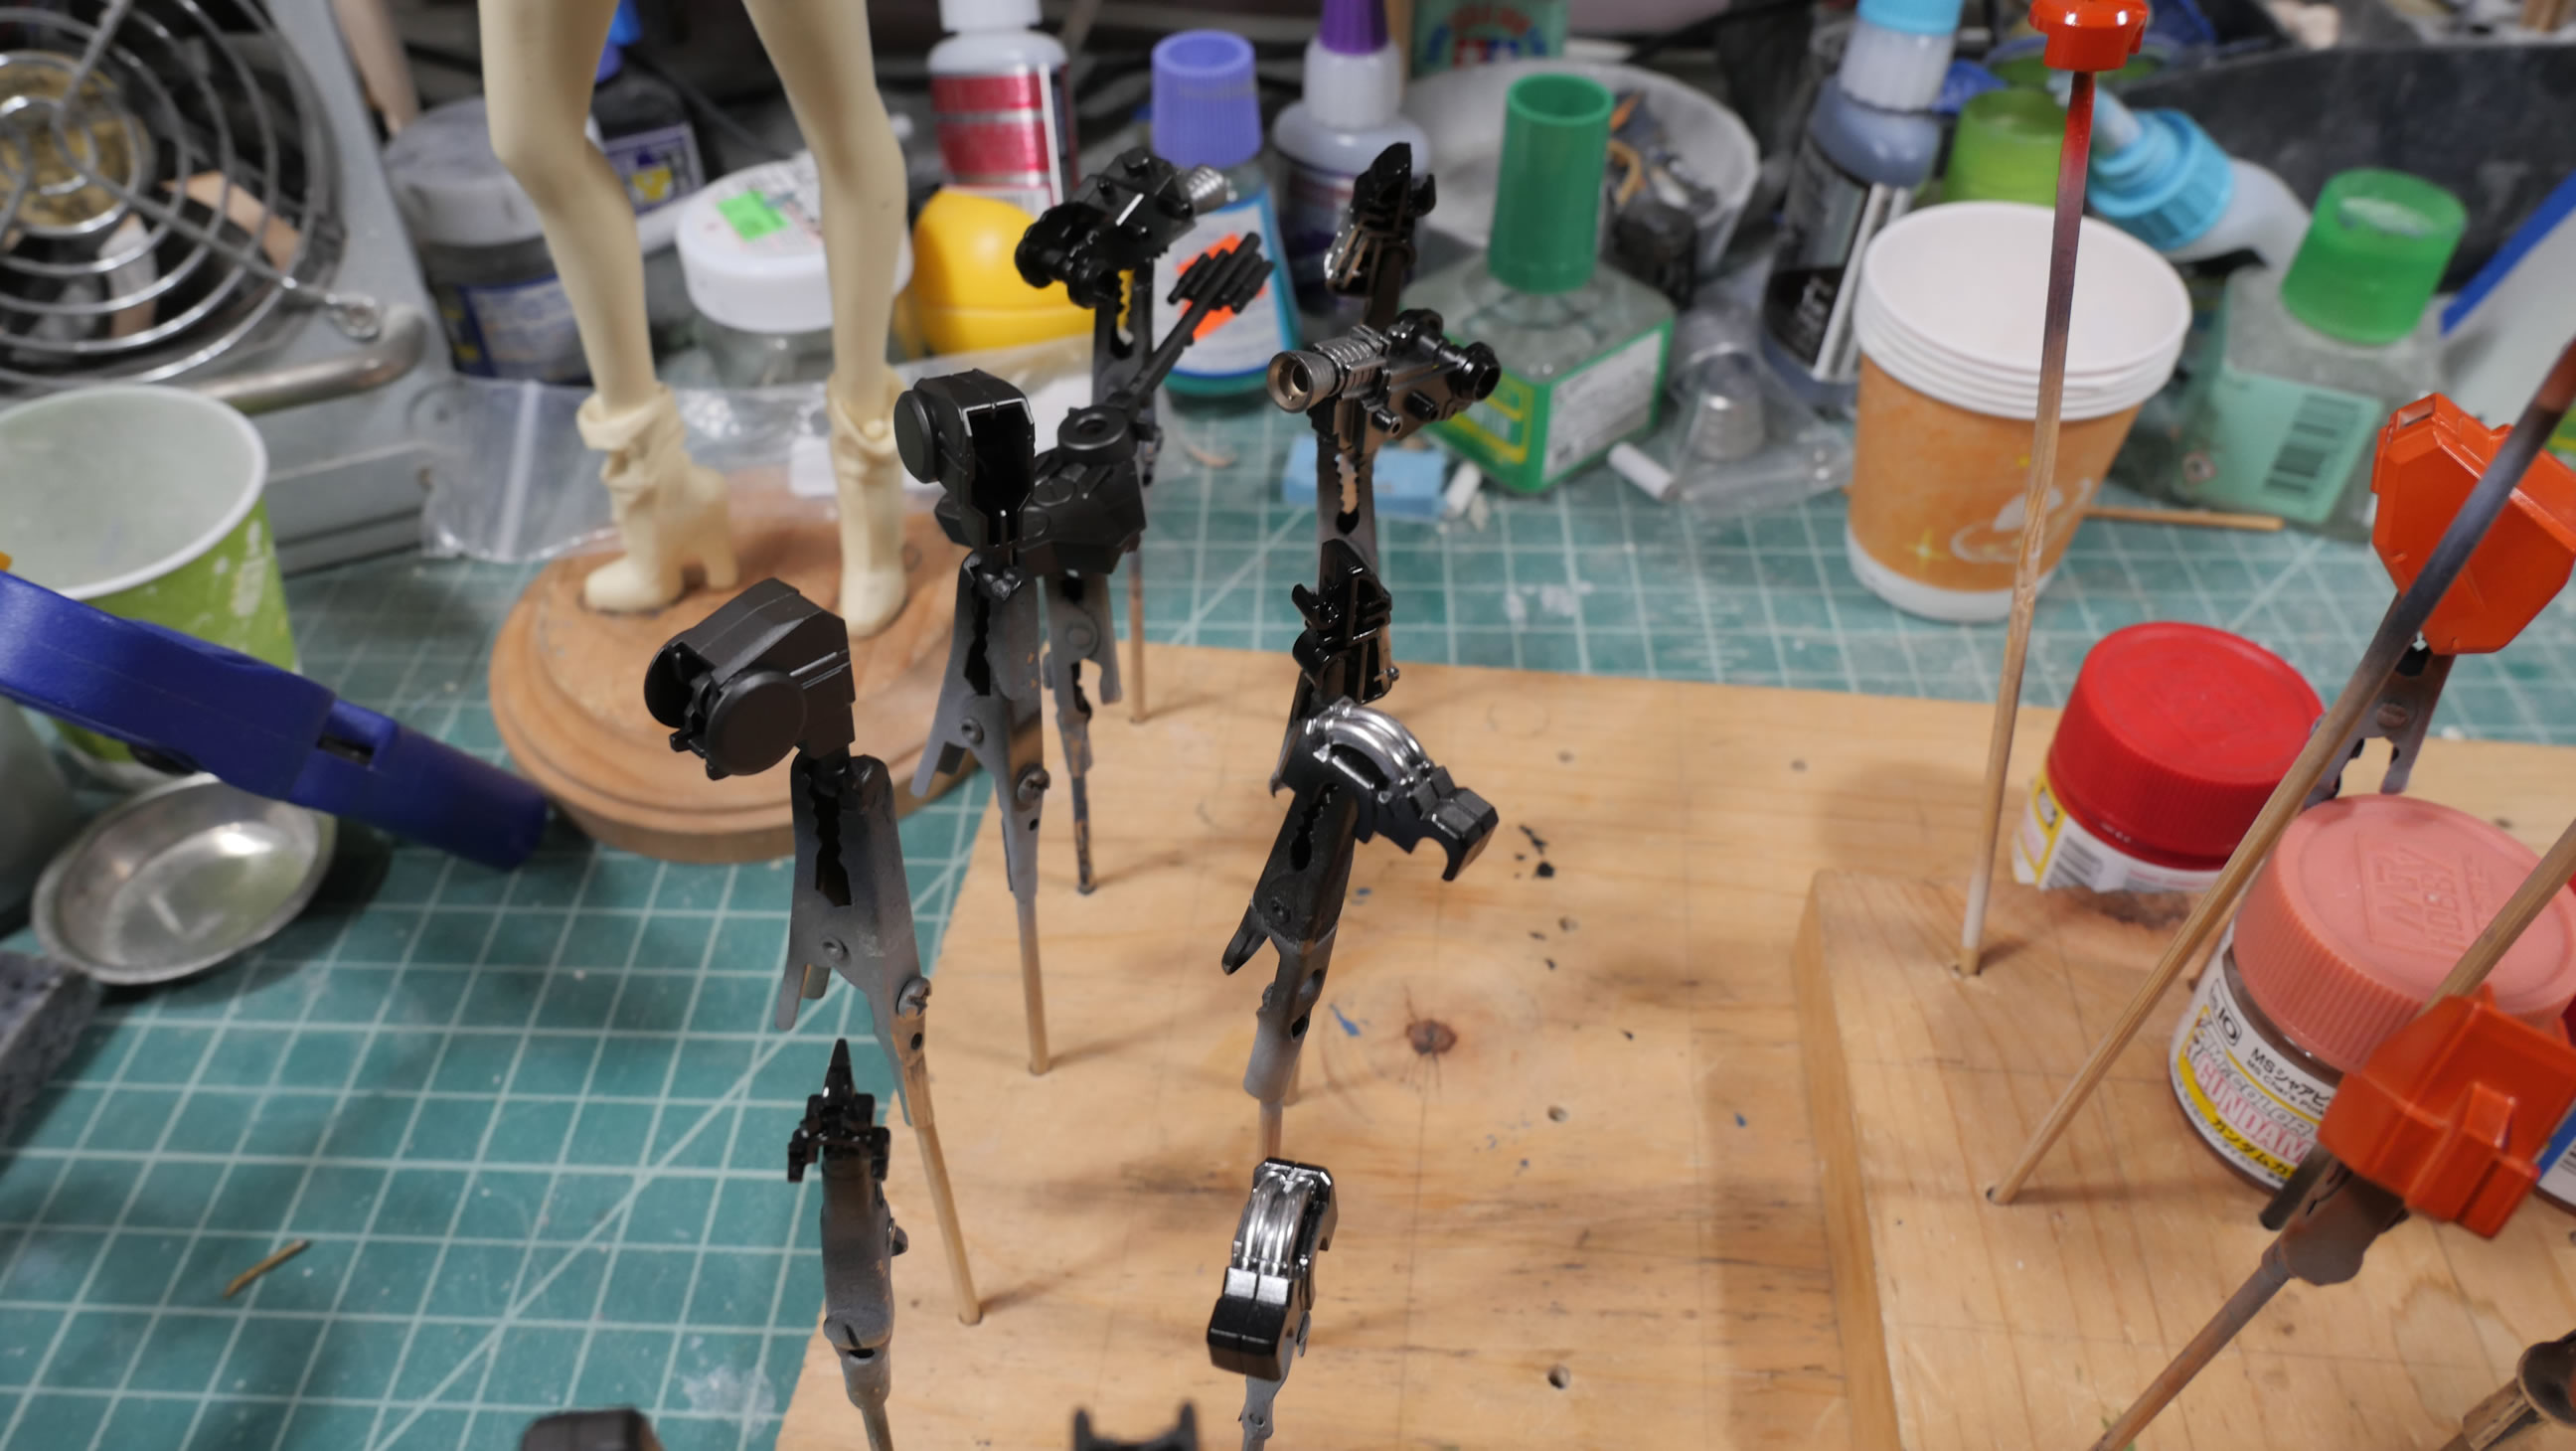
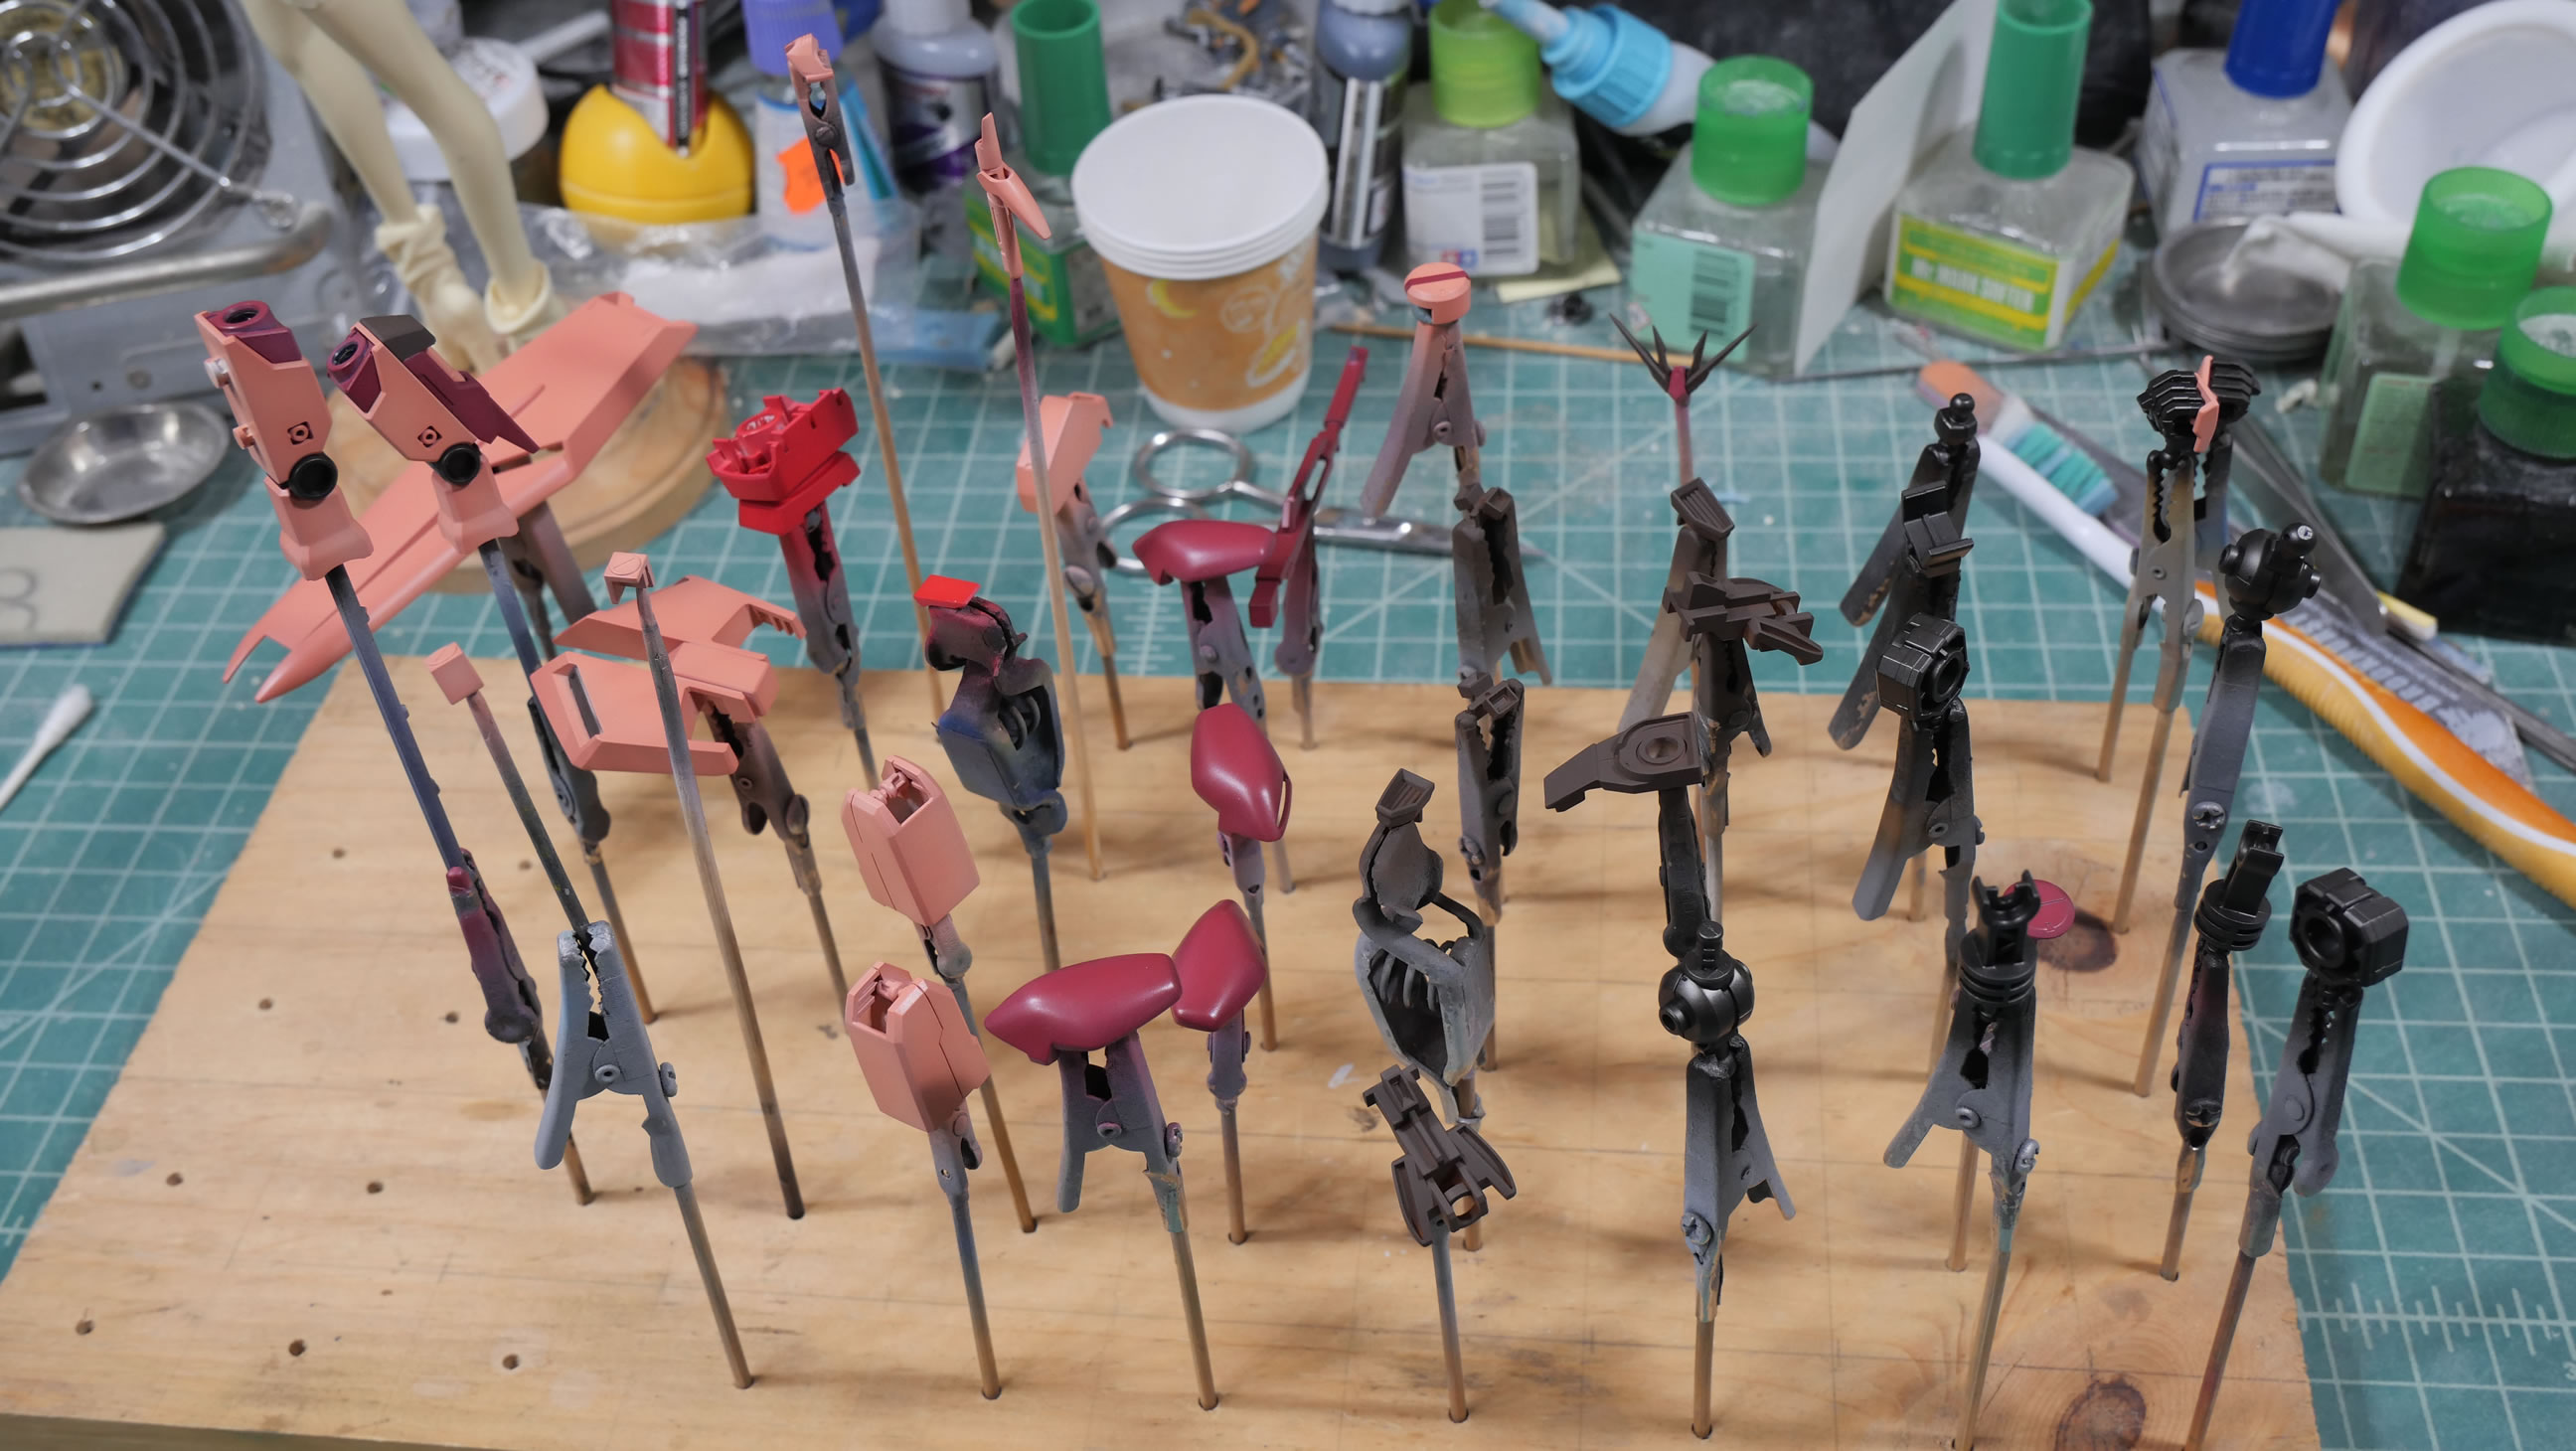
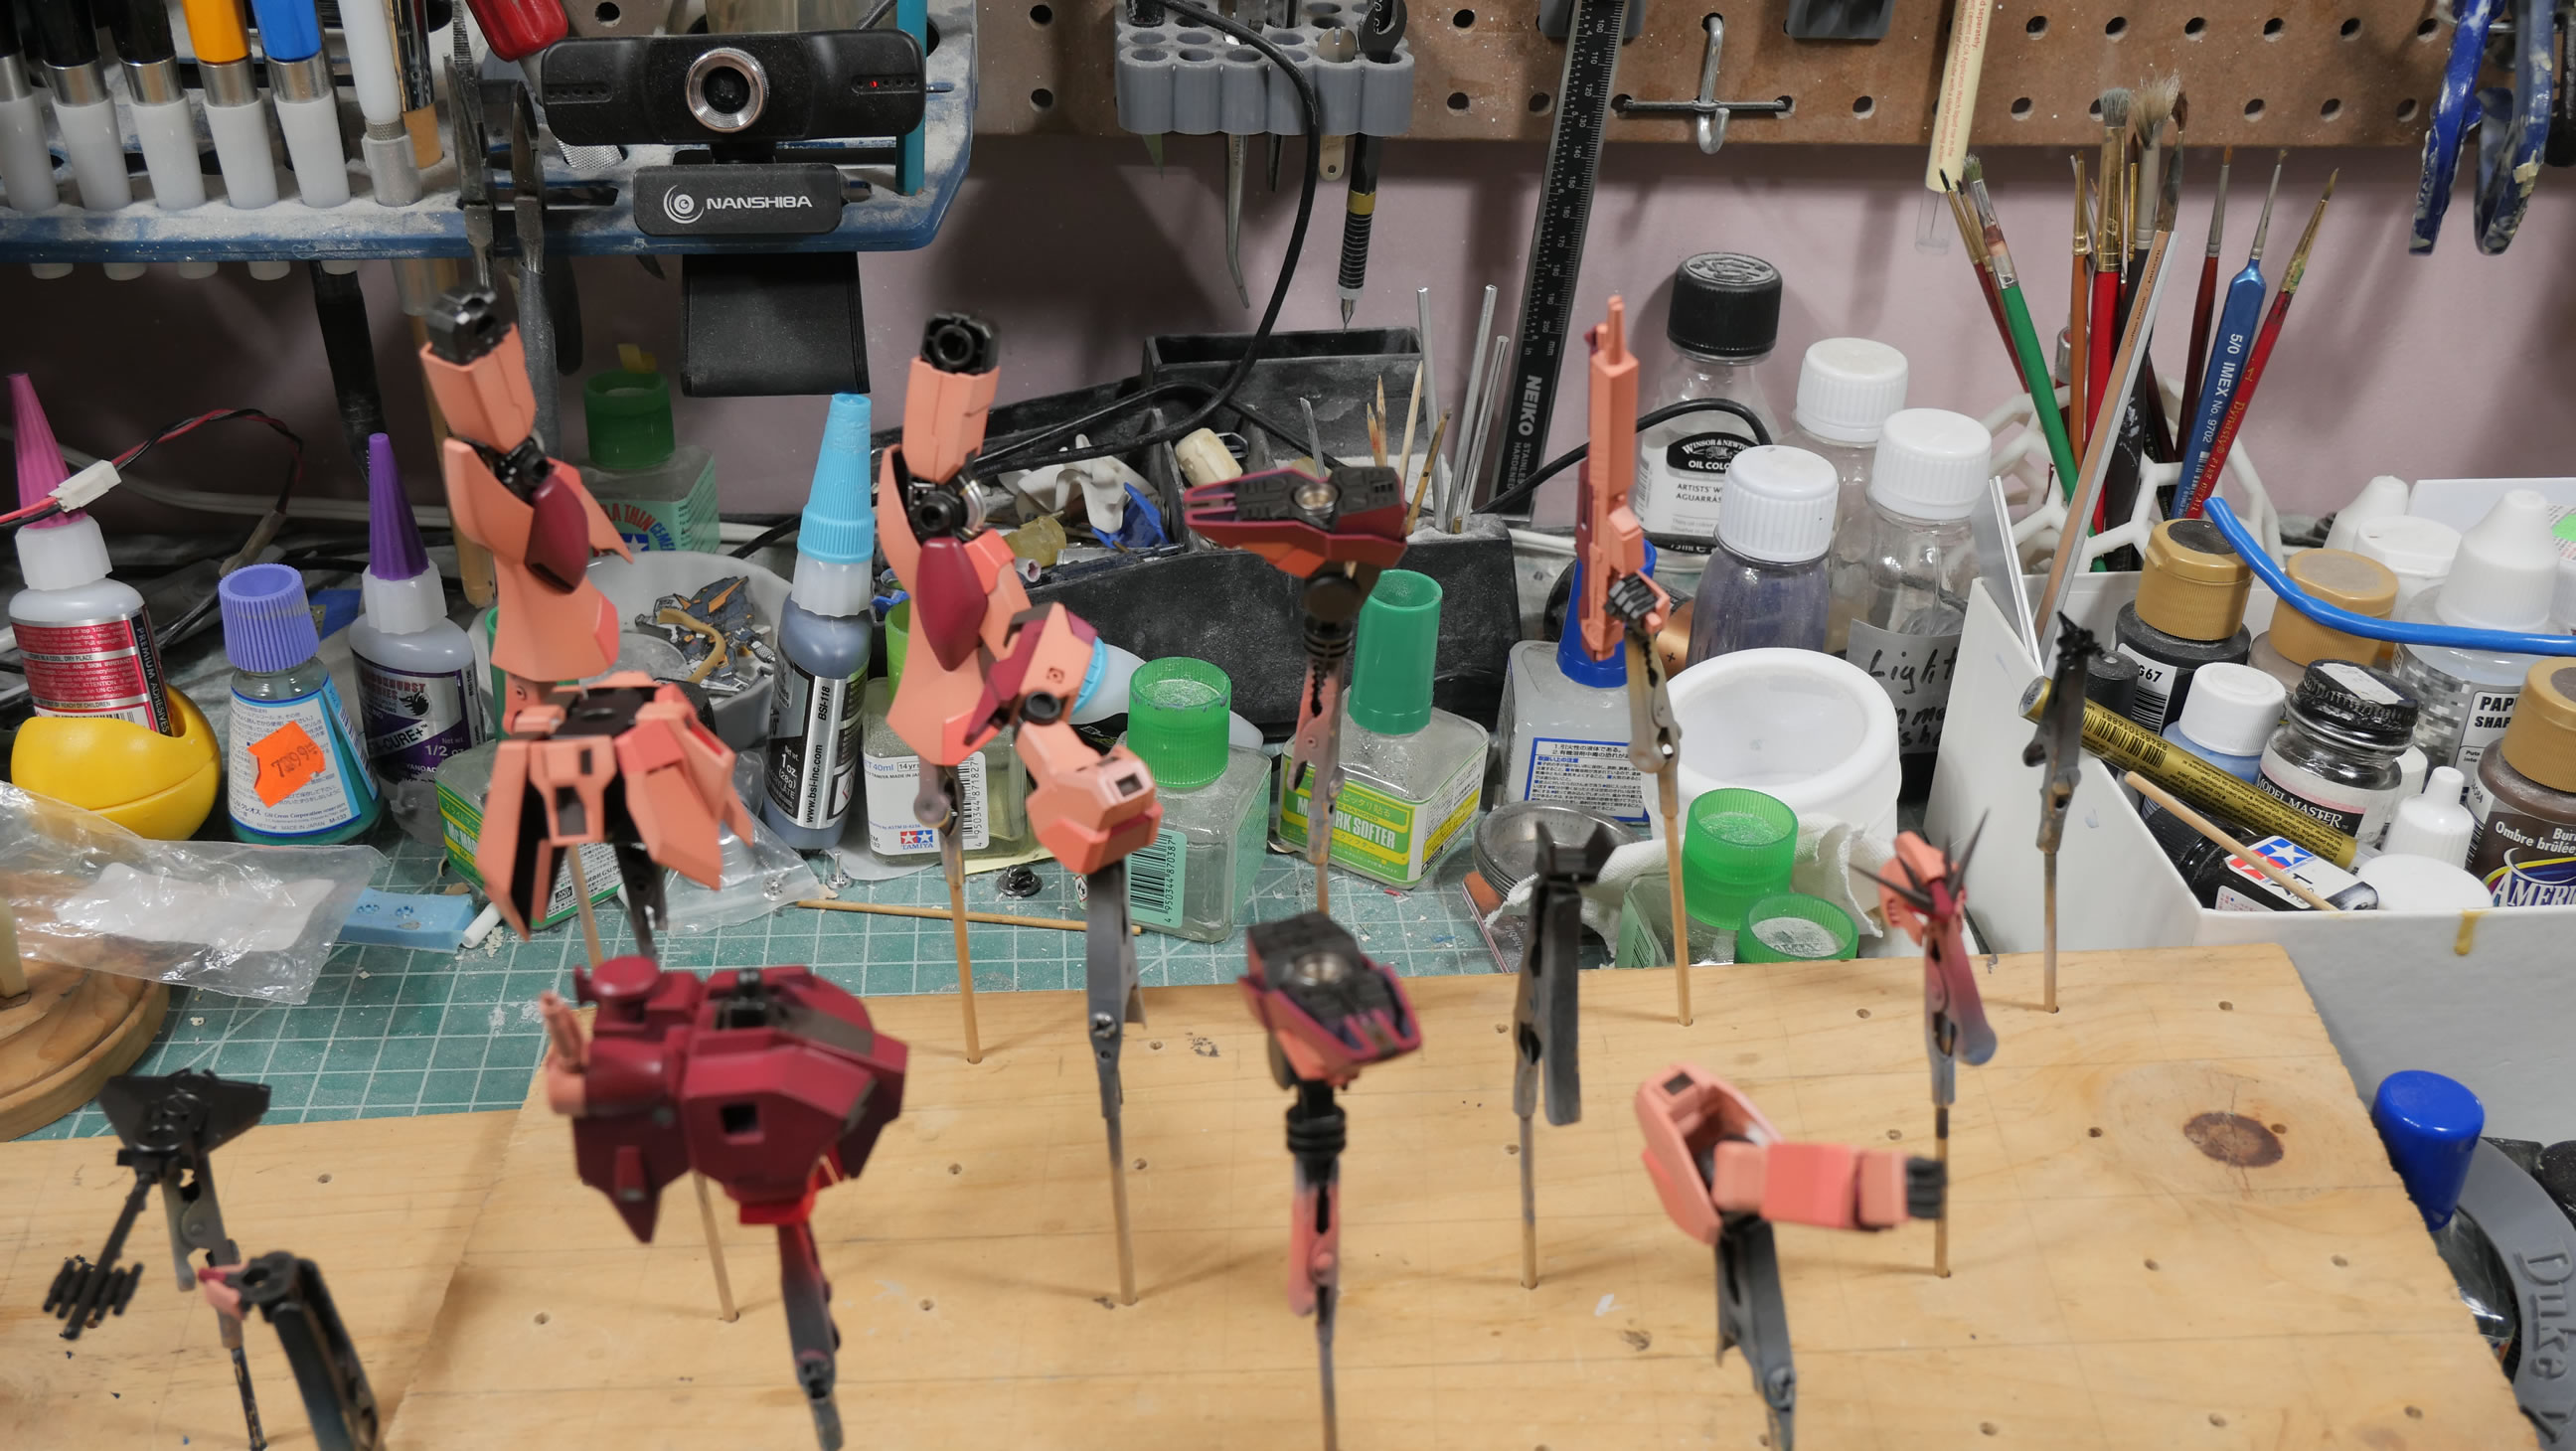
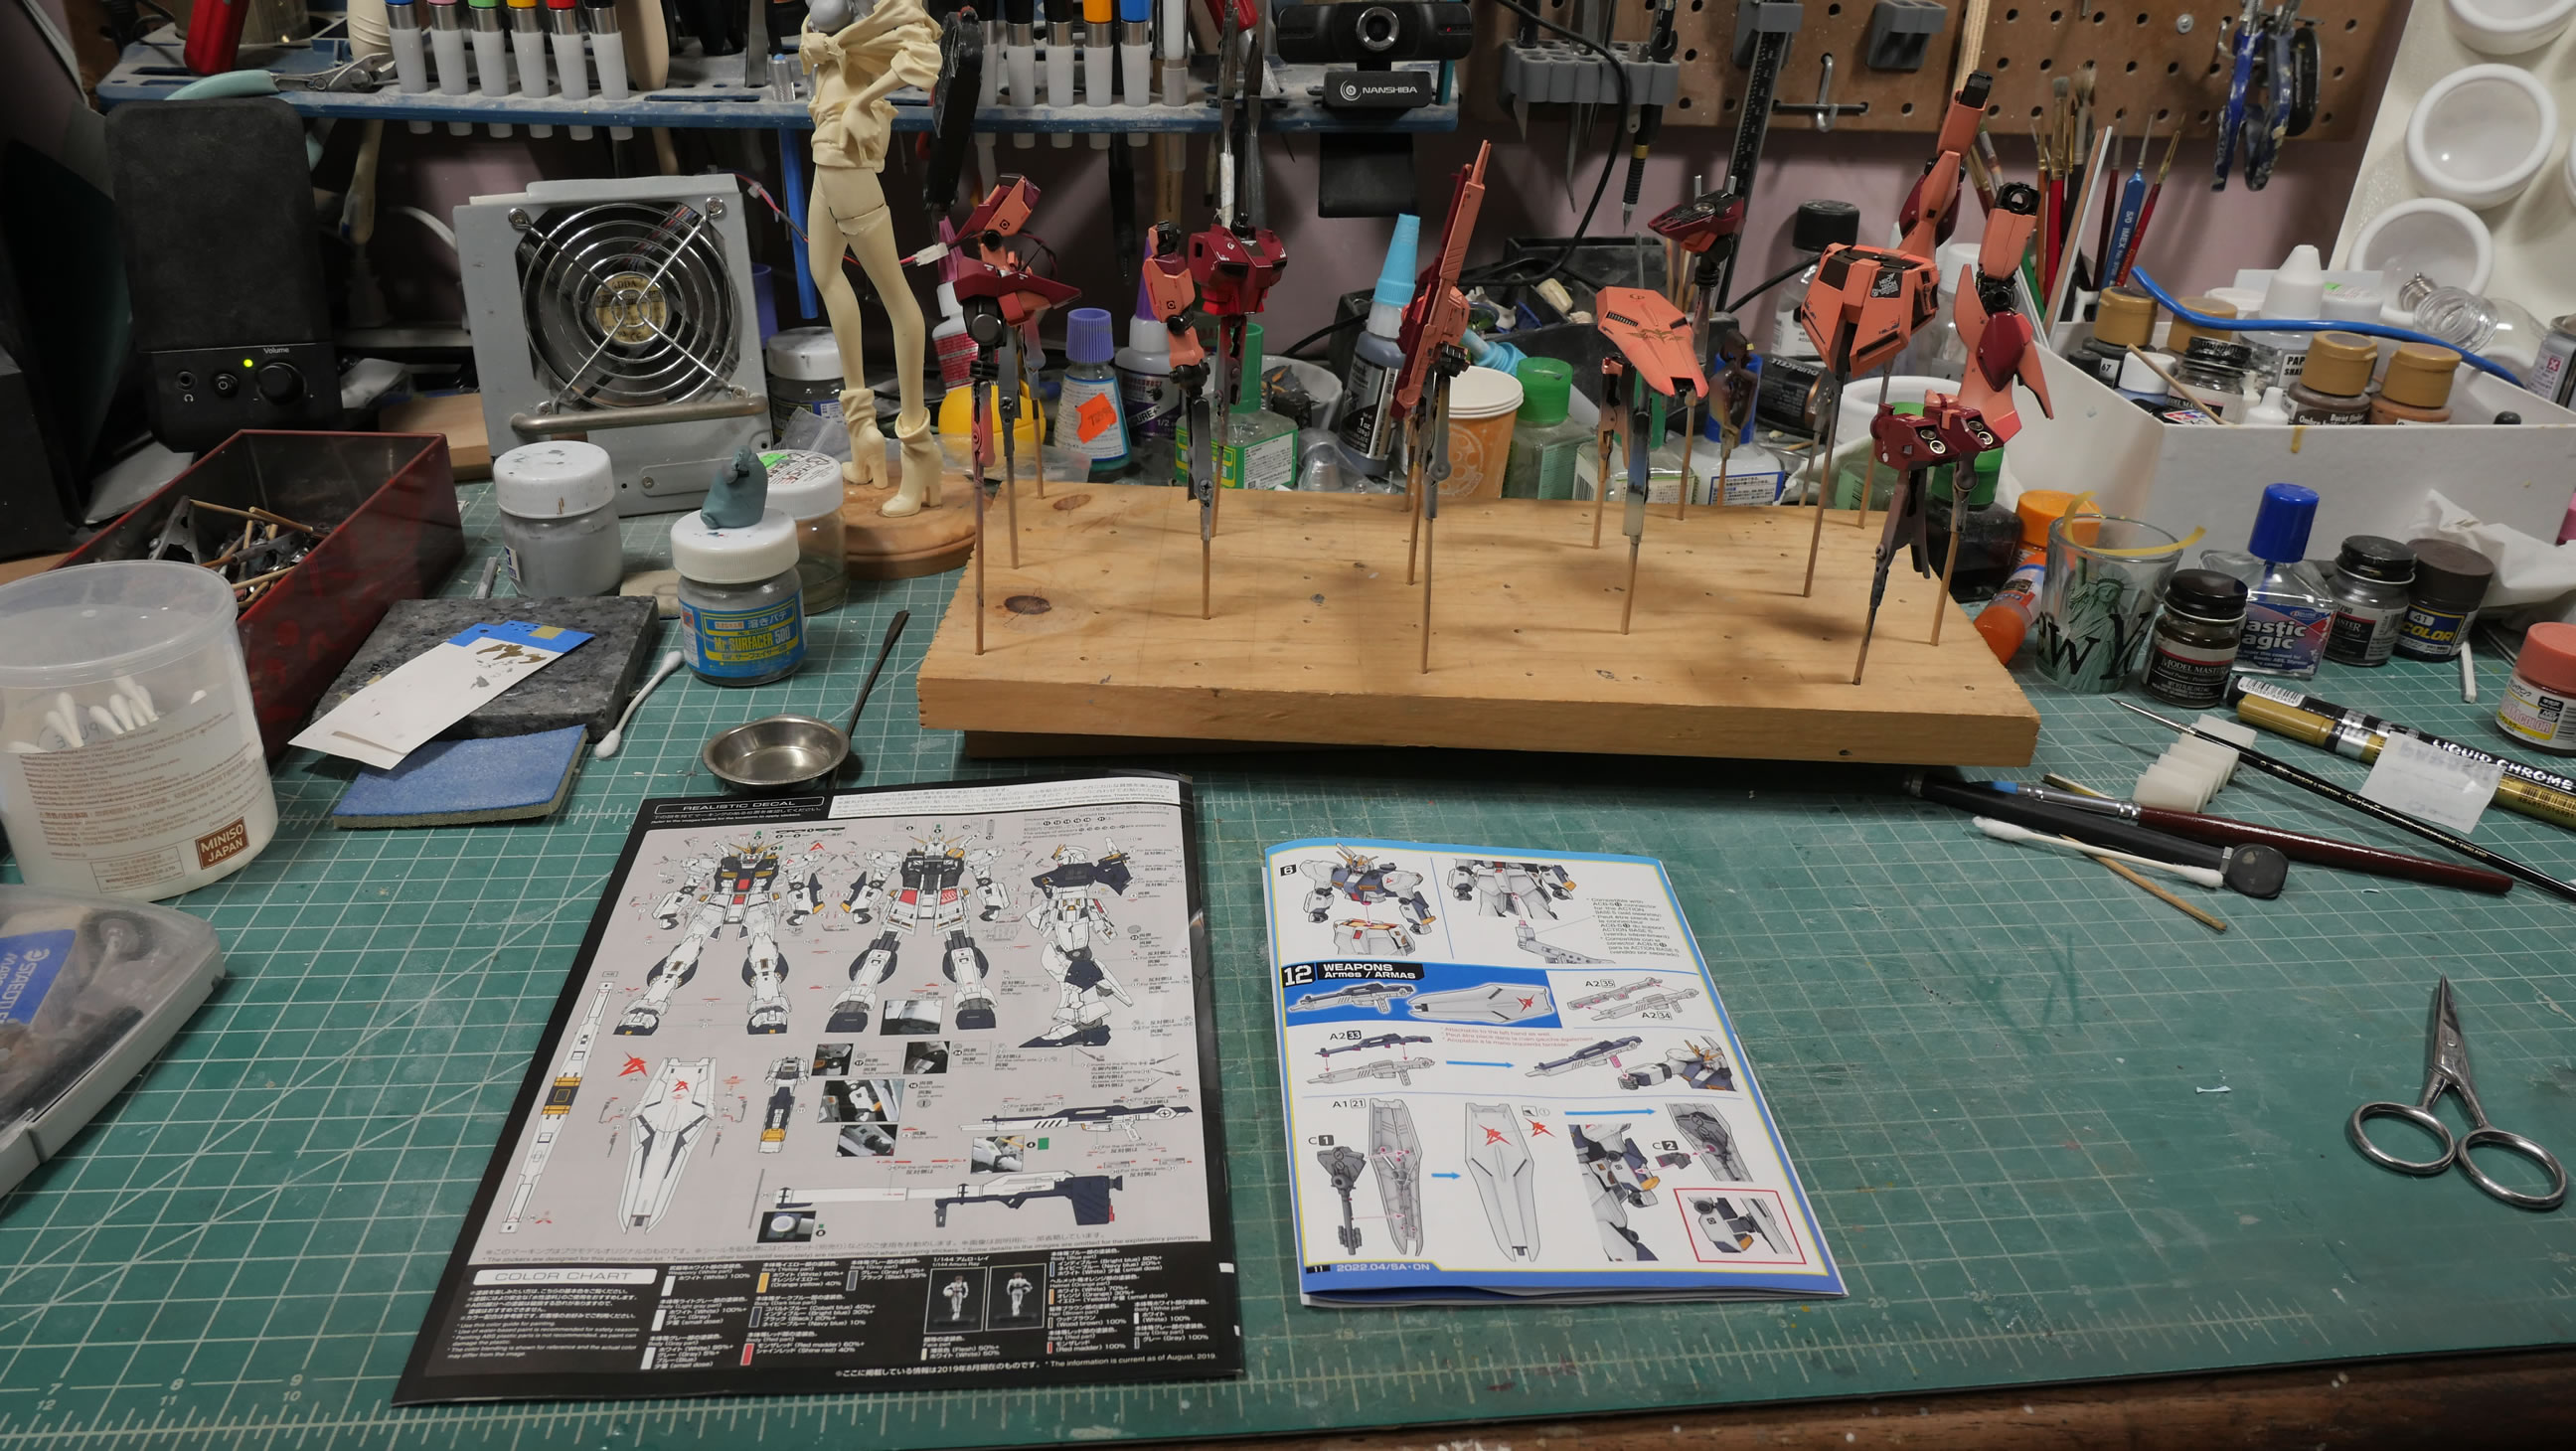
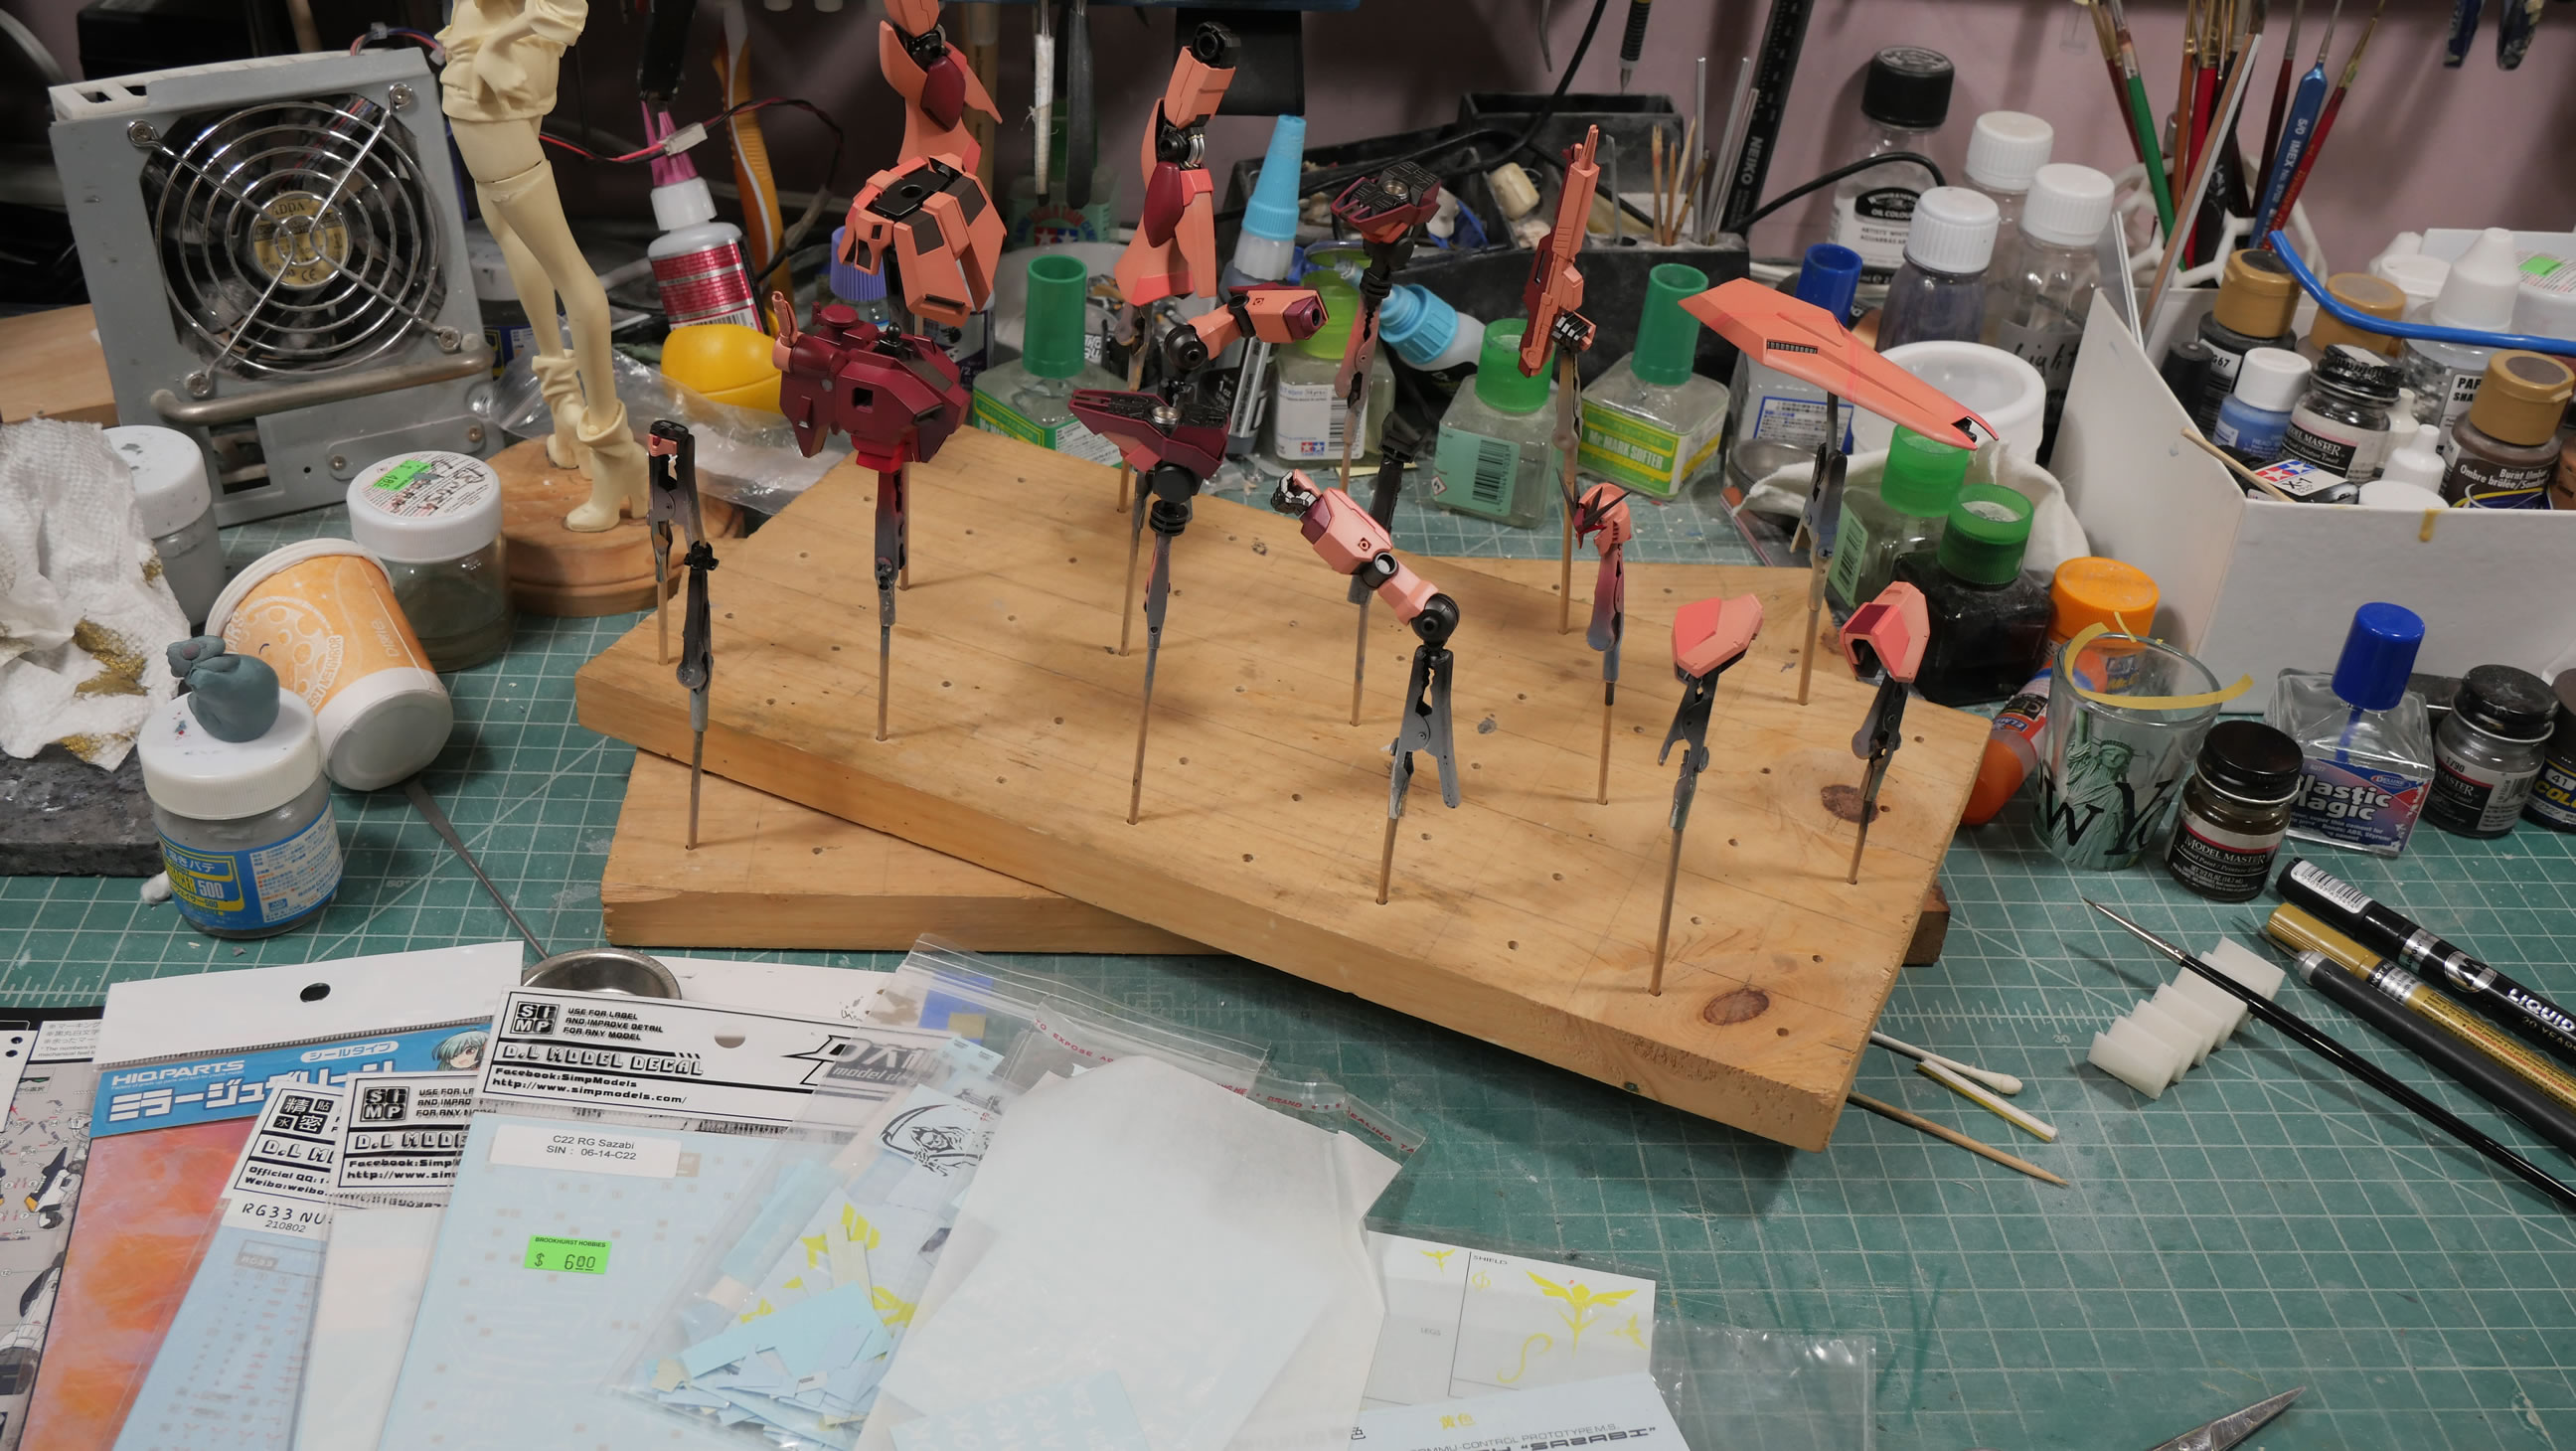
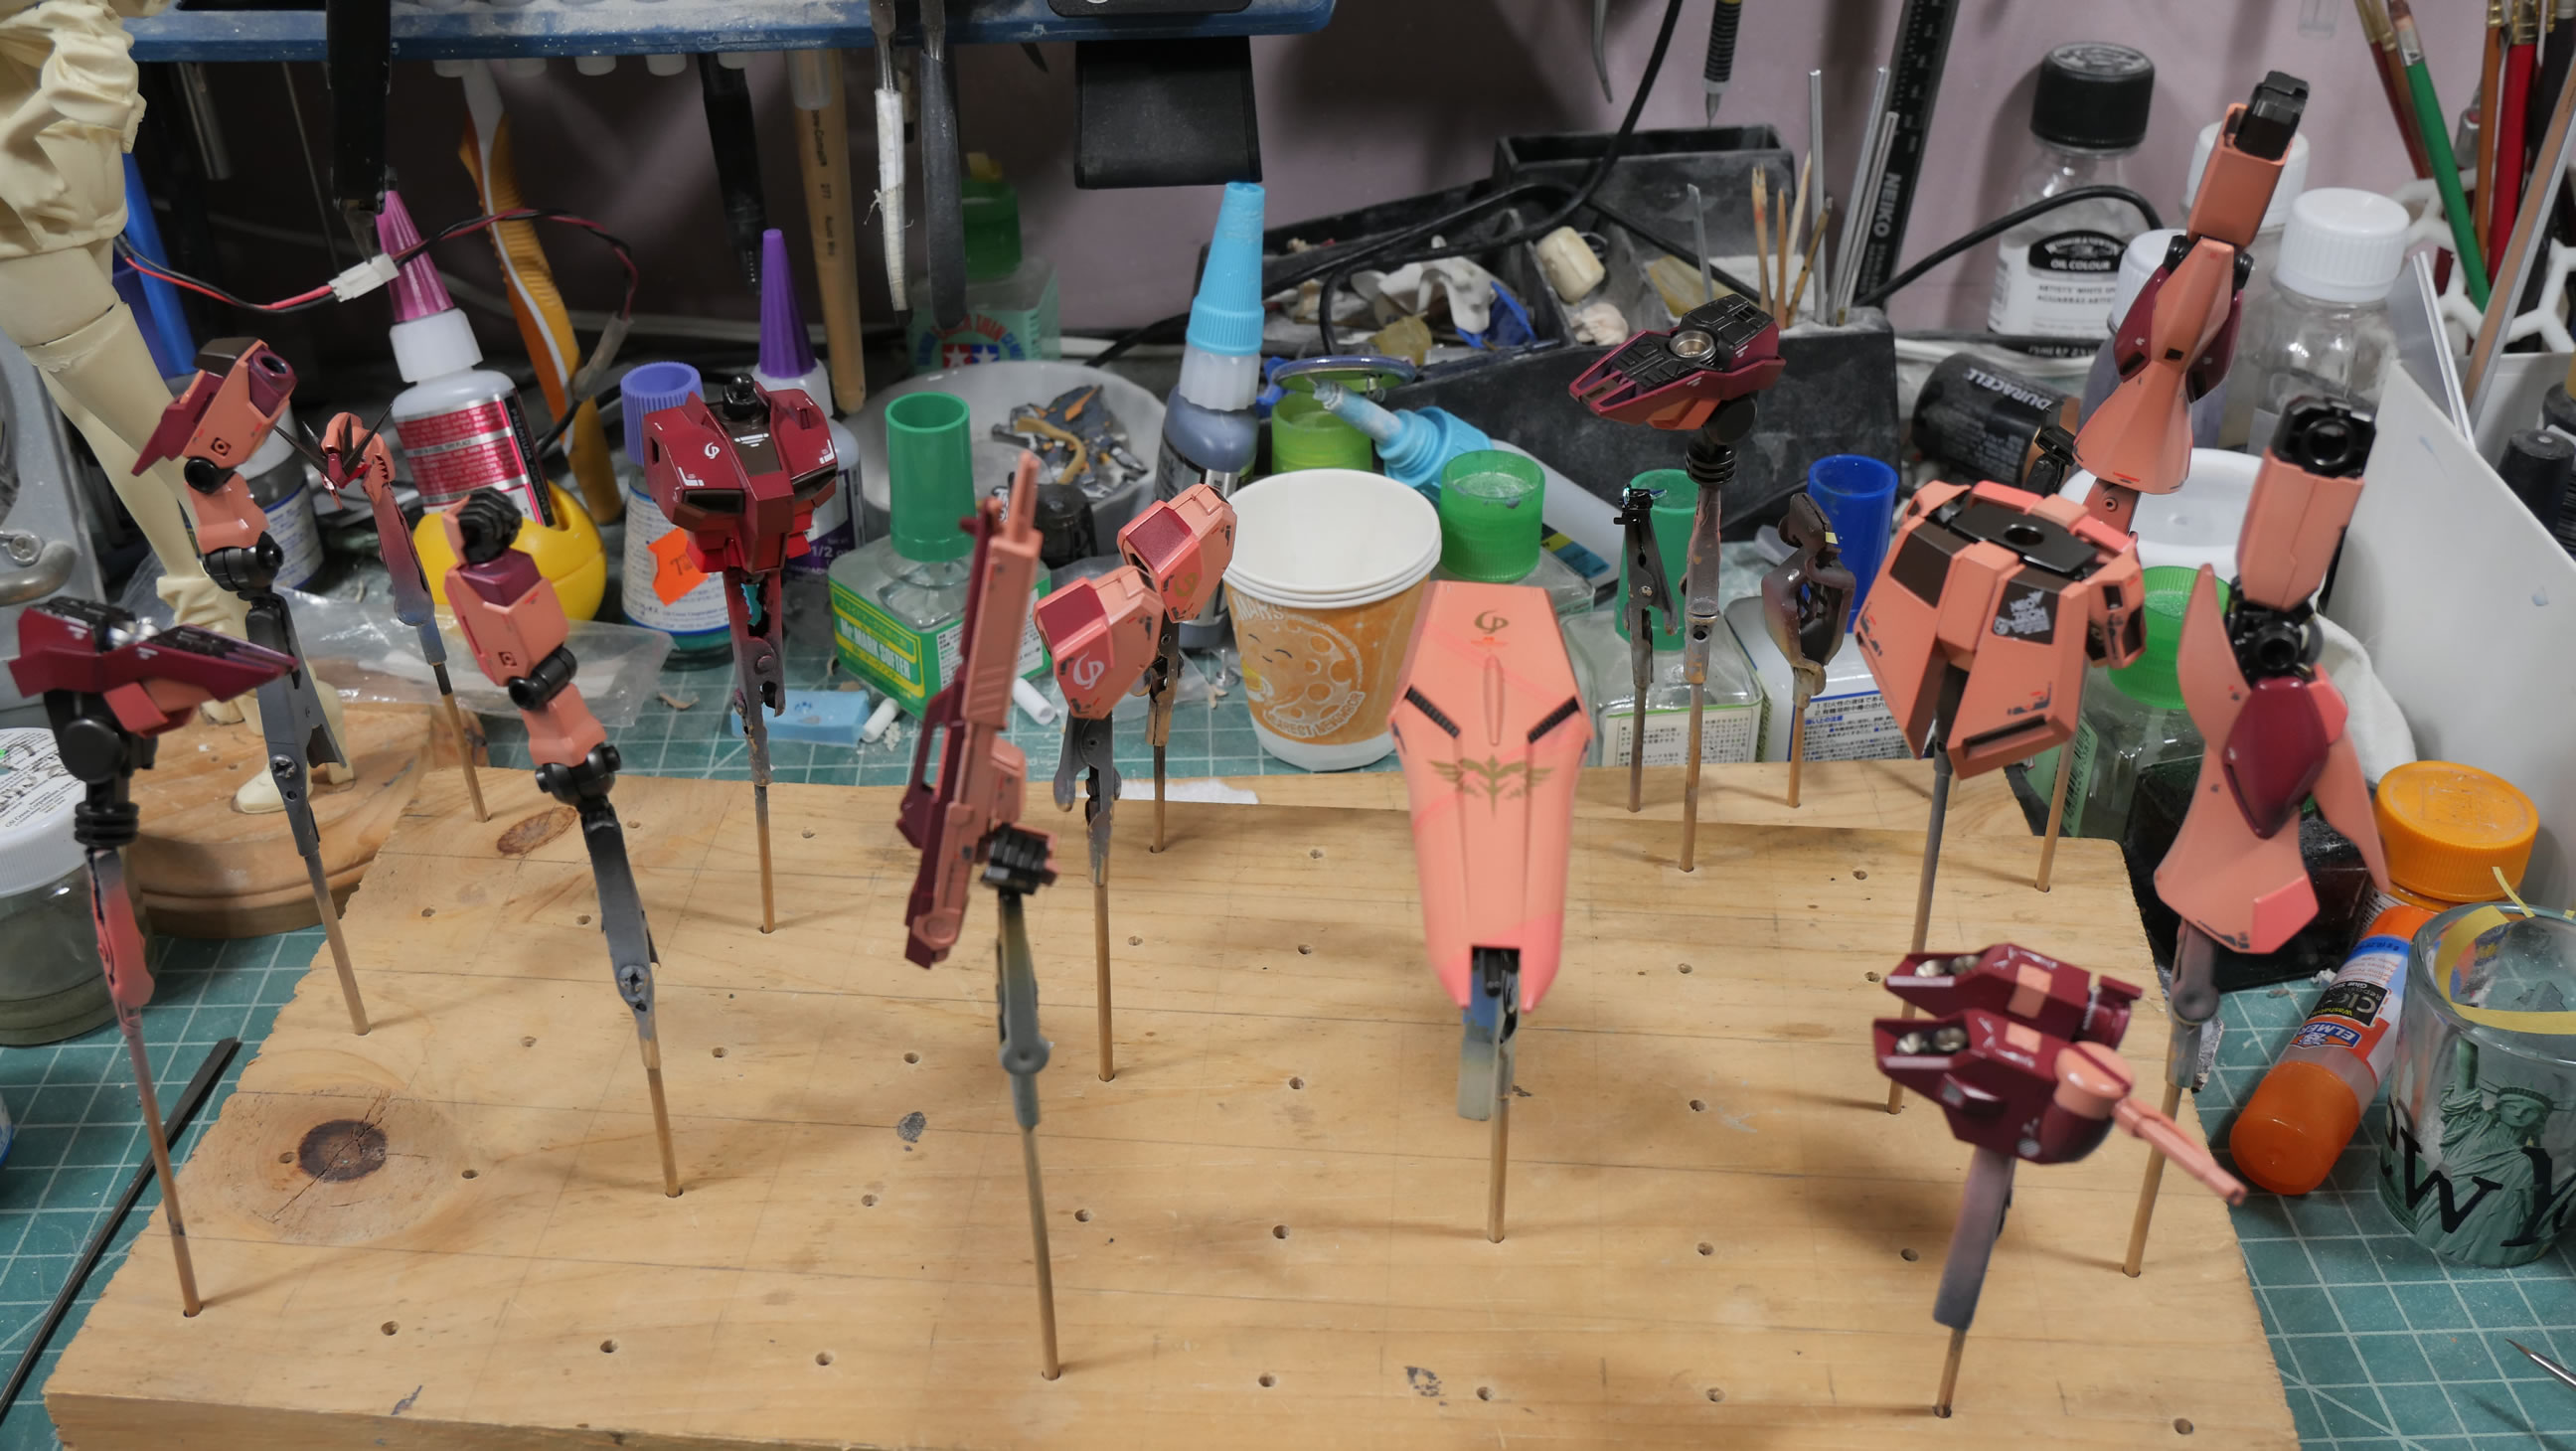
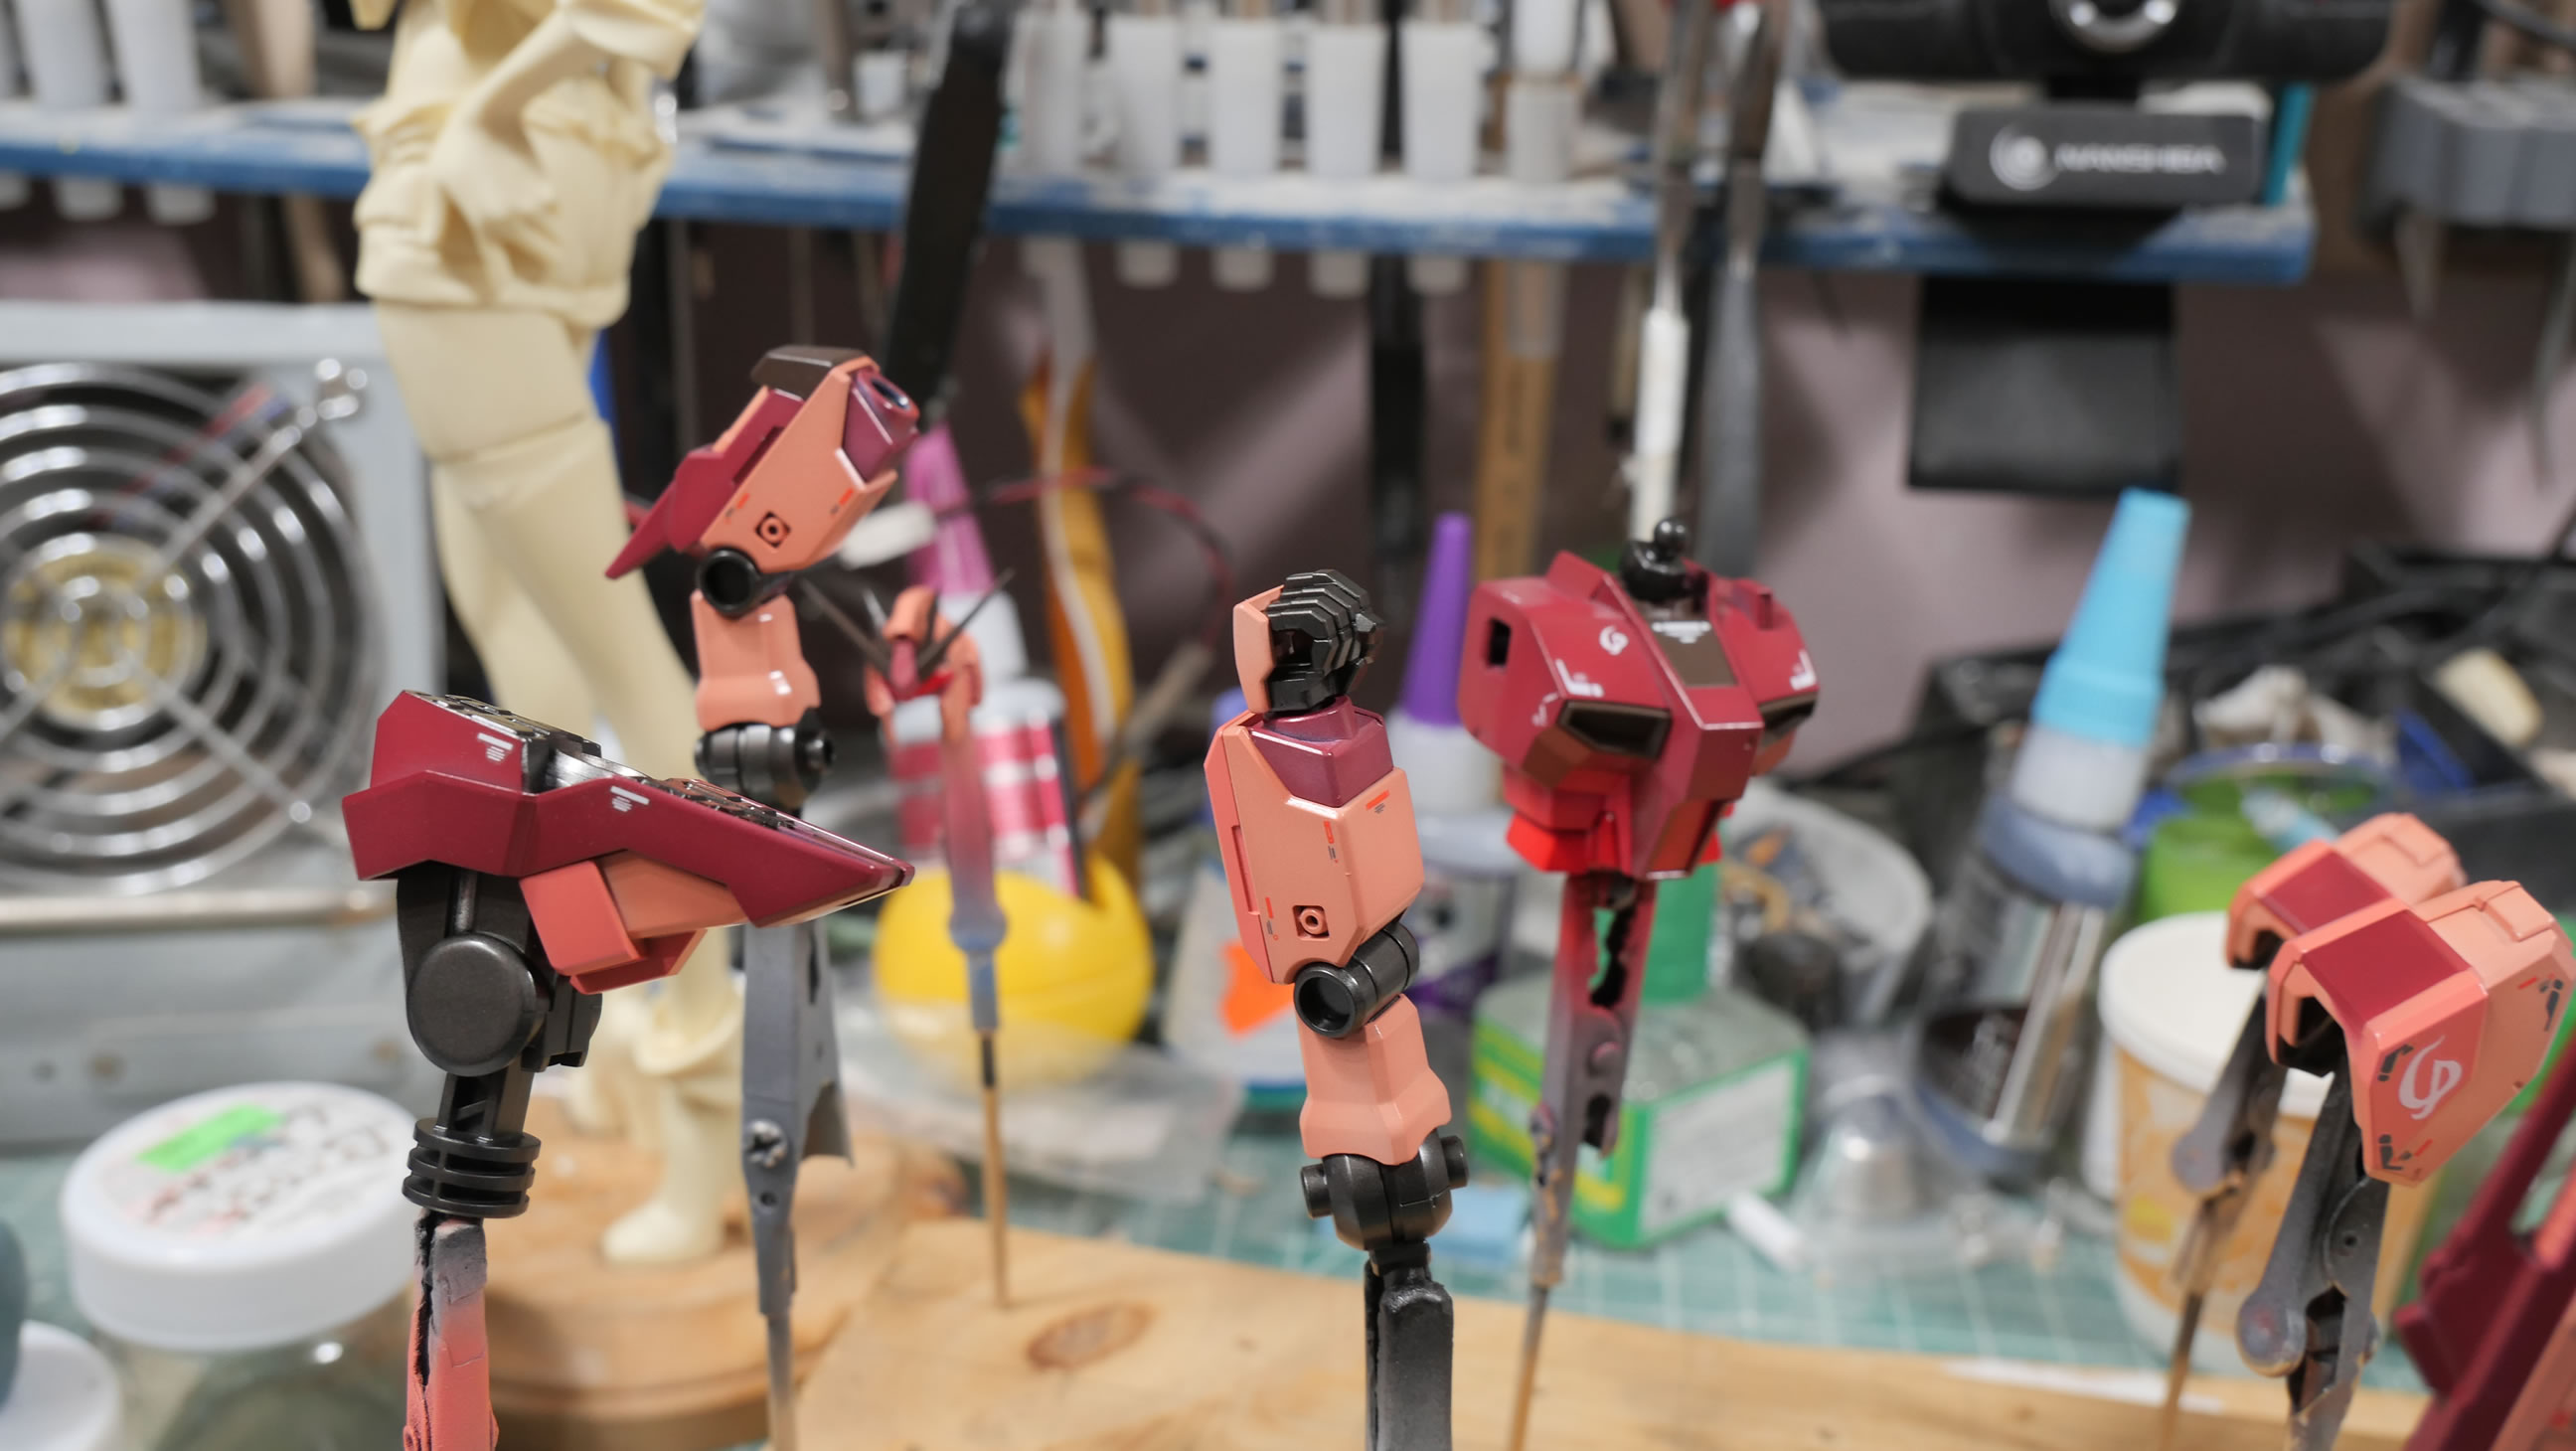
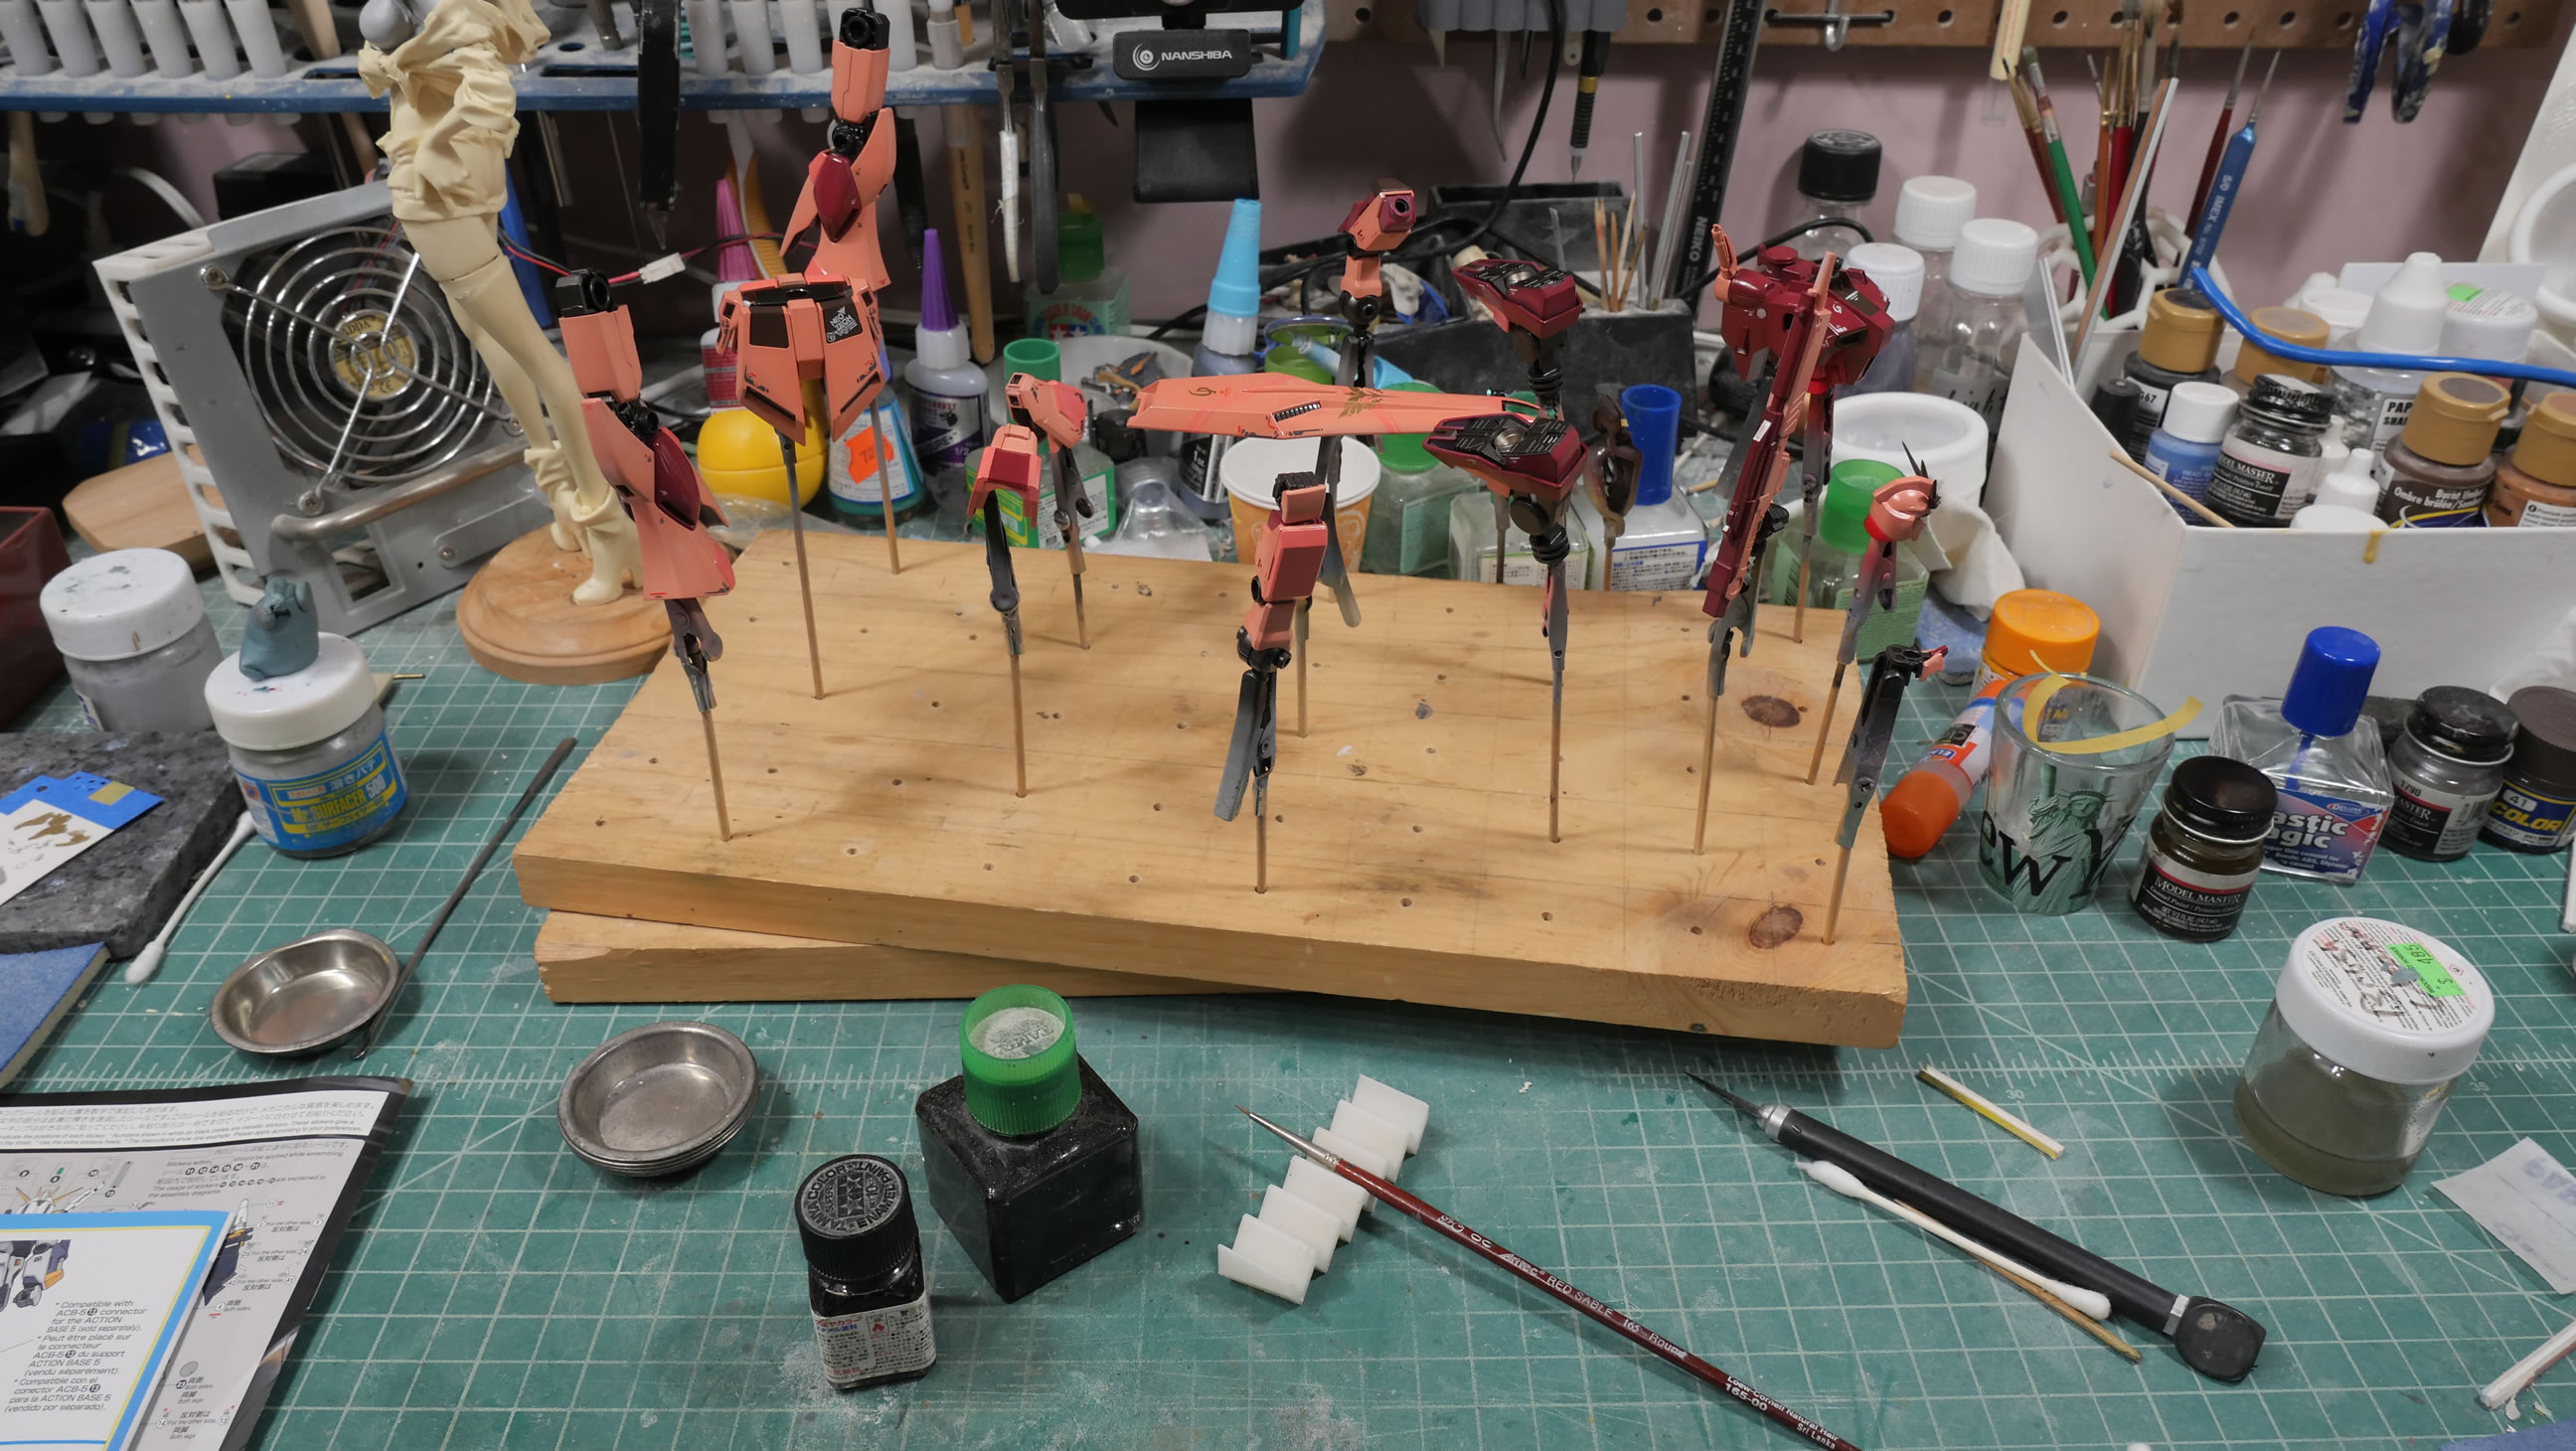
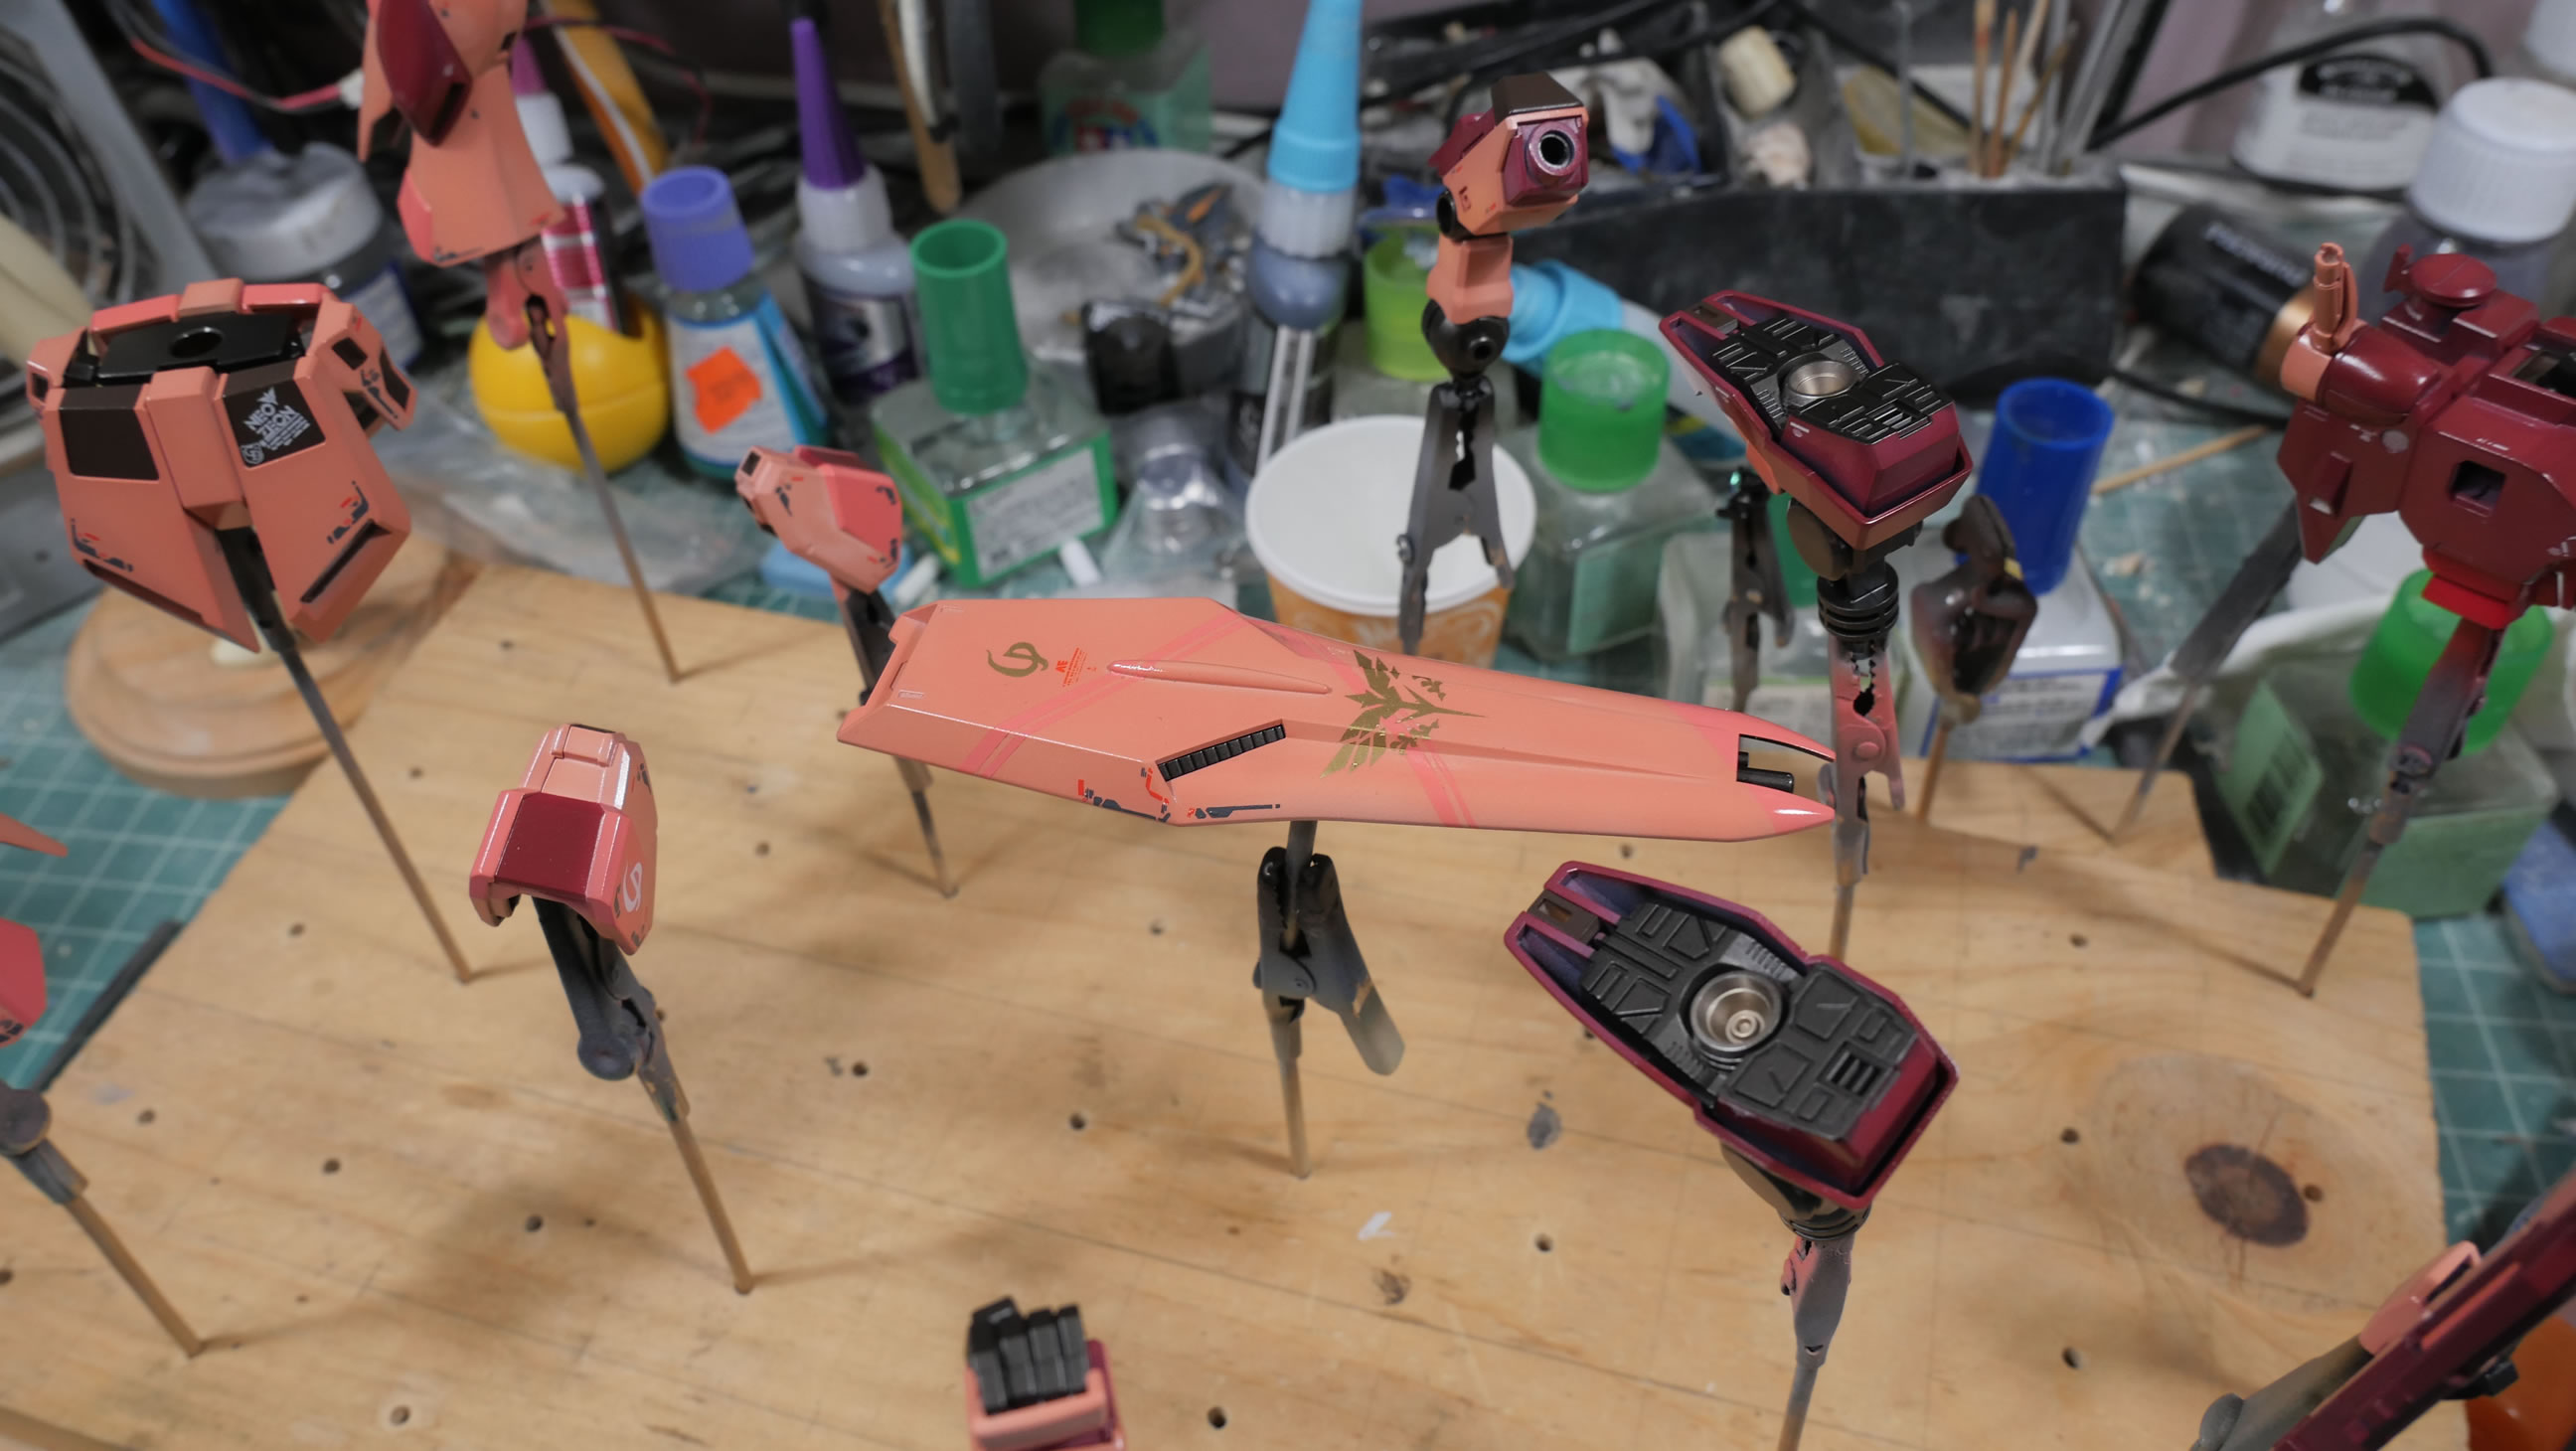
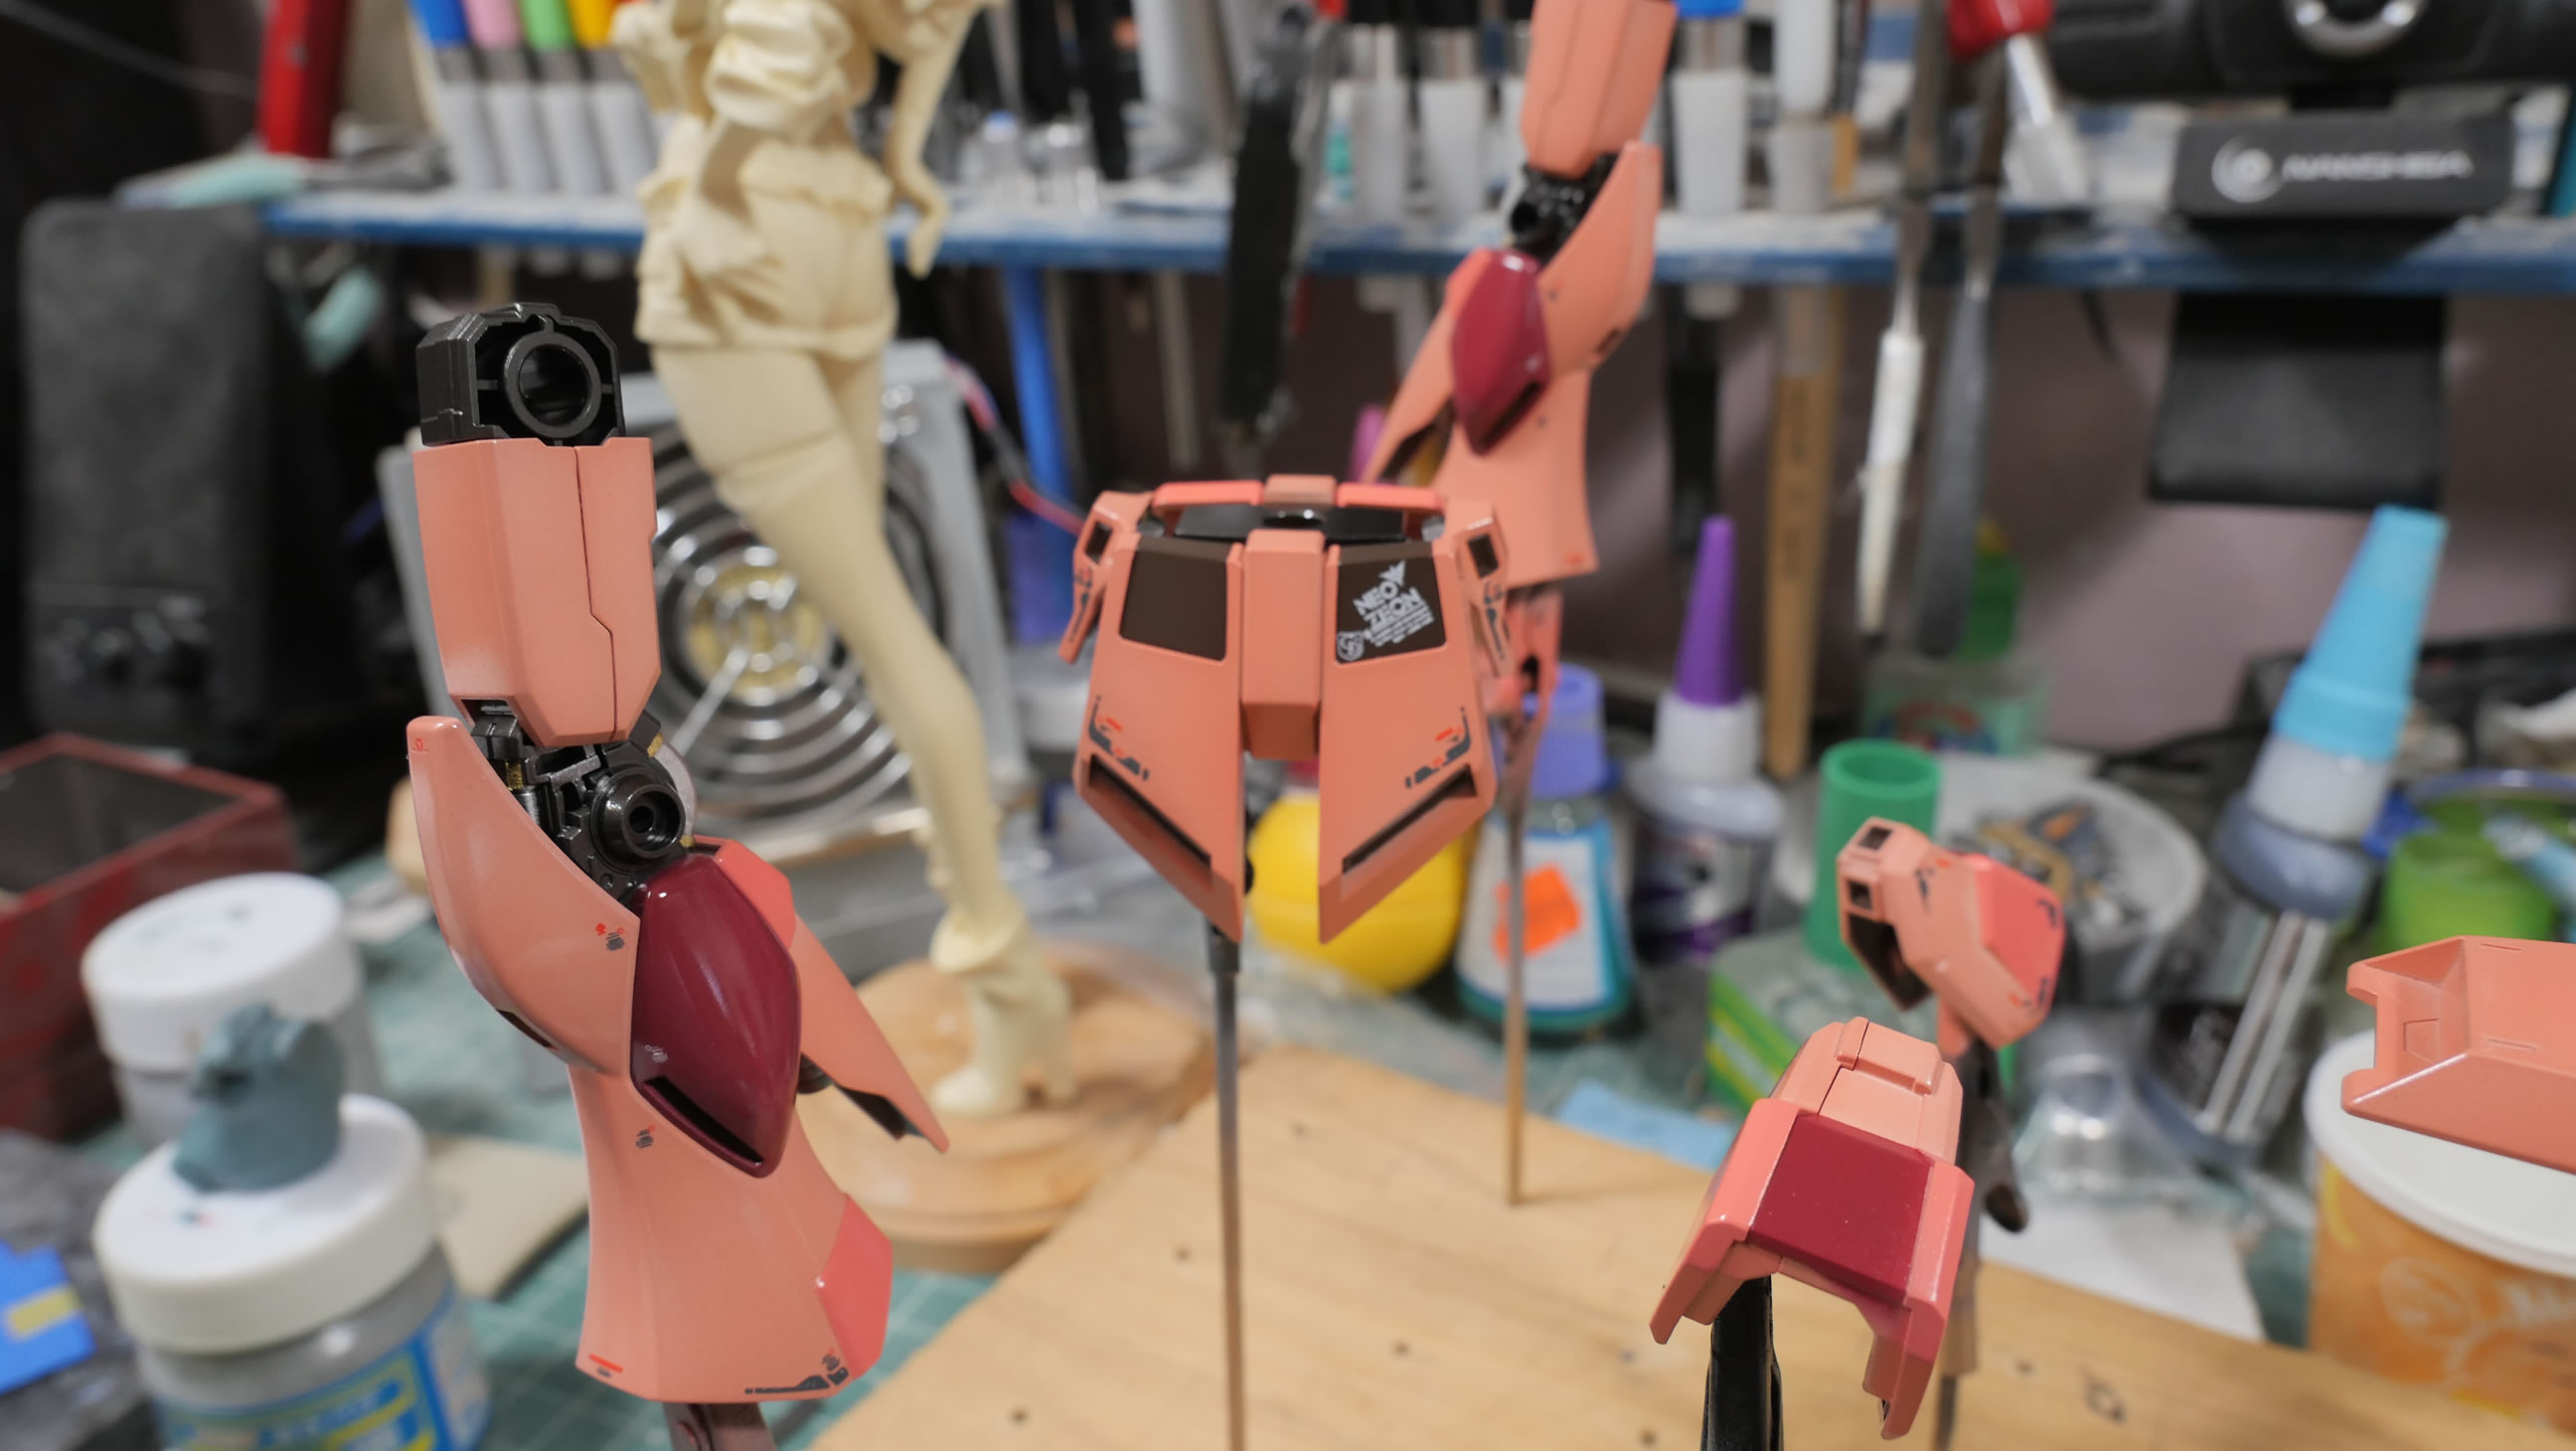
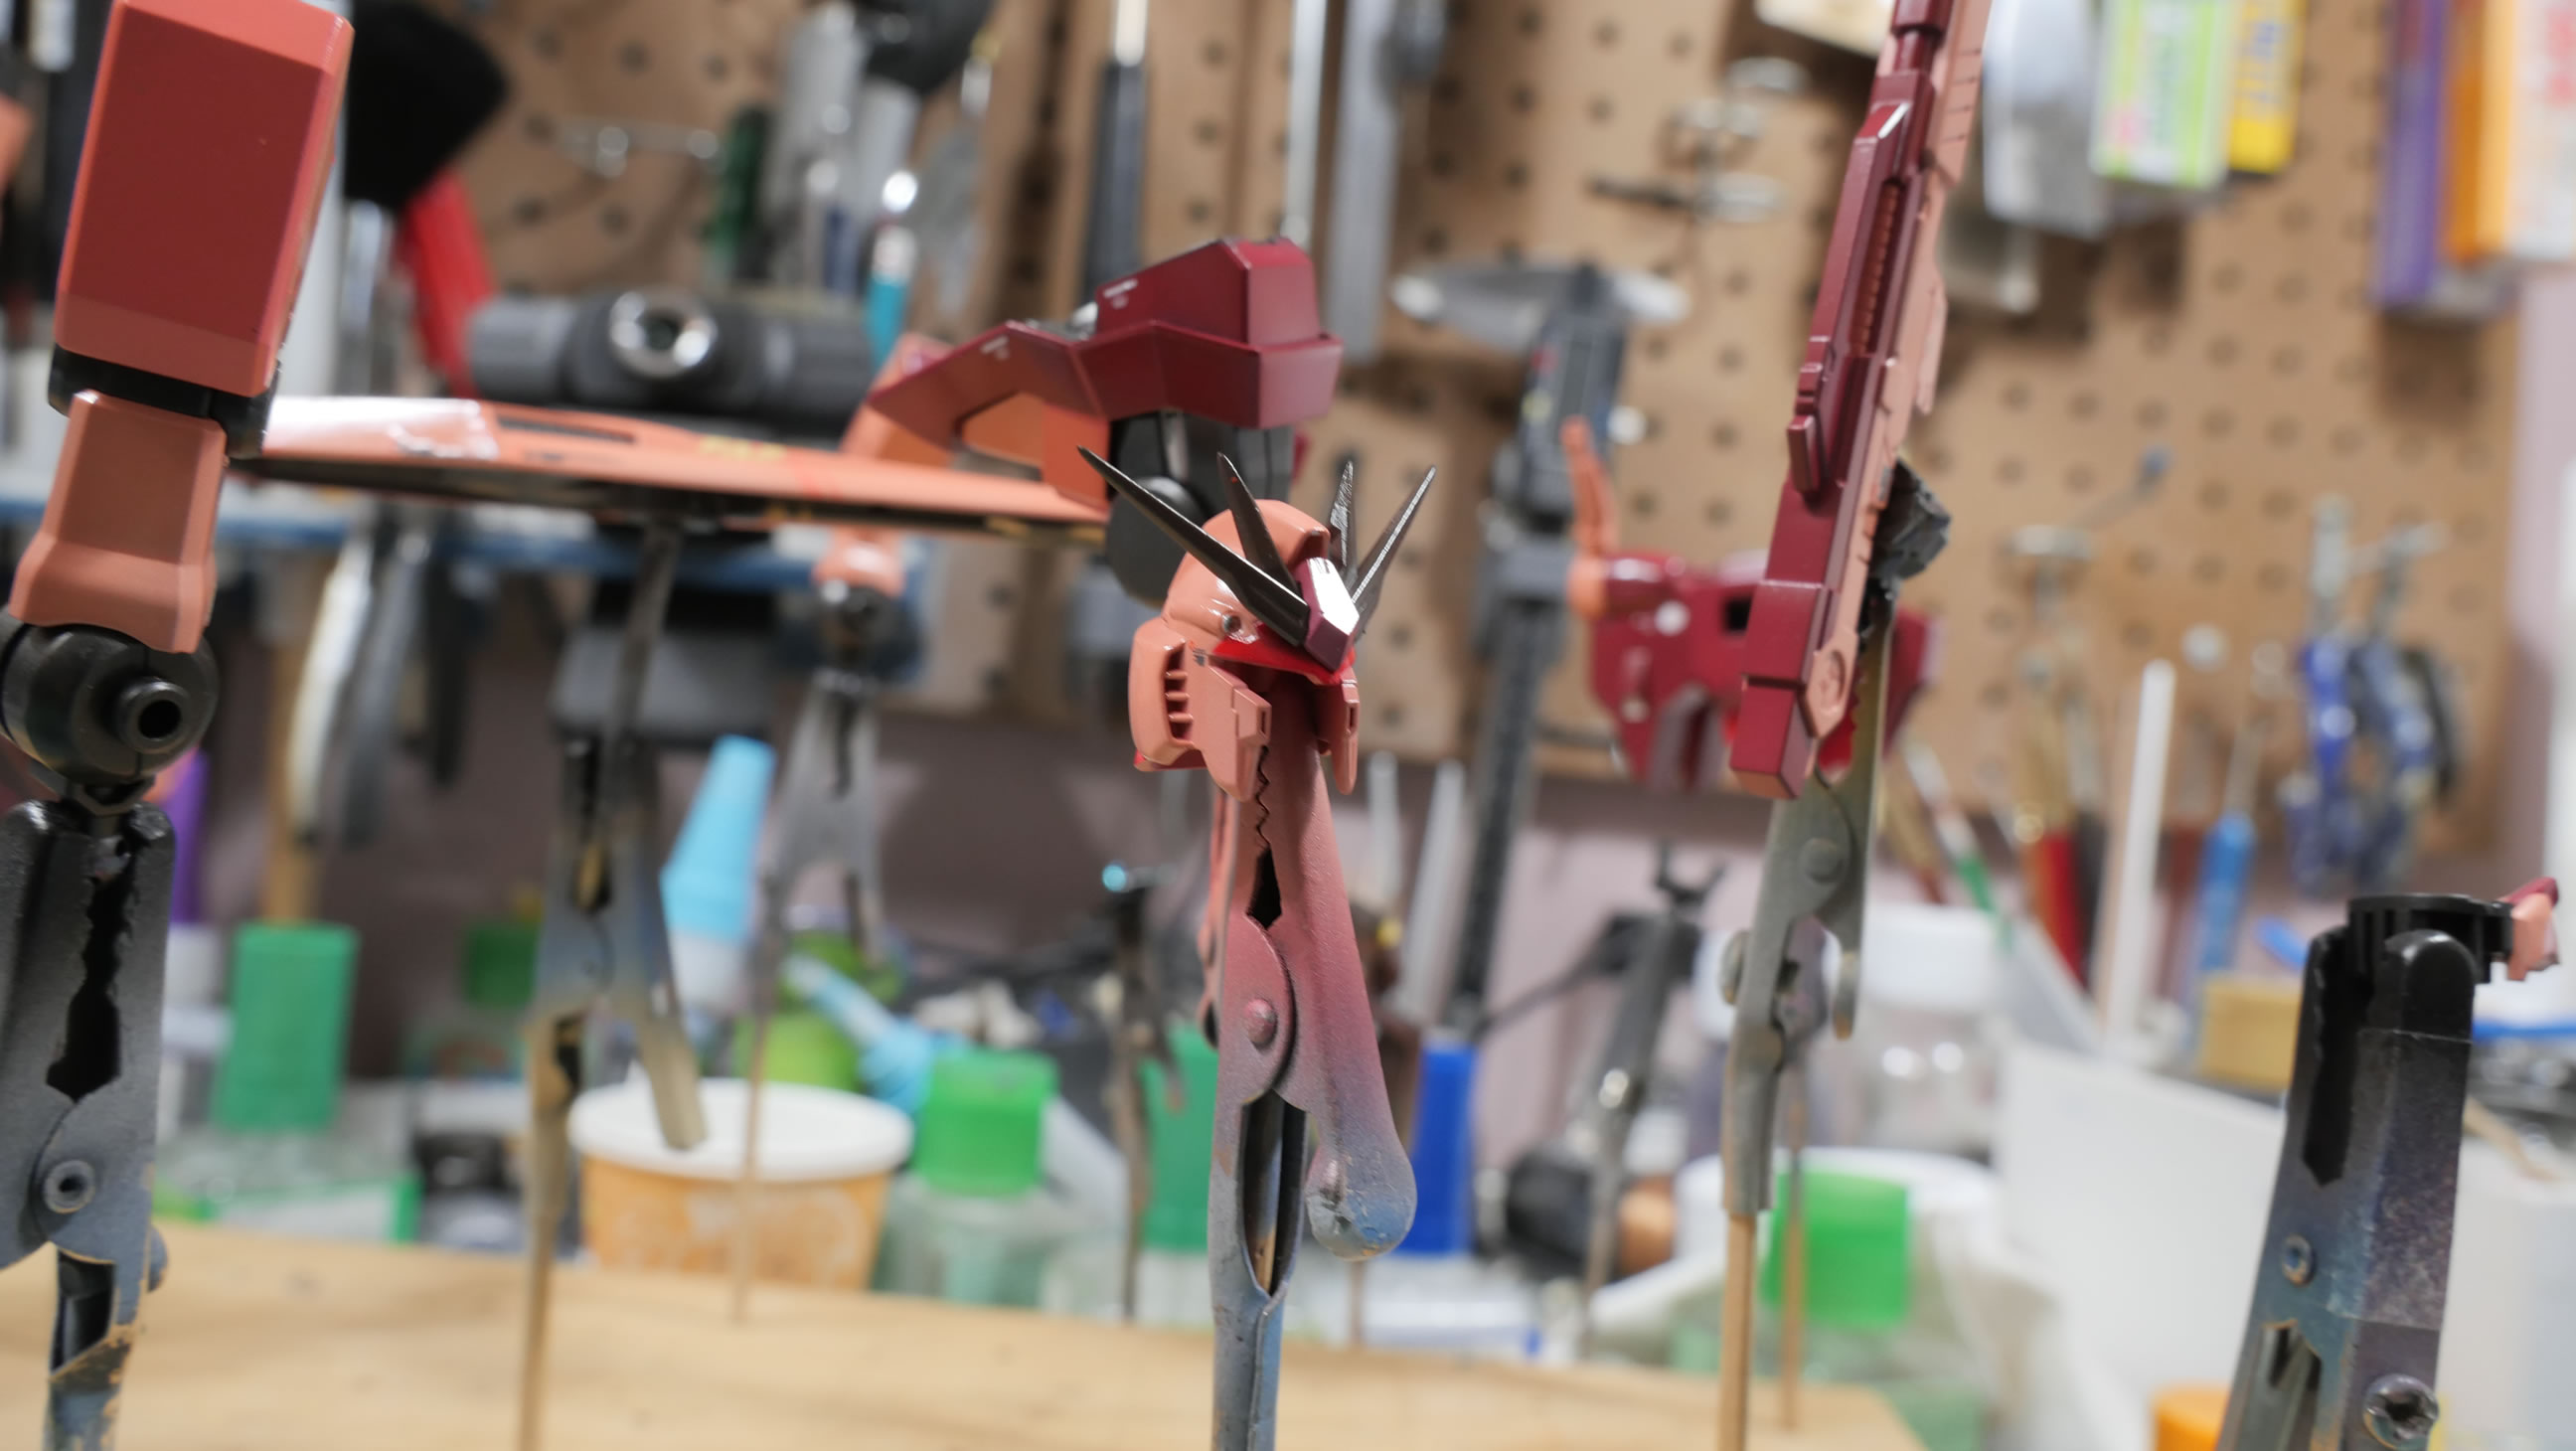
Subassemblies and the block holding the completed parts starts to grow.
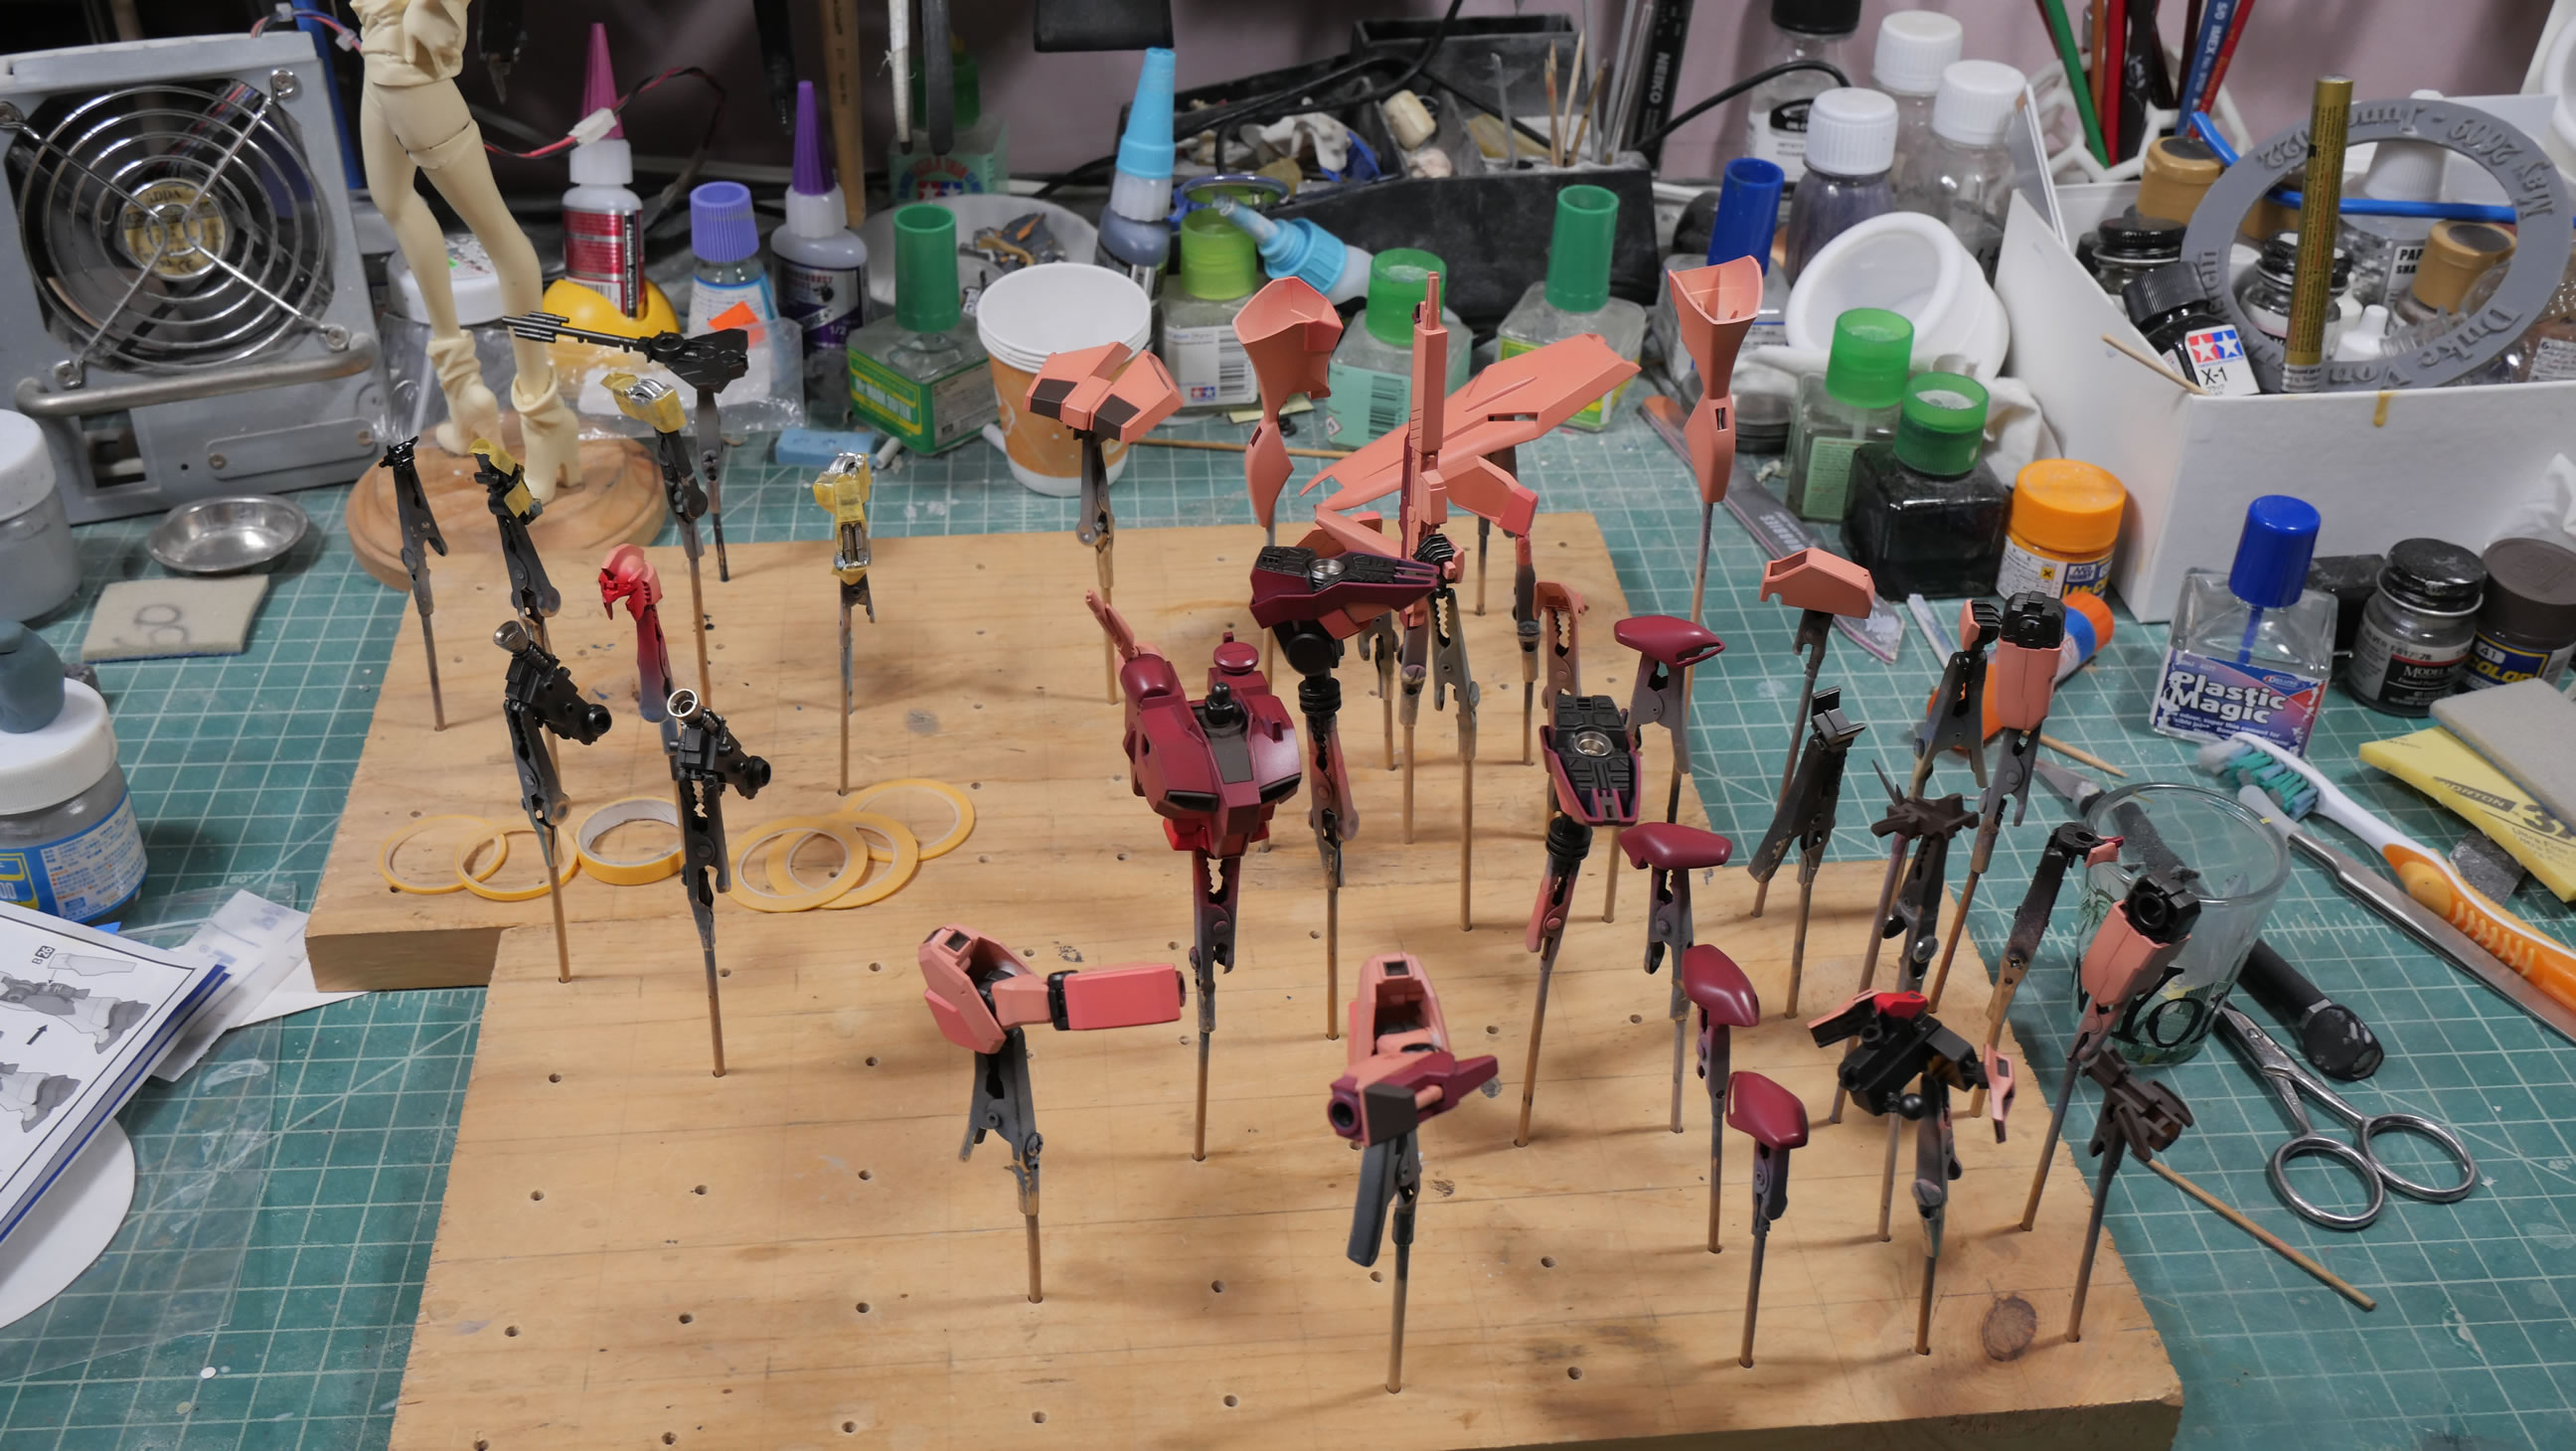
Subassemblies put together such as the arms, chest, and gun. The rest of the steps will be easier to tackle with these assembled.


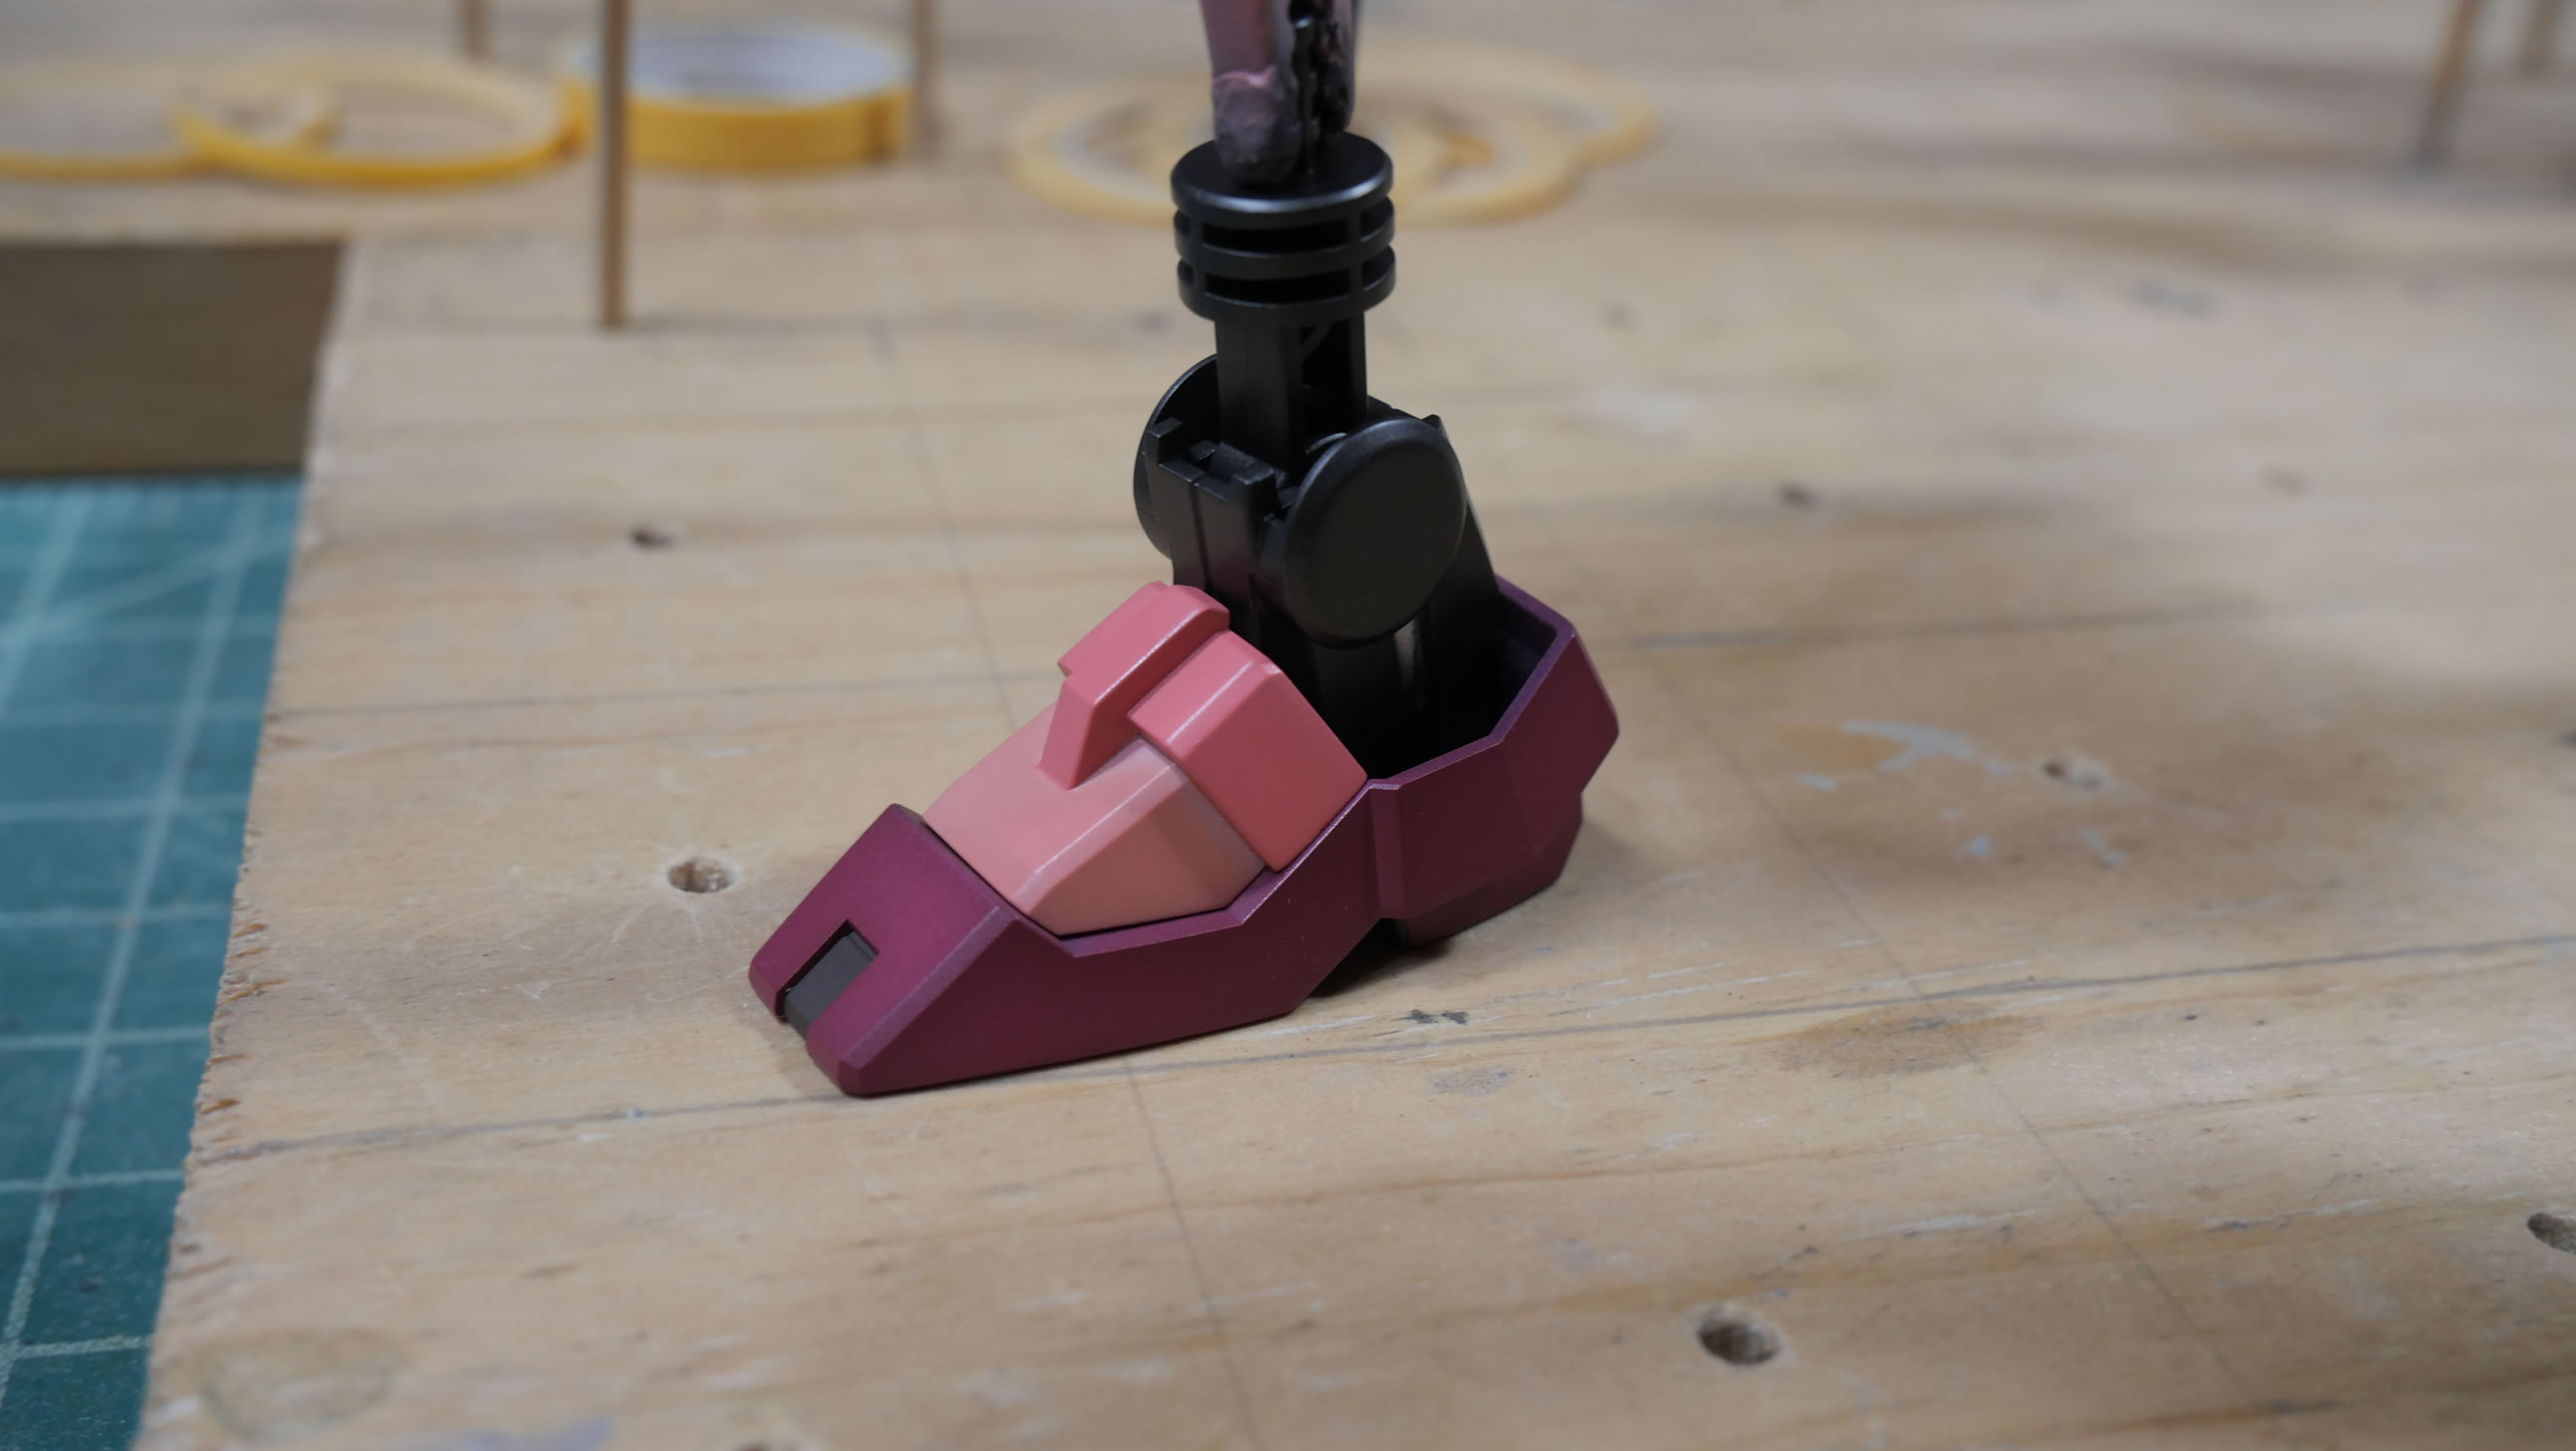
The feet are painted. The rear leg thrusters had a mold line that ran down the middle, I reworked this earlier and removed the mold line and repainted. Once assembled, no one would have been able to see the mold line anyways. But, there you have it.
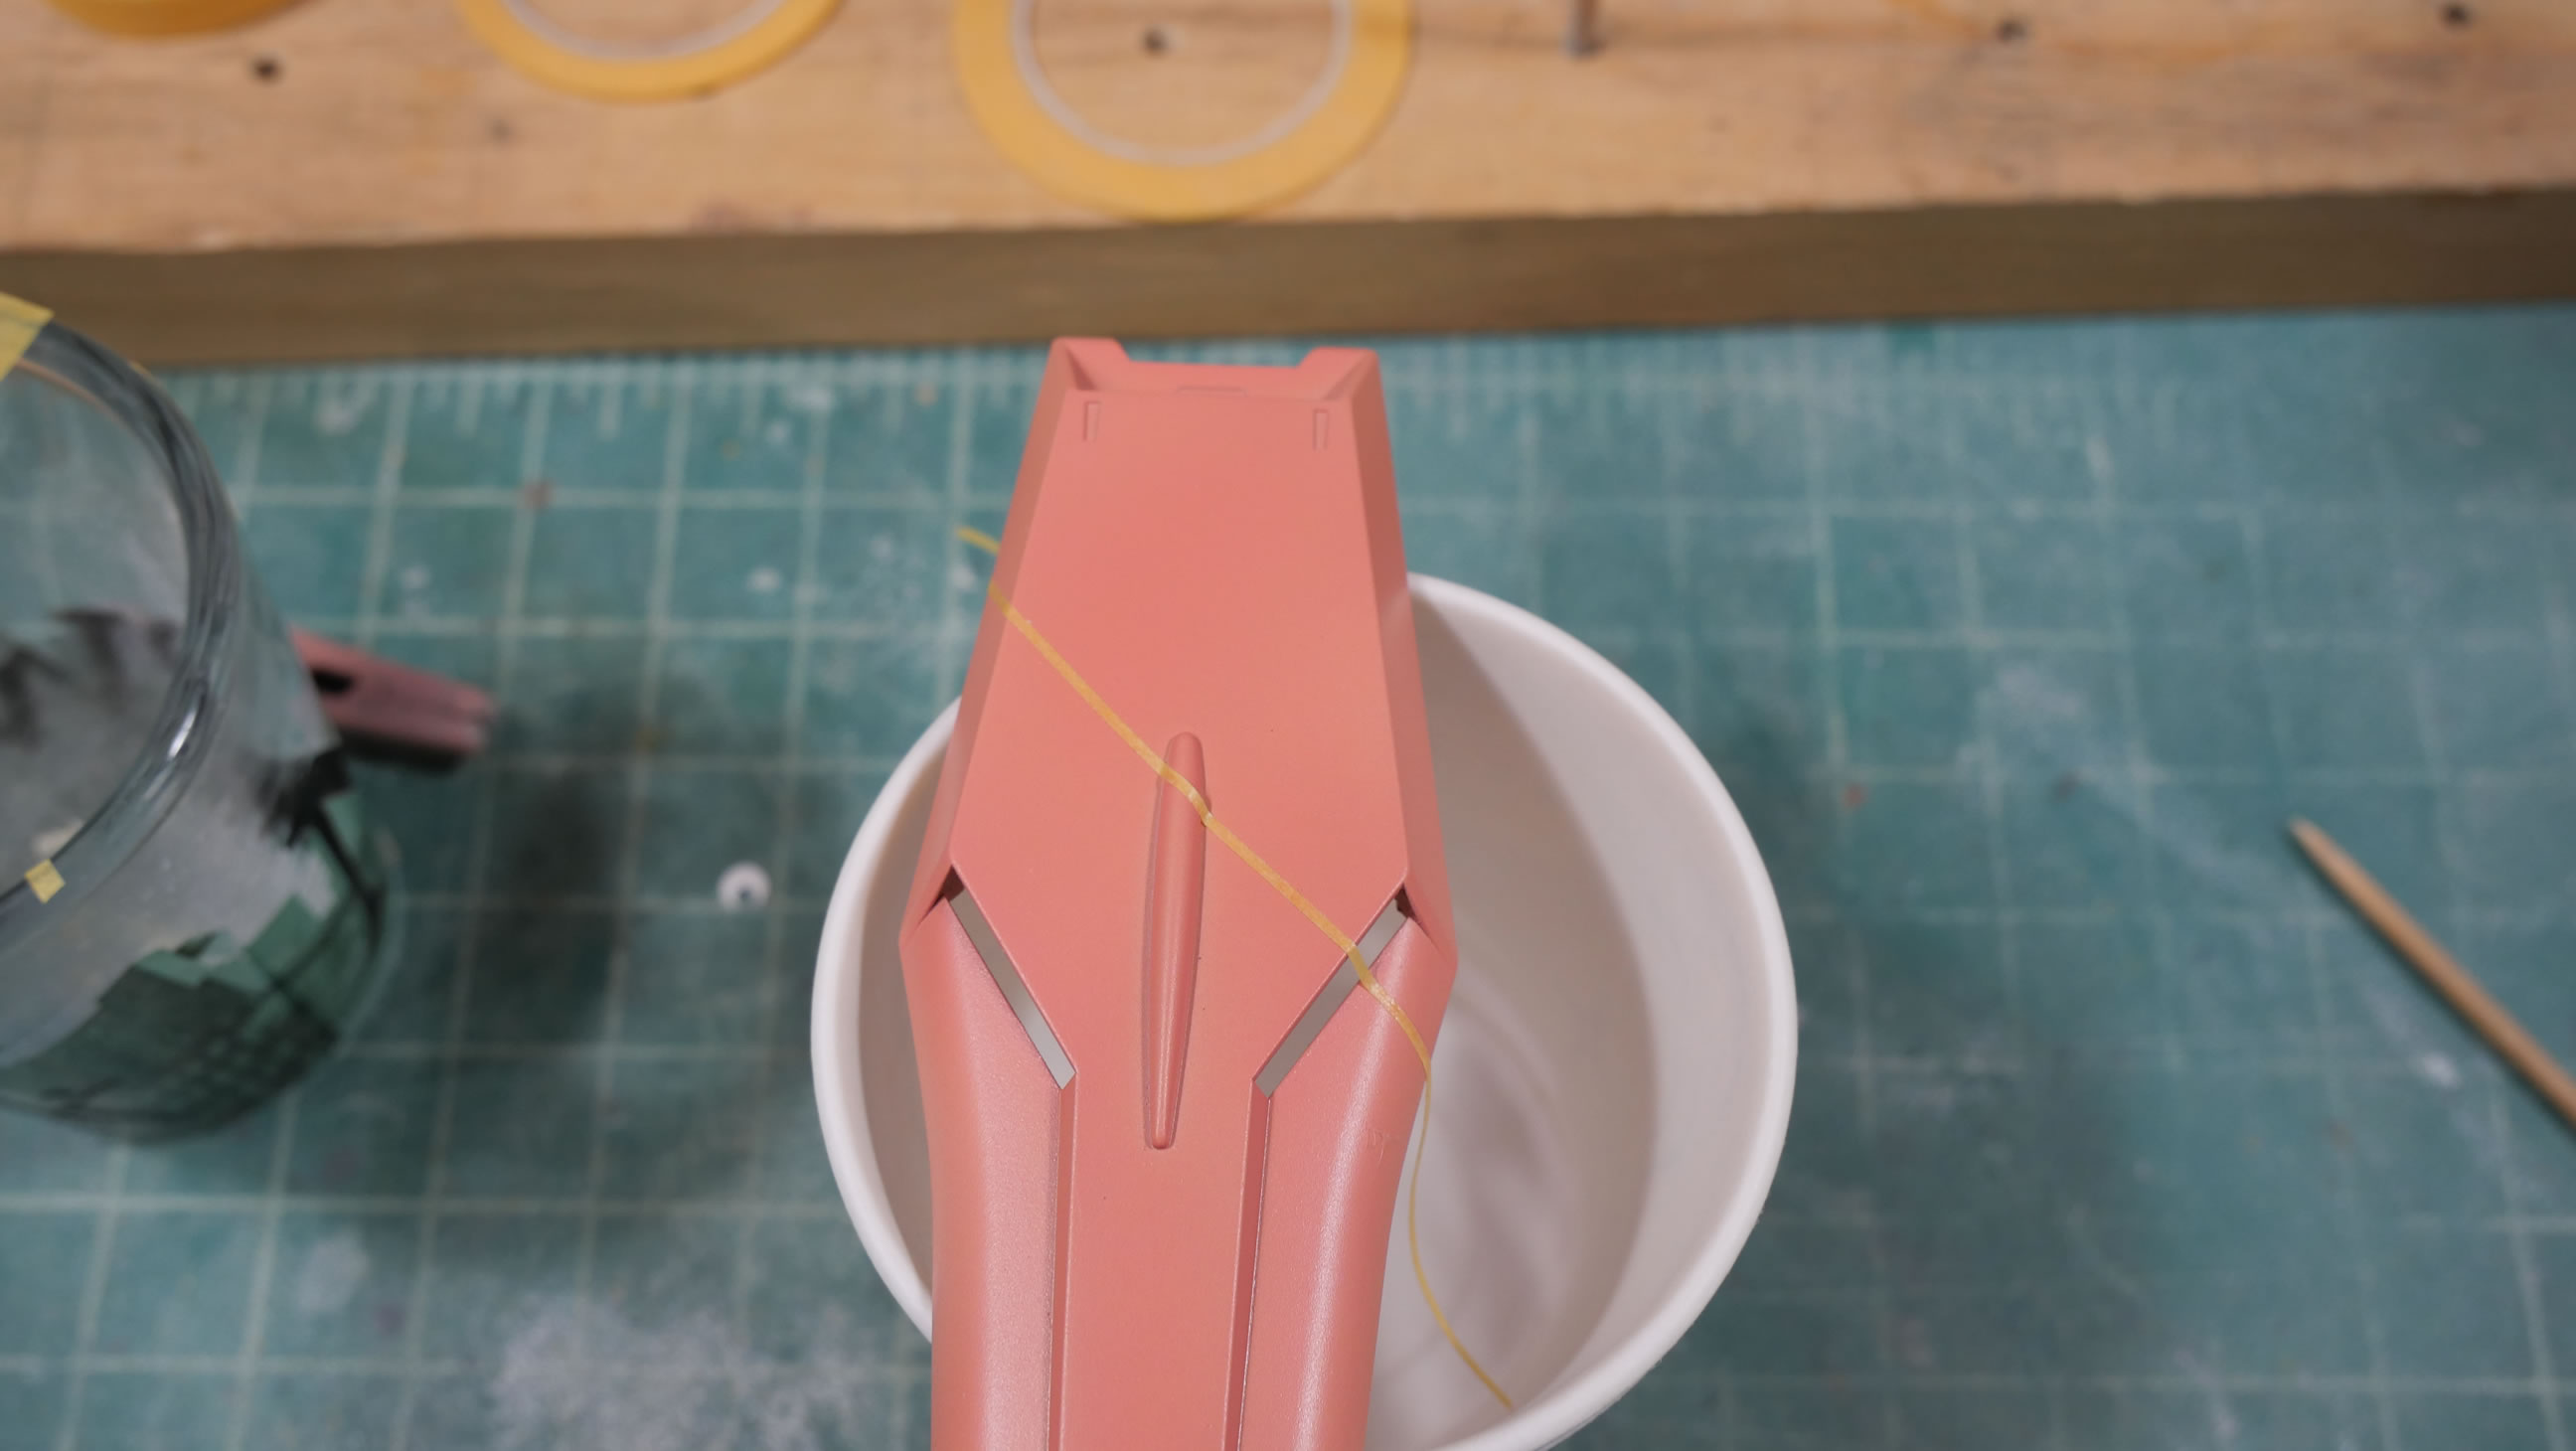
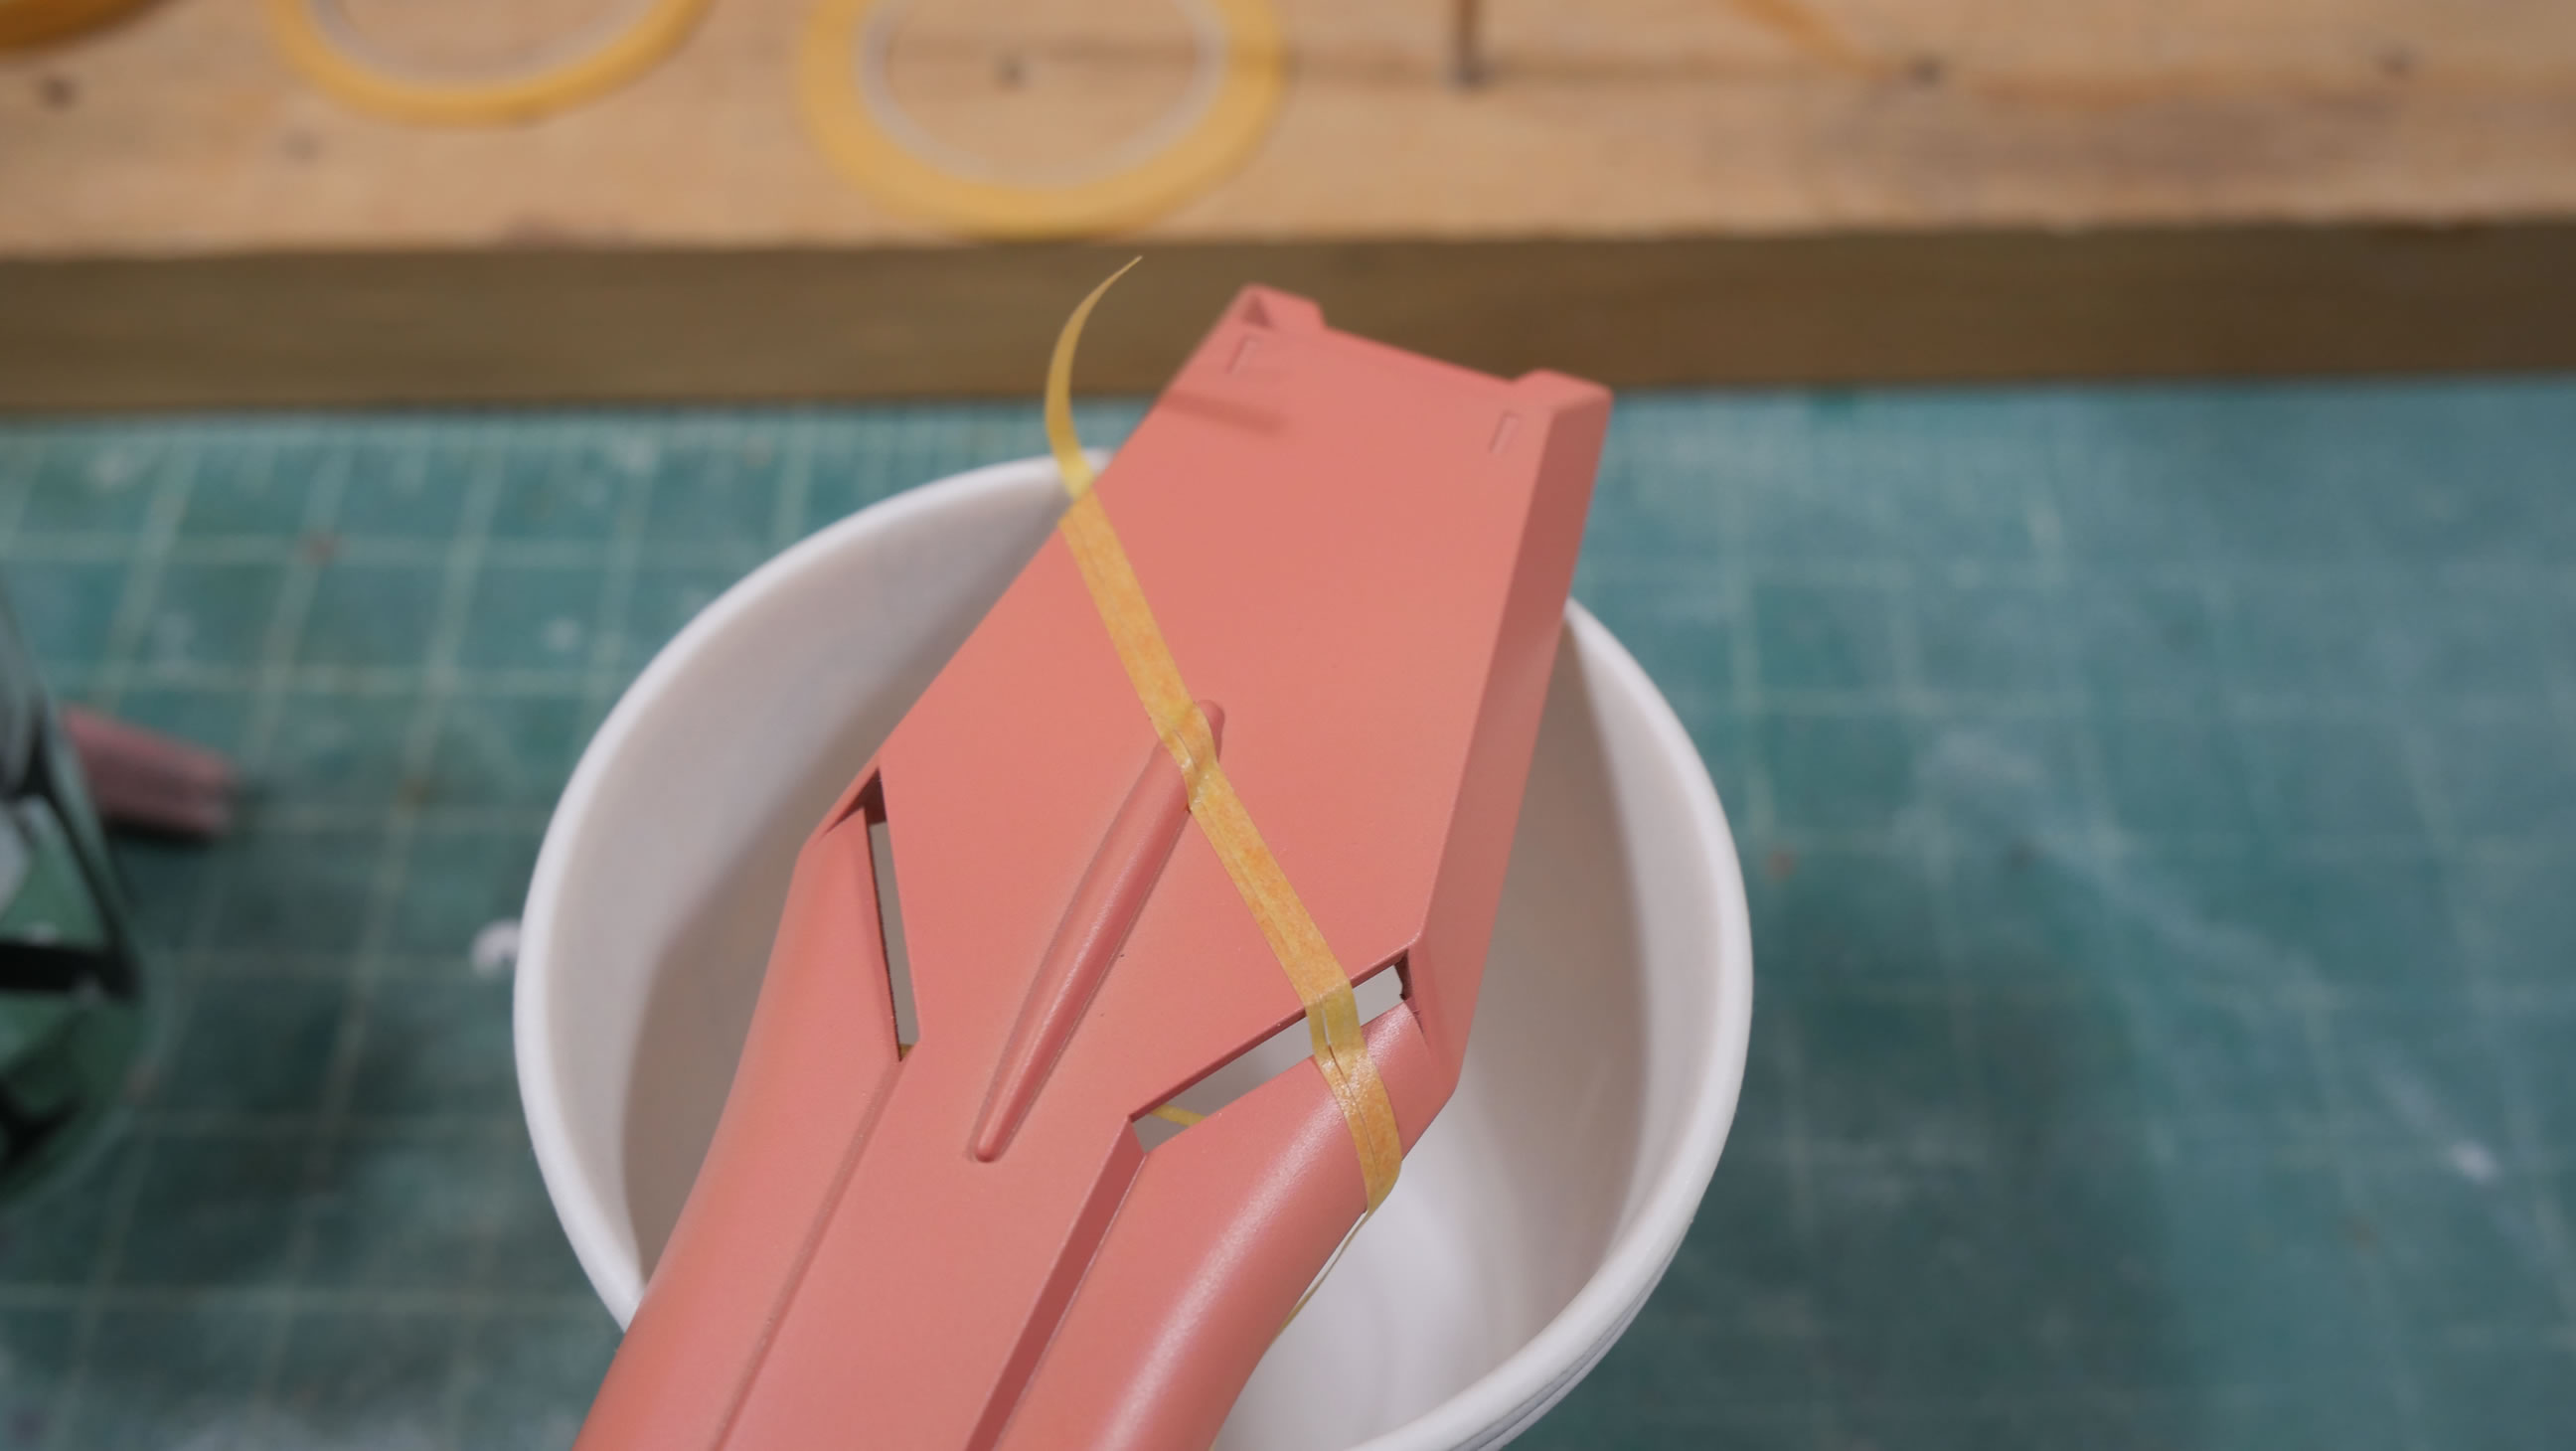
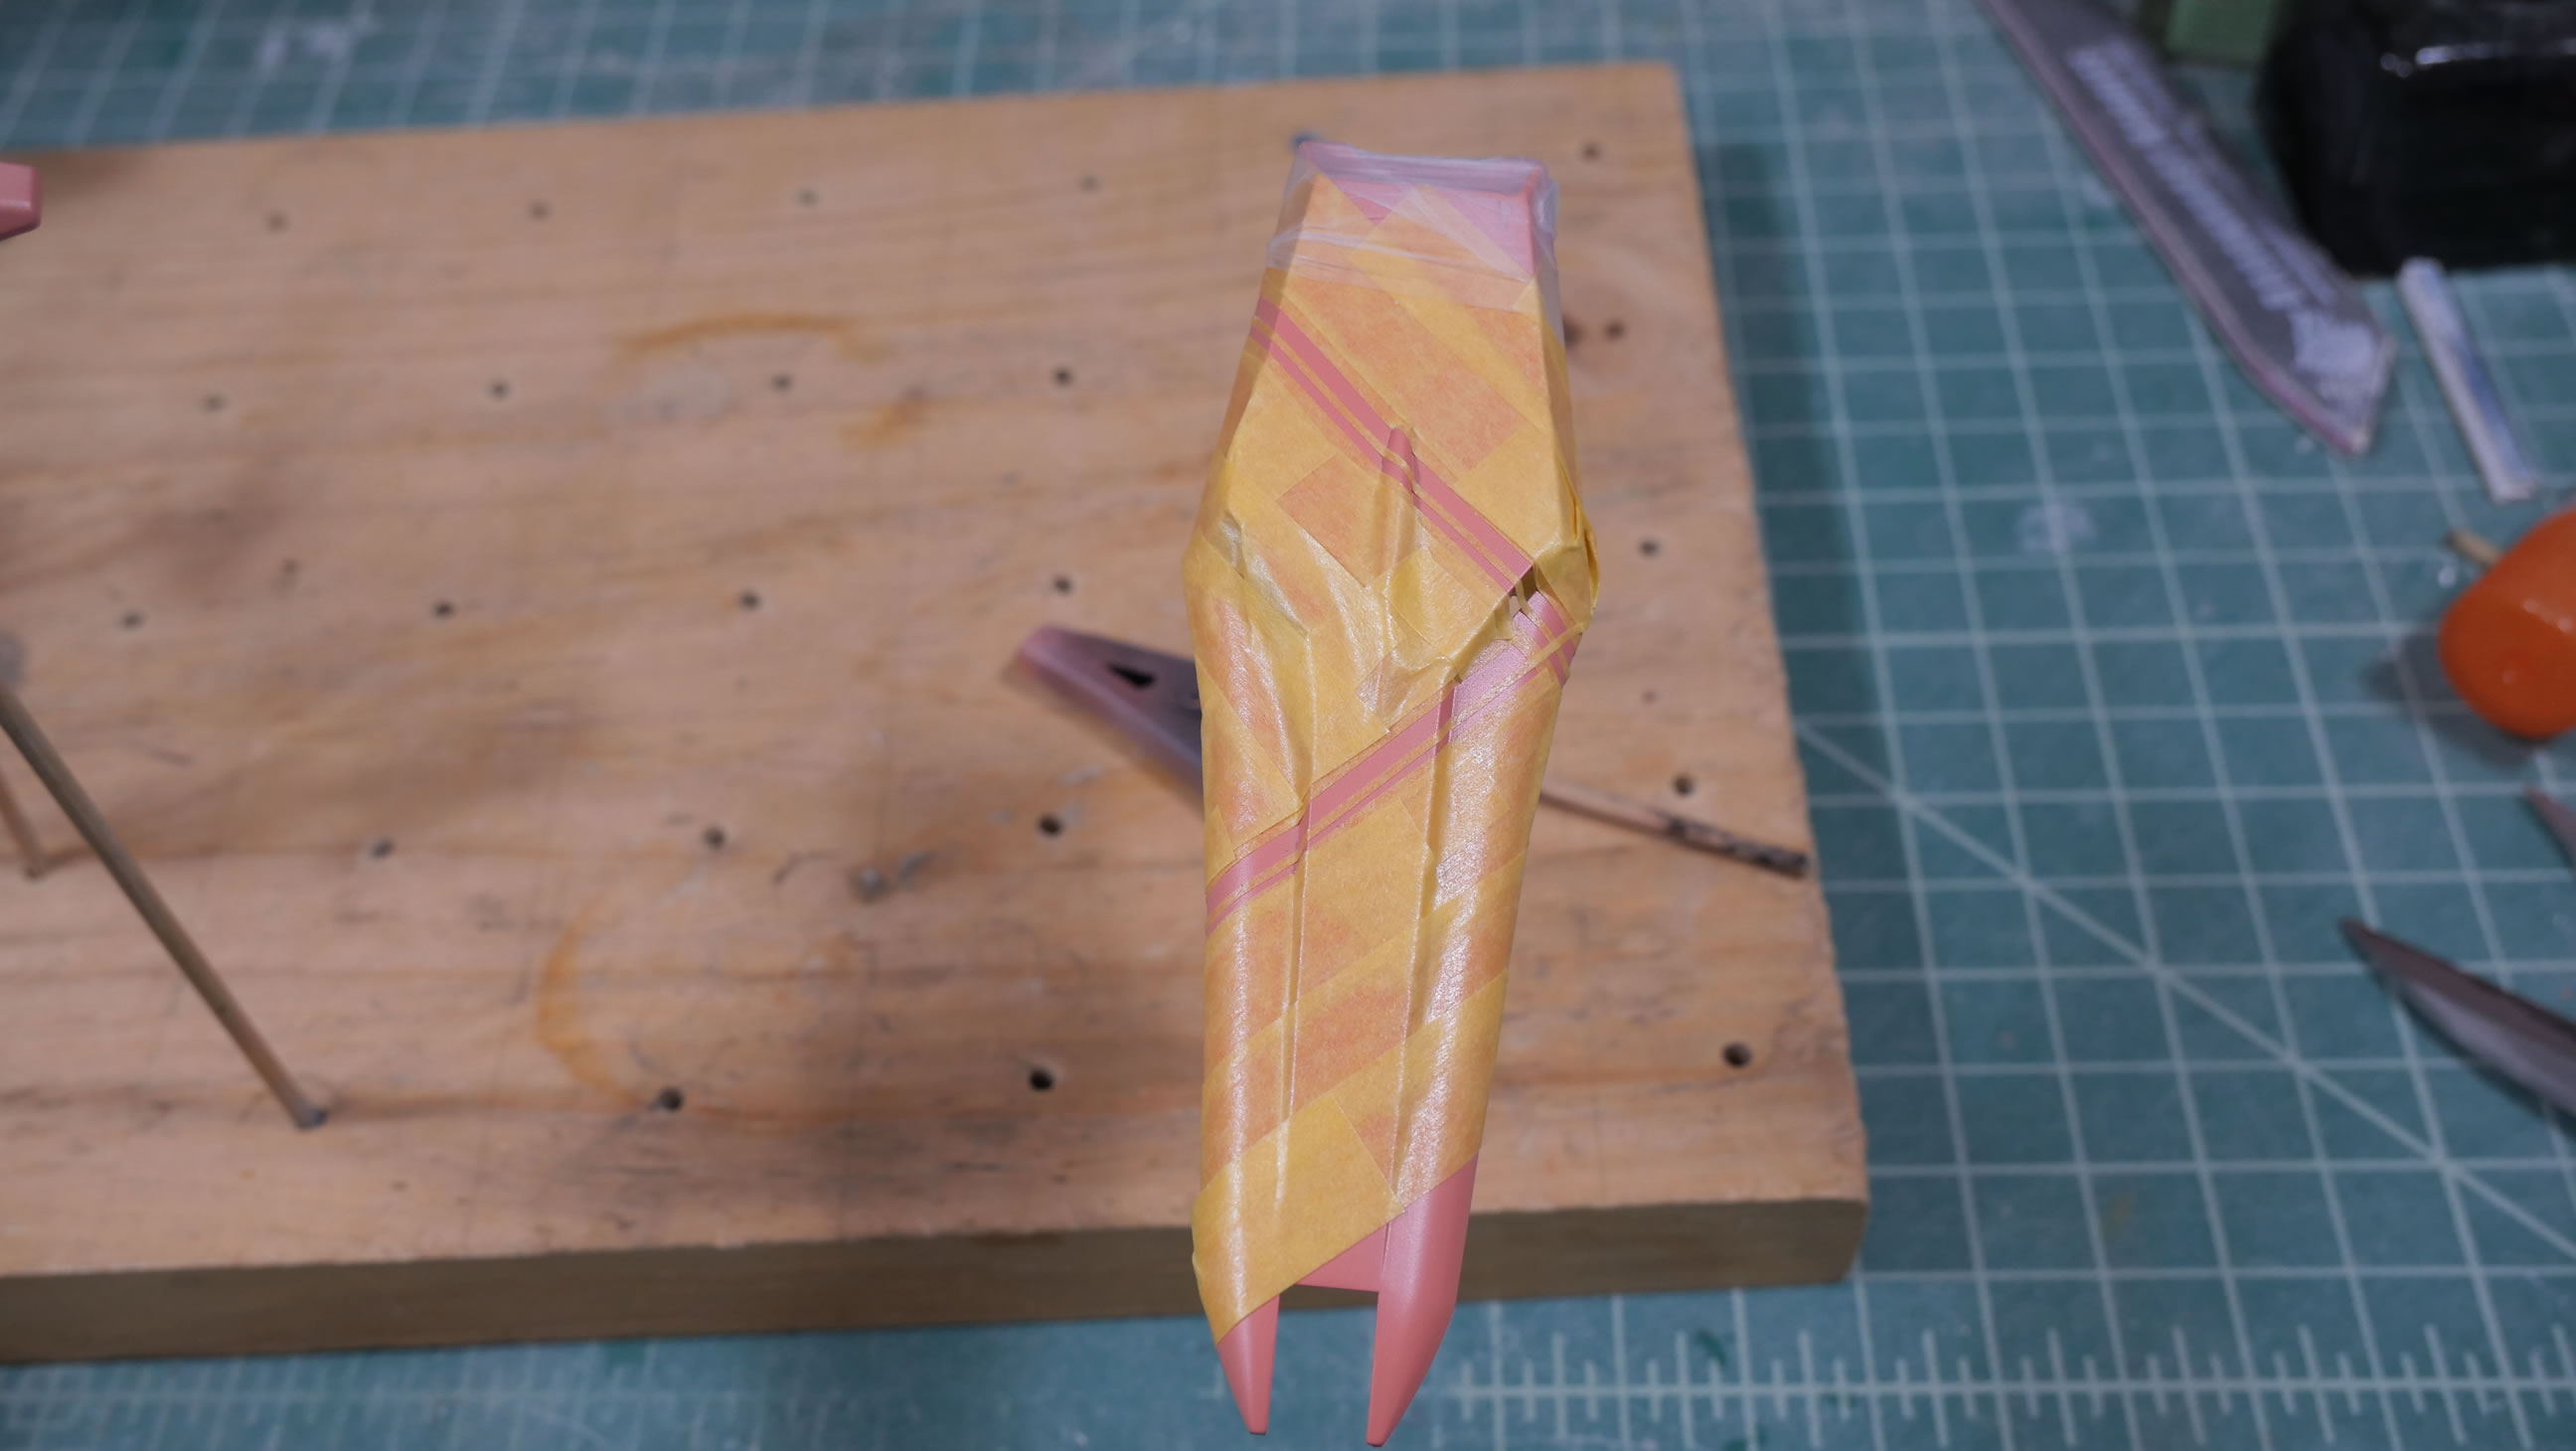
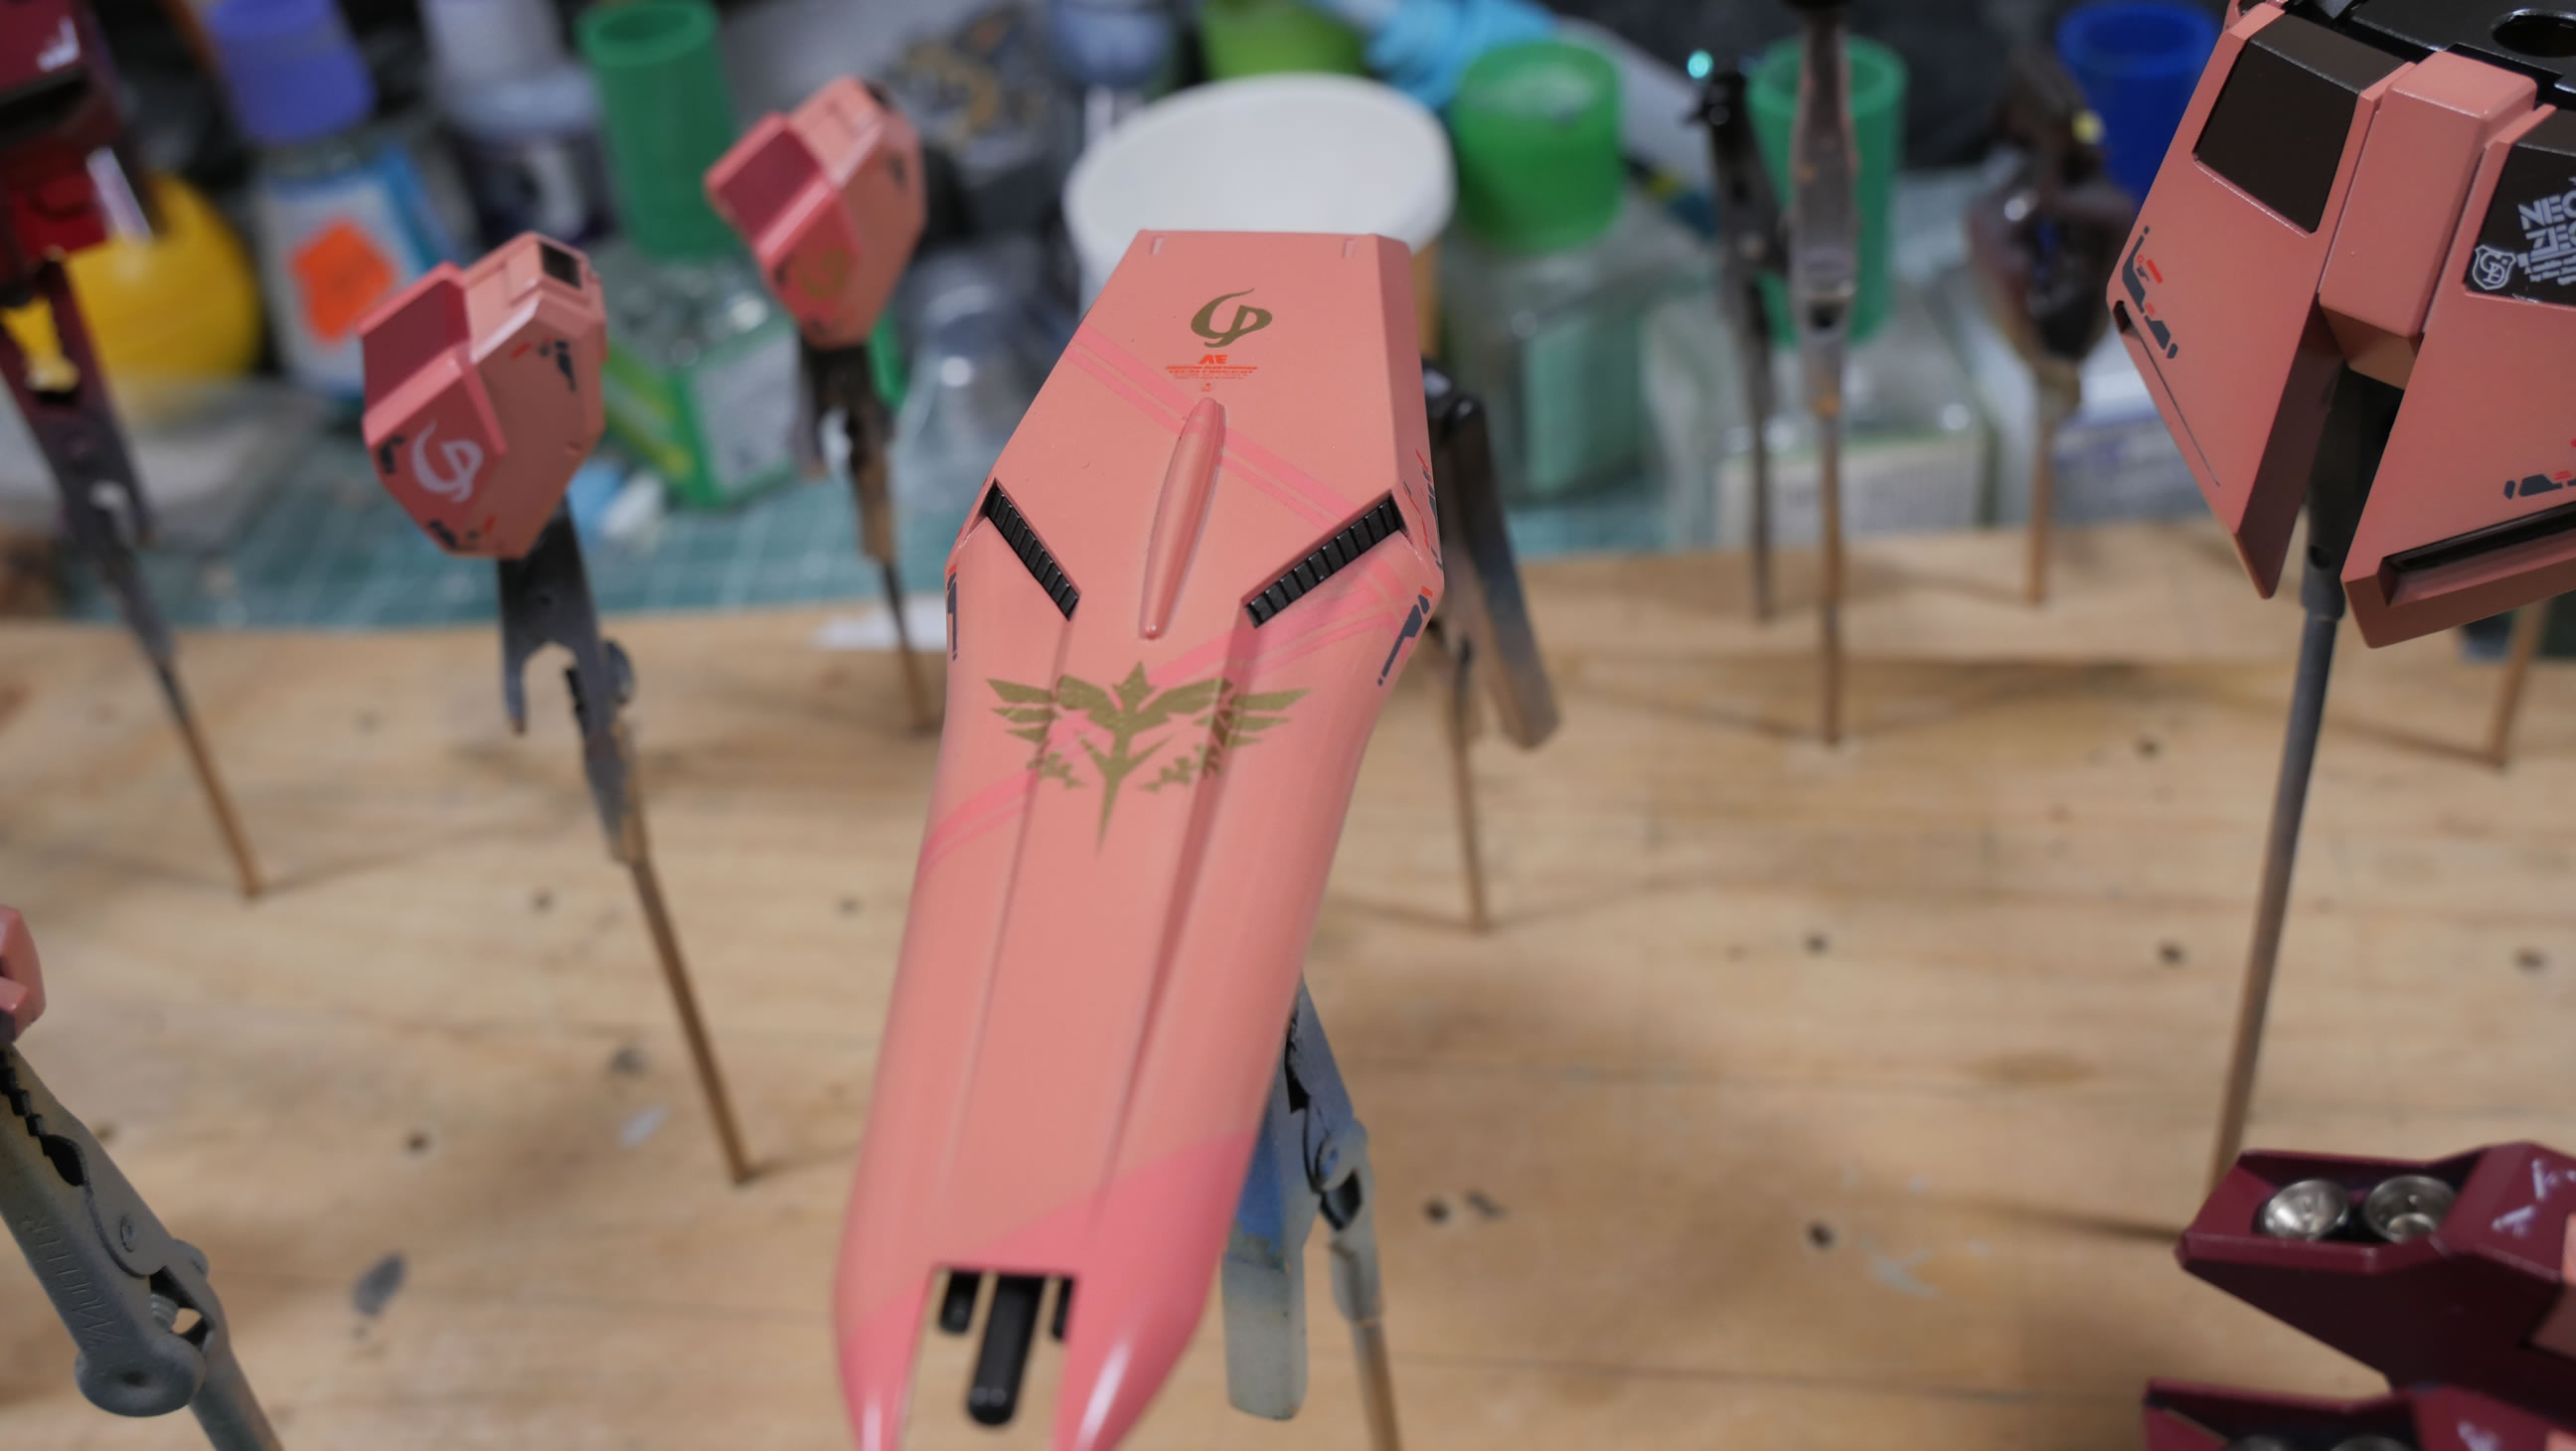
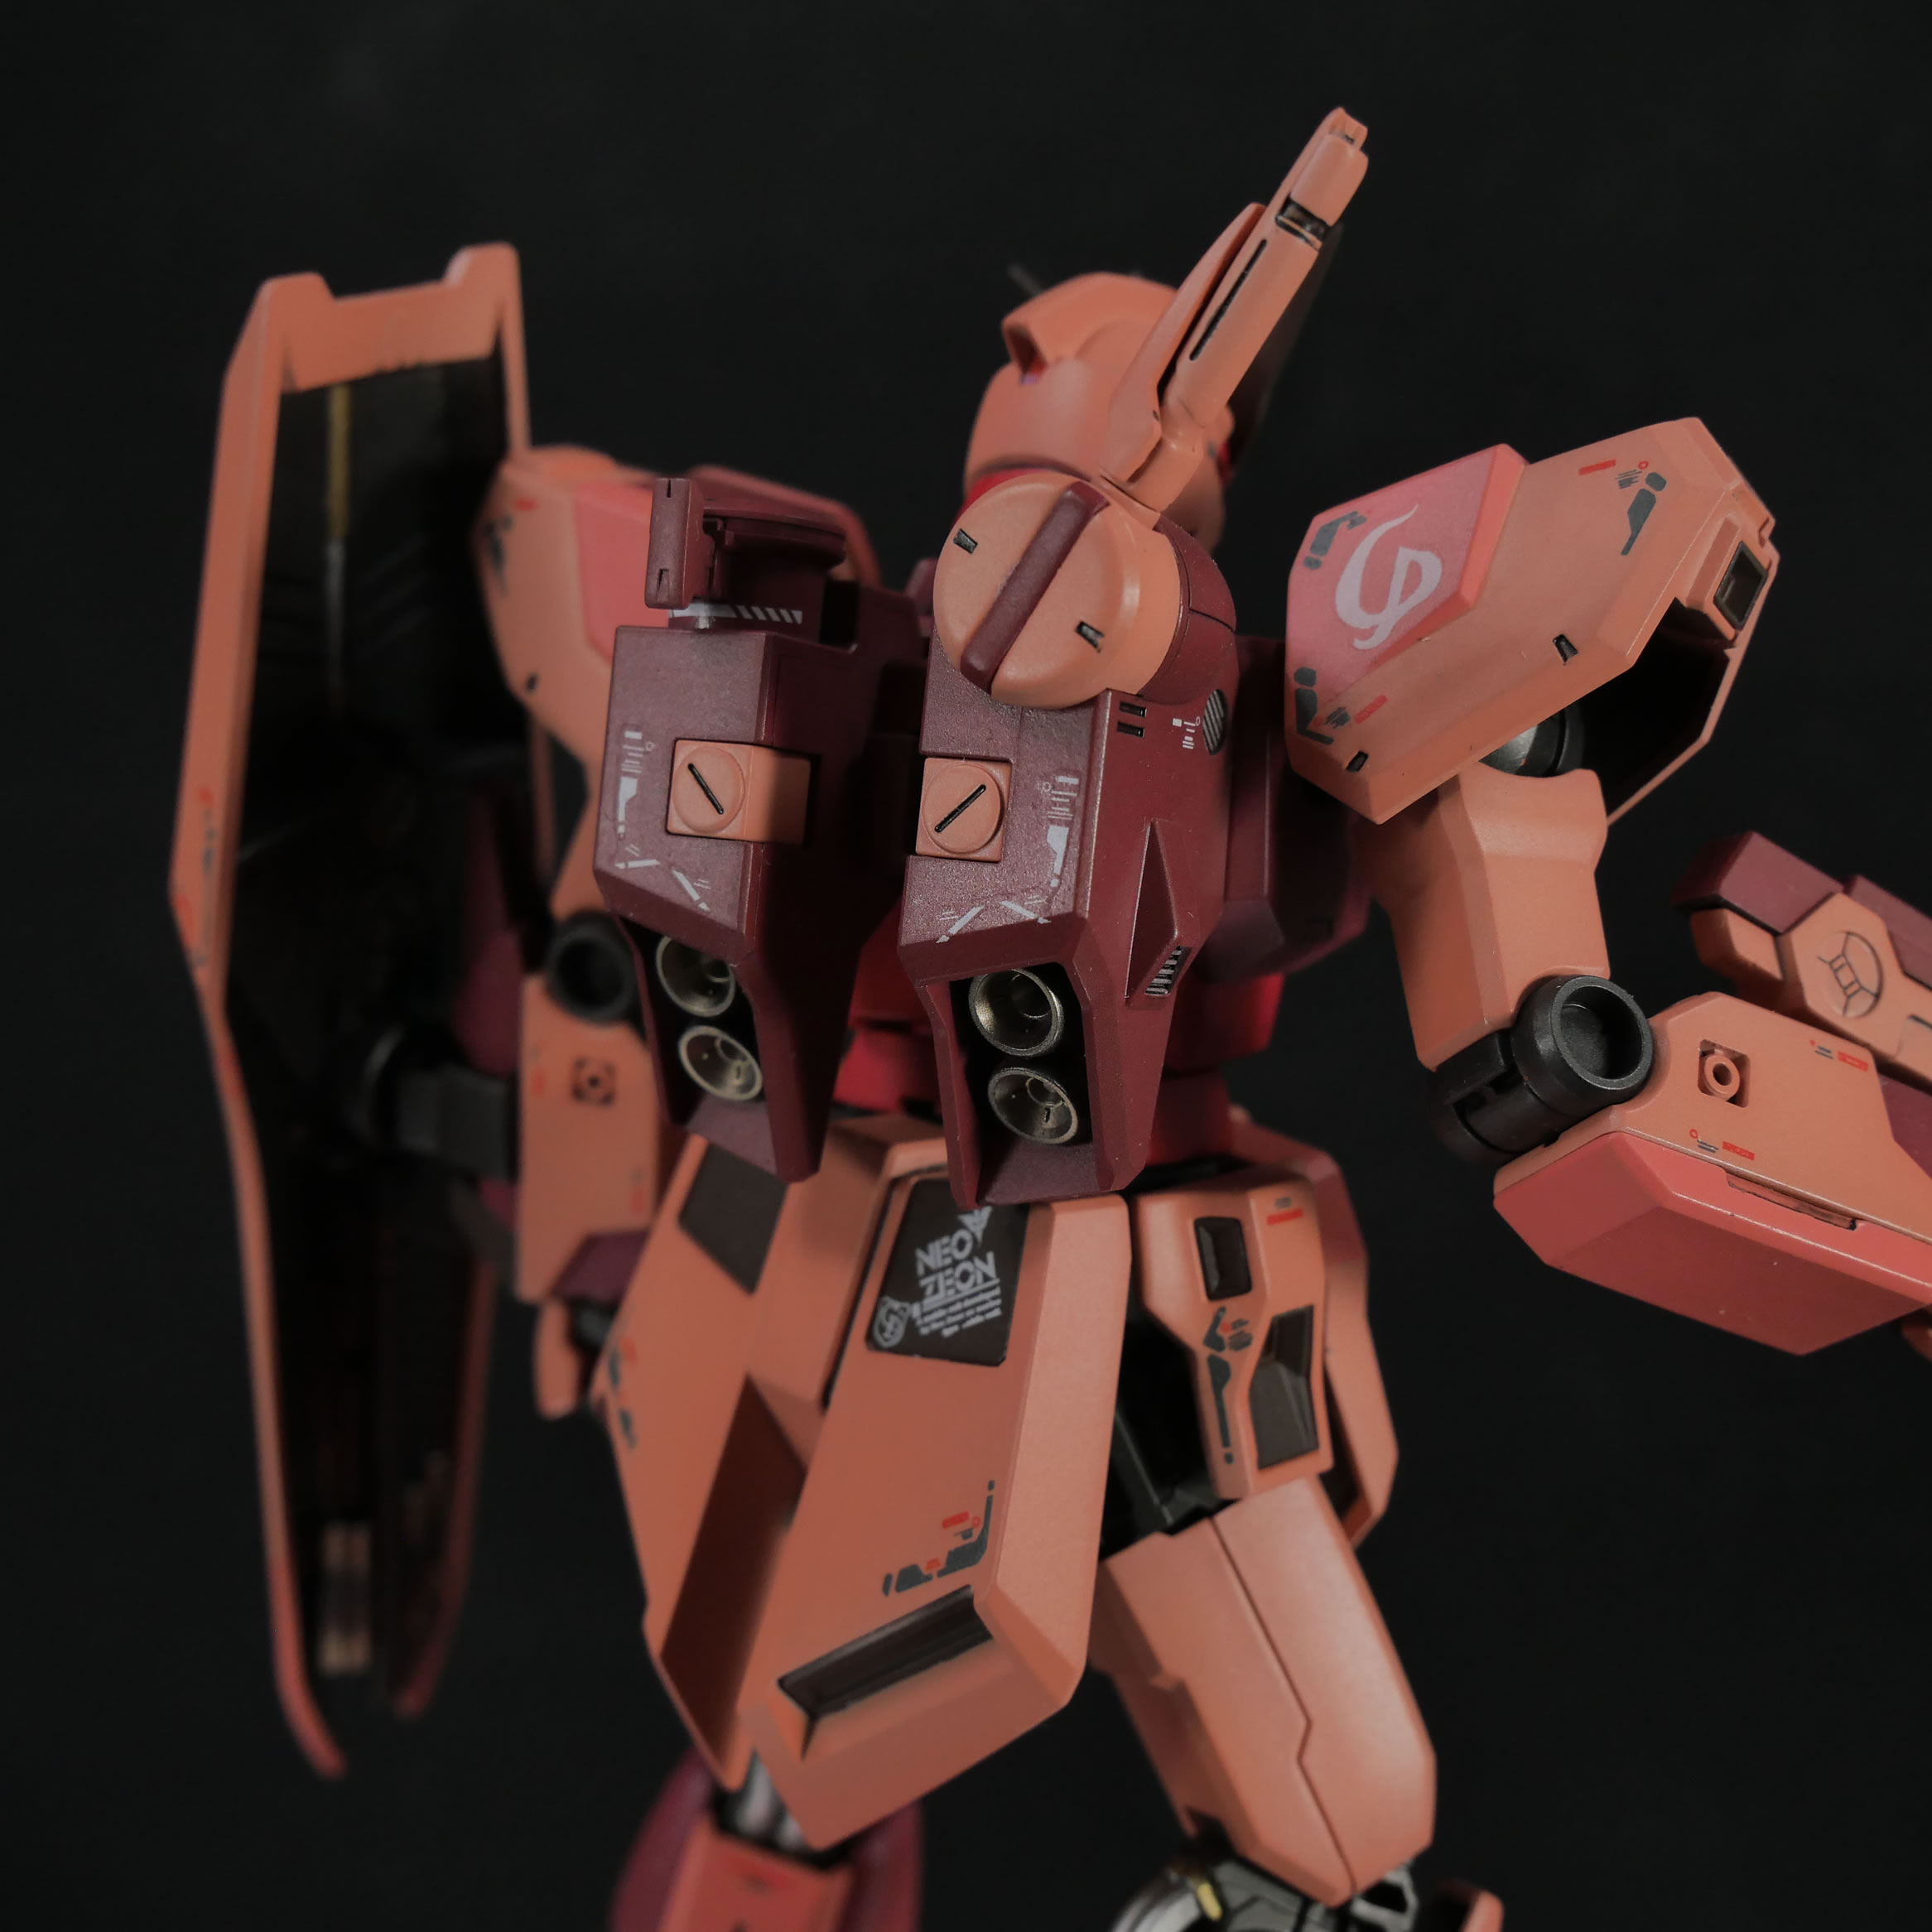
A little pin stripping detail for the shield. Lay down a guide line of tape, then build the stripes.
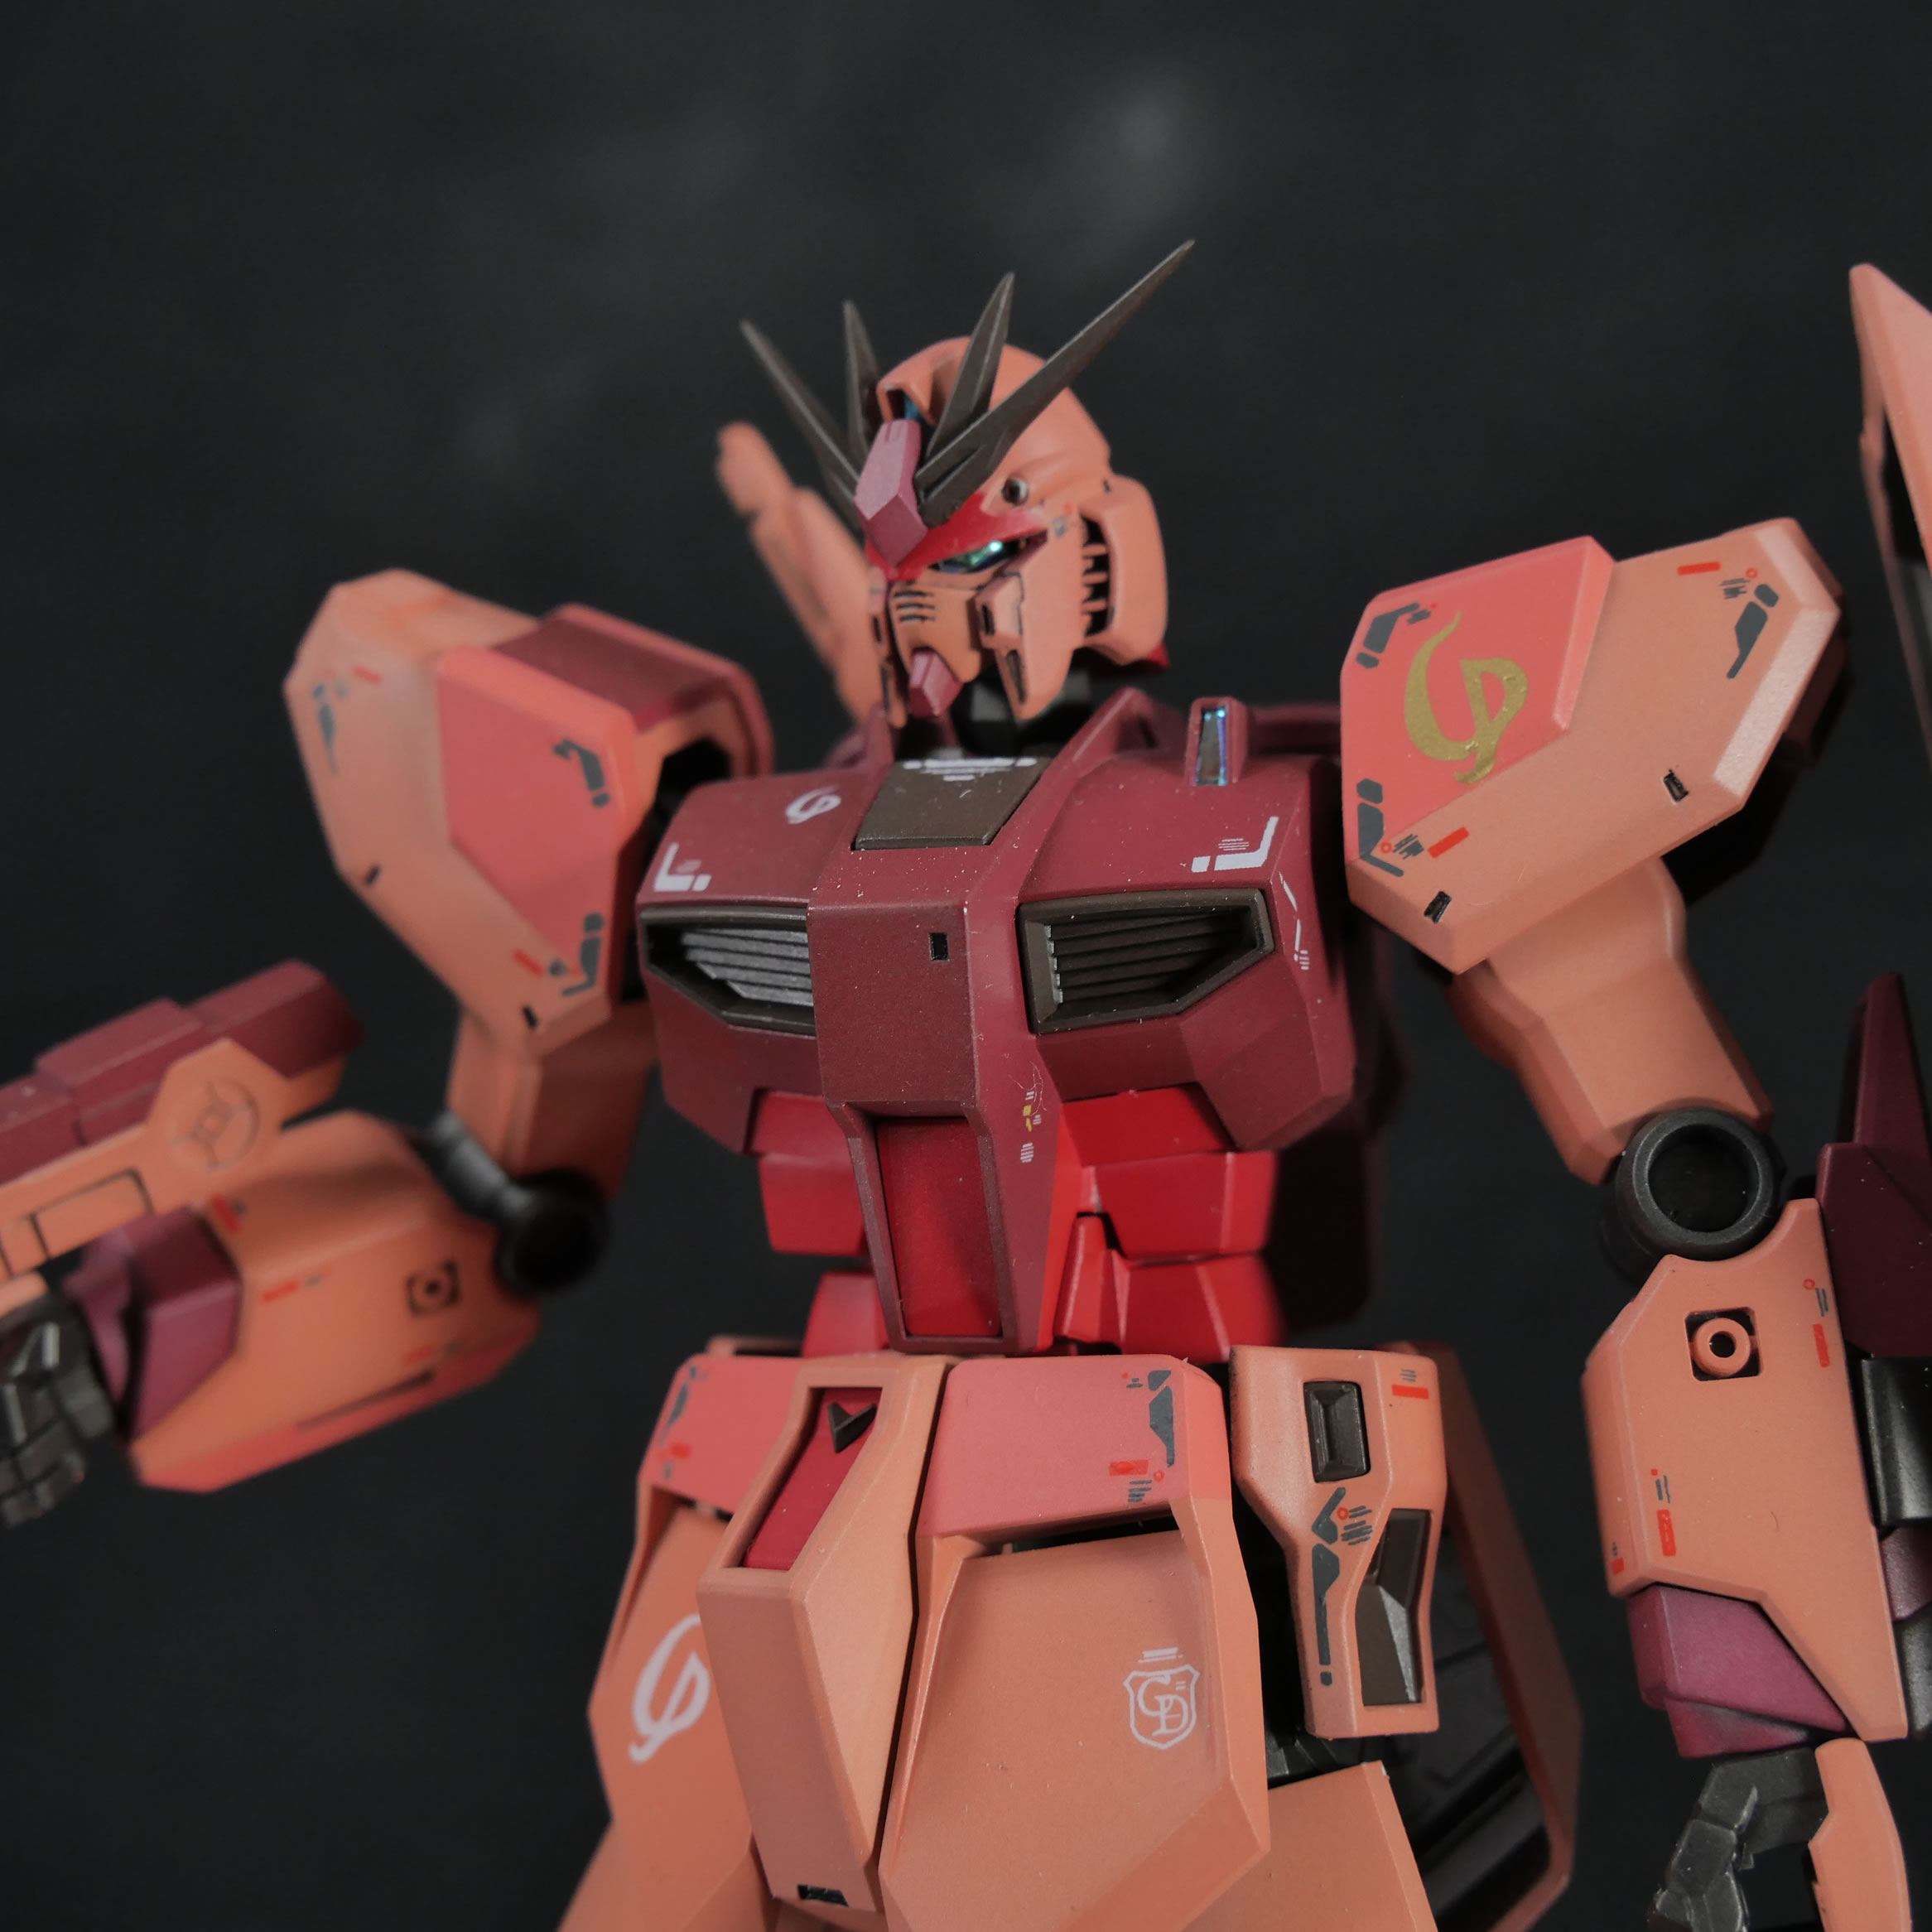
Once all the painting is done. The parts cure and then they are sprayed with a clear gloss for the decal stage.
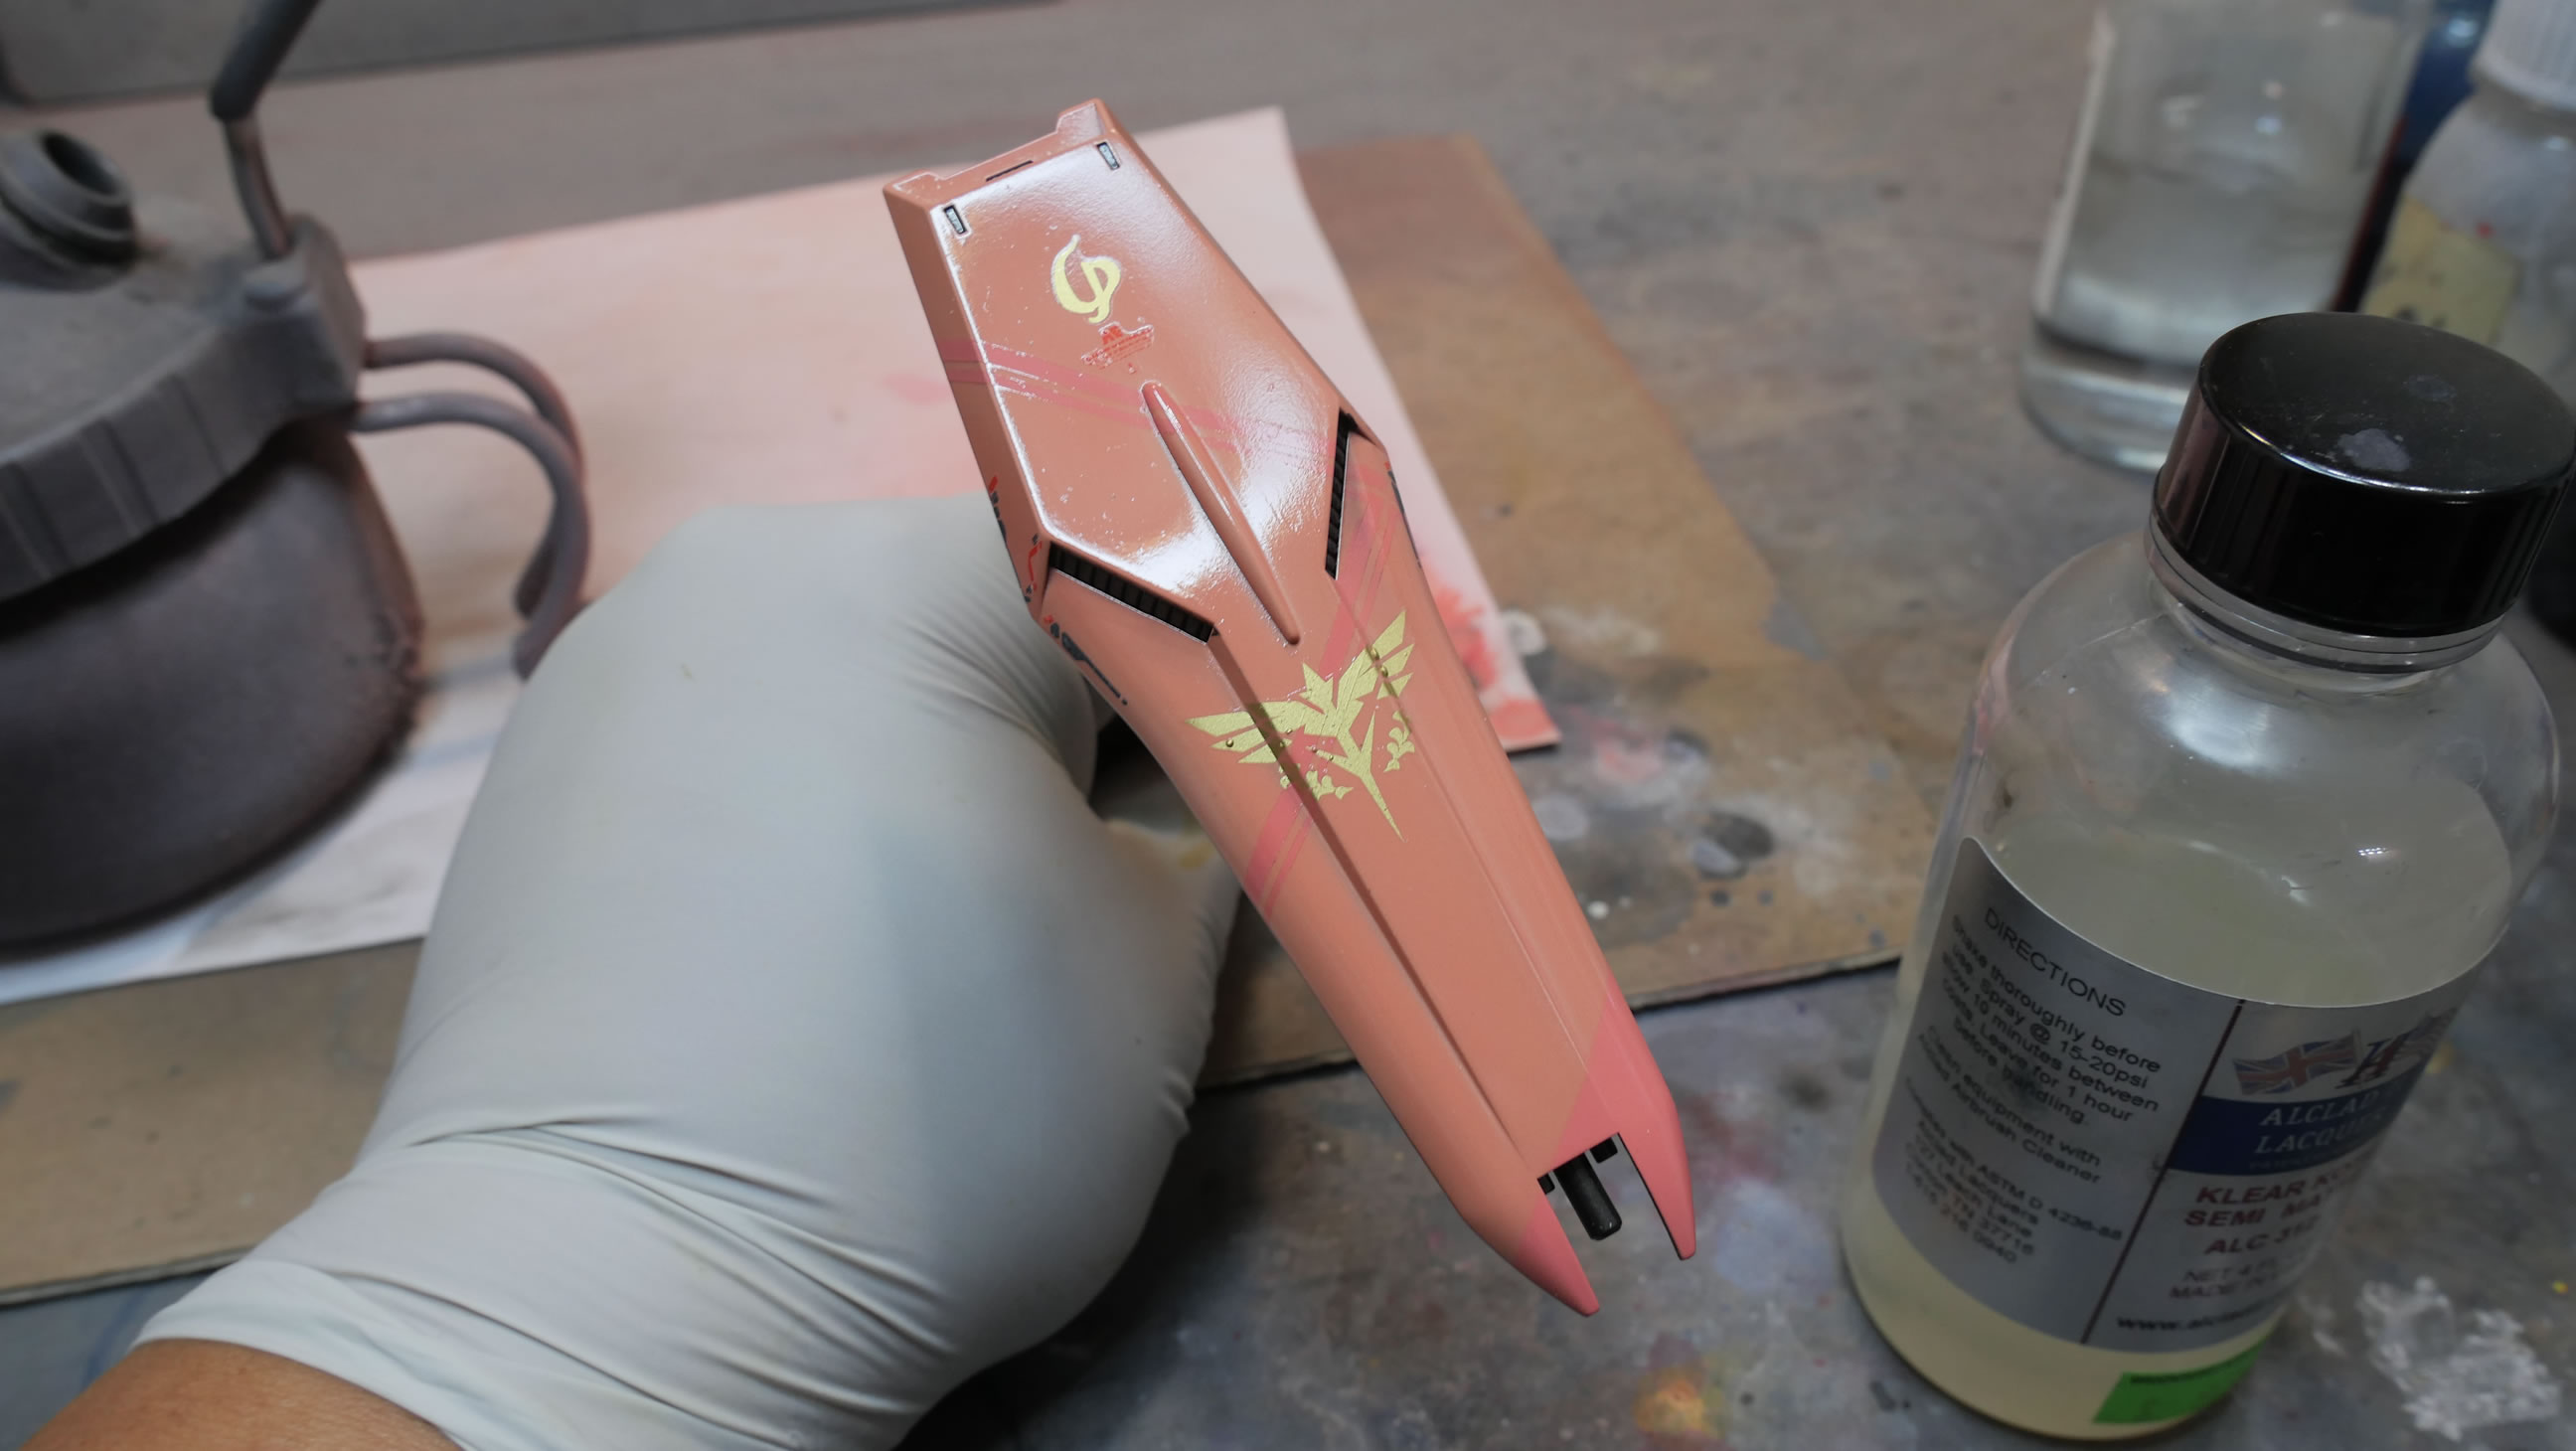
Decals. I use the RG instructions for reference as I have aftermarket RG Nu decals. I also use the aftermarket RG Sazabi decals for Char’s emblems.
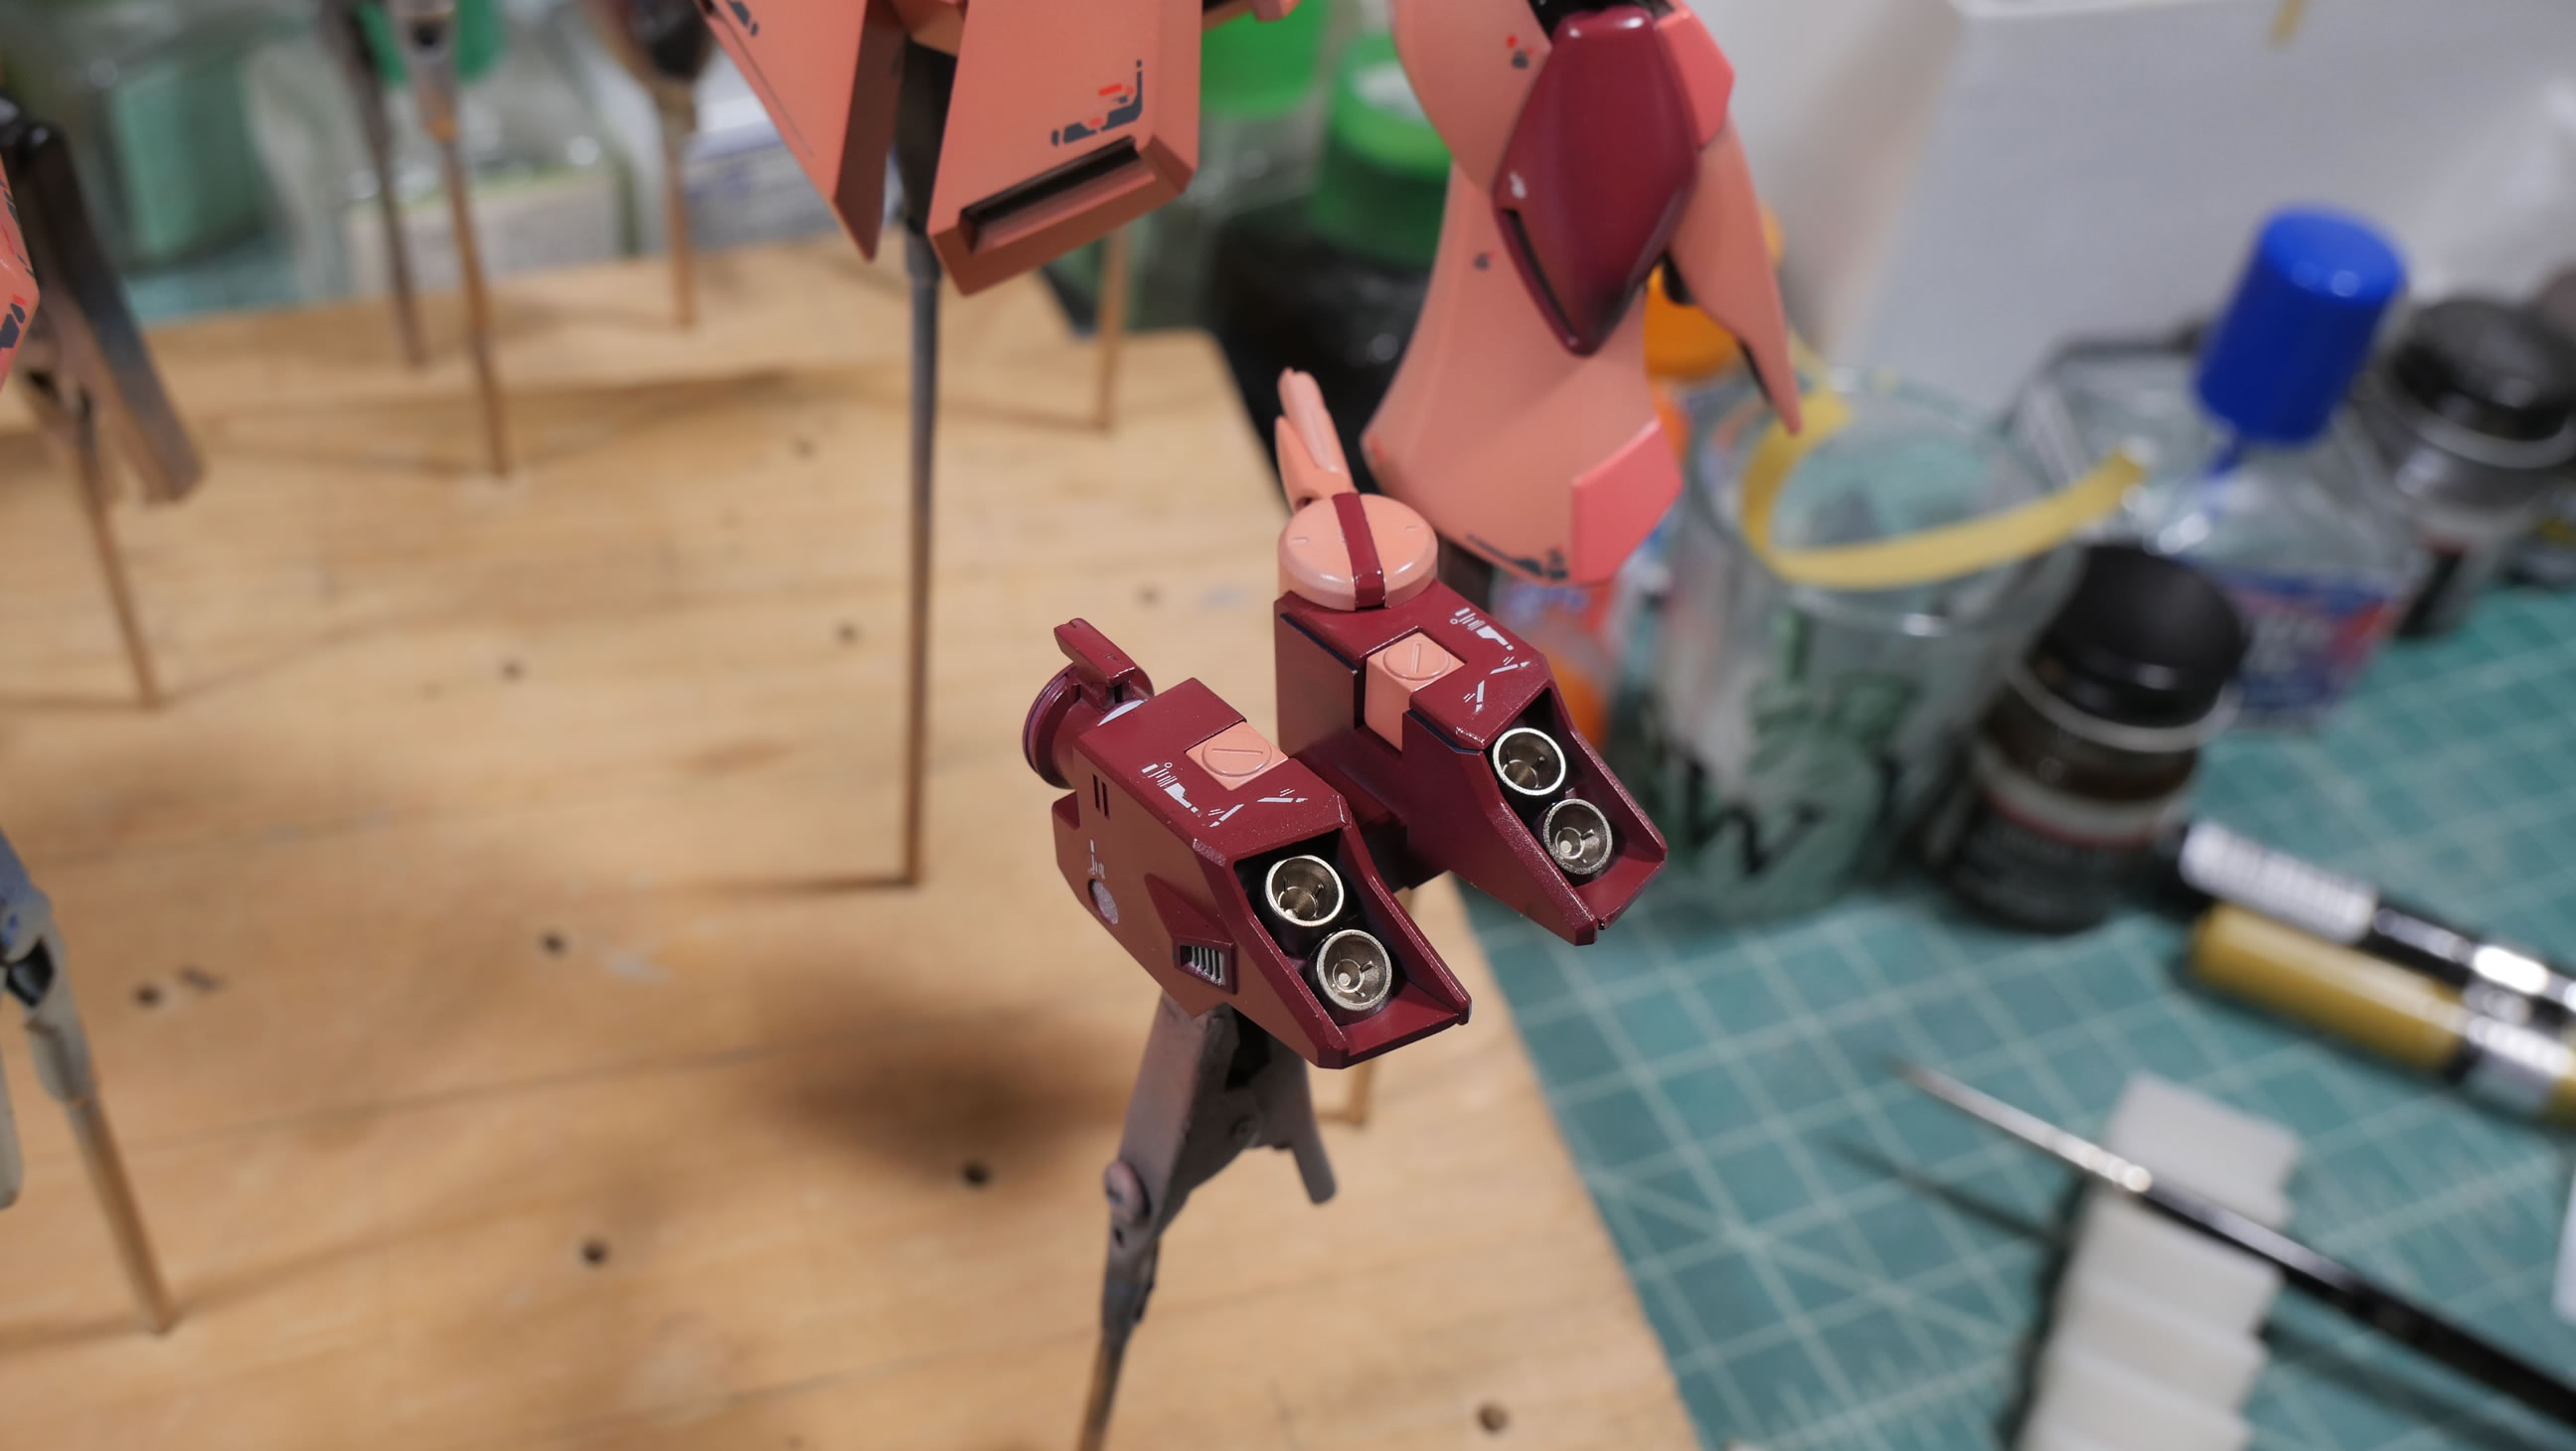
This takes about a day and a half of work to slowly apply all the decals. I could have gone more ver Ka overboard, but I think I like this amount.
Gloss coat over the dried decals to help seal in everything. This also preps the surface for the panel line wash stage.
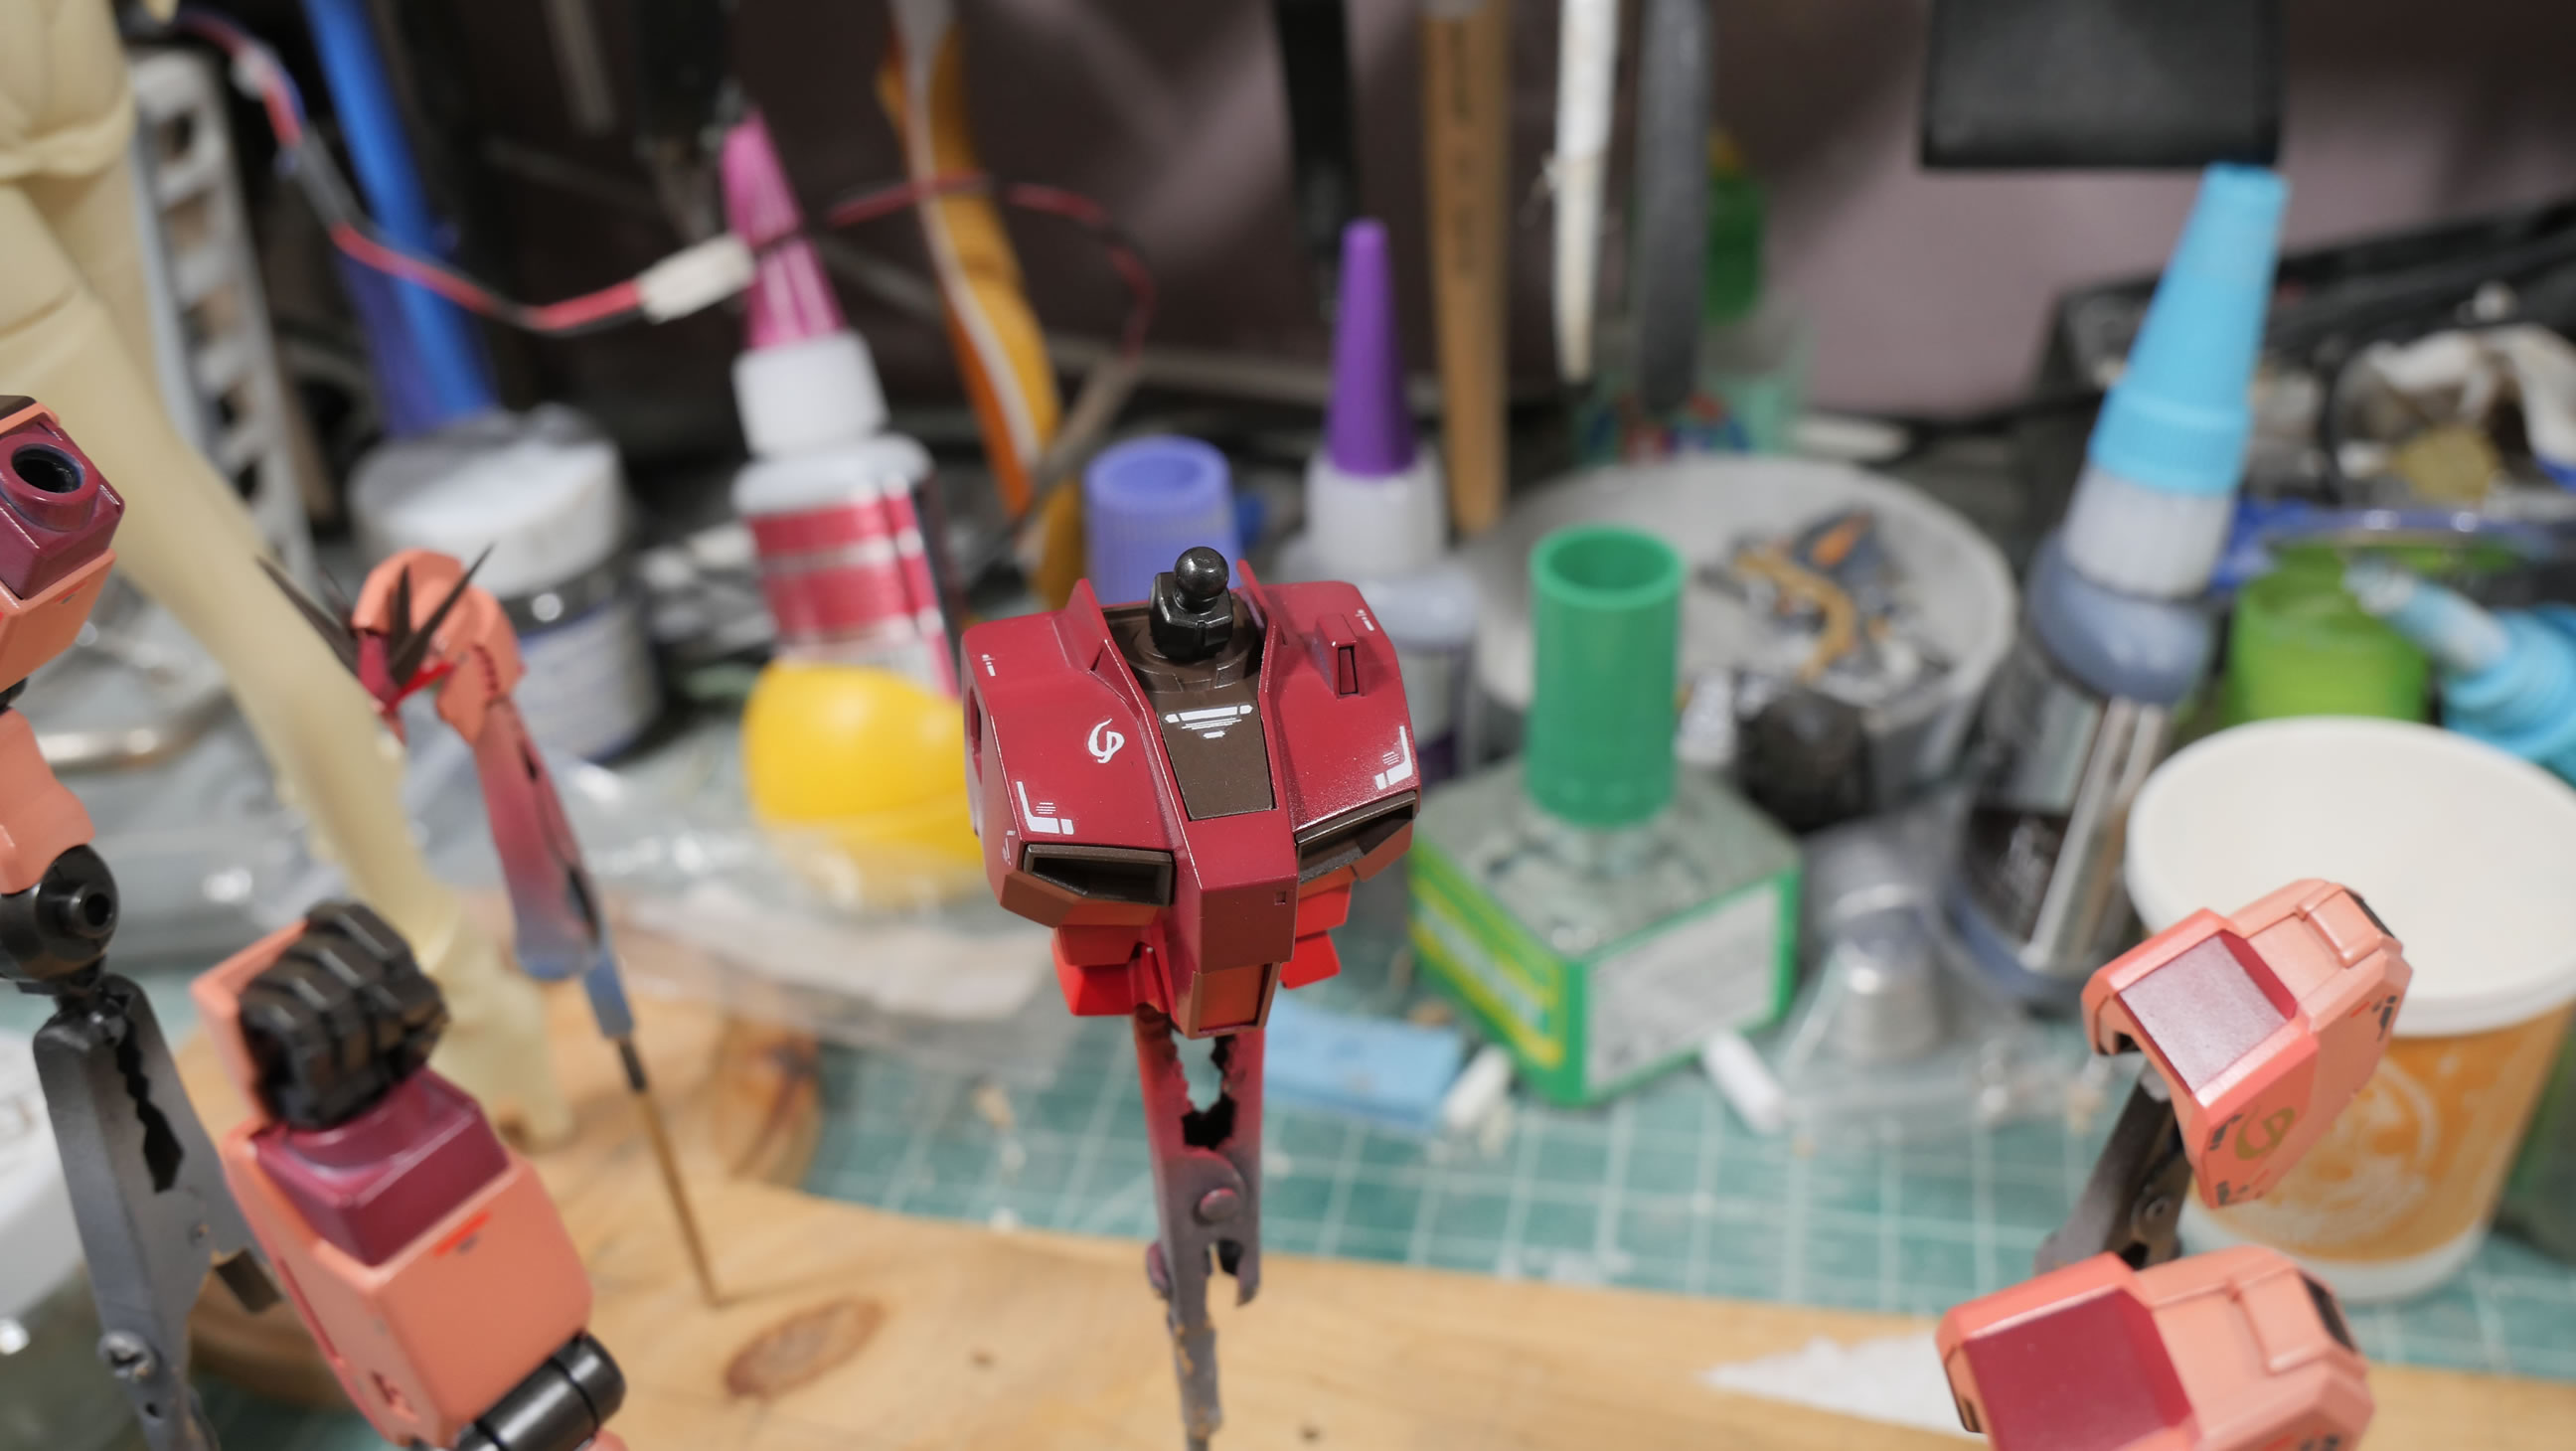
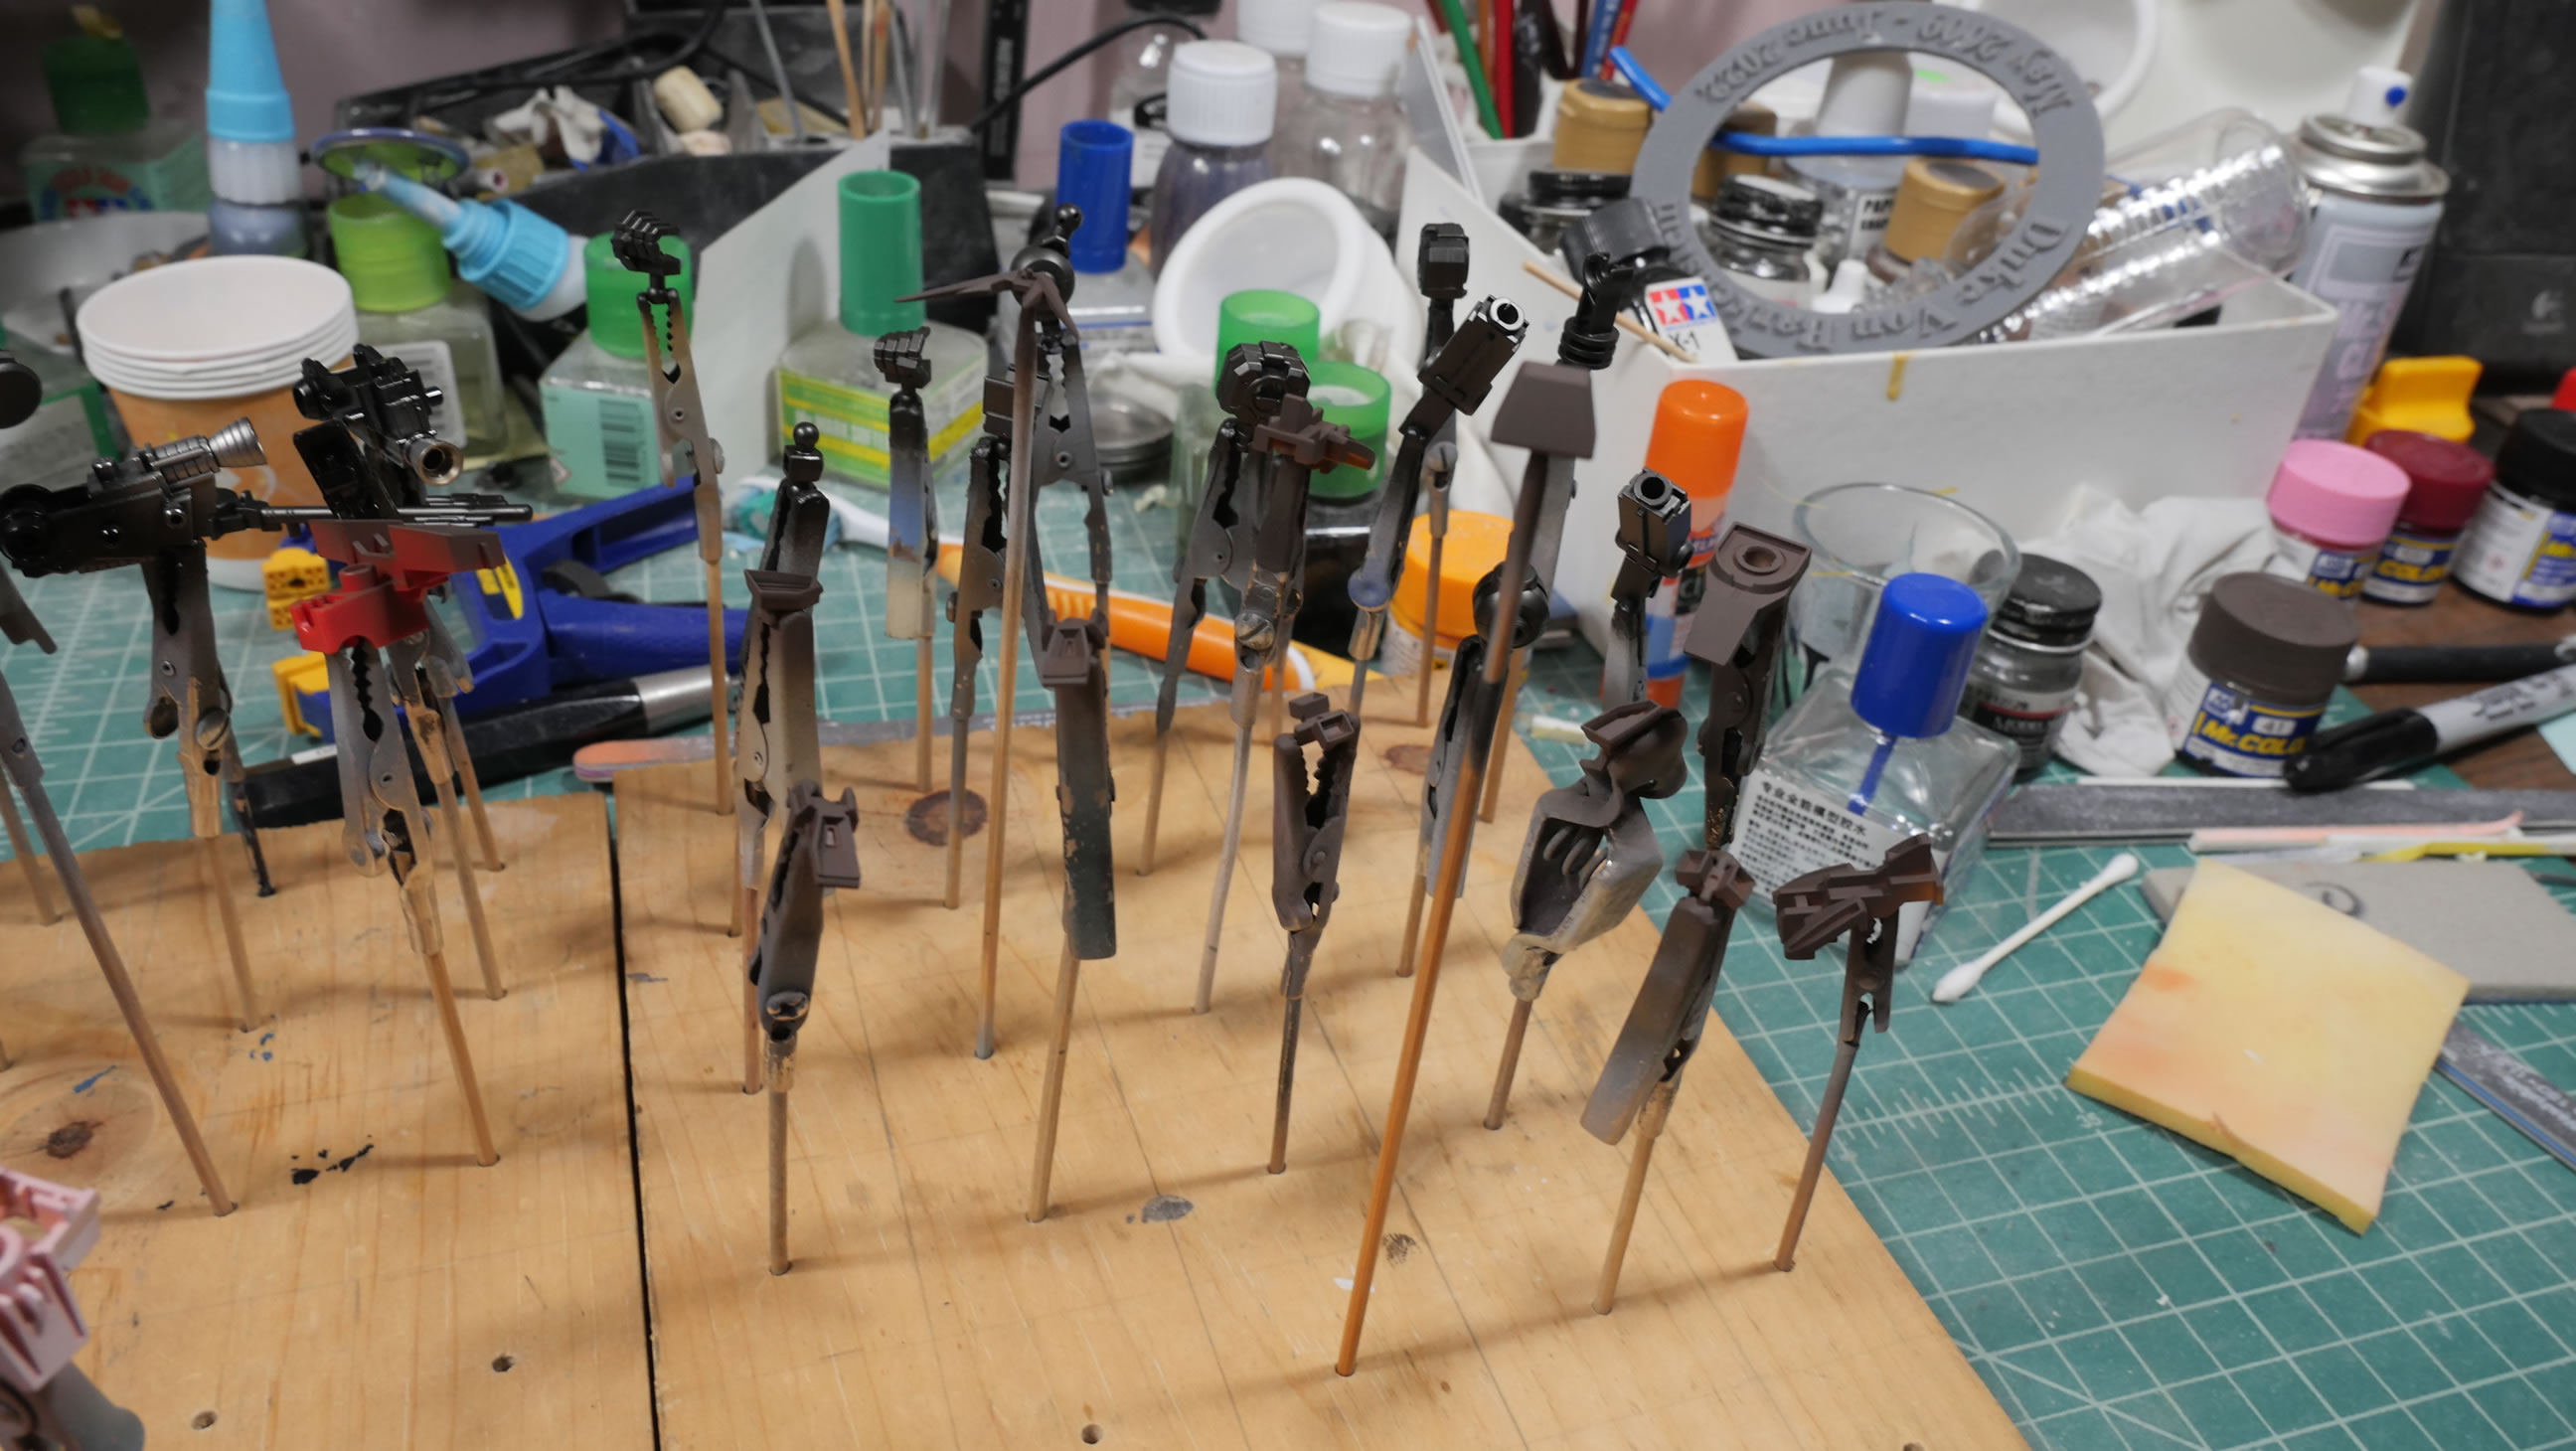
Panel line wash to add lining details to the kit. Depth and more pop is achieved. I am using enamel paints (oils) over the solvent based acrylic paints. Since they don’t mix, I can be messy.
A little messy and let the wash dry for several hours and then clean up with some q-tips soaked with some rosonol lighter fluid.
Another session of letting the parts cure after the wash clean up session, I can get to the second to last part of the project, the finish coat. Personal preference. For this, I used alclad’s semi matt, it is similar to a semi gloss. It’s not completely flat, but not shiny at all. Below is a before and after.

During the last step of assembly, I found more mistakes. Earlier in the build, I had some overspray but thought it wouldn’t be visible. (kinda like the mold line on the back leg thrusters, I thought they would be visible, but they were not) So since the shoulders are visible in the inner area, I masked it off and carefully repainted and reapplied the clear semi matte.
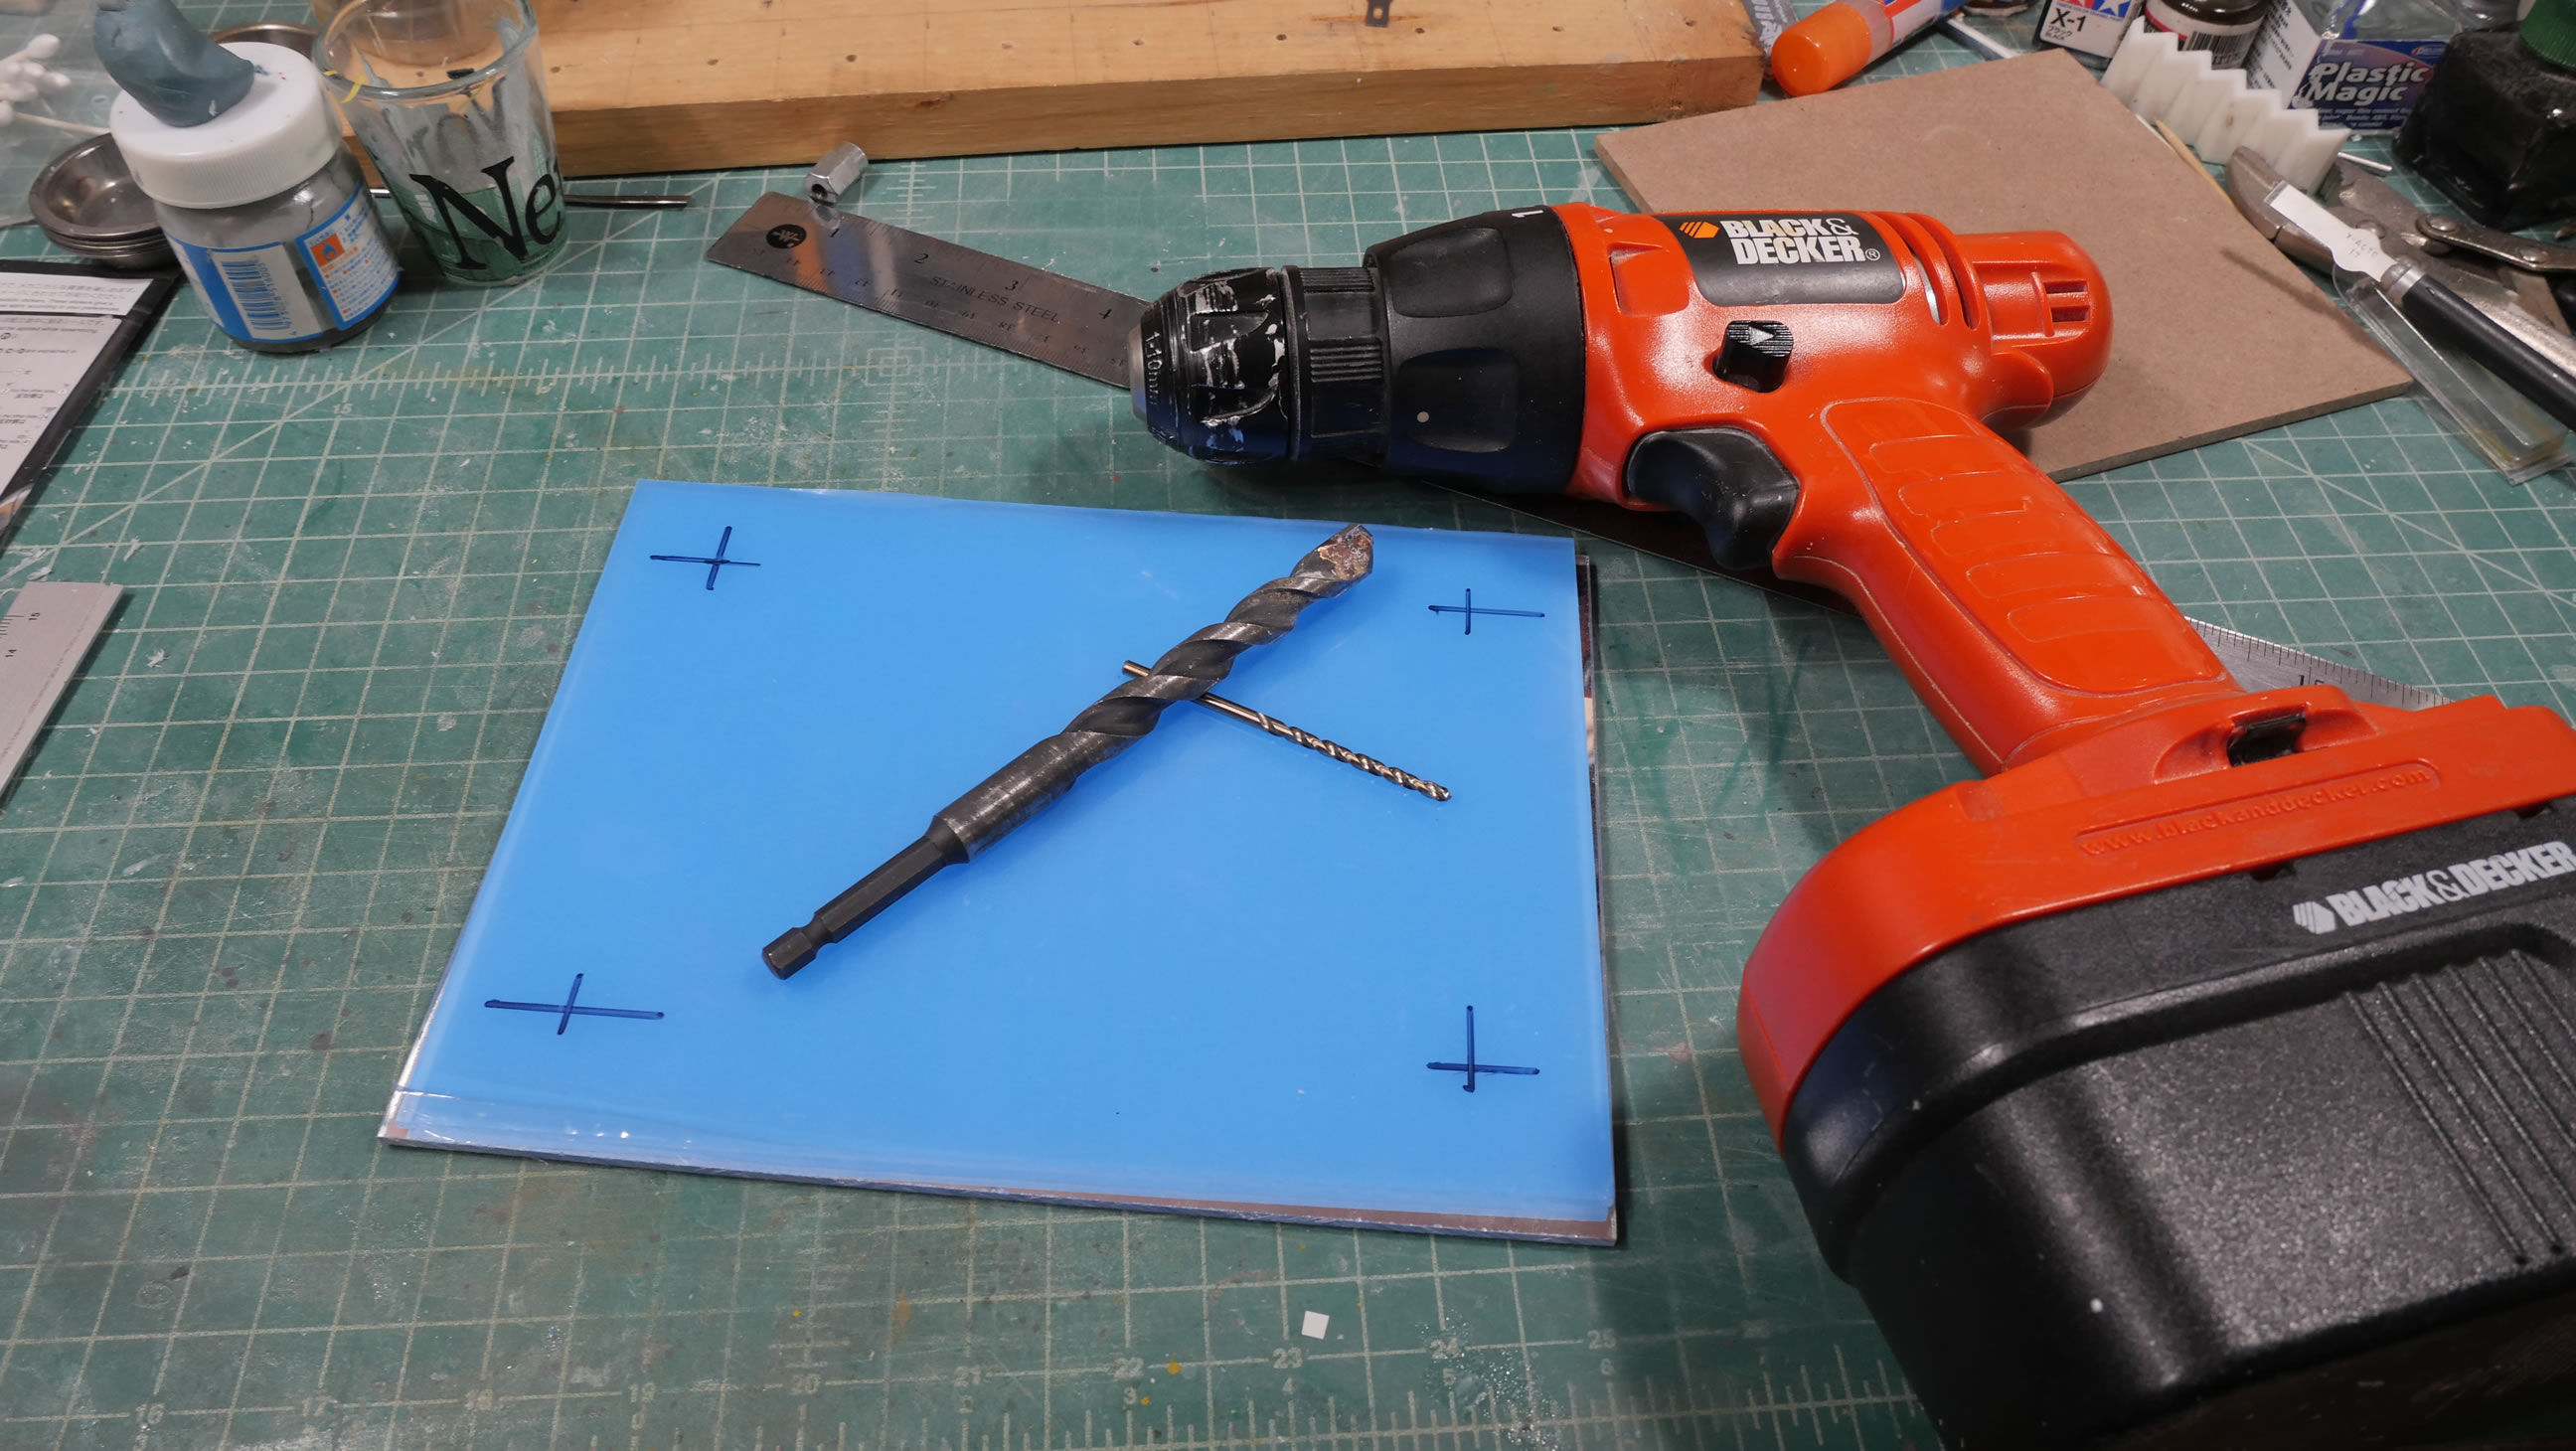
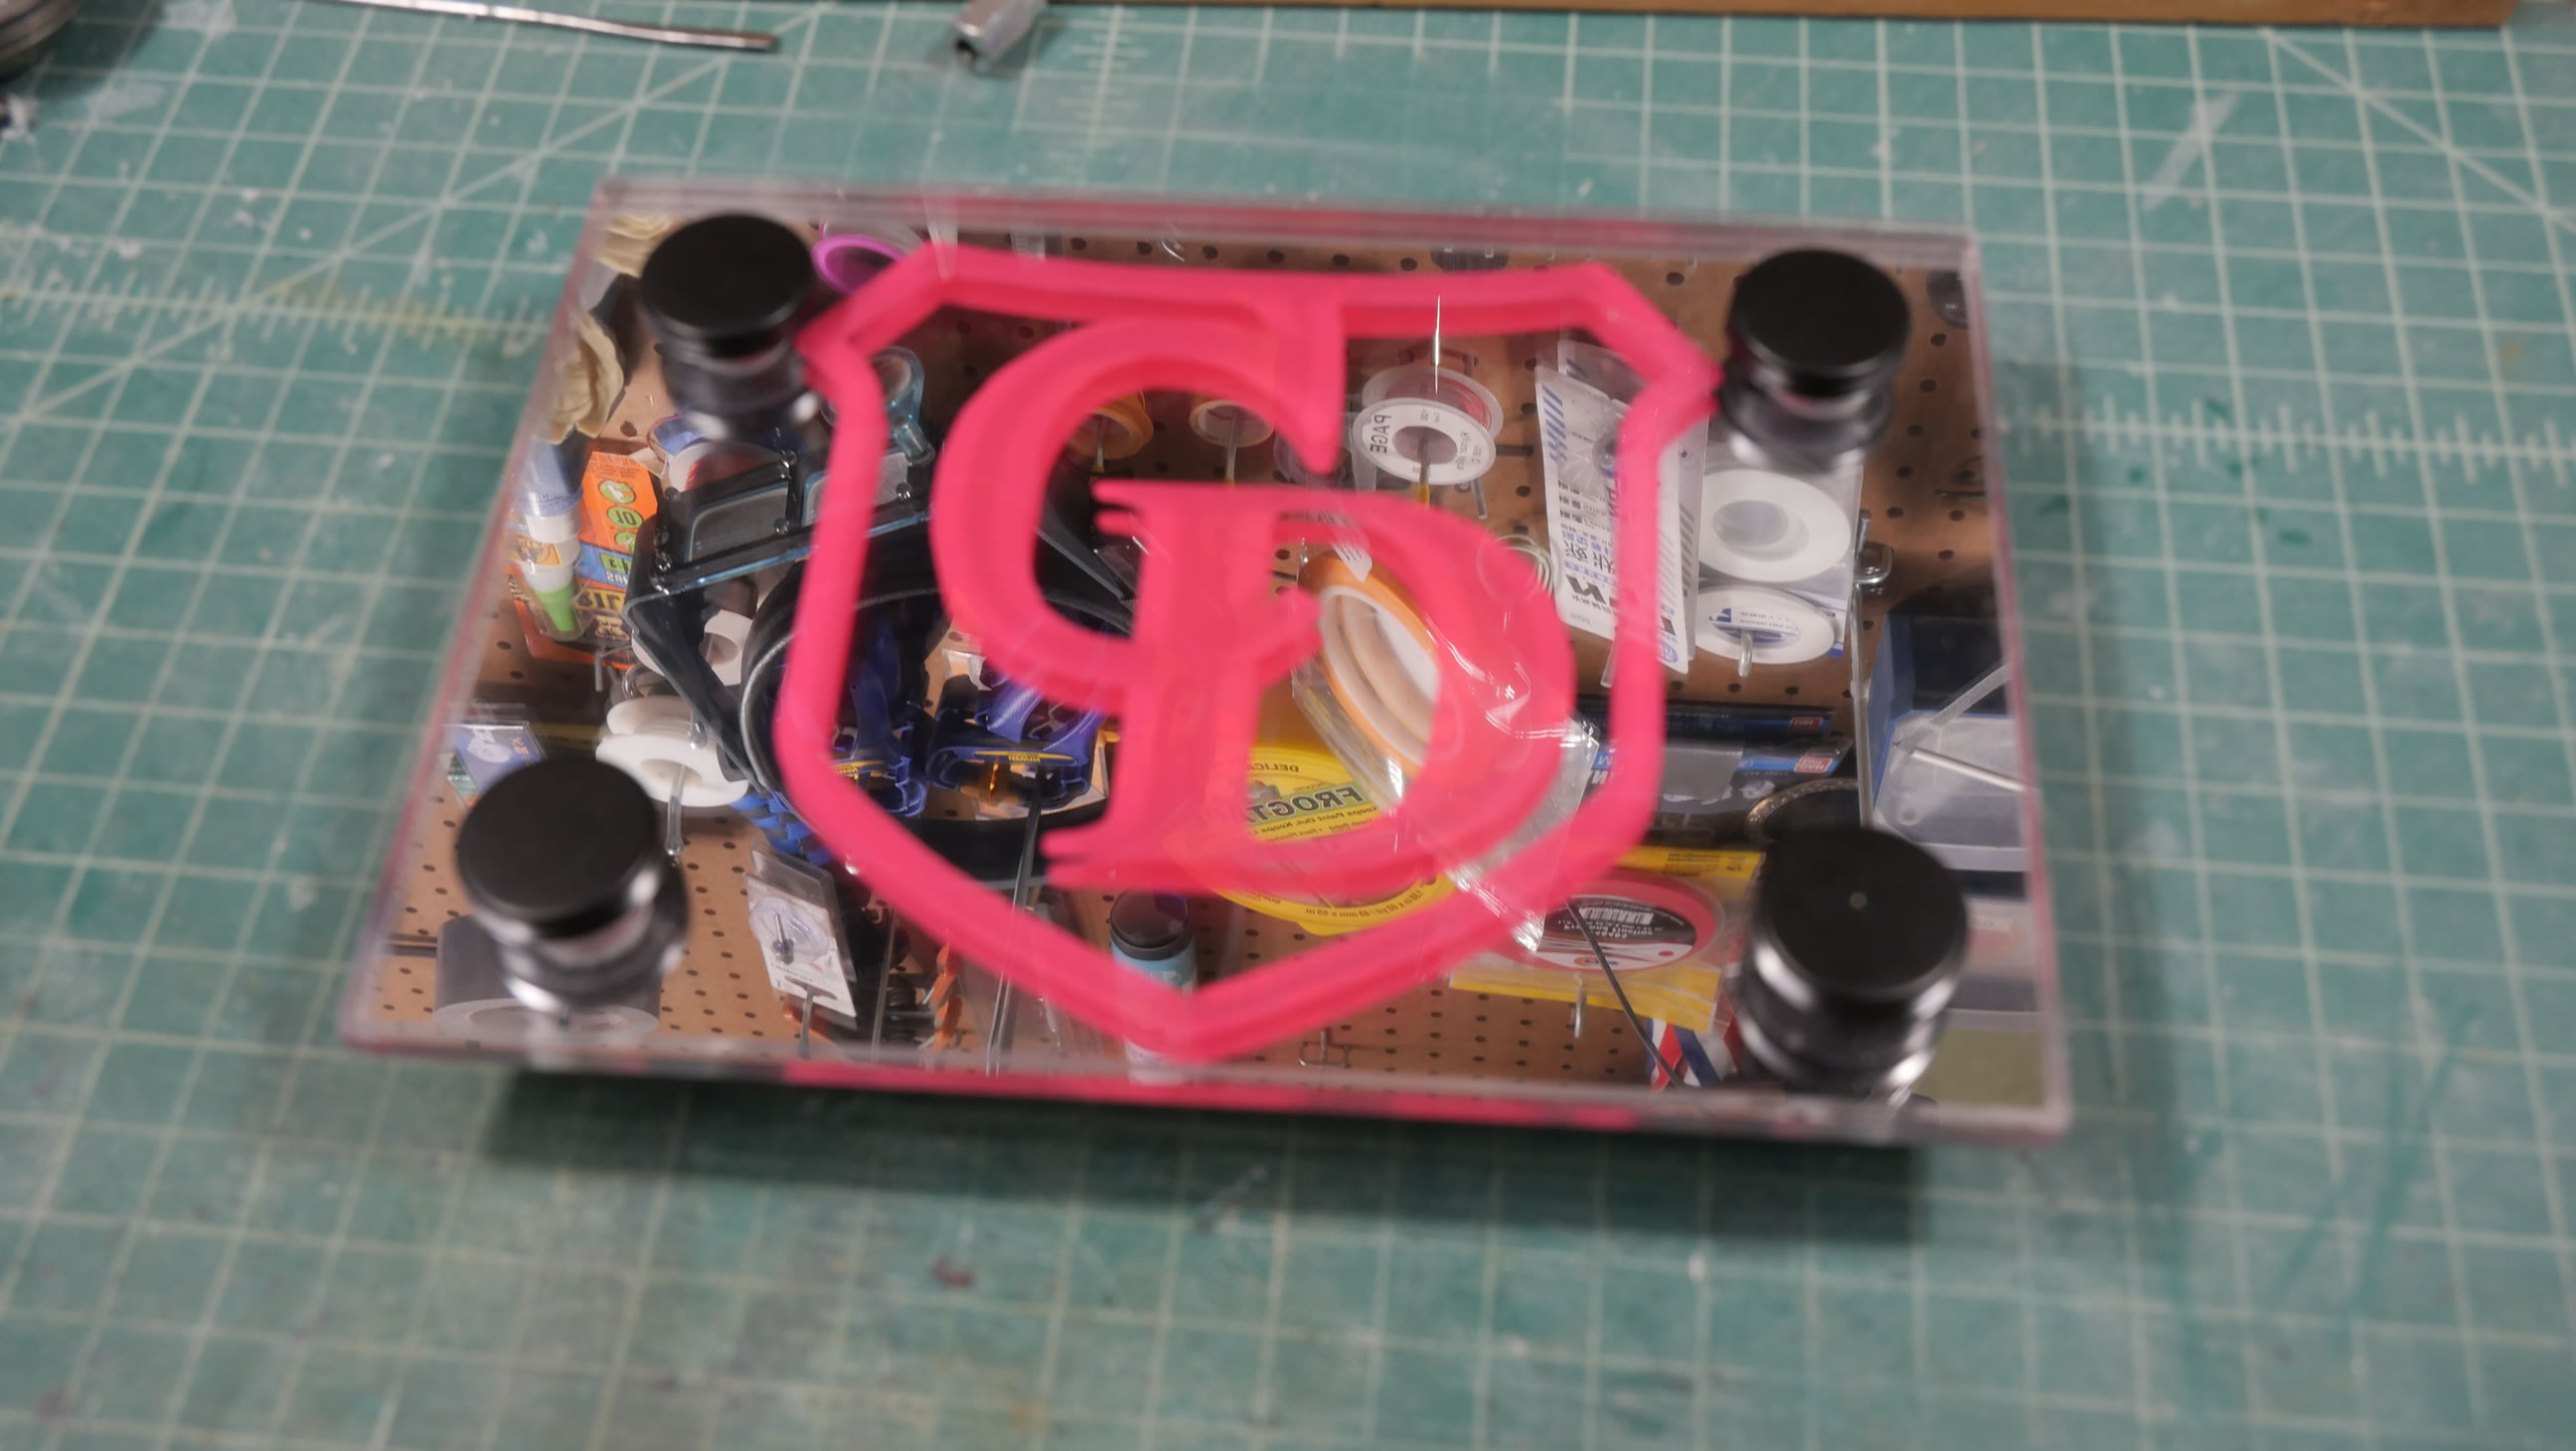
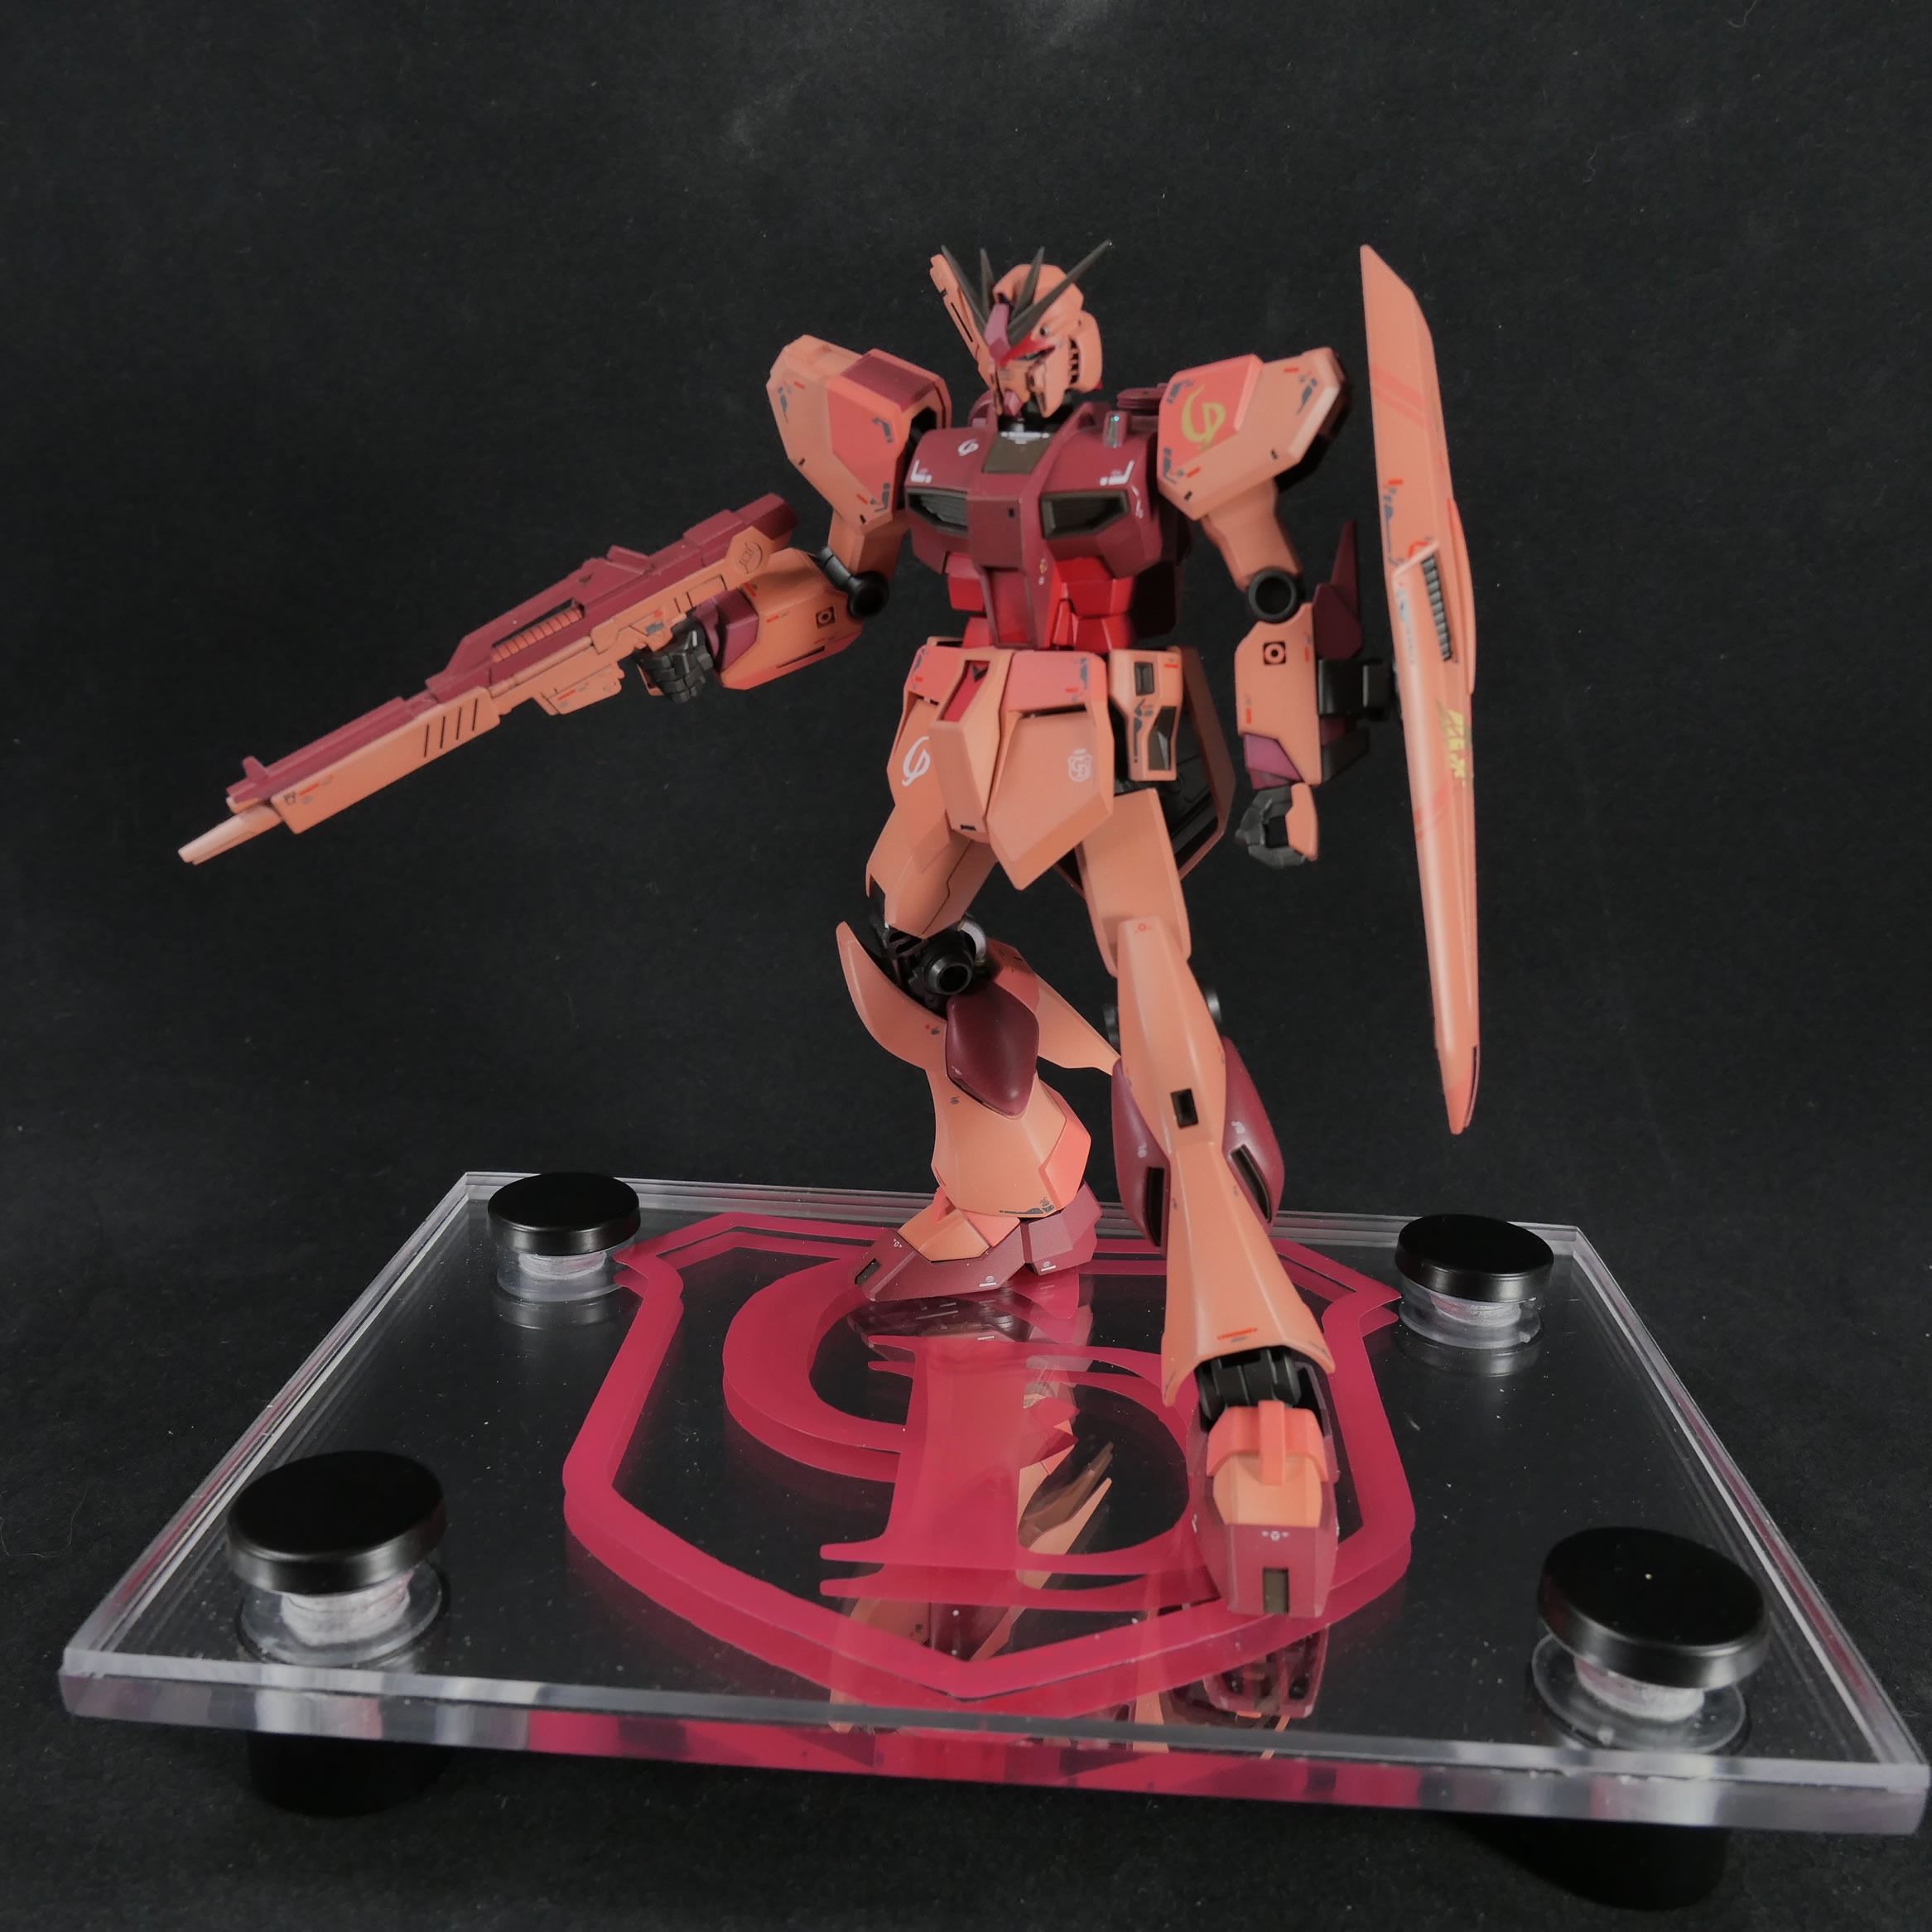
The kit is done, but I really need to let it sit and cure. So time to work on a little display base. I grab a sheet of clear acrylic and a sheet of mirrored acrylic. Mate the two pieces together and trim so that everything is flush. Then mark off 4 corners, drill in a 1/8 inch pilot hole, then enlarged the hole slowly with a glass cutting bit. If I went with a big drill bit, there is a chance that I would put too much stress on the thin acrylic boards and snap them off. (take a wild guess how I learned THAT lession…)
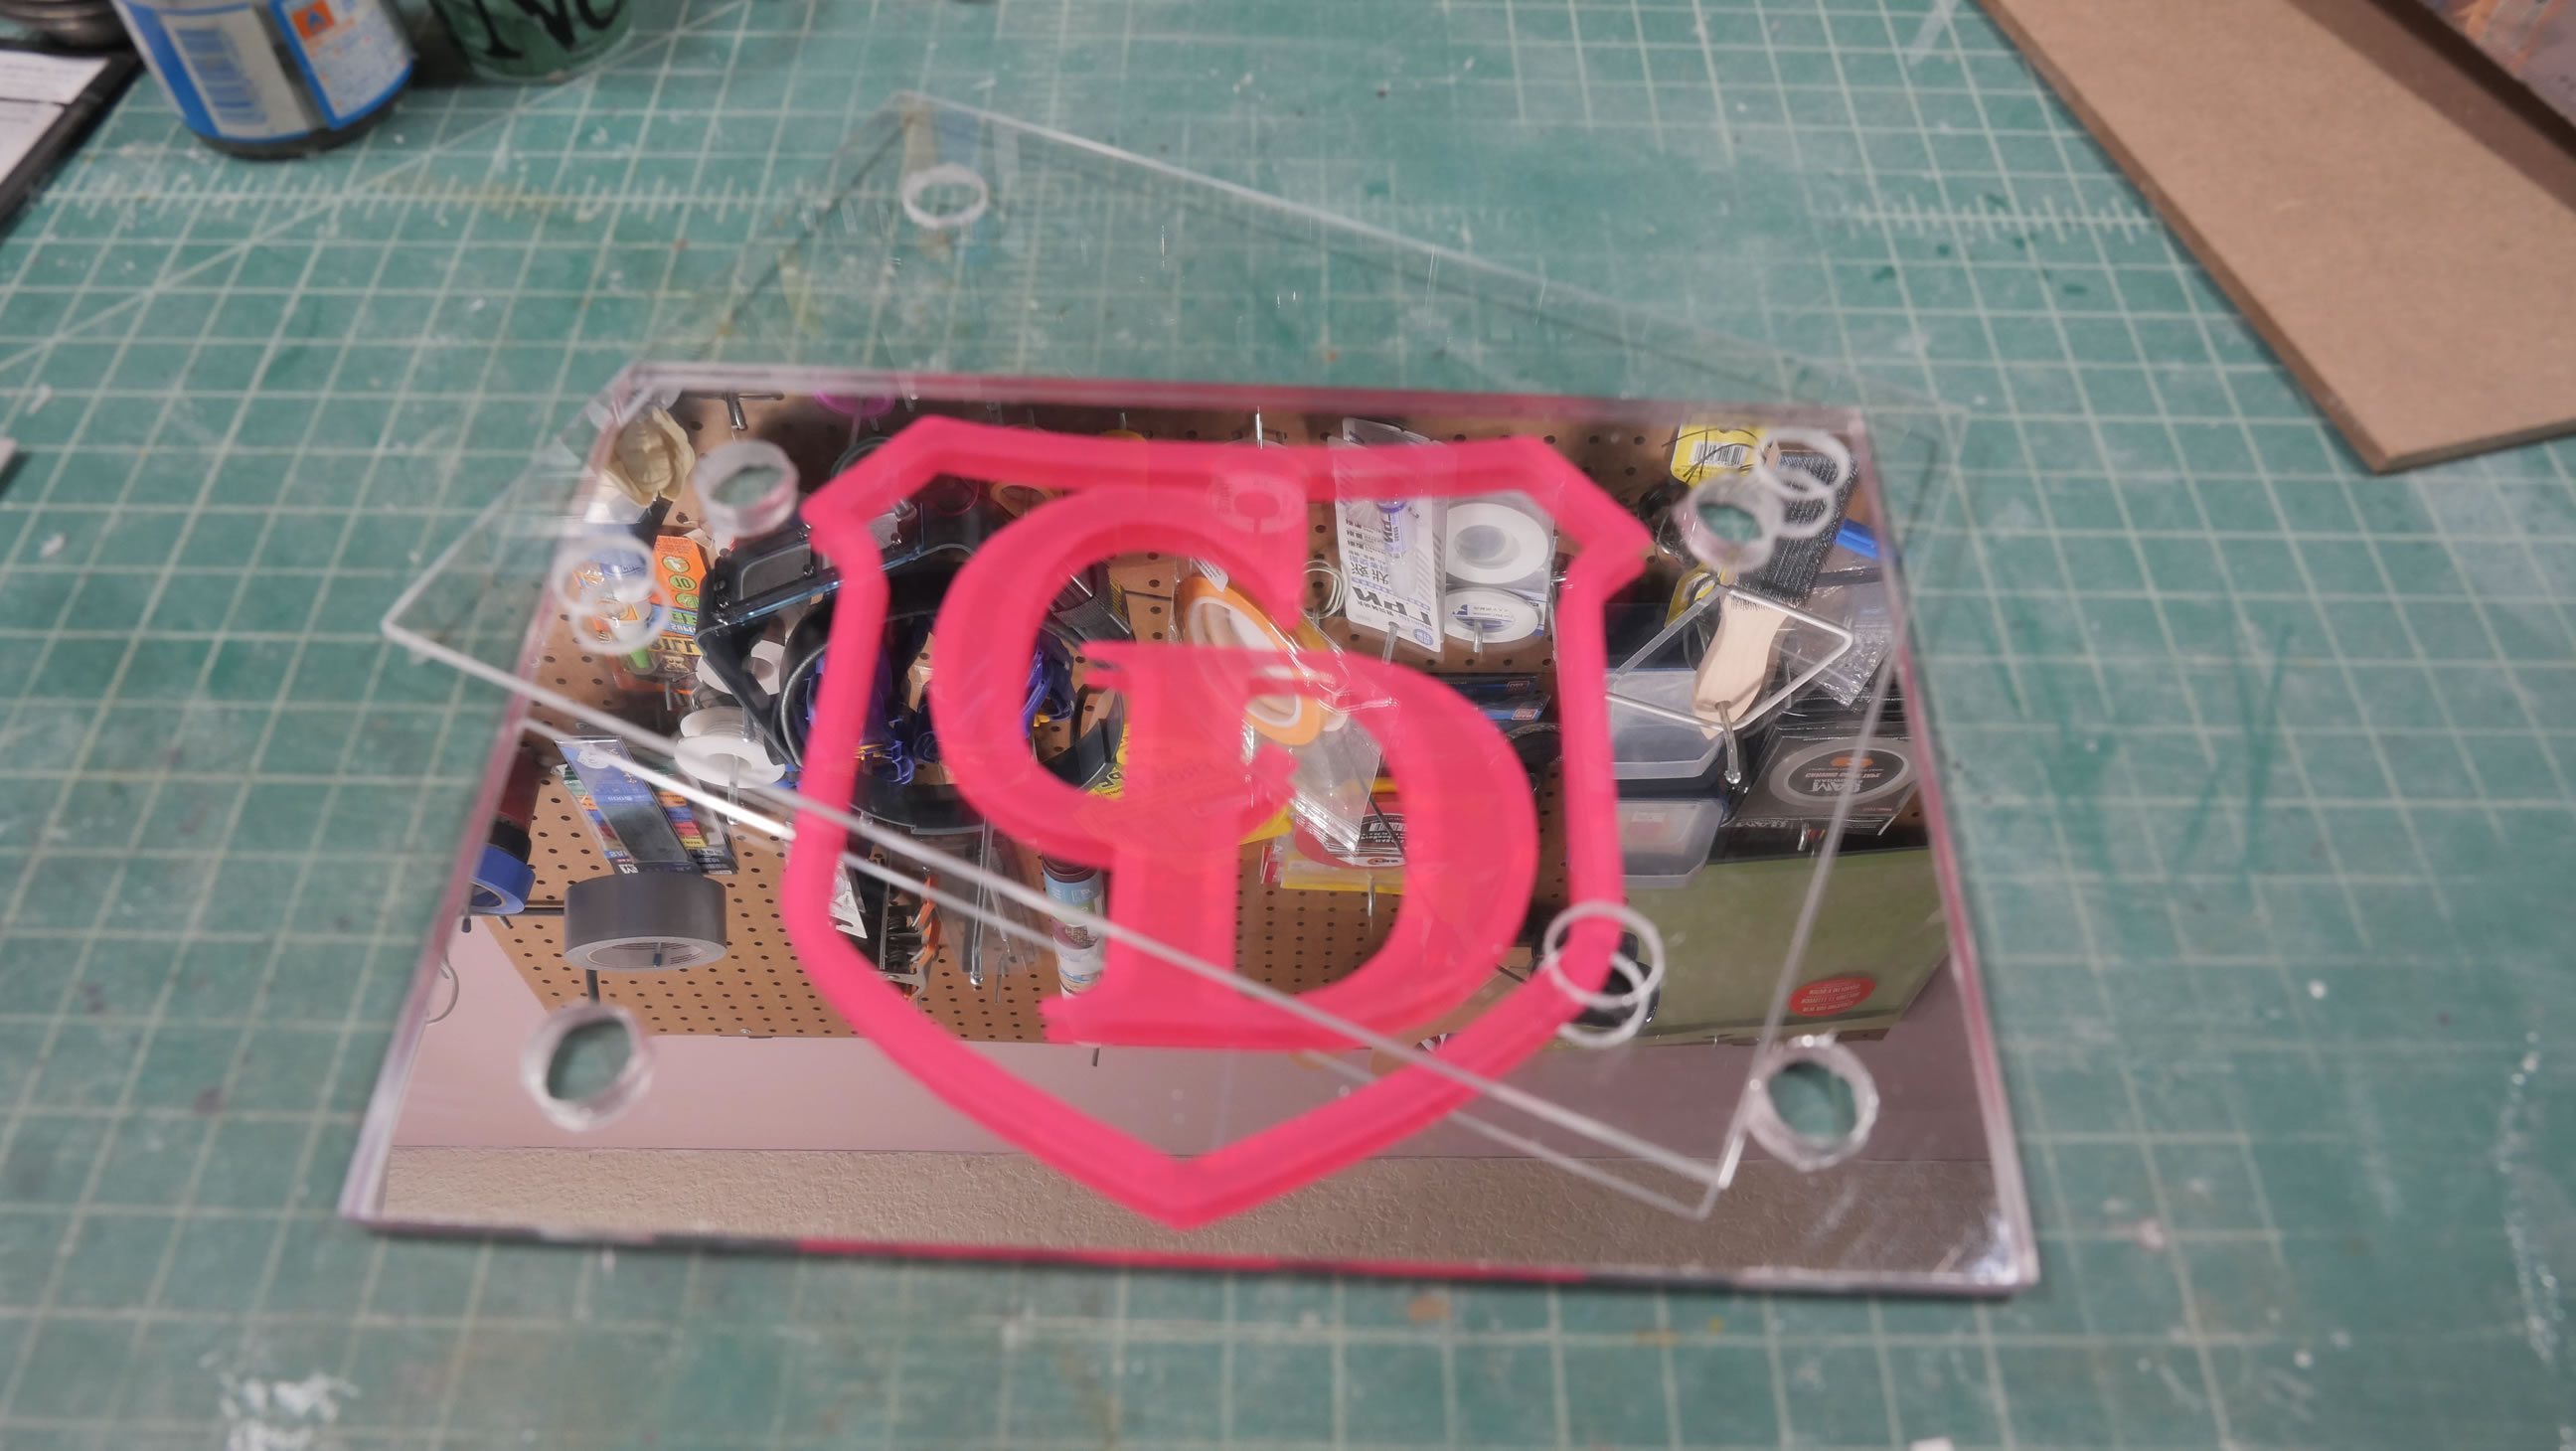
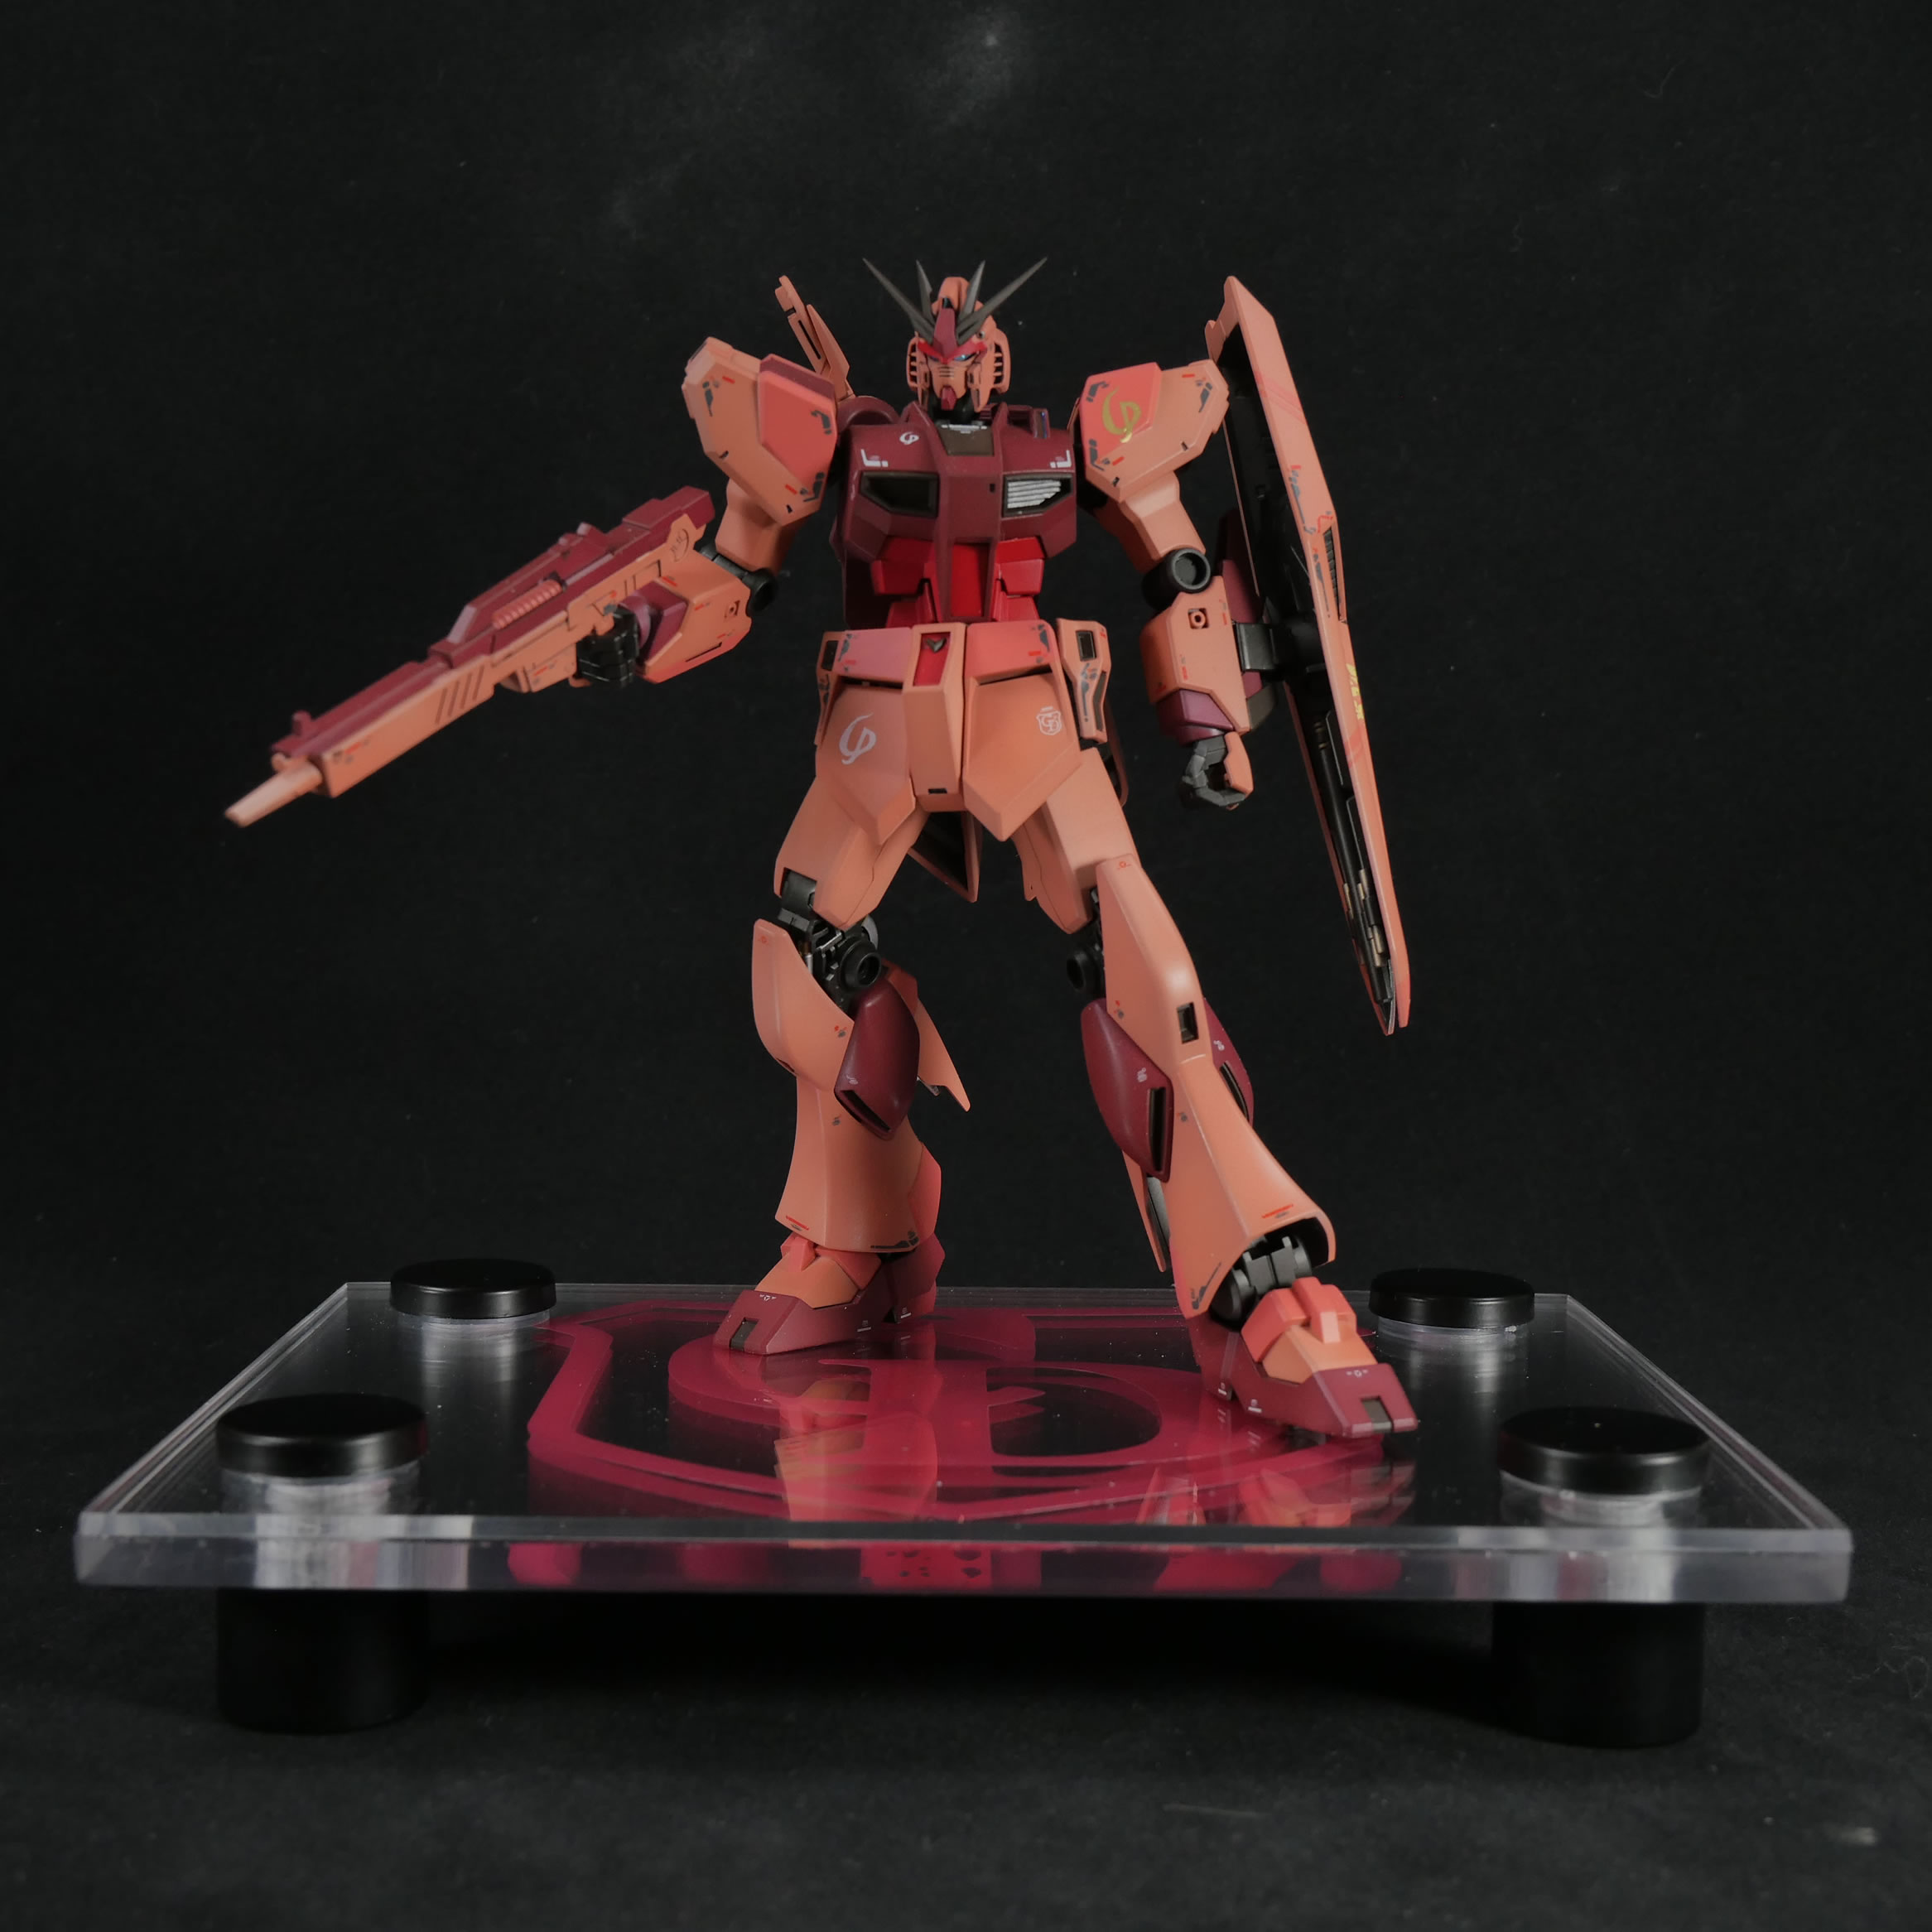
Once that was opened up, I used the cricut die cutting machine and cut out a Casval Deikun emblem (get it, Casval’s Nu Gundam?) If you recognize the paint scheme, you’ll see that it matches up with the Casva’s Gundam scheme. The emblem is a vinyl sticker and I just slapped it onto the mirrored acrylic piece. and the clear piece will sandwich it together.

The next step is to sand the edges flush and get a nice finished look to the edges. I sanded with 80 grit, then moved to 120, 220, and 320 to finish it up. Then I had to wait for the amazon delivery of the final part to the display base, metal standoffs.
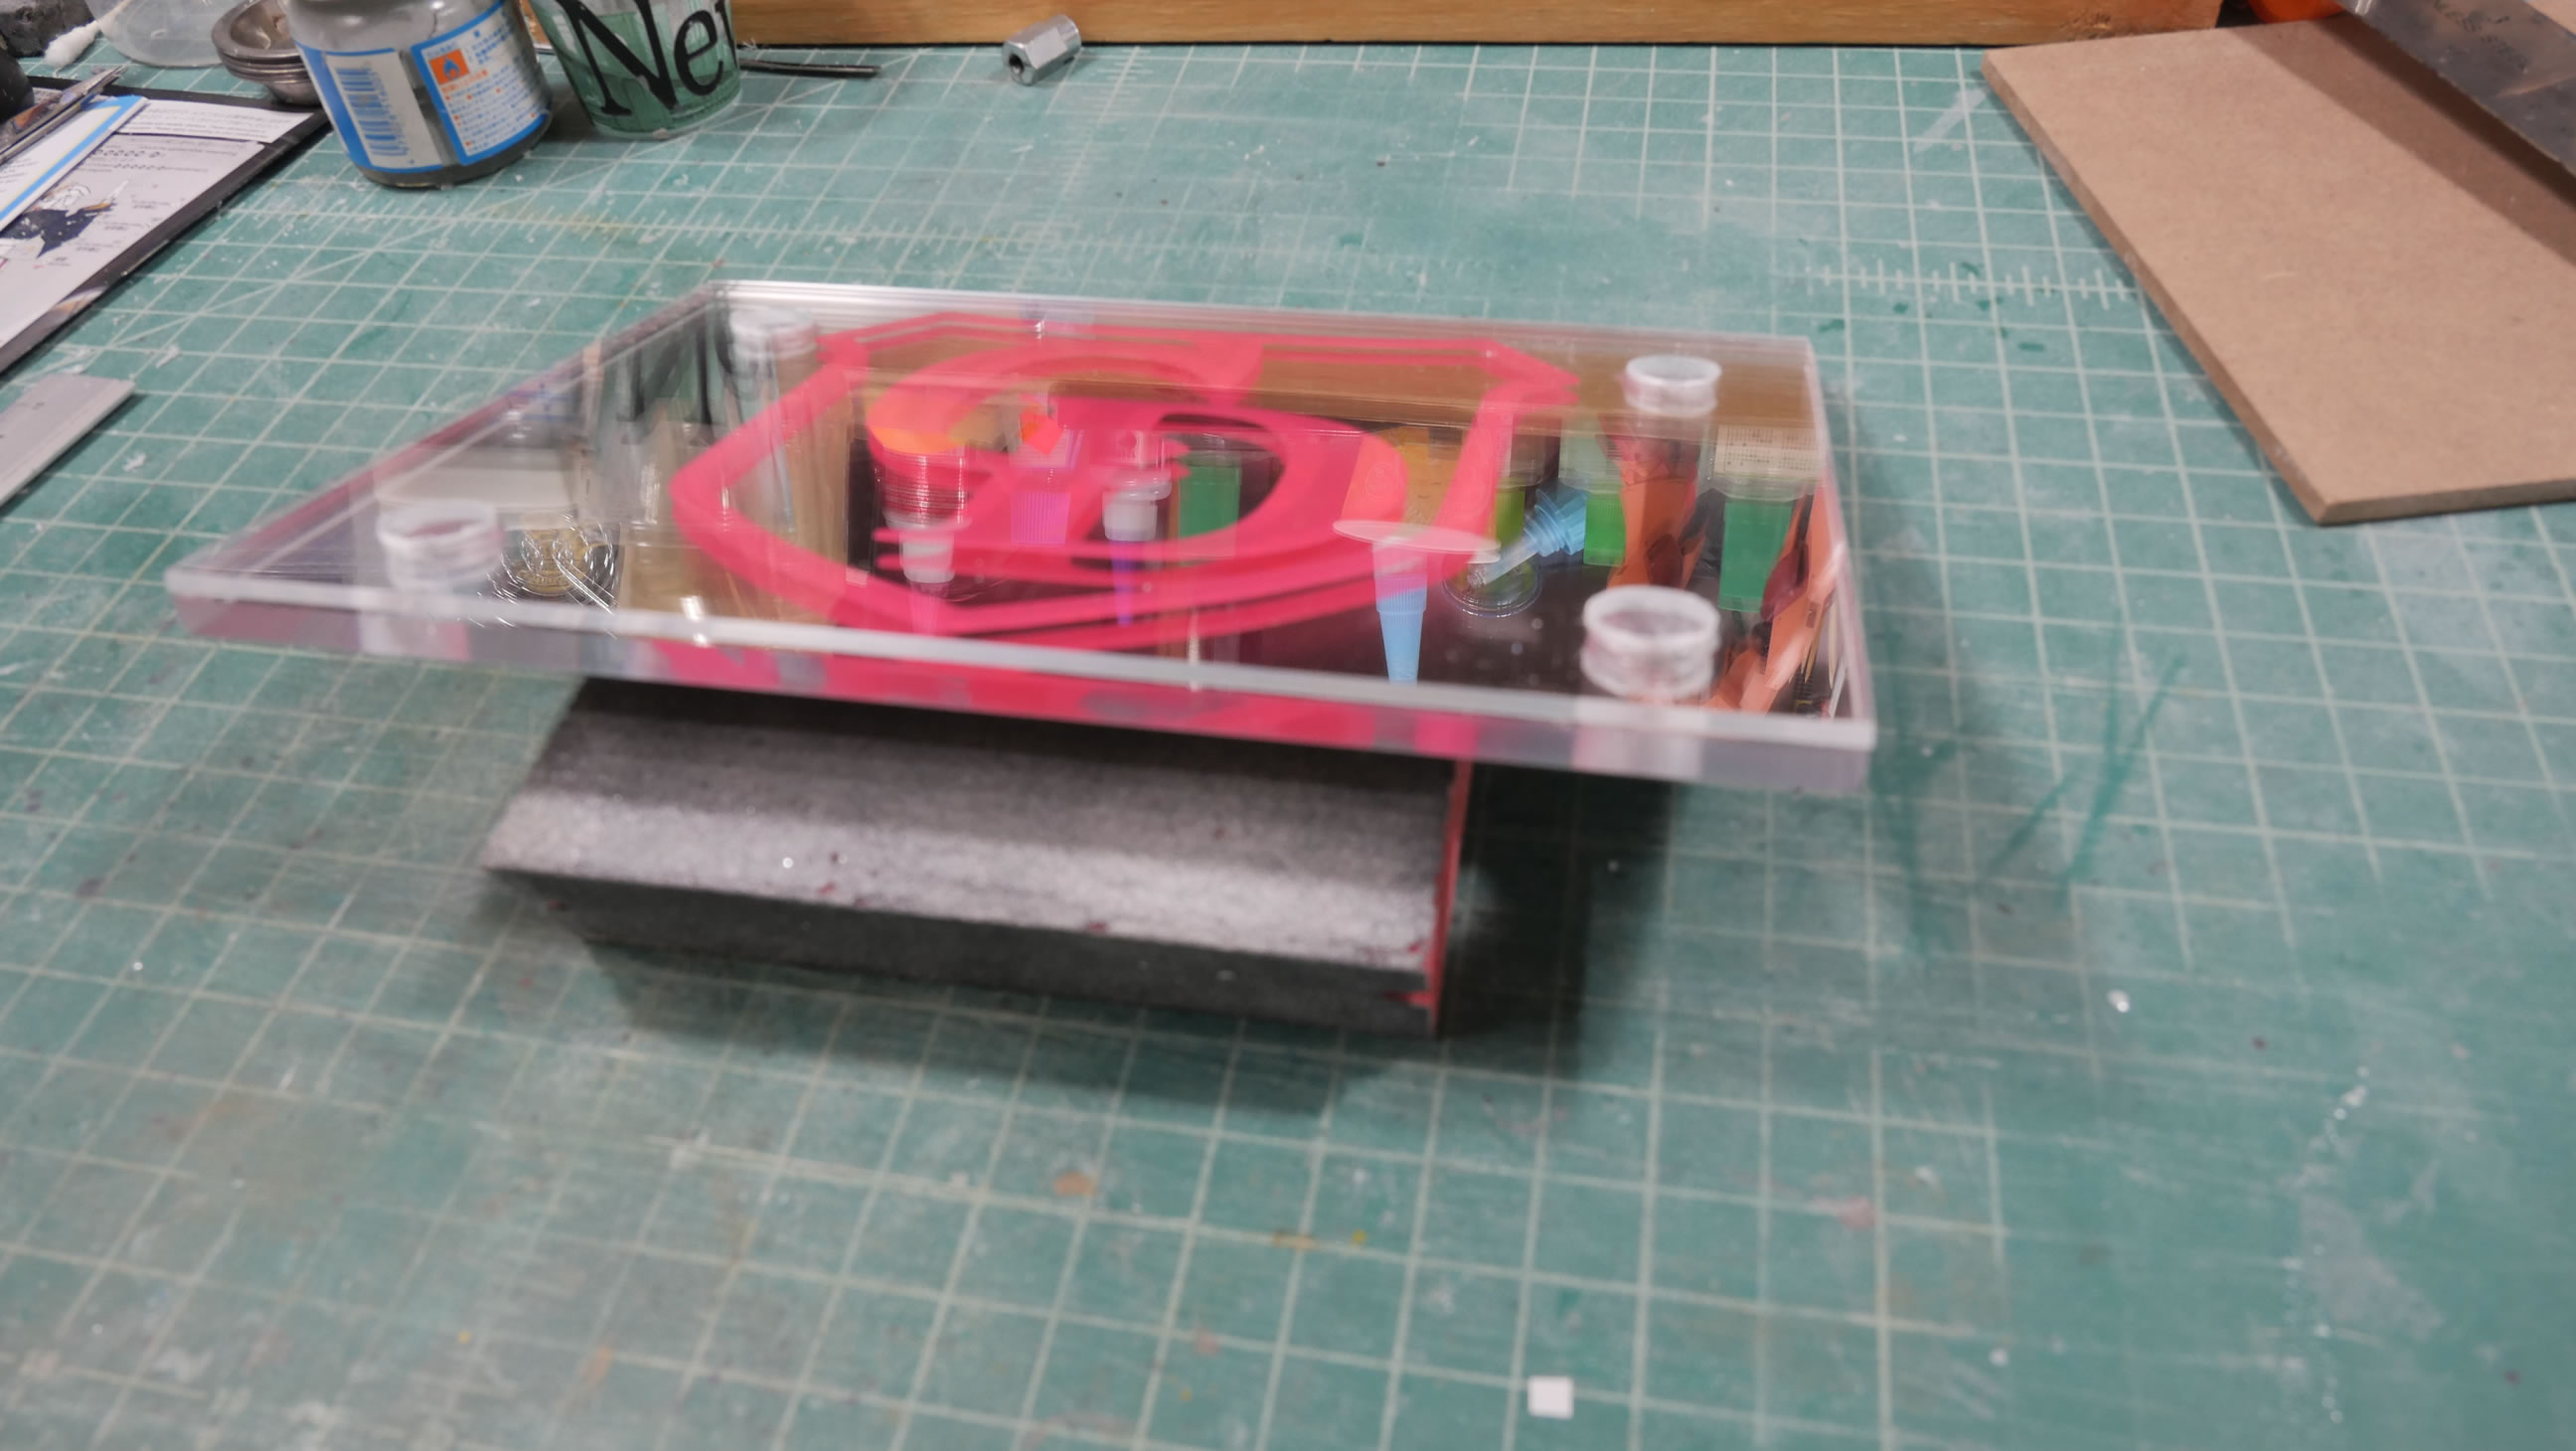
The standoffs arrived today and the base is complete. A very simple and elegant solution to sticking a plastic rod up it’s ass and having it display on a crappy piece of plastic.

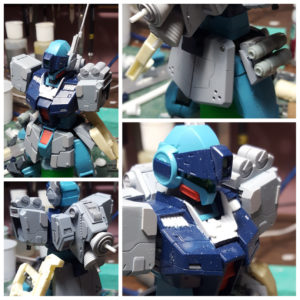
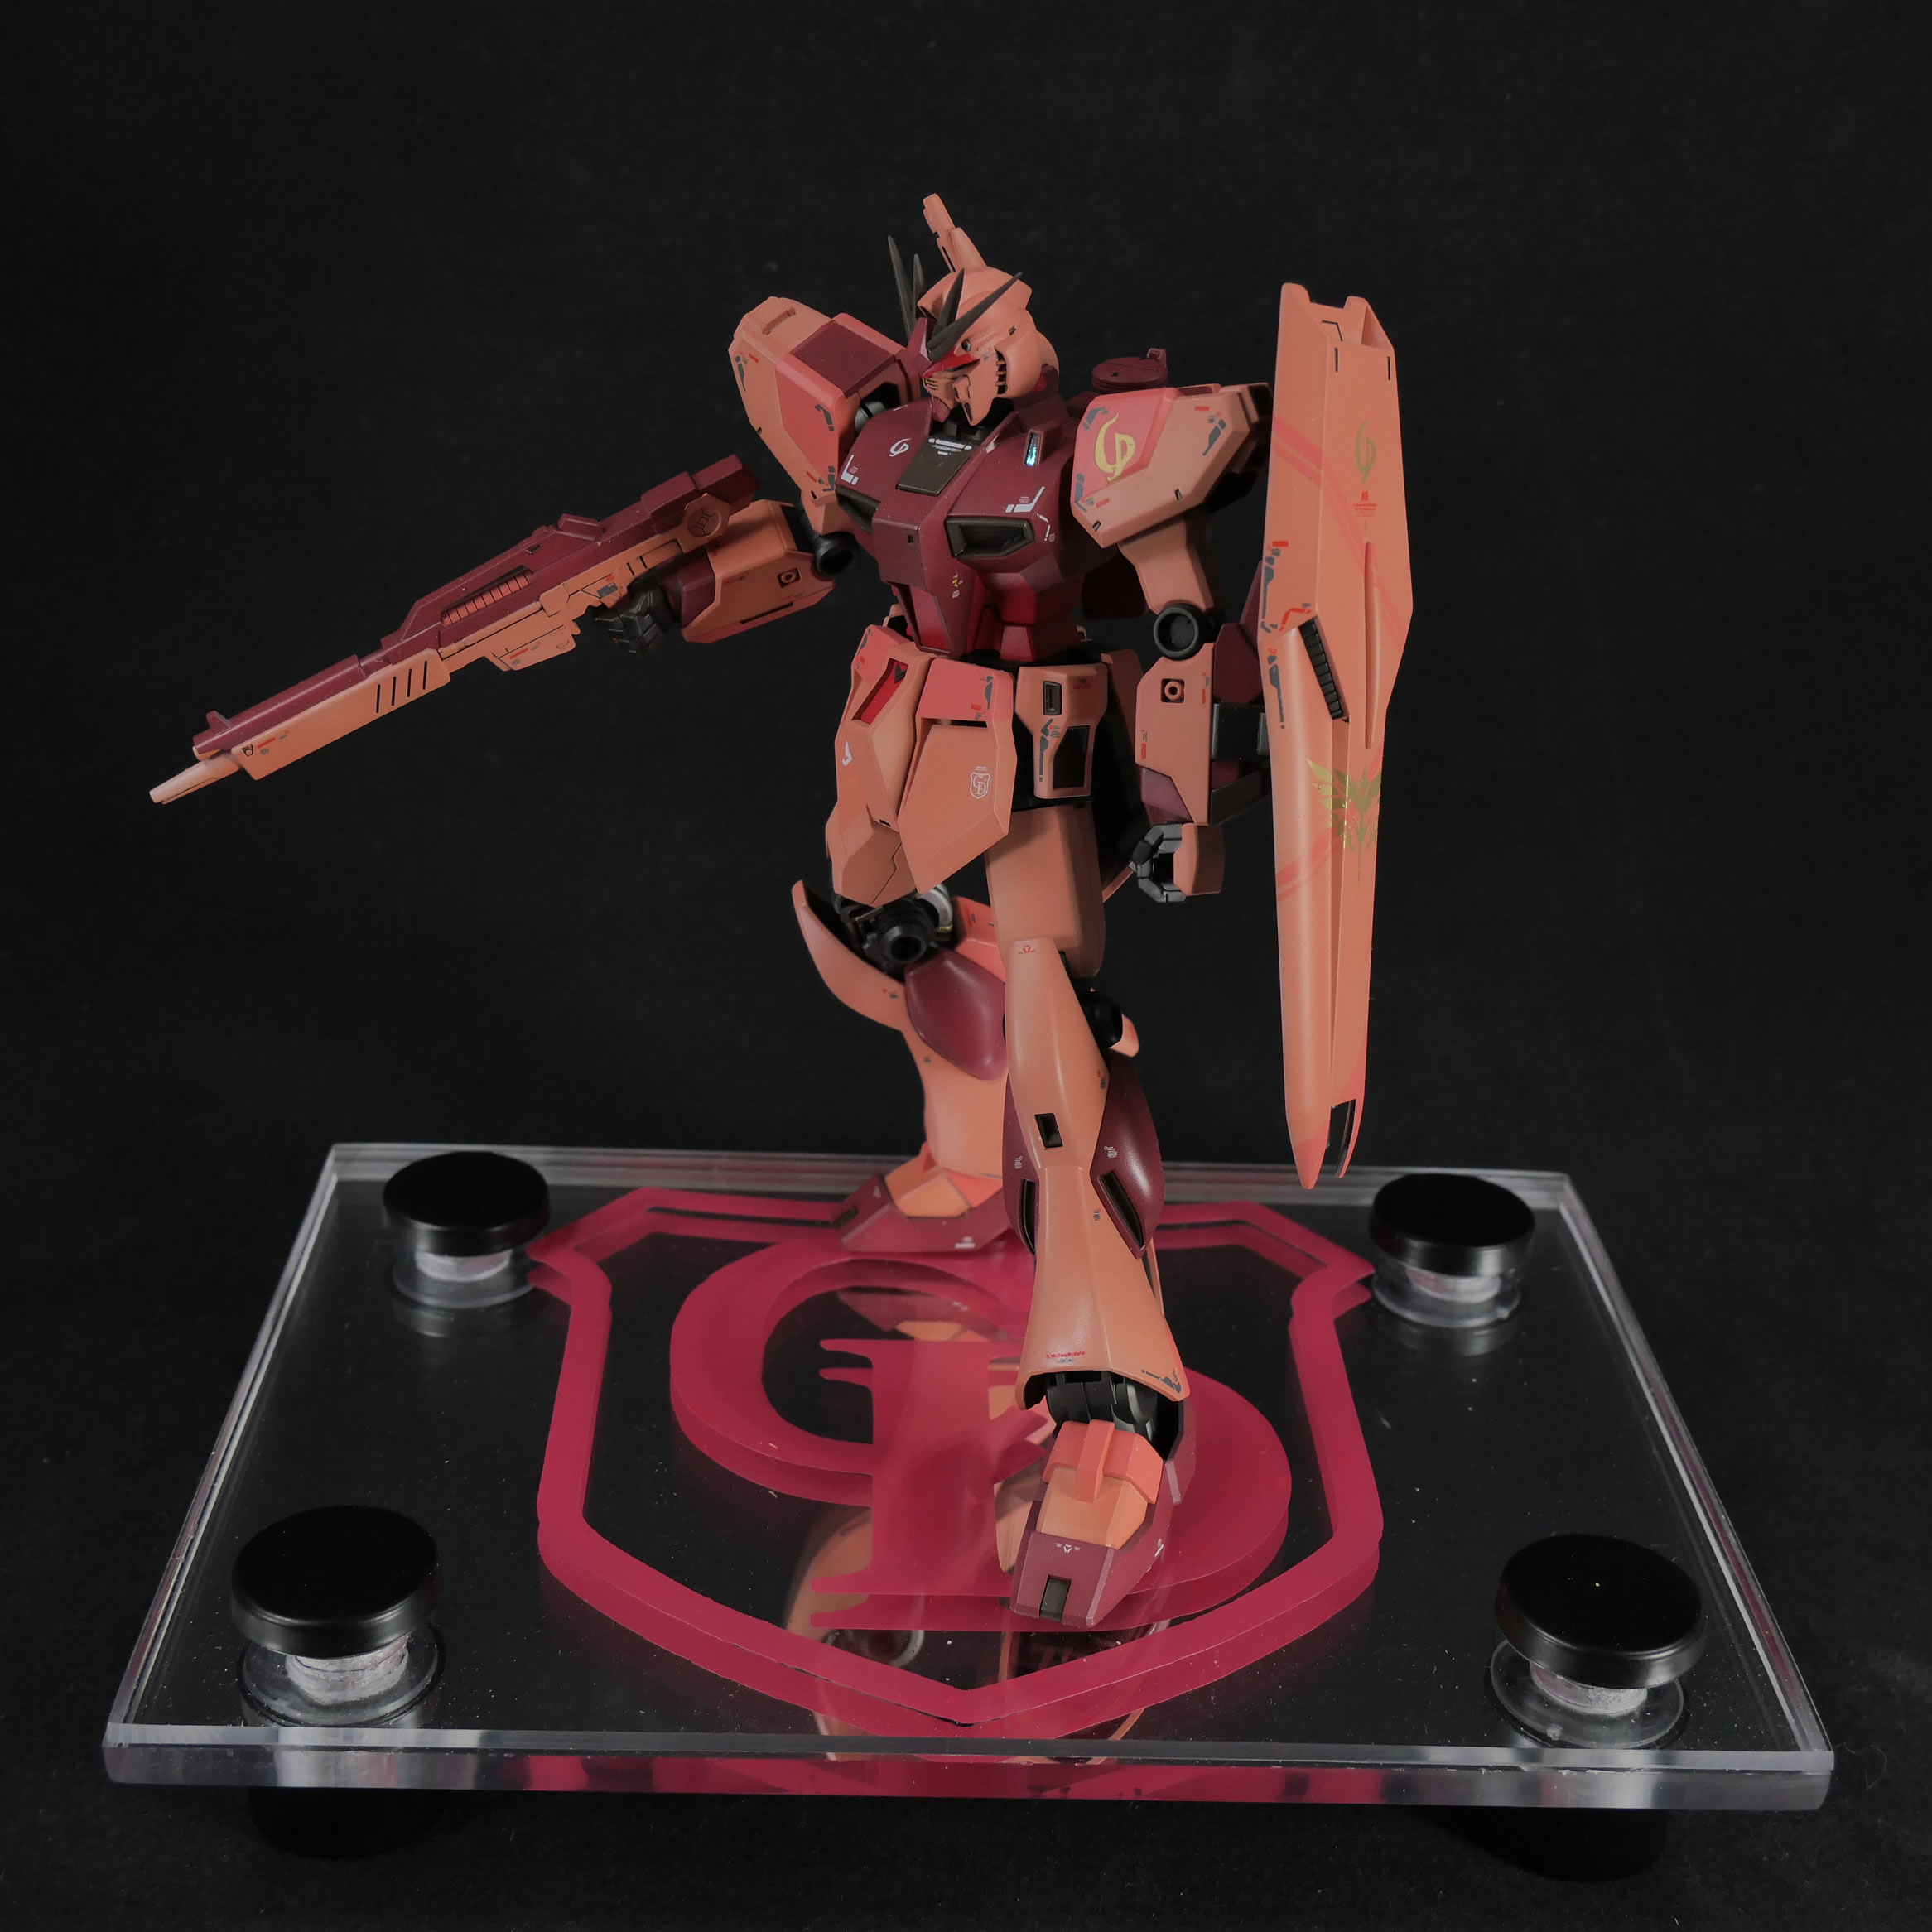
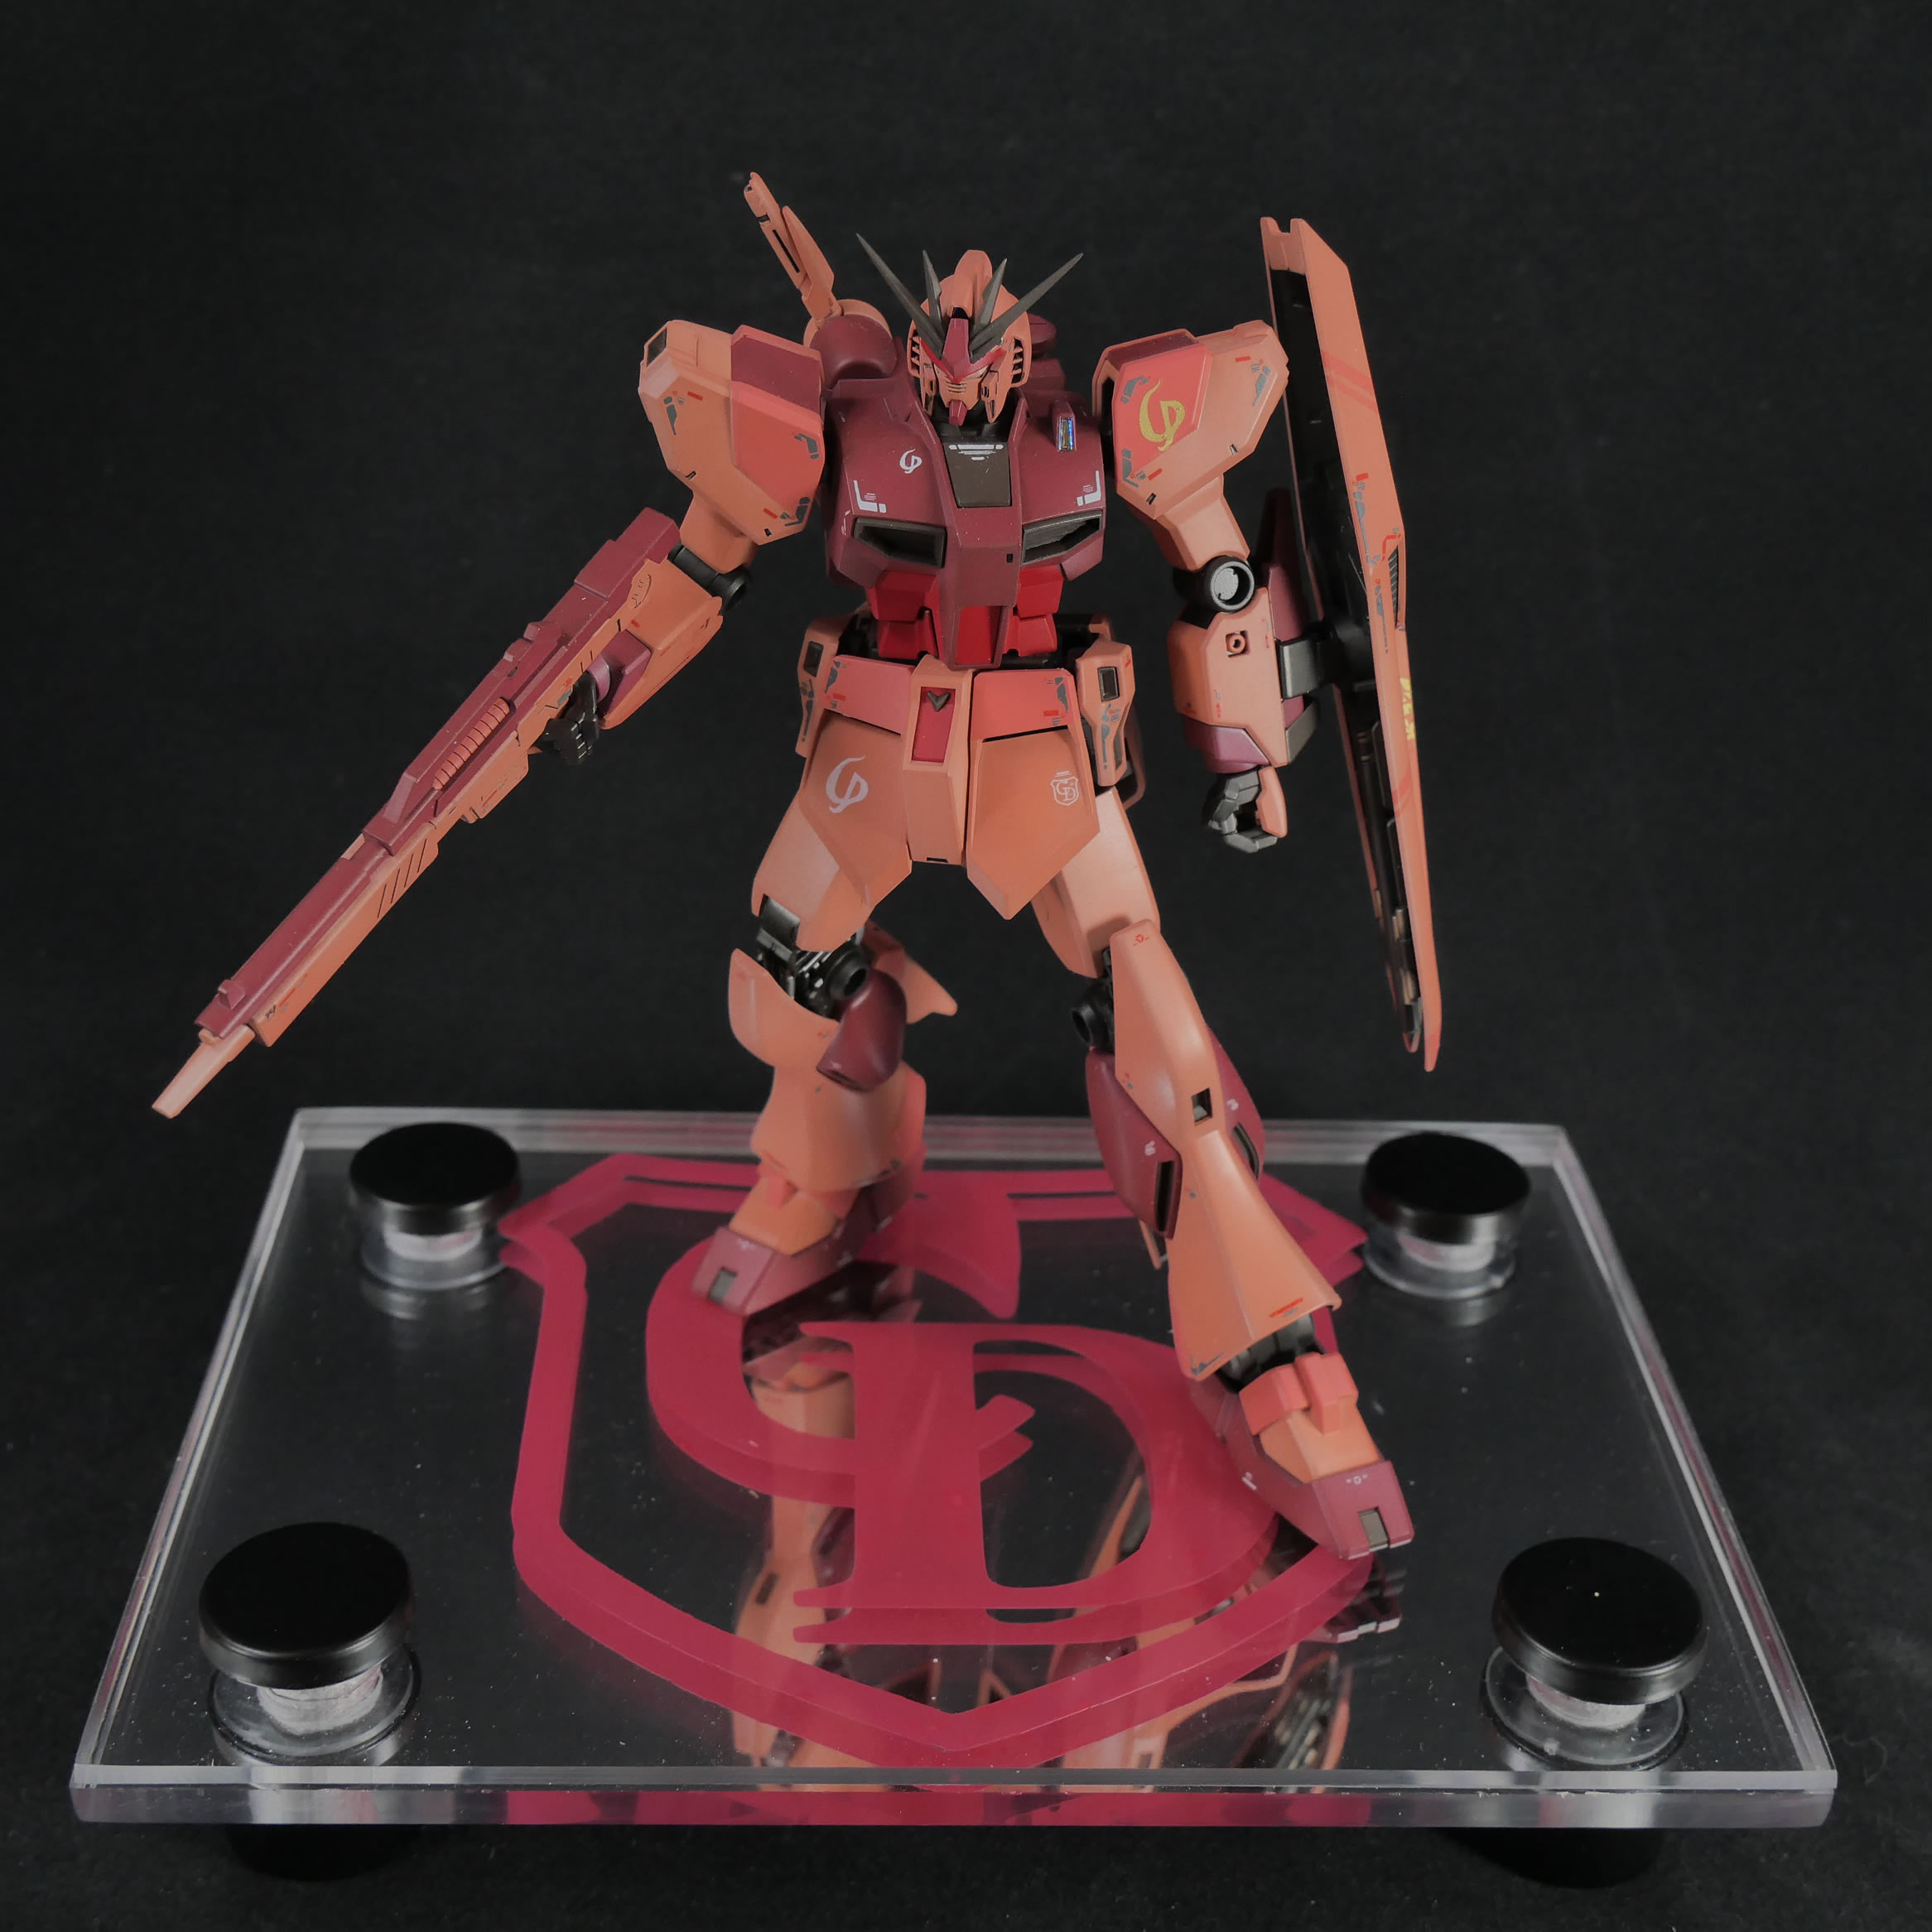
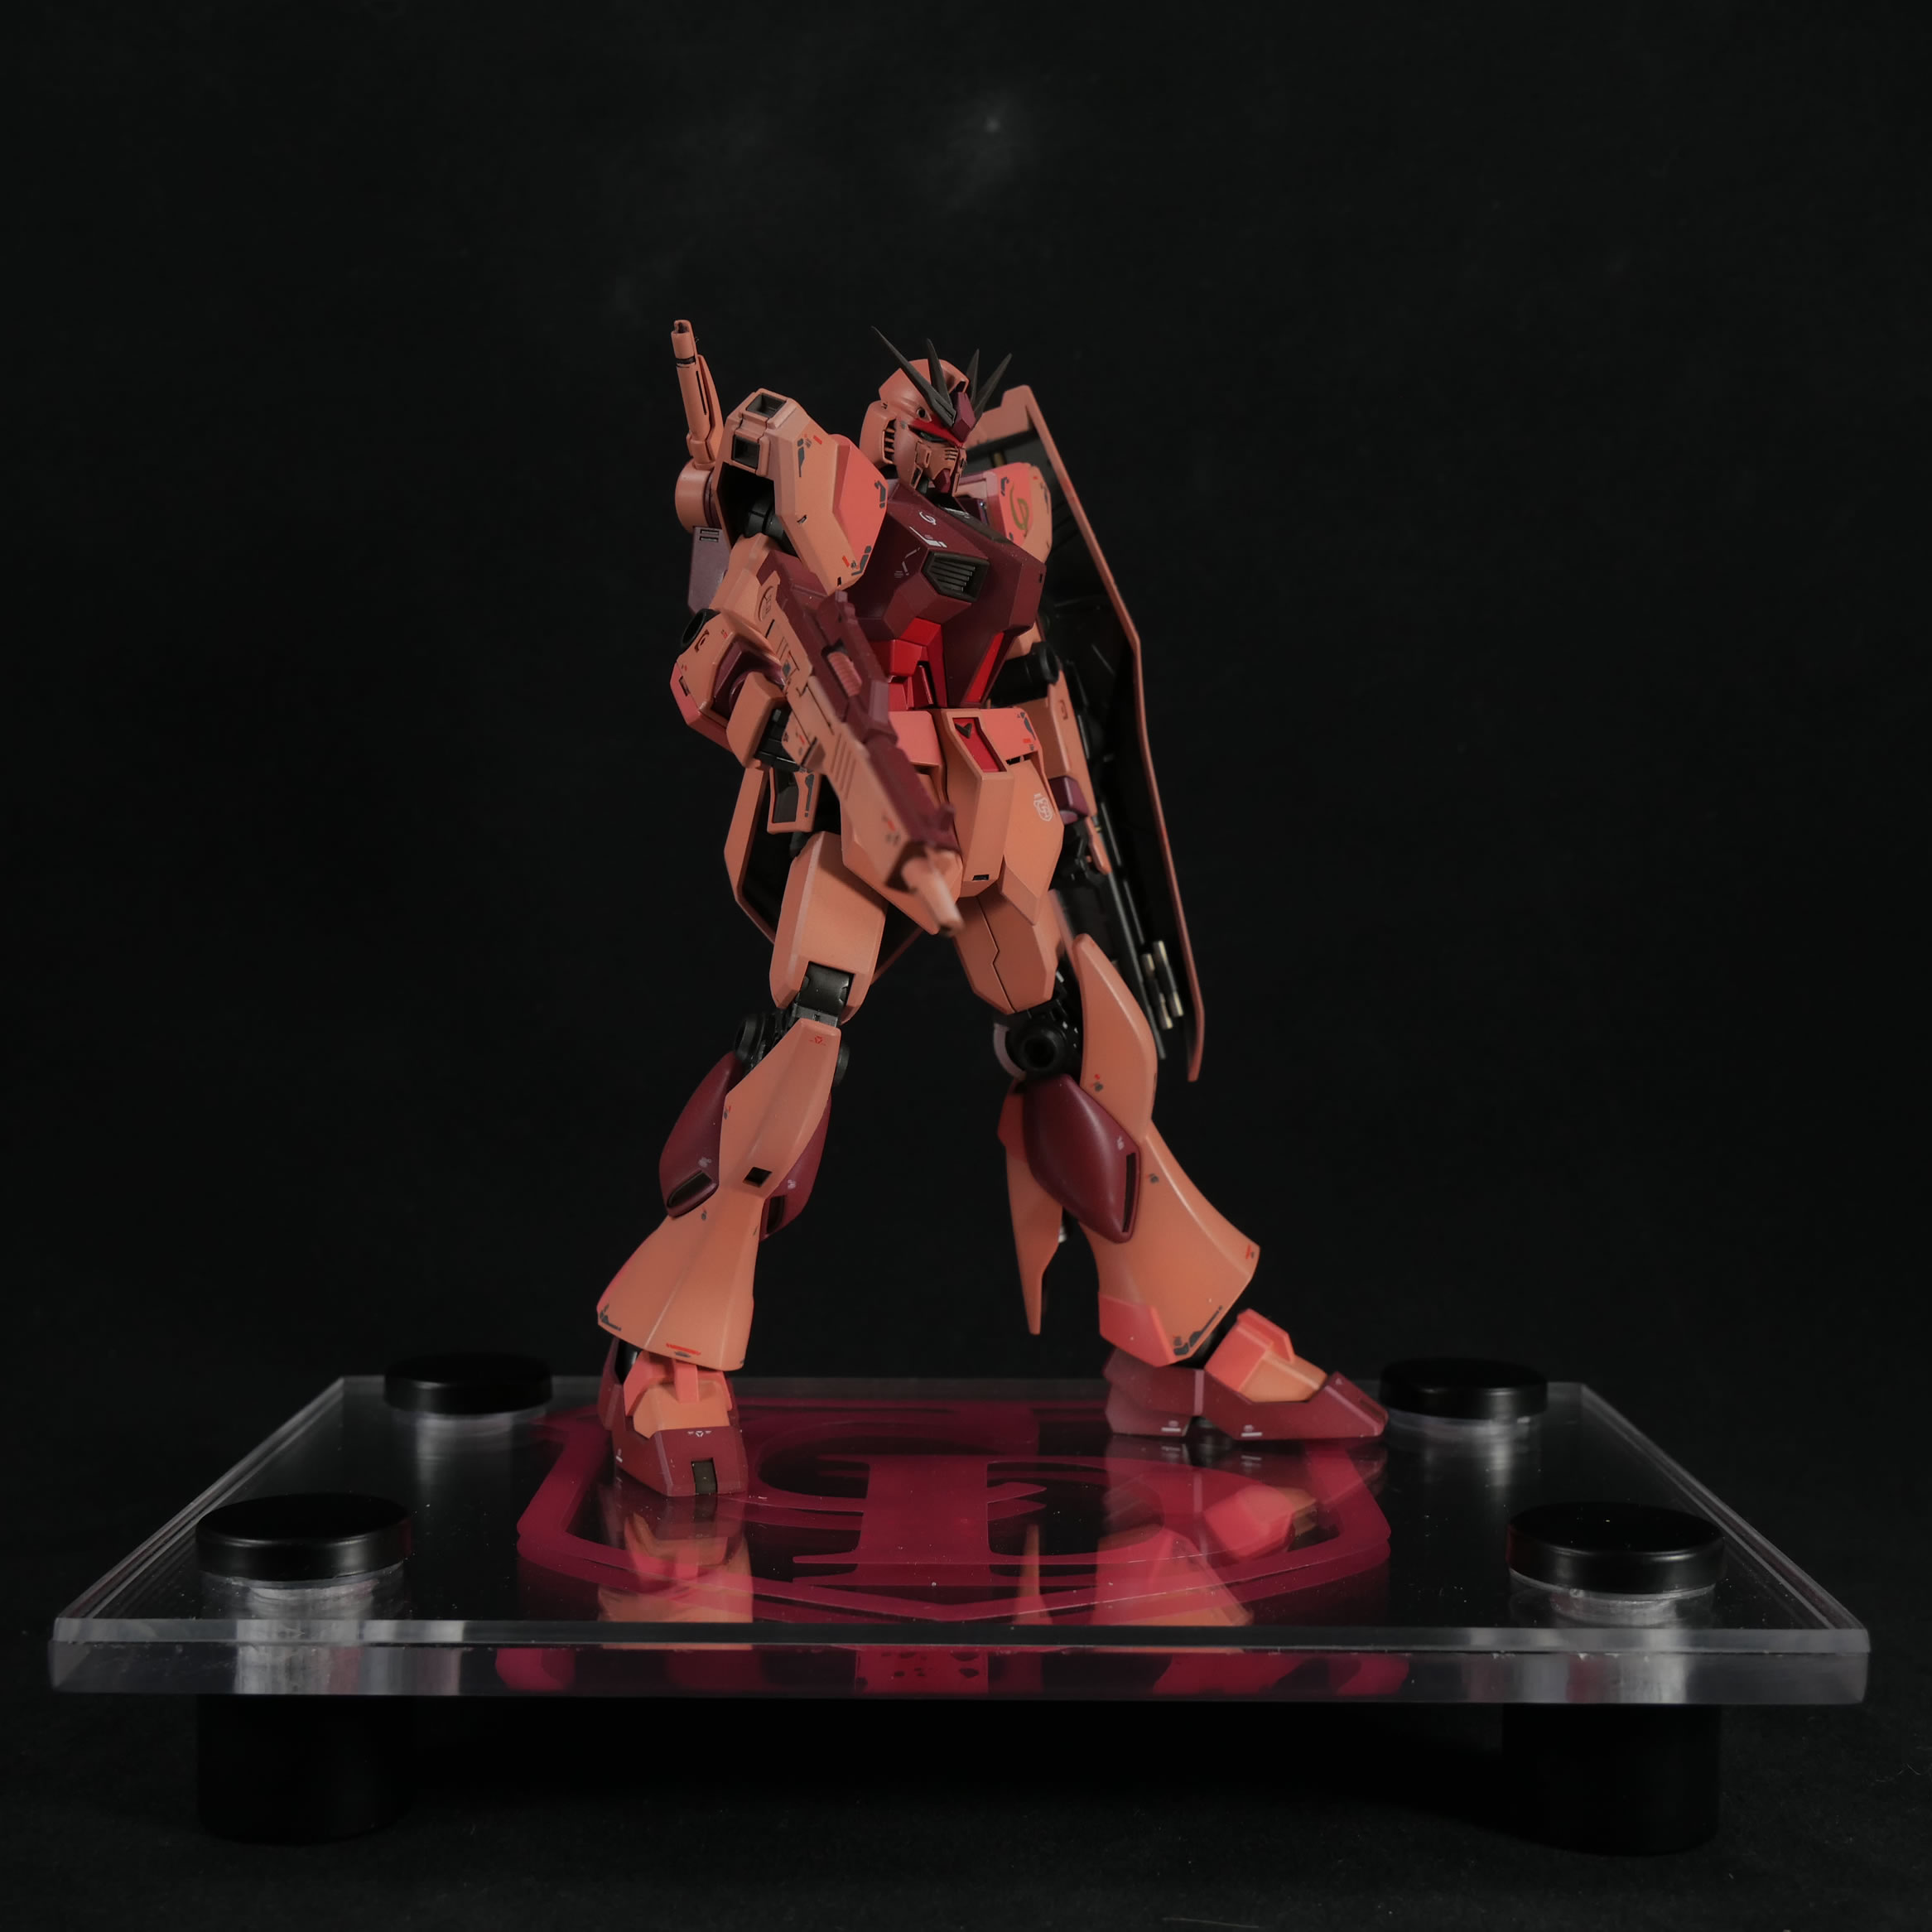
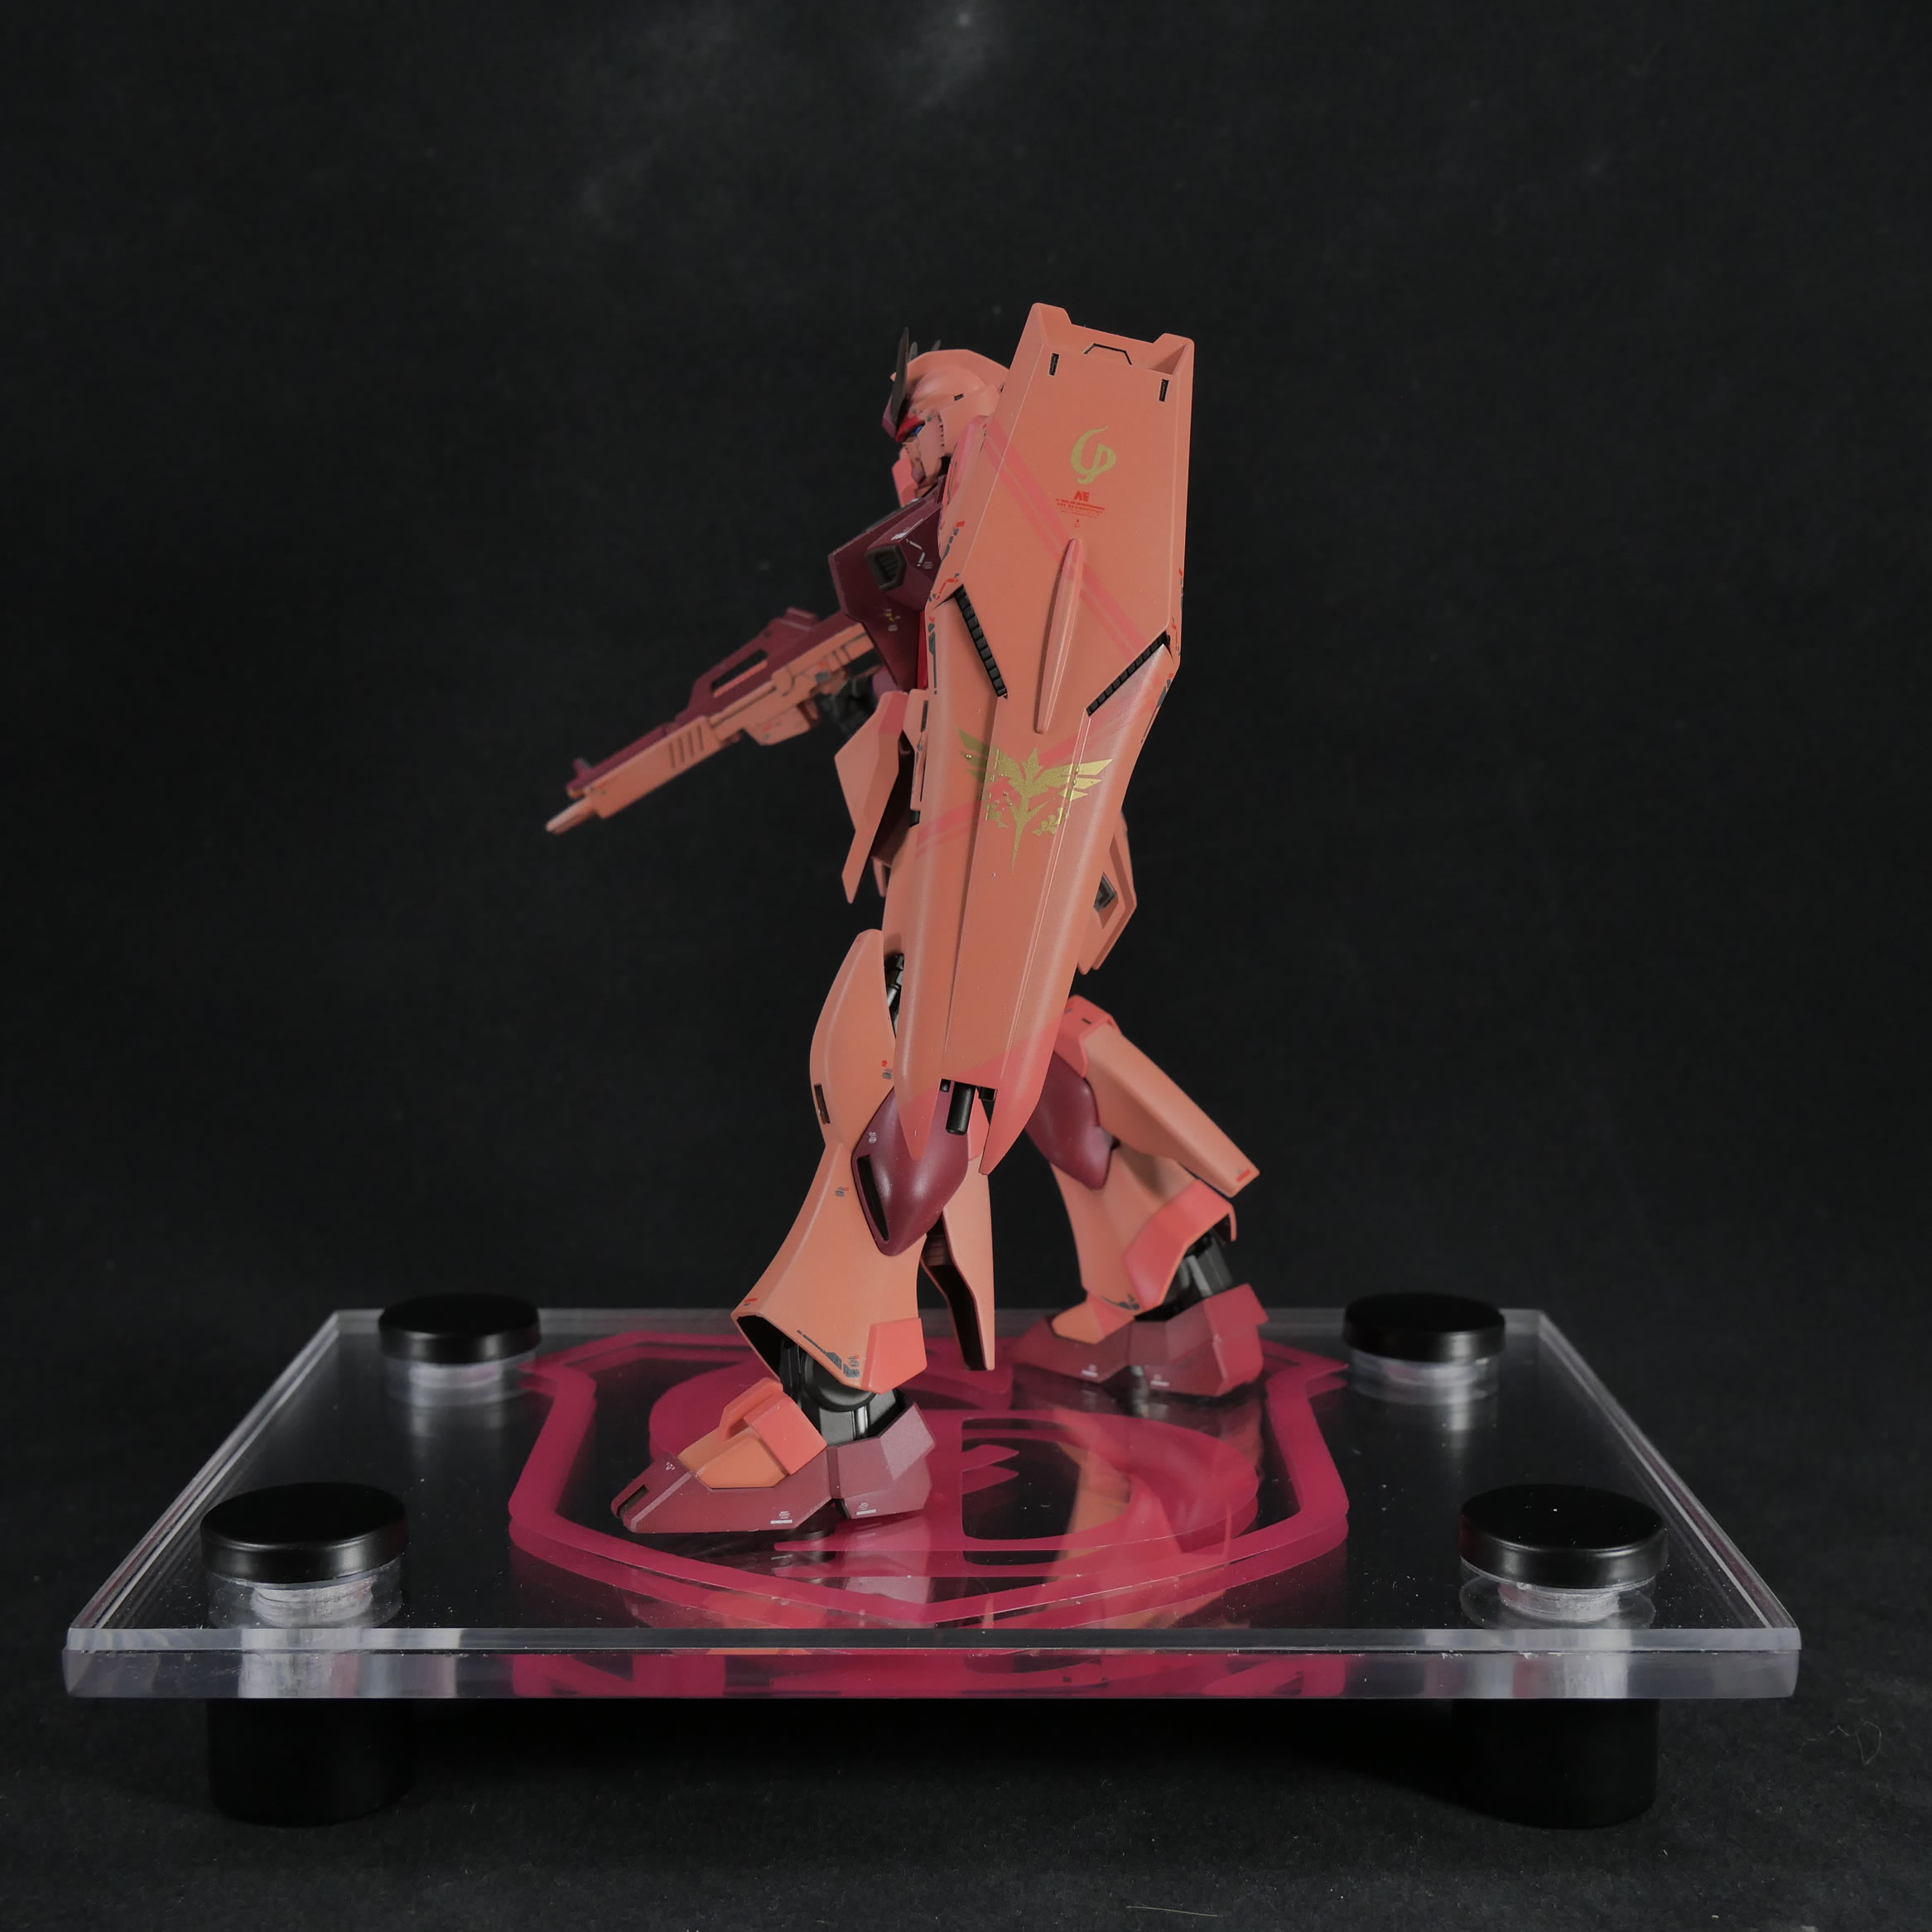
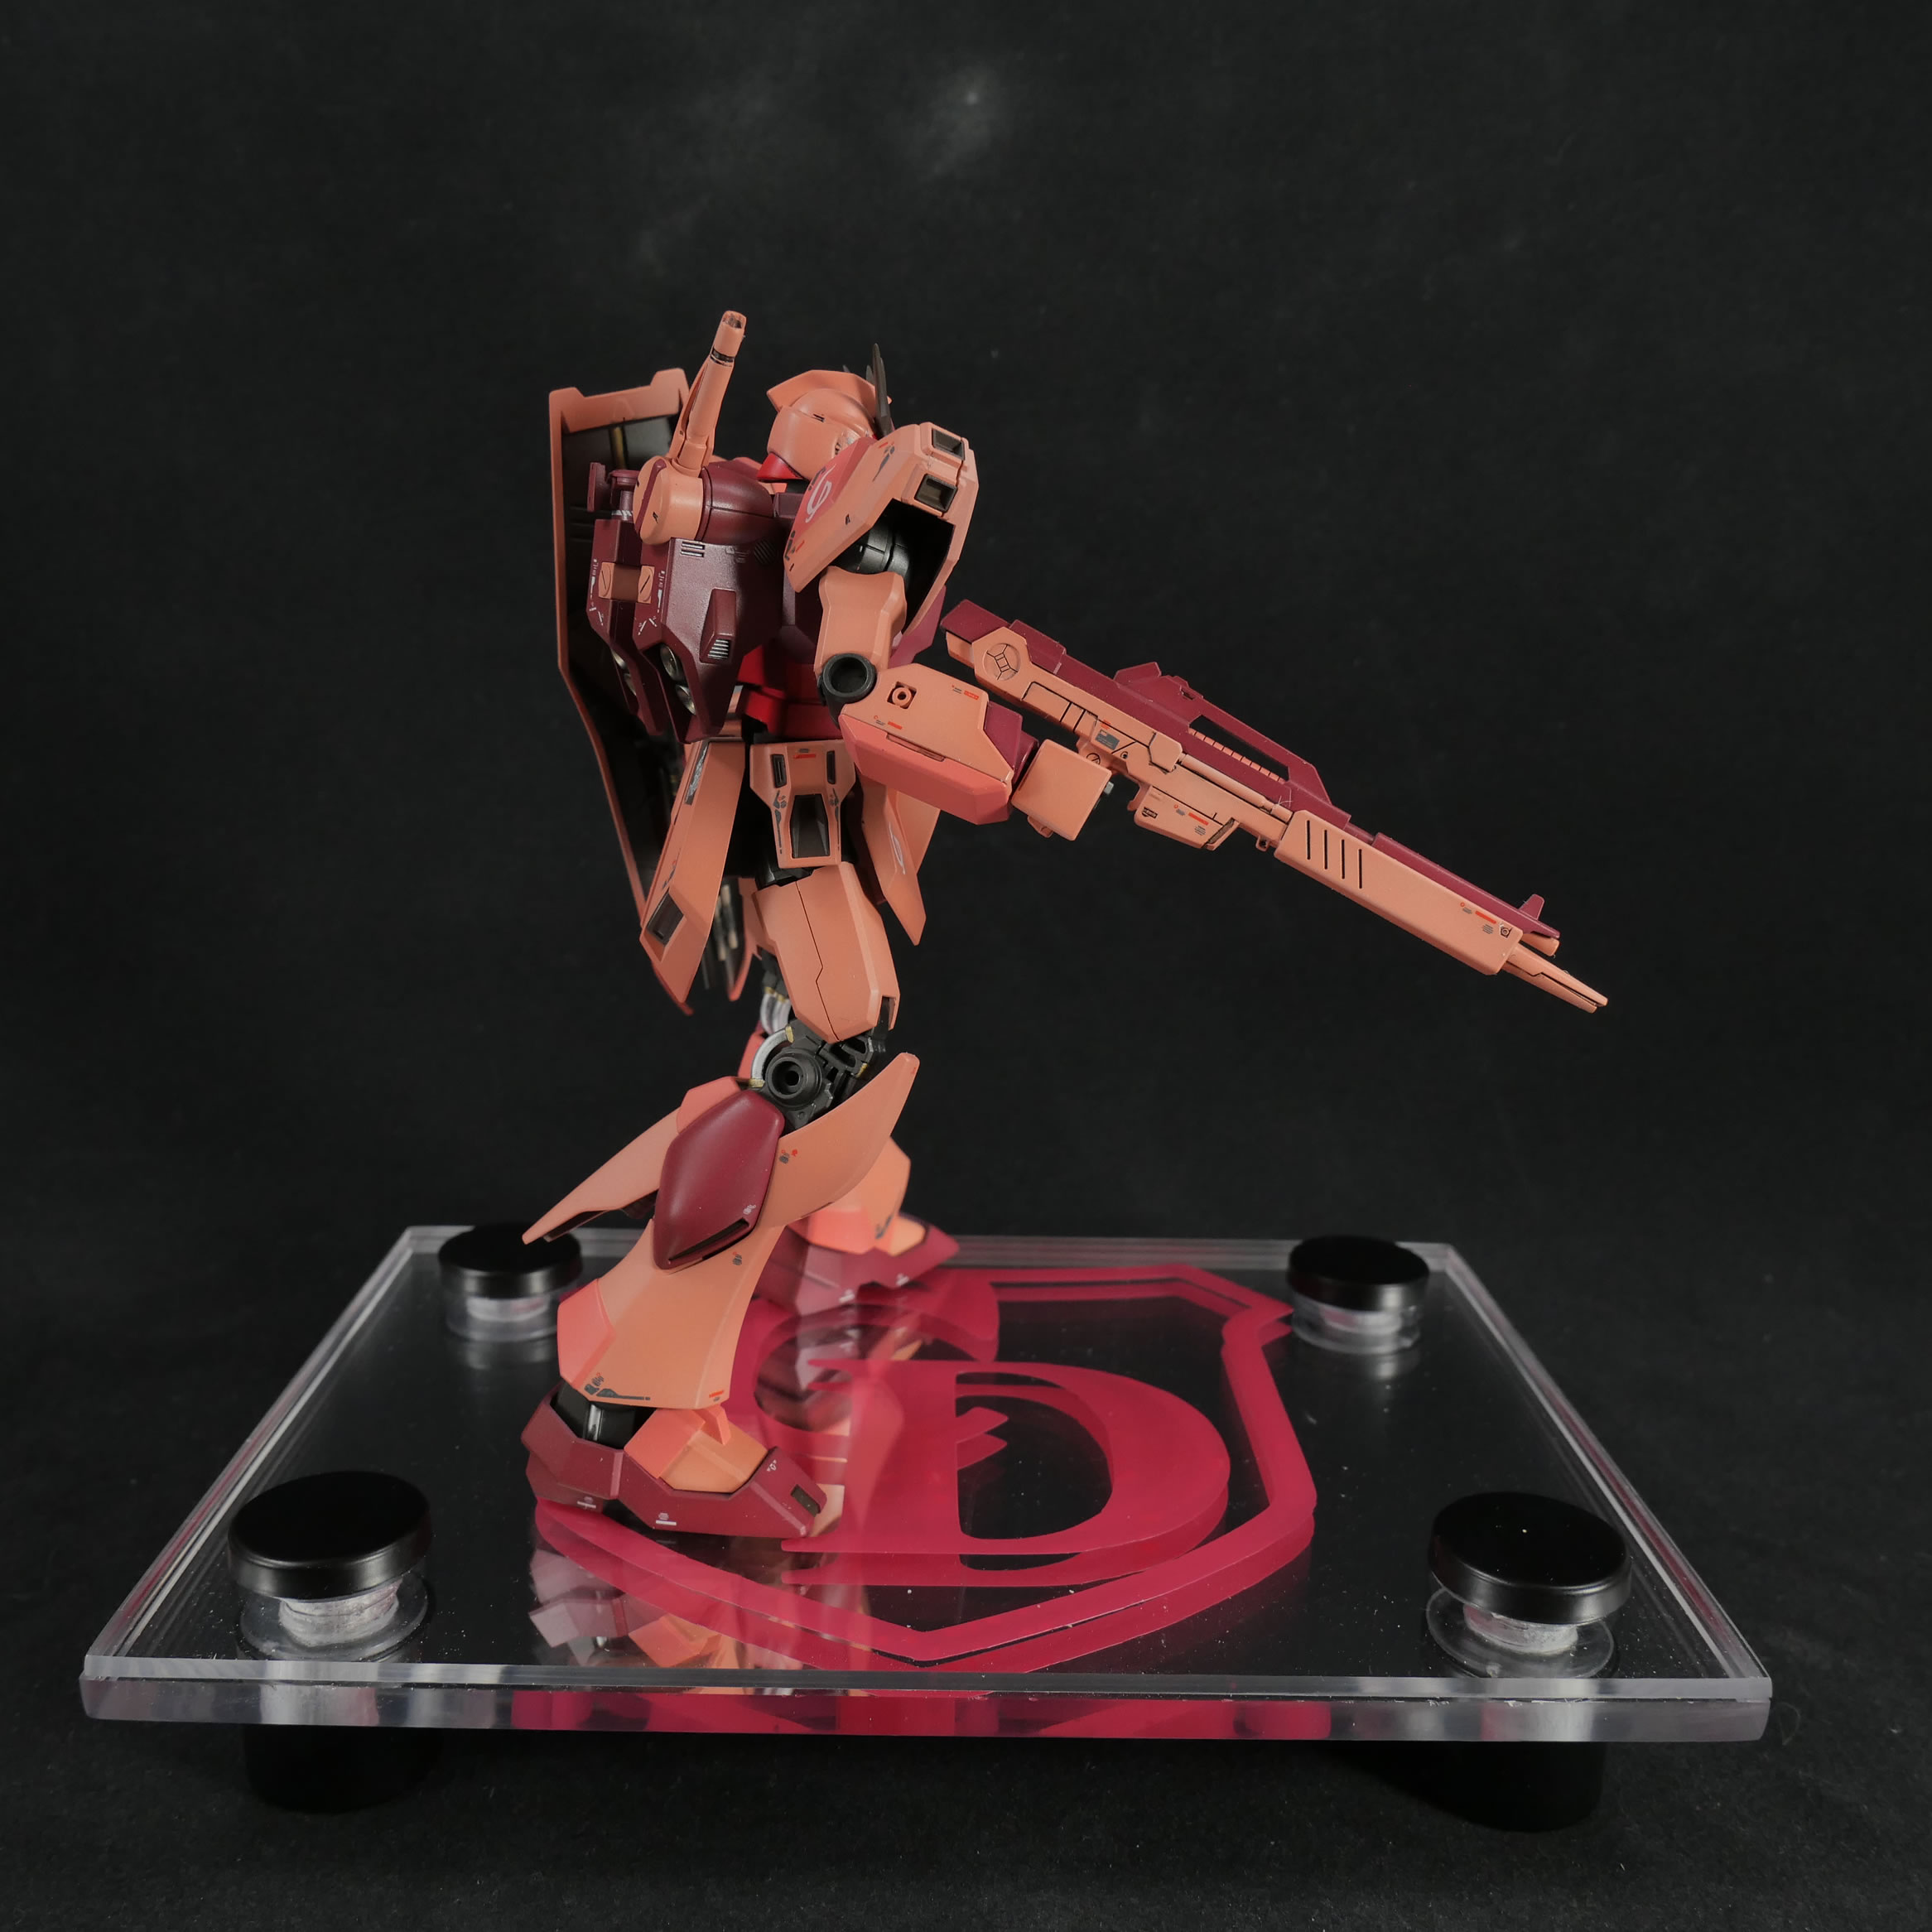
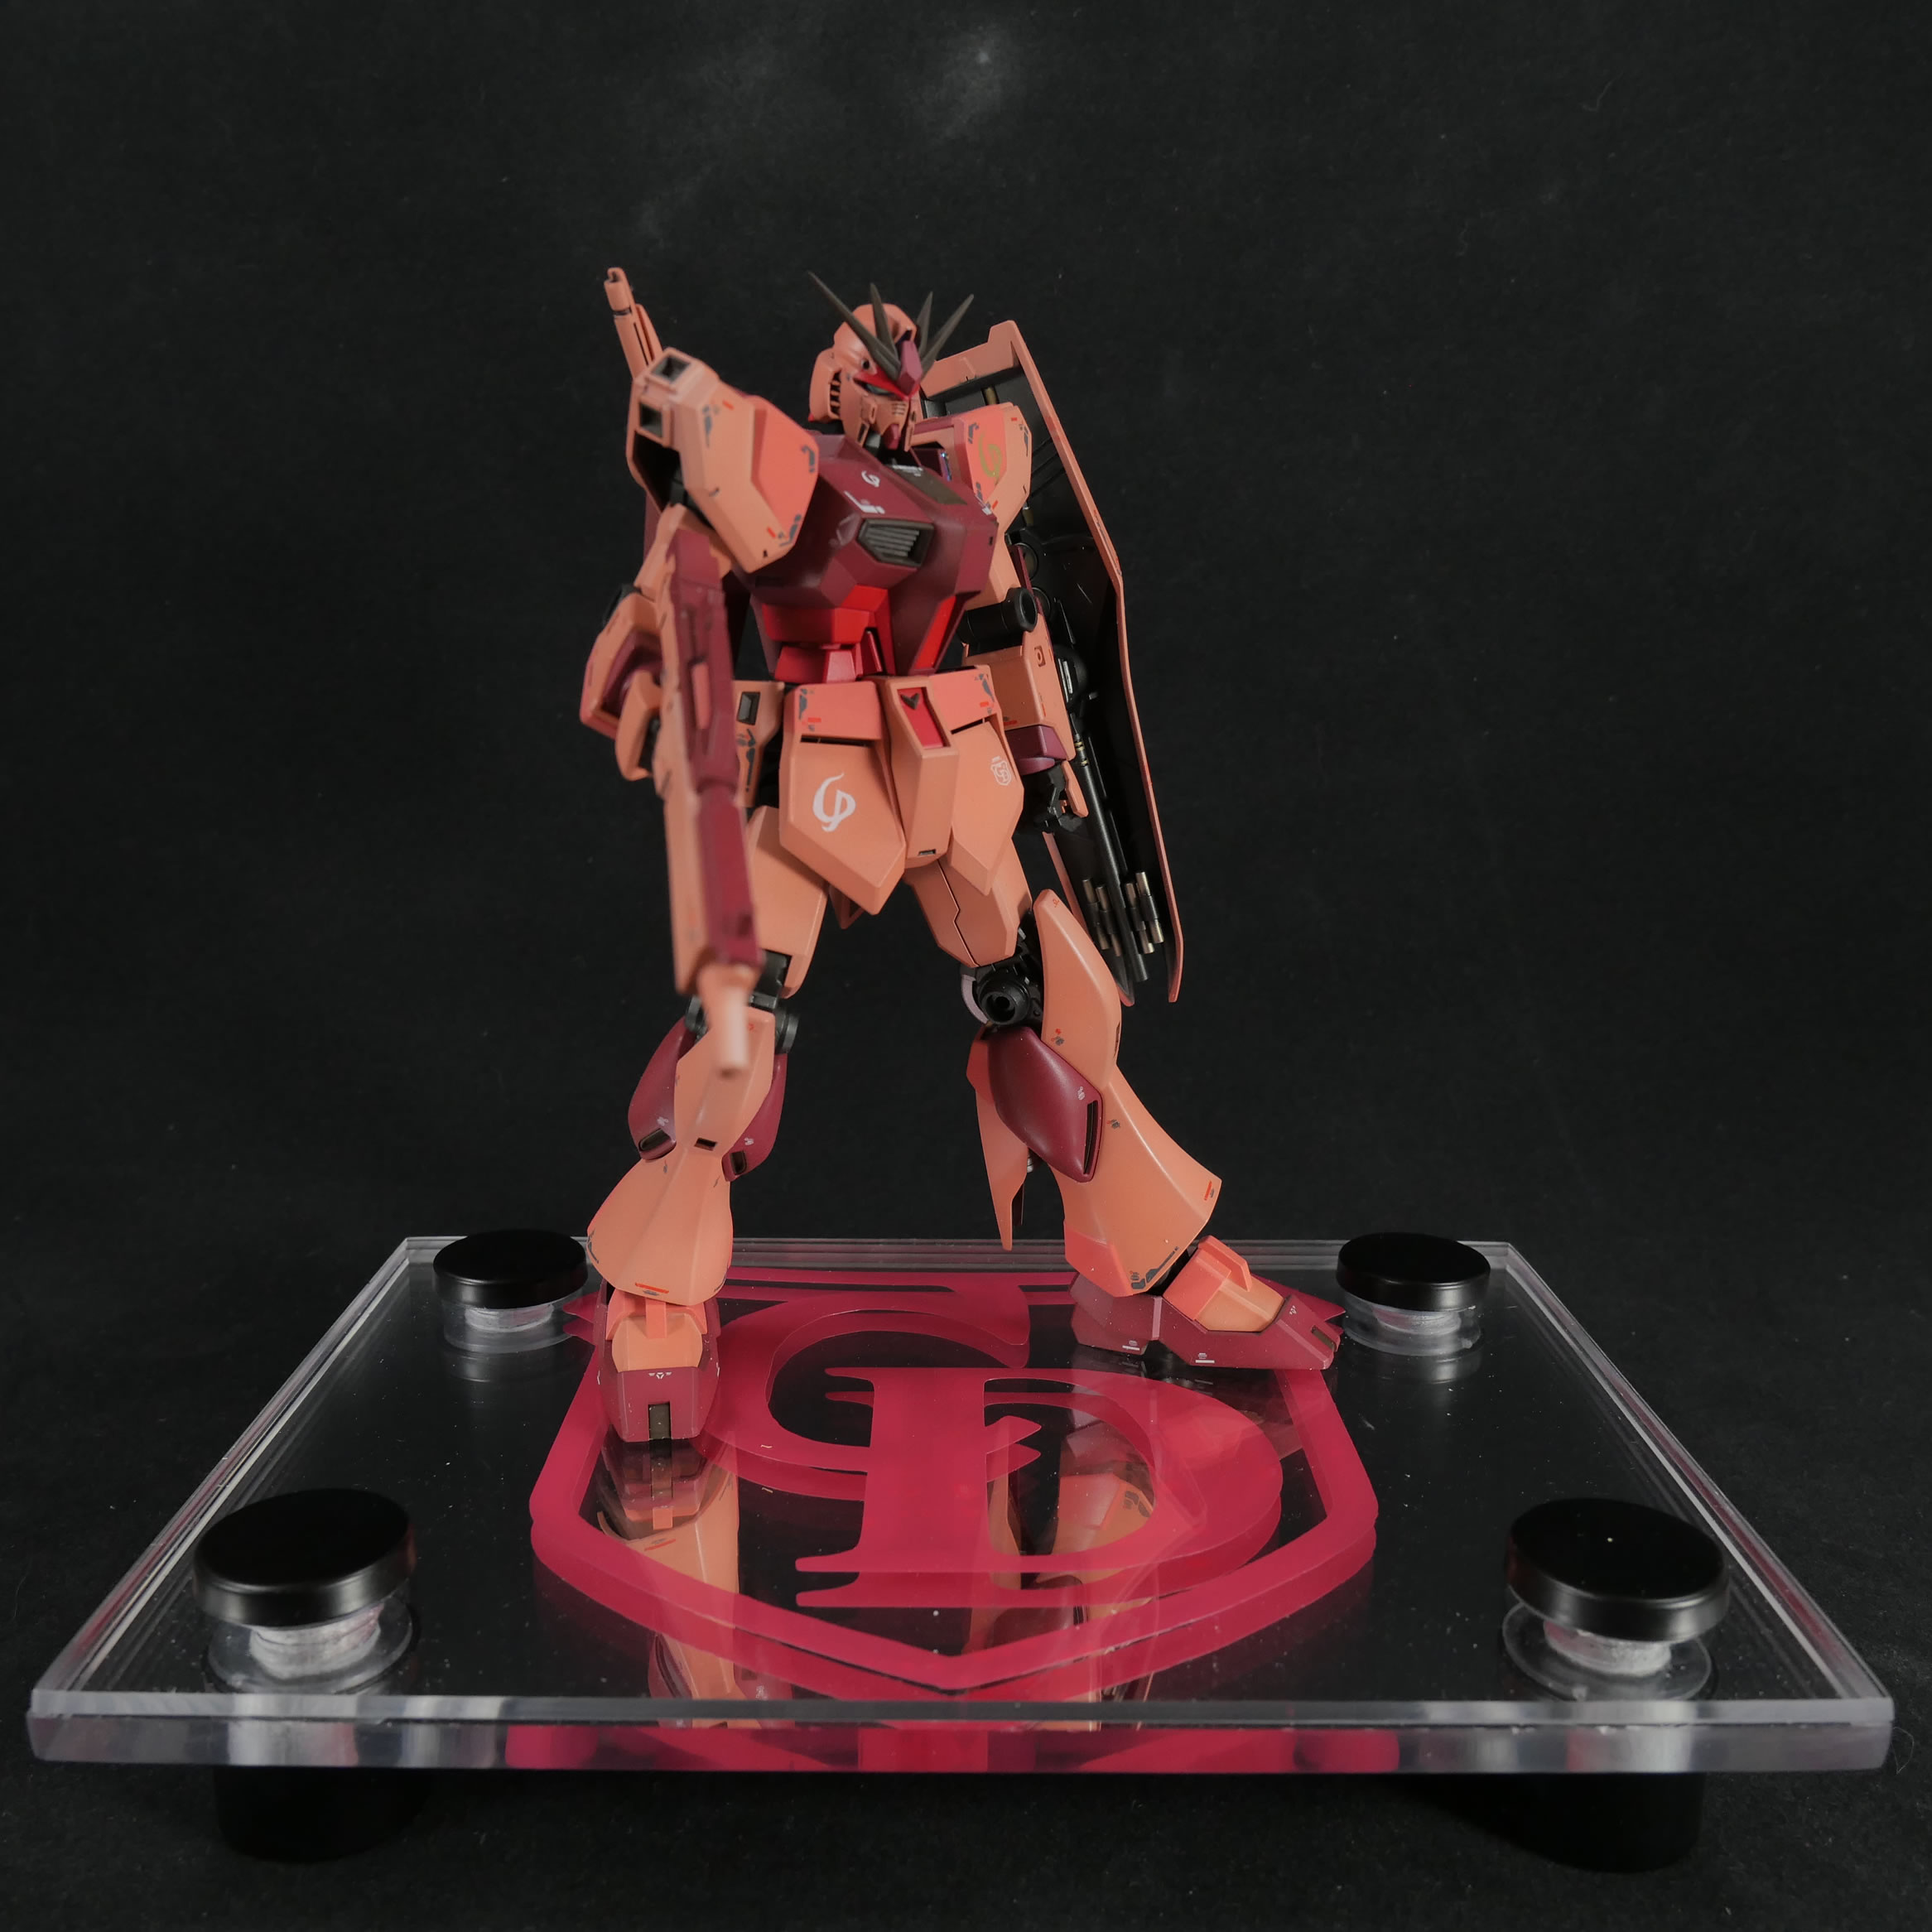
With the base done, time to snap some final pictures. And I’m a few days ahead of the deadline. How are all you guys doing with your EG Nu’s? I’m done, suck it bitches!
|
|
|
|
|
|

|

|
|
|
|
|
|

|
|