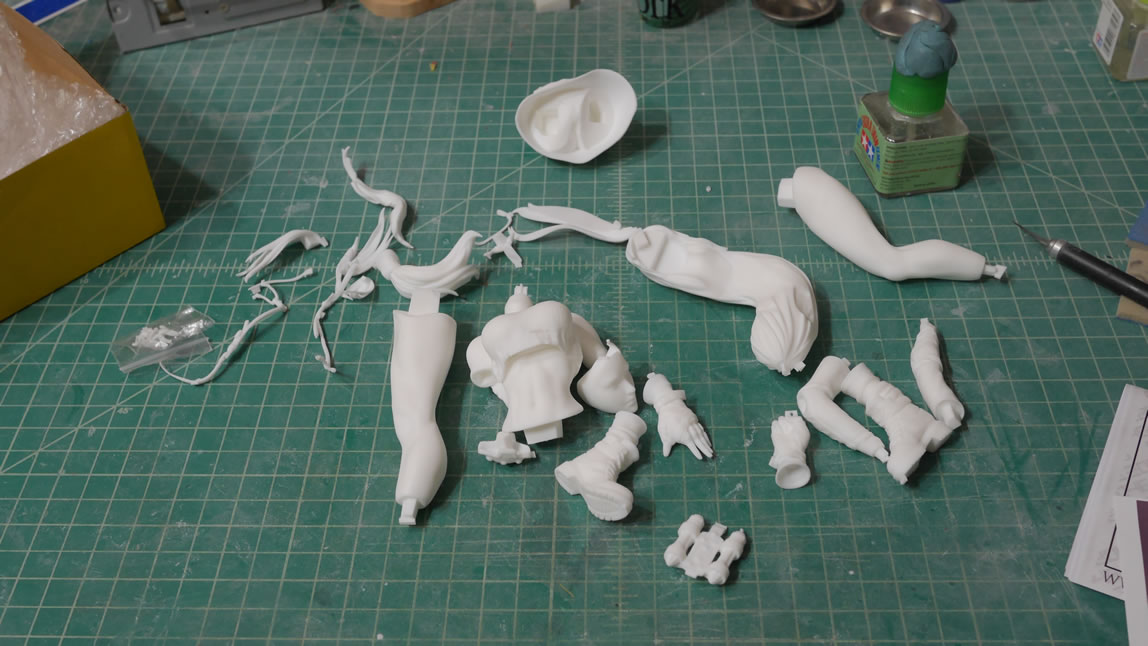
I originally was going to start a 1/48 scale F4U-1 Corsair and upon opening the kit and sorta starting on it, I decided to to some research and grab some reference photos. That then lead me down a rabbit hole of buying a photoetch detail set and a photoetch bending tool. And so I had to shelve the project while I wait for those bits to arrive and in our current world situation, who knows when I’ll get those items. So time to crack open another figure kit. Tifa Lockhart from Final Fantasy 7. I think this was a 3D model that was then created as a kit. Not sure, but when I saw it, I knew I needed to pick it up. The parts look pretty clean, as in very few mold lines and such.
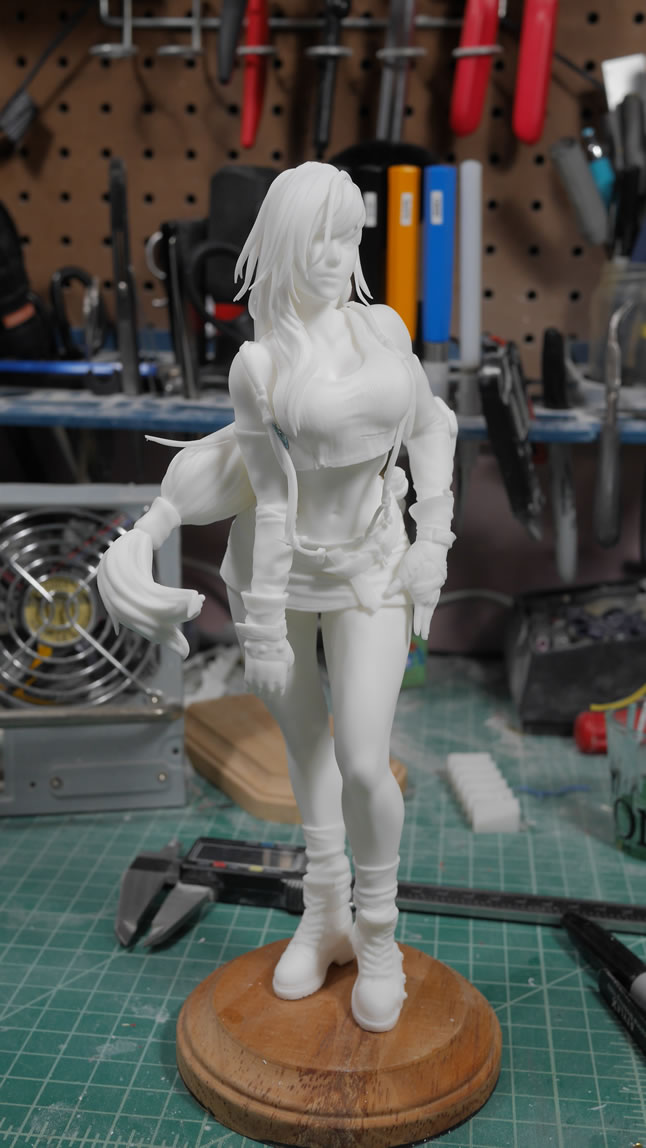
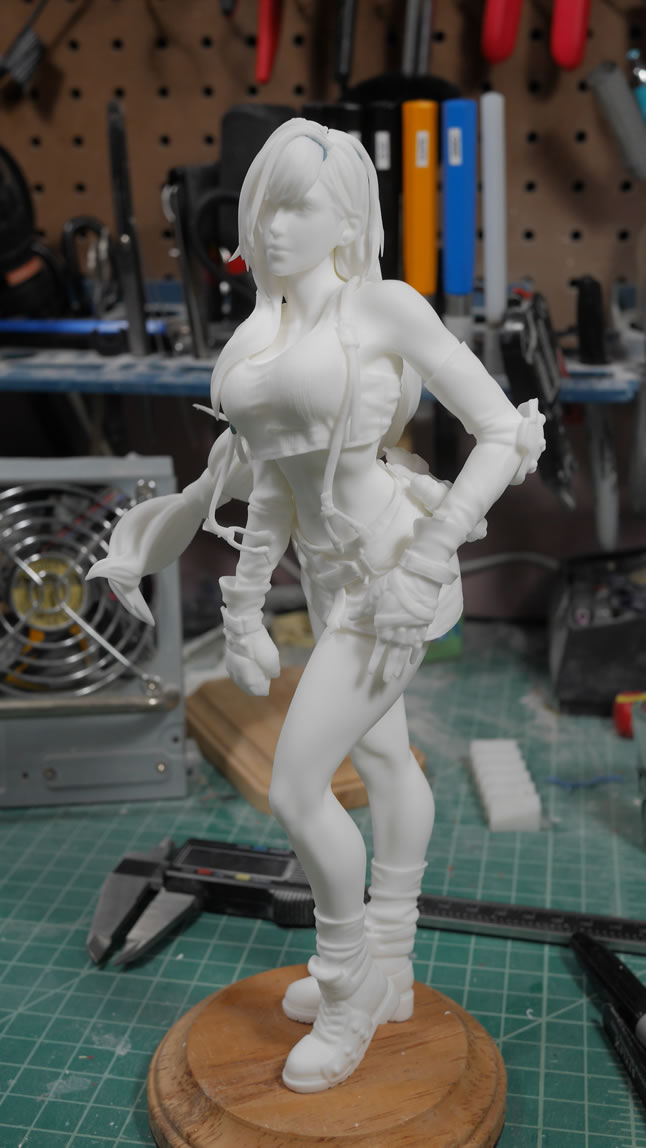
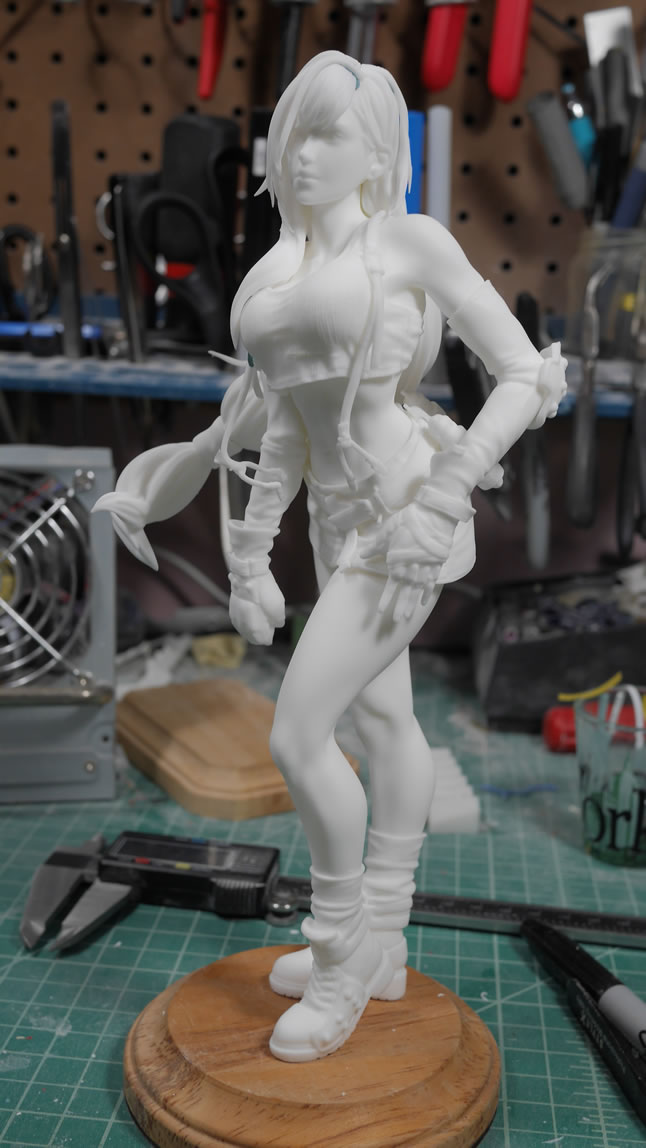
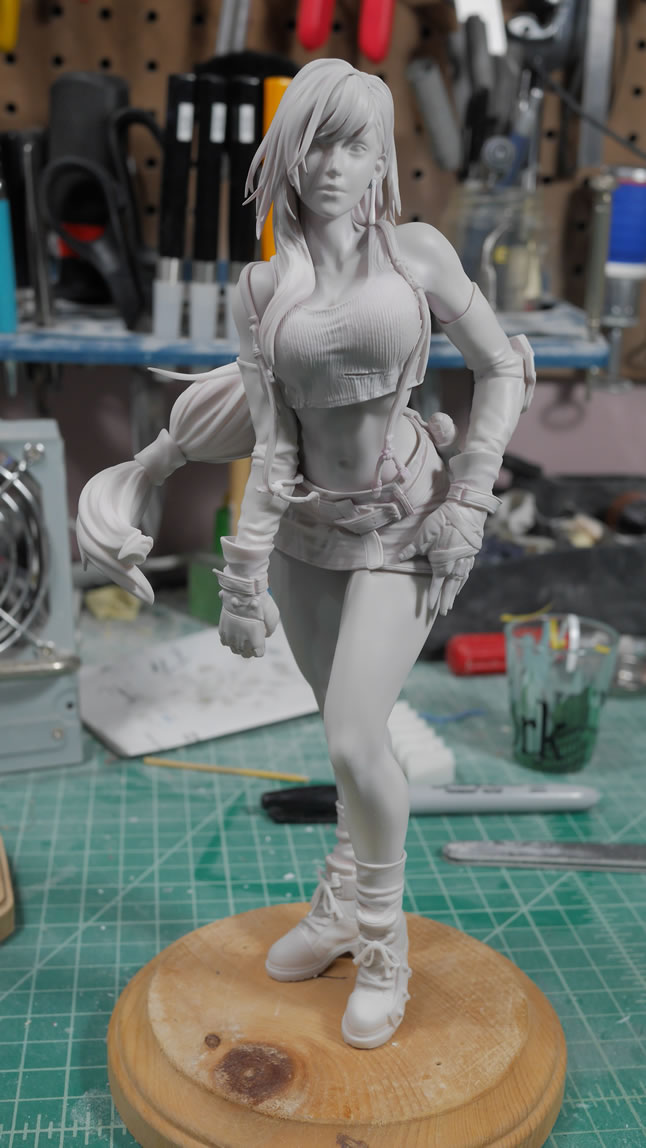
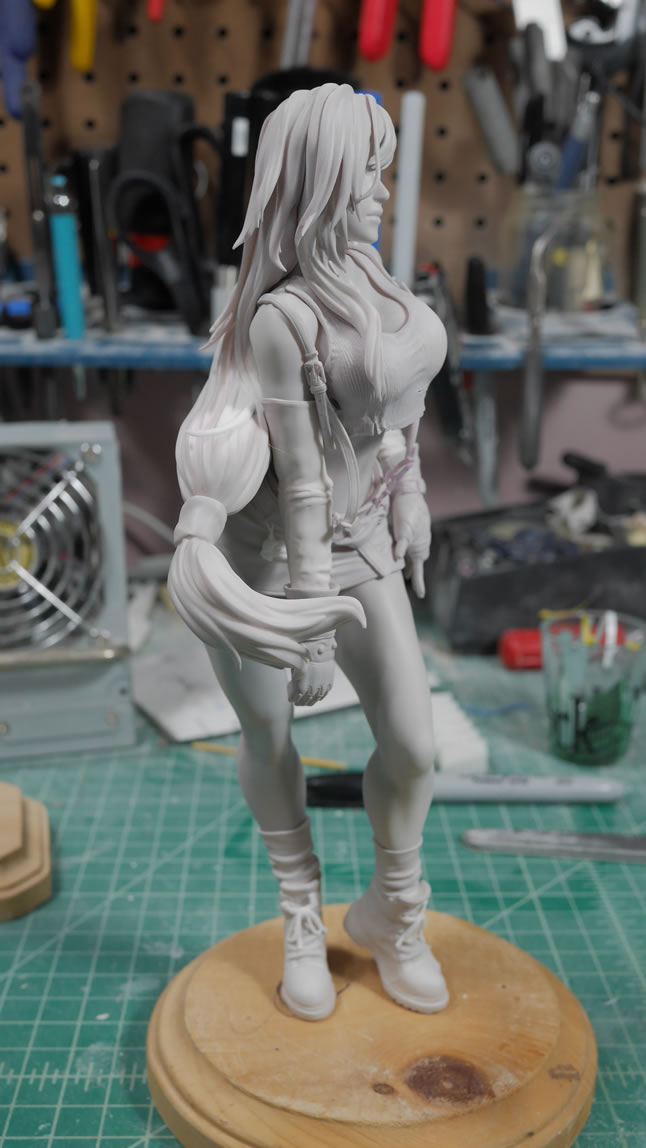
I did a quick snip and test fit. The balance on this kit is much better than the Sakurai. She can stand on her one with a fair amount of stability. She’s thick. But in a good way. I was in the Air Force when this game came out in ’97. I think I picked up the game and the PS1 at the same time while in Tech school in West Texas. The memory is fuzzy as I think I had discussions on the characters with a class mate during my time there. Regardless, the game made a pretty big impact on me. I was always a bigger fan of the bar girl than the flower girl. But this is the only Tifa kit I own too. There were plenty of sculpts over the years but nothing really jumped out and grabbed at me like this one. So not that the FF7 Remake game is coming out on Friday, I hope to finish her by then. I finished Sakurai in 3 days; and I’m currently further along on Tifa now, then I was with Sakurai when I restarted that project.
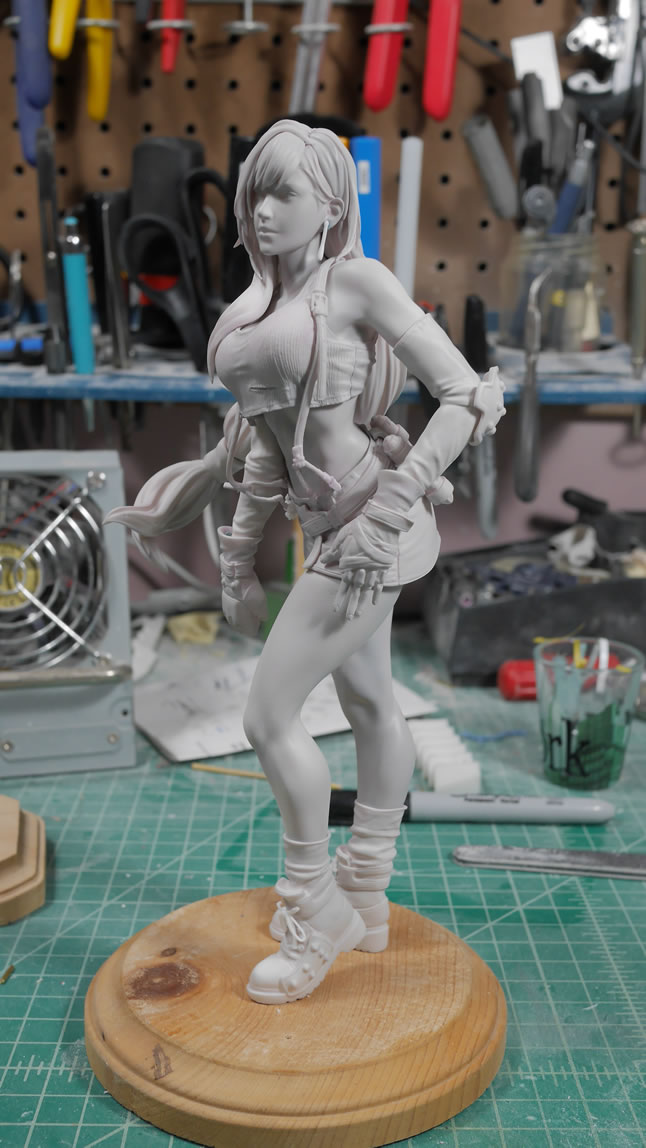
Obligatory pinned/sticky tacked/magnetized build up turnarounds:
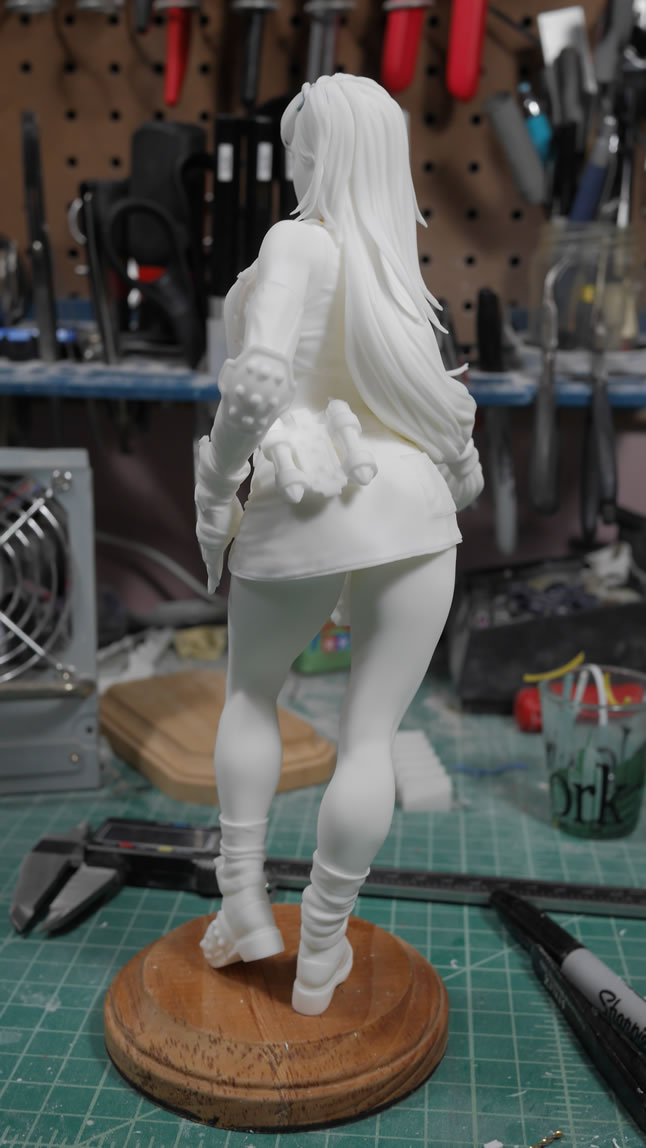
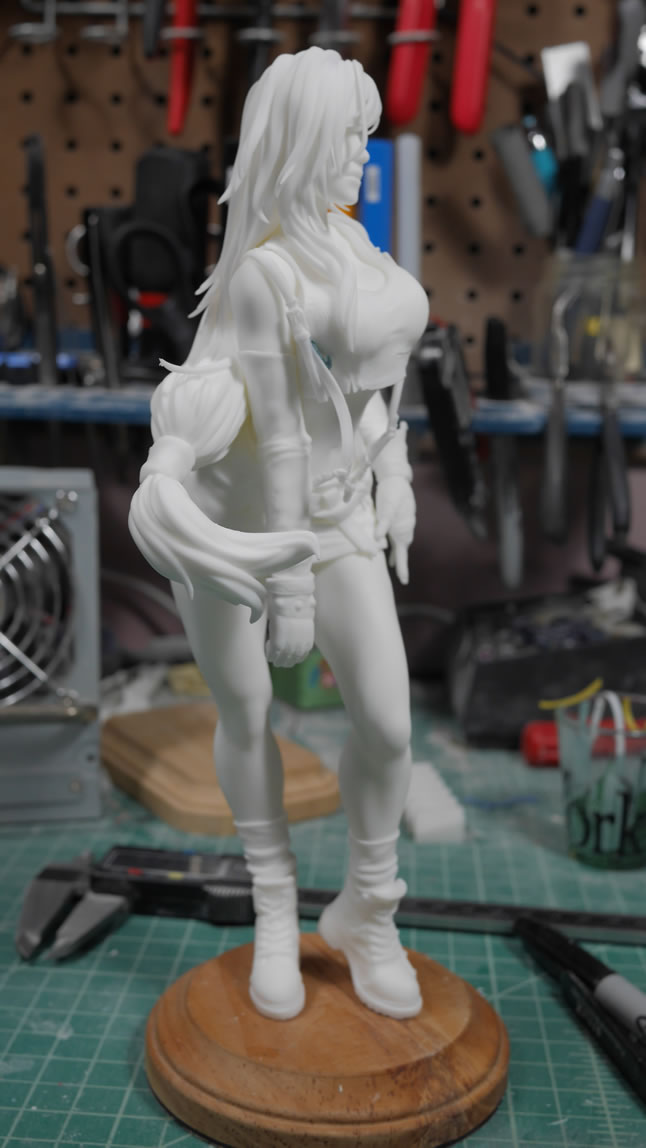
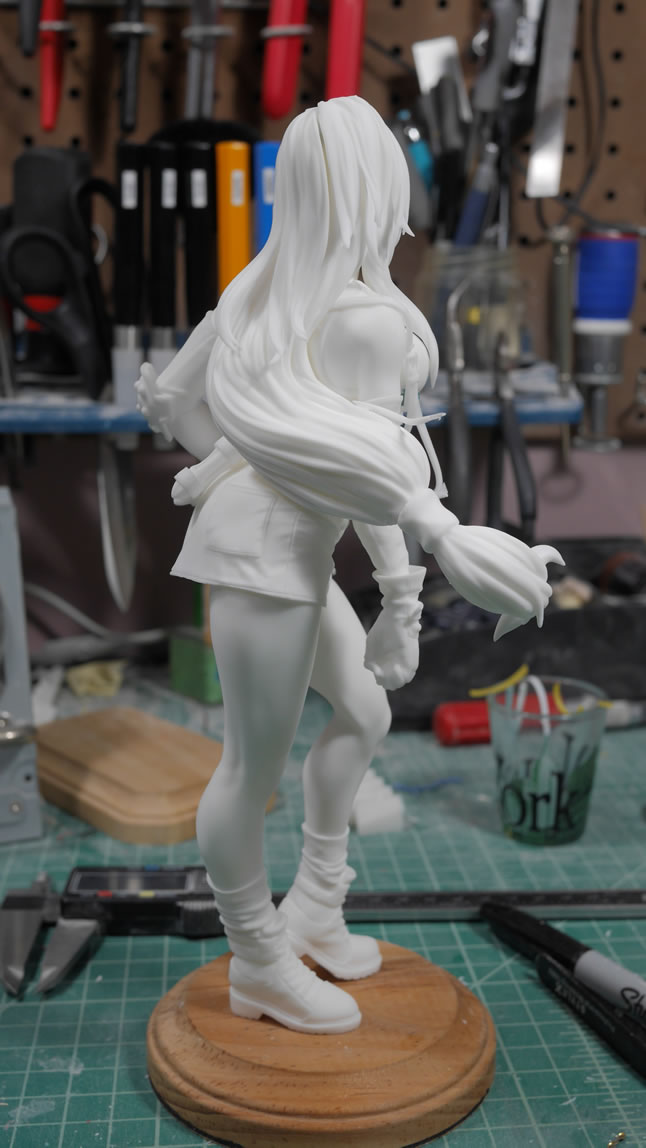
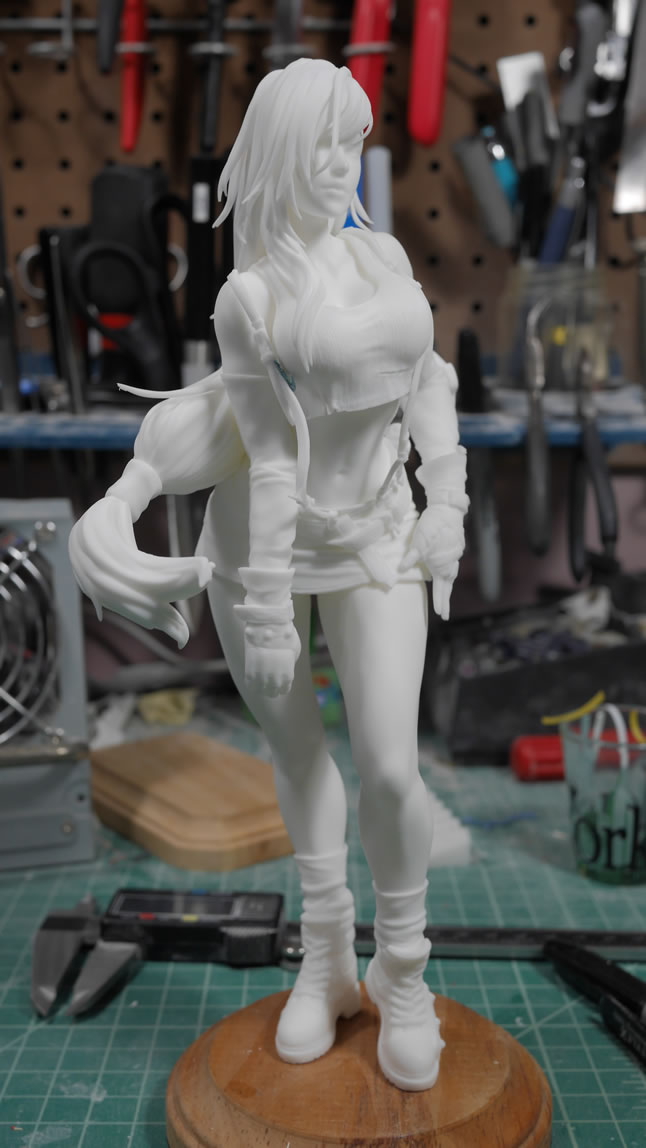
This is a short post that I hope to make a few more as I progress over the next few days, but more about this after the jump.
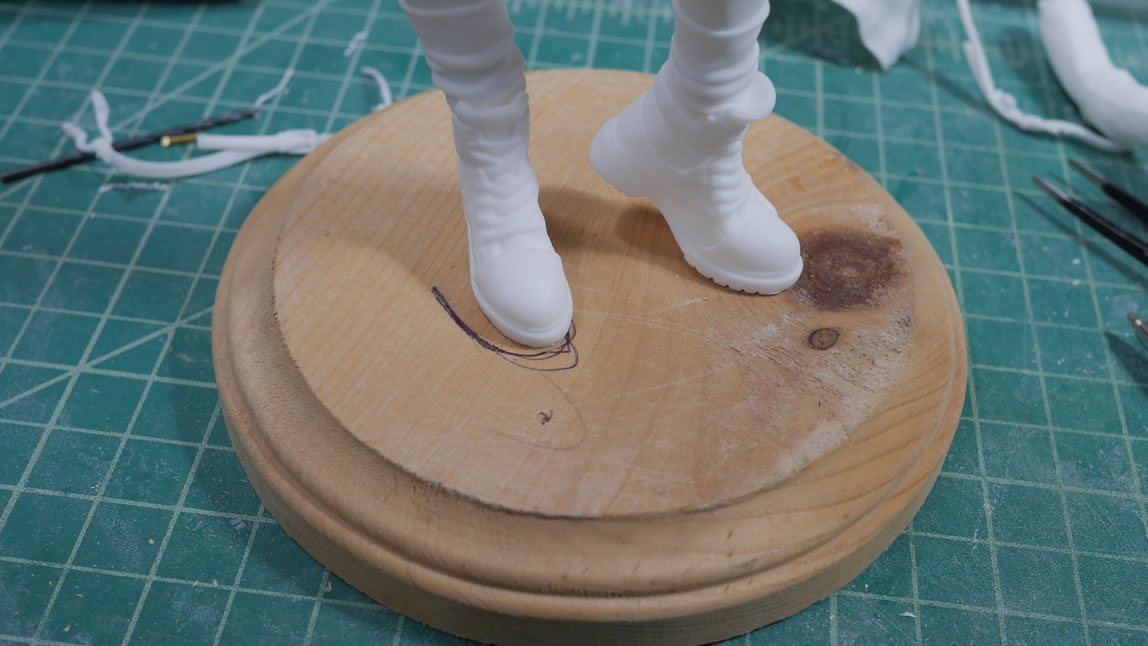
As stated earlier, the balance is pretty good. But to add stability, I will be doing the same modification as the Sakurai project. Magnet in the boot with a big magnet in the base. The project I have now is that I don’t have enough properly sized magnets. So those are on order. I have the mark on the base done. I will also be doing something similar with this base as the Sakurai base.
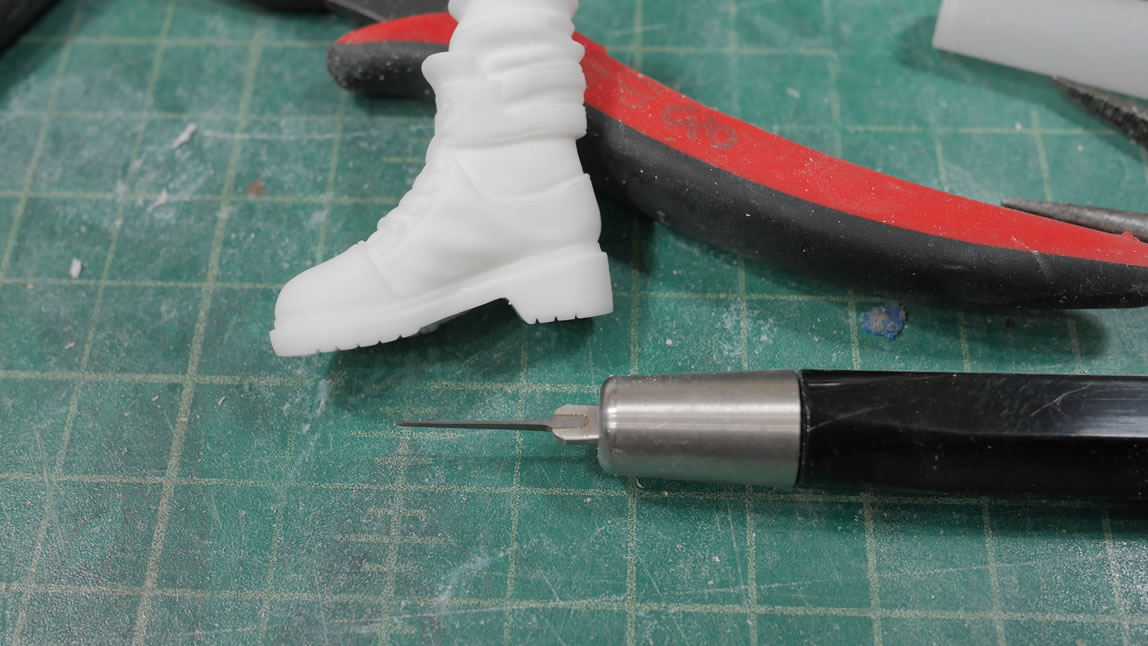
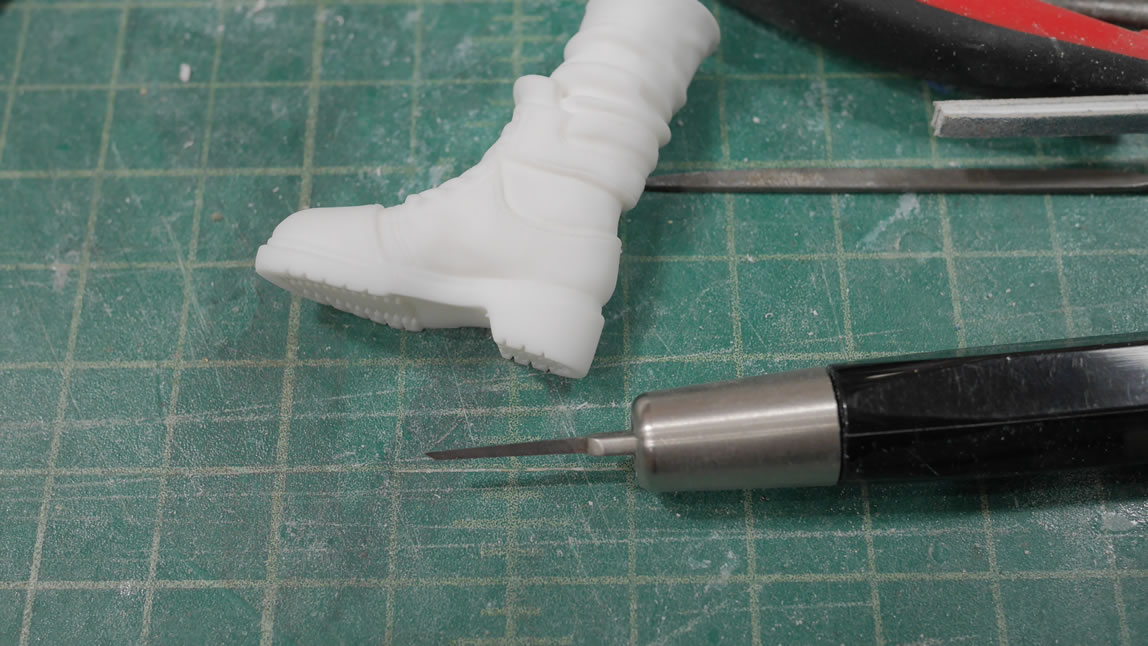
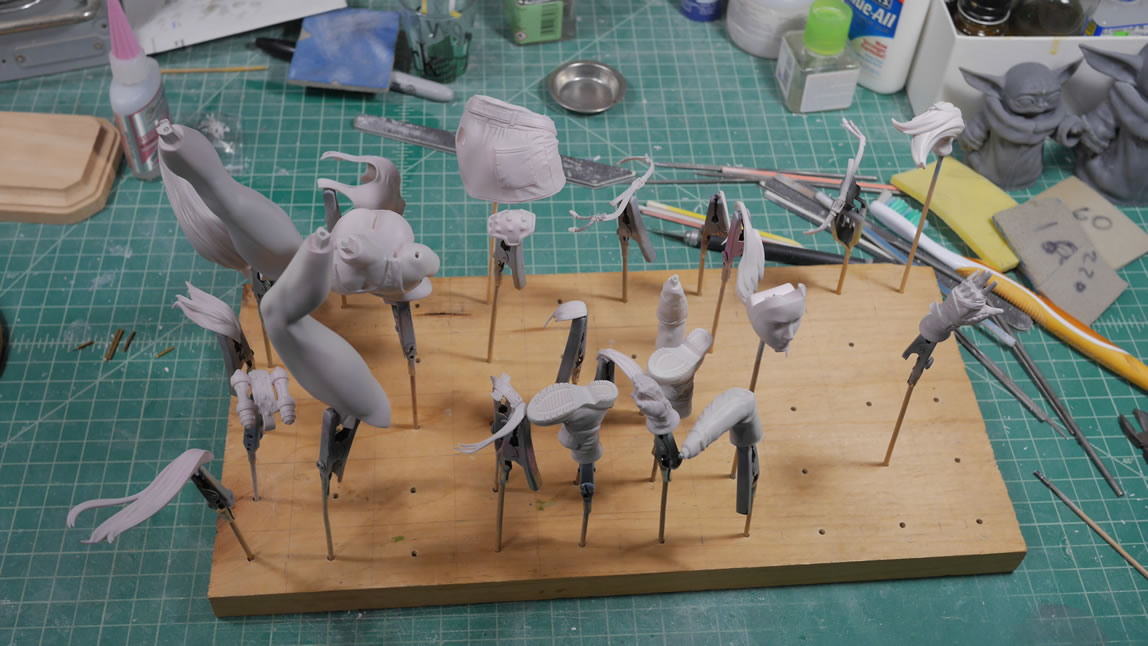
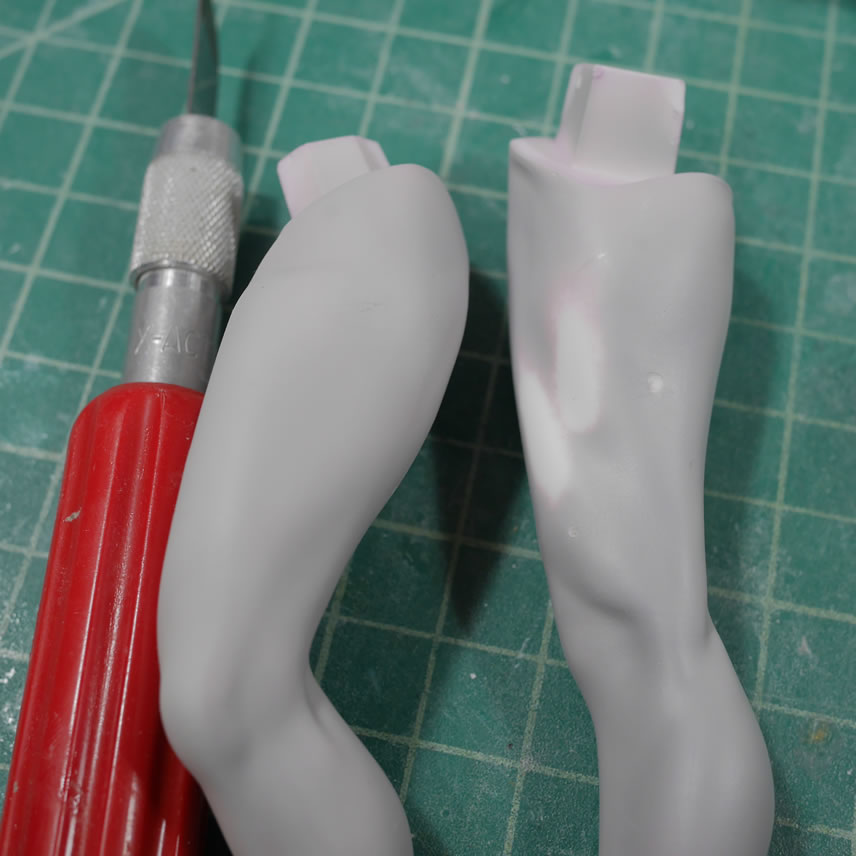
First steps is to take her apart and start working on sanding down the exhaust tabs on the kit as well as any mold lines and surface defects. For the boots, there are some missing details, so those needed to be scribed back into the part. Chisel tools are very useful in working with the soft resin.
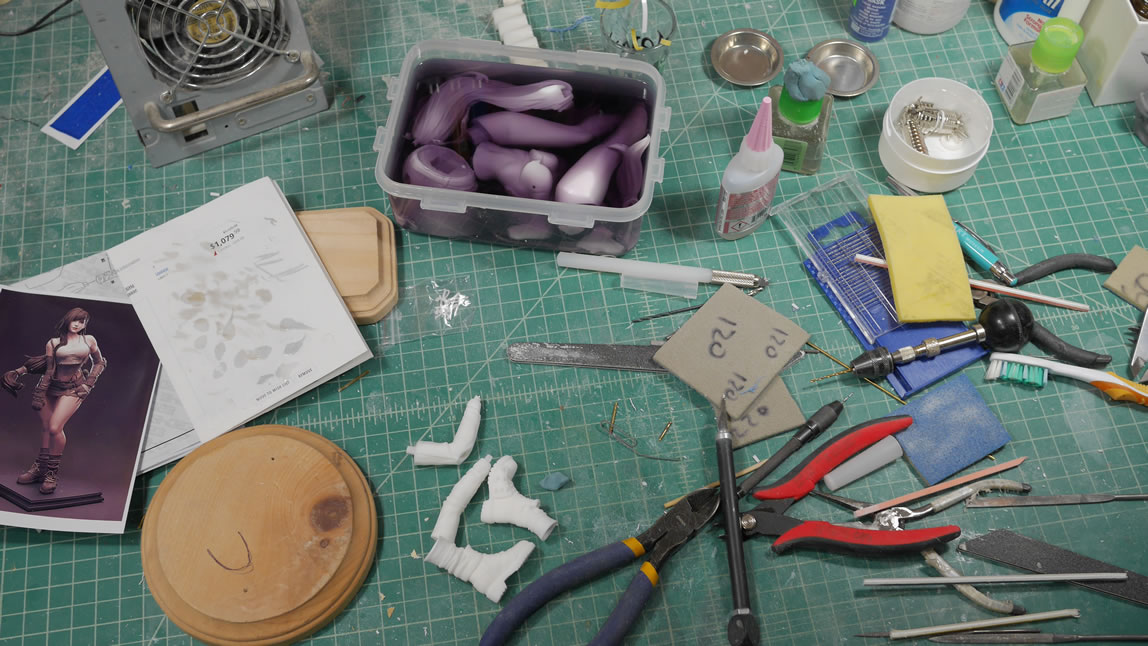
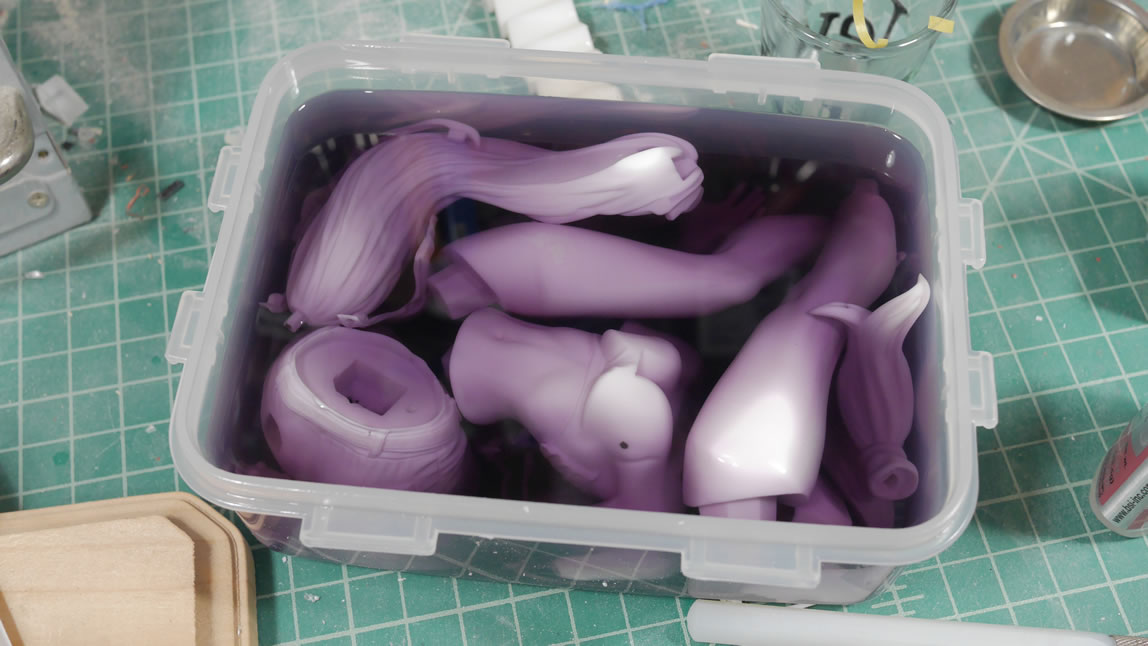
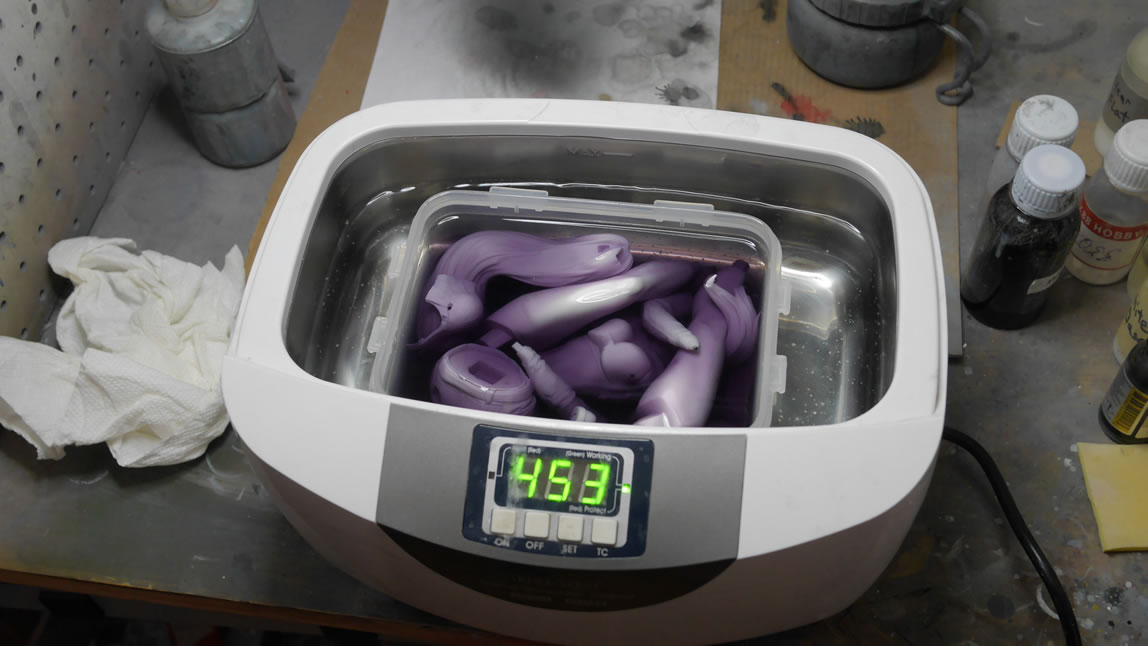
Once that is sanded down, the parts are thrown into a vat of purple degreasing fluid that will hopefully dissolve any residual mold release. I typically let the parts sit in the vat for 12 hours before rinsing them and running them through the ultrasonic cleaner. But to see if I can speed the process up, I put the tub of purple liquid into the ultrasonic cleaner and ran it, so that the scrubbing action is done with the degreaser. Lets see if this works or comes back to bite me in the ass later.
After the purple bath, the parts are rinsed in water then run through the ultrasonic cleaner again with just water to do a final scrub. The parts are then mounted on skewers and placed into the dehydrator to speed up the drying process. New thing I noticed with this resin is that the purple fluid stained the parts. Not too big a deal, but it is something I haven’t noticed with other resin projects. Makes me wonder about the resin quality.
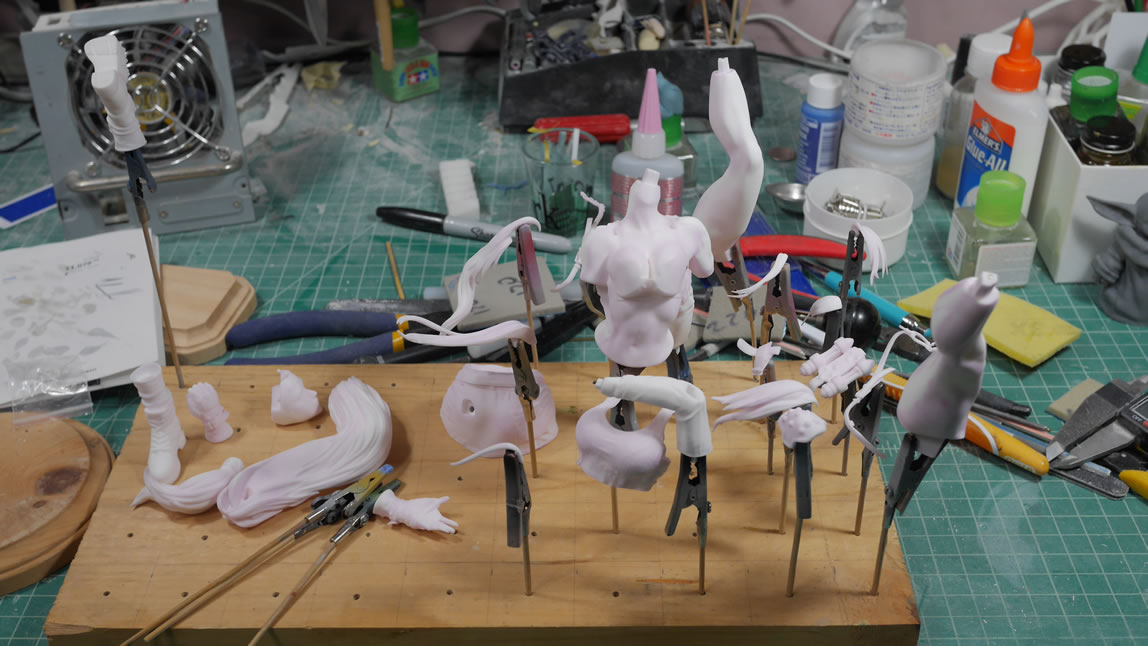
Stains don’t matter since I’m priming it with Mr Surfacer Primer (replacement for Mr Resin Primer). Apparently Mr Surfacer Primer is different from Mr Surfacer 1000. The parts are primed and back into the dehydrator to speed up curing.
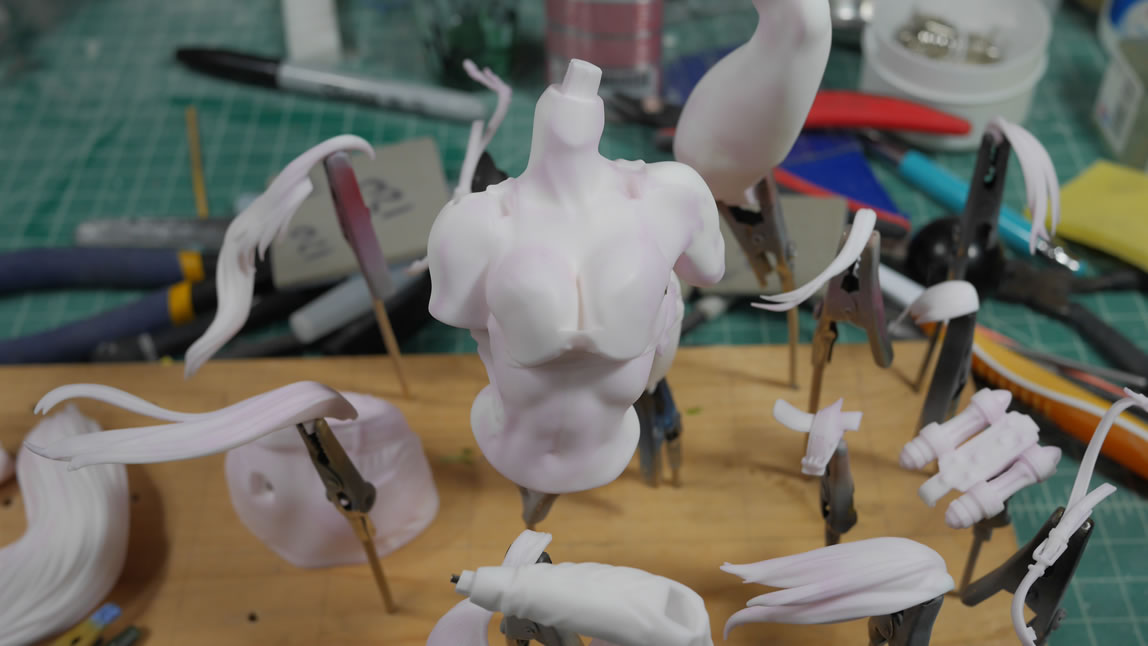
Once cured, another obligatory assembly and turnaround session to check for defects and missing parts. There was a baggie of little details that included shoe laces, a tiny chocobo belt loop hanging toy, an earring, and one strand of hair that I missed. These were cleaned up and put into the vat of purple liquid and is still soaking as I write this now.

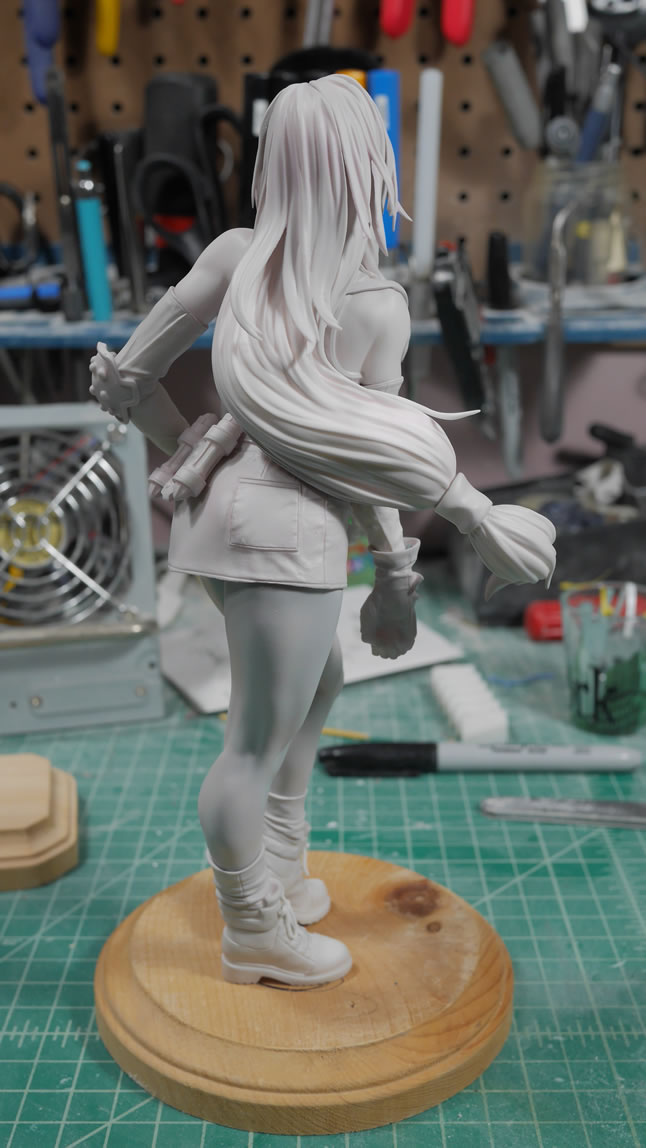
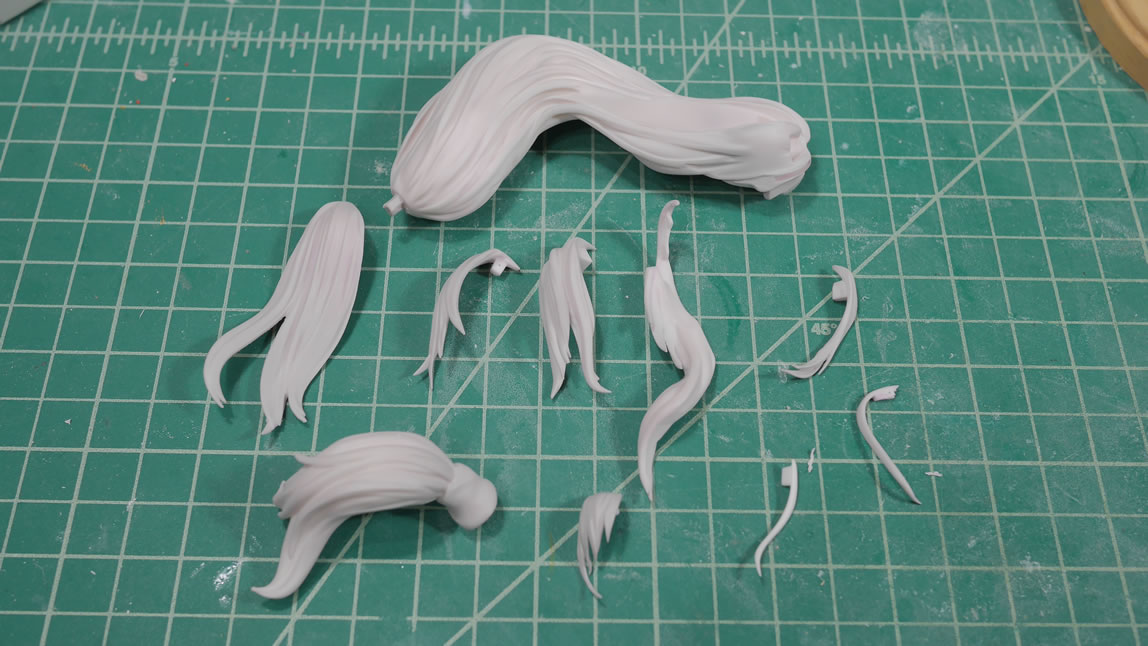
The hair is an interestingly designed project on its own. The hair parts account for at least a third of the kit’s parts.
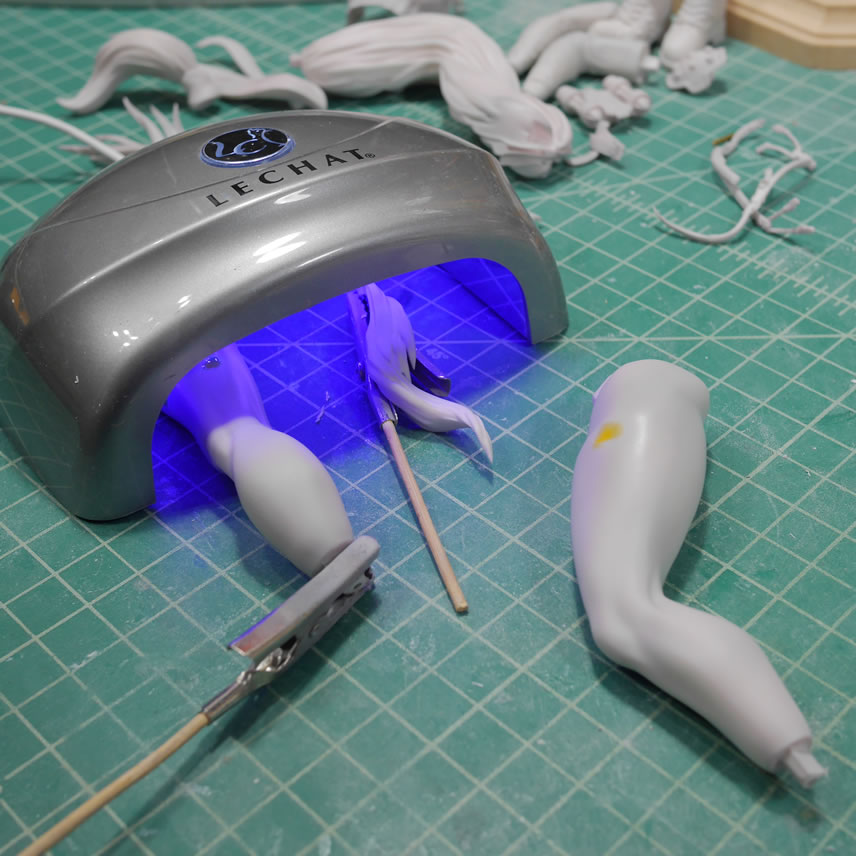
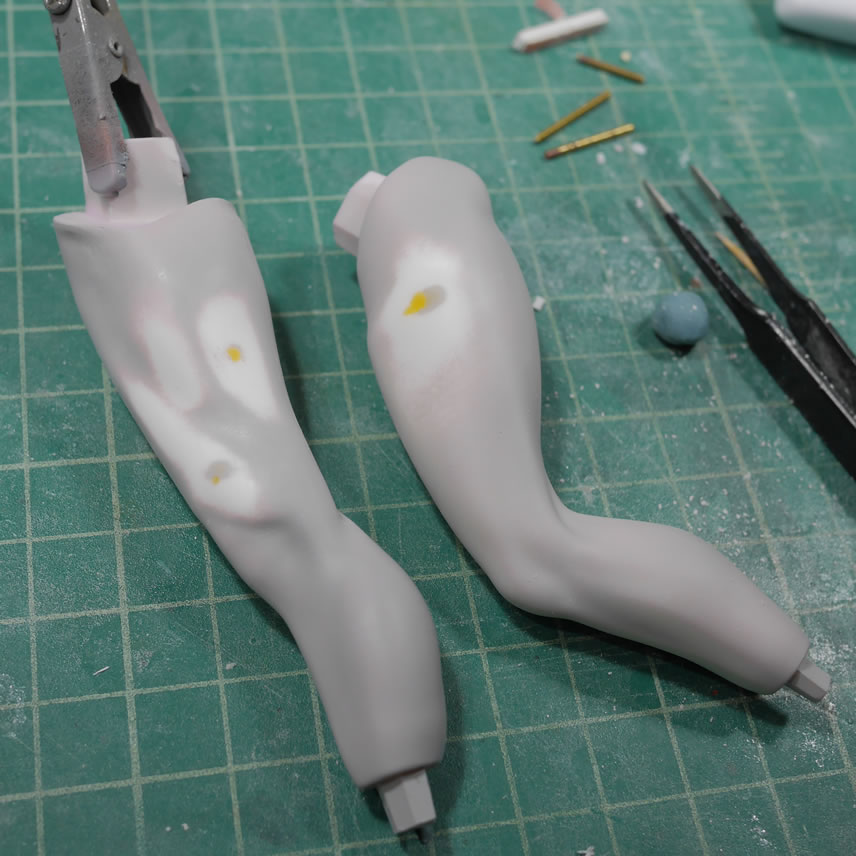
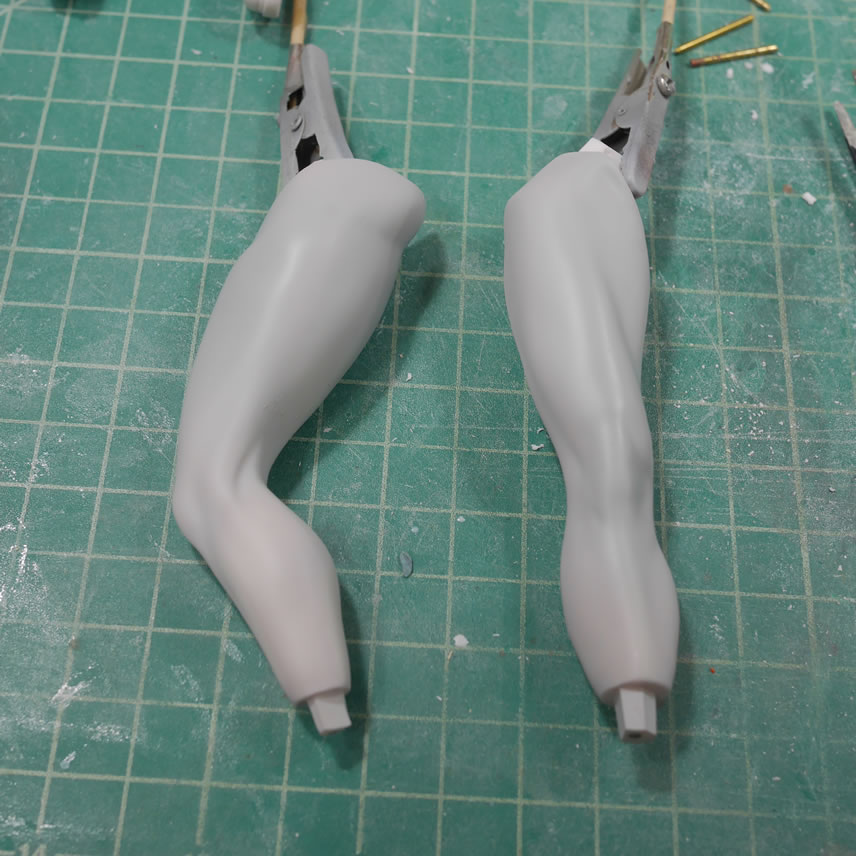
The last part of this post shows the work on fixing defects that show up after the kit is primed. There were some surface defects that needed to be cut open to have more surface area for the putty. Just puttying over the defects isn’t too good an idea. Once it dries/cures, sanding may completely pull the putty off the part since it doesn’t really have mush surface area to grab. Holes were cut, light curing putty employed. The putty cures under ultraviolet light in less than a minute and the repair areas are sanded down. Then reprimed and done.
Next update will be less monochromatic.
