I haven’t posted an update in a long while since I’ve been extremely lazy in the past few weeks. I’ve been suckered into playing GBGW (Gunpla Battle: Gunpla Warfare) on my damn phone. *cough*E4AKNYNR6*cough*. But that has slowed down because energy recovery at higher levels takes some time, and I’m not giving Bandai any more money than I already give them.
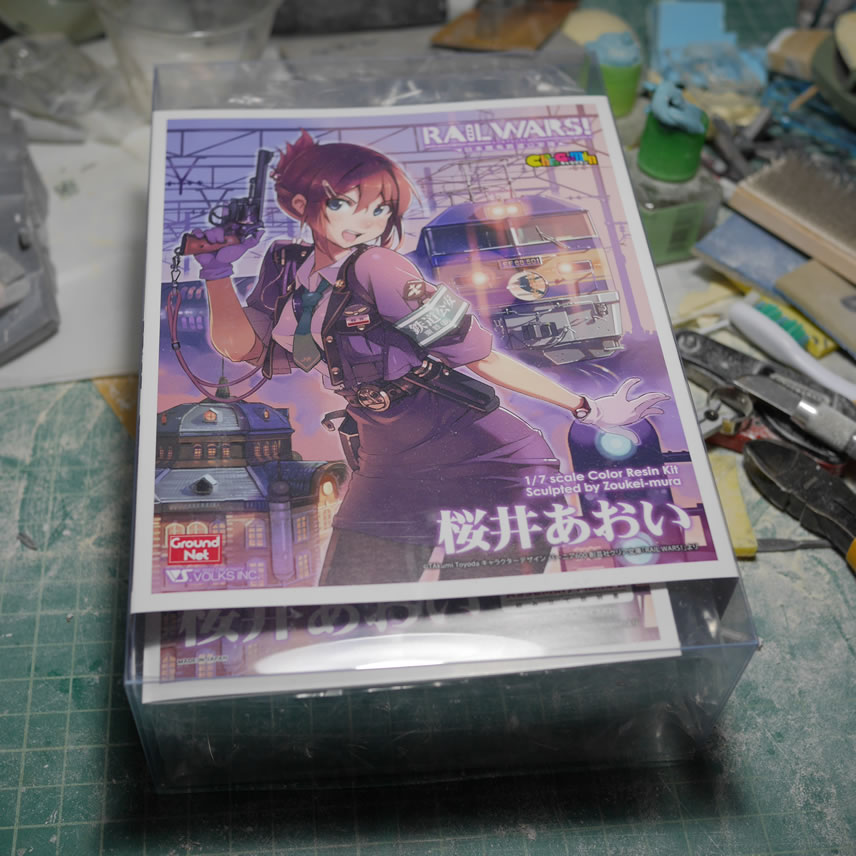
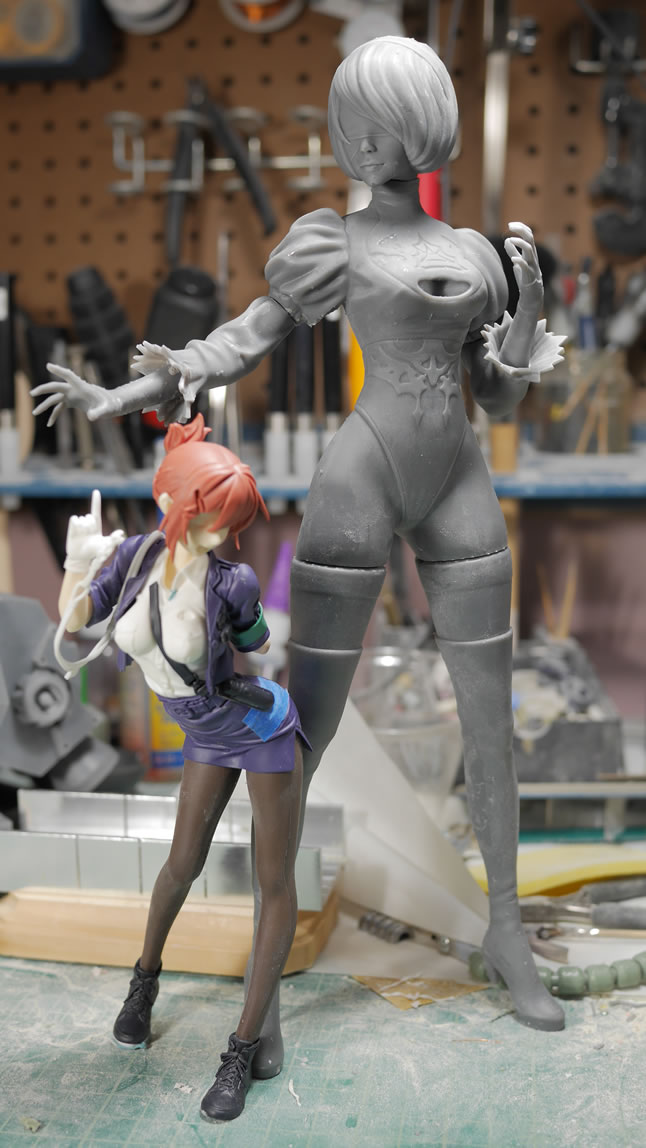
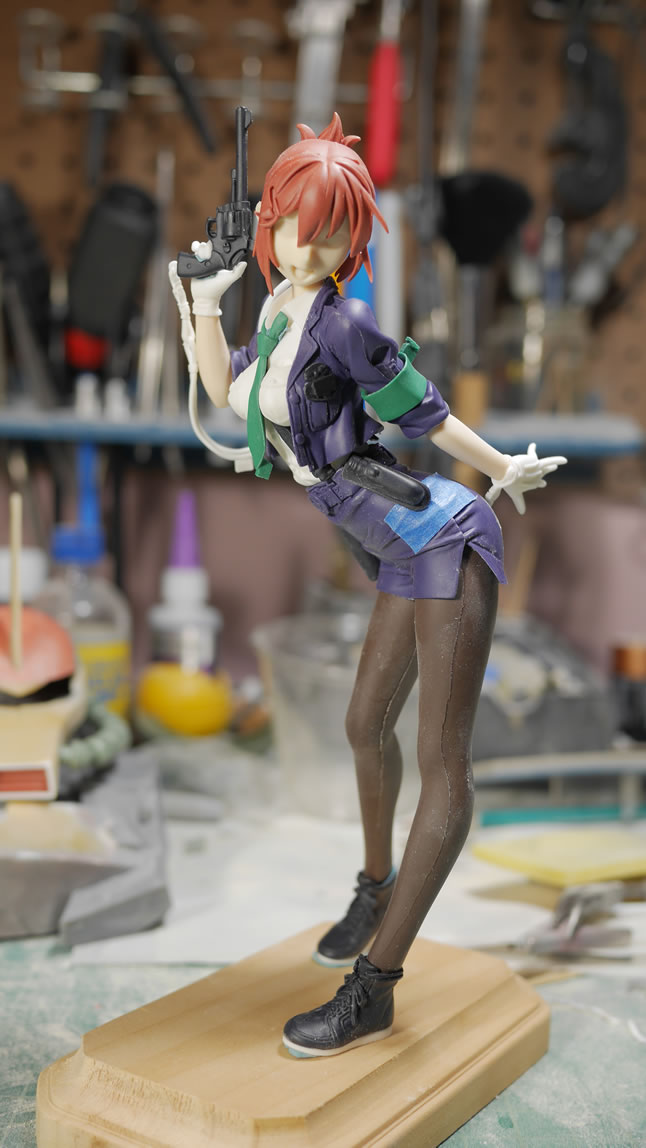
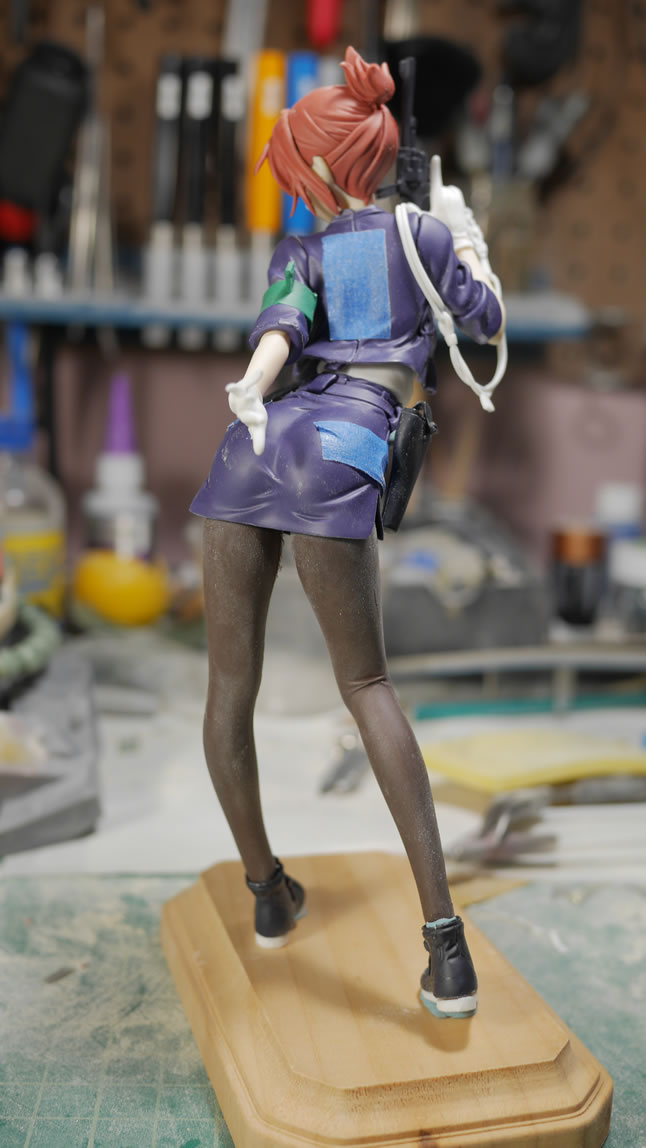
Back to working on the Gouf Custom project as well as adding 2 other projects to the workbench. Well, sort of. Model building can wear you down or the motivation just wanes. Or sometimes, something shiny and new comes along and takes up all your attention – not talking about the stupid gunpla mobile game. The two other project are a recent development. The first side project is a commission figure kit build of a Volks 1/7 scale Sakurai Aoi from Rail Wars. I have until the end of the year and it is a fairly straight-forward build so I did a quick test fit assembly of the major pieces and snapped some pictures. The next project is from a 3D file posted online: of 2B from Nier Automata. I scaled her down to about 1/5.5 scale and printed the 5 parts in the Form 2. Here’s the comparison with the Sakurai and 2B side by side.
After the jump, I’ll get back into the Gouf Custom starting from where I last left off.
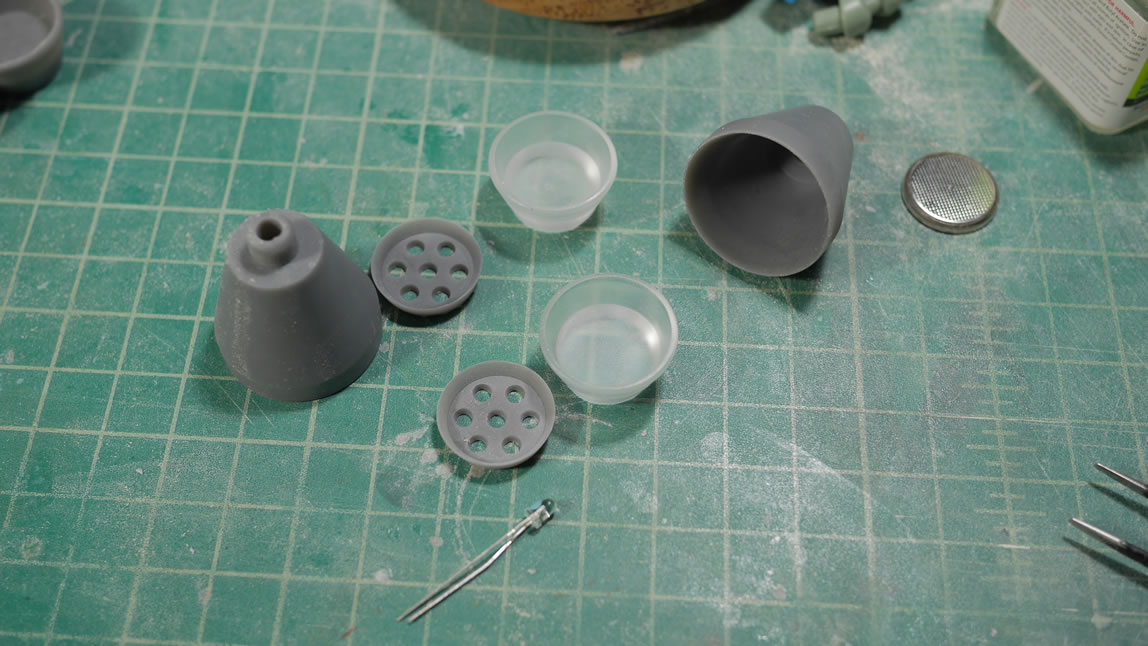
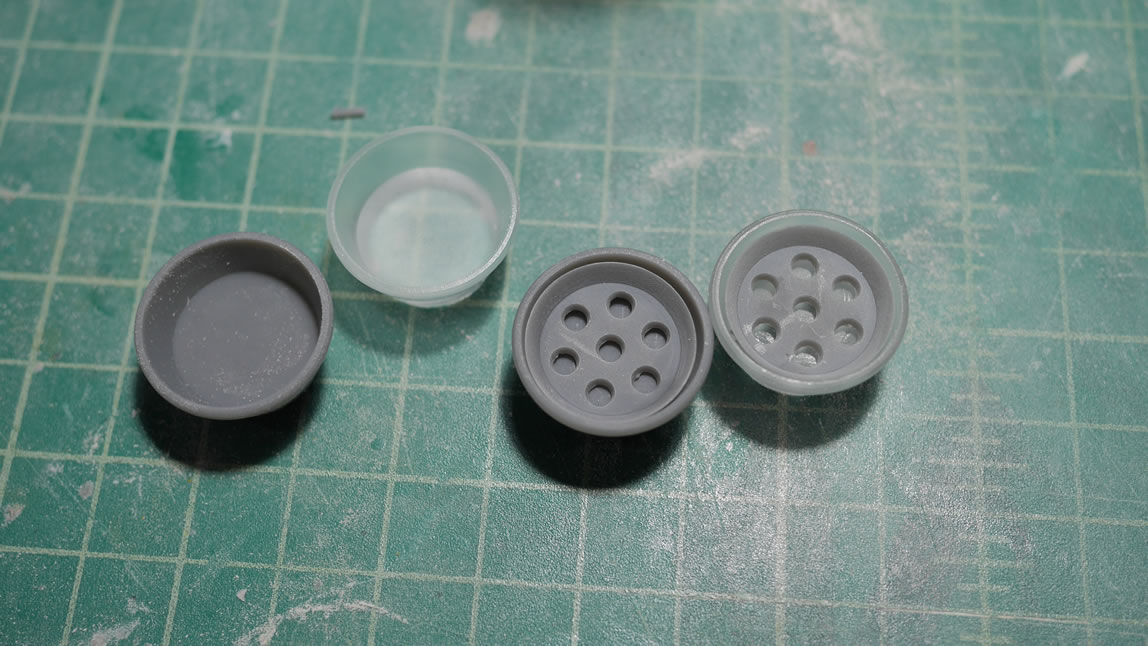
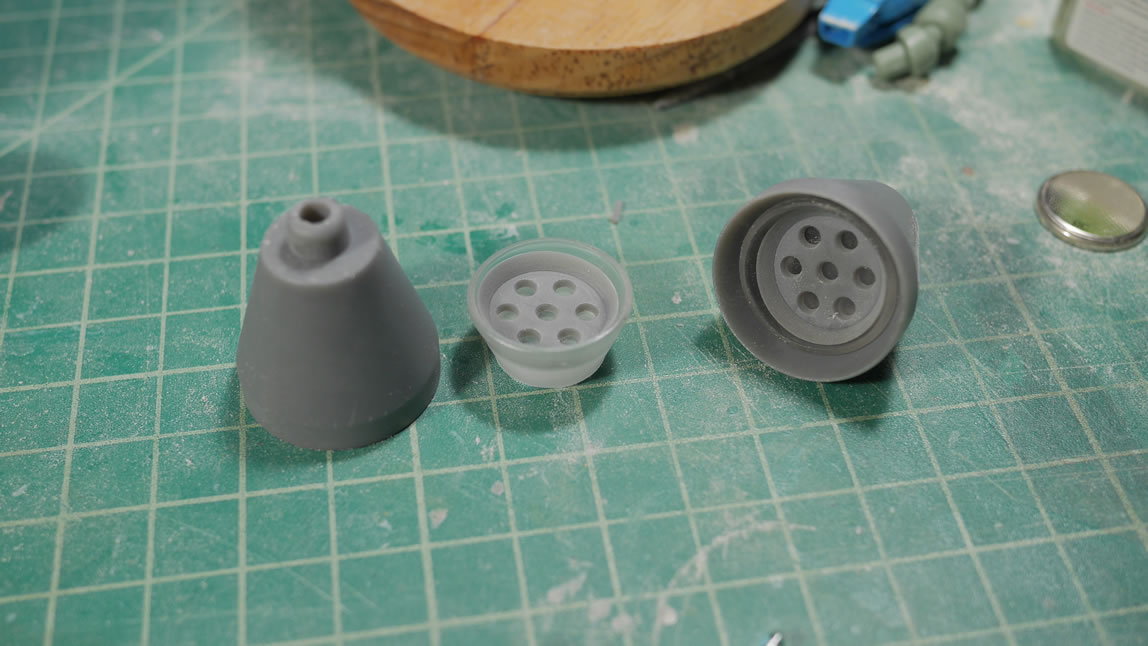
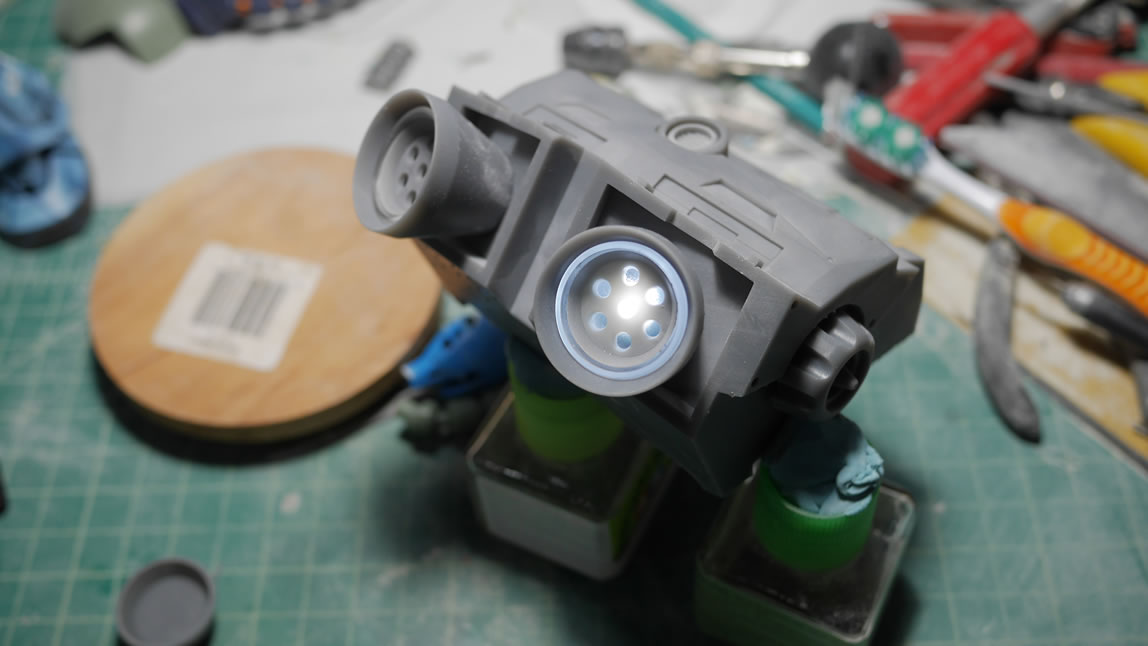
When I last posted about the Gouf, I was still in the process of getting all the parts printed out. Going back to the thruster pieces, I made a mold and casted a clear copy of the middle thruster piece. Assembled, the clear piece is sandwiched between the round detail bit and the main thruster housing. This is where things will make sense as to why I printed the thrusters in 3 pieces.
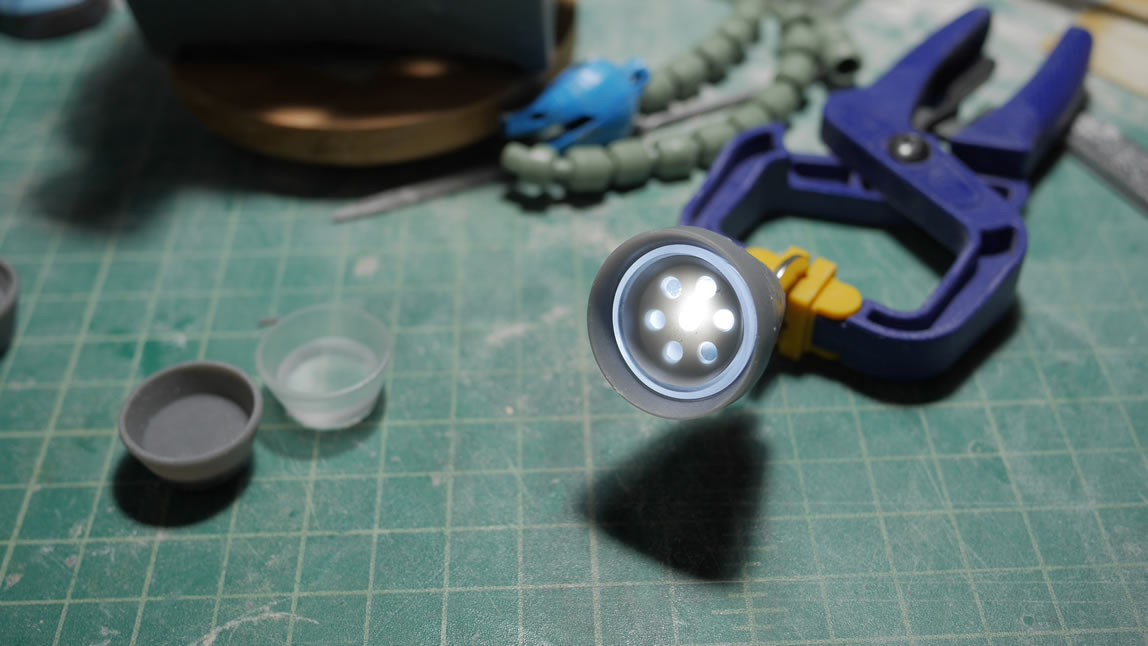
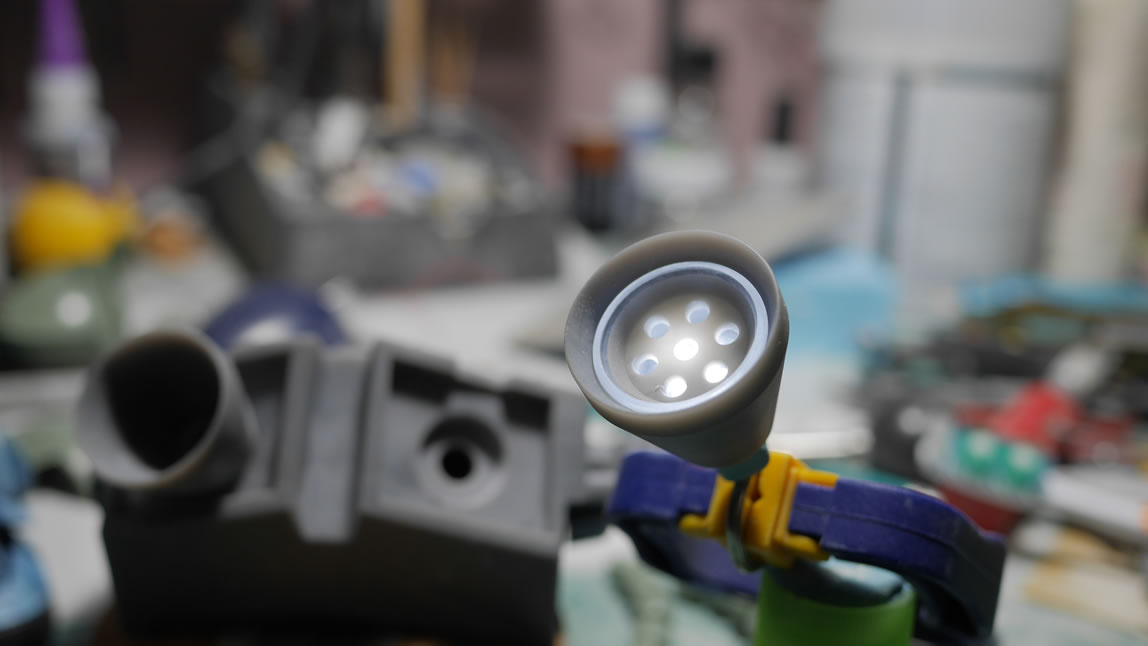
With the middle piece clear, I can add an LED into the thruster and have a designed light pattern. Here are some pictures with a few different angles to show off the designed light. The clear middle piece creates a halo effect.
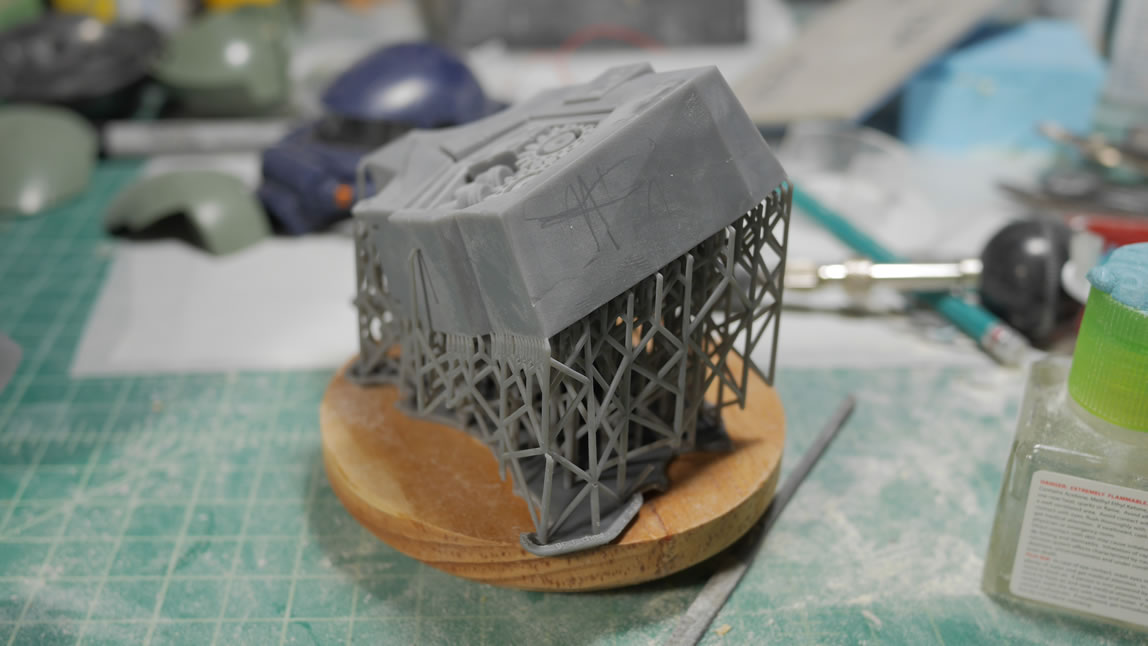
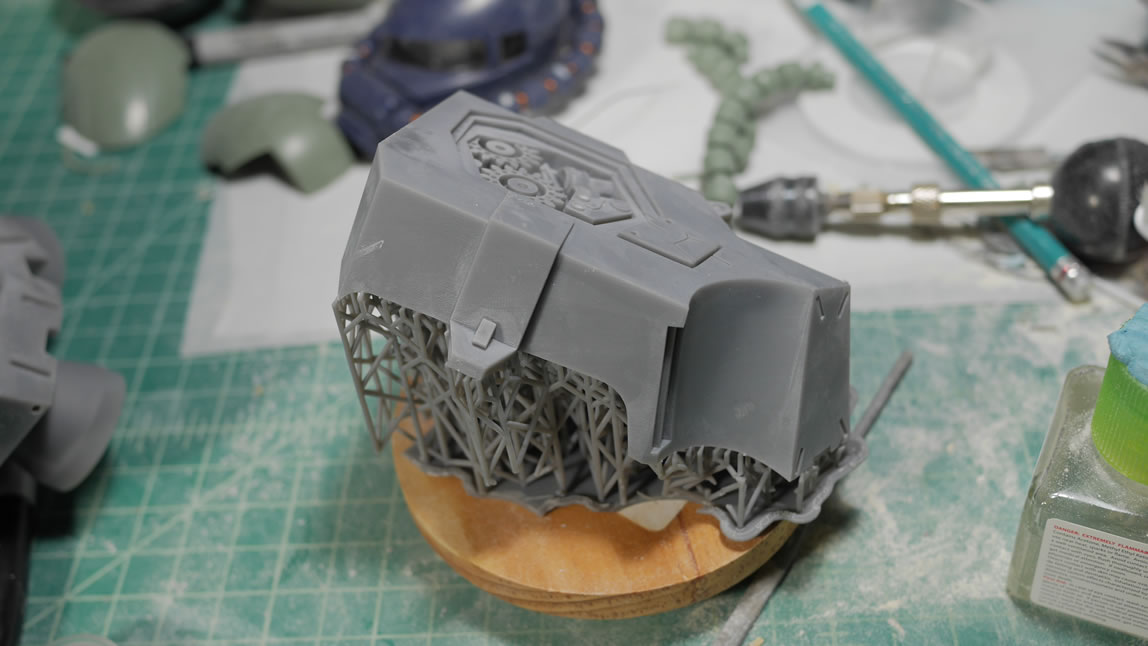
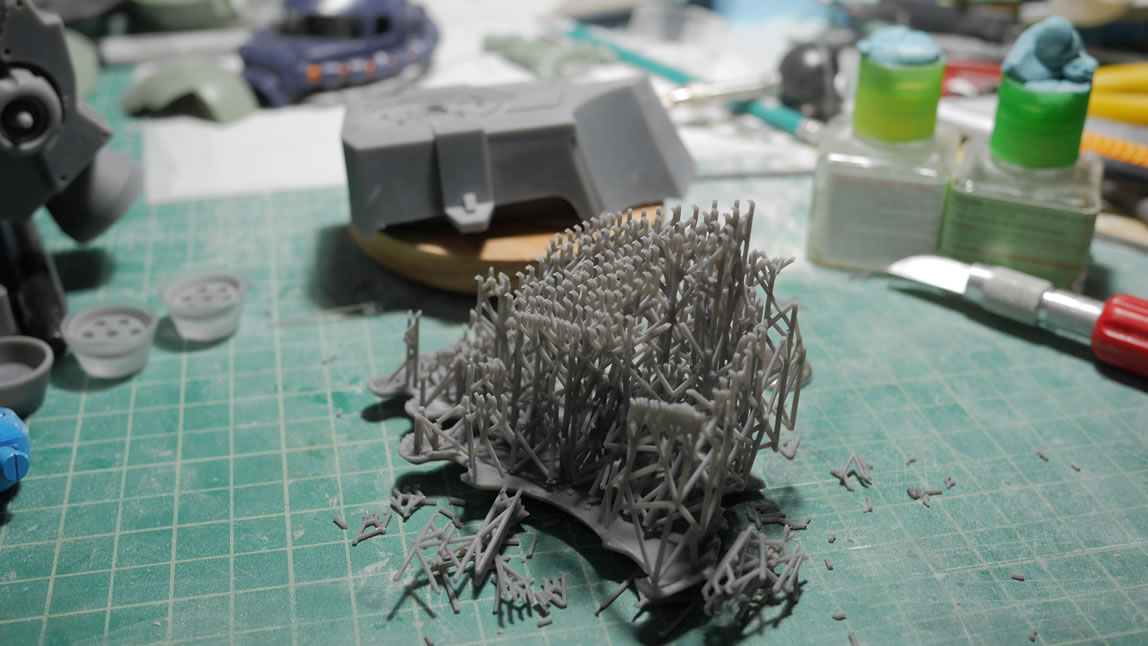
The last piece of the bust finished printing. Look at the amount of support materials required to print. After the post print clean up work (soaking in isopropyl alcohol, and additional UV curing), I can get to removing the part from the support and raft.
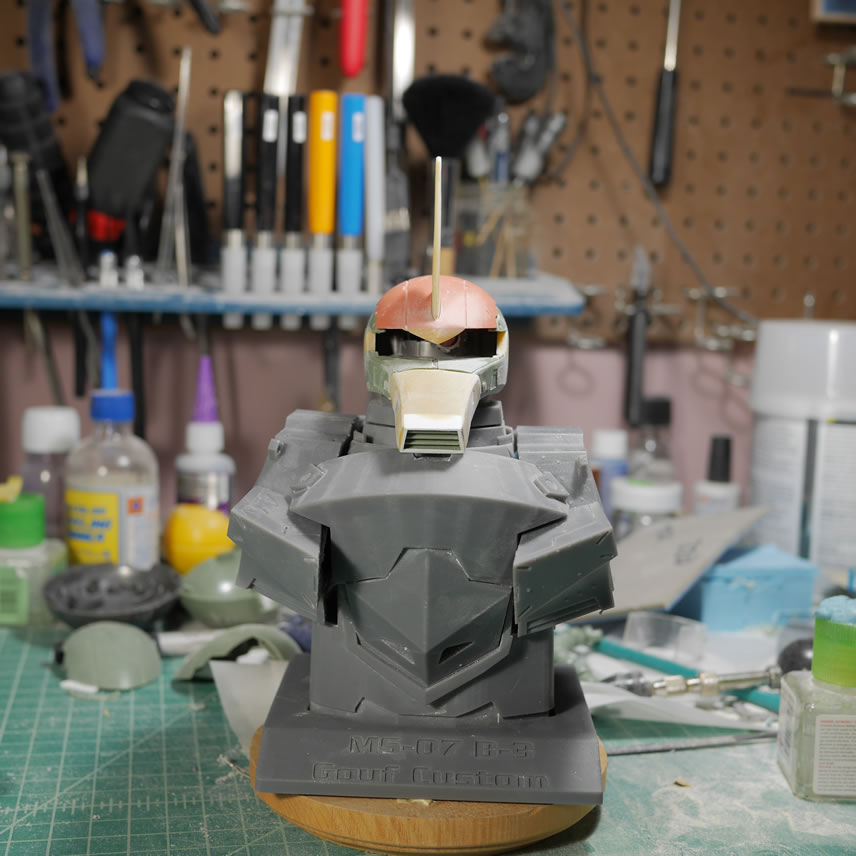
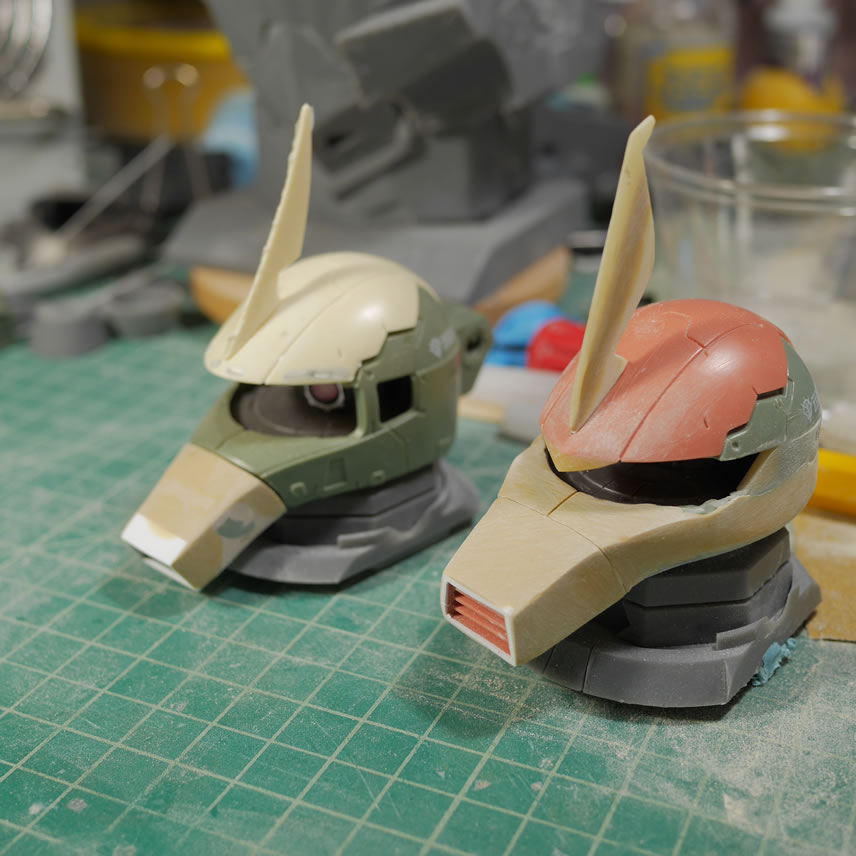
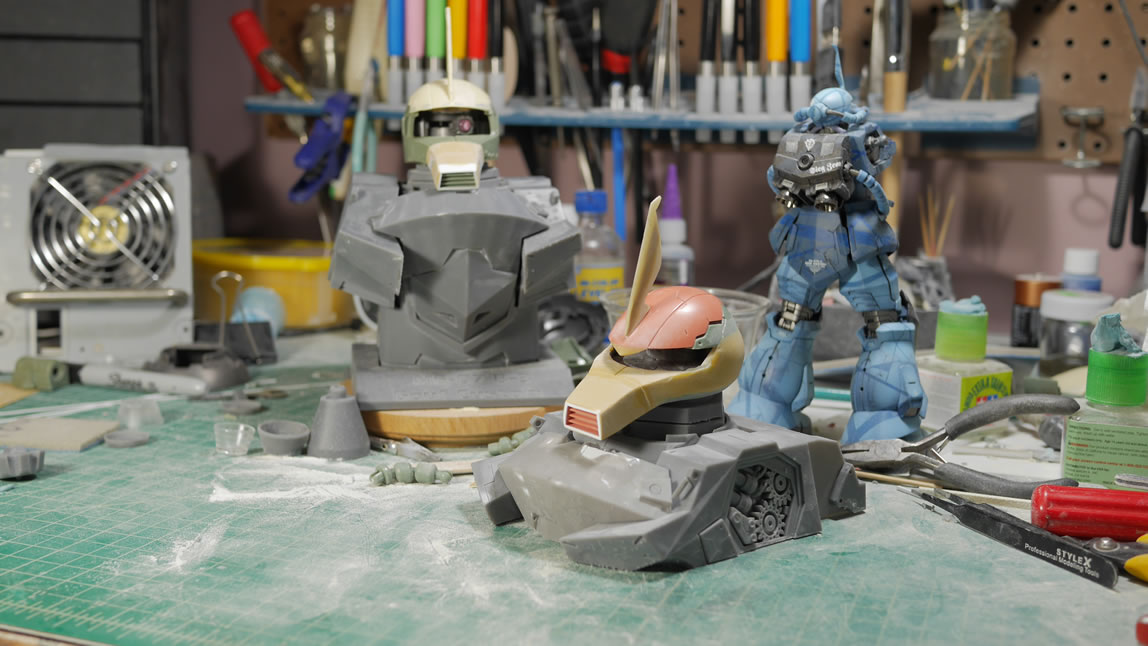
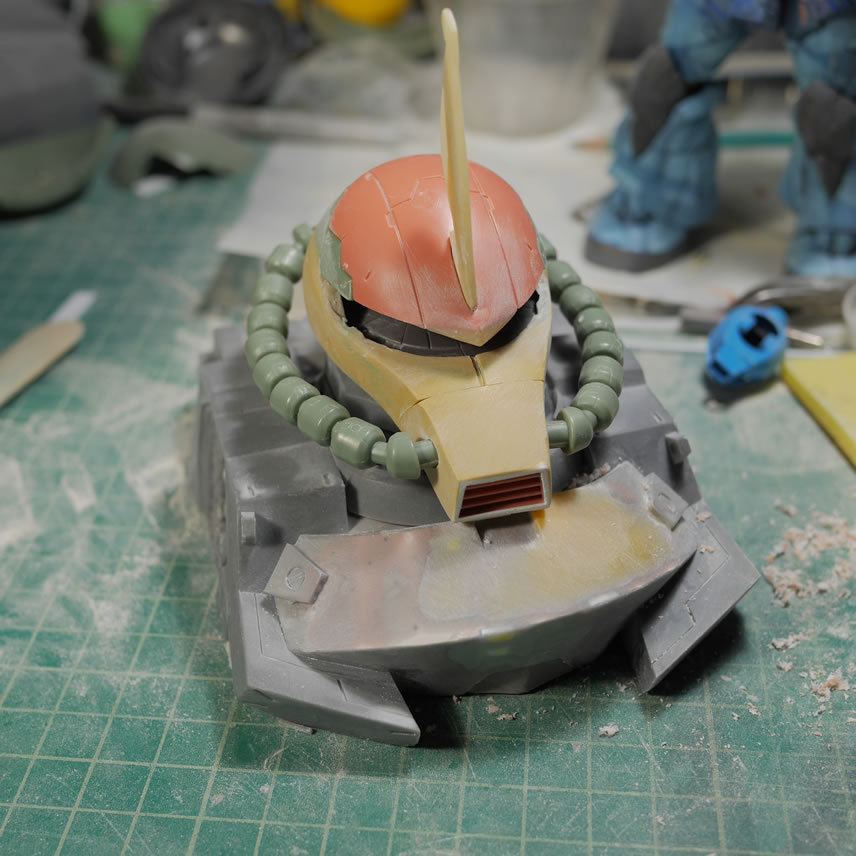
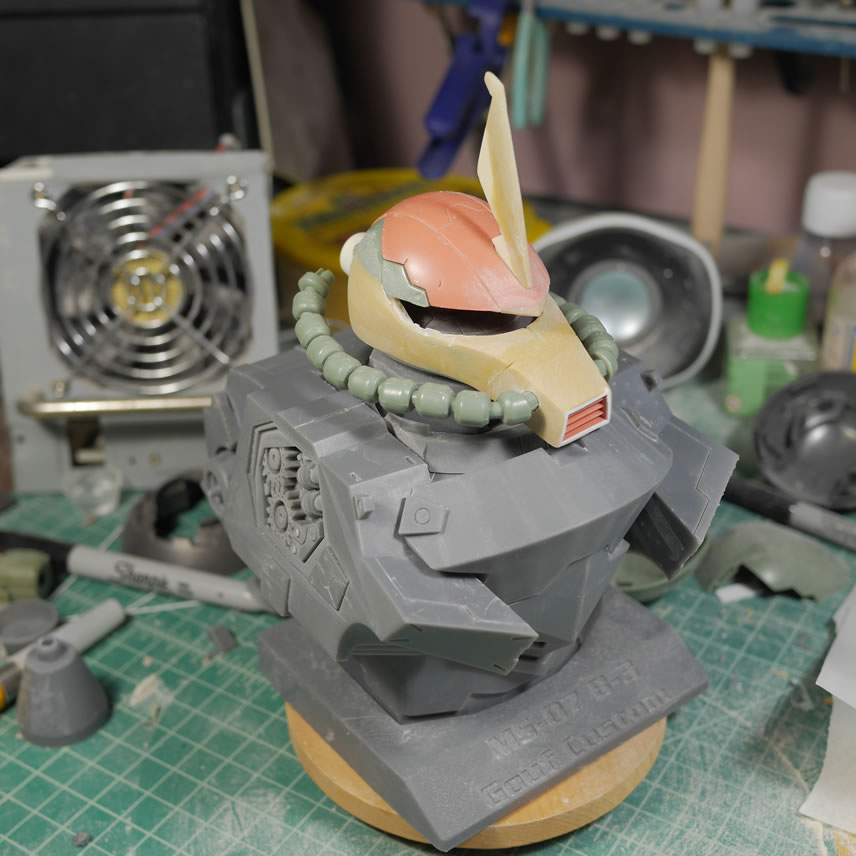
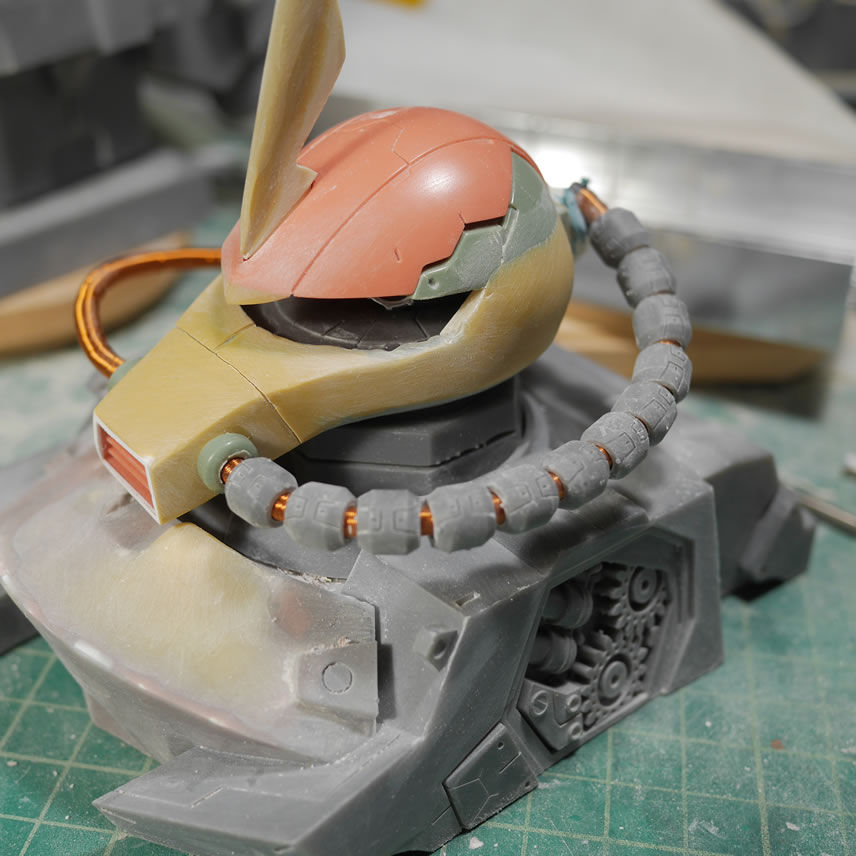
Here is a test fit with all the parts of the bust and the work in progress Gouf.C Exceed head. At that time, the head may look too small for the bust piece, but it is a visual trick since the head doesn’t have the cables yet. If I swap out the head with the regular Zaku Exceed head with cables, the balance is back and it looks in correct scale. I need to do something about the Gouf.C nose….
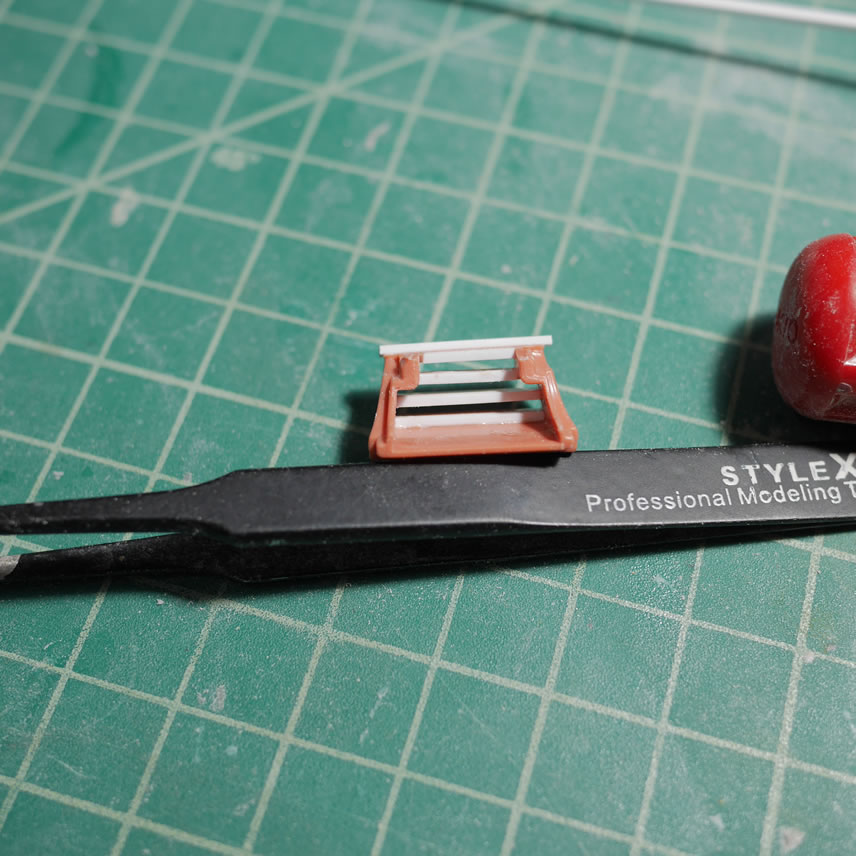
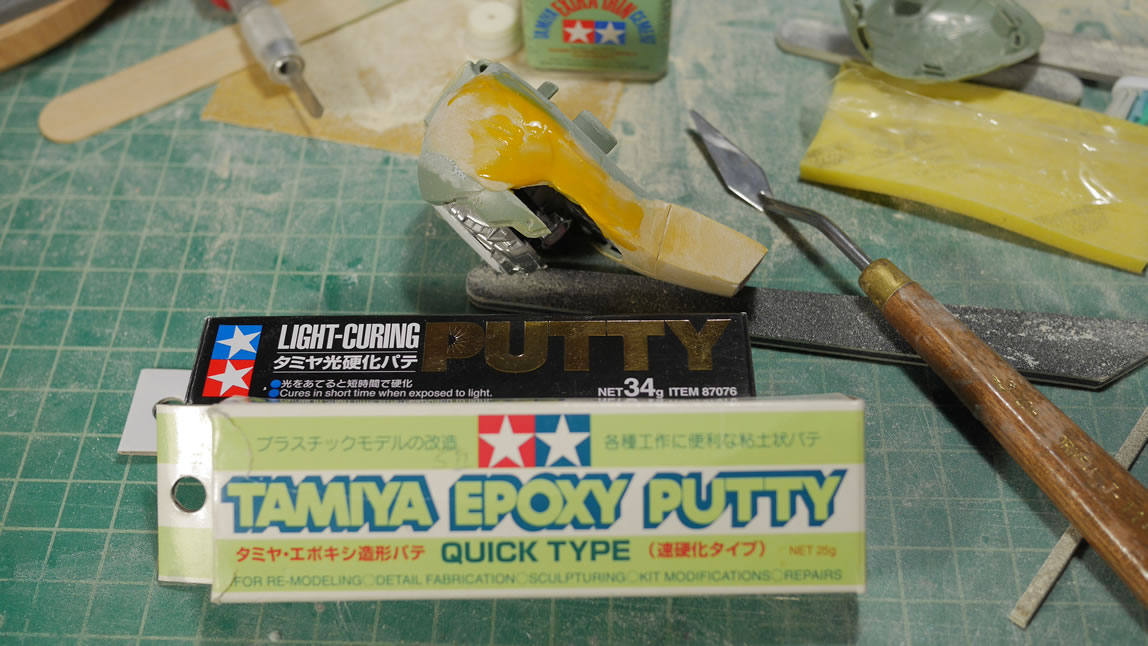
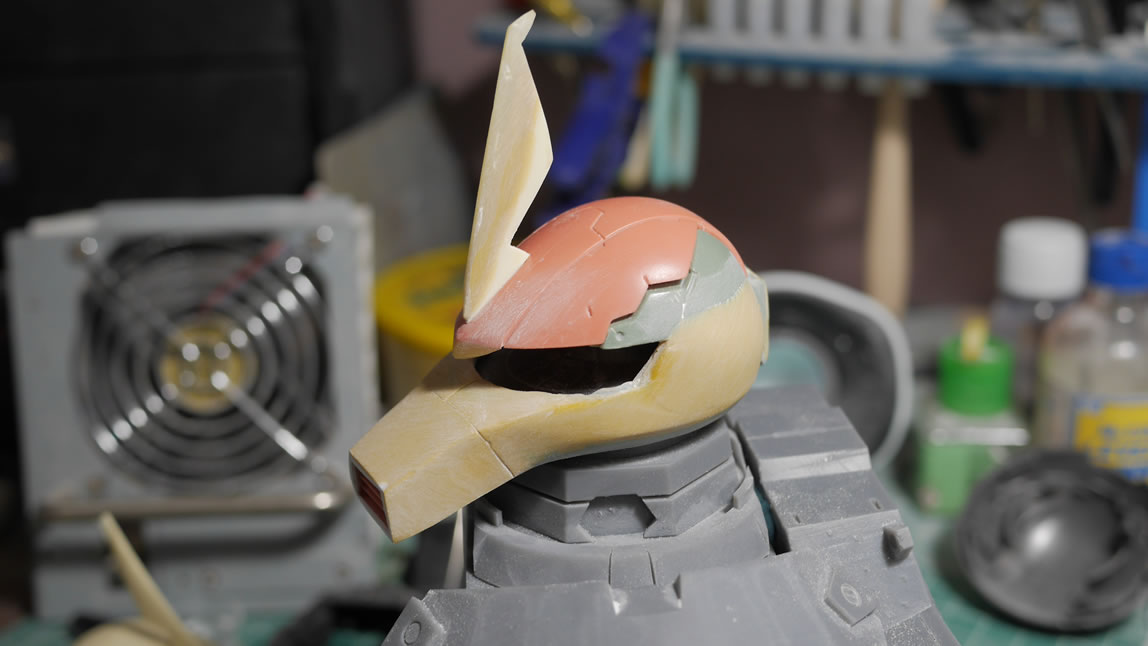
Scrapping the first attempt at the Gouf.C mouthpiece/nose, I grabbed another base nosepiece and started from scratch. Glued some styrene to lengthen the vents, then glued the two nose pieces together while adding a little bit of length. The excess is just cut away. Once that is done, I did a quick fill with bondo and let that cure. The bondo is slightly sanded to get the initial shape and add surface area for the next putty session. Epoxy putty is added to encapsulate the bondo and work as the secondary shape. Epoxy putty is easier to scribe than bondo, but more expensive than bondo by volume, hence the polyester filler than the epoxy. The different color tones in the putty show the bondo, the epoxy and the light curing putties. Each putty has its own unique usage in my tool box, so for projects like this all three and sometimes more (different brands and styles from the basic three mentioned above) are used.
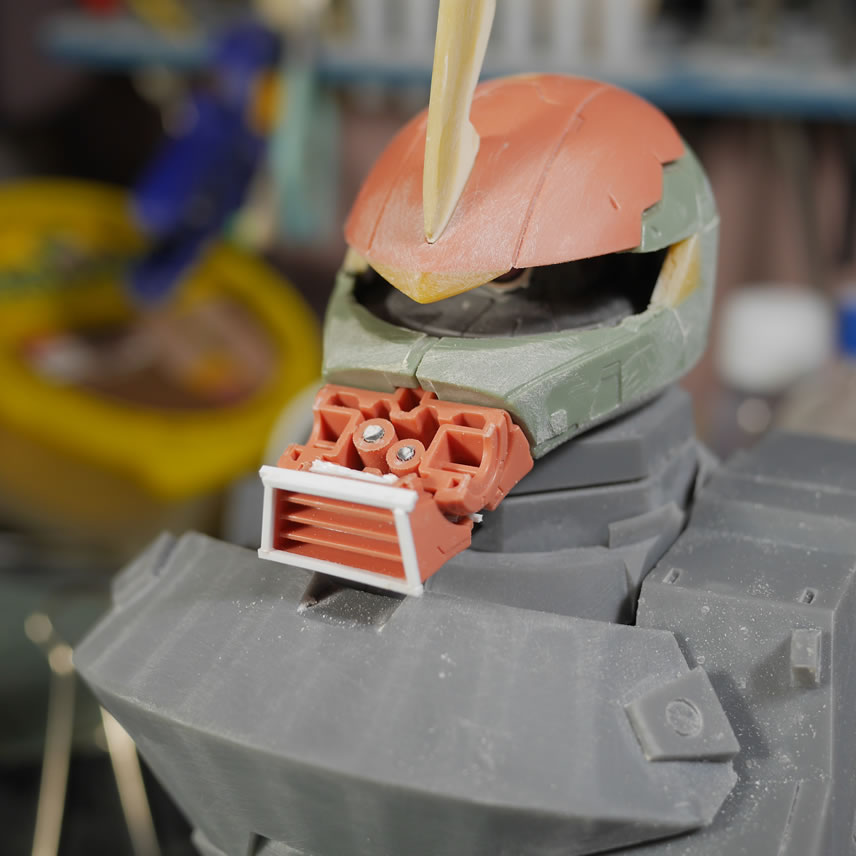
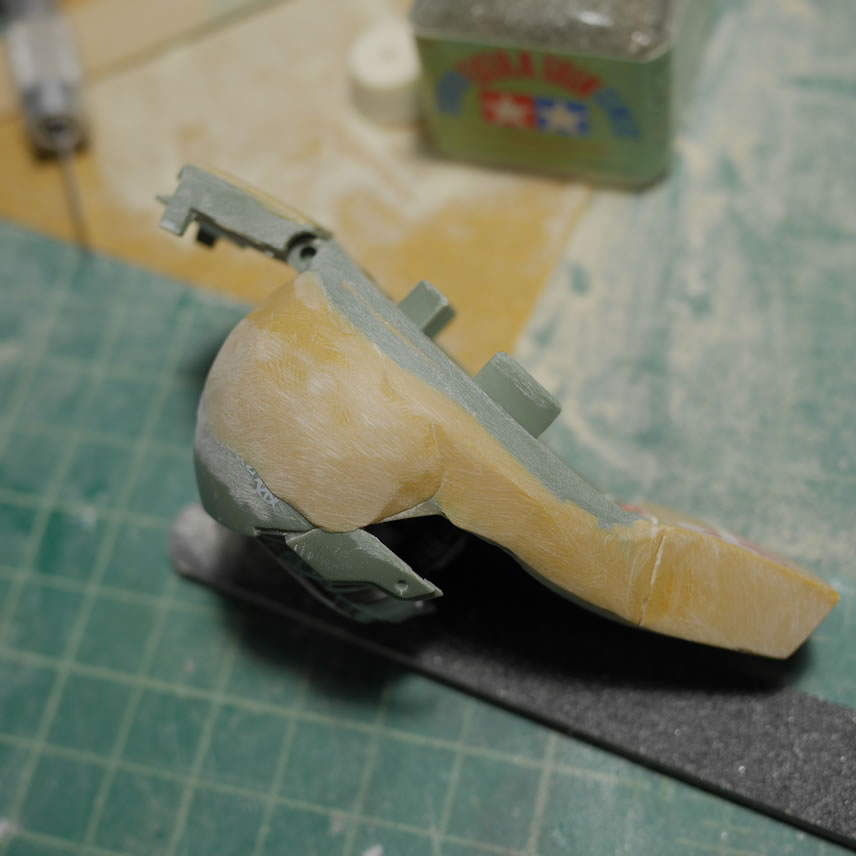
The initial sanding and shaping looks better than the original attempt. Sometimes the folks on the internets are correct and since it’s only plastic, anything can be fixed… or in this case, just rebuilt from scratch.
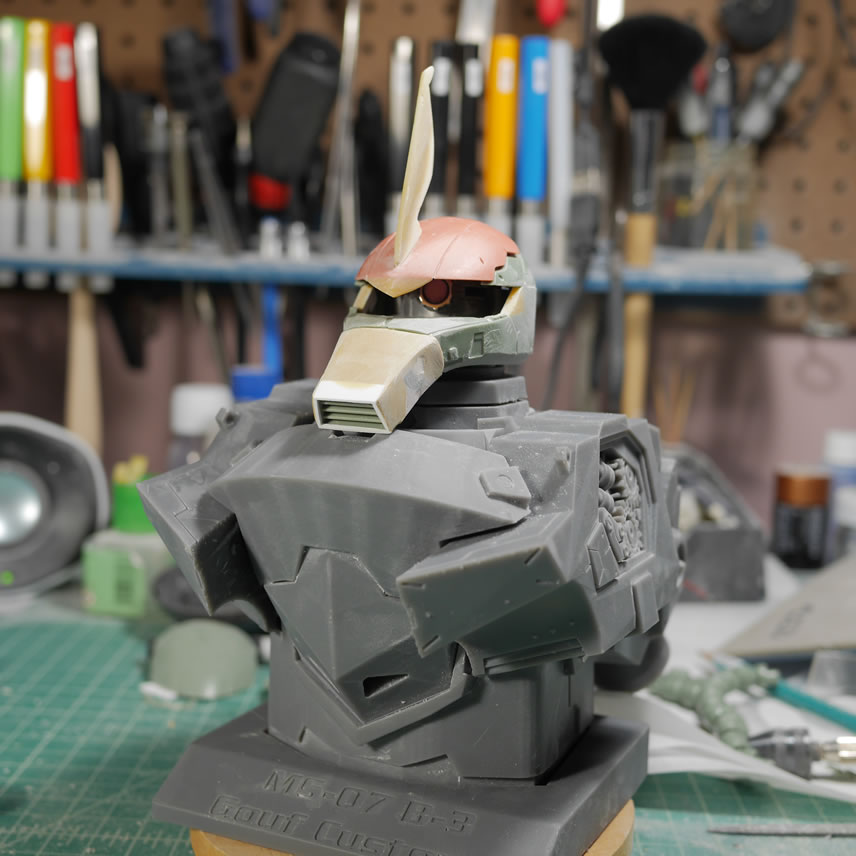
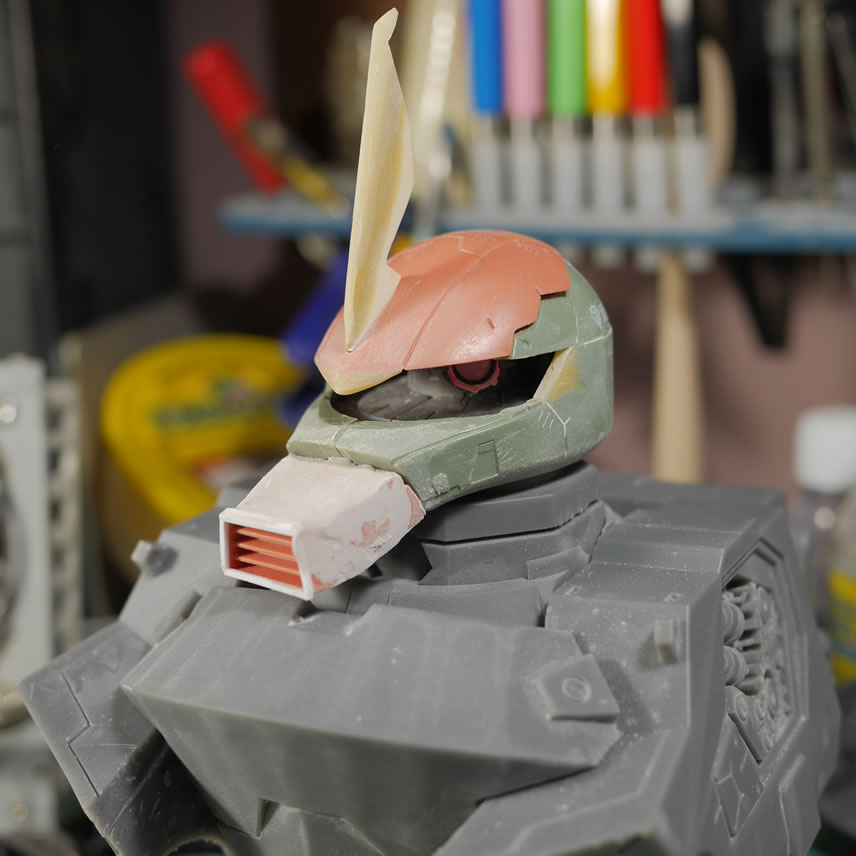
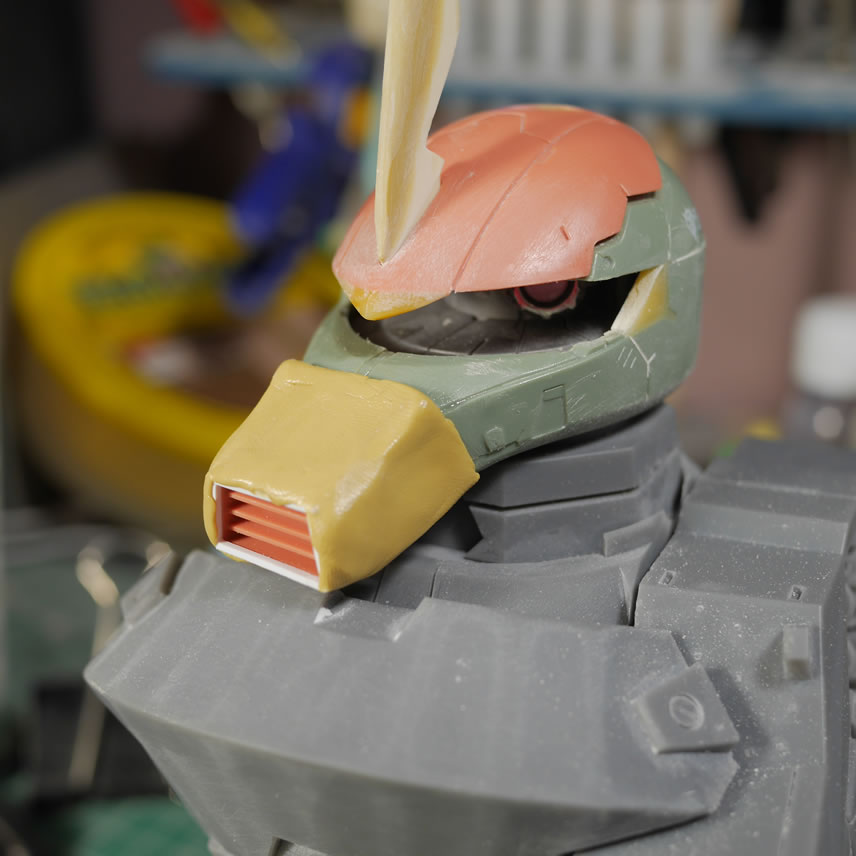
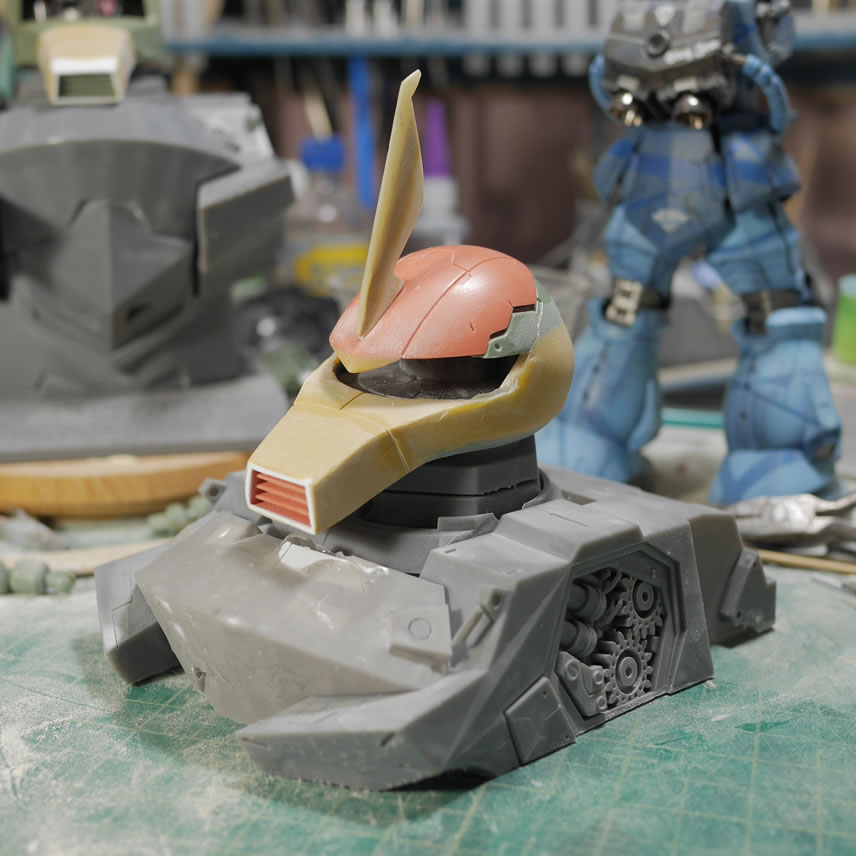
The epoxy is shaped and sanded. Light curing putty fills in some of the uneven areas and transitional areas between the epoxy and the bare plastic. I like using the light curing putty here because the layers are thin and allows for very quick work between putty and sanding sessions.
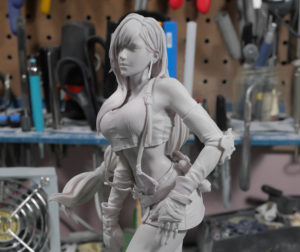
My initial thought was to kit the whole bust. But the damn thing is HUGE and I don’t think I could reasonably sell them. It would take quite a bit of investment to mold and cast all the pieces. Especially since the major pieces are so large. So I returned to the project in blender and refactored it a bit. I combined the 4 main sections and then cut it so that I only have to top part of the bust. It should be enough to recognize it as the Gouf Custom’s upper torso and making a mold and casting this will be much more manageable and cheaper for the end customer. But I will still work to clean up the whole bust with molding/casting in mind. But for now, I have a backup plan.
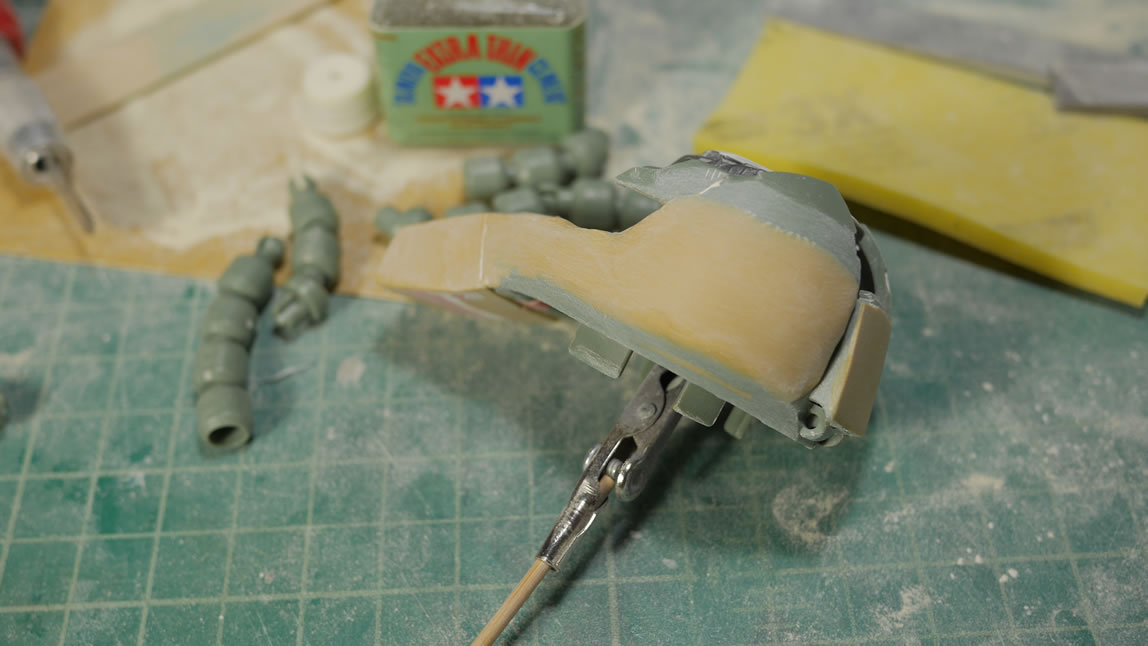
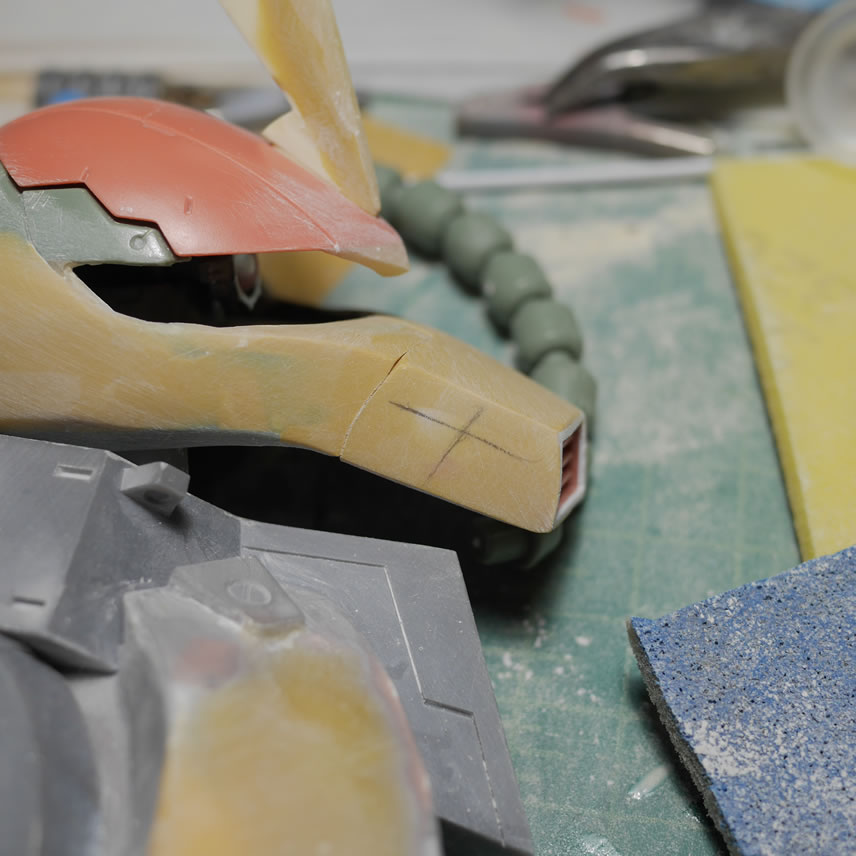
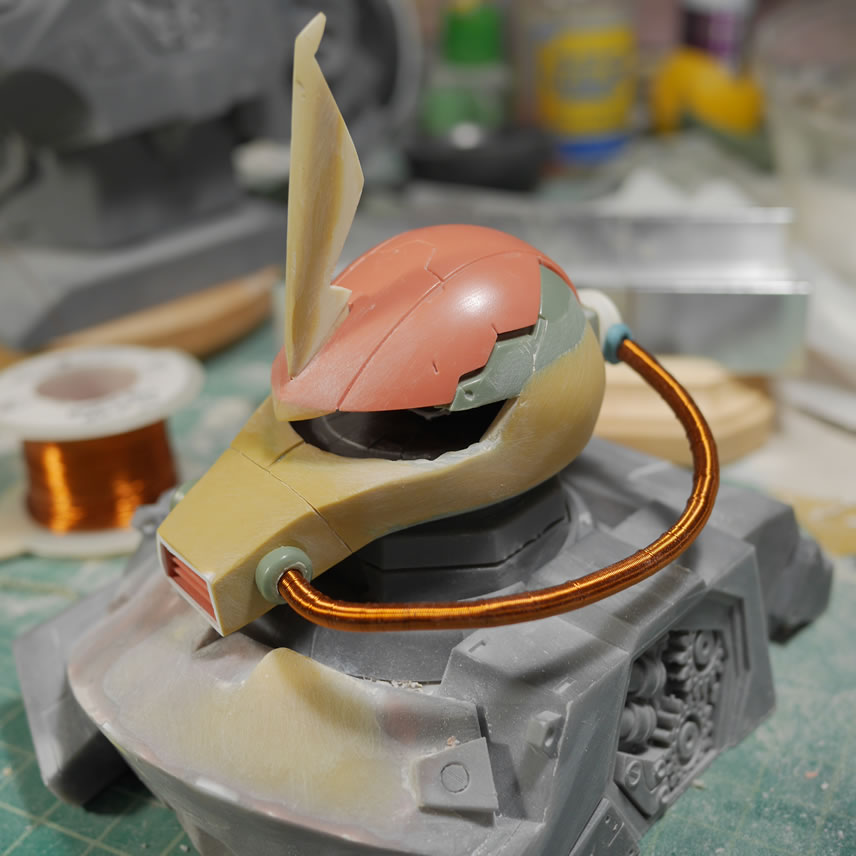
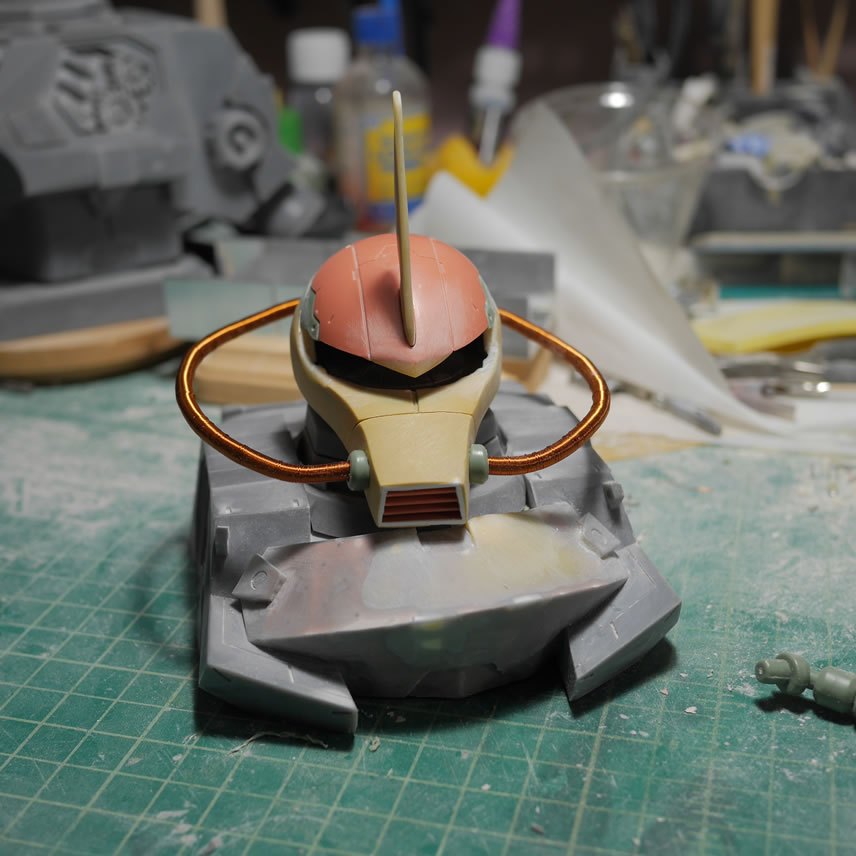
Since the nose is looking pretty good, I can get to working on the head cables. First step is to mark off the new attachment area for the cables to the nose piece. A drafting compass is used for more precision in marking the areas on both sides of the nose using references along the edges as guides. Holes are drilled and the stock Zaku cables are lightly shoved into the newly created sockets for a quick test fit. Both chest pieces are tested out and the cables really do fill out the head and validate the scaling. *wipes sweat built up over the past few weeks when someone online pointed out that it looked completely out of scale with one another*
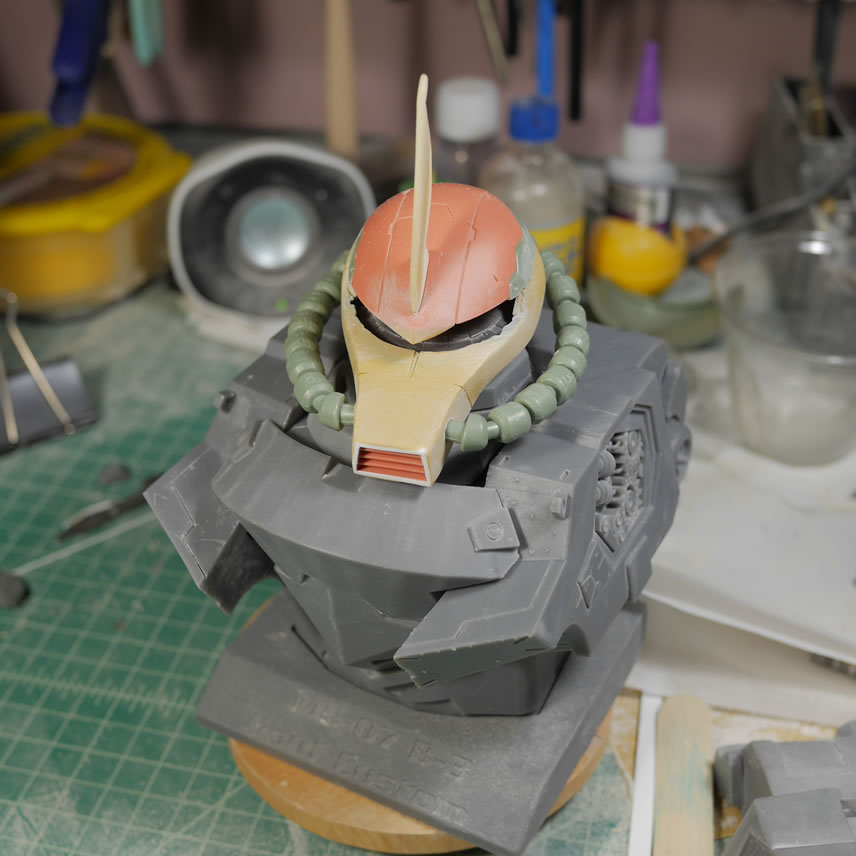
I snapped a couple of more angles to get a better feel and to check the alignment. Everything here is hand done so it is VERY easy to make a mistake and throw everything off balance. So far, so good.
The Zaku’s original cables are 3 pieces and the shape is static to the point that there are only 2 points of articulation to shape the cable bends. This combined with the fact that they don’t fit the modifications done to the head means new cables. I looked around my workshop for some suitable objects as base cable materials. In the past, I just used some shielded solid wires as the base. But since this is several times larger than your typical 1/100 or 1/144; I needed something thicker
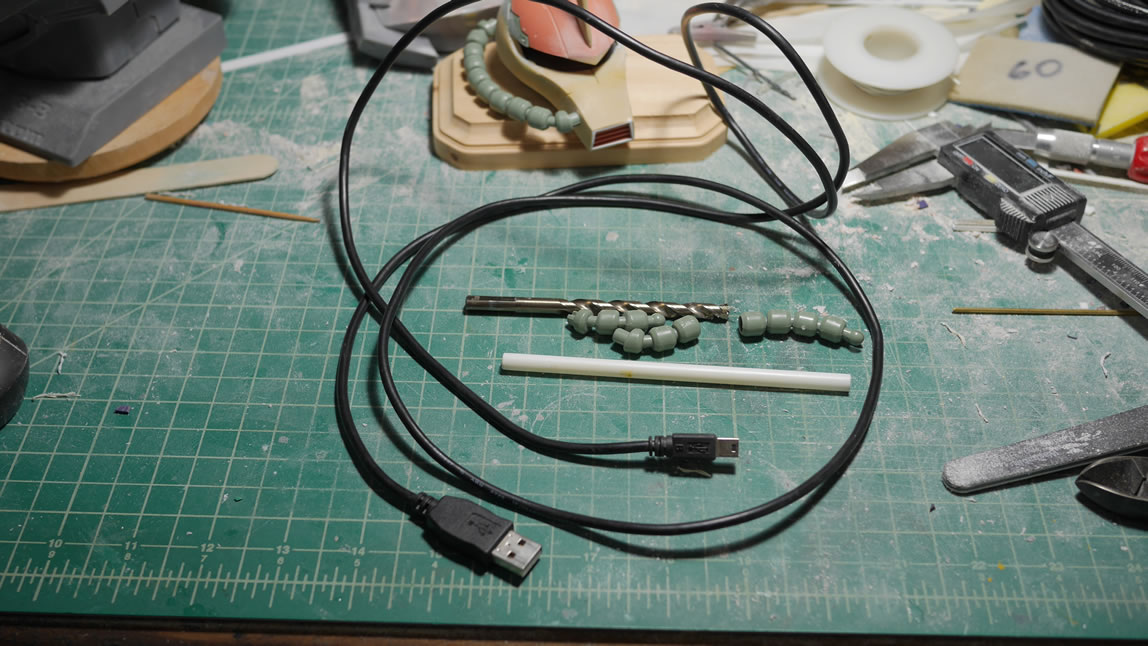
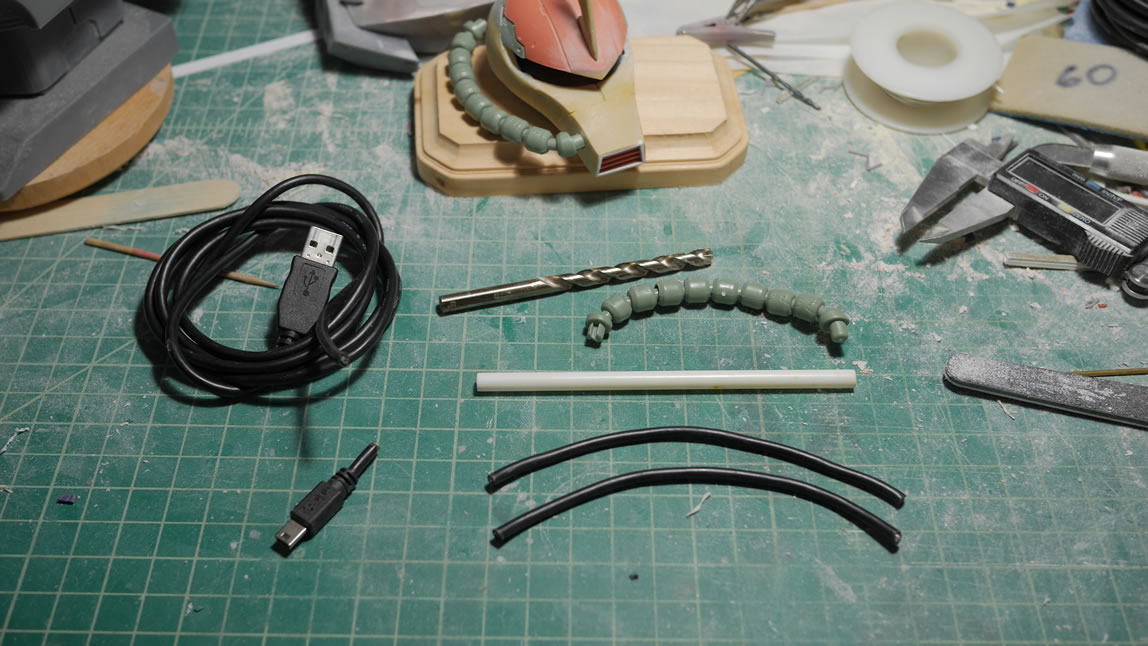
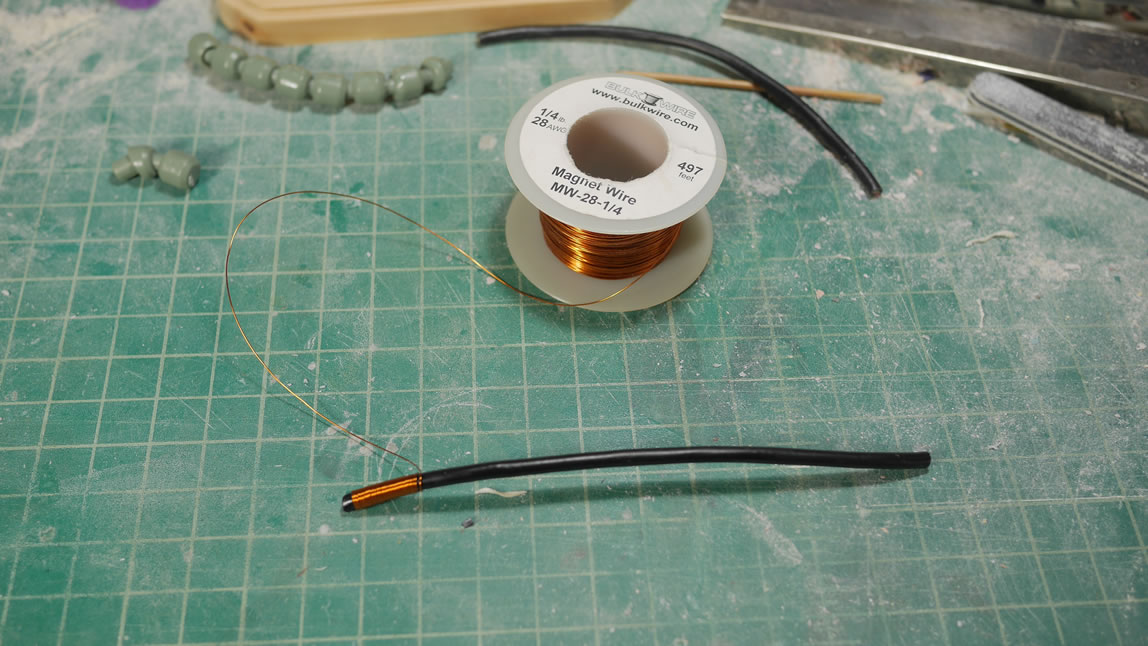
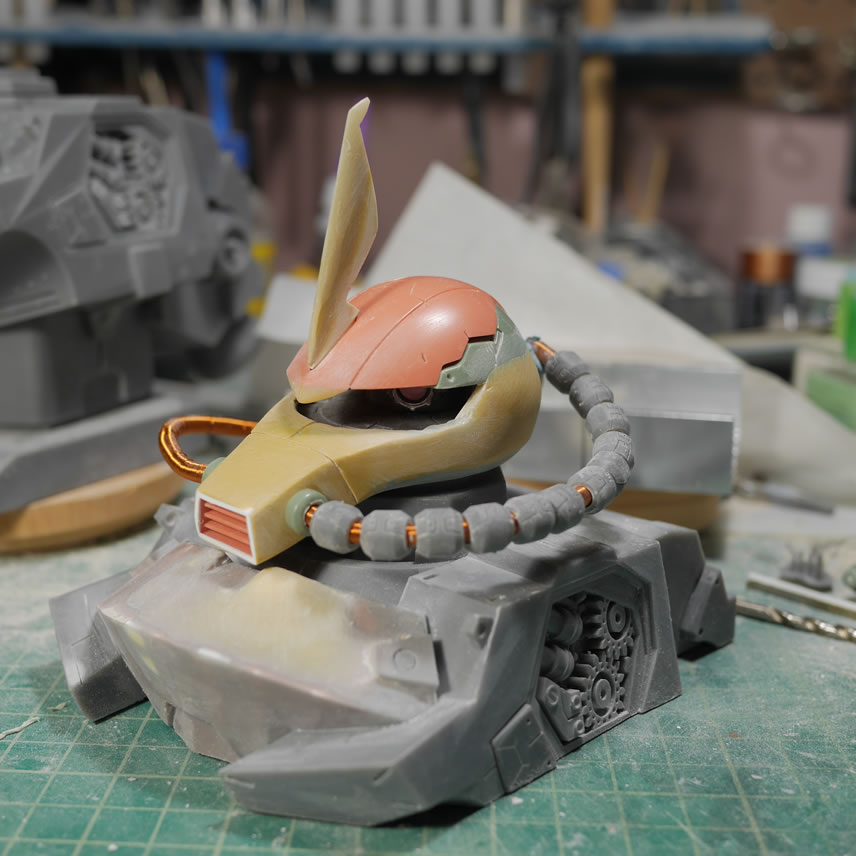
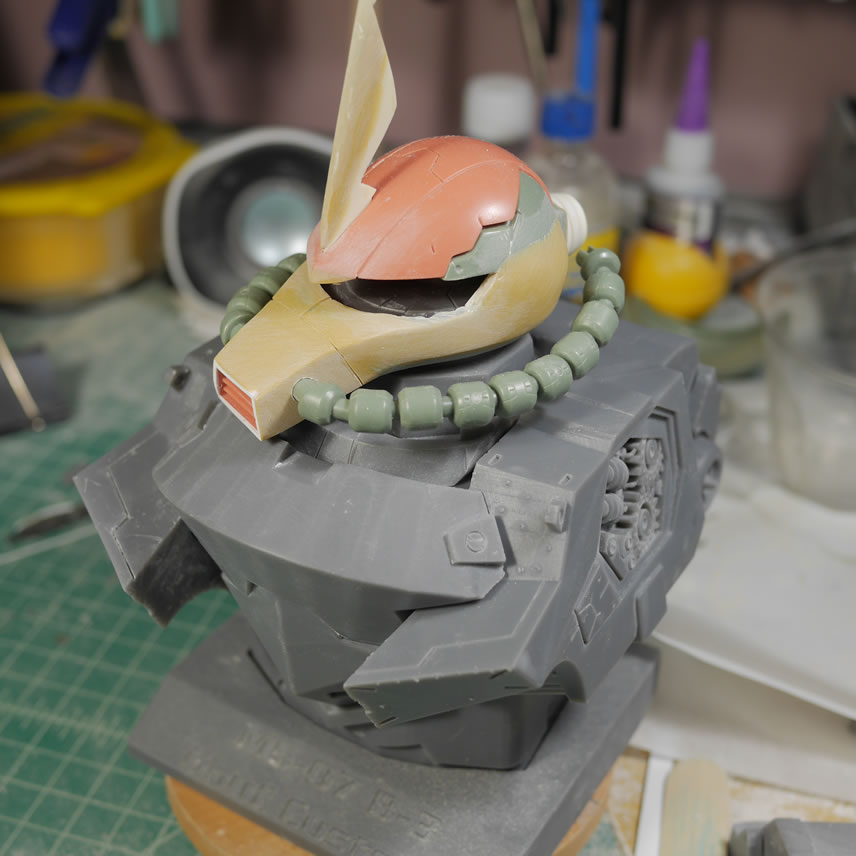
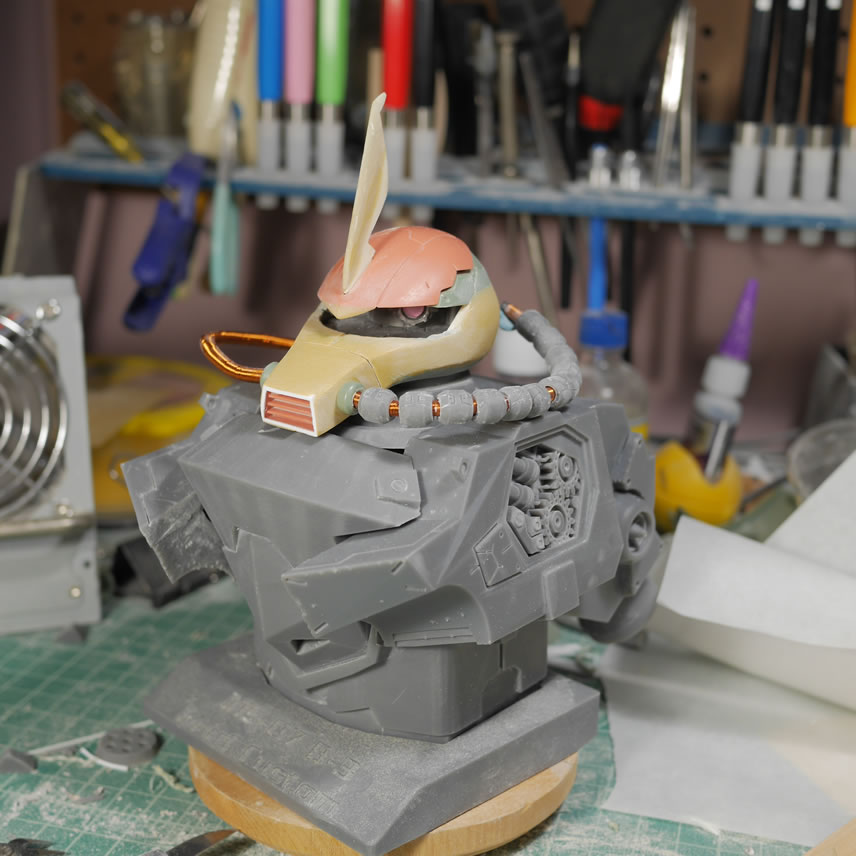
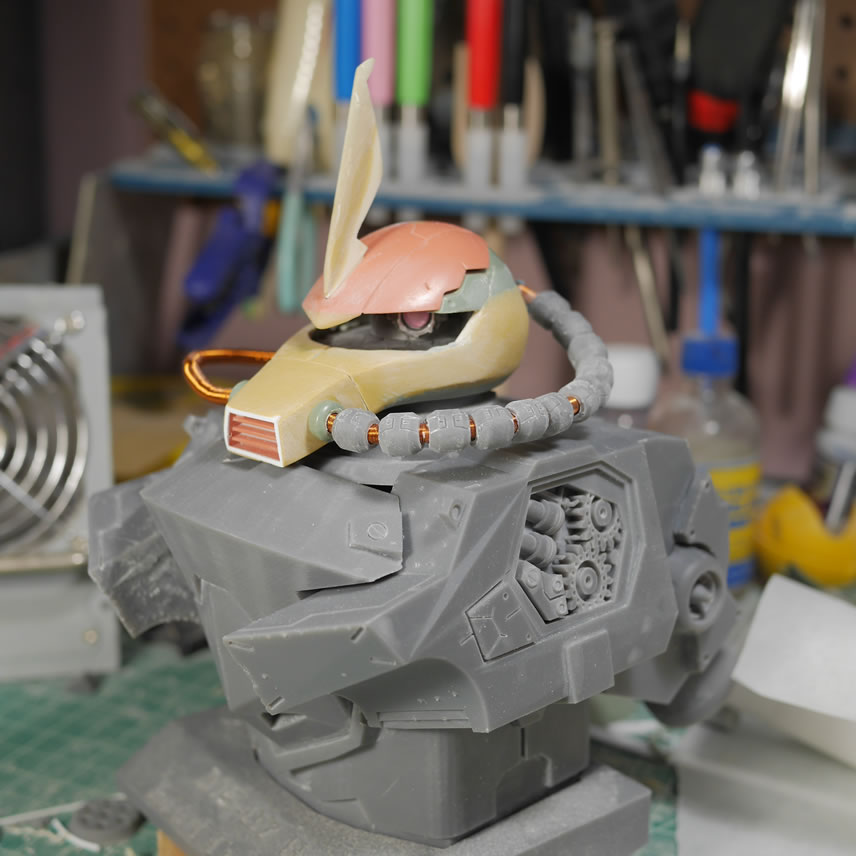
The cables are wrapped and I can test fit the base cable and start shaping them to the Gouf.C’s cabling style. I cut up the front attachment pieces from the original cable piece and attached that to the drilled out section for the nose. This will be the connection point for the cables to the nose and works as a good transitional piece that is part of the Gouf Custom head I’m referencing. The magnet wire wrapping helps tighten up the USB cable such that it will hold a shape. Next up, modifying the existing cables.

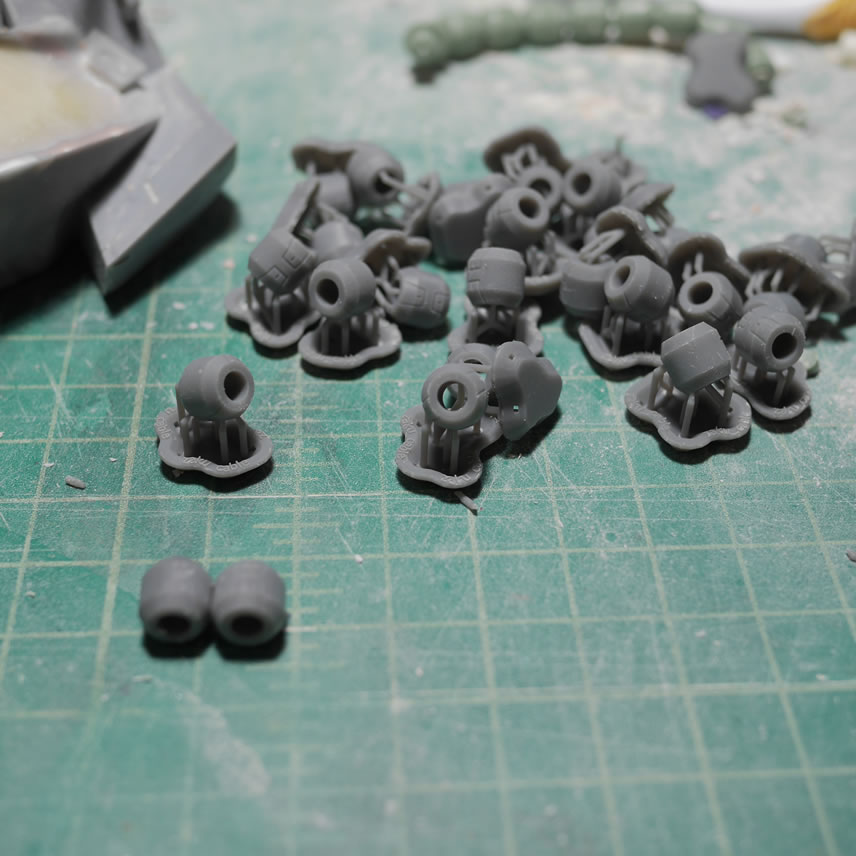
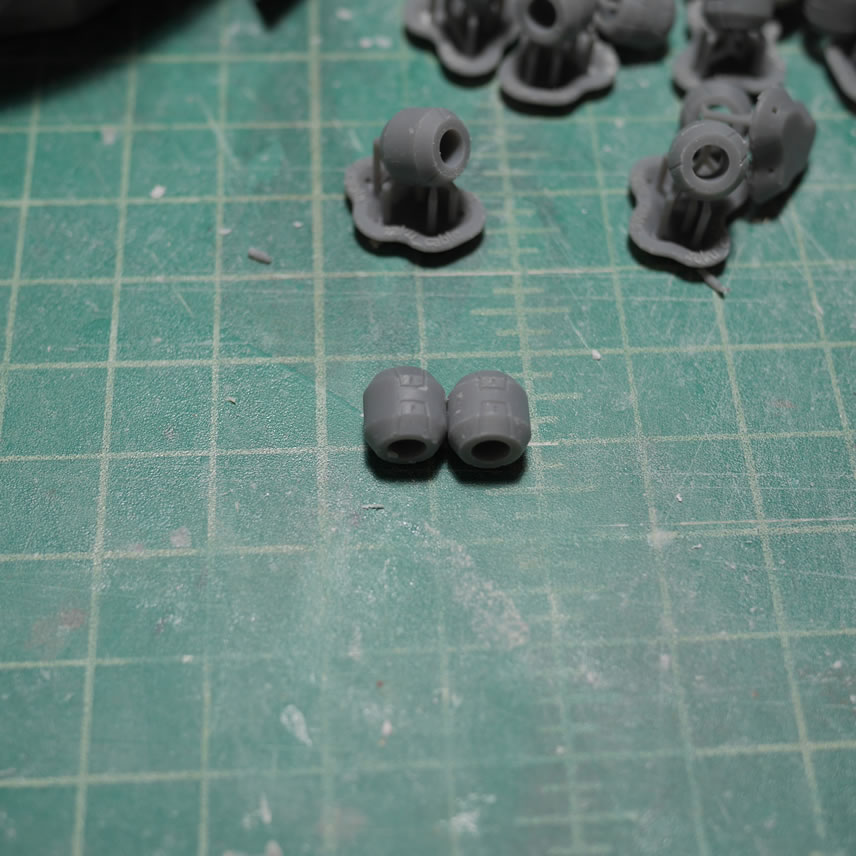
I actually started cutting and working on modifying the existing cables for the head and realised that after I started on one, I’ll need to do the rest of them. So the smarter thing would be to mold and cast a master and have an endless supply of them. Since this would take a few days to get that done; I went with option C. Take the existing cable, measure everything and design it in blender. The bonus is that I don’t have to sand down the stupid mold lines in the original cables – I do have to sand down the support material contact points – but that’s much easier than the solid mold line. The cable pieces are also solid pieces so there is a need to drill them out as well to thread them over the new base cable. Yeah, no way in hell, I’m way too lazy for that.
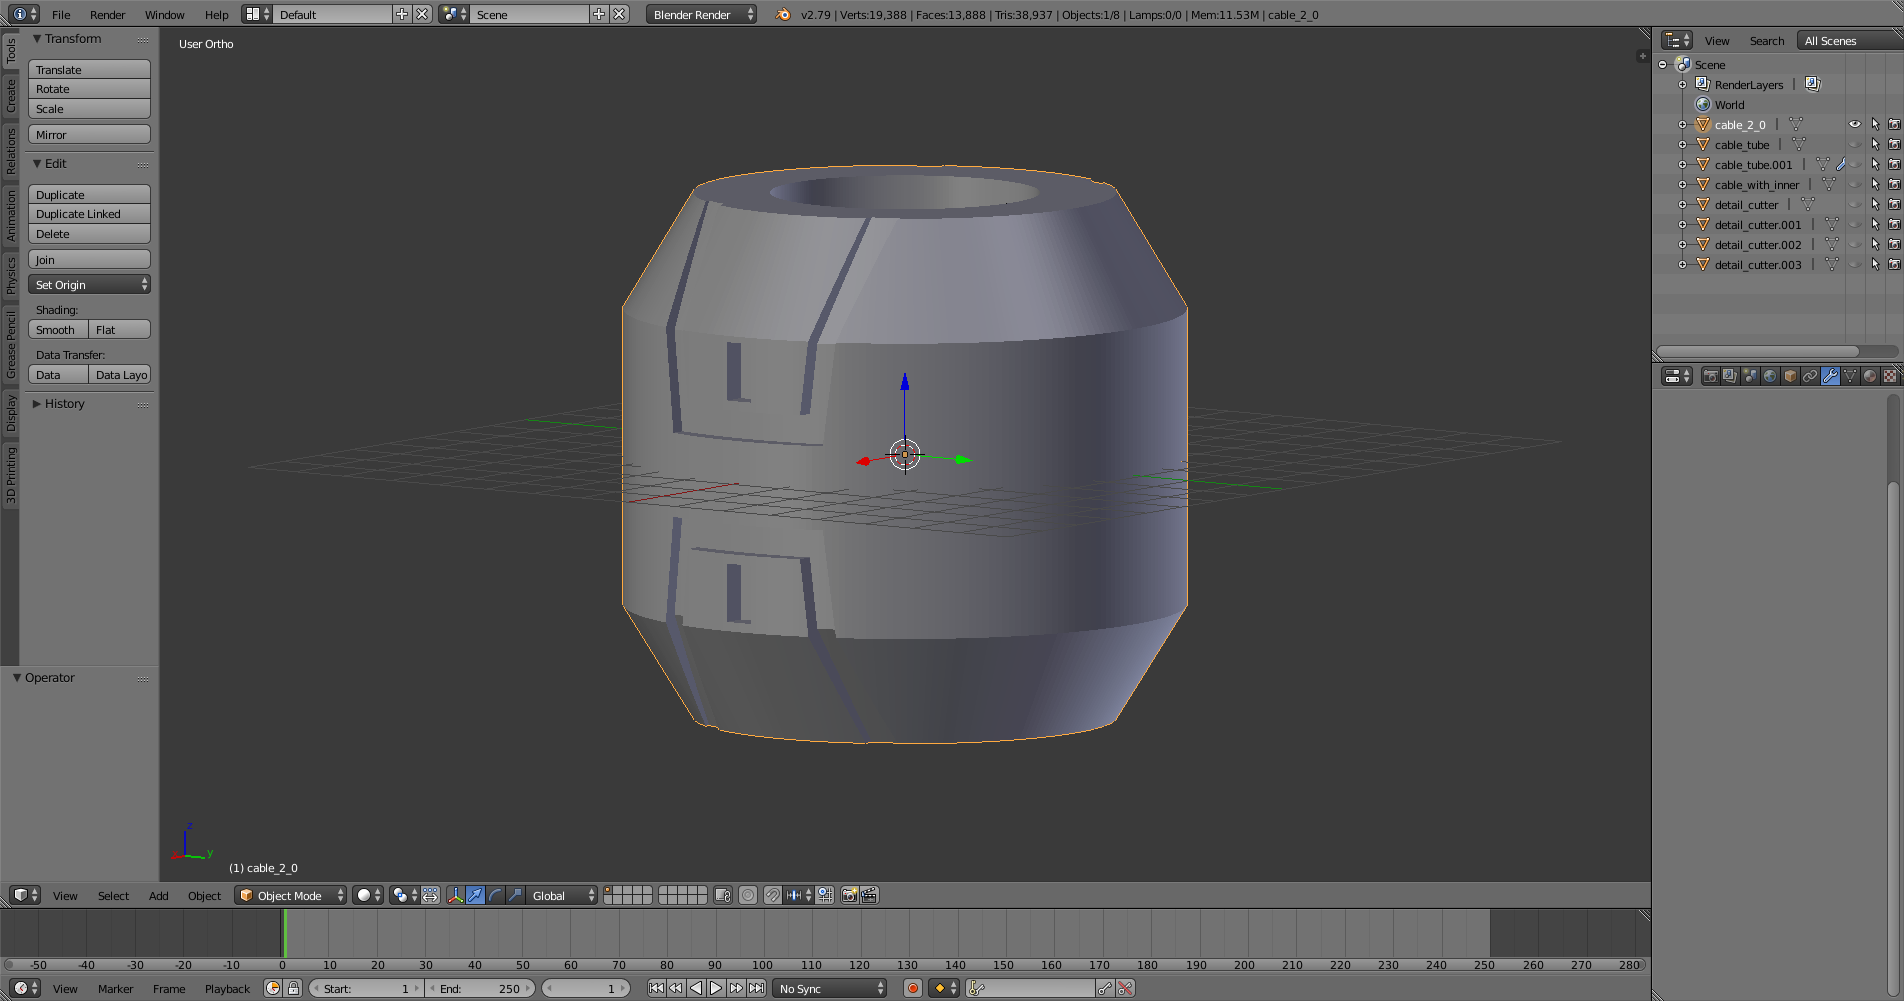
The design time took an hour, print time was 4 hours to print 24 copies, and another 45 minutes to an hour for the post processing stopes and they were ready. Speed AND accuracy!
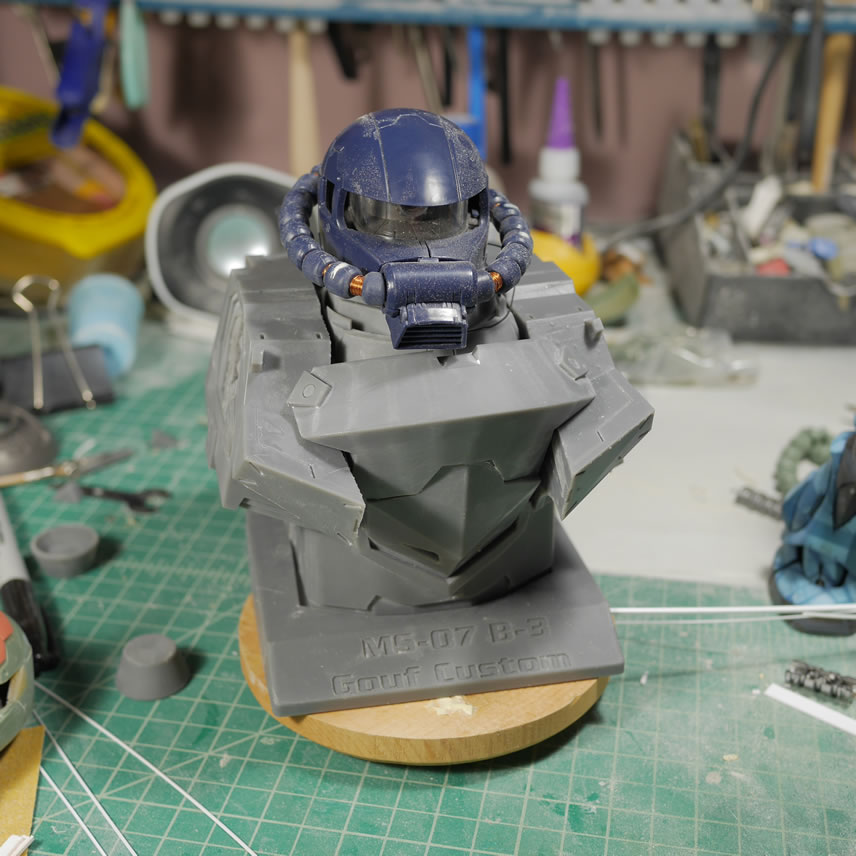
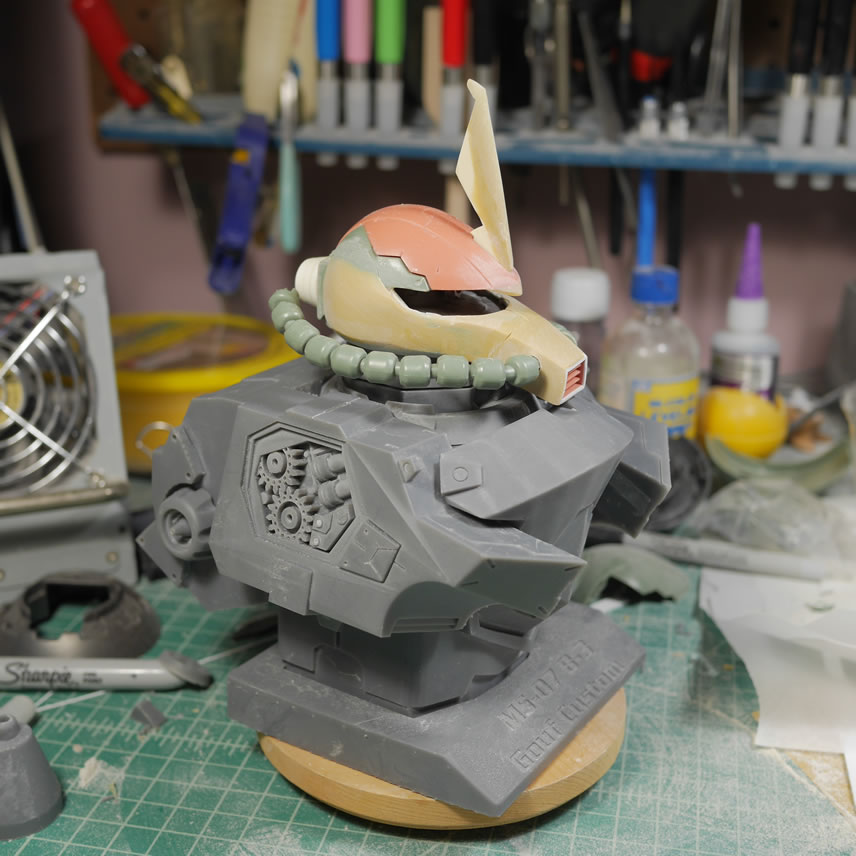
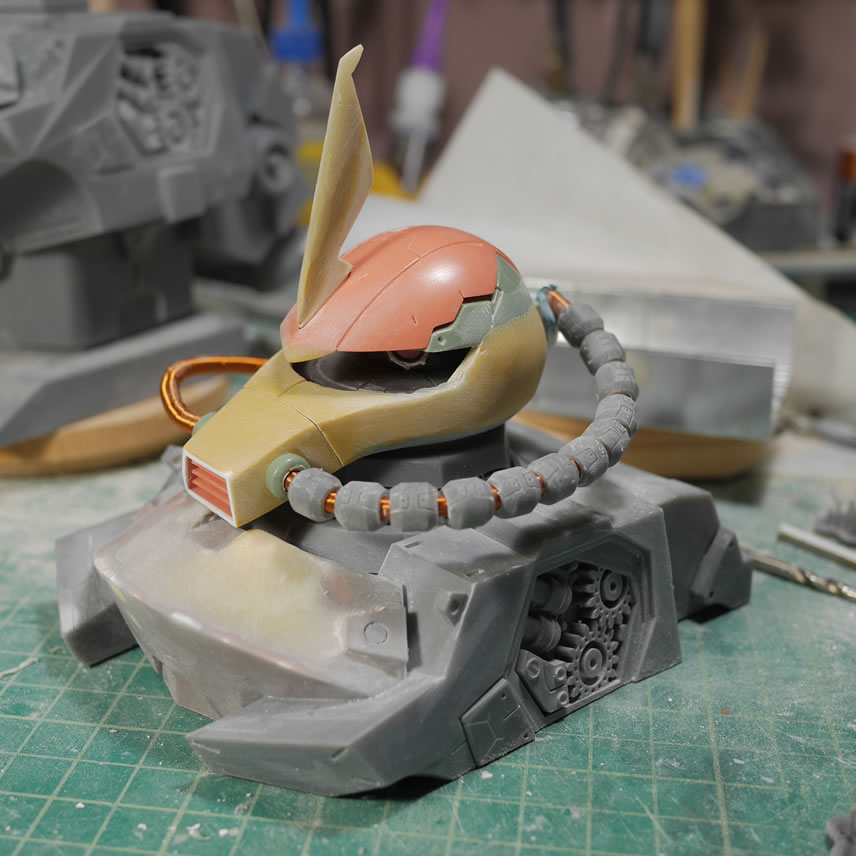
I will need to add more bends in the cables, but it’s starting to look pretty cool and the scaling is on point. Here are a few more shots of the head and the bust. I only got 1 cable done. I still need to make the modifications to the back of the head where the other side of the cables attach, so those are the plans for the coming week. With that, we’re on to the other ADD projects.
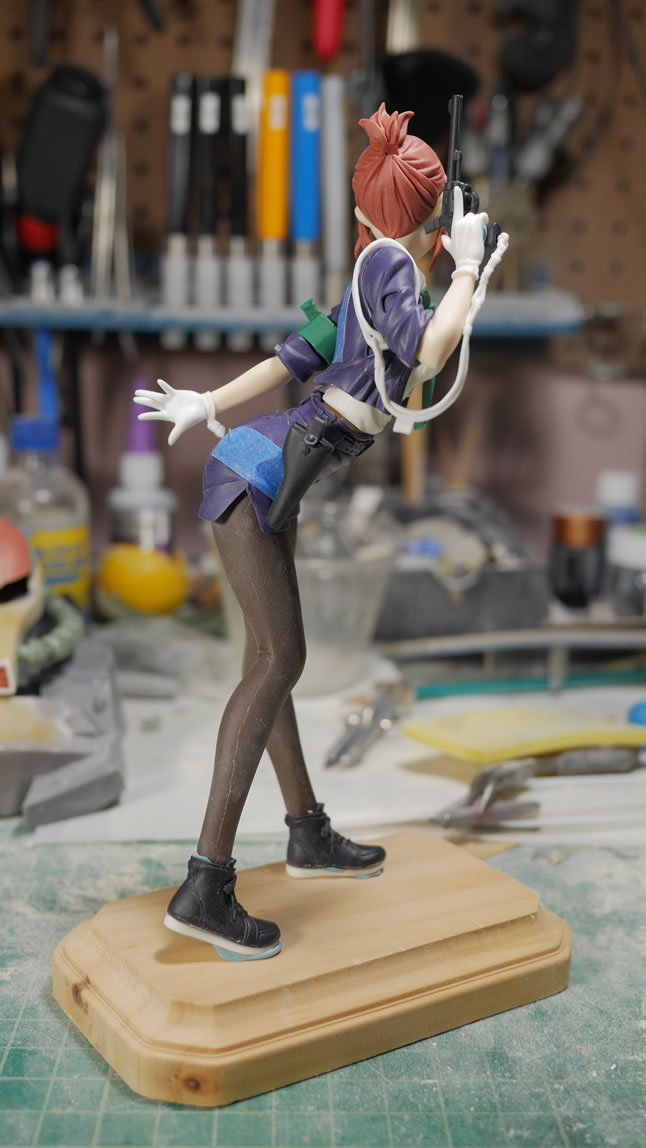
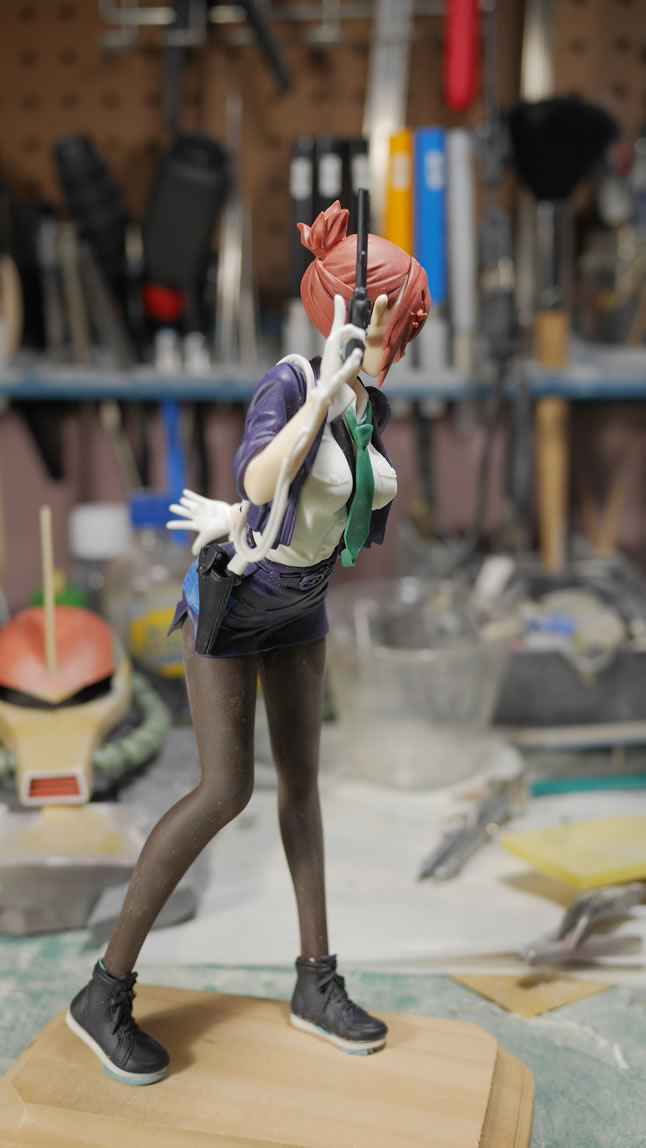
A few weeks ago, I was contacted by a guy I built the Volks Saber Bride commission. Which was 2 years ago. He wants another kit built and I got the kit last week and did the usual test fit assembly. I will be adding magnets to some of the more delicate pieces so they can just snap into place.
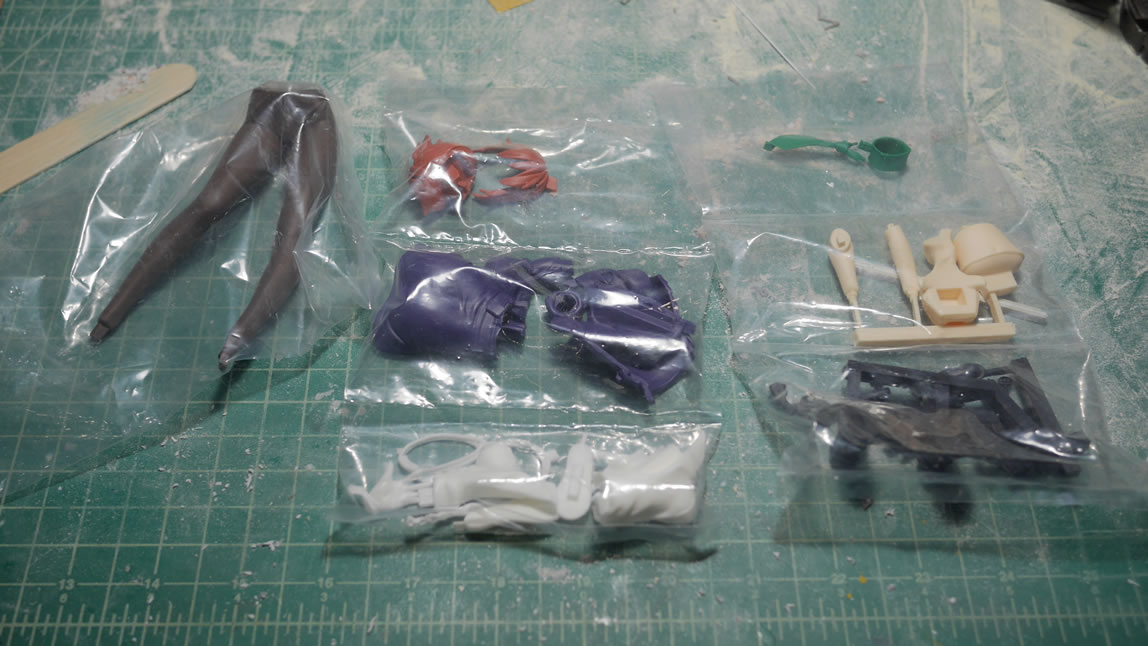
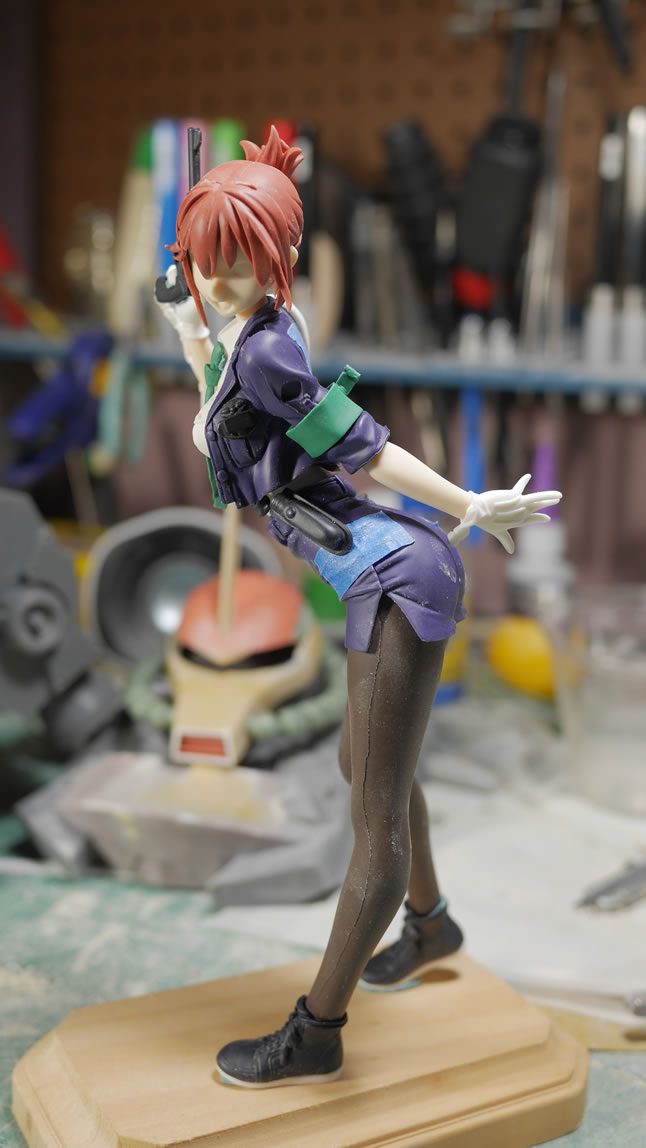
The kit comes together fairly easily. I removed some flash tabs and did some light sanding. I have some ideas on what I want to do, but I’ll need to confirm with the owner before going off the reservation. For now, just a quick assembly with mostly sticky tack holding everything together. She has a pretty nice balance, with all the resin bits attached, so I’ll need to work on creating a base to accommodate. Again, I already have ideas on what I want to do so this will be a nice break from the Goufy-c project.
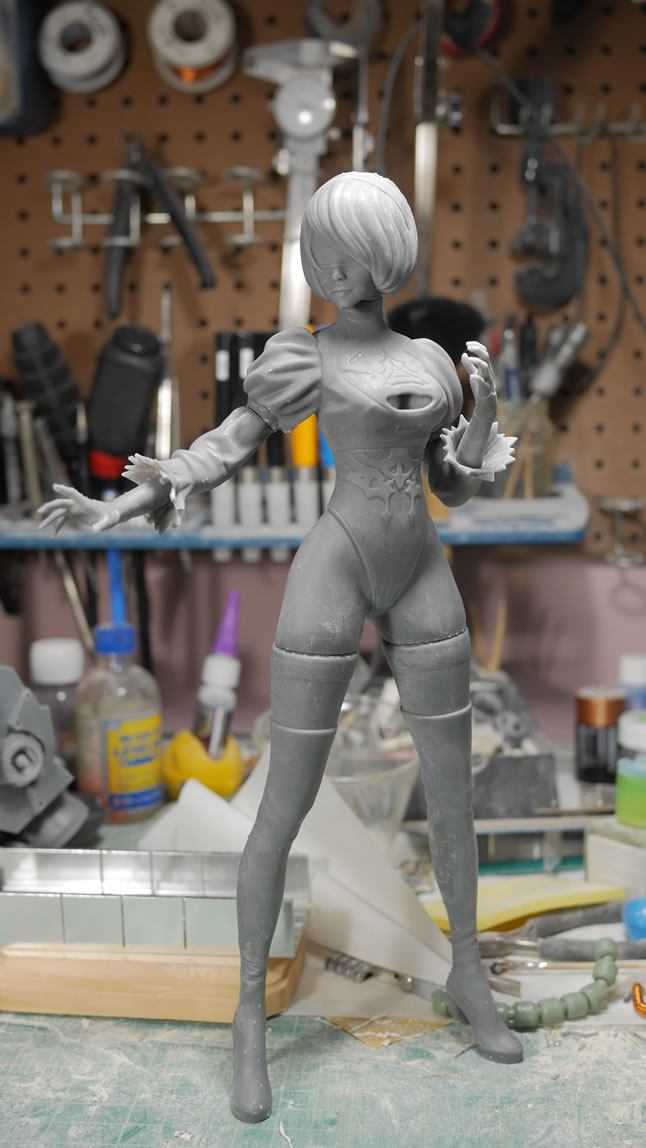
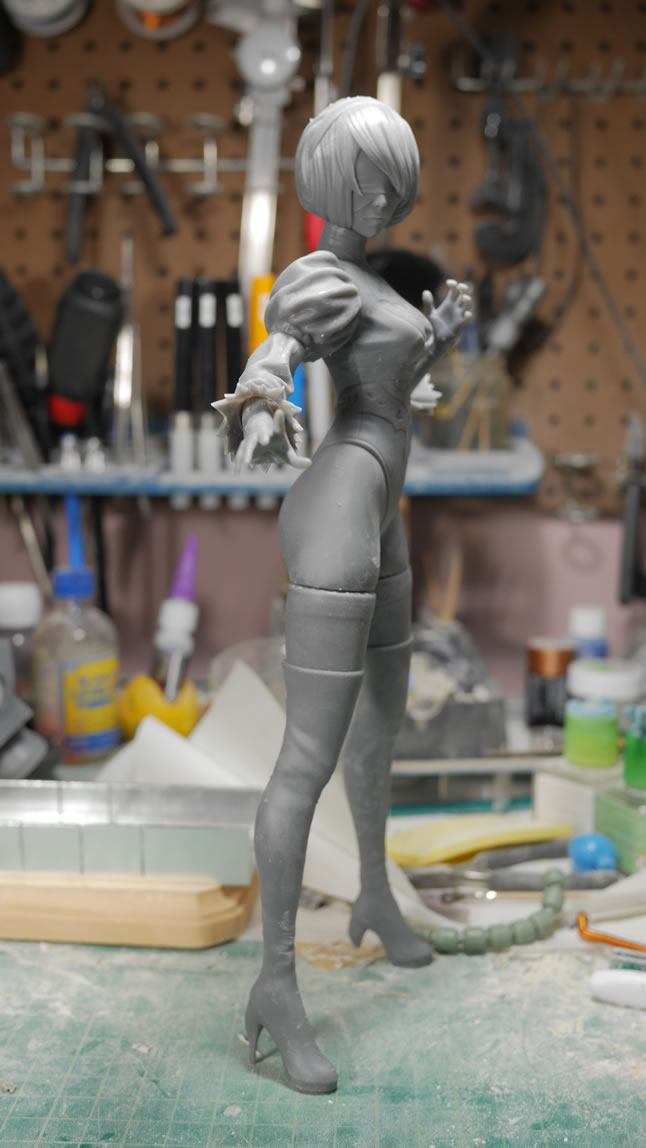
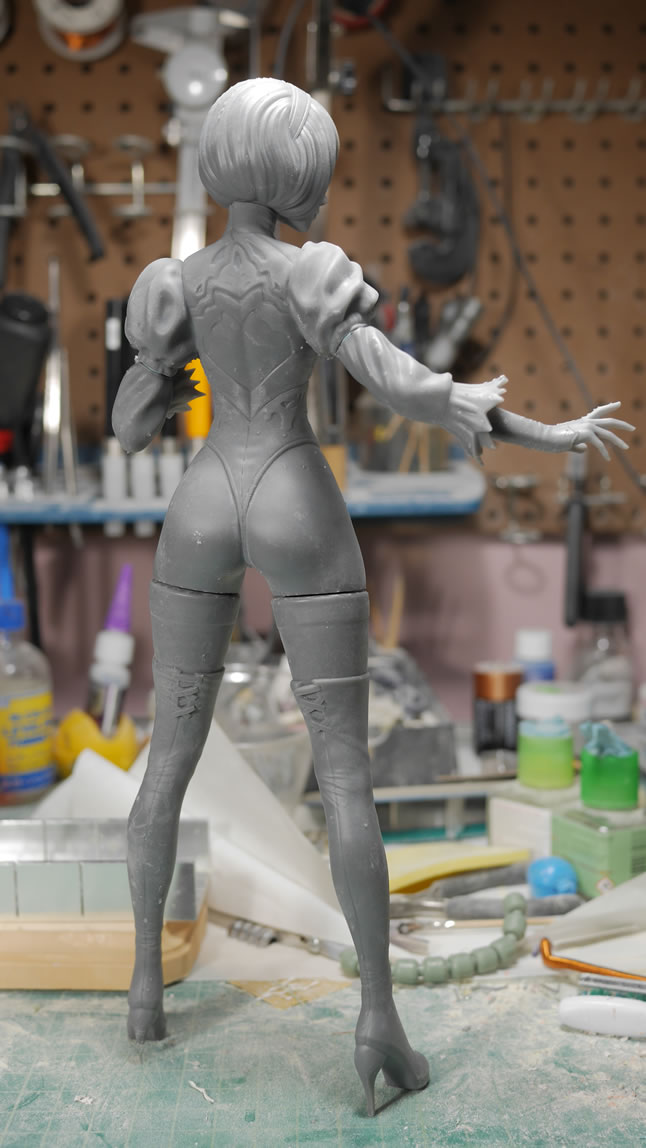
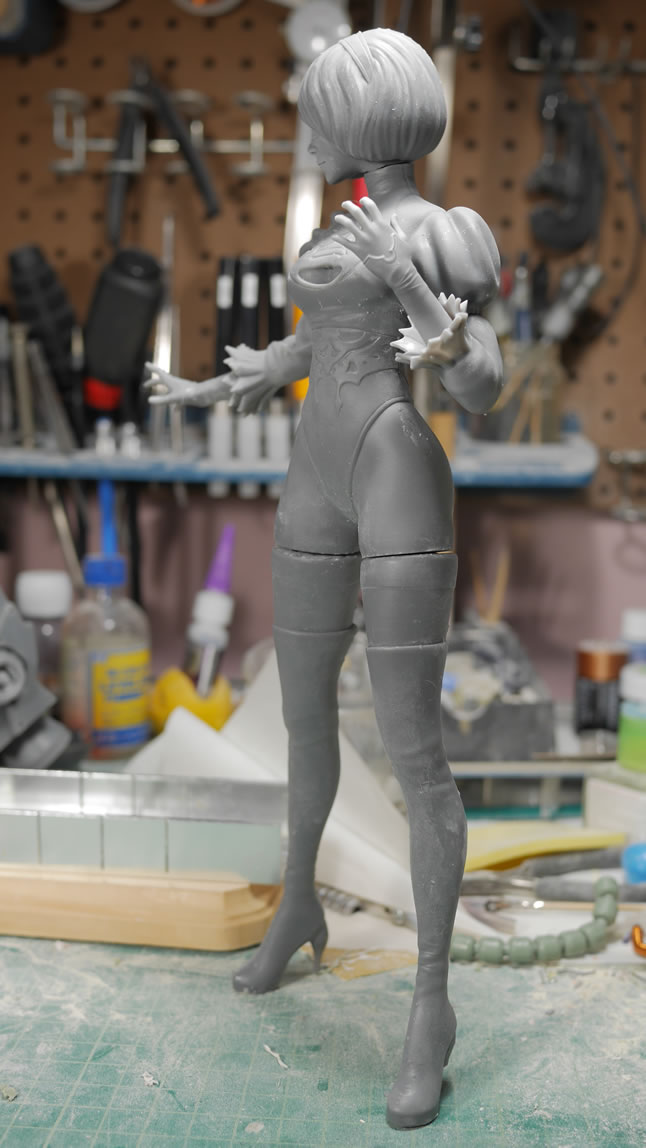
The last project I found in the anime gk group on FB. At the top of the post I have the link to the files. I scaled it on the larger end just because I could. The fit is ok and there will definitely need to be some gap filling. The kit design was hollowed so it’s fairly light weight. A solid resin cast will be much heavier. The sculpt looks good and she’s dressed as how I played her in the game *you damn creepers would play with her nekkid if that was an option*. I just wanted to print her out and see how good my printer is with a figure – everything I’ve printed so far has been mecha related. Verdict: pretty damn good.
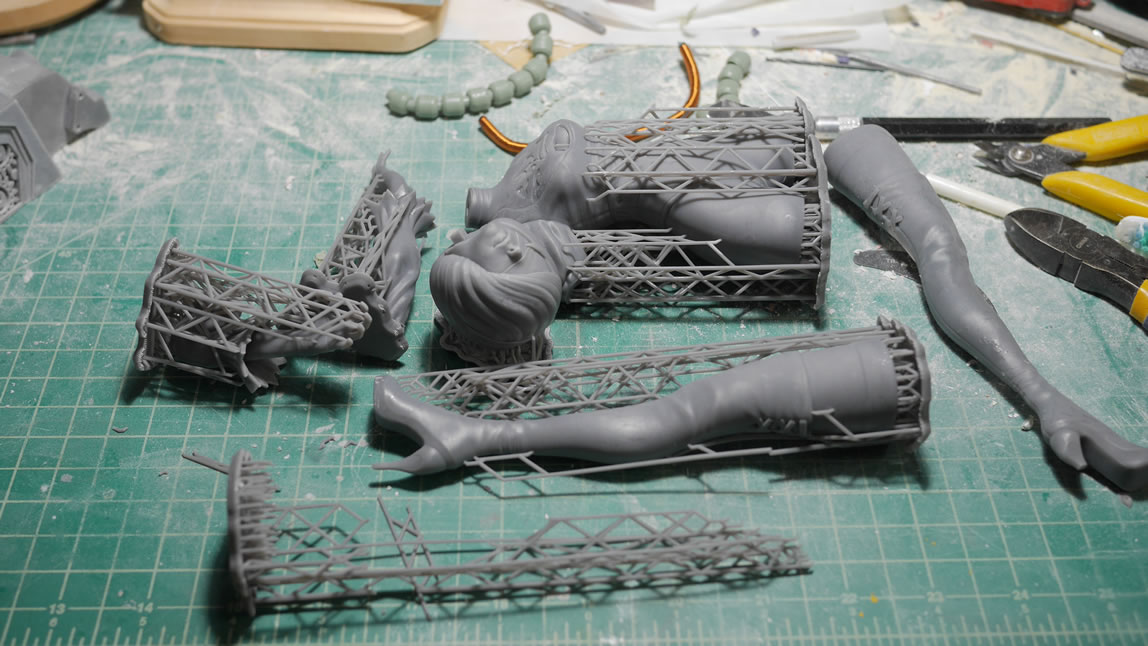
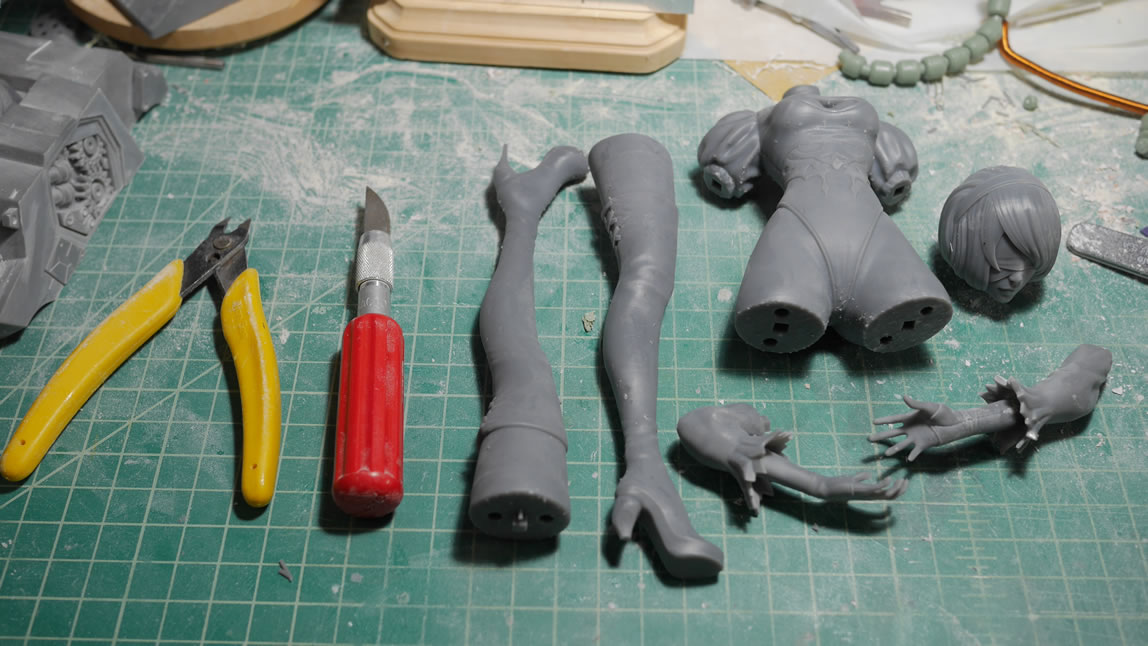
After the clean up and removing the support materials, the assembly is very straightforward and I used some sticky tack to help hold the 5 pieces together. I’ll need to figure out how I want to display her with a stand as she’s very light weight. I may just mix some resin and pour it into the cavities to “solidify” her as well as add some weight.
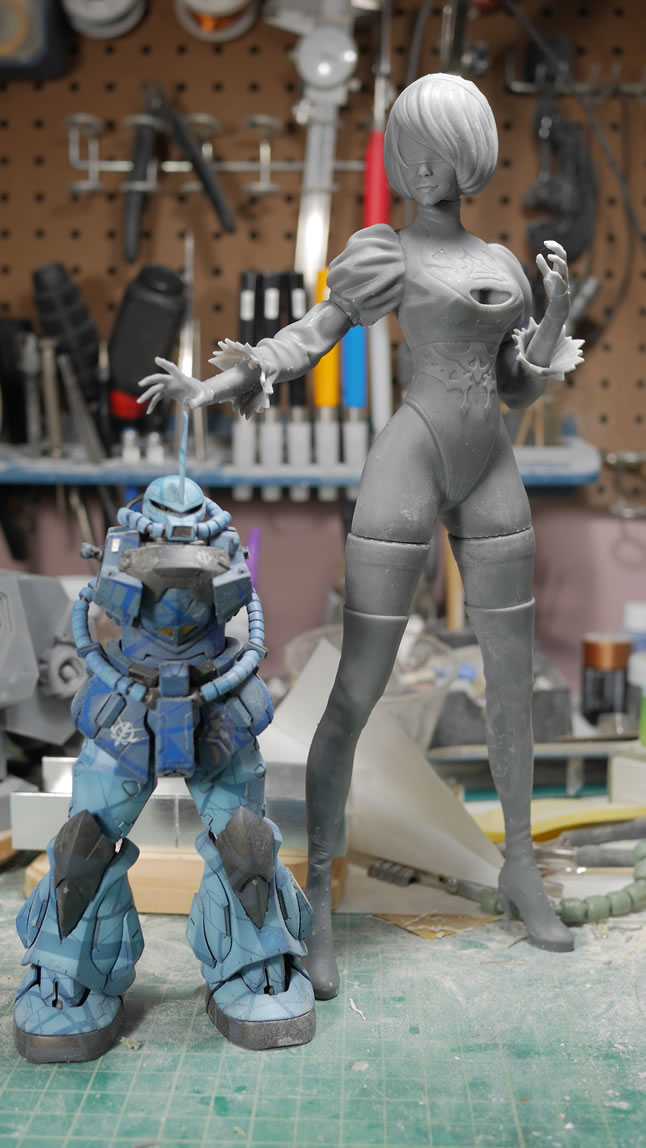
Earlier I had a comparison shot with the 1/7 scale volks resin kit. Here I have her standing next to the 1/100 Gouf Custom kit I’m referencing for the exceed Gouf.C. Yeah, she’s ginormous which will be perfect at upcoming IPMS shows since bigger usually draws attention.
And last but not least, shameless plugging of our shirts. This weekend, a group of us will be at Saboten Con in Phoenix AZ and will have our shirts on hand for sale. Help support SCGMC, buy one of our shirts!
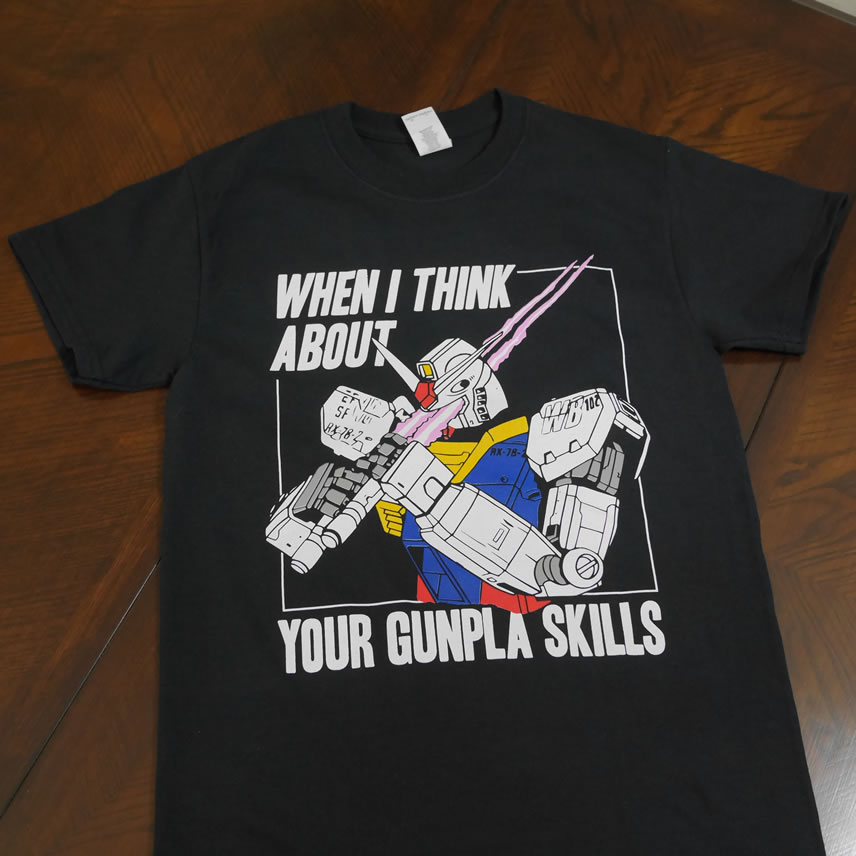

Click the store link above or CLICK HERE –> click this link to check out the rest of our shirts we have for sale! <--CLICK HERE! Again, limited quantities so get your shirts today!