For the past few days, I’ve been continuing to sand, fill, and fix small surface defects on the parts as I prepare them for a second priming session. To break up the monotony, I’m adding small details to the kit.
One of the things that seriously bugged me about the MG Hi-v kit was the lack of details on the fin funnels. Granted Bandai went for the gimmick with the blue flame thingy that attaches to this area of the fin funnels, but I would have preferred some simple details. So off with the details.
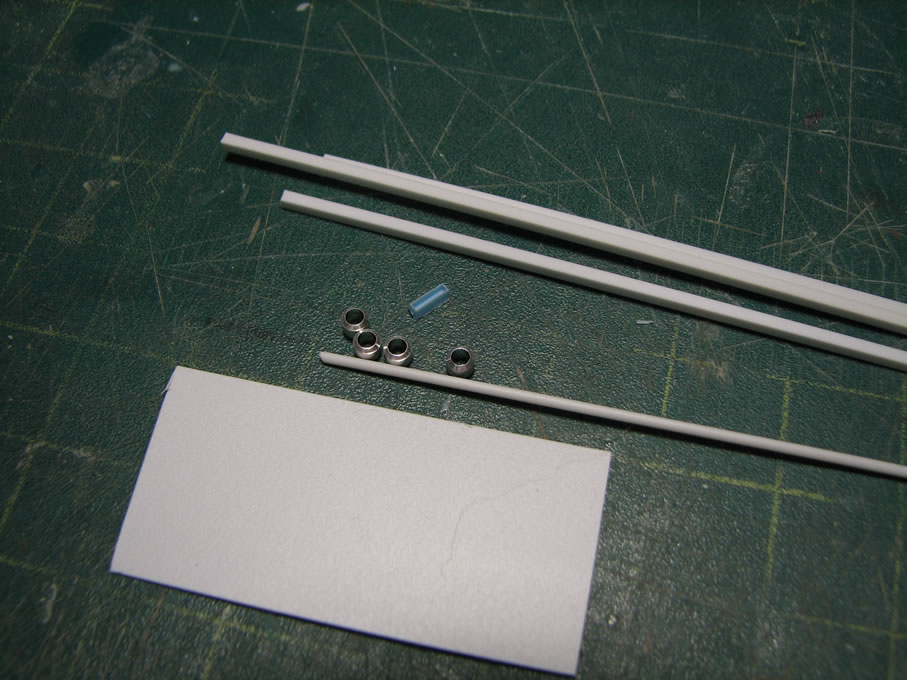
Details are easy to add, it’s just a little time consuming, and of late, I’ve found quite a bit of enjoyment with this. And breaking down the steps, it should be fairly easy to follow. First, the middle section of the funnel detail was measured. Then the raw materials were gathered together: styrene rod, styrene square strips, metal collars, a styrene base, and a resin rectangular thruster.
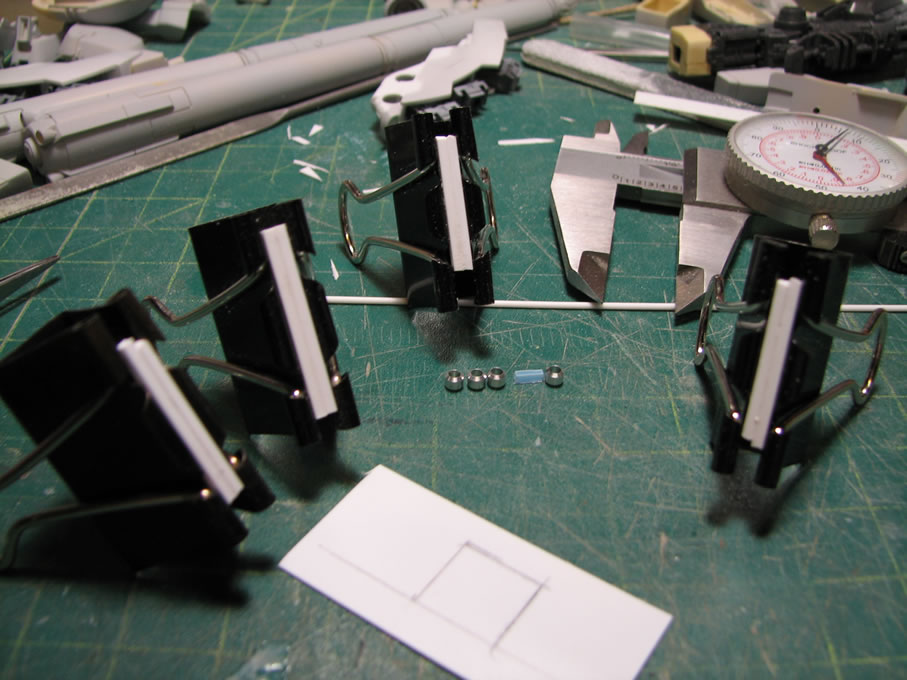
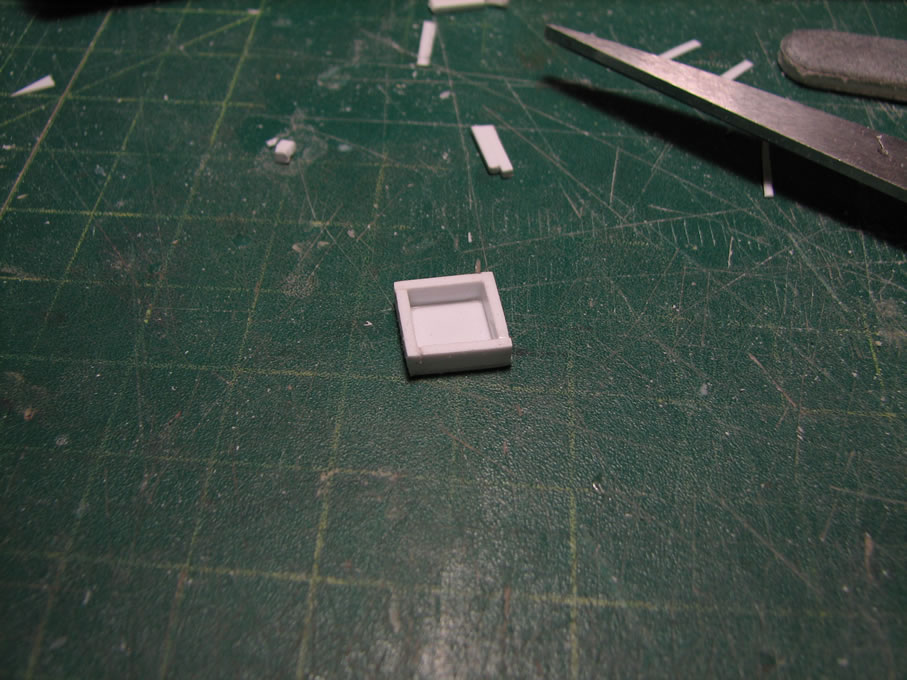
Using the measurements taken off the original detail piece, a square was drawn on the styrene base. The square styrene strips were cut into pairs then glued together for four sets. This will be the walls for the detail piece. Once glued, they are placed in clamps while the glue cures. I used tamiya extra thin cement for the styrene strips.

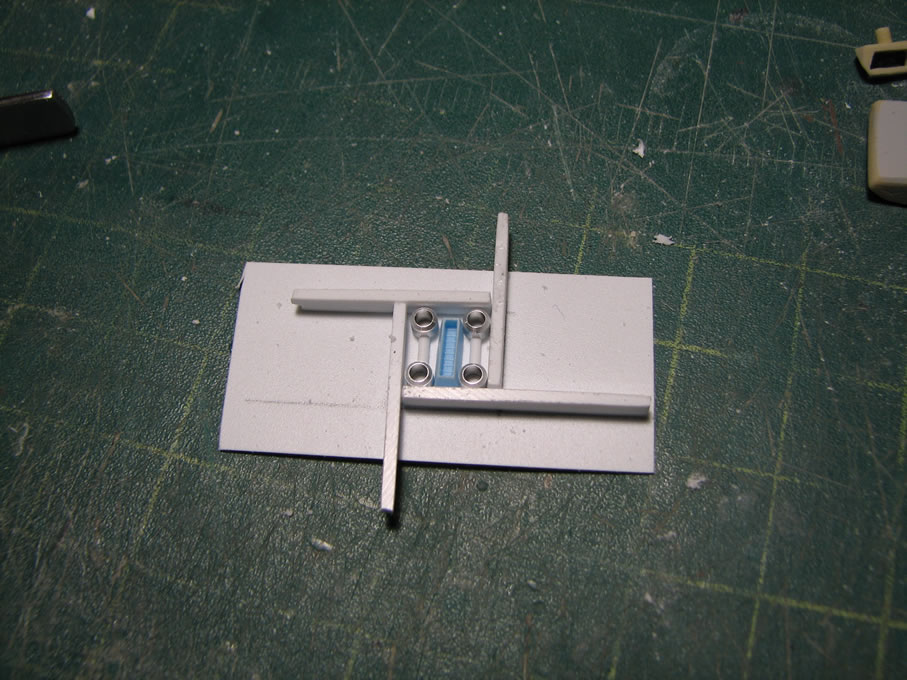
Once the glue set ups several hours later, the walls are then placed on the styrene base and then the metal collars, styrene rods, and thruster are test fitted. With the test fit satisfactory, the walls are then glued to the styrene base then clamped and set to cure over night.
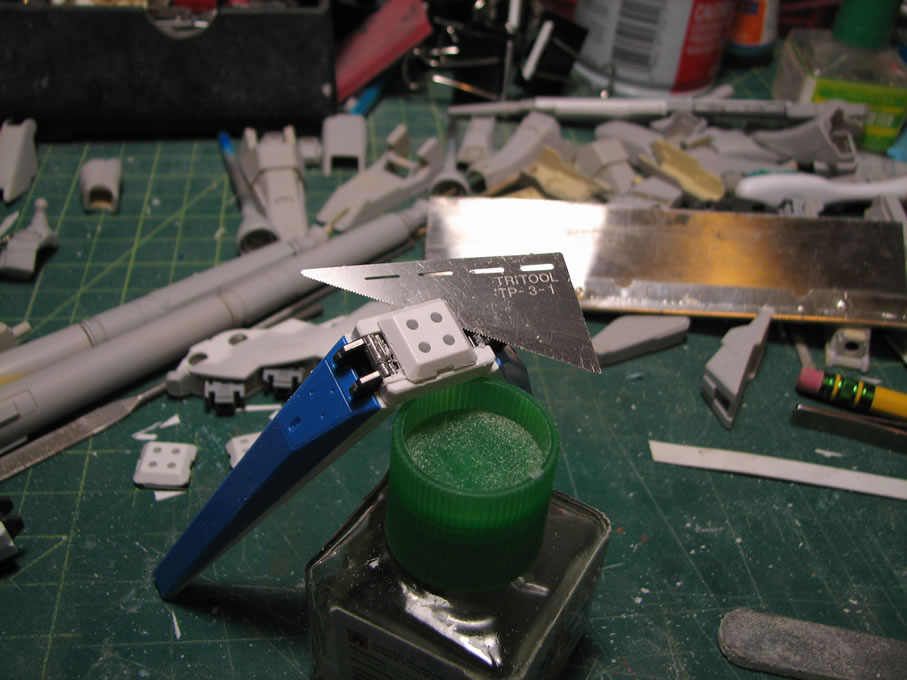
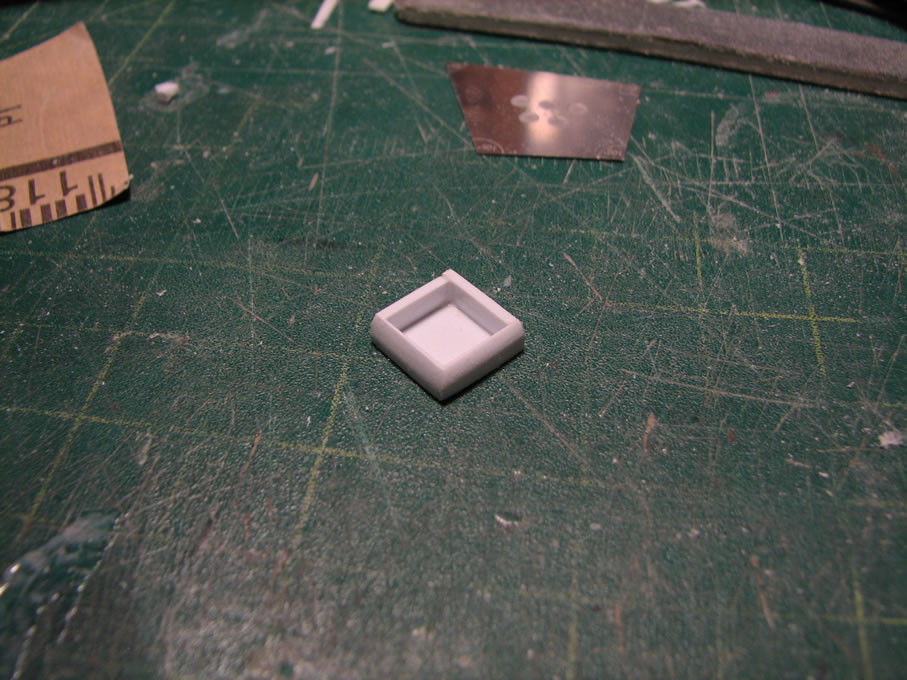
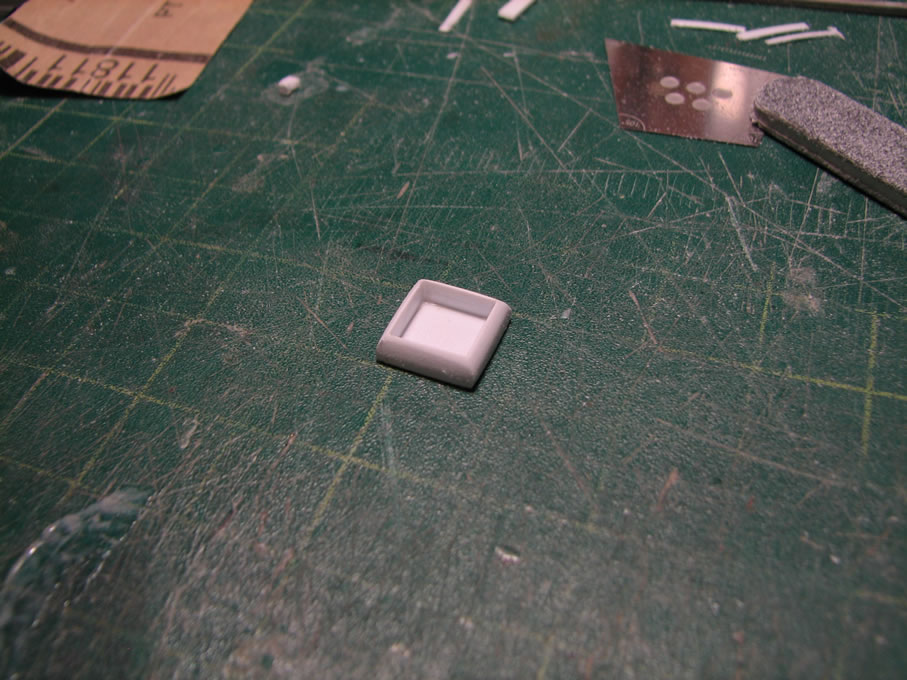
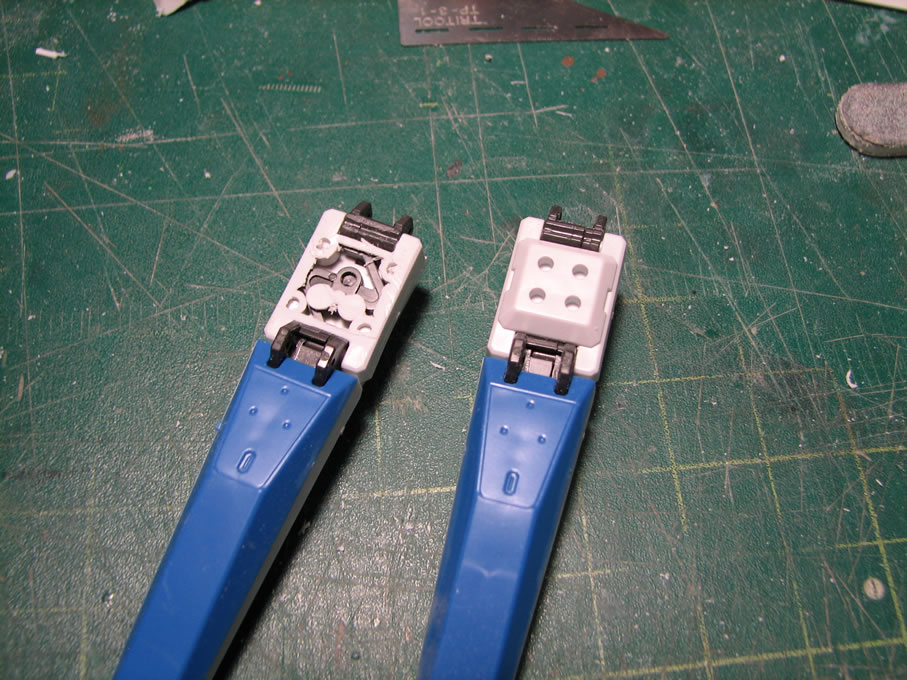
With the box cured, the excess areas are cut away and sanded. The top edges of the walls are then beveled with a sanding stick. The middle picture in the following sequence shows two edges beveled.
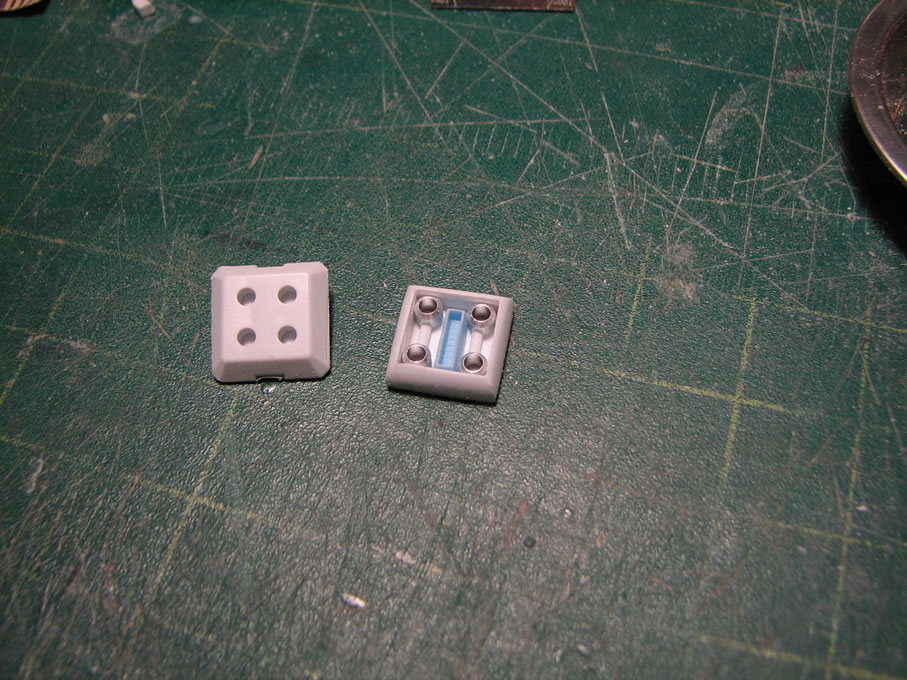
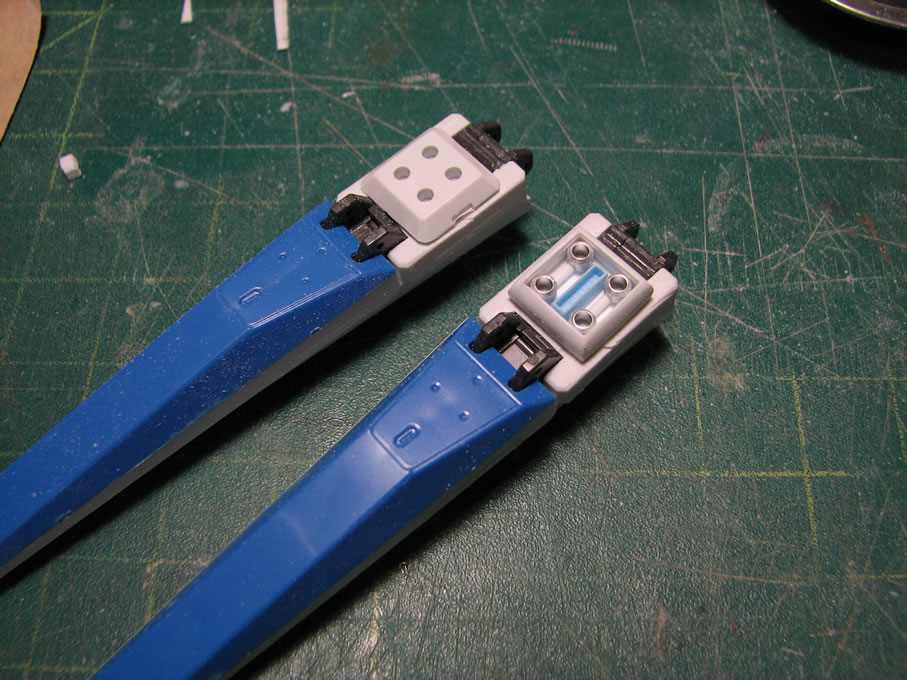
With the walls done, the internal pieces are then placed into the box for a final test fit. With the test fit successful and minor adjustments made to the styrene rods, the pieces are glued into place with epoxy glue. Epoxy glue gives the maximum strength and allows for a decent work time for putting the internal piece into place. And then a comparison with the original part. It looks odd now, but after priming and painting, the details should be a nice addition to the funnels.
I only made one detail piece and I have 6 fin funnels.
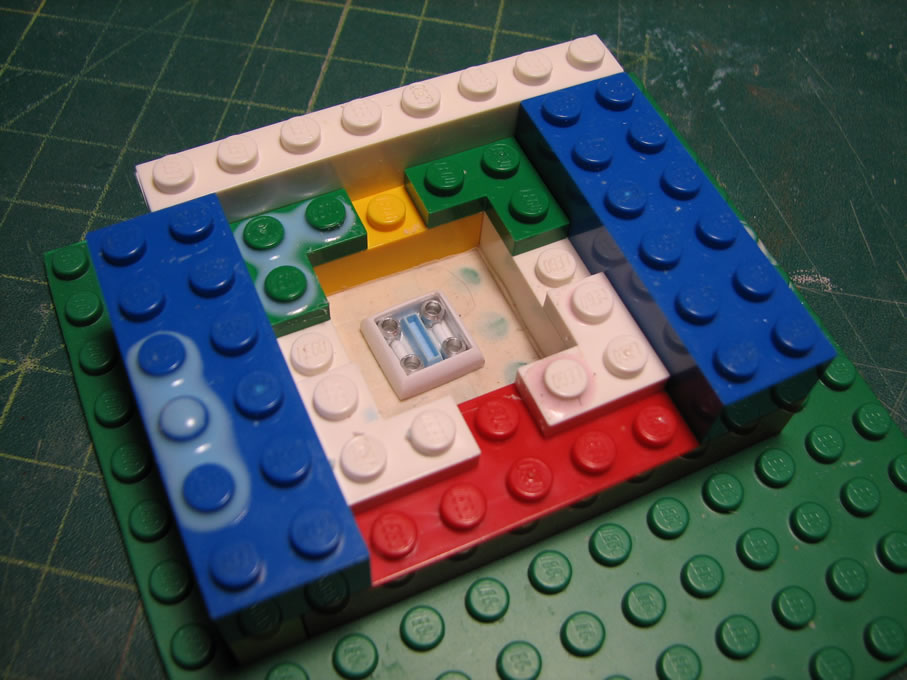
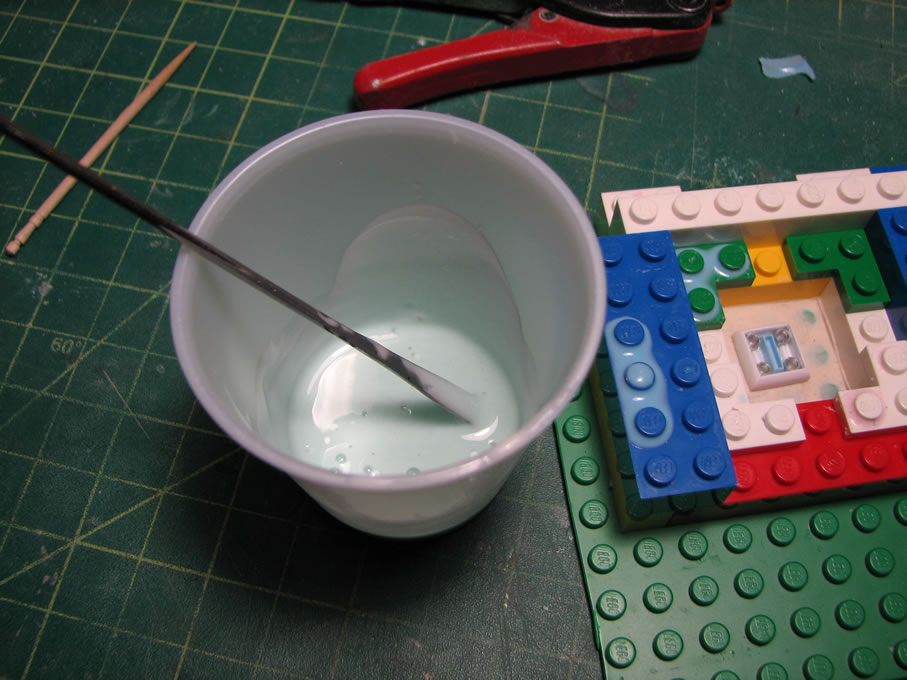
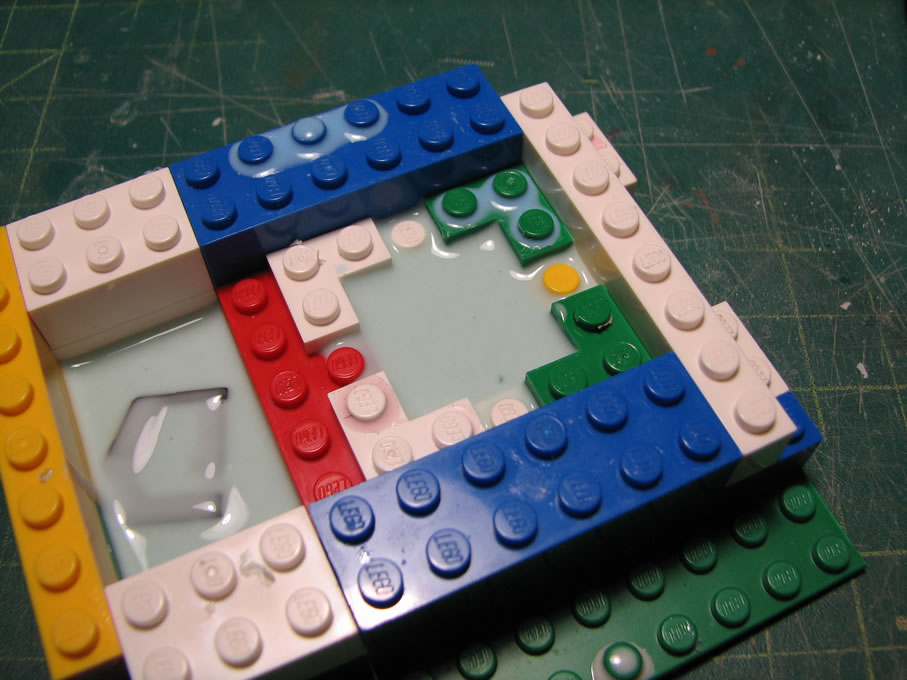
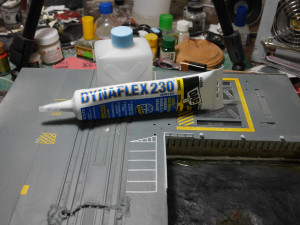
The solution is to just make a mold of the master detail piece, then make resin copies for the six funnels. The first step is to prepare a box for the mold making process. Using legos, some playdoh at the bottom of the box for the detail piece to stick and rest on. The silicon rubber is mixed with the catalyst and poured into the box with the master piece. The mold is then placed into my pressure pot to cure over night. The pressure pot applies about 40 psi of pressure from my compressor to help squeeze out any air bubbles in the mold.
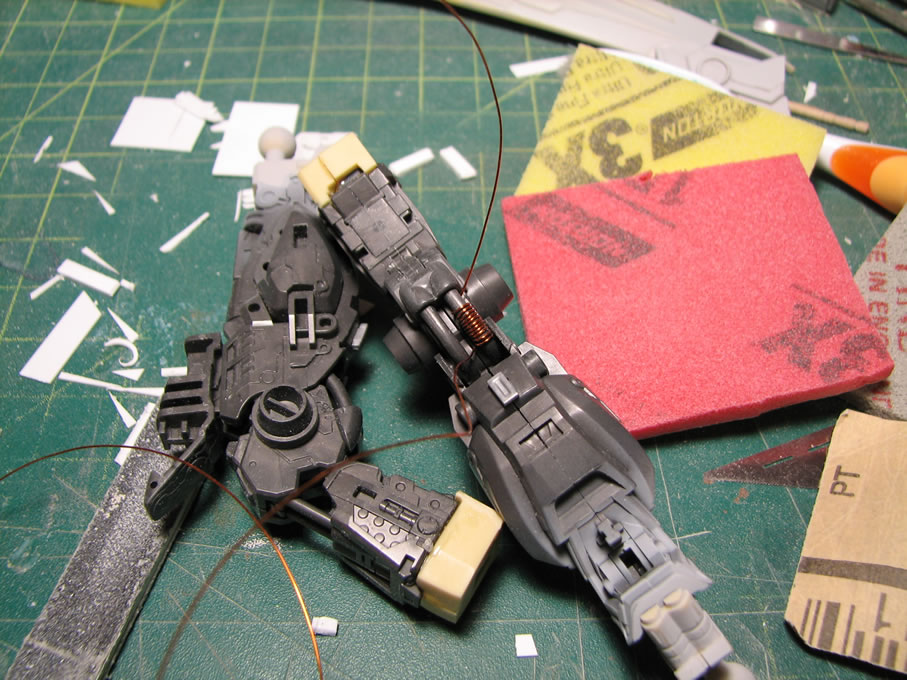
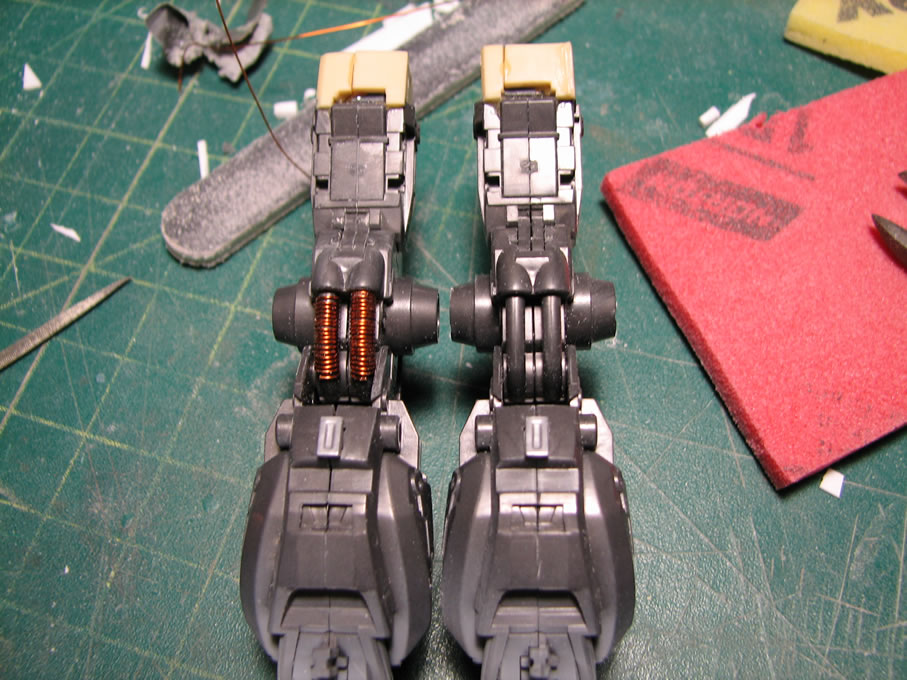
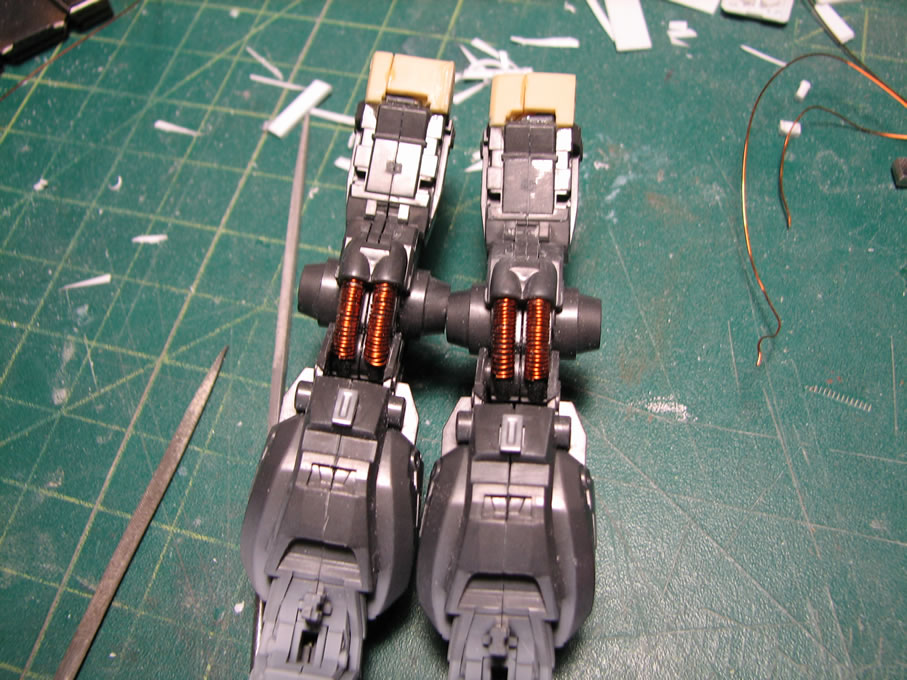
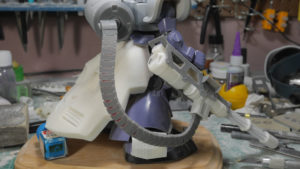
The final bit of detailing I last night is to the back leg cables. I just found the cables a little lack luster, so threading in some magnet wire around the cables adds a little bit of details to the rather bland area.
The way you mod is so SMART…, I learn something new here again :)
ok now that i seen these pictures it looks good!
Nice…I’ve had such crummy luck with resin recasting. Legos seem to be a great alternative for boxing.
I like the leg cables, great idea!
hey, sry for the random comment, but I’ve gt a question regarding the reverse wash tutorial:
Is it okay for me to use enamel black + Gold before lacquer black instead of Lacquer Black + Gold before enamel black? because from what I understand you use two diff types of paint so they won’t mix right?
Not sure I understand you’re question. The process for making this work is very specific. I use a lacquer black base just as a primer for the gold, as I like to use a gloss black base for all my metallic paints.