A little over a week ago, while in bed watching late night tv, I stumbled upon a good eats episode that focused on aging steaks at home using a porterhouse steak. I trust Alton Brown, and from his shows, I have yet to be pointed in the wrong direction, so I kept the idea in the back of my mind. Then, an opportunity presented itself, and off to the experimentation we go. So here we are with another installment of cooking with Clem. Below, I will explain how the steak in the pictures went from bright red to a very dark red in a span of about 9 days by dry aging the steak.
Coincidentally enough, a week prior to seeing the Good Eats episode, one of my friends had asked if it was possible to dry age steaks at home, and if I knew the process if one existed. I told him that I didn’t know, and that it would probably be difficult. Well, a few short weeks later, my opinions about the difficulty is completely changed, and now I know how to dry age my own steaks at home.
First, I picked up two rib eye cuts from my local costco. I like getting my beef and other meat products from costco. Aside from good cost savings, the quality of meats is beyond anything I have found elsewhere. So for this experiment, not wanting to attempt this with too much meat for there is always the possibility that things can go seriously wrong, we’ll start with baby steps; if this is successful and I don’t end up killing myself or any of my friends who I tend to use as guinea pigs, I’ll be daring to try a bigger slab of meat.

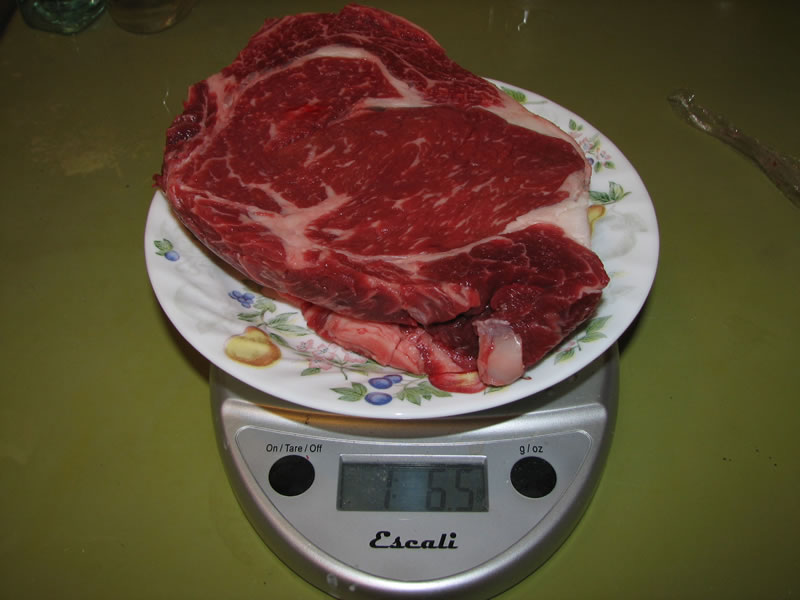
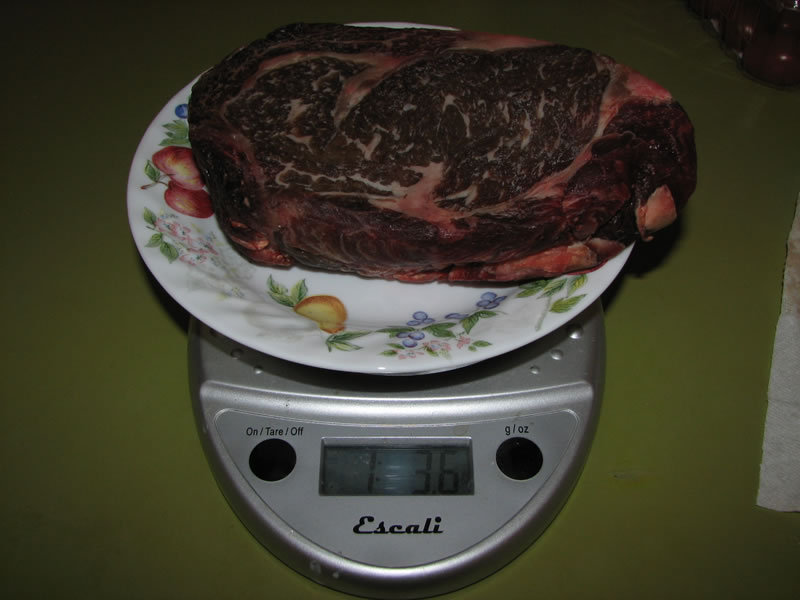
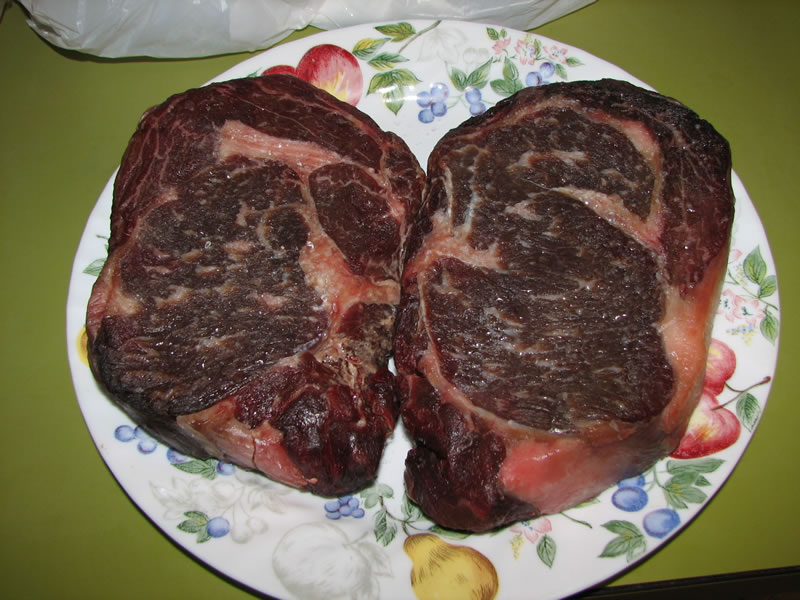
Next up is the before and after picture from the beginning of this article. The pictures are of the same steak before and after the aging process. Notice the change in color, as well as the obvious change in weight. There is also a distinct meaty odor. The same steak went from 1 lb, 6.5 ounces to 1 lb, 3.6 ounces. Which is a loss of 2.9 ounces, which is roughly about 13% of the weight in about 9 days of aging. As explained in the above link on dry aging, the steaks lose water which increases the flavor of the meat. Natural enzymes also go to work tenderizing the meat in the process as well.
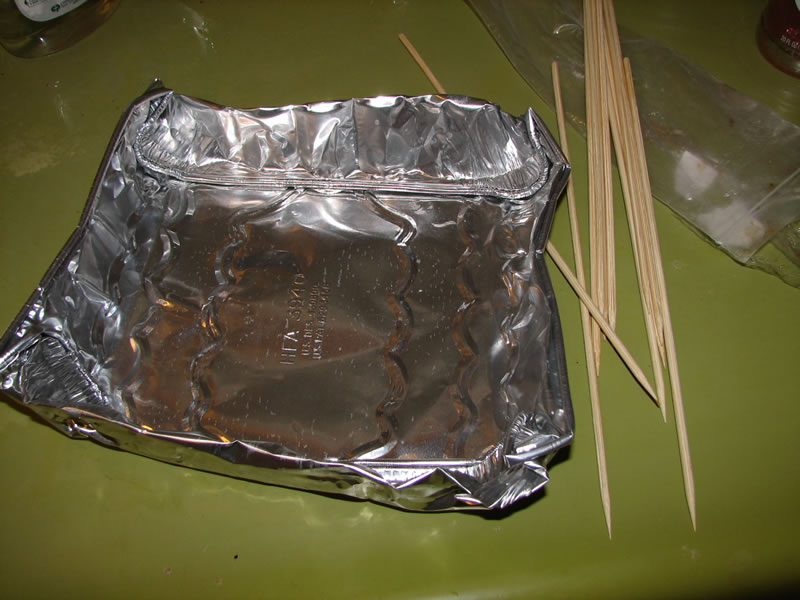
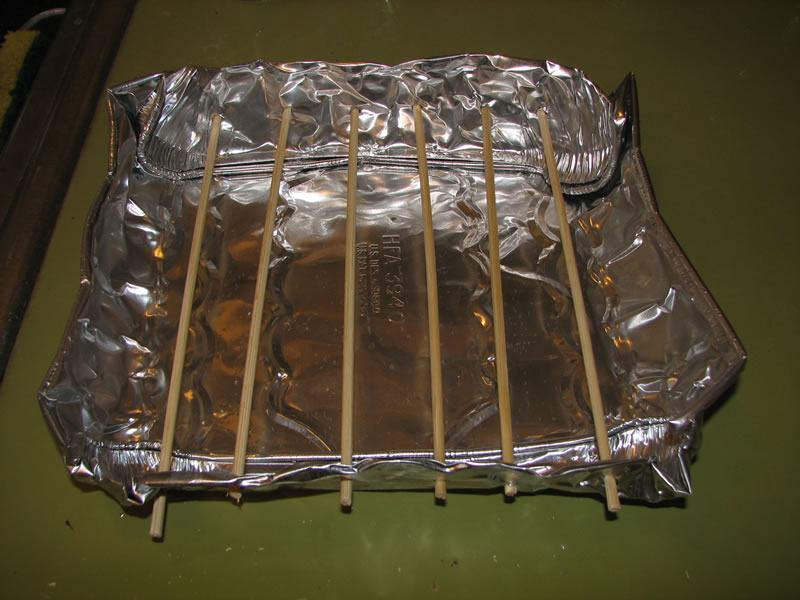
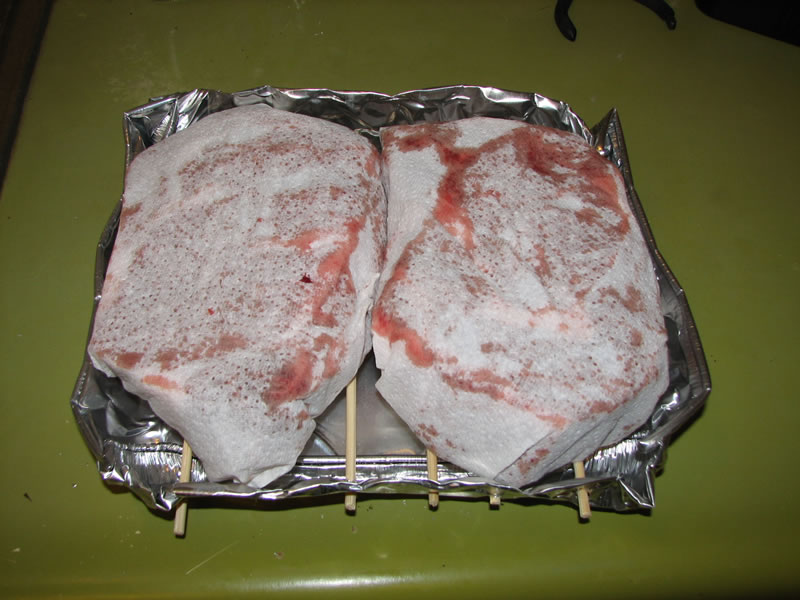
I follow the dry aging process taken from the Good Eats episode fairly close. A little tin setup with bamboo skewers is built so that the steaks have ample air around the meat for maximum liquid evaporation. I used a tin baking pan that I had in the kitchen, drilled a few holes into the sides of the pan, and then threaded the bamboo skewers through the pan. Excess bamboo was then cut.
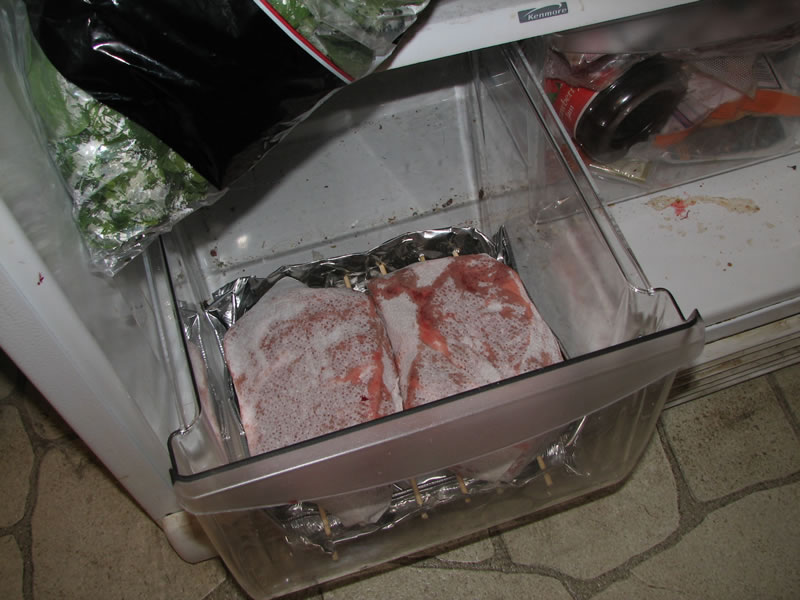
With the rig set up, the steaks are wrapped in paper towels, placed on the rig, then placed in the bottom slide out shelf of my fridge. To help contain any smells or keep the steaks from becoming tainted by other smells in the fridge, the pull out “humidity” controlled drawer is used. The paper towels are changed out daily.
The aging process on the show suggested 4 days. On various websites and forums, I’ve found that most folks age their steaks between 4-6 days. I’ve gone a little overboard by going to 9 days. With the steaks ready for cooking, they are removed from their resting place a full hour before cooking. Half an hour before cooking, the steaks are salted. In the following picture, the salt has done the job of pulling more moisture from the steaks leaving the steak looking like they are sweating.
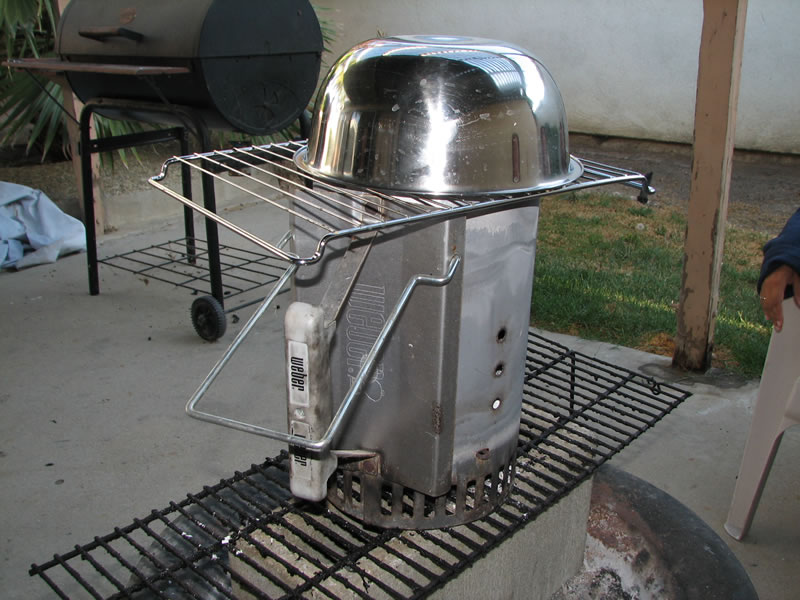
Since I do quite a bit of grilling, I already have all the necessary tools that Alton used in his show, so setting up a similar set up was very easy. I used a charcoal starter cylinder as my the heating element.
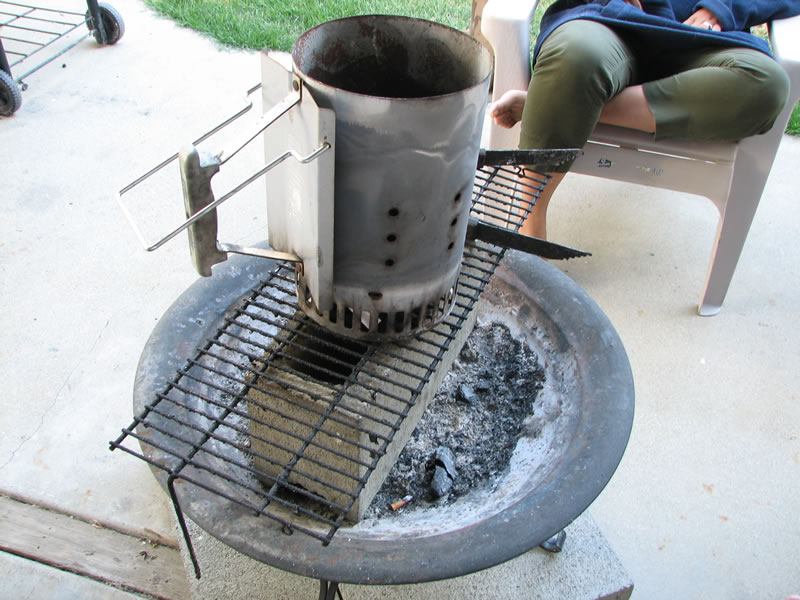
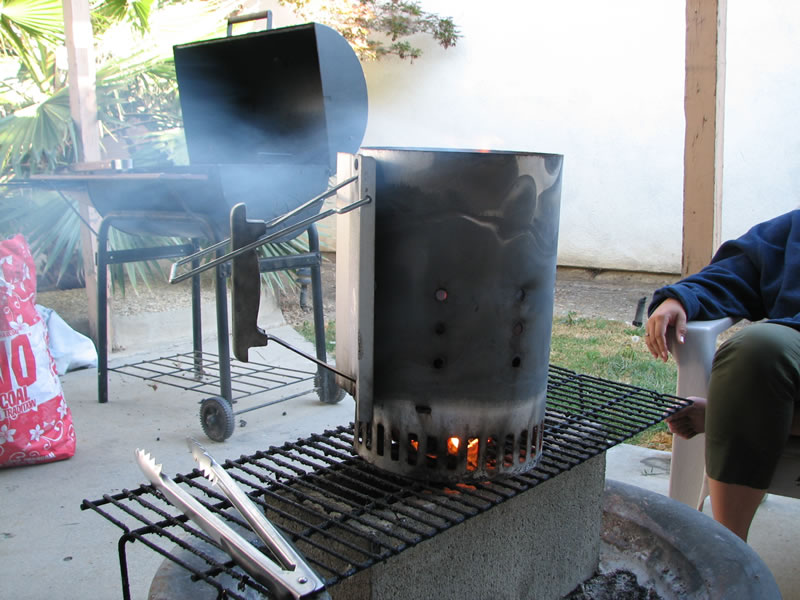
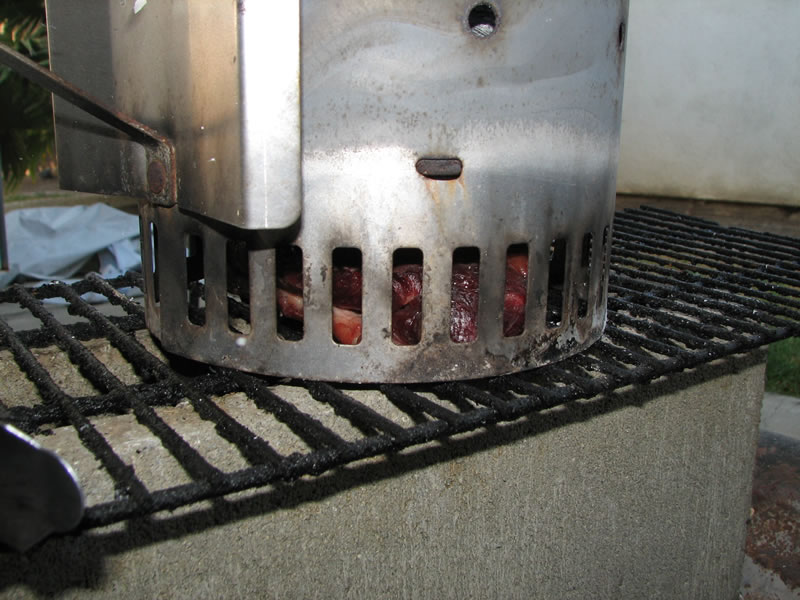
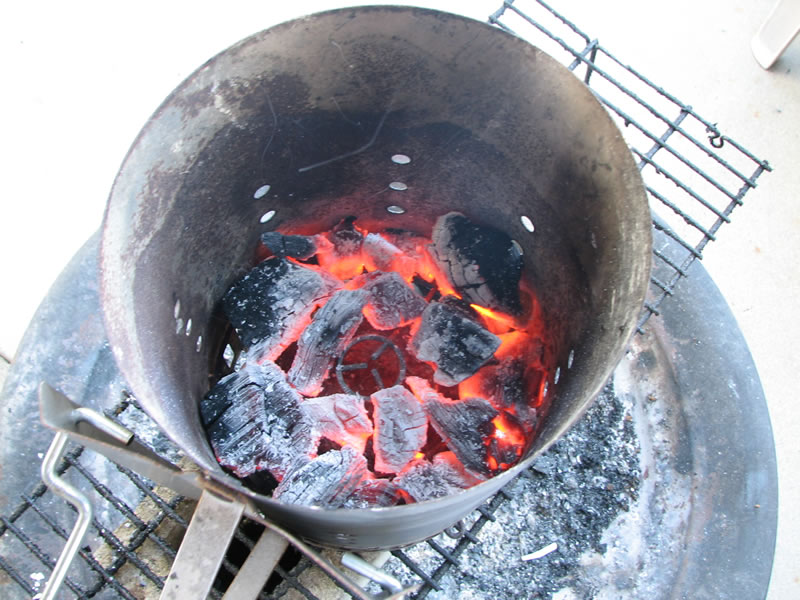
Using the charcoal starter cylinder, the steaks are placed on the grill plate, then the started cylinder with about a pound of good wood charcoal already lit and burning away, is placed directly on top of the steak. This creates a very hot broiler, which sears the meat while keeping the juices on top of the steak. The steak is cooked for 1.5 minutes on each side.
After being seared for a minute and a half on each side, the steak is pulled and placed on another grill top, and then placed on top of the cylinder. Using a metal mixing bowl, a make shift oven is created. The meat is then cooked for another minute on each side. During this time, the other steak is placed into the broiler section of the setup. This set up will give you some medium rare steaks.
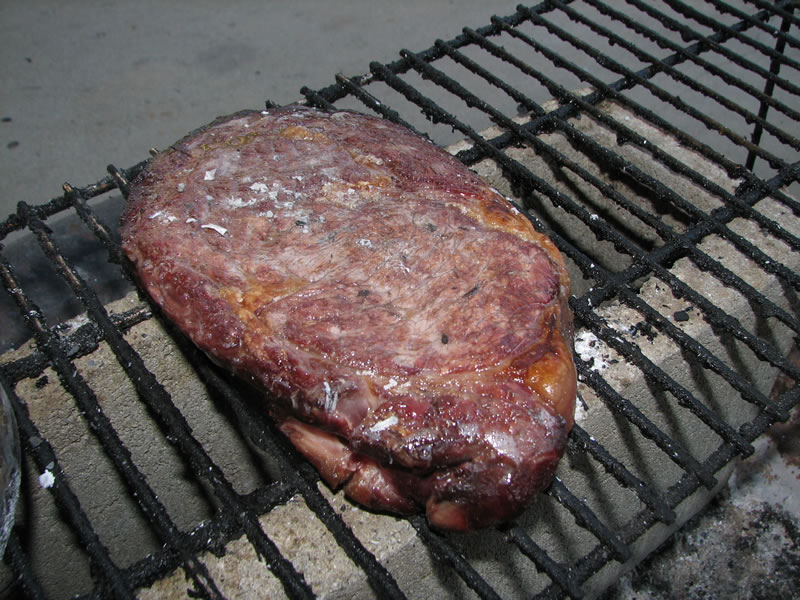
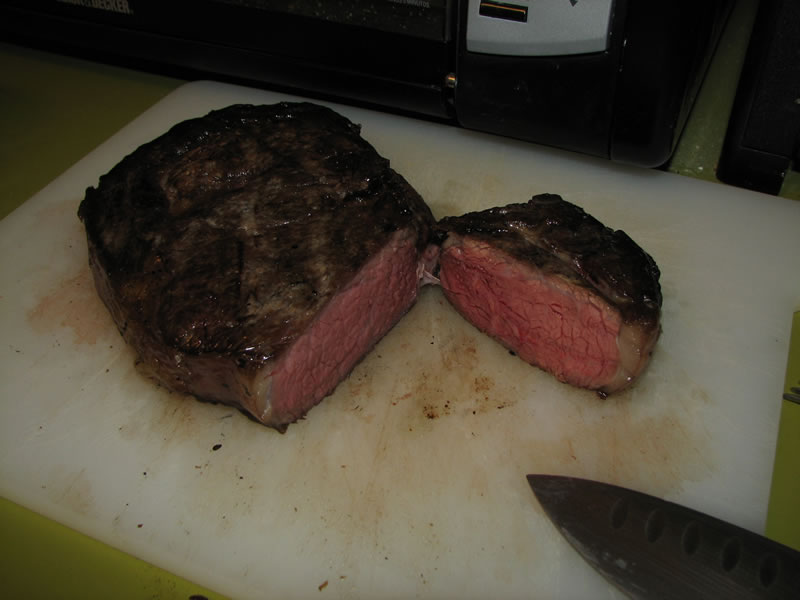
With the grilling done, the steaks are pulled off and kept on the grill plates to rest for about 10 minutes. And after resting, the meat is cut and we have a perfectly medium rare, dry aged, rib eye steak. And having only seasoned the piece of meat in salt, the true flavors of the meat is appreciated. There is definitely a difference in flavor; and I will definitely be revisiting this method when preparing a well planned out steak dinner at the house.
AB’s the man! Most of my cooking wisdom came from either my Mom, AB, or Miko. lol