Grim Reaper Part 3
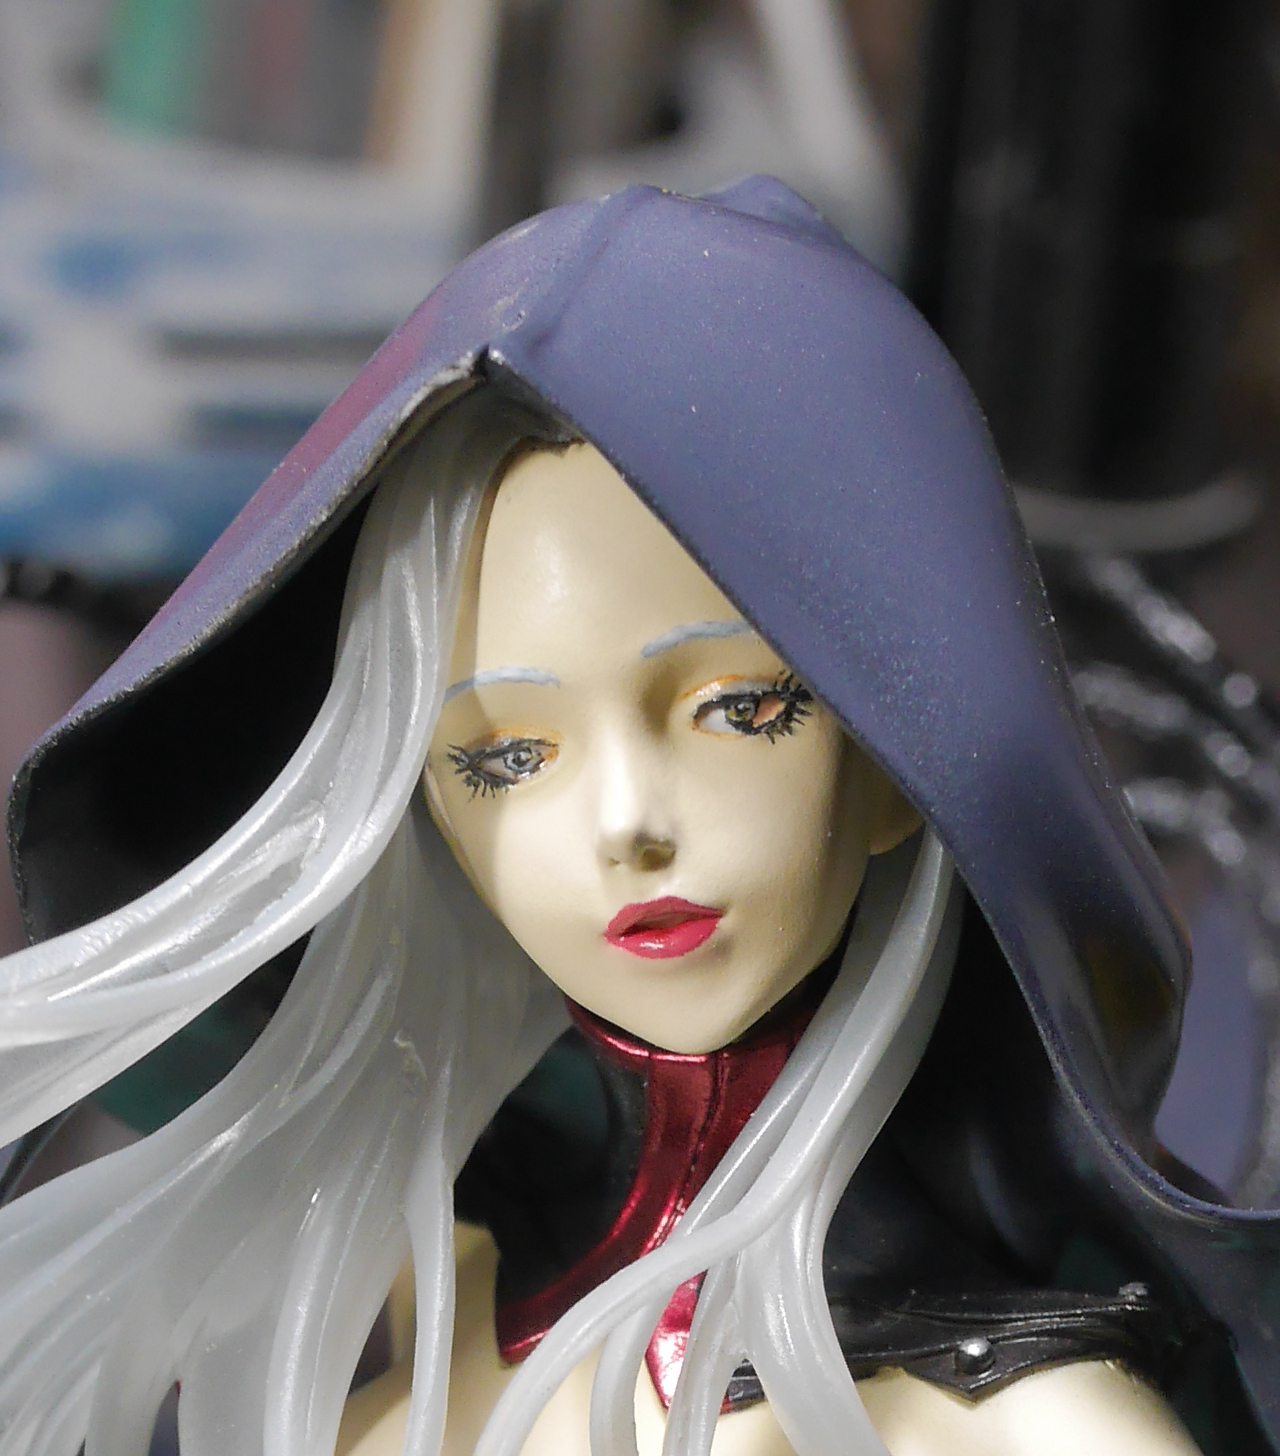
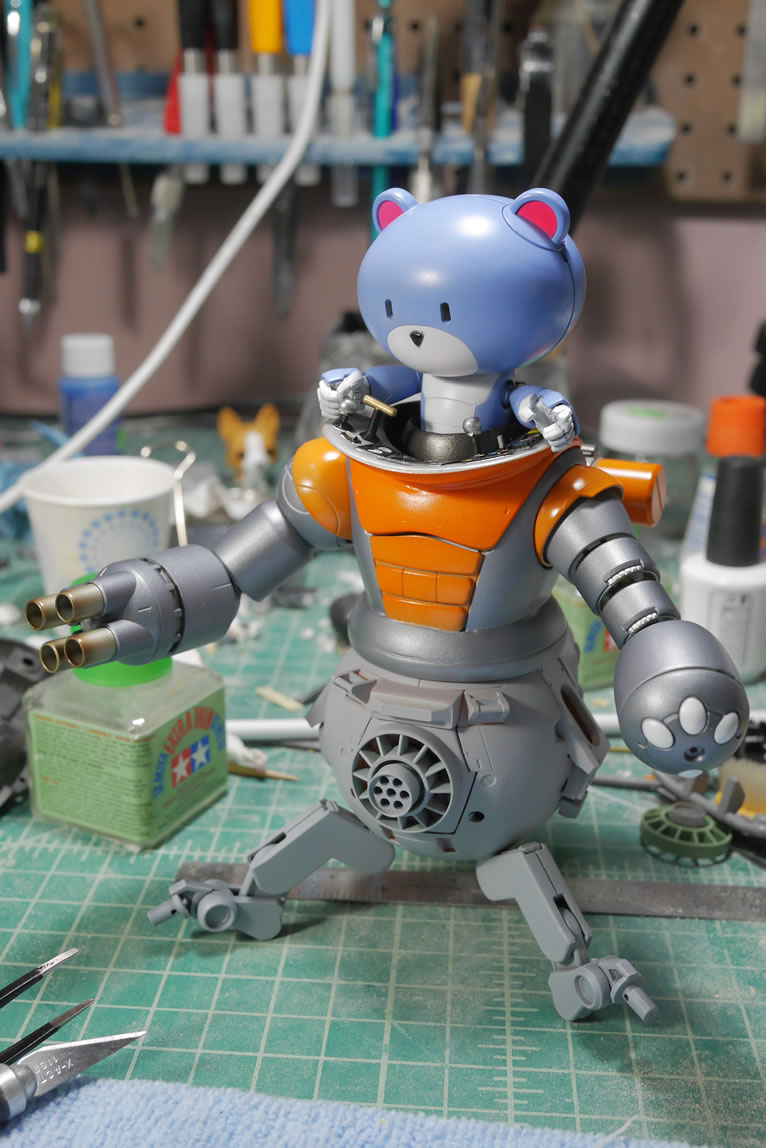
Seven months after my last post on the subject; it is time to get around to finishing the damn project. So let us catch up. Here is a mockup of Death right about the end of March as I continued…
Seven months after my last post on the subject; it is time to get around to finishing the damn project. So let us catch up. Here is a mockup of Death right about the end of March as I continued…
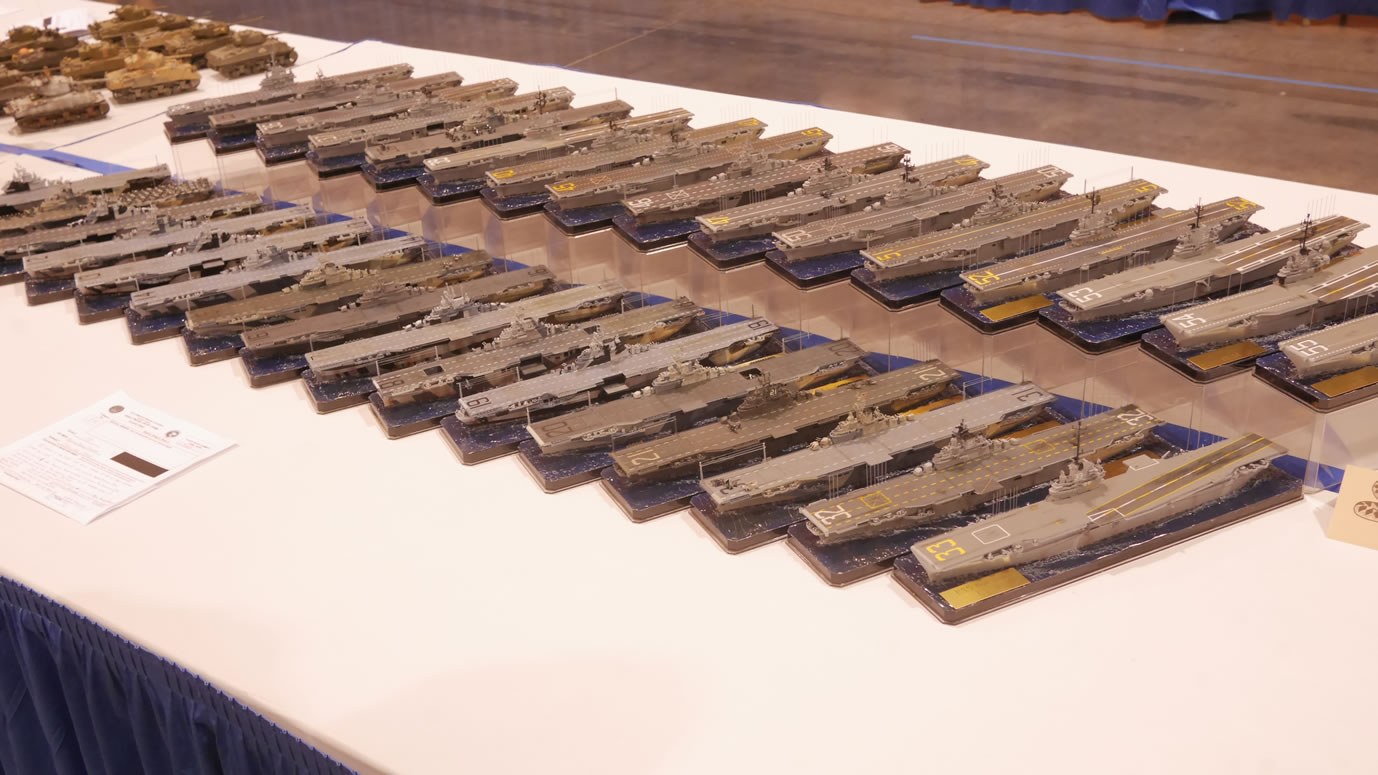
A group of us went to Phoenix last week for the IPMS Nationals 2018. I got invited by some folks I’ve known in the IPMS AZ club to do a few seminars, one on advanced weathering and one on gundam model building. We rented out a house in the lovely town of Gilbert AZ that had 3 AC units powering the thing as well as a nice pool. This sorta helped us cope with the average daily temperature of 113° F. Hot doesn’t even begin to describe the feeling under the sun. The wife and I drove out with the three boys in tow Wednesday morning. We would spend a few days at the contest and a day up in Sedona doing some hiking, and all the while, drinking, eating, and playing GBO2 at the house.


More after the jump. (more…)
The kit has been done for a few weeks now, this update just finishes the base I had started when I needed a break from cleaning up and fixing the resin binders. I touched on a few things on the last update with the basics of the base, but other than just slapping things together, I didn’t do any focused work since I felt the best thing was to just power through and finish the monster first.
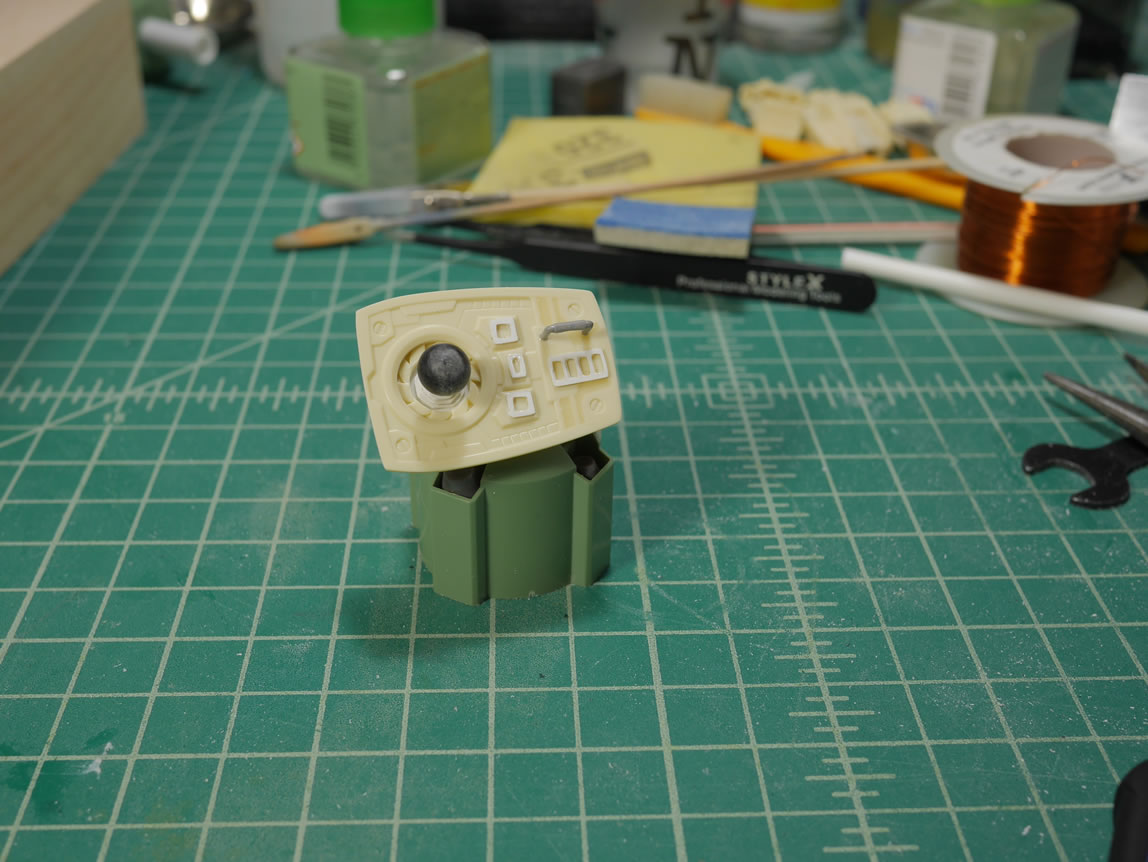
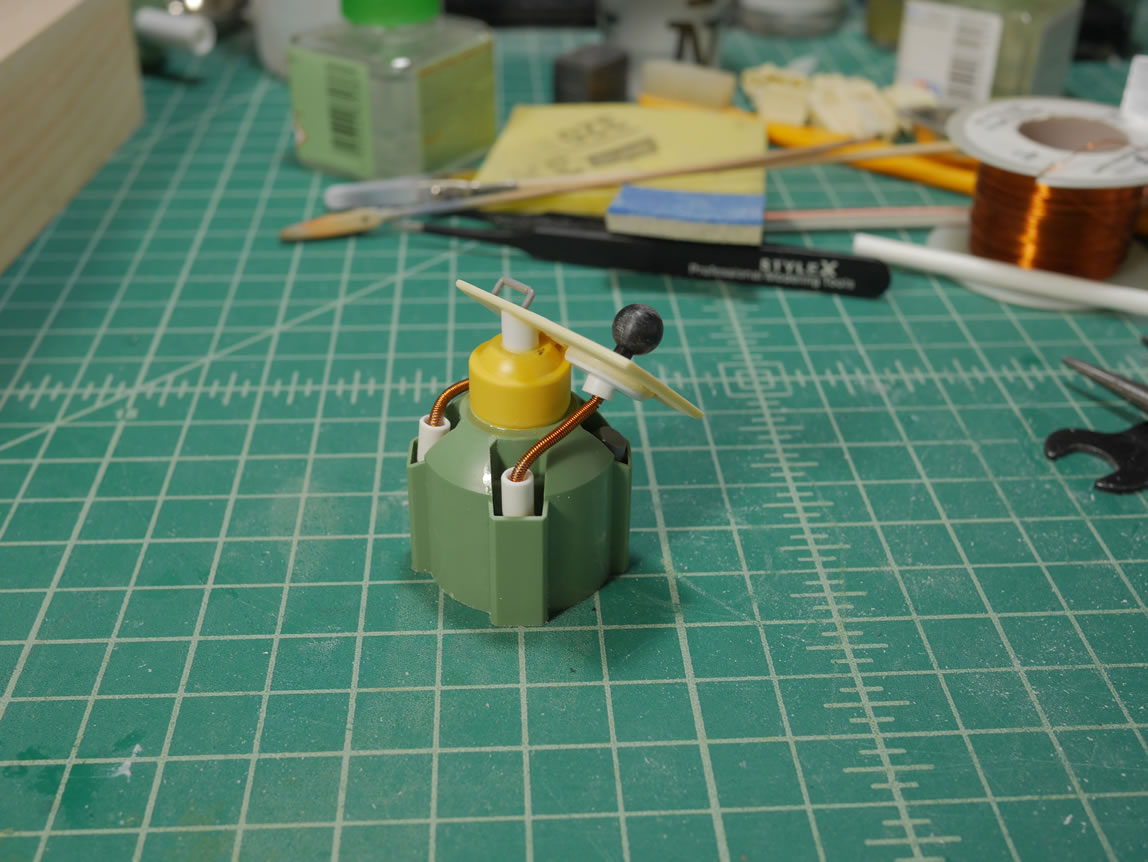
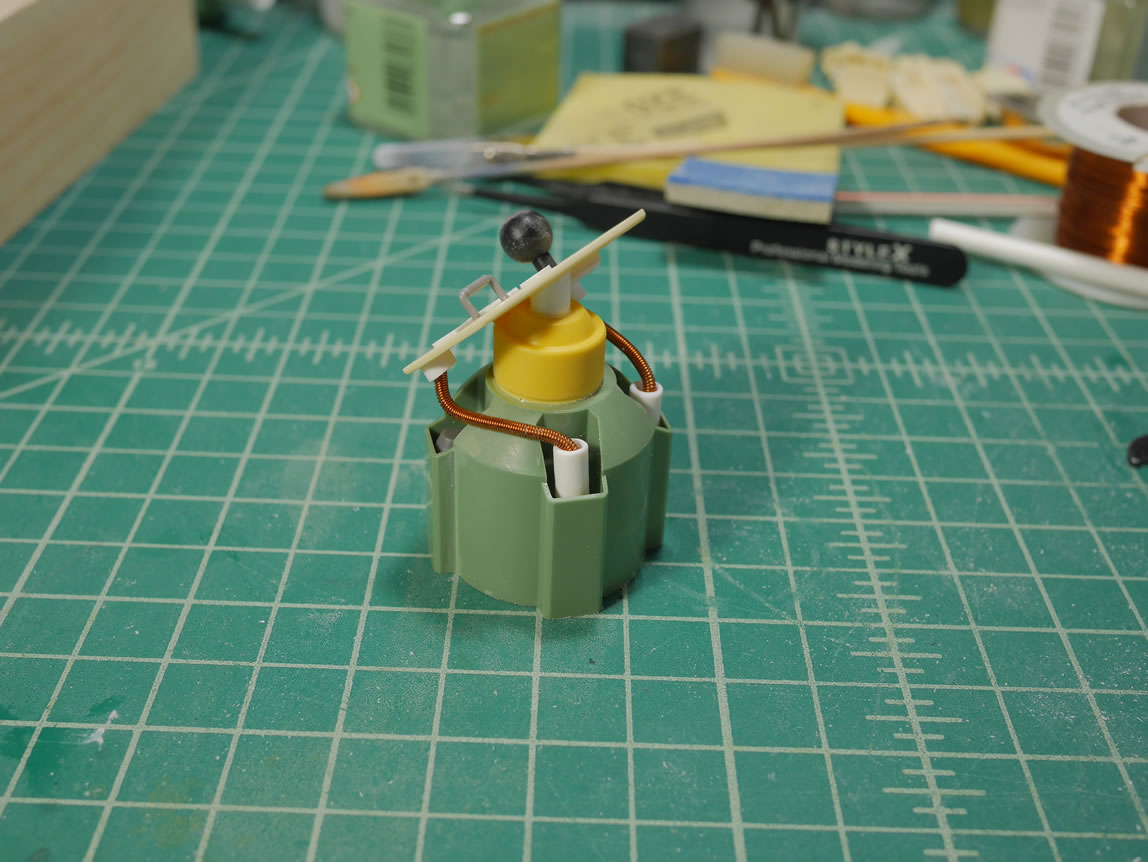
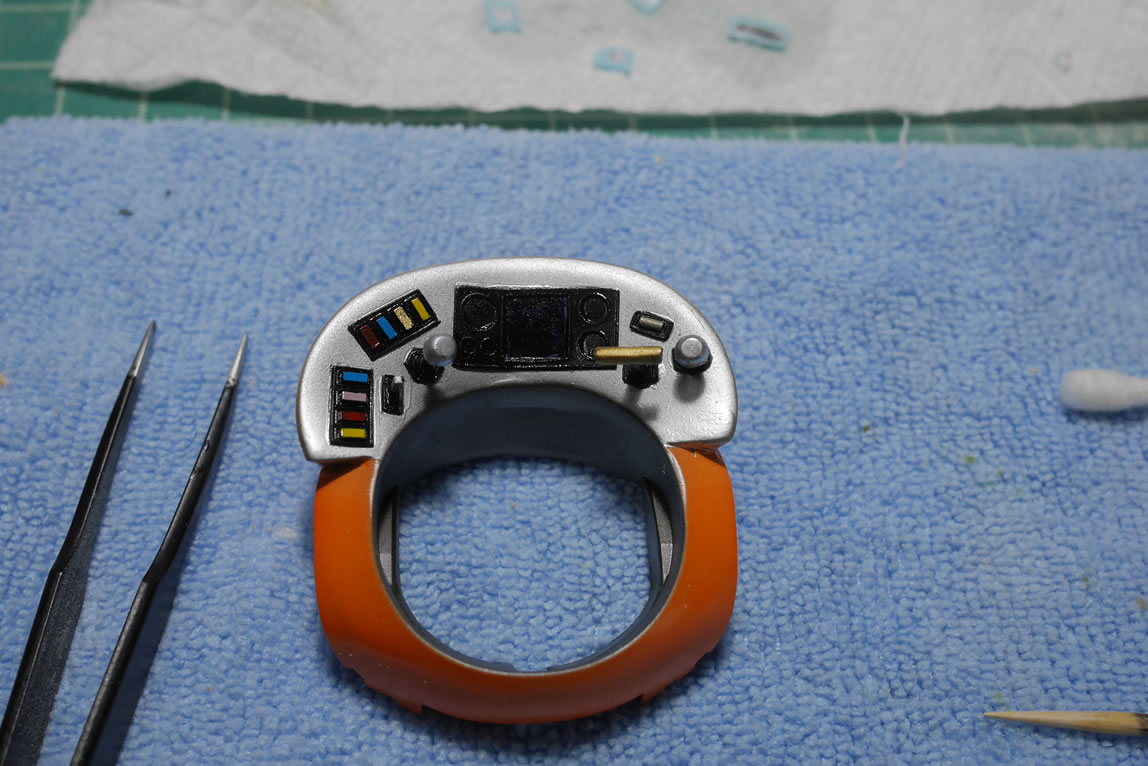
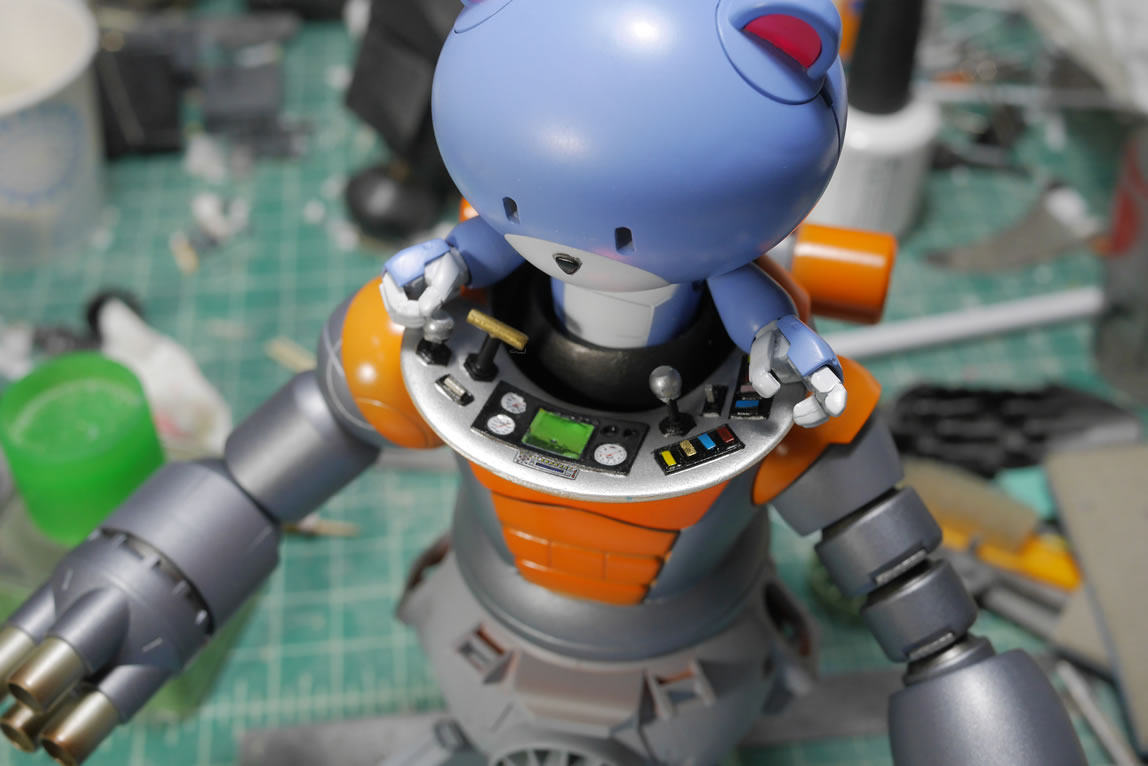
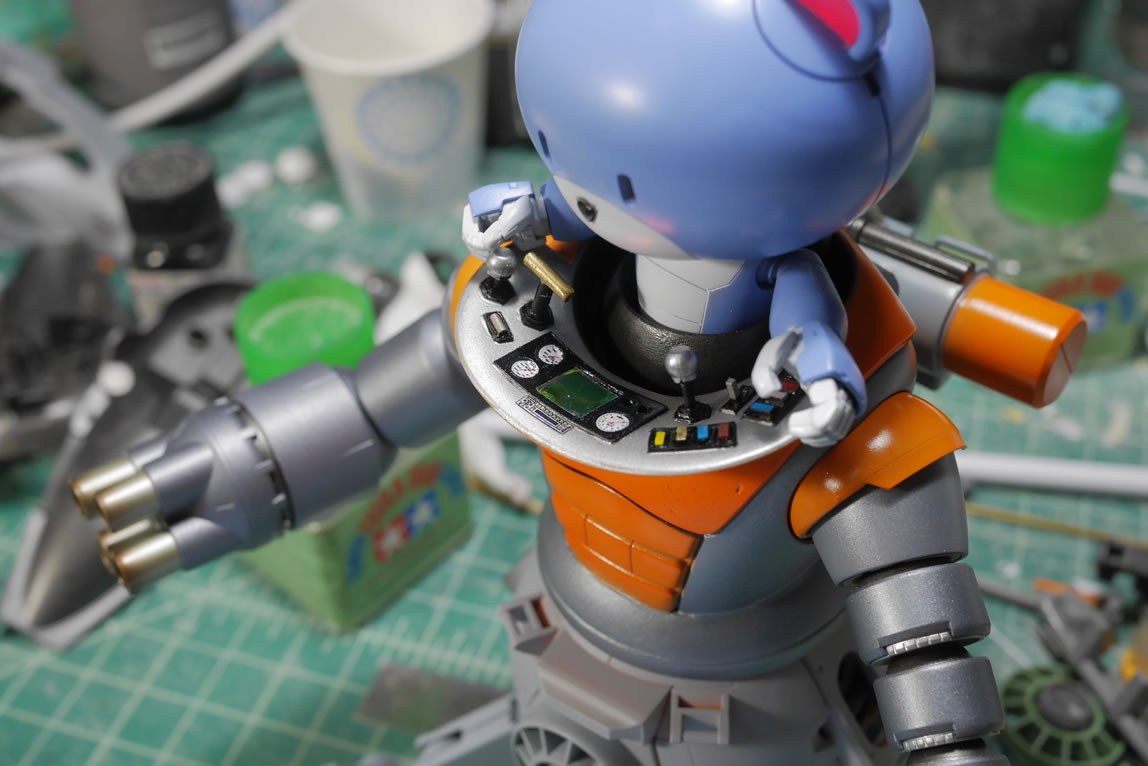
Returning to this full time since that kit was done, I finished up the detailing for the control panel. I use the cricut to make some button templates and started to glue in some detail bits. More parts from the ball kit to create the lever. I used some styrene tubes and made more magnet wire wrapped cables that I glued into position. And this part is ready for primer.
The rest of the base works after the jump. (more…)
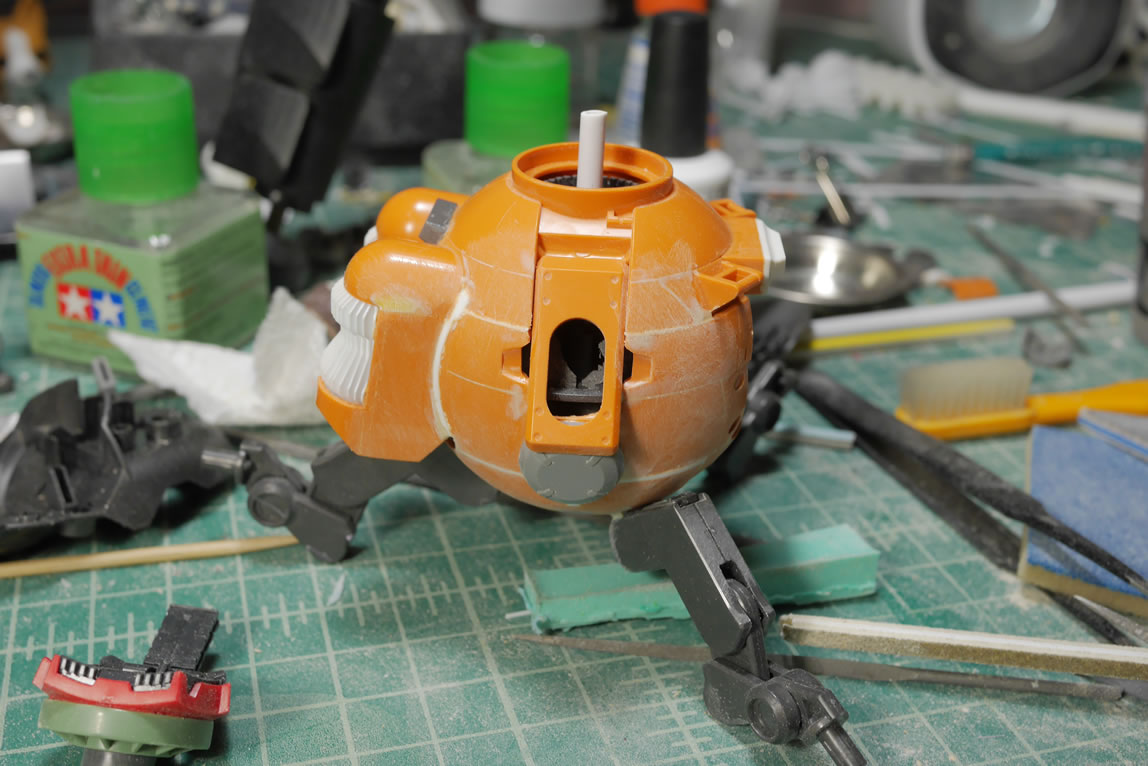
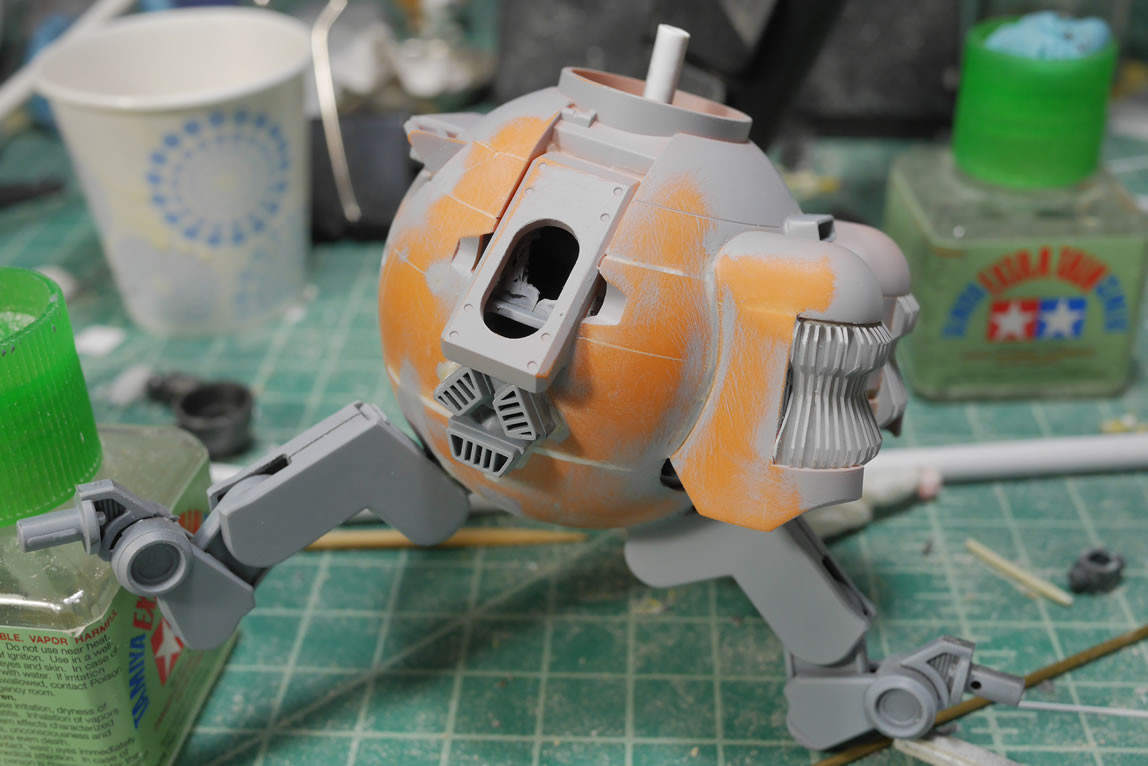
June update for this project. As of this posting, the main kit for the project is done. I’m just playing catchup with the progress for what happened between the last update and last week’s final assembly and photo session. I took all these pictures during the build so why not post up the progress. Last we left off, I had just applied a ton of putty all over the lower body. The gaps and some panel lines are getting filled. Once the putty is dry, its off to sanding the whole section. In addition of the putty, I used some of the UV gel product to quickly fill small areas. Not pictured in the first set is the initial primed kit after all the sanding. Pictured is the part after sanding the initial layer of primer.
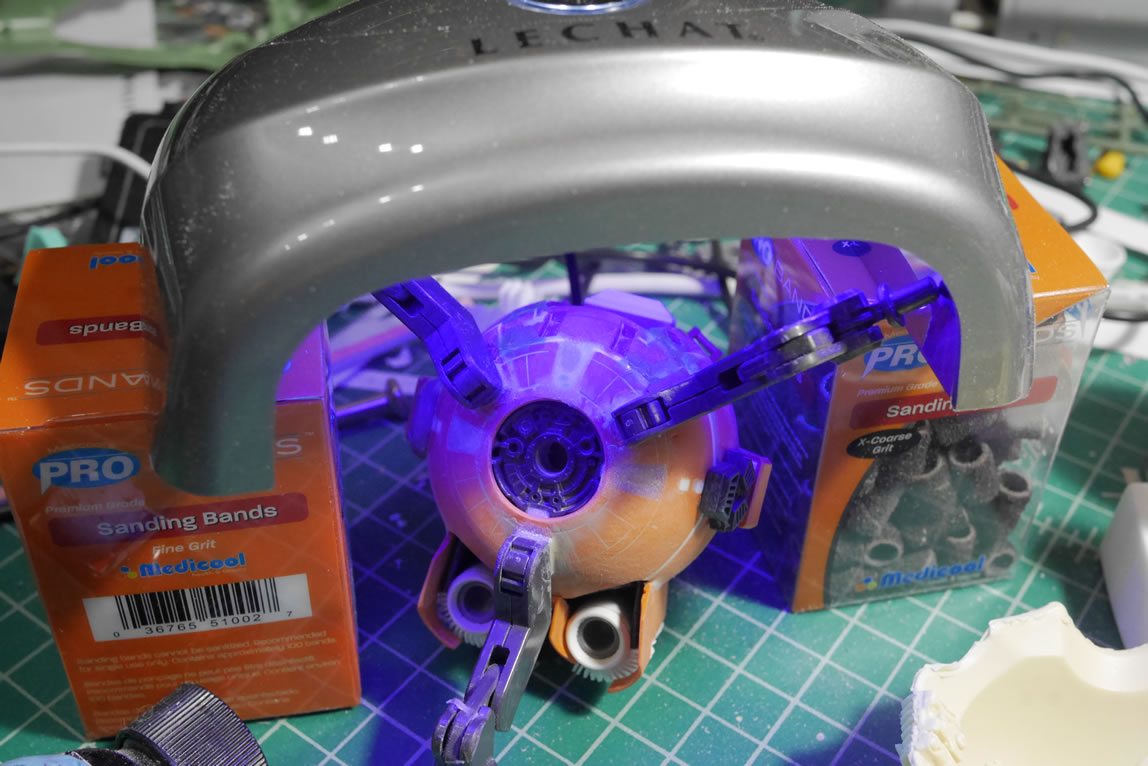
Returning to the upper torso, I now have the control panel getting painted. The last updated had the beginnings of painting this area. I hand painted in the button colors. Once the paint is dried, I sprayed a clear gloss because I wanted to add some water slide decals for the dials. The center screen is color shifting iridescent stickers from HiQ, so different angles will give a different color reflection. It works well enough as a screen for the control panel. I also did a quick mock up with the upper torso and the primed lower torso.
More about the final steps of this build after the jumpp (more…)