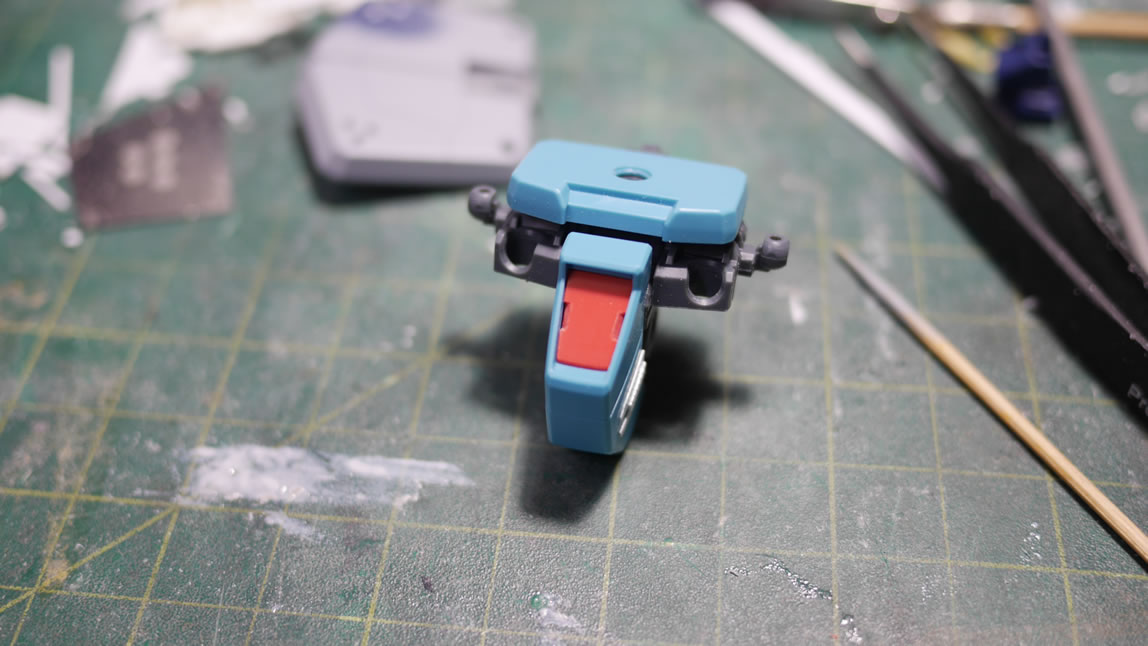
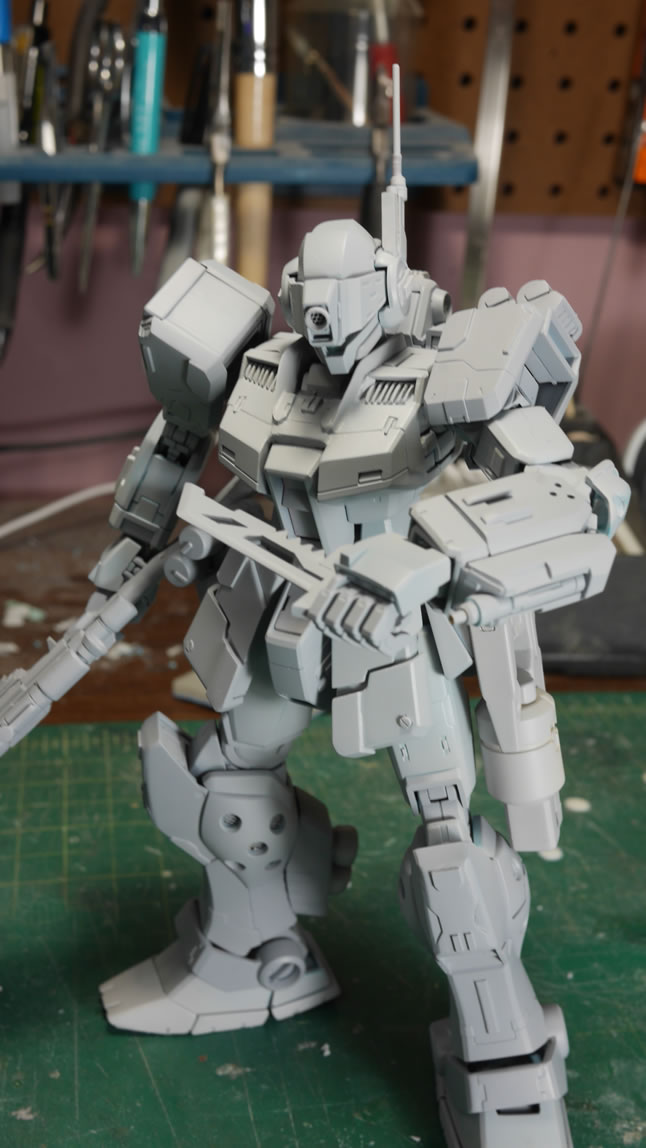
It’s been awhile since I last updated on this project. We got new Kampfer shirts in, so the last update was used to promote that. Somewhere in the middle of this post there will be some shameless plugging for our new Kampfer shirts as well as our reprinted Shiki shirts. But enough of that; on with the update. Starting off, I felt that the red bit for the crotch needed a slight bit of detail so I took the scriber and cut some plastic on the sides. It’s relatively simple plastic removal but does a decent job of adding some detail.
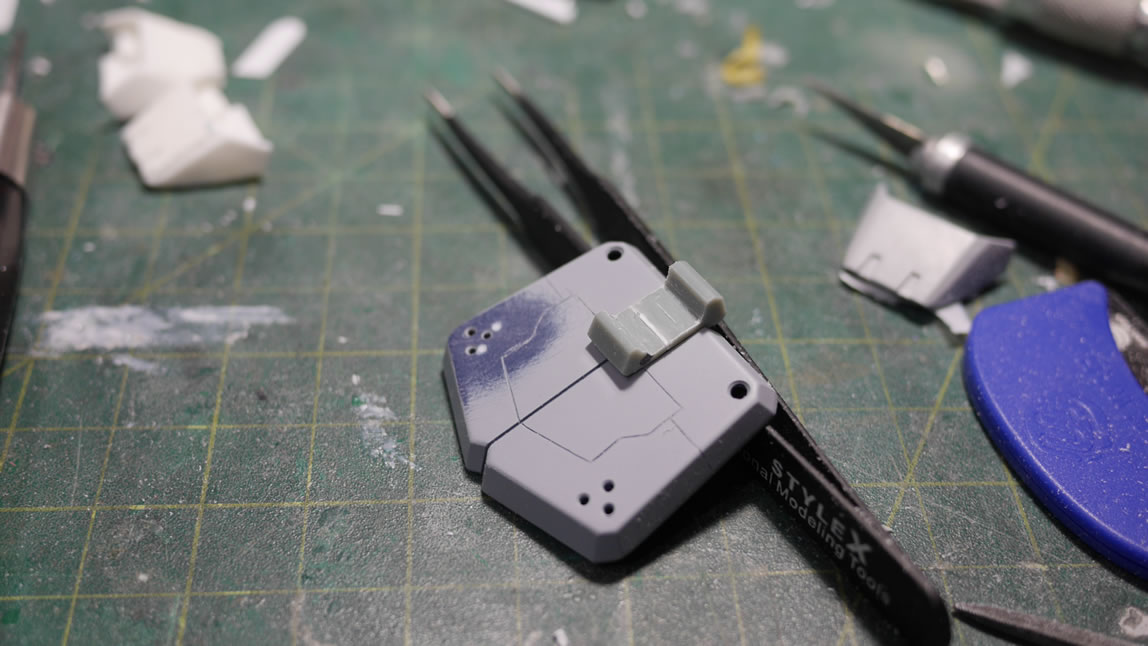
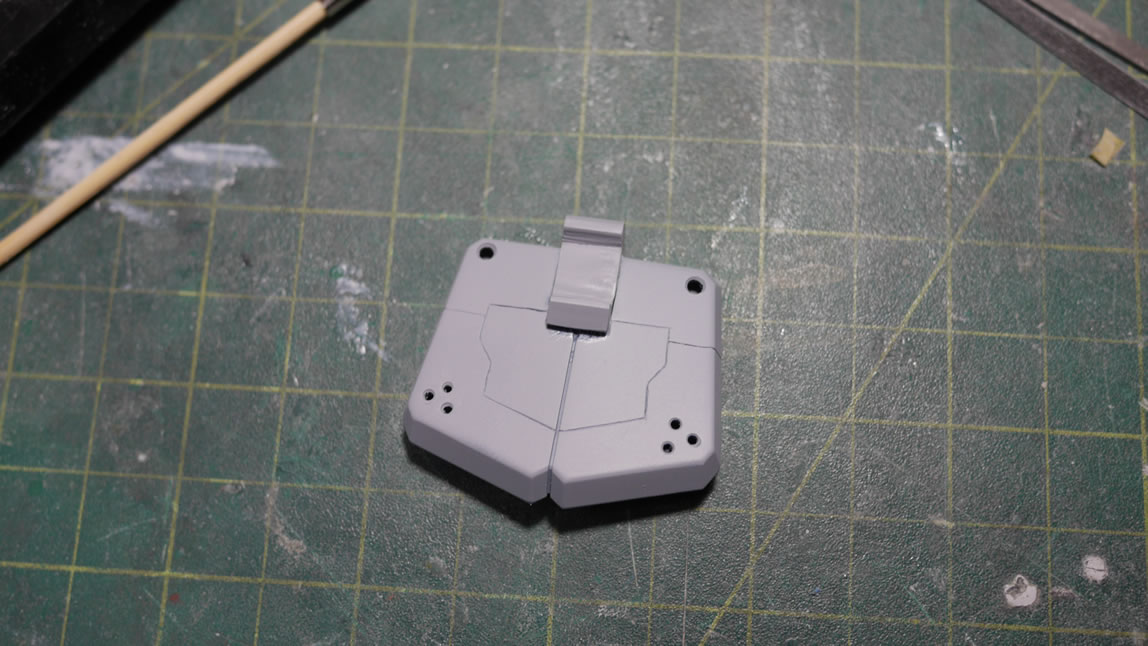
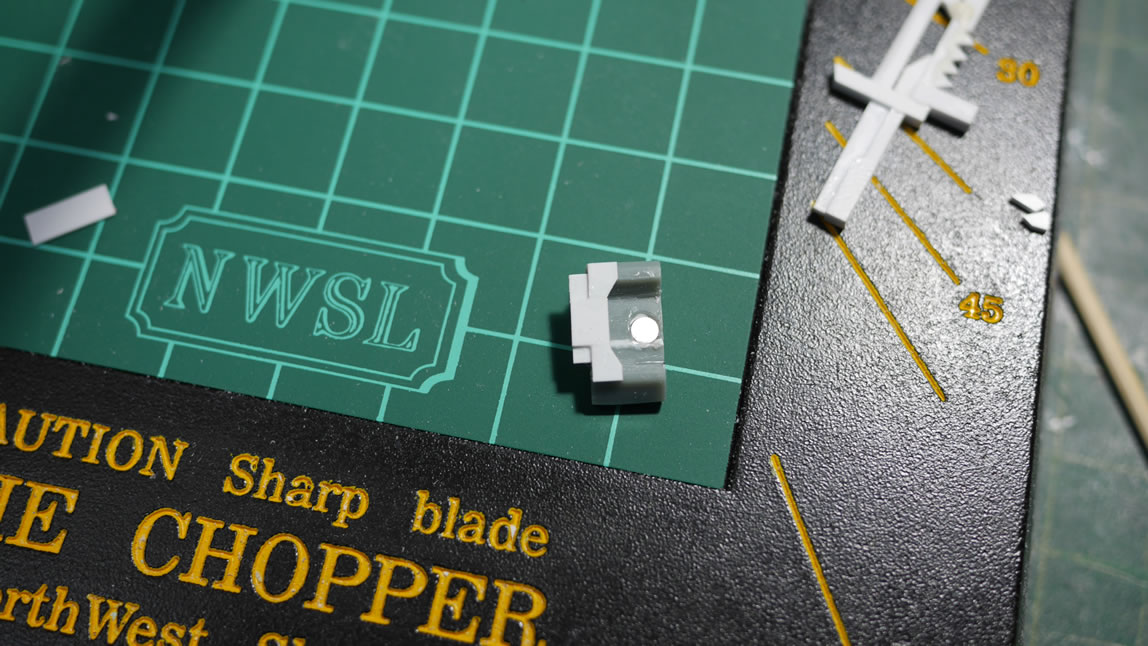
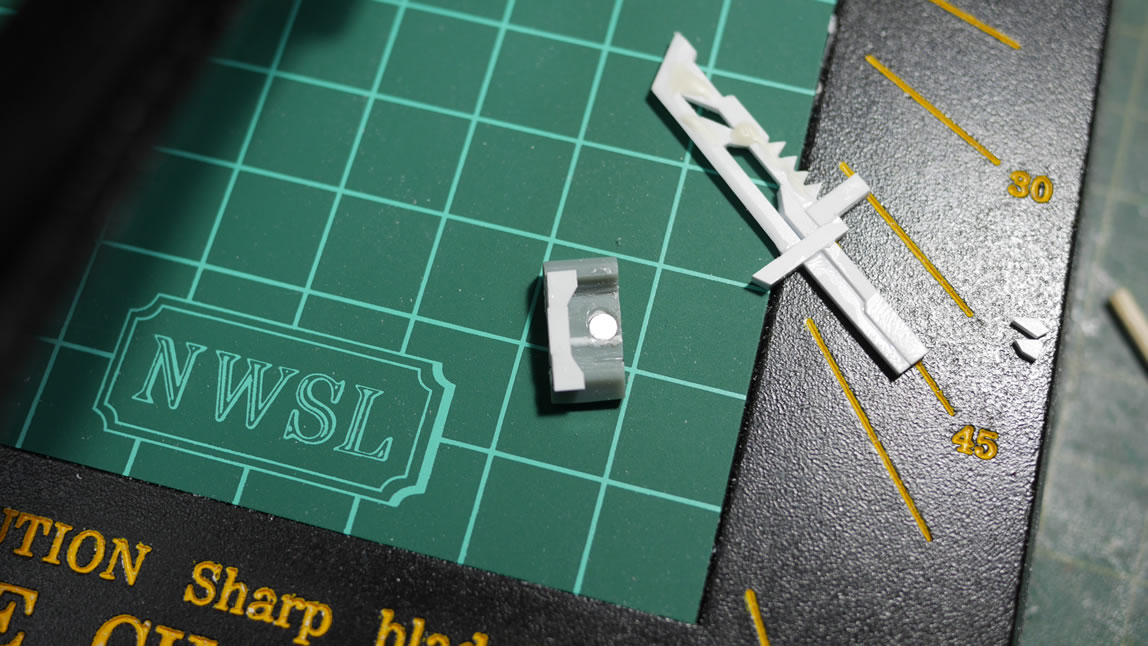
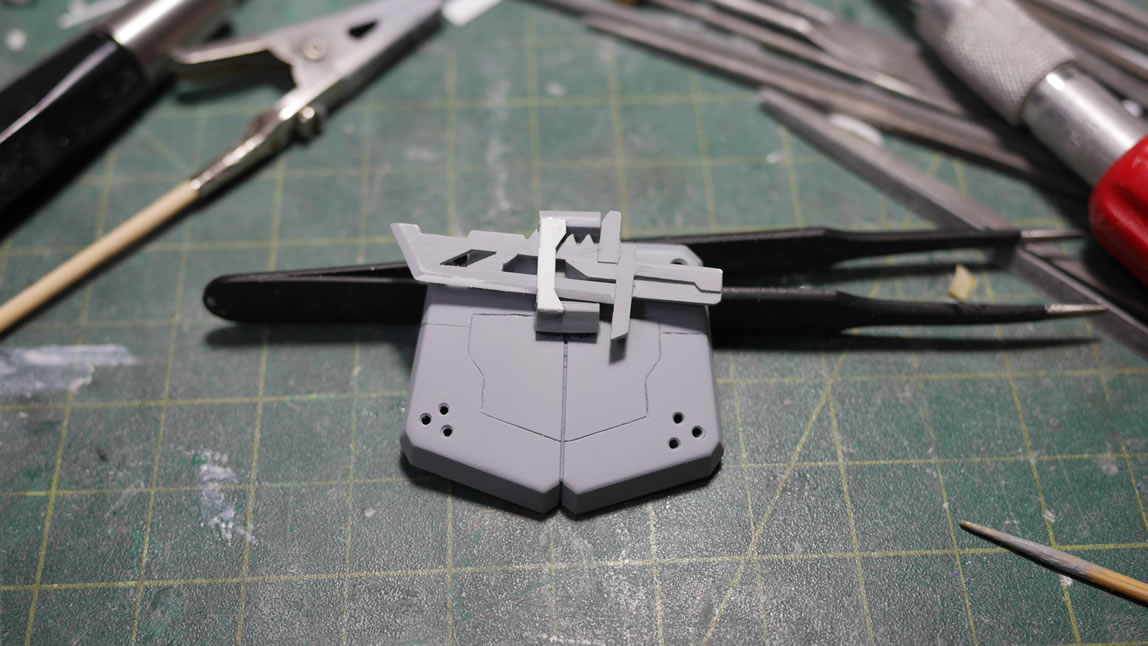
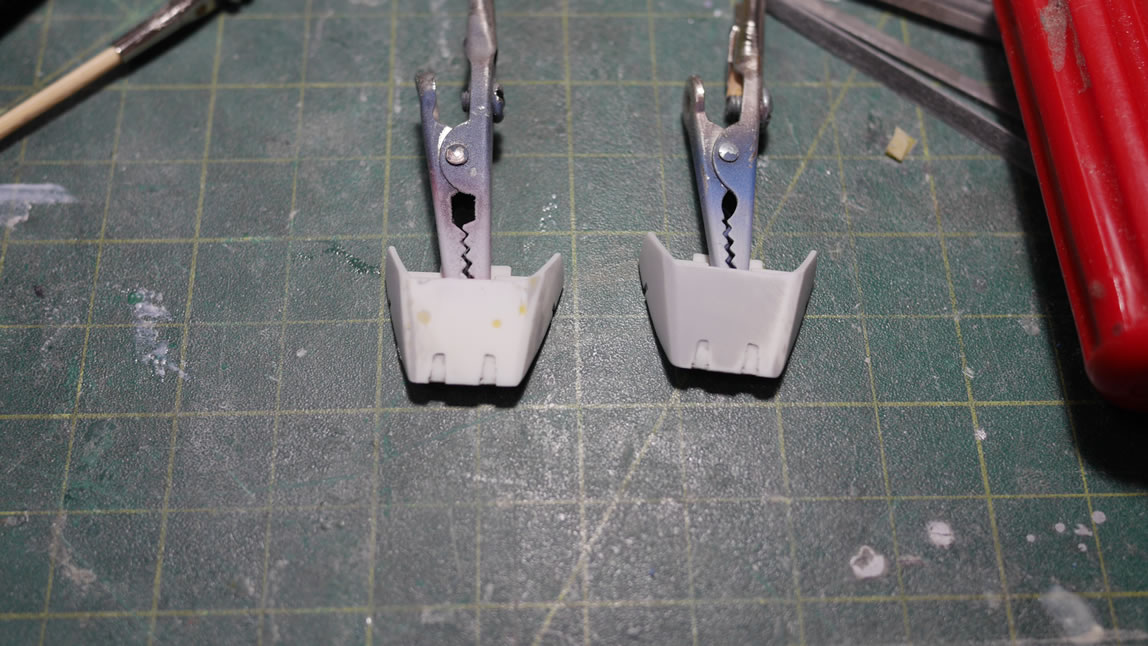
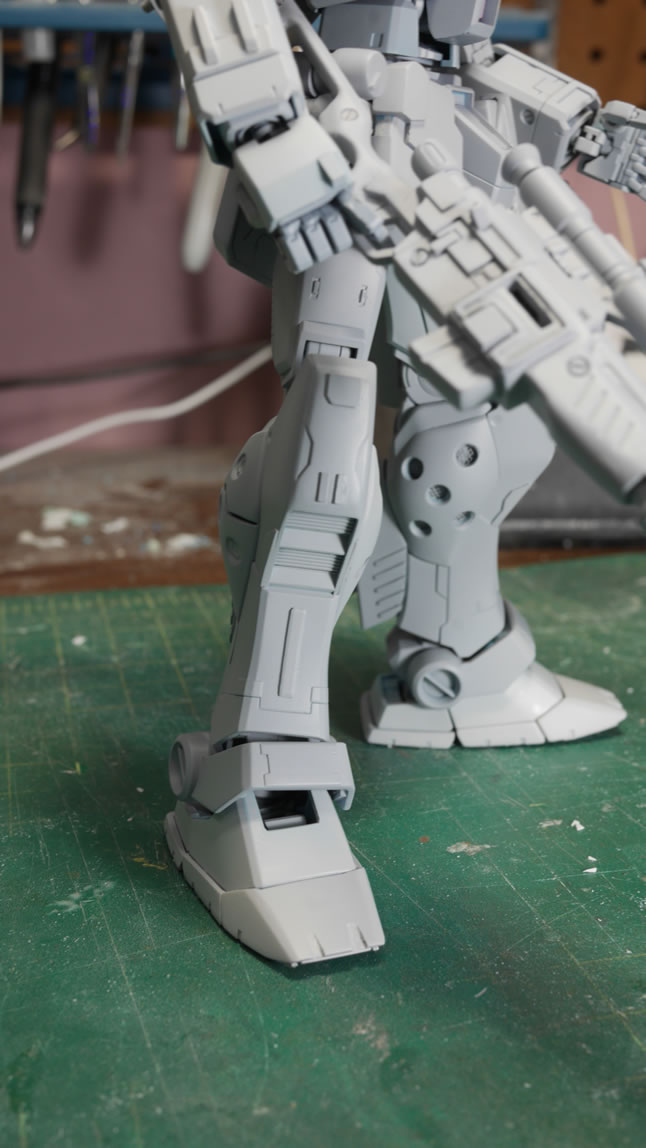
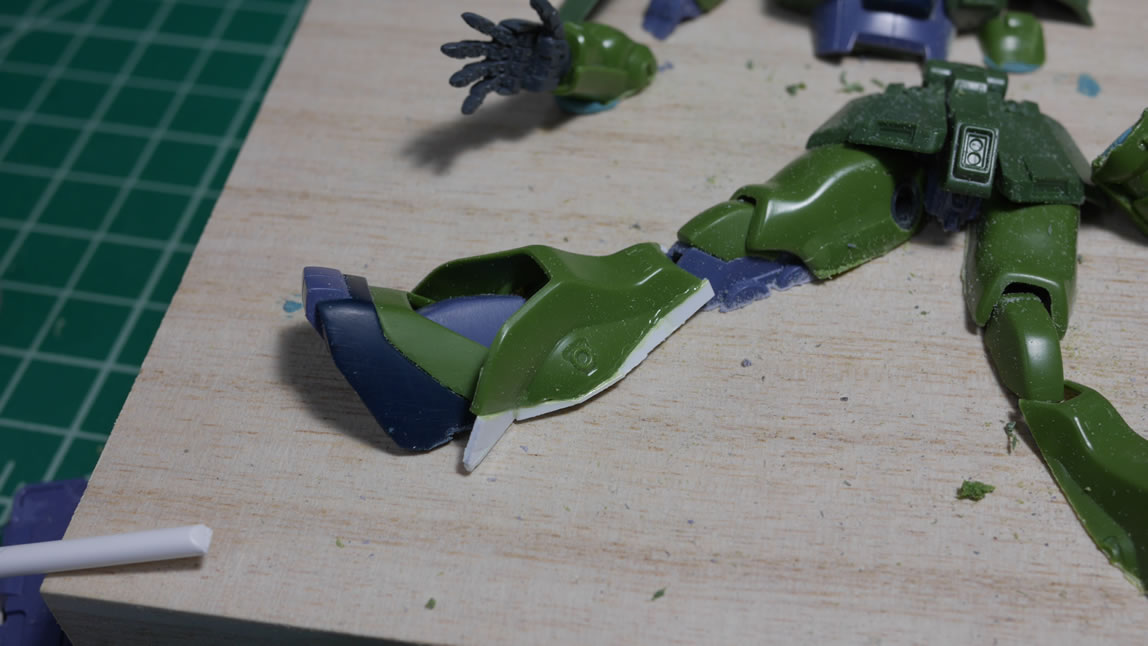
Returning to the rear skirts; in the last update, I had just started putting together a scratch built knife and was creating a sheath for it. I trimmed down that plastic piece from the GM Spartan conversion kit and sanded it down to fit into the existing spot on the rear skirt. I also had to sand down some of the internal area for the rear skirt piece for the damn thing to fit. Once the piece fit; I drilled into the plastic and glued a magnet into place. I drilled a corresponding spot on the knife’s guard and added a magnet there. Now the knife is actually held by the power of the magnet instead of friction or just gluing it into place. I wanted the knife functional. A little priming shows areas to fix.
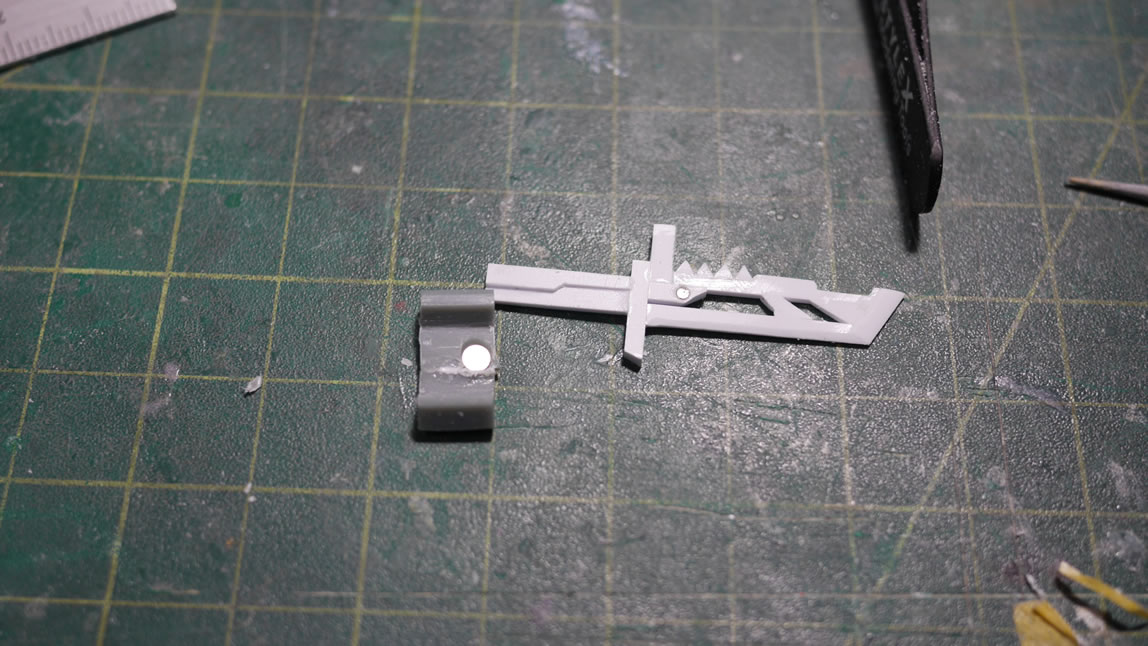
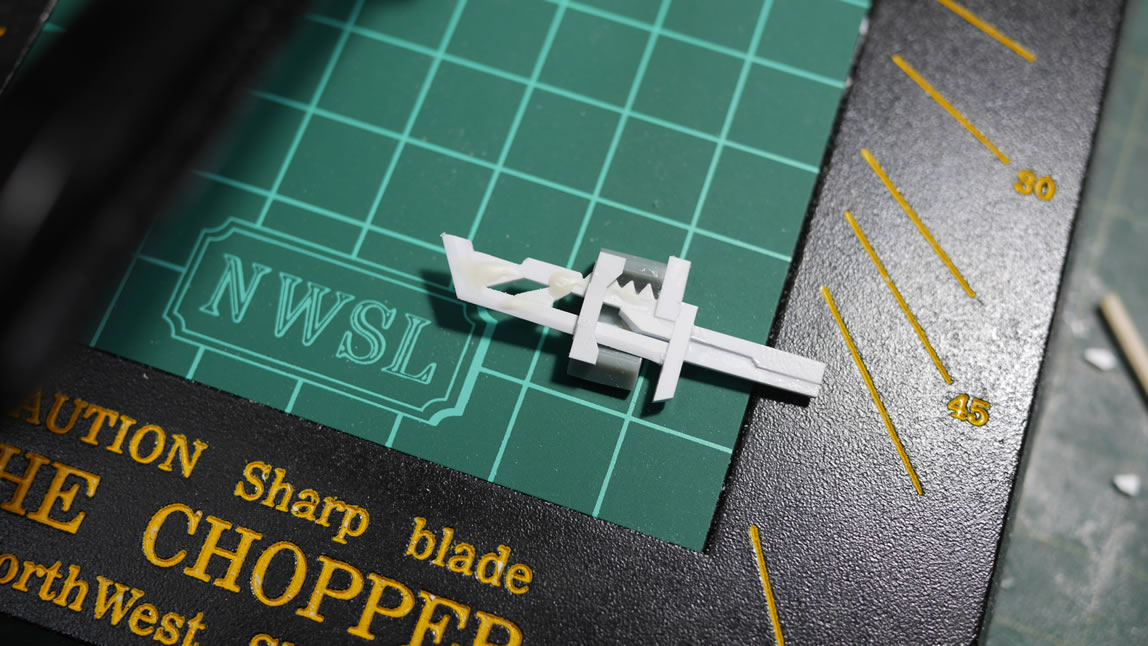
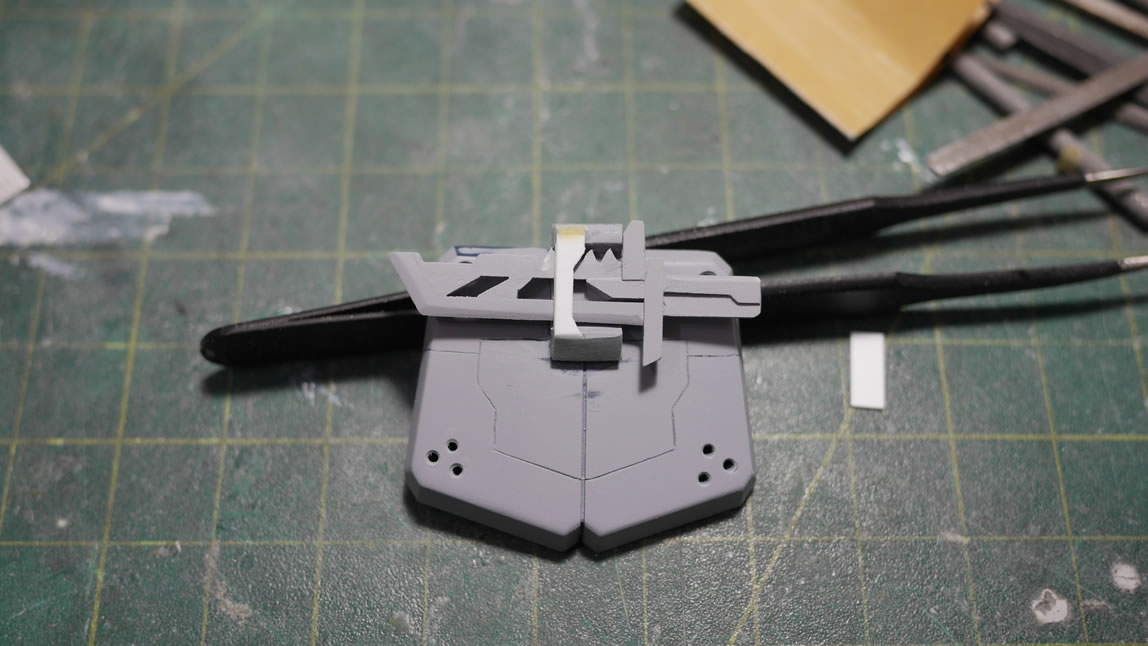
I didn’t want the knife to float on the sheath, so I cut up some plastic stripes and created an outer part for the sheath. Before gluing together, I made sure the knife slides in and out without issue.
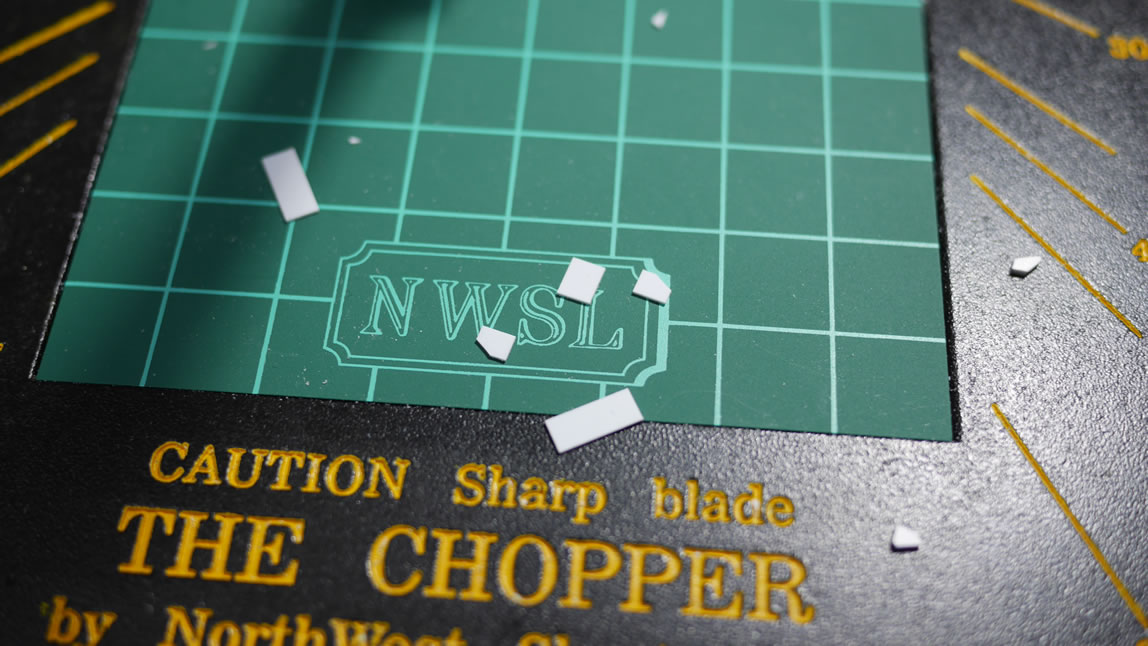
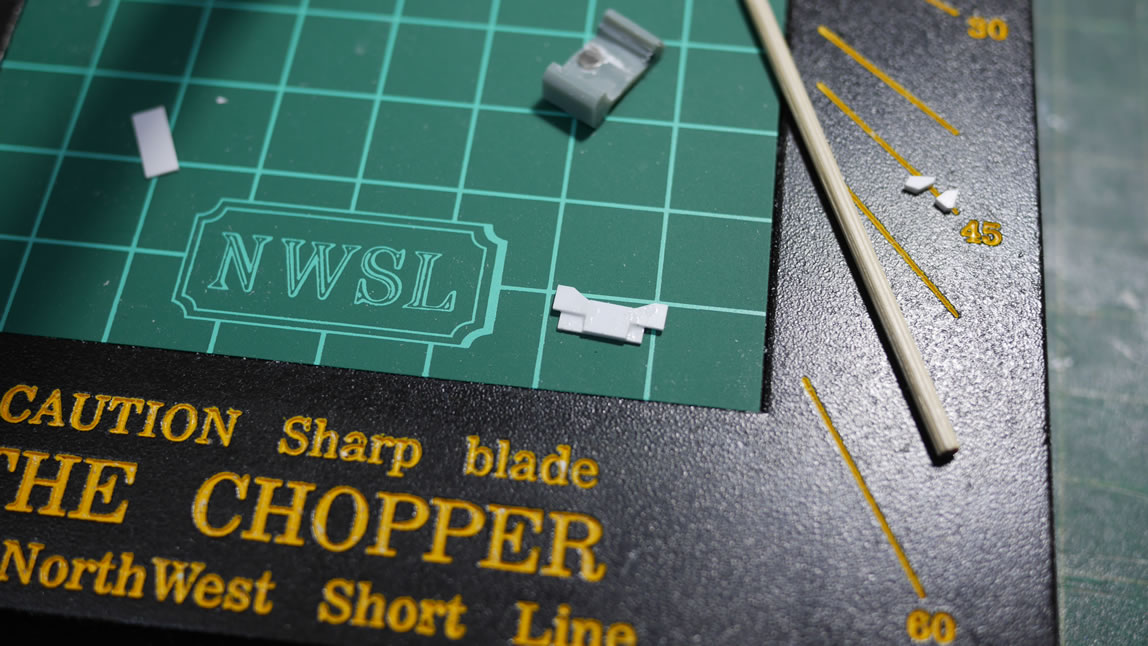
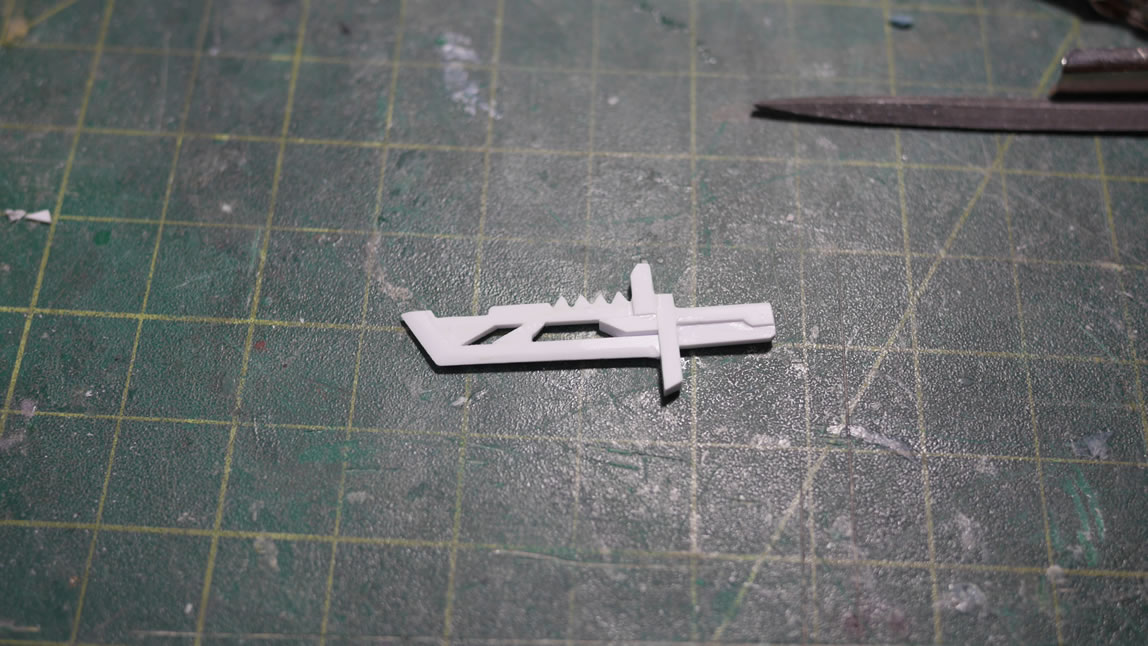
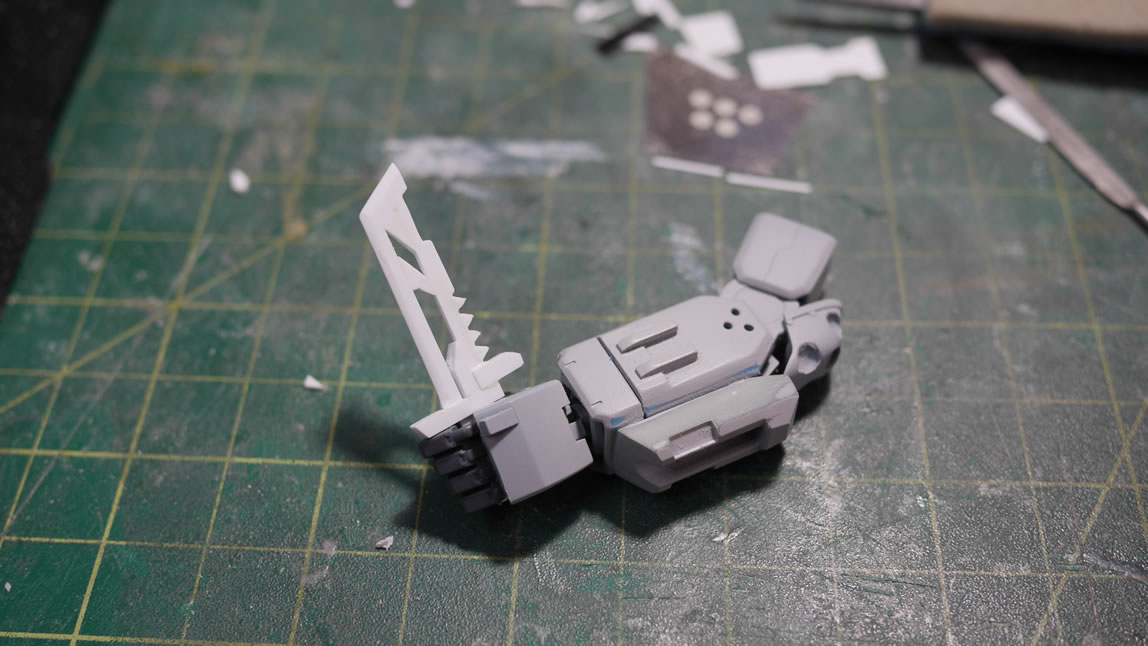
The knife is built and a quick test fit into the GM’s hand to make sure it’s not completely out of scale. It looks close enough.
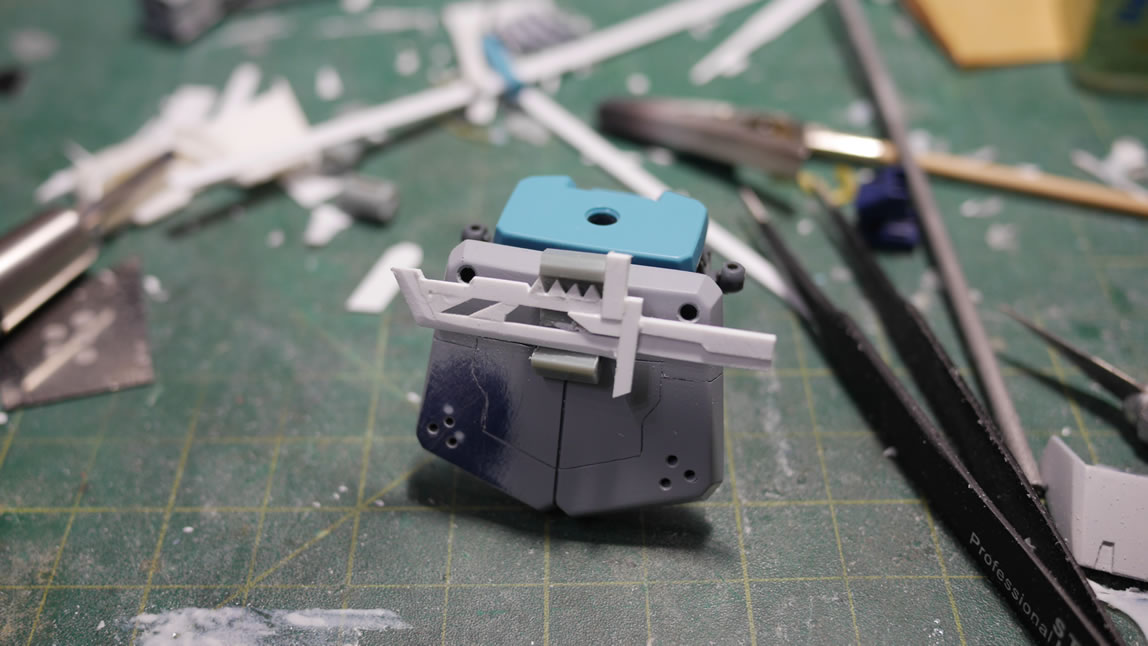
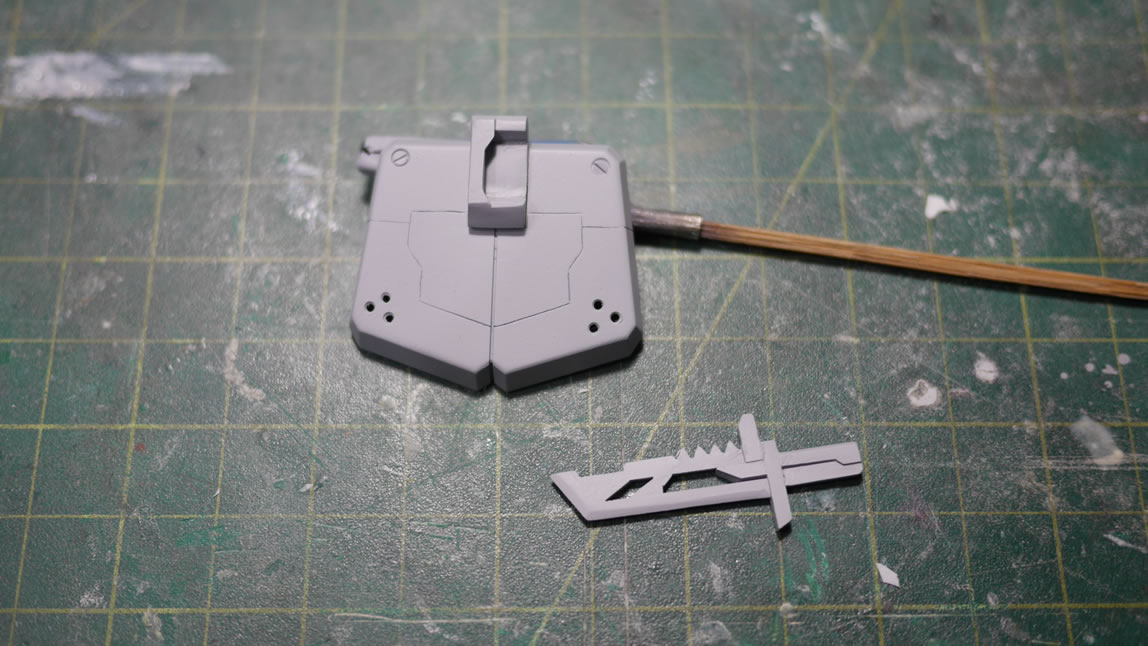
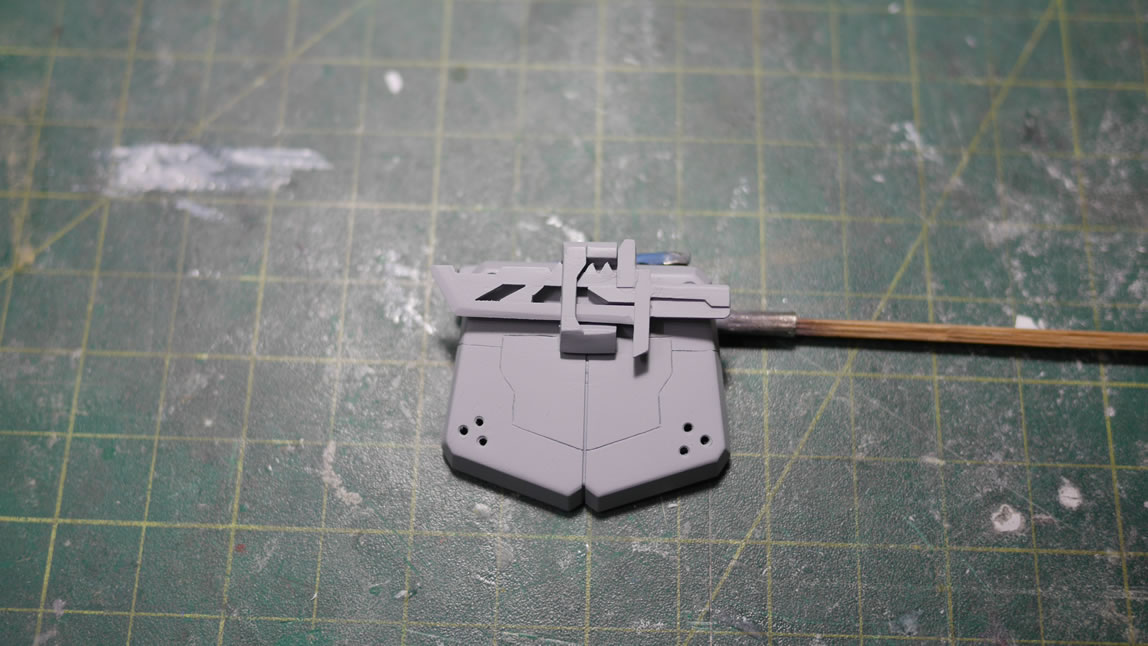
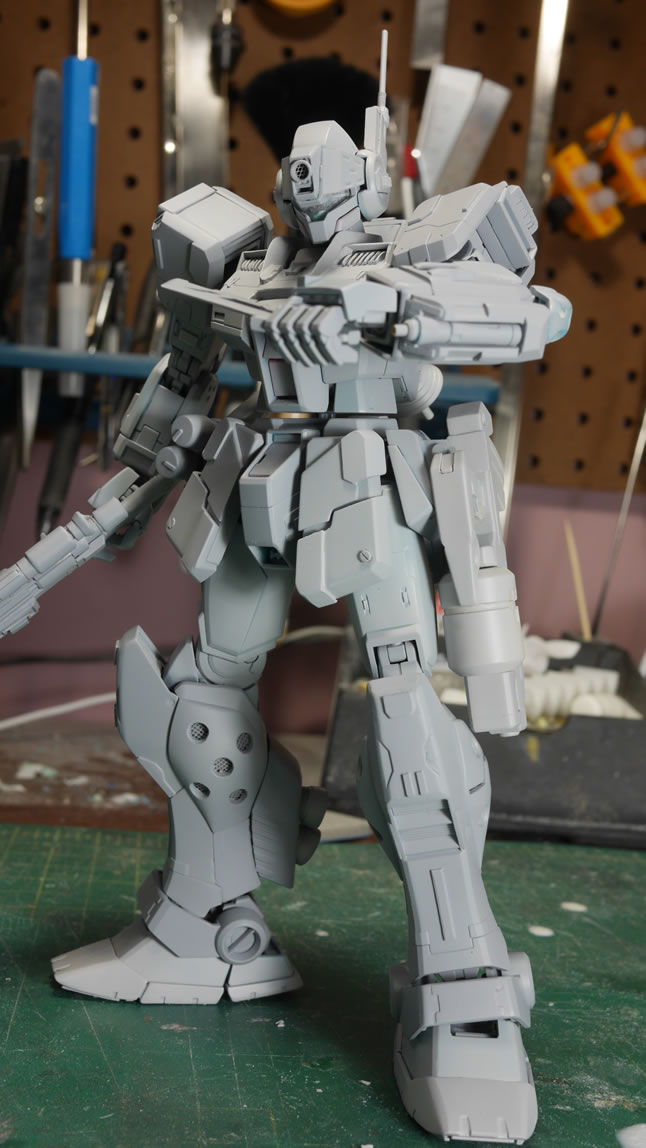
More work on sanding and cleaning up the rear skirts and I have my knife and attachment point and a fully functional sheath for it.
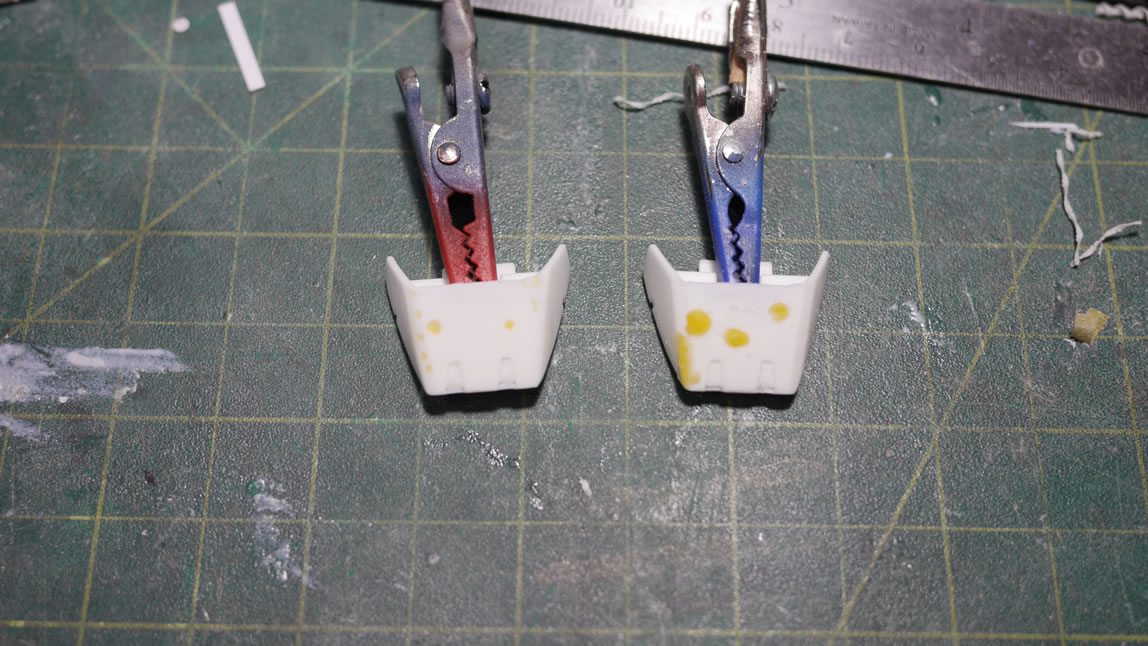
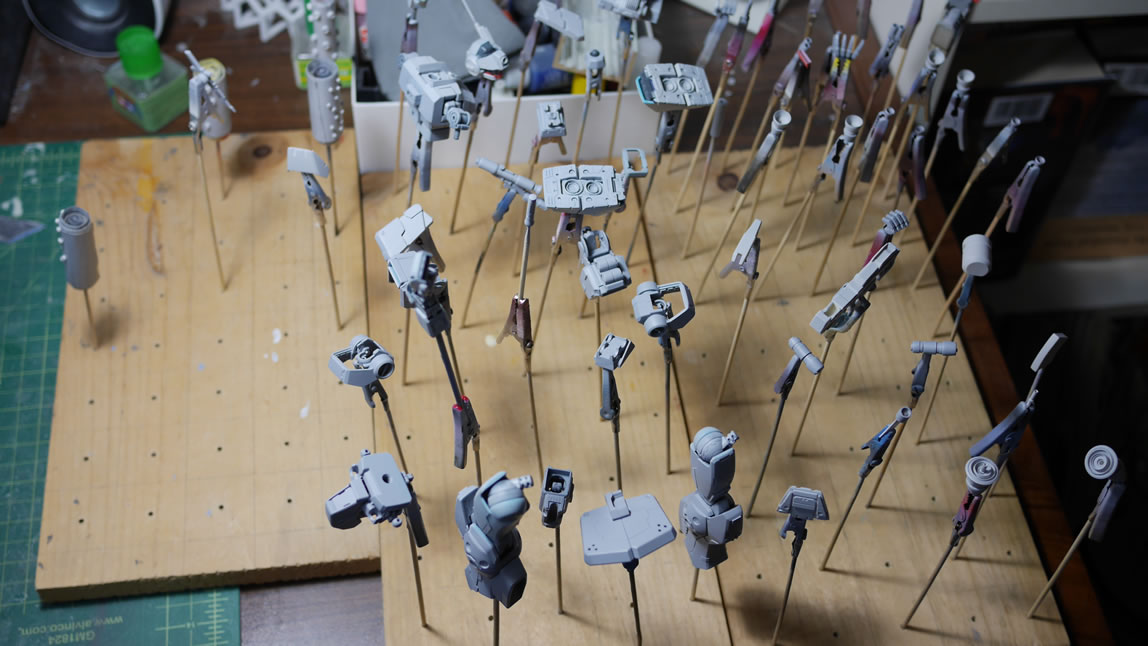
Back to the feet. I had successfully made resin copies. I also successfully casted tons of pin holes (bubbles in the resin) These needed to be cut open and I filled this with Tamiya Light Curing putty. The stuff works amazingly fast. I can putty, sand, prime, and re-putty in however long it takes the primer to cure up.
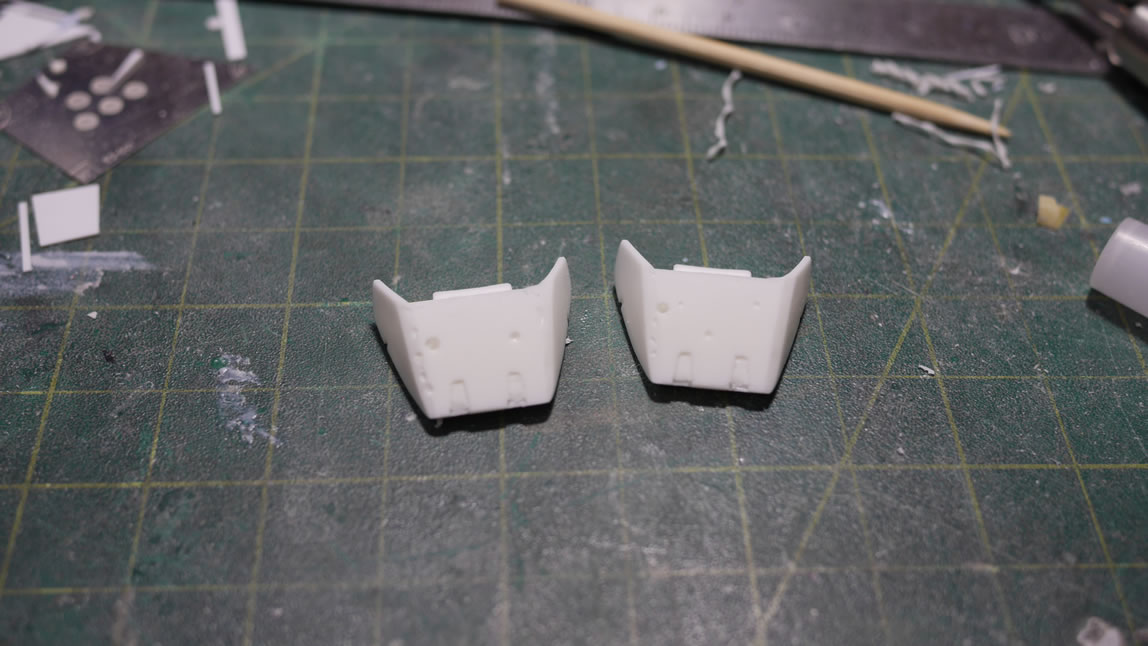
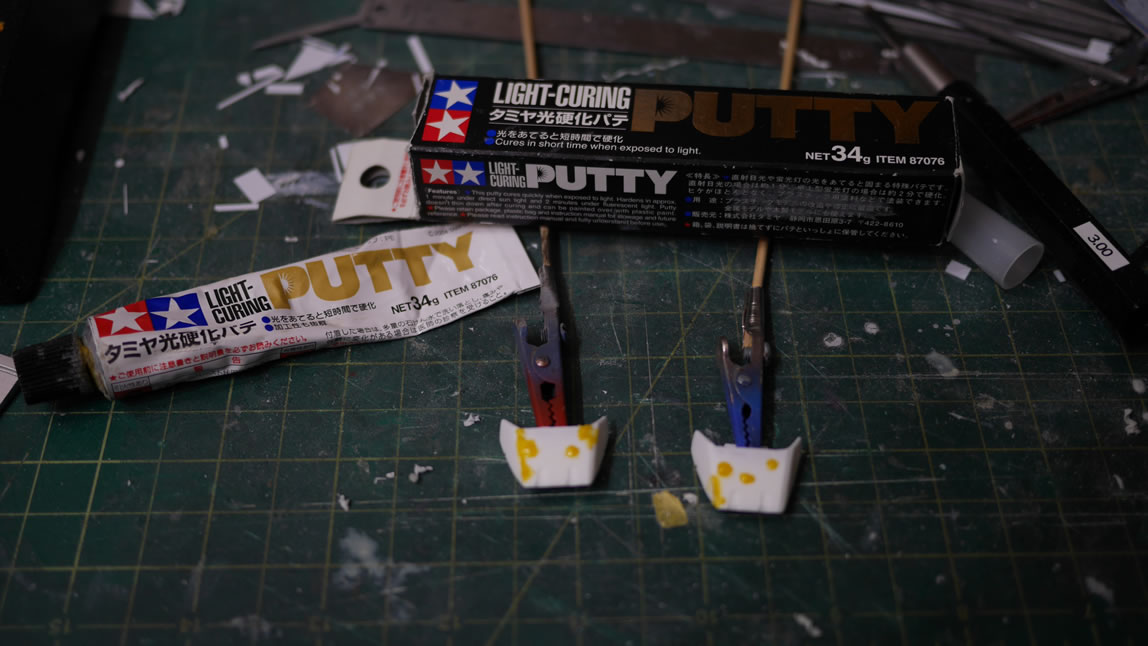
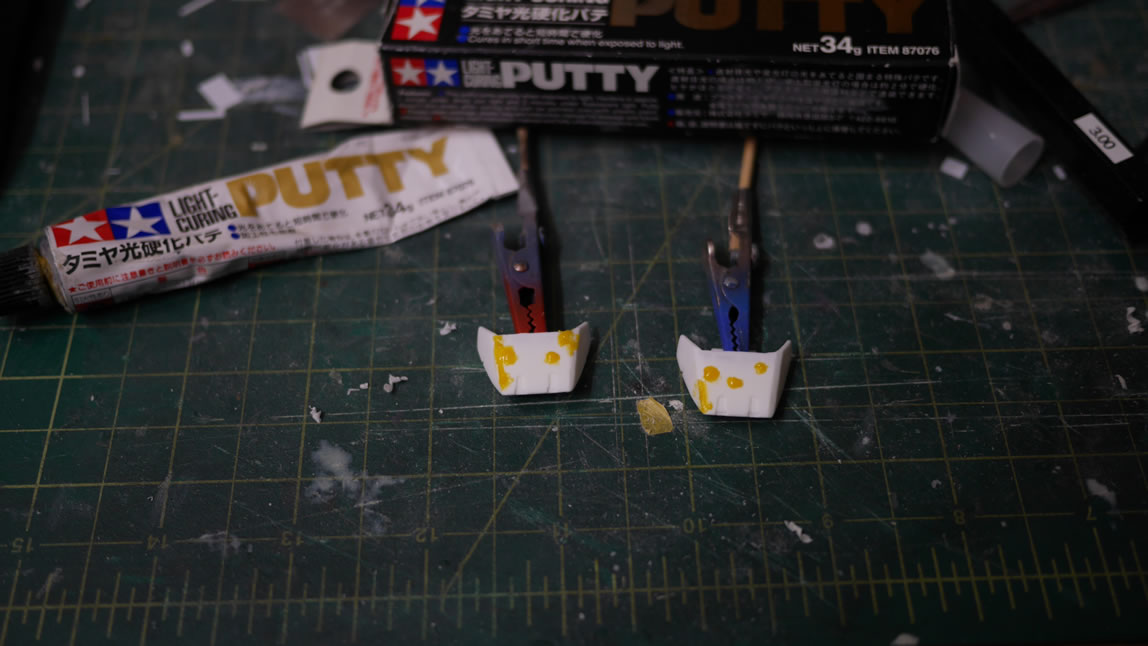
A few cycles of this and the resin toes are ready to join the rest of the primed parts.
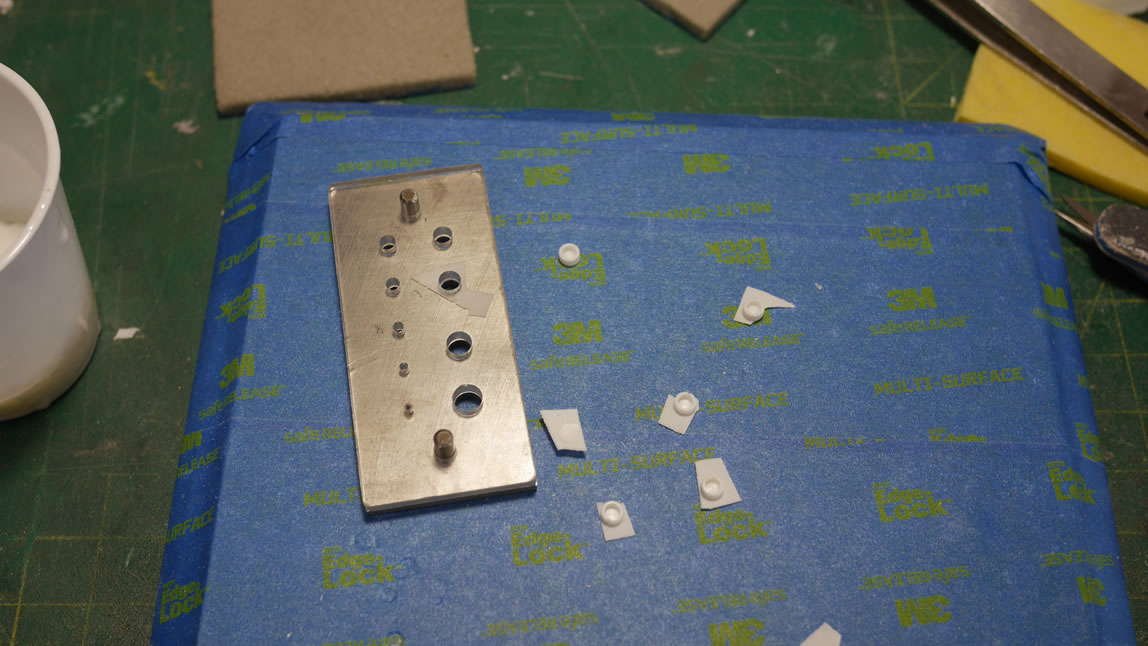
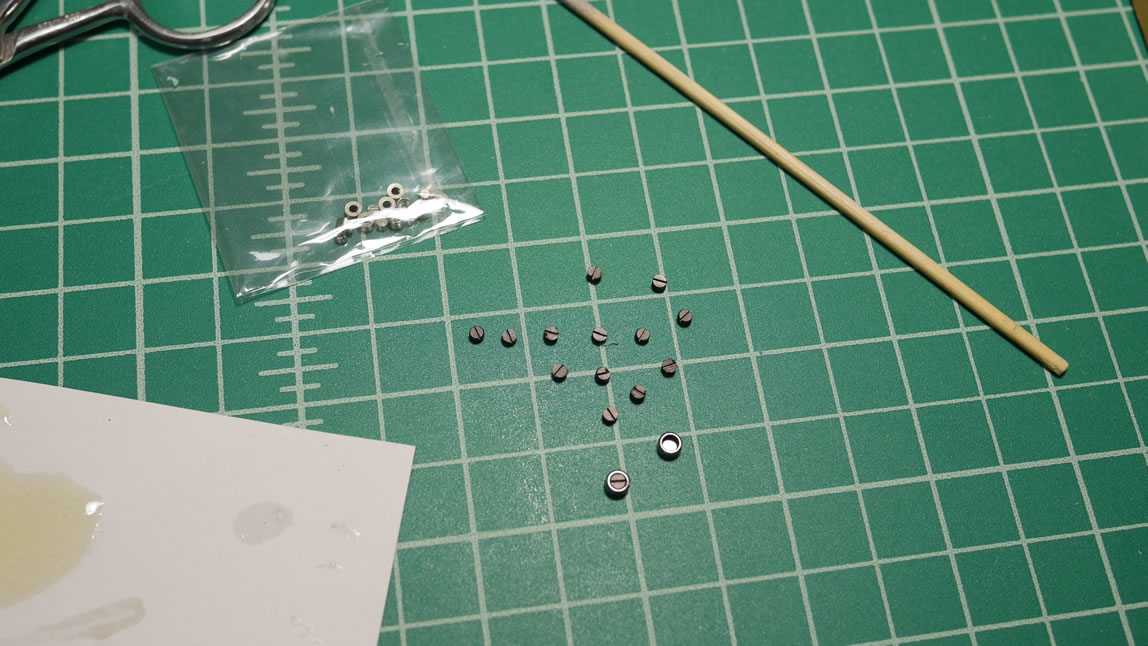
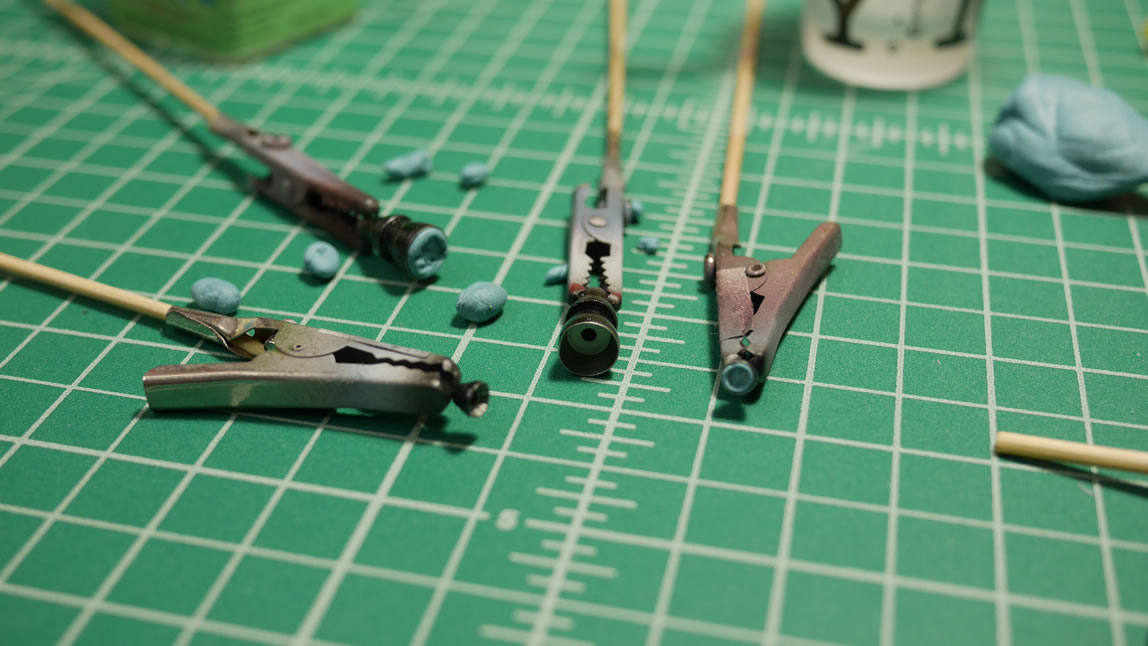
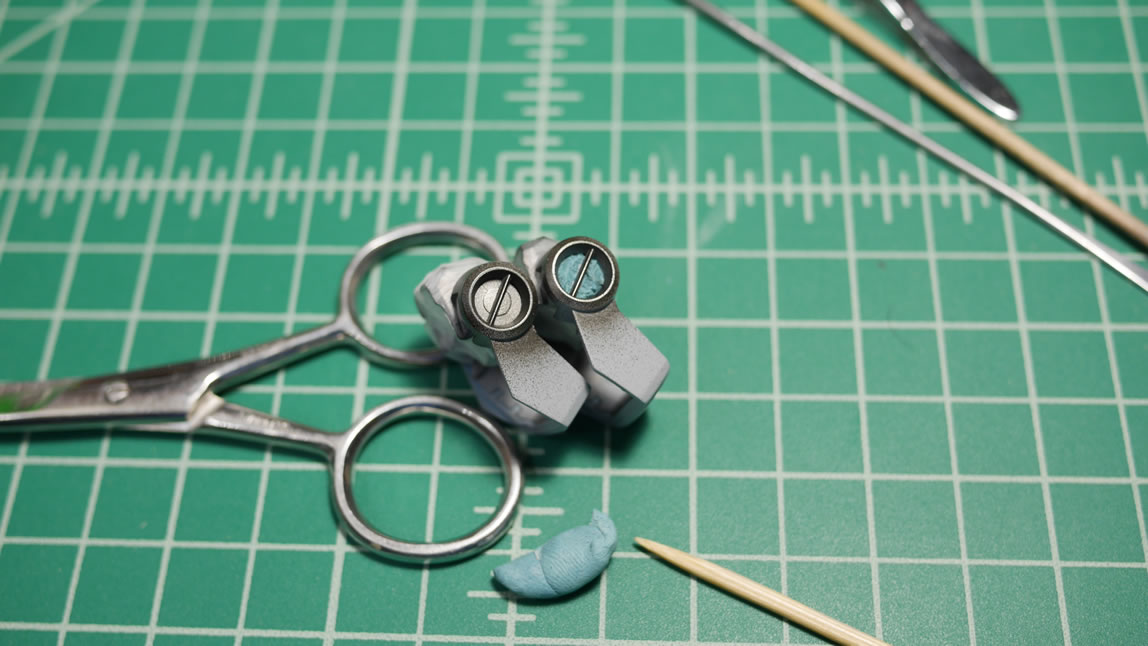
I had made casts of the metal detail bits that I plan on adding to the elbow indents as well as the outer calf armor areas. When I casted them, they pretty much has a sheet of resin on top, so I was first cutting the pieces out and sanding them to fit the circular shape. This was wasting a ton of time and the accuracy was shit. The sanded pieces were not flush, too long on one side, uneven, you name it. Looking over at my tool set to see how I can approach this issue better – my eyes fell on the punch. Luckily, the casted resin detail bits were in mm and perfectly fit the punch set. Any excess resin is sanded, then the whole assembly is punched and I have perfect, round detail bits. The last two pictures are what those parts look like now after getting the alclad metallic treatment.

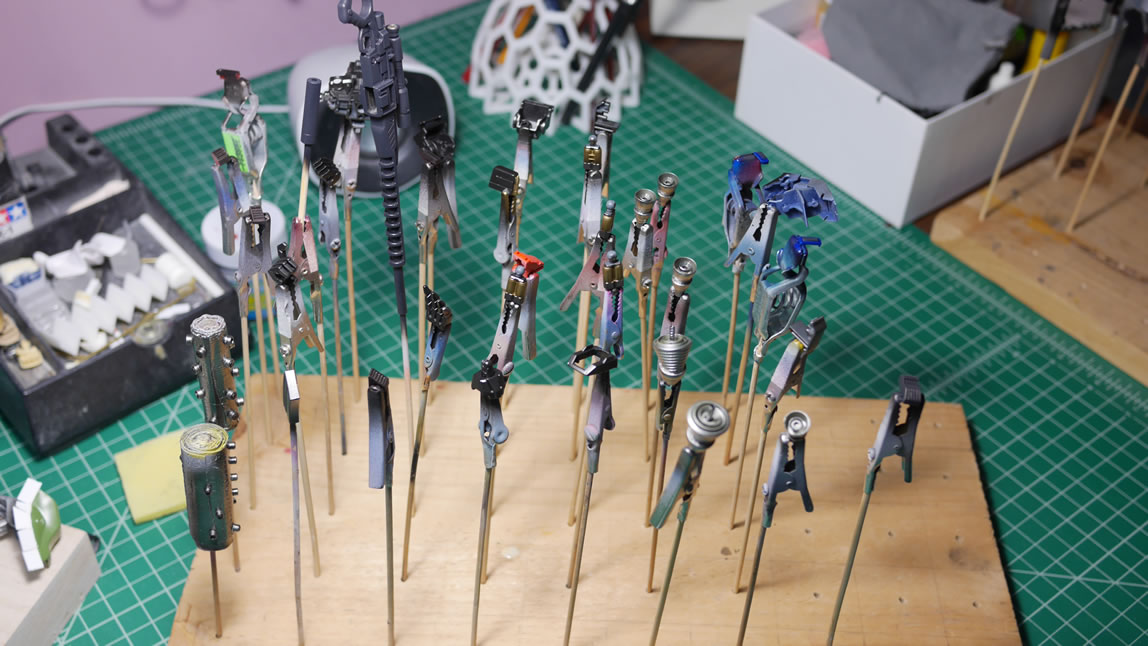
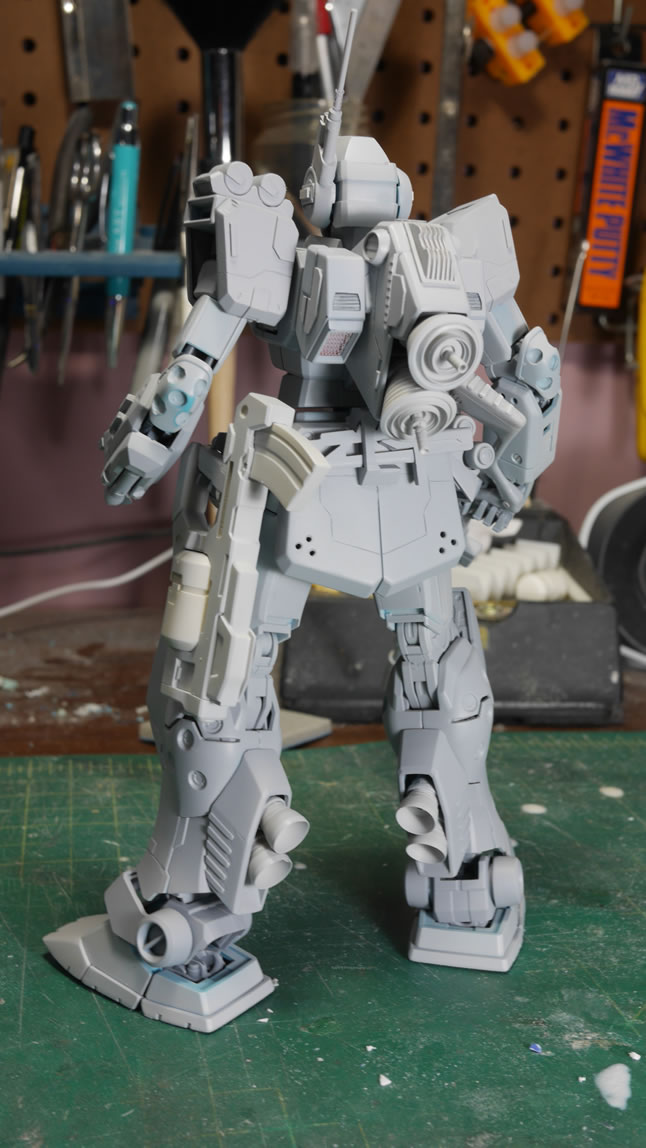
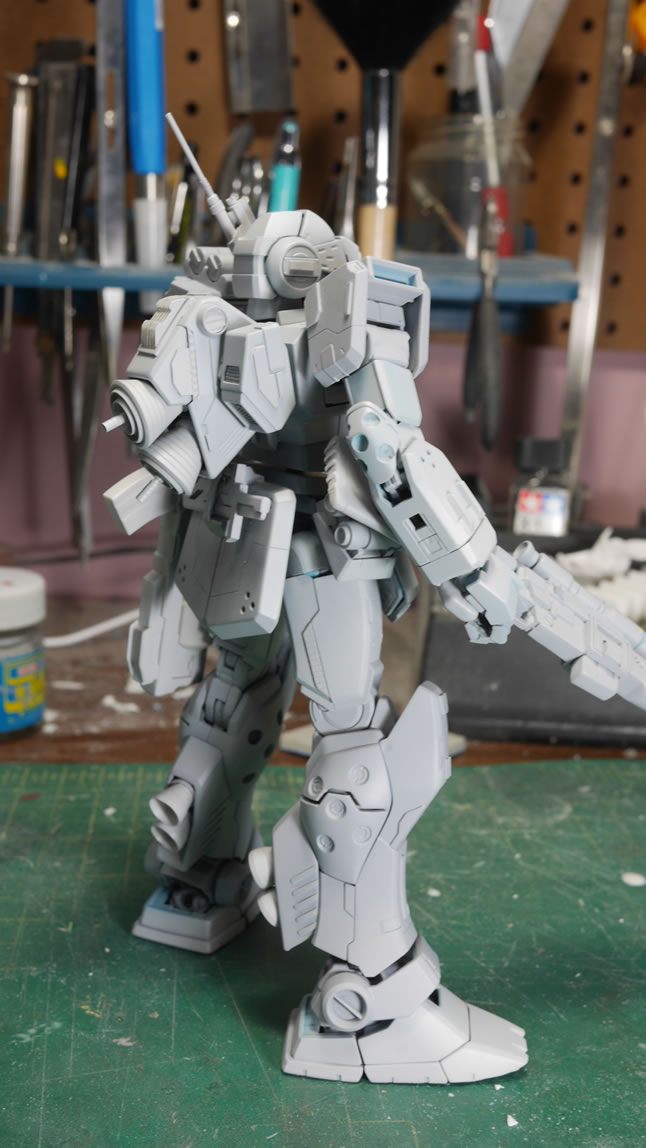
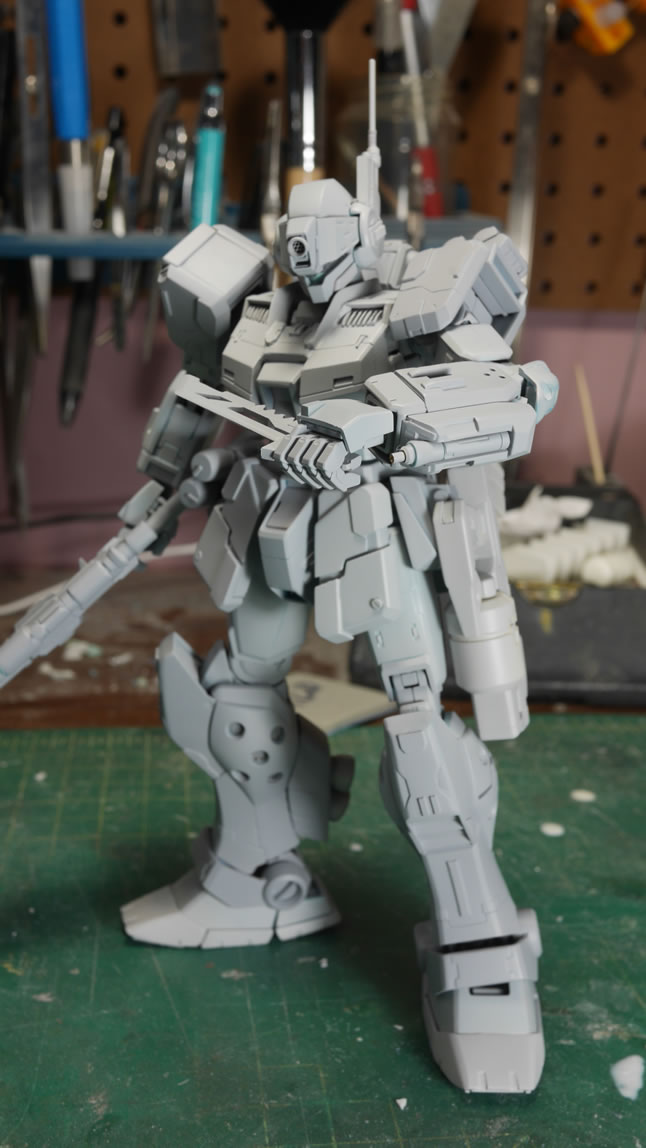
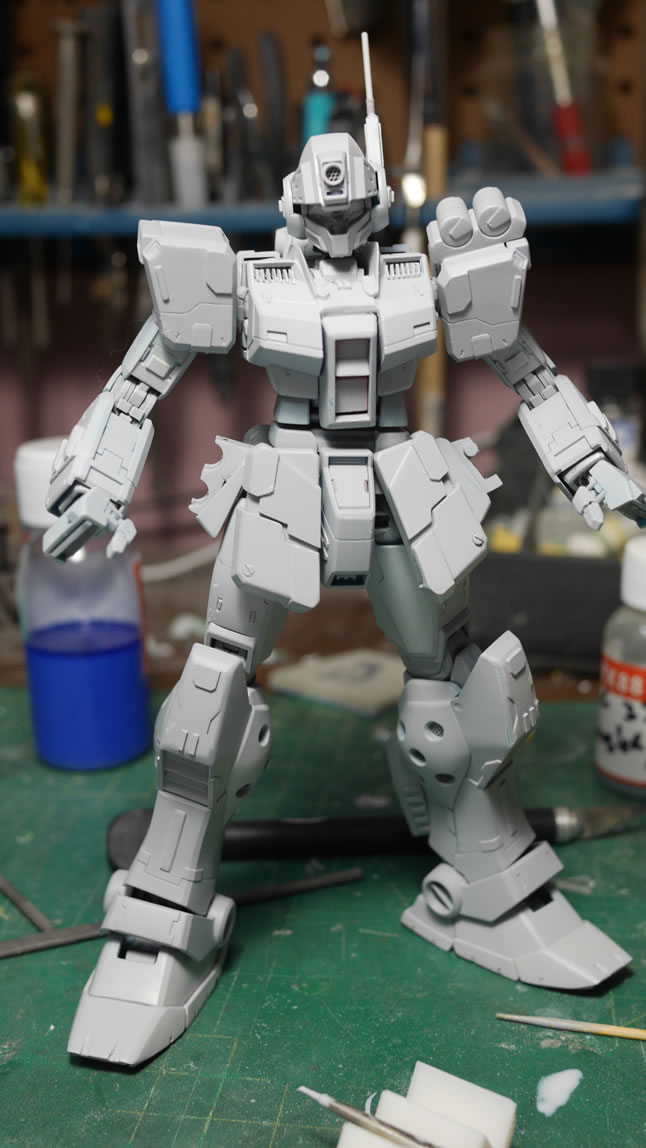
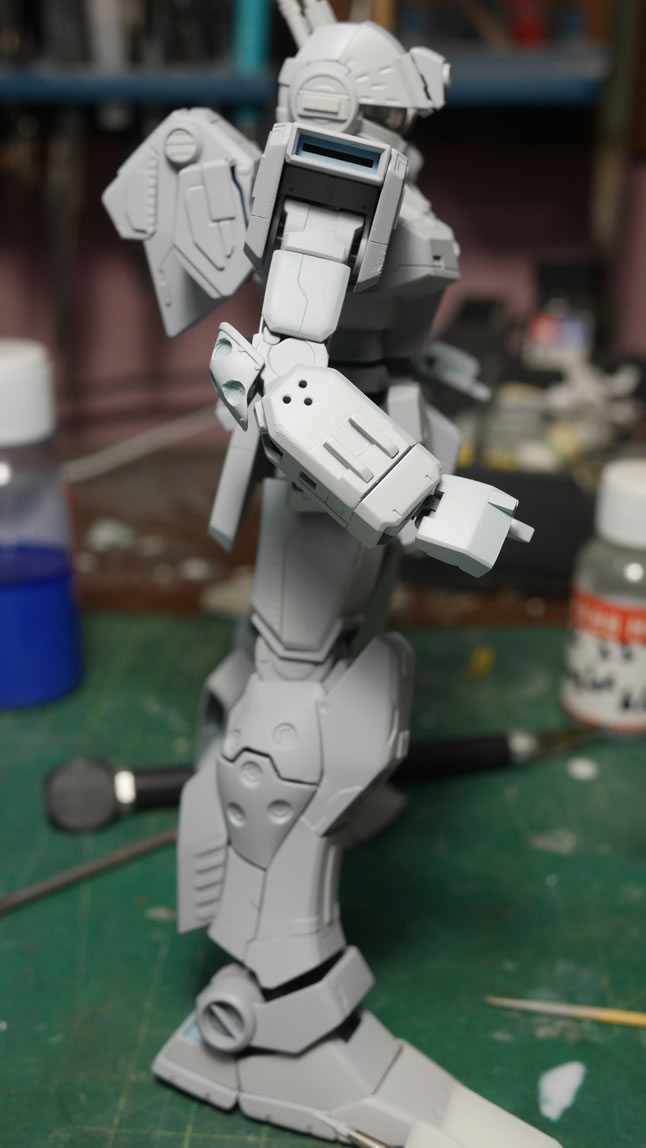
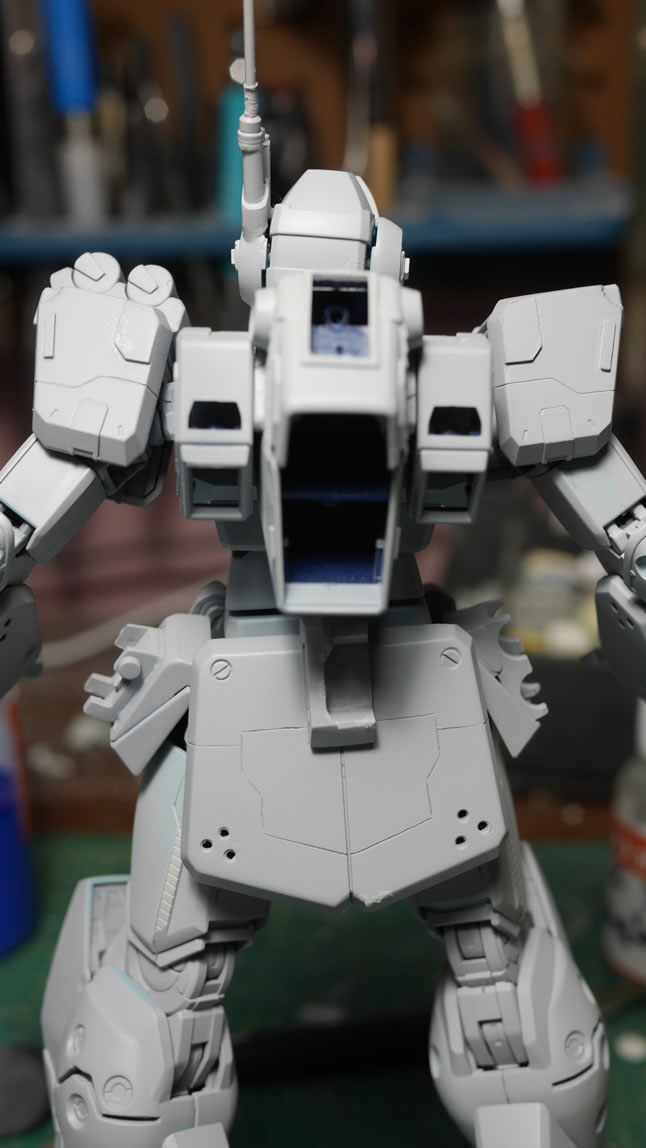
Those bits are the last details to be primed and for now; I’m done with priming. Everything is looking good so time for a quick subassembly.
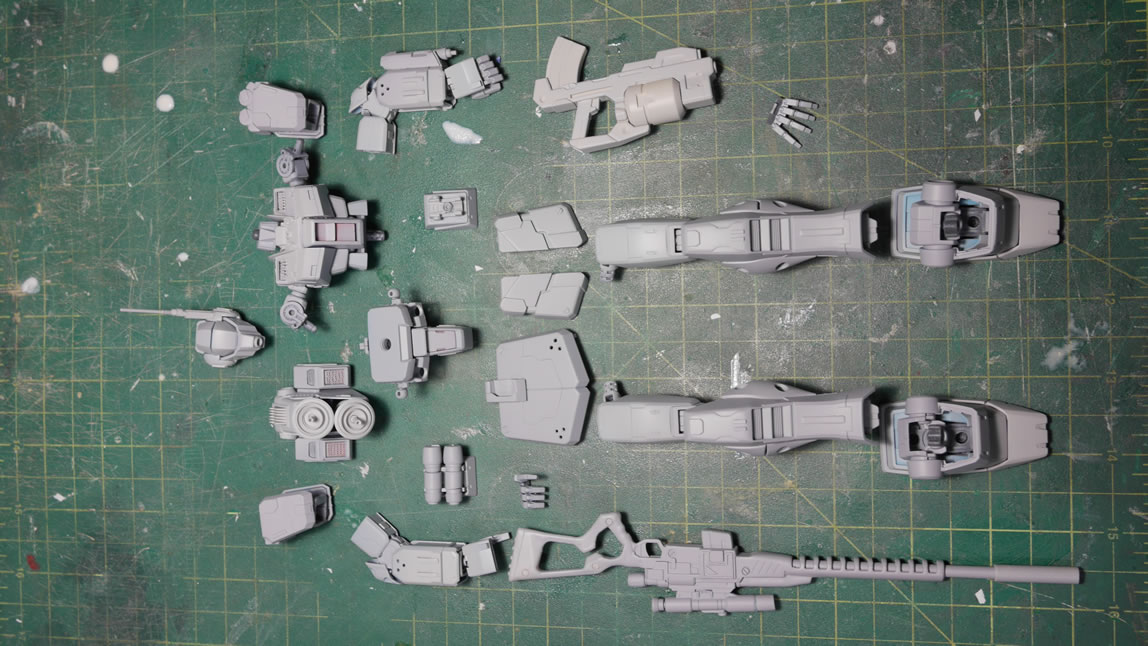
And then a quick 90% assembly.
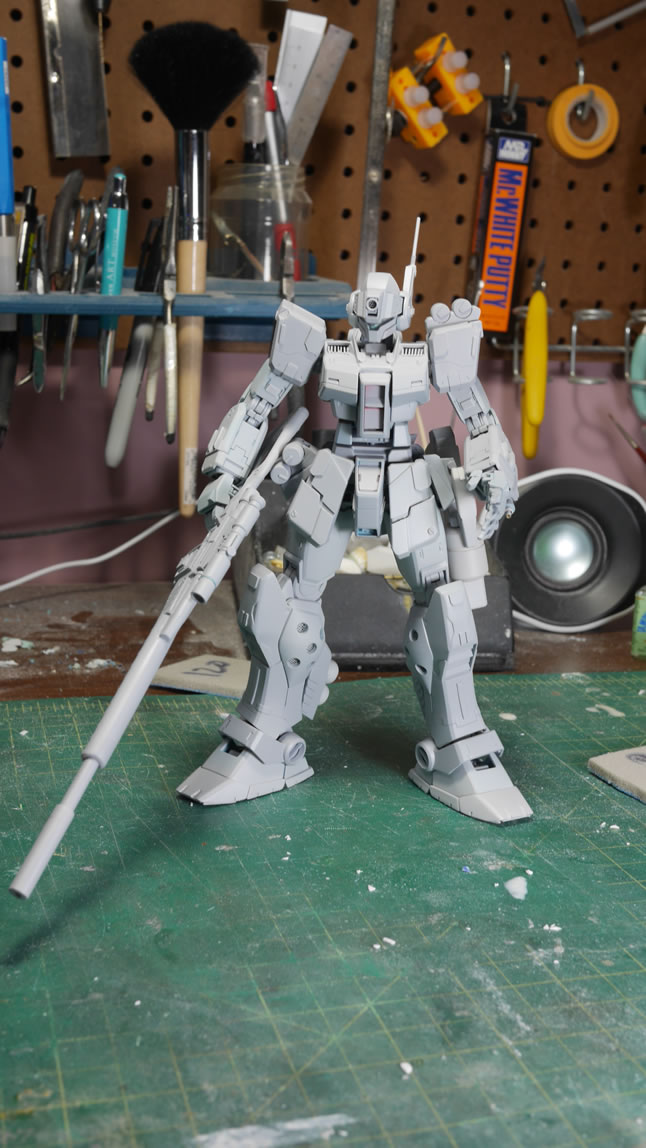
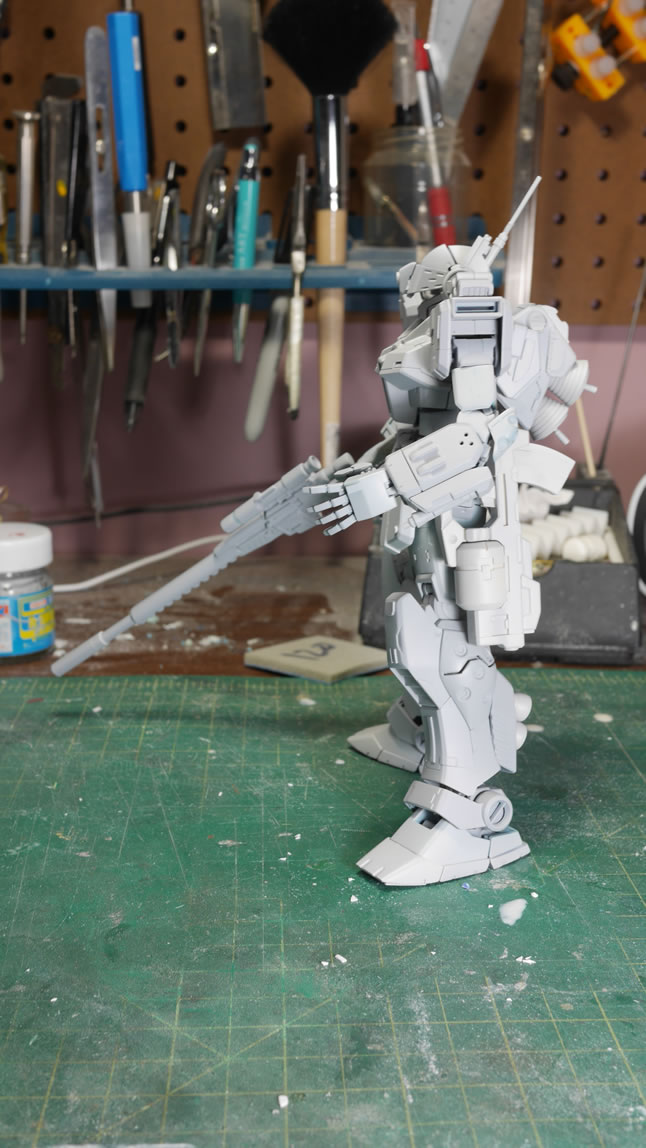
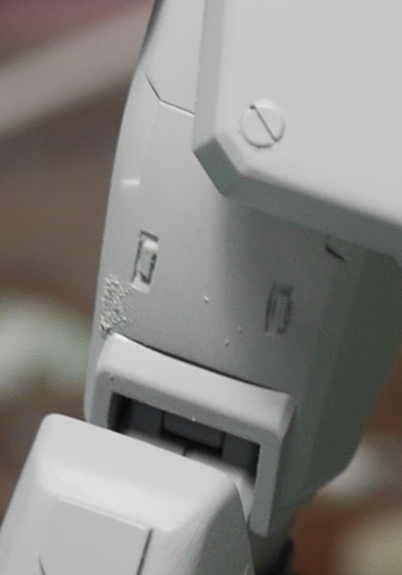
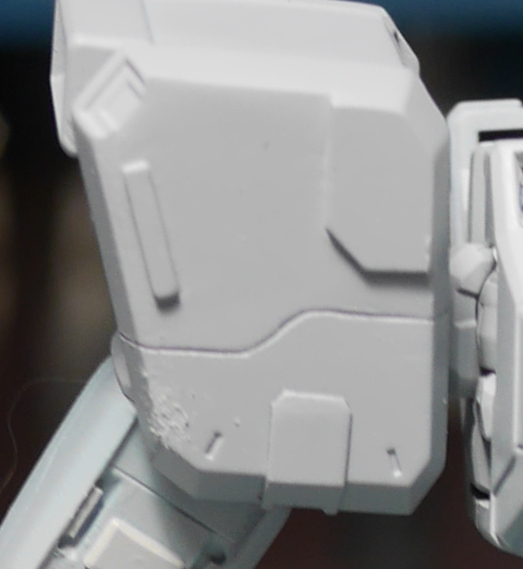
Ok, the real reason I assembled the kit in it’s perfectly primed state is for the next step. A bit of pre-planning for some slight weathering that I have in mind. Using Mr Surfacer 500, a applicator brush and a stiff bristled brush. I apply the Surfacer 500 to a few small areas and then rough it up with the stuff dry brush. This creates a roughed up area that I can use for paint chipping and other weathering effects. I do not want to go overboard so I did very small areas and very sparingly.
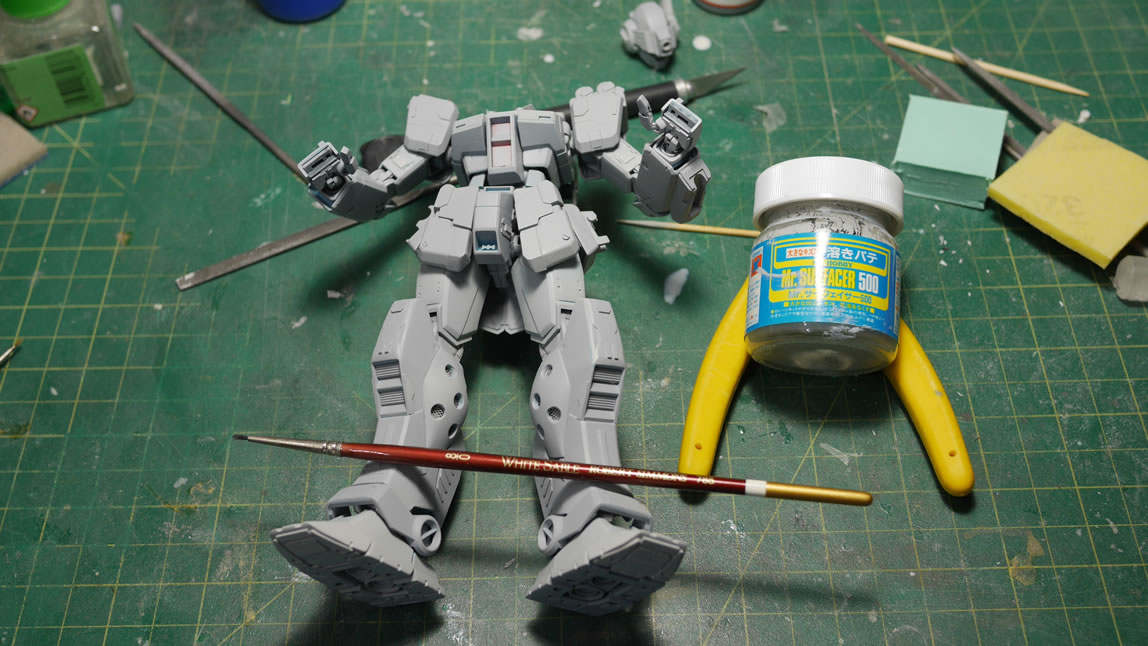
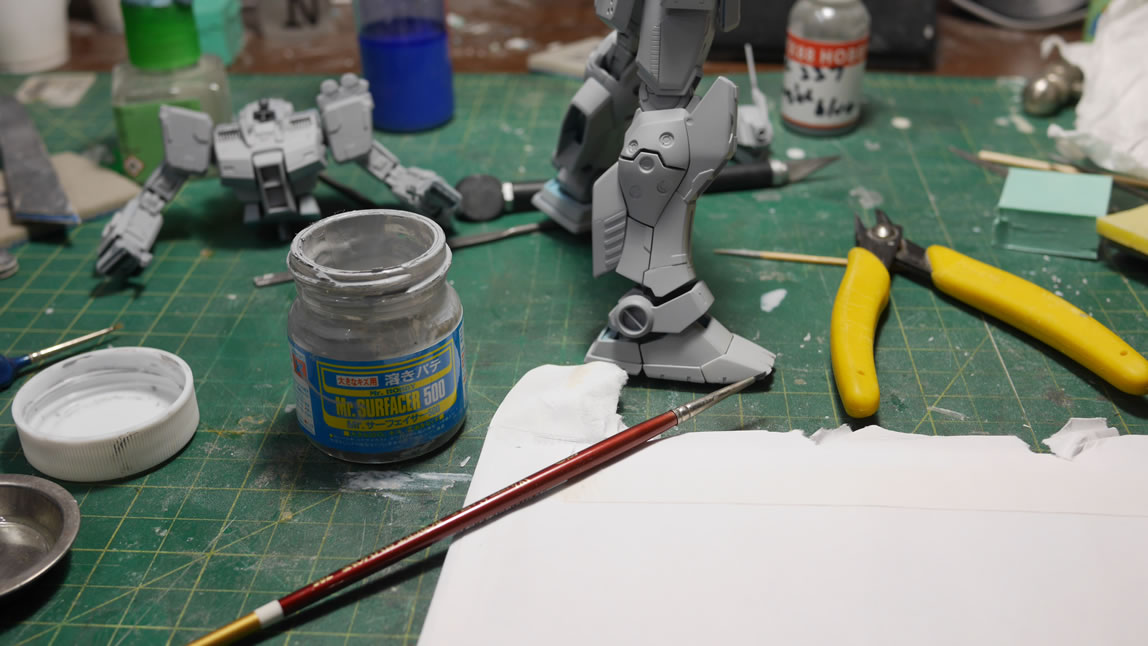
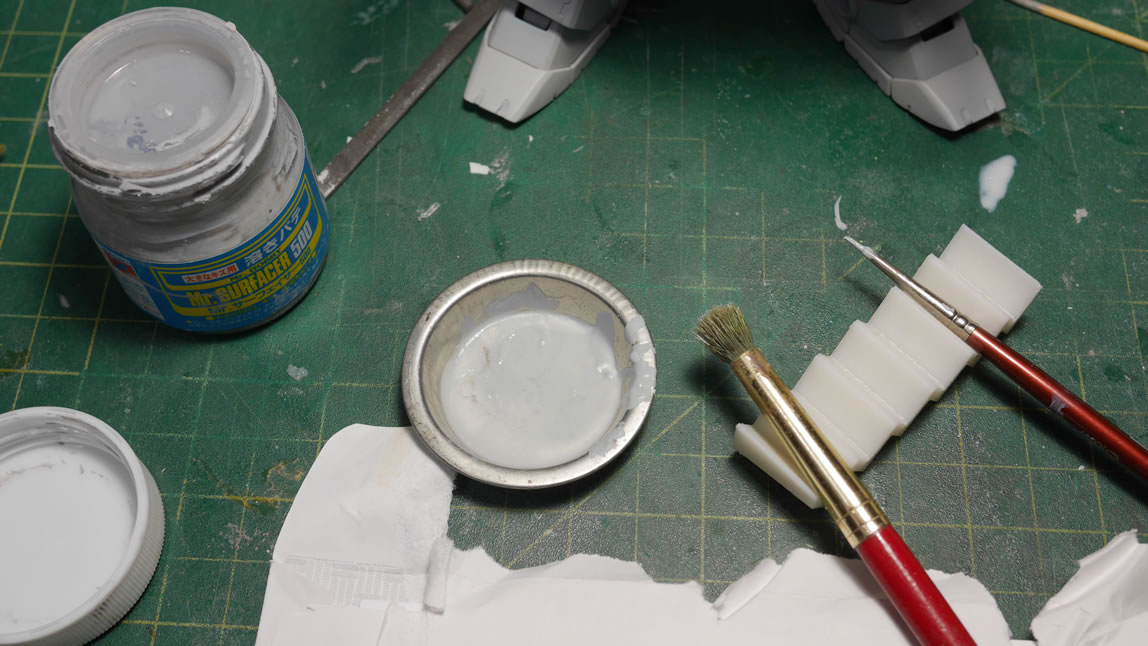
How small and sparingly? Well, it’s completely unnoticeable in these three pictures. Zooming in and looking closely it is easier to see, but still, the primer and mr surface 500 colors are the same so it’s hard to distinguish in picture. In person and once it is painted and actually weathered, this will be much more apparent. And hopefully subtle too.
Here a few close ups taken from the above picture that better illustrate what I did.
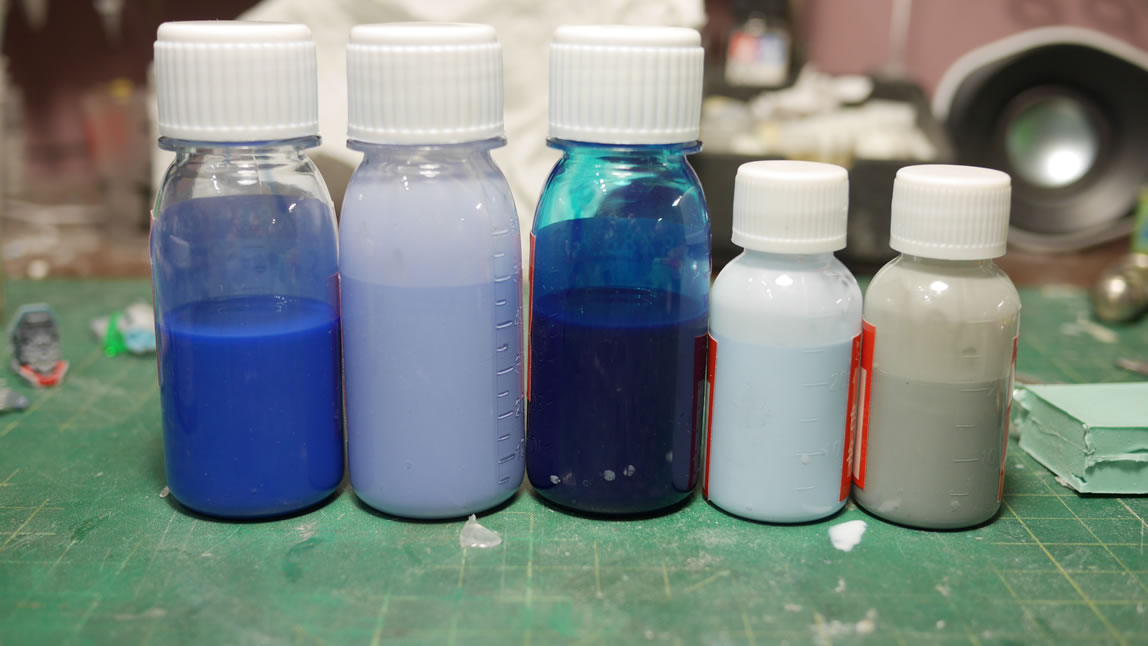
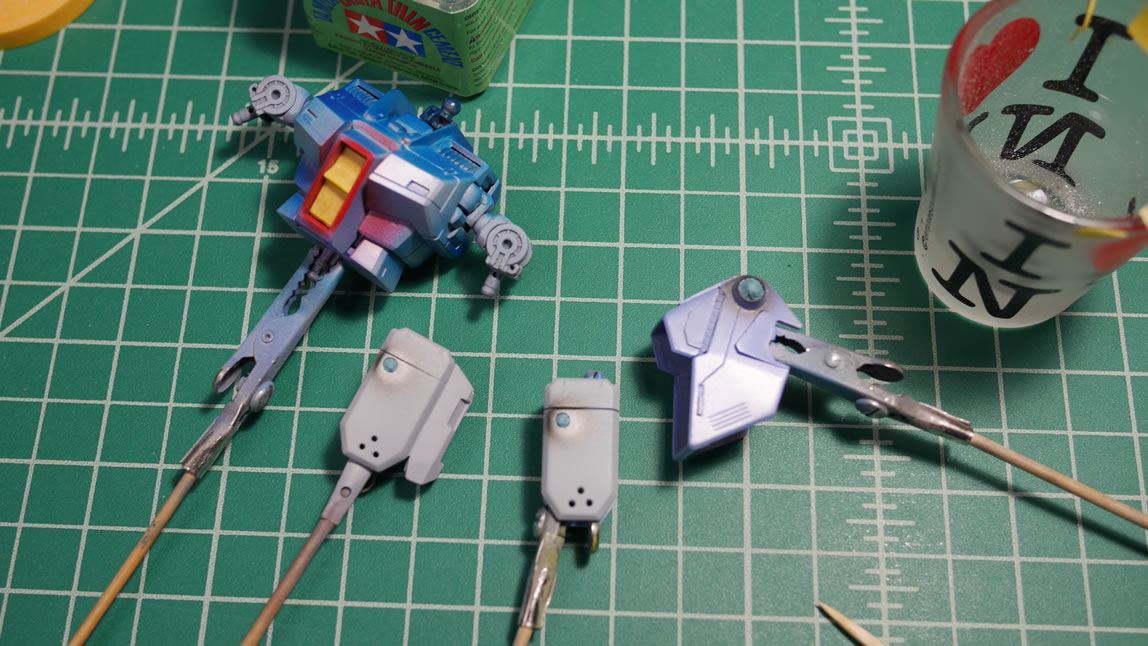
Now for the paint scheme. I mixed a few colors and have some ideas but I need to work it out a bit before I explain it. The next update will better illustrated the idea I’m trying to do. But alas, I have my colors picked out and have started applying the colors to the kit.
This always happens. While applying the base colors, I always forget that I have glued detail bits into the kit parts. It is much easier to mask off negative space than positive space. So I painted the details on the rear skirt as well as some of the other recessed detail areas and masked it off with sticky tack.
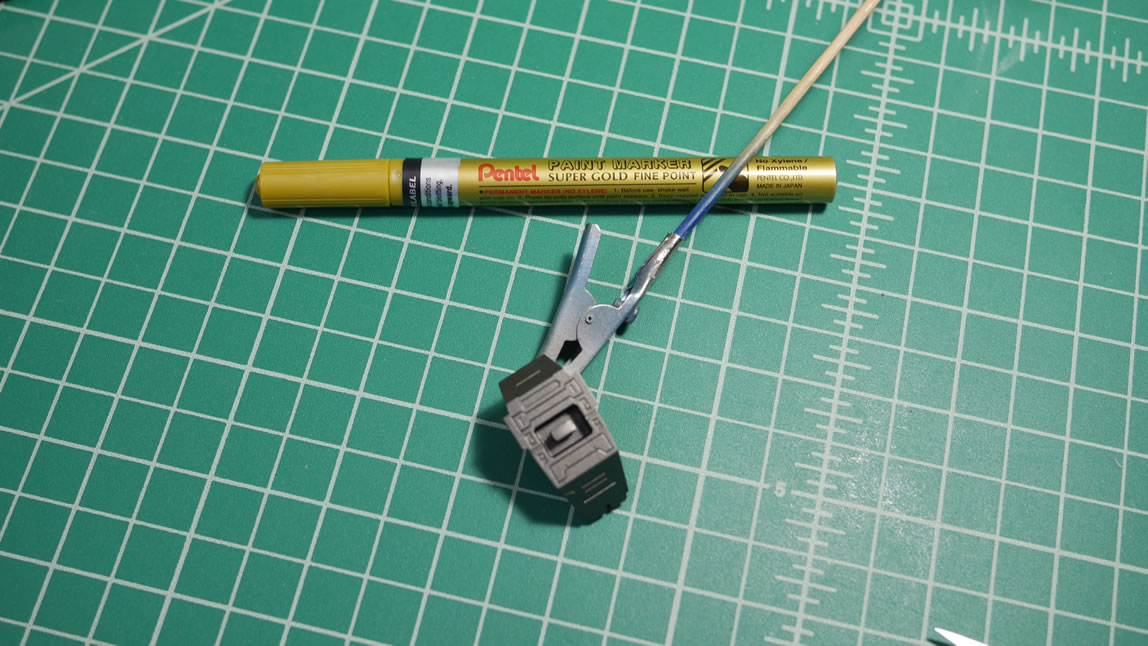
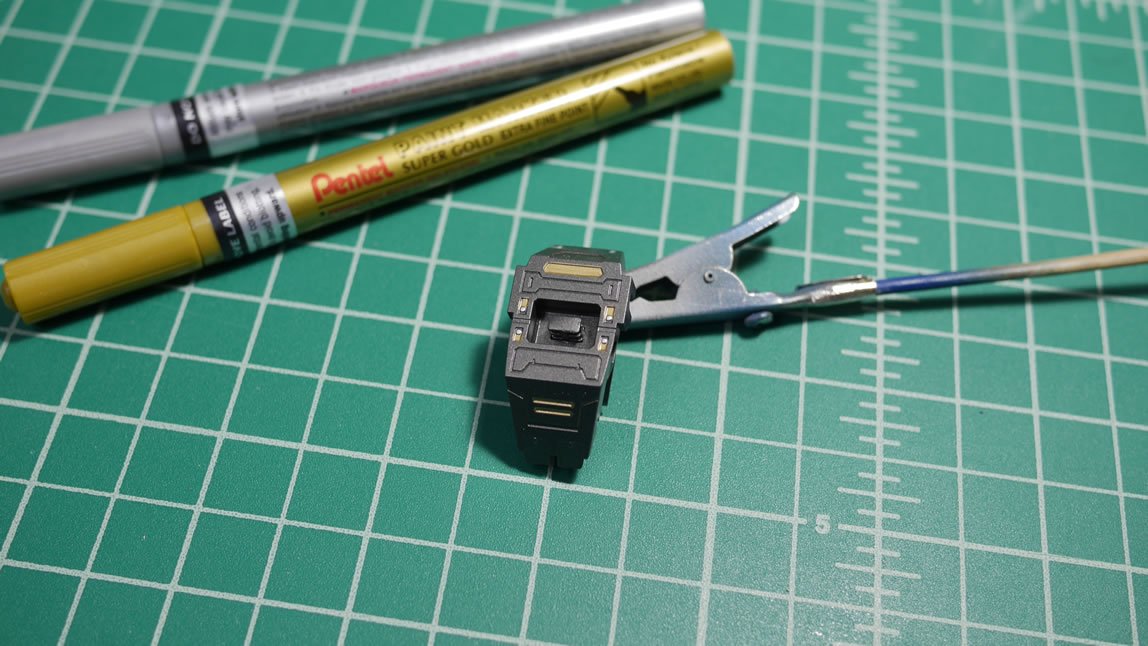
Thrusters are painted and masked the same way. The inner bells are painted with alclad burnt metal. Once cured, they are masked with sticky tack. And then the outer bells are painted with alclad stainless steel. I also picked up some paint pens from my trip to Hong Kong and got around to testing this out on the internal backpack part. It think they look pretty good for paint pens. The extra fine tip is still pretty big, but the silver and gold work quite nicely.
More sticky tack is used to mask off the ankle cover details.
*shameless plug* Two Words: Kampfer Shirt!!!
Yes, our newly printed Kampfer shirts are in stock in the store: Shop Kamfper Shirt
We’ve had them for a week and we’ve already sold half of them. So don’t wait, get yours today!
We also recently reprinted our Shiki Shirts too: Shop Shiki Shirt!
Ok, enough plugging of our shirts amazingly designed by Brandon Hopkins Back to working on the project:
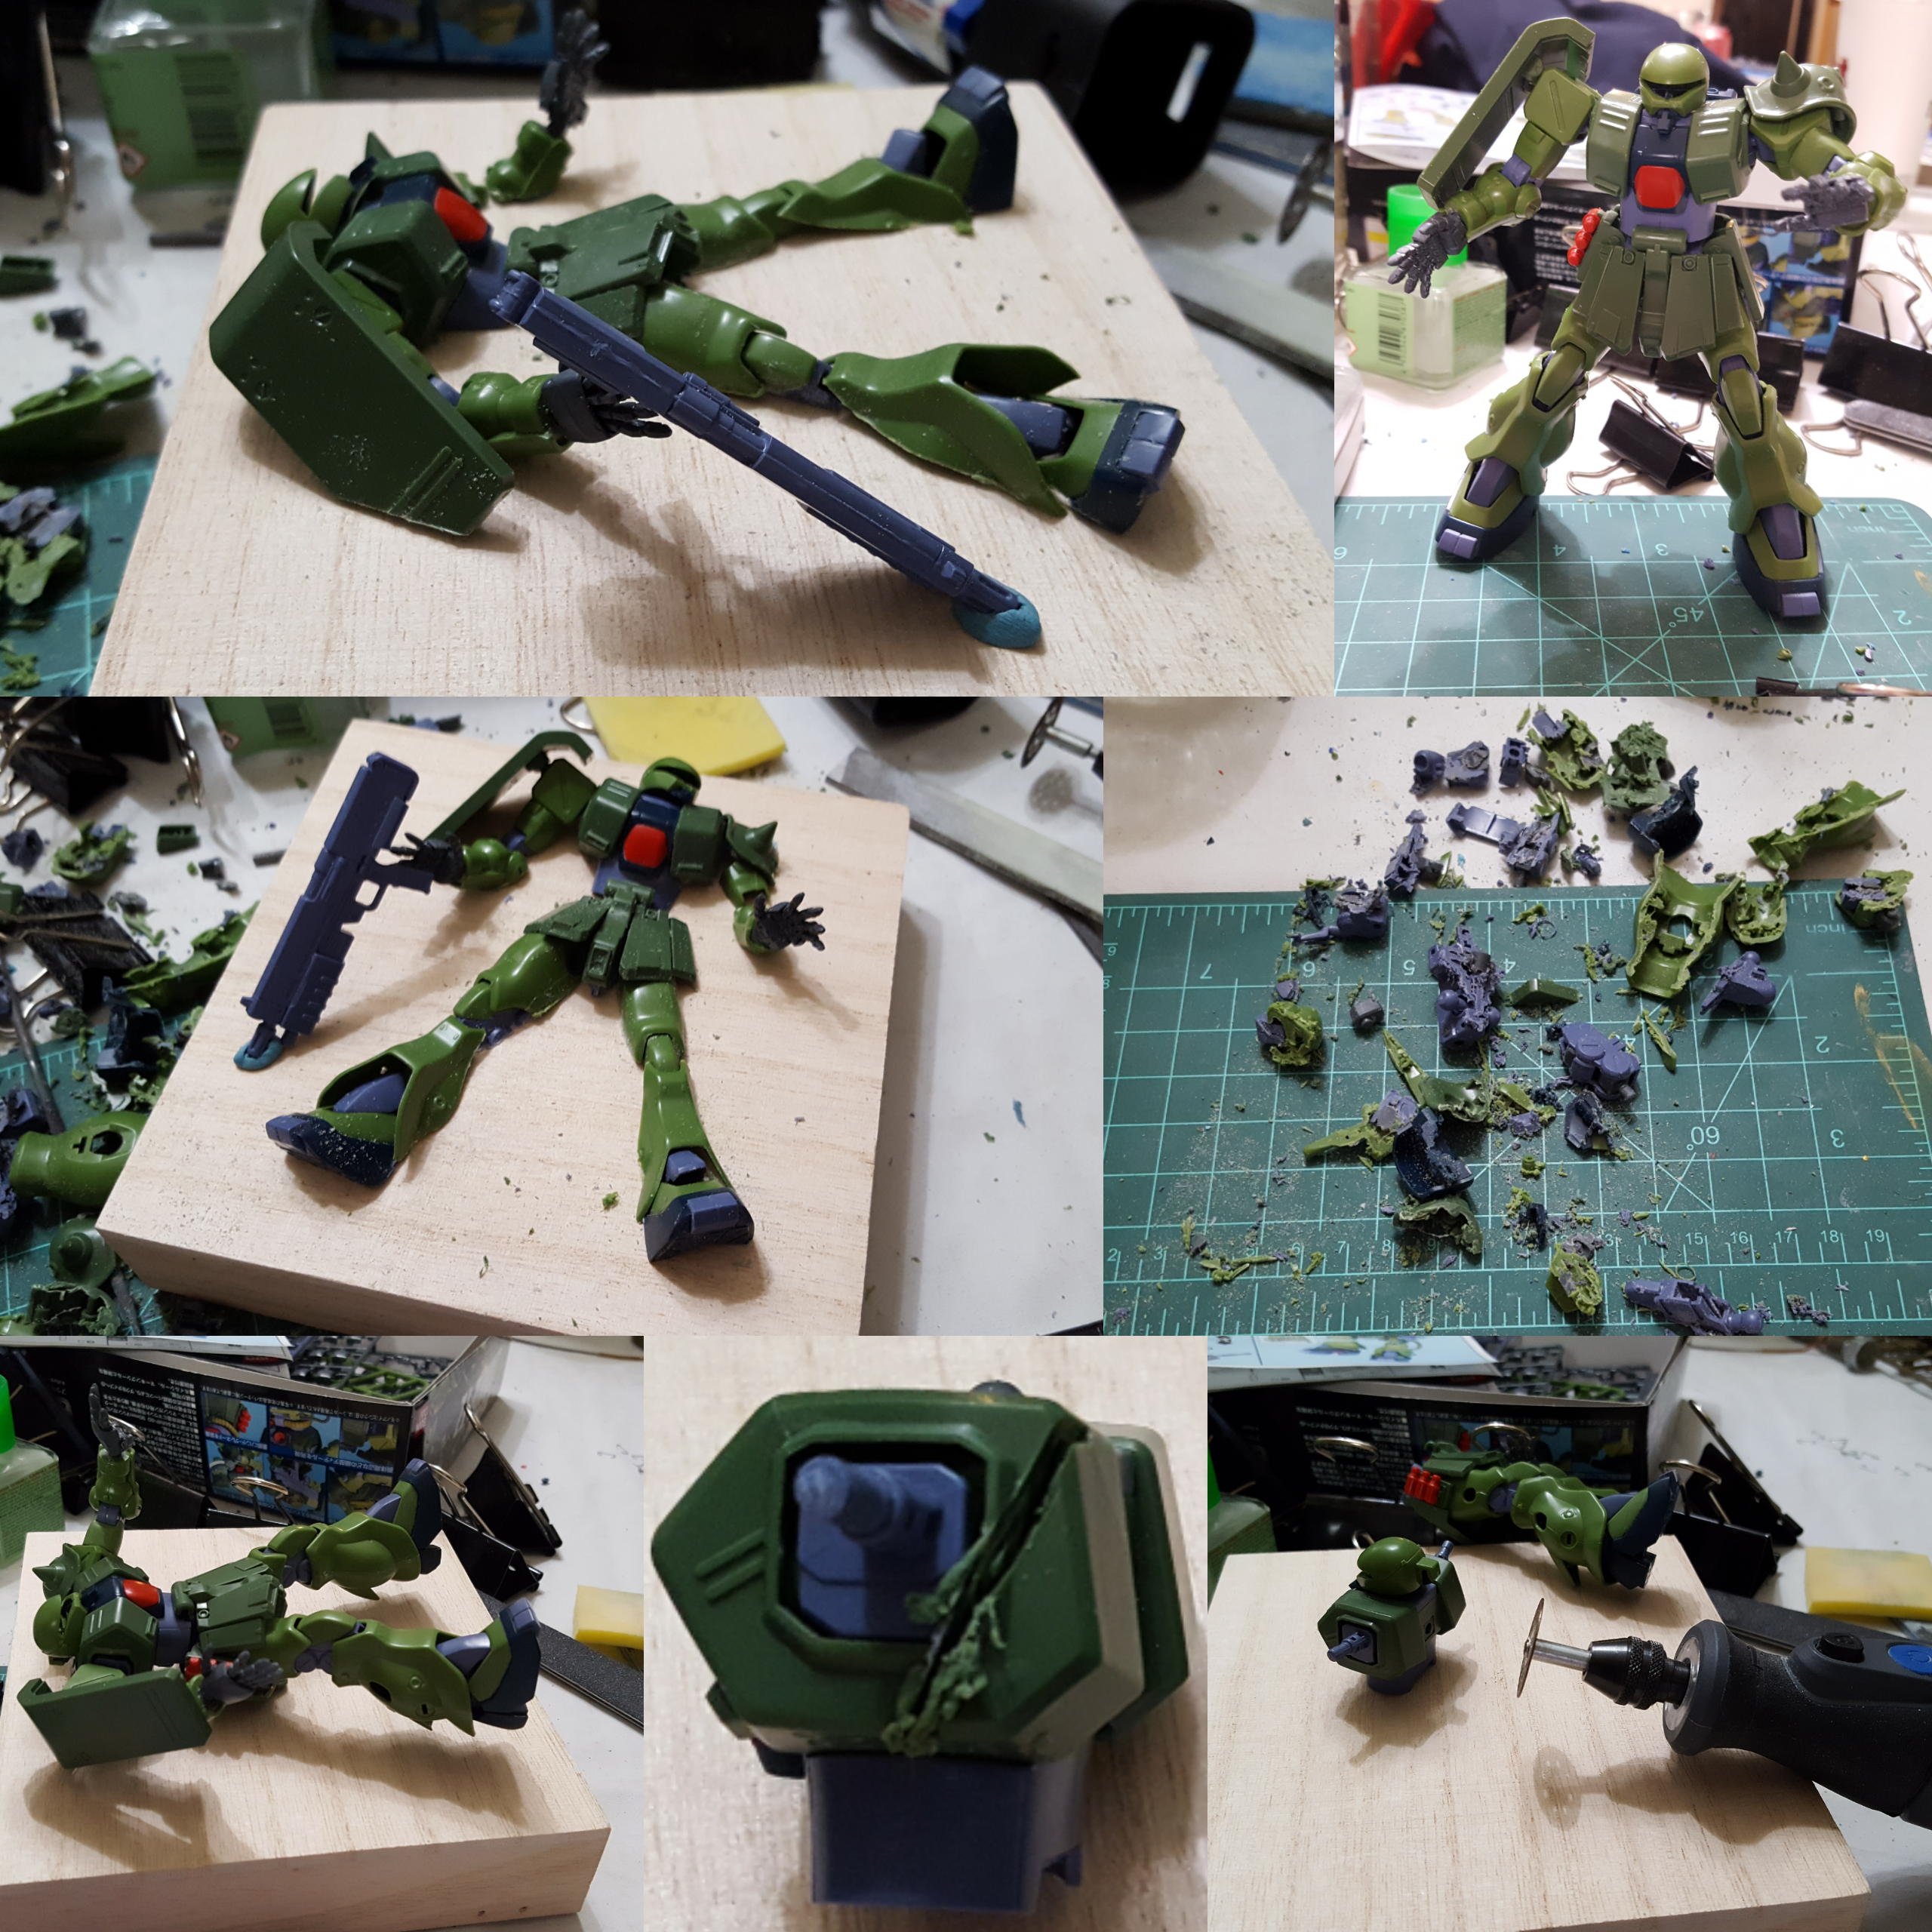
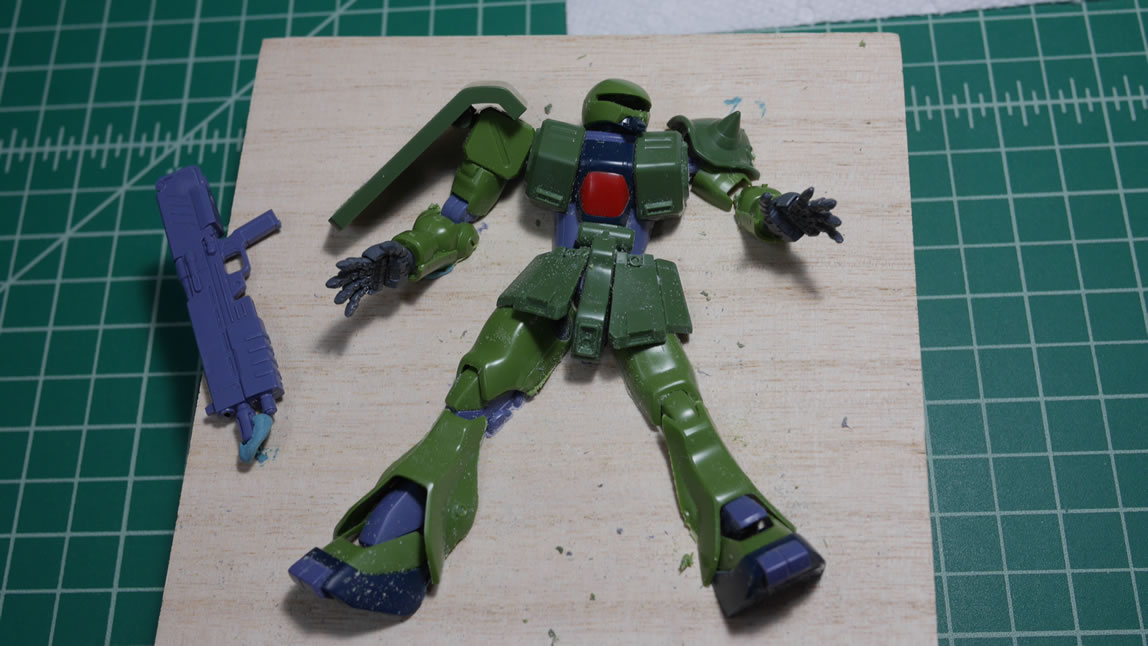
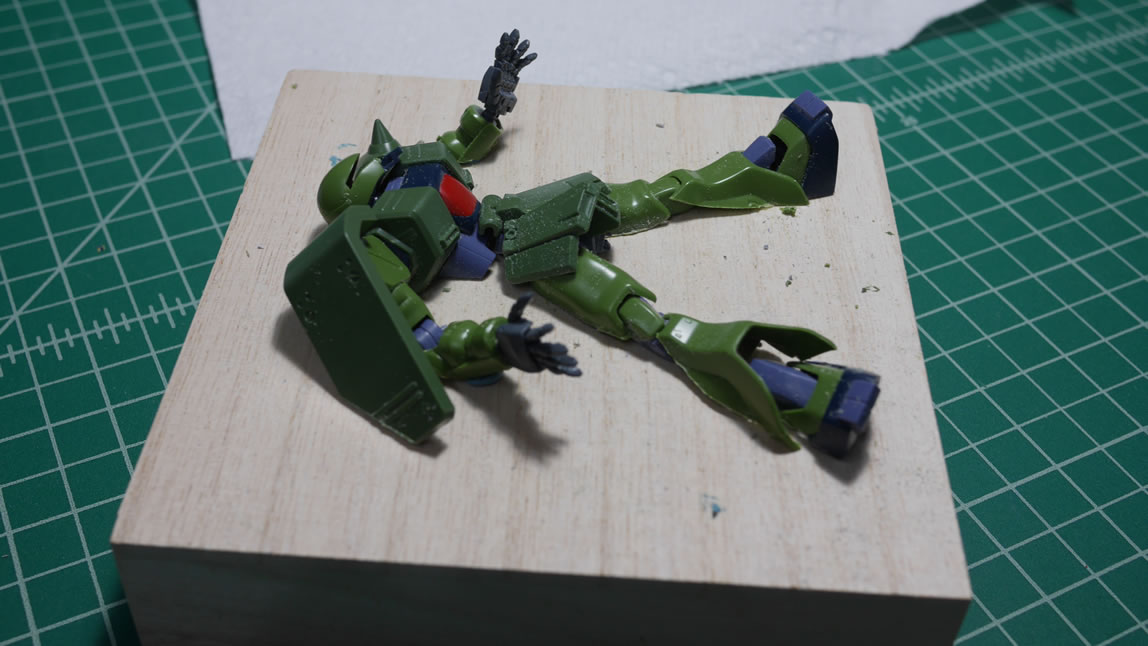
This past weekend was the build gathering. As usual, we drink. So detailed work on this project wasn’t going to fly. Plus, I usually like doing mind numbing tasks at the gathering since they’re not so laborious when drinking and making fun of one another. Earlier last week, I picked up an HGUC Zaku II Kai. This is going to be the center piece of the base I’m building for the sniper kit. So I spent the gathering sanding and gluing the kit only to take a dremel and cut it to pieces. See the collage below:
When the group of us went up to visit Tatsu hobby, I saw a relief kit/figure that looked kinda cool. It was half coming out of a plaque. I figured I’d do something like that in the future. Getting back and letting my mind wander as to how I wanted to display the Sniper – this idea crept back into view. So I cut the poor bastard up and will eventually have it “coming” out of the wood base. I’m actually going to just fade to black on this. The paint scheme has been decided, and the word “Hamburger” comes to mind. Fans of 0080 will get this and either laugh maniacally or be utterly disgusted – either way, it’s cool to me.
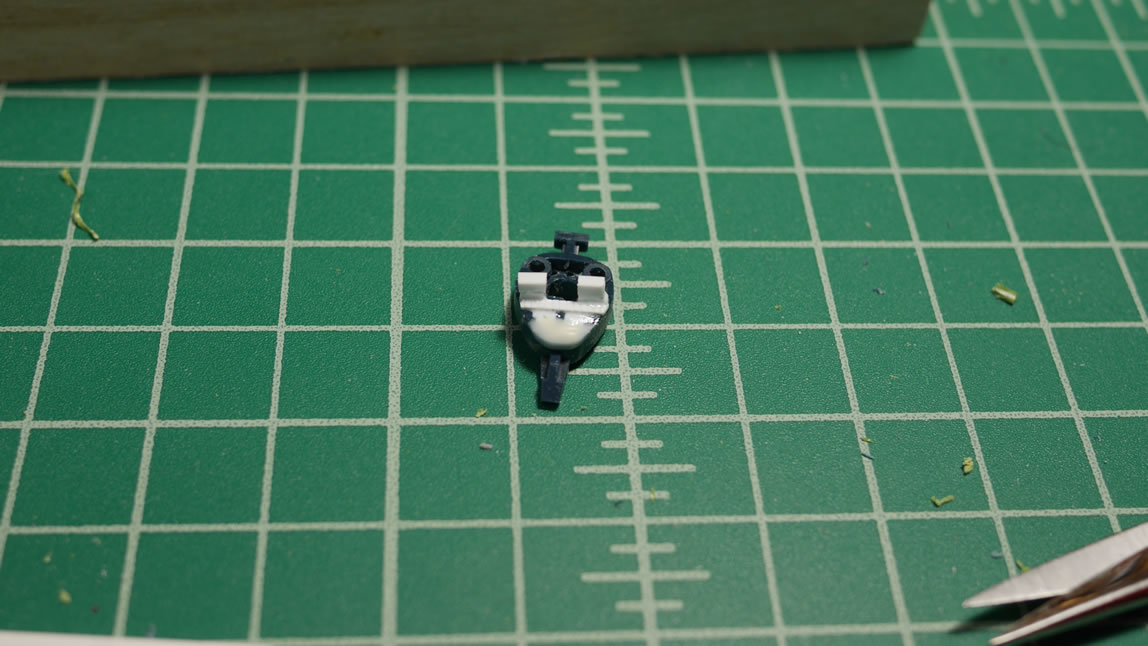
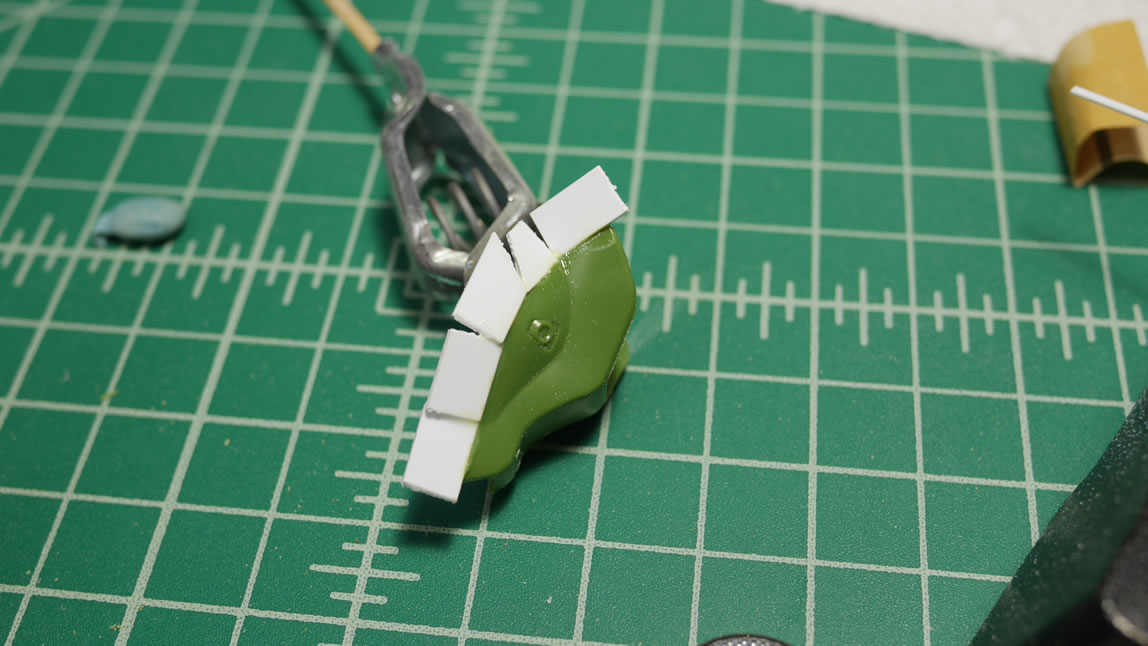
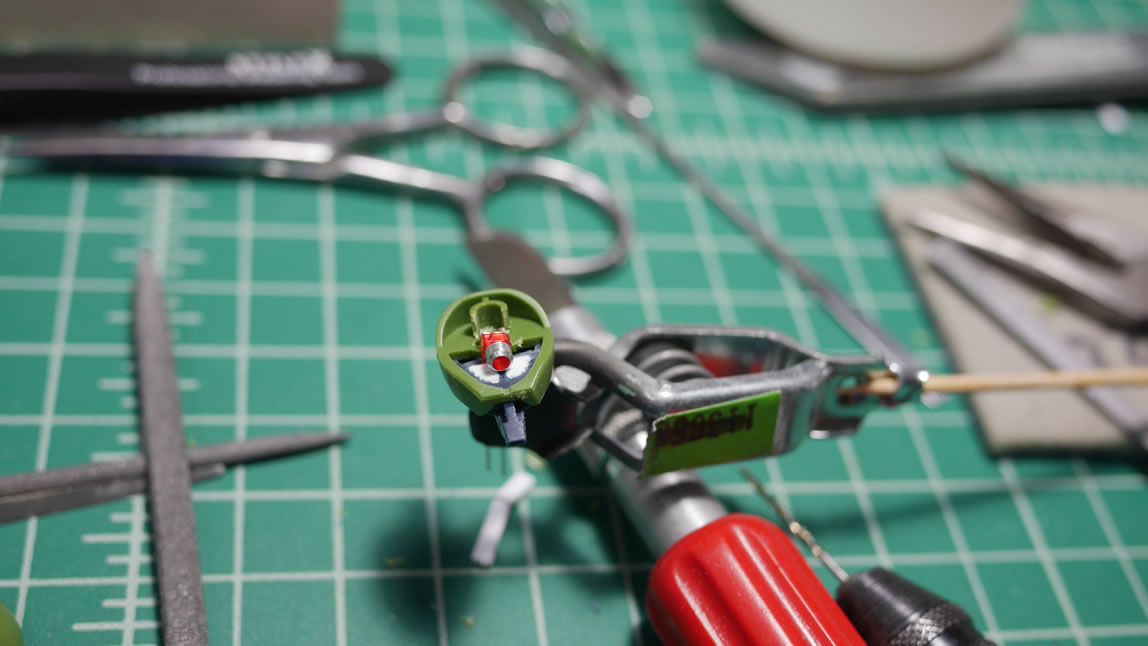
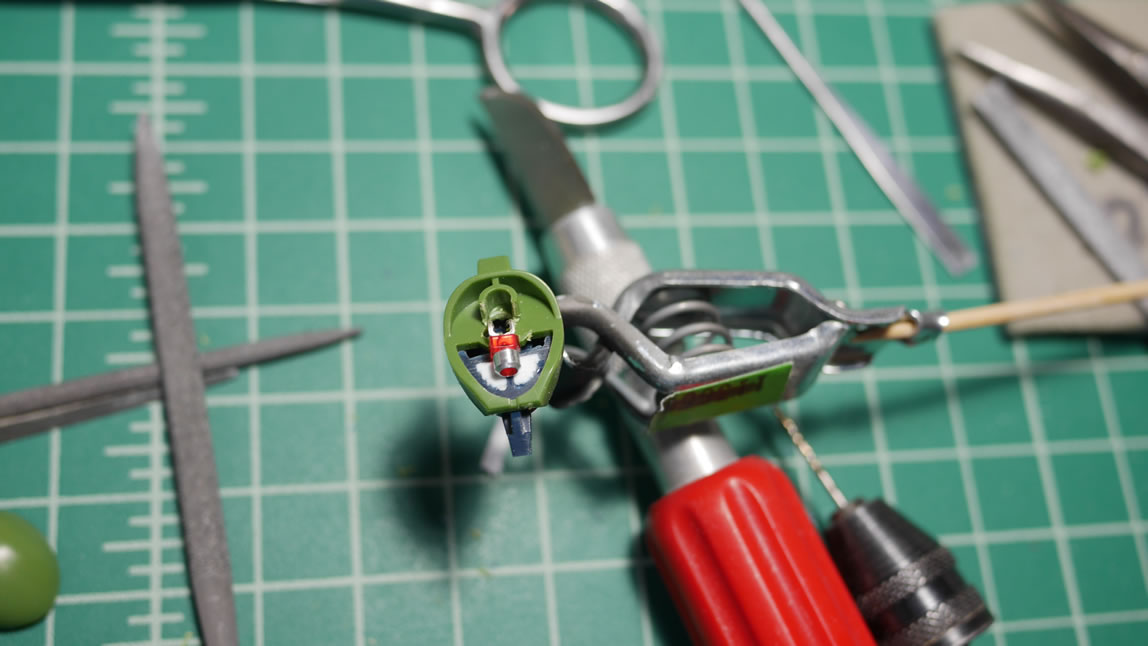
In between working on the sniper, I’m working on this kit. I cut up the eye piece. I mean, it was one solid chunk of plastic. Most HGUC kits are like this. Time to lay the groundwork for adding details. I was a bit overzealous in cutting the legs. Well, not so much overzealous but I cut it completely wrong. So the plastic strips are glued into place to add back what I had cut away. Why not just glue back what I had cut away you ask? Well, I had already thrown away the cut away bits. Reason one to hoard your gunpla, even spruce… they may be handy. But, it’s only plastic and this can be fixed. With the plastic trimmed away, its looking closer to my mental image.

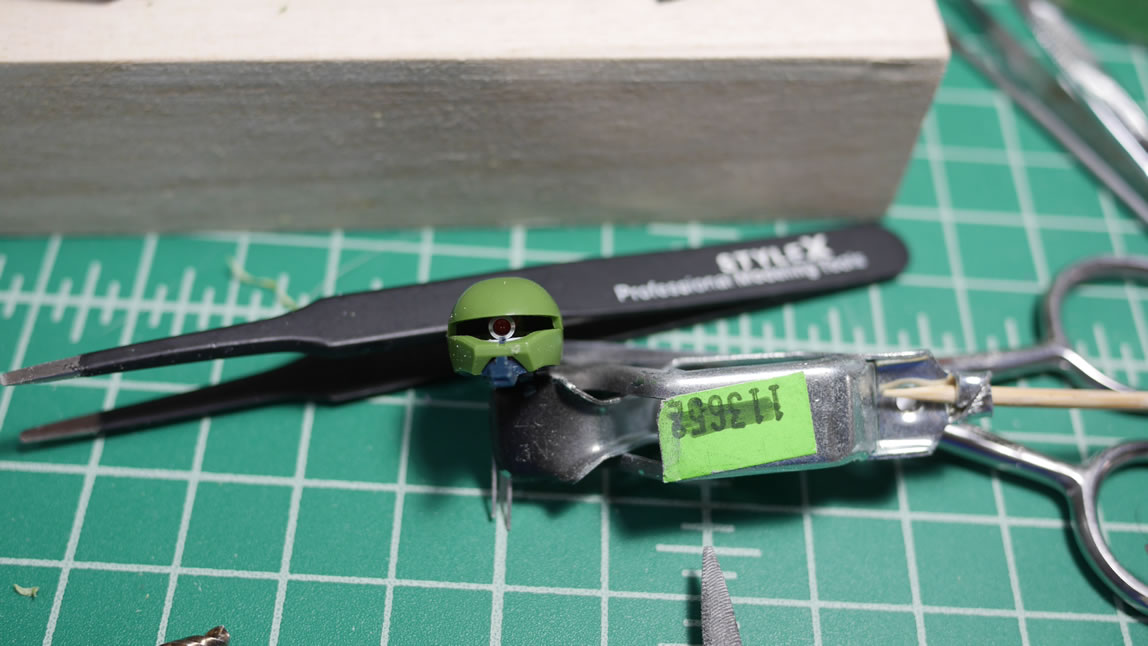
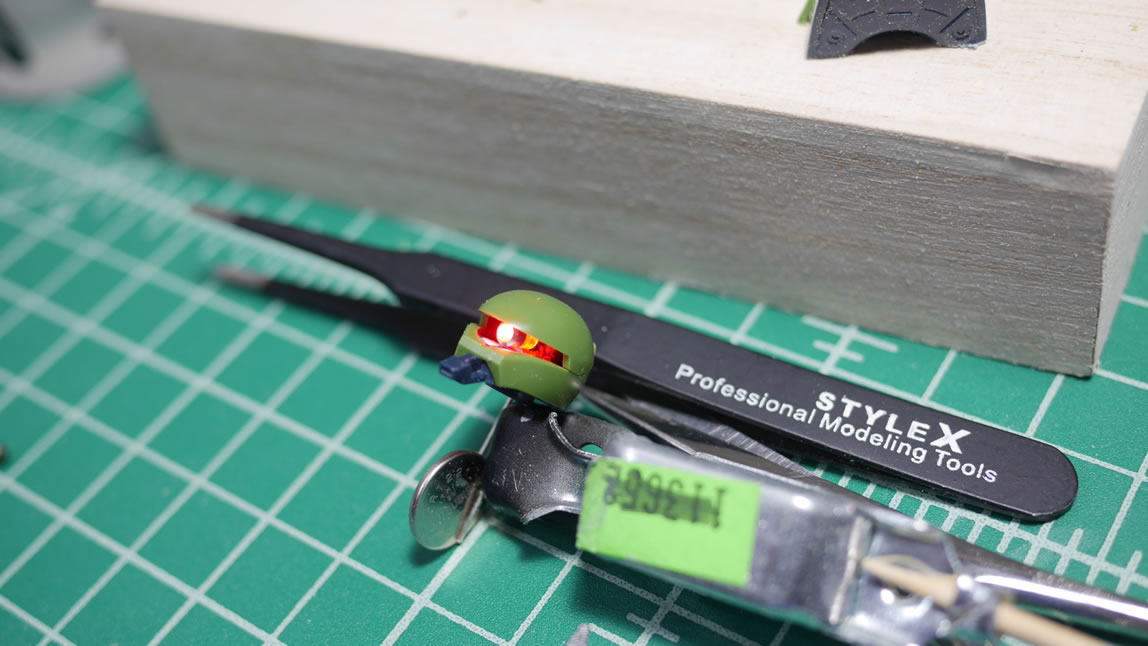
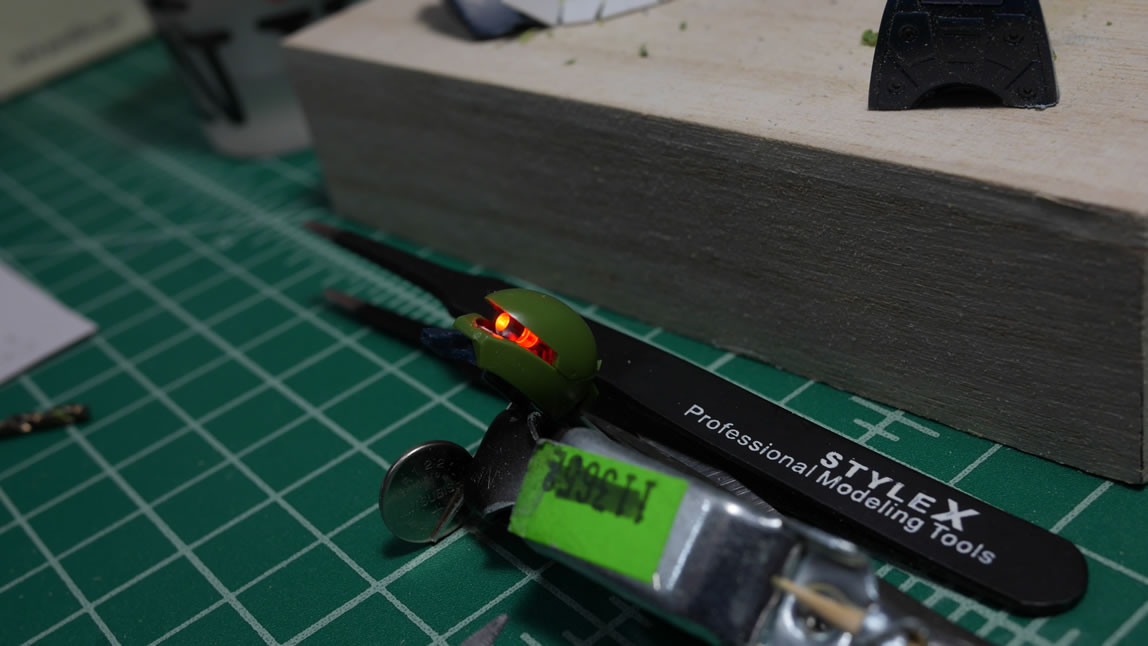
Adding a new mono eye just begs to add an LED. So the work to add in an LED starts.
The LED lit up.
And the beginnings of the detailing process – gluing plastic together and filling the holes from when I cut this piece apart.