Happy New Year everyone! I’ve been away from any gunpla for a while because of the holidays as well as doing some home improvement projects. I’ve been living at this house for a year and slowly getting small projects done here and there. That, along with the holidays has pretty much killed all work on anything gunpla related. But, since the holidays are done and this project is finished; I hope to get back into the 1/24 Saz head sooner than later.
For reasons that will be explained after the jump, we got a new oven, then because of the new oven, needed to do some construction to the existing cabinetry, which eventually led to the complete refinishing of all the kitchen cabinetry. Wow, this feels like I’m back in school explaining what I did over my xmas break… weird.
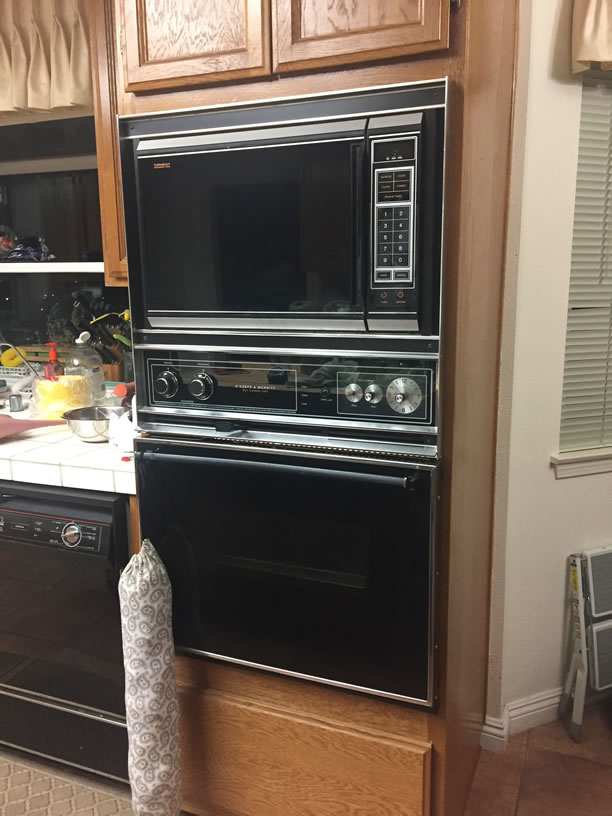

On a whim, while doing our Black Friday shopping, the wife and I looked at potential oven replacements. The oven at our house is a few years shy of turning 30. The temperature control blows, there’s no accuracy in the temperature – I mean, we have to put a thermometer into the damn thing to get a good idea on the temperature. Then carefully adjust the damn control knob to get the temp we want. It’s small as all hell; and I’m pretty sure we’re being blasted by radiation every time we even look at the attached microwave. But it was more of humoring ourselves by looking. At any home improvement place, they have 30″ ovens, and if we were to replace ours, we would probably need to find another oven + microwave unit. Our current oven combo is actually 27″ in width. So while we can look and touch all we want at any Home Depot/Lowes/
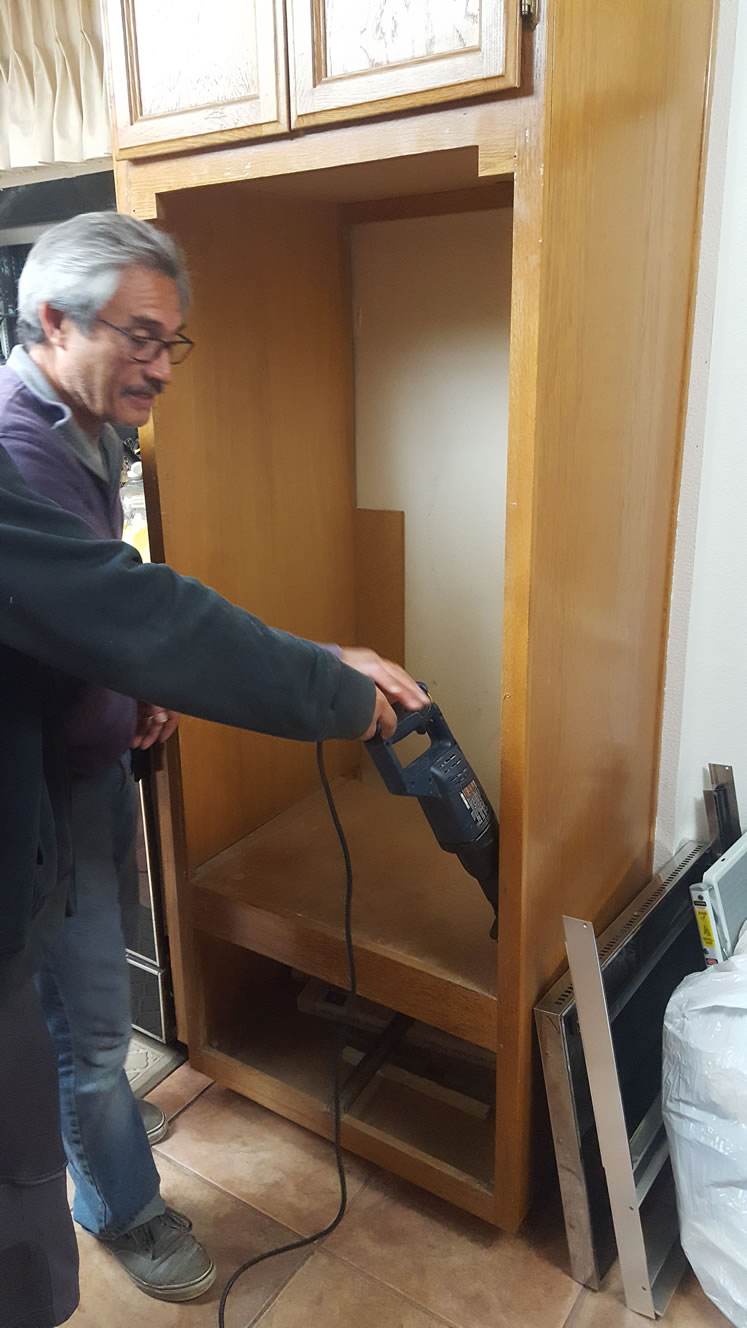
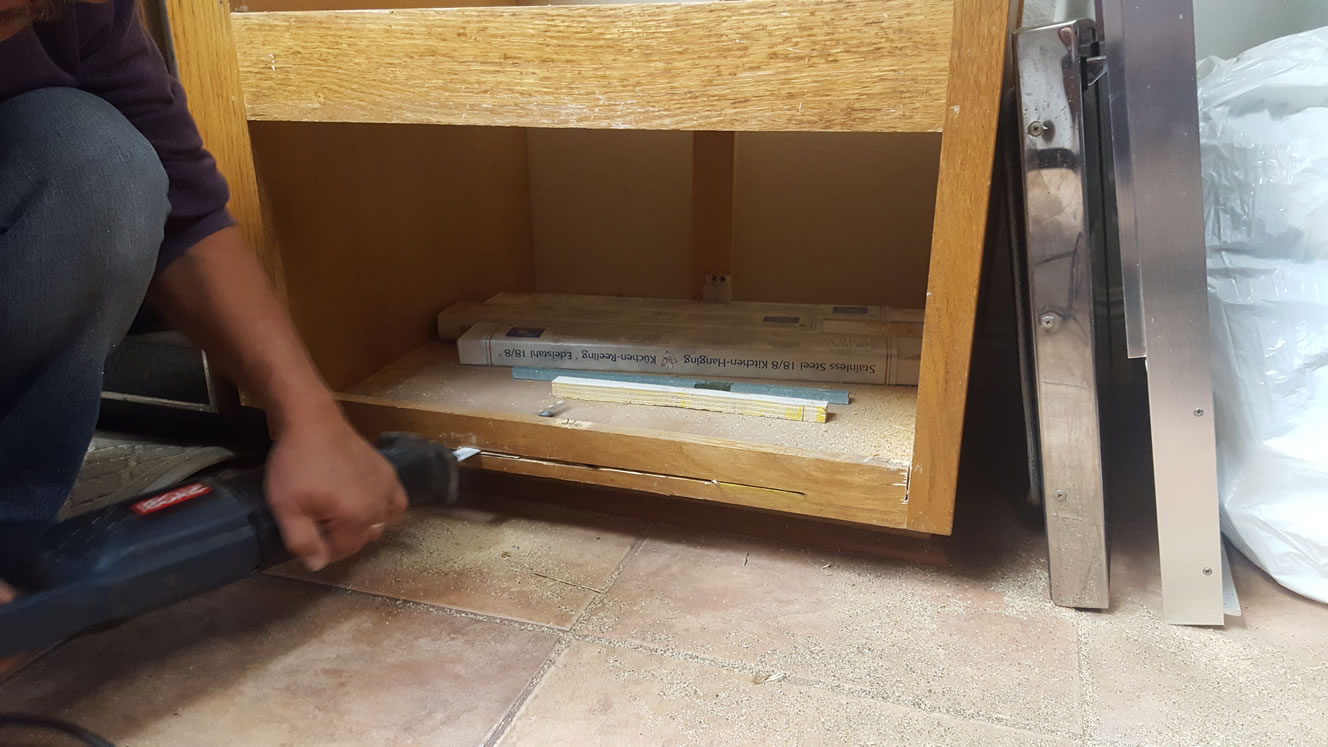
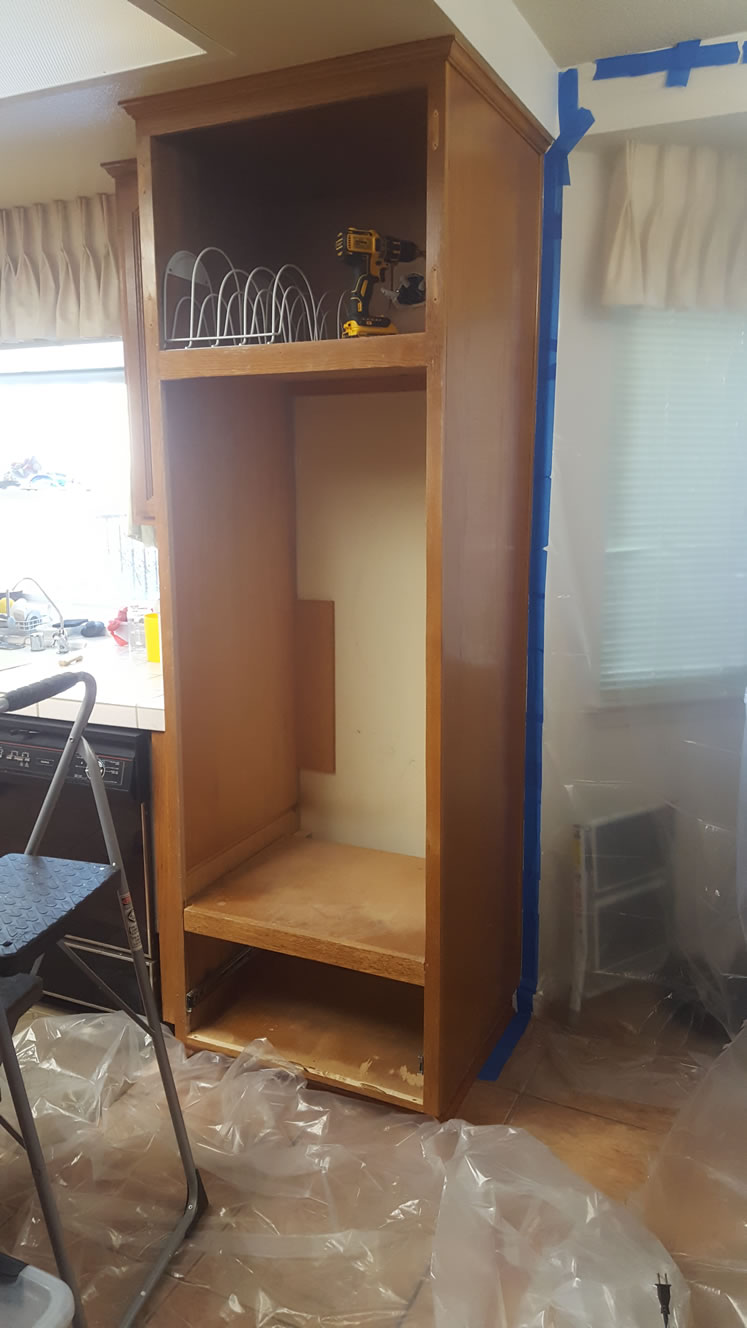
The new double oven was not going to fit into the existing hole previously occupied by the 28 year old oven/microwave couple. Taking in the new oven’s measurements from the installation guide, I started to plan out the modifications needed. Angel and his dad came over to help out. After taking the old oven combo out we started cutting. The cabinet originally had a cut out where a wood board sat and took most of the oven’s weight. I needed at least one and a half inches of extra space. Cutting the top wasn’t going to work. So we cut the sides of the wood board, added new supports on the sides of where the bottom cabinet fit. Since we dropped the top part of the lower cabinet, we needed to cut the bottom lip of the cabinet so that the drawer now fit flush with the bottom. Taking this drawer out, we learned that the rail system it was sitting on was busted. So I ended up installing a new side rail system that utilized the new side mounts. The opening was now ready for the new oven when it arrives.


December 13 comes and I get a call from the delivery that my oven will arrive the next night. But once I get to work on the 14th, I get a call from the local Lowes store telling me there was a mistake and I won’t actually get the oven until Dec 27. WTF?!? After some calls and tracking down of things, I learned that the volume of Black Friday sales created such a backlog that the middle supplier didn’t actually get my oven order started until Dec 12th. And due to the way special order items are handled, there was no way in hell I would get the oven before the 23rd. Doing some additional research, I ended up ordering a lower spec version of the original oven I had from Best Buy since they gave me a solid delivery date of December 17. We lost the convection and a few other features, but it’s the same size. That night, the wife and I go back to Lowes to check out the 30″ versions of the oven we ordered. Then started looking at some of the features of the Kitchenaid ovens. Wheels started turning in my head again, and having liked the look and feel; I ended up cancelling the order for the GE and got a Kitchenaid double oven. The reviews for the GE had one thing in common, the oven takes way too long to get up to temperature. The Kitchenaid falls between the two versions of the GE ovens in terms of features; but has a much higher level of reviews. Bonus, it has 2 heating elements vs the 1 on the GE which explains the slow to heat issue. And after looking at it in person, the wife and I felt this would better suit our needs. Looking at the installation specifications, I now needed to shave about a 1/4 inch from the sides of the cabinet, so each side got a 1/8 inch cut with a wood planer.
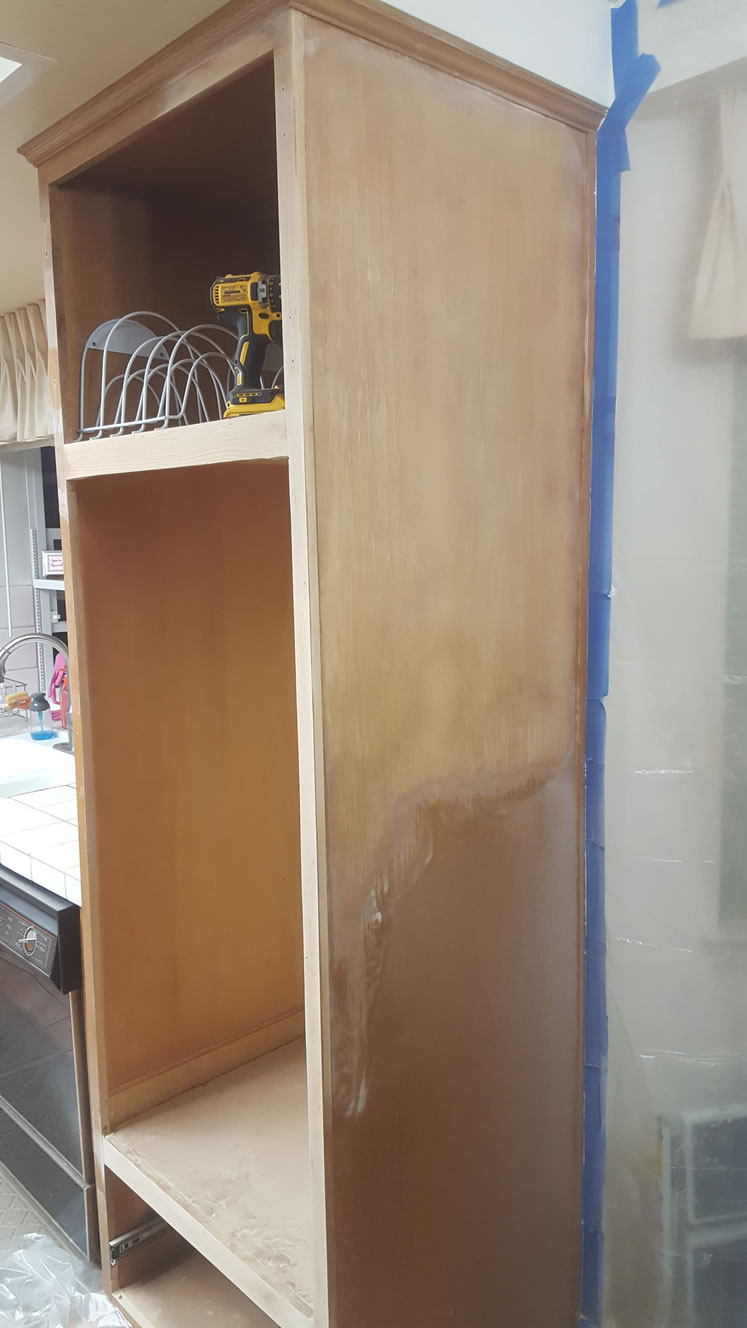
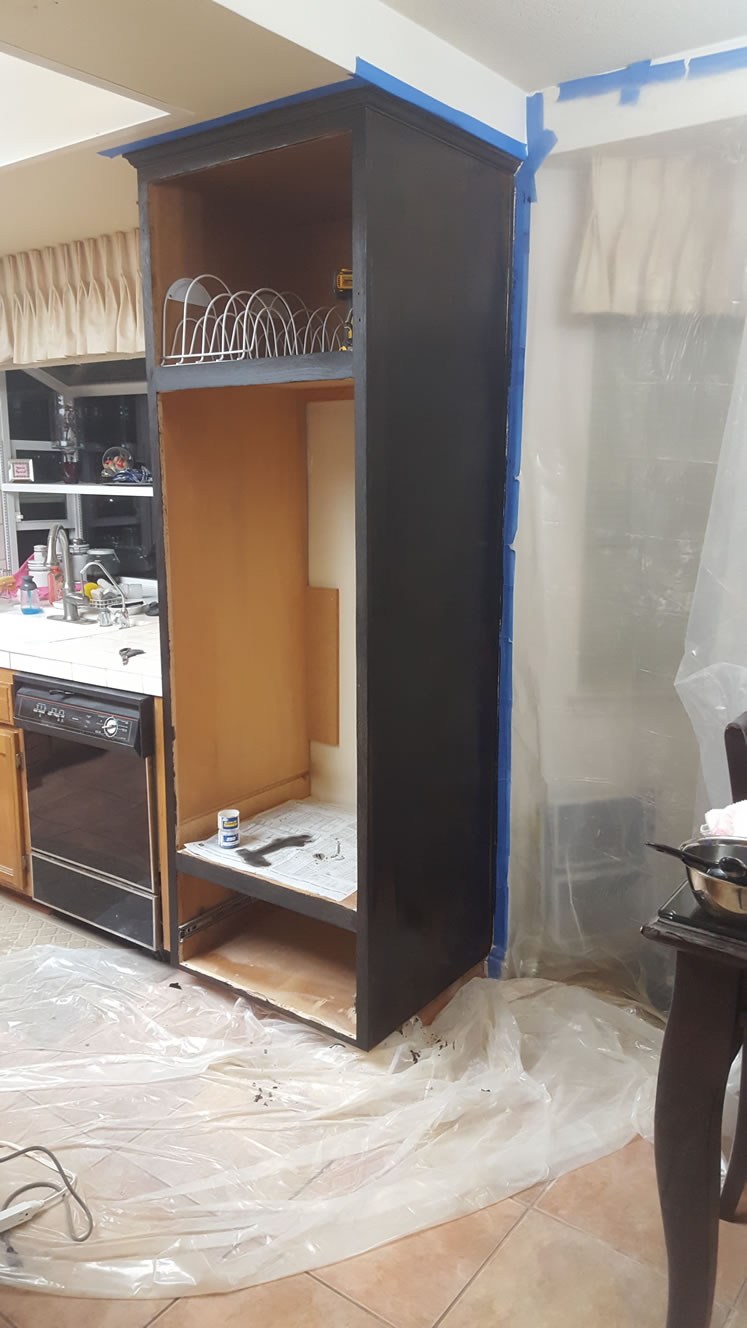
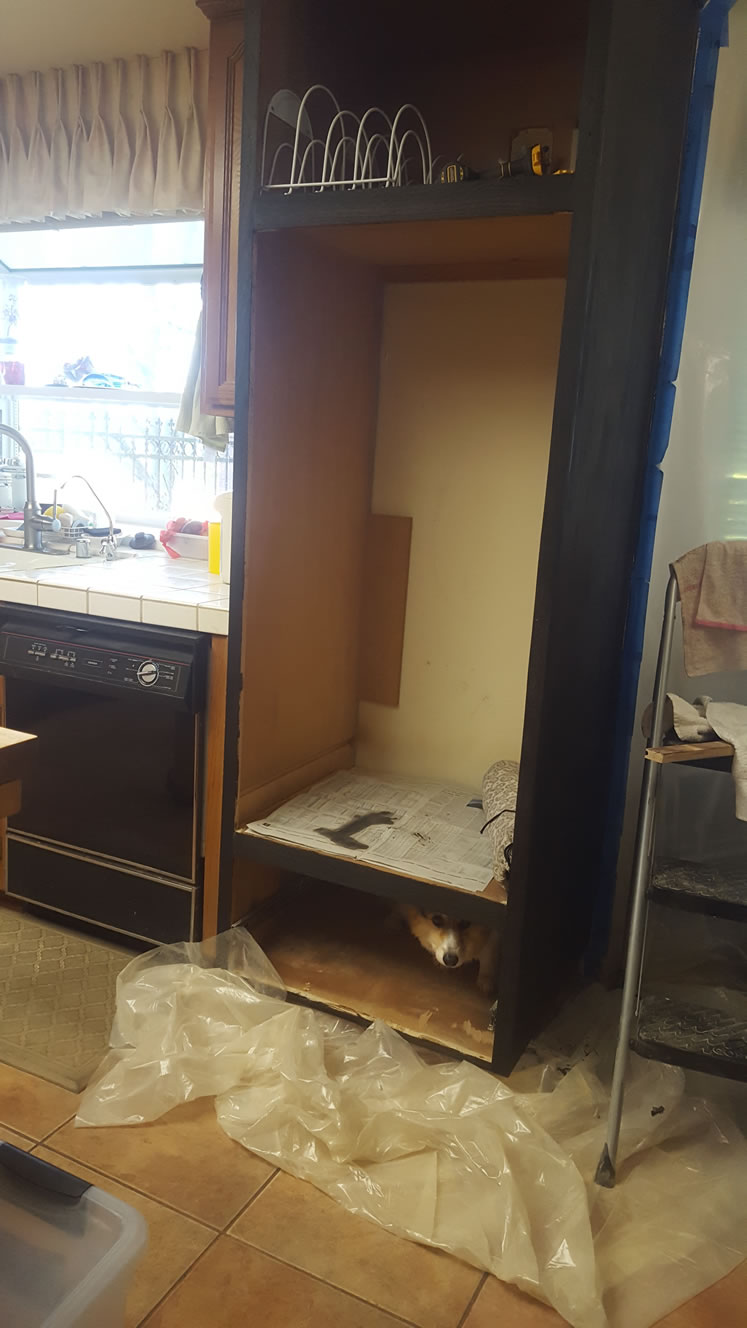
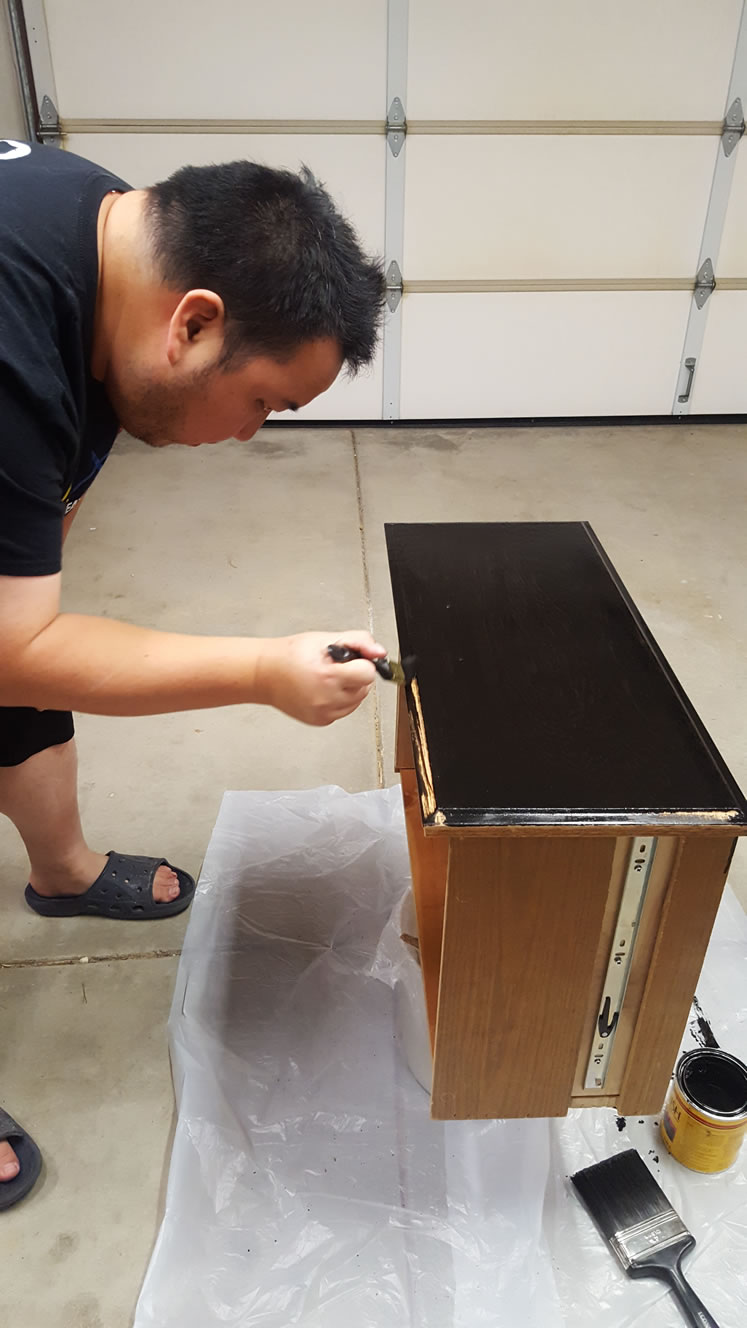
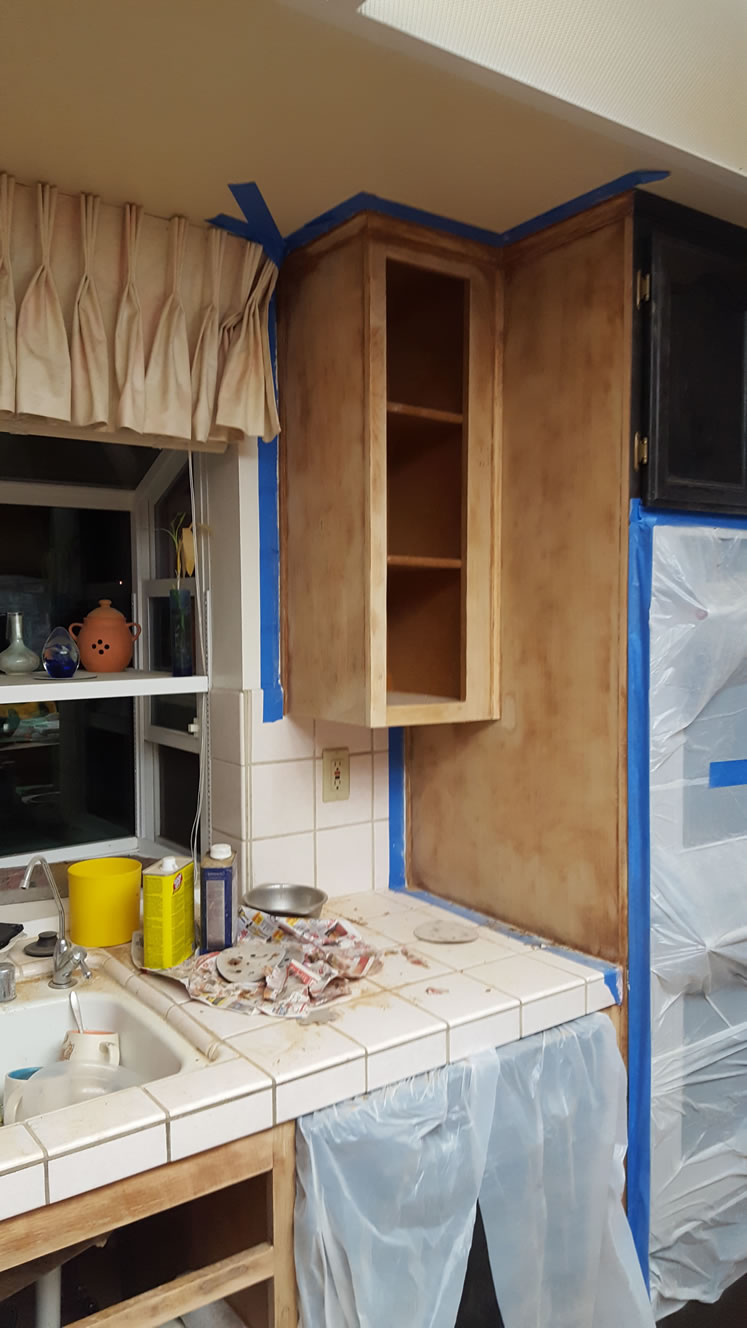
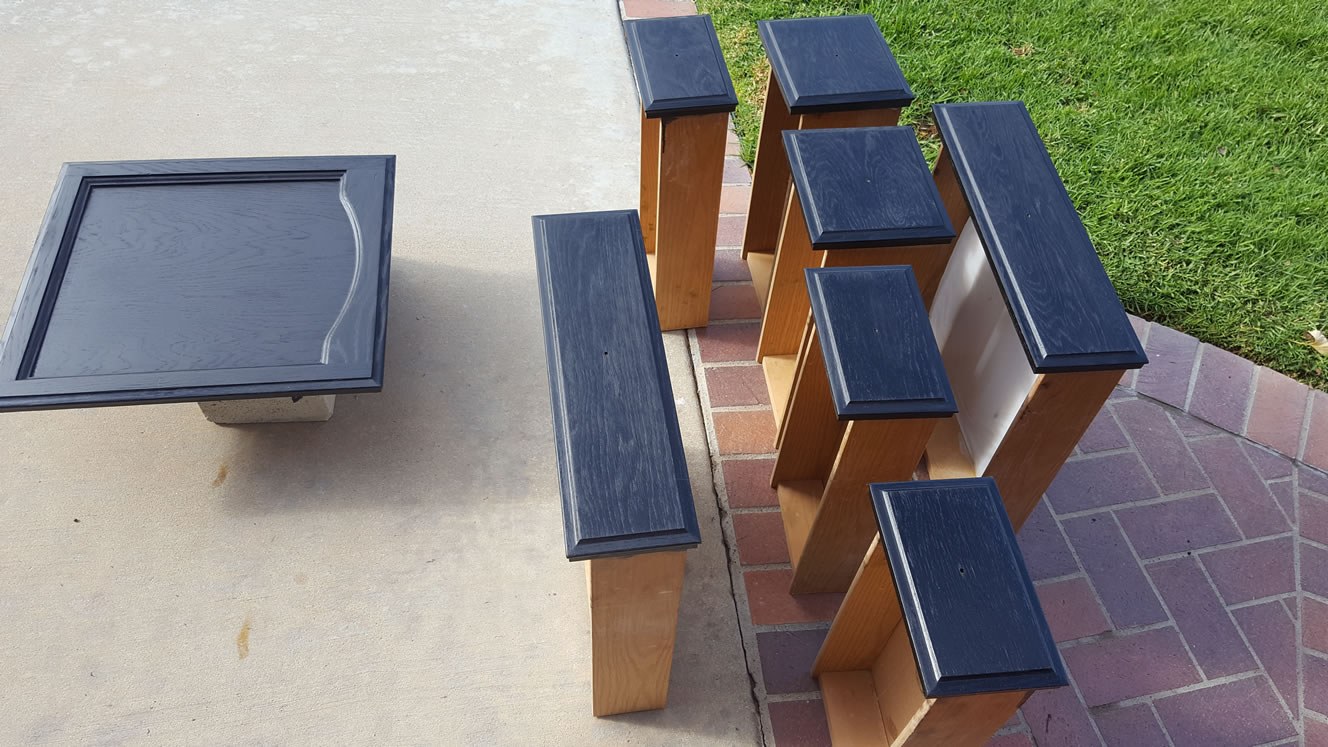
Since I was already cutting up the cabinet and patching it after nailing the new configuration together. My inability to know when to quit took over and I started sanding down the entire cabinet. Since the oven was currently out; this was the perfect time to refinish this area of the cabinets. The cabinet frames were sanded down to remove the old stain and clearcoat; then stained with an ebony tone. I went dark because i thought it would look good against the stainless steel finish of the incoming oven as well as fit with the stainless steel stove and fridge. My wife’s plan on relaxing for the 11 days we’ll be off during xmas are quickly fading away.

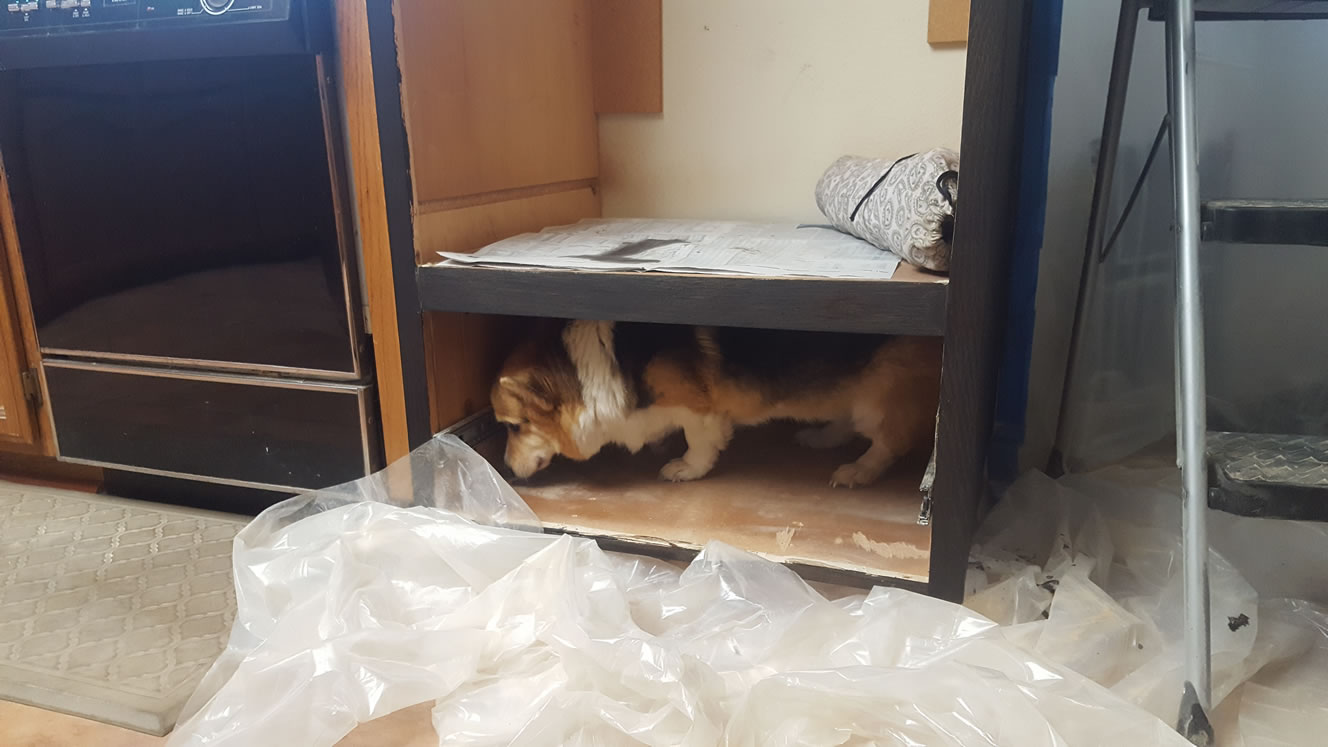
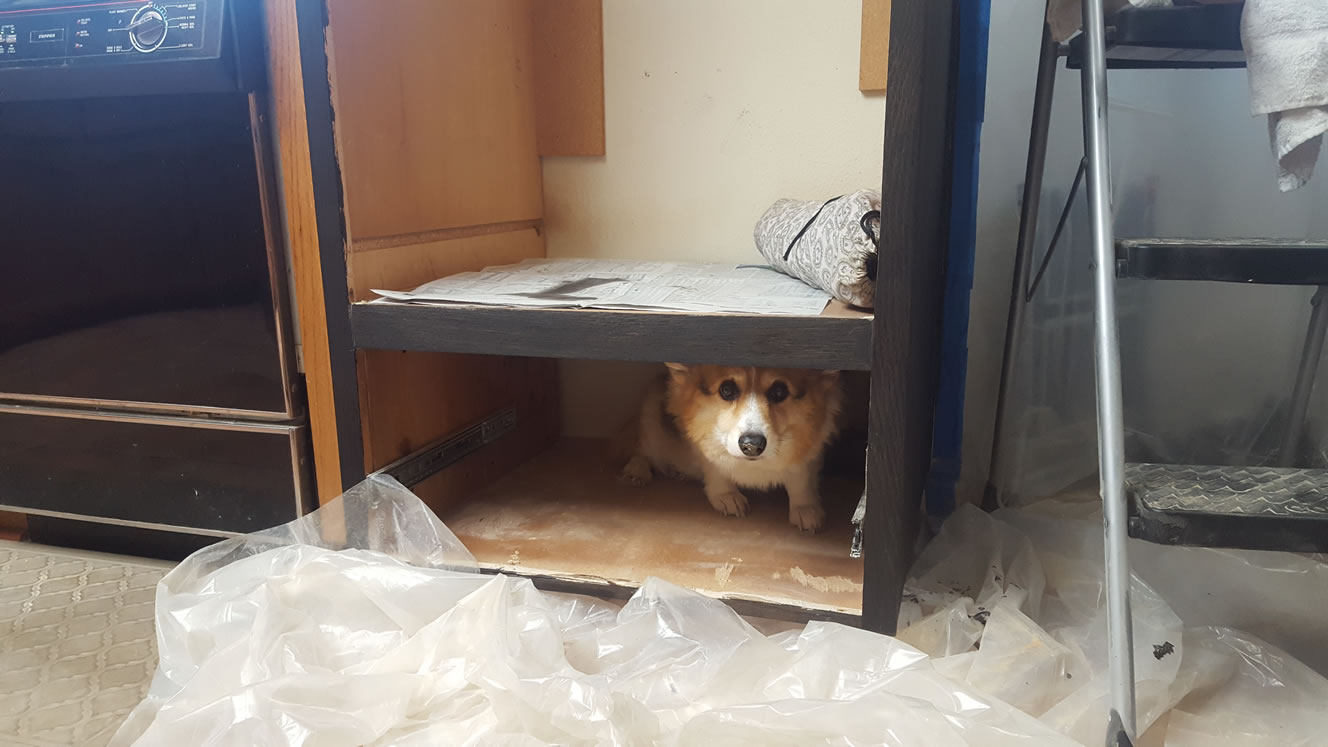
The curiosity of Hugo got the better of him and he went searching for treats in the newly stained cabinet.
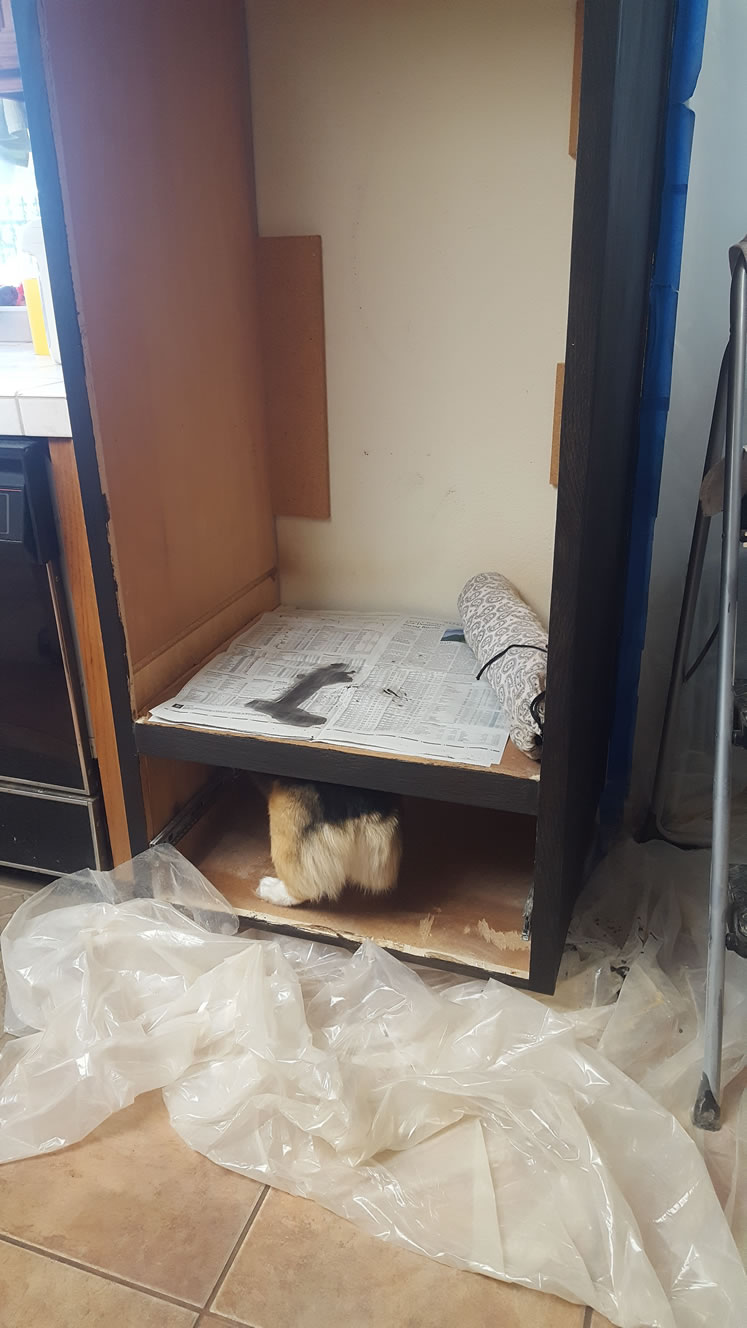
And then he realized he got caught. Silly corgi.

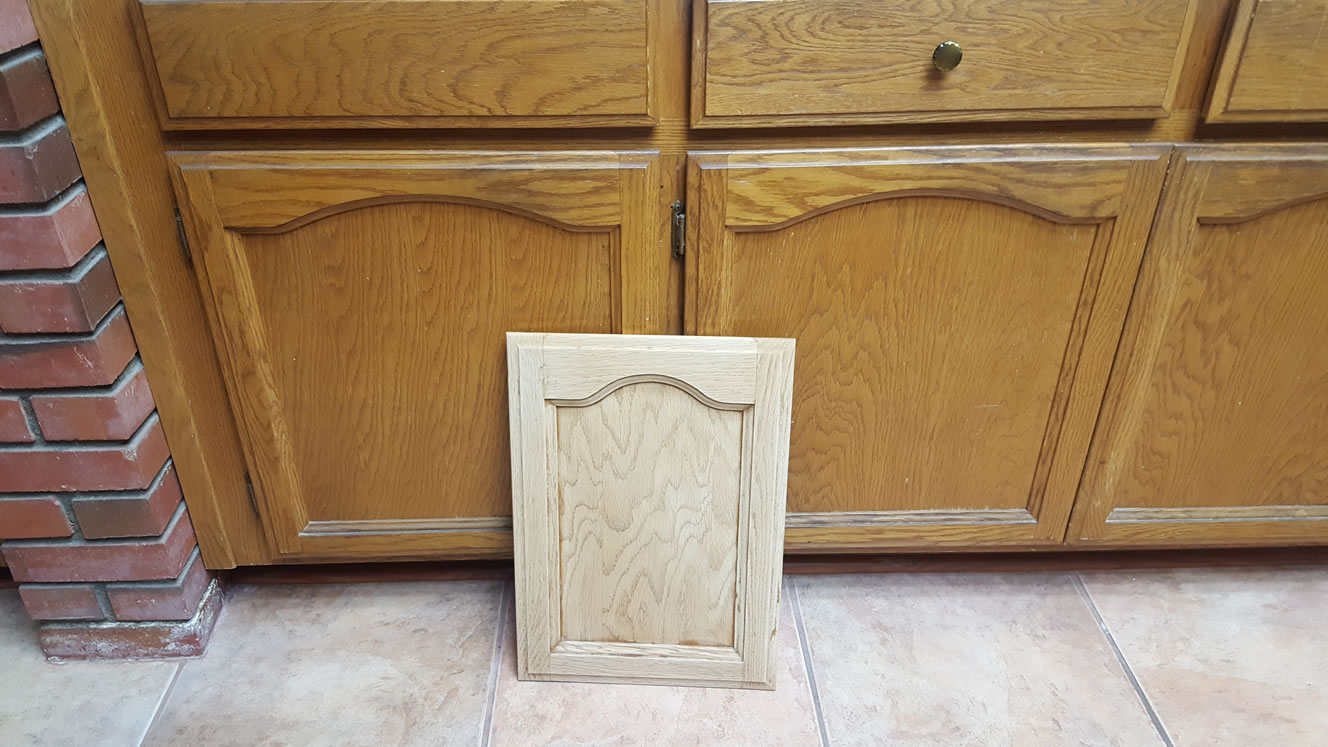
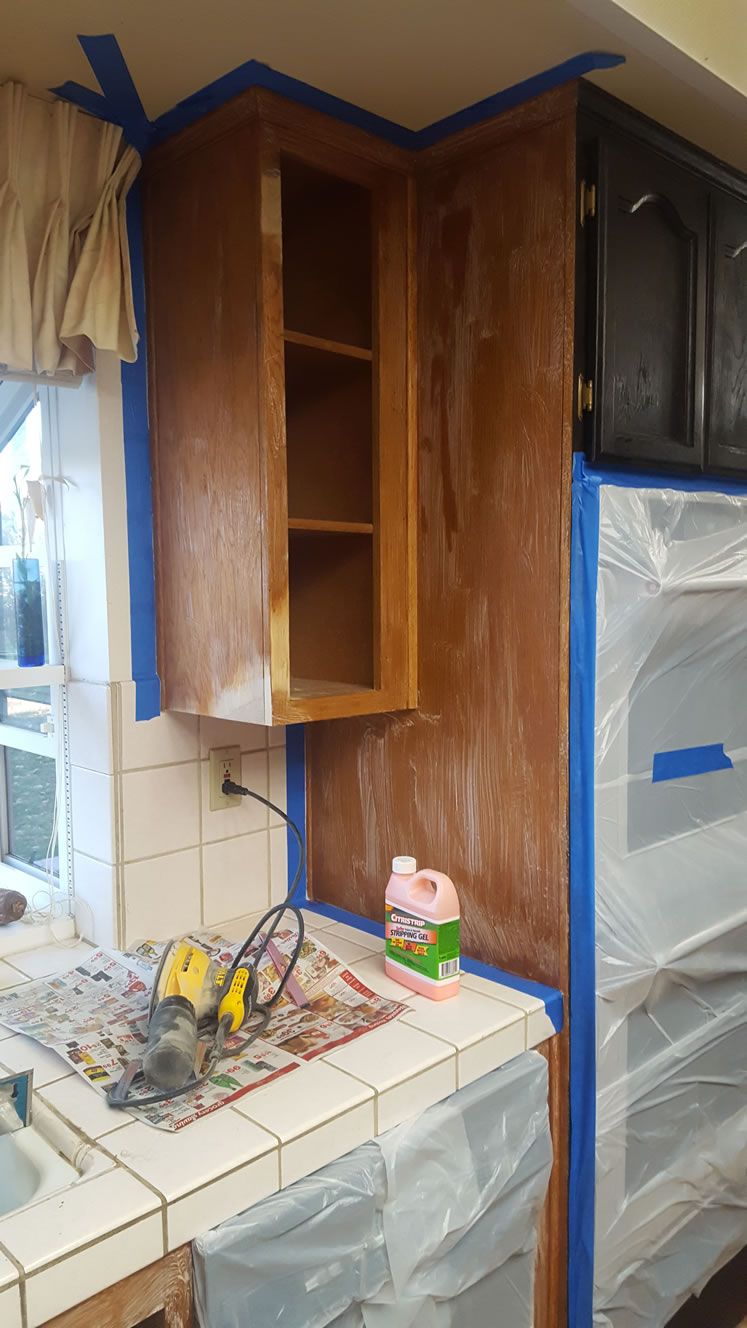
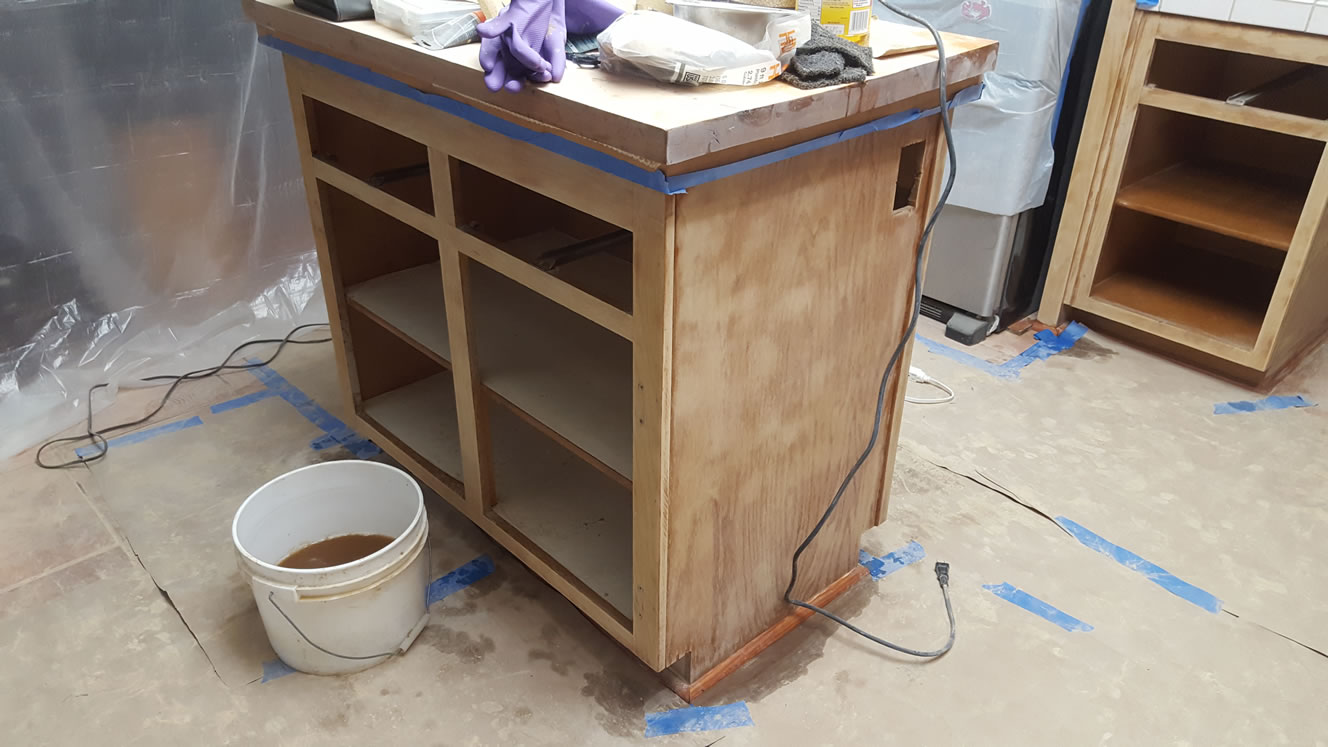
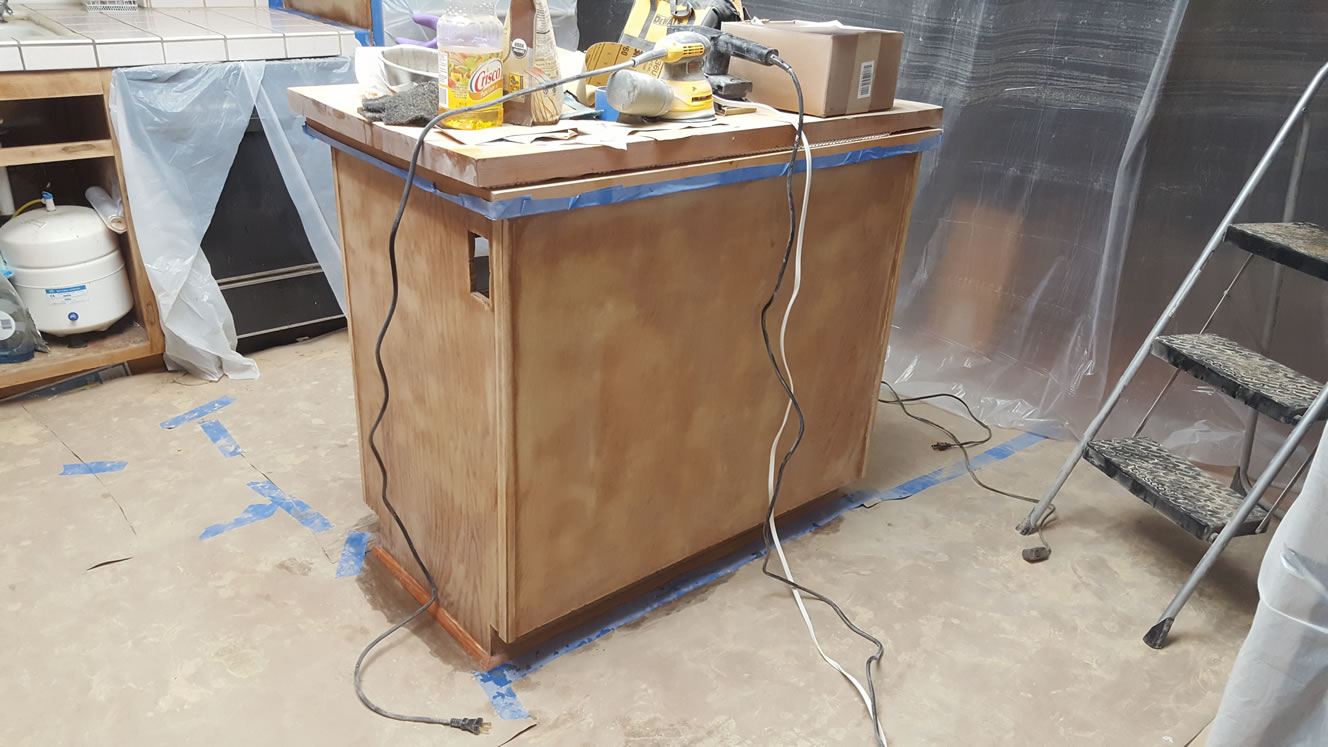
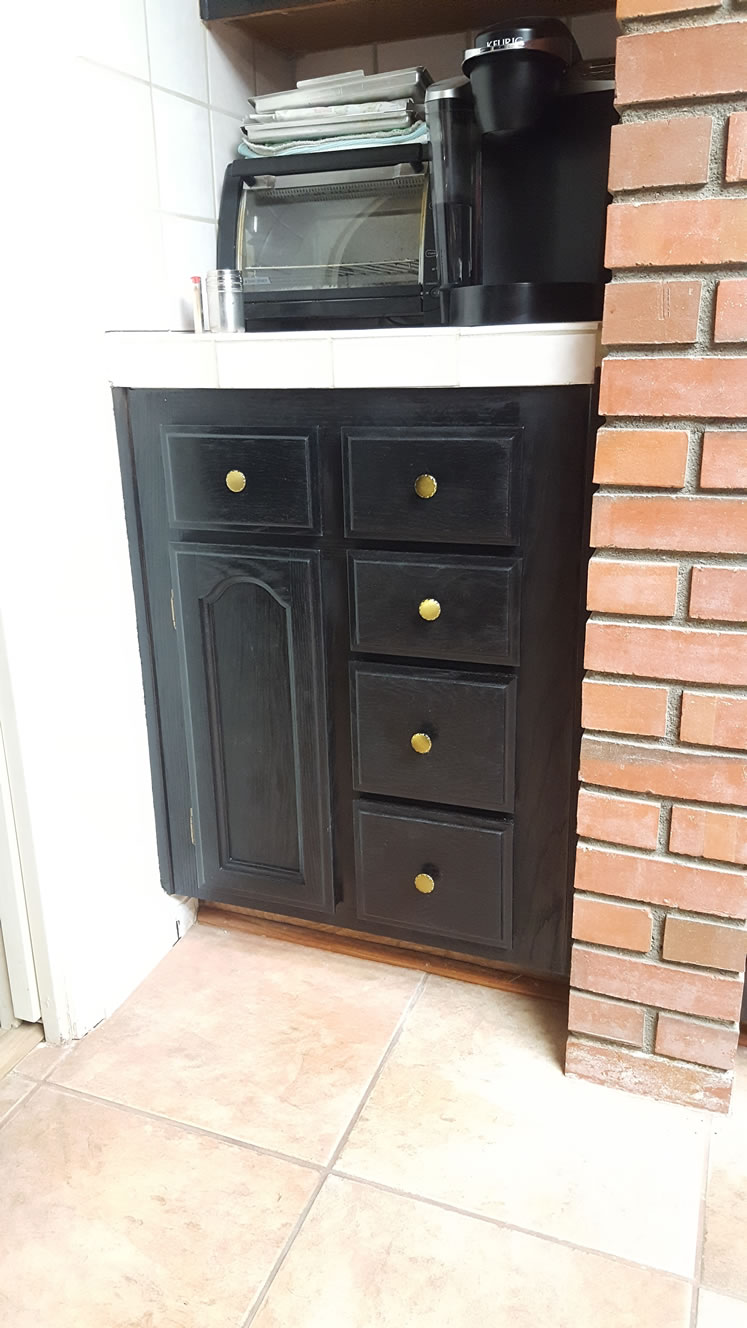
After doing some research for refinishing, I came across a product called CitriStrip; a non toxic stripping gel. After applying the gel to the cabinet doors and lower drawer, the gel is left to sit for a little while – I let it sit for about an hour and a half. Some plastic scrapers are used to scrape up the gel which has eaten up the previous layer of stain and clear finish. Once this is done, a scrubber dipped in TSP dissolved in water finished the cleaning. And once dry, the cabinet doors look a bit different compared to the rest of the kitchen cabinet doors.
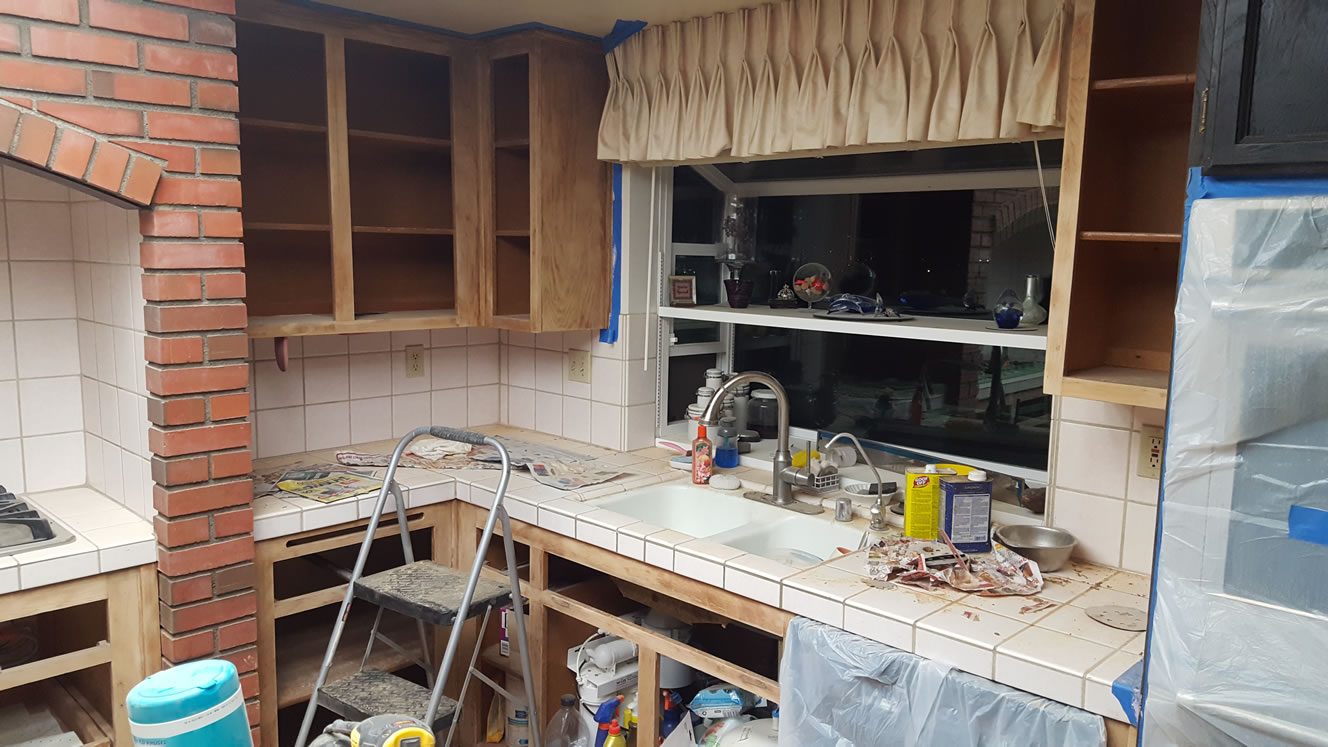
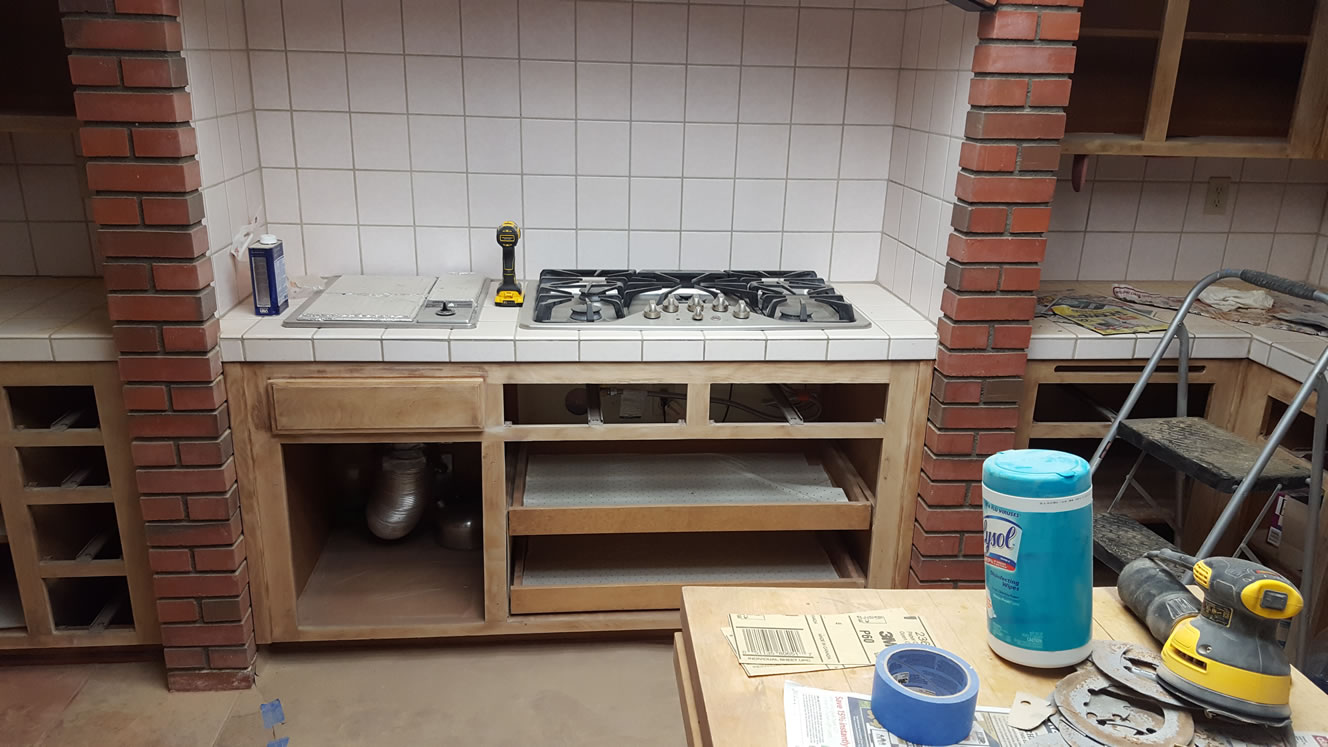
Once the wood is completely dry, I went and applied the stain to the drawer and cabinet doors. Mistakes started showing up as not the entire door/drawer face took the stain. I should have done another sanding/clean up step before staining. Ok learned something for when I tackle the rest of the kitchen. Some resanding and cleanup work was added but they get done and after a spray a clear satin finish; they’re ready and just in time for the new oven to arrive – scheduled for December 19th since I cancelled the previous Best Buy order. And this is what the kitchen looked like during our monthly build gathering. A gaping hole where the old oven used to be and one cabinet section stained in black.


The build gathering was fun; some alcohol was had, some building was done, and some gifts were exchanged and stolen from as our normal tradition of white elephant gift giving ensues. See, even thought I didn’t do anything gunpla involved, there is still gunpla somehow embedded in this post.
AND, we finally decided on the 2017 SCGMC theme. In all seriousness, we were having a hard time deciding on what to do as the theme. And in our drunken haze, this seemed like a pretty good idea. I’m glad we captured this on video… sort of at least.
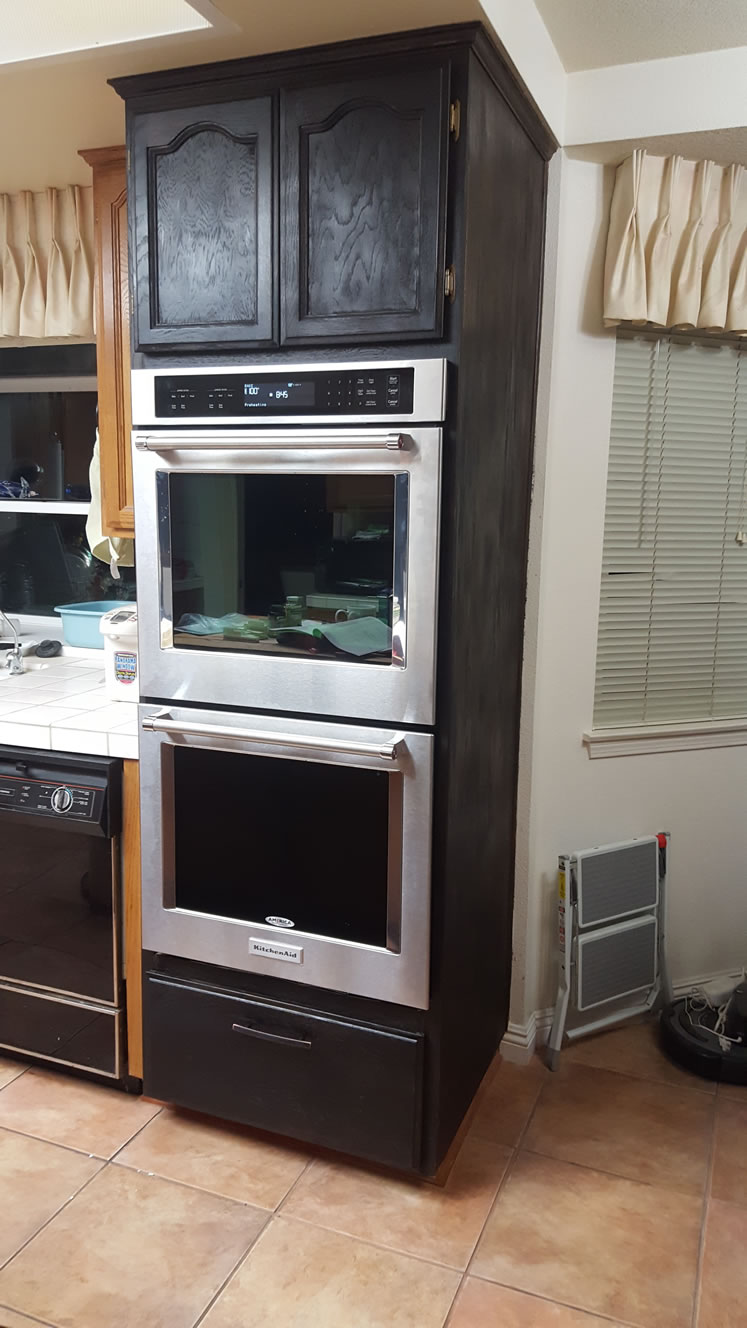
The 19th arrives and the schedule is set between the hours of 12 and 4pm. I get to work at 8 and then get a call saying the delivery time has changed to 10am – 2pm. Ugh. Getting a few things done at work, I leave around 9:15. And just finish working remotely for the rest of the day. The oven arrives around 10:30. Holidays around the corner and everyone is getting things delivered; so things are being pulled off the truck to get to the oven apparently packed deeper into the bowels of the delivery vehicle. But the oven is here and the delivery guys drop it off inside the house ready to be installed. I ask Angel to come over and help out and we get the oven installed in about 15 minutes. The measurements were all perfect and it fit like a damn glove. Looks pretty damn cool. The electronics are all hooked up. Which reminds me of when I was disconnecting the old oven. None of the wires were labeled, and all the house wires were black. I’m glad that the old oven had color coded wires which made labeling the black wires easy. I fire the thing up and it comes to temperature in a few minutes. Damn impressive.
And with that, part one of this project is completed by December 19, and I have a fully functioning double oven to use for the dinner party on the 23rd.


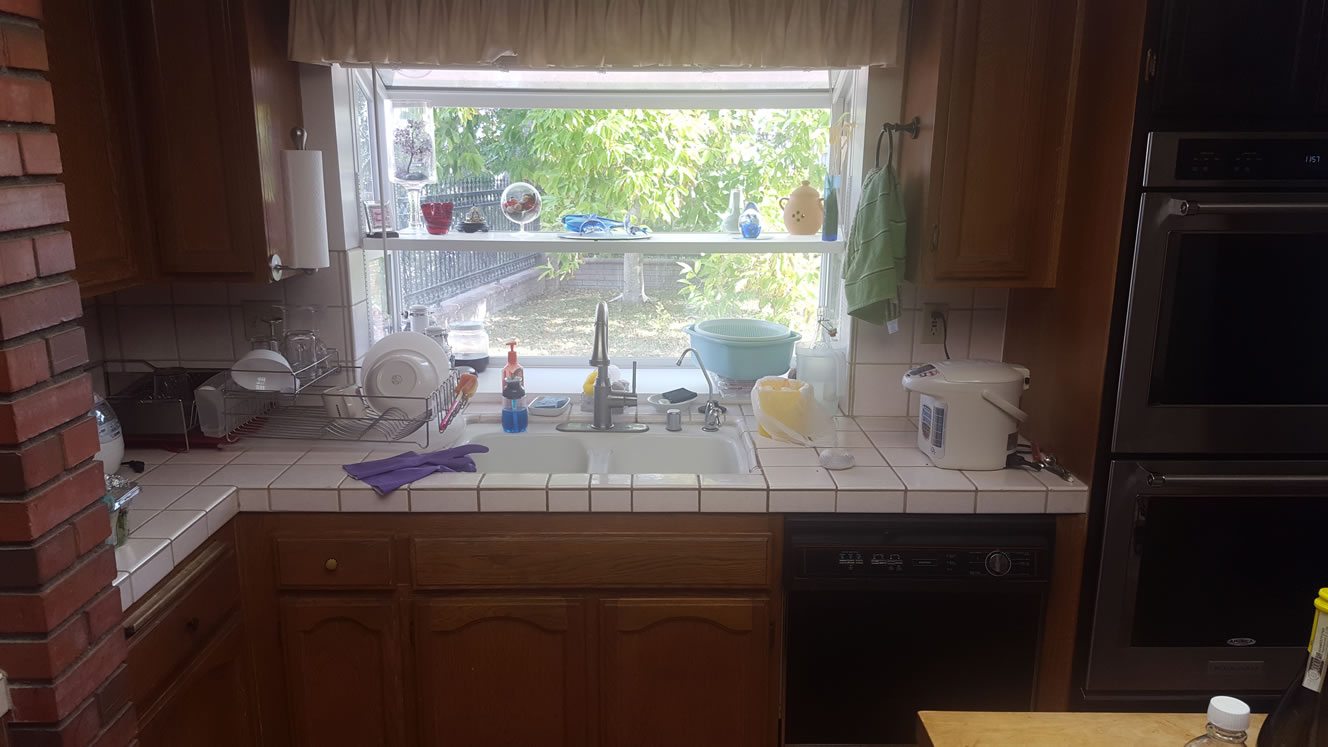
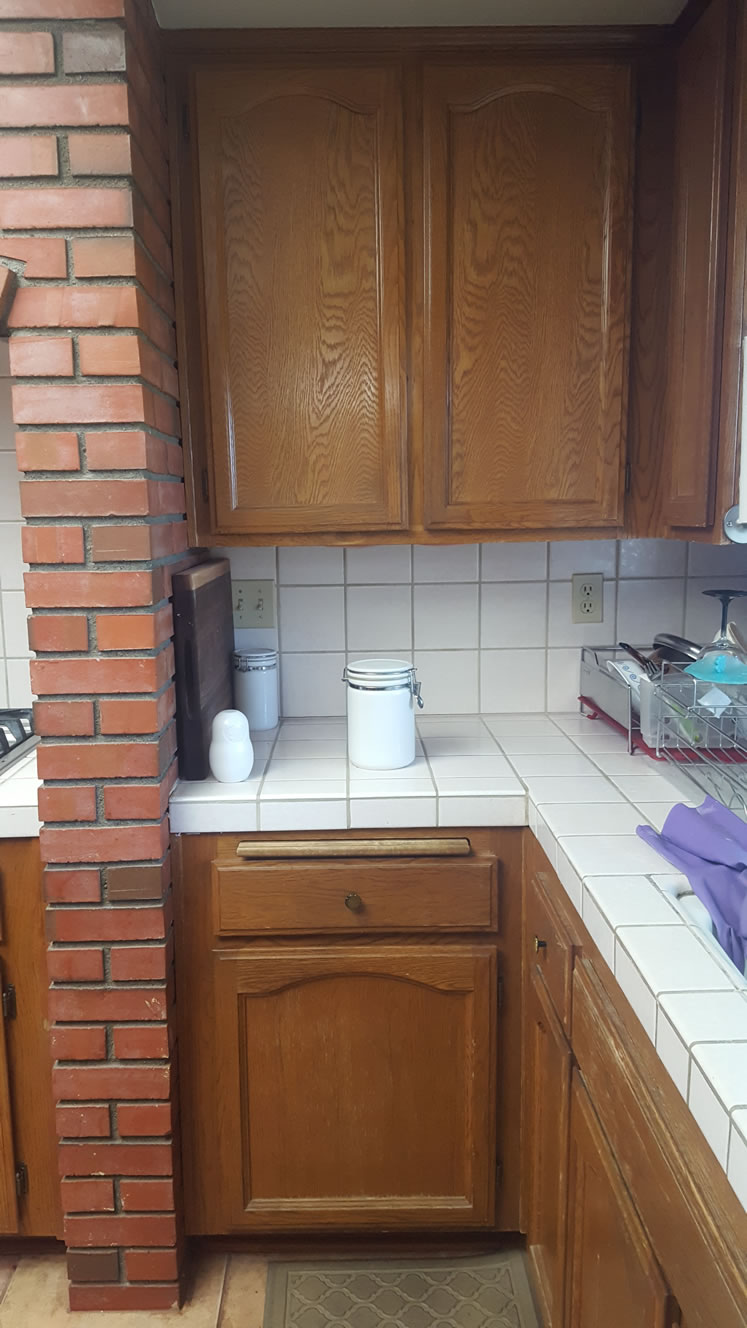
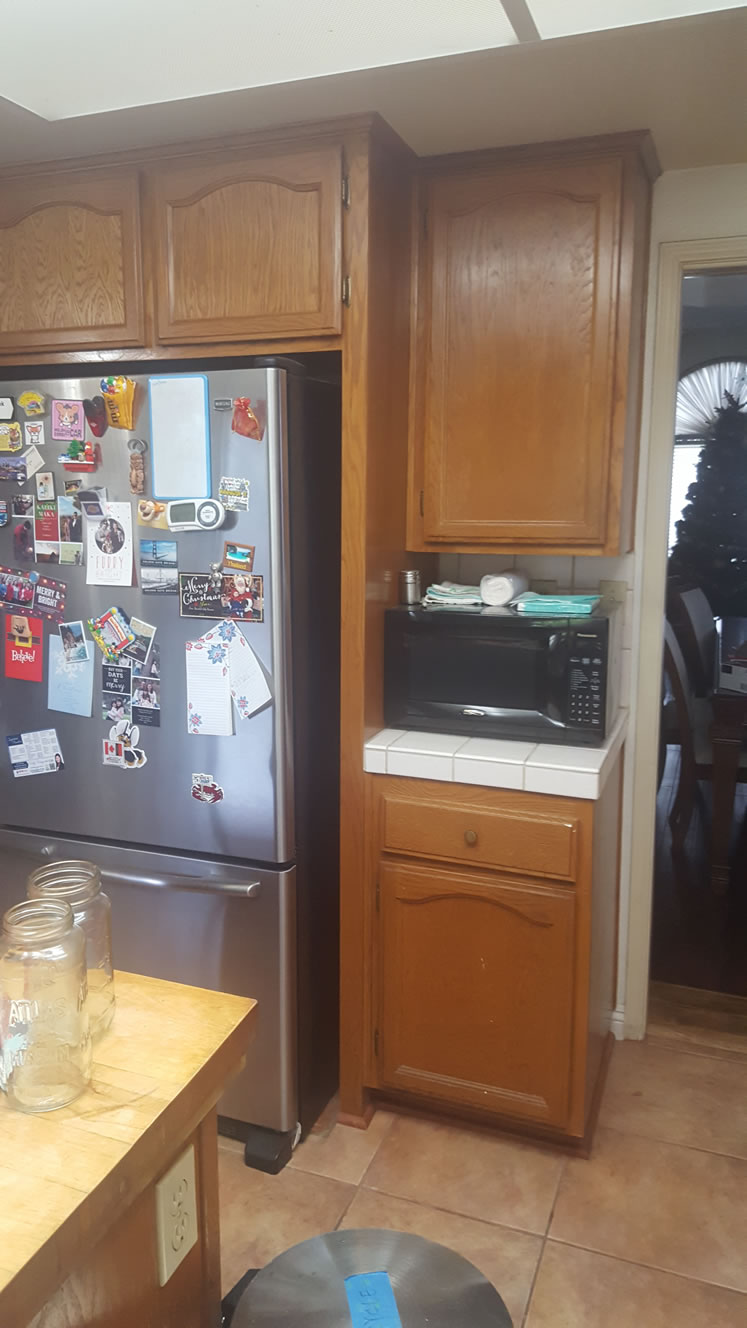
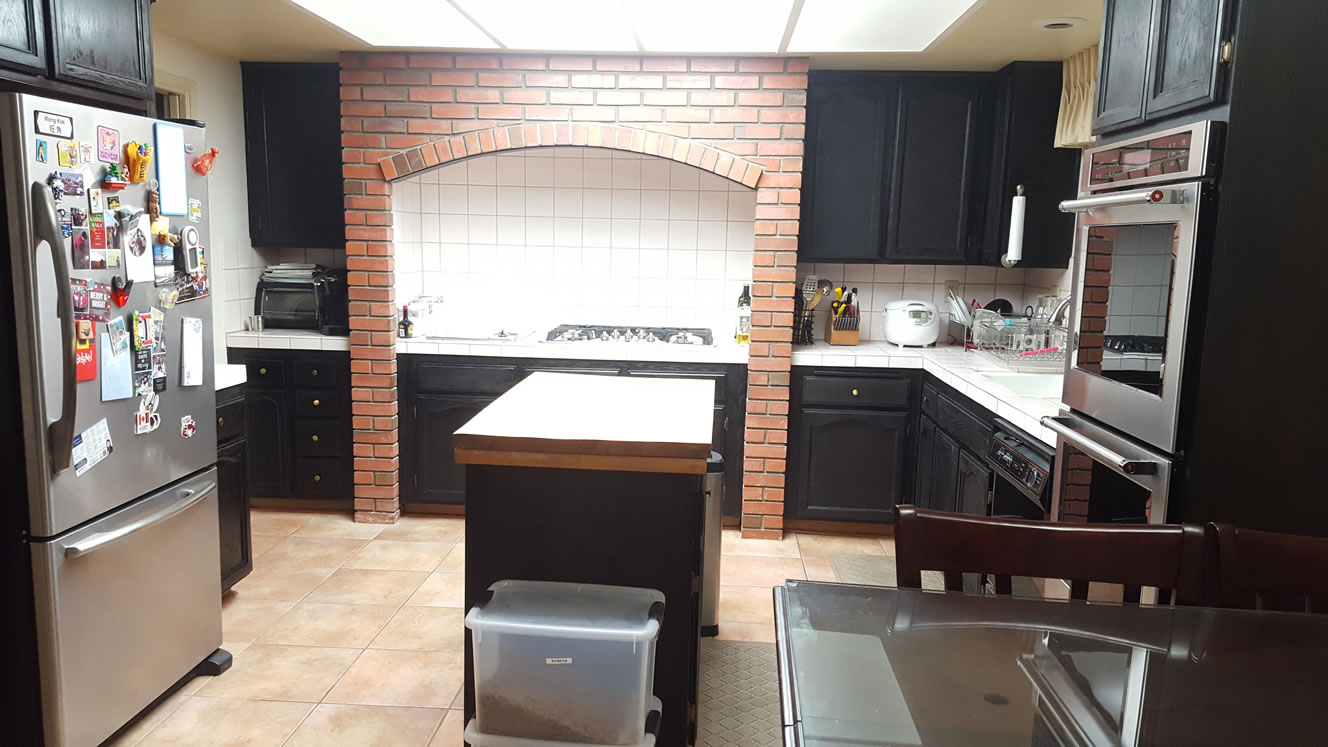
The Christmas festivities come and go, and we continue to recover and rest on the 26th. I brought up the idea of getting started on refinishing the rest of the kitchen cabinets and she shook her head and wanted to continue to watch TV. Saying that we can start on the 27th (Tuesday). I get pictures taken of the kitchen cabinets; not so much for a before and after, but for the sake of having a visual map to label the cabinets and plan out our attack.
The idea is to divide the kitchen into 3 sections. The kitchen sink side from the side of the cabinet holding the oven to the brick wall right of the stove area will be the first to tackle. The cabinet doors and drawers are labeled 1 to 11. Taking the hardware and hinges off the doors, these are also labeled according to which door they came from and put into a box. This should come in handy at the final assembly.
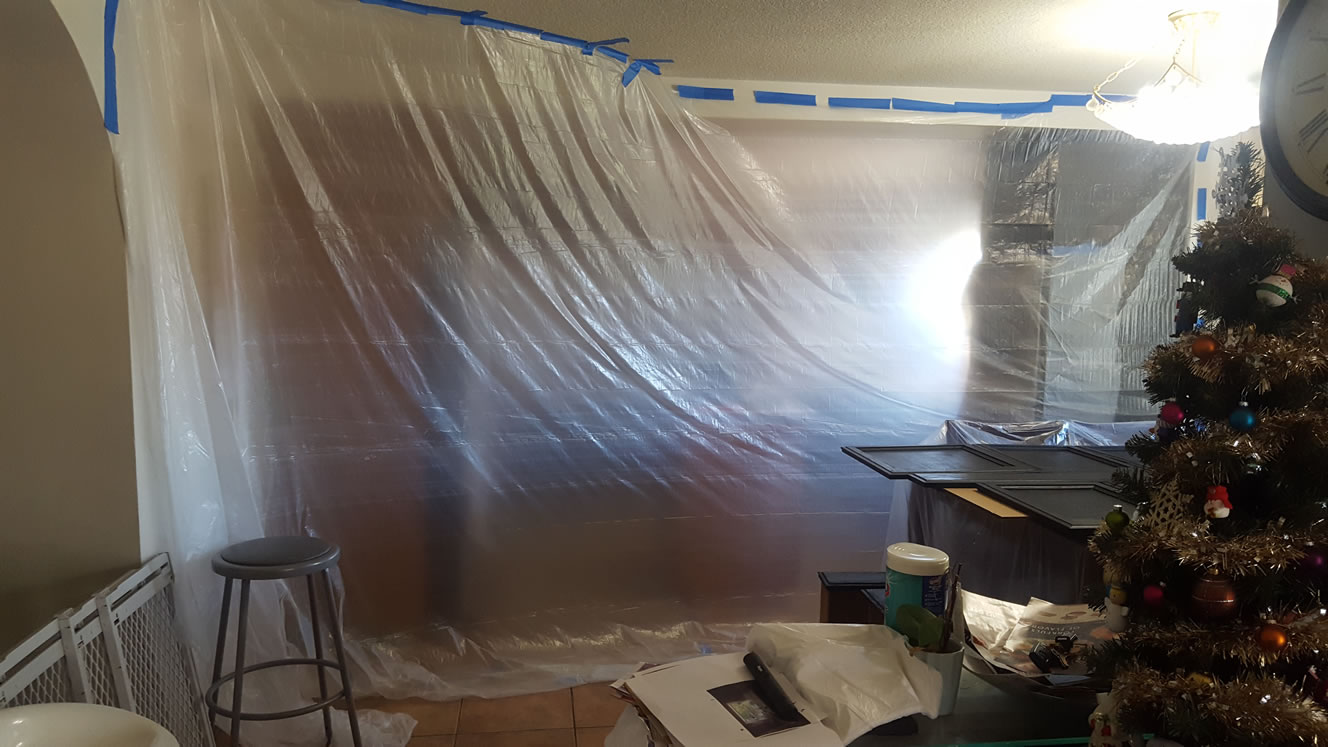
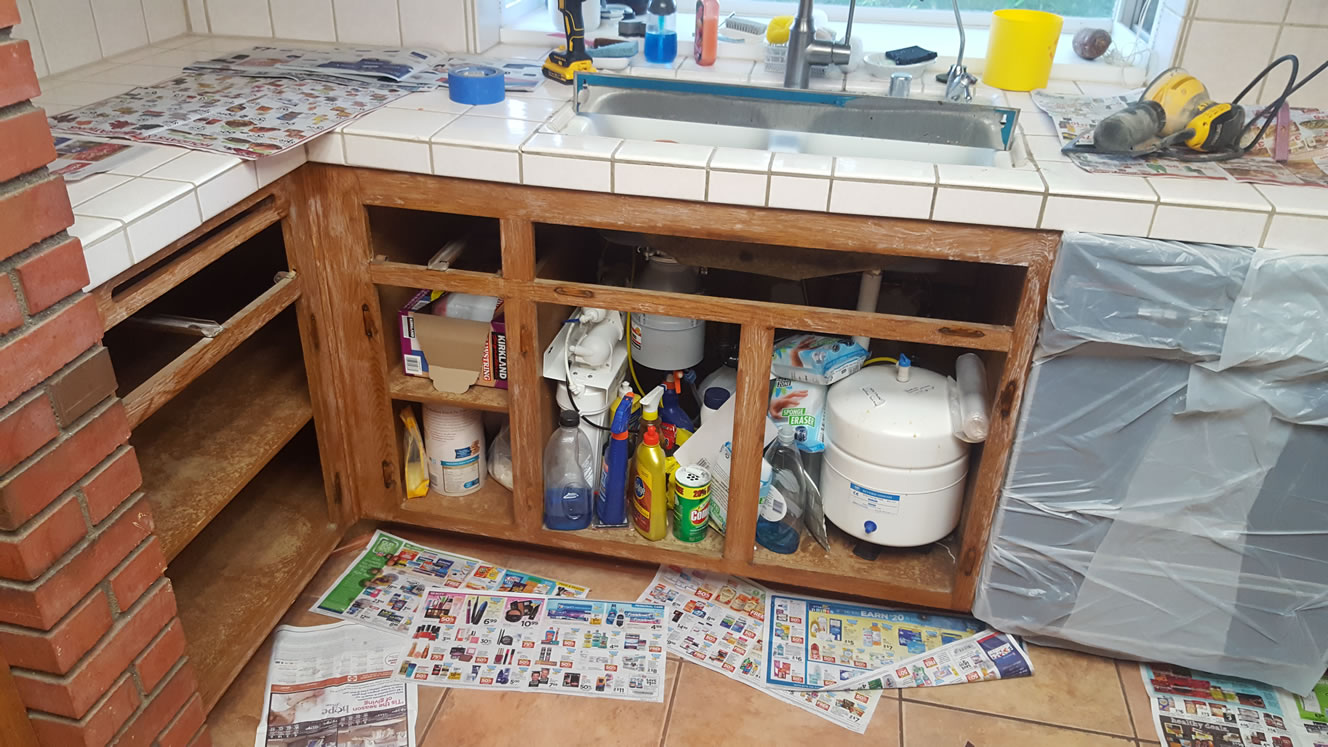
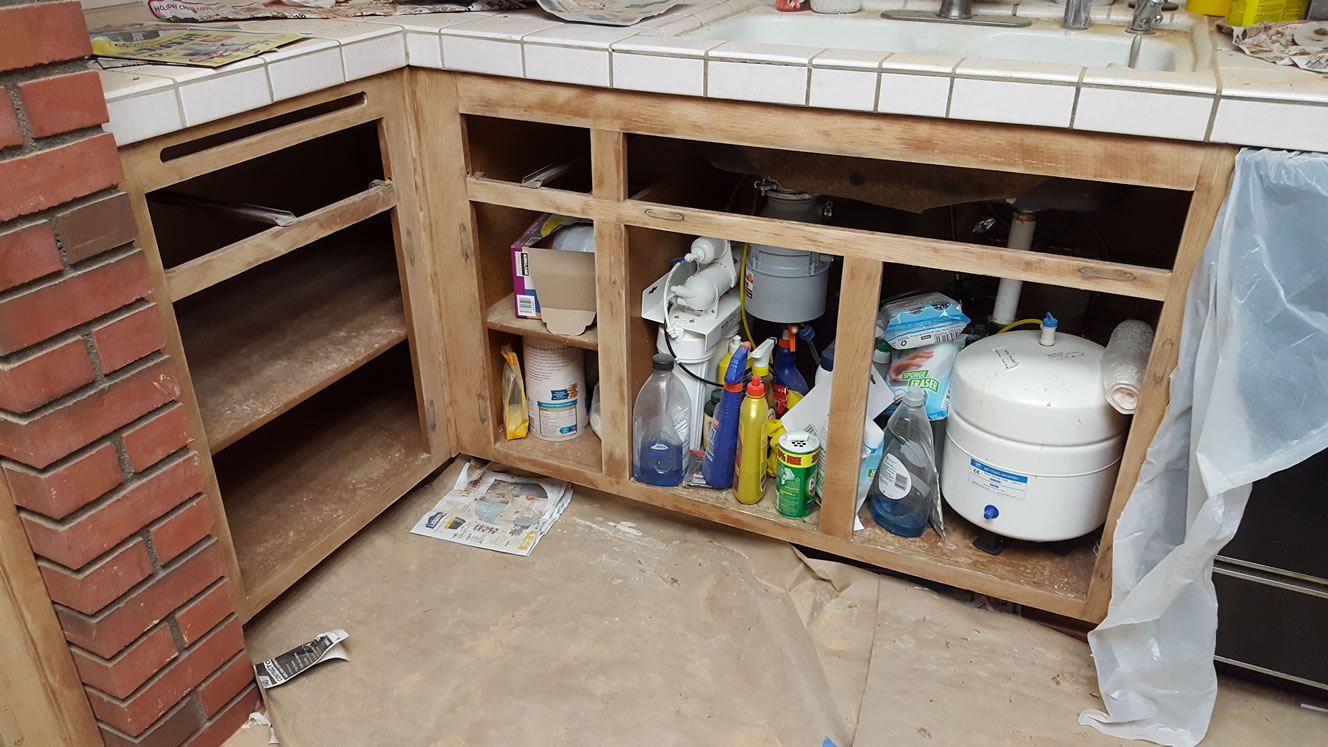
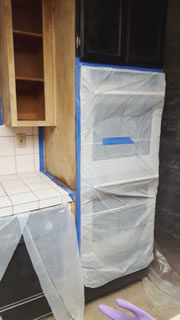
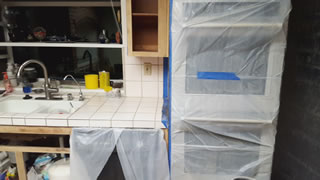
We lazily get up Tuesday and start work in the afternoon. There is a decent amount of prep work. The cabinets and drawers need to be emptied and the kitchen area needs to be roped off like a crime scene – a giant plastic sheet is taped up.
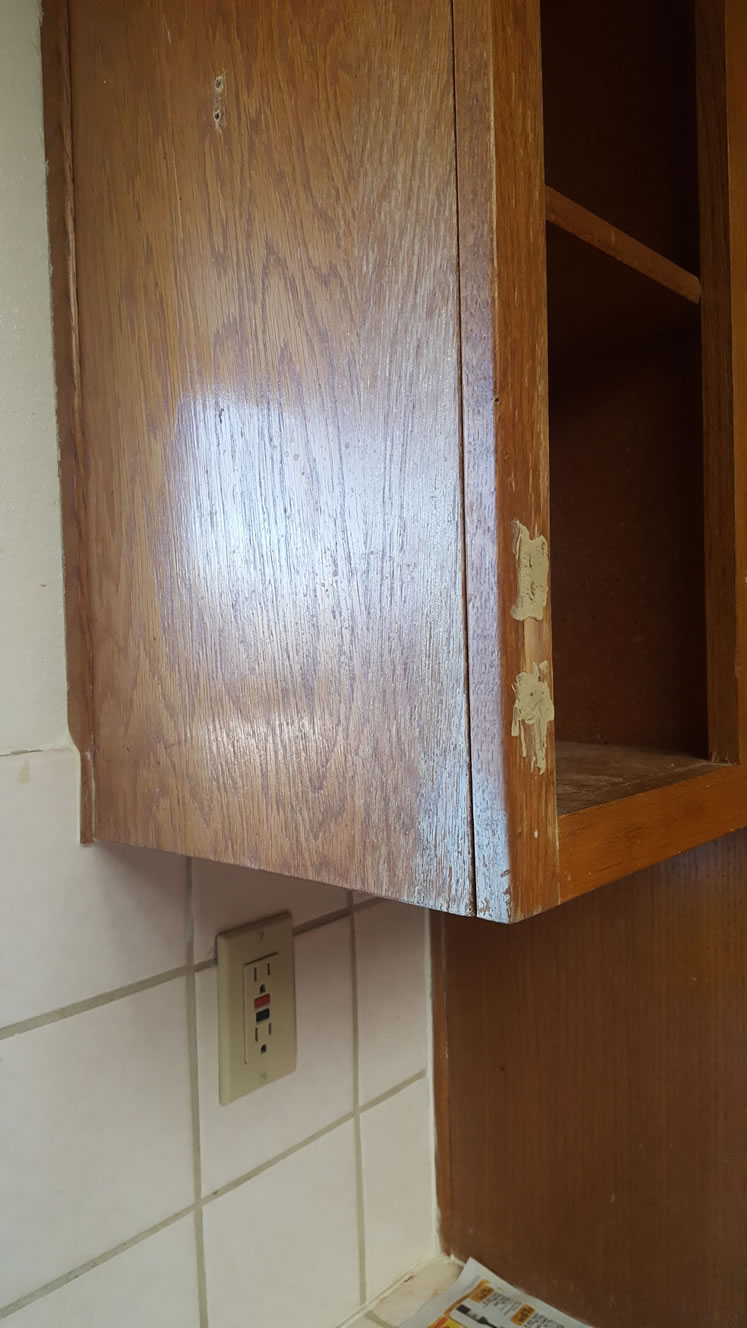
Doors are pulled, and some of the damaged wood areas are filled and sanded down. The hardware is taken off, and the stripping gel is applied.

Stripping gel is applied to the drawers. The after the scraping, a cleaning with TSP, and the doors and drawers are left to sit over night.
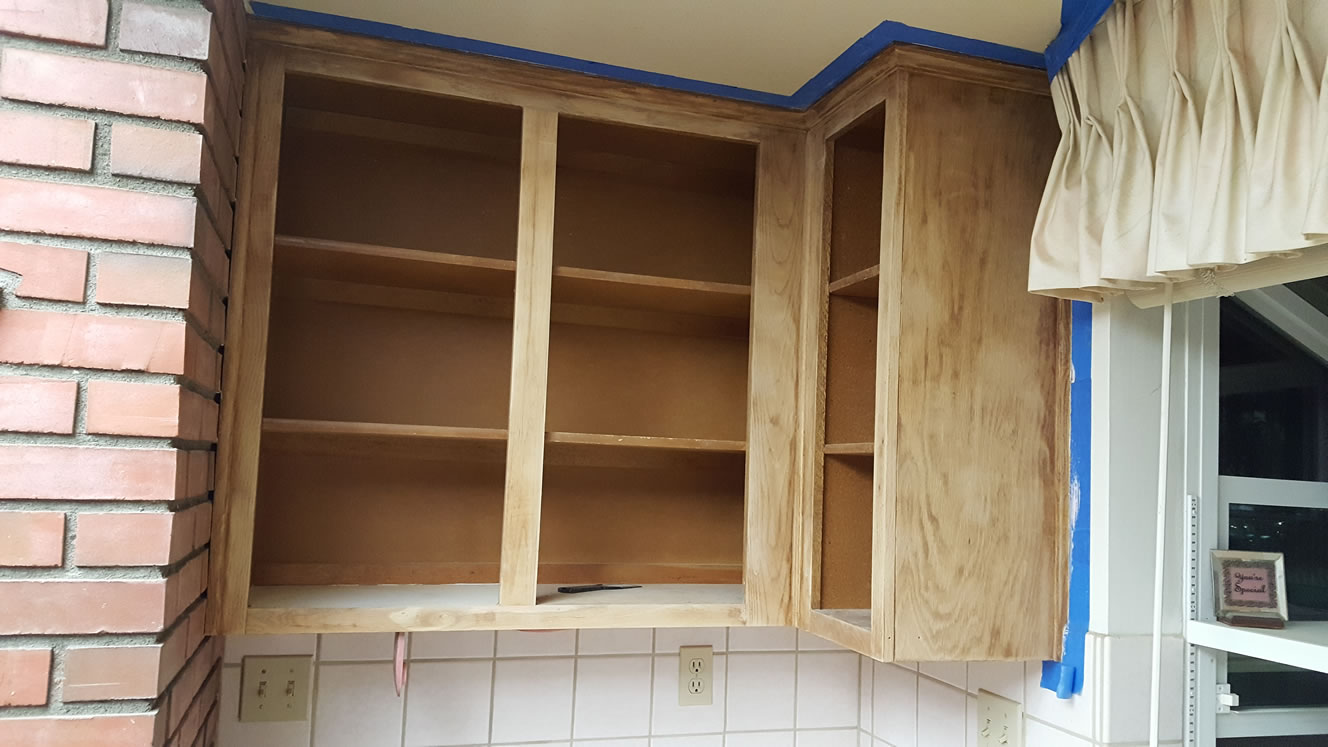
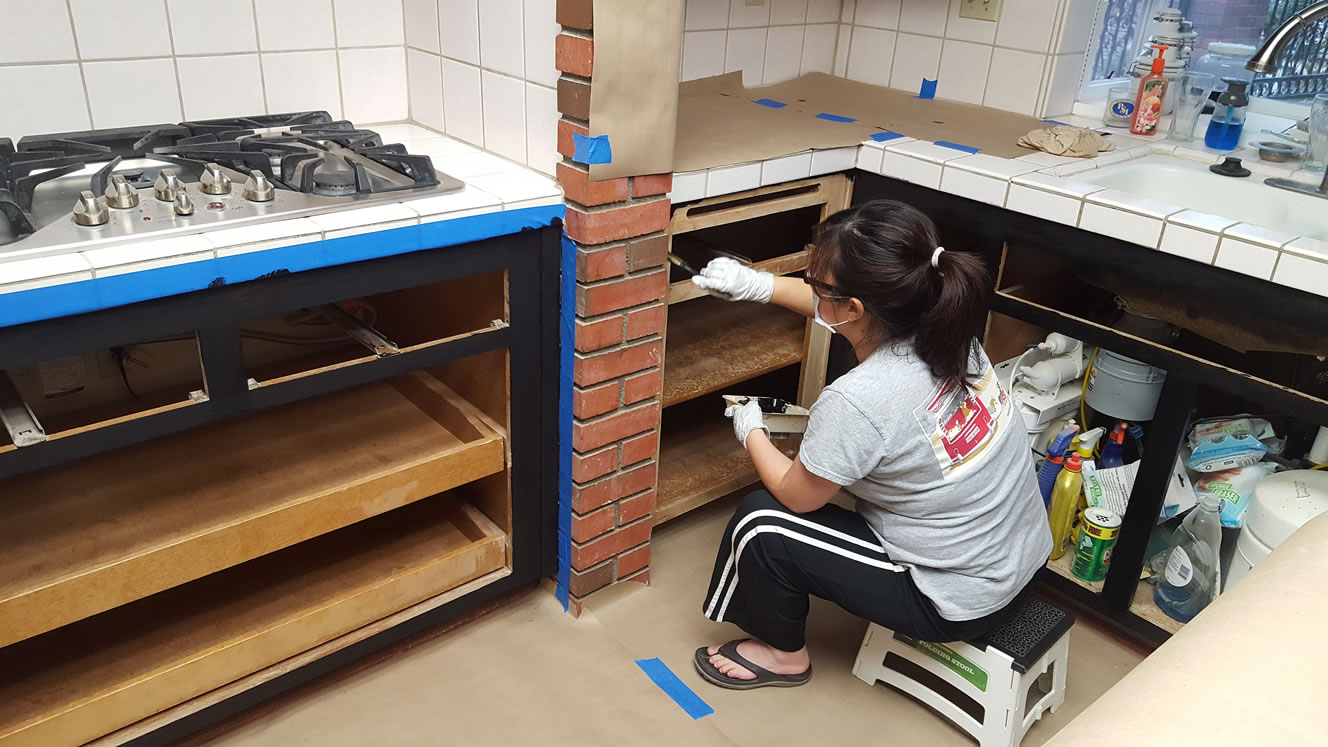
After cleaning up the doors and drawers, we return to the kitchen and start working the frame. The gel isn’t working so well on the frame most likely because the positioning to scrape is not as effective as it was on the doors and drawers. So we tried using TSP and other stripping agents to remove the gel. Nothing was working well, so we resigned to cleaning it off as best as possible and then using the sanders to take care of the frame parts from here on out. This part spilled out to the next day since we needed to let the TSP and gel dry a bit. The gel doesn’t completely dry, so it ends up gumming up the sanding pads. Lesson learned here is to just avoid the gel for the frame and use the sander. Most of the frame pieces are flat so it will be easier to sand. But eventually the first section is done.
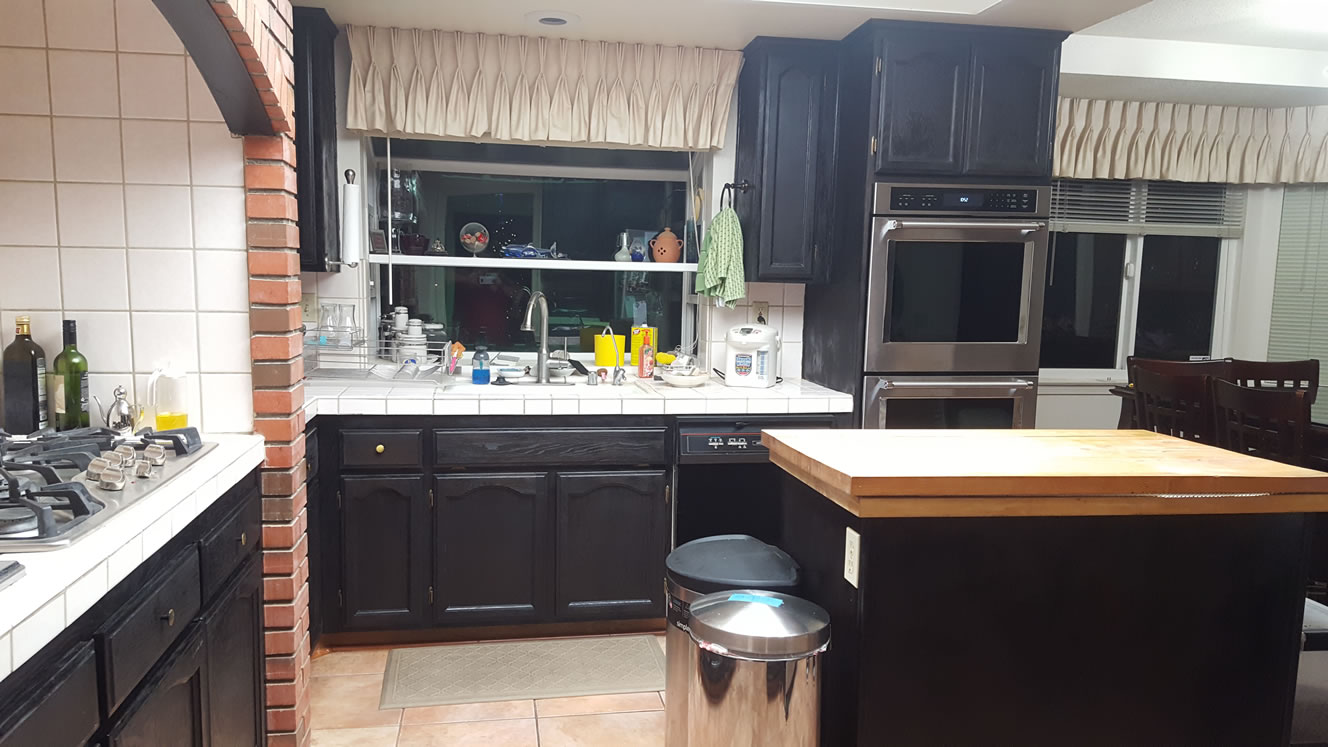
Section 2 spans the stove area and the cabinets left of stove. The contents inside these cabinets are taken out and put in the front living room. The numbers for the drawers and door are 12 – 24. The same process of disassembly, labeling, and gel application repeats.

Having learned from a few weeks prior. I used a finishing sander on the cleaned up drawers to smooth out any rough areas as well as any residue gel or stain + clear that didn’t get stripped away by the gel for cabinets 1 – 11.
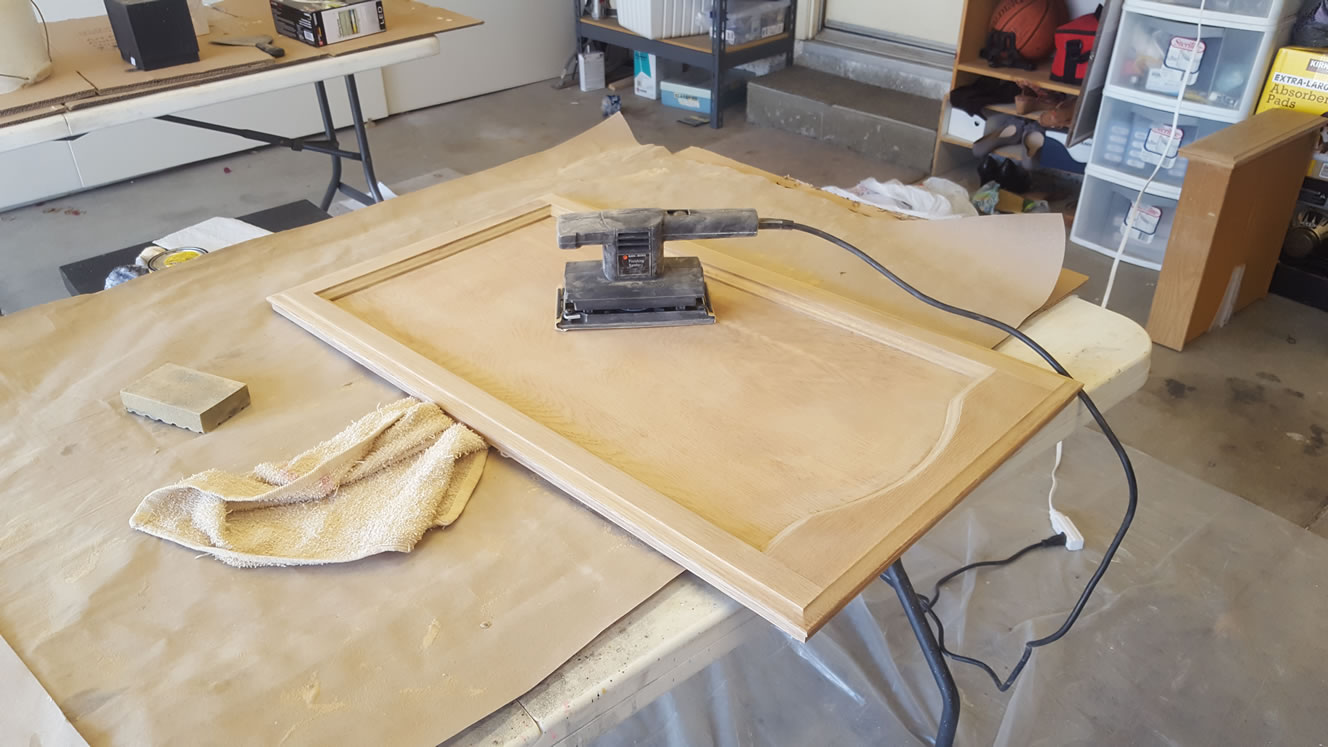
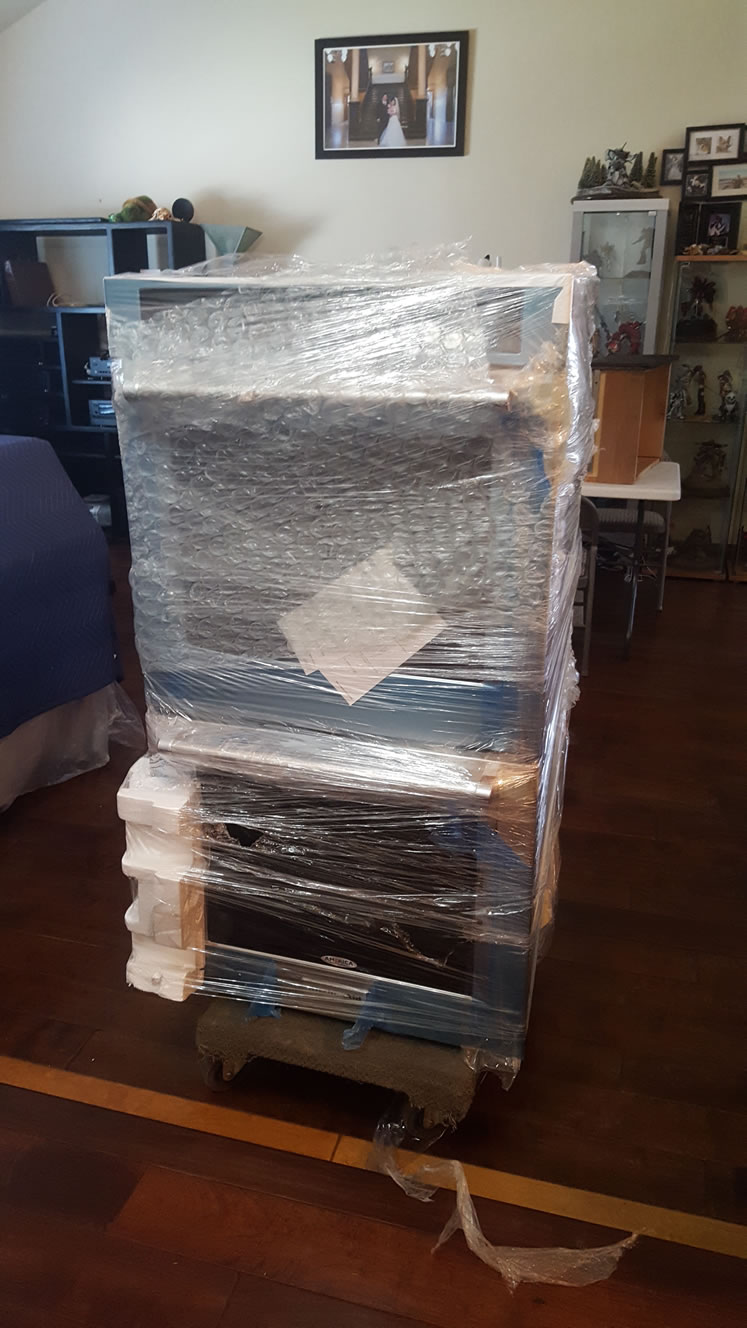
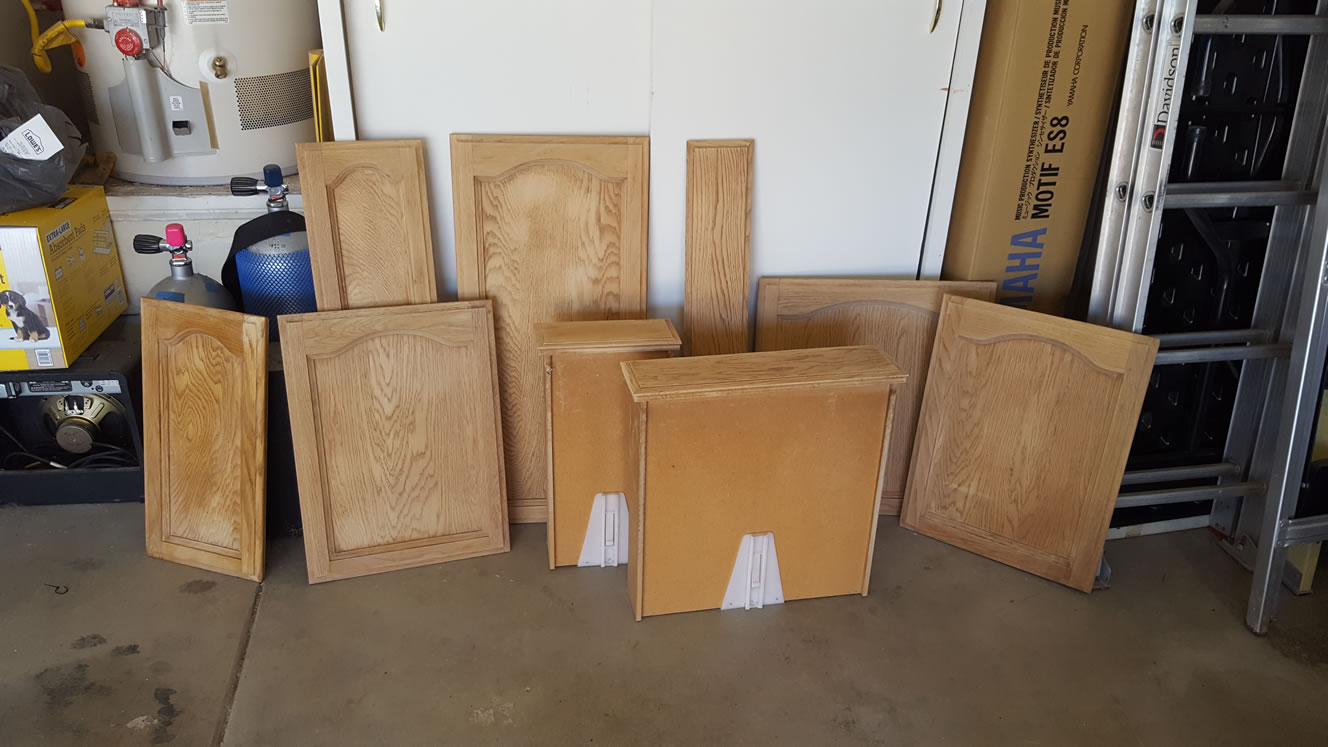
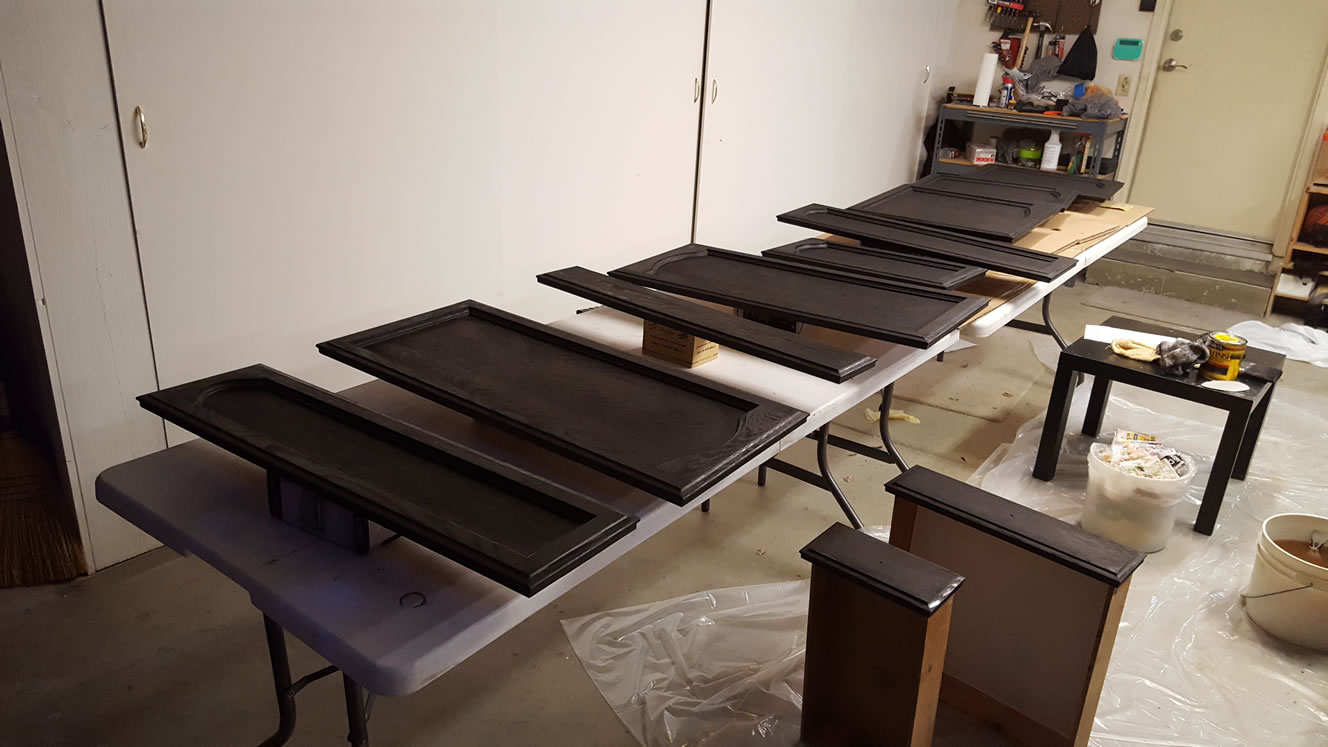
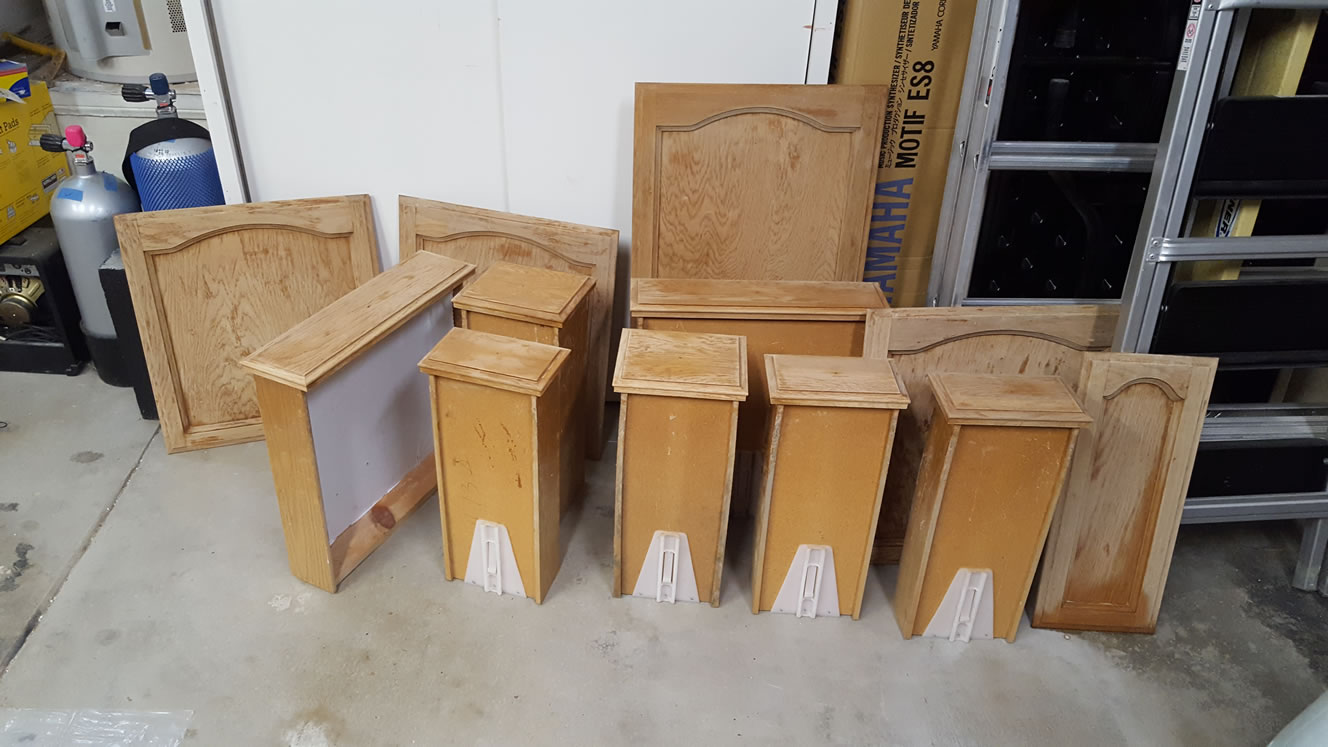
The garage has become the workshop. Half of it holds the previous day’s work. Those were stained and then clear coated. The other side has the next section of cabinets being cleaned and sitting to dry overnight.

Back inside, I fired up the oscillating sander and get section 2’s frame done in under an hour, and finished some touch up on section 1. Covered in wood dust, I’m glad we put up the plastic sheet and doubly glad that we opted against the gel method for the frames.

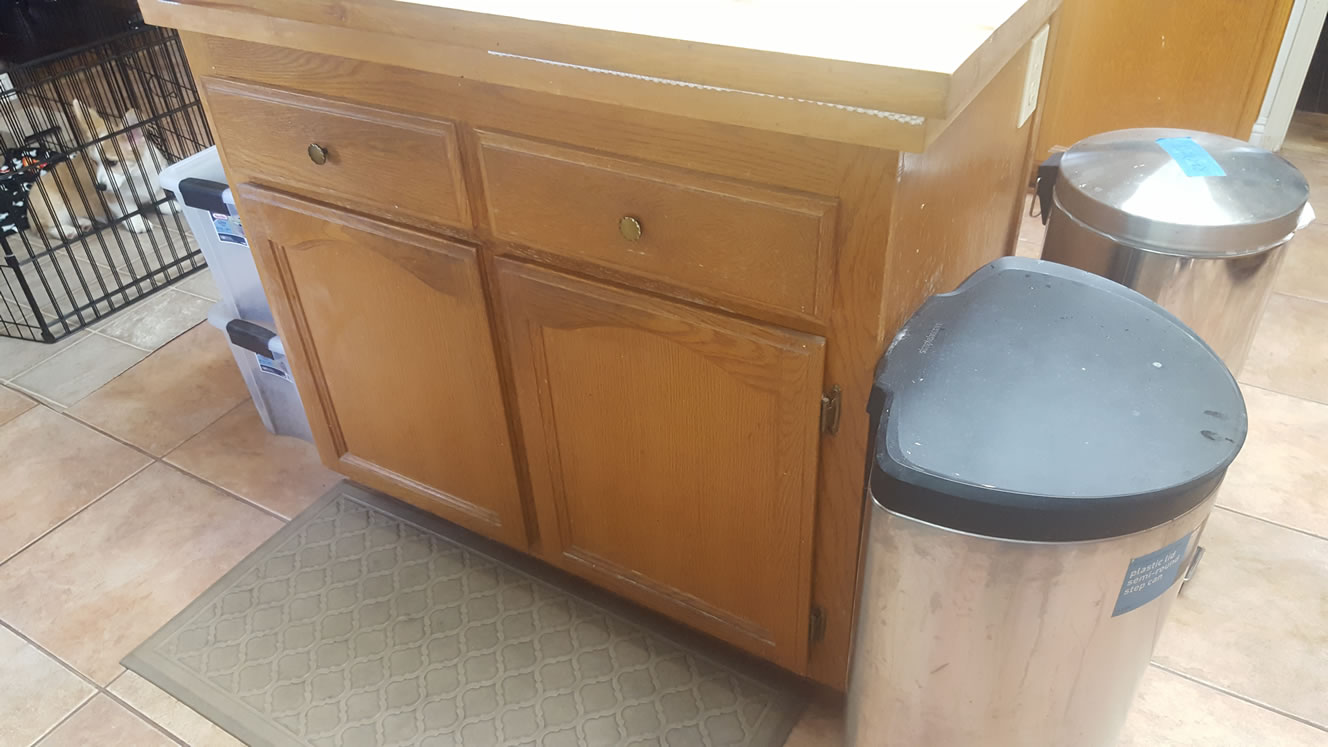
I posed a picture of the above as our day 2 came to a close and got a call from Jason offering up to help. We were not quite a full 1/2 of the way through the project and we were already on day 3; so his help was gladly accepted. So we started on the 3rd section, the cabinets adjacent and surrounding the fridge and the island; numbers 25 – 33 Again, step one is to remove everything from the cabinets and put them in the outer living room. This is actually the first time we’ve cleaned out all the cabinets. Some of my mom’s old teas, chinese herbs, and random empty containers all found their way to the garbage bin. We’re finally freeing up a good amount of space and we will have some decisions on how to reorganize everything when we’re done. But since we’ve already had 2 days of the process, things go very smoothly, and even faster with the extra hands from Jason.
Strip, clean, sand, clean, stain, and clear the drawers and doors in the garage.

Then return to the inside and sand the frames in the kitchen.
The last bit of work on day 3 was cleaning up the kitchen. Dust was everywhere. We took some TSP in water and scrubbed the kitchen frames as a once over. Then went in with water and towels to get rid of as much dust as possible. We were preparing the kitchen for the staining step.
Day 4 saw the return of Jason to help. It rained in the morning, but the sun peaked out enough for me to clear the next set of stained drawers and doors and set them outside to get some sun drying. Inside, the wife set to removing the paper from the ground and vacuuming up the rest of the dust. The plastic wall is removed too since its use as a dust barrier is done and we did not want the dust from the sheet mixing in when we start staining the kitchen proper. Once all the dusting is completed, Jason and her replaced the ground areas with new paper and tape everything in position. I finished up staining the rest of the cabinets in the garage.
With everything taped off, the three of us stained the kitchen in relative ease and speed.

Day 5 started with clear coating the drawers and doors from section 3 and clear coating the kitchen. I used spray cans as the best way to apply a streakless and quick finish. The whole house fan works very well to circulate the air and get rid of the fumes. Counting down from day 1 on Dec 27, day 5 is New Year’s Eve. Most of the work was completed in the morning so that there was enough time for the clear coats to dry in the relatively humid rainy environment.
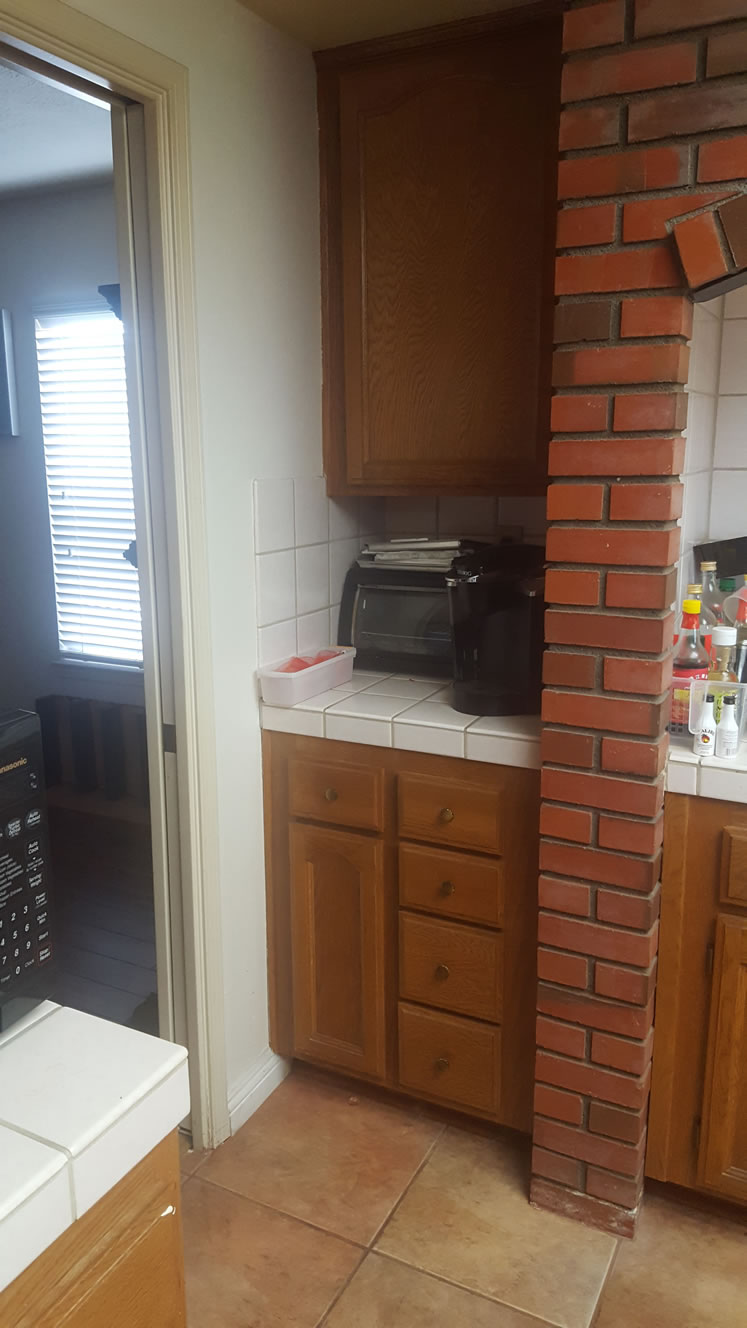
While things were drying, we were able to start putting things back into the cabinets in the afternoon and continue with the clean up work. Its a good thing we had dinner plans otherwise we would have never left the house. But coming back from dinner, the frame was dry enough that I could start putting the doors and drawers back together. Having the hardware and doors labeled helped save a ton of time that I didn’t have to waste figuring out what went where. And everything was done a full hour and a half before the new year. Granted we still needed to do some minor clean up work and finish putting everything away; but for all intents and purposes; we finished the project in roughly 5 days. And here’s what the kitchen looks like now:

That’s how we spent our holiday week off, we worked it; ugh. I now understand why folks say that they’ve done this once, and once was enough. At the very least, I feel that the kitchen looks more modern now. Things like this put a personal touch and helps make a house feel more like home.


Nice makeover – looks great!