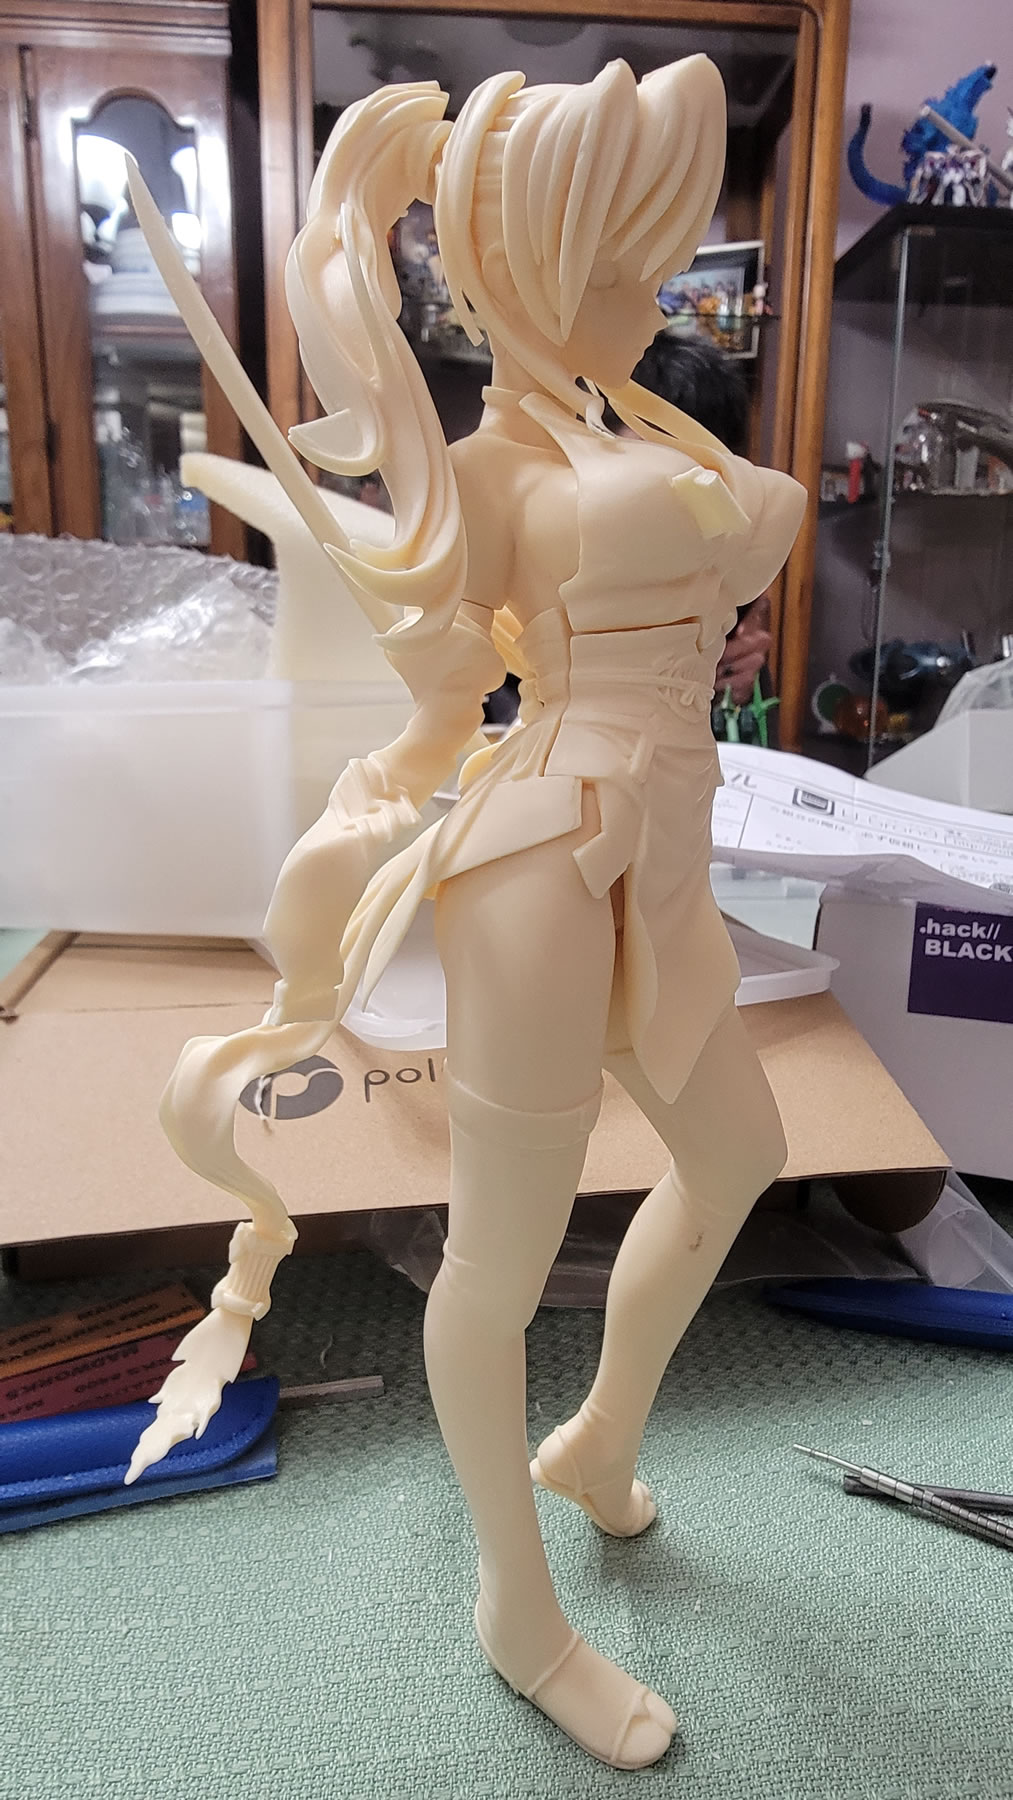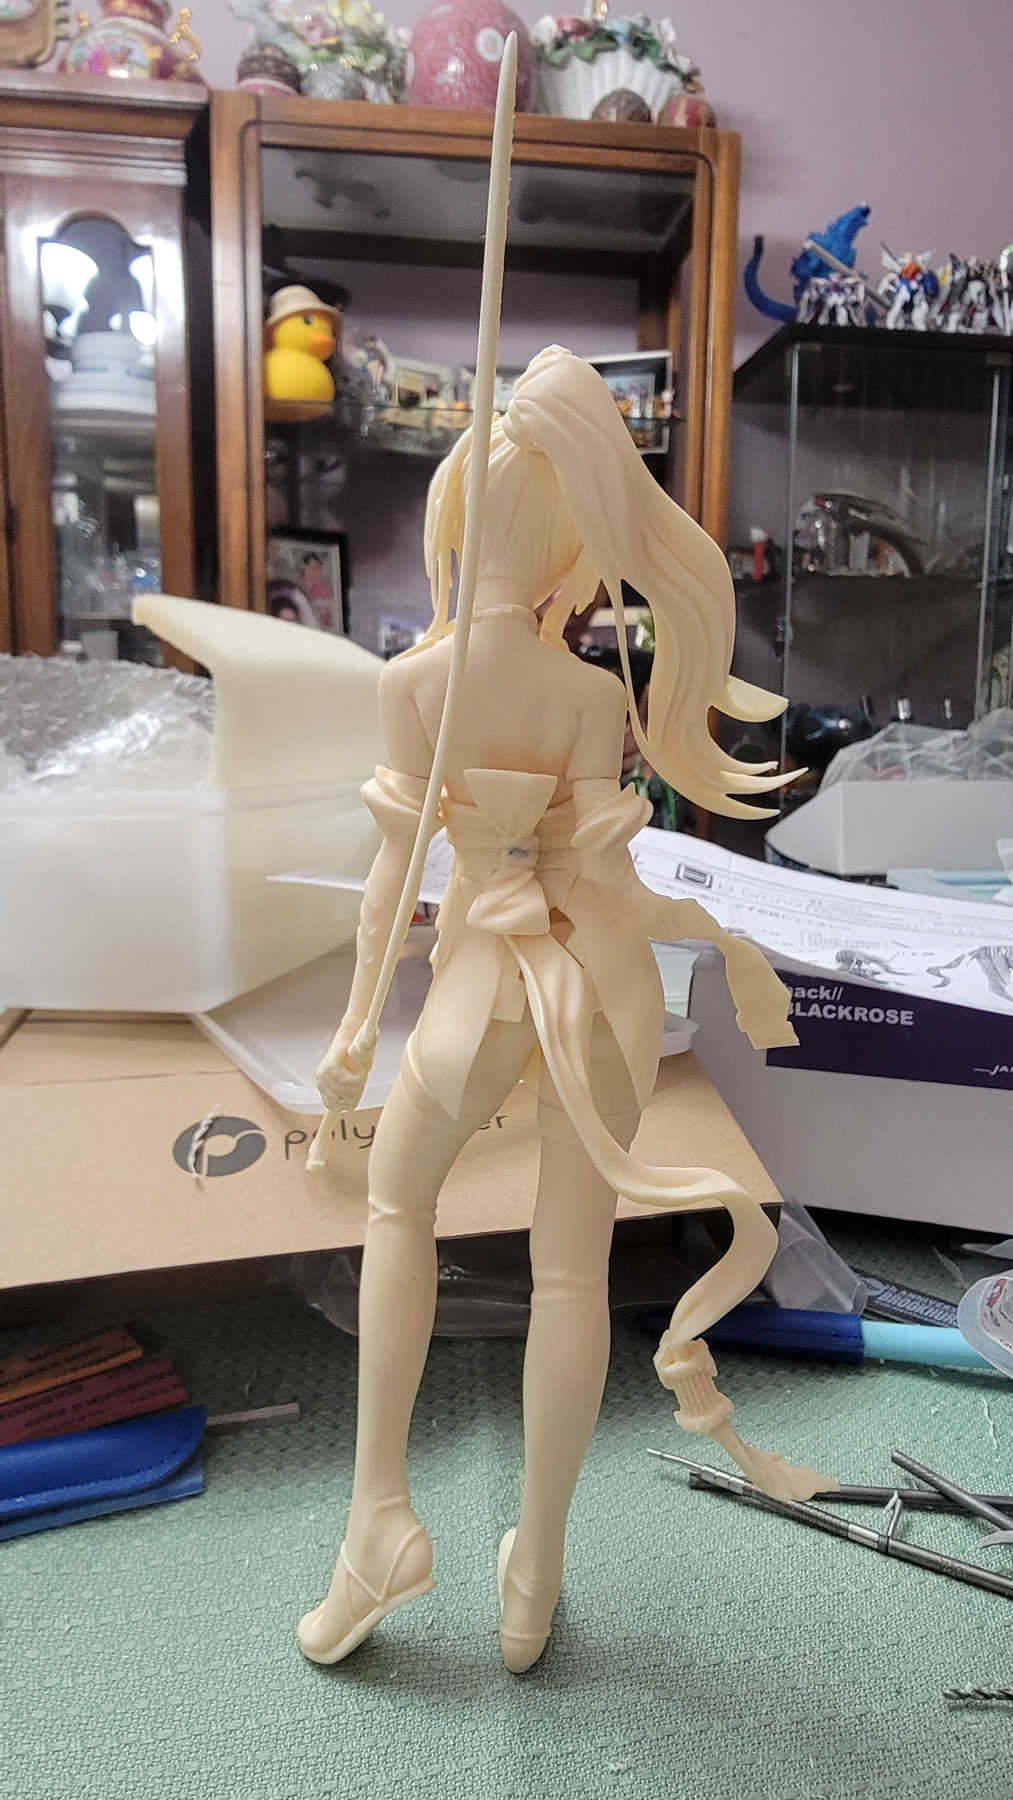
Volks A Brand Subaru Progress Part 2 and Completion
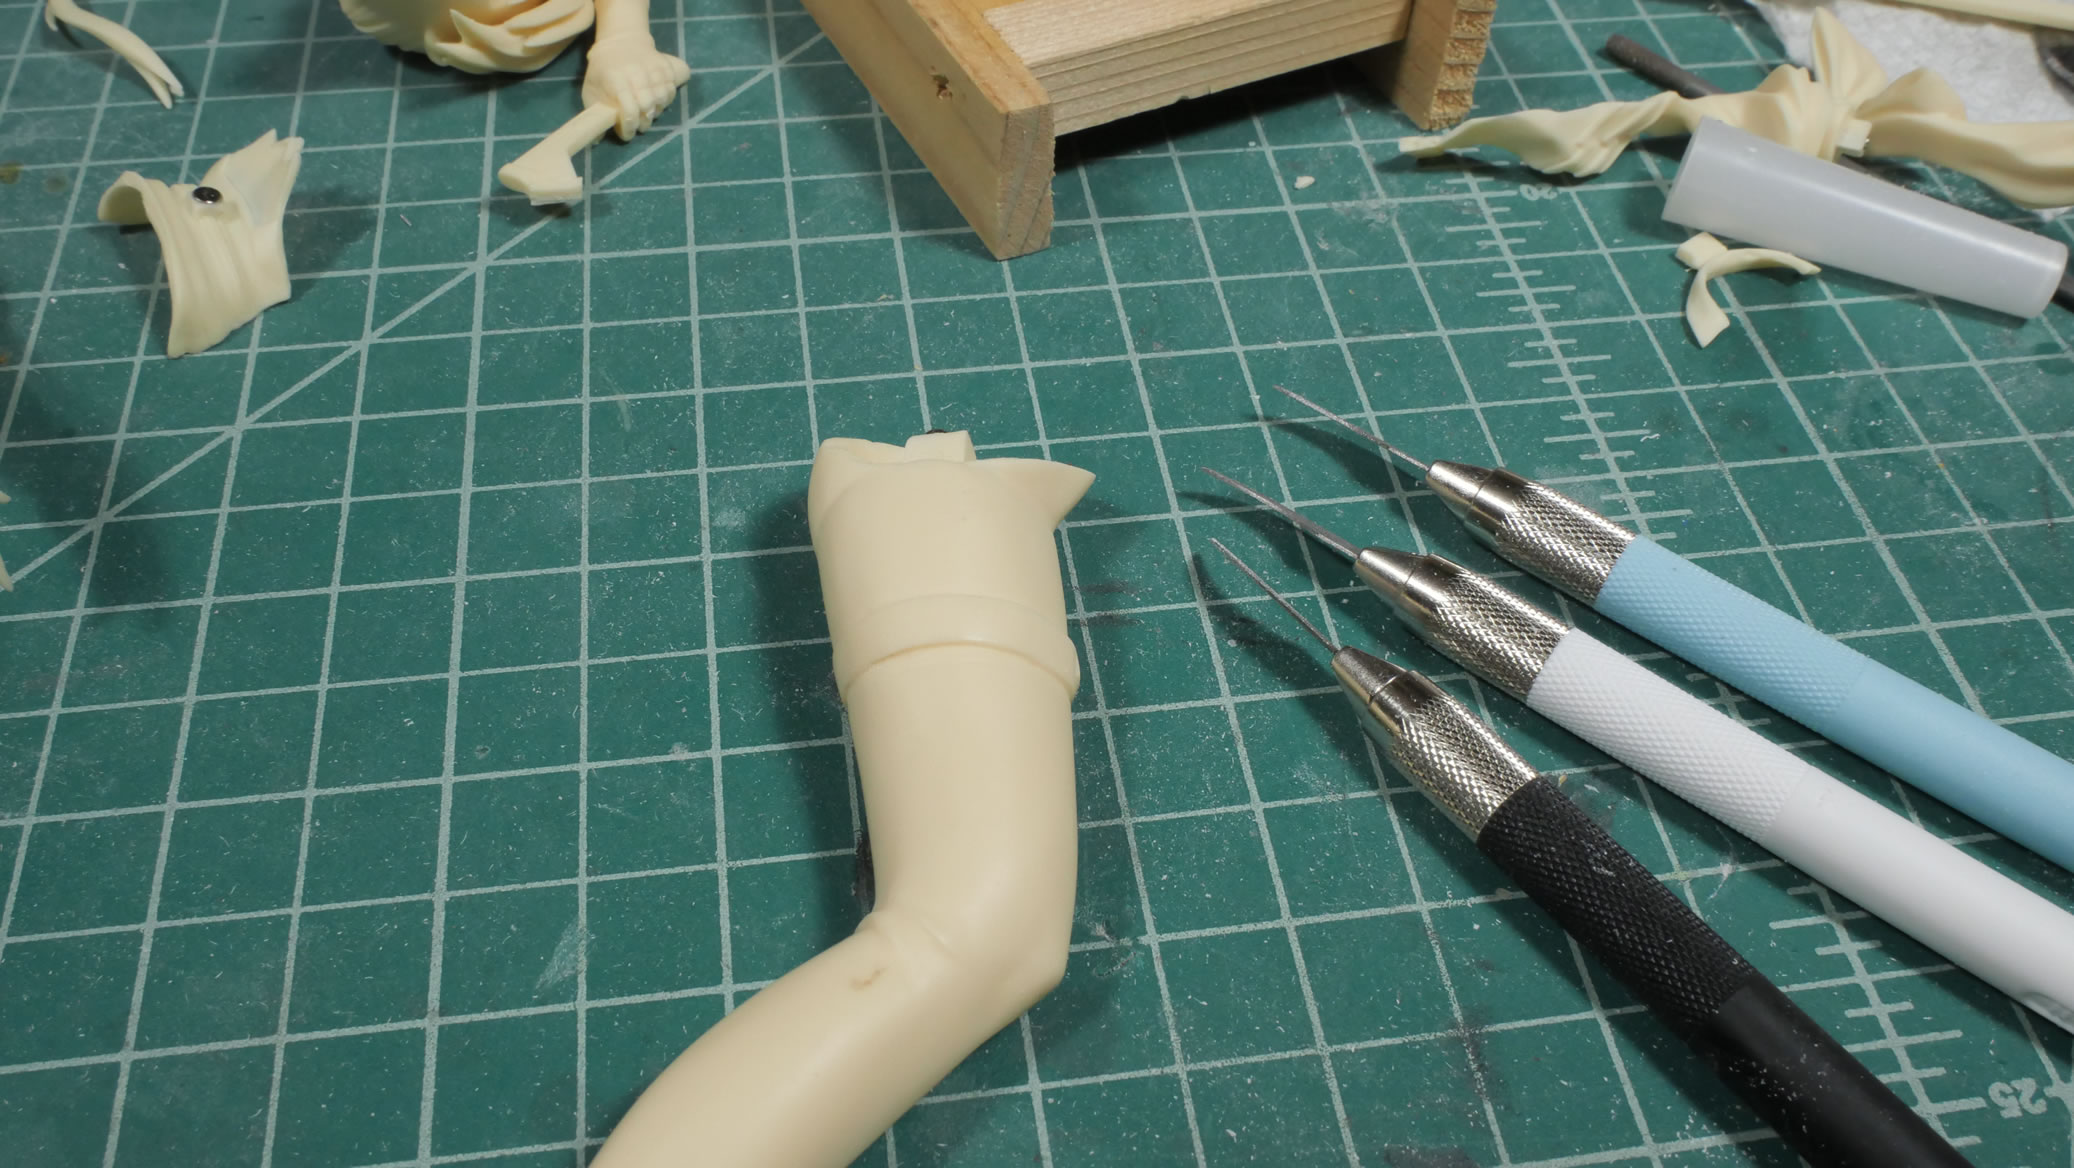
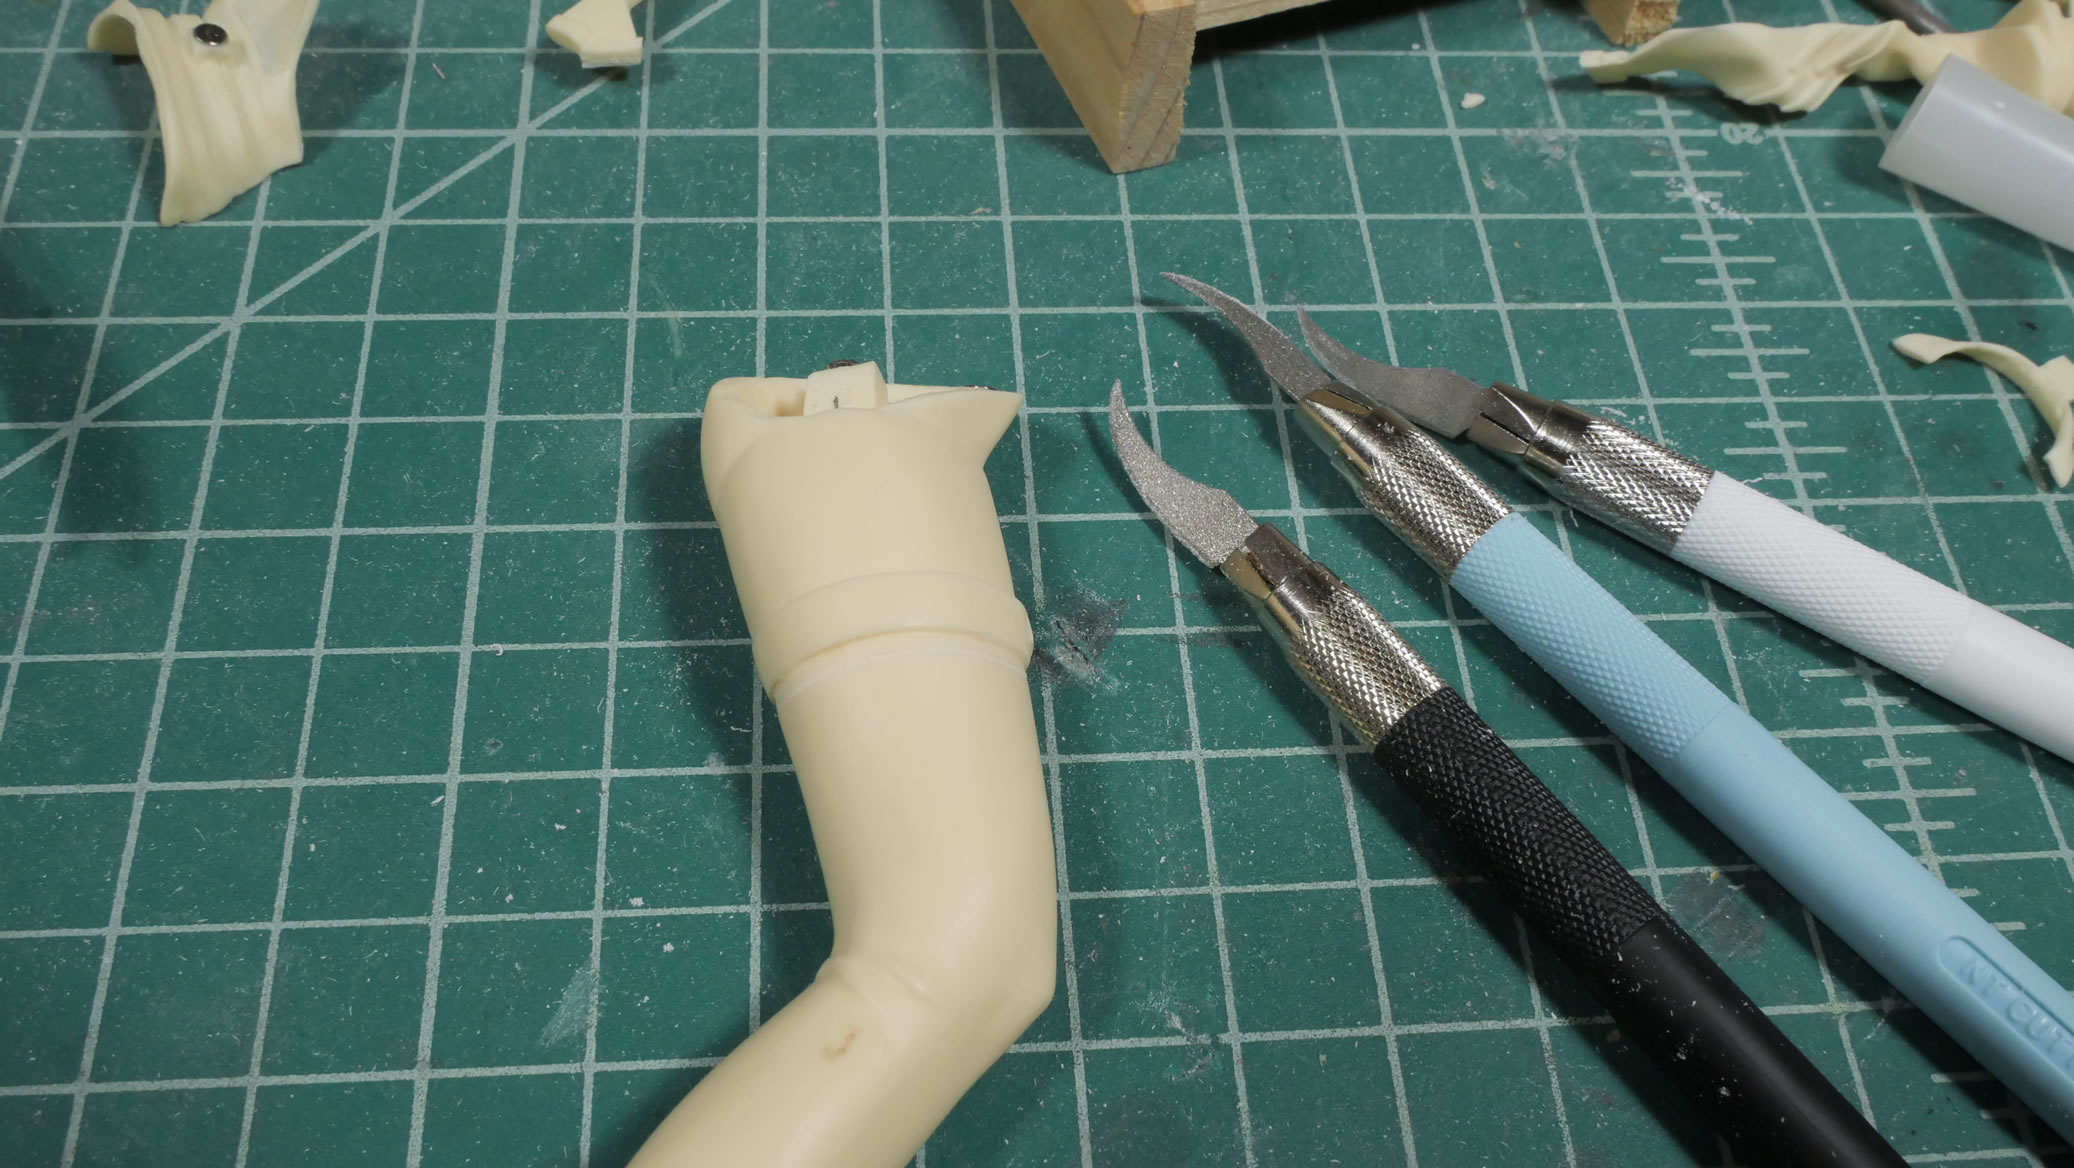
I’ve been working on the Subaru figure on and off for the past few weeks and really testing out these new curved knife files. I’m using using straight edge files and even some of those are not thin enough to get into the areas I need. And those files are straight edges, so curved surfaces need a bit of care to not flatten things out; so these curved tools are amazing! But sanding is boring, and really there’s not much to see unless put in extreme zoom.
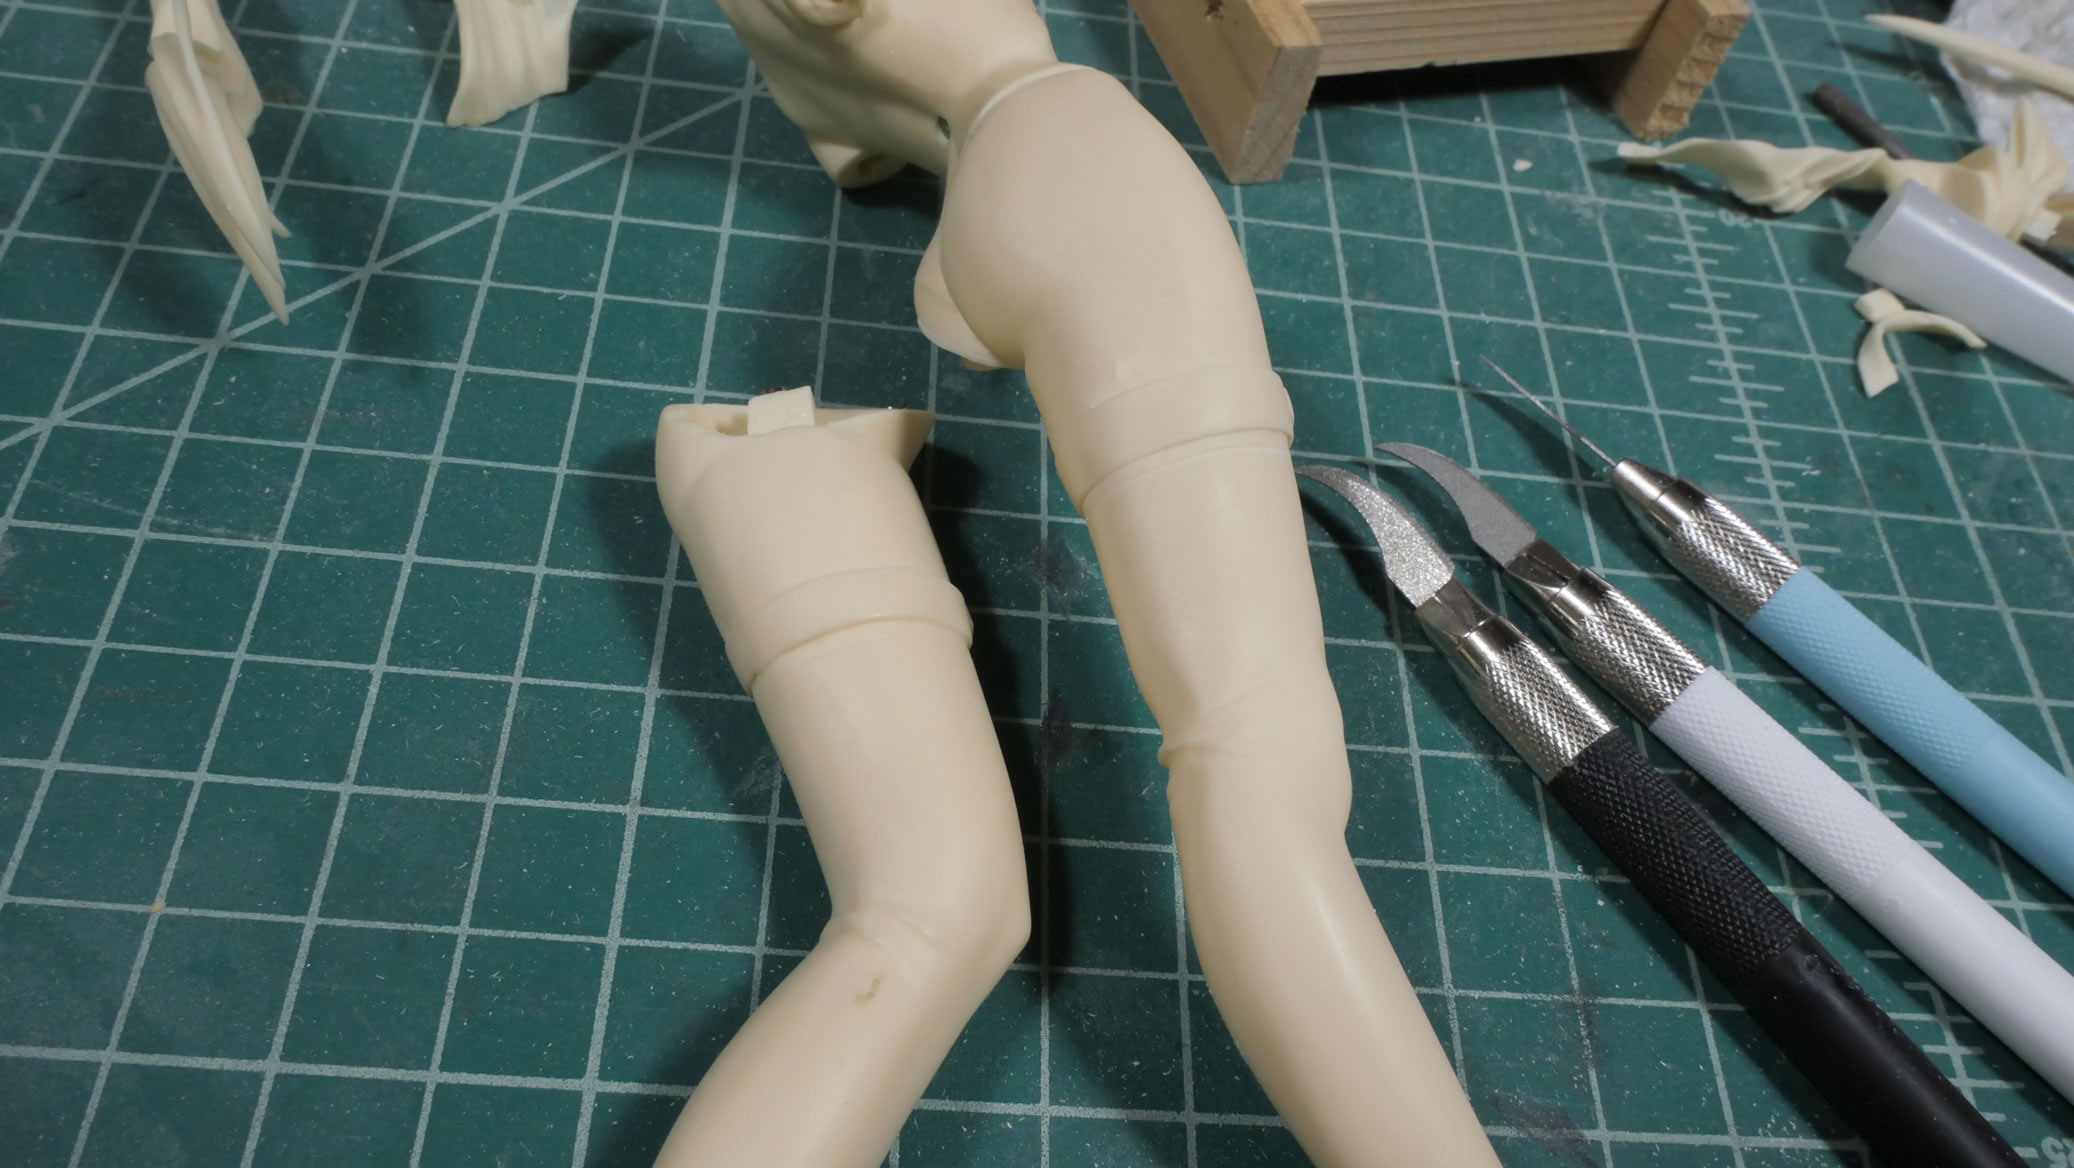
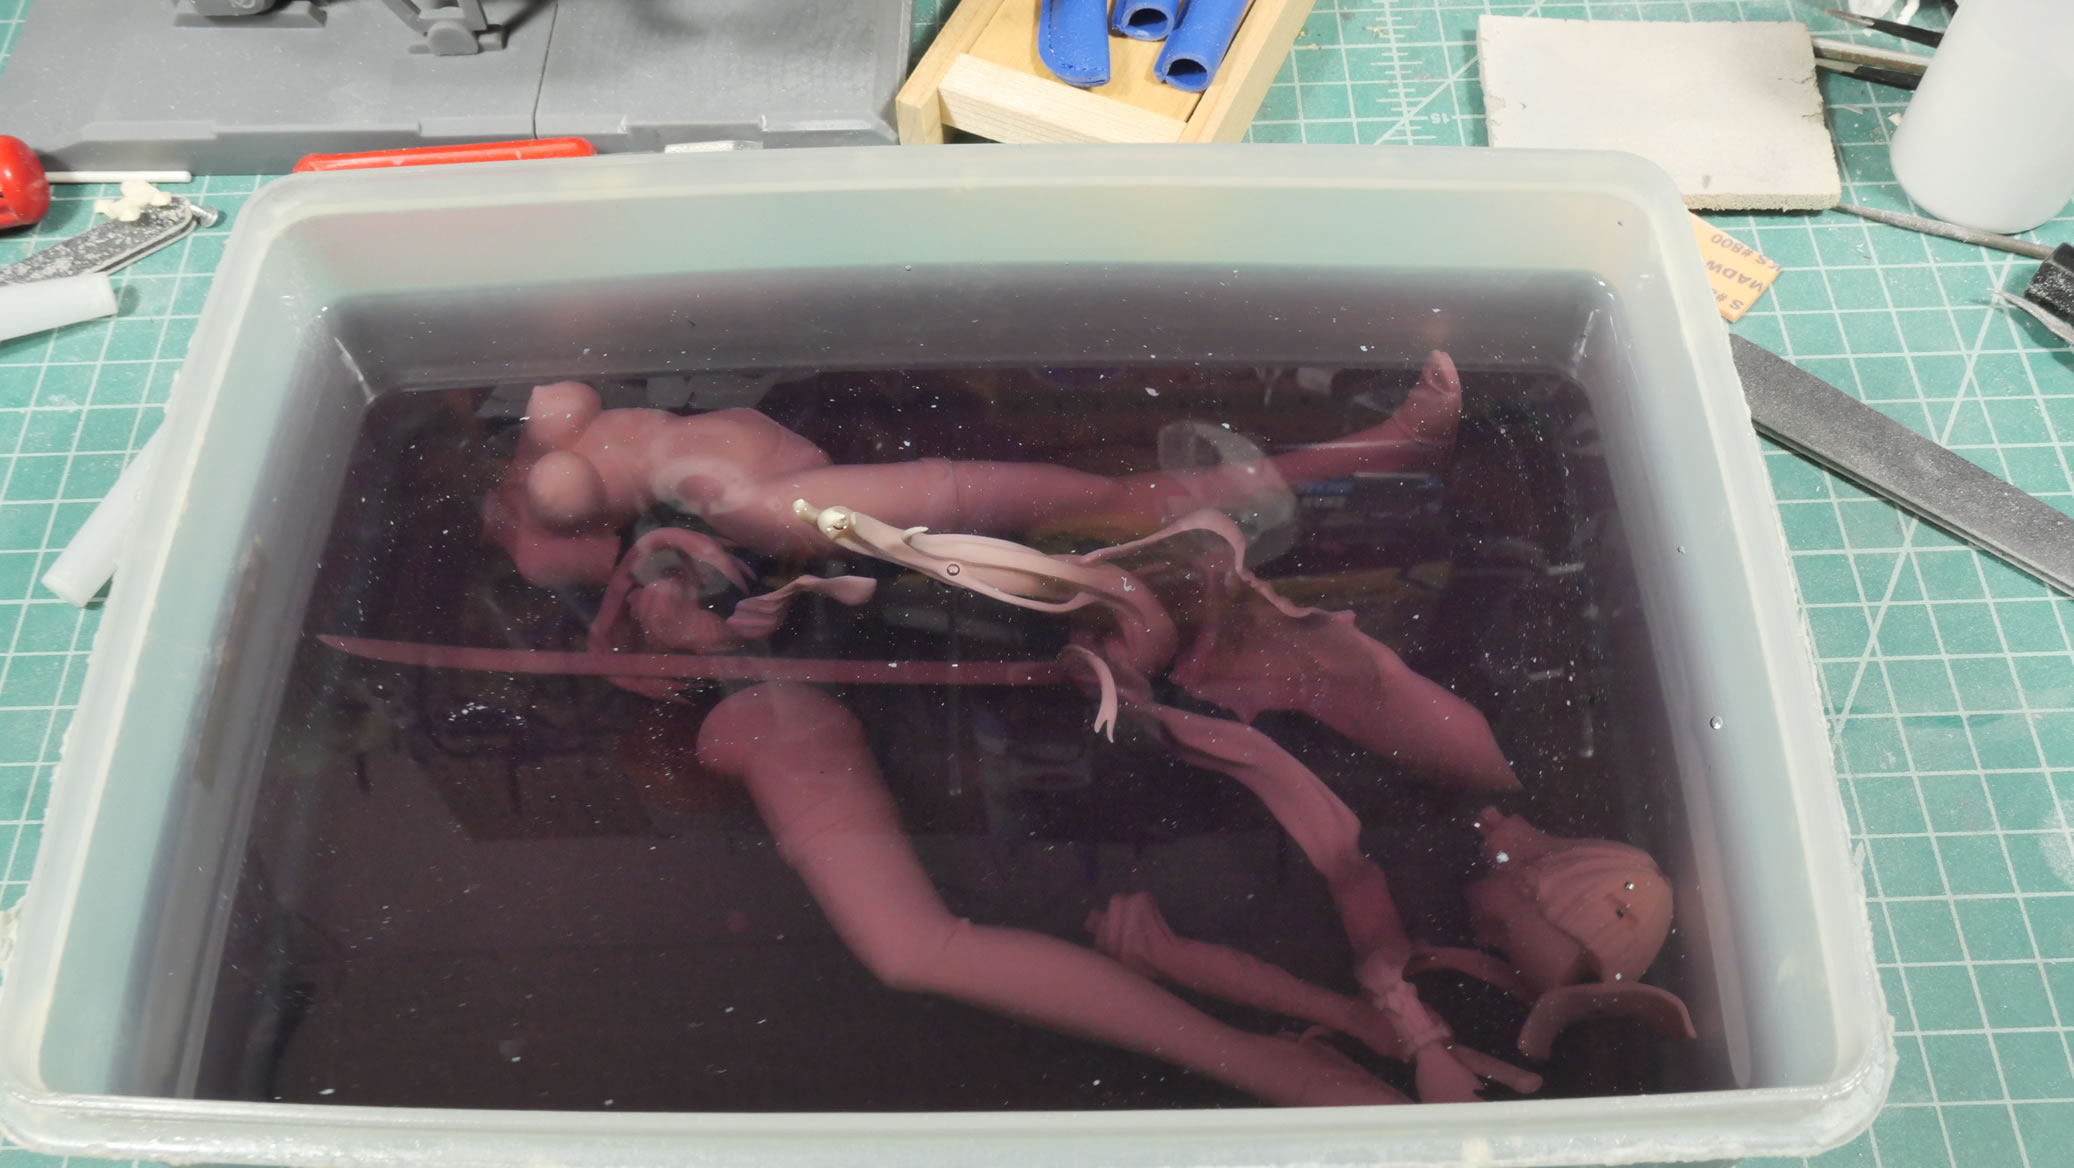
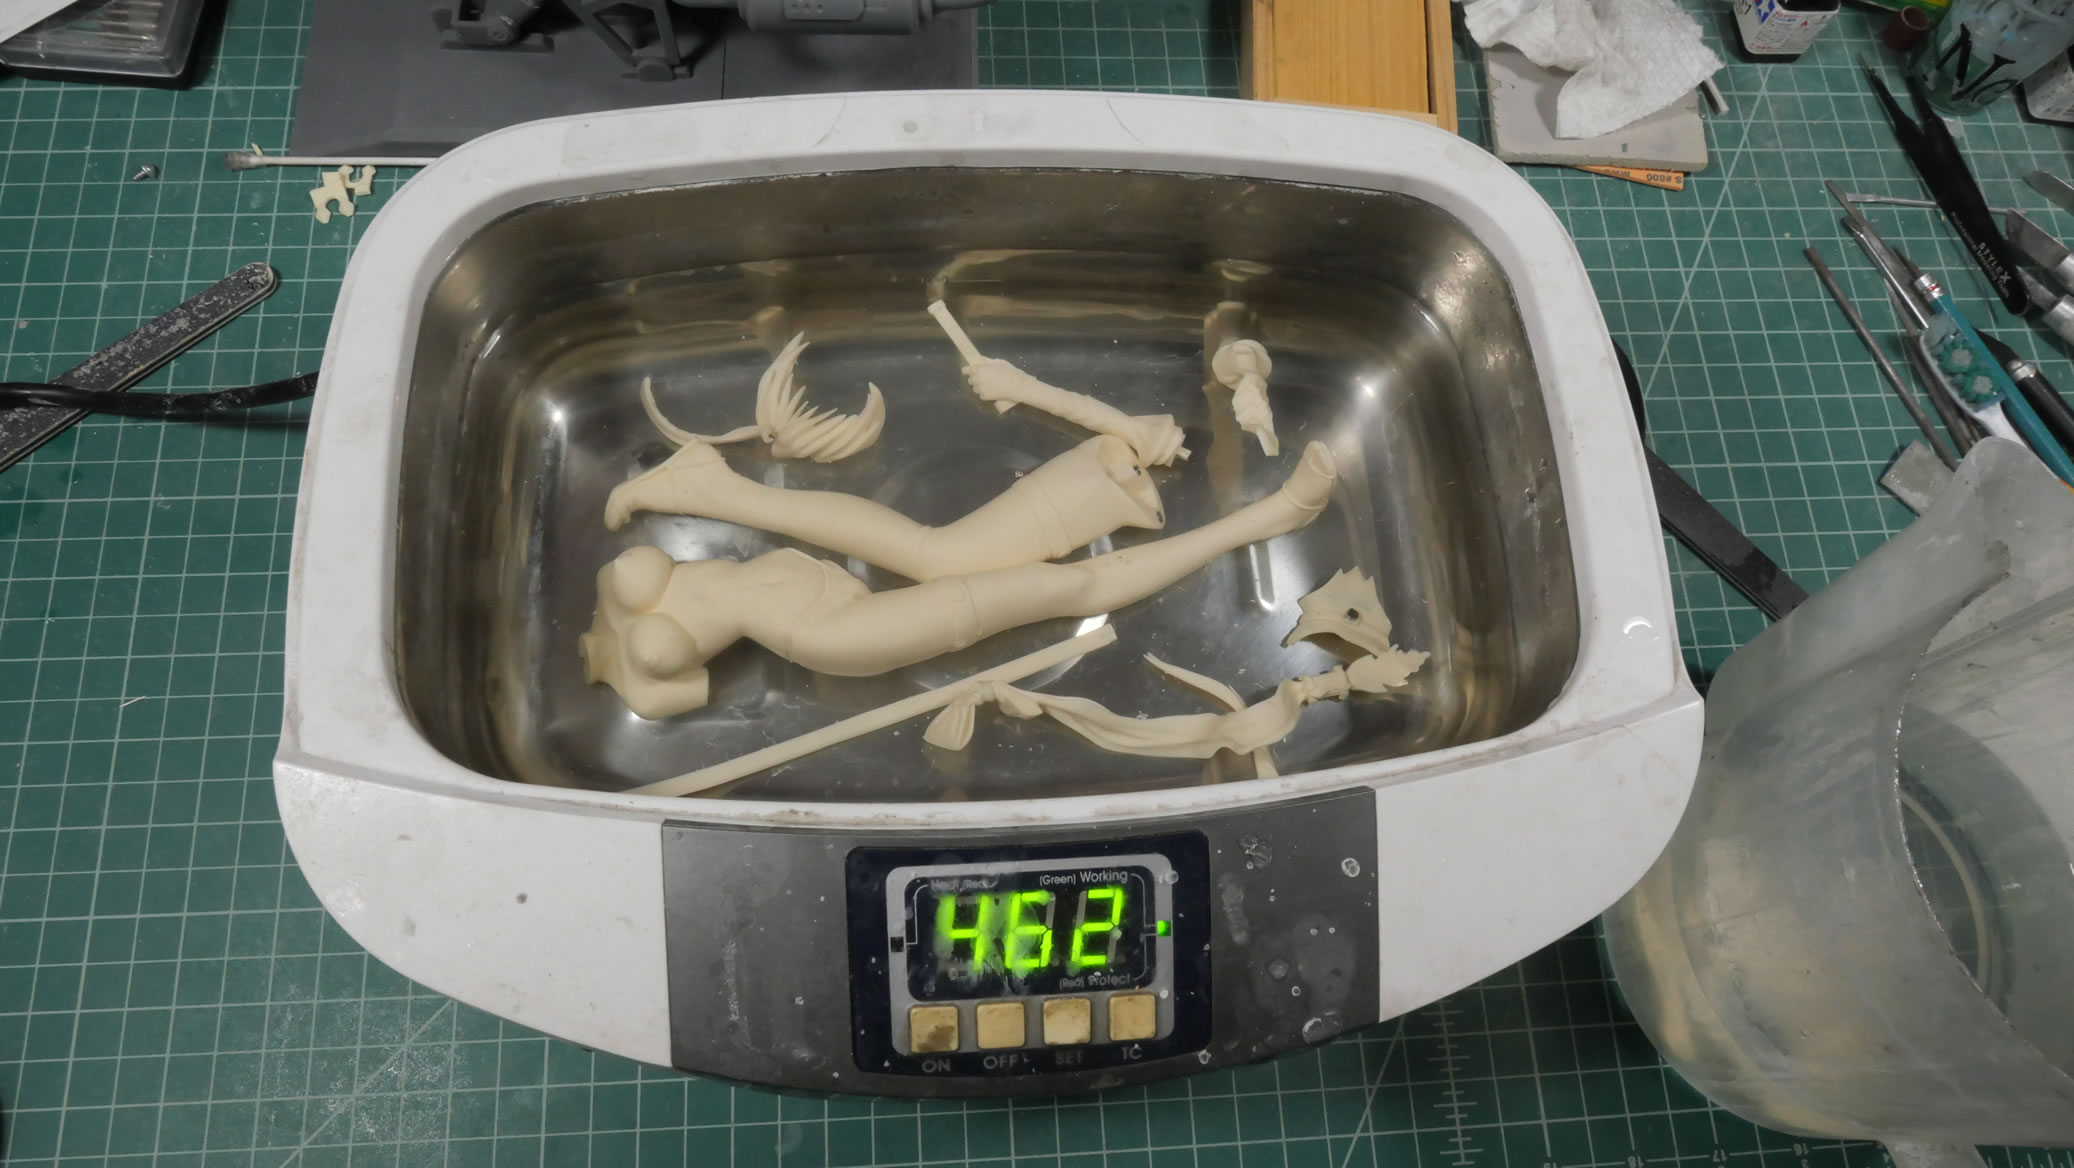
After all the initial sanding is done, the parts are thrown into a bath of industrial strength degreaser to remove any mold release still on the kit as well as just cleaning it. Soaking over night, the parts are rinsed and thrown into the ultra sonic cleaner to scrub them clean.
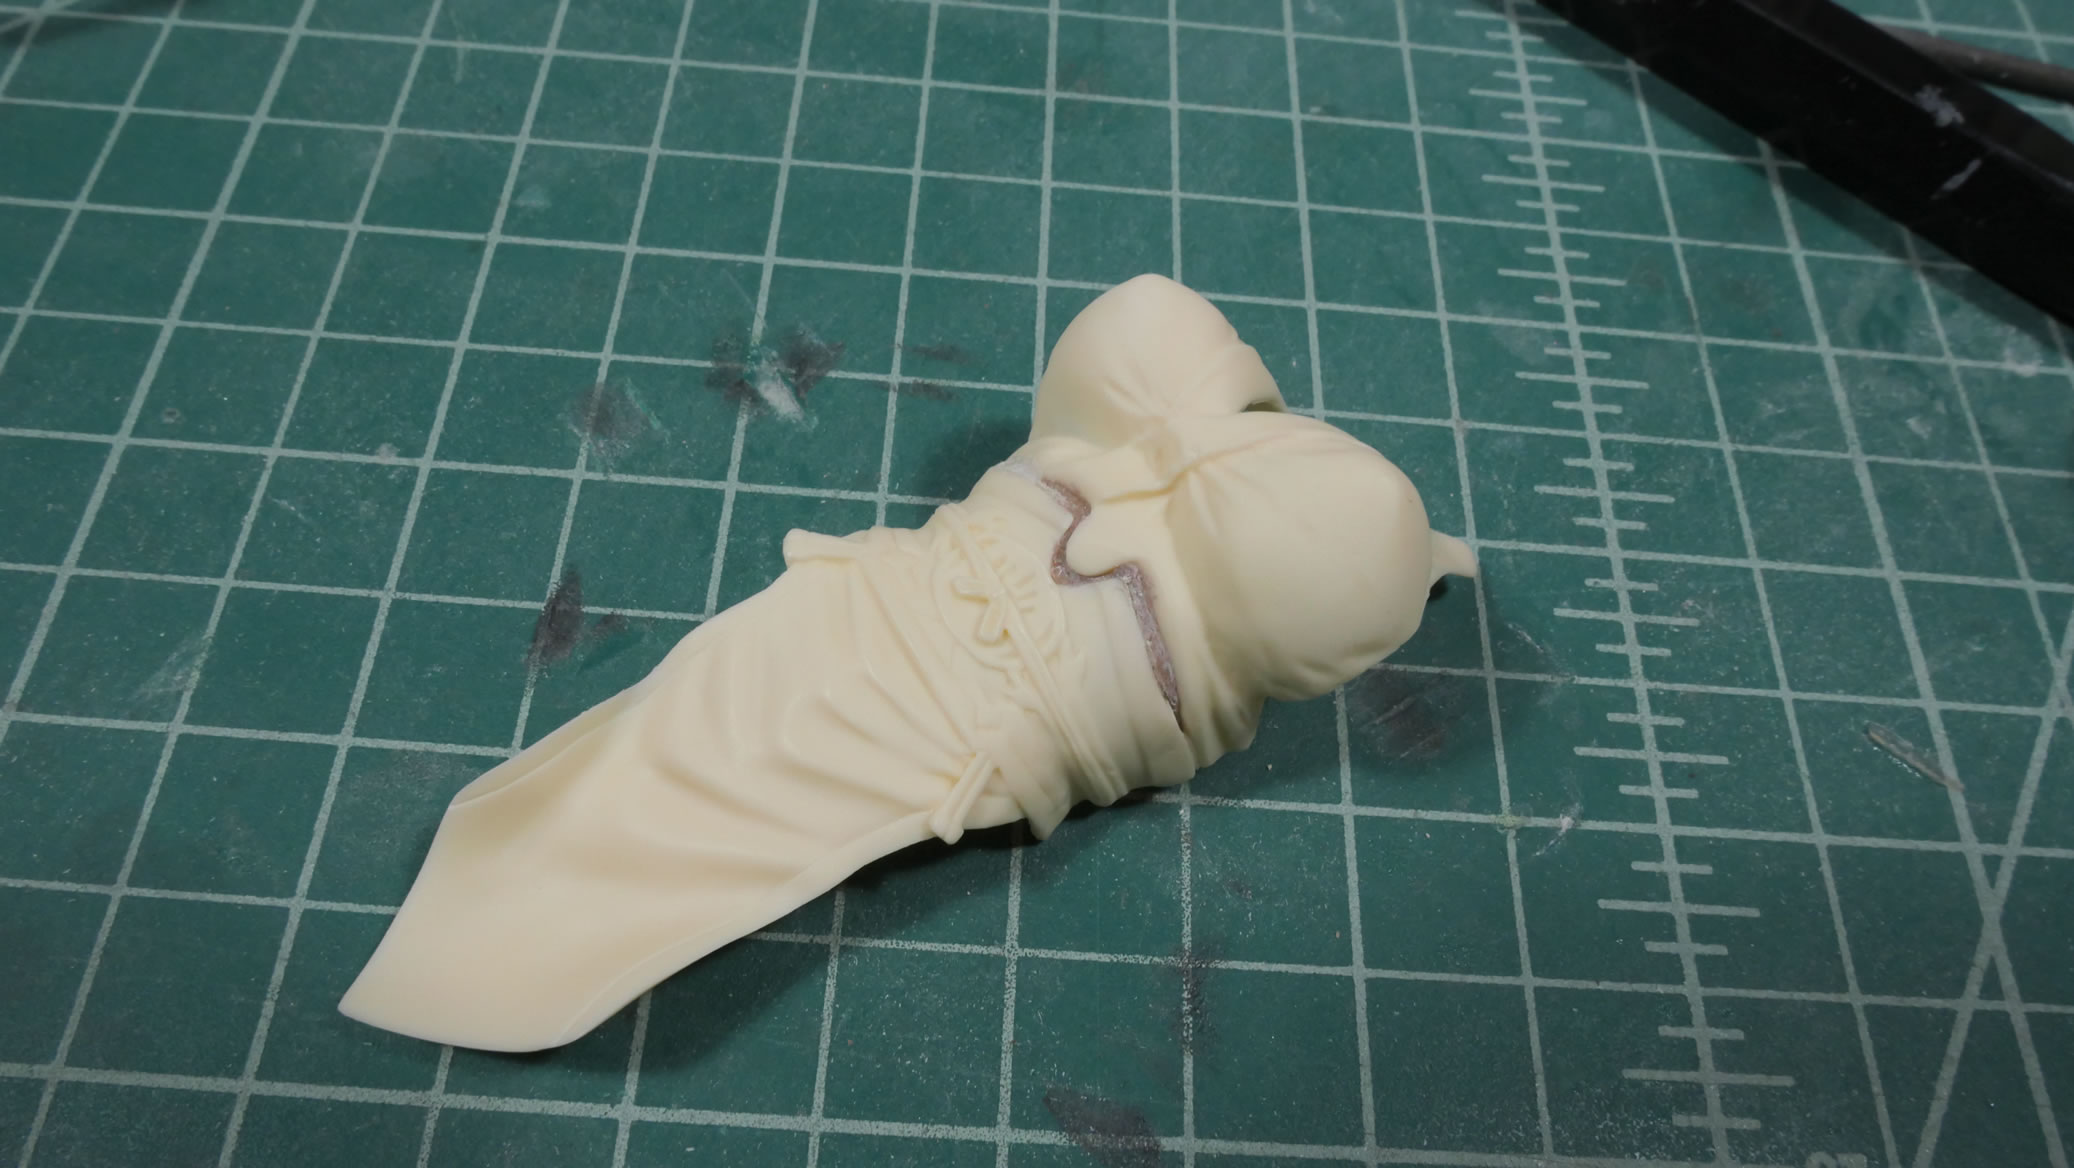
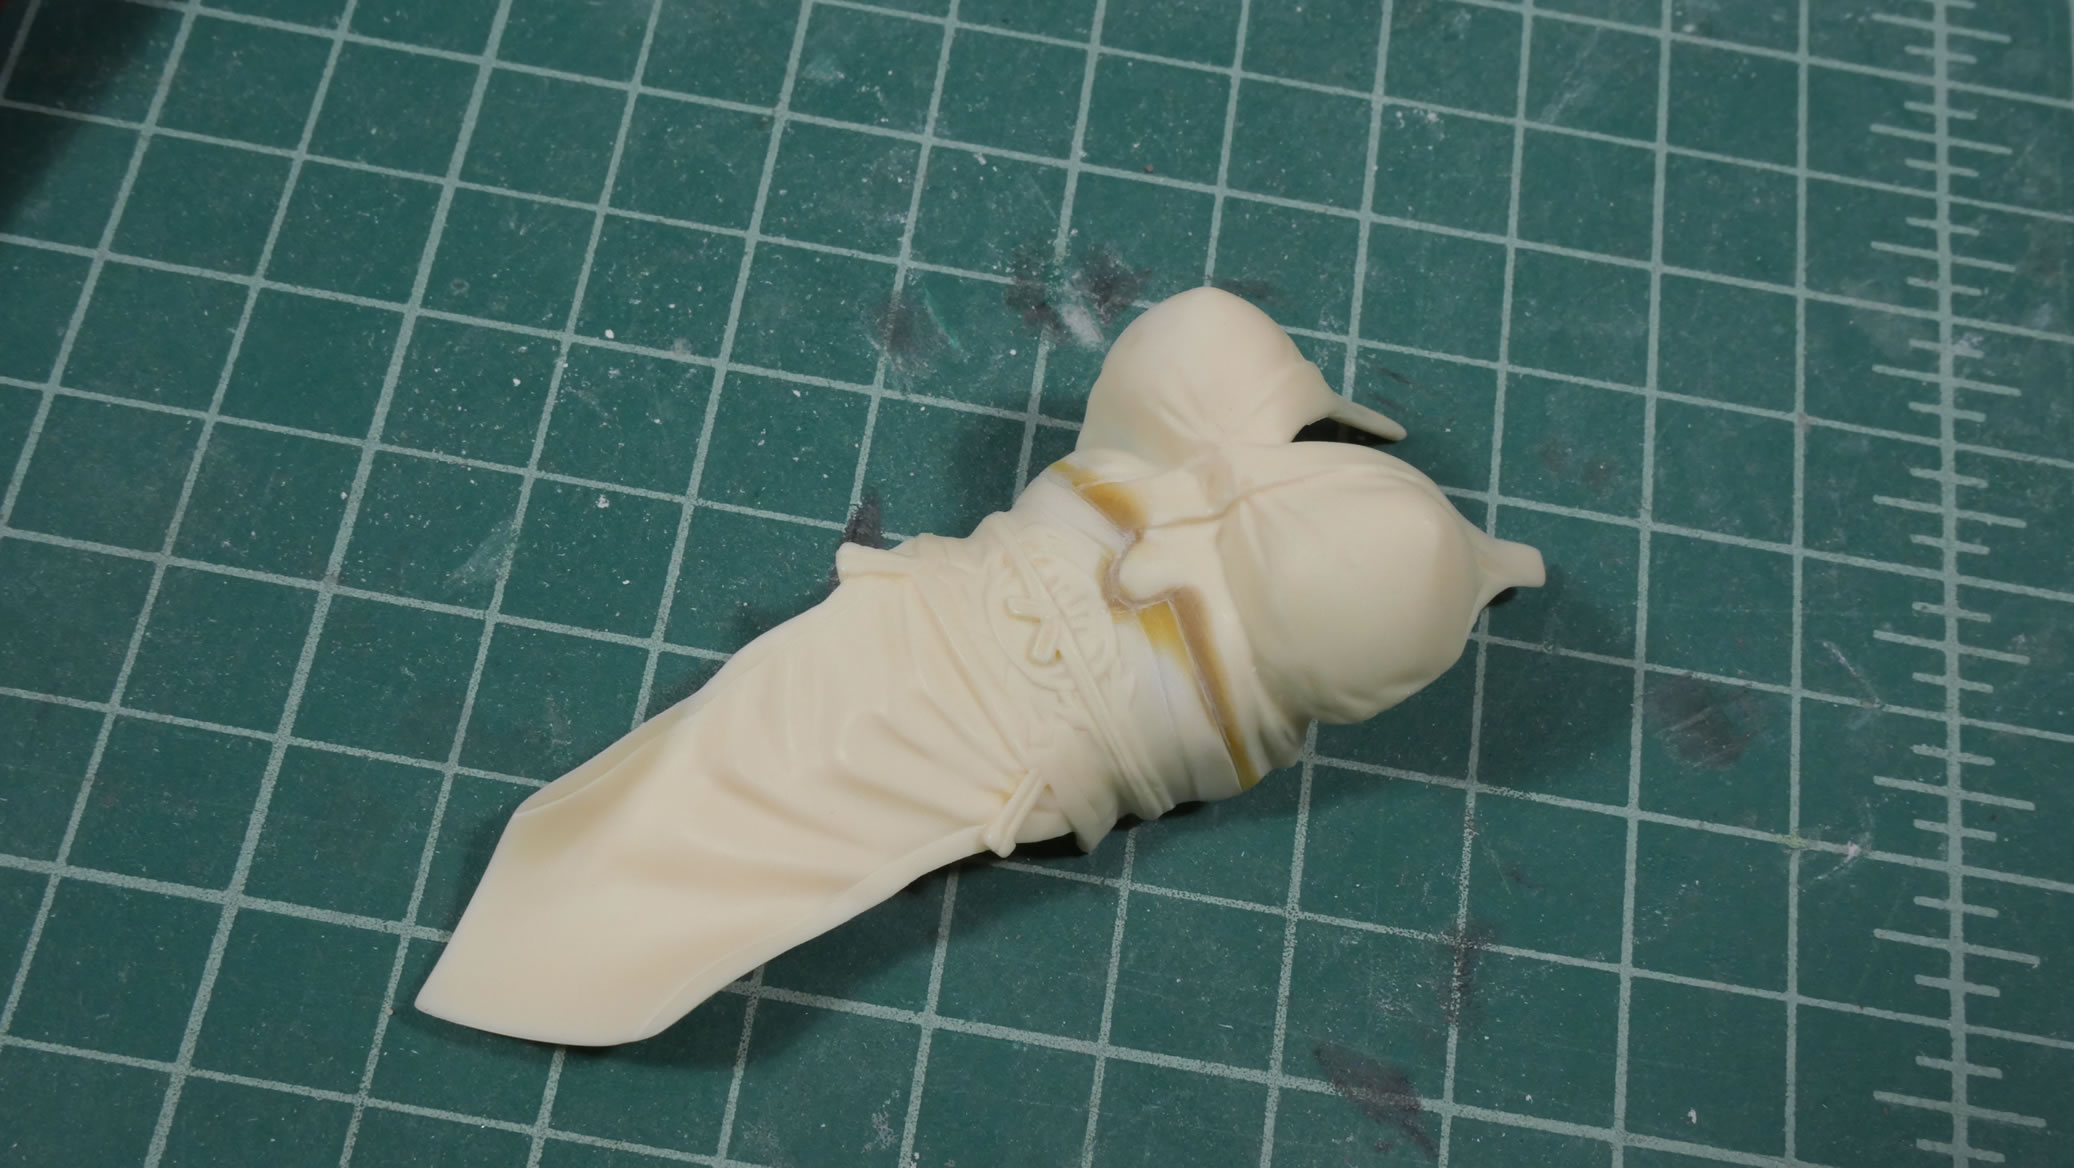
And now the fun begins. Fixing all those gaps lamented in the previous post. There are two different putties at work here. The major filler is a two part epoxy putty that fills the majority of the gap area. It takes about a day for that to fully cure. But once done, I move to light curing putty for quick work. I can putty, sand, repeat relatively quickly.