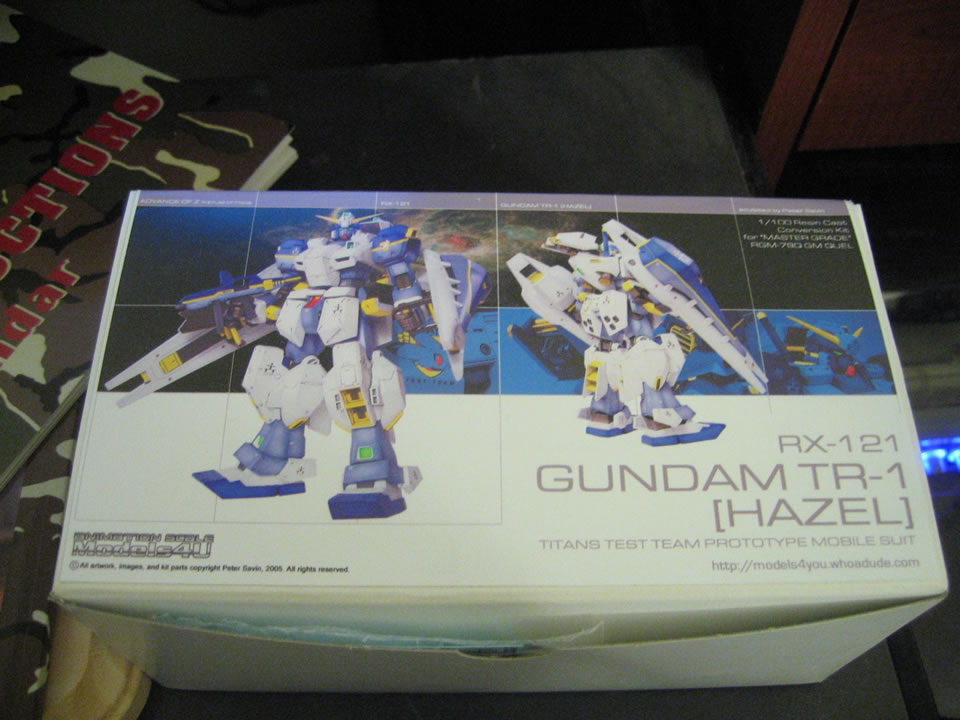
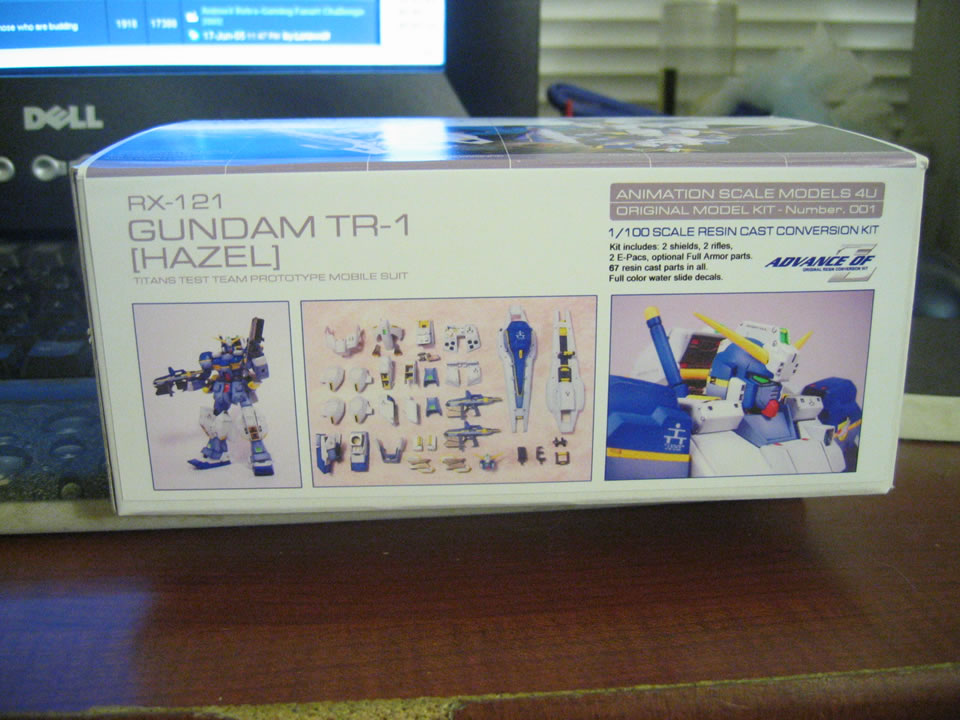
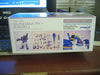
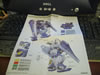
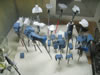
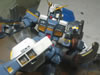
June 17, 2005: Progress page for the Gundam Hazel from
The Advance of Zeta novel side story. This is a conversion kit sculpted
by Peter "Bawoo" Savin from Models4U. The details are absolutly
incredible and the resin cast quality is excellent. I will start work
on this project as soon as I complete my SV-51 Ivanov project. Currently
this page is just to display the incredible workmanship and attention
to details Mr Savin put into this project. I cannot wait to begin work
on this project.
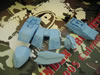
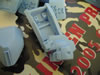
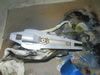
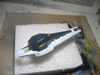
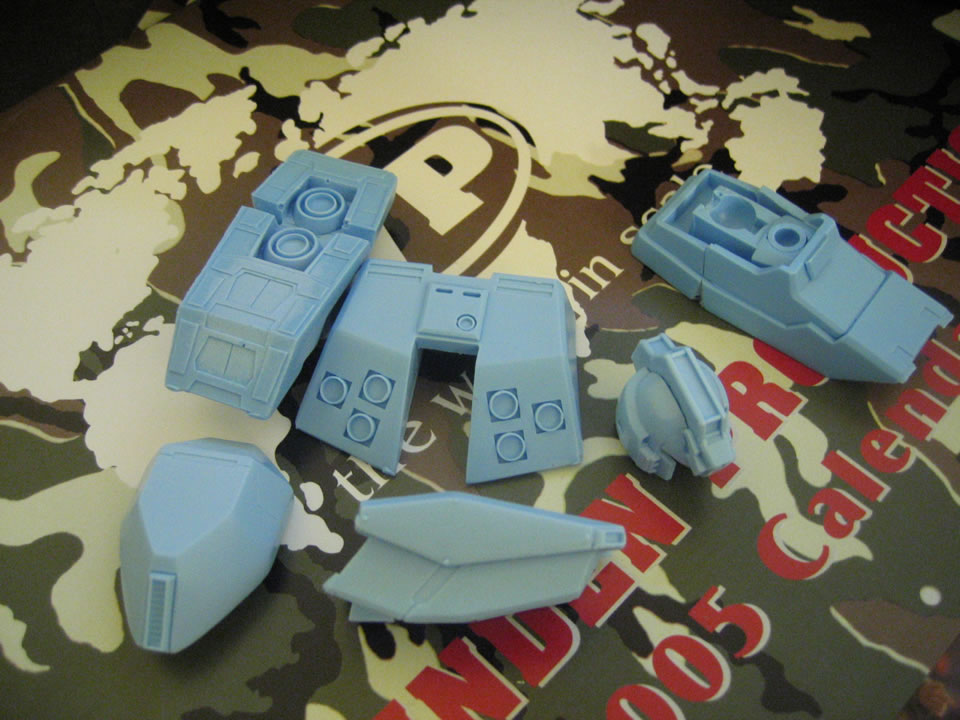
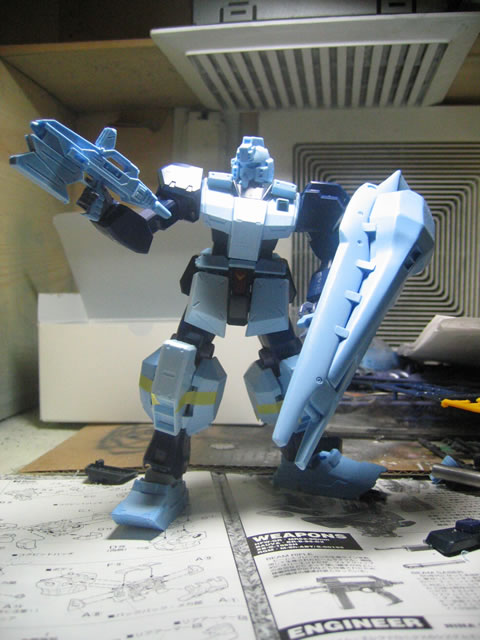
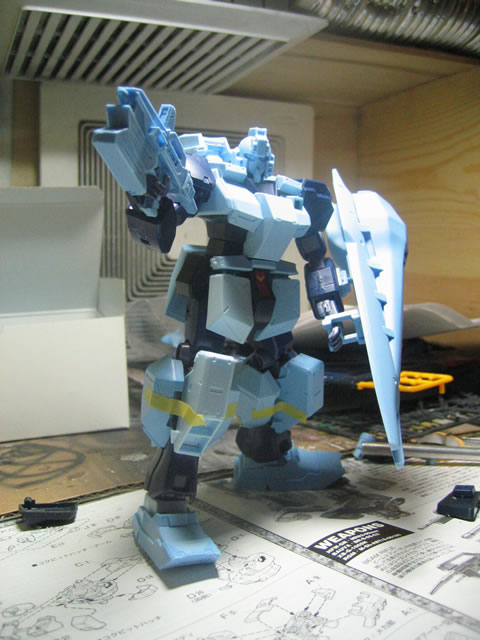
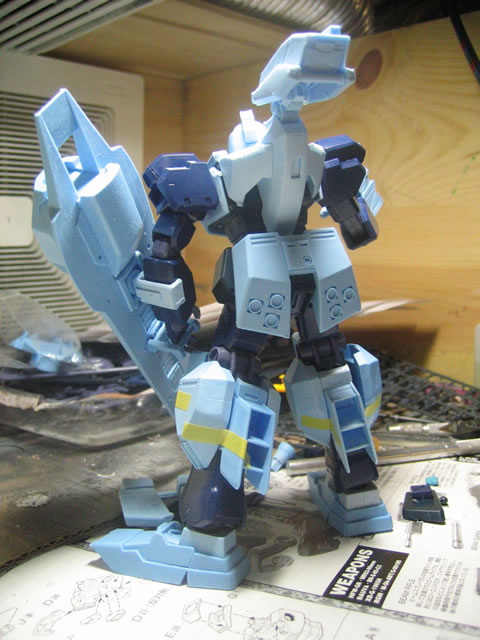
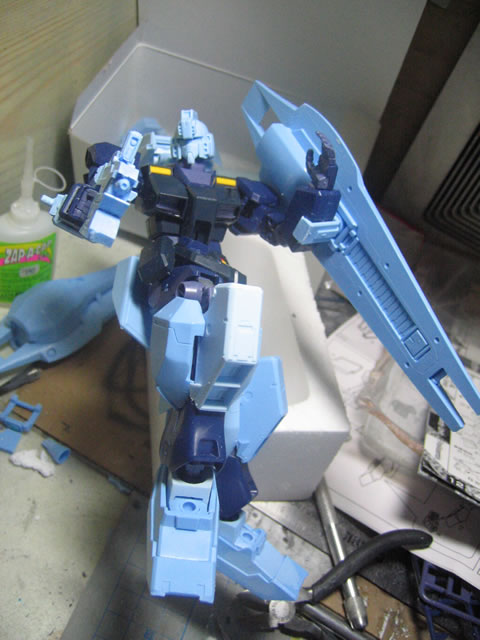
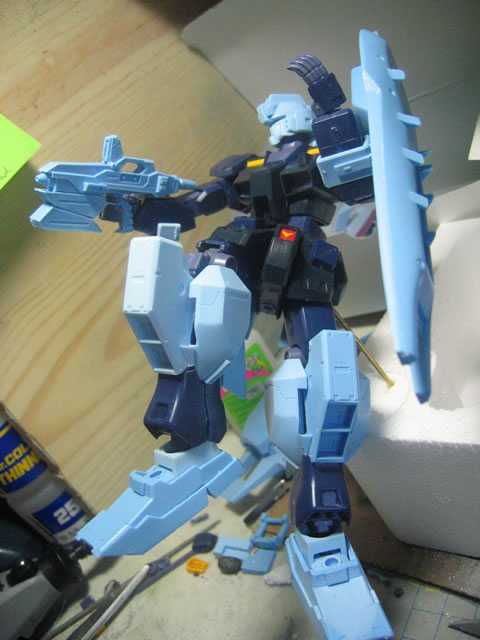
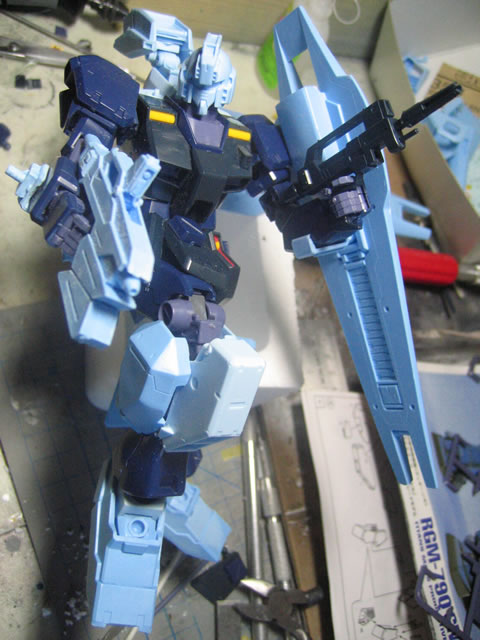
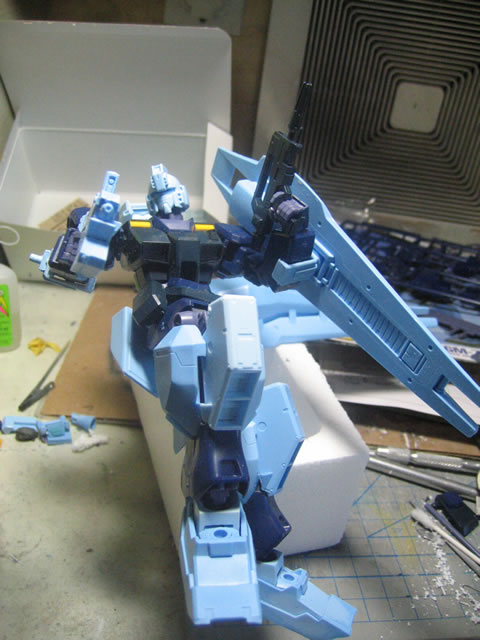
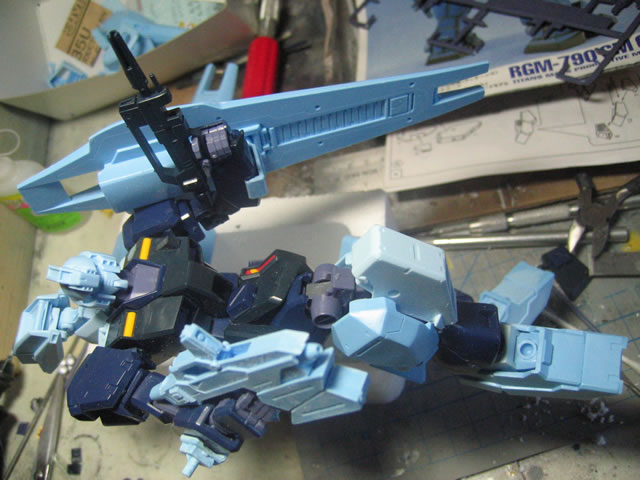
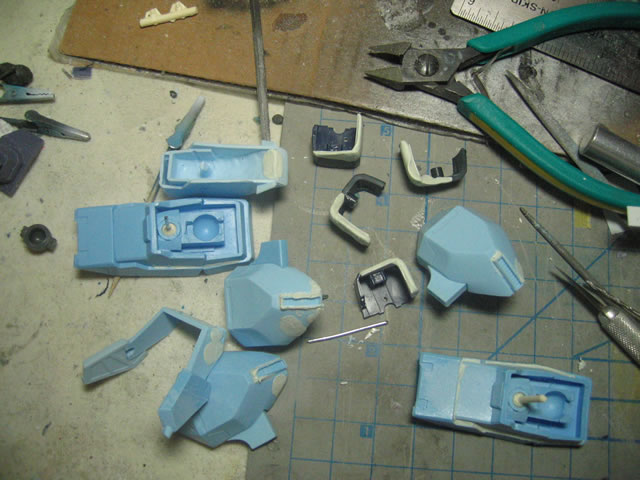
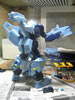
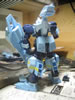
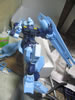
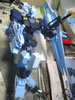
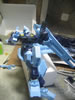
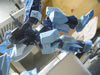
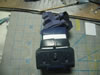
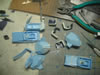
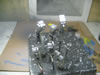
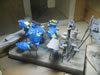
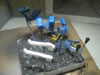
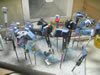
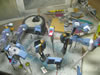
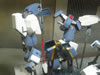
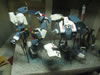
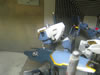
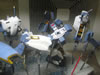
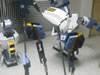
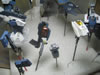
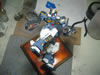
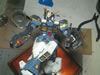
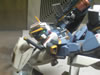
July 14, 2005 Ok finally got off my butt and broke out the
two kits to do a quick snap and test fit. I've started pinning some of
the heavier resin parts like the backpack, rear skirts, and shield. Once
pinned and reassembled, I can get a better idea of how I want to pose
the kit and if I want to add some mobility mods. I will be going with
the standard AOZ paint scheme; however I'm not sure if I want full armor
or partial. I'll make that decision later in the build. But so far I have
the major parts test fitting. I have also yet to decide on a method for
display, be it mid-air, standing, or something entirely different. Excuse
the crappy pictures, it's late and I just wanted to snap a few and upload
to get this ball rolling.
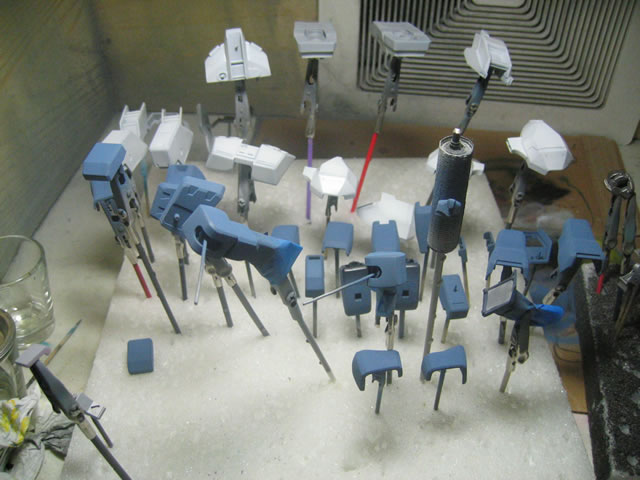
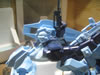
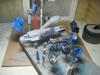
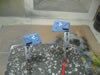
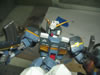
July 16, 2005. Continued work on the Hazel yeilded the following
modifications.
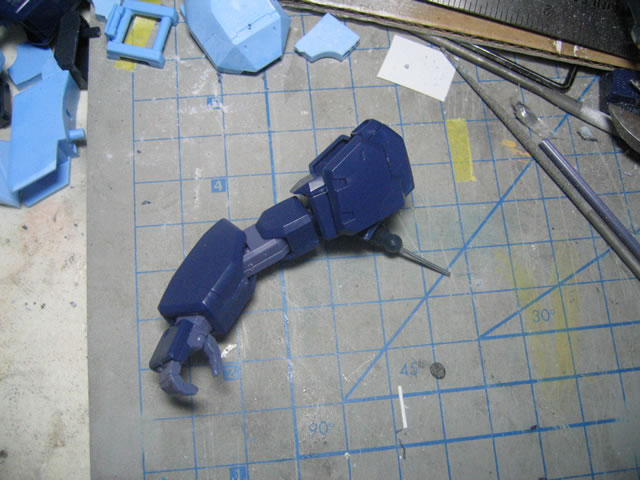
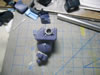
Internal wire skeleton for the arms, legs, and body. Since
the resin is fairly heavy, and I wanted a more dynamic final pose, some
wires are necessary to strengthen the kit on a whole. For the arms and
legs, I drilled a hole throught the joining pegs and threaded the wire
through the parts. For the body, since the pose will be fairly fixed,
I drilled two areas for the leg wires to run up into the torso, thereby
holding it in position. See the below pictures:

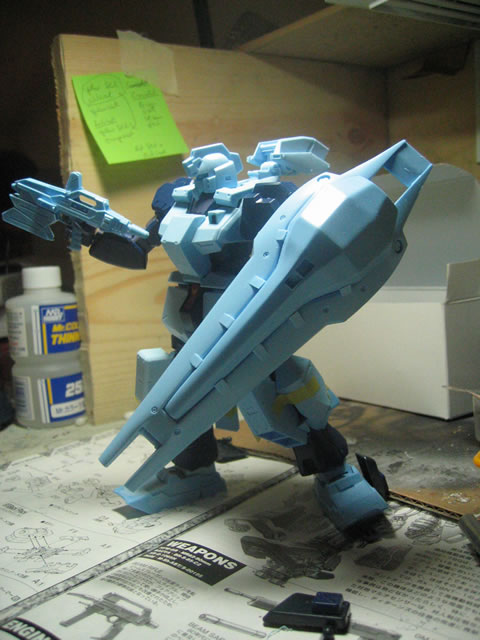
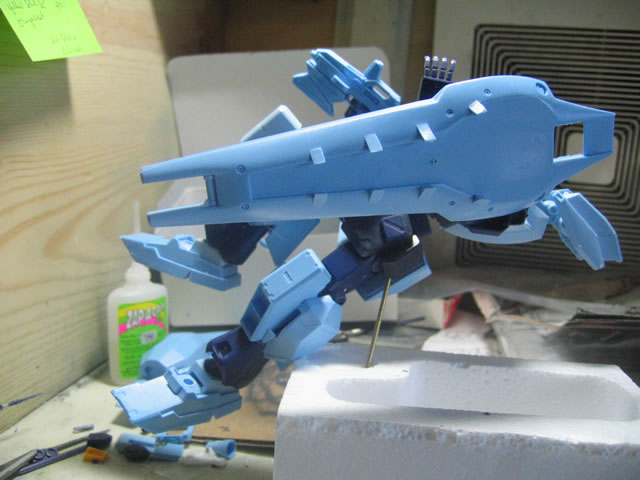
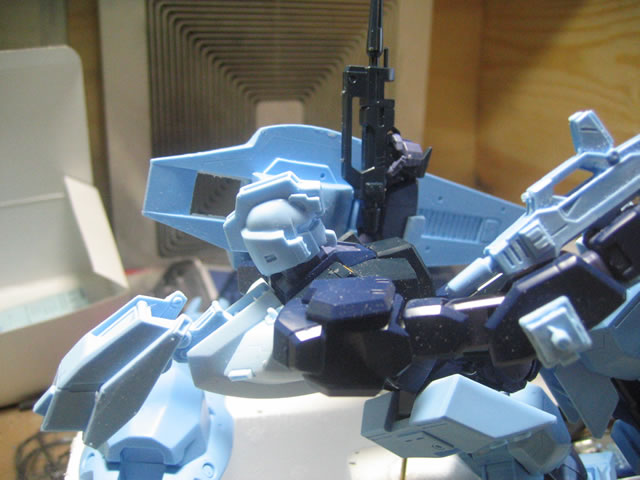
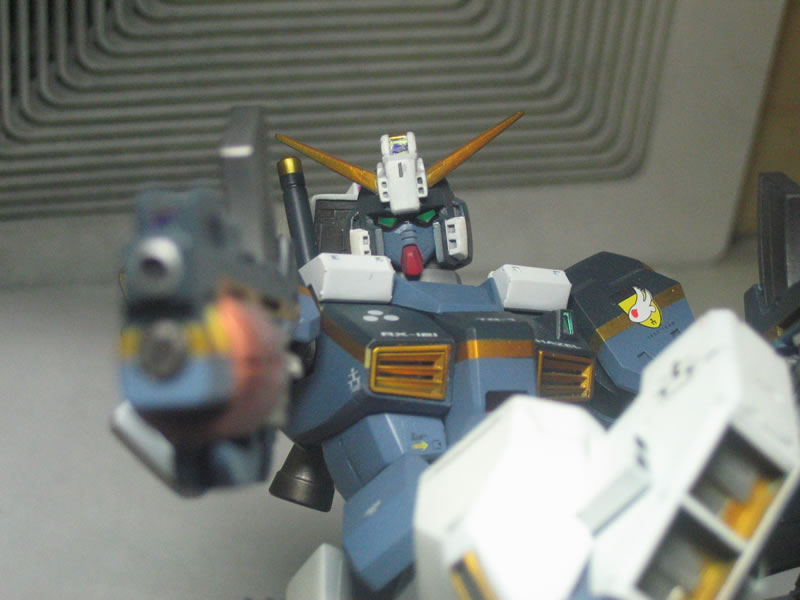
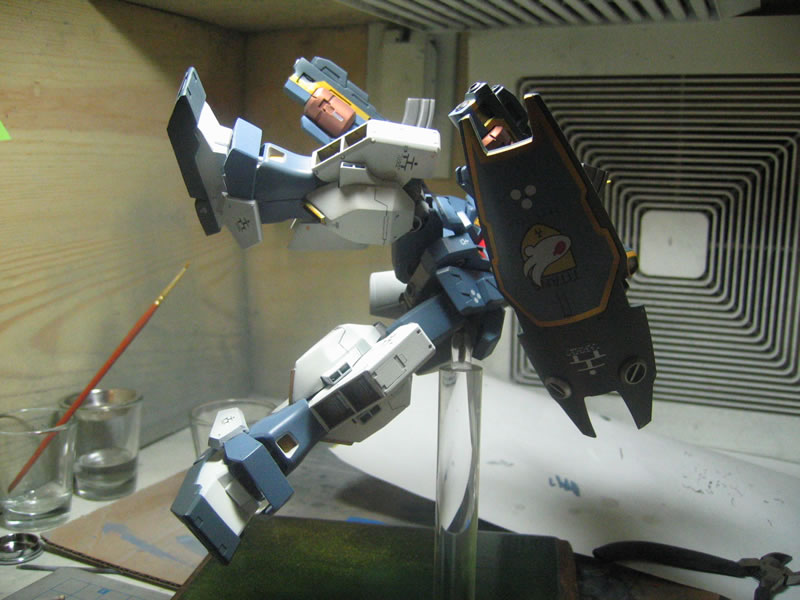
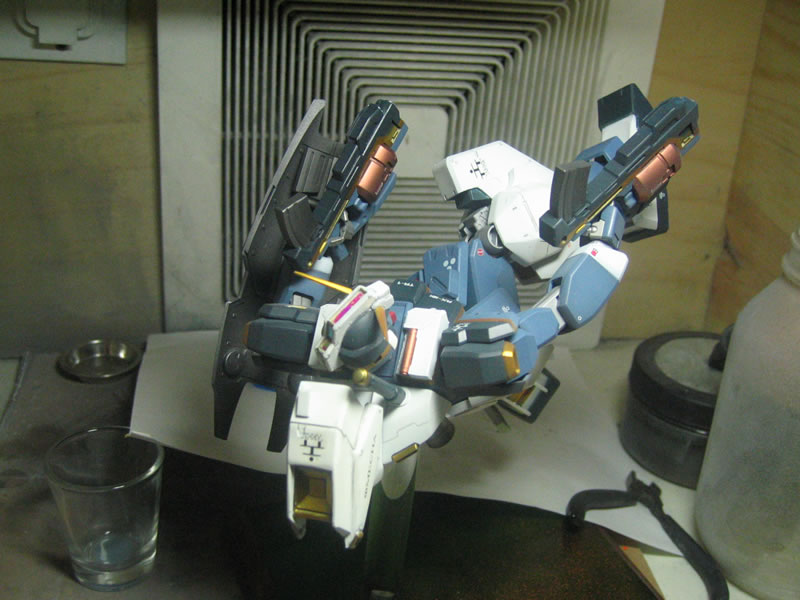
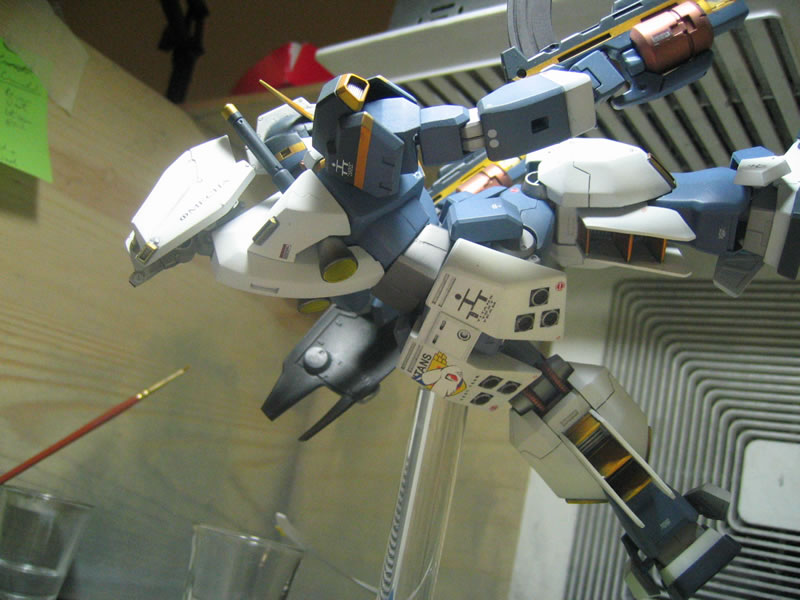
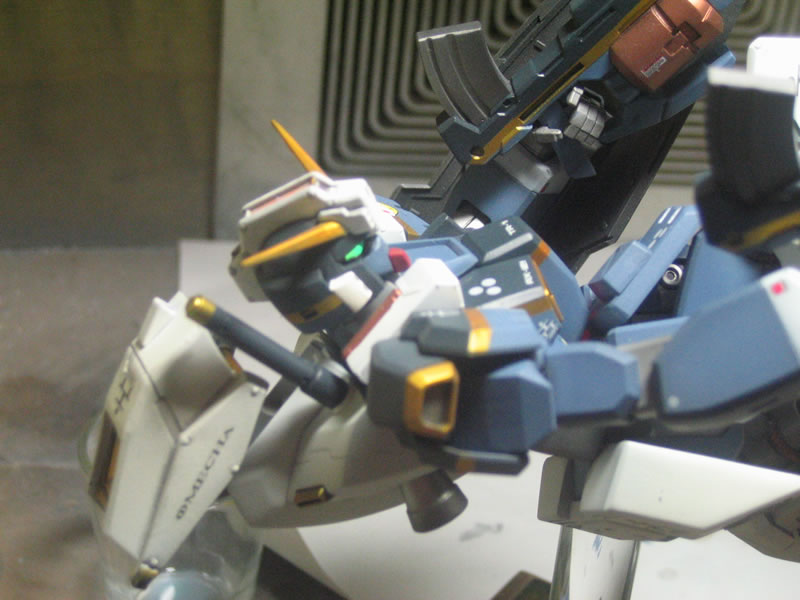
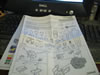
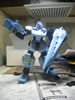
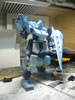
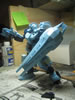
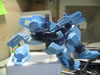
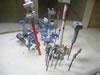
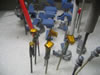
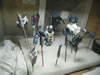
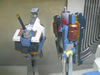
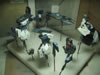
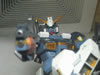
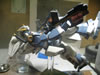
For the final pose, I'm going with an almost lying on back
position. The Hazel will be weilding two weapons, one aiming and preparing
to fire. The influence for this style of pose is from many John Woo films,
where Chow Yun Fat is sliding across some floor on his back while dual
wielding hand guns and firing away at the "bad guys". The following
pictures better illustrate this:


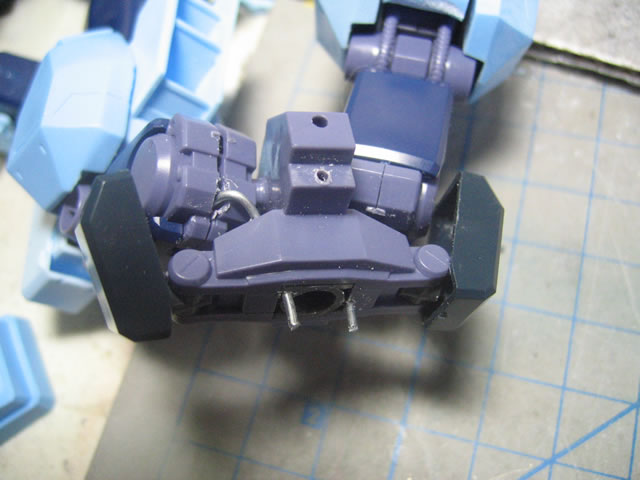
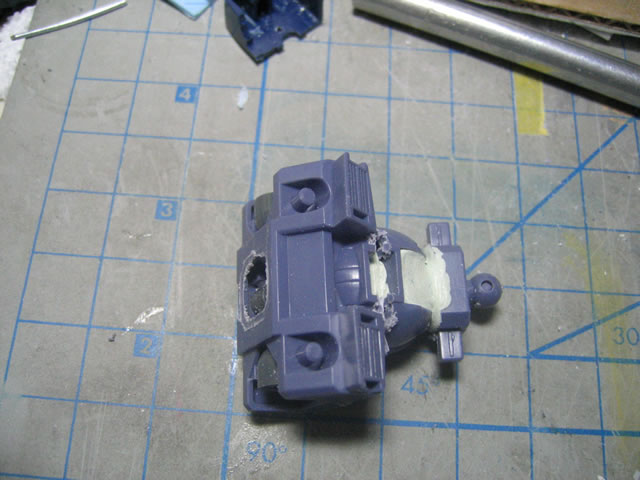
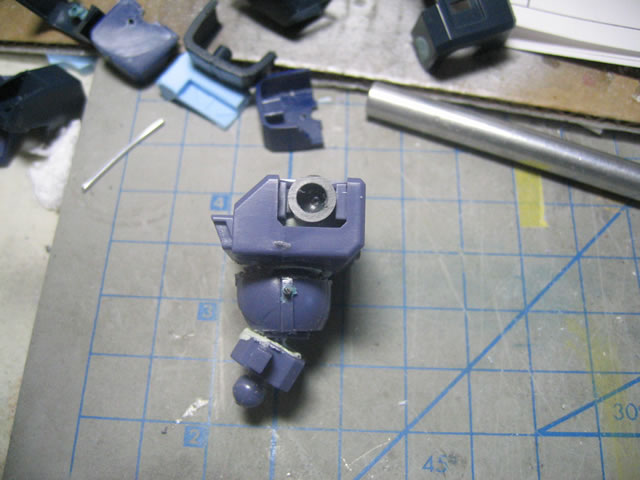
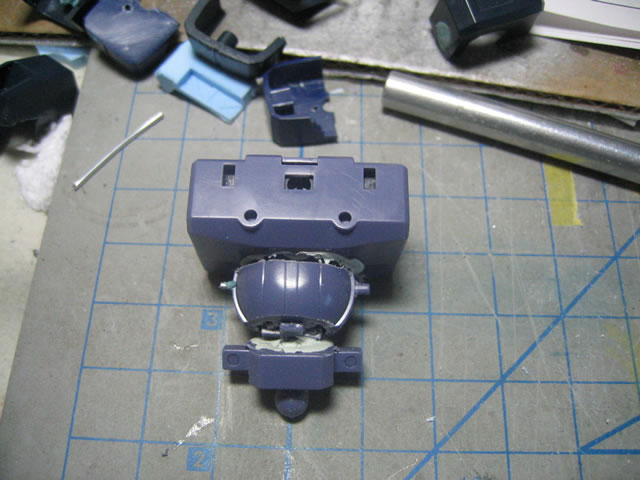
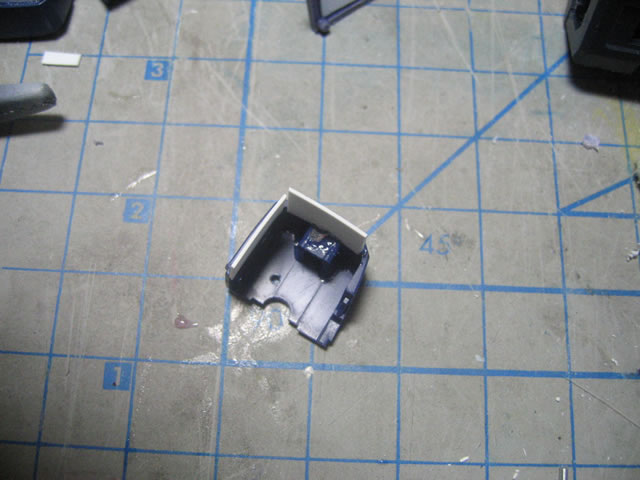
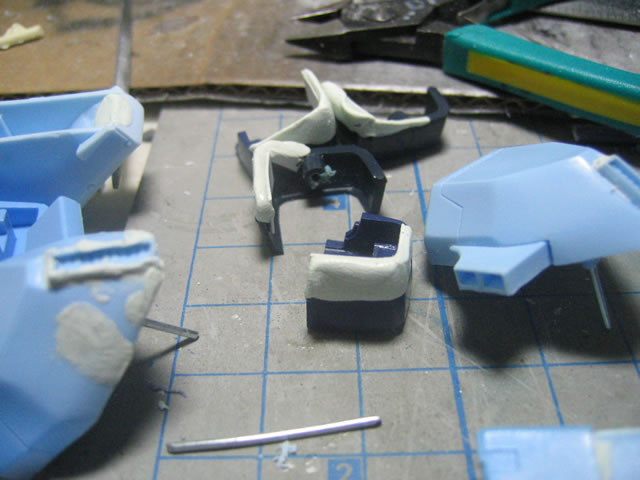
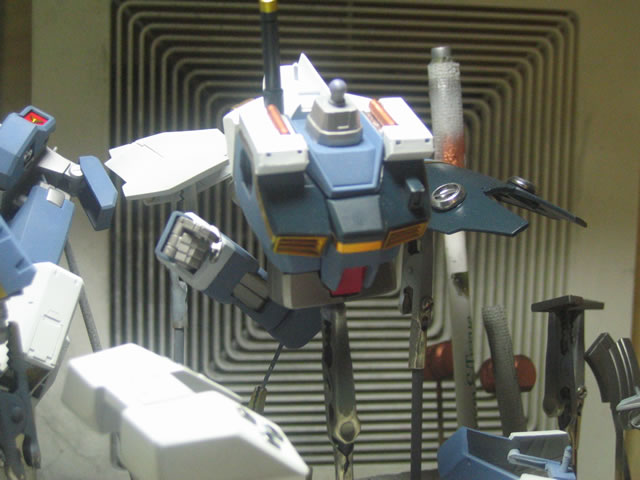
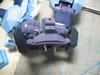
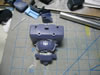
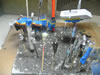
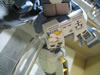
To help create the pose, I needed some modifications to
the main body and neck. The neck, stomach area, and lower torso were cut.
I then glued a strip of styrene to the Hazel's collar and attached the
cut neck section to that area. This allows for more movement for the head.
The torso parts were filled with epoxy putty in a bending position. I
then glued stripes of styrene to the lower torso armor sections. The styrene
was for structure purposes. From here, I added epoxy putty and essentially
this extends the two torso sections. Hopefully this looks good when it's
completed. The pictures below illustrate the above process:


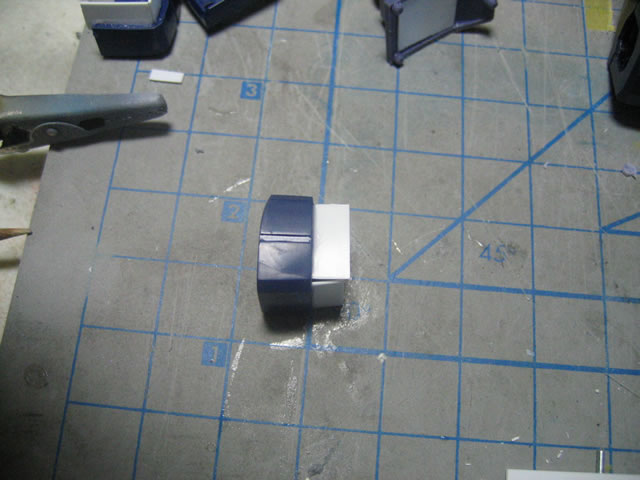
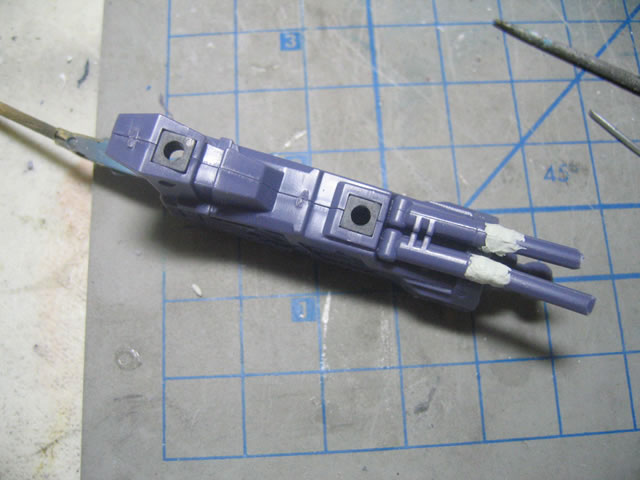
Following this I added some length to the internal leg details.
And puttied the areas of holes marred details in the resin kit. Next up
will be the sanding processes
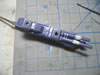
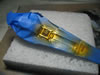
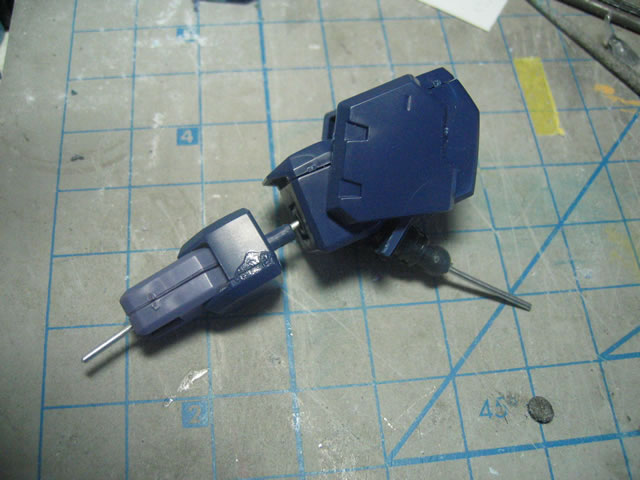
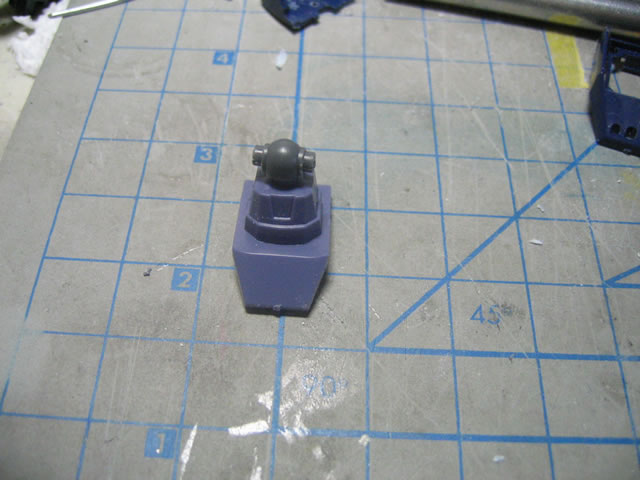
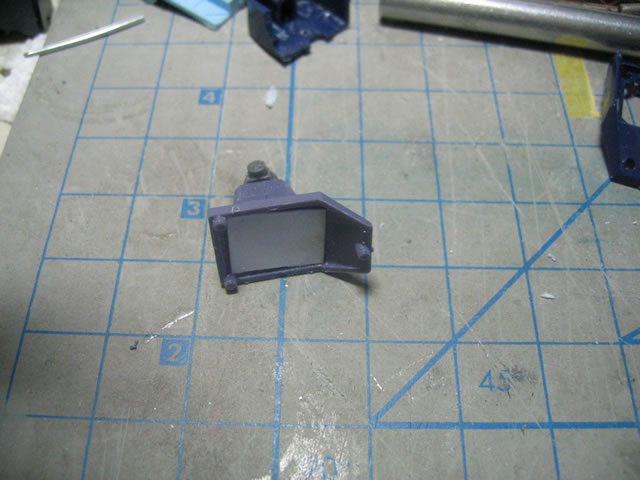
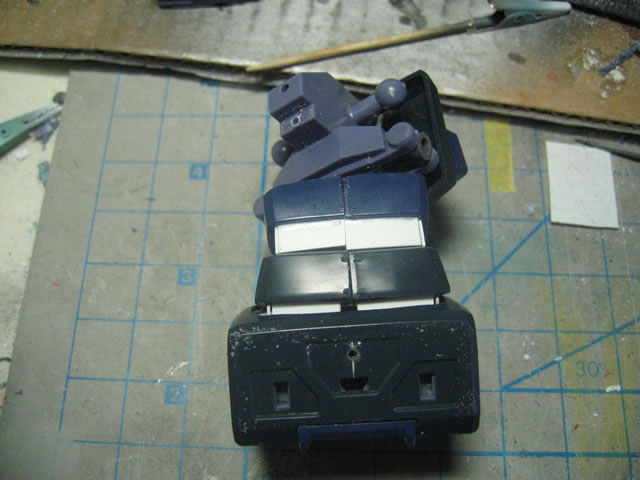
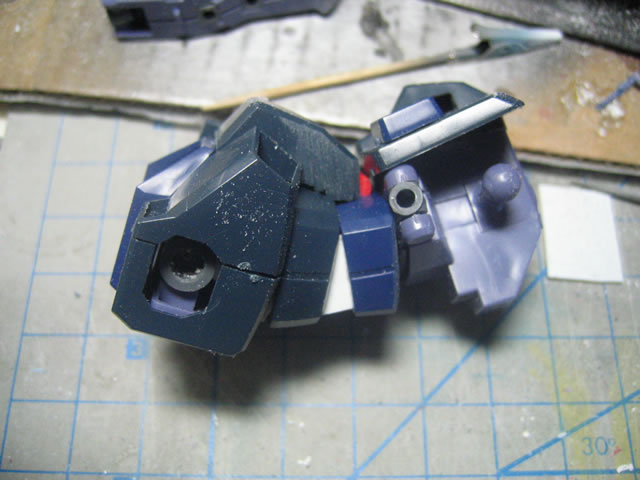
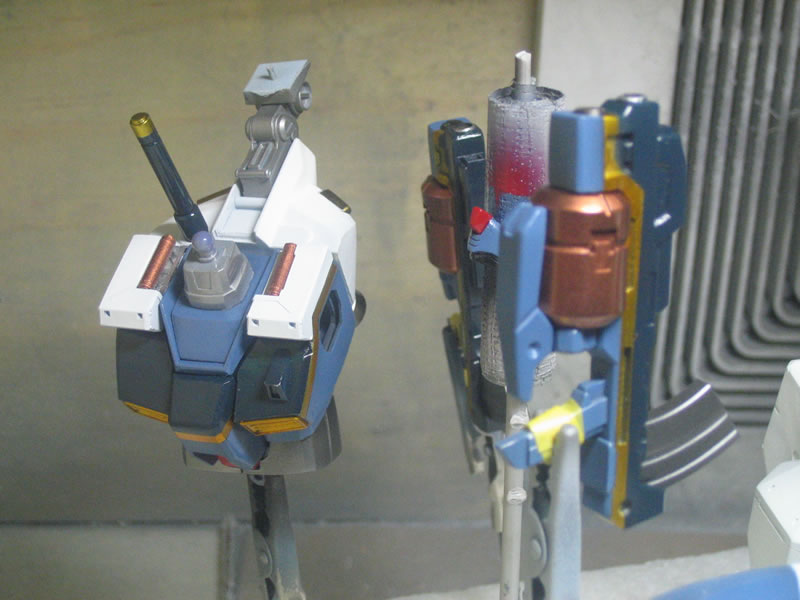
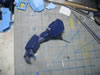
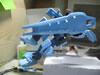
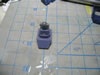
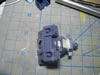
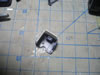
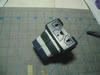
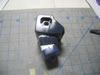
This final picture is the rear veniers. I've had some folks
ask some questions about that particular part, and here is what I have.
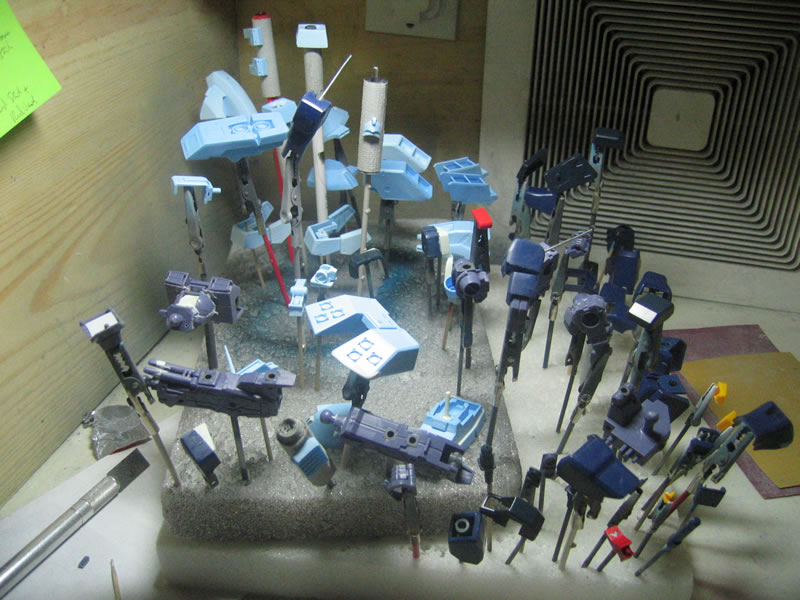
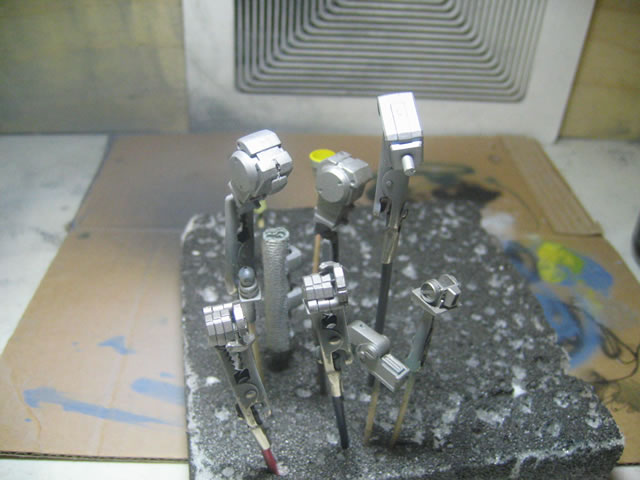
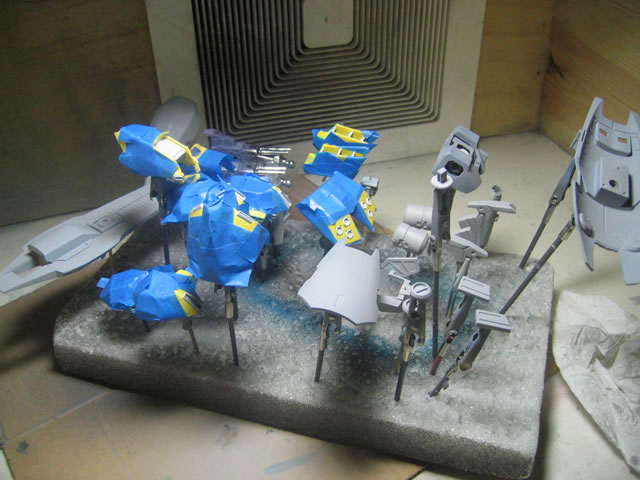
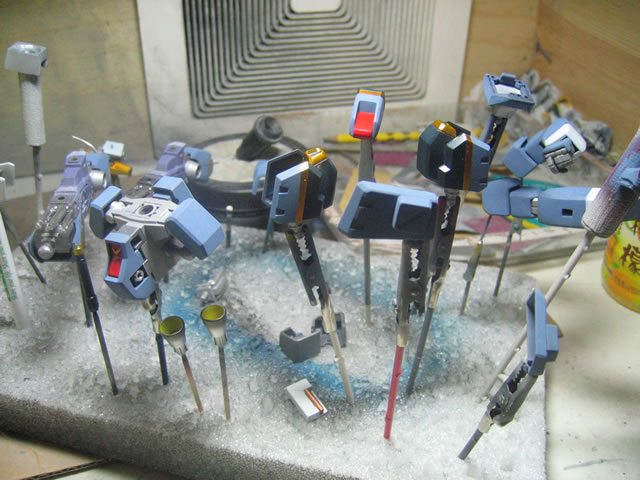
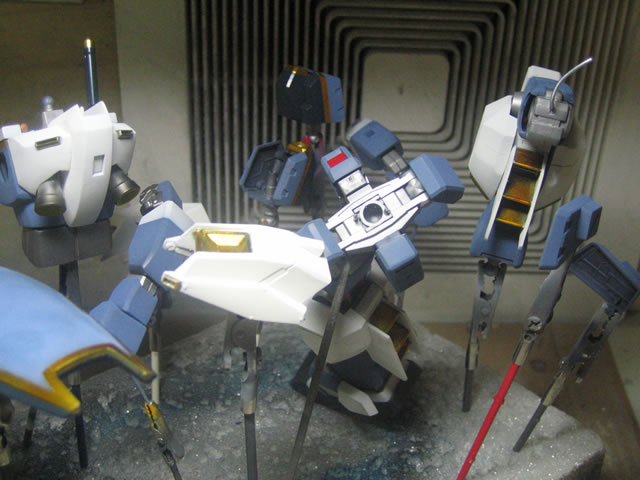
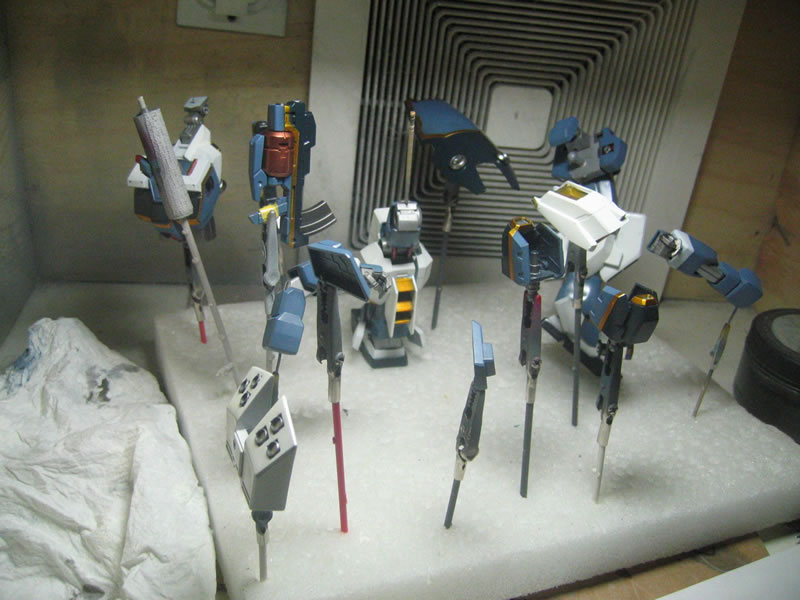
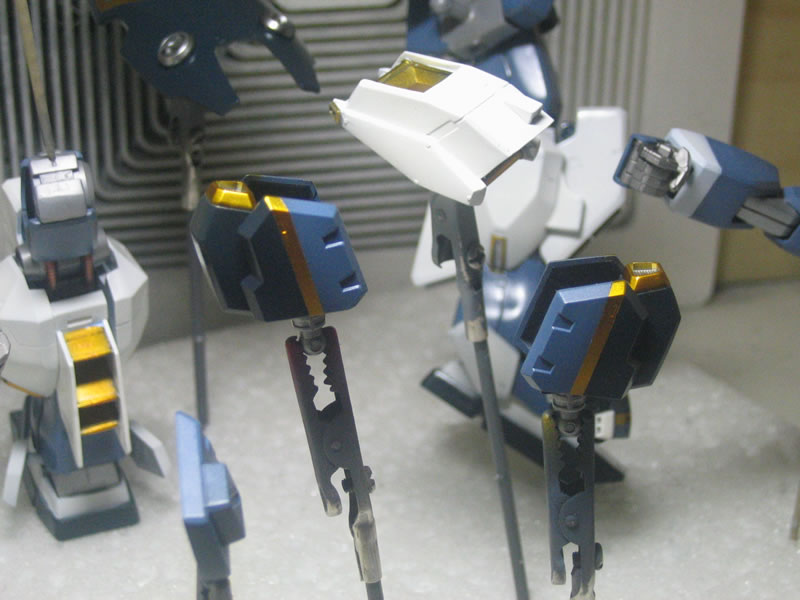
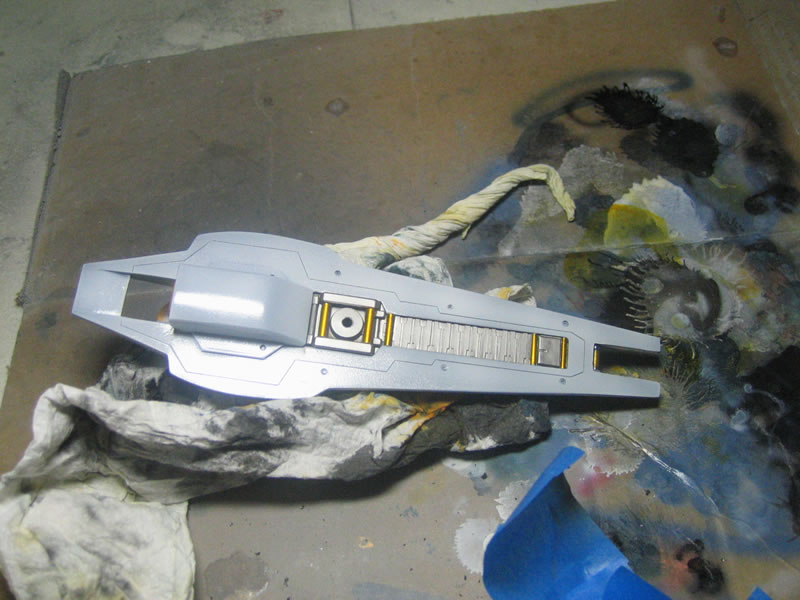
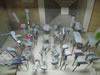
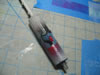
July 19, 2005. A small little update. The following pictures
are the parts sanded and then primed. I went back and did some additional
sanding and priming for some of the surfaces that had problems. I have
one final fine sanding session and the parts should be ready for paint.
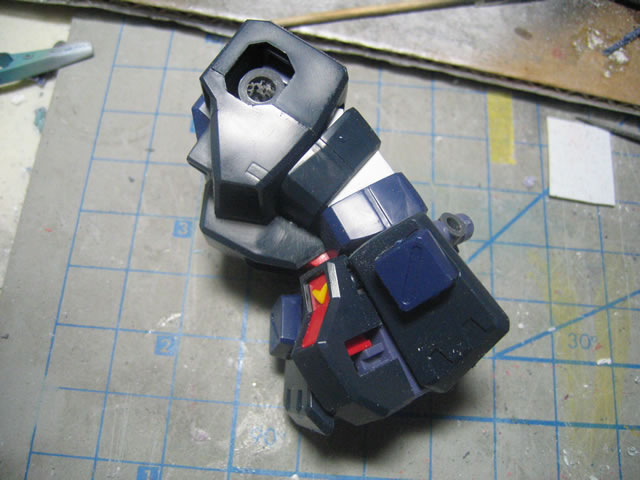
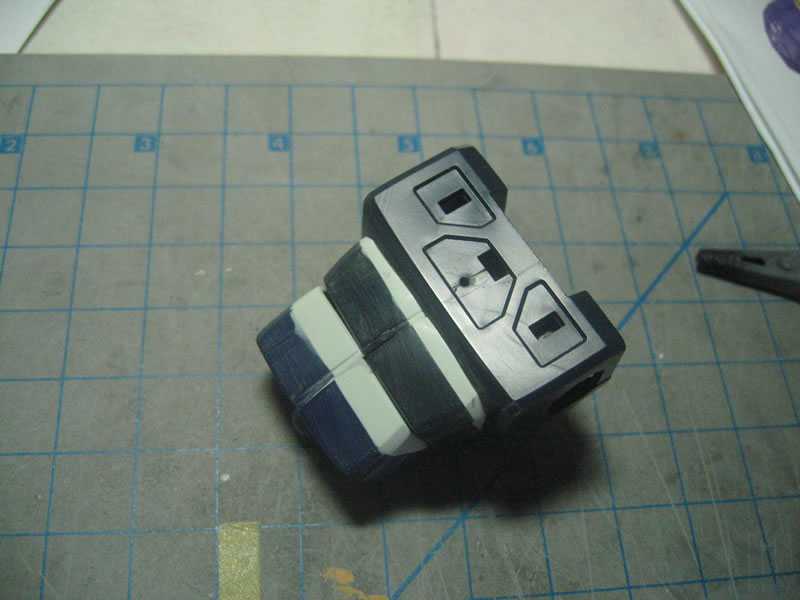
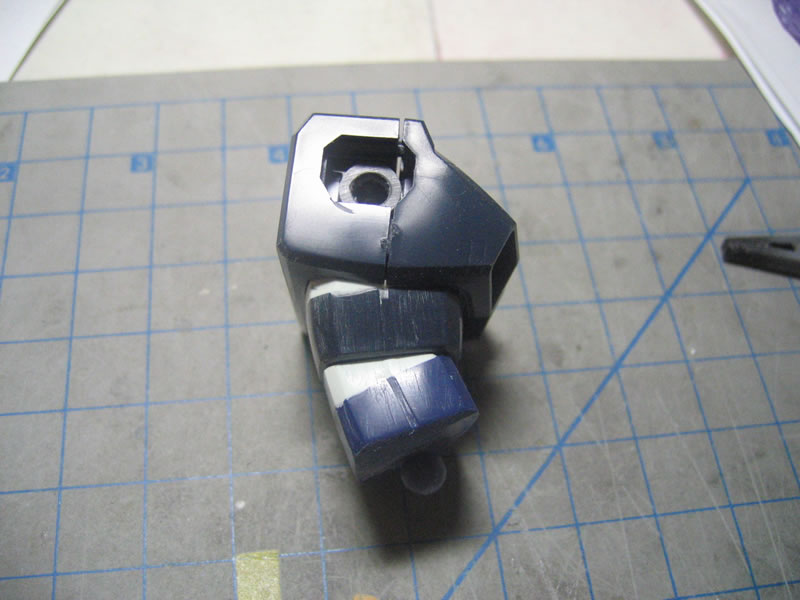
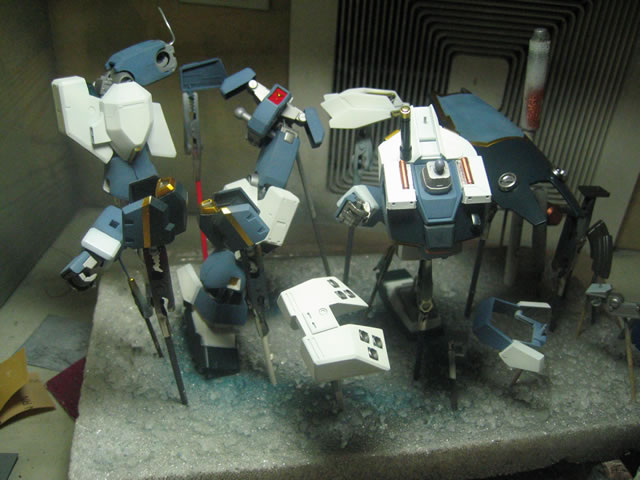
Below are pictures of the modified torso put together. I
have since primed, sanded, primed again and re sanded.
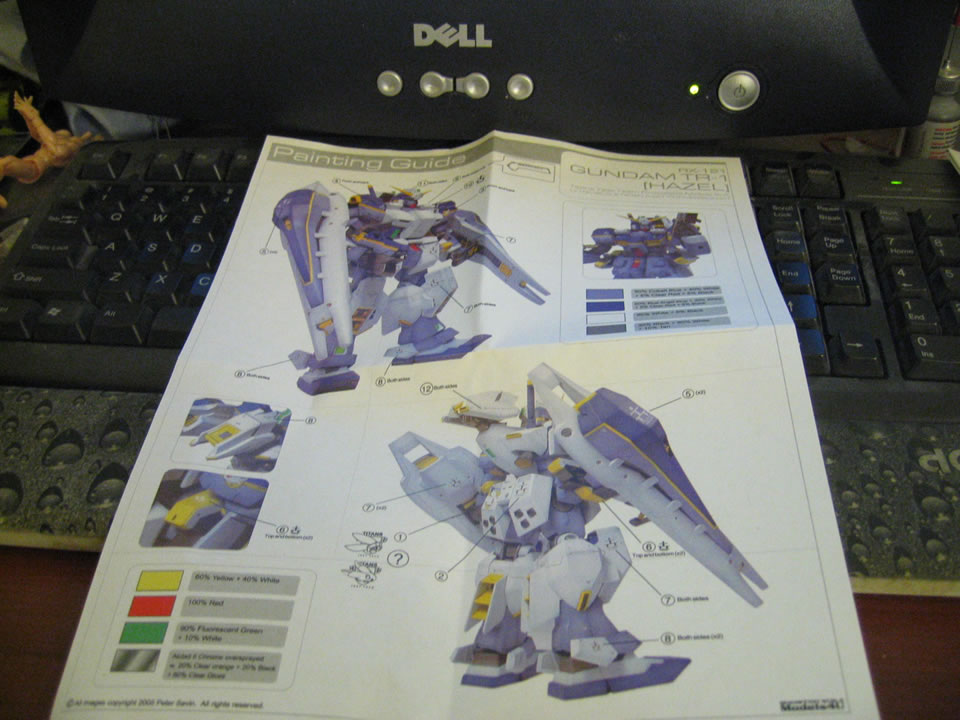
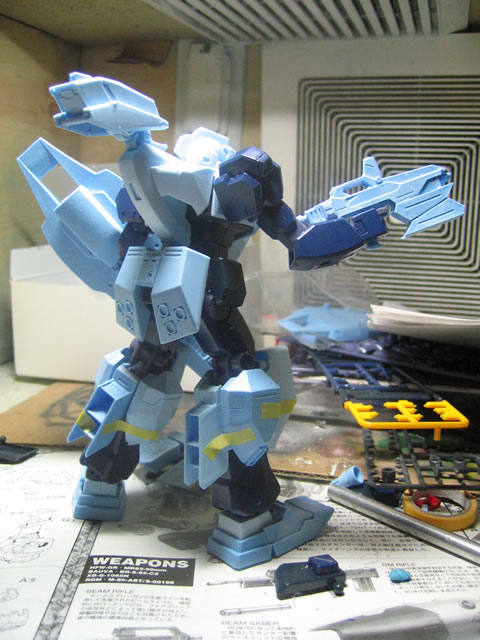
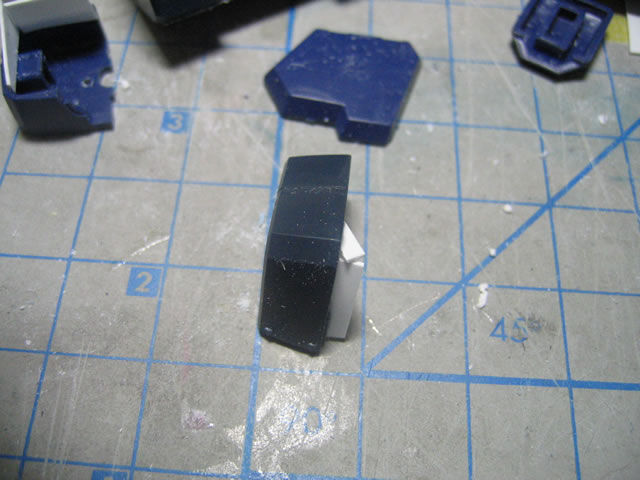
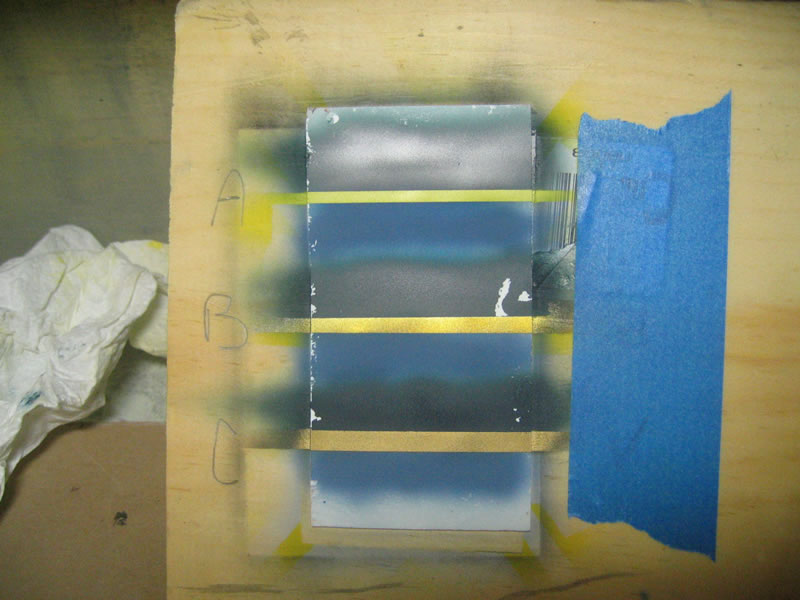
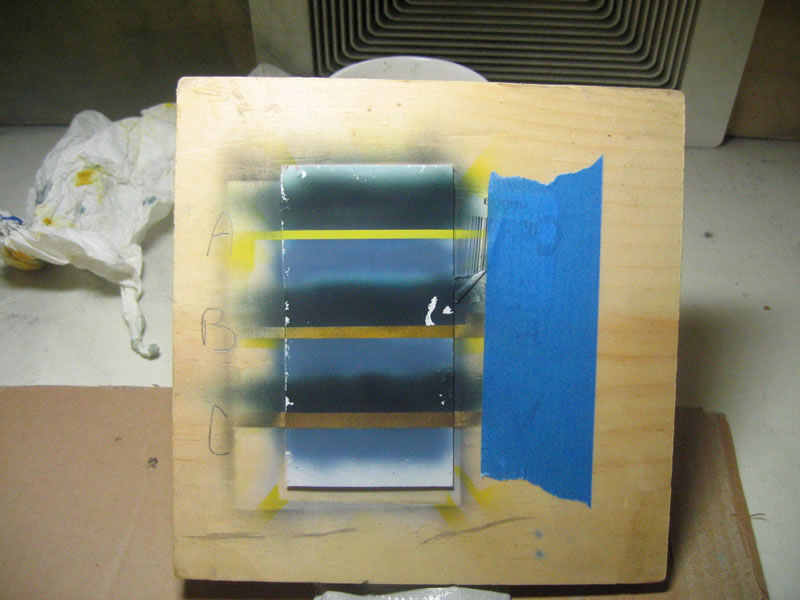
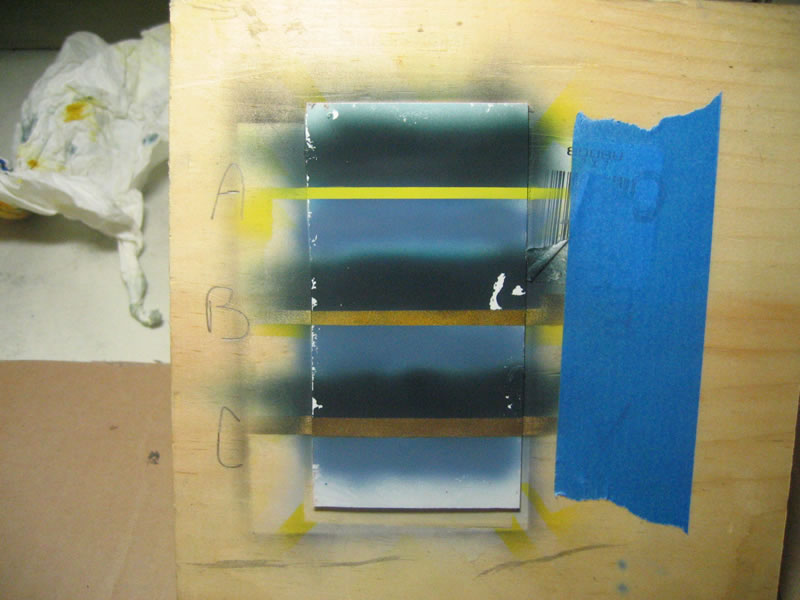
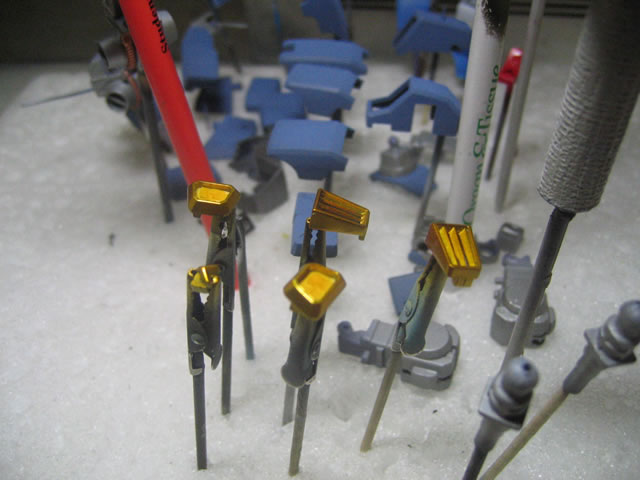
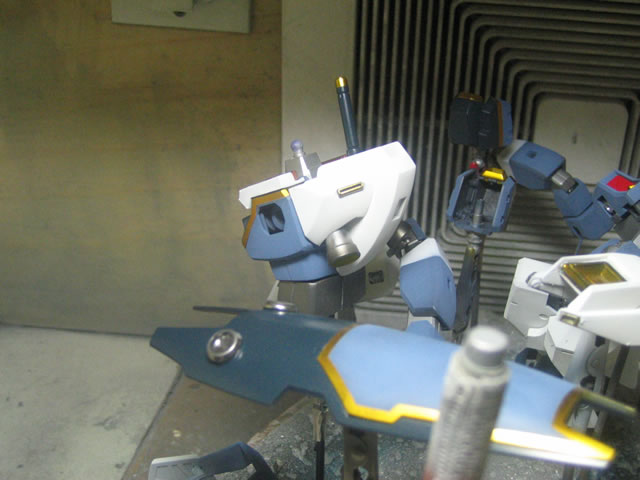
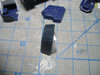
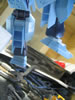
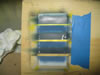
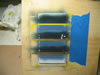
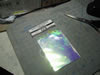
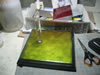
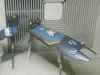
Below are a couple of different angle/lighting shots of
the colors I plan to use. I will be using the standard AOZ color scheme,
however; from the influence of another modeler's (MikeC100uk from the
HobbyFanatics forum) use of gold in lieu of the yellow; I'm considering
the use of gold as well. The below strips are labeled A, B, and C which
are 60% yellow + 40% white; 60% clear yellow + 40 % clear orange over
alcad chrome; and finally alcad pale gold. I have yet to decide which
color choice since it will be the last color painted onto the kit and
there is no rush to make a decision.

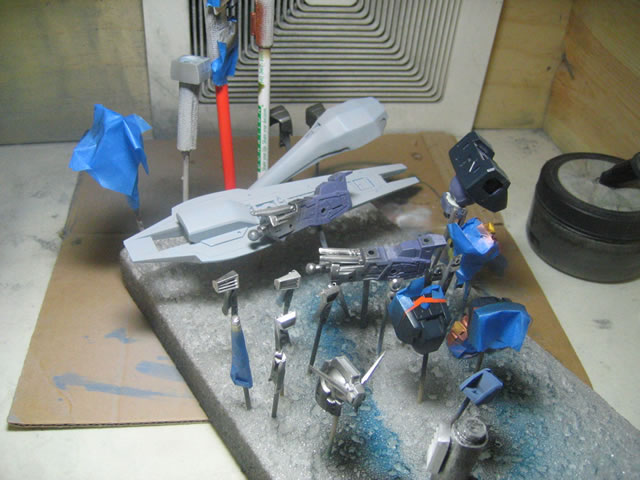
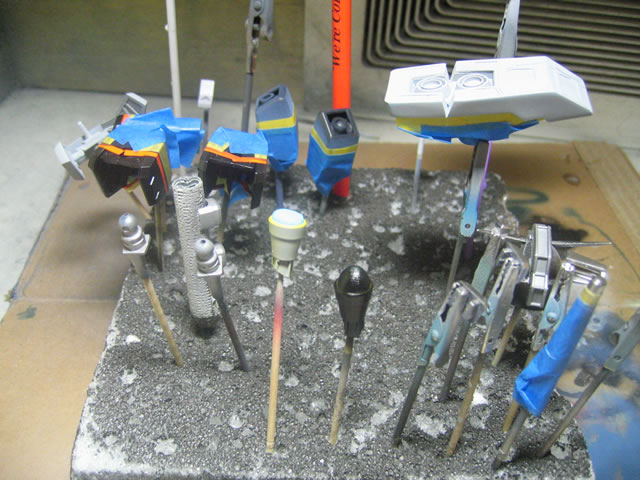
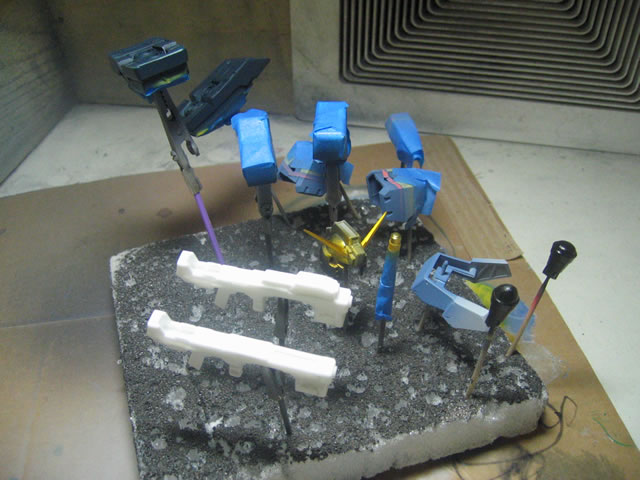
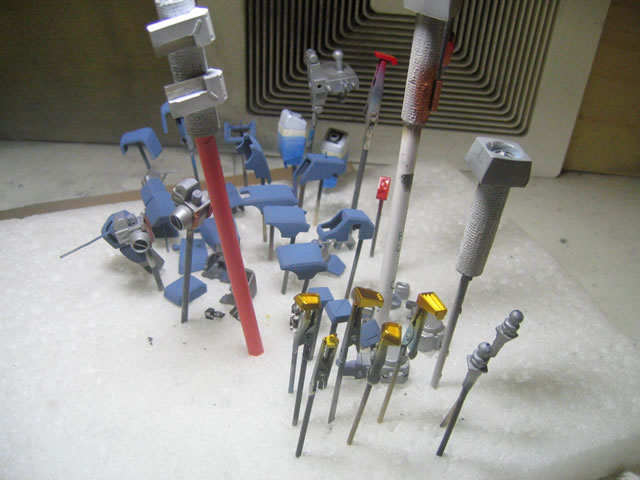
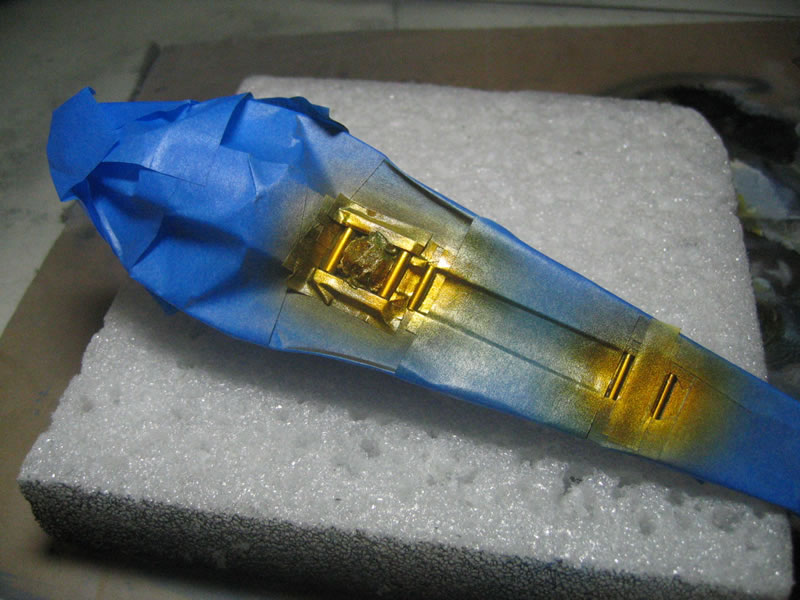
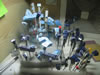
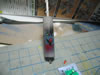
July 25, 2005. I decided to go with option B in the yellow/gold
strip paint color. This added to the time it took to progress through
painting. Another issue I had was that the paint wasn't sticking too well
to the resin. This was even after washing the pieces in soap and water,
sanding, and another washing. I used Mr Surfacer primer which has always
had good effects for me over resin, but this time I just kept getting
paint chips when removing the masking tape. So the painting process was
prolonged even more so because of constant rework that was done. But,
got a lot of painting done and I'm about 97% completed with the painting
process. I still have a small amount of painting left to do on the head
and the guns. After this will be the future, decals, future, panel lines
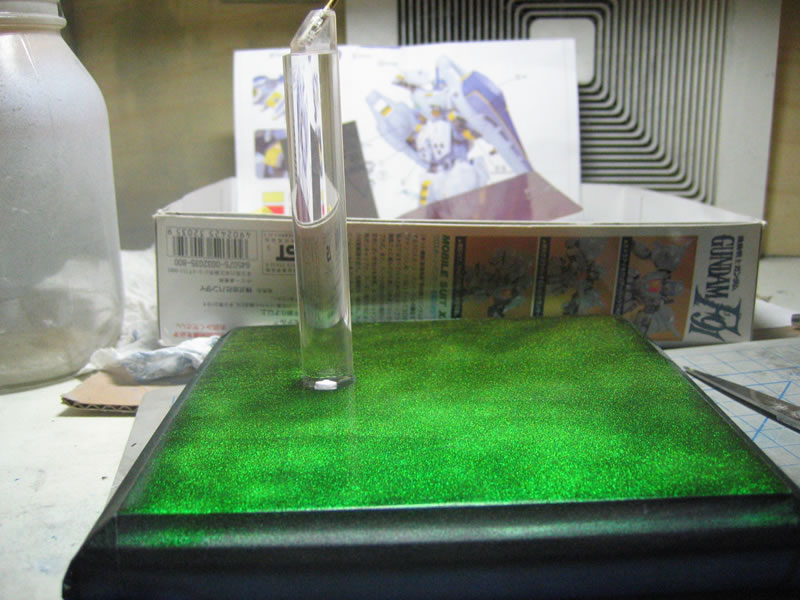
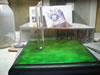
and final satin/matt finish. I have also started on the base which will
be just a simple display stand using an acrylic rod and a wood base. So
far I have sanded and primed the base. Below are pictures of the painting
process.

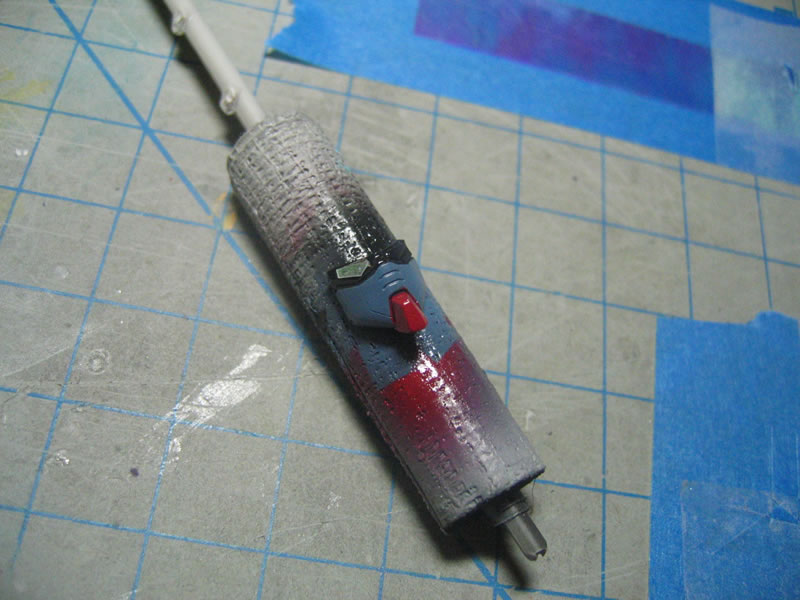
July 28, 2005. Big update. First up are a couple of pictures of the parts
after future was applied:
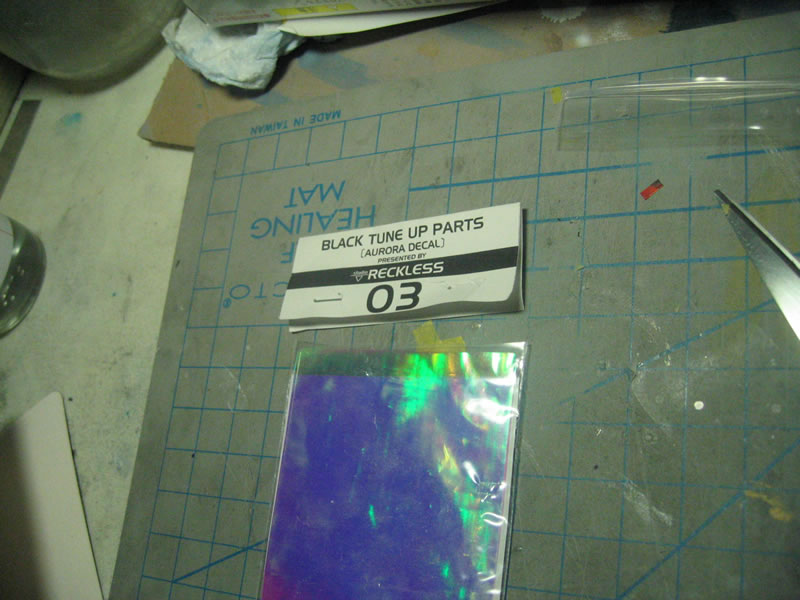
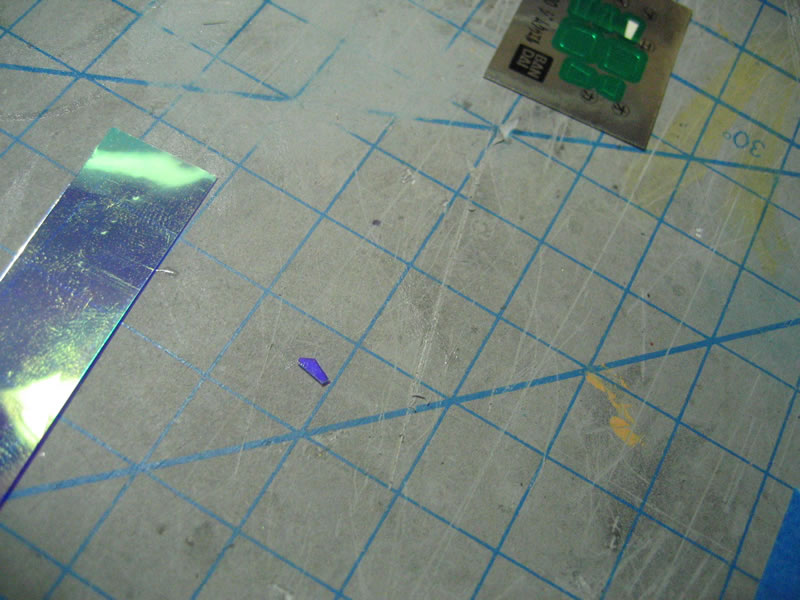
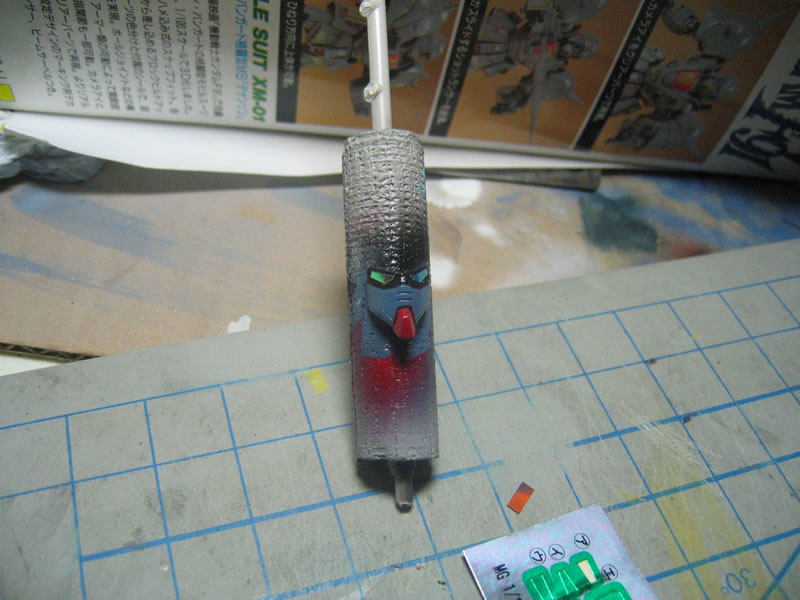
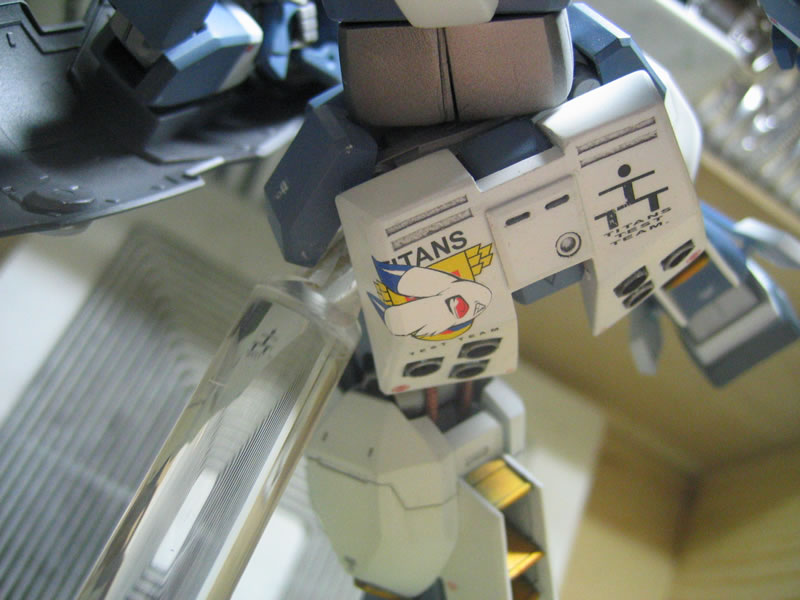
Below are pictures for applying Studio Reckless's Aurora
Film Decal. The stuff reflect light in a pretty interesting spectrum of
colors and works well for sensors and eyes. The decals come in two sheets,
one thick and on thin that is folded over, so it's twice the size of the
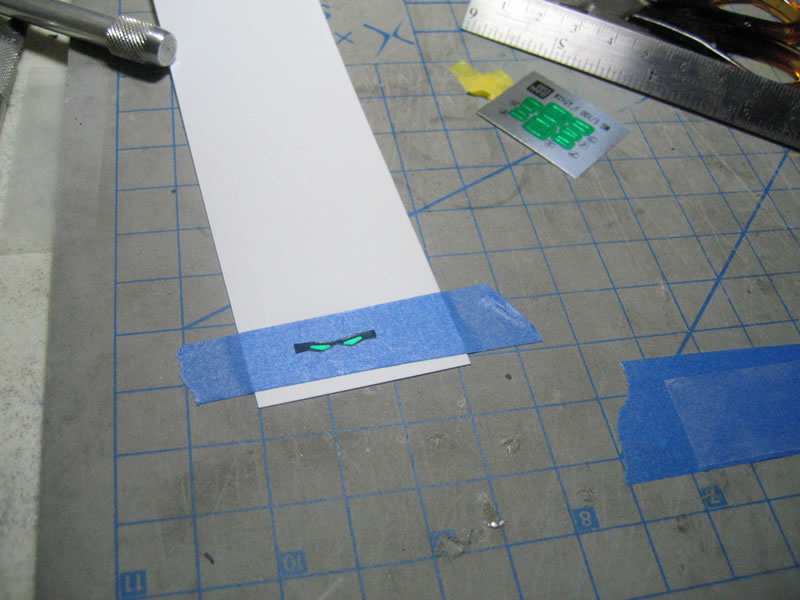
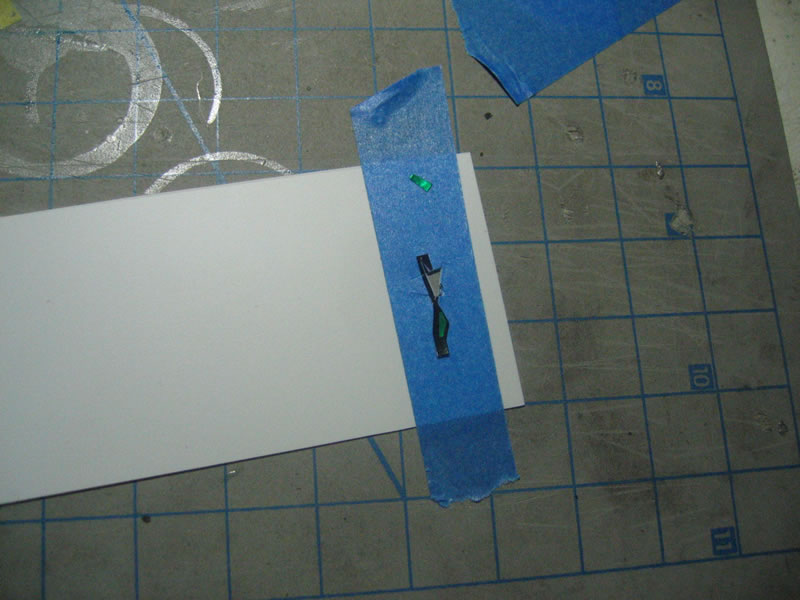
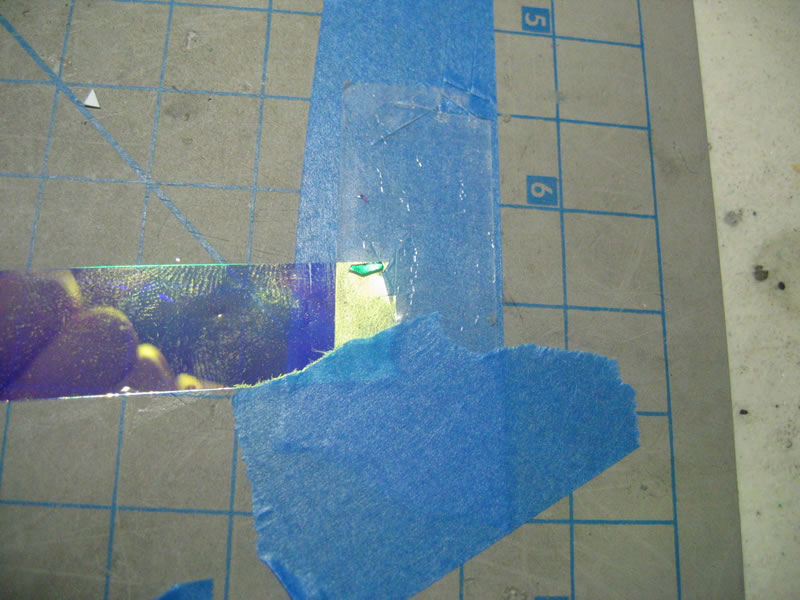
thick sheet. I'm will only be using the thick sheets. To apply this to
my model, I used scotch double sided tape. I first cut out a template
to help me with the shape of the decal I want. I used some of those foil
stickers that come with older MG kits and cut them out over some thin
sheet styrene. Then I sandwiched the aurora decal between some 3M Painters
masking tape and the double sided scotch tape. Laying the template over
the scotch tape, I just cut the decals out, peeled them off the template
and stuck them onto the model. Very easy. See the pictures below.
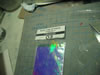


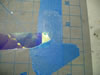
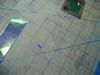
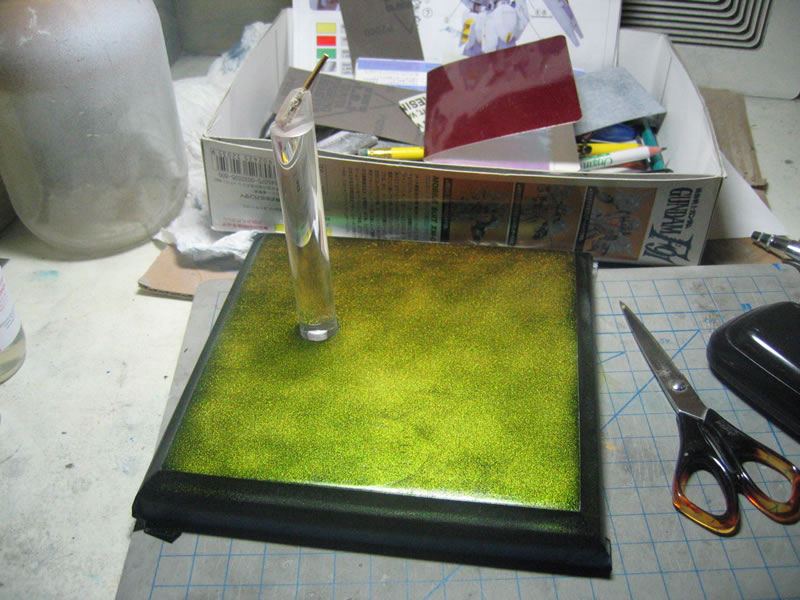
Next up is the base. I was going to use alclad chrome as
the base color but changed my mind and went with some alclad color shifting
paint. Below are pictures of the reflected color at different angles.
Hopefully this will meld well with the kit.

Below are pictures of the parts after I had applied decals,
added another layer of future, added an enamel wash, and finally the final
coat of "satin finish" future (80% future + 20% flat base) The
skirt armor picture is a comparison picture, right side is after the satin
finish future.
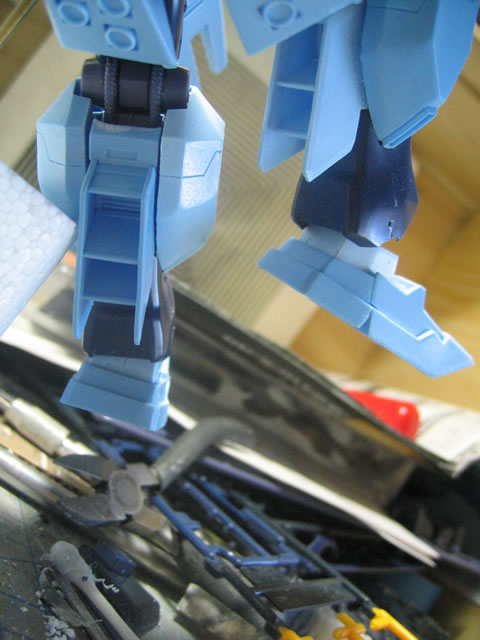
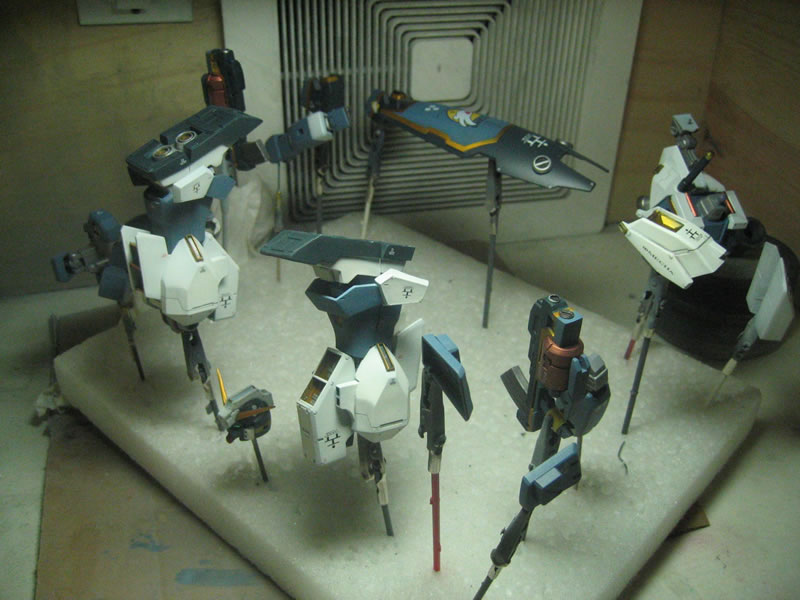
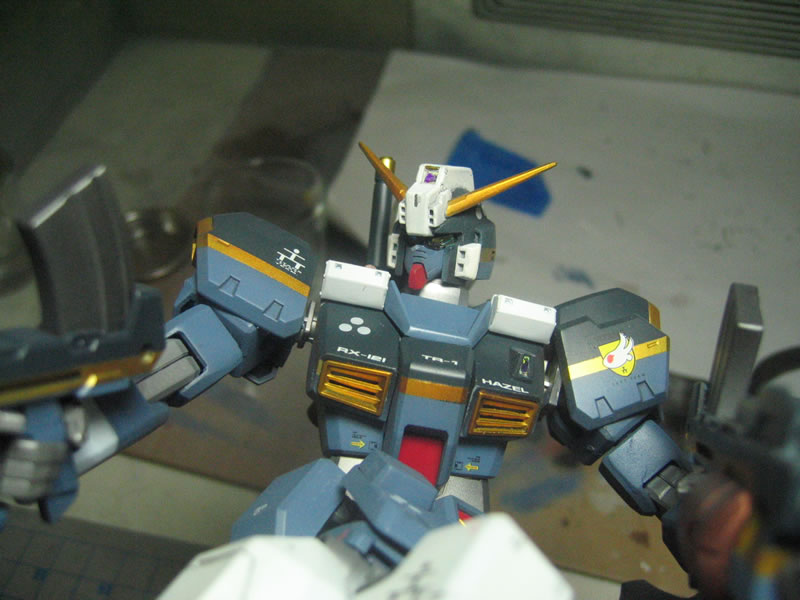
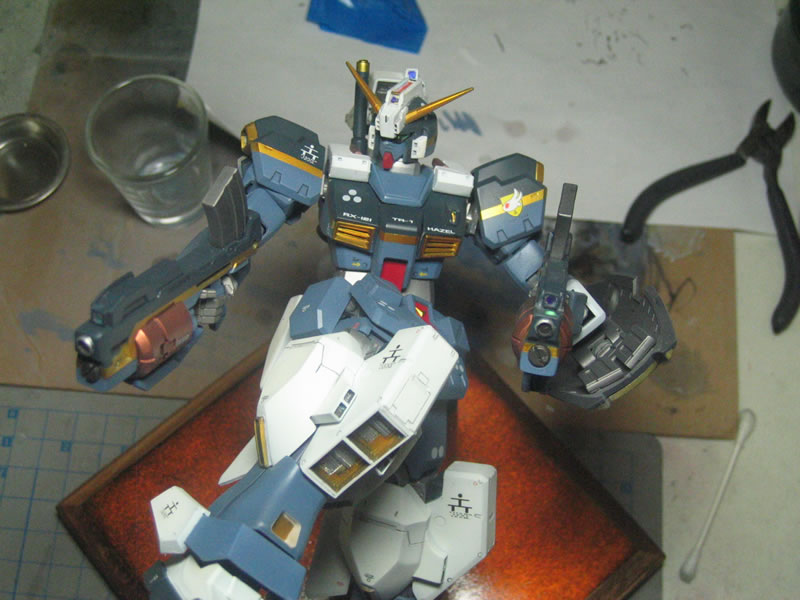
I couldn't help myself, I needed to put the damn thing together
to see what it looks like completed. I waited about three hours after
I finished spraying the final coat of "satin finish" future.
Below are some sample pictures. I'll let the kit sit for a bit and then
go back for a couple of touch up things then take final pictures in proper
lighting and whatnot.


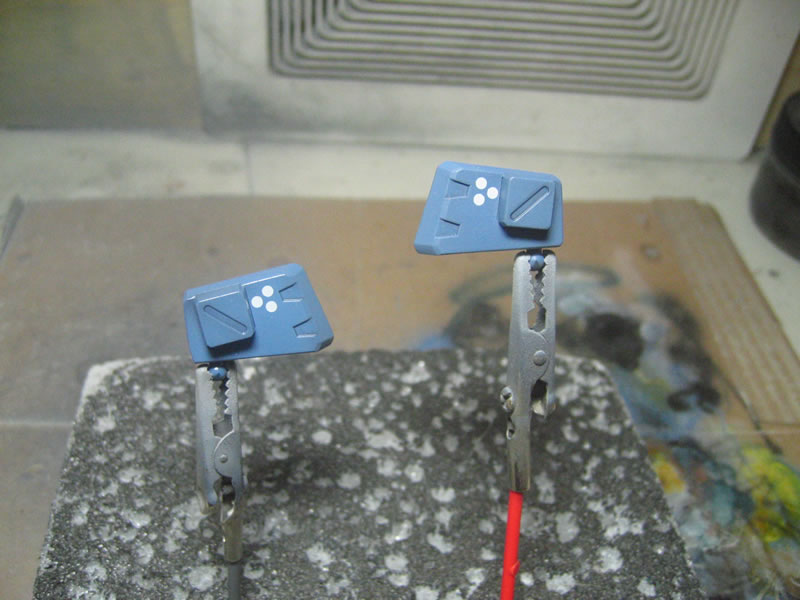
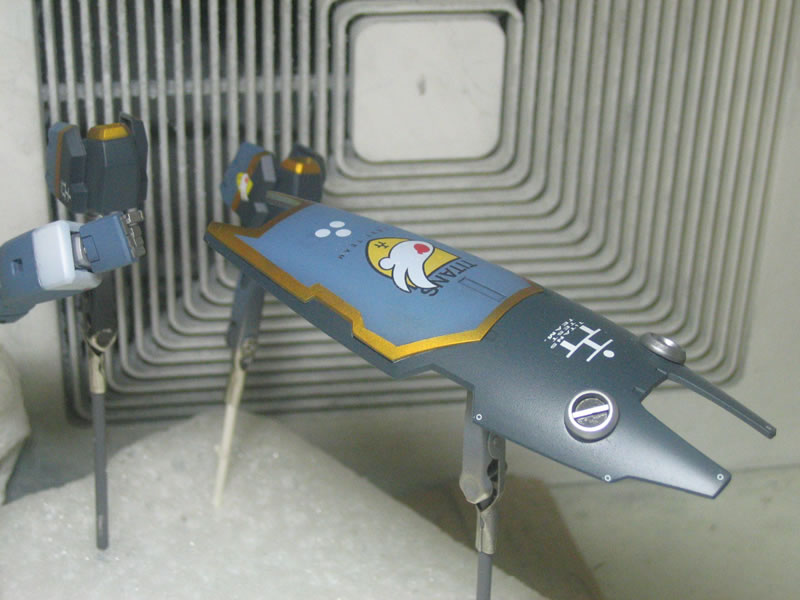
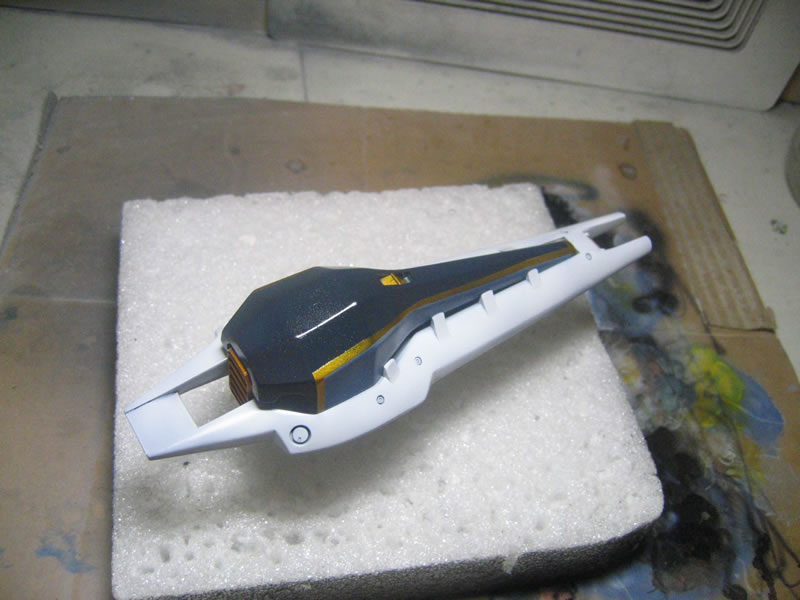
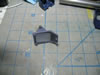
August 2, 2005: Update. I repainted the head and a few other
problem areas. I also went ahead and put together one of the booster shields
that came with the Hazel kit. I still feel that it's entirely too heavy
for the pose I have going, but I'll find out sometime the end of this
week. Right now it'c painted with a coat of future over it. I still have
some minor detail painting, decals, another coat of future, a wash for
the panel lines and finally the last coat of satin future. Below are a
few progress pictures of the booster shield.