Back to work on the RGM-79SP-2
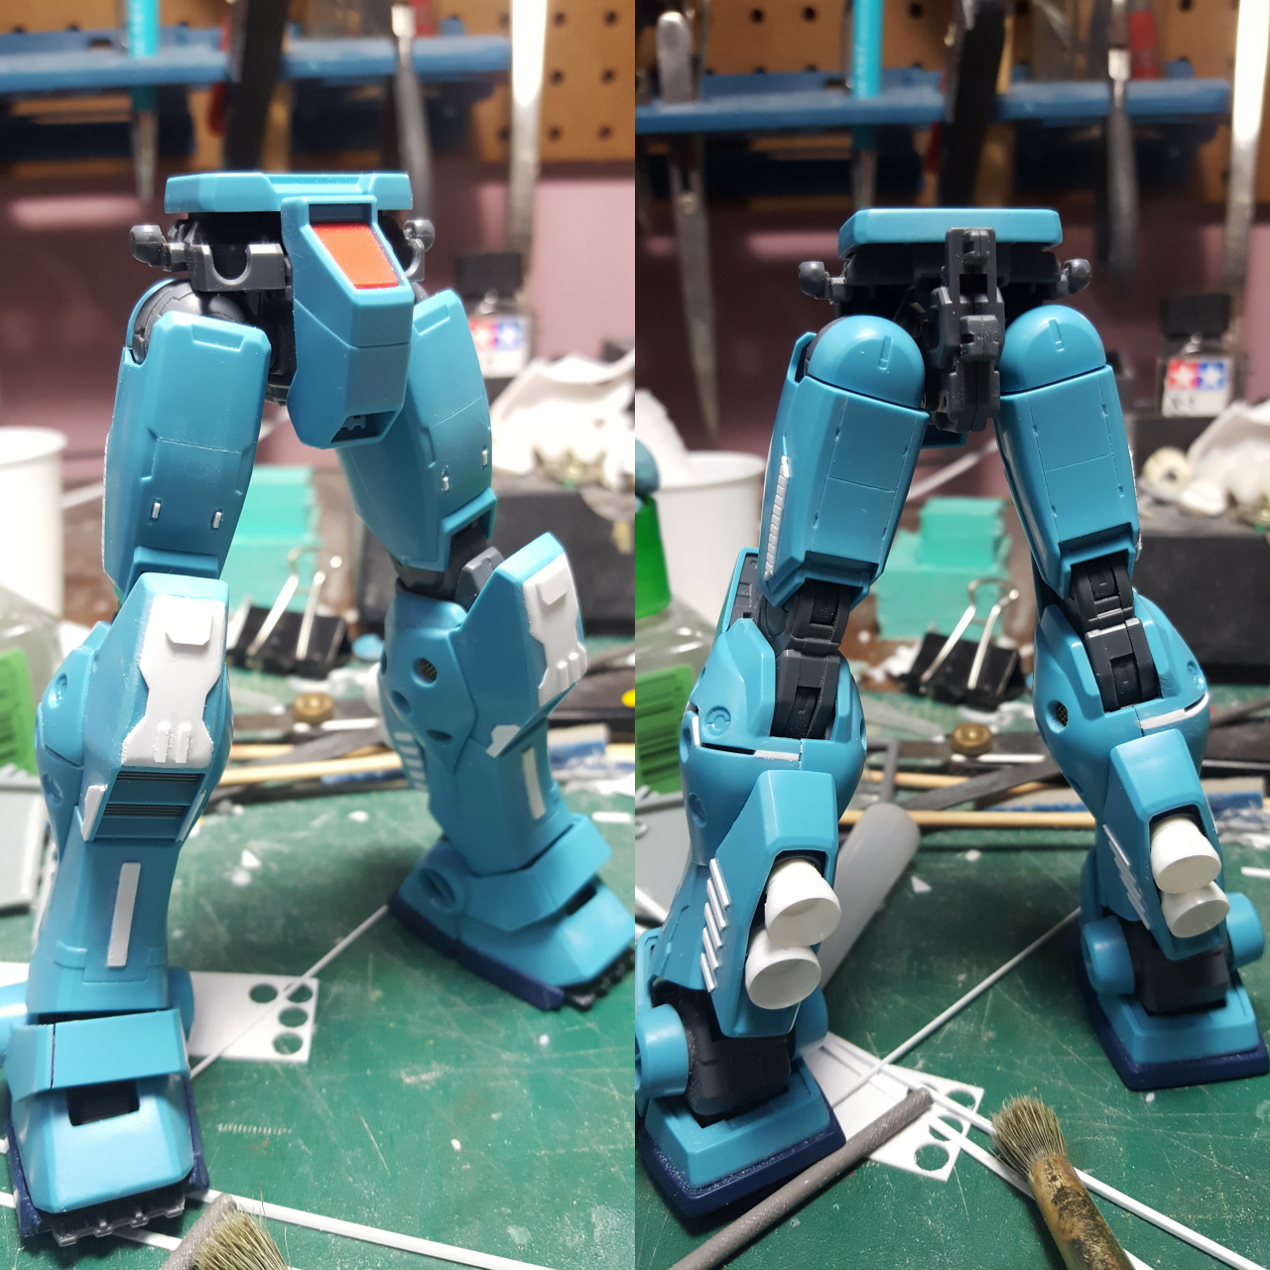
Finally getting back to work on this project. Taking a two week vacation really breaks the momentum I had going for this kit. I actually thought about bringing pieces of the thing with me to work on while I was in Tokyo and Hong Kong. Then, knowing my damn luck, I would have lost said pieces. So I just quit cold turkey and left everything here. Plus, I really didn’t have time to do any sort of model building while I was gone. Hell, I even got to catch up through the first half of Iron Blooded Orphans by marathoning it on my flight back as my attempt to reset my biological clock and fix the potential week long jet lag. It worked, I only ended up taking an hour long nap before landing back in LAX. Ok, enough digression. My trip to Tokyo and HK was quite fruitful. I ended up picking up a bunch of new tools that I immediately put into use. While in Hong Kong, I visited the Man 66 Hobby shop on the 7th floor of the Richmond Commercial Building in Mong Kok. I saw a damn cool cutting tool, “the Chopper II” which is an improvement on “the Chopper” that I had picked up a couple of months ago. So my first order of business when I got back was to order this via Amazon. It is pretty damn difficult to get back into building mode. So it took a few days. I didn’t quite know where to start; or actually, I wasn’t motivated enough to actually start. But over the last week, I started slow on a few pieces here and there. The majority of the work for this post is focused on the legs. We’ll start off with where I last left off.
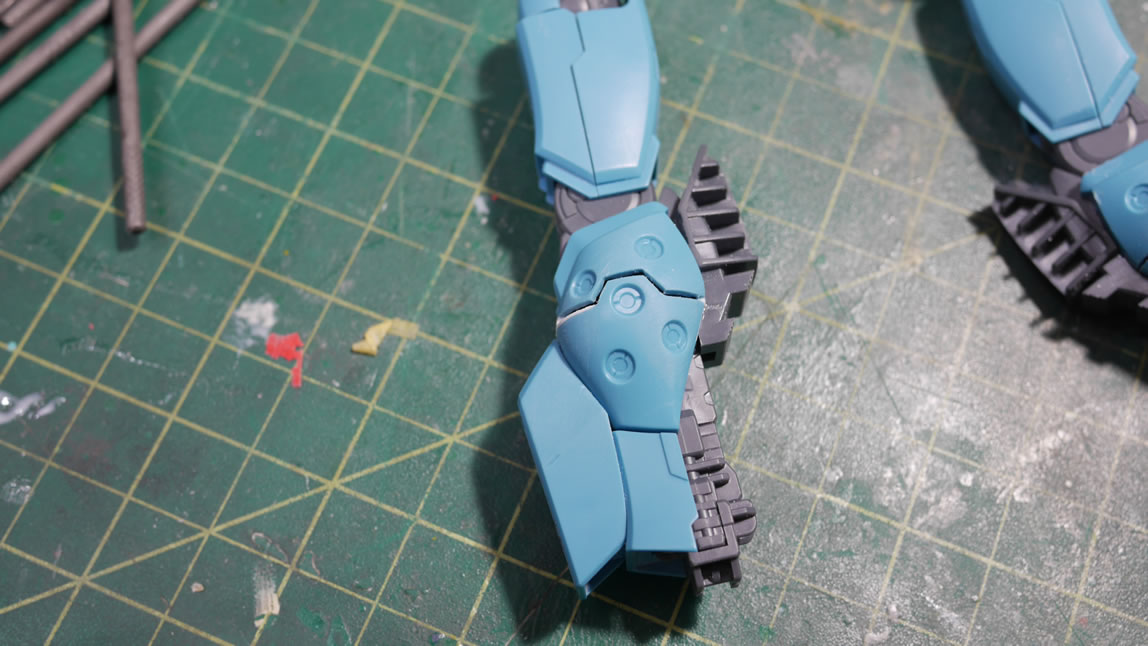
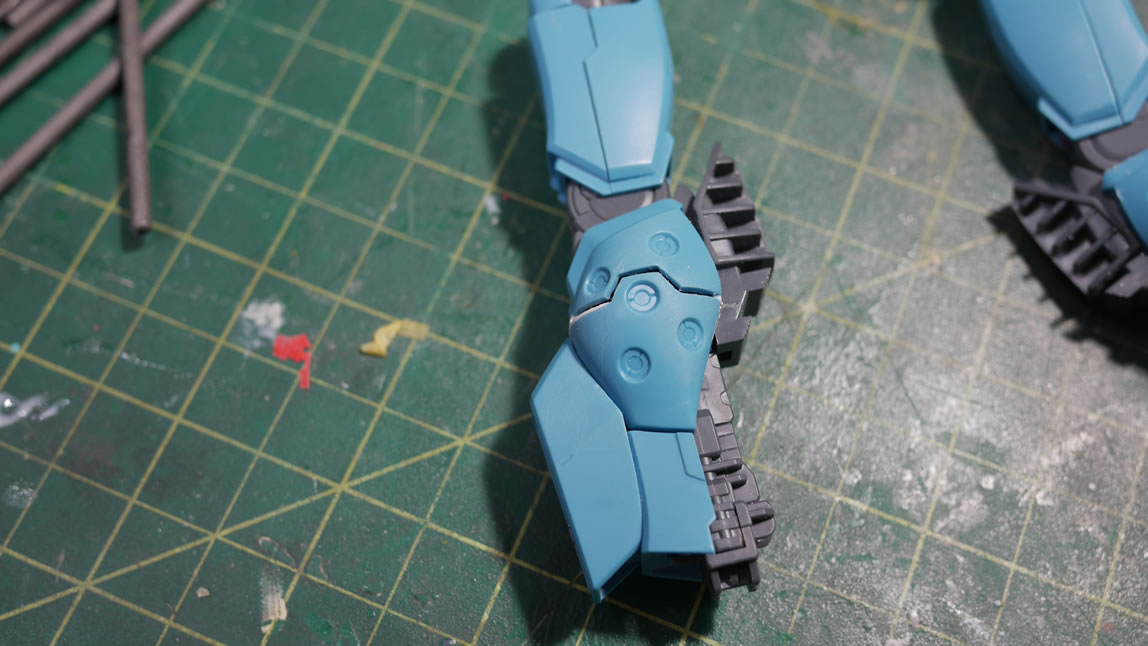
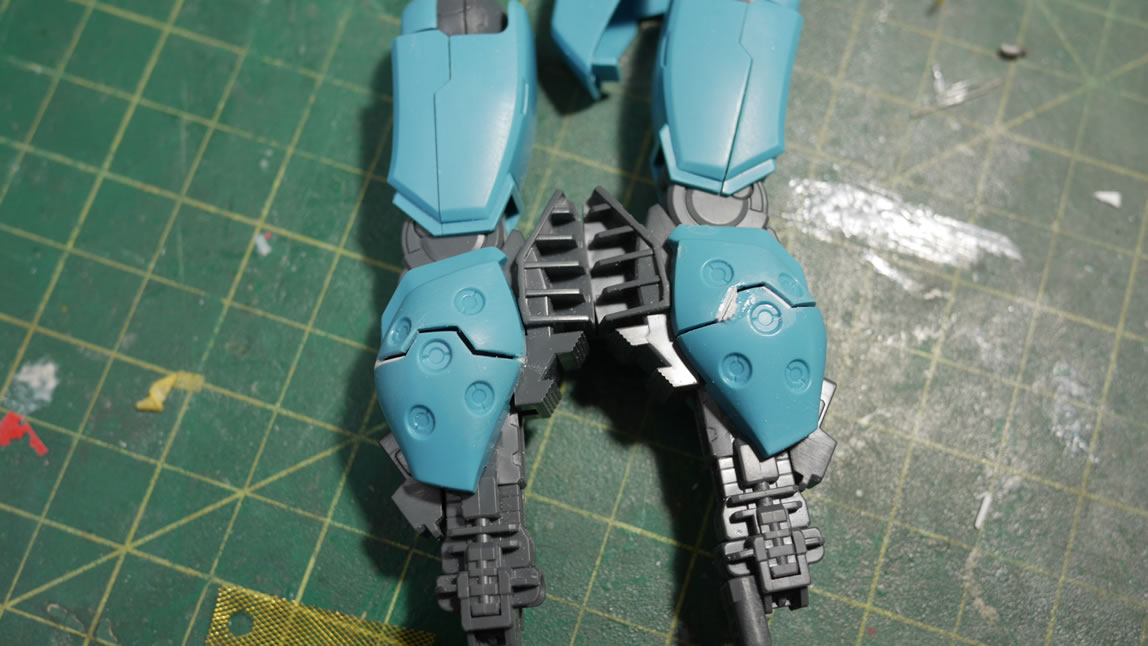
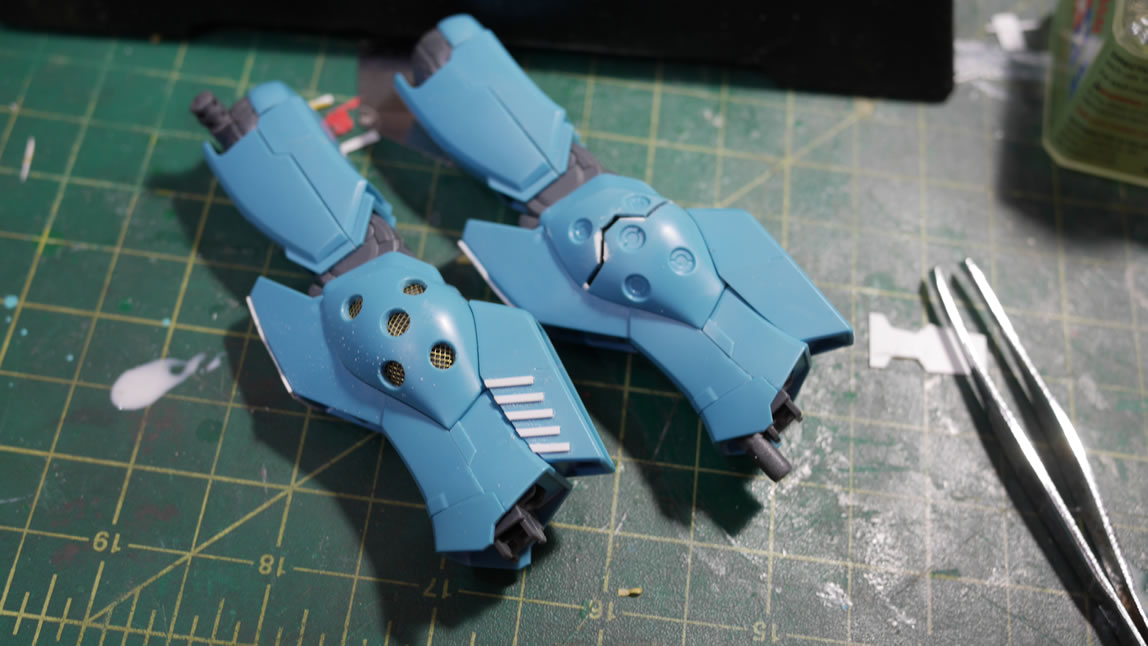
So the last update on the project, I had cut up the outer calf parts. The problem is that the cut isn’t precise. So after sanding an opening, I needed to glue some plastic back into place to rebuild some of the screwed up areas. So this past week, I’ve been slowly adding more plastic, sanding it down, test fitting, then adding more plastic back, and resanding, etc. I also glued the two halves back together so that I have a solid connection on the ends. It seems counter intuitive to cut the part in half only to glue it back together, but it makes for a much easier process for this kind of a mod. The last picture in this series shows what it currently looks like. There is still some cleanup work; but I’m progressing. I also added some strips of styrene to the back of the thruster housing. I still need to sand and prep that bit of detail.
Continued after the jump!