GM Sniper 2 Principal Painting is DONE!
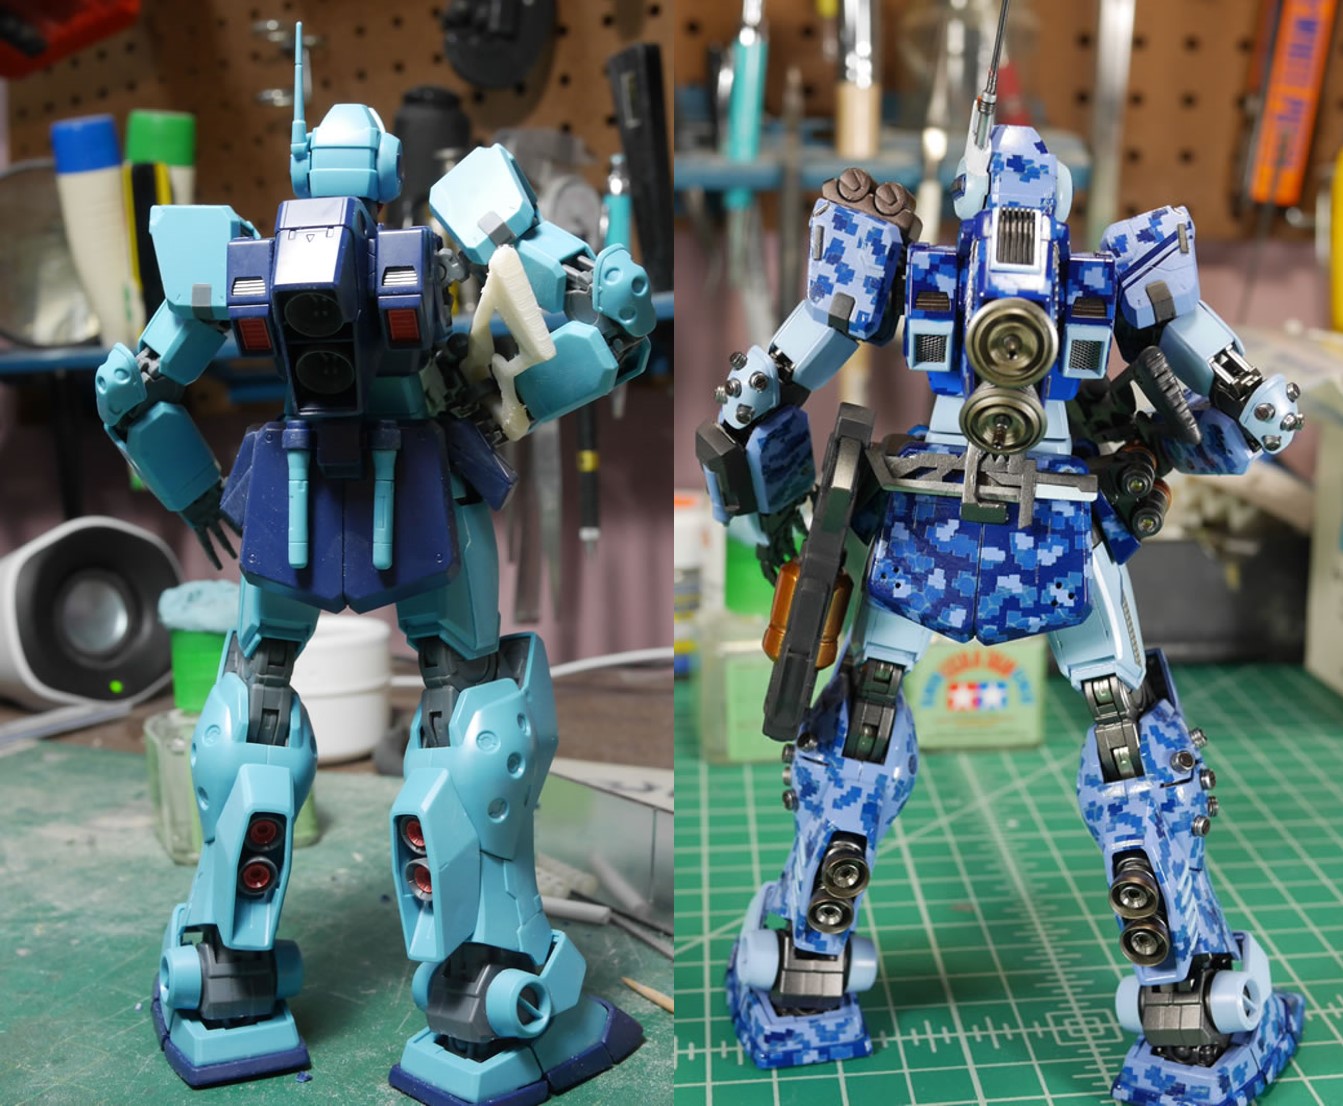
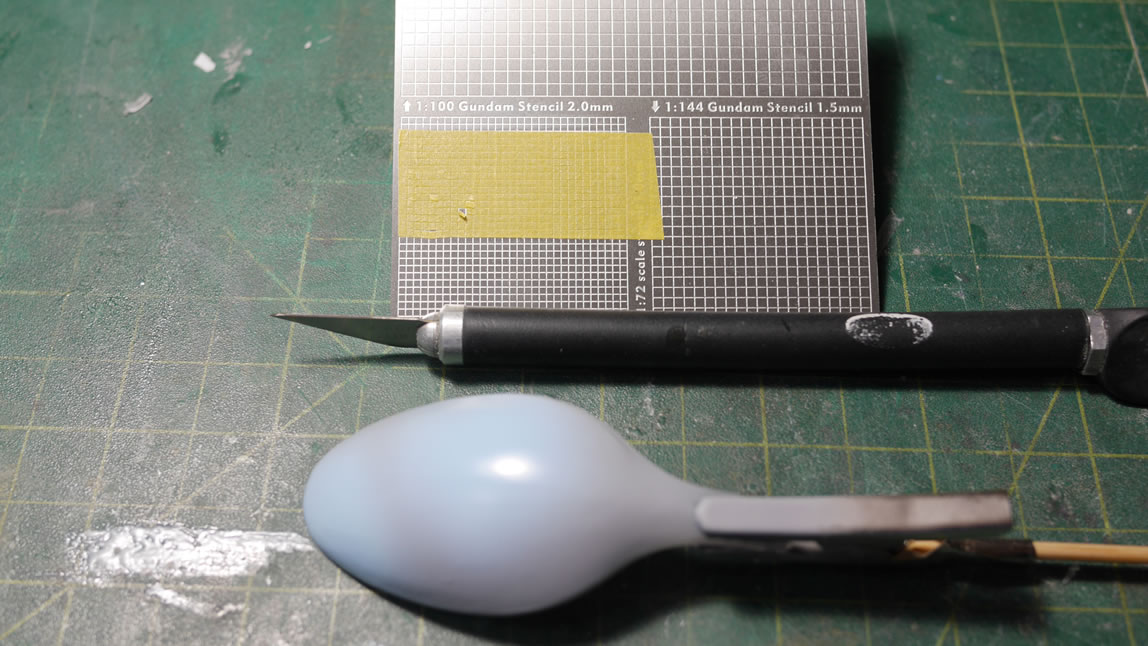
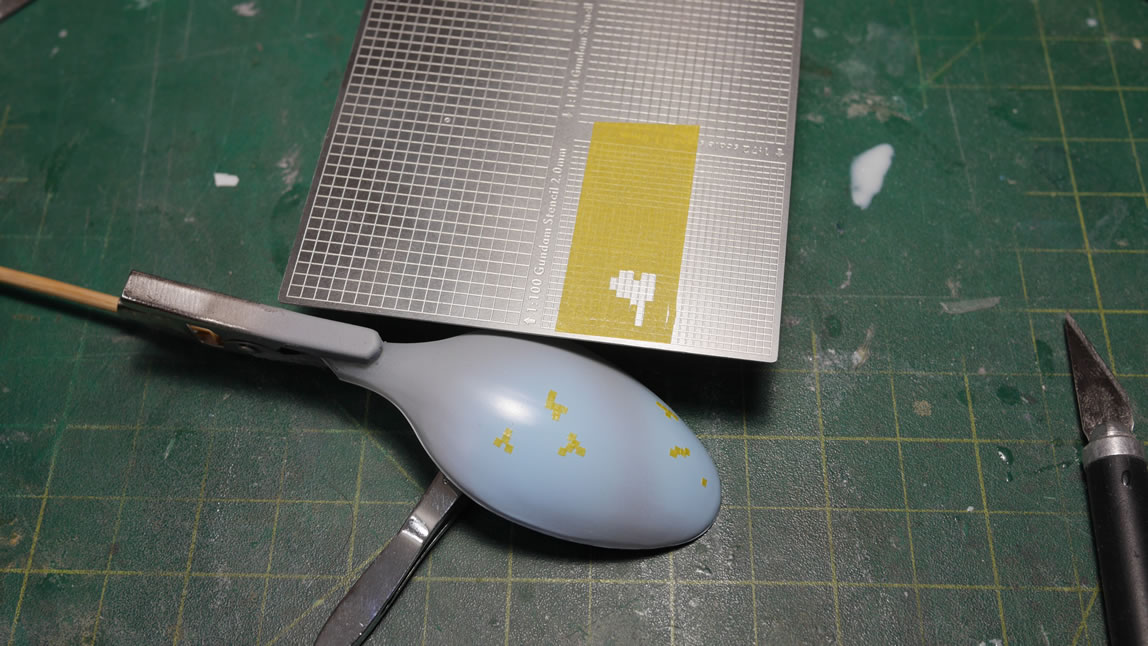
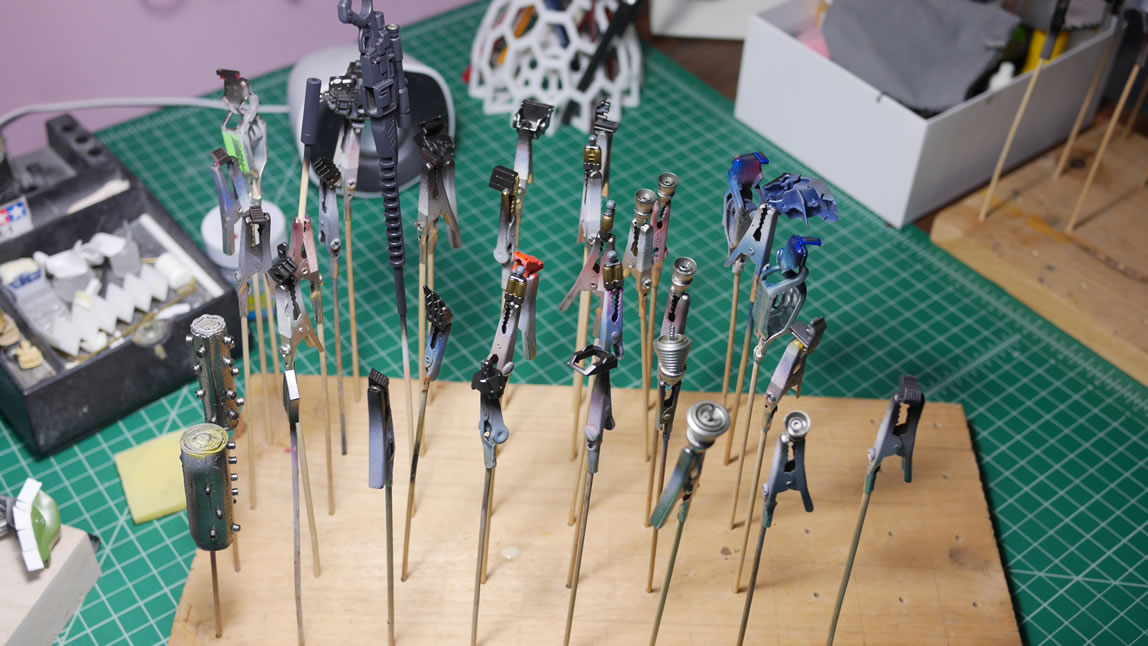
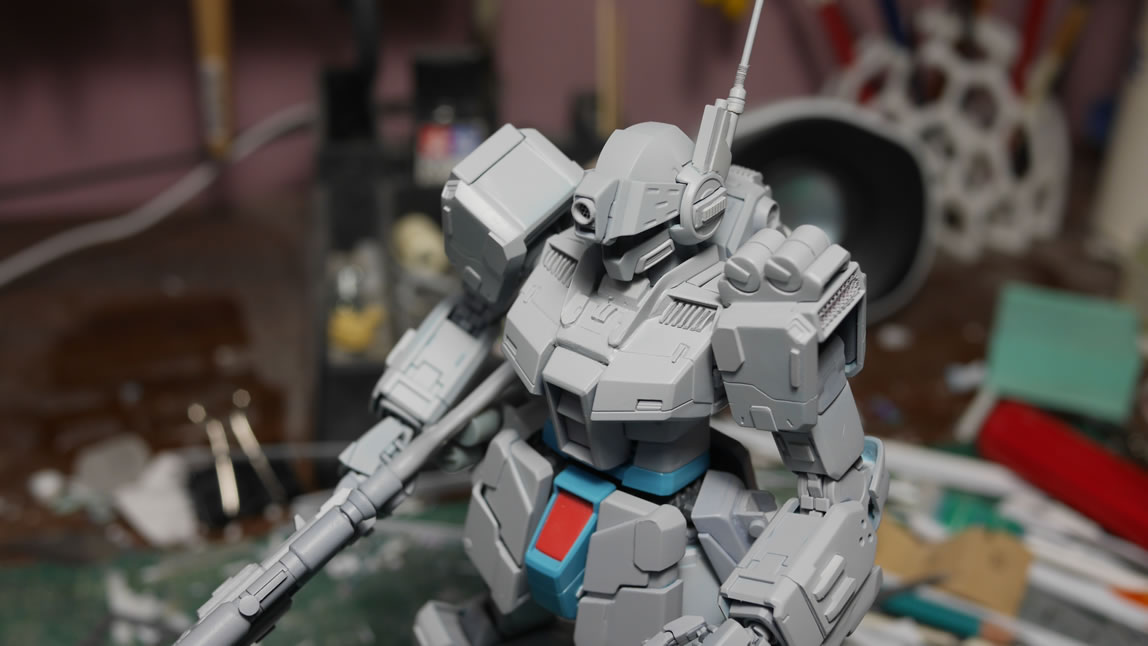
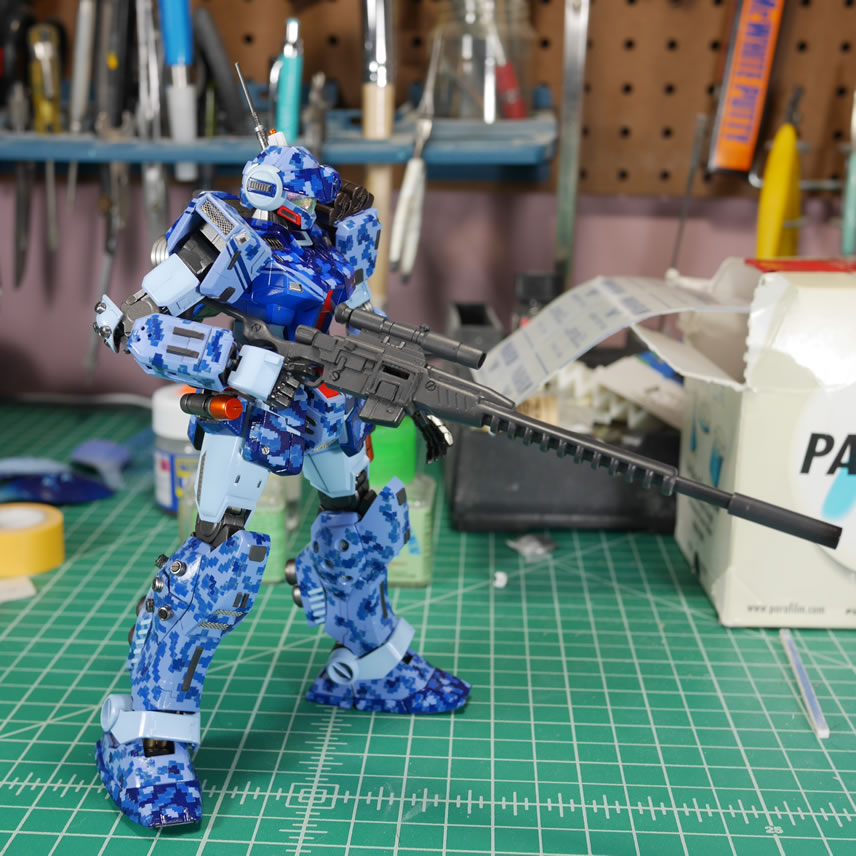
Its been two weeks since the last update post. There were a few busy weekends where not much progressed and all the work in these past two weeks was just the endless cycle of paint-mask-paint-mask. So this will just show you how f-ing tedious that process was and hopefully show that it’s actually worth the grinding. The last bit of work done last night was spraying the clear gloss over the kit. Several coats of clear gloss. And the reason for this will become more apparent as we progress through this update. Before taking the kit apart into small subsections for the clear gloss, I snapped a few assembled pictures. It’s a good time to bring back the snapped pictures I took over 3 months ago when I first started this project to get a side by side comparison.
Frontside:

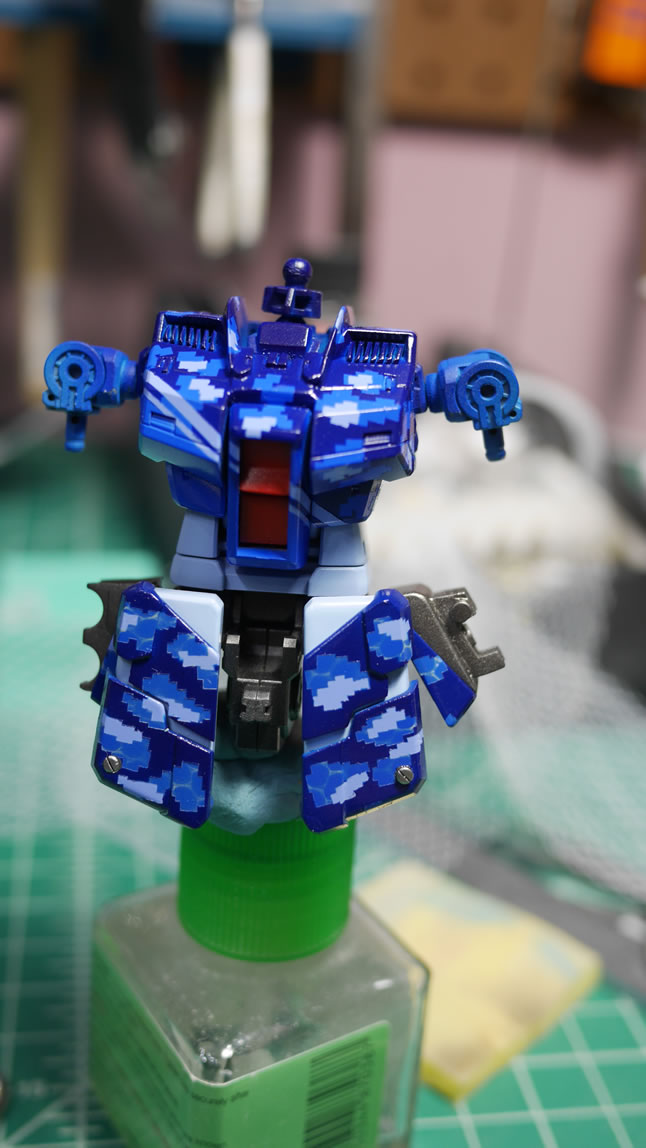
Backside: