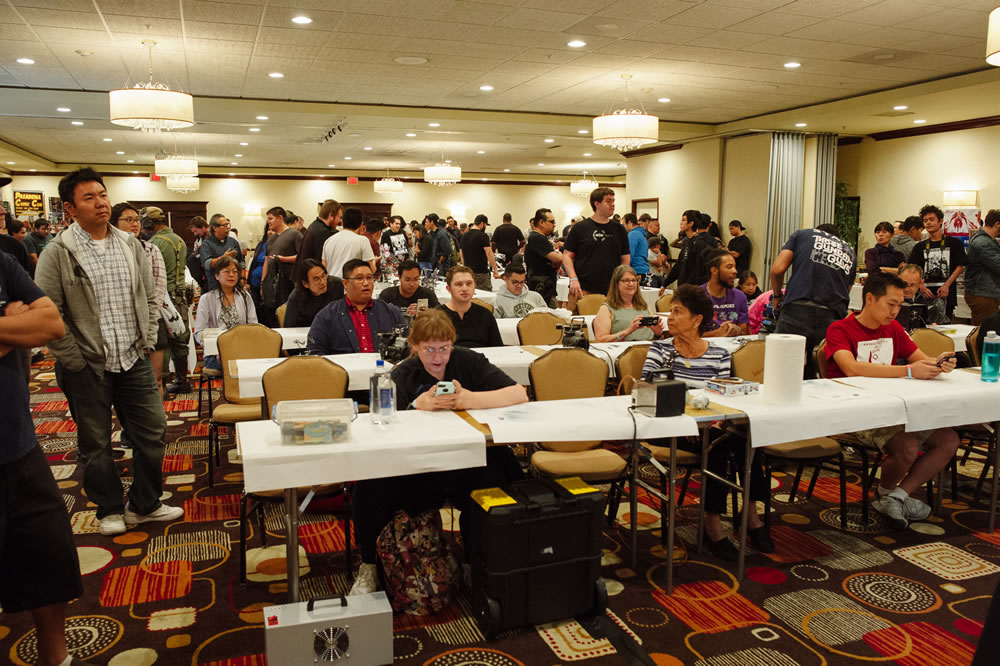
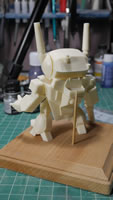
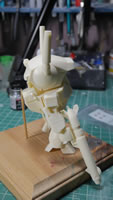
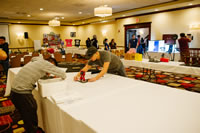
I’m still recovering from the event, but it was a damn fun time. I met a ton of new folks and got to see lots of familiar faces. For those that want to skip to all 240 entries.. yes, there were 240 ENTRIES by 116 entrants, the gallery link is here: SCGMC 2018 Gallery This is a pretty signification jump from last year’s number of 186 entries by 113 entrants. Our attendance numbers jumped from 264 to 358, which is a very signification push of almost 100 more people at our little show. We doubled our number of vendors this year and added in an artist selling their Gundam related artwork. We are expanding on all fronts. This is a good thing. We thought we had the room for everyone which is bigger than last years, but we’re definitely outgrown this ballroom this year. We are currently shopping some potential new venues and also considering just getting two ballrooms at the place we were at this year. So more to come as that develops. You guys will learn soon after we learn!
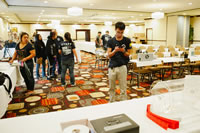
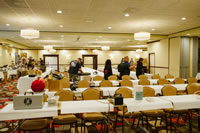
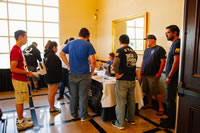
Lots of familiar faces, some folks have been coming the entire time and I saw one father and son tell me that they’d been coming since he was 17 or so, he’s now 25. It is awesome to see so many families that build together and also win together. We opened up our demo spaces to folks outside our group and I think that was a resounding success. We had Tim from Child of Mecha do a very intimate scratch building session. Session for diorama building, a session for panel line scribing, and we had a very well received talk about how to apply lessons learned in art into our projects. I think this will definitely open up the door much wider to our audience that want to show off some of their skills and teach their fellow builders a thing or two about a thing or two.
(more…)
_JPG.jpg)
_JPG.jpg)
_JPG.jpg)
